
 The February assignment for Twelve Loaves left me stumped for a few weeks. Olives. What bread would I bake with olives? I couldn’t think of much that fit and sounded delicious. I mean, there was olive ciabatta of course, but apart from that… bagels? Pull-apart bread? Nothing sounded too inspiring except… oh. Well. I could make olive ciabatta. Sometimes the first ideas – the immediate ideas – are the best.
 I tried making ciabatta once before, in the early days of my dough challenge. Though the rolls tasted fine, they were not the crunchy crusted, flour dusted, chewy, bubbly, homely smash of a loaf that makes a good ciabatta what it is.
 Ciabatta is a reasonably recent Italian response to French baguette, and means “slipper,” which refers to the elongated, flattish shape – I imagine a well-loved pair of house slippers worn by an old man as he shuffles through his day. The lovely contrast of ciabatta loaves – the crisp exterior hiding a honeycomb of fat holes in a lovely chewy center – is achieved through several challenges: an overnight ferment of flour, water, and a touch of yeast called a biga (I kept saying it out loud. Biga. Bee-gah. Beeeeeegah), an extremely wet dough, and quite high oven heat.
 For mine, I settled on the extremely clear directions from the kitchn. I’ve made only very minor adaptations, adding olives (as you might expect), and a glug of olive oil to pump up the olive flavor and add a touch of richness. A bit of fat in the loaf also prevents it from going stale quite so quickly, though you likely won’t need to worry about these loaves hanging around long.
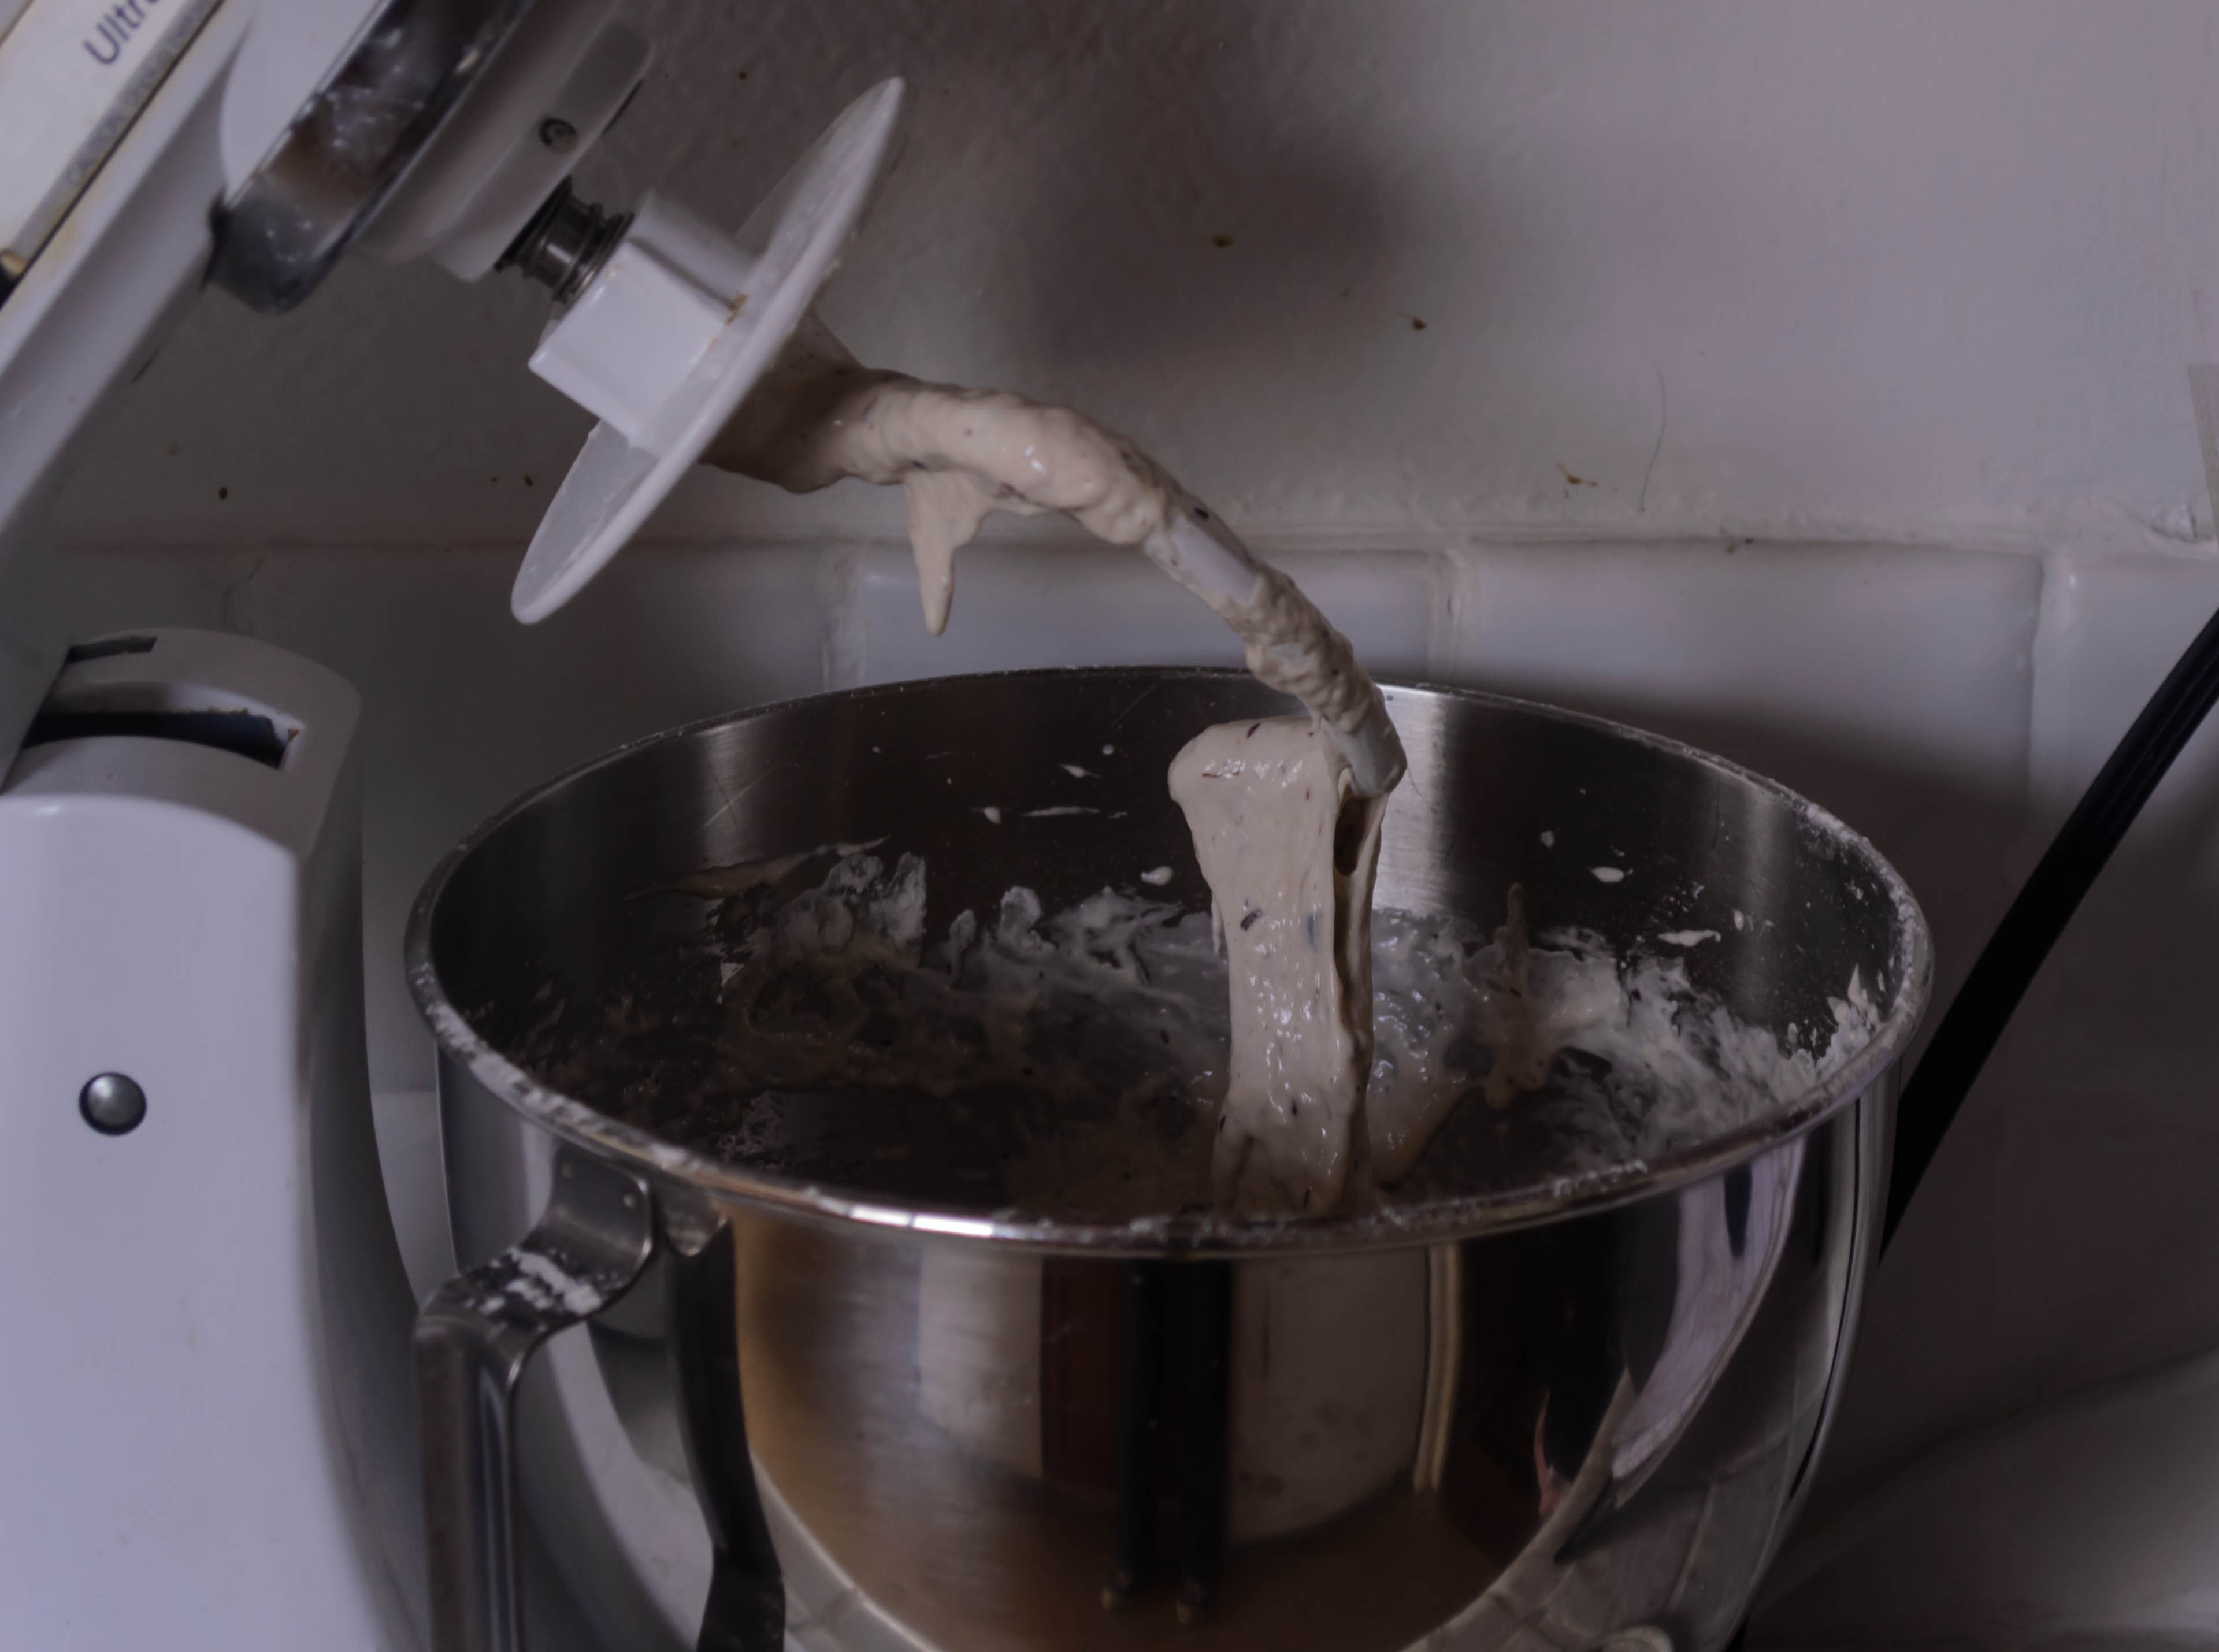
 Apart from the biga, which transforms overnight from a strange, unappealing paste to a bubbling puddle that smells vaguely alcoholic and is quite clearly alive, this bread follows the standard process: knead, rise, shape, rise again, bake. Here’s the deal, though. Above I mentioned “extremely wet dough.” I mean it. I wouldn’t make this bread without a stand mixer. Though it collects together a bit around the dough hook during its long knead, it never forms a real ball, before or after the rise. When you dump it out onto a board, it sticks to everything. I mean everything. That whole dusting of flour that makes a ciabatta so recognizable? That’s not aesthetic. That’s necessary. “Well-floured board” has never been such a serious statement of setting.
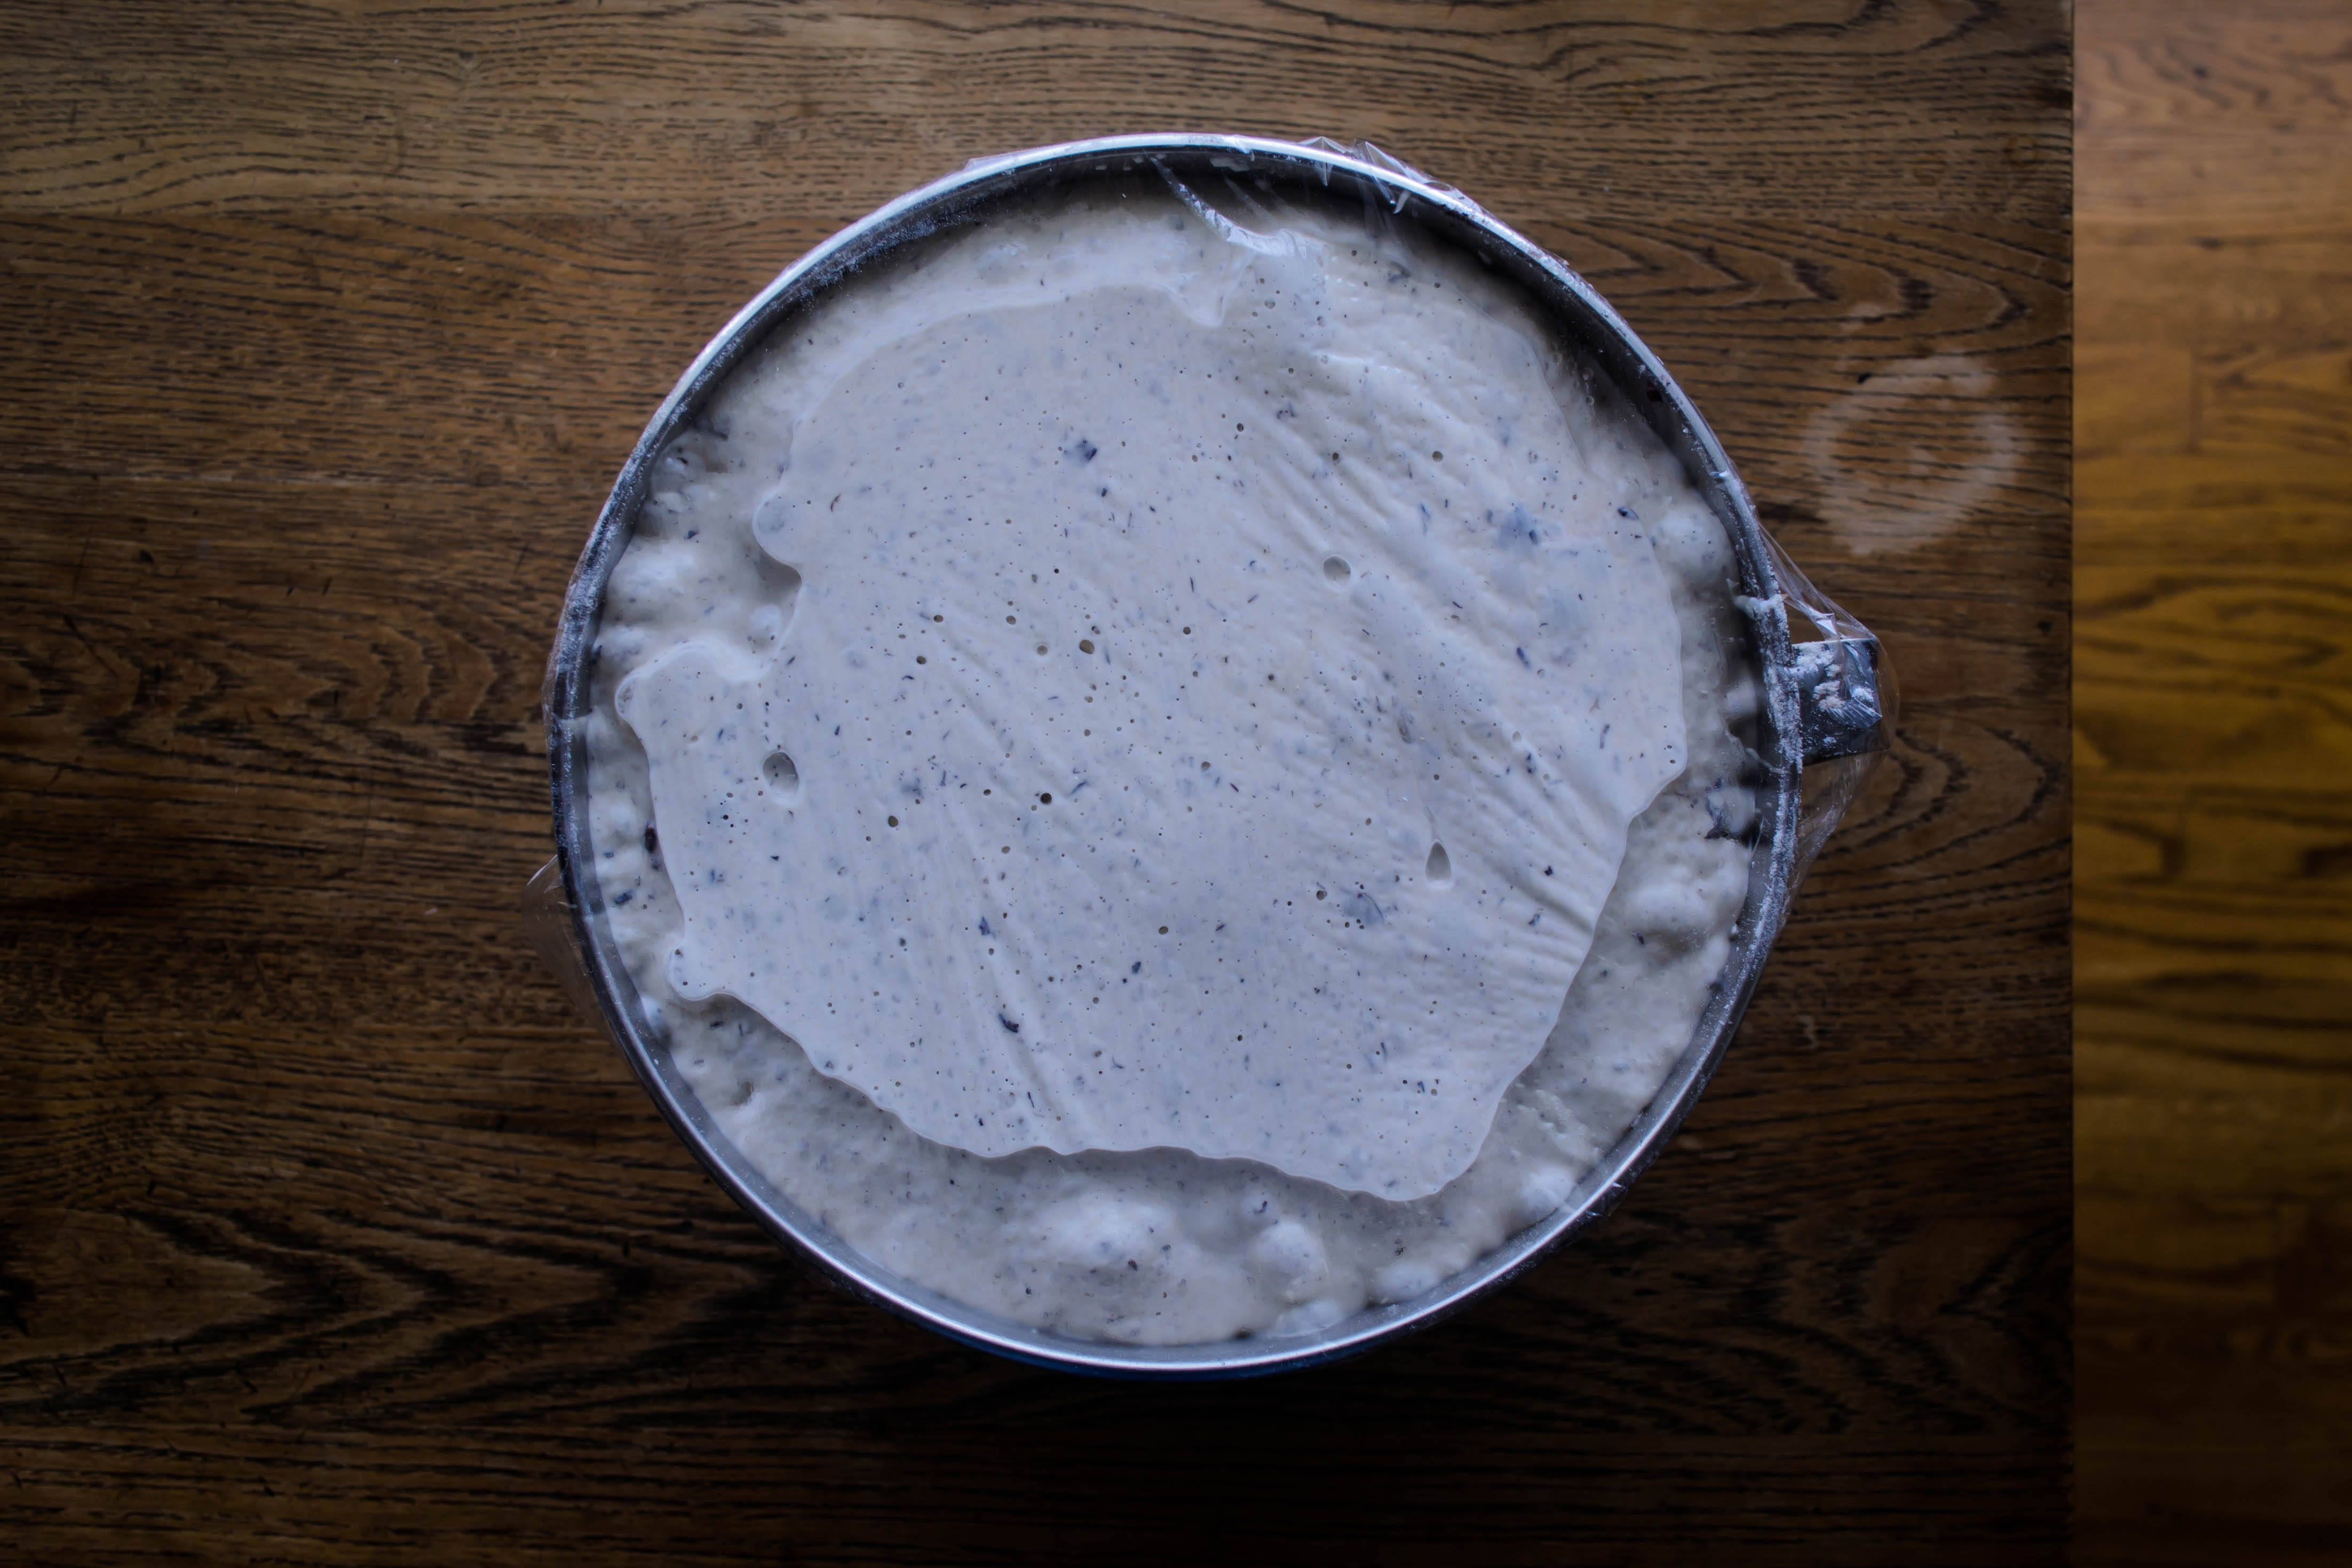
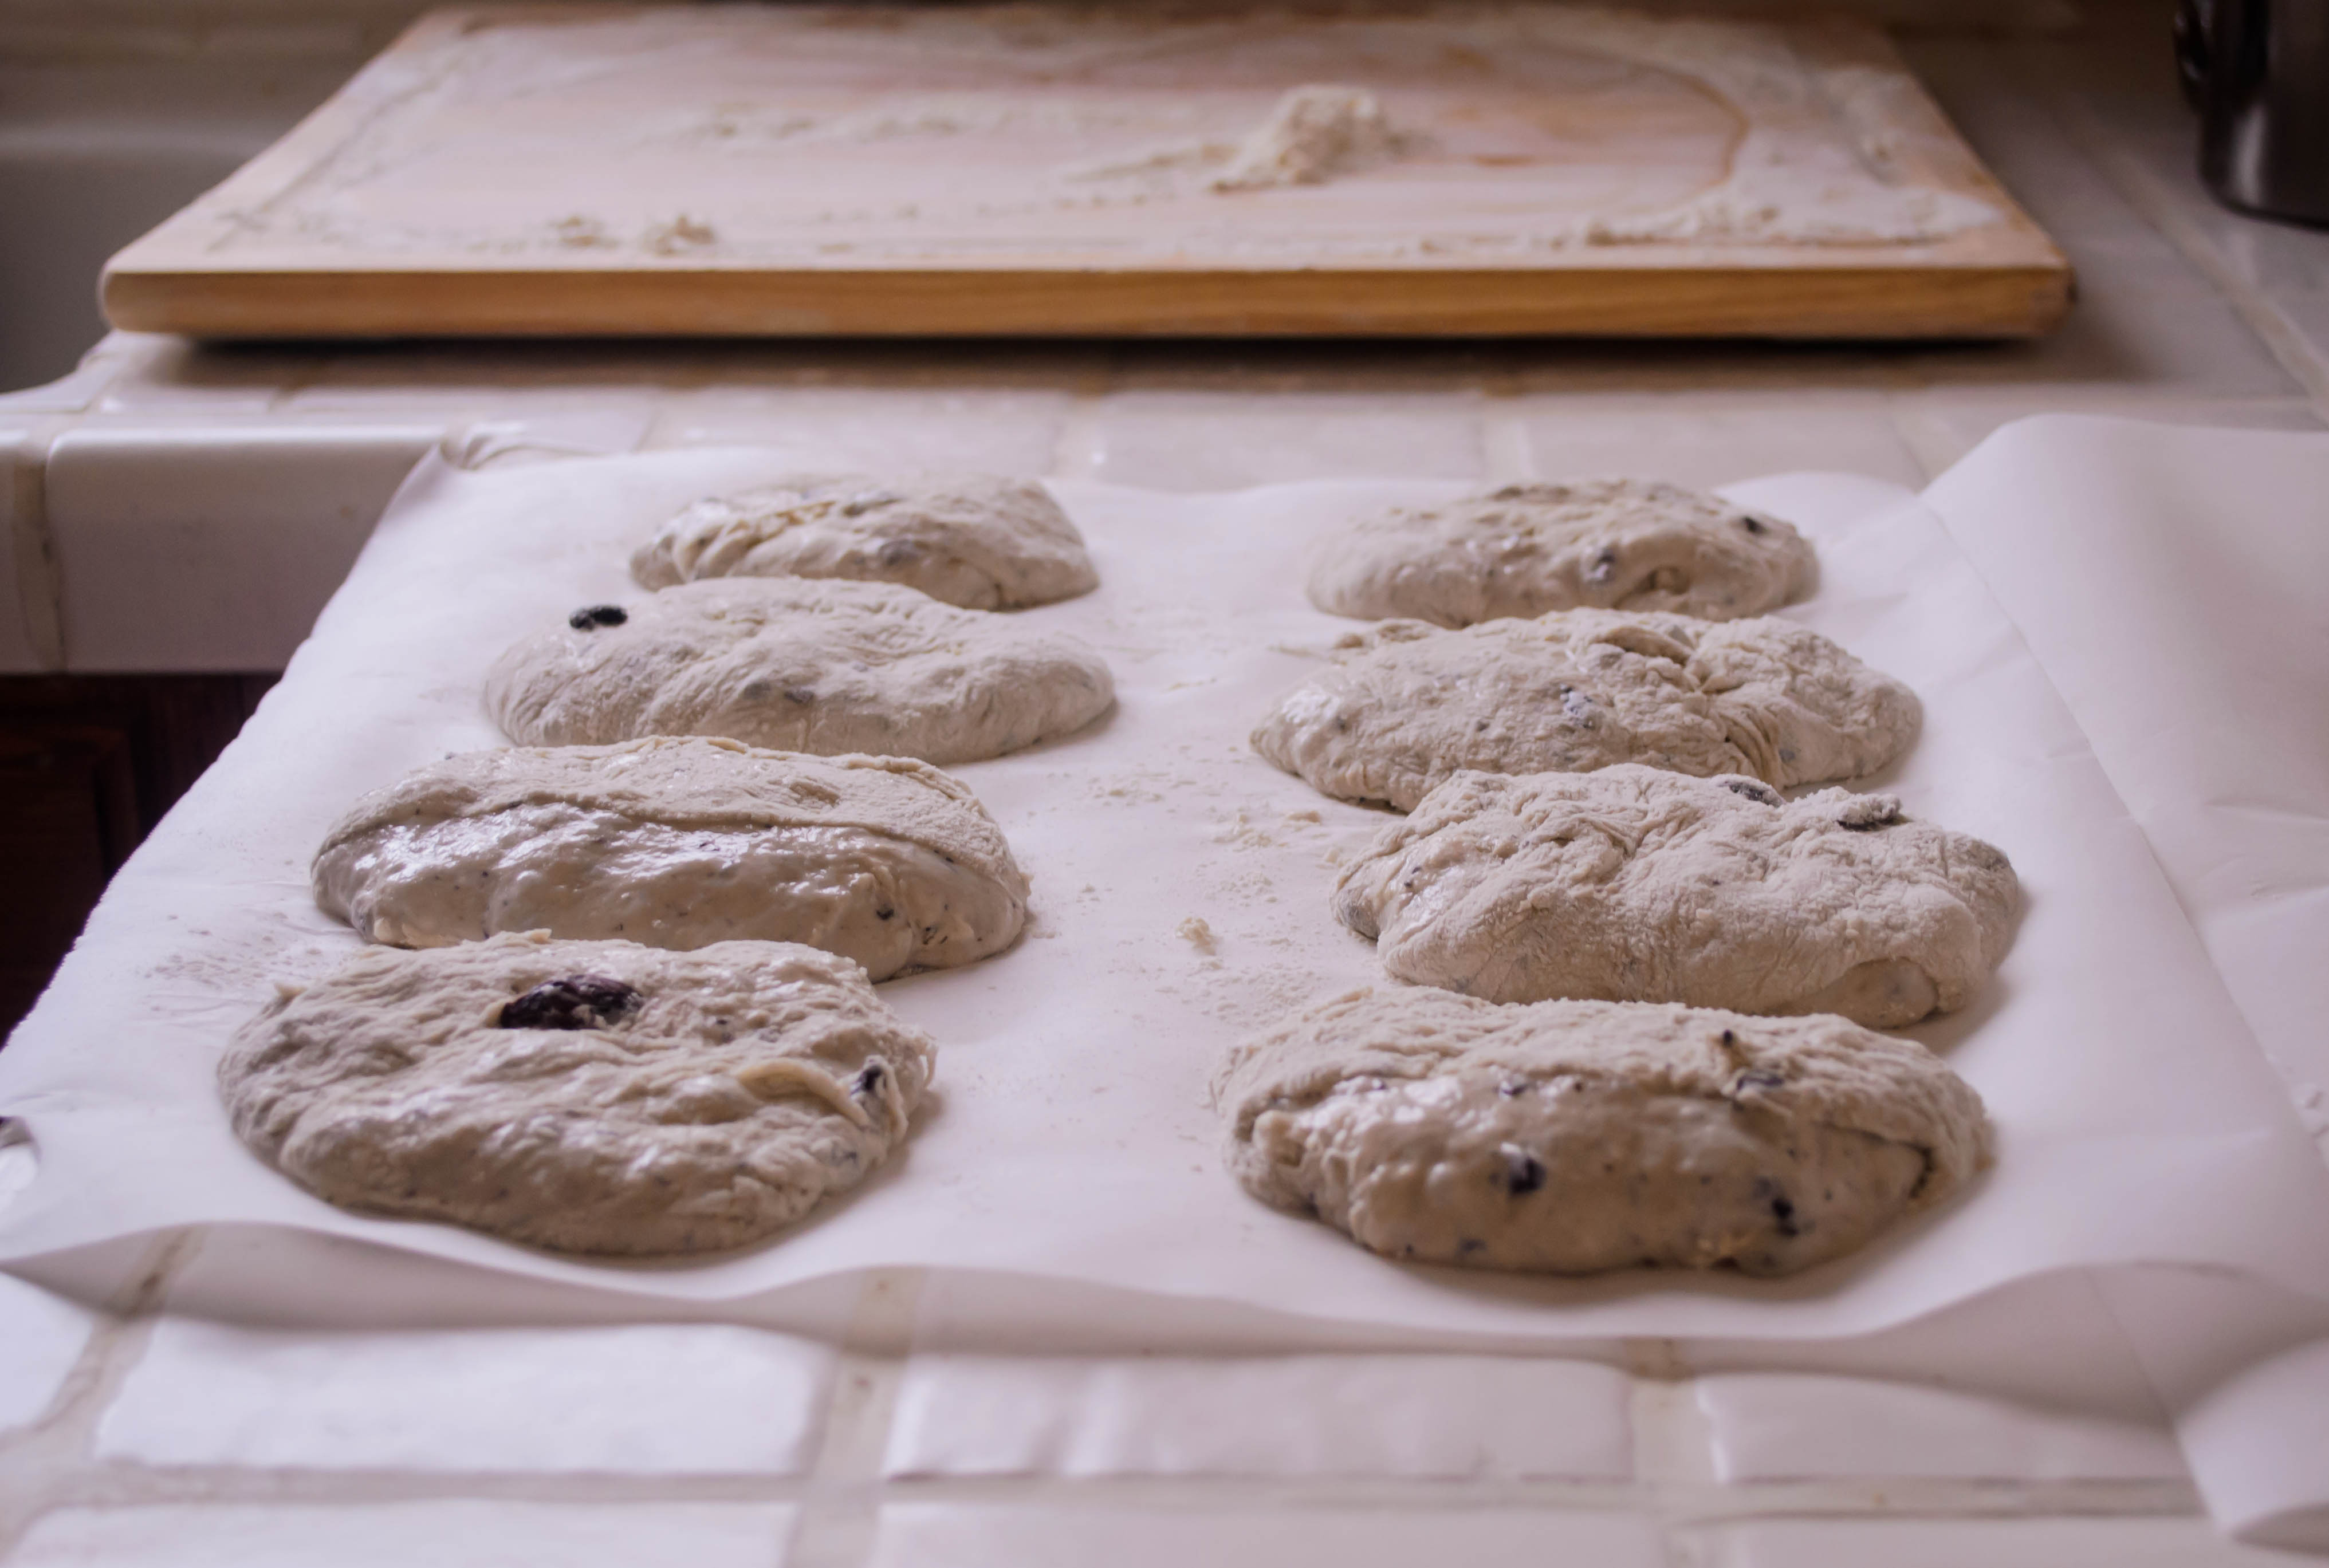
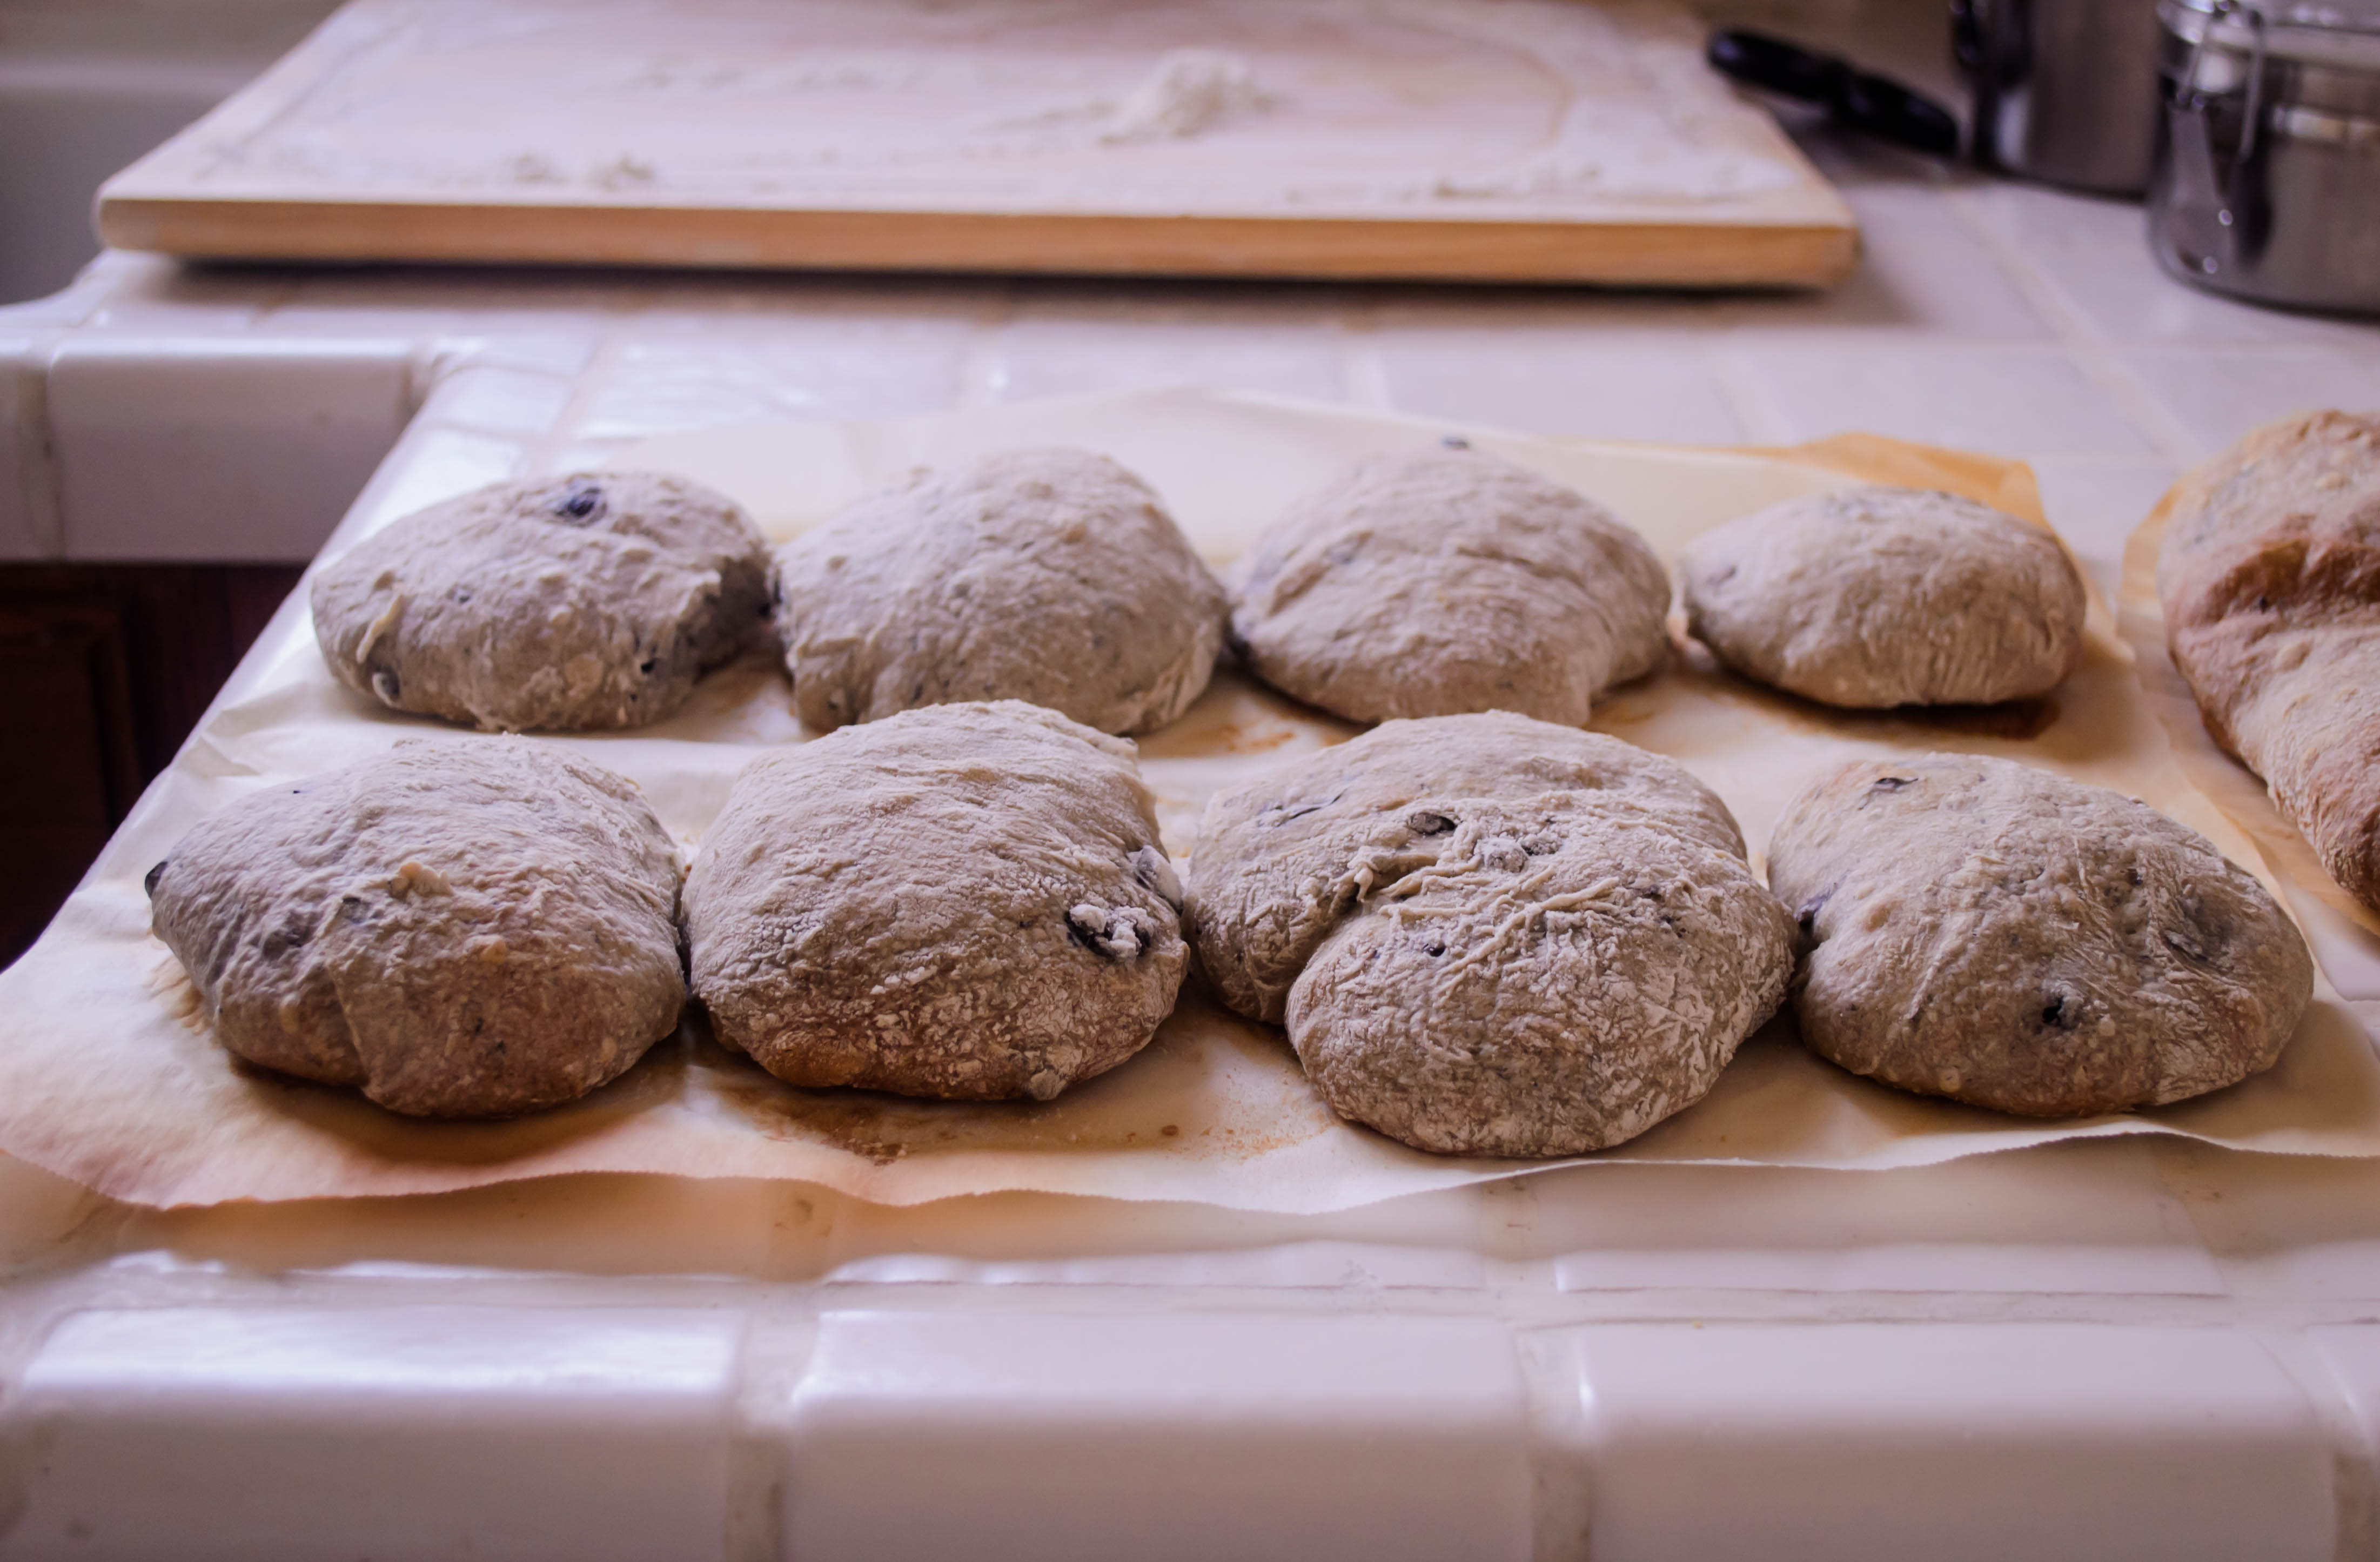
 Fortunately, I’ve been making sourdough lately with a fairly wet dough, so the look of the olive-speckled, bubbly mass after three hours of expansion didn’t unnerve me too much. When it came time to shape the loaves (I opted for eight sandwich-sized rolls and one large loaf), I picked up the first one and just laughed. “Shaping” is a word you can use, but without a banneton or brotform of some sort, the dough just sort of sighs into the form it wants to be and stays there, a slightly contained puddle oozing its way threateningly toward the edges of the parchment paper you’ve so carefully flopped it onto. When I handled the rolls, in texture they reminded me bizarrely of – don’t laugh – a fresh oyster or an egg yolk sitting in my hand.
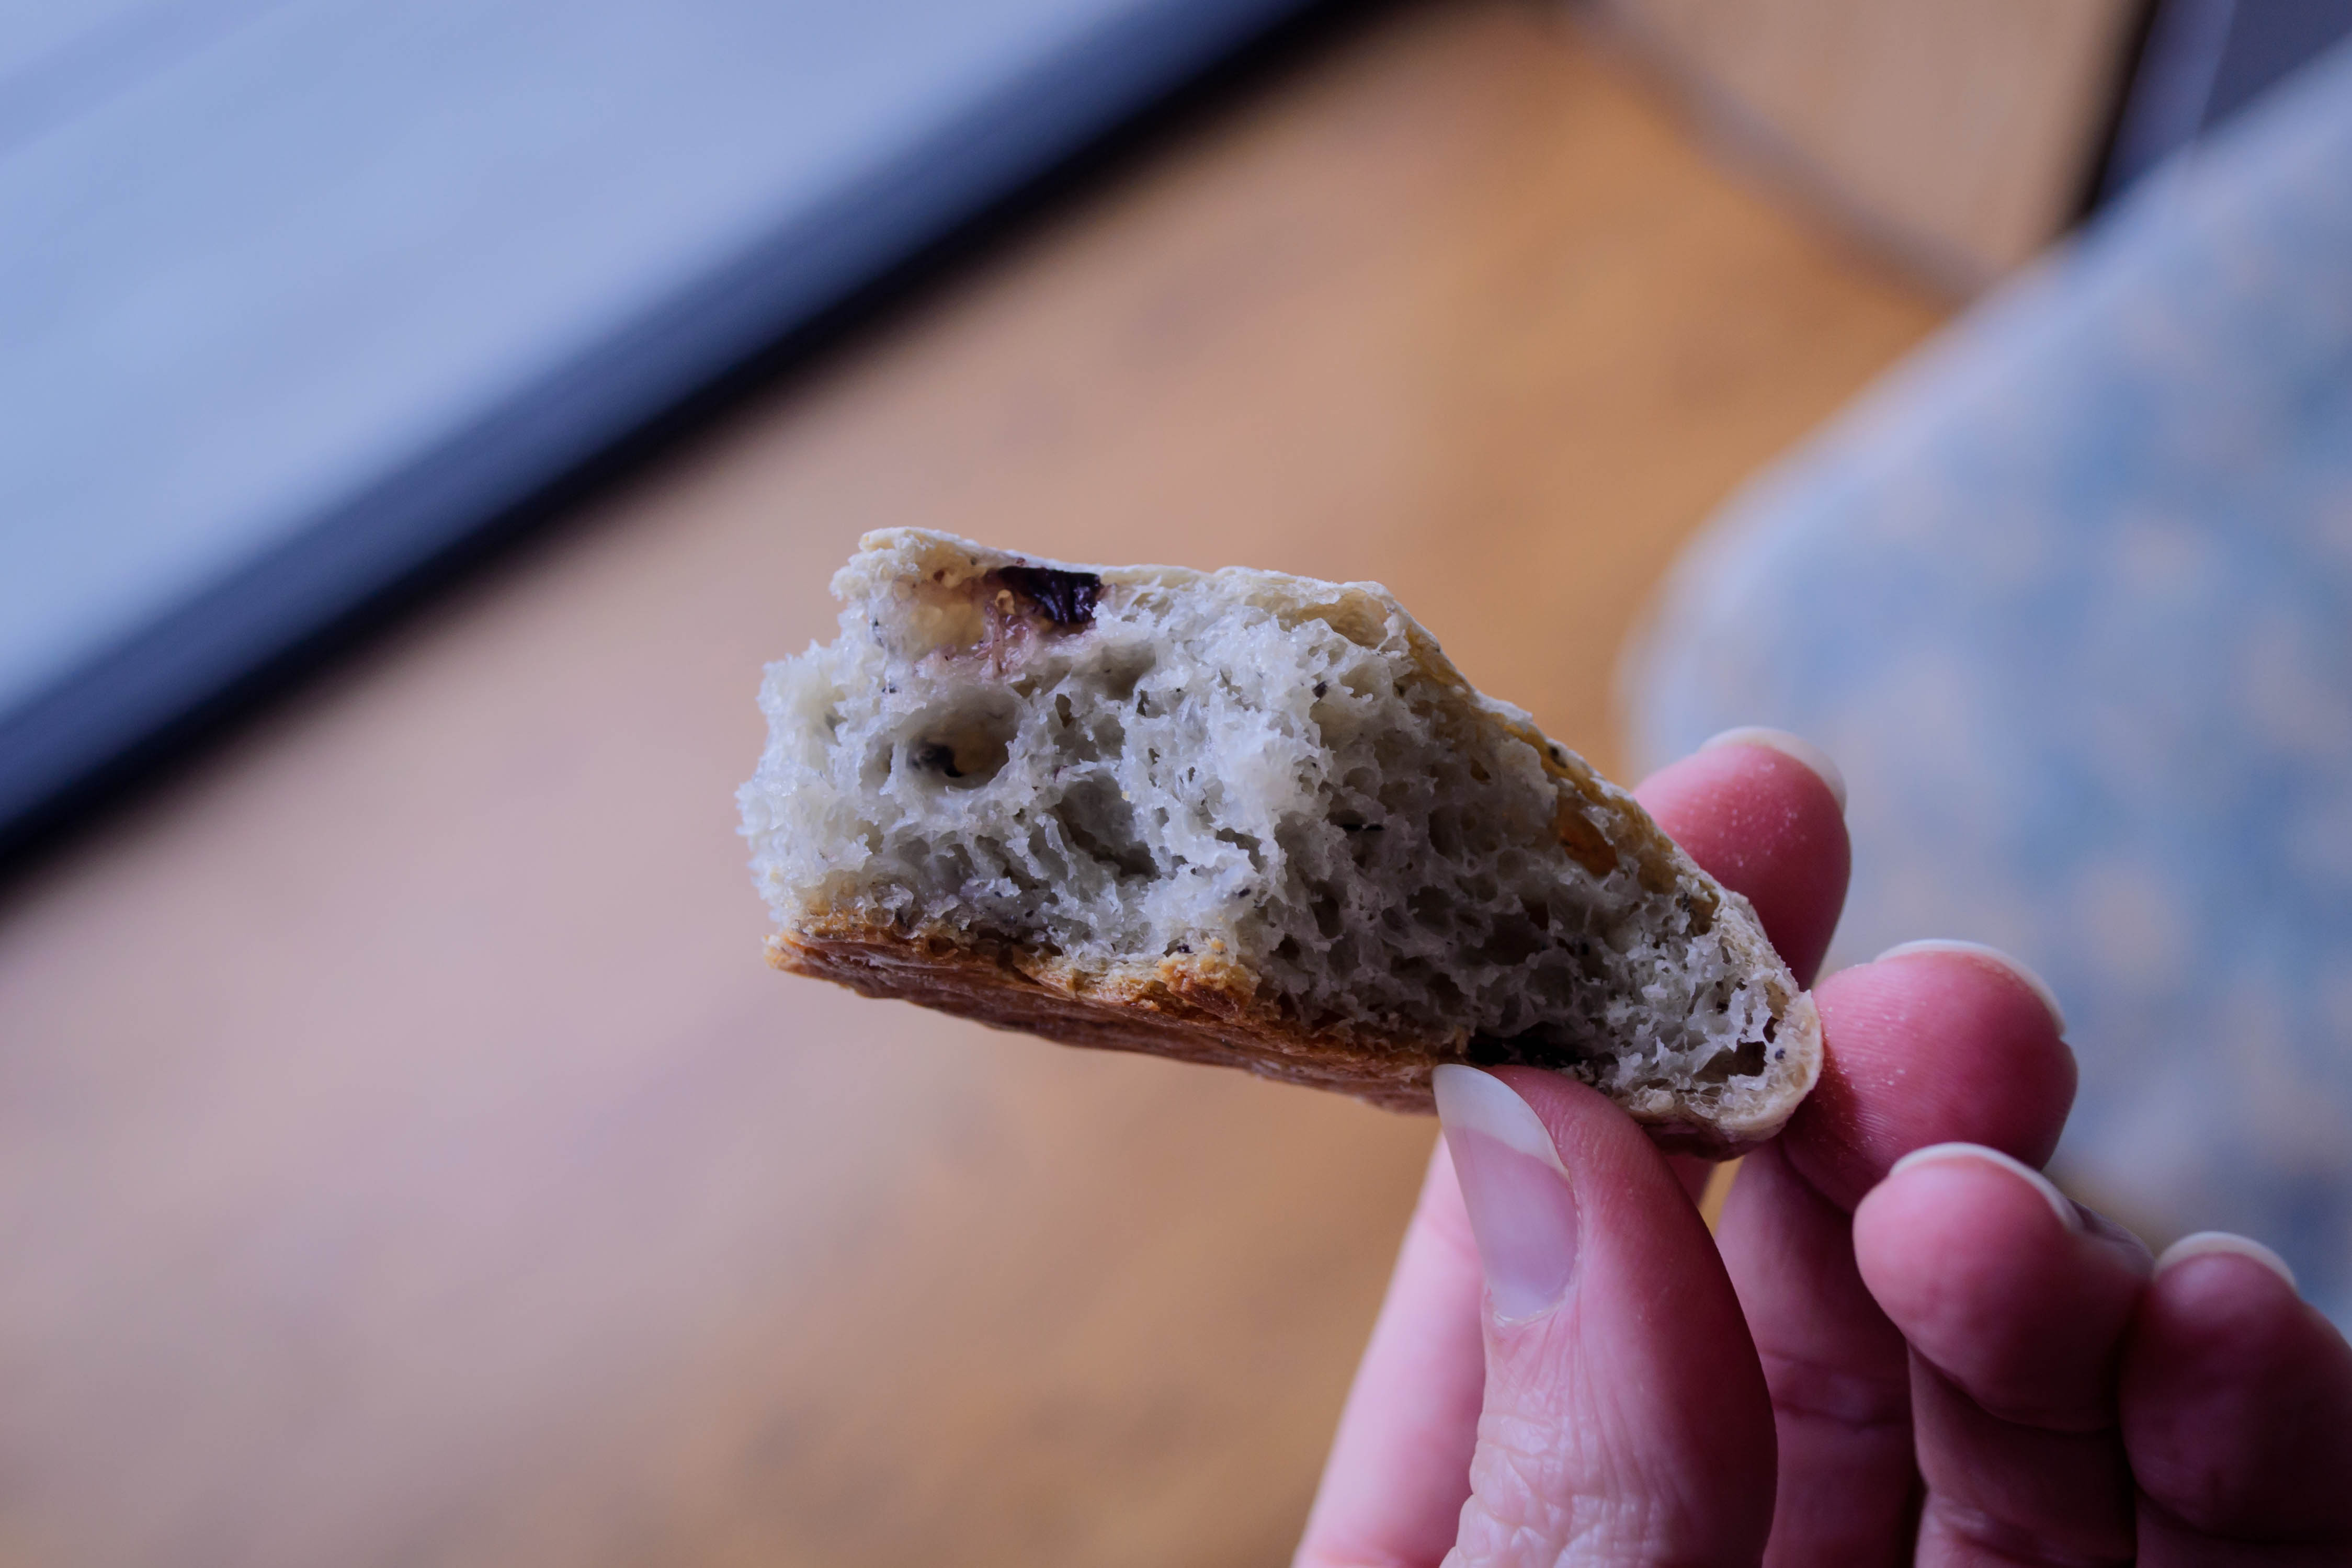
 Despite the dicey textural proceedings, as bread so often and comfortingly does, it did what it was supposed to do in the oven. The loaves didn’t spring up all that high, but they did retain a network of lovely bubbles, and they did develop that moist, almost tacky texture that I, at least, require in a good ciabatta.
 When I considered how to serve these, after I got past the urge to just tear into them and eat four or five (I stopped at one), I decided to go back to the first, unsuccessful attempt. In our previous, not-ciabatta meal, I’d used the rolls as vehicles for salmon burgers inspired by an old favorite restaurant in Eugene. Salmon burgers, then, it would have to be: a mixture of fresh and smoked salmon kneaded with egg and flour to help hold them together, parsley, a bit of garlic, and some salt and pepper. The olives in the bread were a nice addition, lending some light brininess to the burger appropriate to its marine origins.
 I have to admit, though, as civilized as we were with those initial rolls, the remainder got packed into a Ziploc bag, stowed in the backseat of the car, and torn into just as they were when we needed a snack during this past weekend’s mini vacation. And that way – a day old, unheated, unadorned – they were just as good.
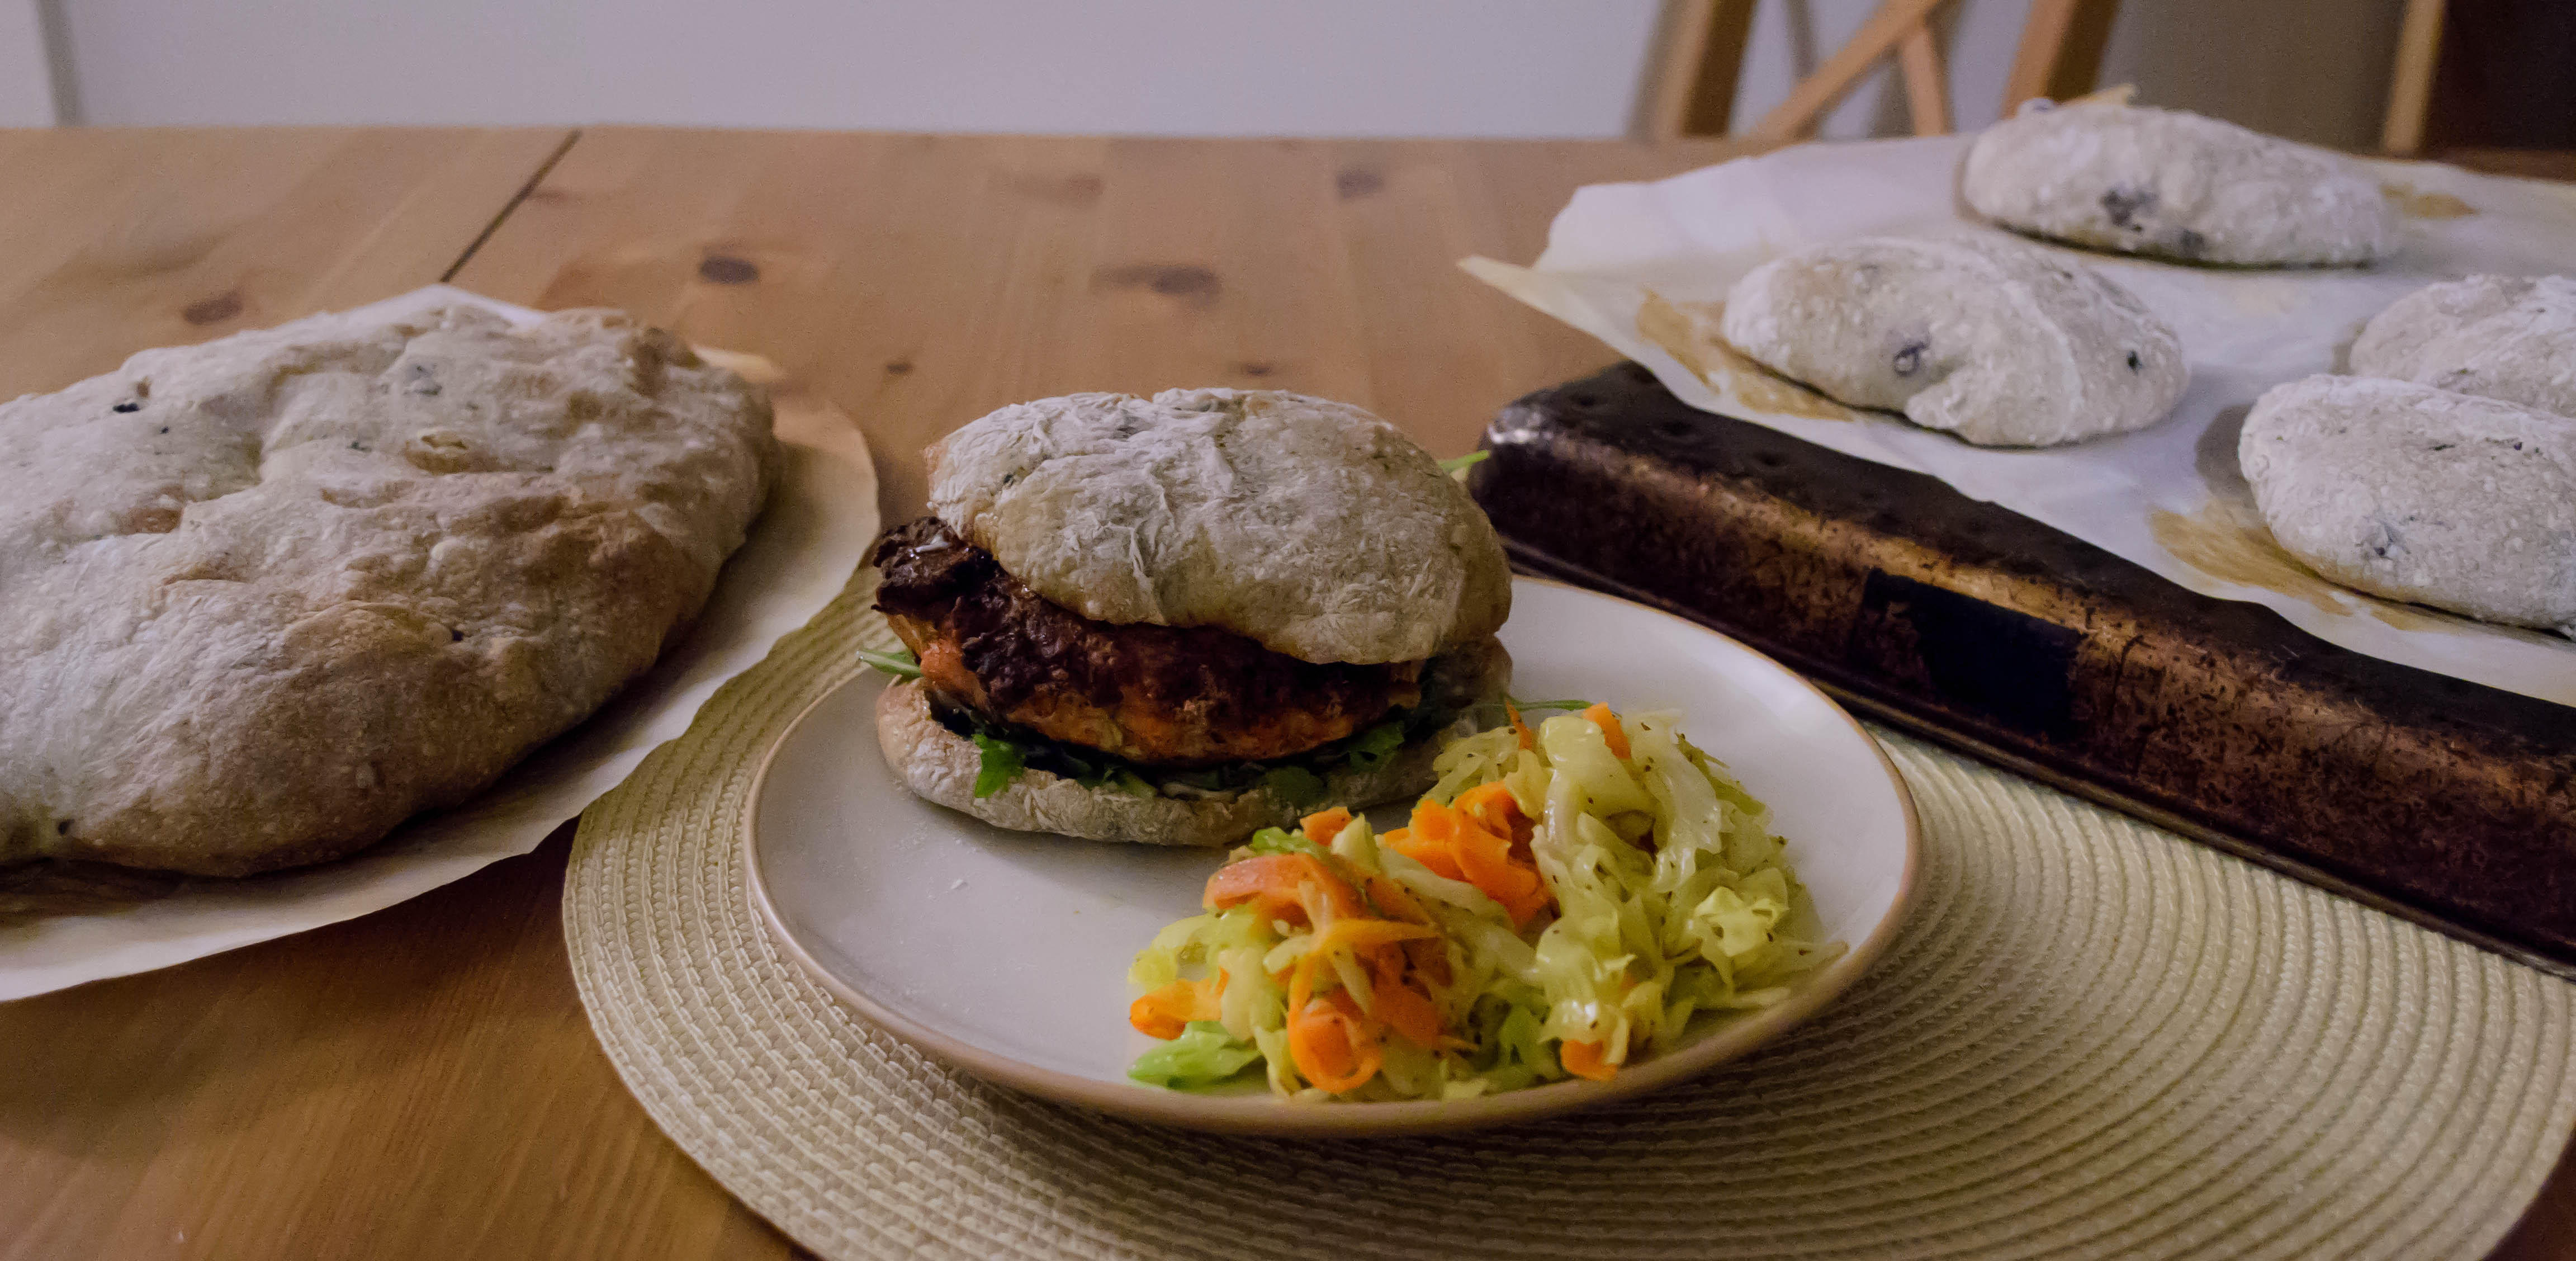
Olive ciabatta
Makes 2 large loaves, 16 sandwich-sized rolls, or 1 large loaf and 8 rolls
Adapted (barely) from the kitchn
For biga:
4 ounces (1/2 cup) room temperature water
½ teaspoon active dry yeast
5 ounces (about 1 fluffed cup) all-purpose flour
For dough:
17 ounces (just over 2 cups) water
1 teaspoon active dry yeast
Rested biga
20 ounces (about 4 fluffed cups) all-purpose flour
2 teaspoons kosher salt
1 tablespoon olive oil
1 cup drained, rinsed, and coarsely chopped kalamata olives
- To make the biga, combine the ½ teaspoon of yeast and the 4 ounces of water in the bowl of your stand mixer. Stir and let sit to dissolve for 5-10 minutes. Add the flour (I highly recommend using weight measurements, as does the kitchn recipe) and stir by hand or with the paddle attachment for 1-2 minutes to start the gluten chains working. It will form a thick gluey goo. Cover with plastic wrap and let it sit at room temperature overnight.
- The next day, the biga will look bubbly – rather like the top of a pancake when it’s ready to flip – and smell slightly fruity or alcoholic.
- For the ciabatta, combine the 17 ounces of water and 1 teaspoon of yeast in a small bowl and stir to combine. I used my 2-cup glass measuring cup for this. Let sit for 5-10 minutes until the mixture is slightly bubbly and smells like bread. Then, dump the yeast and water into the rested biga and use a spoon or your hands to break it up a bit – this will feel disgusting but it’s necessary to ensure smooth integration.
- Add the 20 ounces of flour, the salt, and the olive oil, and stir to form a thick, wet dough (though it’s more like a batter). Leave it to rest for 10-20 minutes to give the water time to hydrate the flour.
- After 10-20 minutes, add the chopped olives to the dough/batter and knead on medium speed with the dough hook attachment for 15-18 minutes. On my stand mixer (brand KitchenAid), this was level 6. As the kitchn notes, keep an eye on your mixer, as it tends to walk its way across the counter at this speed.
- The dough will remain very wet and fairly loose, sticking to the bowl, though the kitchn’s procedure says it will start to pull away from the sides of the bowl and begin slapping the sides around the 7 minute mark. Mine didn’t start this slapping pattern until I turned up the speed to medium-high for a minute or two. (If your machine seems to be heating up a lot and you are worried about it, pause halfway through the knead and let it cool down a bit – this won’t hurt the dough at all; it will simply collapse back into a wet batter while you wait.)
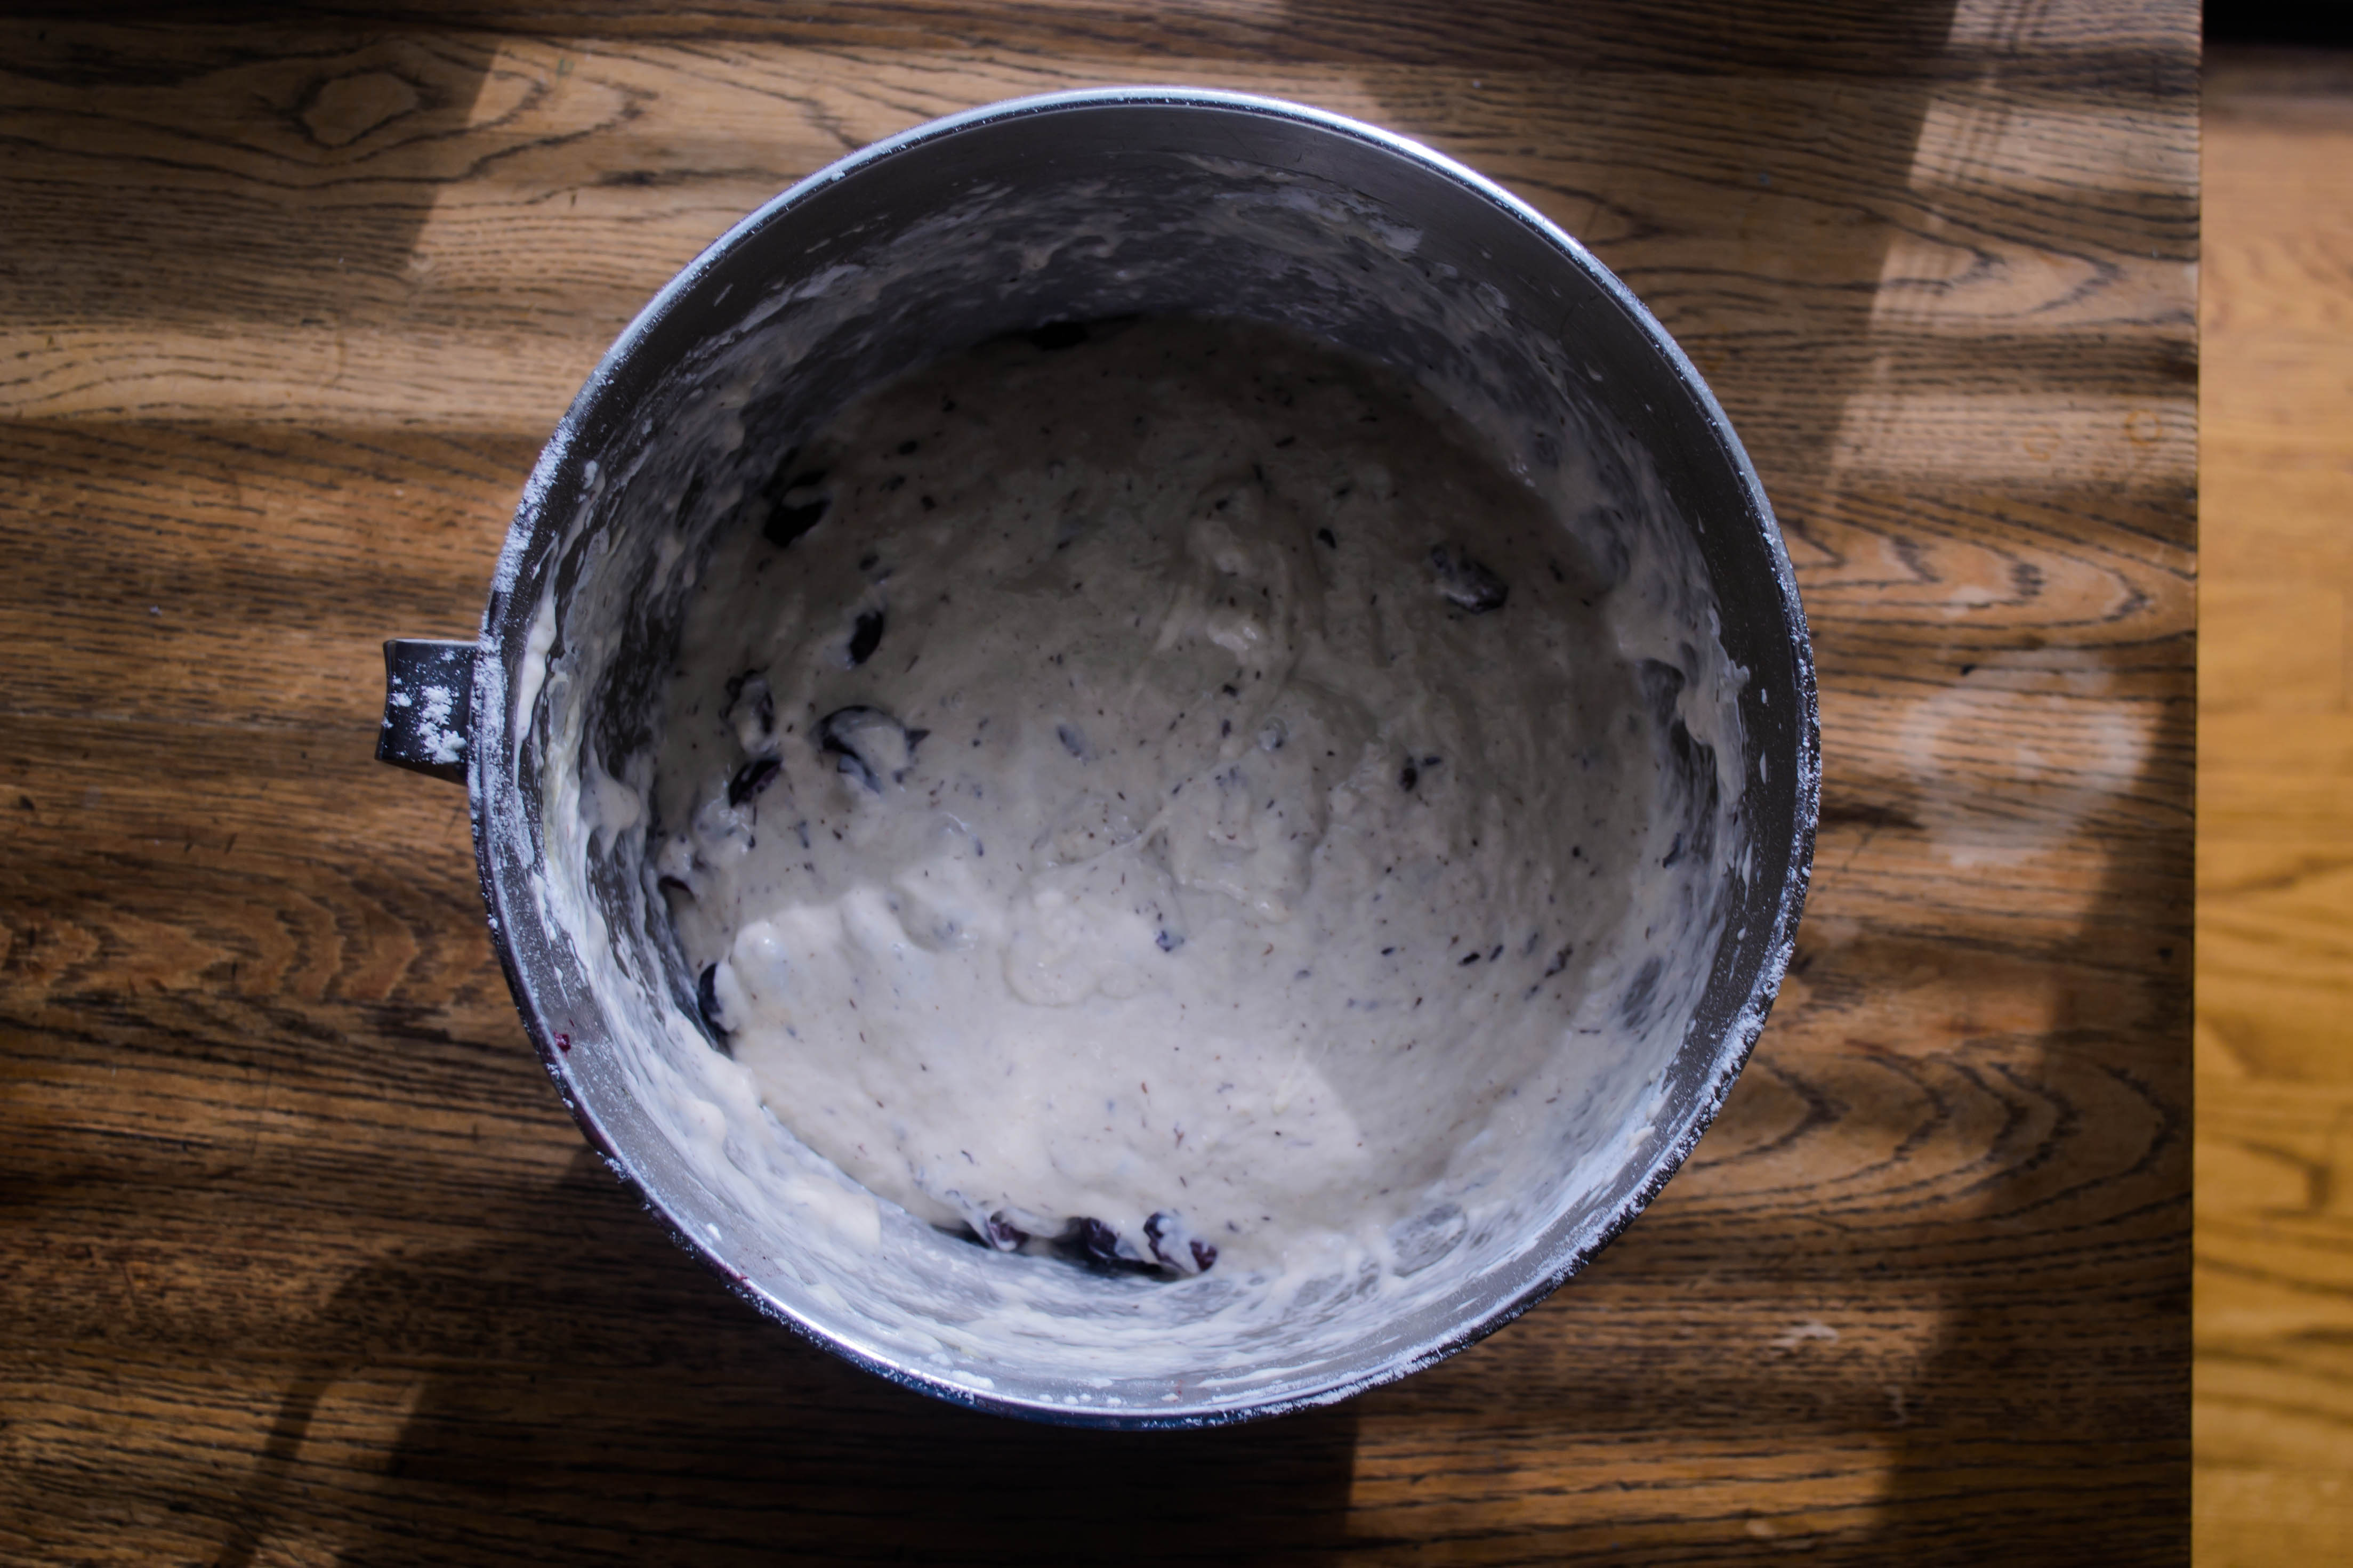
- After 15-18 minutes, the dough will still turn into a loose puddle when you turn off the machine, but it should be smooth and shiny with bits of olives scattered through it. Cover it with a layer of plastic wrap and set it in a slightly warm place (70-75F) for 2-3 hours, until it triples in size.
- Before we get into the messy part, preheat your oven to 475F and, if you have one, stow a baking stone inside. If you don’t, turn a cookie sheet upside down and place that on one of the racks instead. I used one baking stone and one inverted cookie sheet.
- Now, here’s where the “well-floured surface” comes in. Scrape and pour the dough out of the bowl onto a very well-floured board, trying not to deflate it too much (we want those bubbles), then set two pieces of 9×13 inch parchment paper near your work surface. Sprinkle another layer of flour on the top surface of the dough. Use a pastry scraper or a pizza cutter, again dusted with flour, to cut the dough in half. If you are making rolls, cut each half into the desired number.
- With floured hands, gently but quickly scoop the loaves or rolls one at a time from the board to the parchment paper. To achieve a dimpled, textured surface, press your fingers lightly into the dough. This will also flatten it into the expected “slipper” shape.
- Let the loaves or rolls rise, uncovered, 30-40 minutes. They will puff a bit, but more out than up, and more big bubbles may develop.
- When it’s time to bake, use the parchment sheets to slide the loaves right onto the baking stone or inverted baking sheet, parchment and all. Keeping them on the parchment ensures their bubbly structure won’t be disrupted by the relocation. Bake 20 minutes for rolls, 25 minutes for loaves, until golden brown, lightly crusty, and puffed. Remove from parchment to a wire rack to cool.
