
 Seeing as it’s now been more than half a year since I started this dough resolution, I think it’s high time for a check-in. When I began this project, I was afraid of pie crust. I found baking bread an intimidating procedure: proofing yeast was a touchy business; sticky dough made me wring my hands in despair. My first few loaves came out with black bottoms, and I didn’t have a real sense of the difference between bread flour and all-purpose.
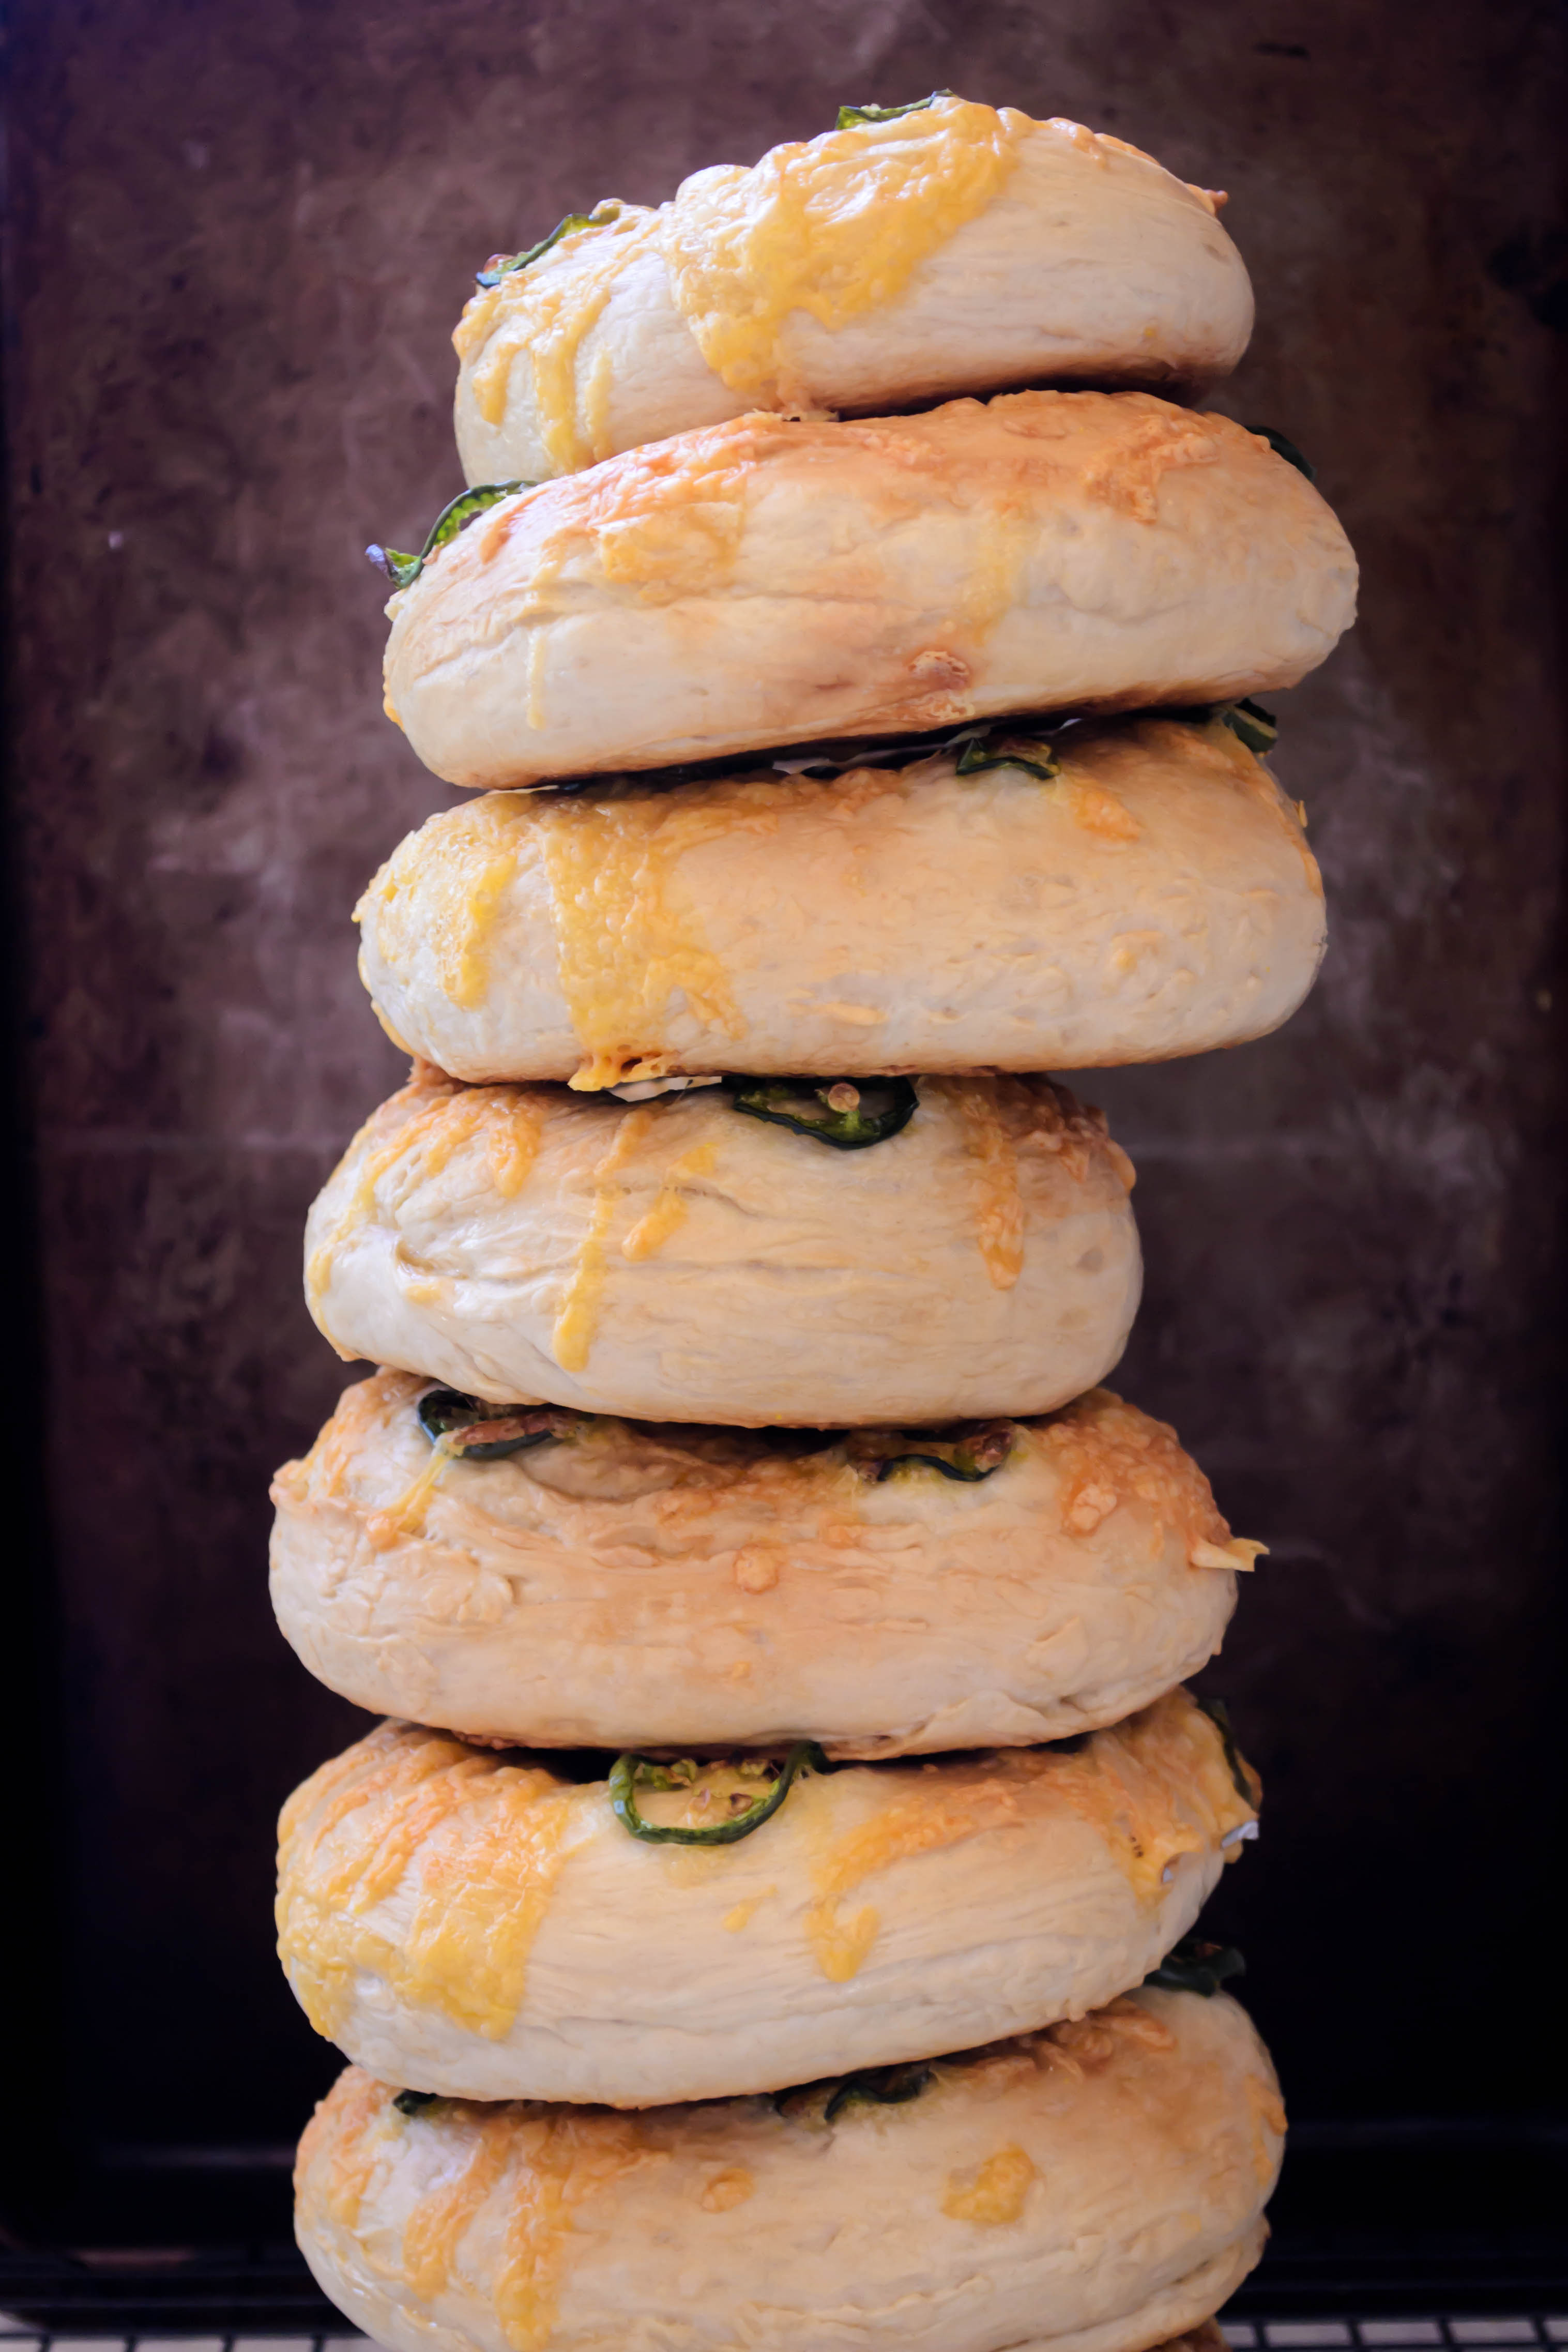
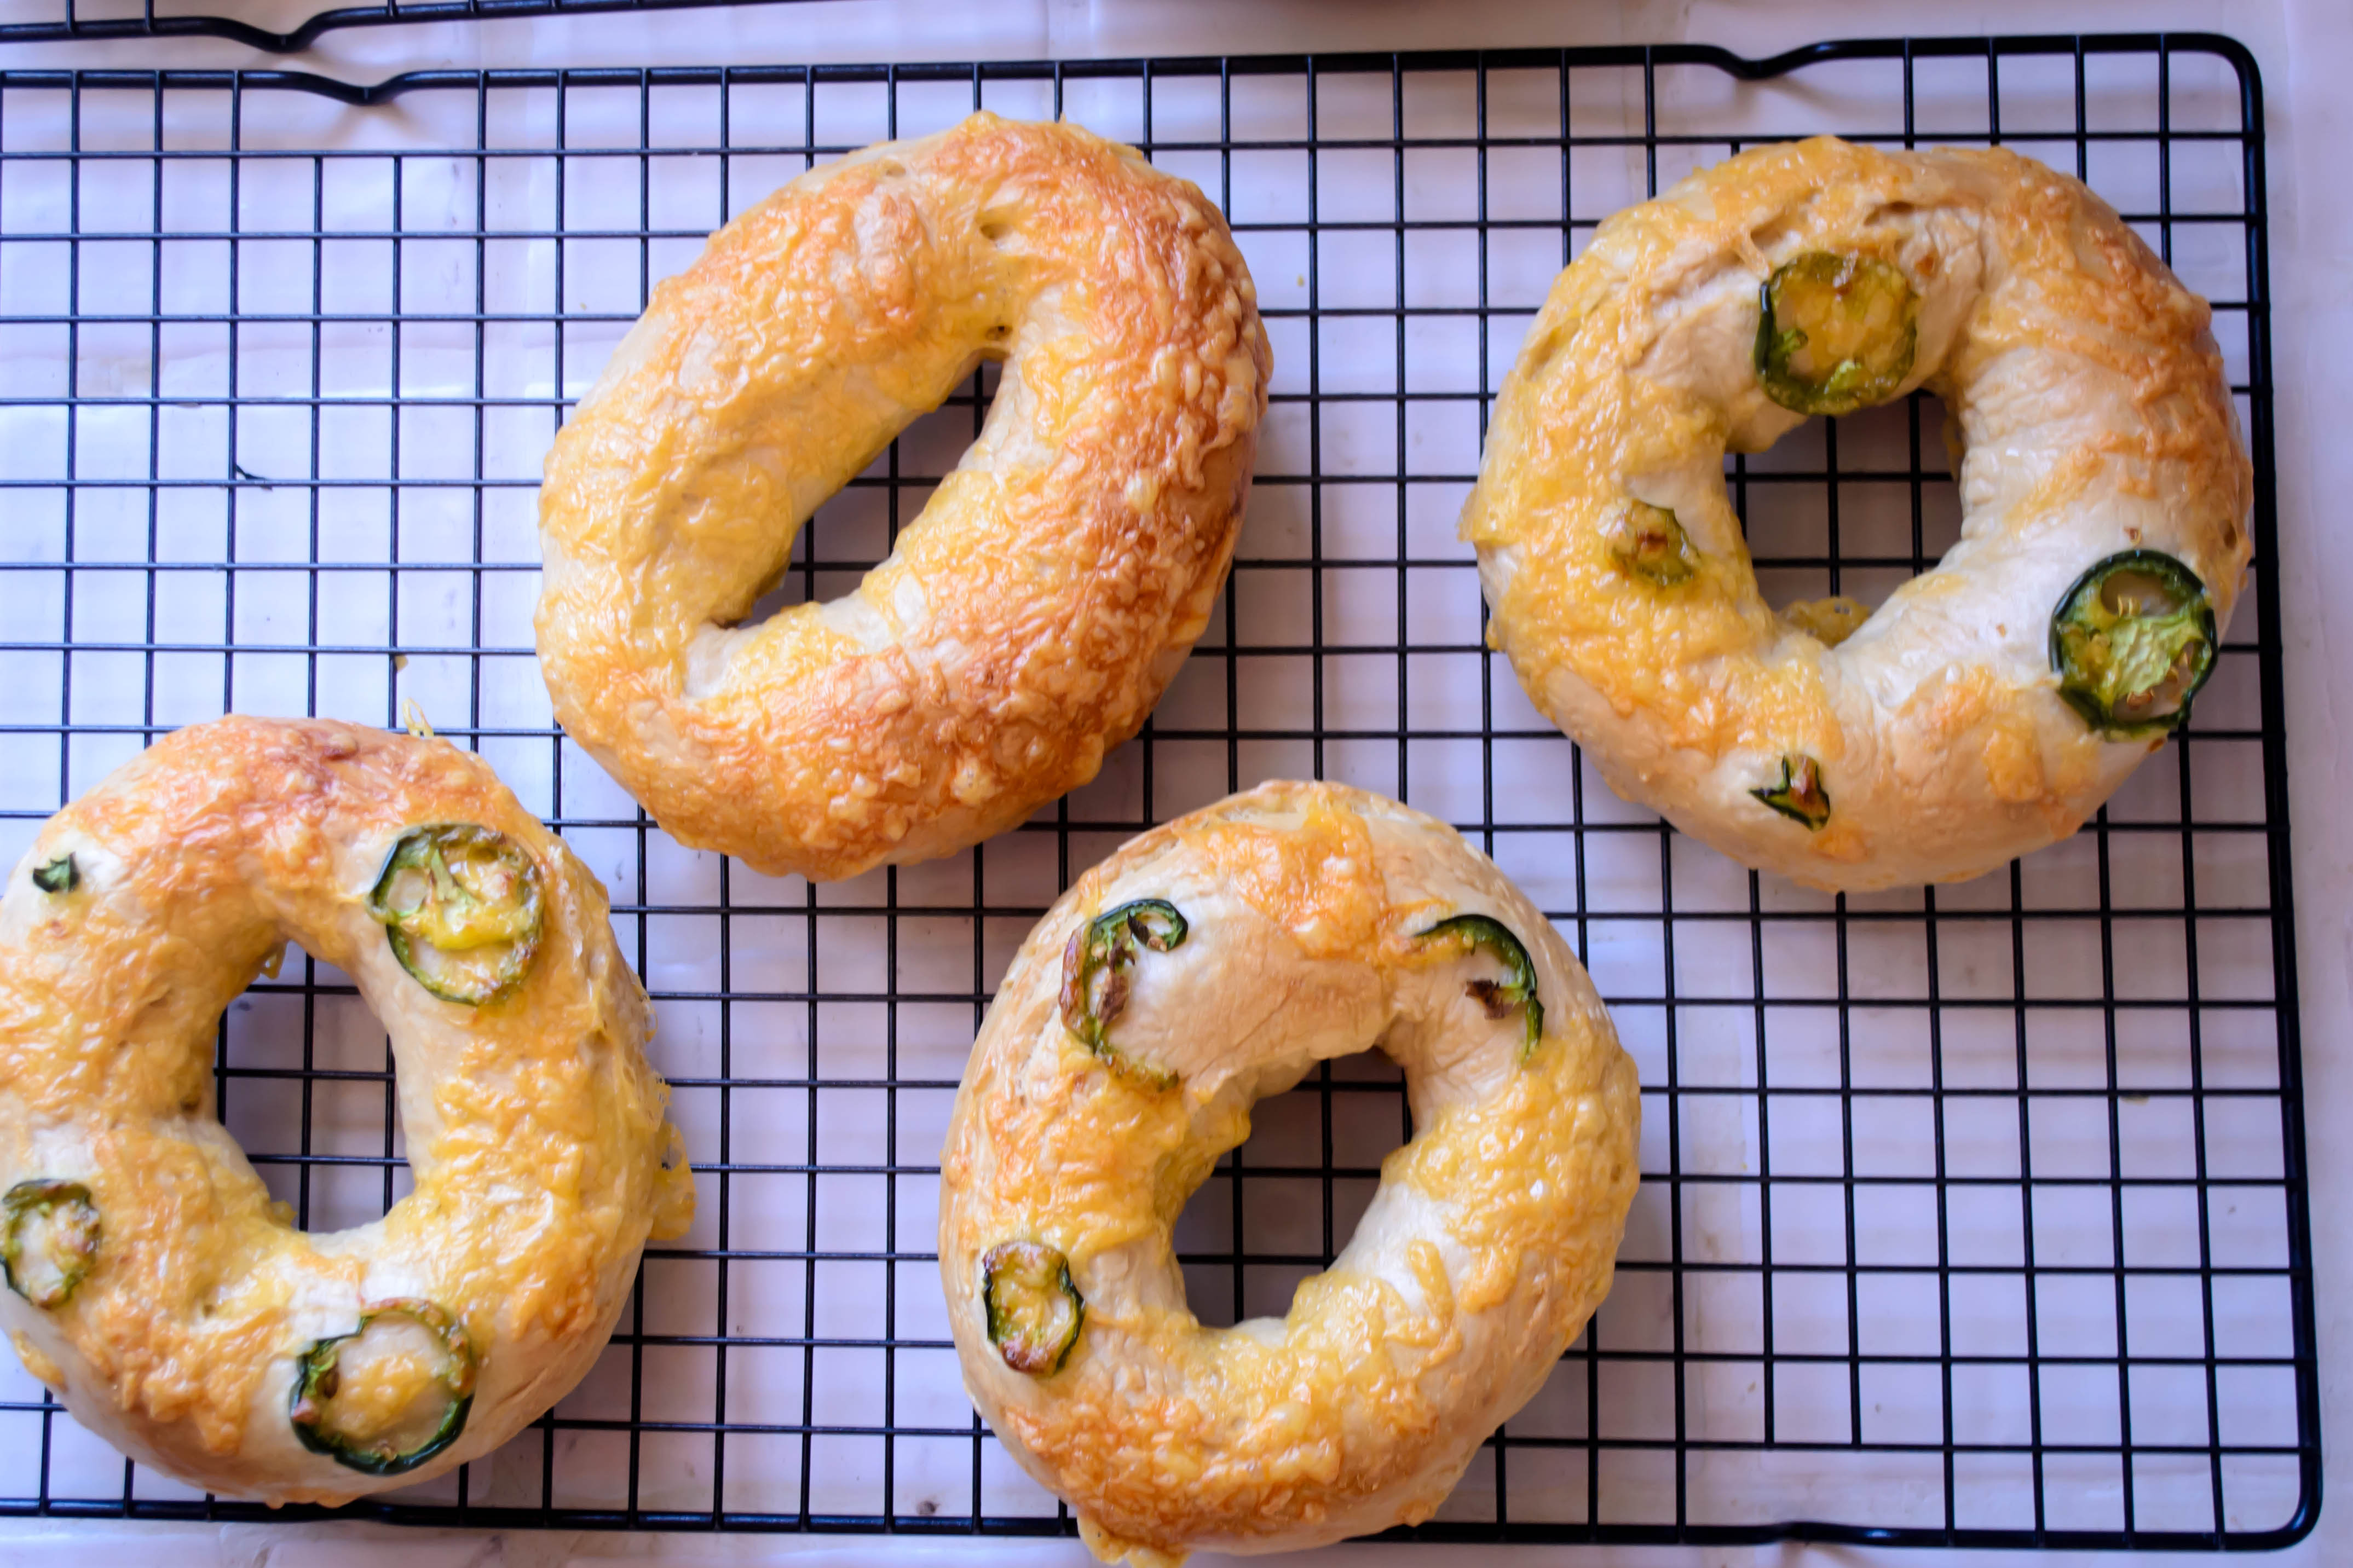
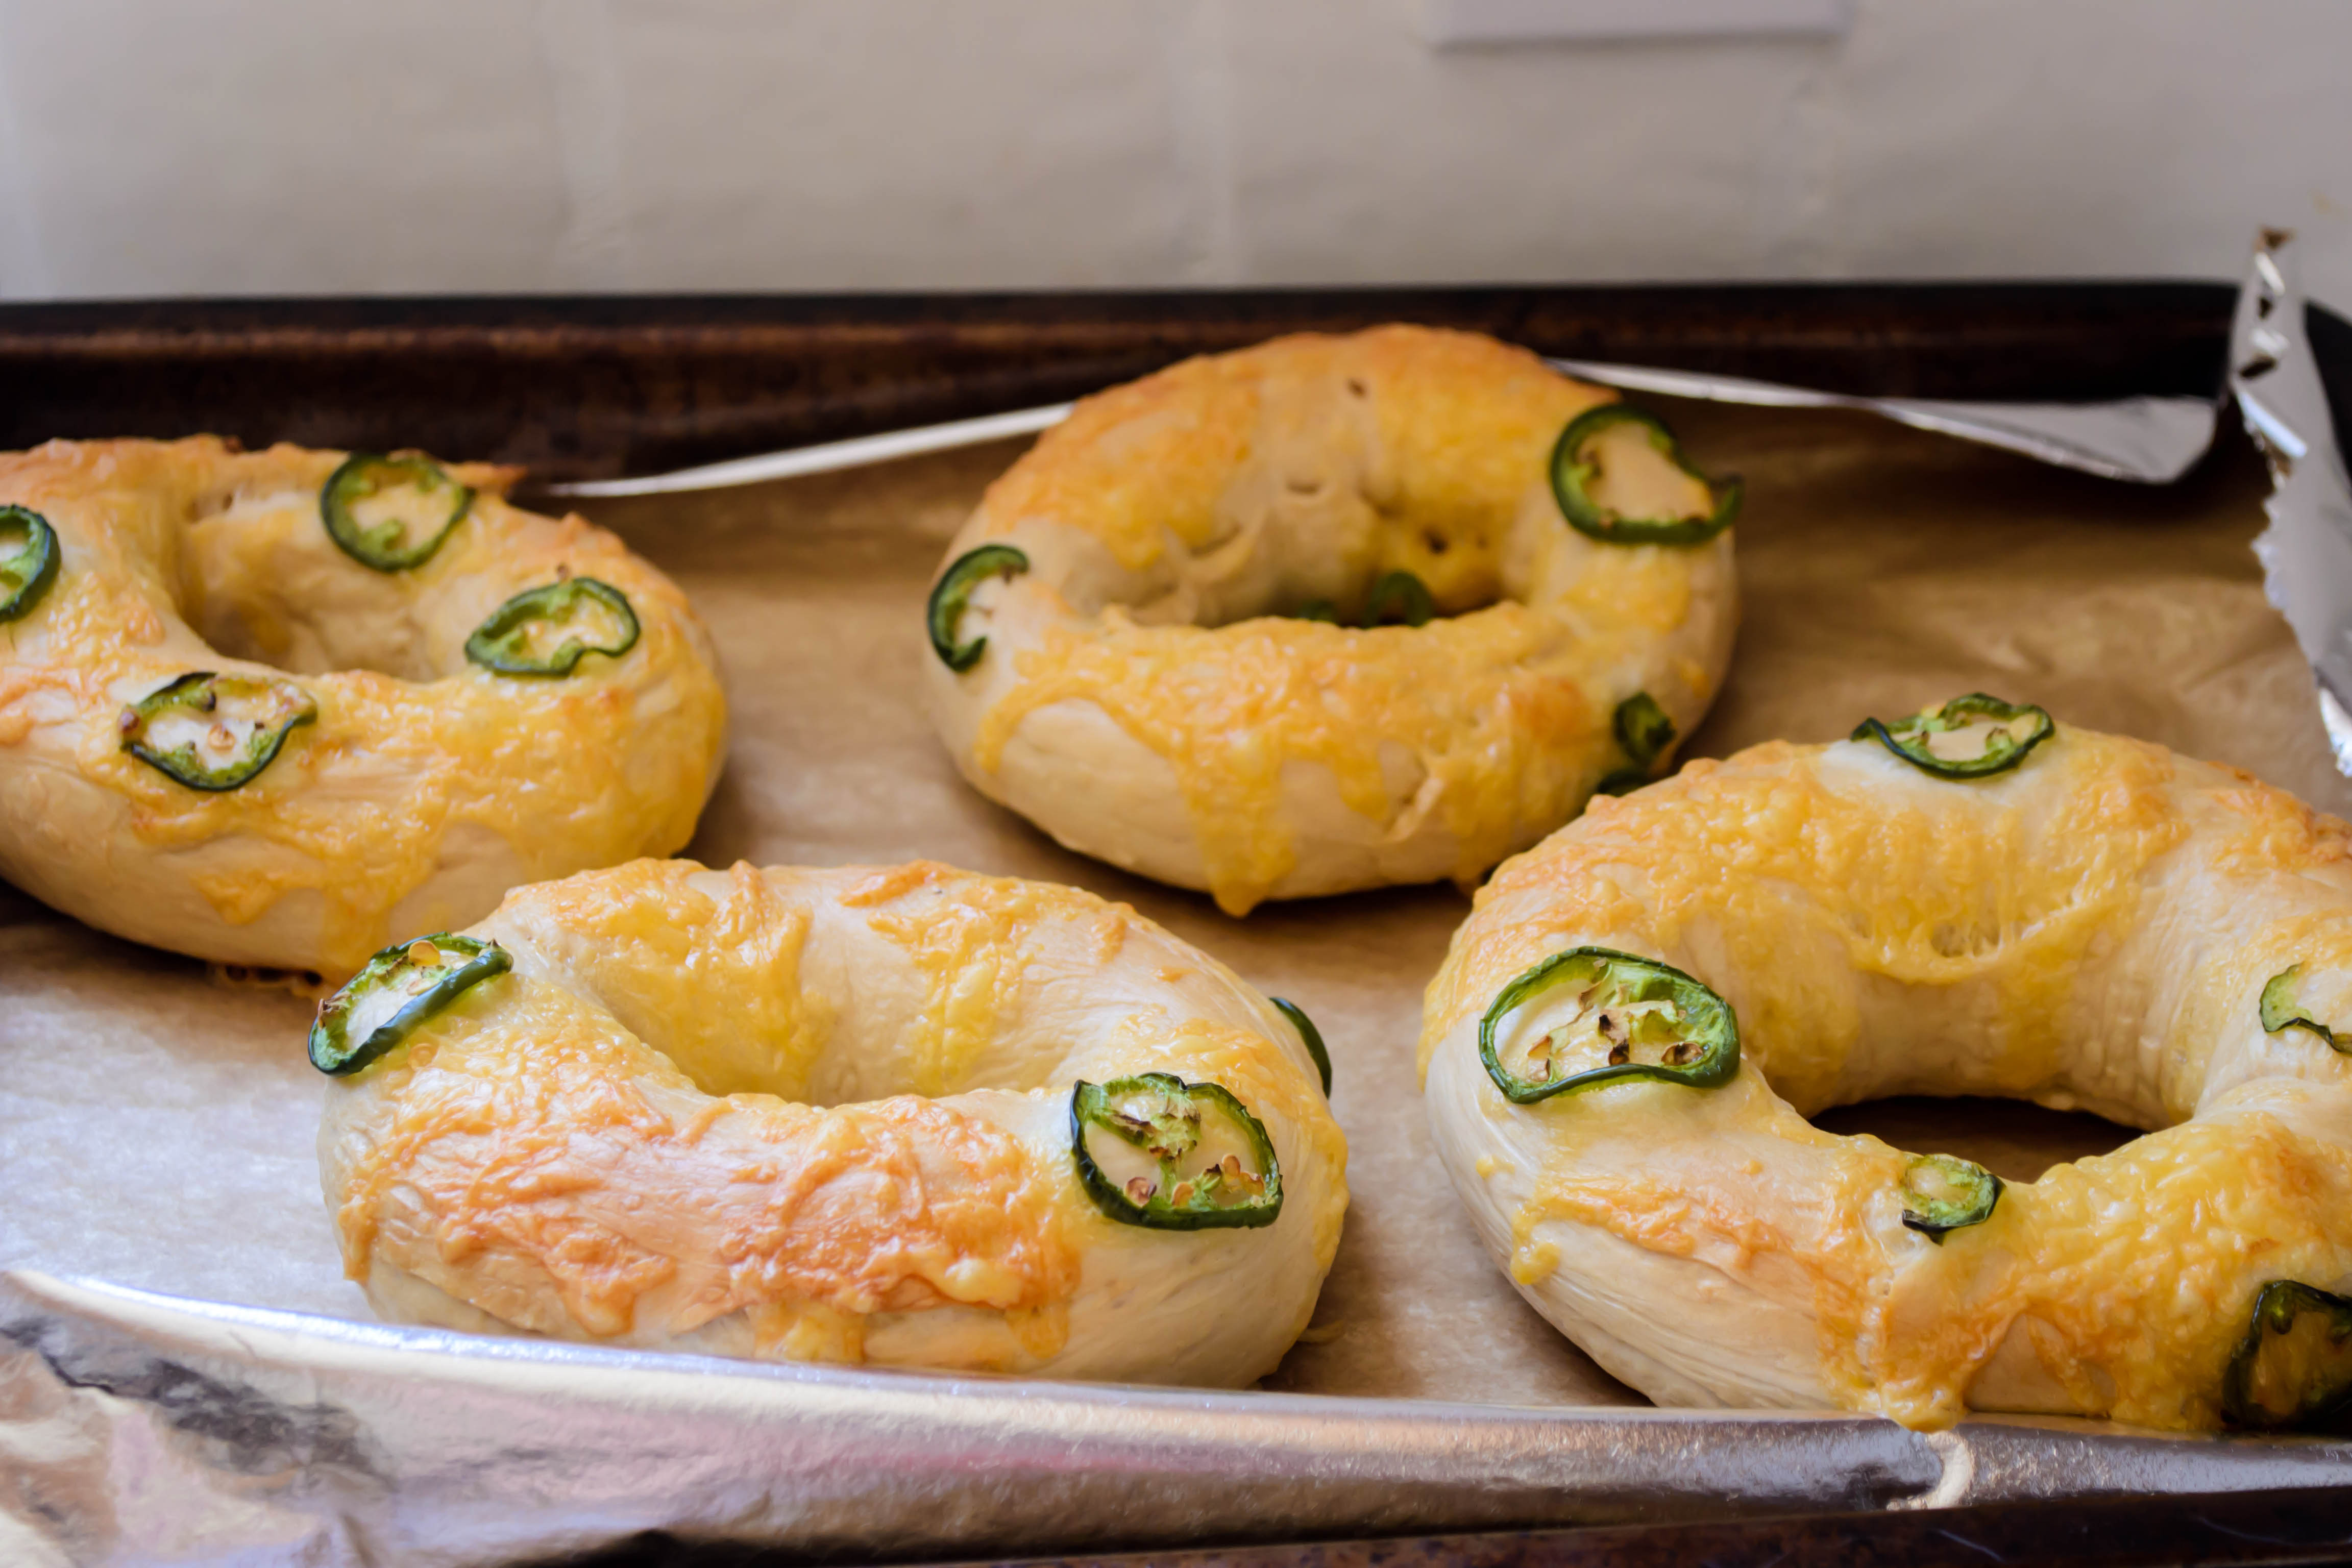
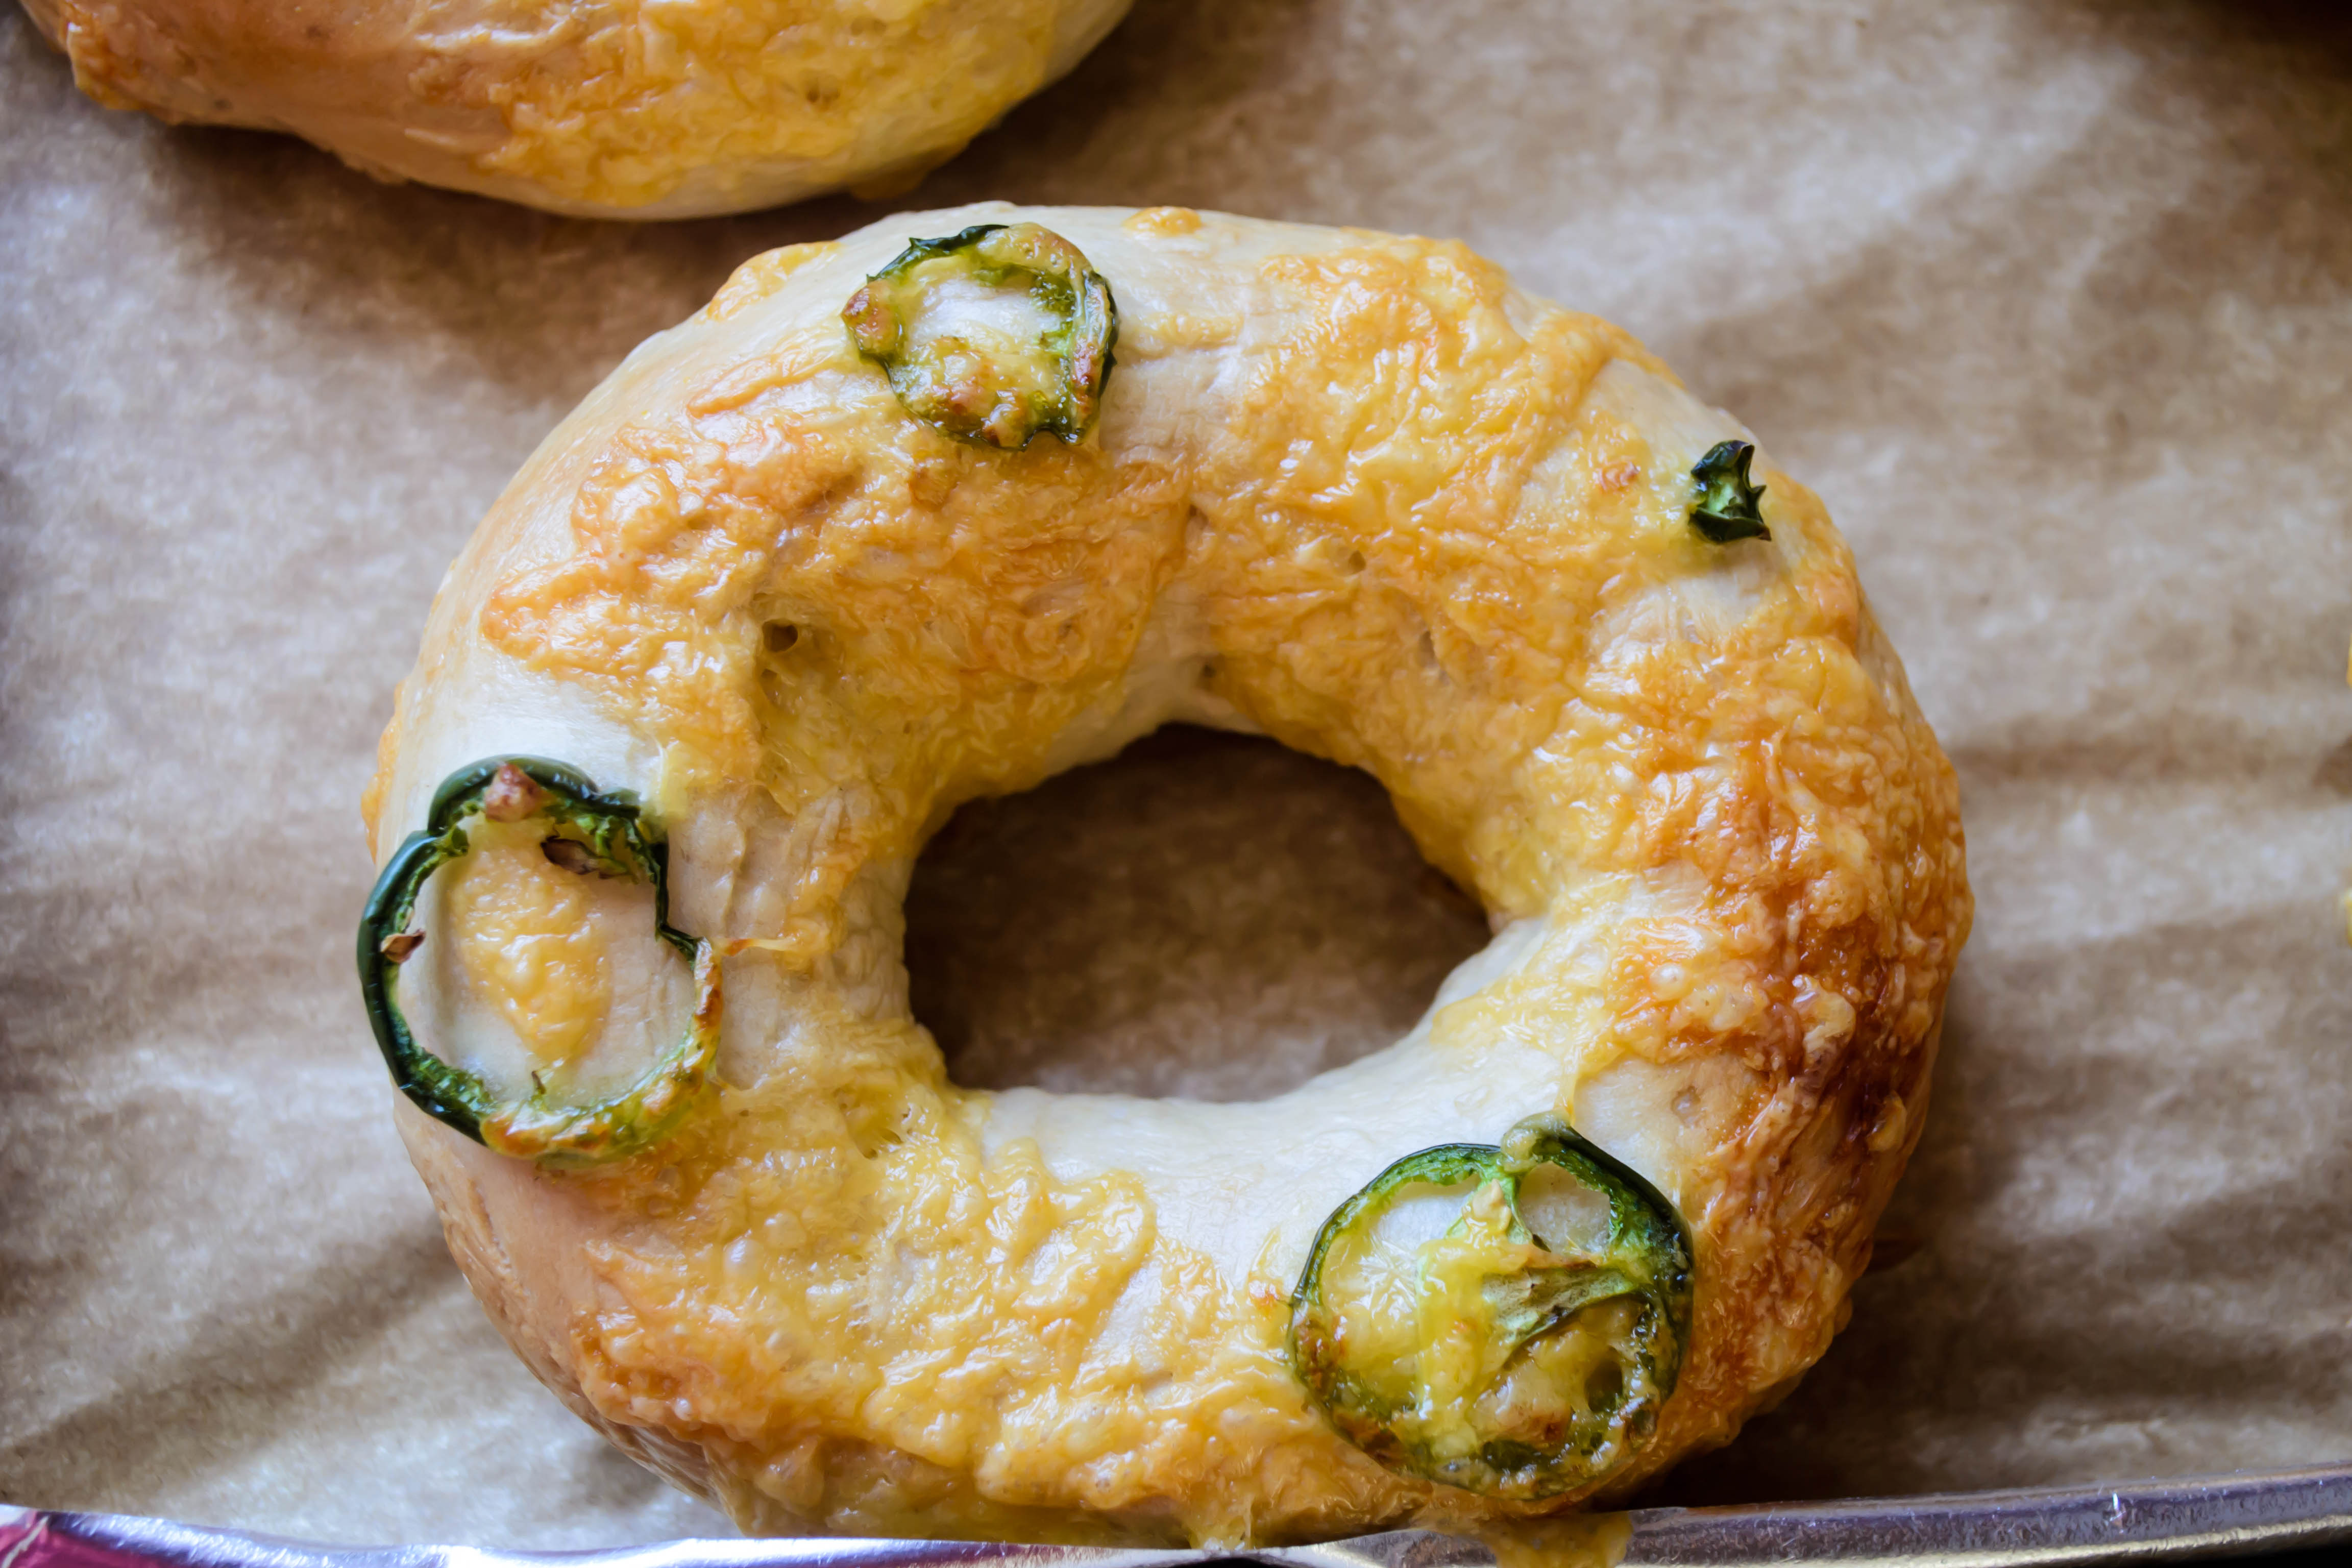
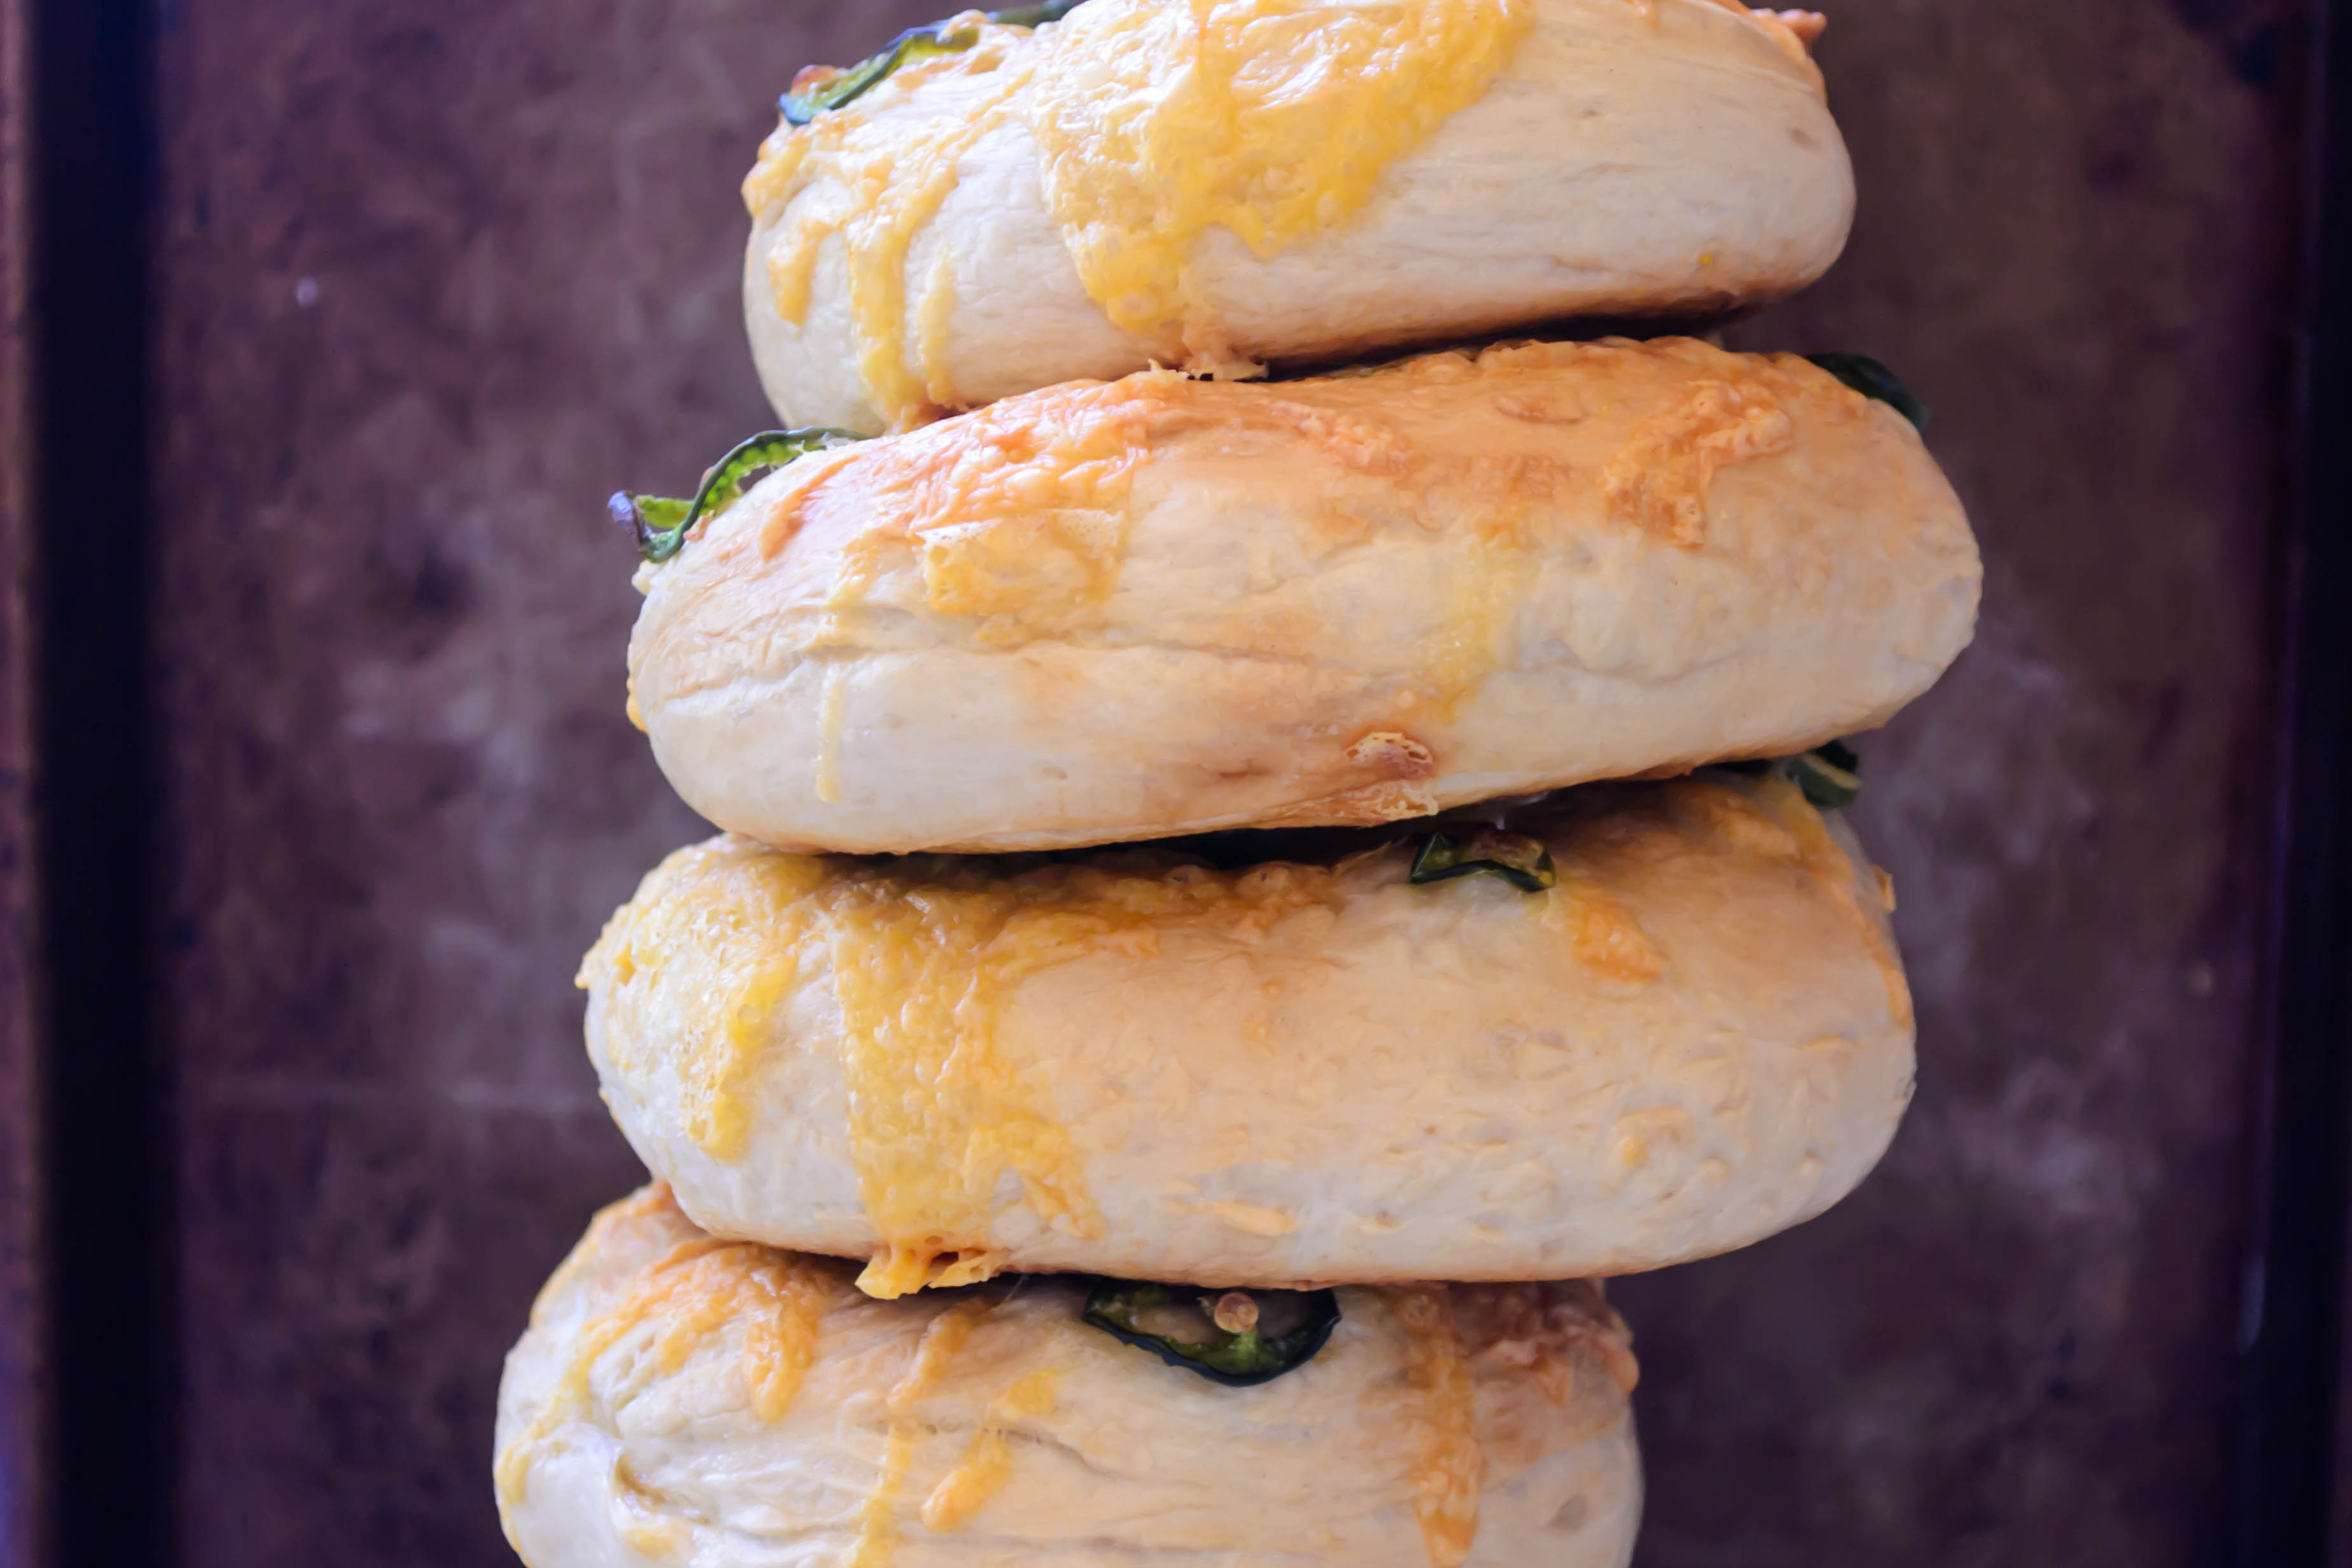
 Fast forward. This past weekend, I made bagels. Real, crisp crusted, chewy, bagel-y bagels, studded with jalapeño slices and dripping with sharp cheddar cheese. I’d been thinking of making them anyway, but when this month’s Twelve Loaves challenge came along with a demand for savory breads, it sealed the deal. I know, I’ve used this flavor combination before. In fact, I used it for another Twelve Loaves challenge. You could say I’m rather fond of it. Maybe I need a bit of an intervention. But… jalapeño and cheese! How can you resist? See, the cheese transforms into a delicate crackling lace encasing the top of the bagel, and the pepper slices roast and shrivel in the oven’s high heat, and the whole thing becomes just so savory and interesting, that I want to put it on everything.
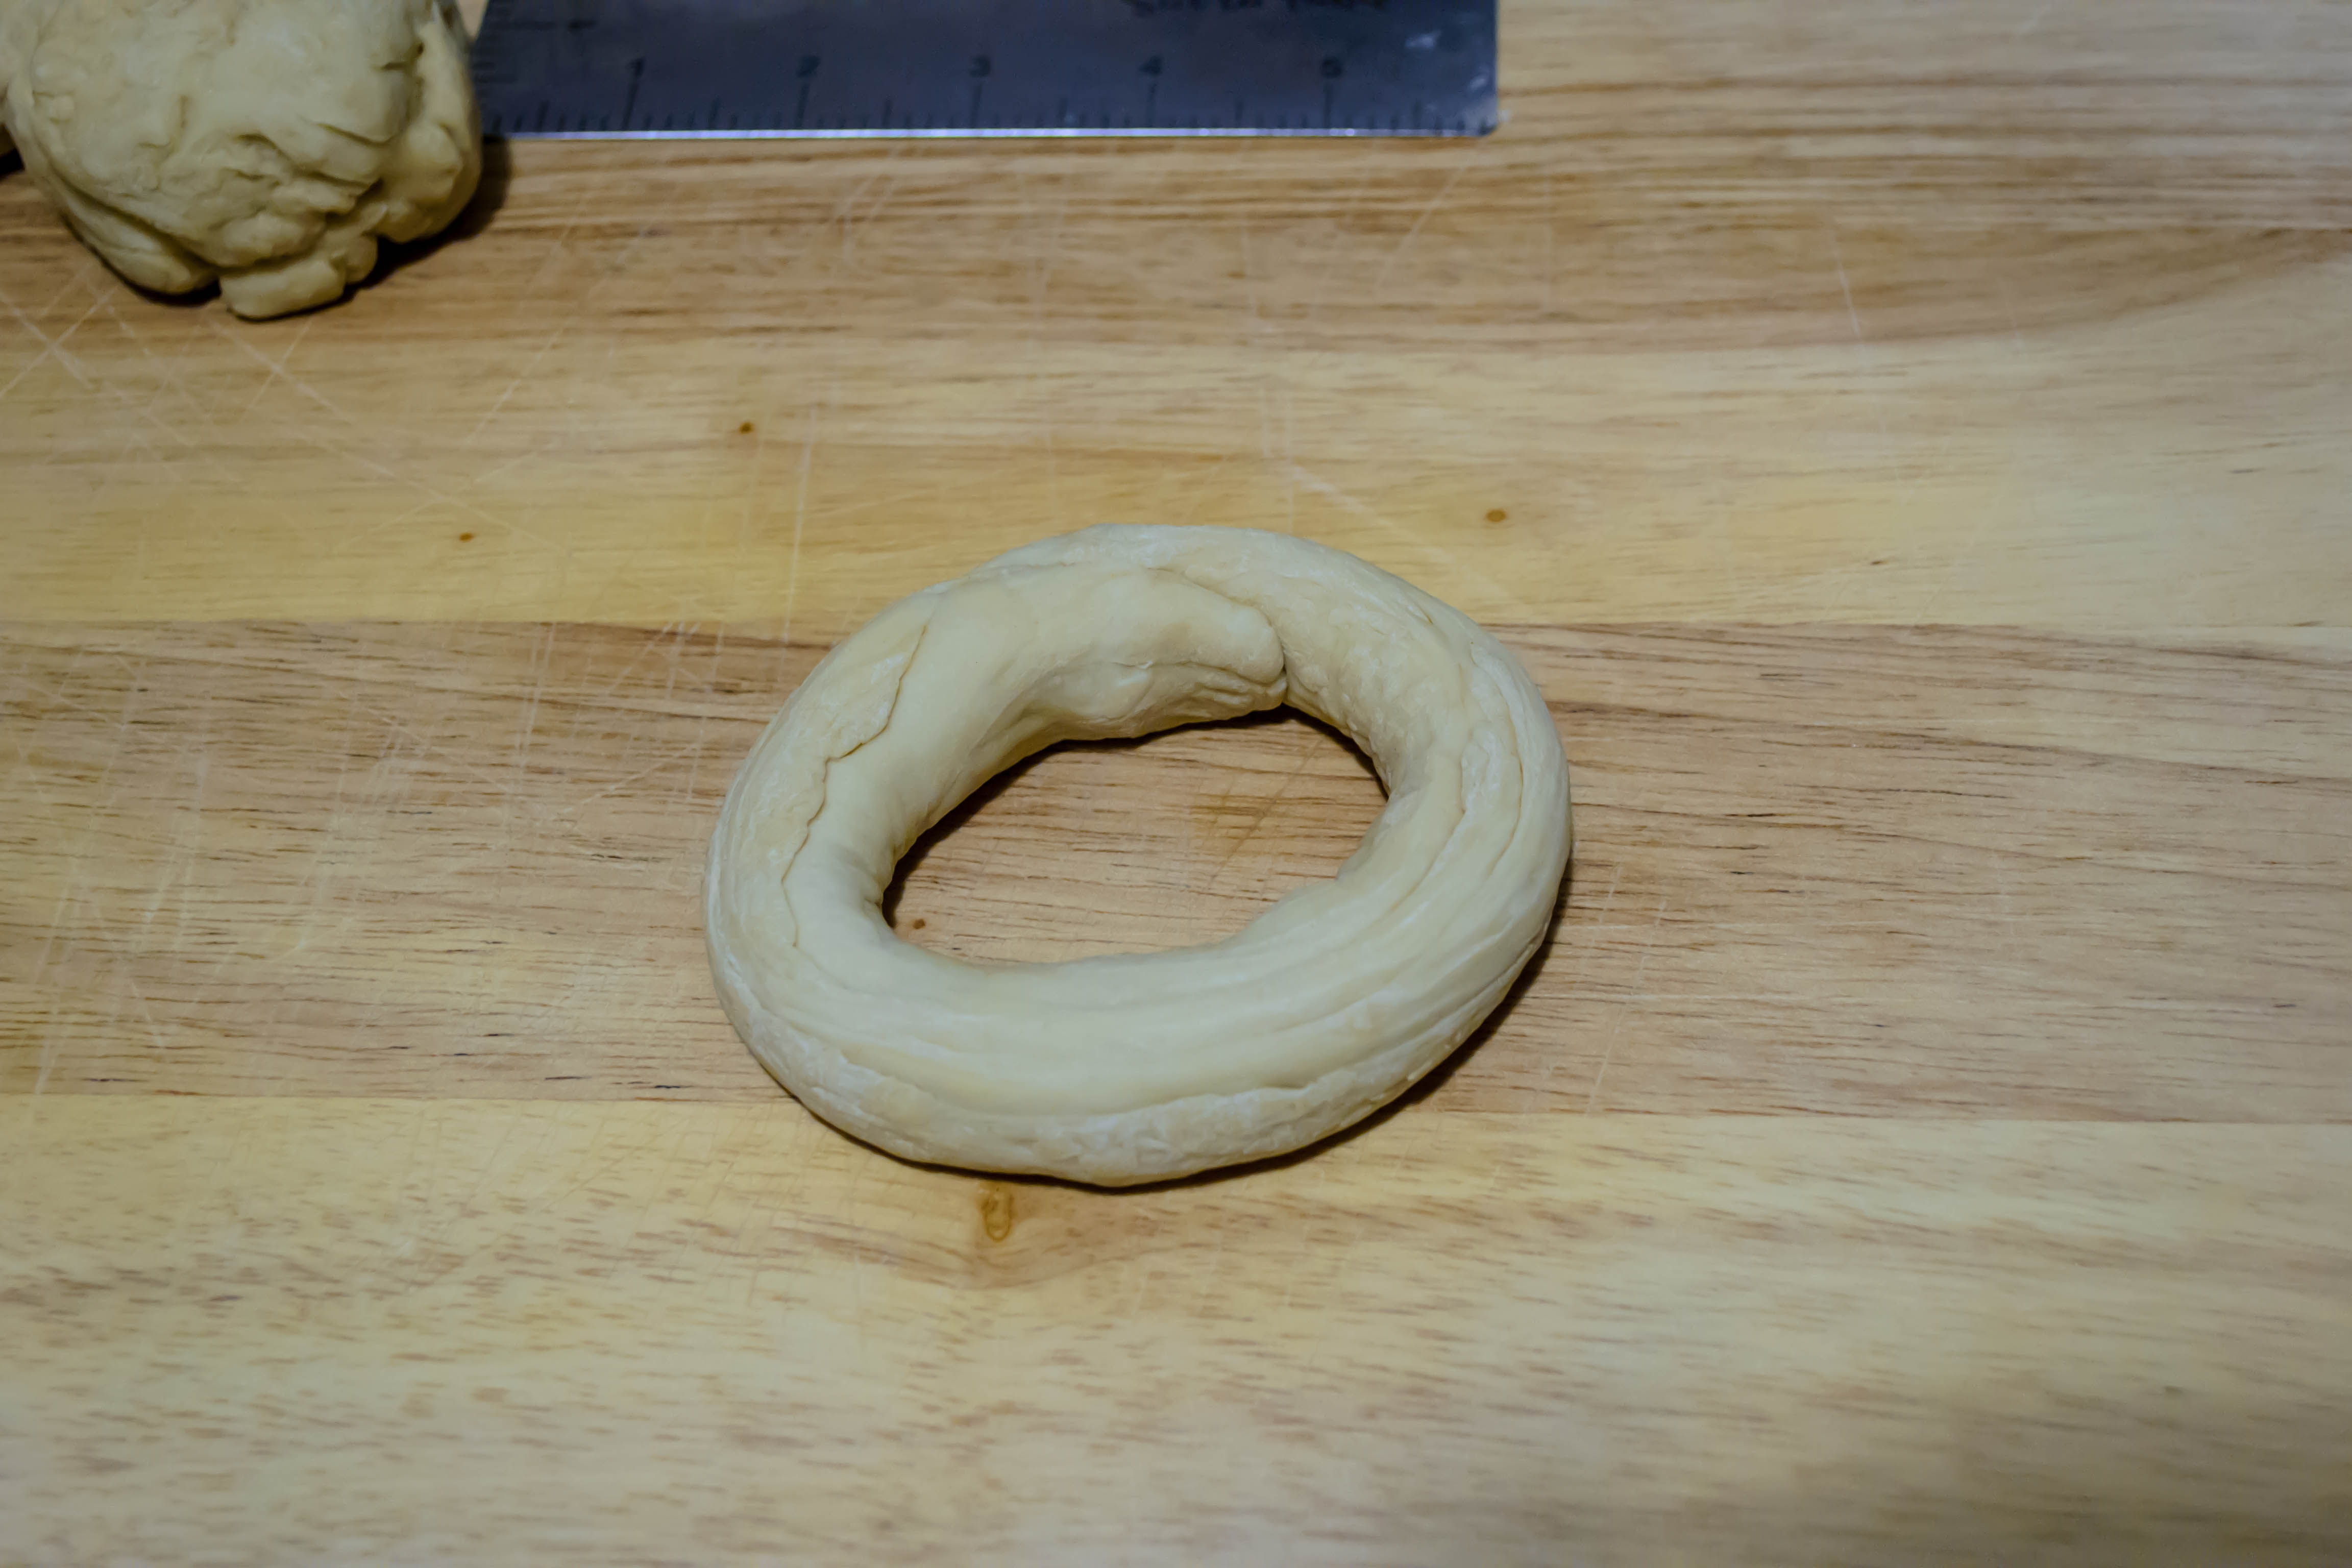
 Bagels are an odd-ball bread. The additional protein of plain old bread flour is not enough for them – they require the even heavier duty high gluten flour, and sweetener in the form of barley malt syrup, both products I’d never heard of (see note on ingredients below). After a lengthy turn with a dough hook that I thought would break my stand mixer (the heaving strain of the machine was almost too much to take), the stiff, dense dough gets portioned out, rolled into wormy logs, curled and pressed and sealed into rings, and then refrigerated overnight to allow for a long, slow rise that enhances the flavor and texture of the finished product. Upon retrieval from the chill-chest, the rings are plunged into a vat of boiling water before being sprinkled with toppings and levered into a hot, hot oven to bake up shiny and crisp and chewy.
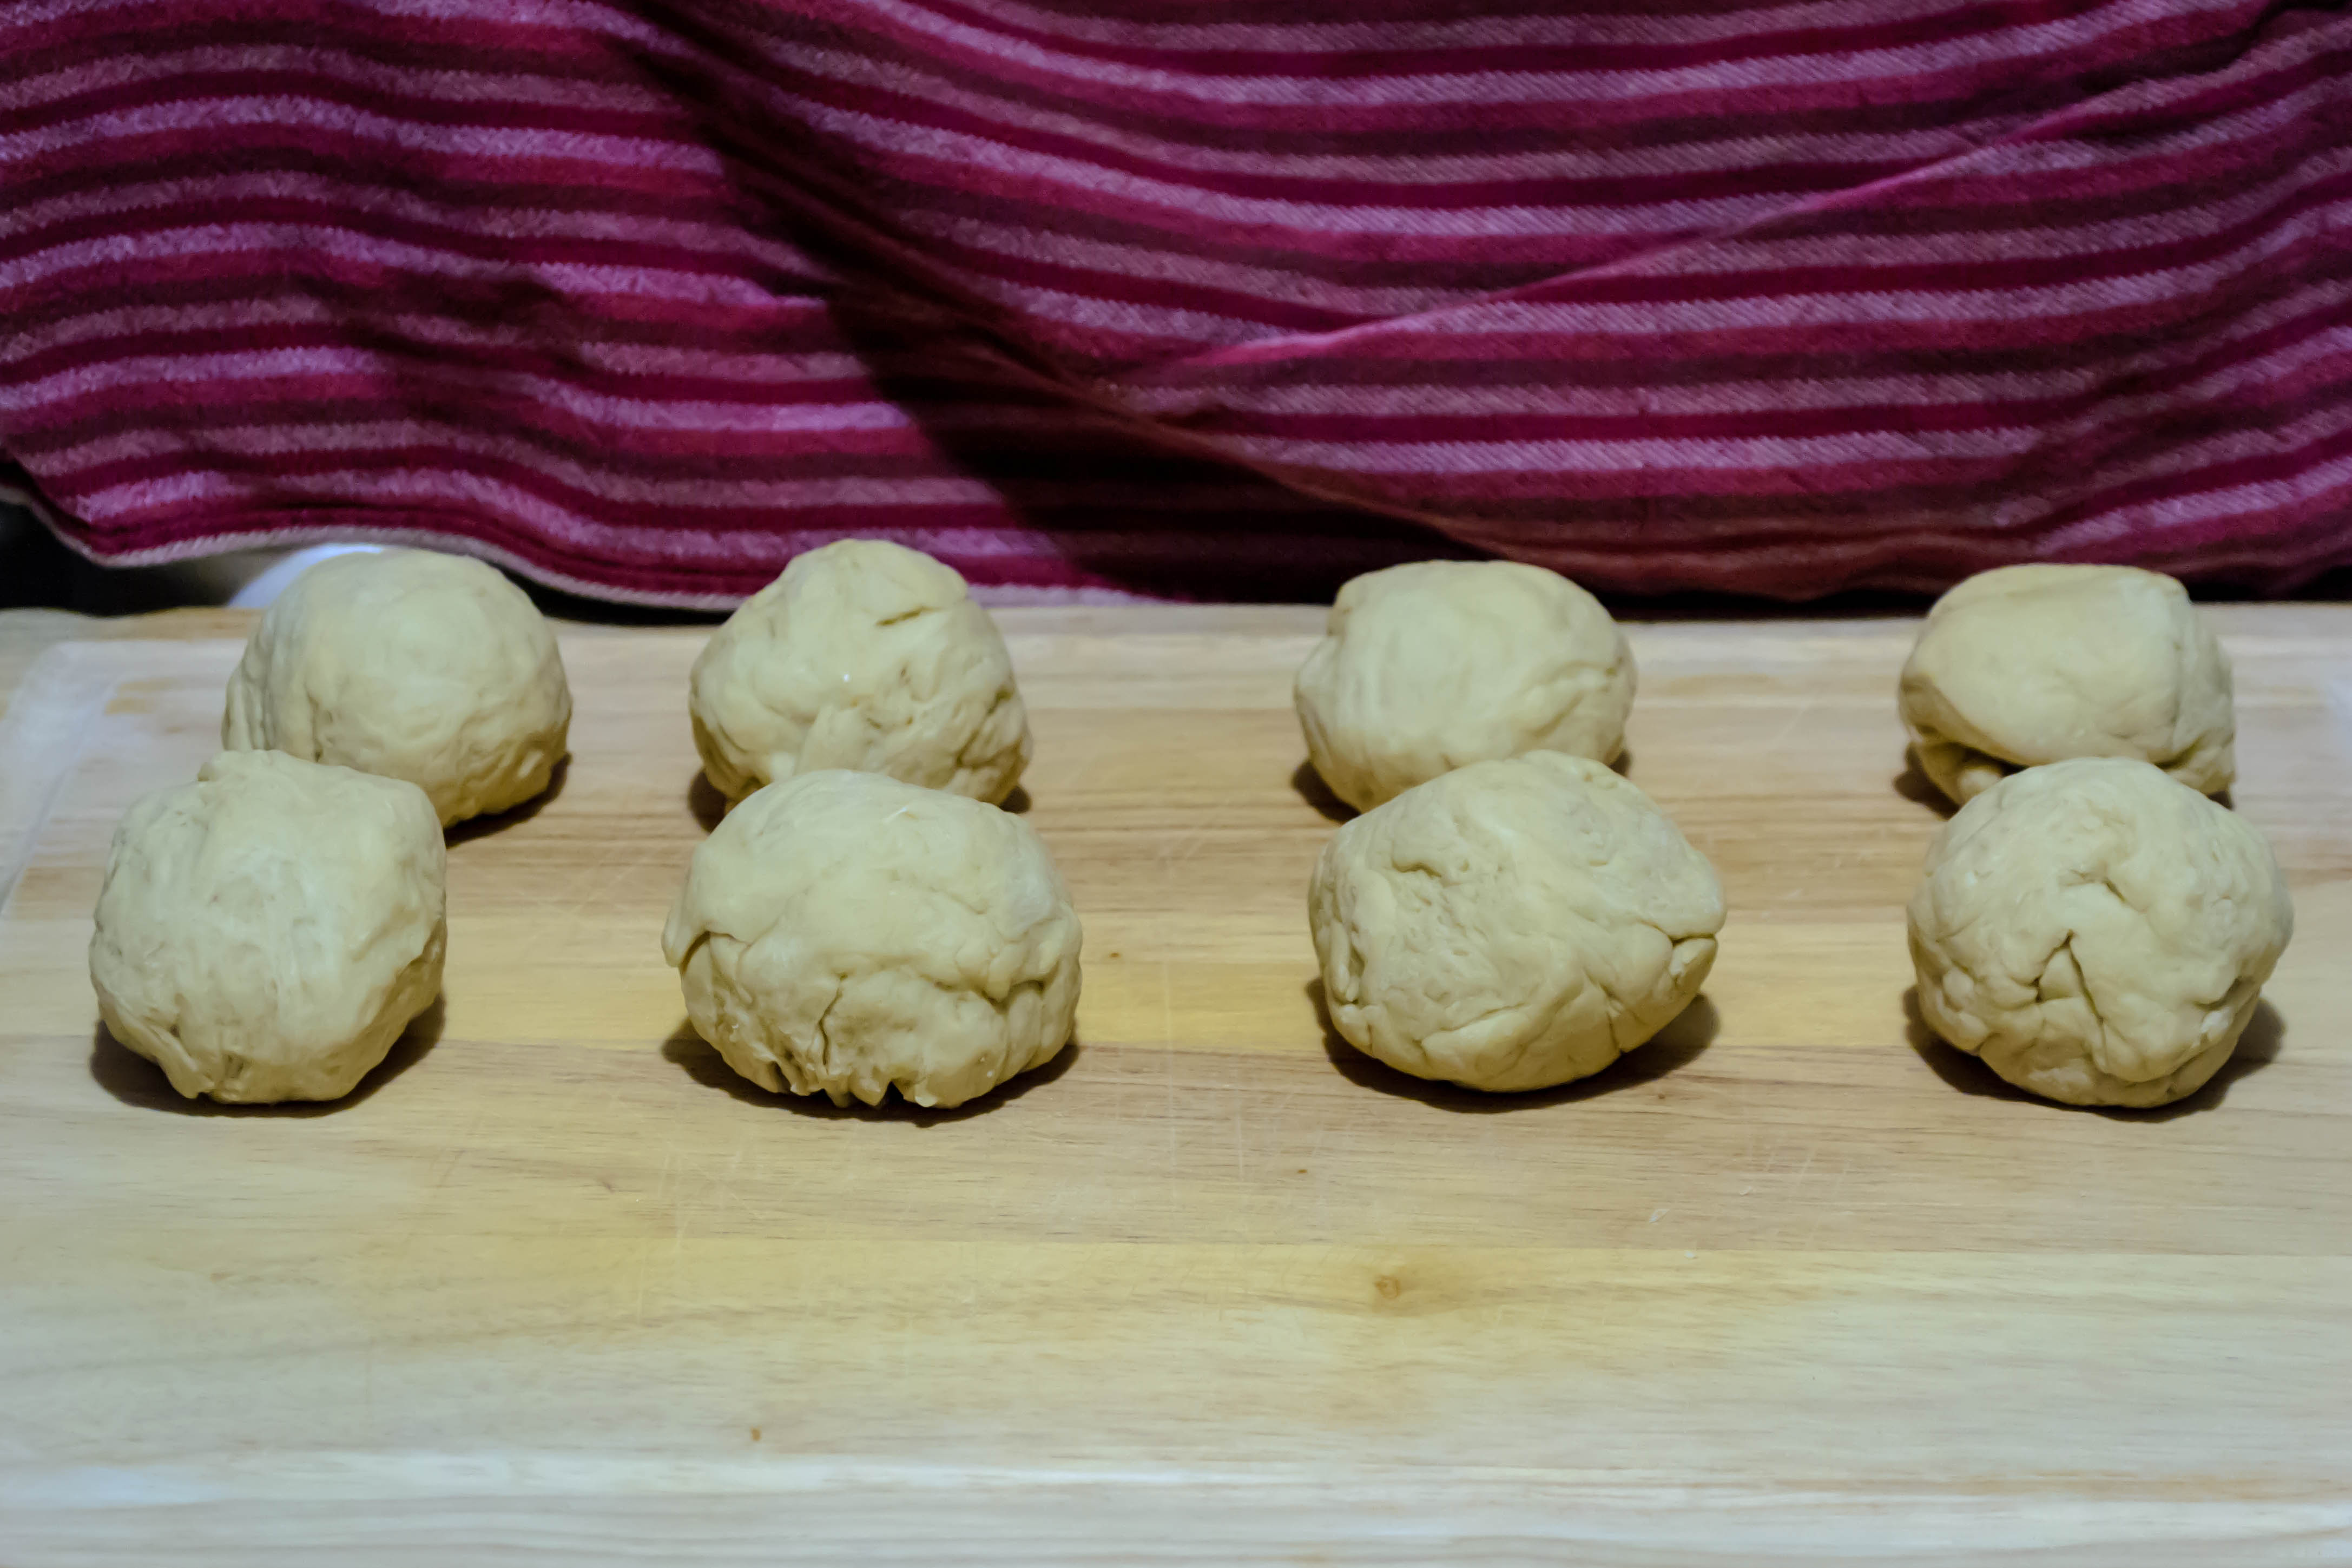
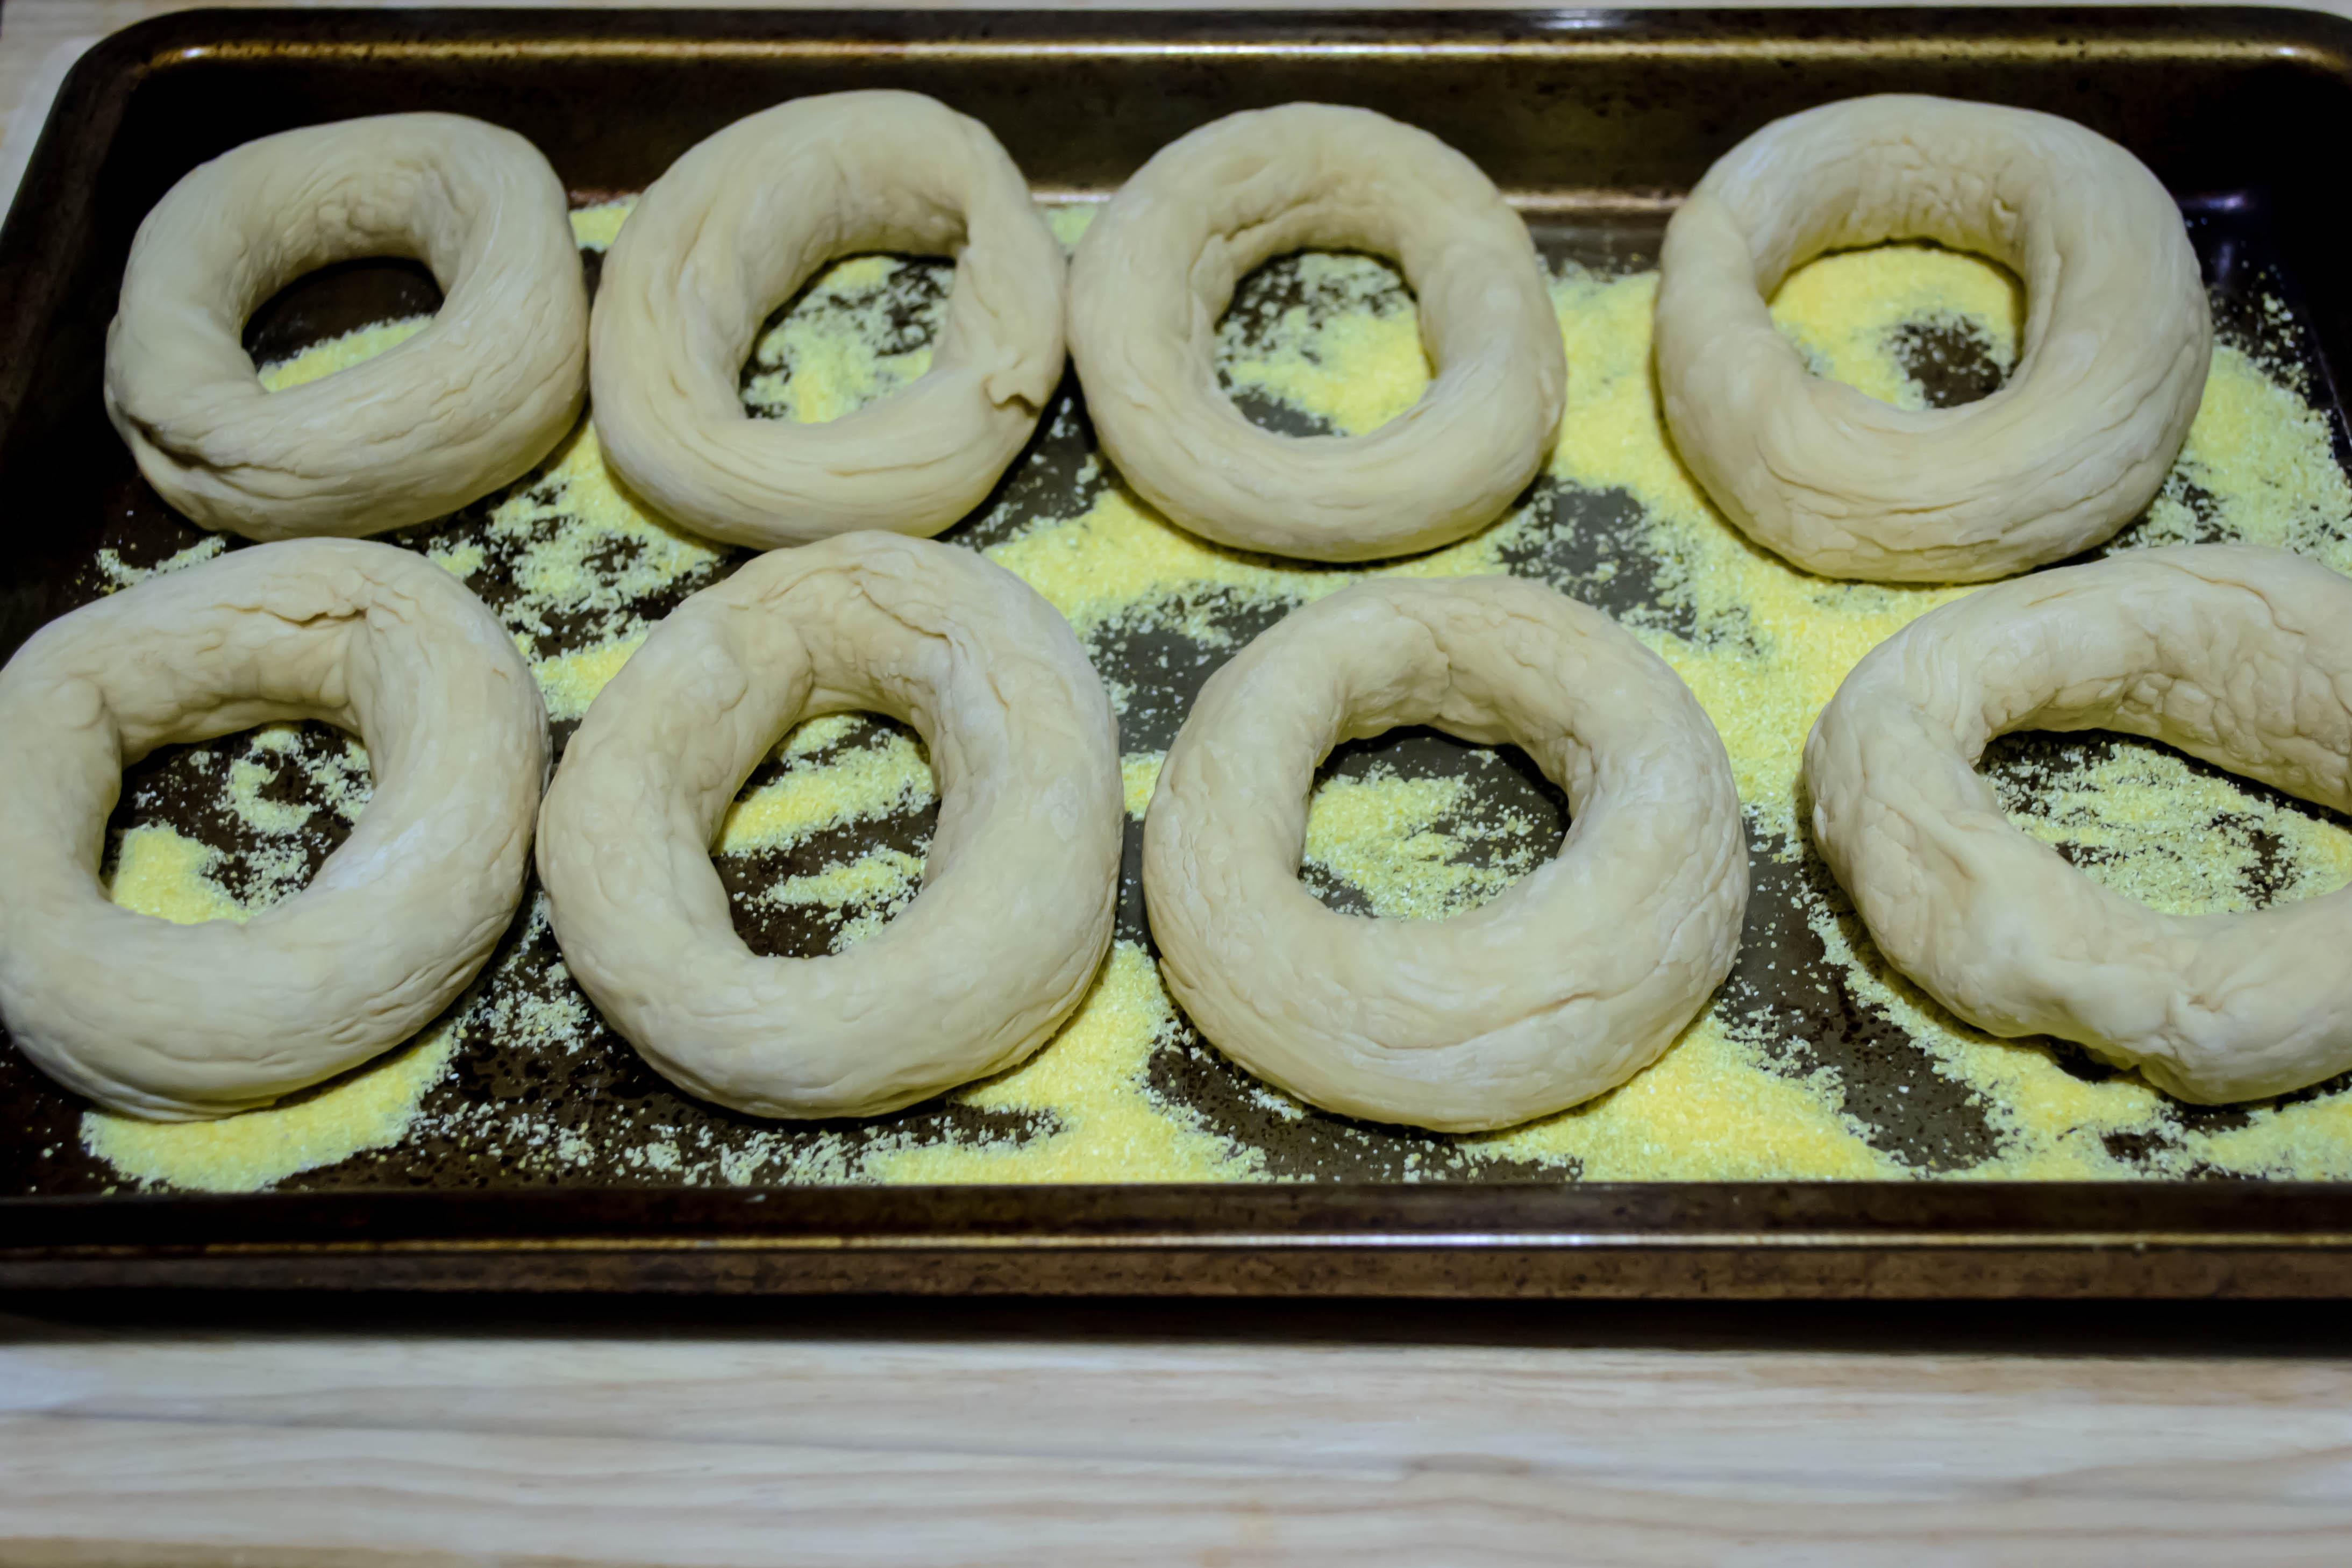
(Obligatory apology for the weird lighting in the pre-topped, pre-baked photos. That’s what happens when you bake at night…)


 These are not the easiest baked good I’ve tried. They involve odd ingredients, special equipment (I can’t imagine kneading this dough by hand. Baking Illustrated, my guide for this recipe, says you shouldn’t even try), and considerable time. They require not one, but two methods of cooking, and they make a lot of dishes for a willing but sometimes reluctant
 dishwasher sous chef helper to wash up.

 Yet I think, if you are up for the challenge, that you should take it on. Watching them transform from a scrappy, tough dough into firm rings, and then seeing the crust take on that glossy shine and texture surrounding a chewy, densely-spongy interior, is not far short of amazing. Several times during the process, astounded by how bagel-like they actually were, I said to N., “I can’t believe I’m making bagels! Actual real bagels!” The finished product is a far cry from the soft, fluffy offerings you’d find on a grocery store shelf. The extra labor and the strain they put on my stand mixer (seriously, guys, you should have heard the motor. I thought it was going to die on me right there) make these only a truly special occasion project, but one that was certainly worth doing.
 Note on ingredients: I couldn’t find high gluten flour, but Baking Illustrated told me it could be readily ordered from King Arthur flour, if you have that kind of time, and the sweet, helpful woman who swept in to help me navigate the rows of flour in our Whole Foods market said it was sometimes at “crunchy granola” sorts of markets. I used, at her recommendation, a combination of bread flour and a few tablespoons of vital wheat gluten instead.
Barley malt syrup is a sweetener made from sprouted barley with an intriguing, earthy taste, less saccharine than white sugar or honey, not nearly as intense as molasses. I found it at my Whole Foods, but again, if you can’t find it, you might try a natural foods store or the internet.
 Jalapeño Cheese Bagels
Adapted from Baking Illustrated
Makes 8 bagels
4 cups high-gluten flour OR 3 ¾ cups bread flour and ¼ cup vital wheat gluten (22 oz)
2 tsp salt
1 TB barley malt syrup
1 ½ tsp yeast (I used active dry yeast; you could also use instant)
1 ¼ cups water (at 80 degrees – it should feel just barely cool to the touch)
3 TB cornmeal, for dusting the baking sheet
1 cup shredded extra sharp cheddar cheese
1 green jalapeño, sliced wafer thin
Day 1:
- If you are using active dry yeast, sprinkle it over the water and leave it to burble for a few minutes while you collect the rest of your ingredients.
- Combine the flour, salt, and barley malt syrup in the bowl of your stand mixer with the paddle attachment. Add the yeast and water (if you are using instant yeast, skip the proofing step and measure it straight into the bowl) and mix on the lowest setting with the paddle attachment for about 4 minutes, until the dough is in dry tangles. Baking Illustrated says until it “looks scrappy, like shreds just beginning to come together,” which is a perfect description (124).
- Exchange the paddle attachment for the dough hook, and continue to knead on medium-low speed until the dough comes together into a stiff but slightly elastic ball, about 8 to 10 minutes more.
- Turn the ball of dough onto a work surface. It won’t be very sticky, so you probably won’t need to flour your board at all. Divide the dough into 8 even portions, roll each one into a smooth ball and cover them all with a towel or plastic wrap for 5 minutes.
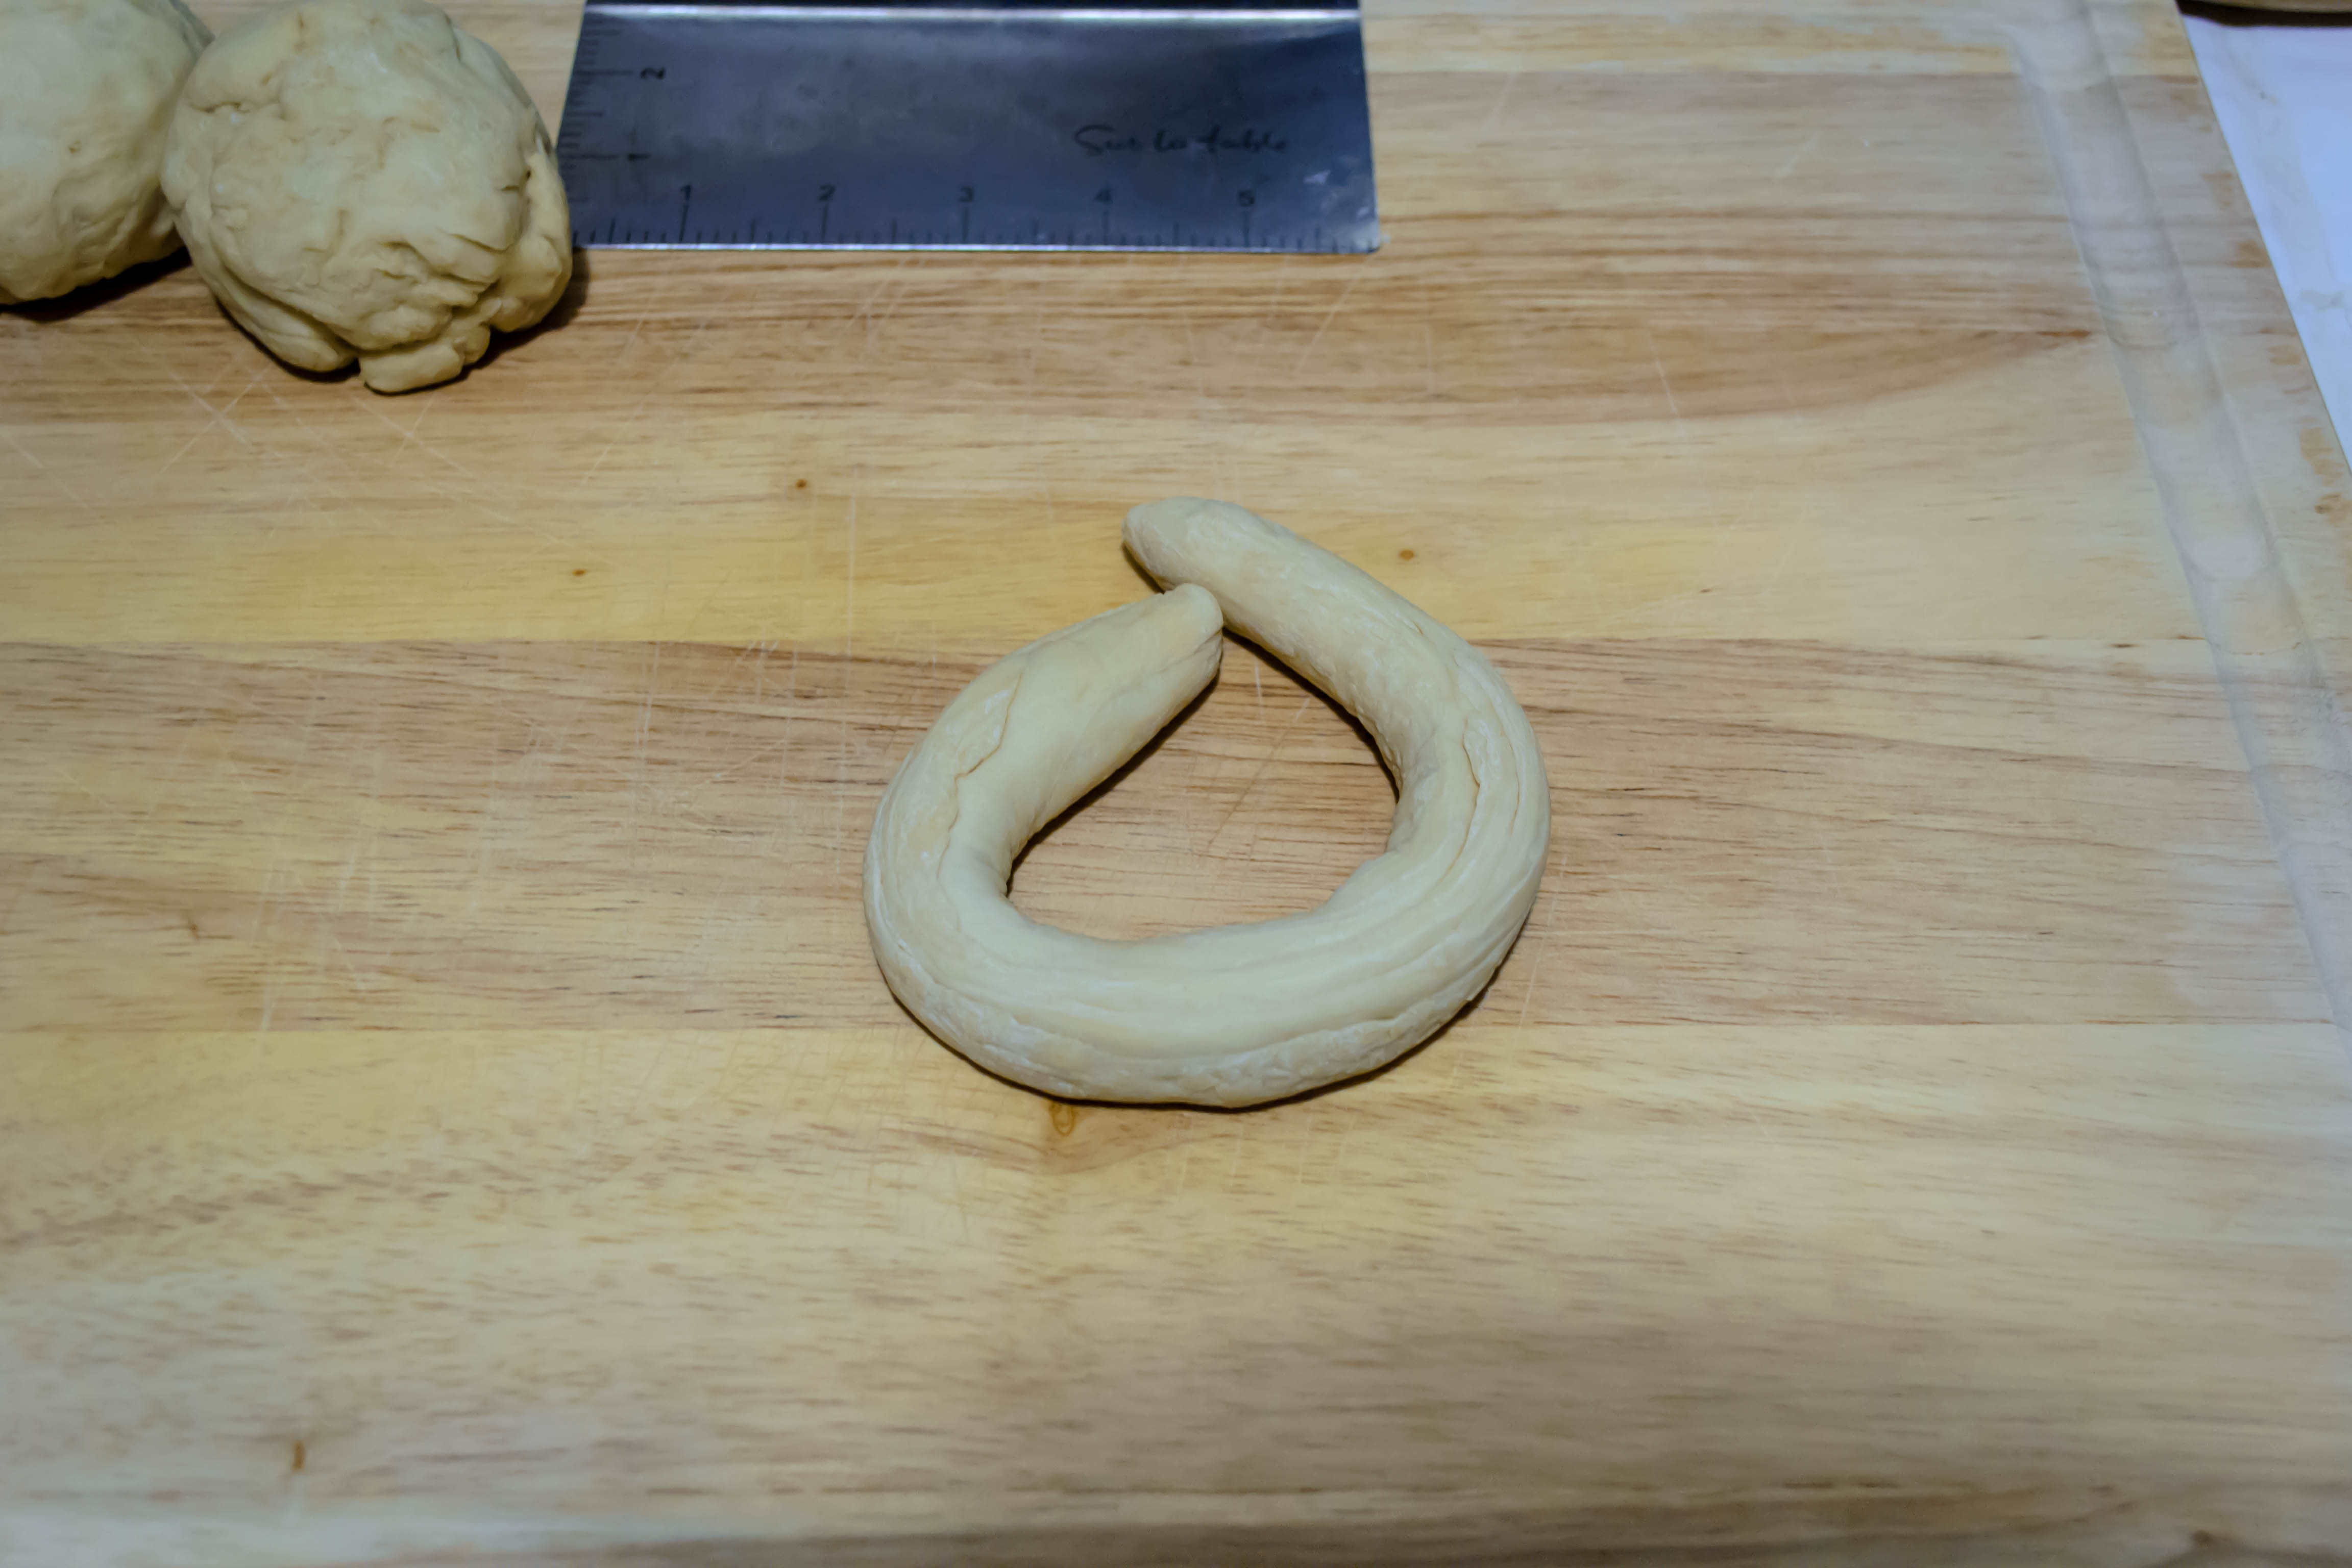
- Once the dough balls have rested, form each one into an 11 inch rope of even thickness by firmly rolling from the bottom joints of your fingers down to the heel of your hands. I found I had the best luck angling my hands slightly away from each other and pushing down and forward, which helped lengthen both sides of the rope simultaneously.
- Shape each 11 inch rope into a circle, allowing for a 1-2 inch overlap. Dampen the dough surface where it will overlap, and press together, squeezing and pinching tightly to seal the edges. To secure the seal, put your fingers through the dough ring, resting it at the base joint where your fingers meet your palm, and roll the dough circle over the board a few times with the overlapped portion against your palm.
- Dust a baking sheet with the cornmeal, evenly space the dough rings on it, and cover securely with plastic wrap. Refrigerate for 12-18 hours.
Day 2:
- 20-30 minutes before baking, remove the baking sheet from the refrigerator to let the dough rings warm up just a bit and get the yeast ready for quick action. With the rack in the middle position, preheat your oven to 450F. Pour water into a large stockpot or a wok to a depth of about 3 inches and bring it to a boil.
- With the water boiling, drop the dough rings 4 at a time into the water; stir and submerge them with tongs, a slotted spoon, or a little skimmer for about 30 seconds. They will puff very slightly as the yeast expands and then is extinguished by the heat.
- Remove the dough rings from the boiling water and drain them on a wire rack, bottom-side down.
- While the rings are still wet, sprinkle them with the cheese and stud them with jalapeño slices, then transfer each to a cookie sheet lined with parchment paper.
- Bake 14 minutes, or until they are crisp and golden, and the cheese has transformed from drippy and melted to lacy and crunchy, and the jalapeños are just toasty and shriveled. Transfer to a wire rack to cool before serving.

These look great!
Thanks, they were a really nice spicy treat.
It’s a Jalapeño Cheese month, for sure. Your bagels look gorgeously tempting and sound d’lish, and I’m working on Jalapeño Cheese Swirls. Ole!
Yum, jalapeño cheese swirls sound incredible. Hope they turned out great!
I’ve always been curious about the boiled element of bagels. In my mind I seriously wondered why they didn’t fall apart in the water bath, but the refrigeration and the high gluten elements answered my question! These look great. Love the jalapeno and cheese topping (definitely understand the obsession. So. Good!) x
Yes, boiling bagels (and pretzels too) seems like such a strange idea. But the dough is so firm that it holds together just fine, as long as it has a good seal. Apparently the boiling adds shine and creates that nice exterior texture unique to a bagel – just baking them results in a nice bready ring, but not a true bagel in the way we usually recognize it.