I didn’t learn to drive until I was 17, an oddity at my high school where brand new cars to fit their brand new drivers started showing up during junior year. When I did learn, however, my dad took me on biweekly drives through Orange County, making a wide circle that climbed a gradual hill and then descended steeply toward, much to my dismay, a stoplight that was always red. One week I vividly remember Smash Mouth’s “Walkin’ on the Sun” playing as I coasted down the hill, hoping to hit the brakes soon enough to show I was paying attention, but not wanting the downhill glide to end. Another week, I remember stopping at a bagel shop just before getting to that glorious hill, and then, poised nervously at the parking lot exit, fumbling for the gas pedal instead of the brake. You only make that mistake once.
 But really, the bagel shop is the important part here. My parents moved a lot when I was a kid, and one of the most important components about making a new city “home” was finding a good bagel place. This meant they were always hole-in-the-wall, never big names. This one in particular, though it was a bit of a drive from our house, was special in that it carried a treat I’d never had before: a bialy.
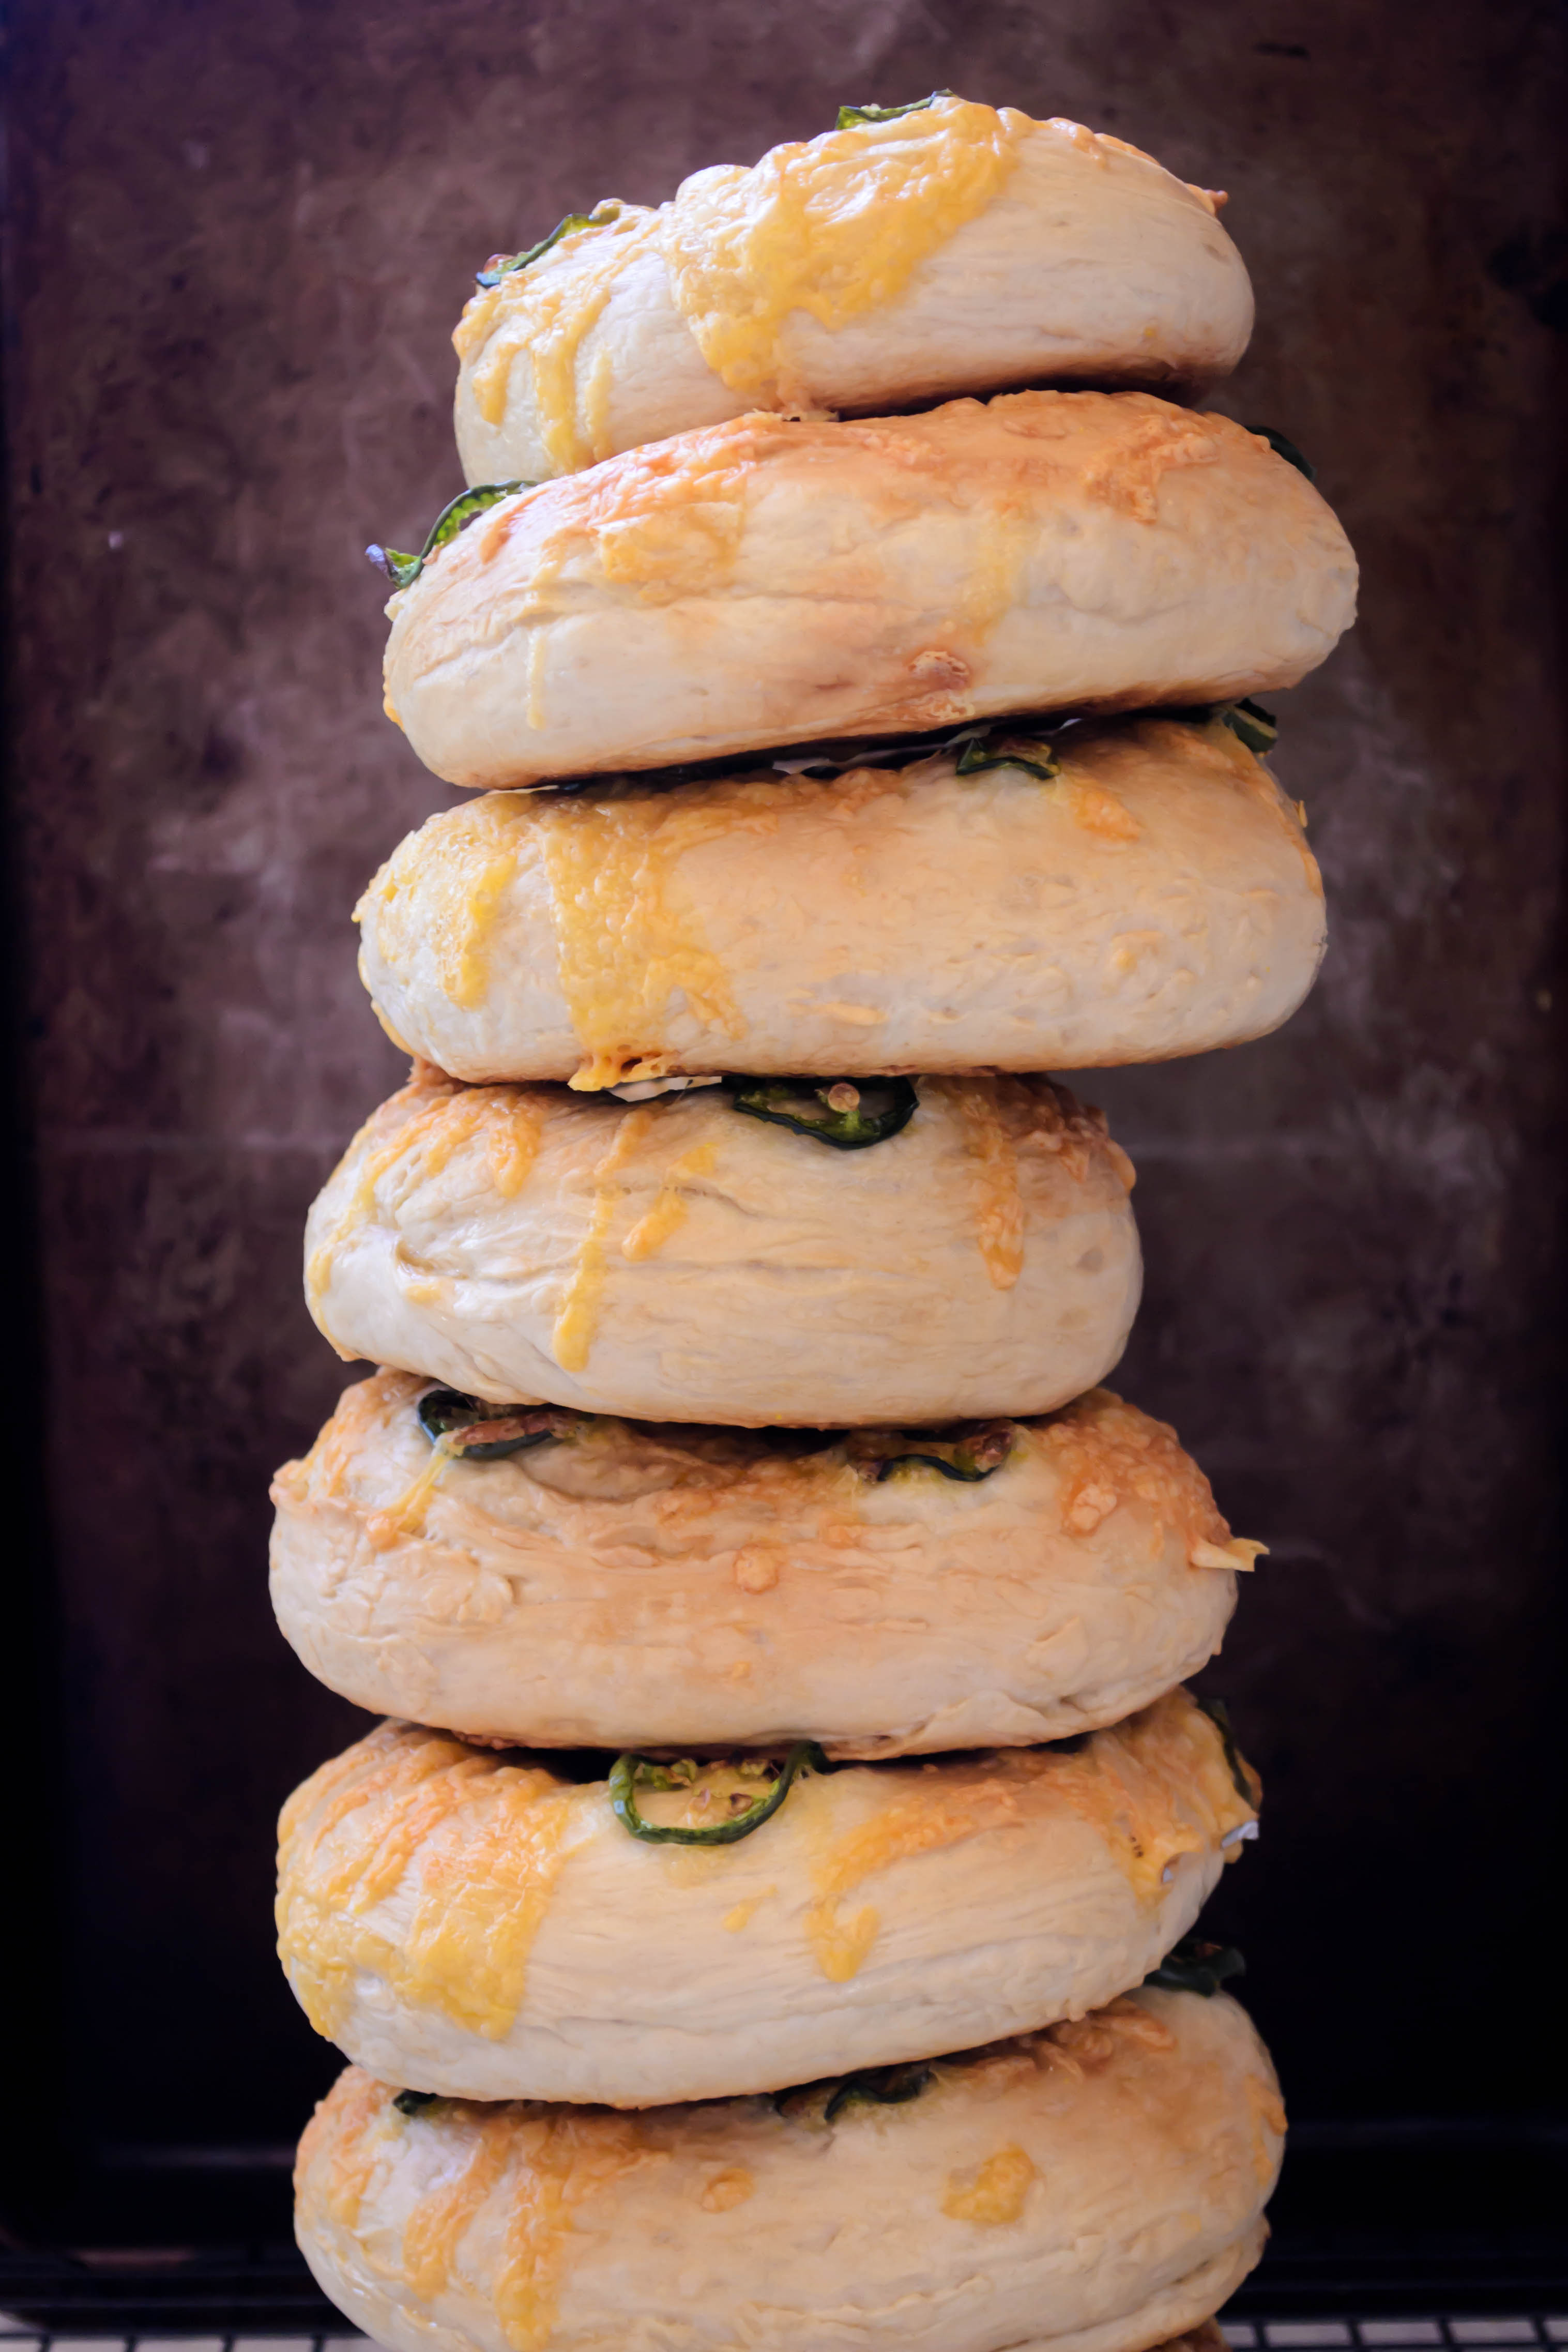
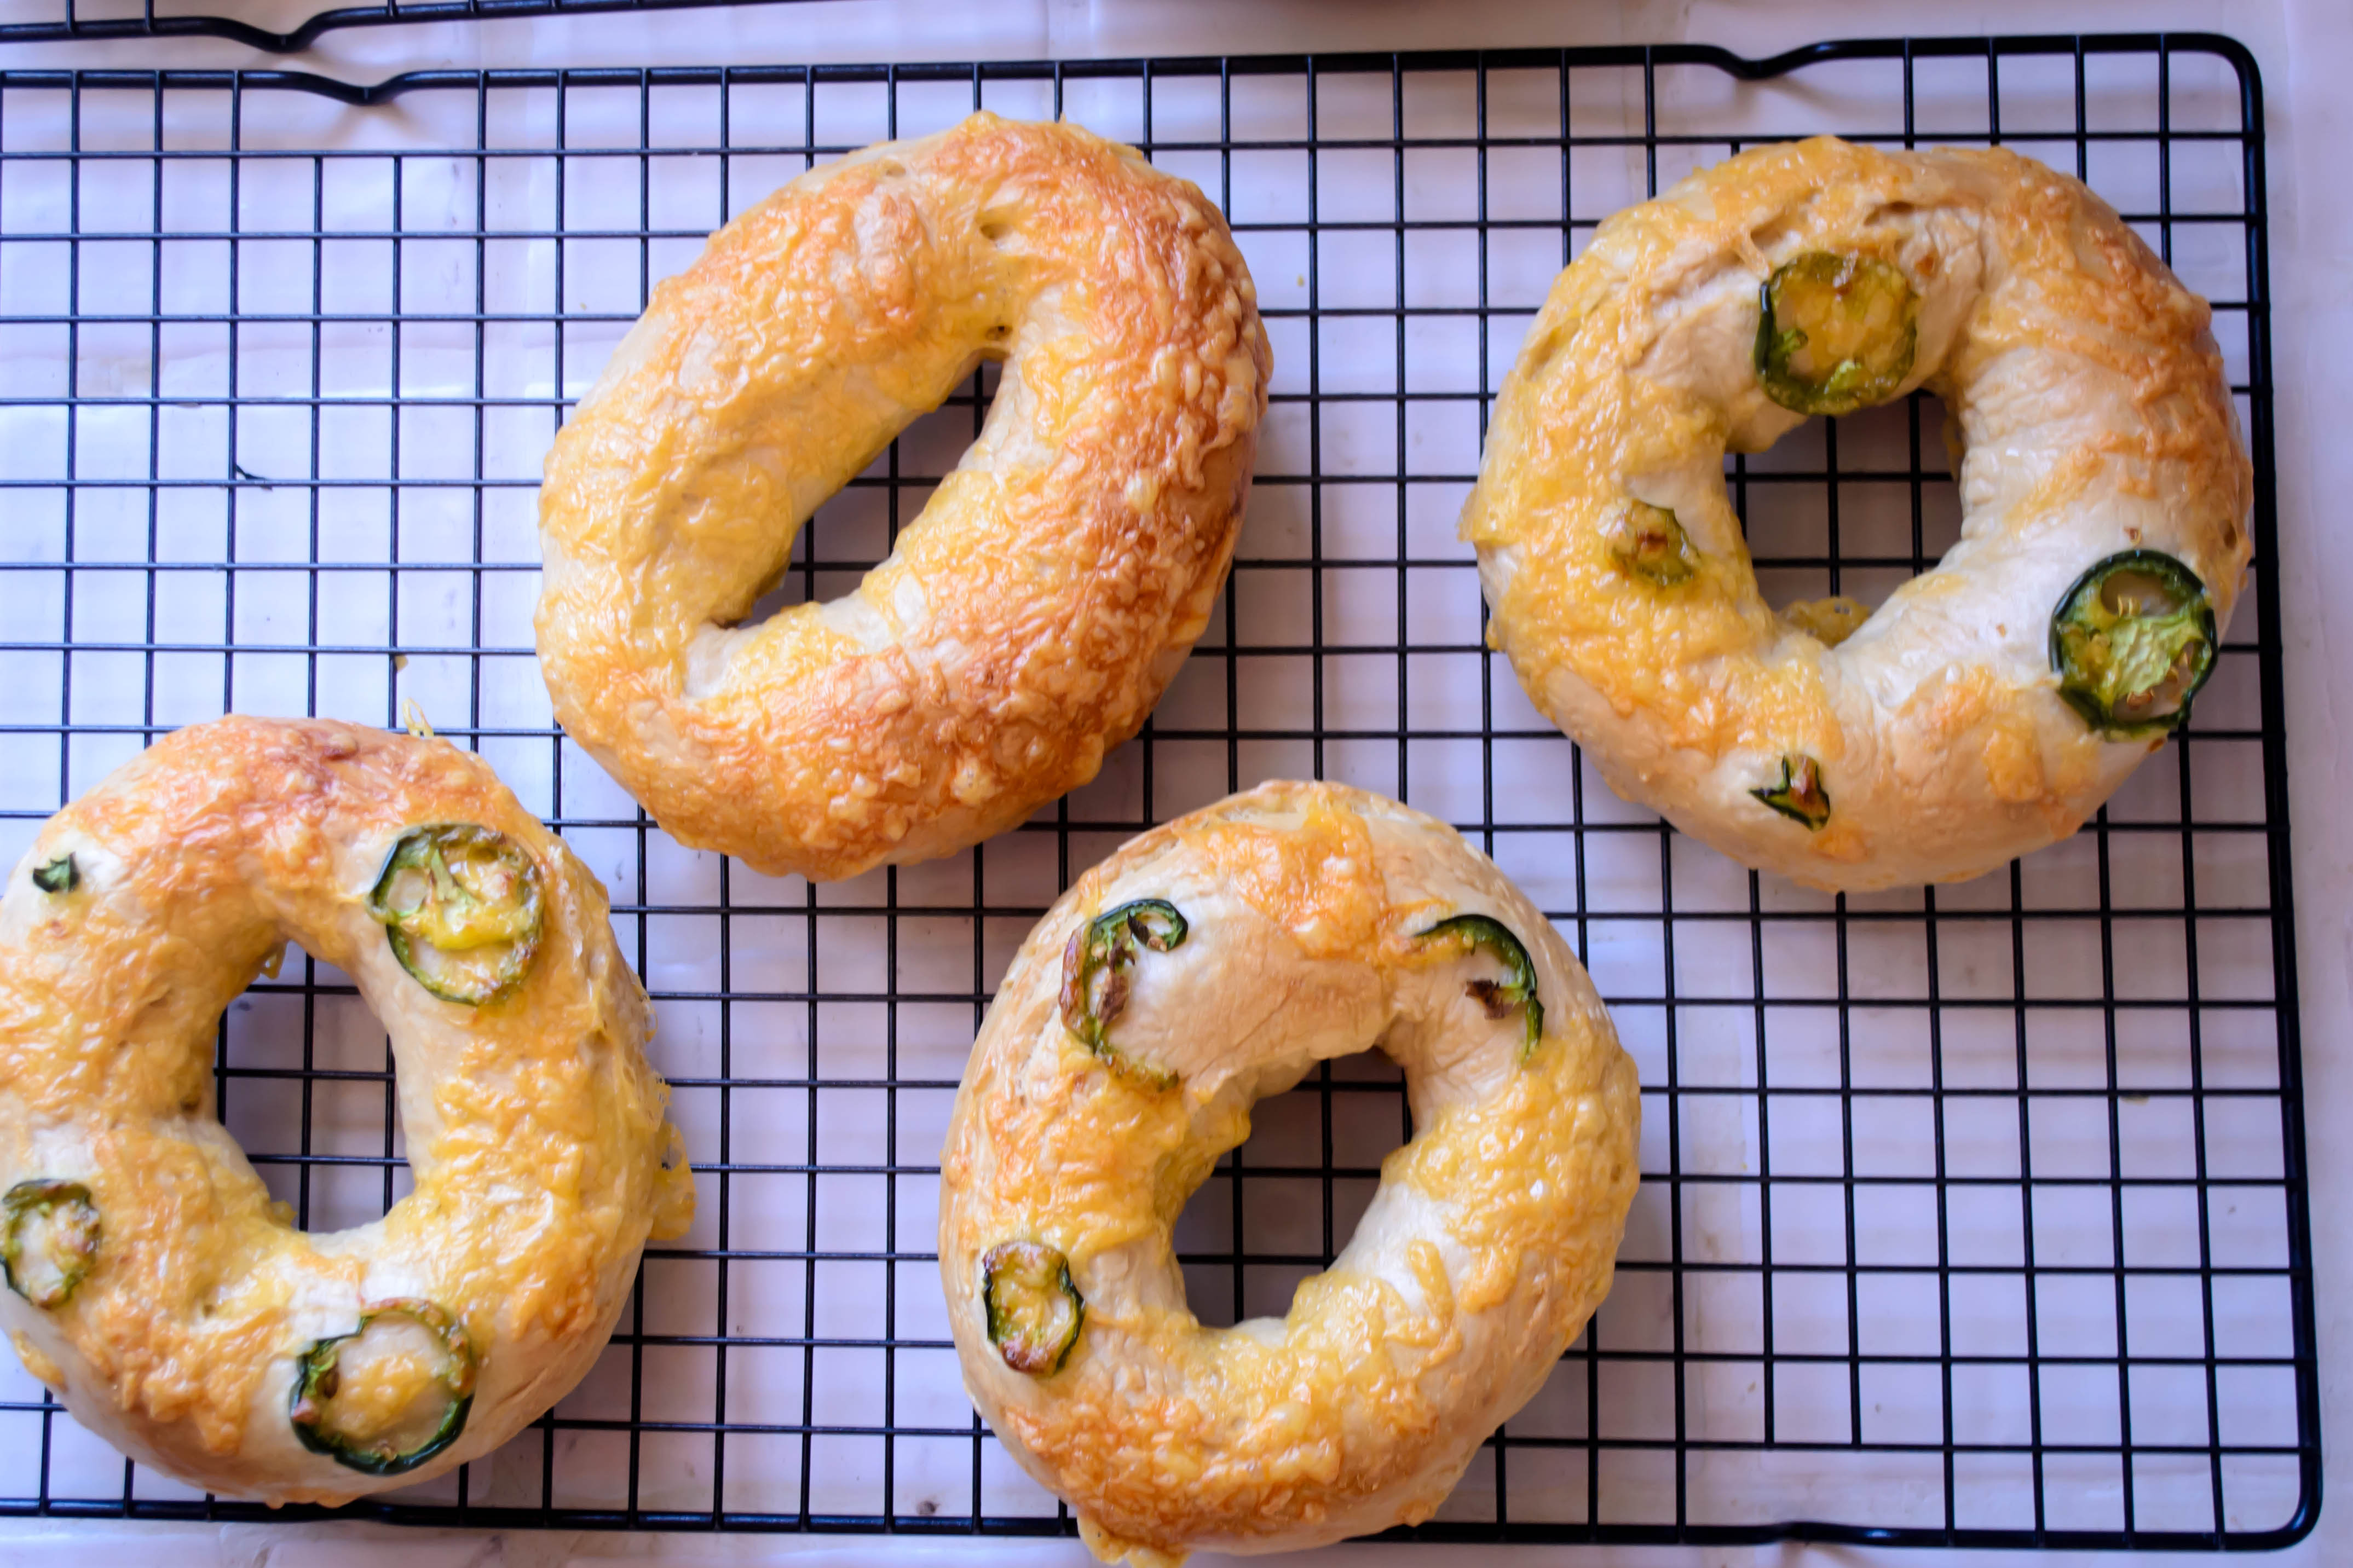
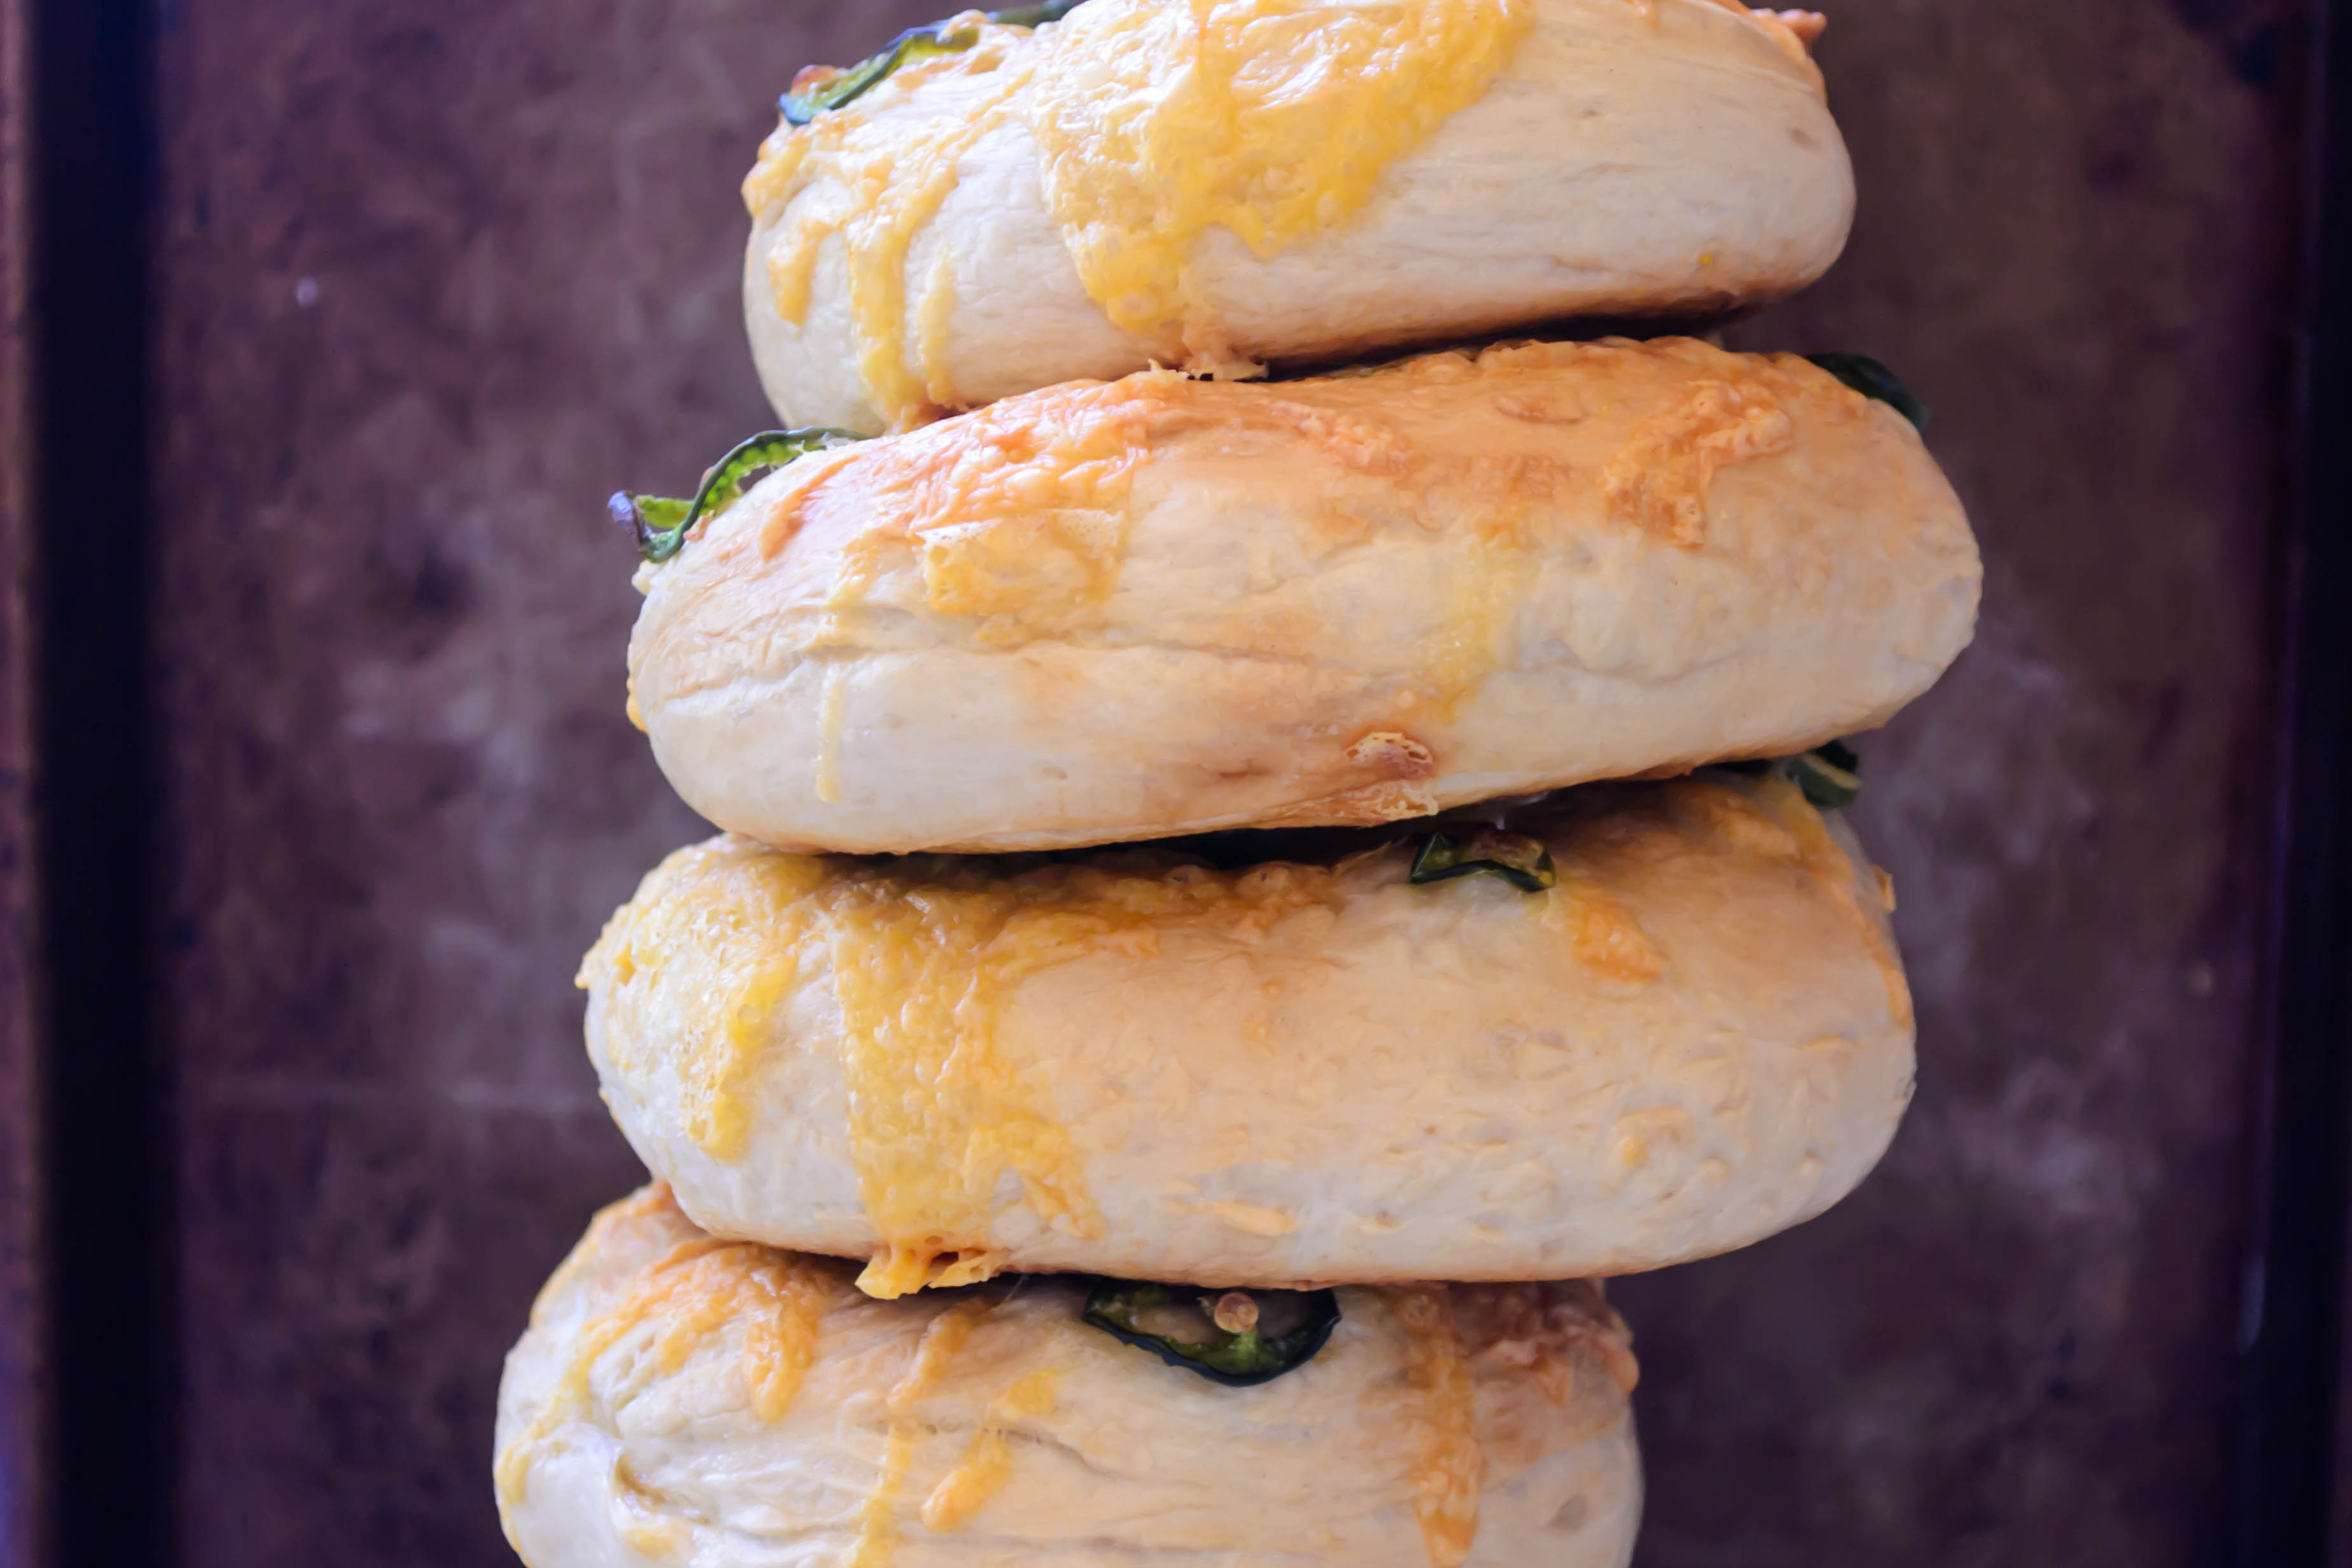
 Bialys, if you’re not in the know (which more than likely means not from the East Coast ), are a bagel relative. A cousin, perhaps. Bagels are special because they are a chewy yeast dough that is boiled before it is baked, and they have that signature hole in the middle. Bialys, though their dough is similar in composition, have a depression rather than a hole in their centers, and that depression is filled with sautéed onions, poppyseeds, and sometimes garlic. Because they contain this little gold mine of flavor, they aren’t boiled, but go straight into the oven for a hot, short bake.
 It is their filling – that little pocket of gooey caramelized onion goodness – that makes them right for this week. The Twelve Loaves challenge for May was baking with onions. I was stumped at first, but when N. suggested onion bagels, this chewy crusty treat flooded back at me with all the power of Proust’s madeleine.
 The recipe I’m using here is a minor adaptation of Deb’s. I’ve added a few twists, incorporating garlic and sesame seeds in with the onion and poppyseed filling, sautéing the aromatics in butter rather than oil because I love the added richness, and combining a few tablespoons of vital wheat gluten with my bread flour to replace the high gluten flour I don’t have in my pantry. Plain bread flour will likely work as well, but the extra hit of gluten adds a chewiness I wouldn’t forgo.
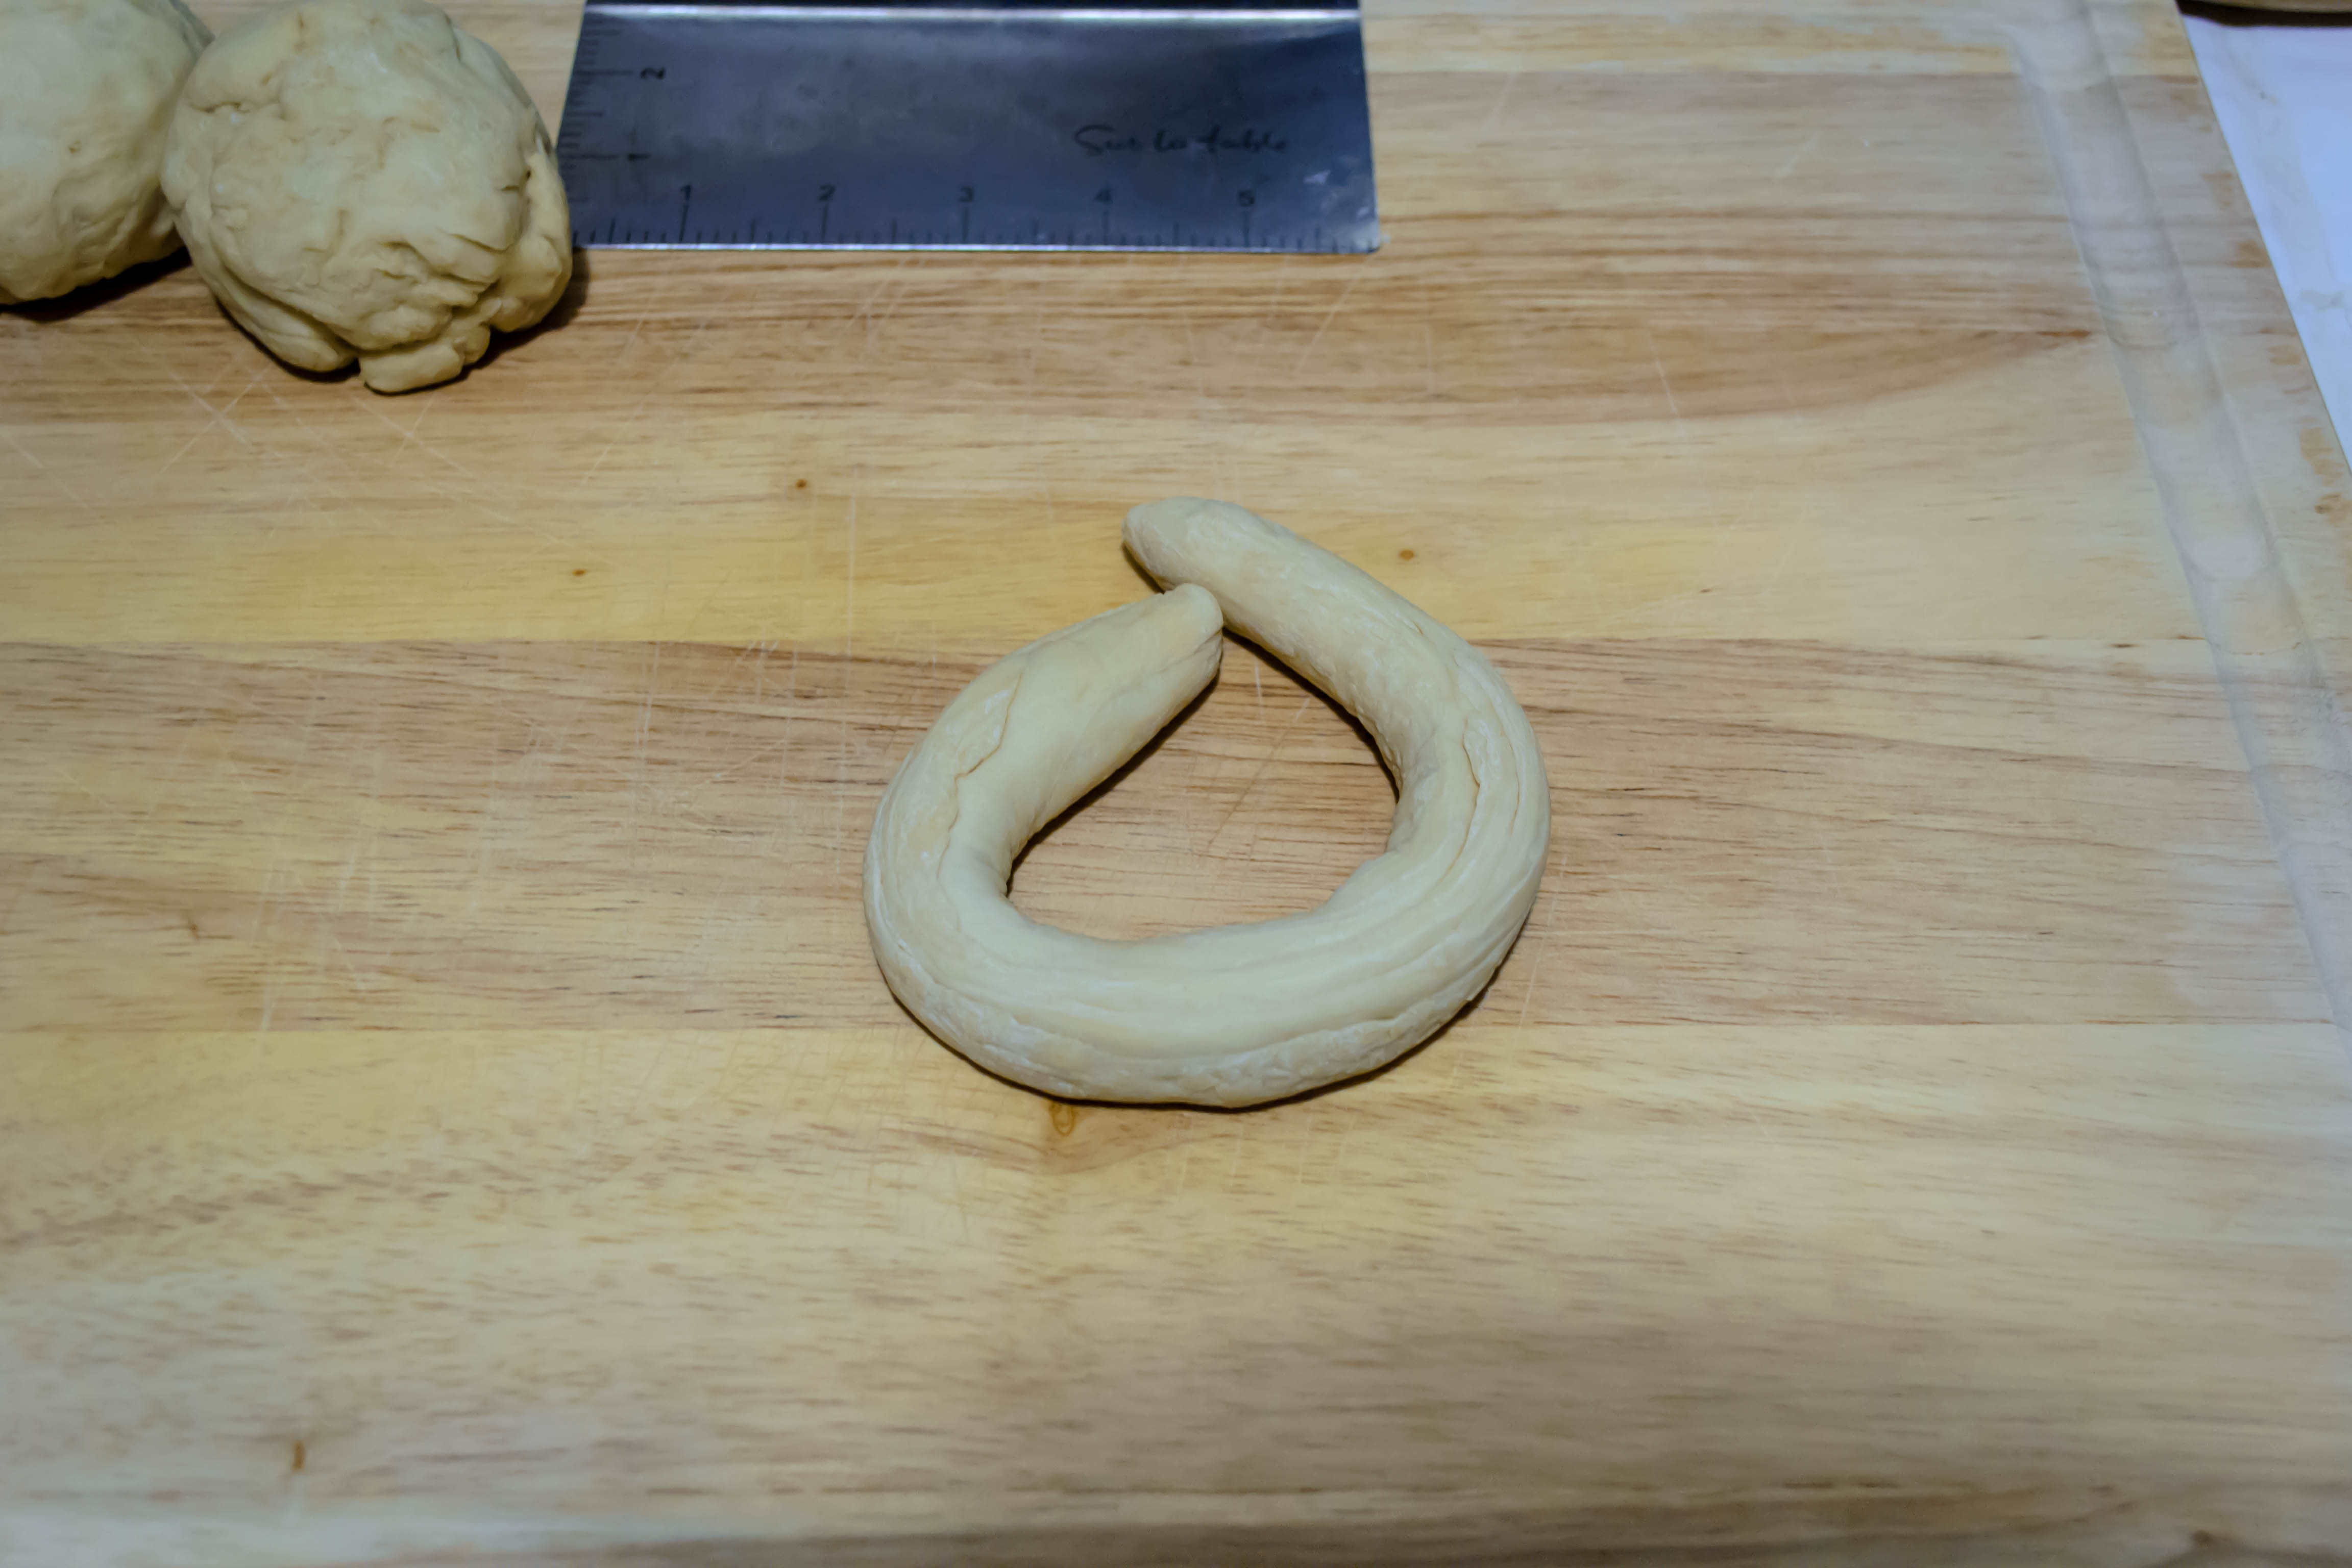
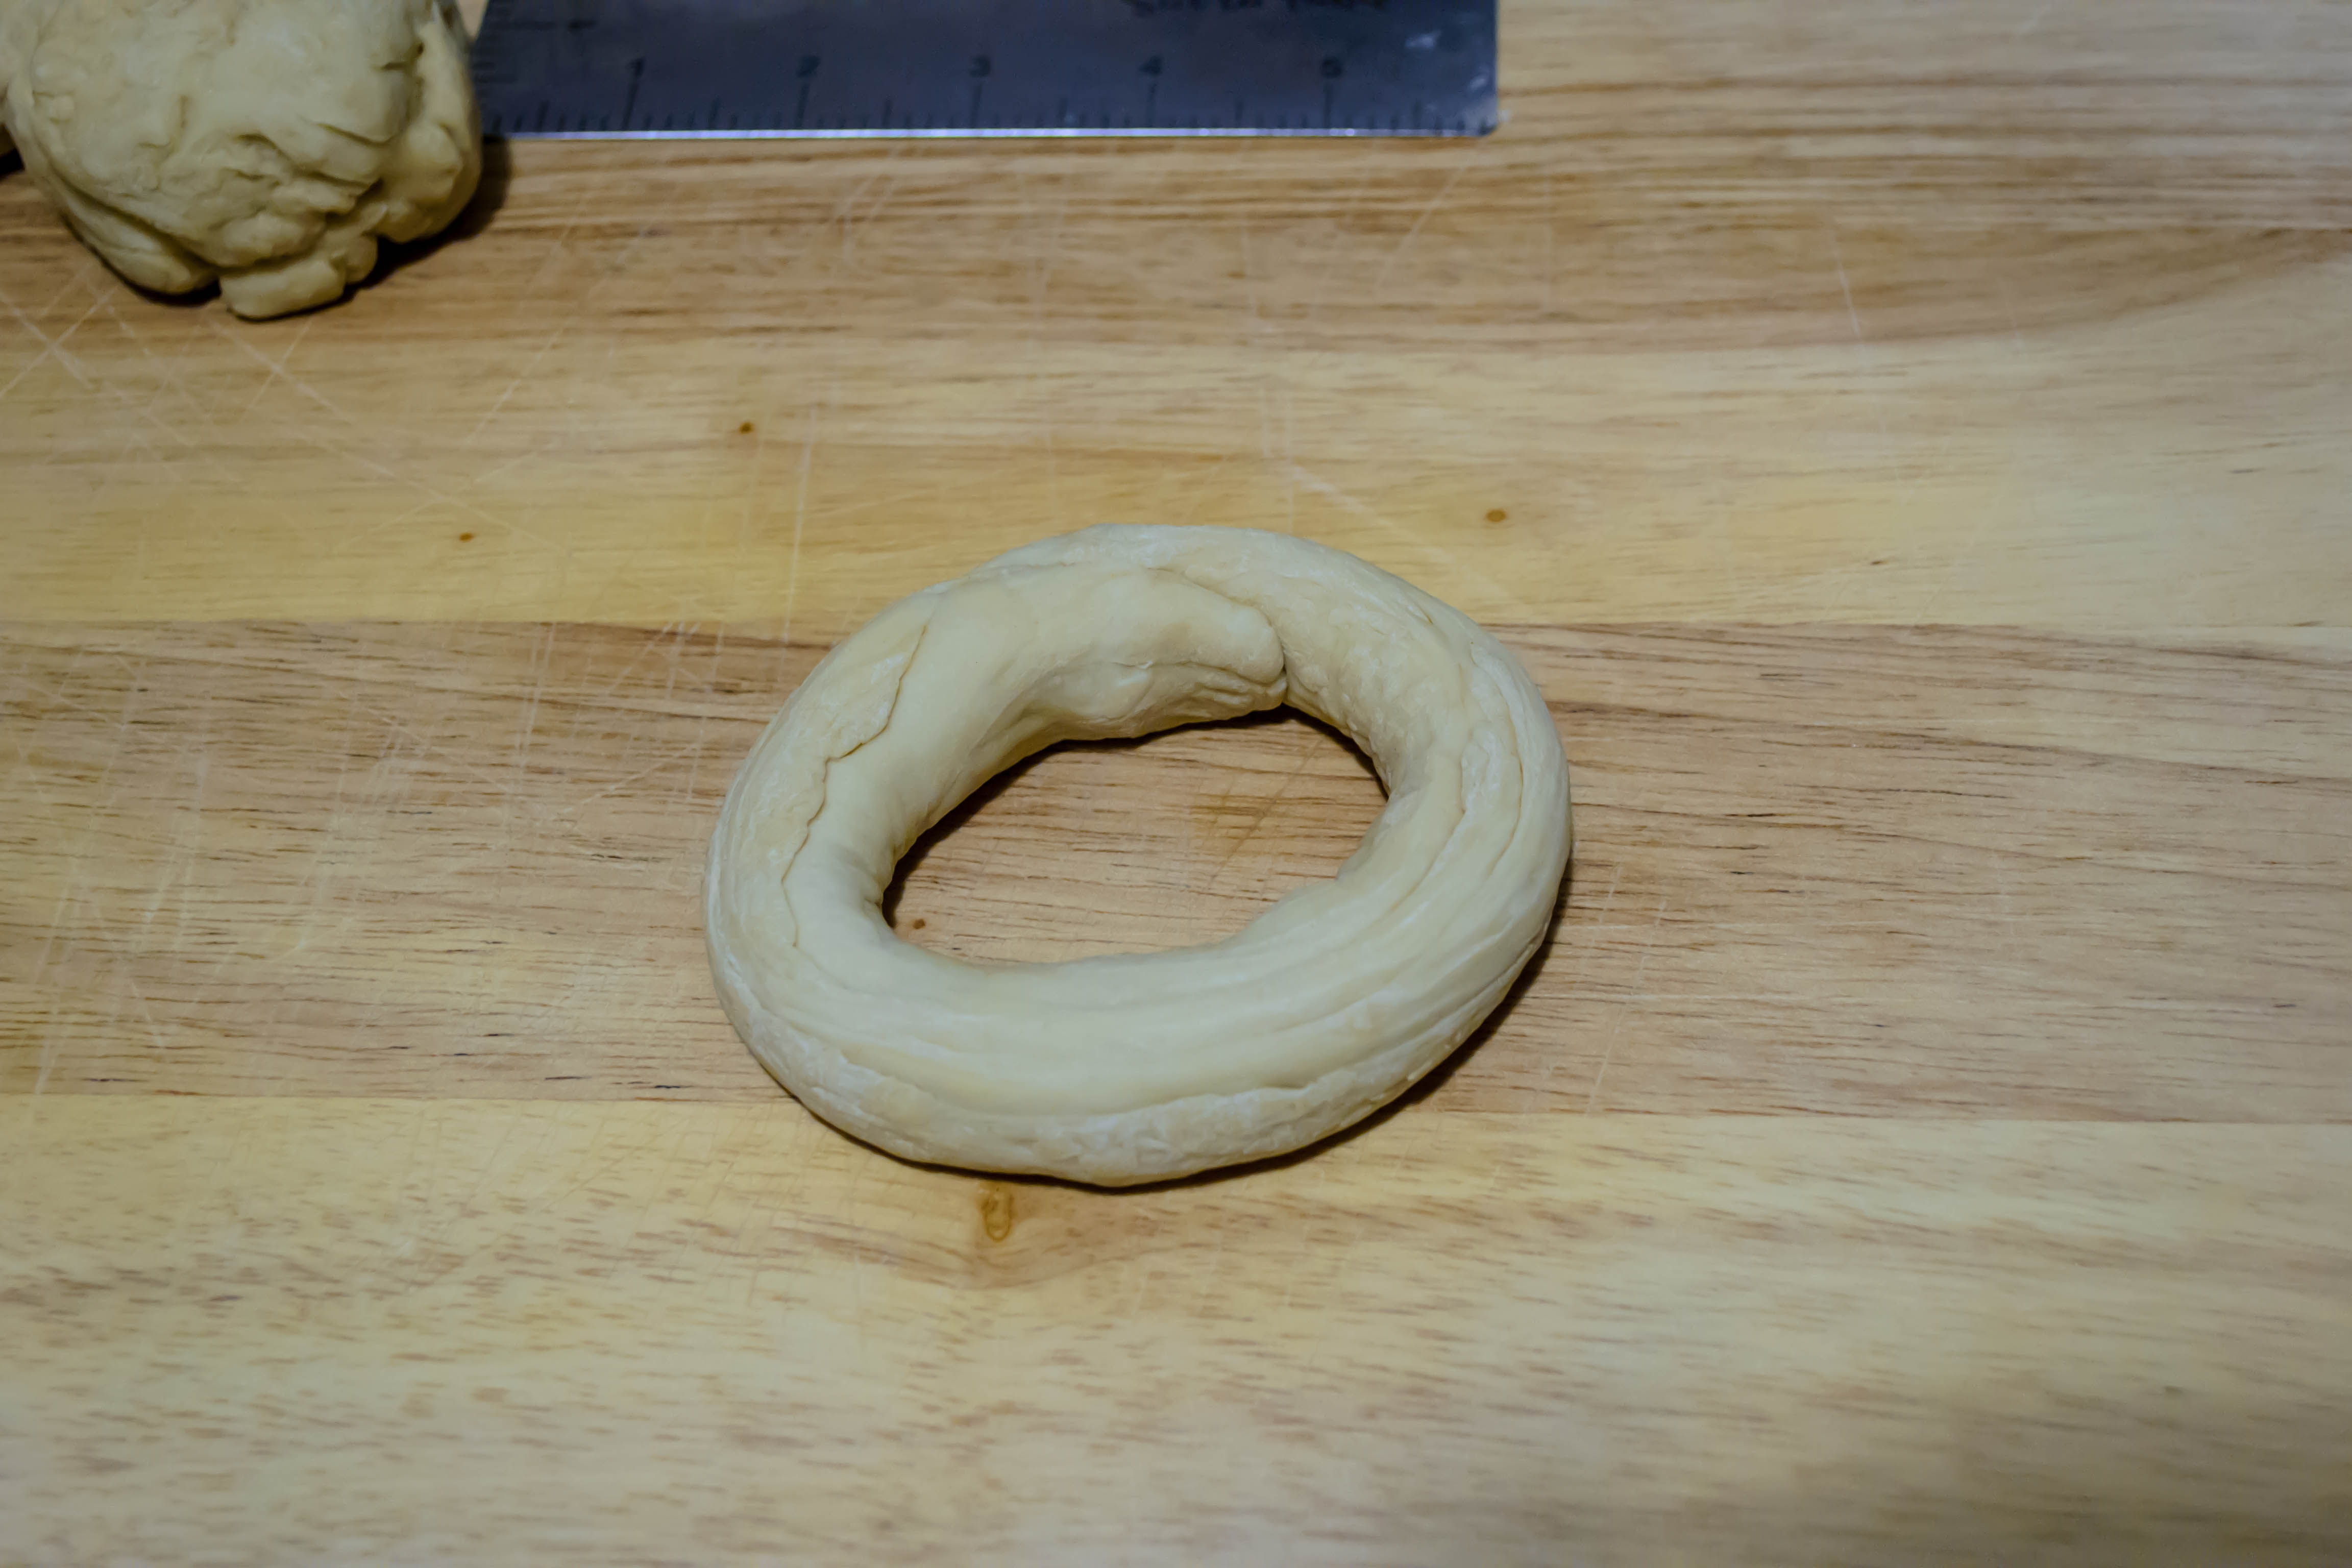
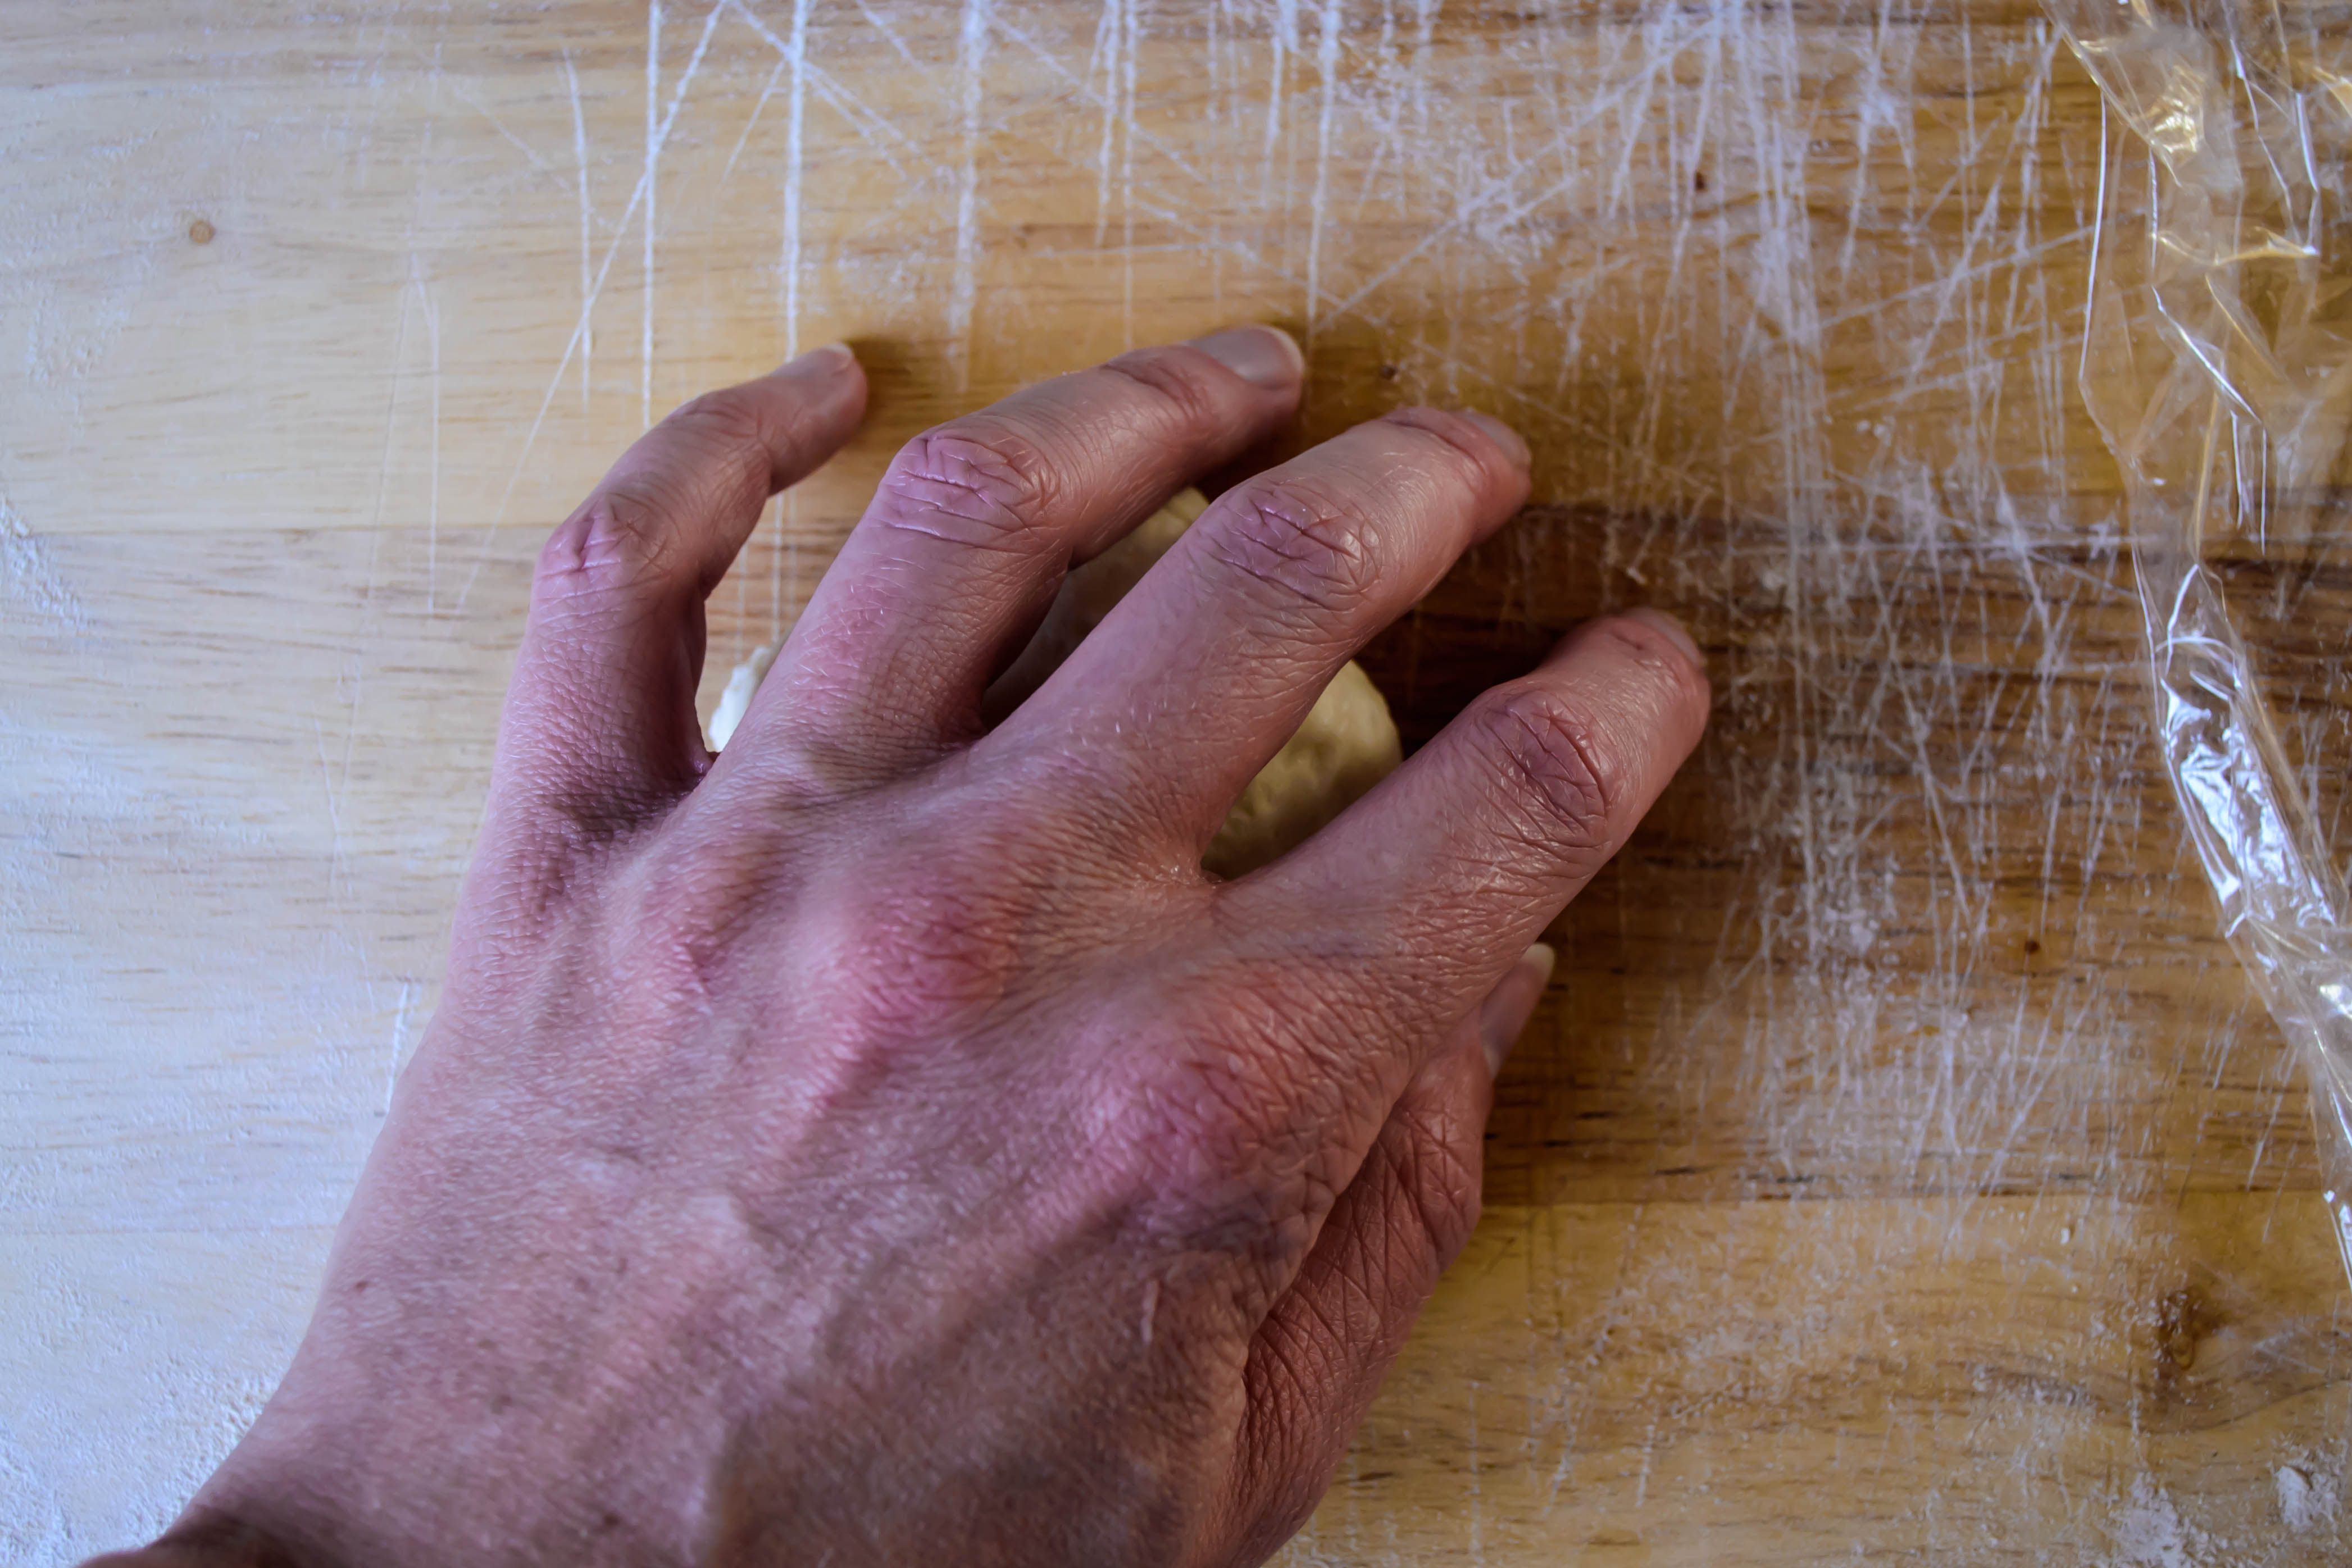
 I asked N. to take some photos for me while I rolled, pinched, and prodded the dough, so much of what follows is his work. Some of mine, though, include the rolling pictorials that follow. I’m using my own version of Joe Pastry’s technique, which I’m finding I like quite well. Rather than just slicing off hunks of dough and rolling them, I flatten out a piece, fold up and pinch the edges into a weird starfish, and then follow Joe’s suggestion of lightly rolling the dough in circles around the board inside my lightly curled hand. My system – in pictures – follows, but you can see Joe’s technique here.


Bialys
Makes 12


For dough:
1 ¾ cups water, at body temperature (it should feel neutral – not hot or cold – when you dip your finger in)
1 teaspoon active dry yeast
½ teaspoon sugar (helps the yeast bloom a bit faster)
4 cups bread flour
2 tablespoons vital wheat gluten
2 teaspoons kosher salt
For filling:
2 tablespoons butter
1 cup finely diced onion
2 cloves garlic, finely minced
1 teaspoon poppyseeds
1 teaspoon sesame seeds
½ teaspoon salt
¼ teaspoon pepper
(optional: ¼ teaspoon celery seed, because I’m obsessed)
- Add the yeast and the sugar, if using, to the water and set aside for 5-10 minutes until the yeast is thickly bubbly and smells like bread.
- In the bowl of a stand mixer (it would be quite an intense knead by hand), combine the flour, vital wheat gluten, and salt with the paddle attachment.
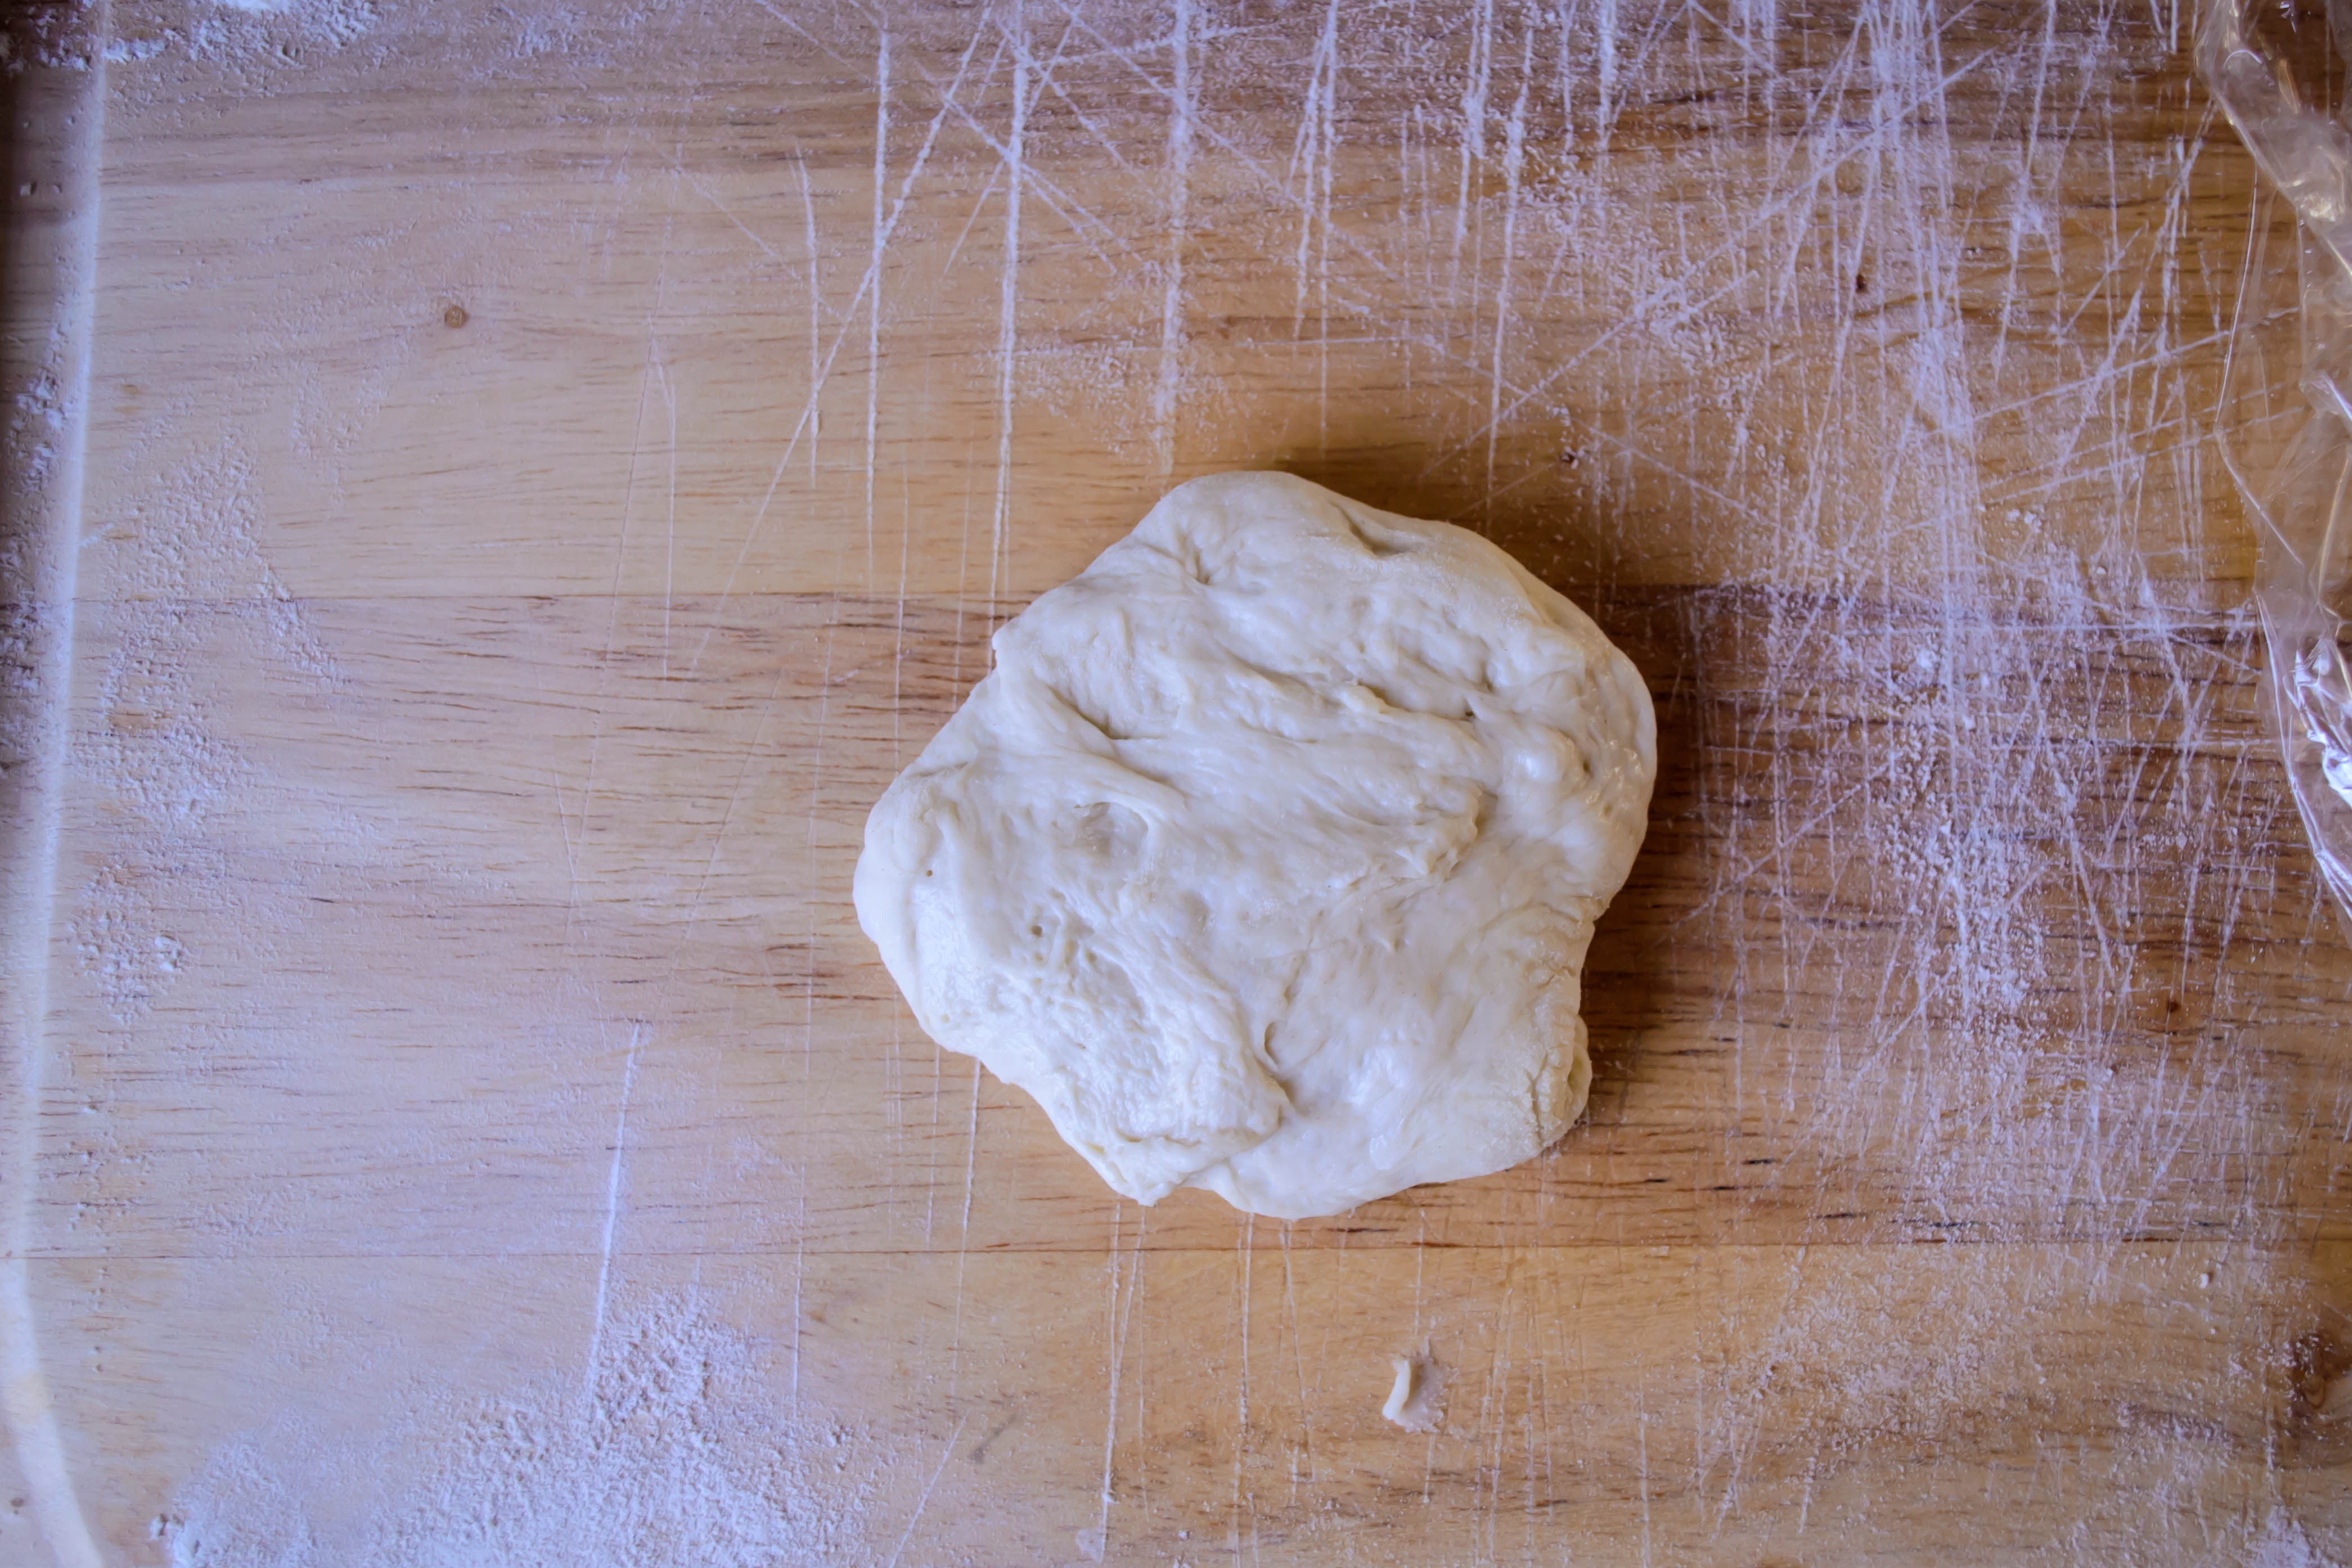
- Slowly add the water and yeast mixture, stopping the mixer when the dough becomes wet and clumpy, as in the photo above. Switch from the paddle attachment to the dough hook and knead for about 7 minutes on medium speed. The dough should become smooth and elastic, and tug itself away from the sides of the bowl a bit. If it seems much too wet or much too dry, add a bit more flour or water, just a tablespoon or two at a time.
- When it is well kneaded, heft the dough out of the mixer bowl, oil the bowl lightly, and replace the dough. Cover with plastic wrap and set aside to rise for 1½ – 2 hours, or until doubled. In my warm home office, at about 85F, my dough had doubled in 90 minutes.
- Punch down the dough to release trapped gas by gently but firmly depressing it with your fist. Dump it out onto a well floured board and let it sit for a few minutes to get its breath back.
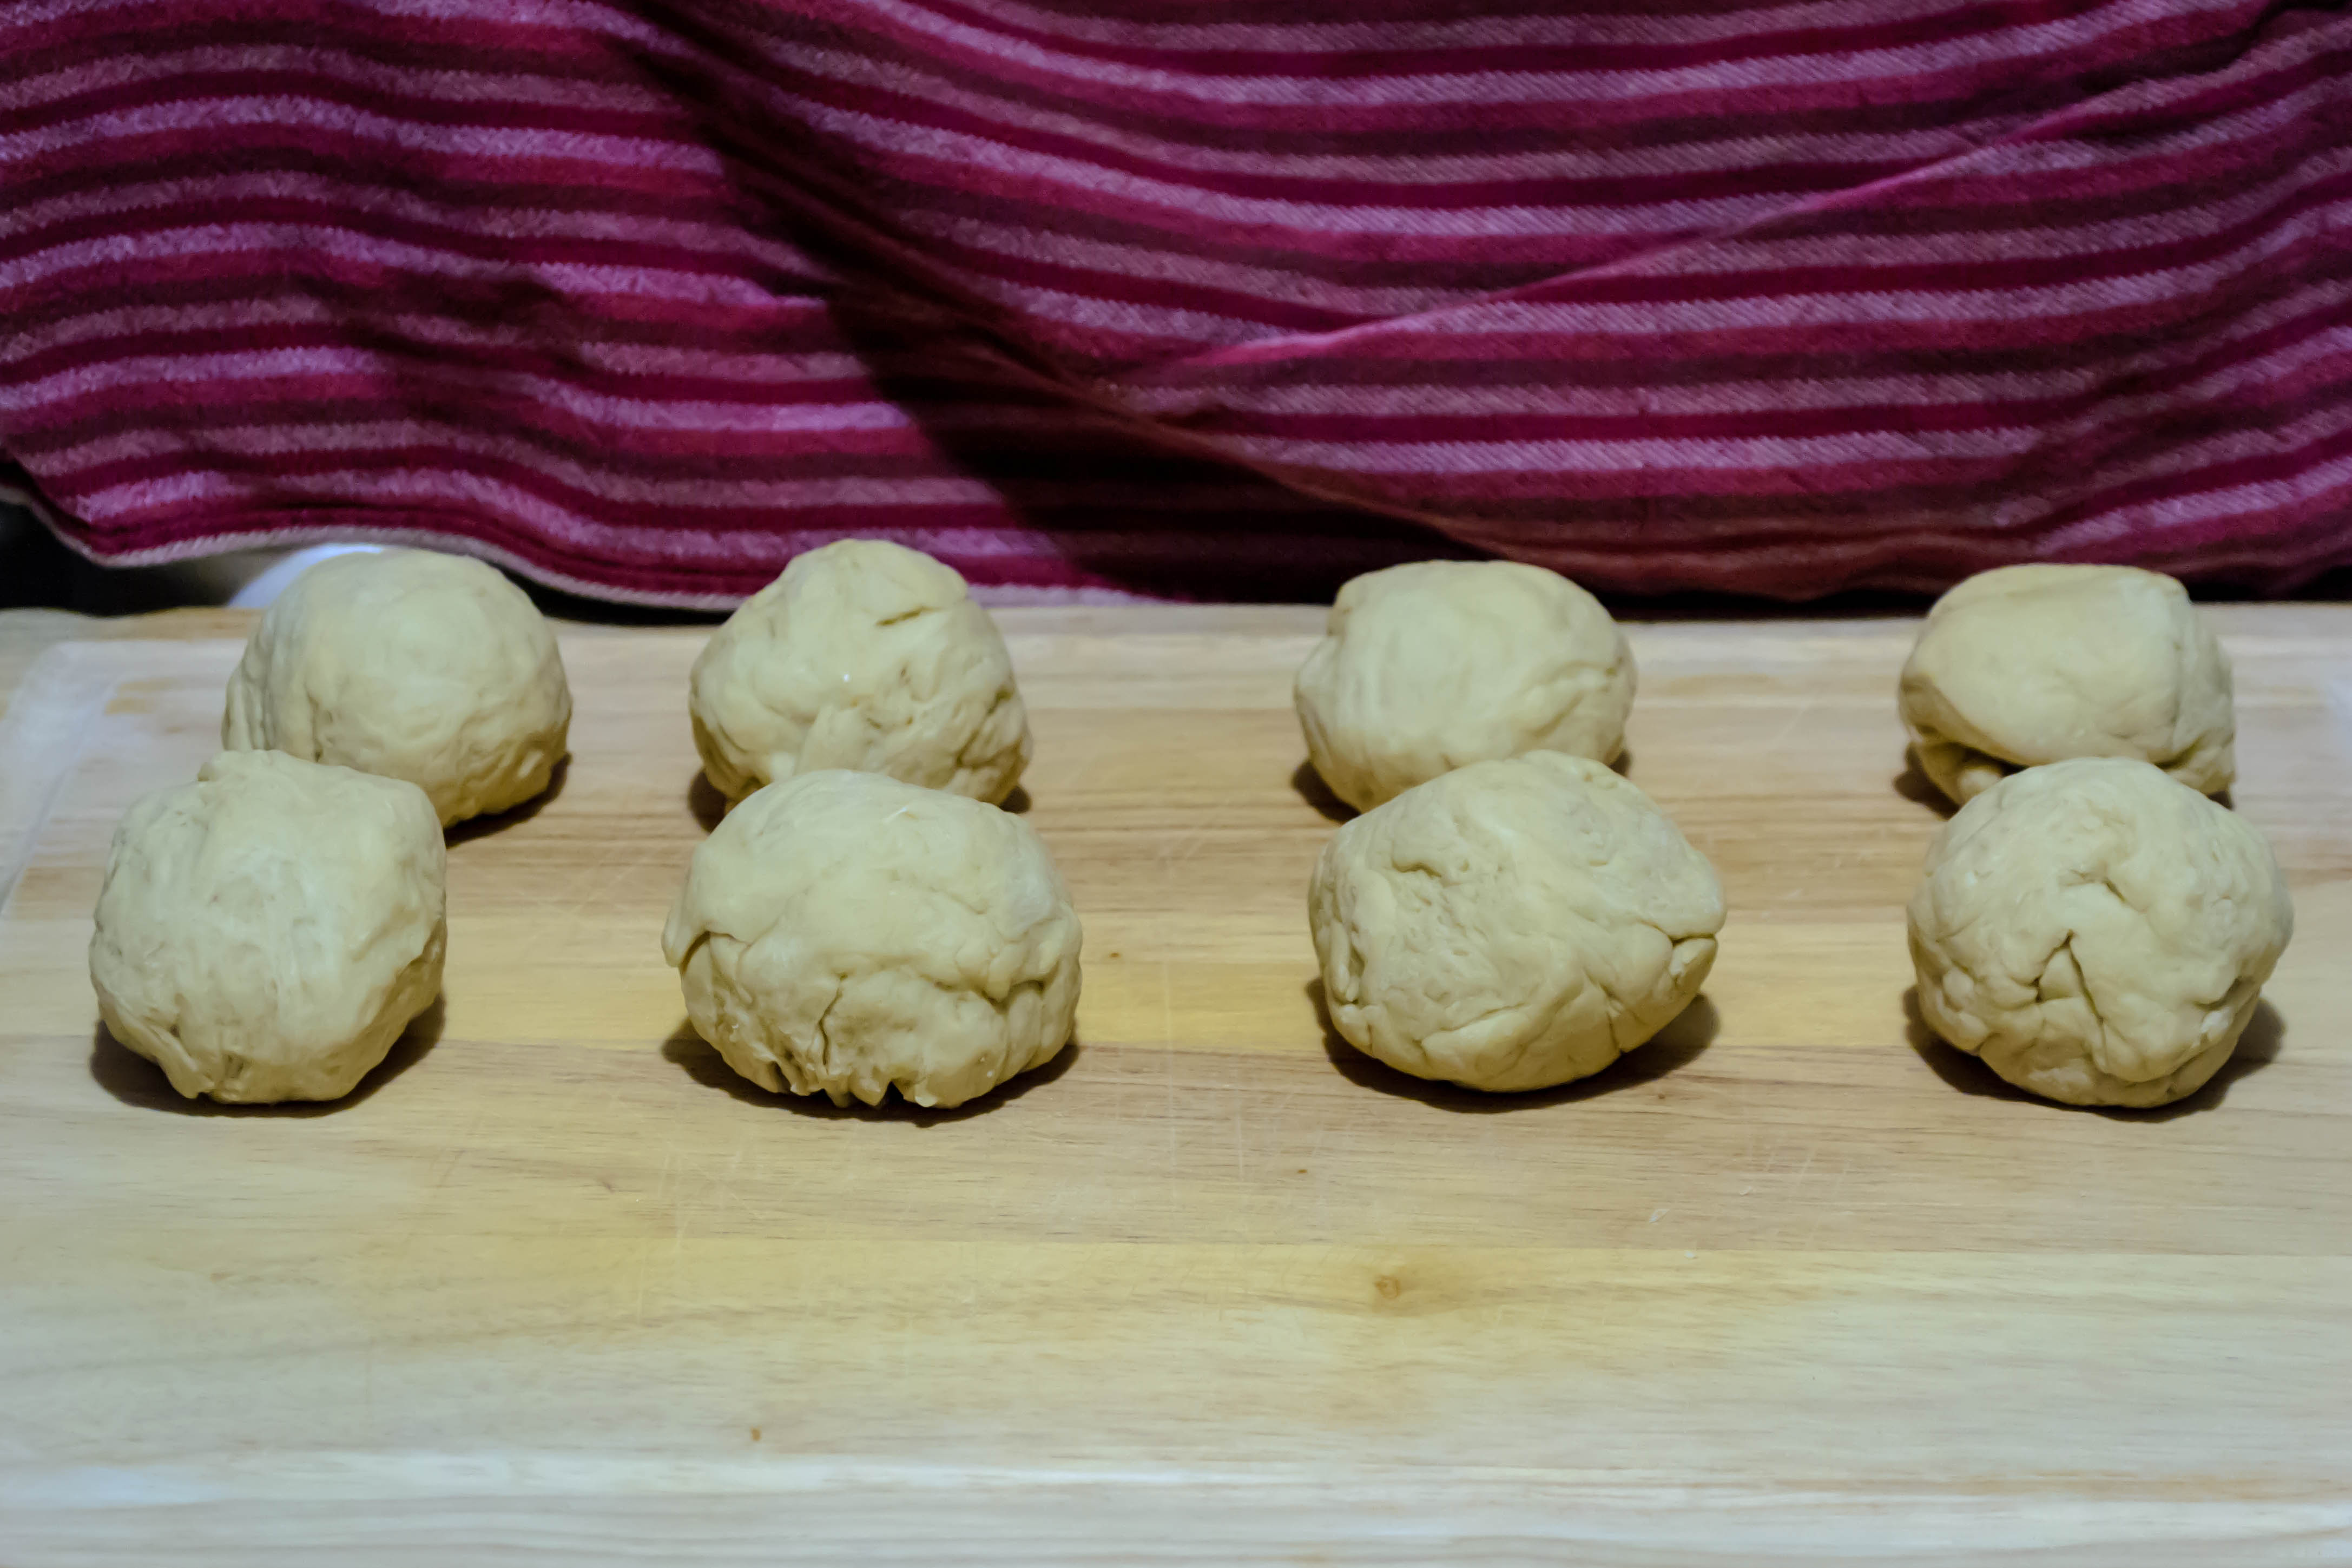
- Divide the rested dough into 12 equal pieces (they should be about 3 ounces each), and roll each piece into a ball, keeping the others covered with plastic wrap or a cloth. My technique is as follows (as illustrated above): flatten each section of dough like a mini pizza. Then, fold each edge or bit that pokes out to the center. You will make about 8 folds. Pinch them together where they meet to keep them adhered. Flip this over and, positioning your hand like a cage around the dough, fingers curled down loosely to touch the board and palm just touching the dough, drag your hand lightly in a circle, taking the dough ball along with you. Continue to trace your hand in circles until the dough forms a nice cohesive, homogenous ball.
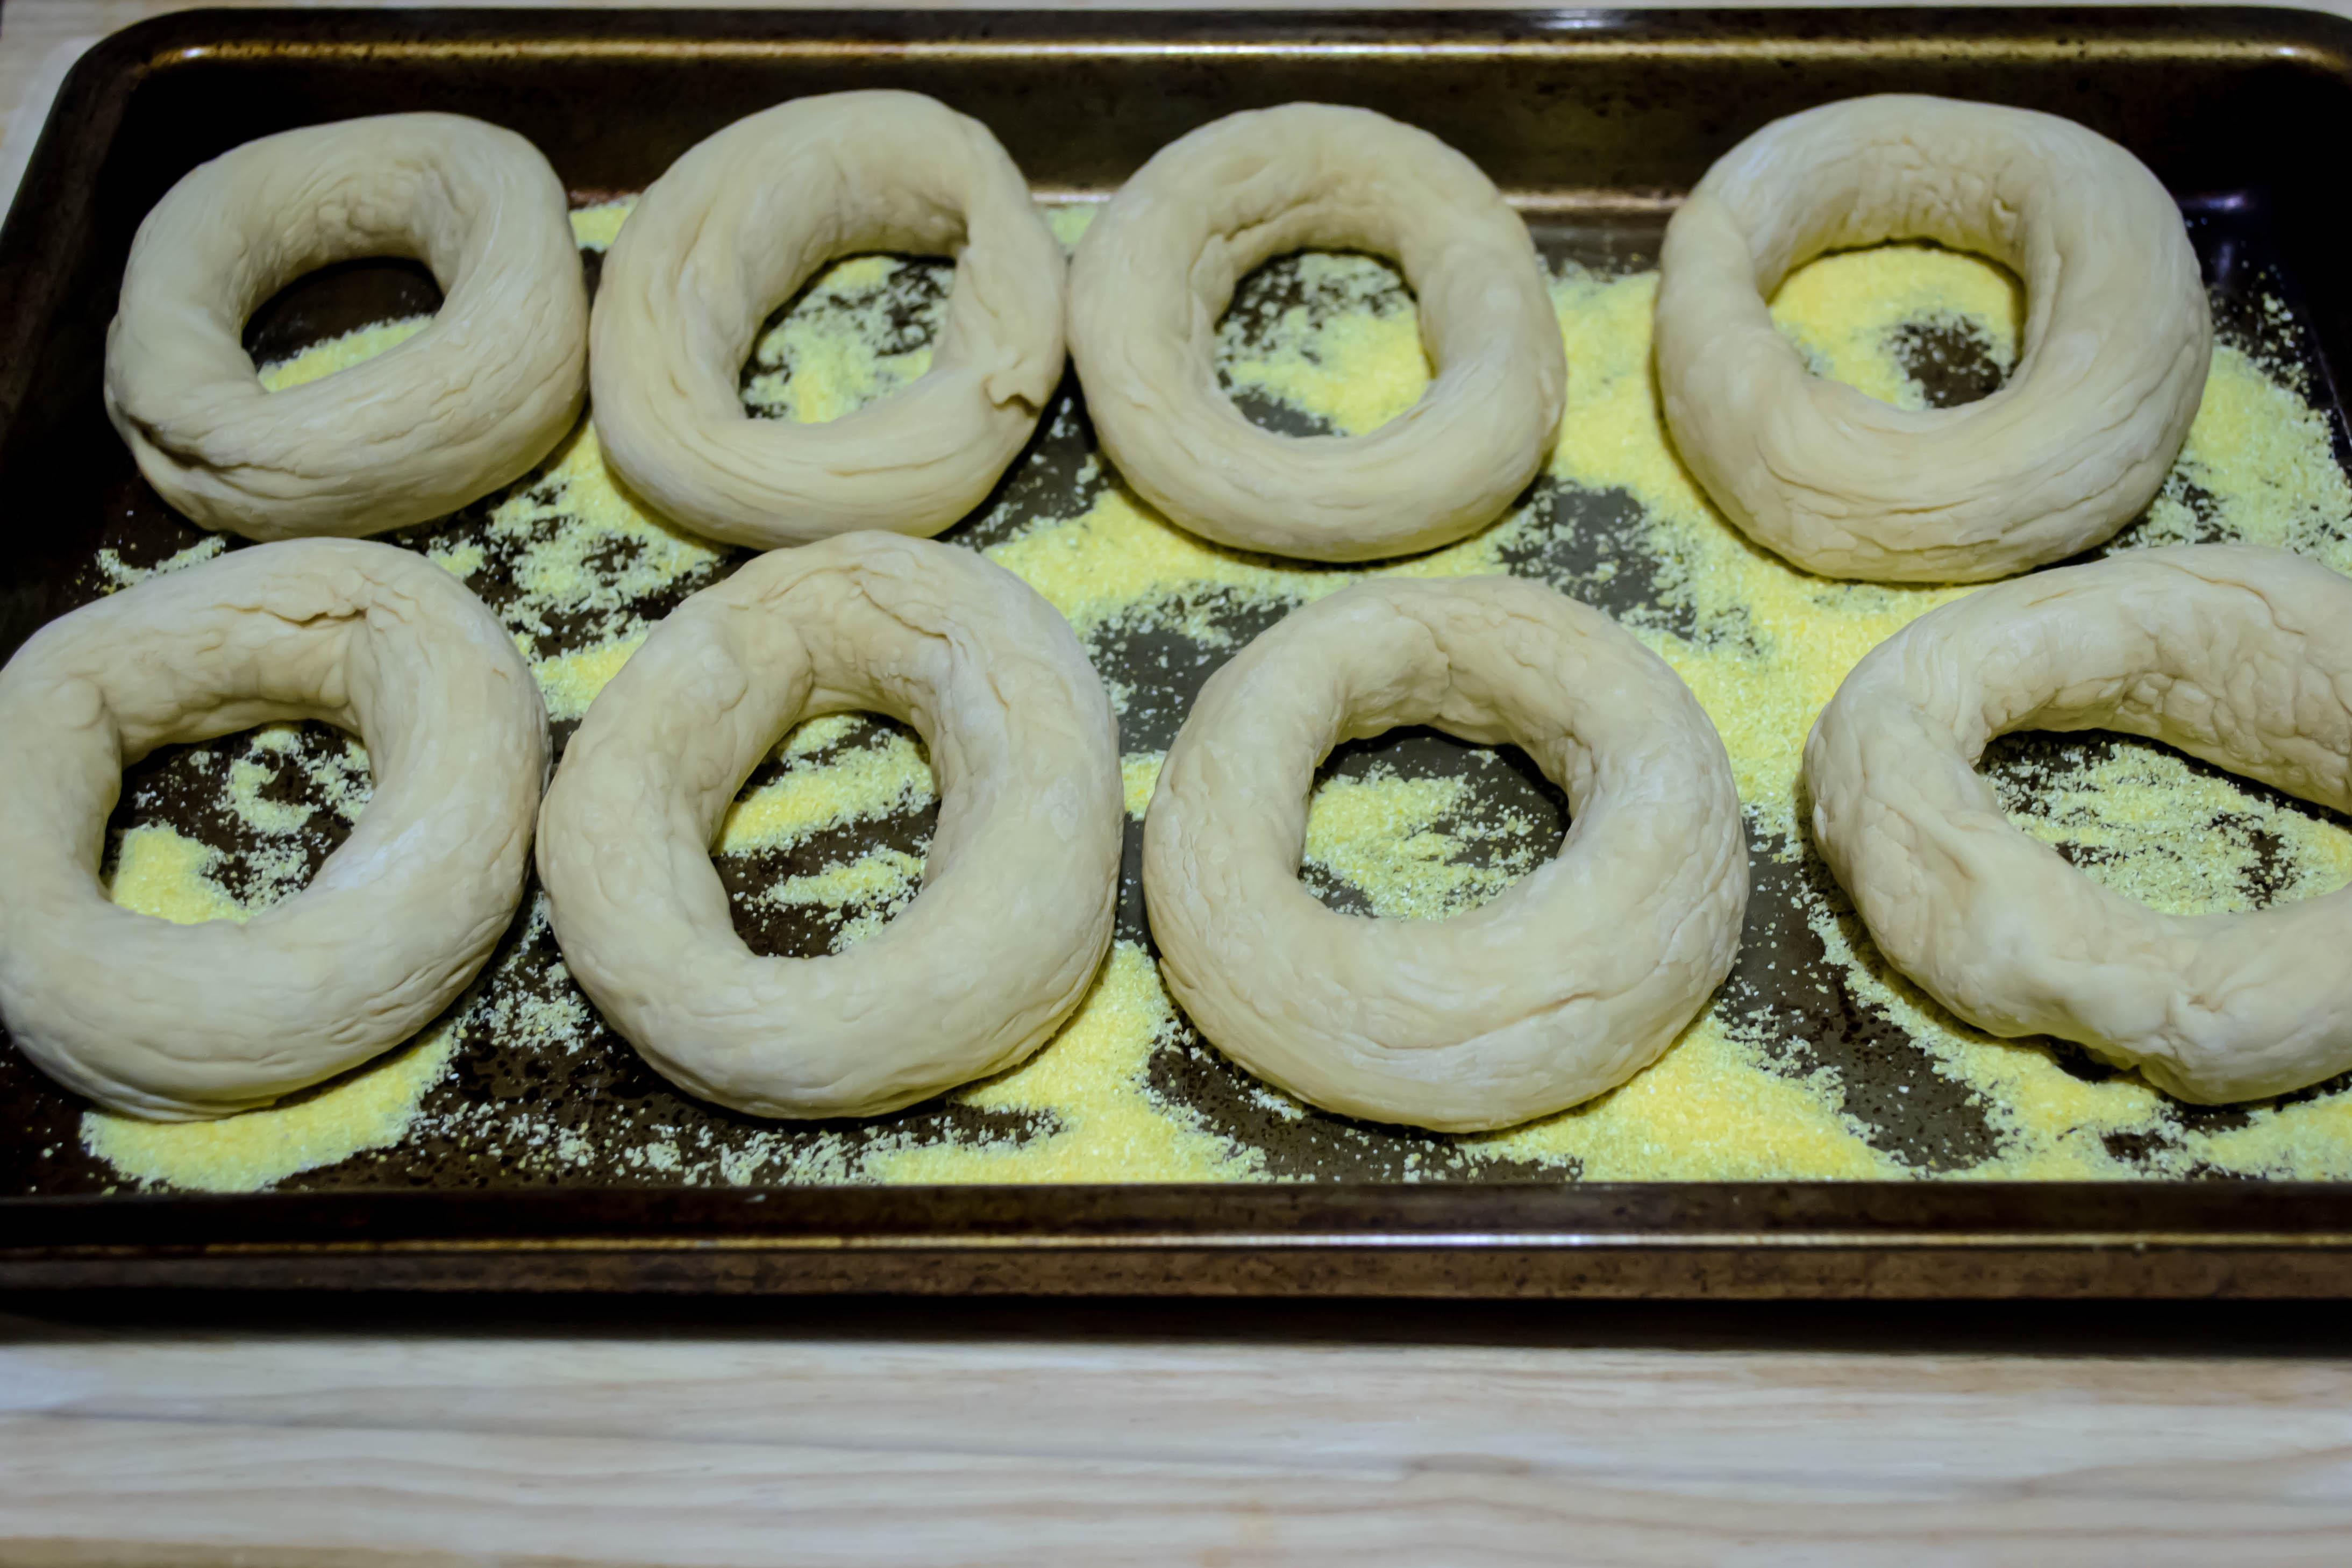
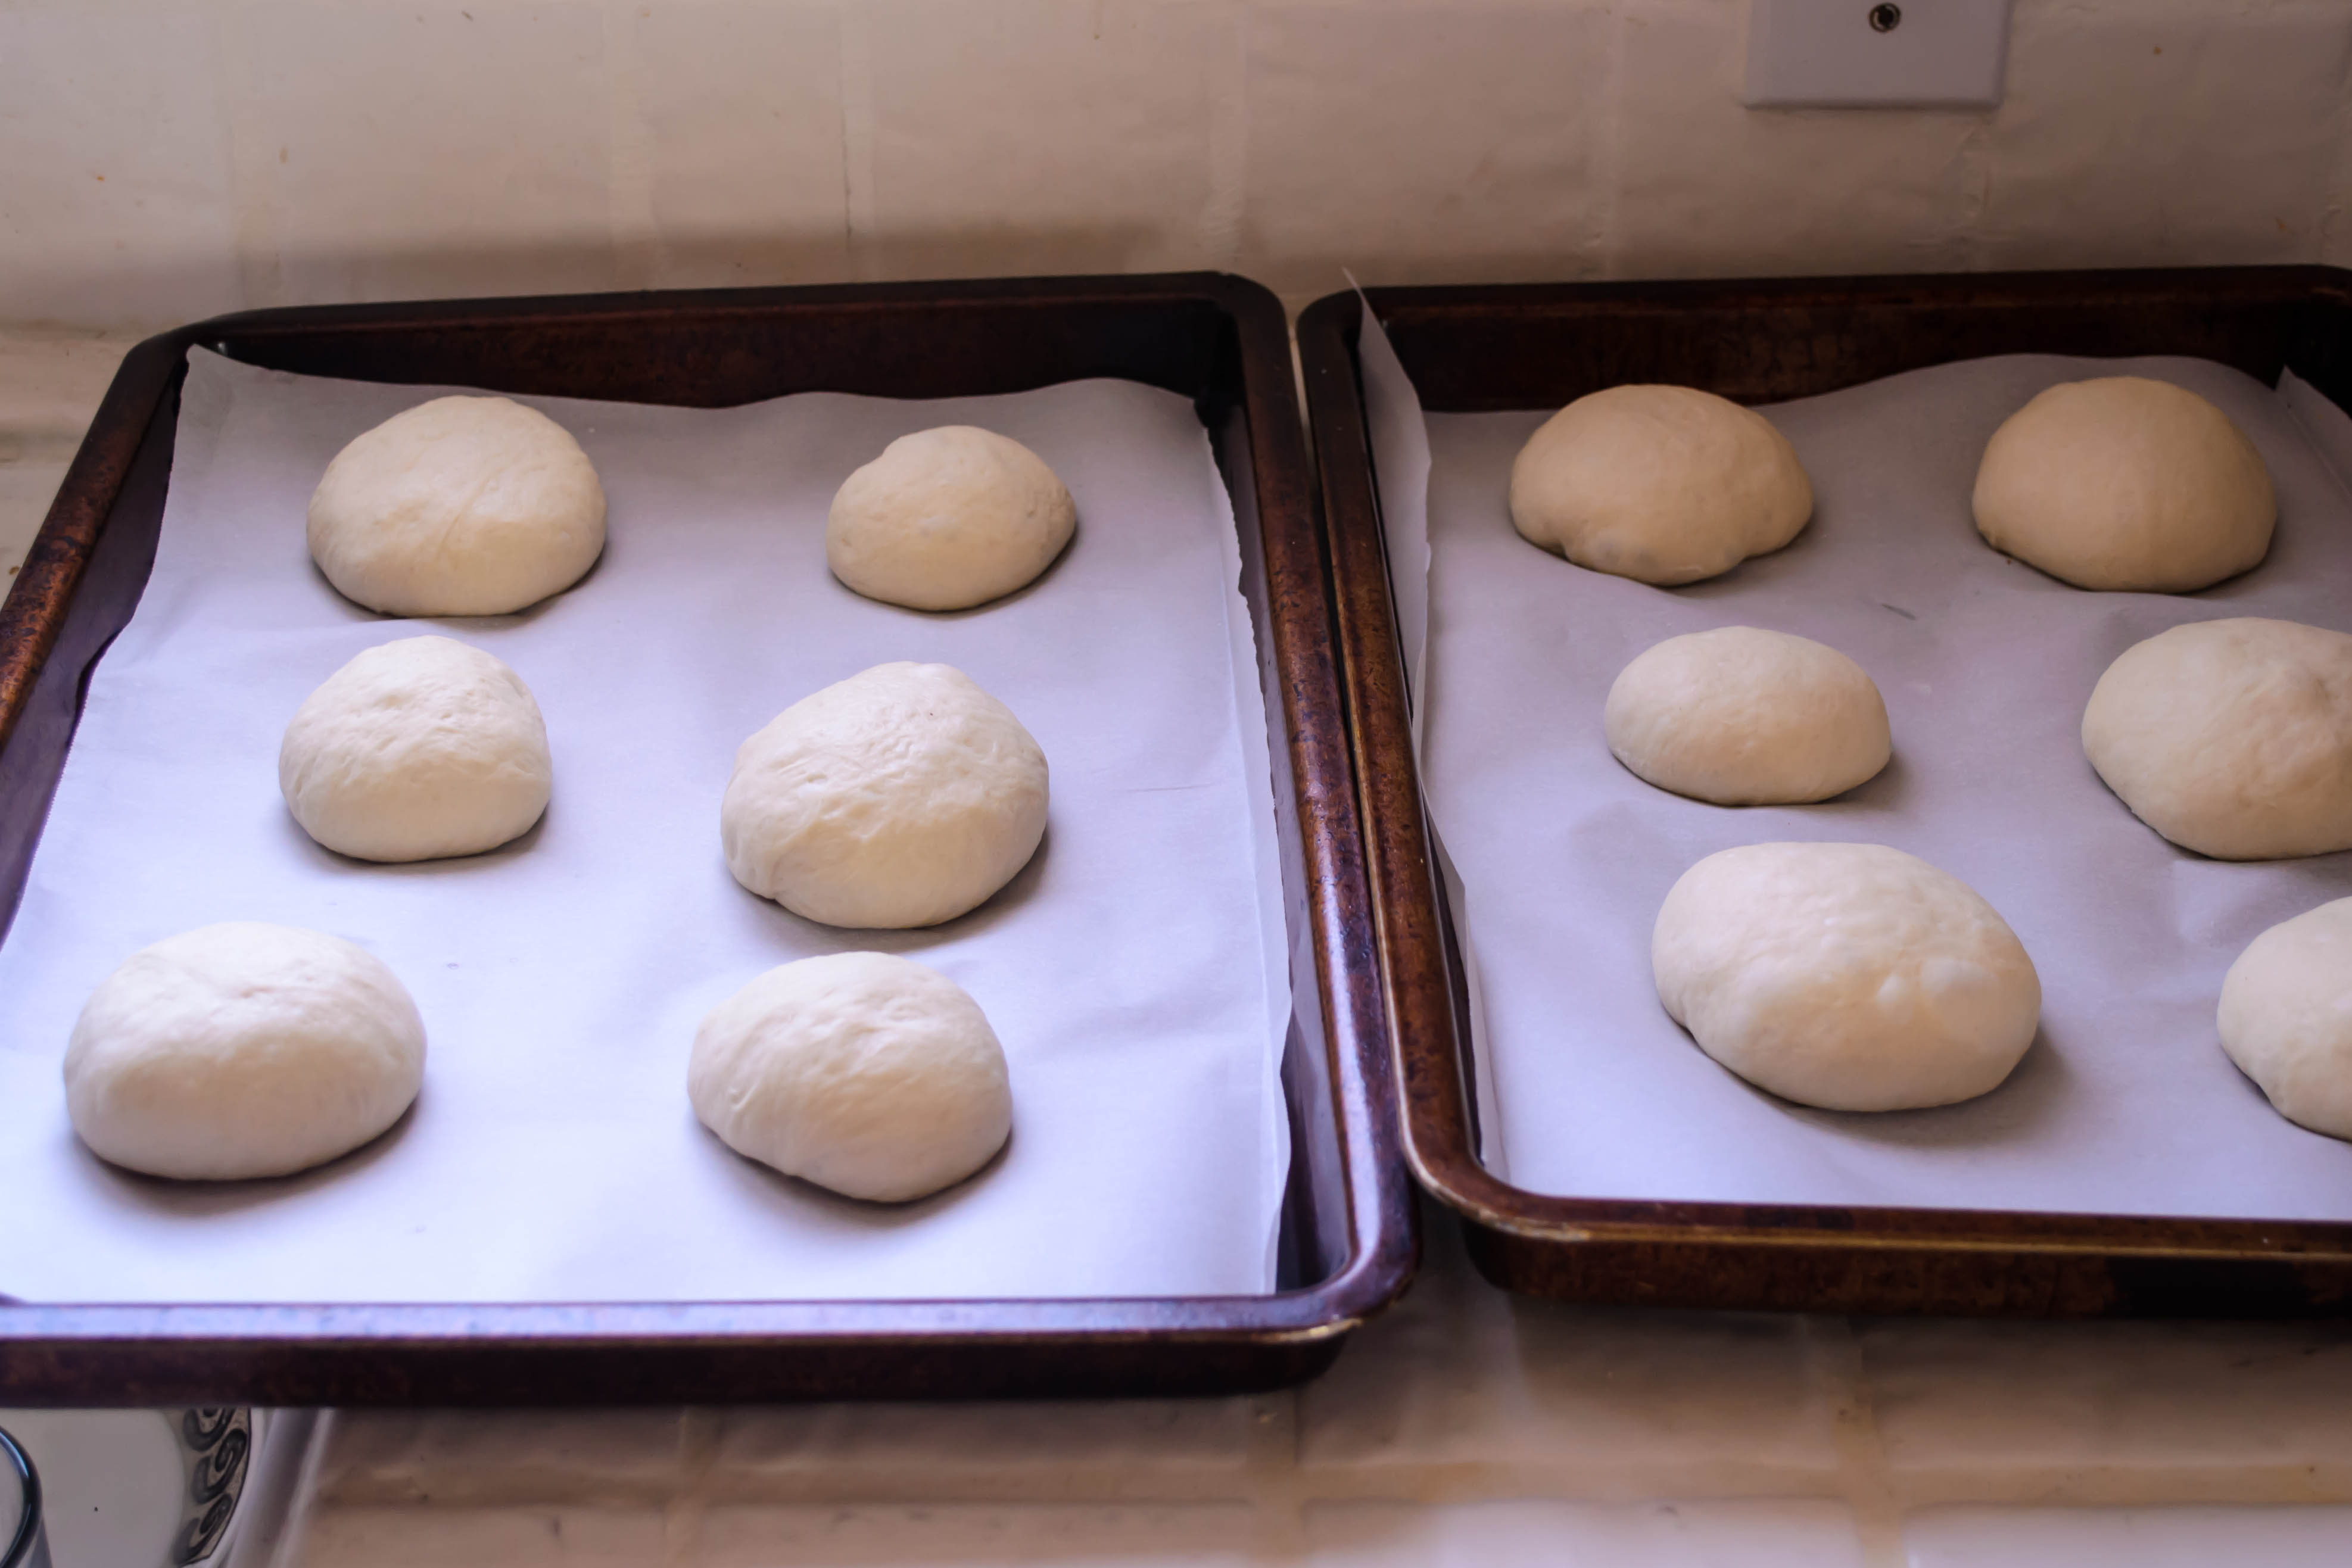
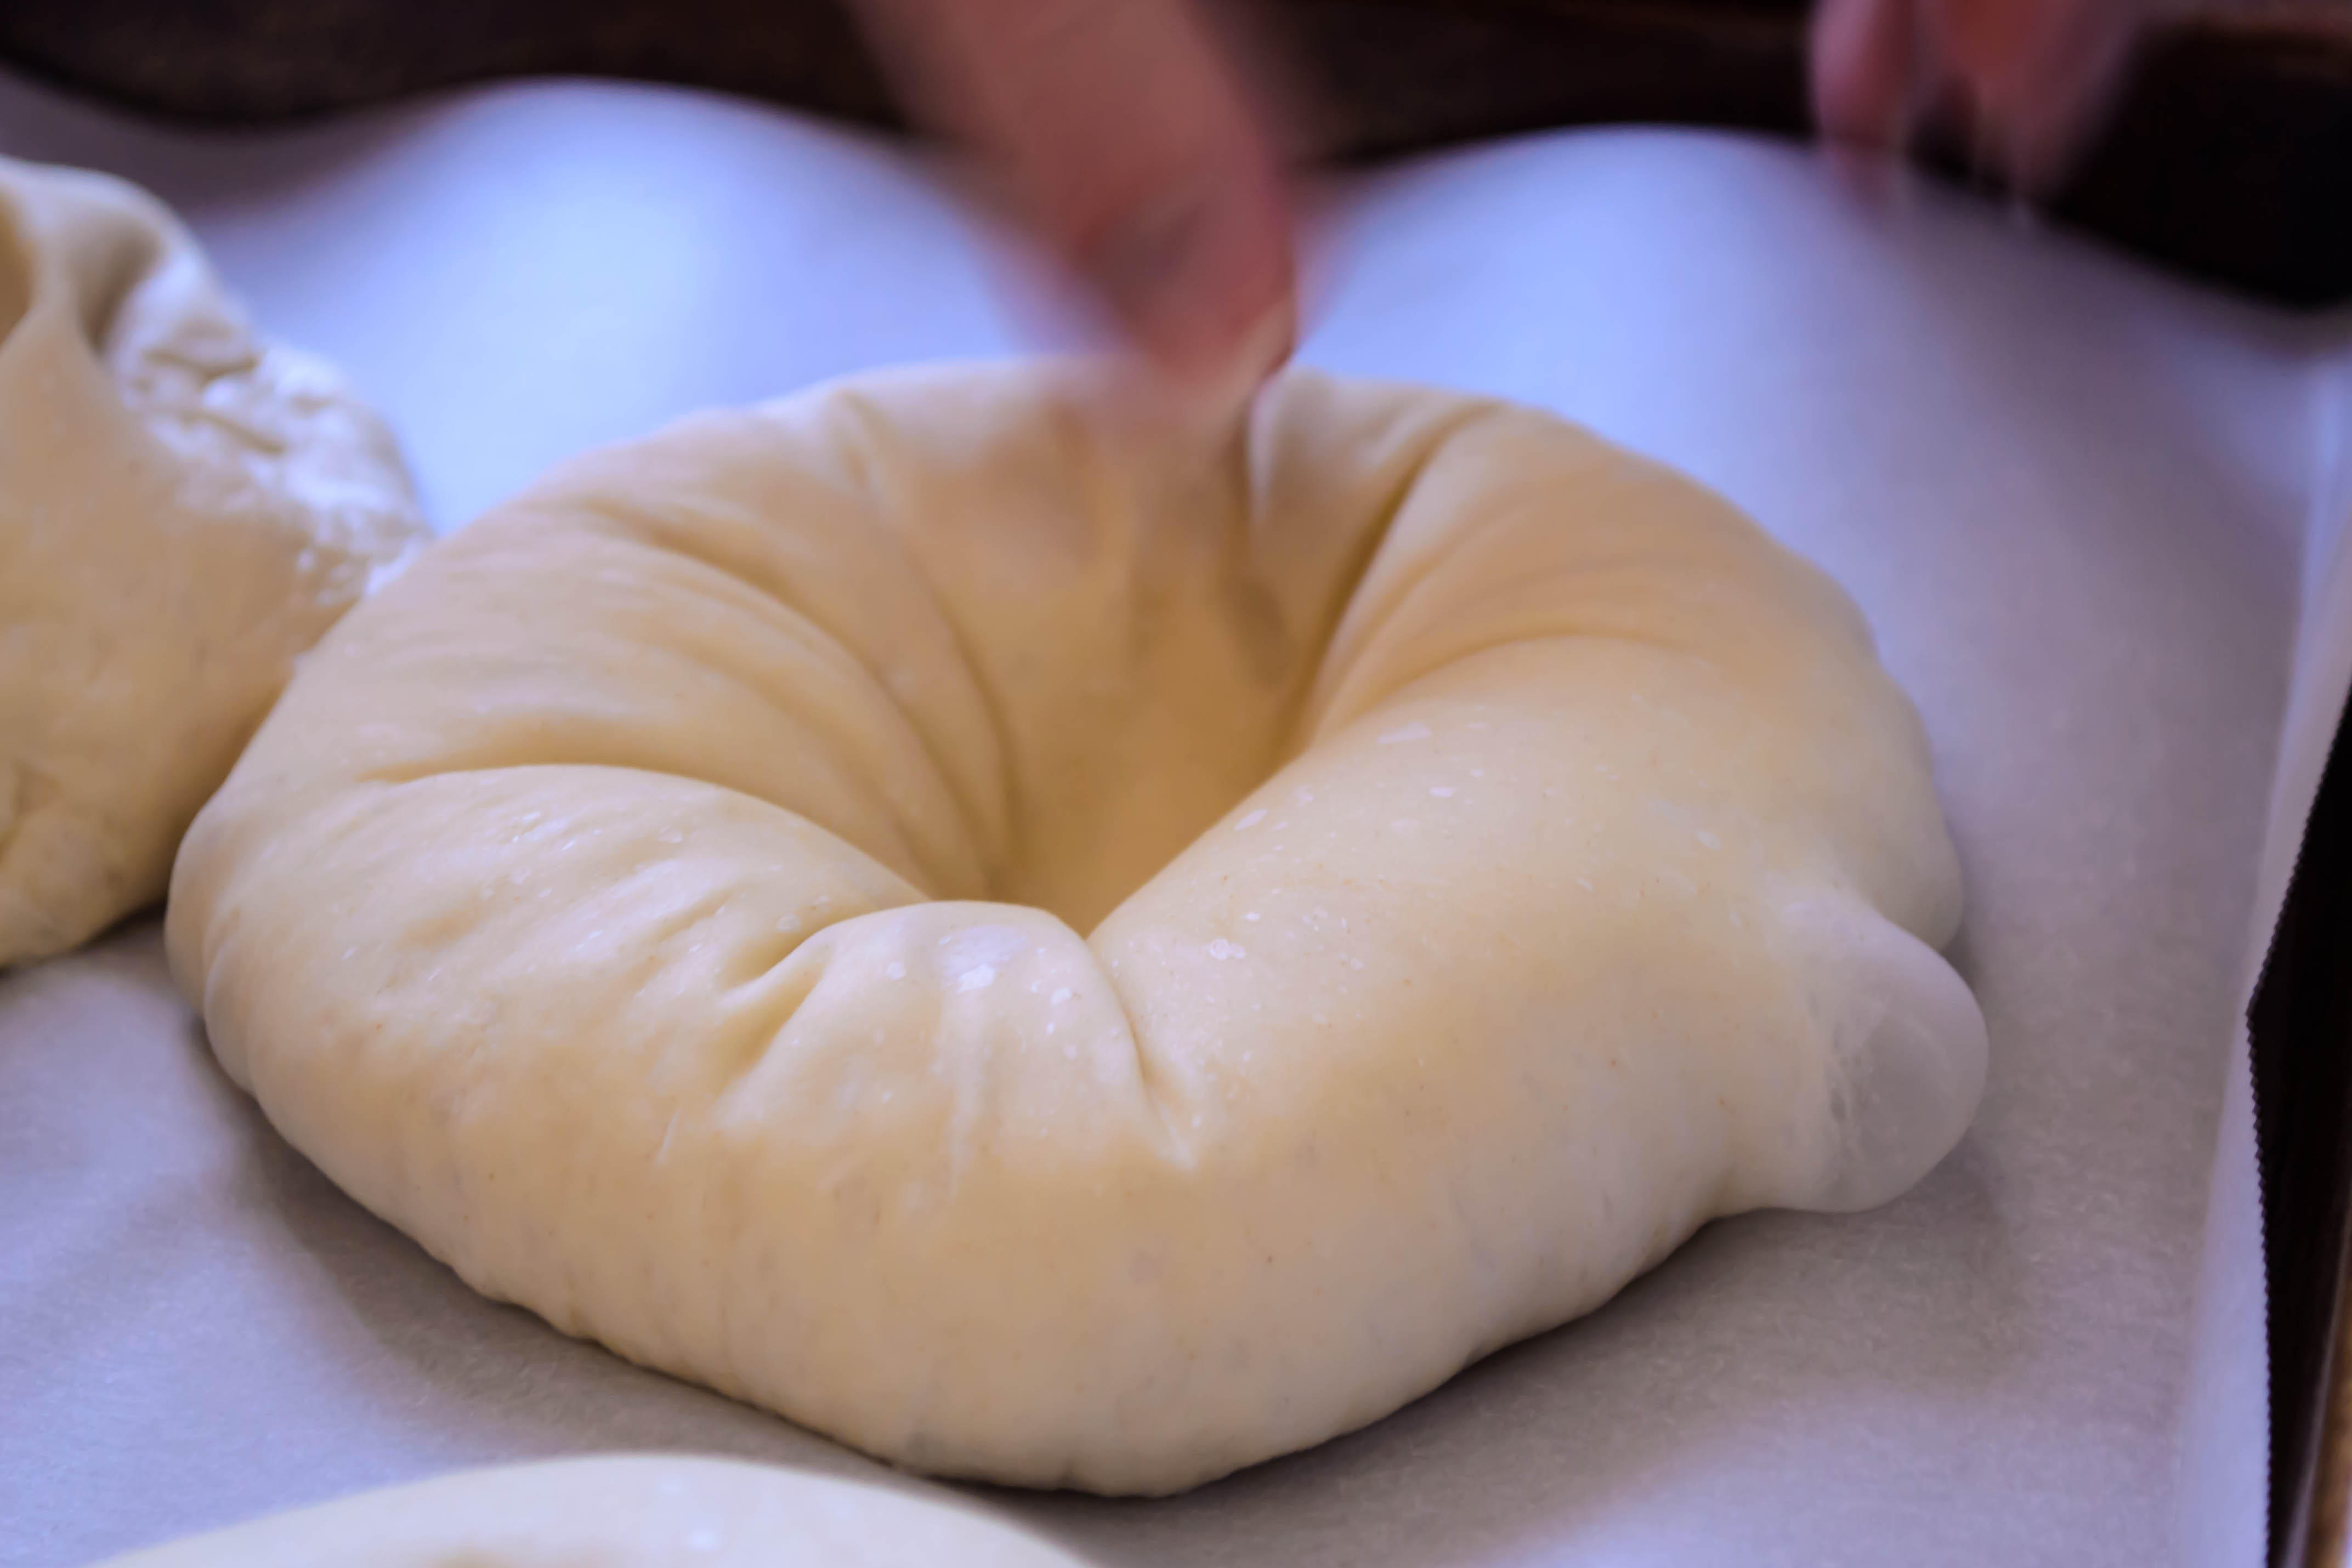
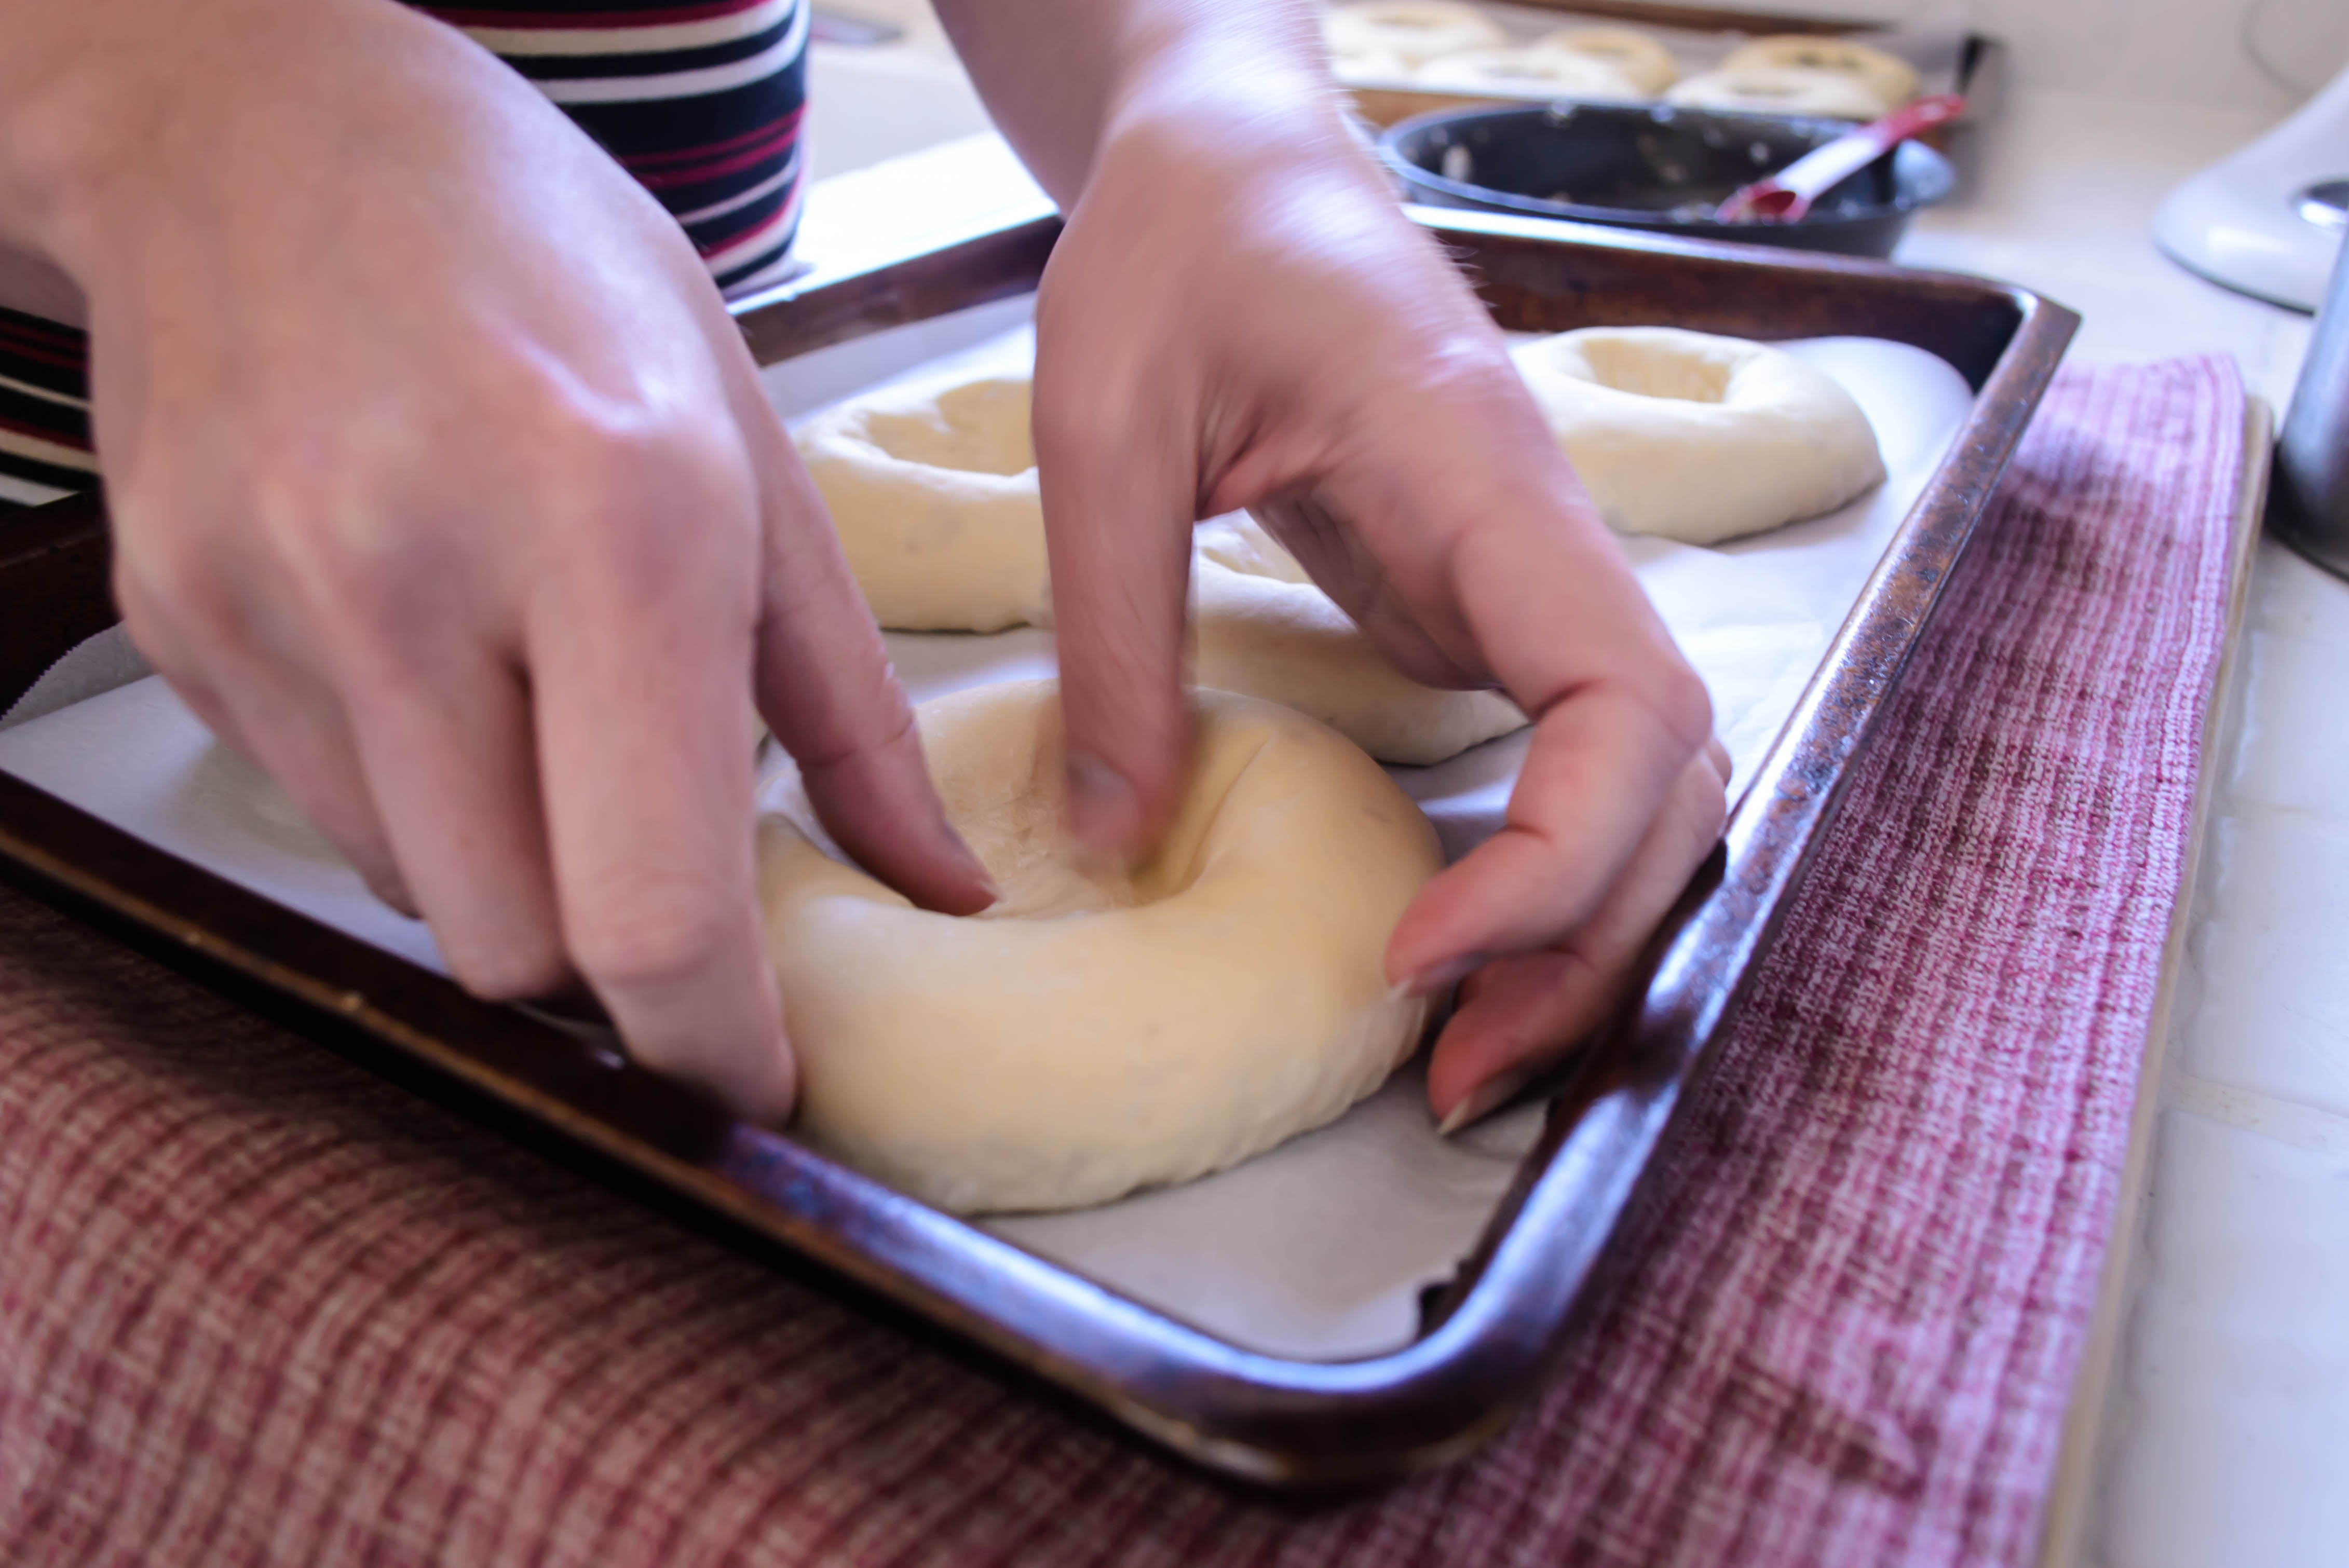
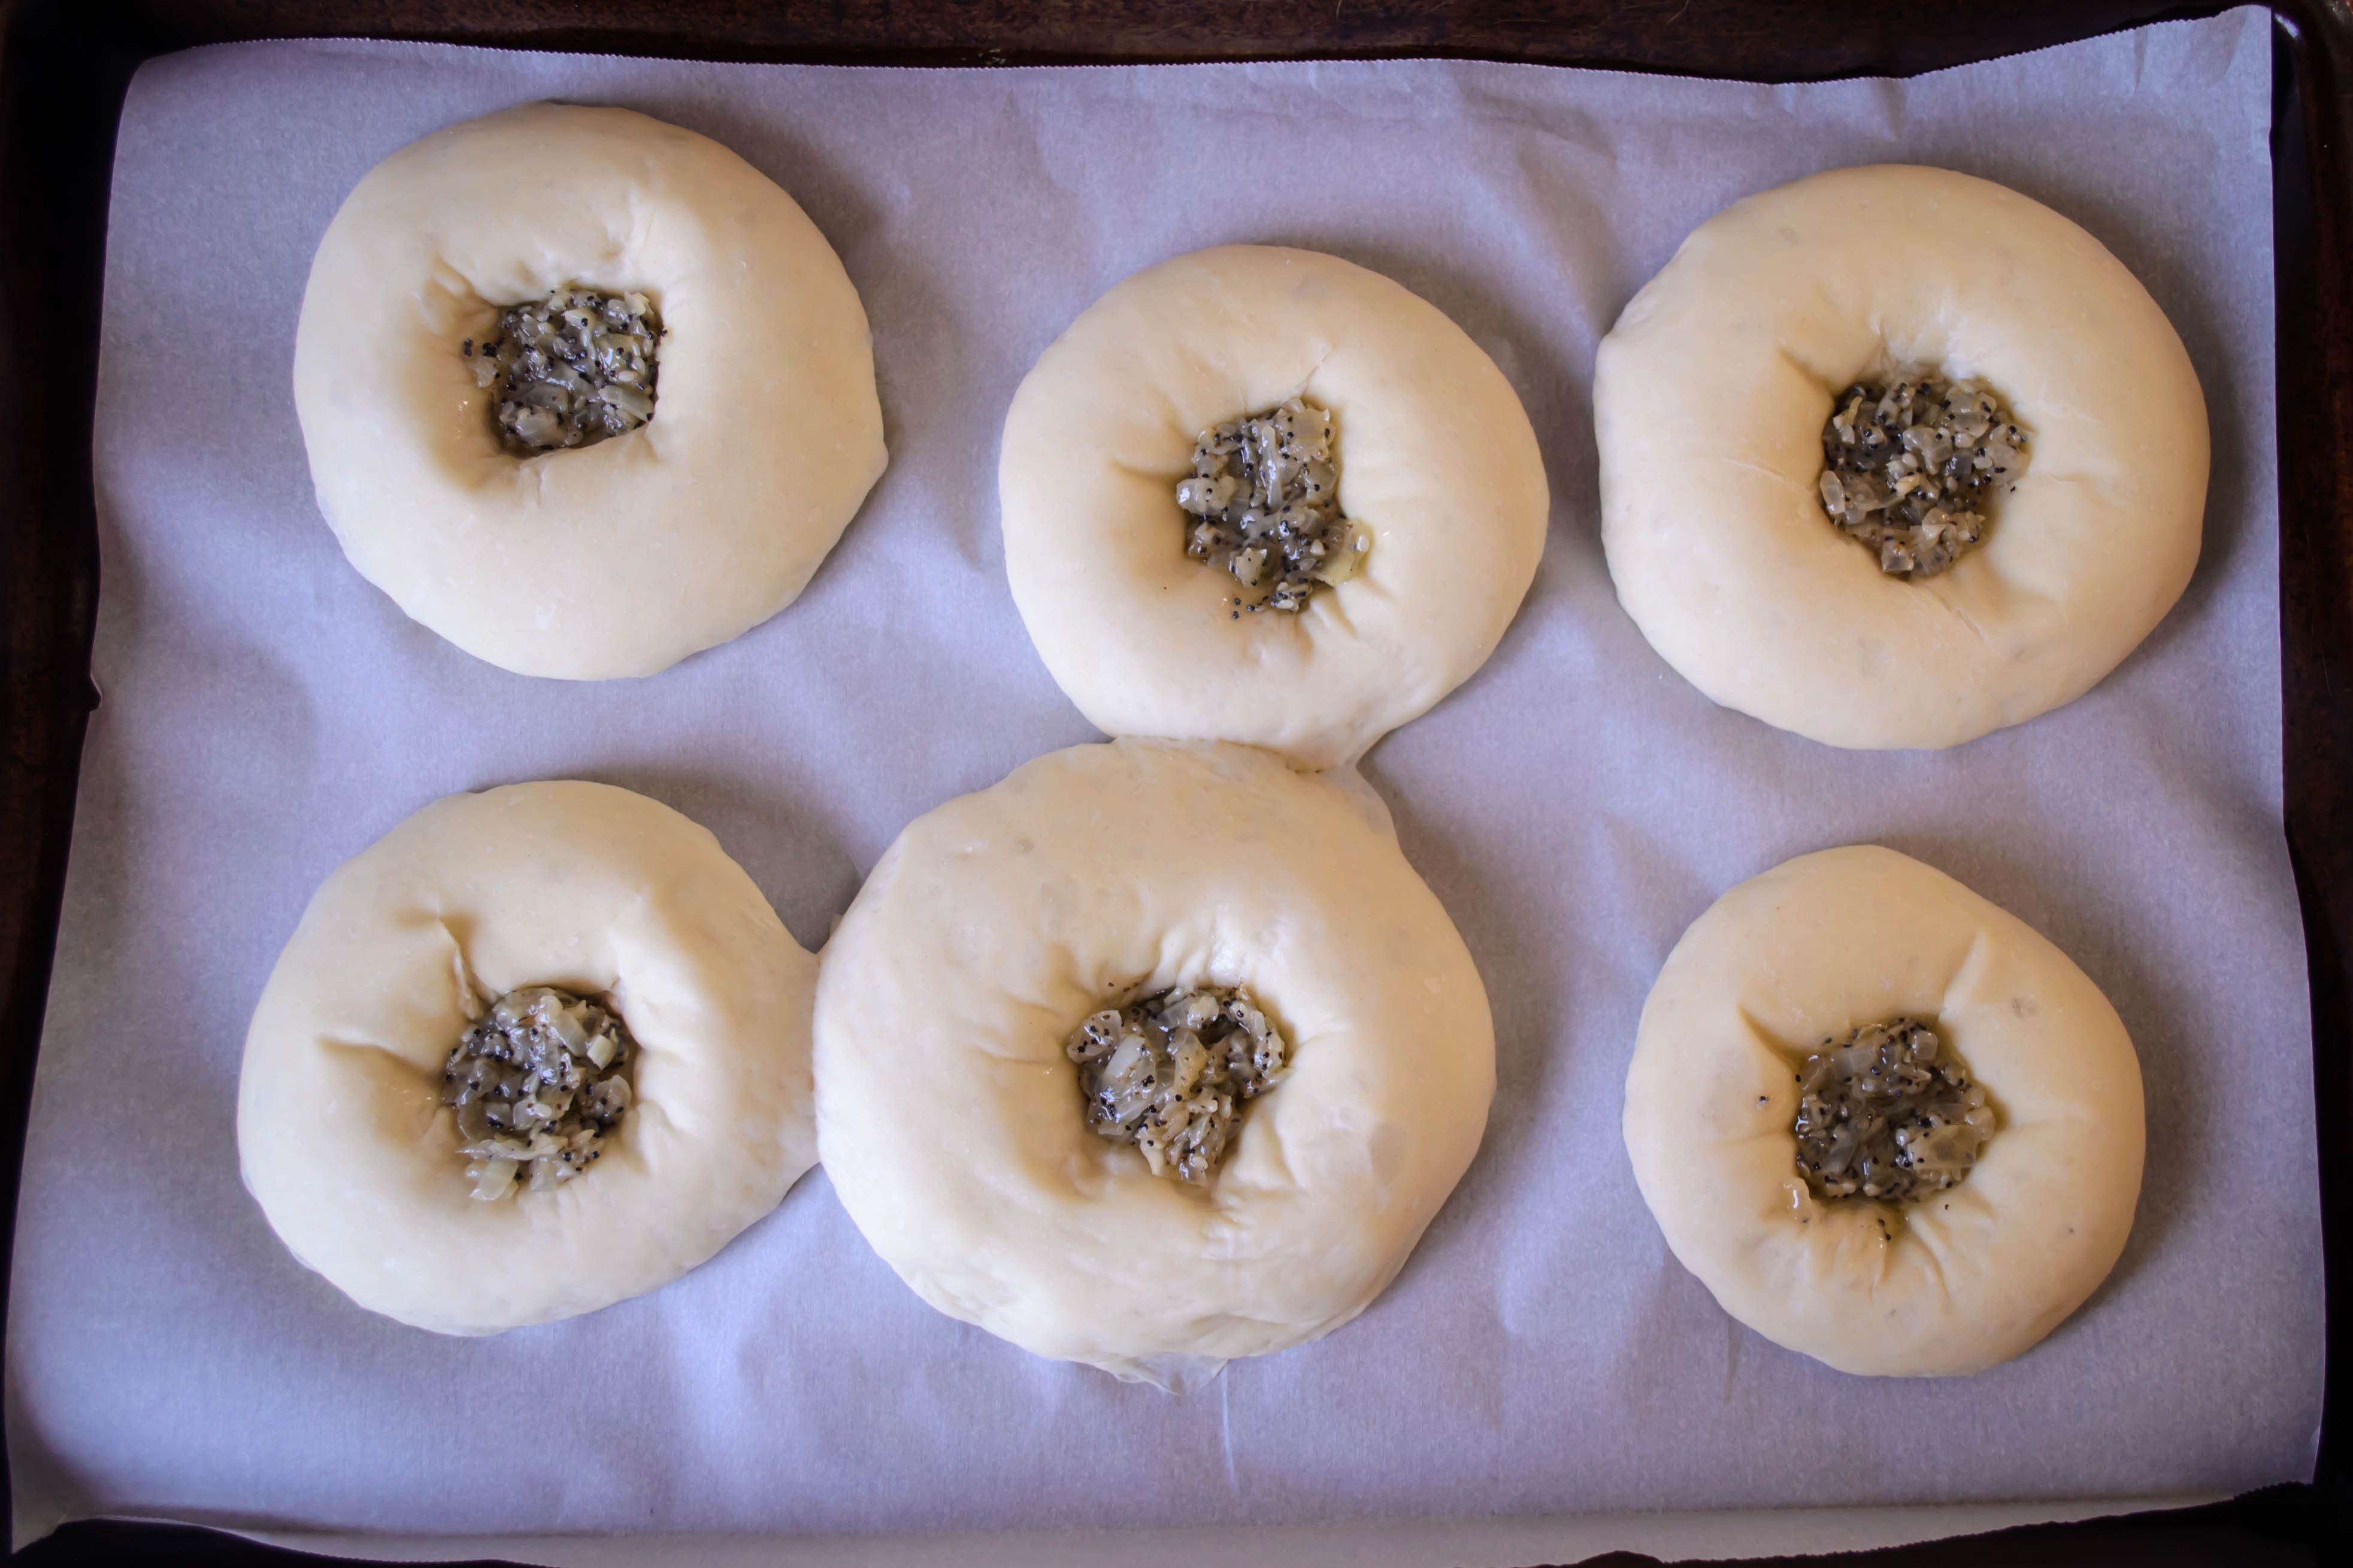
- As you form each ball, set it on a parchment paper lined baking sheet. Let these rise, under plastic wrap or a clean kitchen towel, for another 1½ – 2 hours, until they have almost doubled, and an indentation made by pressing your thumb into the middle remains depressed.
- While they rise, make the filling. Heat the 2 tablespoons butter in a small skillet over medium low heat. When it is melted, add the onions and salt and cook gently for 5 minutes, stirring occasionally. After 5 minutes, add the garlic and cook gently for another 5 minutes, or until the onions reach your desired level of caramelization (not much more will happen during baking).
- Remove from heat and add the seeds and pepper. Cool to room temperature.
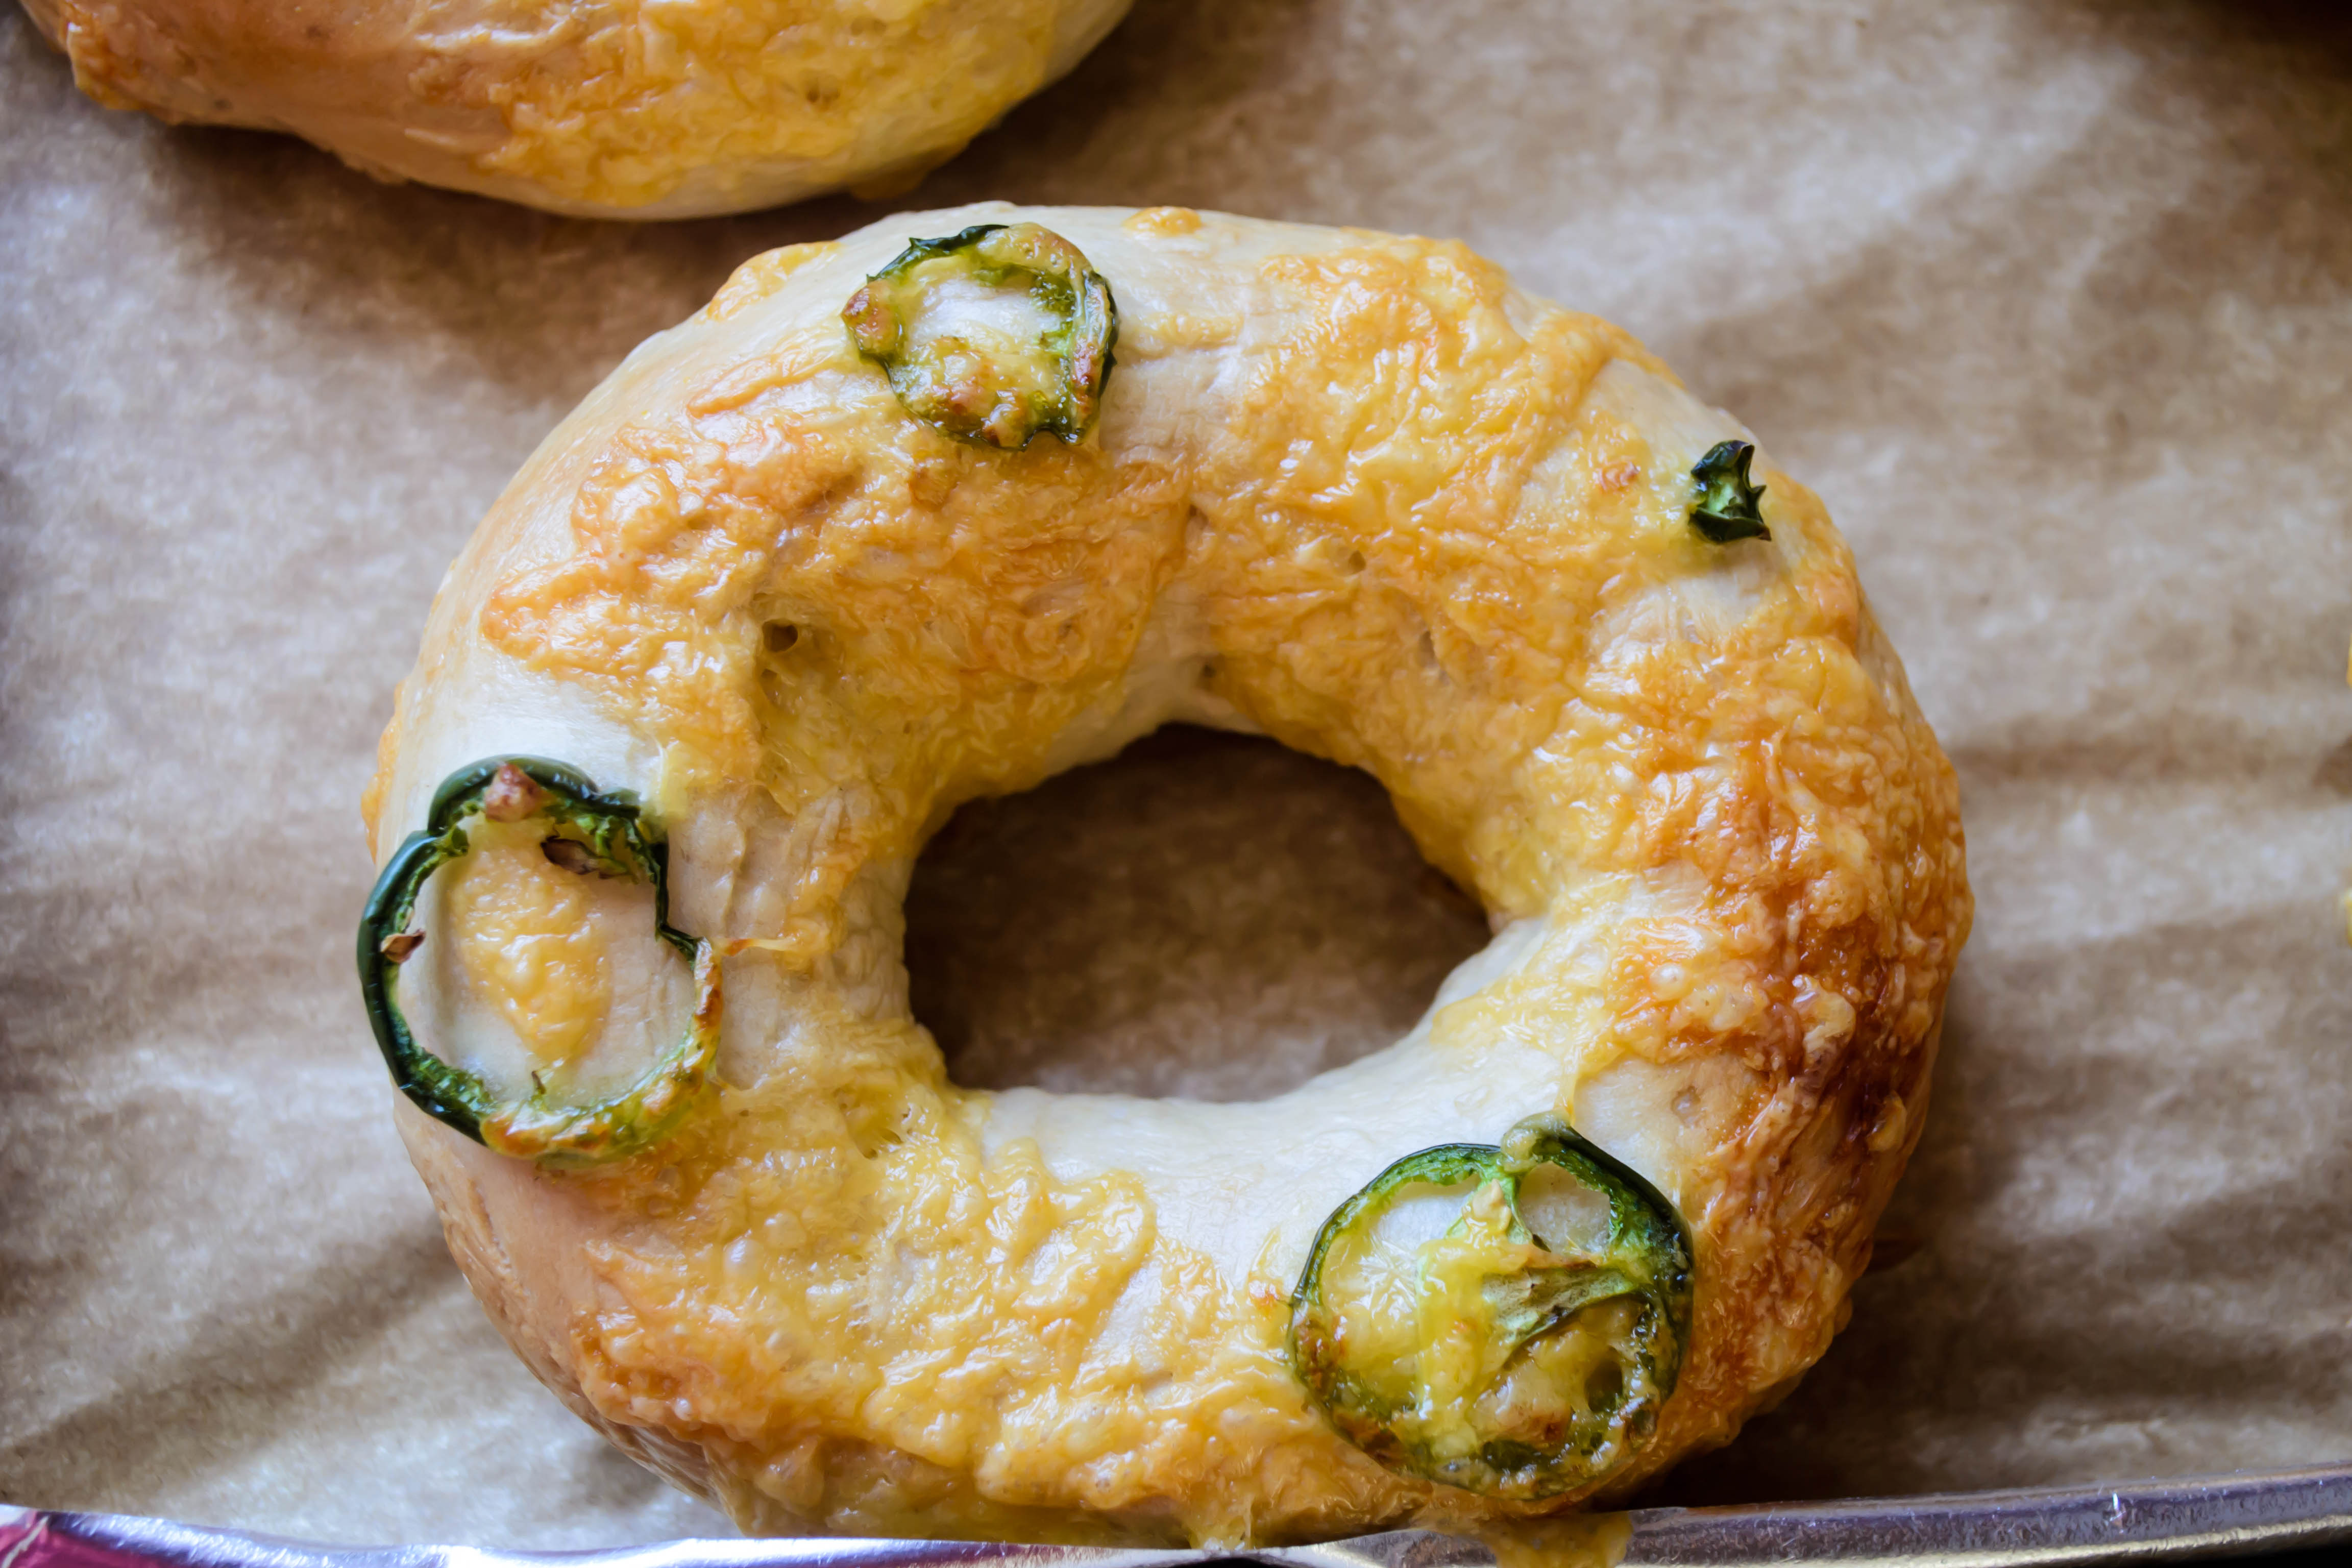
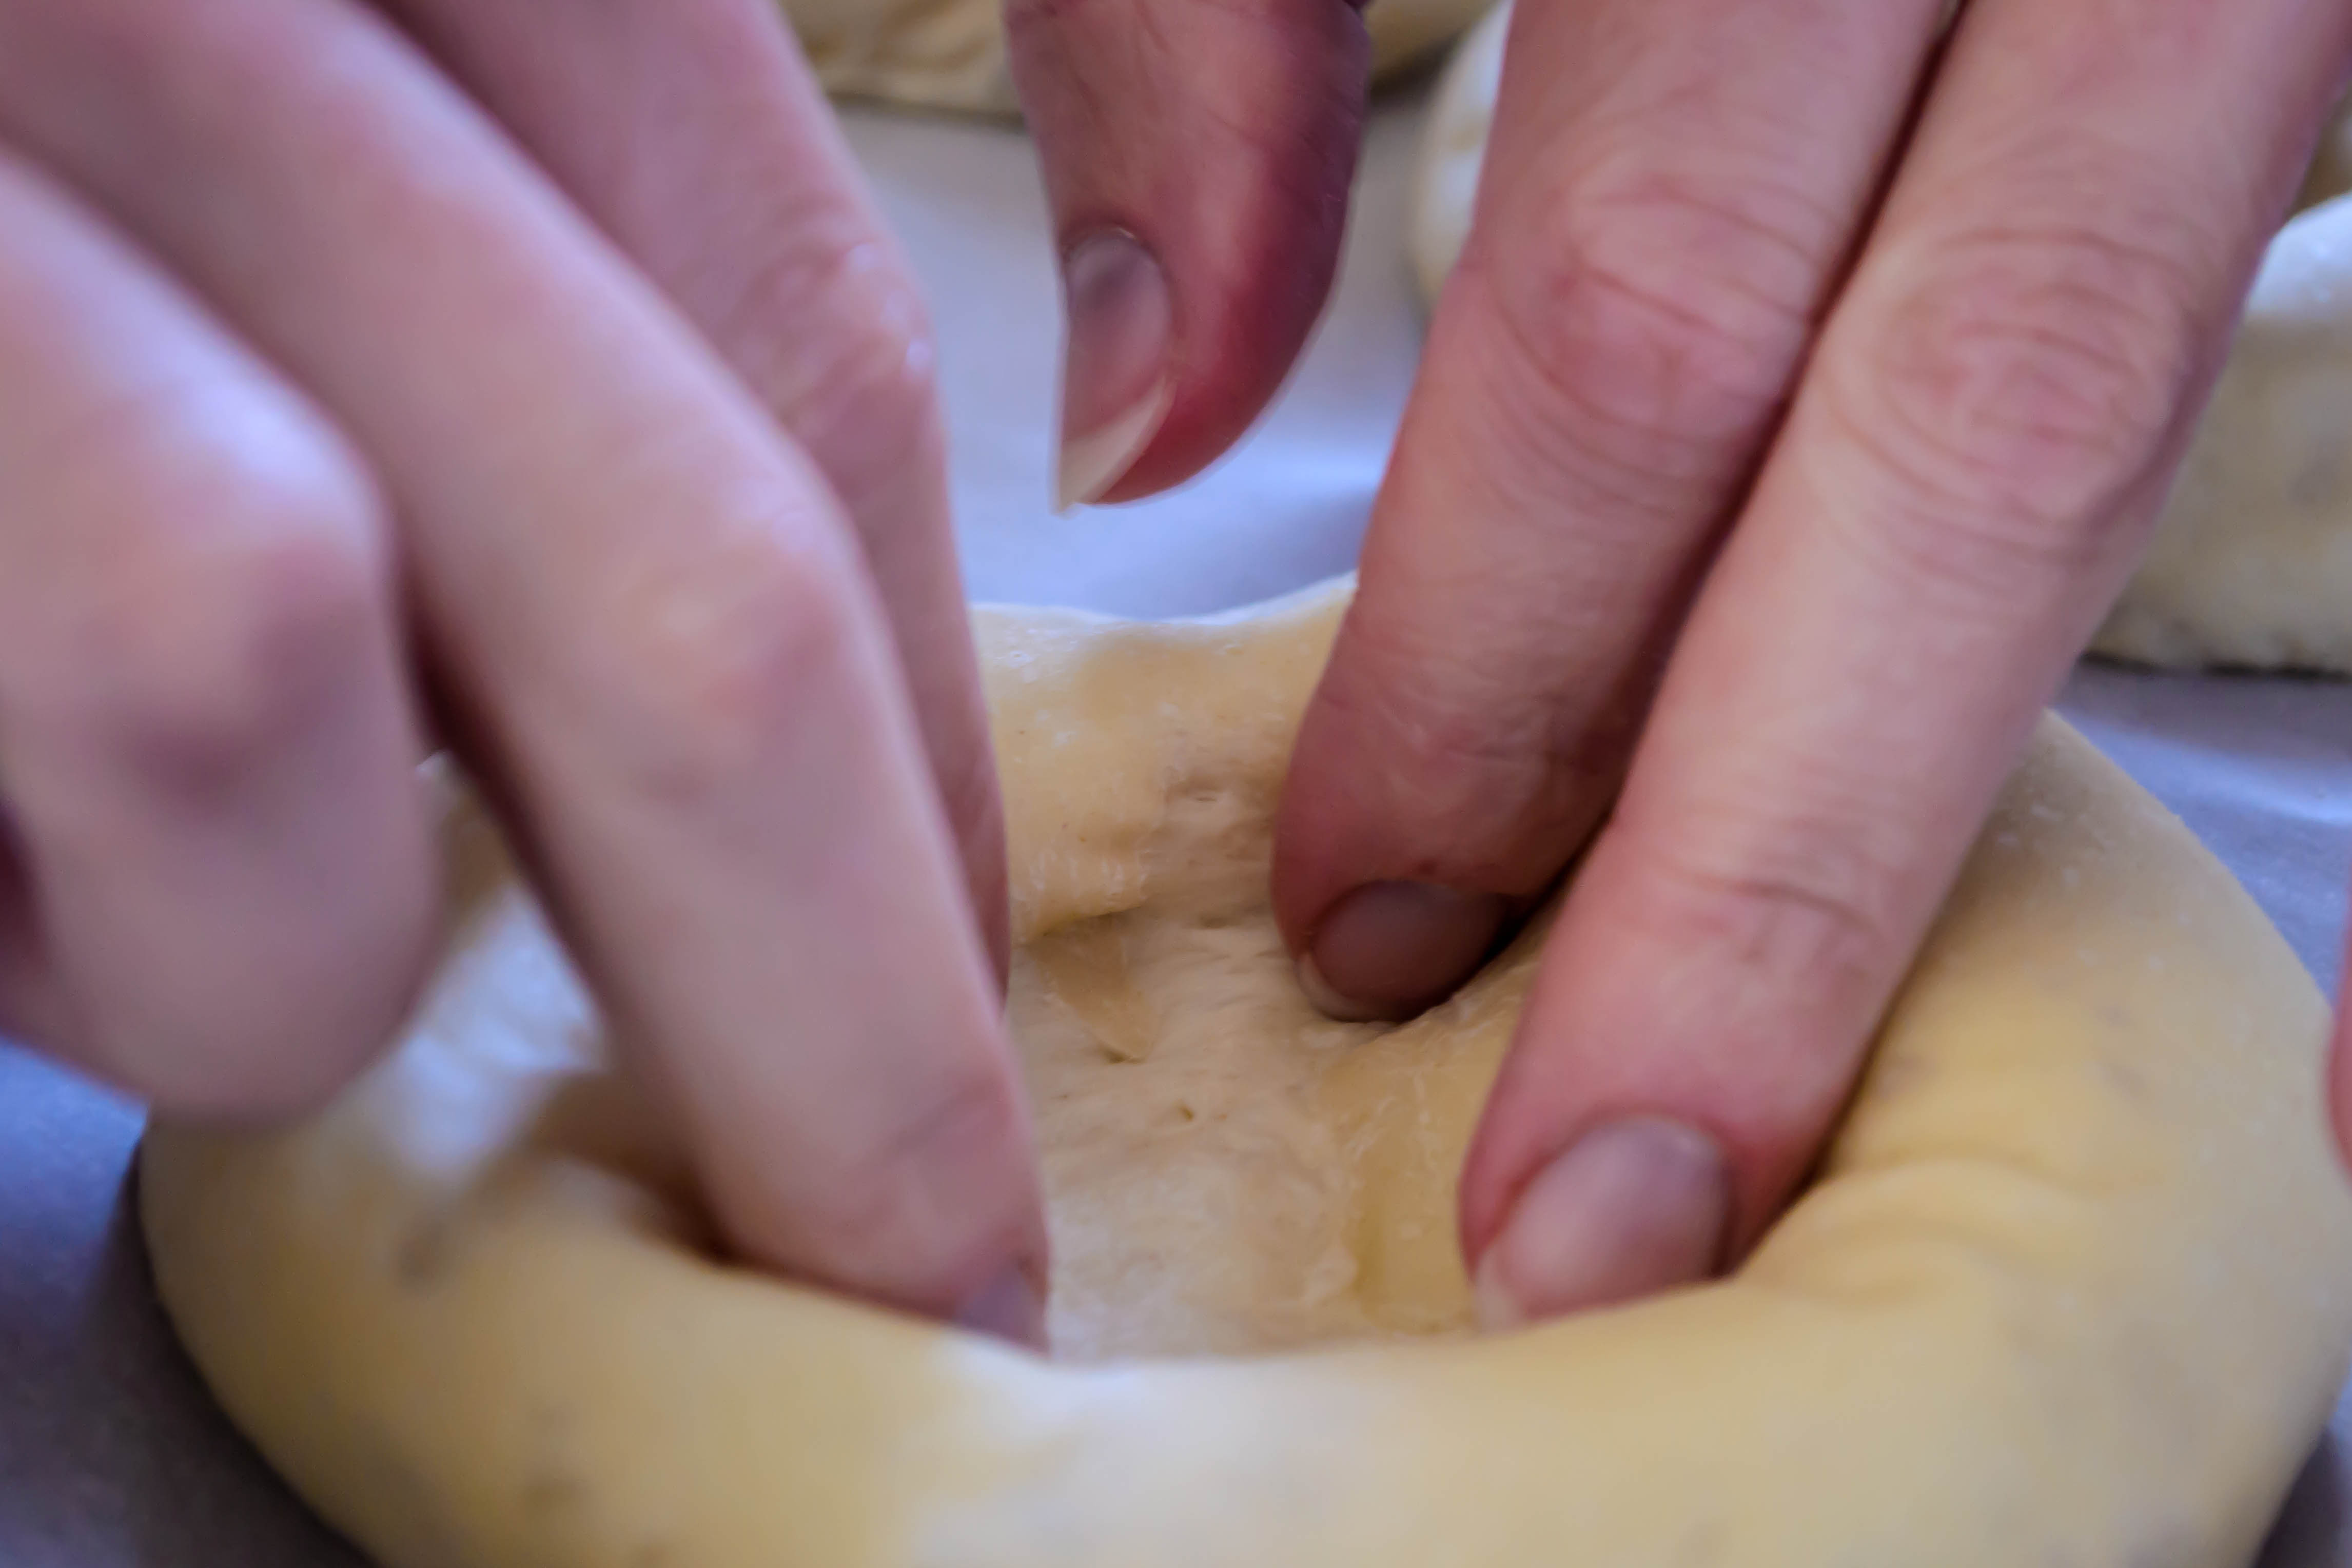
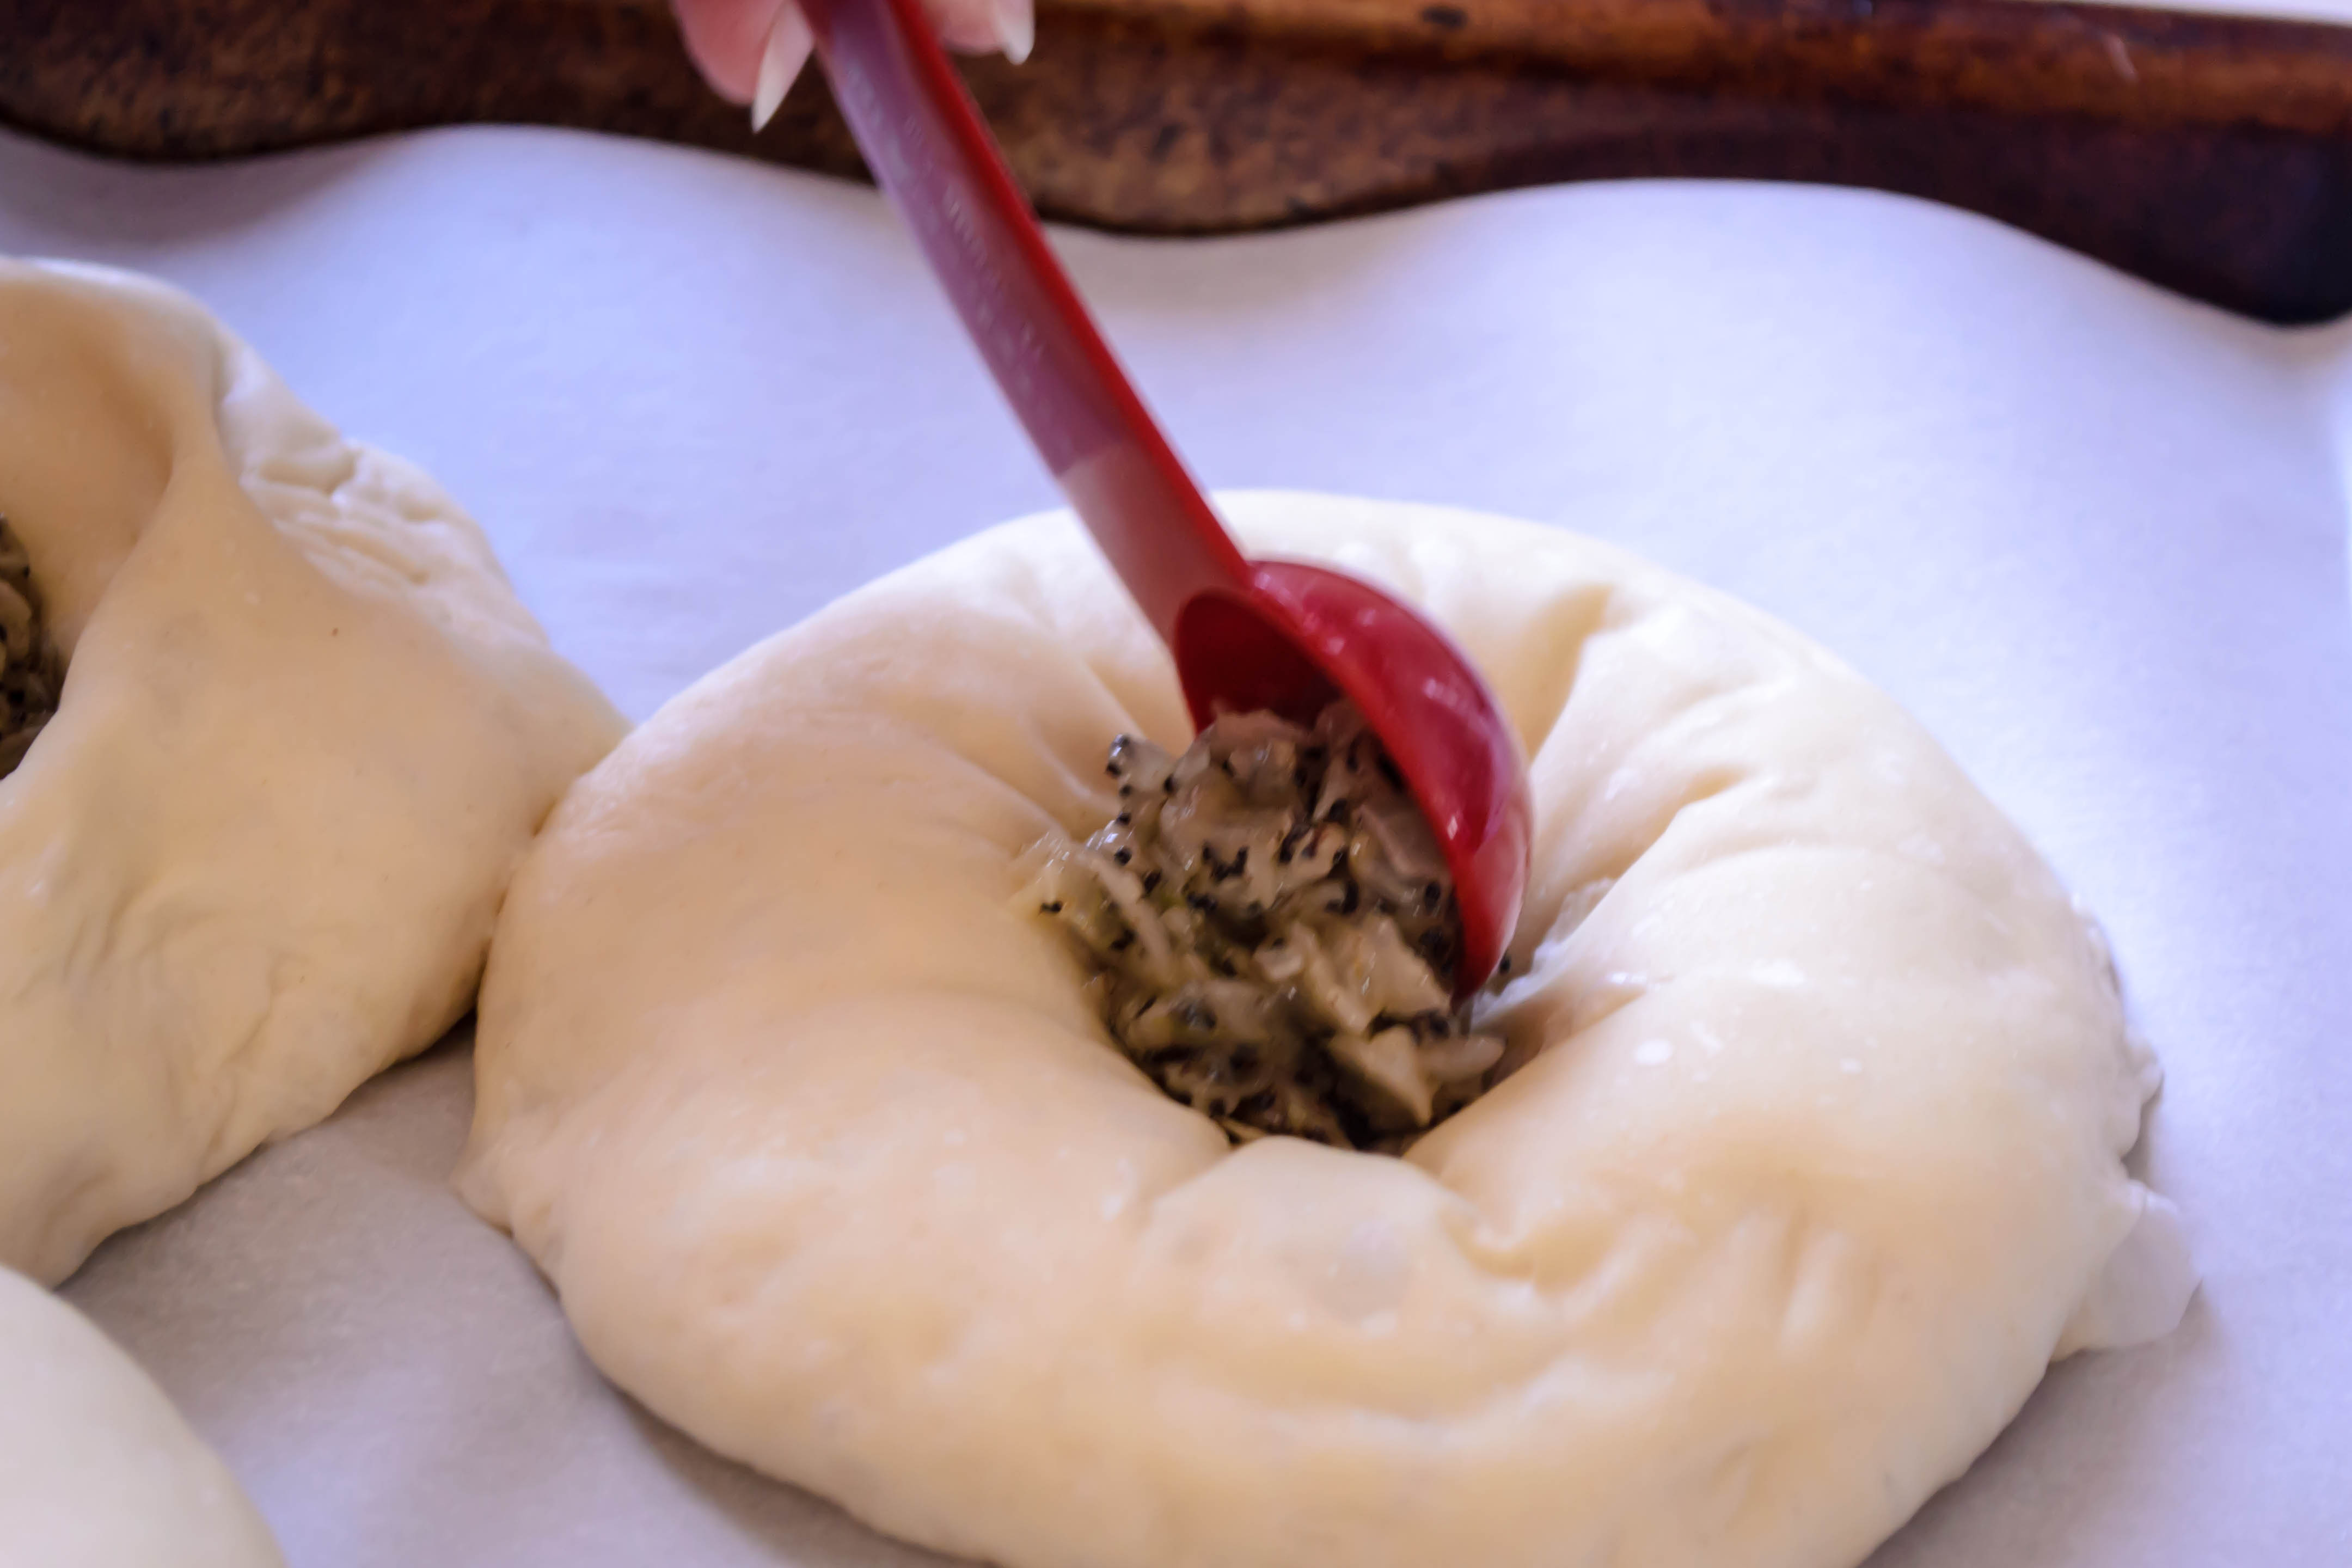
30-45 minutes before you intend to bake, place a cast iron skillet on the lowest rack. Place the other rack just one slot above this, and preheat the oven to 475F. - When the dough has risen again, uncover and create depressions (Deb says “craters,” which I love) in the center of each. Fill with 1-2 teaspoons of the cooled onion mixture. Sprinkle the tops with a bit of flaky salt, if desired.
- Place in the preheated 475F oven, then carefully dump a mug full of ice cubes into the cast iron skillet just below and close the oven door quickly. This creates a burst of steam like commercial ovens use, which helps create a nice crust.
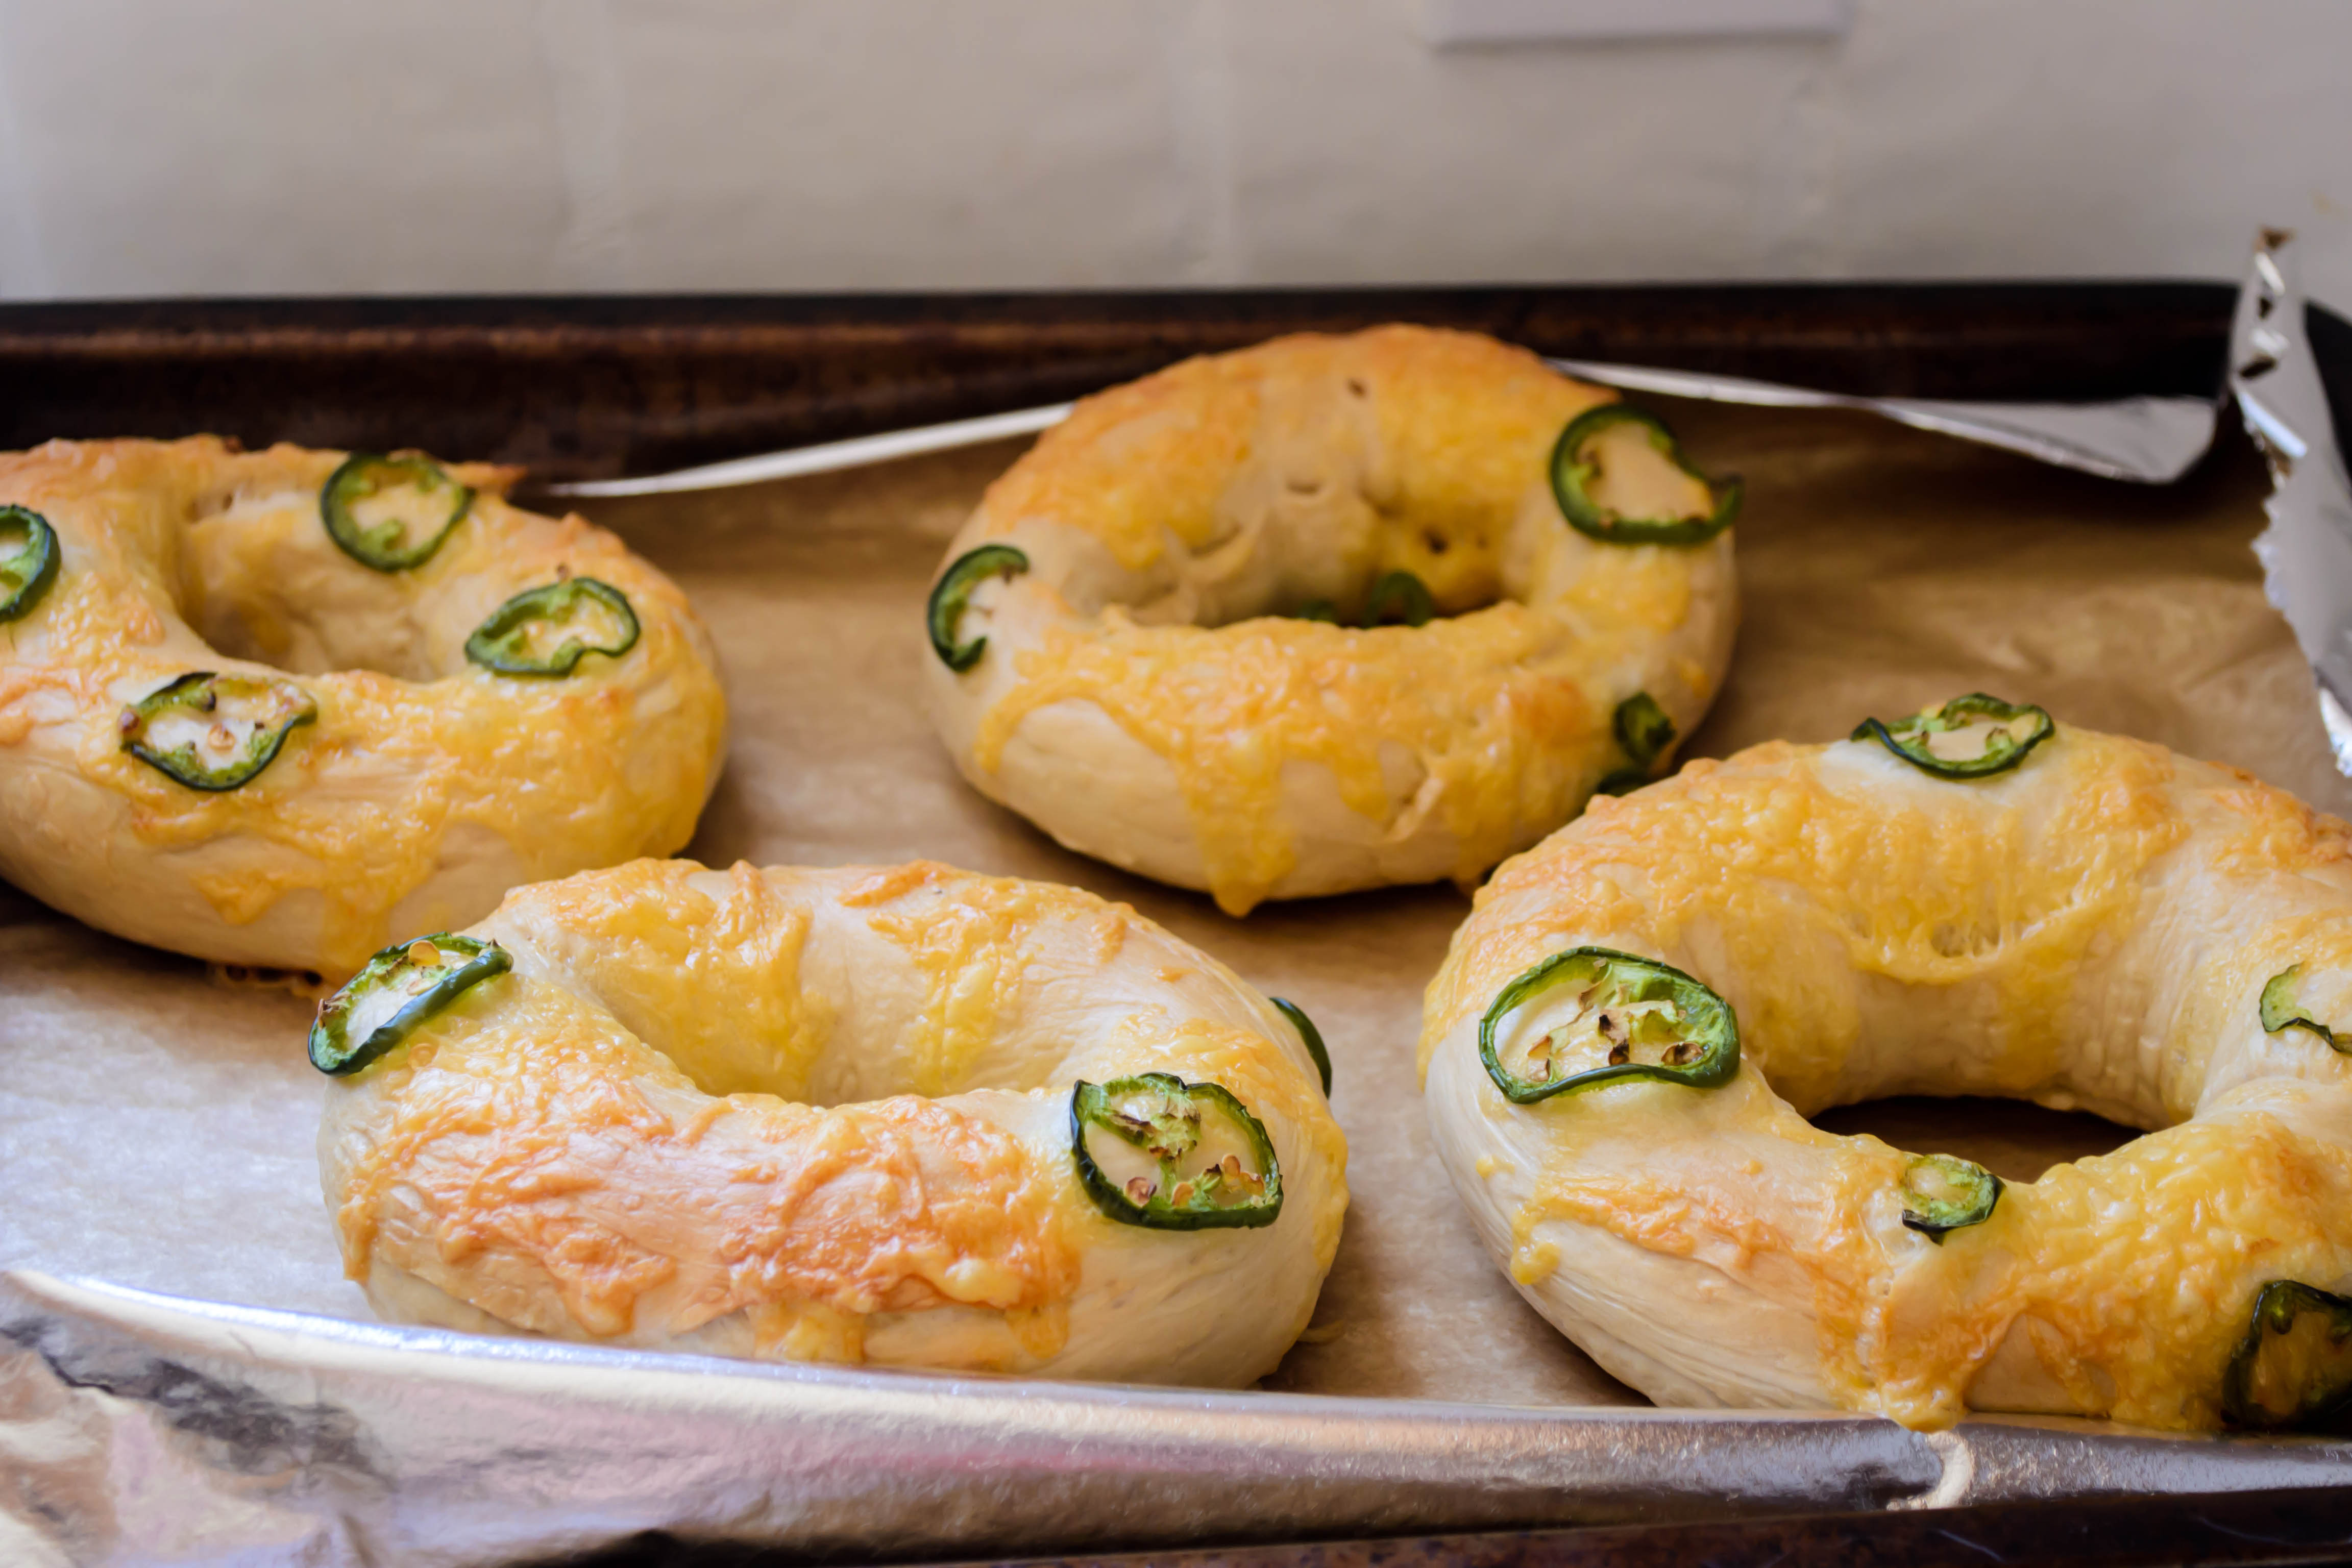
- Bake for 8-12 minutes. The tops of each bialy, around the onion filling, will bronze a bit.
- Cool at least 5 minutes before devouring.