
 As I revealed last week, my trio of vegetable pickles are just one part of a larger project: a meatball banh mi. These rice rolls are part two. Banh mi, in Vietnamese, really refers not to the wonderful sandwich layered with pate or pork or tofu and stacked with vegetables, pickles, and spice, but to bread itself. Colonization brought the French baguette to Vietnam, and the blending of flavors is a much nicer postcolonial remnant than such occupations frequently bring.
 Though the culinary melding is quite harmonious, banh mi bread brings with it a great deal of internet controversy. Though most shops that sell the popular sandwich buy their baguettes from Vietnamese bakeries rather than making them in-house,
 crazy people people like me who want to re-craft the “genuine article” share their complaints, secrets, and professed revelations all over forums and comment threads, arguing over proportions and procedure and shape, and at some point, the argument usually involves discussion of flour type, gluten development, and protein content.

 The main debate when it comes to banh mi bread is the texture and composition. Though I’ve had these sandwiches on bread ranging from baguette or french roll to essentially a toasted hot dog bun, the ideal is a crisp, thin crust with a soft interior. The phrase “shatteringly crisp” is used with reverence. The internal structure should be light and soft and more delicate than the spongy chew of ciabatta. Rice flour is supposed to be the answer. Because it does not contain gluten, it will not result in the formation of the chewy texture a well-kneaded baguette can produce. However, food writer Andrea Nguyen, who knows a thing or two about Vietnamese food, asserts (assertively, even!) that rice flour is not a necessity, and in fact may even hinder the lightness and delicacy of the bread interior. However, without access to her cookbook or the combination of vital wheat gluten and vitamin C tablets she makes use of, I stuck with my usual method: a combination of promising-looking recipes plus my own instinct. Despite the to-rice-or-not-to-rice controversy, I decided to use a small percentage of rice flour. After all, I had some. Why not give it a shot.
 I also decided, veering far from tradition, to add some rye flour to the mix. According to Simply a Food Blog, a little bit of rye flour adds a compelling flavor and some additional sugars to the dough for the yeasts to gobble up. I like the gentle toastiness of rye flour, so I incorporated some of that as well.

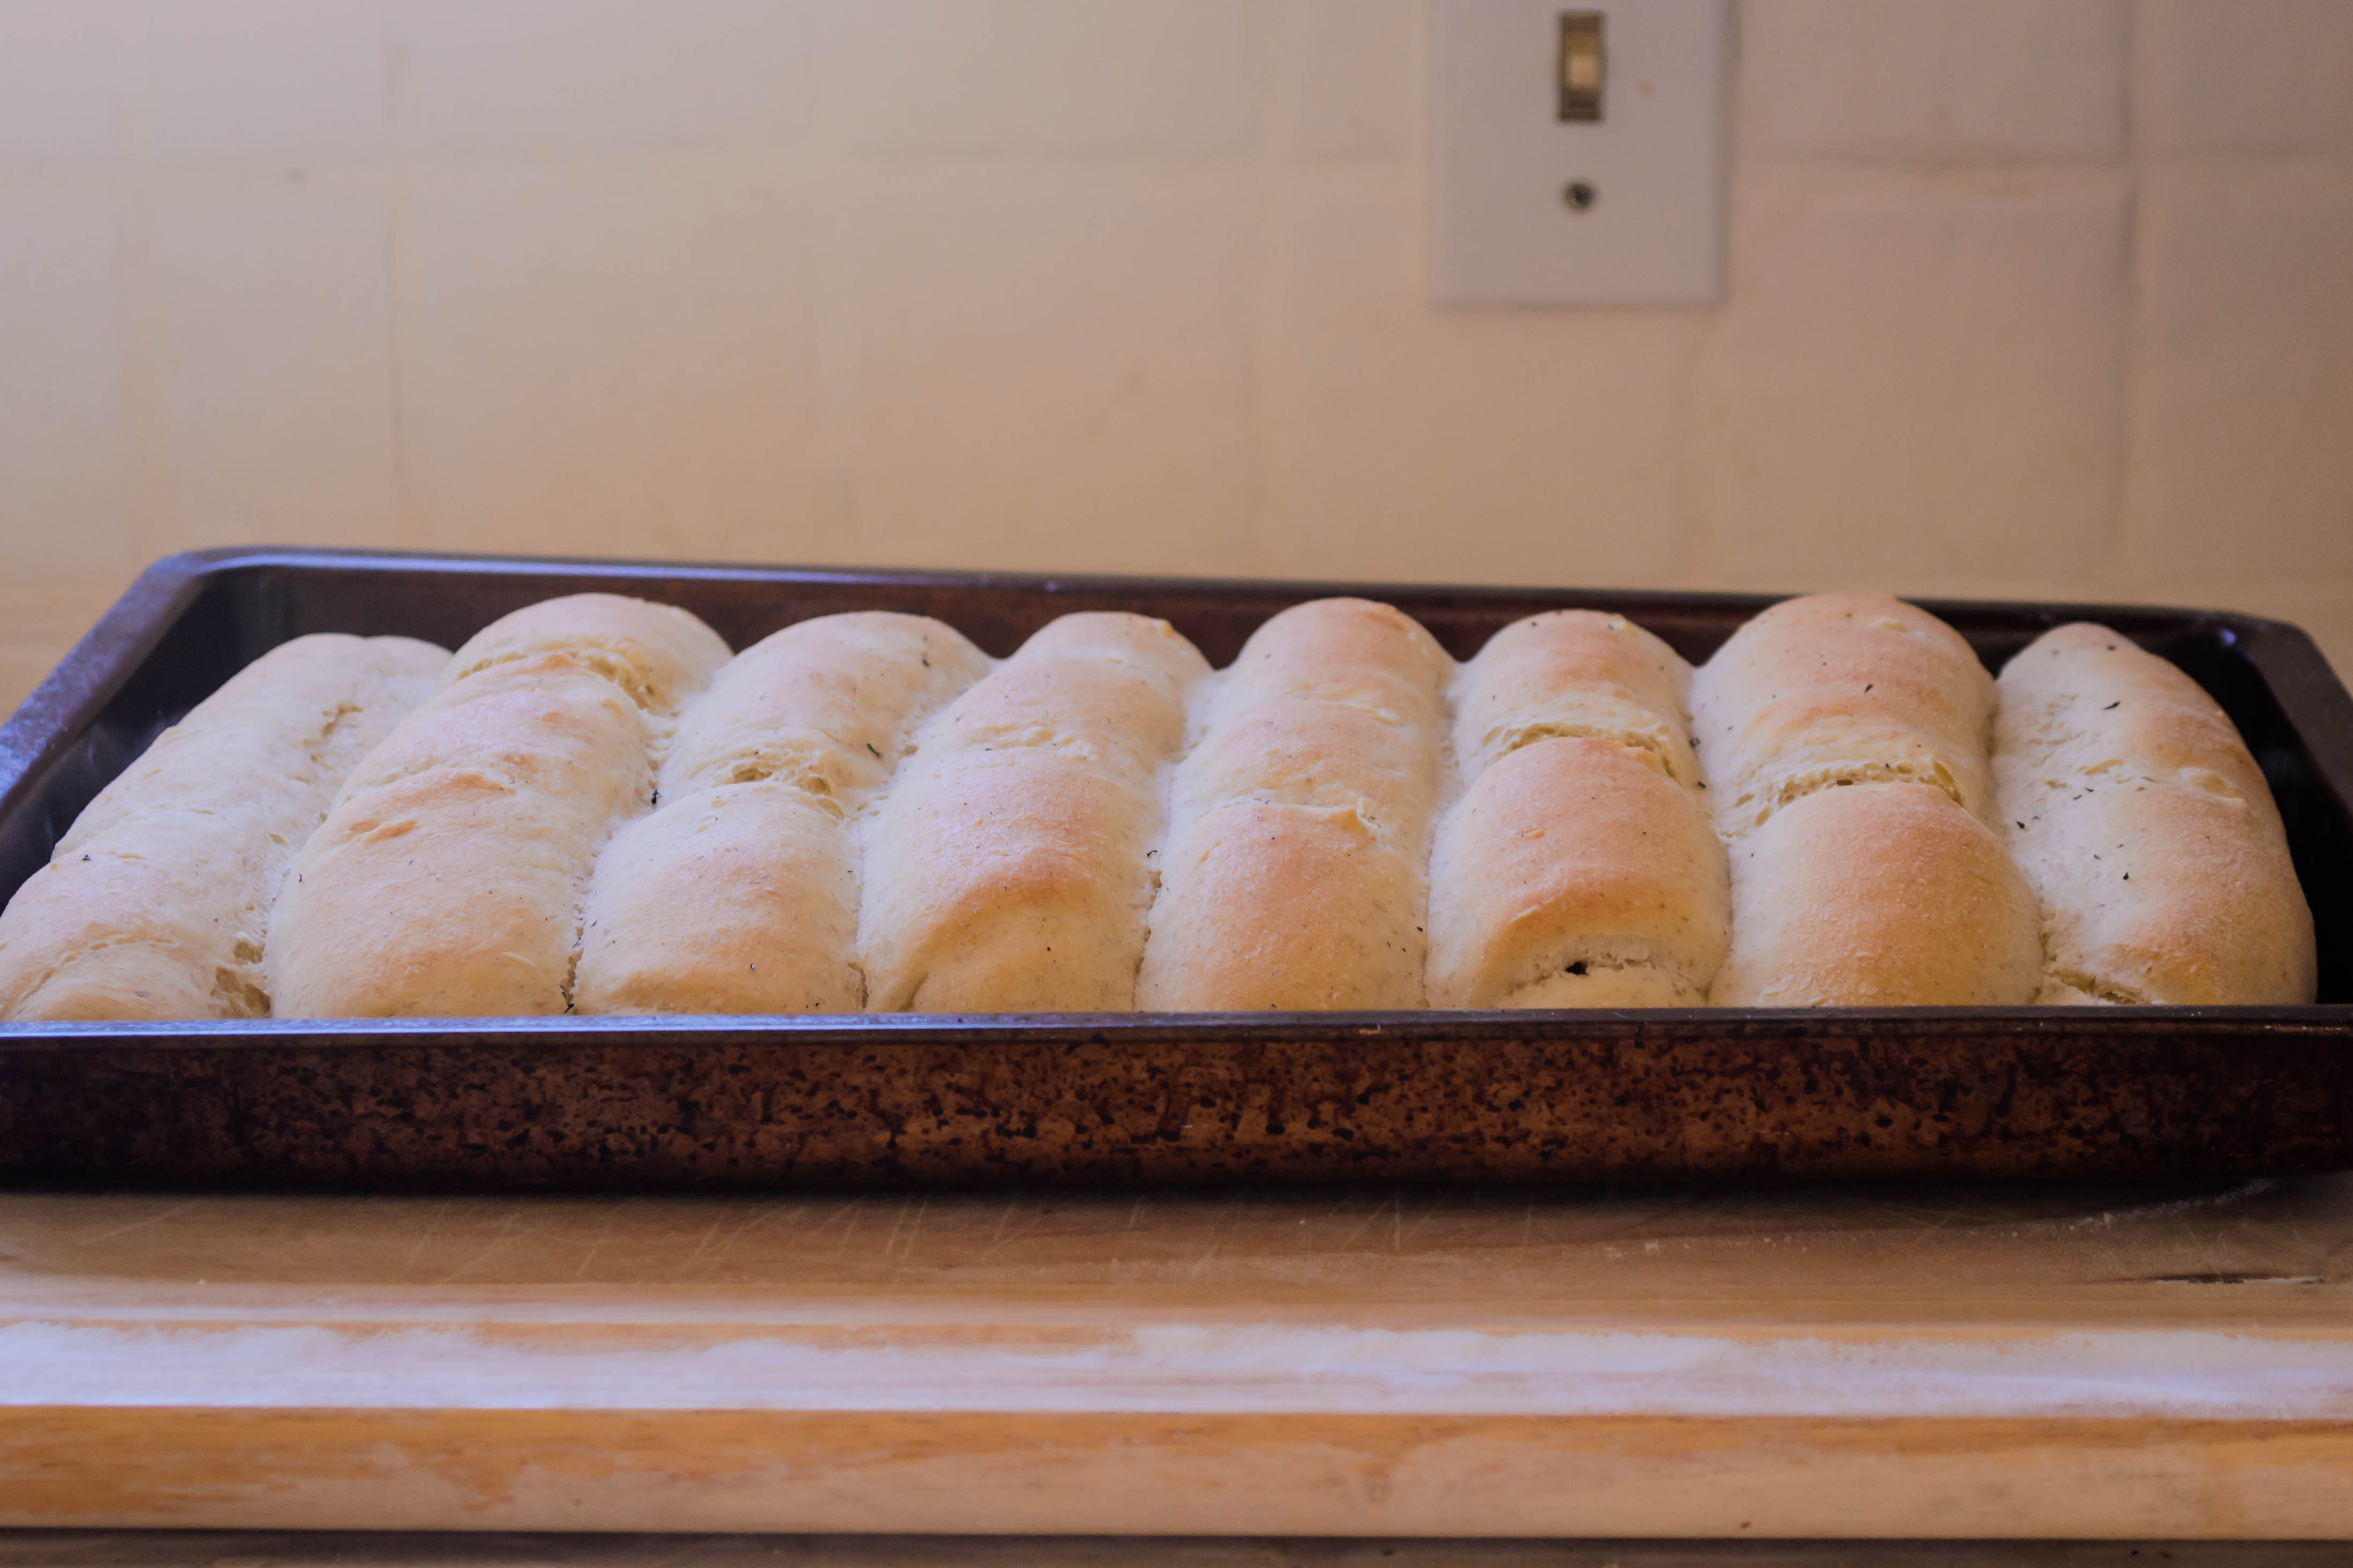
 In addition to the Simply a Food Blog suggestion, I also used Rice and Wheat and A Bread A Day in my recipe creation, and ended up with an ingredient list and procedure that created something much closer to a sausage roll or a bun than a crisp crusted baguette.
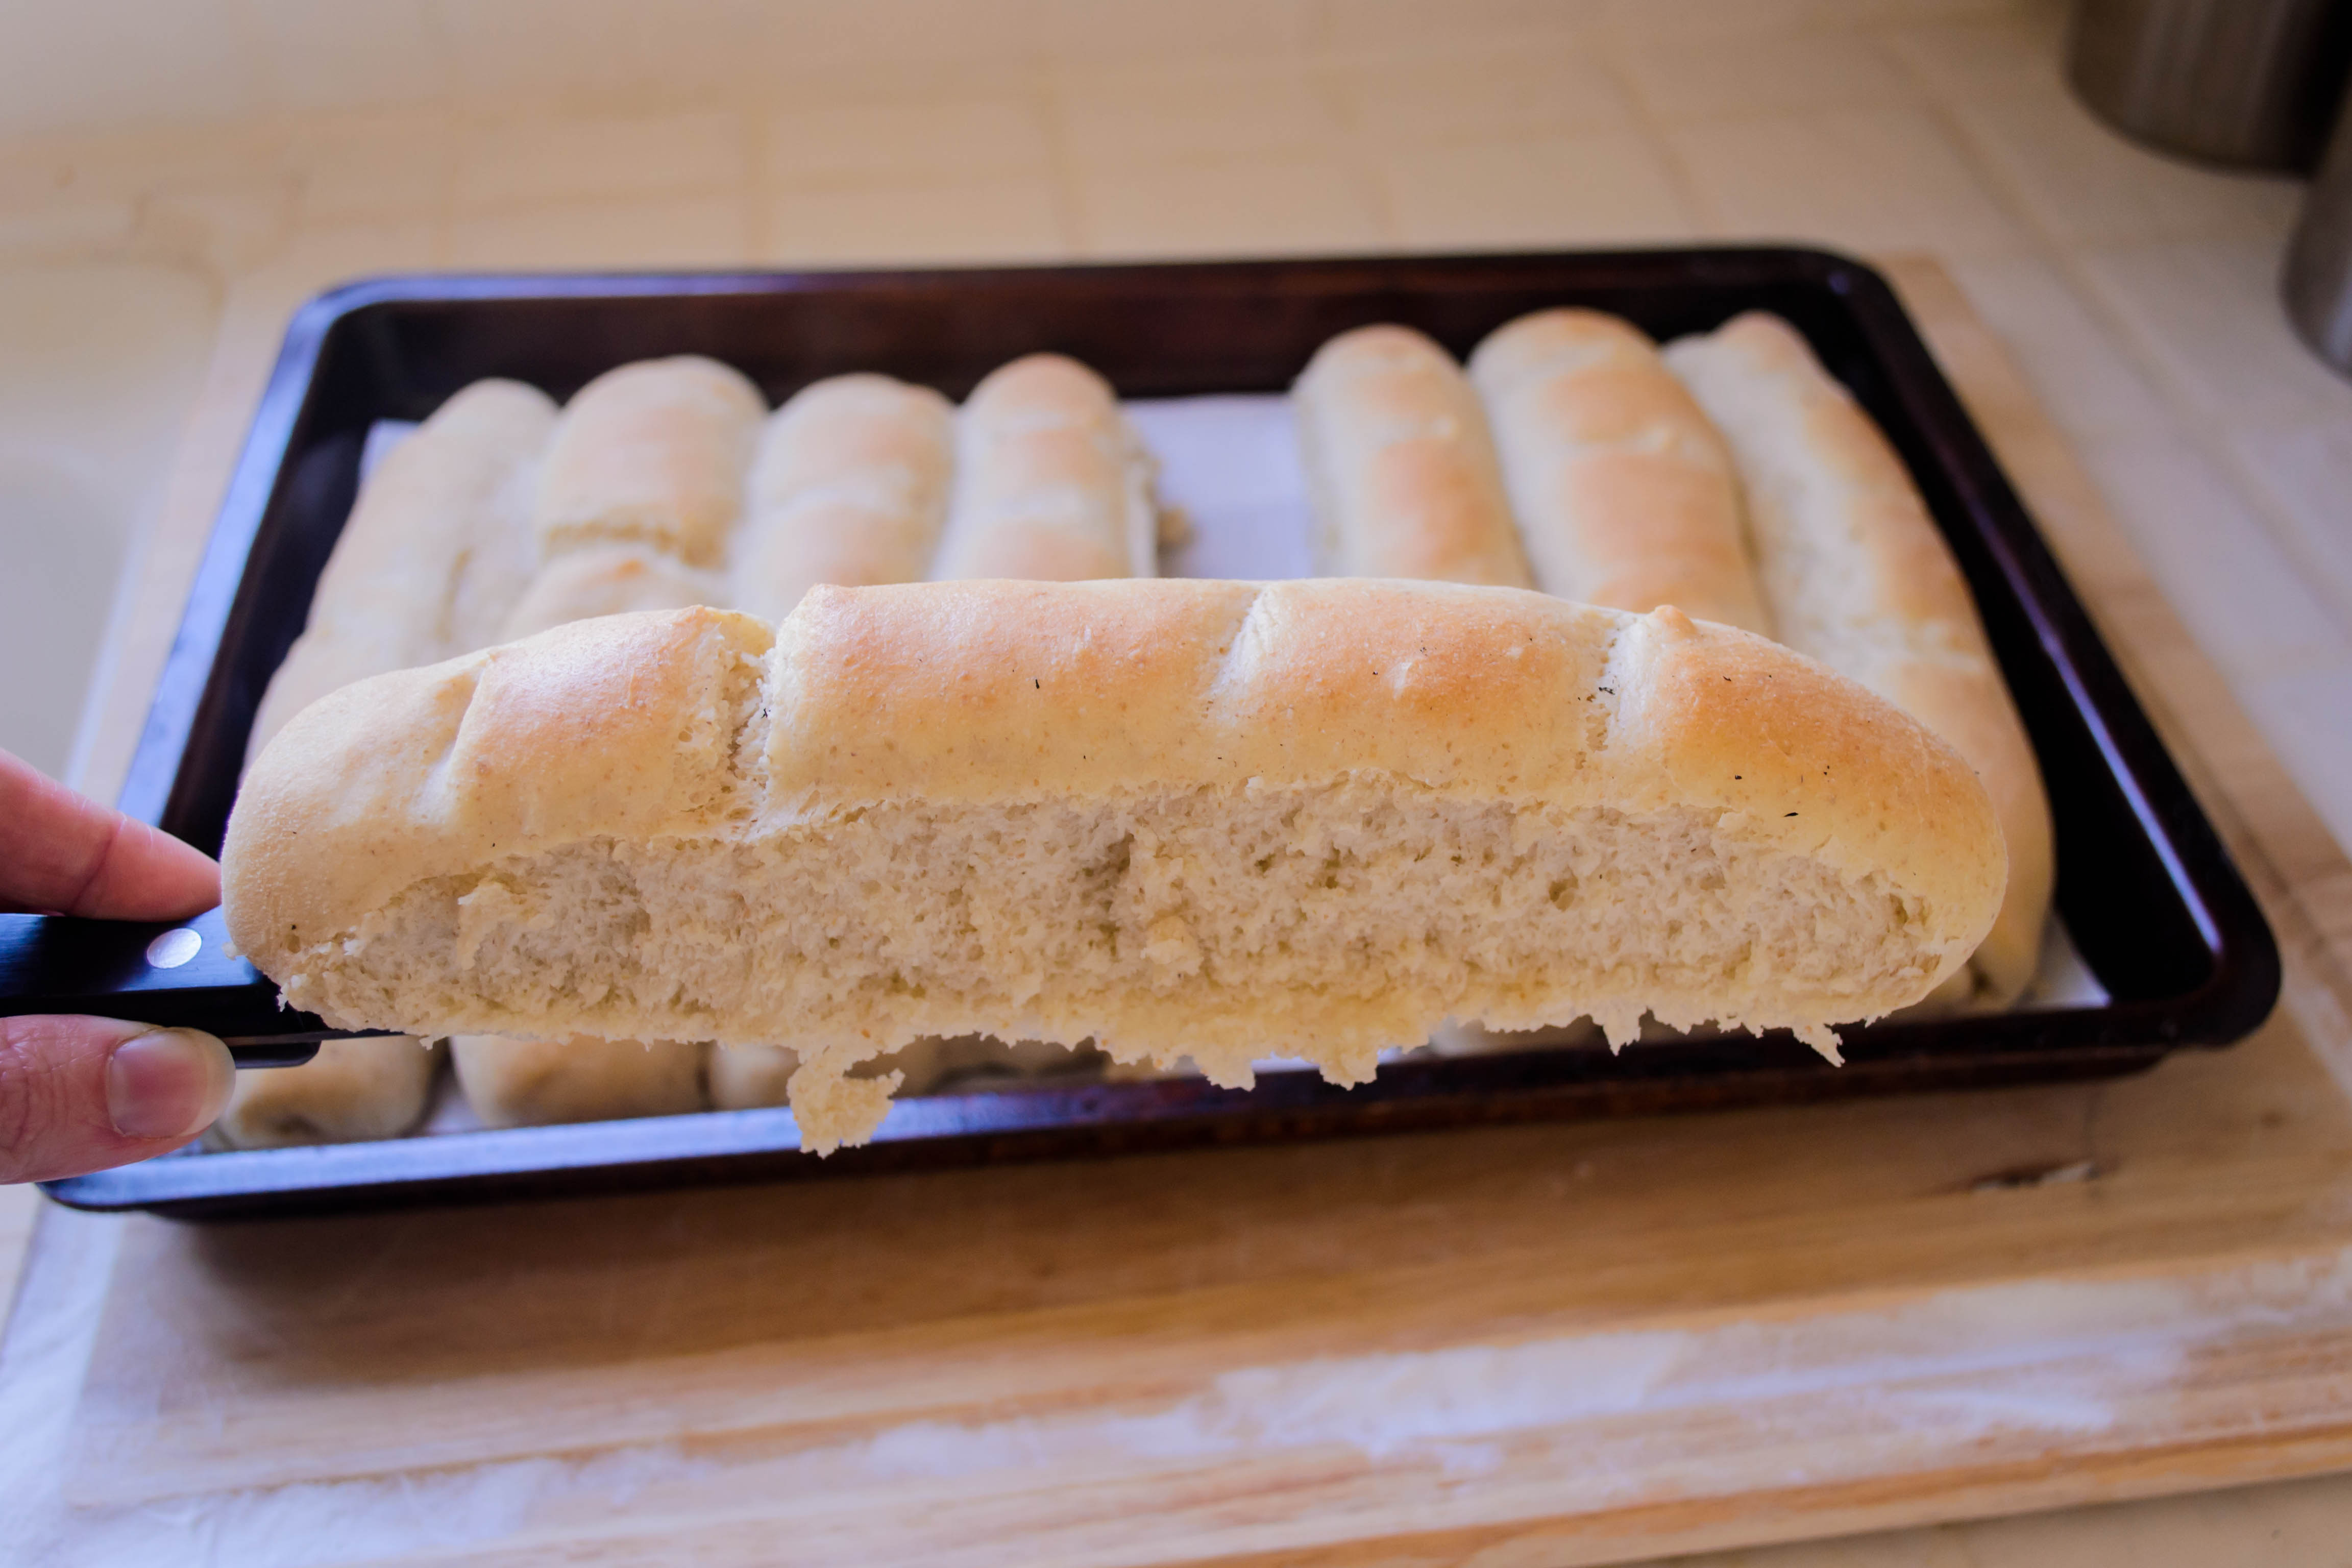
 Yes, I’ll admit, these are not the banh mi wrappers of your dreams (well, at least not if you are bivouacked in the “shatteringly crisp” camp). Though these rolls have a thin crust, it is just enough for the teeth to play with, not a staggering crunch you can hear across the table. At first I was perturbed by this, but it only took splitting one open, still warm and fluffy from the oven, and slicking the interior with butter to show me that while this might not be a traditional Vietnamese baguette, it is a delicious piece of bread. Though I filled ours with the meatballs I’ll show you next week, it would be more than welcome at any summer grilling event, whether your intended fillings are kielbasa or veggie dogs.
 As I thought more about this issue of inexactness, I decided I didn’t care. After all, this is my sandwich. A thin crust that shatters upon impact is fine, but my version keeps the roof of your mouth unscraped and your placemat a lot less crumb-scattered. As Joe Pastry pointed out just recently, tender bread is a boon for a sandwich. Mine offers a pleasant depth of flavor from the addition of the rye flour, and its soft, fluffy interior is exactly the kind of squashy that I favor in a sandwich. Besides (I compellingly convinced myself), the crisp crunch of the vegetables stacked up between the halves of the roll provide sufficient textural contrast. Why not, then, surround them with something a bit on the softer side?
 These rolls are best just cooled from the oven. They are okay on the second day, but I highly recommend toasting them for consumption on any day following the one they were made.

Banh Mi Rice Rolls
Makes 8
1 tablespoon active dry yeast
1 teaspoon sugar
2 cups (16 ounces) lukewarm water
1 cup rice flour (about 5 ounces)
½ cup rye flour (about 2.5 ounces)
2 teaspoons salt
3-4 cups all-purpose flour (we don’t want the extra chewiness of bread flour)
2 tablespoons soft butter
- Combine the yeast and sugar with the water and stir, then let sit for 5-10 minutes until it is bubbly and smells like warm bread.
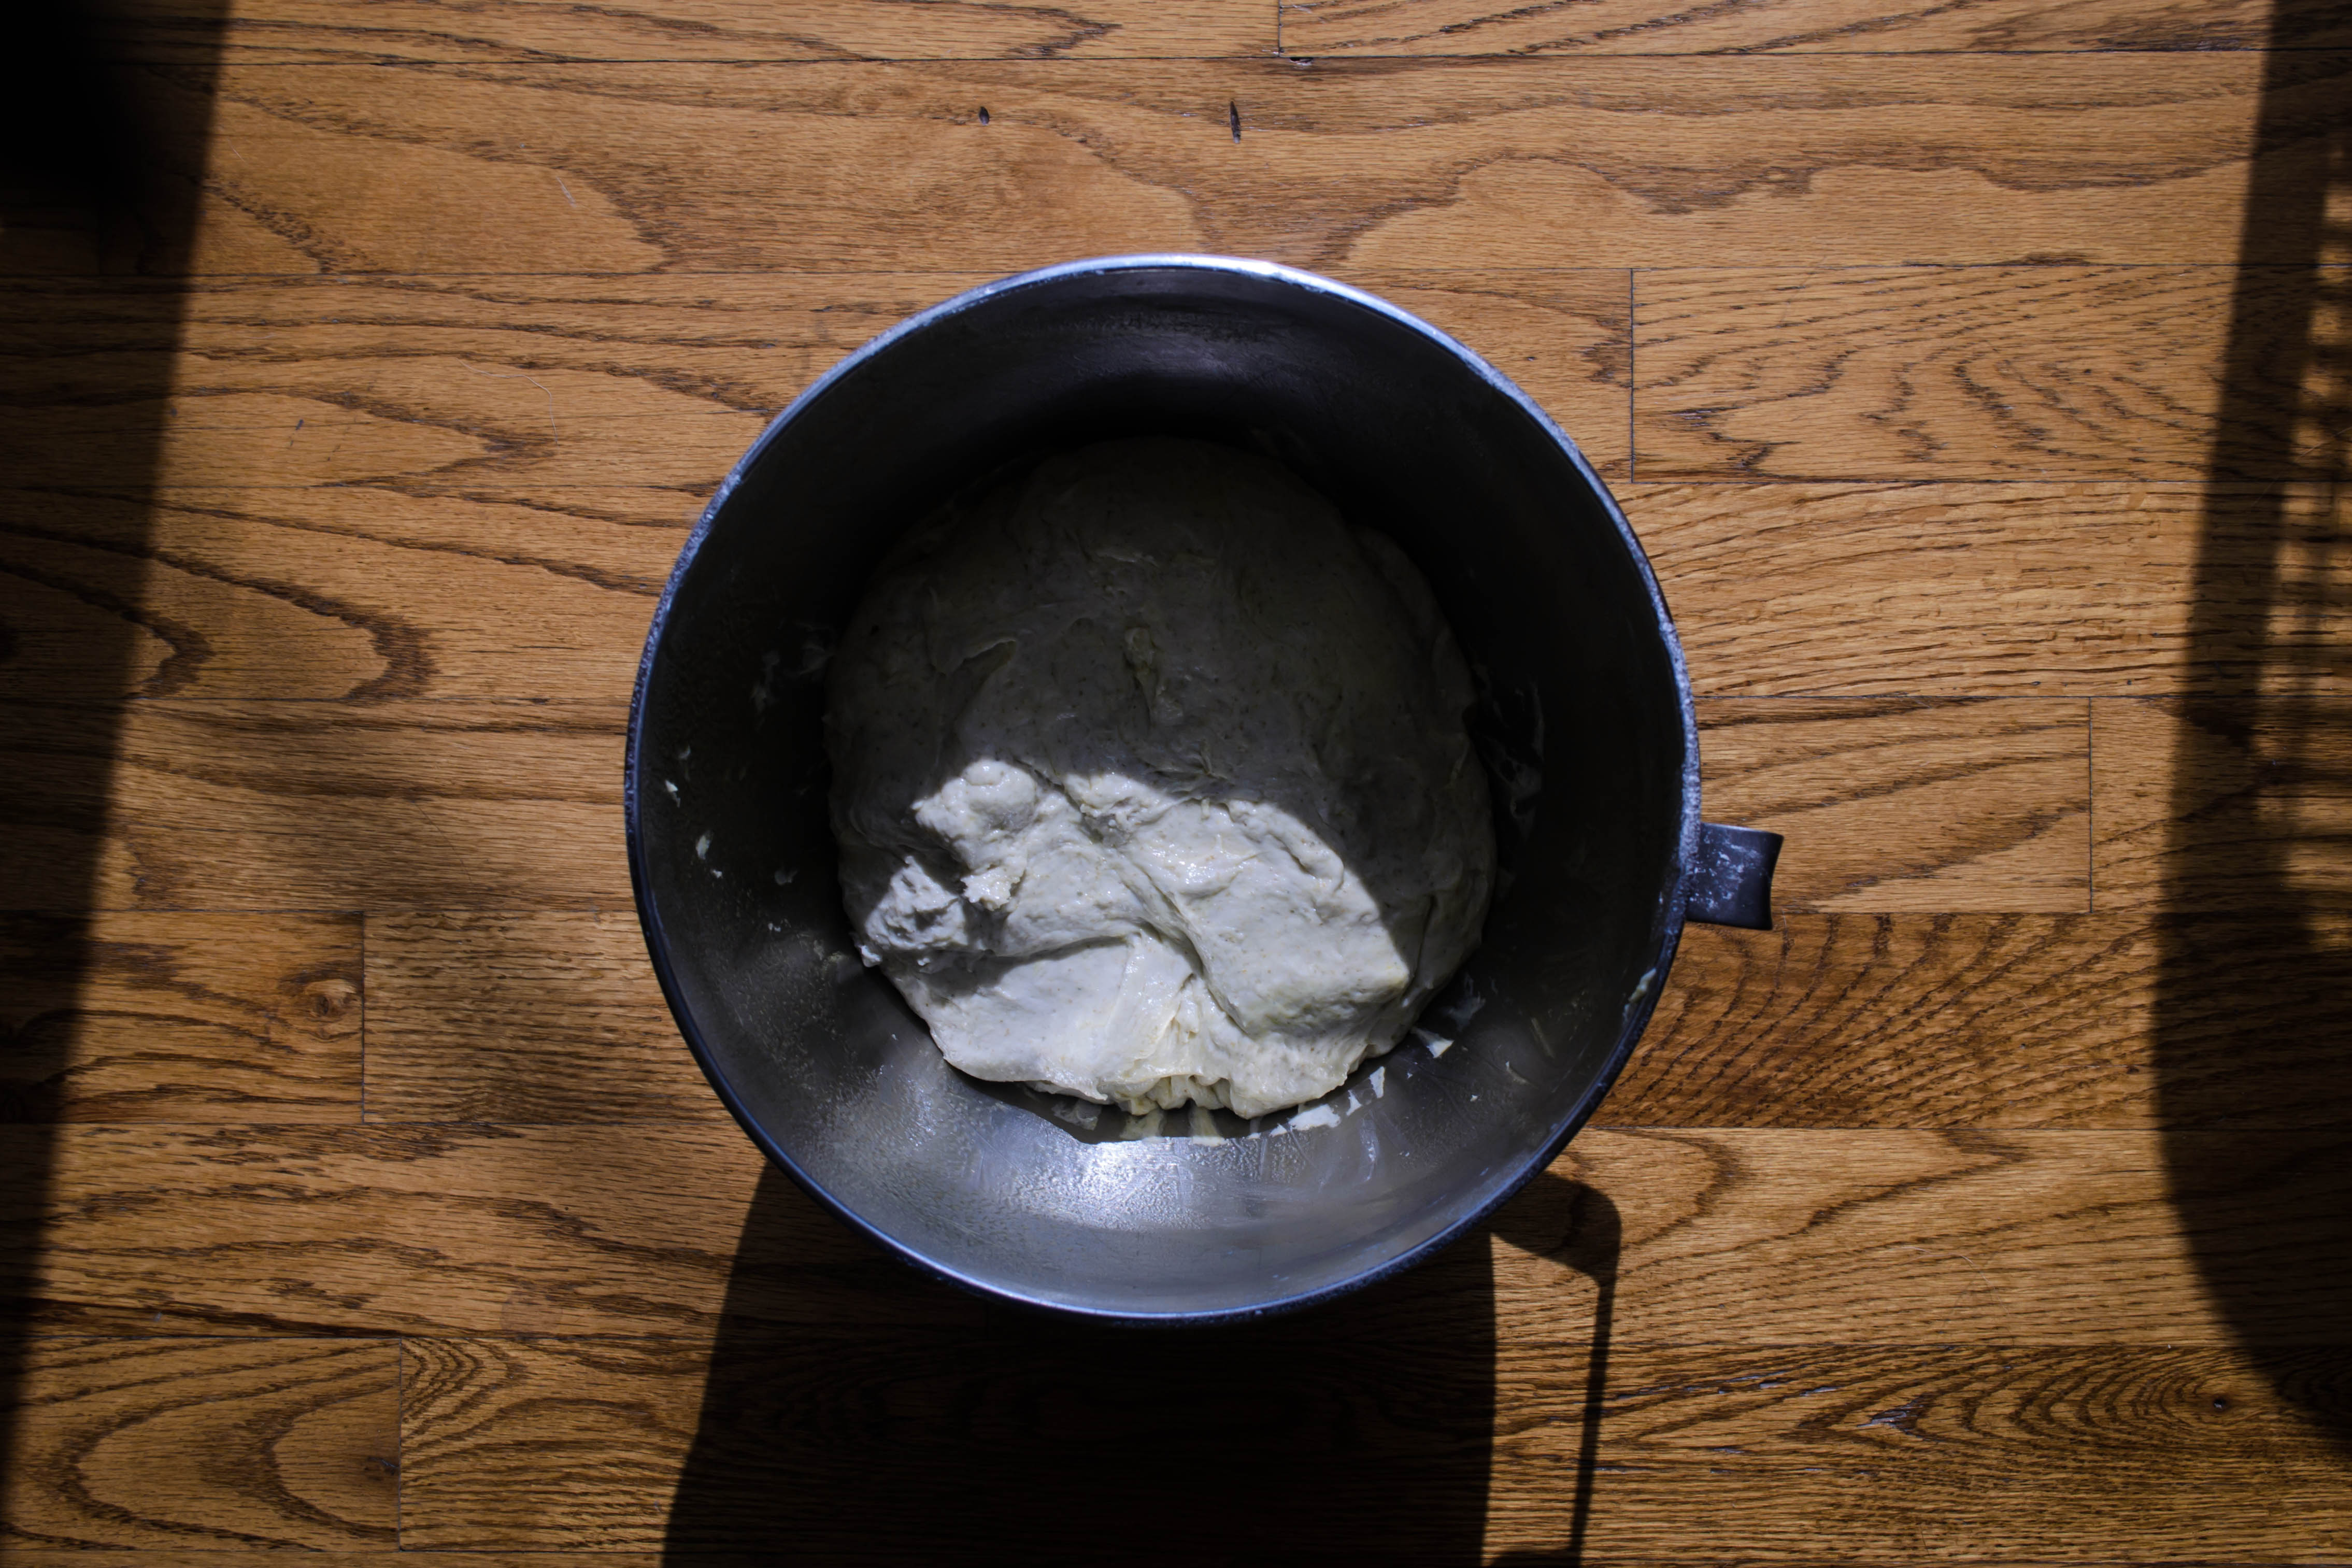
- In the bowl of your stand mixer, combine the rice flour, rye flour, butter, and water and yeast mixture with the paddle attachment. It will be very, very wet – basically a liquid. Let it sit for 10-20 minutes – rice flour needs extra time to absorb water. It will seem a bit floppier when you return.
- After 10-20 minutes resting time, add 2½ cups of the all-purpose flour and all of the salt, then mix with the dough hook attachment on medium speed to form a soft but not overly sticky dough. After about 5 minutes, the dough will start to gather into a ball and stretch to slap the sides of the bowl as it whizzes around. If the dough is not coming together after about 5 minutes, add an additional ¼ cup of flour as needed. I ended up with a little more than 3 cups of all-purpose flour in the mix. Knead on medium speed until the dough is smooth and elastic, a total of 7-10 minutes.
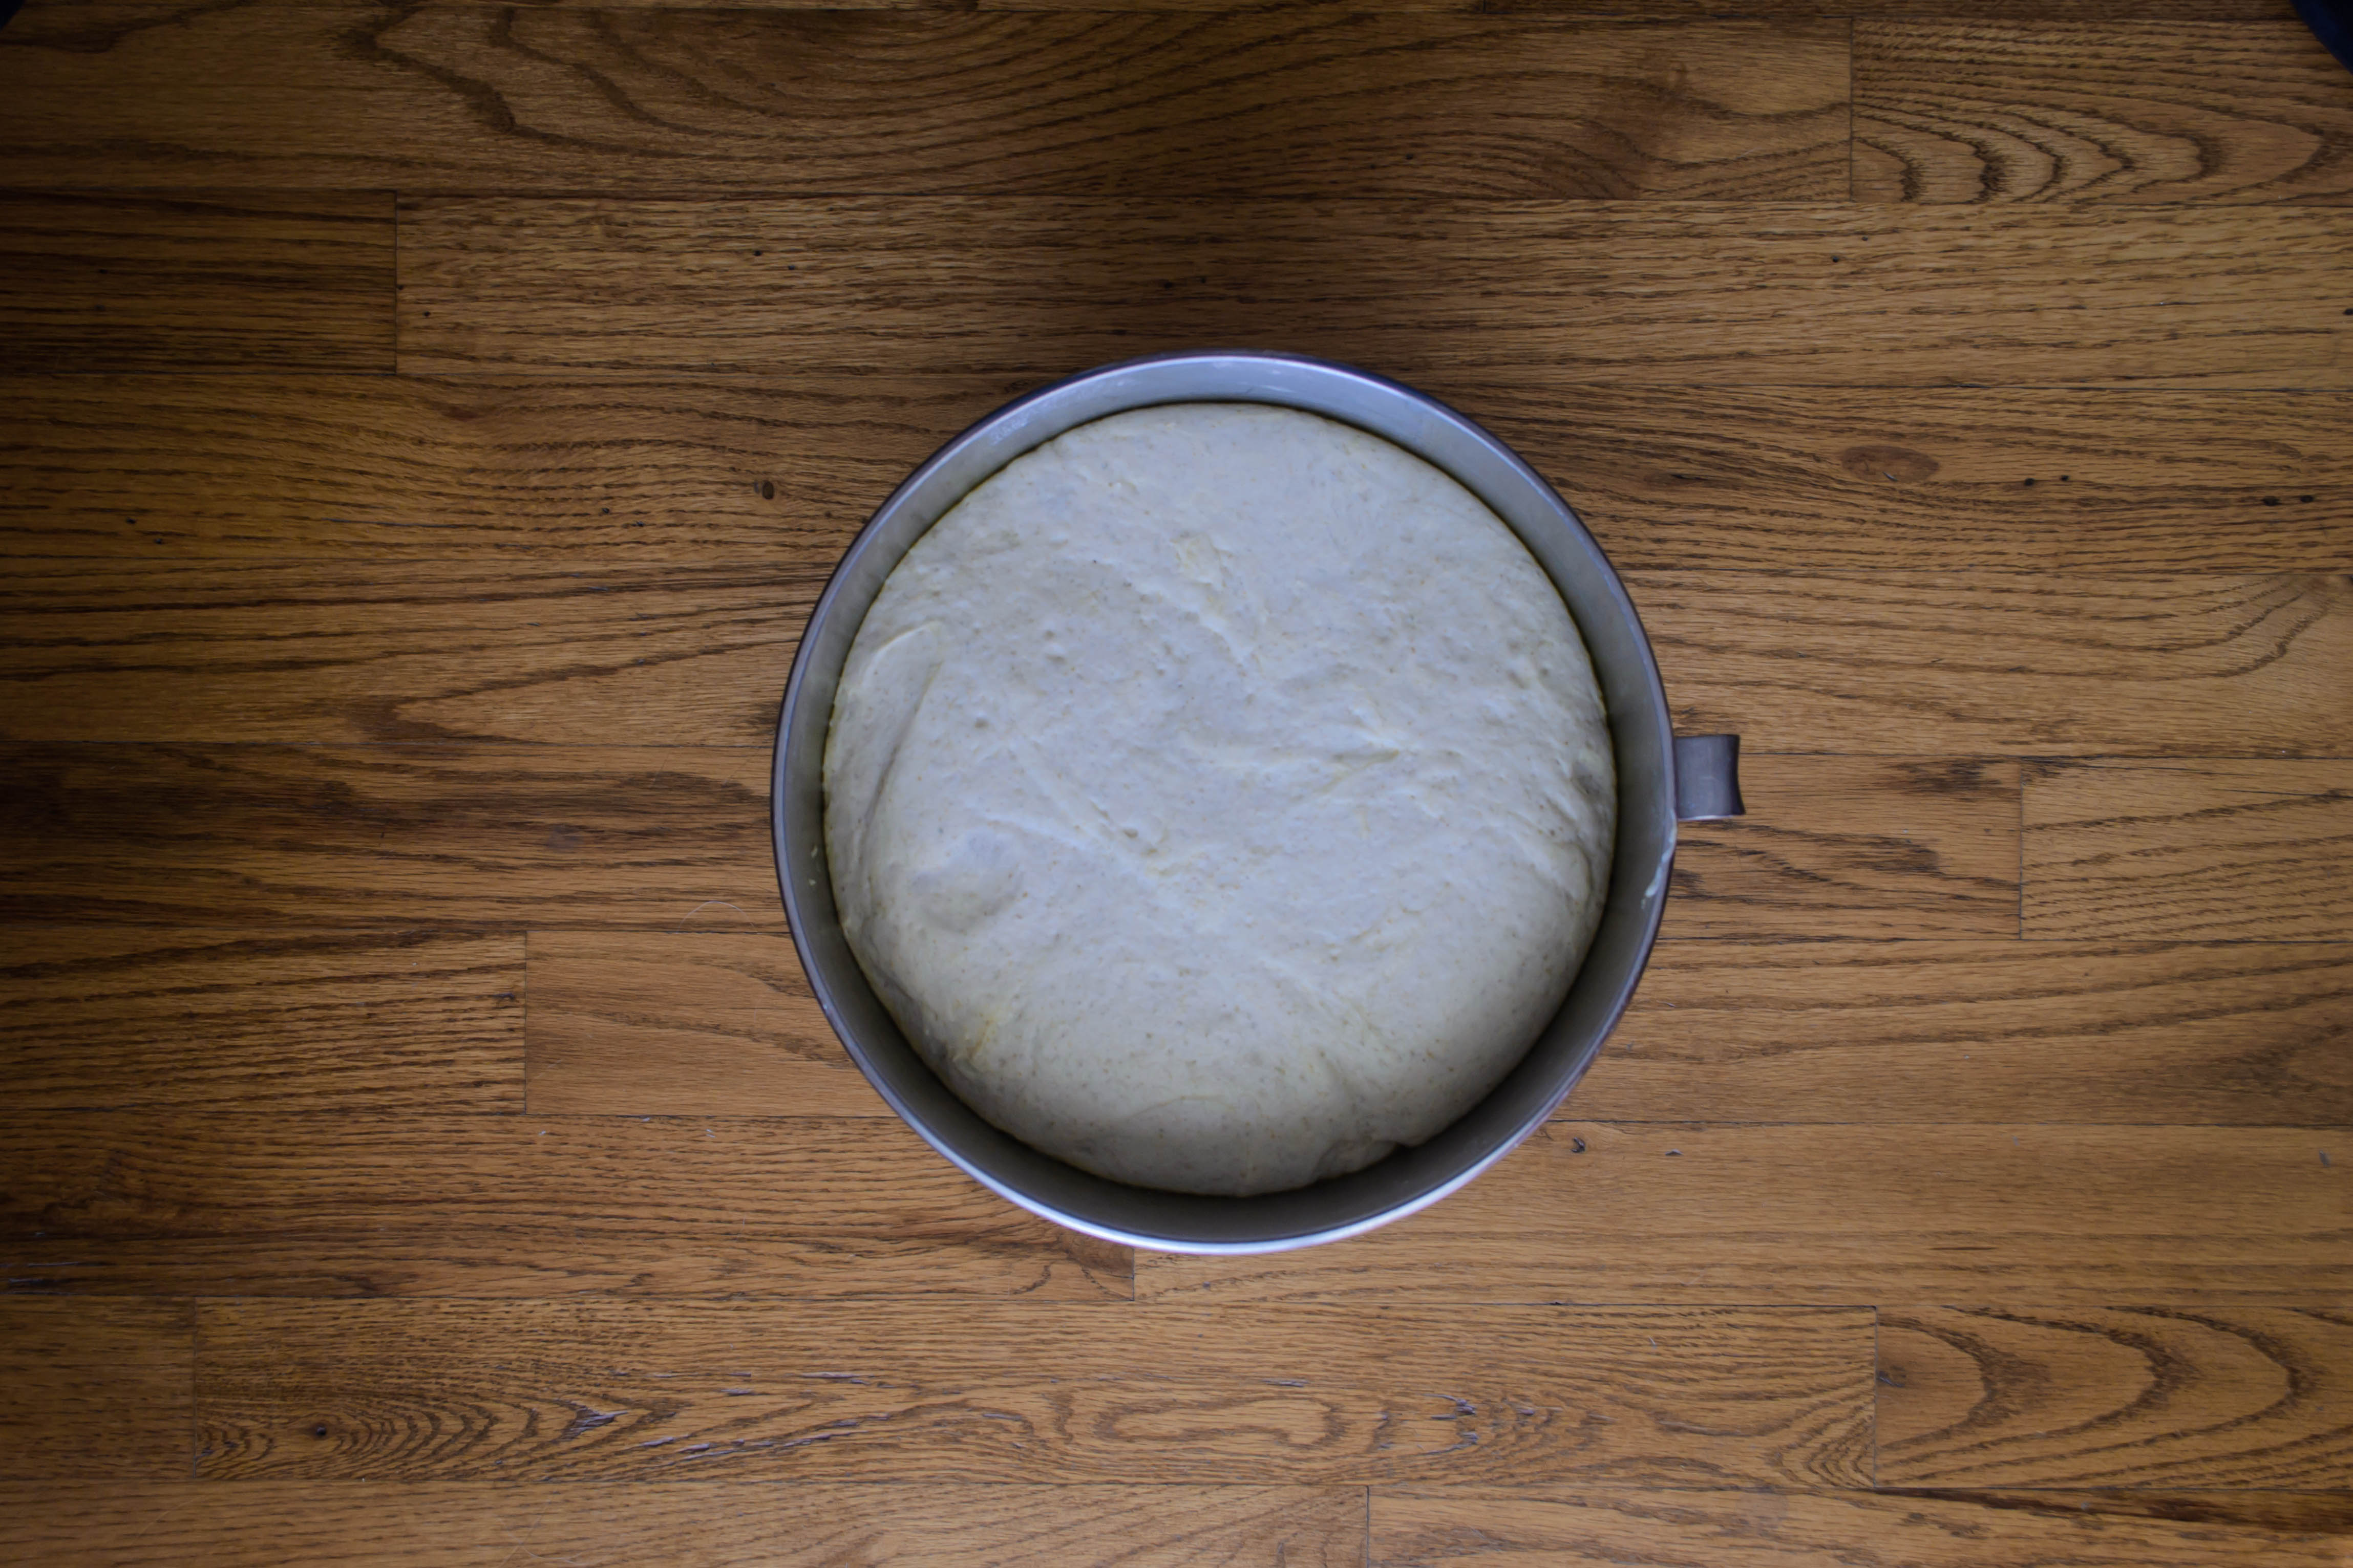
- Oil the bowl and turn the dough ball over to lubricate on all sides, then cover with plastic wrap and let rise until doubled; 45-60 minutes. In my warm home office, it only took 45 minutes.
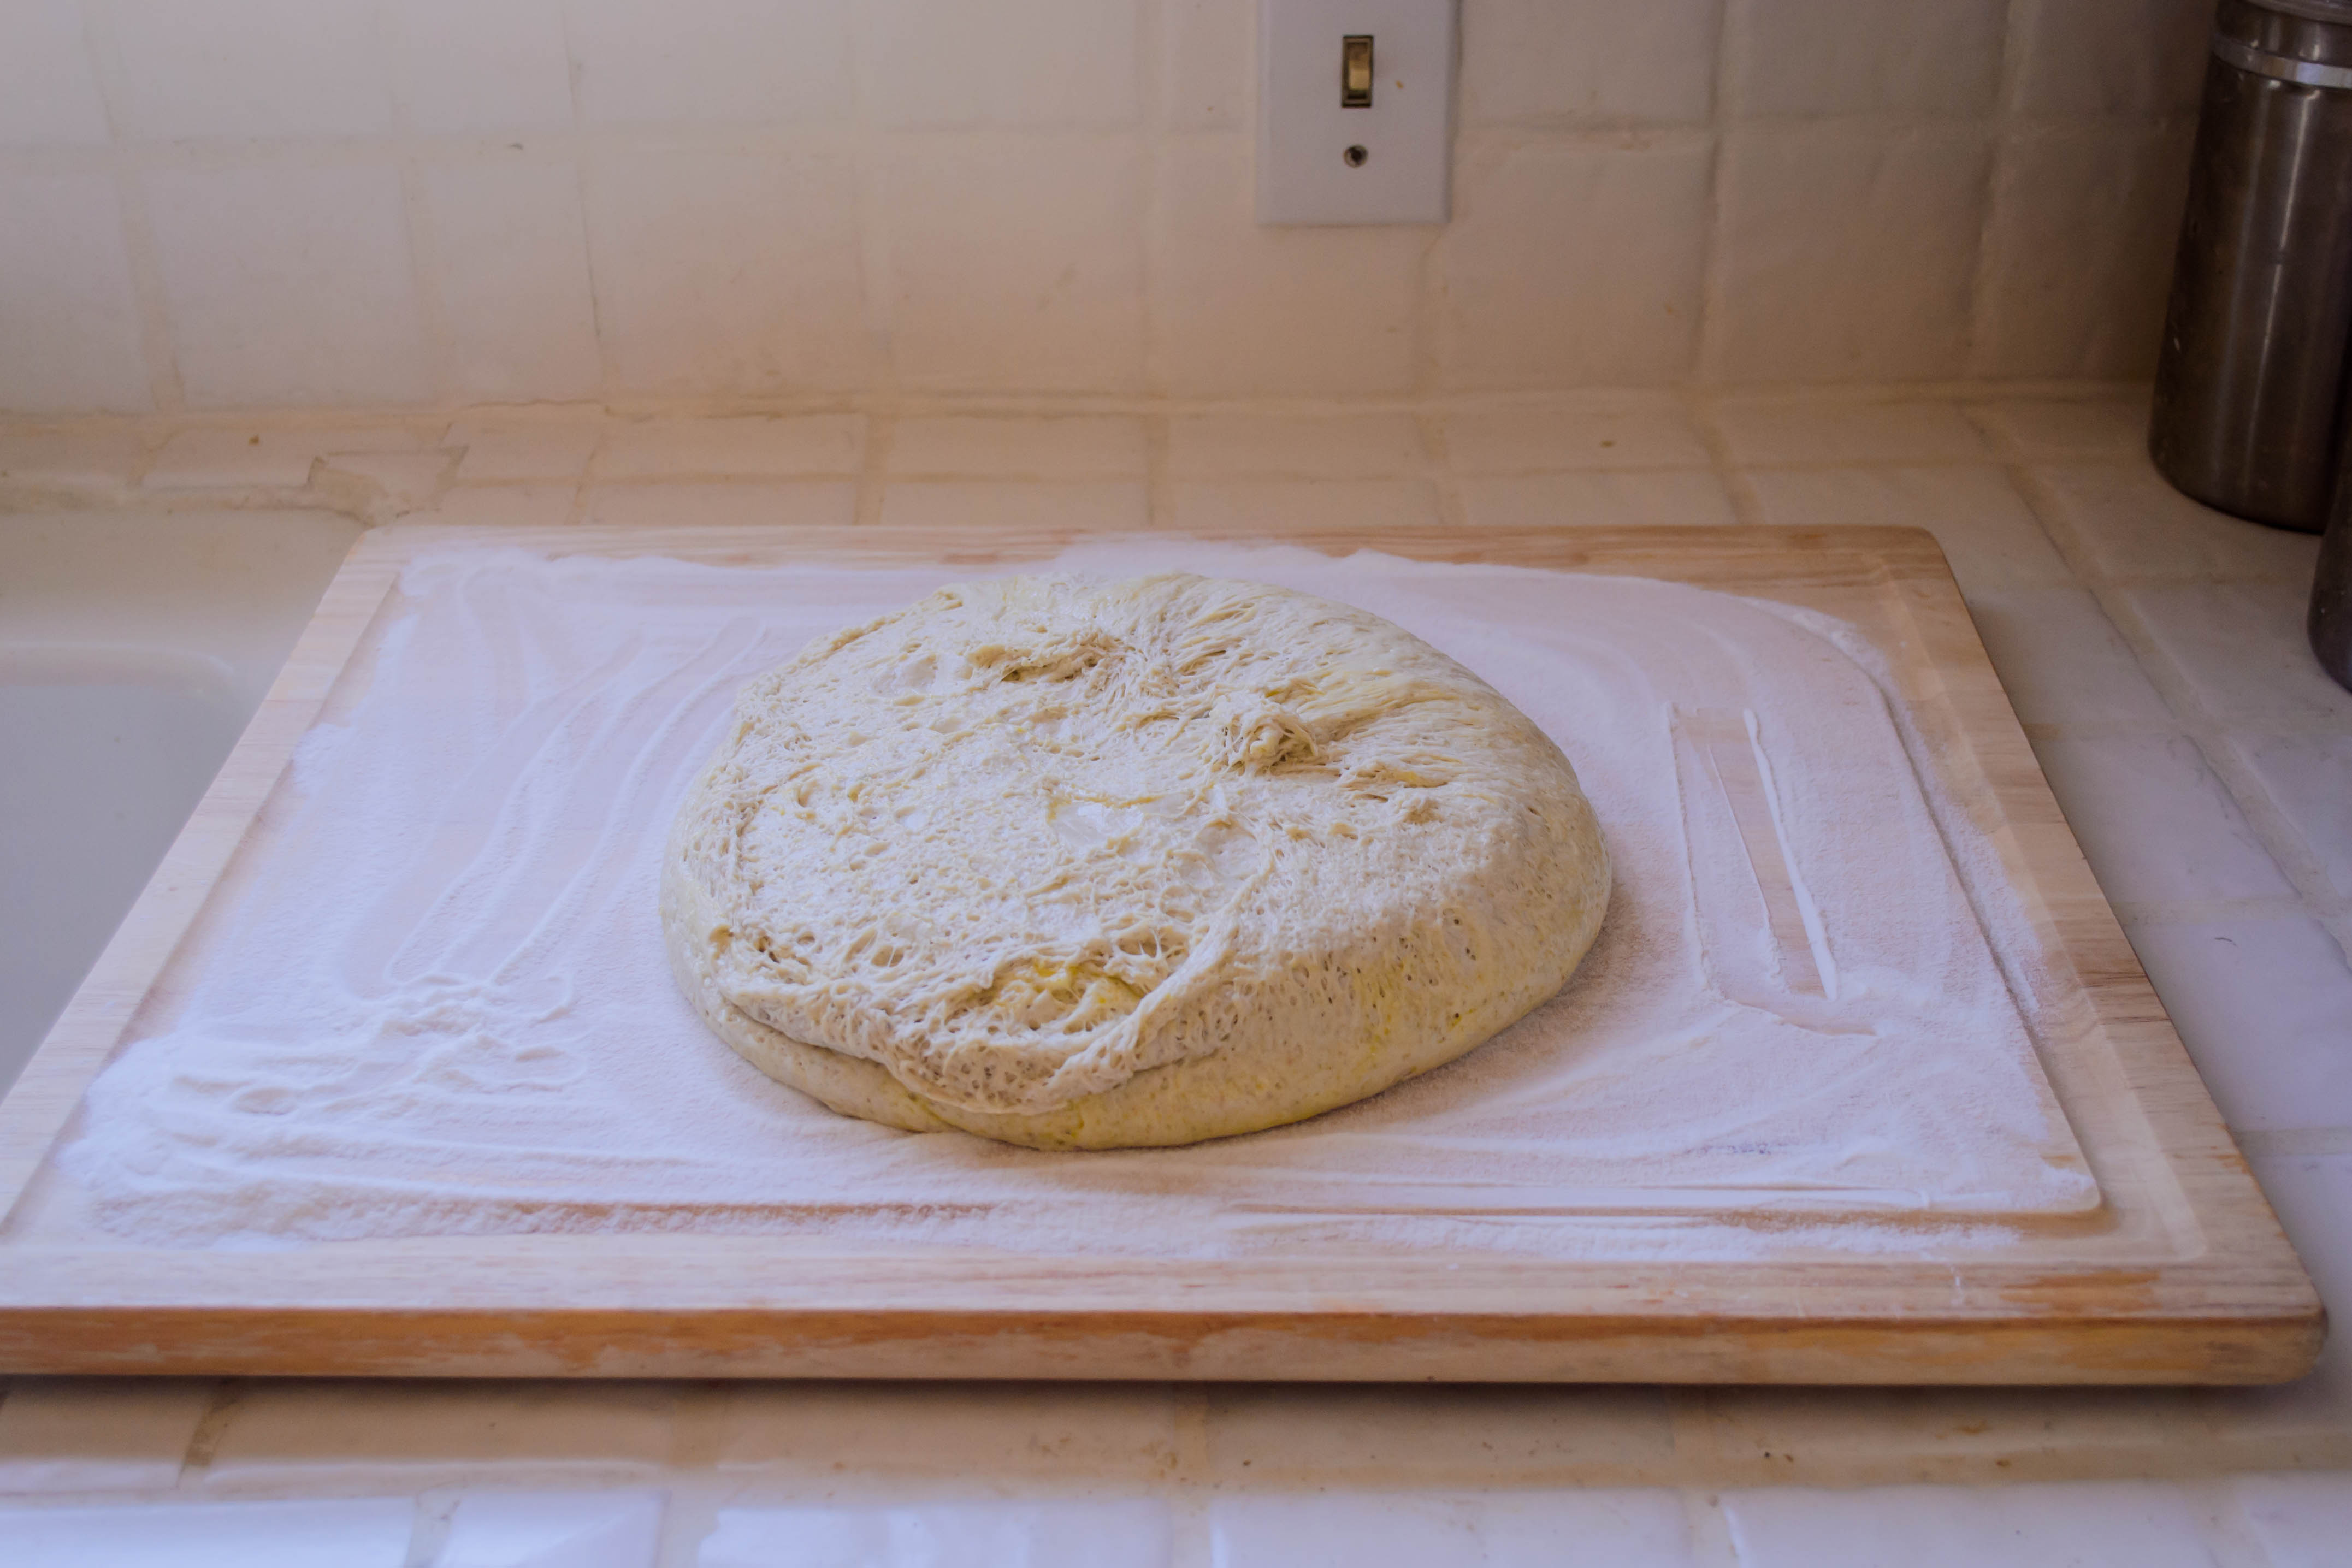
- Turn the risen dough out onto a board dusted with rice flour and cut into 8 equal pieces. Roll each into a ball, flatten into a disc with the heel of your hand, then let rest 5-10 minutes.
- Roll each flattened piece of dough into an oval about 8 inches long by 6 inches wide. Working from the long side, roll up each oval into a cylinder of about 8 inches long (the dough will want to stretch – try to keep it at the 8 inch mark). Pinch the exposed edge into the side of the cylinder to create a seam.
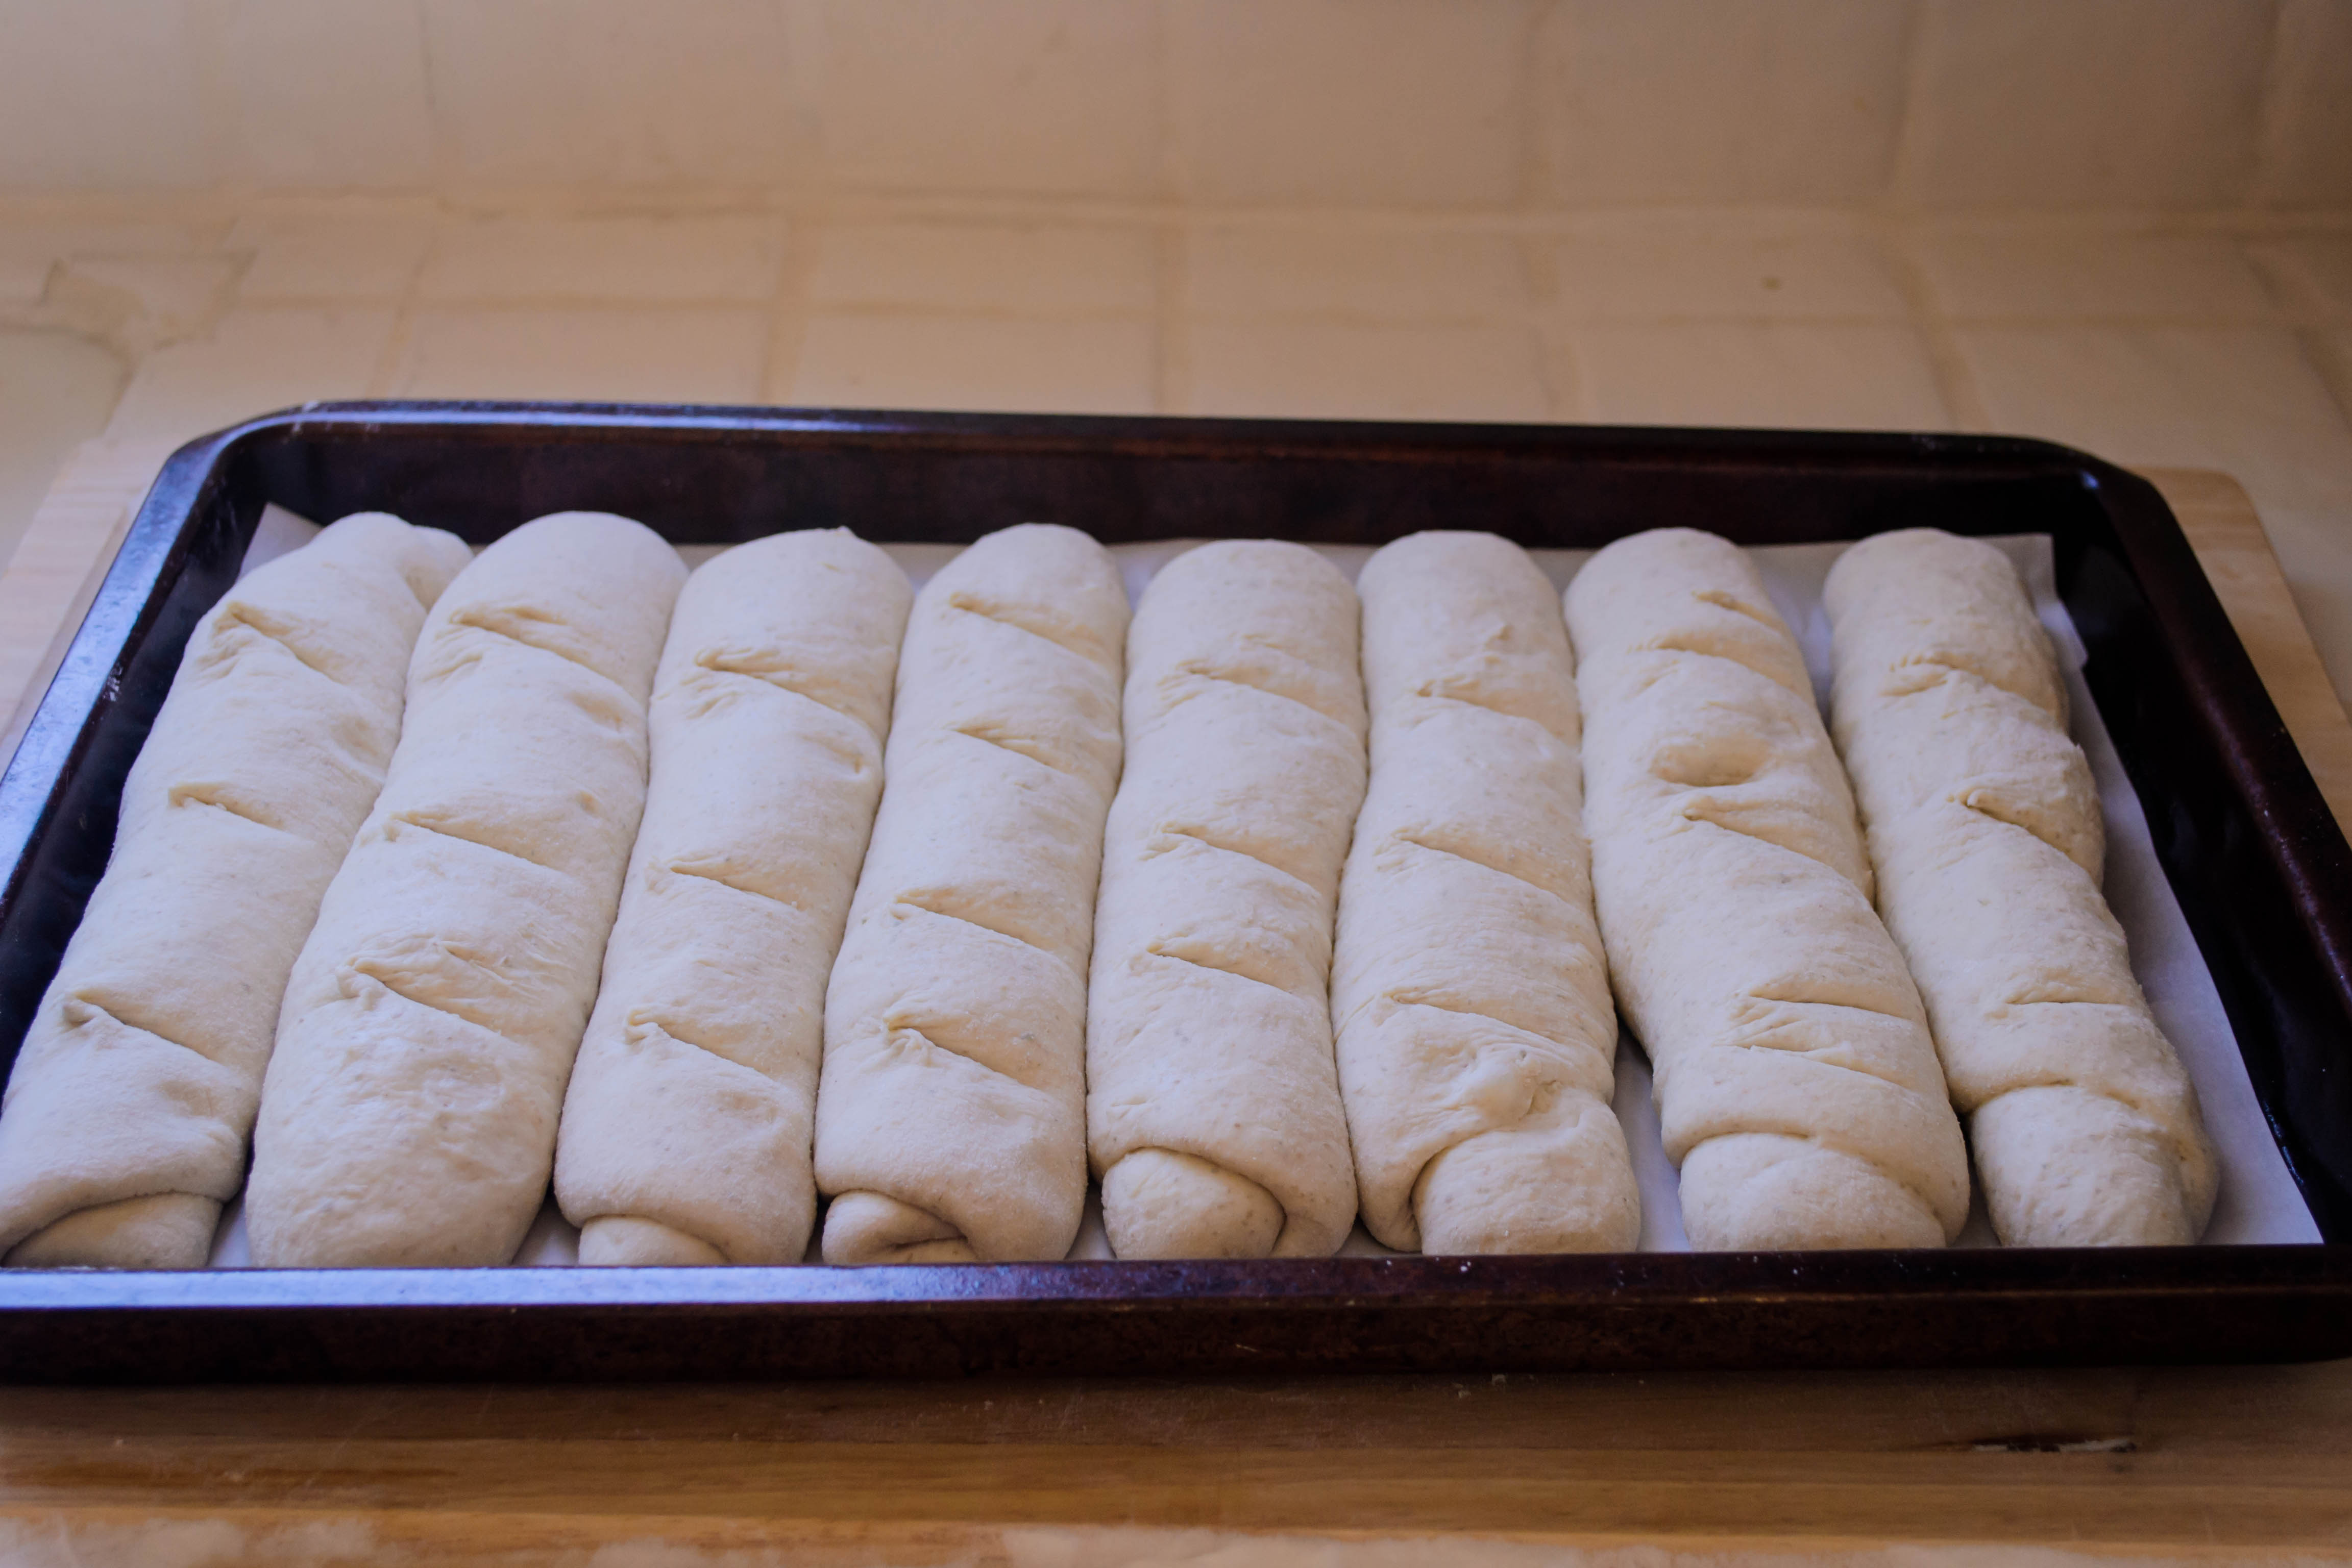
- Place each dough cylinder seam-side down on a parchment lined baking sheet. (If you don’t mind the buns touching, all 8 will fit on the same sheet. If you want them to remain separate, don’t put more than 4 on the same baking sheet). Cover lightly with plastic wrap or a clean kitchen towel and let rise 30-45 minutes until puffy. To determine whether they’ve risen enough, poke gently; the depression made by your finger should recover about halfway – if the depression disappears completely, it has not risen long enough.
- While the dough is rising, preheat the oven to 450F with a baking stone inside for even heating. Prepare a spray bottle full of water to spritz the loaves.
- When risen, slash the loaves at a 45 degree angle (or angle of your choosing; mine are clearly not 45) with a razor blade or serrated knife, then spray lightly with water and quickly place into the preheated oven. Bake for 2 minutes, then spray loaves again lightly with water. Bake 3 minutes more, then spray lightly again.
- Reduce the oven temperature to 400F and bake an additional 10-15 minutes, or until loaves register 200-210F inside.
- Let cool at least 10 minutes before splitting, spreading, or just going in for a big bite.
