Corn and Green Onion Waffles

I have, I promise you, a beautiful recipe for today that churns out beautiful waffles. But this weekend being what it was, I had to make a choice between editing photos and grading papers. I chose the responsible option. (At least, between those two choices. Other choices this weekend were less responsible. Related: holy god, do you guys remember how GOOD frappucinos with whipped cream are?!)

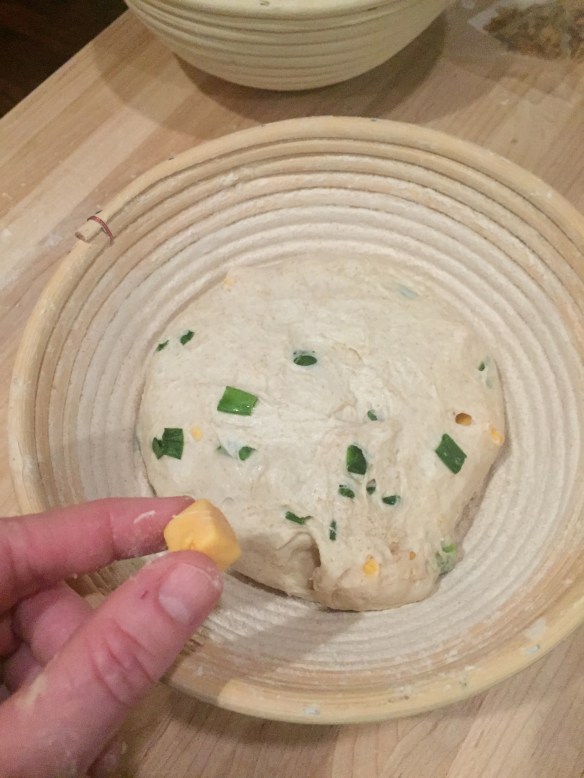
At any rate, I’ll get right to the meat – as it were – here, and promise weakly that images will follow. These are my standard beer batter waffles, except that half the flour is replaced by cornmeal, resulting in a crisp finish on the ridges and squares that even stands up to melted cheddar cheese (more on that in a tic). Before letting them sit to rise, you stir in a heap of corn kernels and green onions, and you end up with something that, depending on your currently location’s definition of “autumn,” could be a lovely alternative to cornbread to balance against your steaming bowl of chili, or a substantial side for a crisp salad like this one.

Because waffles cook one at a time, if you want to eat with your dining partners, instead of taking turns, it’s handy to have a system for keeping them warm. My favorite is to preheat the oven to 250F with a wire rack resting over a cookie sheet inside. As each waffle is done, I sprinkle on a few tablespoons of grated cheddar cheese and stow the laden circle in the oven. While the remaining waffles bake, the cheese melts into a perfect gooey layer, and the waffle, with its cornmeal armor, stays crisp and light underneath.

Corn and green onion waffles
Makes about 8 5-6-inch waffles
Approximately 2½ hours, including rising time
1½ cups (12 ounces) beer, the darker the better
1½ teaspoons active dry yeast
3 tablespoons maple syrup
6 tablespoons (3 ounces) melted butter, cooled
1 teaspoon salt
2 large eggs
1 cup all-purpose flour
1 cup cornmeal
1 cup corn kernels, fresh or defrosted
6 large green onions, pale and dark green parts only, thinly sliced
Optional: grated cheddar cheese


  • In a 2 cup glass measuring cup, or a small microwave safe bowl, heat the beer until just warm to the touch, about 40 seconds. Add yeast and the maple syrup and let them mingle for 5-10 minutes. The yeast will foam up considerably, thanks to the extra sugars and yeast already in the beer.
  • While the yeast proofs, whisk together the cooled melted butter, the salt, and the eggs in a large bowl. Be sure there’s room for the batter to expand.
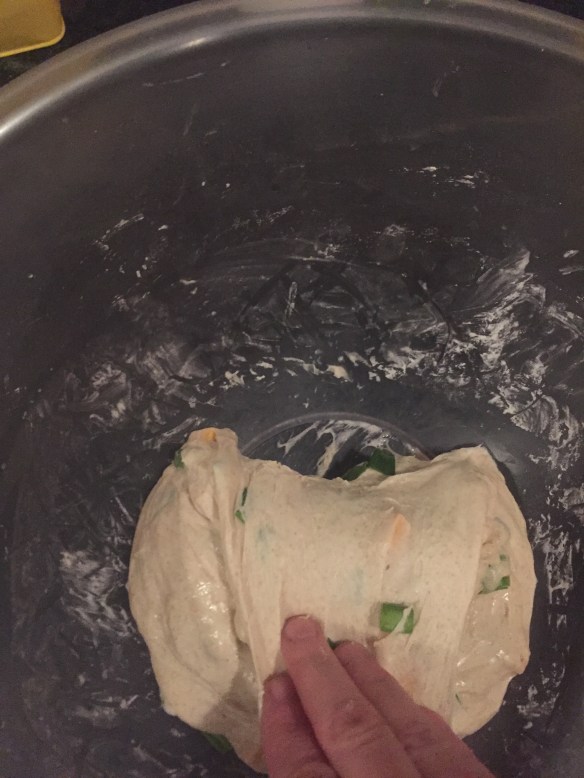
  • Add the beer and yeast mixture and whisk to combine, then add the flour and cornmeal a little at a time, whisking to combine thoroughly. Add the corn kernels and green onions and whisk again until only vegetable lumps – not flour lumps – remain.
  • Cover the bowl with plastic wrap and set it on the counter for 1-2 hours.  The mixture will slowly develop lethargic bubbles and begin to smell quite bready.
  • Once it has had a chance to rise for an hour or two, either stow in the refrigerator overnight, or preheat your waffle iron!
  • Drop the batter in generous batches (mine can take about ⅔ cup at a time) onto a preheated, greased waffle iron. Close the lid and cook for the recommended amount of time, or until the waffle is crisp on the outside and deeply golden. Mine take about 6 minutes.
  • As you finish each waffle, you can either drop it directly onto some lucky person’s plate, or stow it on a wire rack in a preheated 250F oven. If desired, sprinkle each waffle with 1-2 tablespoons grated cheddar cheese before placing them in the oven, so the cheese can melt before serving.


Guest Post: Cheddar and Green Onion Sourdough Artisan Boule

Guest post from my friend and colleague (frolleague!) K., with whom I discuss bread baking procedures and triumphs on a frantic, high-volume, excitable and regular basis. Enjoy!

BlackberryEating has officially declared 2017 the year of the soup project just in time for the cold reality of this winter: Montana is 40 below, New England is buried in snow and West Coasters down to San Diego are cold and wet from an atmospheric river that’s brought more rain in the last six weeks than in as many years.

So let’s honor this project with really good bread, the stunning artisan kind, with the open crumb, shattery crust and intense bread flavor that will drive. your. people. wild. And since everyone knows that good bread is made — not bought — this homemade cheddar onion sourdough boule will be the perfect compliment to a comforting pot of simmering soup — unless you eat it before the first ladle of liquid hits the bowl, which can happen.

image-1-pretty-loaf

A few caveats before the formula:

1) Don’t have a sourdough starter? Make one. You’ll never buy commercial bread or use commercial yeast again. Loaded with hydrogenated oils, nitrates, sugar, bleaching agents and other harmful substances, store-bought bread is just plain bad for you. And commercial yeast is devoid of the healthful bacteria that makes fermented food so darn healthy. Breads made from commercial yeast go stale faster, taste blah, are harder to

digest, and have a higher glycolic index, among other issues. This makes commercial bread profitable and convenient, but not good and healthy.

“Sourdough Starter, America’s Rising Pet” by Sam Sifton, which ran in the NYT recently, says it all. Once you get your starter fermenting on a regular schedule — rising up and then collapsing back in a consistent manner — it’s ready to use in your bread.

I started mine more than two years ago. The directions I was reading said starter consists of flour, water and wild yeast. I tried to order the wild yeast on Amazon. Nope. I Googled it. Nothing. What? Eventually I figured out that the wild yeast are in the air all around me (duh) and you catch them by mixing equal parts flour (50/50 mix of King Arthur’s all-purpose and wheat flours) and filtered water and then waiting. Within a week the starter was bubbling, and now it’s fast and strong. I feed it daily, sometimes twice.

image-2-starter

2) Invest in the basic bread-making tools: a bench knife, dough spatula, scale, banneton, thermometer, and cast iron combo cooker. You need these to turn out dazzling, delicious bread.

image-3-tools

3) Using the very best flour possible makes a huge difference. I use a combination of King Arthur Bread Flour and 10 – 20 percent high extraction wheat flour from Grist and Toll in Pasadena, the only local miller I’ve found in the greater Los Angeles area. They use a stone mill to make whole-grain, small-batch, fresh, local organic flour. And they ship! I love the hard white for its mild nutty flavor. Grist and Toll flour creates a silky, manageable dough that is loaded with nutrition. Read about stoneground, high-extraction flour here.

image-4a-and-5a-ka-bread-flourimage-4b-and-5b-g_t-wheat_

4) Be patient. Start your dough the day before you make soup and refrigerate it overnight for a next-day bake. It’s easy to make bread, but fermentation takes time. And good dough handling takes a minute, but you’ll get it, and you’ll be so glad you did. Homemade bread is a game changer. And don’t worry if the first few loaves don’t turn out perfect. Just eat them and start again.

Cheddar and Green Onion Sourdough Artisan Boule (perfect for two with a pot of soup)
The Formula
300 grams flour (270g King Arthur Bread Flour & 30g Grist and Toll Red Fife)
225g water, slightly warmed
75g starter (It’s ready to use when it’s on the rise and a bit of it floats in water.)
5g Kosher salt
4oz. sharp cheddar, cut into small cubes and brought to room temperature.
¼ – ½ cup chopped green onion (I chop them thick) and brought to room temperature.
Cornmeal or polenta for dusting
Razor blade

The Dough

  • Pour 210g warmed water in a clear bowl.
  • Add starter and mix until incorporated.
  • Add flour and mix into a shaggy dough. Let it sit for half hour.

image-6shaggy-dough_

  • Add the salt and the rest of the warmed water. Dissolve the salt in the water and work it into the dough by folding it in or cutting it in. Let it sit for half an hour.

image-7autolyse_

  • Flatten the dough out a bit, spread the cubes and press them into the dough. Do your best to space them out. Do the same with the onion.

image-8-cheese-and-onion-in-dough_

  • Pull all the dough edges up and fold over, encapsulating the cheese and onion.
  • Leave it for 45 minutes, then stretch and fold again. Repeat every 45 minutes (or so) for the next several hours, until the dough starts to get fuller and come together. This will take time. Give it 4 to 6 hours and 6 to 8 stretch and folds. Be patient and get gentler with your folds as you go.

image-10-stretch-and-fold

  • Once the dough is noticeably a bit puffy and fuller, turn it onto a floured board. Lightly flour the top and flip it over using the bench knife. Do one more very gentle, half-hearted round of folds, so the dough is roughly round, and gently flip it back over.

image-11-rough-round-bench-rest

  • Let it sit for half an hour.
  • Lightly flour the top. Flip it again and do a final fold. Start your fold at the top edge, then the right side, then the left, then fold the edge nearest to you up and over and keep rolling the whole ball so the seam side is down.

There is your boule!

image-16-final-boule-dough

  • Spin it once or twice on the board to seal that bottom seam. Flour your banneton well. You don’t want the dough sticking to the banneton.
  • Slide your bench knife under the boule and gently place it upside down (seam side up) in the banneton.

image-17-dough-in-banneton-cheese-chunk-removal

  • Cover with foil and put in the fridge to bake the next day.

The Bake

  • Place your combo cooker in the oven and preheat to 500 degrees. Once preheated, wait another 20 minutes. You want it screaming hot.
  • Take your dough out of the fridge. I pluck any cheese cubes that are sticking way out of the dough.
  • Take the combo cooker out of the oven using heavy silicone mitts. Take the top off and dust the bottom of the cooker with cornmeal. It will smoke but that’s OK.

image-18-cornmeal-in-combo-cooker_

  • Lightly flour the seam side of your dough and your hands and then gently turn the dough out into the bottom of the combo cooker. Be careful. That sucker is hot.
  • Using a new razor or ultra-sharp kitchen knife, slice a cross into the top of the dough. This allows the bread to expand and rise to its full potential.

image-19-score

  • Replace the top and put it all into the oven. Cook for 10 minutes, then turn heat down to 450. Cook for another 15 minutes, then remove the top. Watch your eyes! You will release a cloud of hot steam.
  • Cook another 15 -18 minutes. Bake it out strong but don’t burn it. You want the internal temperature to reach at least 210F.
  • Put the loaf on a rack and let it cool, sitting there being beautiful while you make the soup. It’s a fine companion.

image-20-final-loaf

P.S. After you’ve demolished the loaf, keep those crumbs for mac and cheese.

Save