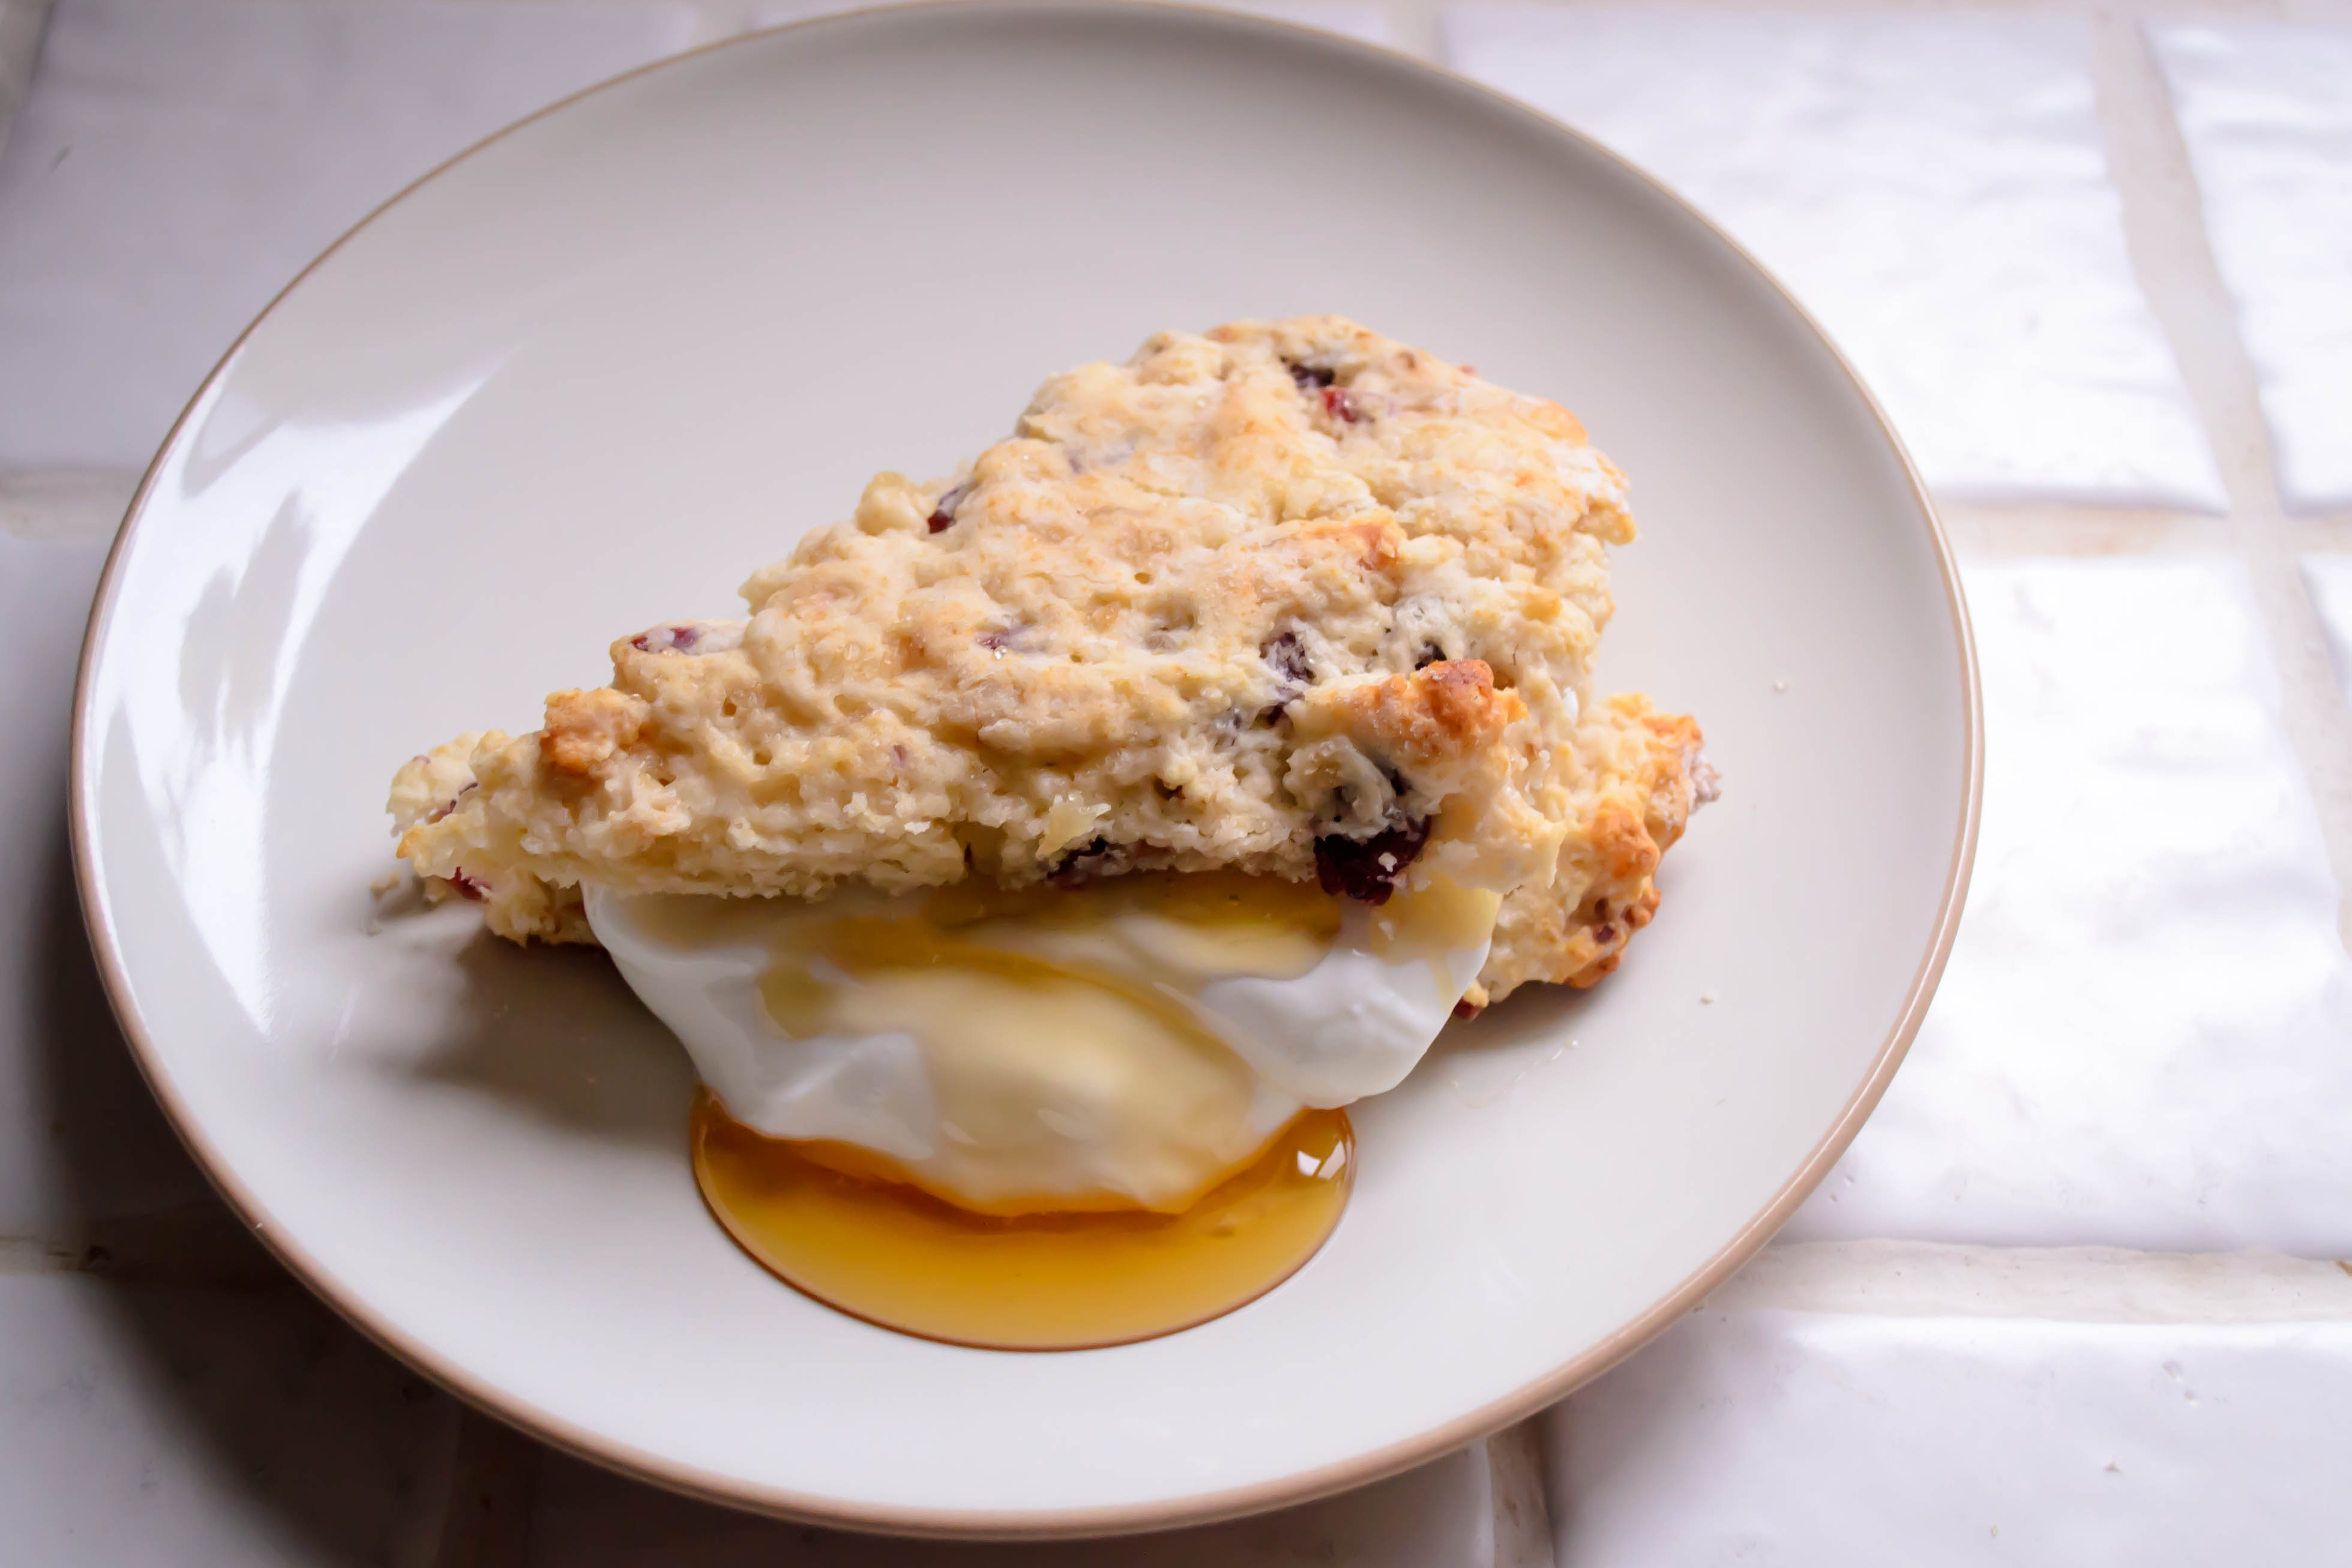
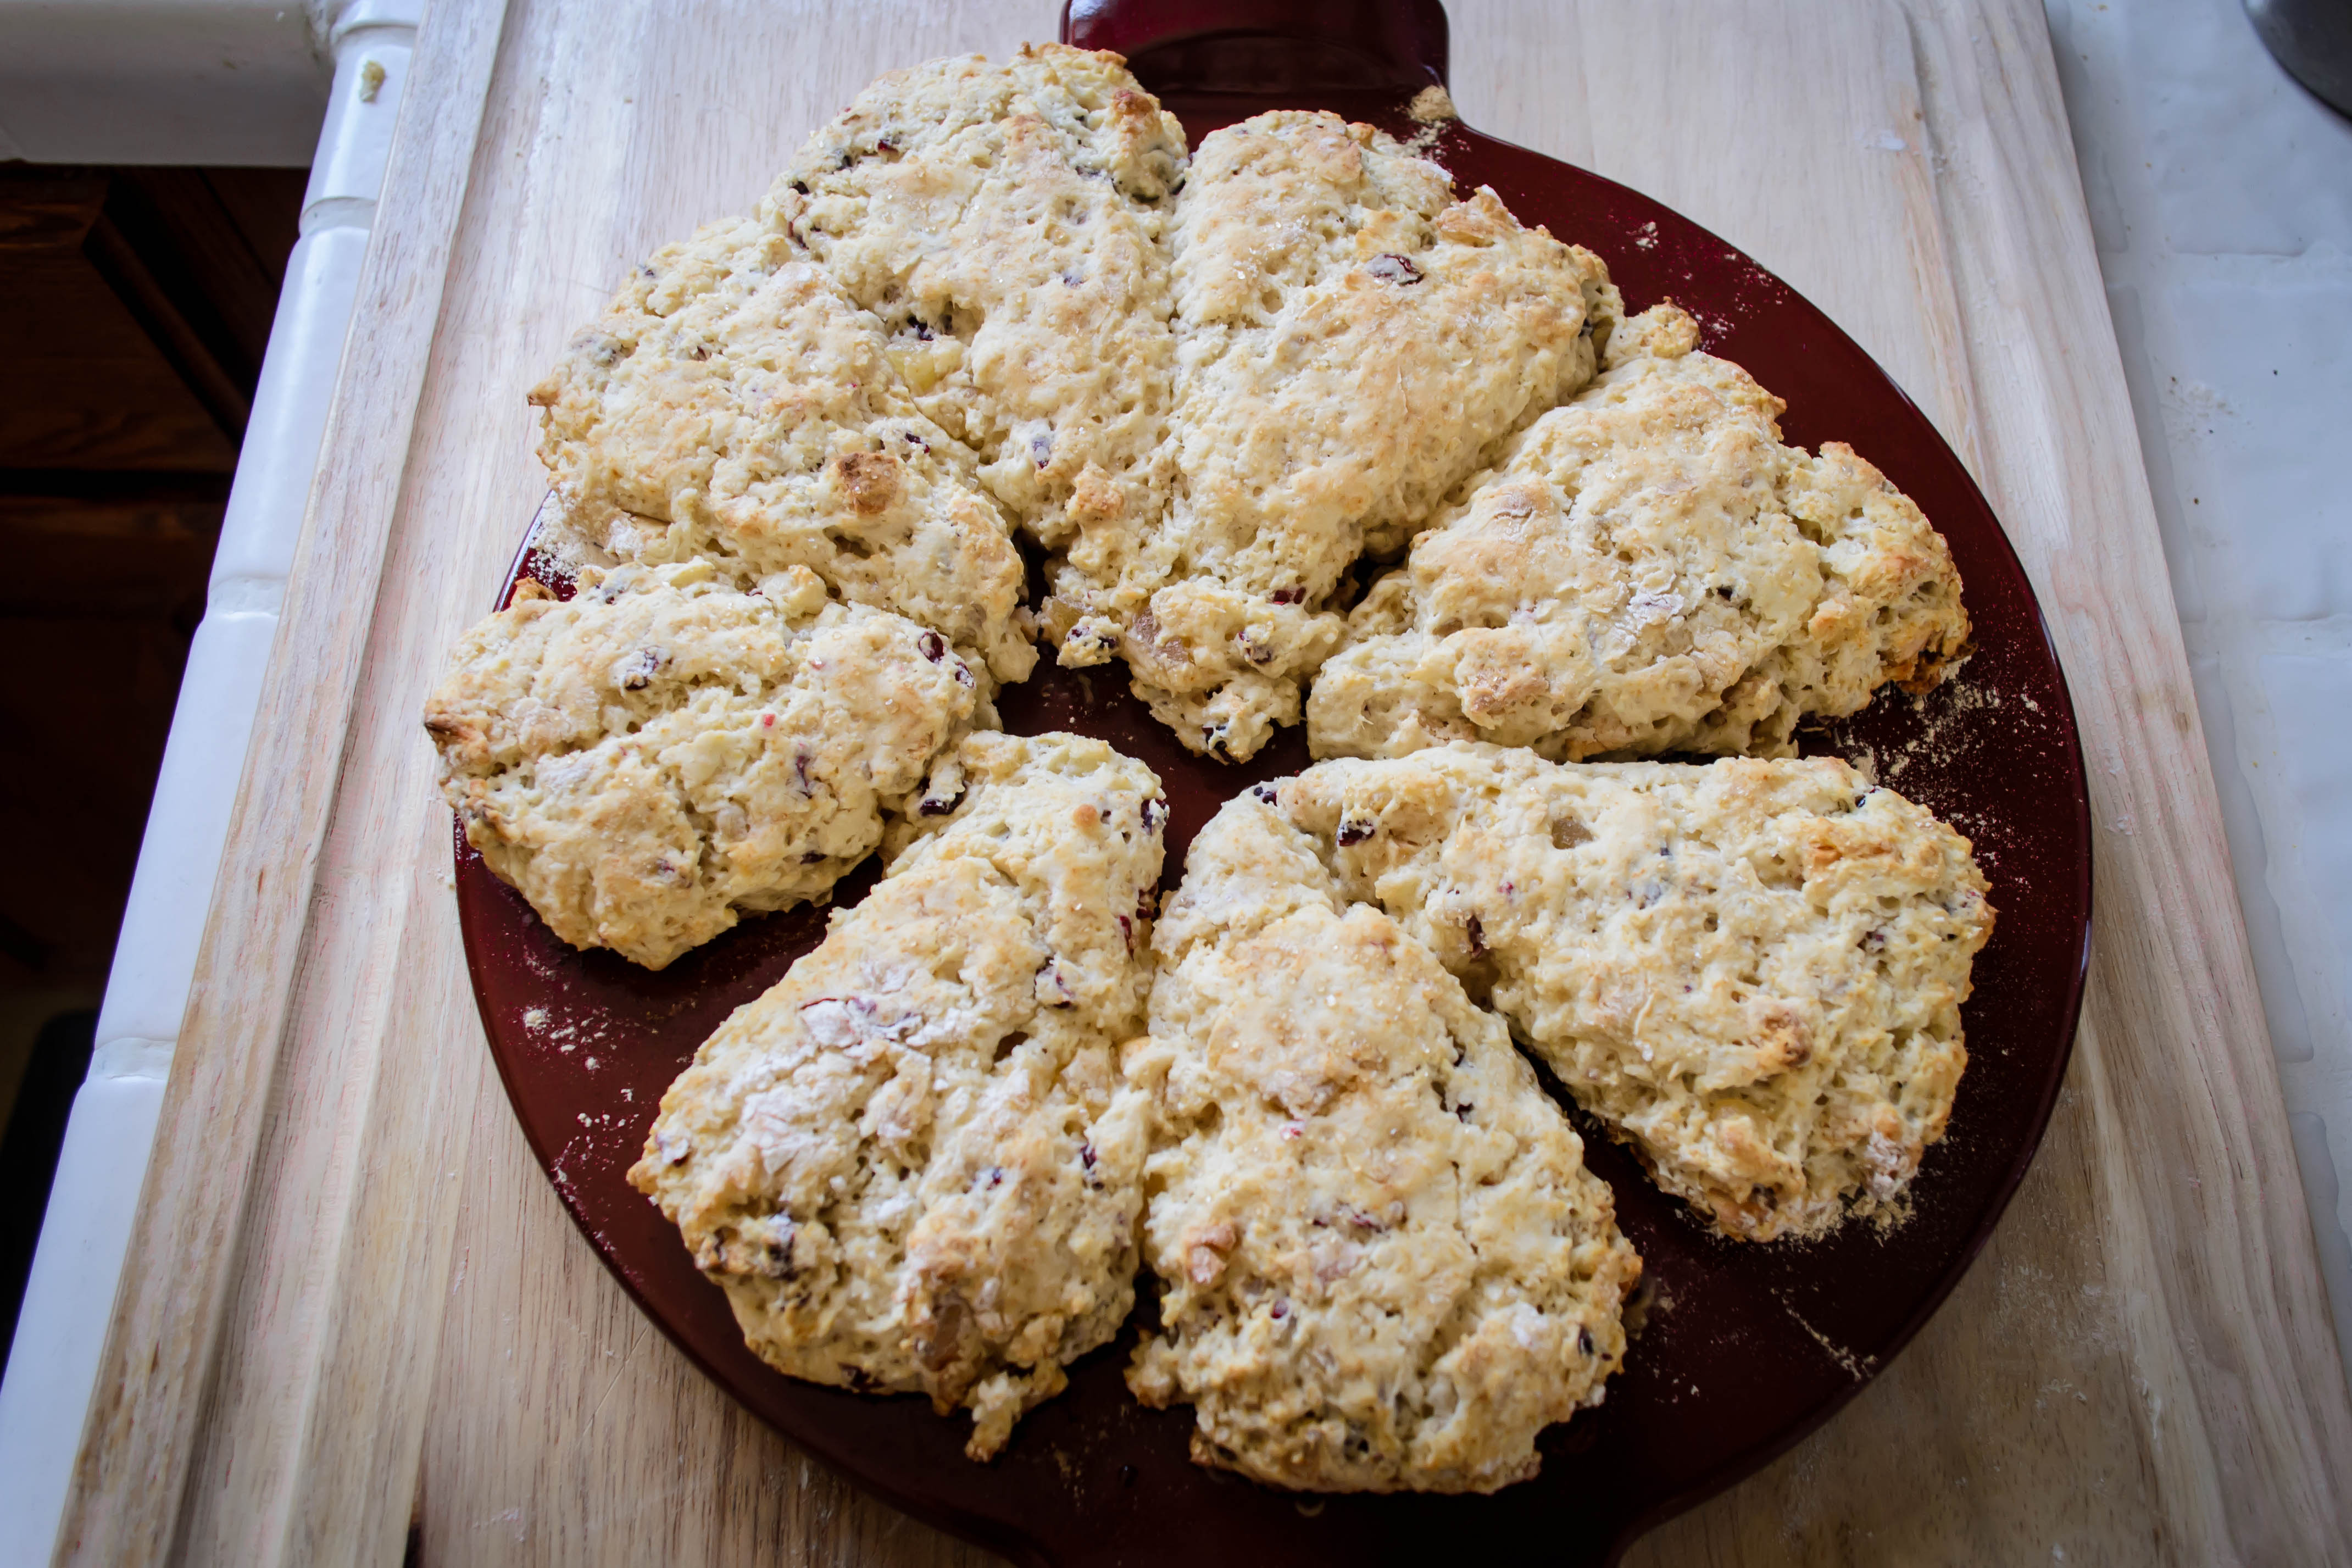
Continuing my current fascination with layers and my own tendency toward unnecessary complication, this week I decided to fix what ain’t broken. I love the combination of raspberry and lemon (incidentally, these are the only two flavors that I allow to come in contact with cheesecake, which is saying something), so I wondered how the classic lemon bar would fare if I required it to carry a layer of tart ruby compote between the crust and the curd.

 I decided to let myself off the hook on these in terms of recipe development – there are so many excellent lemon bar recipes out there that I saw no need to reinvent the wheel, so to speak, if my objective was just to add some fancy rims. I went with Deb’s whole lemon bars from her first cookbook, a riff on this tart. I like that they use the whole lemon (less waste! more flavor!), I love that they use a food processor for both components, and I’ve been pleased enough with the result on previous baking missions that this time I only adjusted her filling requirements by jamming in yet more citrus.
 Speaking of jam, if you wanted to make your life easier for the raspberry component you could probably just empty a few tablespoons of preserves over the parbaked crust and wind up with something completely satisfactory. I opted instead for a defrosted bag of frozen berries – it’s winter and grocery store selections are less than desirable for a number of reasons – and cooked them down with a few tablespoons of sugar. You could go fresh too if you wanted; I include estimates below.

 We found these delightful. And we keep on finding them to be so. In fact, every time I go back to the cutting board where I left them, I find fewer there. At first I thought the raspberries overpowered the lemon, but after my … well… we’ll call it my nth sample, I’ve decided there’s a nice harmony between the different sources of tartness. I do think the lemon takes a slight backseat, so I’m also including measurements here for a version I think you’ll find less raspberry-forward.
 One note: to get that gorgeous, traditional, snowy-topped powdered sugar garnish, you must wait for these bars to cool completely. If you sprinkle it on when the bars are even slightly warm, the powdered sugar melts frustratingly into the lemon layer and all but disappears.

Raspberry Lemon Bars
Adapted very lightly from The Smitten Kitchen Cookbook
Makes 16 squares of about 1½ inches
A little over an hour, plus cooling time of at least 30-40 minutes
For crust:
1 cup all-purpose flour
⅓ cup sugar
¼ teaspoon salt
8 tablespoons (1 stick or 4 ounces) unsalted butter, cut into chunks
For raspberry compote:
12 ounces frozen or fresh raspberries, for a raspberry-forward layer
6 ounces frozen or fresh raspberries, for more subtle raspberry presence
1-2 tablespoons sugar
For lemon filling:
2 medium lemons
1⅓ cups sugar
8 tablespoons (1 stick or 4 ounces) unsalted butter, cut into chunks
4 large eggs
2 tablespoons cornstarch
¼ teaspoon salt
Powdered sugar, to finish
- Preheat the oven to 350 with a rack in the middle. Cut two pieces of parchment paper slightly larger than an 8-inch baking dish and arrange them perpendicular to one another across the bottom and up the sides. You’ll use these as a sling to remove the bars from the pan later. Lightly grease for extra insurance.
- Add the raspberries and 1-2 tablespoons sugar to a small pot. Cook over medium to medium-low heat until they have expelled some juice and thickened slightly. Alternatively, if you are using fresh raspberries and want them less processed, toss them with the sugar, crush them very gently with the tines of a fork, and set them aside for a few minutes.
- While the raspberries cook, make the crust: blend the flour, salt, and sugar in a food processor by pulsing 3-4 times for 1-second intervals. Add the butter and continue this 1-second pulsing routine until the crust just starts to come together – it will still be powdery, but hold its shape if pinched between your thumb and forefinger.
- Dump the crust crumbs into the prepared baking dish and use your fingers or the bottom of a cup measure to press them firmly across the bottom and about ½ inch up the sides. Prick the dough all over with a fork, then stow in the preheated 350F oven for 20-25 minutes, until it is lightly browned. If any bubbles appear, gently prick them with a fork. Leave the oven on.
- While the crust bakes, make the lemon filling: cut the lemons in half and assess the pith (the white layer below the skin). If it is more than about ¼ inch thick, remove the skin and pith from one of the lemons, leaving only the flesh. If it is less than ¼ inch thick, keep it all. Cut the lemons into slices and remove any seeds. Then, add the lemon slices – skin and all! – and the sugar into the same food processor bowl you used for the crust (you don’t even need to wash it out), and process on high until the lemon is thoroughly pureed – about 2 minutes.
- Add the butter chunks to the pureed lemon and process again until the butter is well integrated. Add the eggs, cornstarch, and salt and pulse in 1-second intervals until the mixture is well combined. Don’t forget to scrape the sides of the processor bowl down once or twice with a spatula to ensure an even mixture.
- To assemble, pour and scrape the raspberry puree over the parbaked crust, using a spatula or the back of a large spoon to spread it evenly across the hot crust. Next, pour and scrape the lemon filling over the raspberry puree. I was worried about the fillings bleeding into each other, but found the lemon stayed on top just fine provided I was pouring from a very low height.
- Bake the bars for 35-40 minutes, until the filling is set and the top is lightly browned; you are looking for only a slight jiggle when you move the pan. The top may look a touch browner than you wanted – don’t worry. Powdered sugar covers that right up.
- Remove the pan from the oven and let it cool completely, either on a rack or in the refrigerator.* Gently use the parchment sling to remove the entire square to a cutting board. Trim off the edges, if desired (I like this for neatness and consistency), then slice into 16 squares. If the knife is pulling at the top layer, clean it in between slices by dipping it into a glass of very hot water and then wipe away the residue. Sprinkle gratuitously with powdered sugar, then serve.
* Cooling completely is important: if you add the powdered sugar garnish when the bars are even a tiny bit warm, it will melt frustratingly into the lemon filling layer and disappear.