
Photo Friday
Image
Reply

Last week, I met Shauna and Danny from Gluten-Free Girl and the Chef at a potluck party they hosted in the Silverlake neighborhood of Los Angeles. This was the California segment of their American Road Trip, a voyage that has encompassed numerous regions of the country, which they are using as fodder for their newest cookbook project. They’ll be presenting gluten-free options inspired by home cooking from across the country.
I’ve been a fan of Shauna and Danny’s for some time now, participating in a few of their cookbook projects, and it was a delight to meet them and get to hang out. I brought along my warm lentil and kale salad as an offering, one of my most recent favorite gluten-free dishes.
What follows are some of the images I caught during this gathering.

AMAZING pumpkin chiffon pie. Chewy, crispy, perfect chocolate chip cookies in the background, all gluten-free
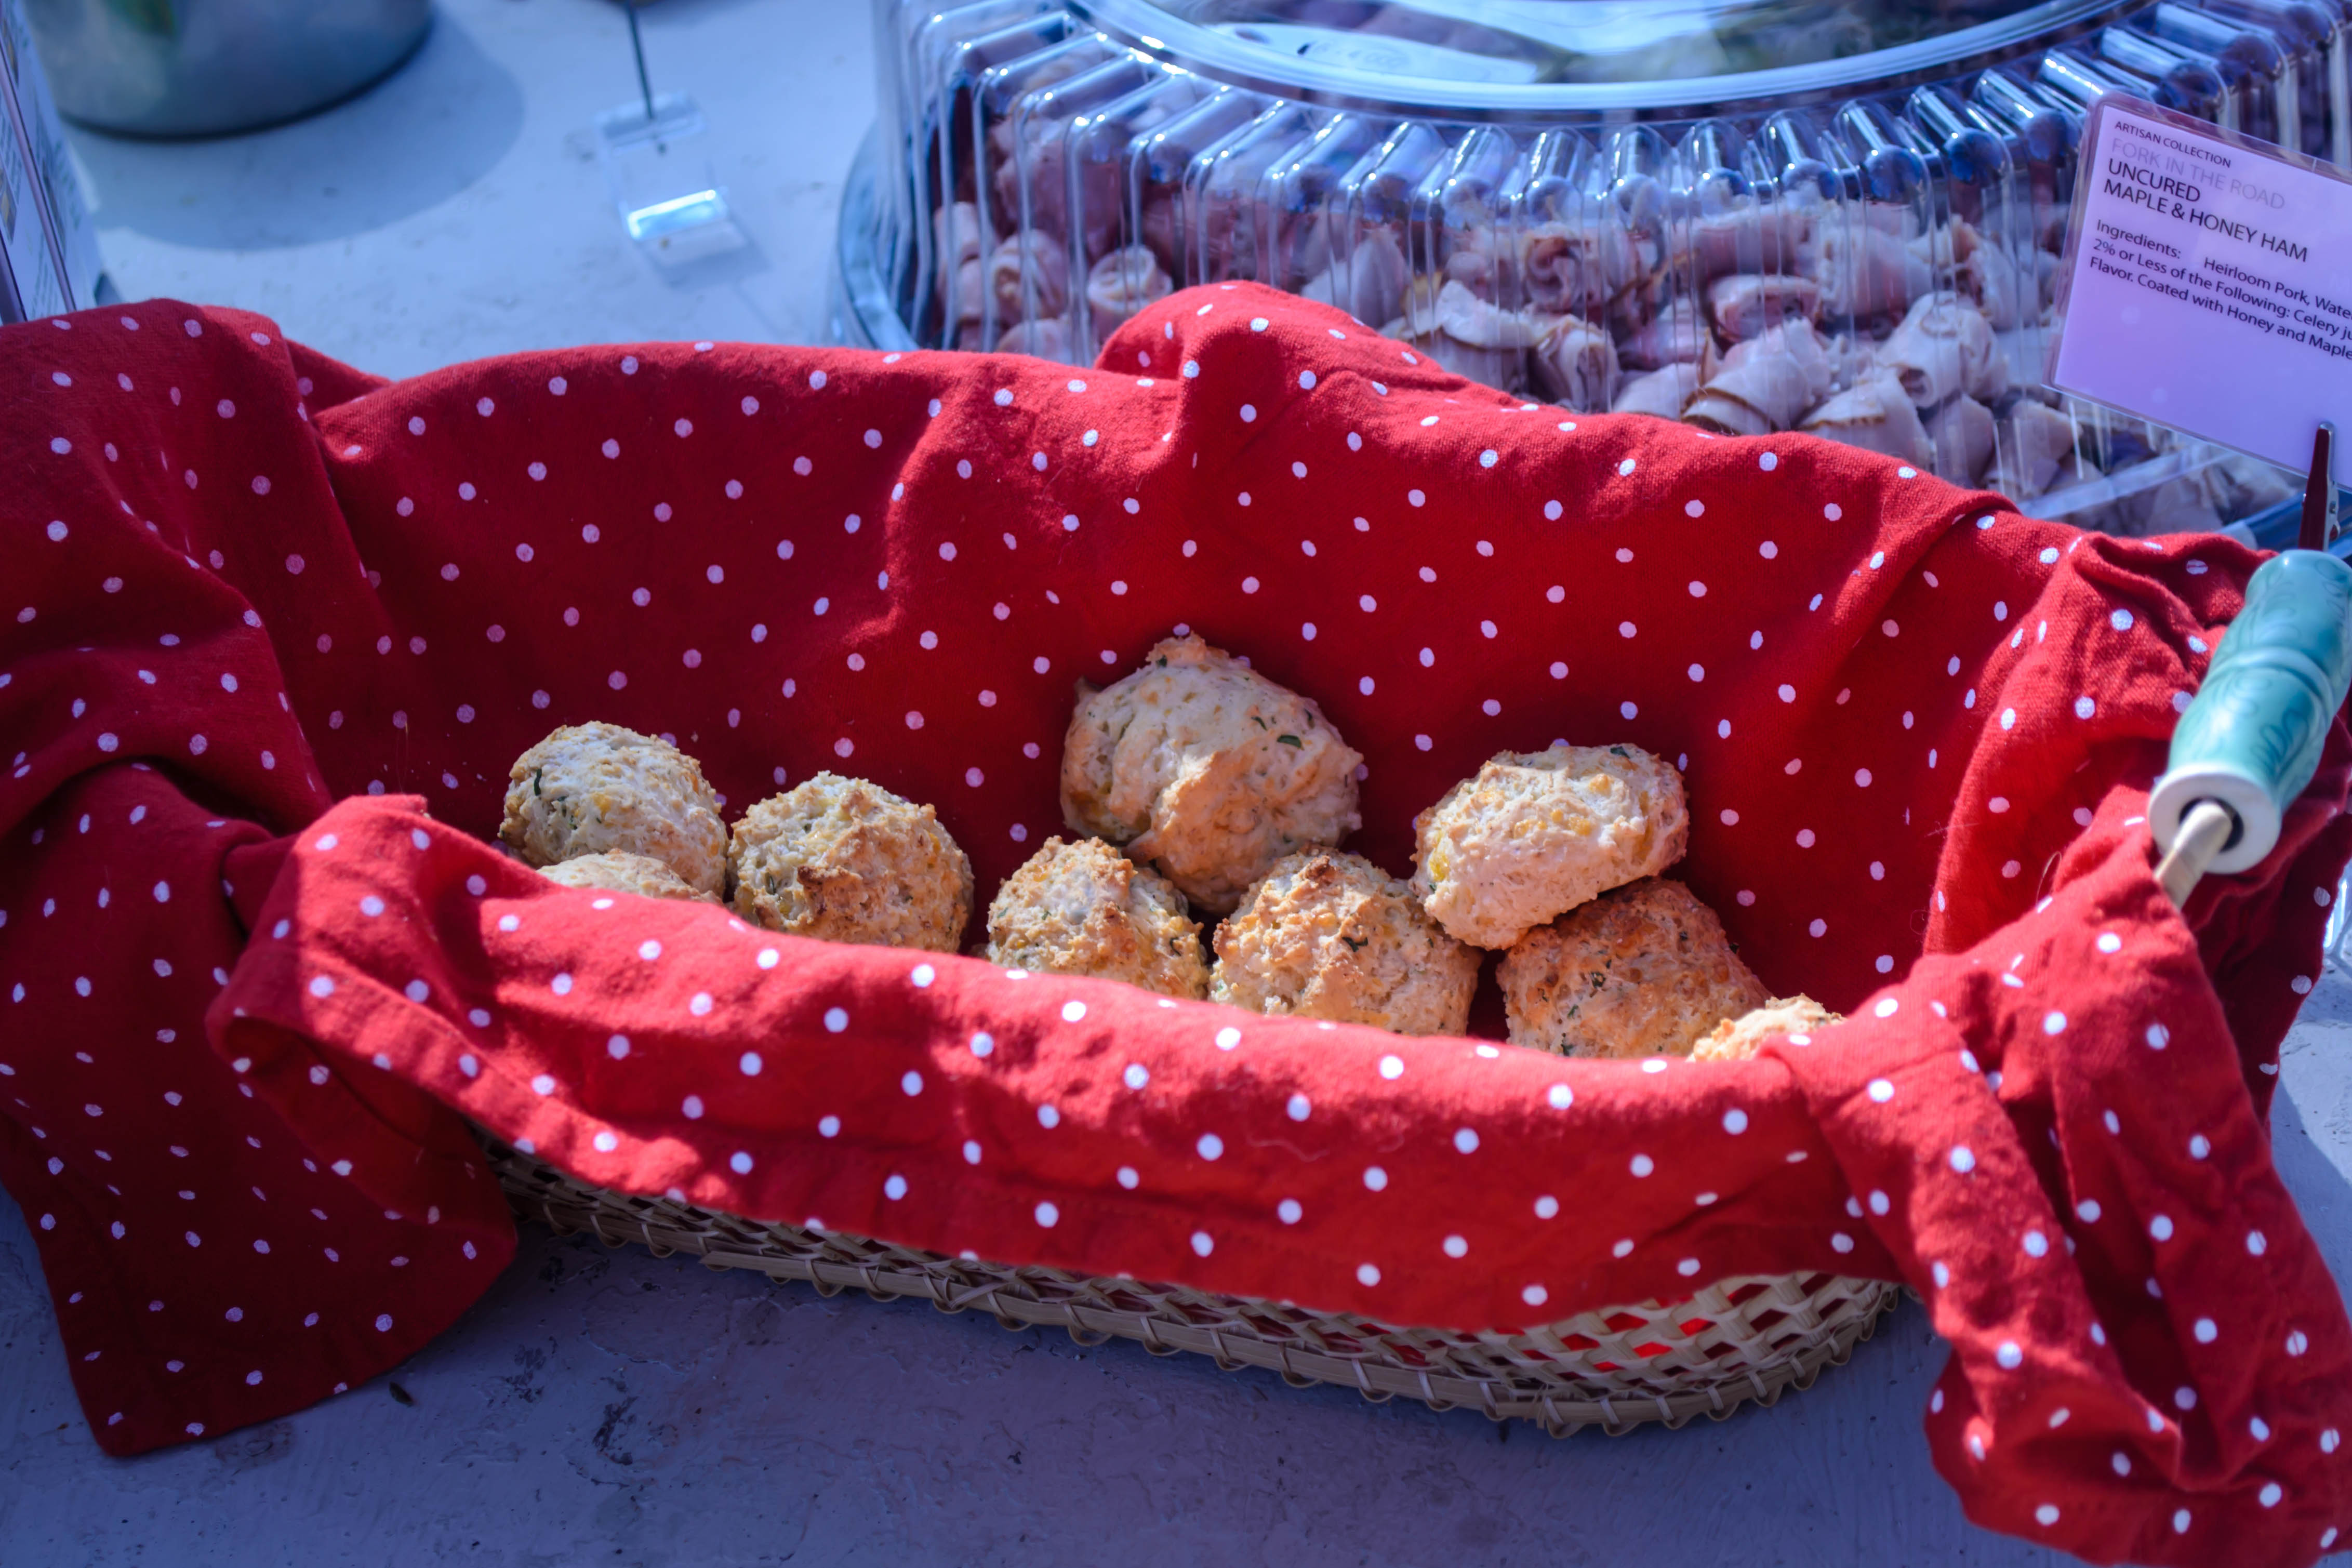
Addictive little puffs
I’m pretty sure these little puffs, offerings from Erin at The Sensitive Epicure, are Brazilian pao de queijo, which she talks about here. No one could stop eating them.

Nice shirt, Danny.

Locals, hoping to score some gluten-free snacks
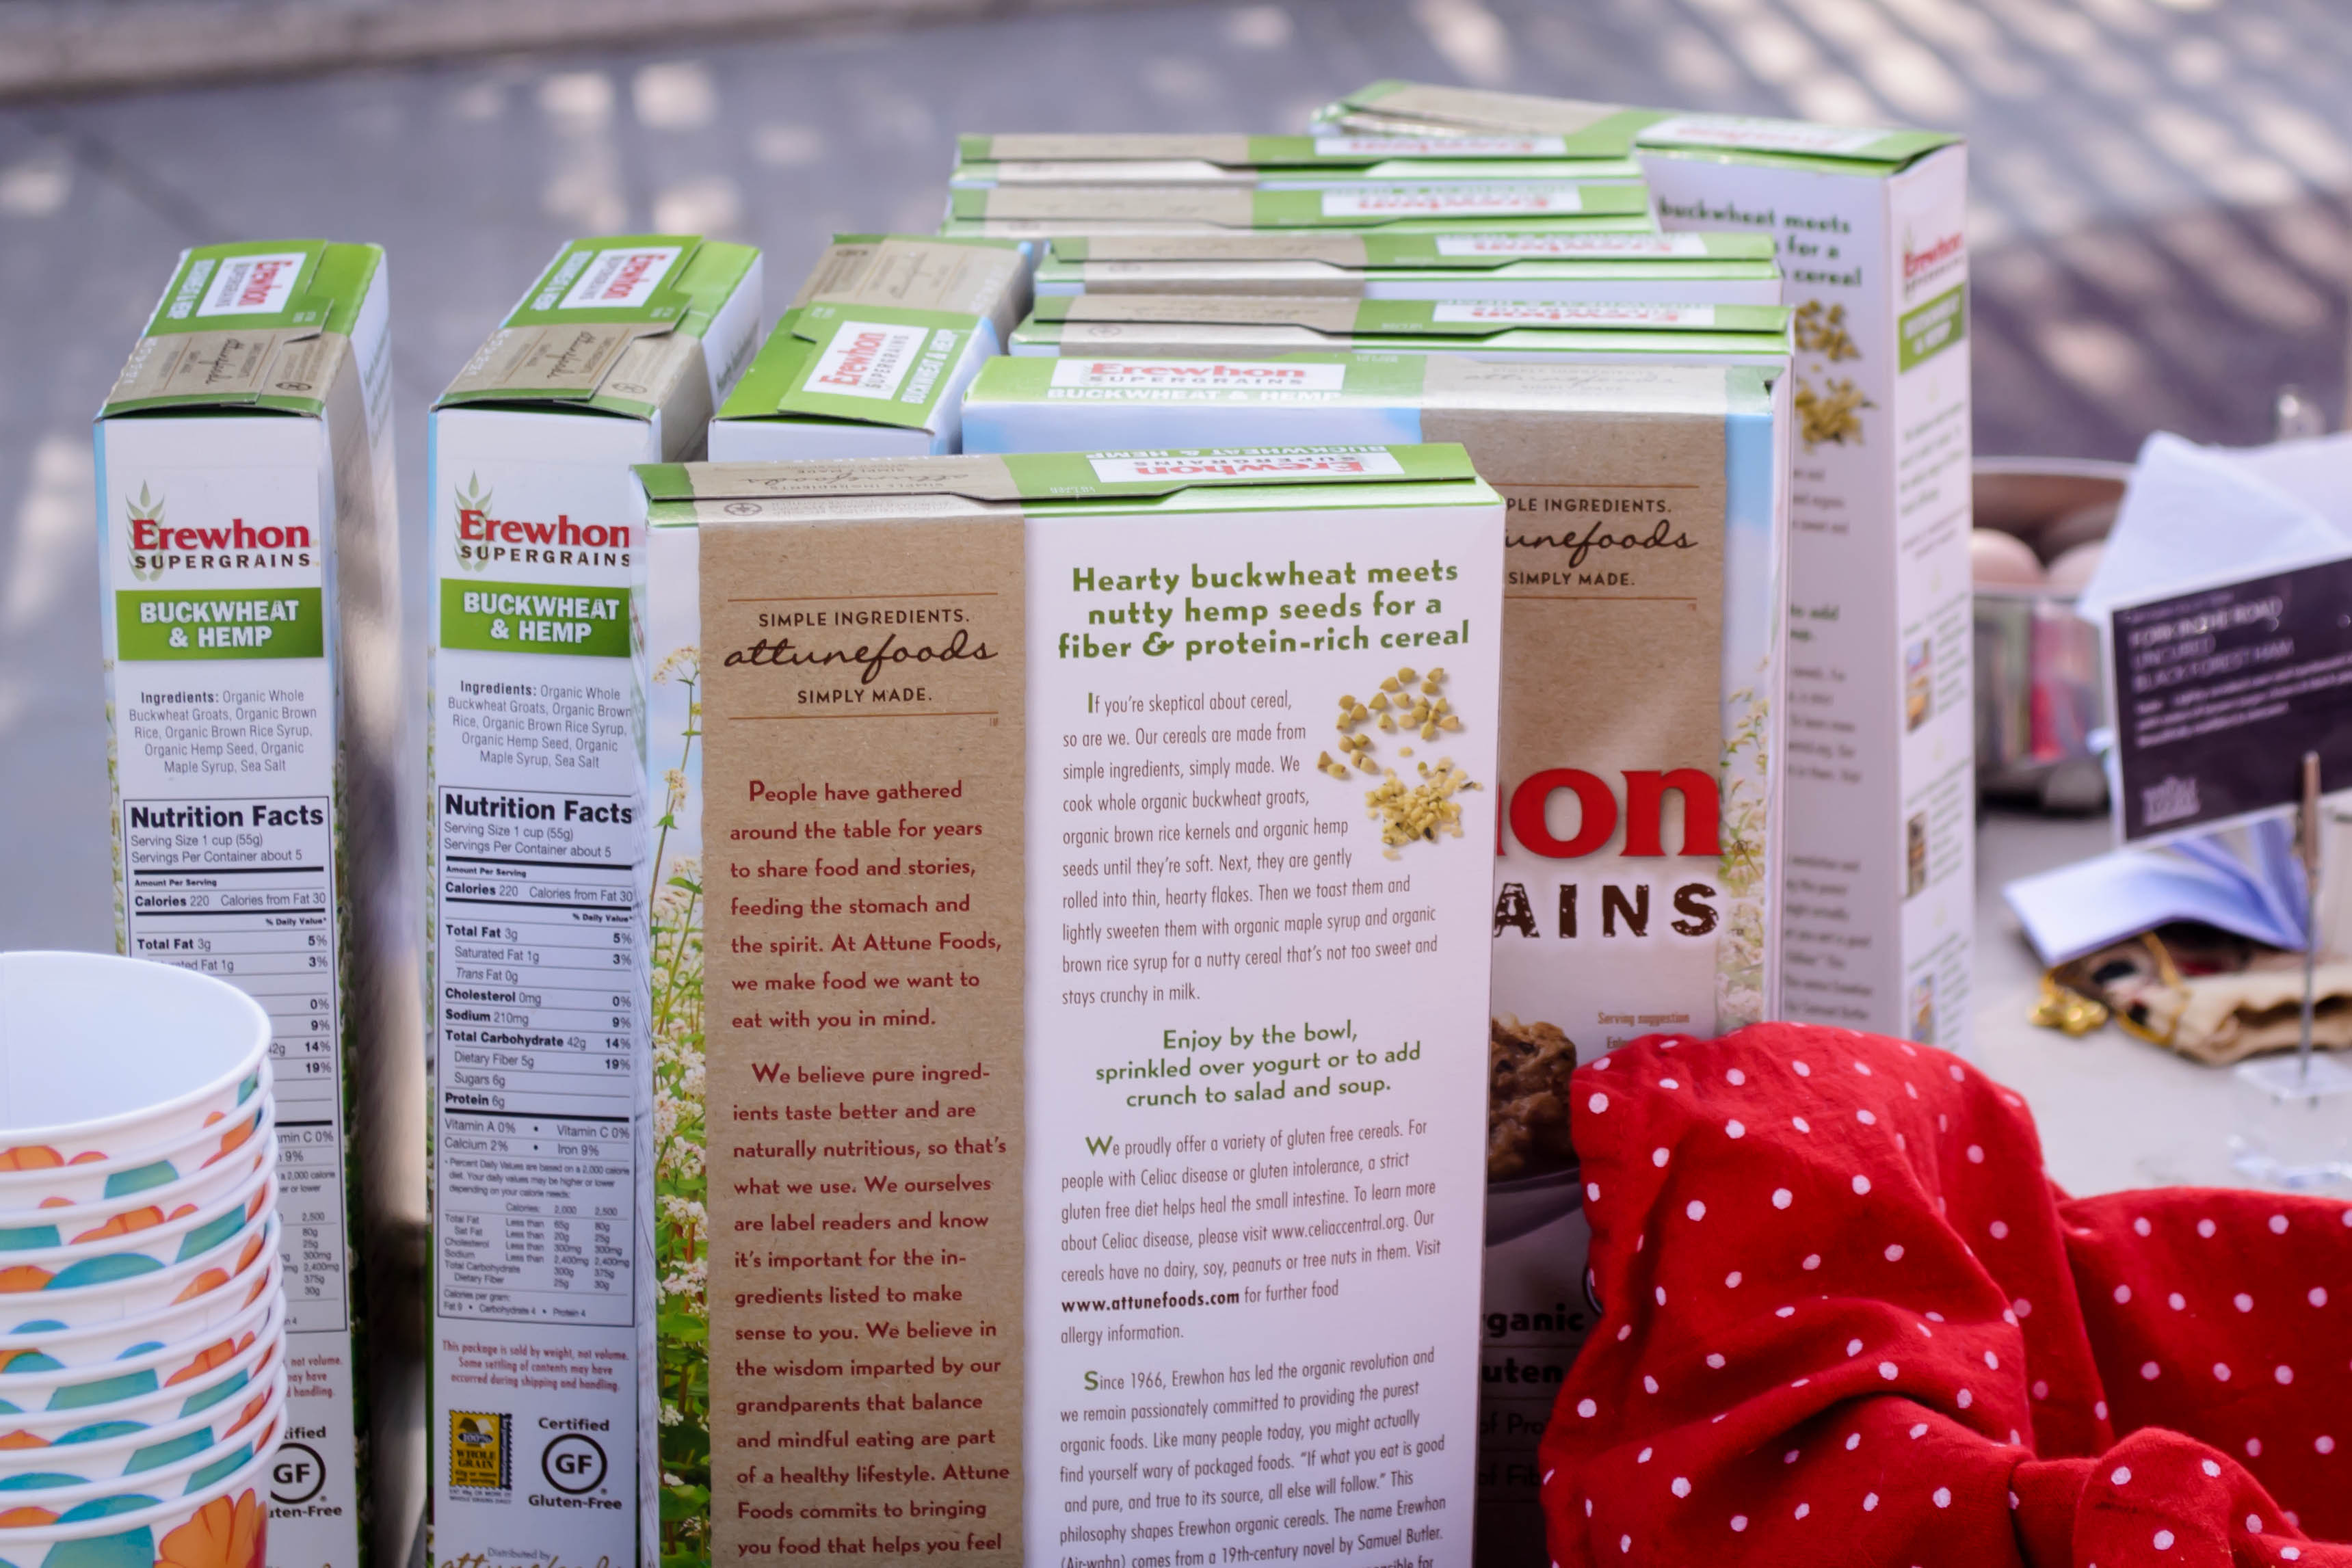
We even got party favors! Marvelous buckwheat and hemp cereal.

Sweet little father daughter moment

Me with Shauna, wheeee!
We are studying alliterative poetry in my British Literature class, and apparently I’m feeling inspired by it…
 Sometimes simple is superior: soup and a sandwich.
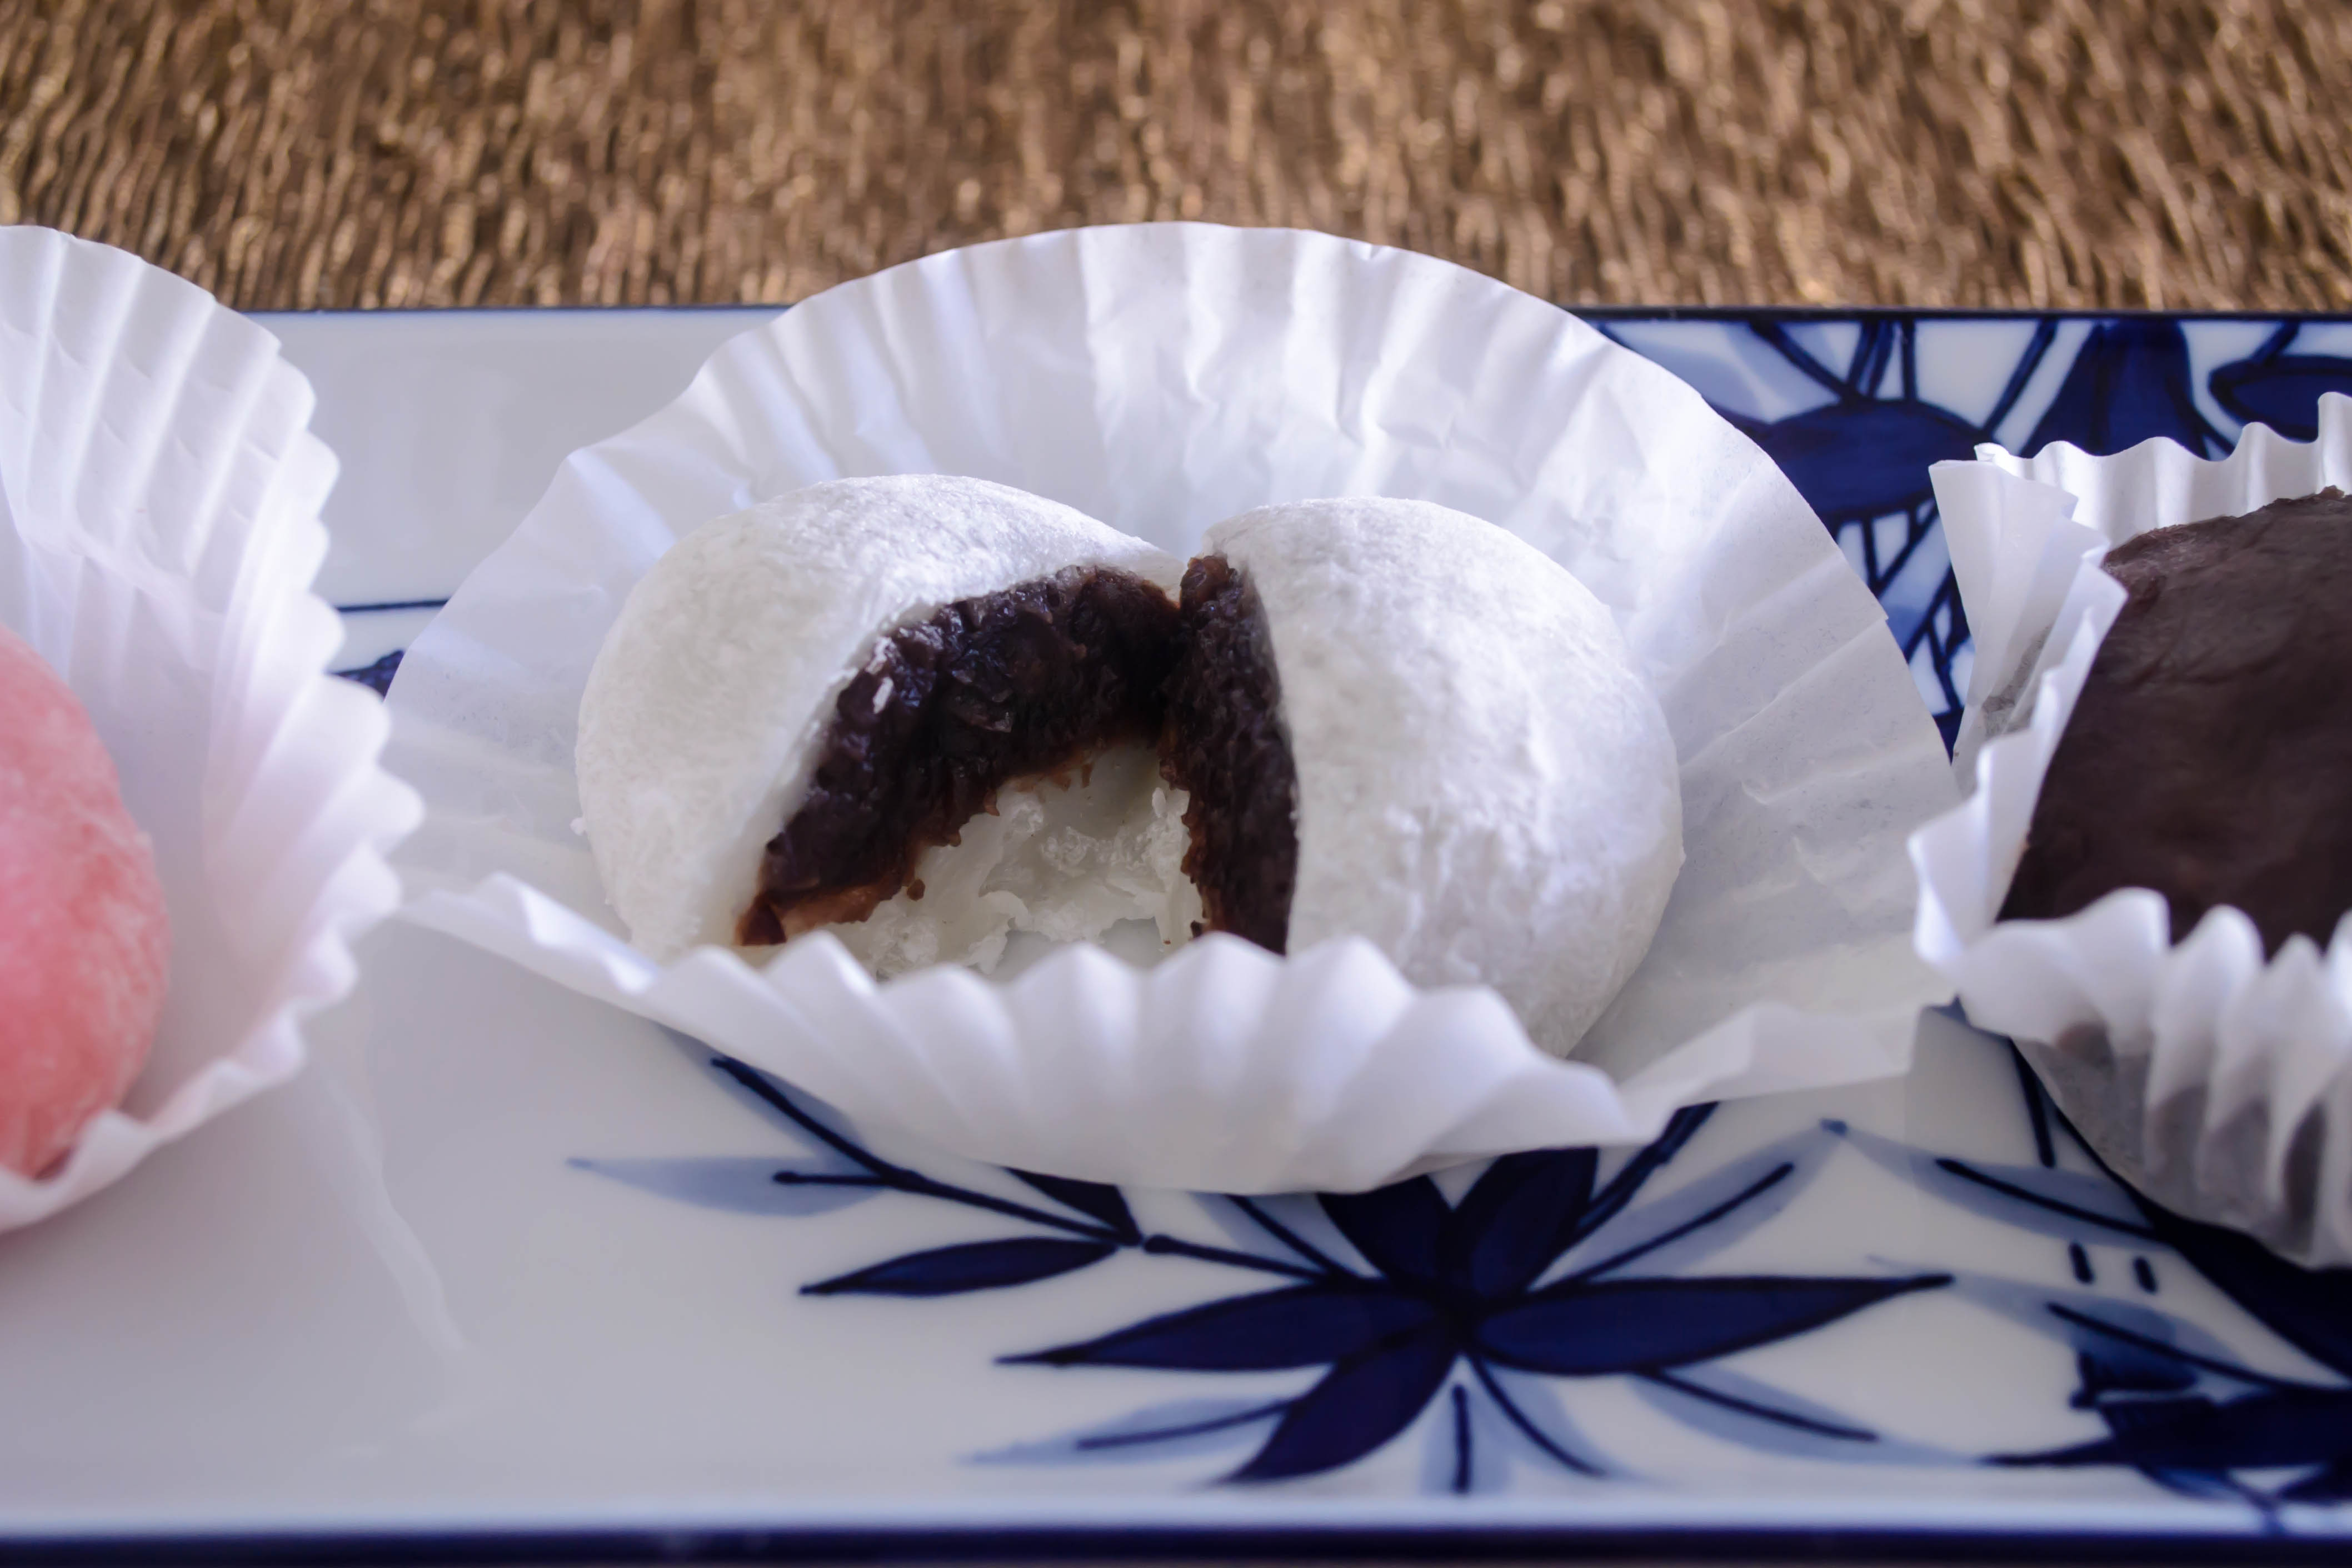
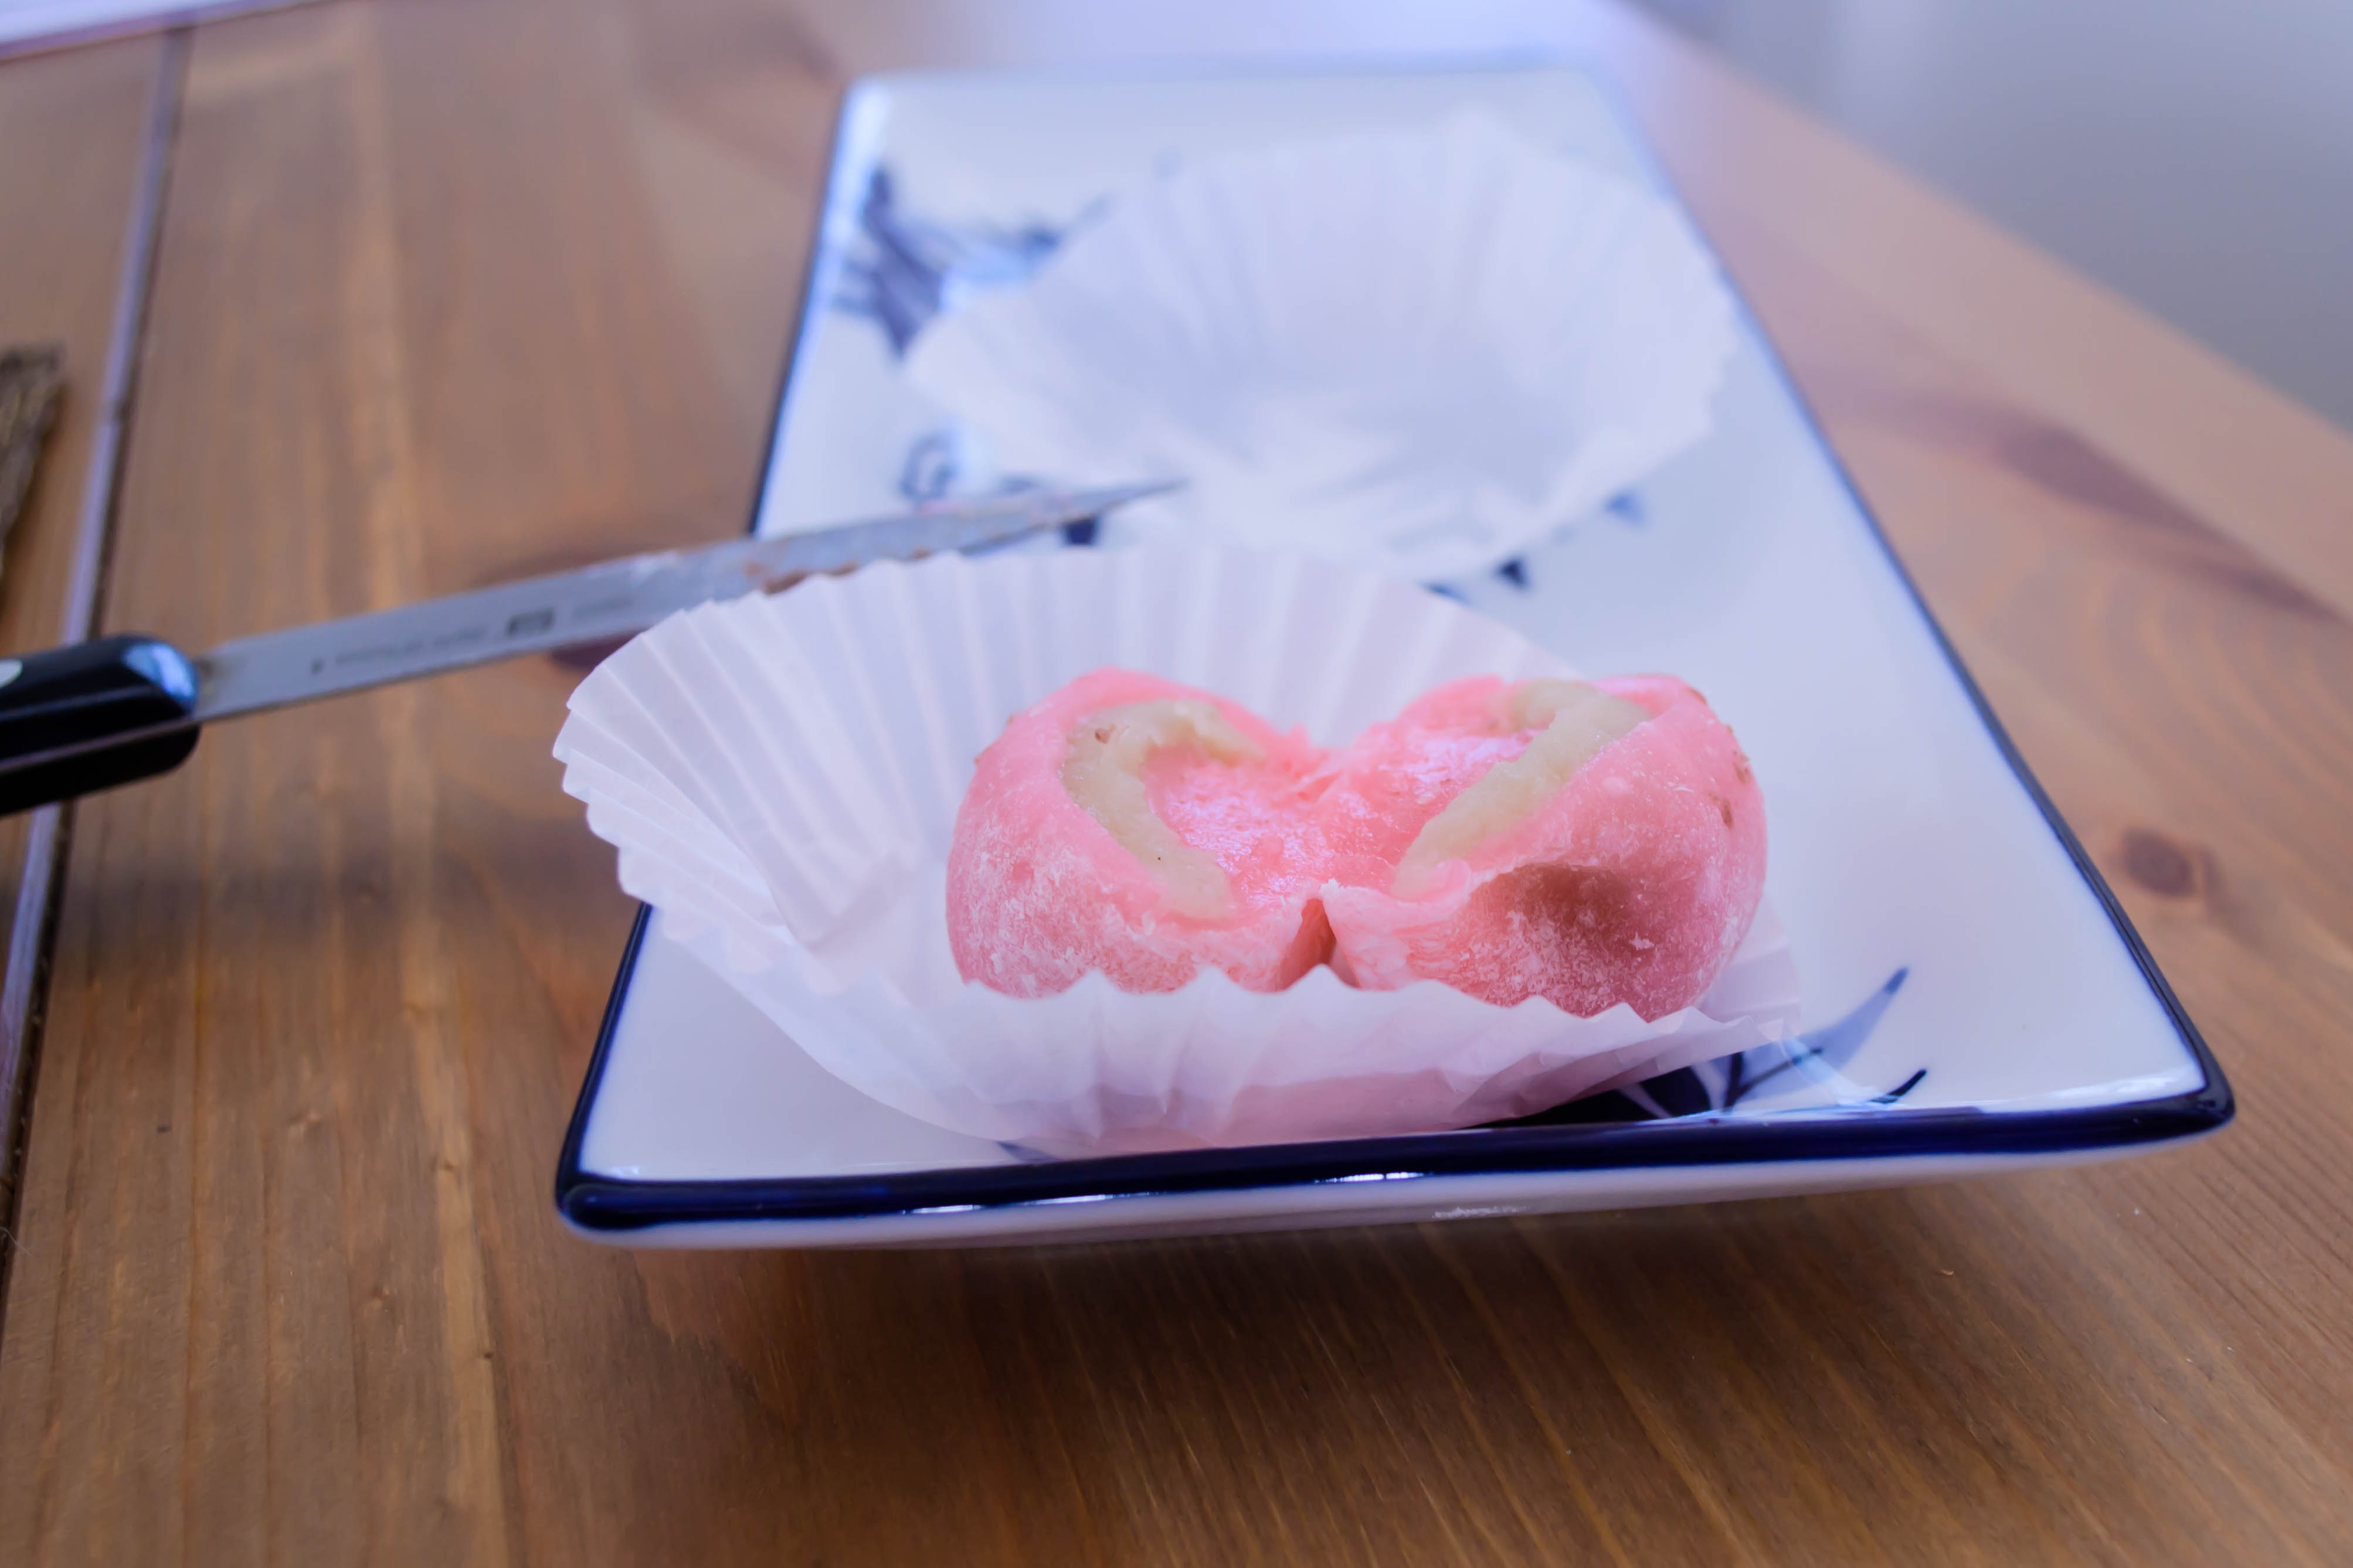
Mochi, three ways (in quartet), from Sakura-ya in Gardena.


 Even though I’m getting sauced this year (is that joke already old?), I’m not abandoning my bread ambitions. I love the monthly challenge of Twelve Loaves, and I received a sourdough starter as a Christmas gift that, according to its bequeather, “needs some TLC.” Anxious to do it right, I scoured the internet for suggestions, of which there are no shortage, and in many cases, no consistency, which, delightfully and frustratingly, appears to be no problem at all! I distilled the various directions down into what felt like a successful (read: doable) routine for me. I fed it flour and water, it smells like San Francisco, and I’ve named it Bubblin’ Bertram. Is that weird? Probably.
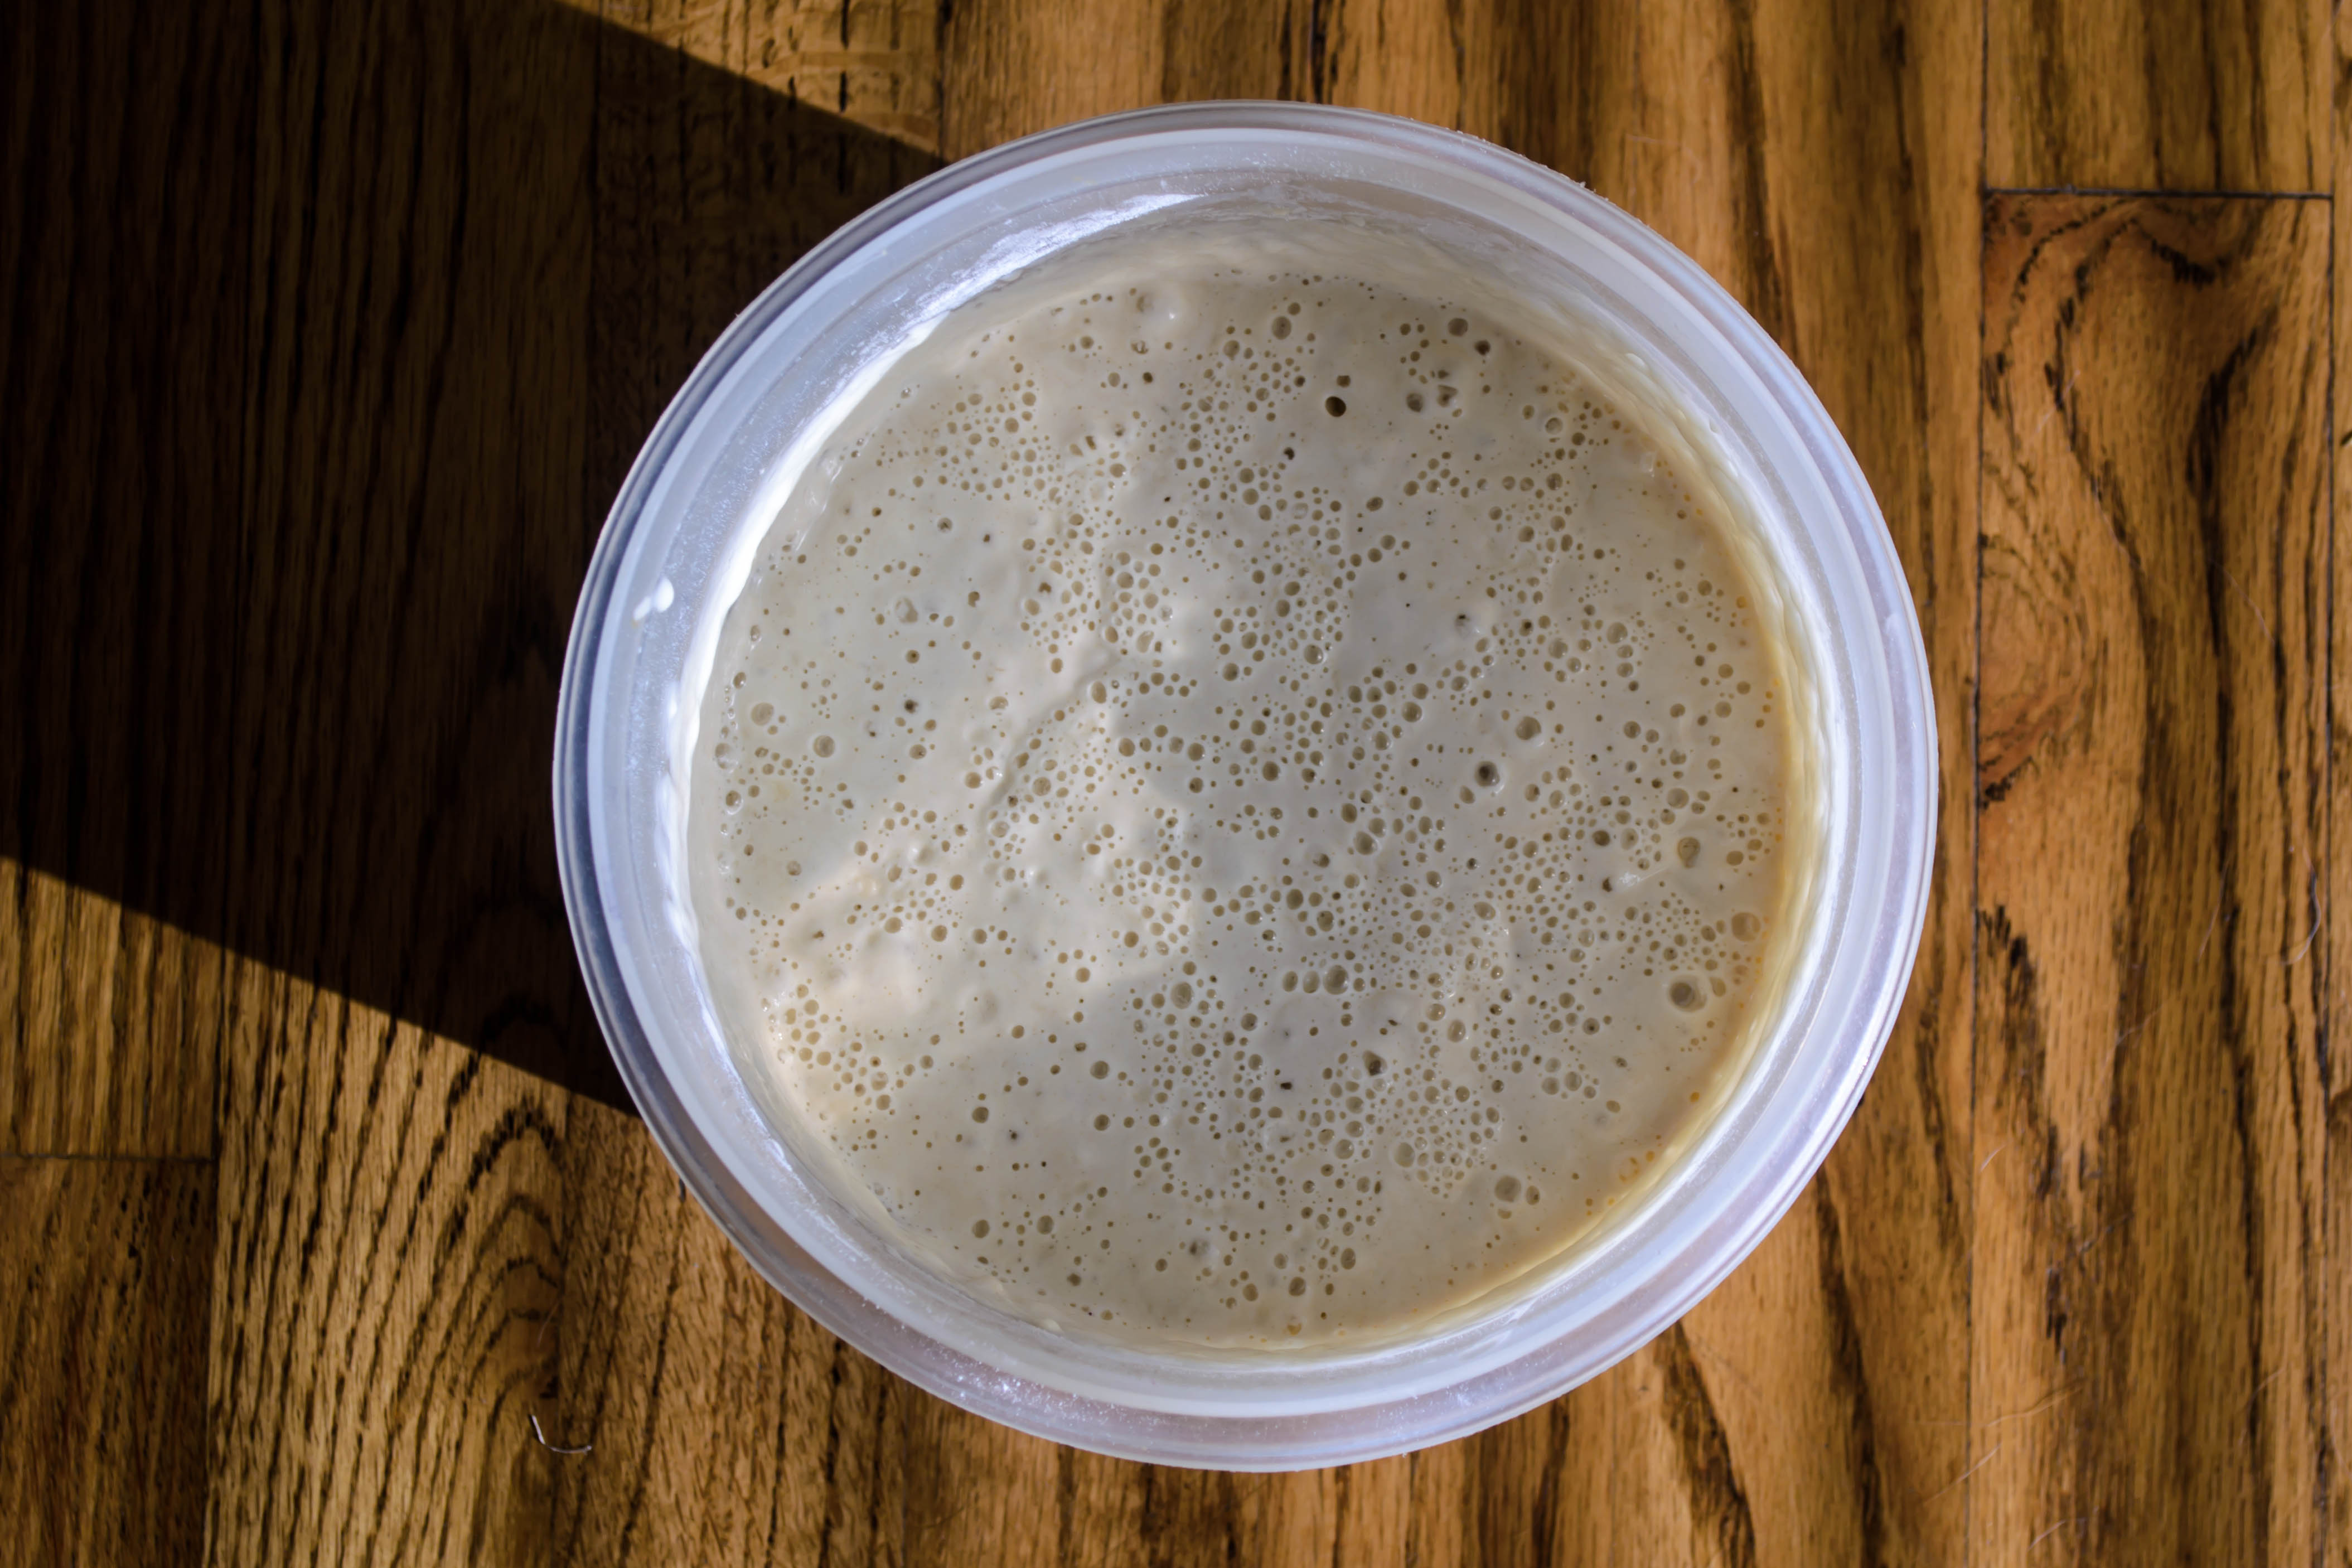
Bubblin’ Bertram bubblin’ away
This month’s Twelve Loaves challenge is “Keep it Simple.” As you know if you’ve spent any time on this blog, that tends to be difficult for me. I like a classic. I like a basic, fundamental recipe, but I like to twist it a little, to ask it to shimmy along with me into something fresh and bright and different. To make my predilection for complexity work with the challenge set, and to to celebrate both my new housemate (what? Yeast is alive!) and the kitchen scale Santa brought me (thanks, Mom and Dad!), I decided to face basics in a way I’ve never done before: by weight.
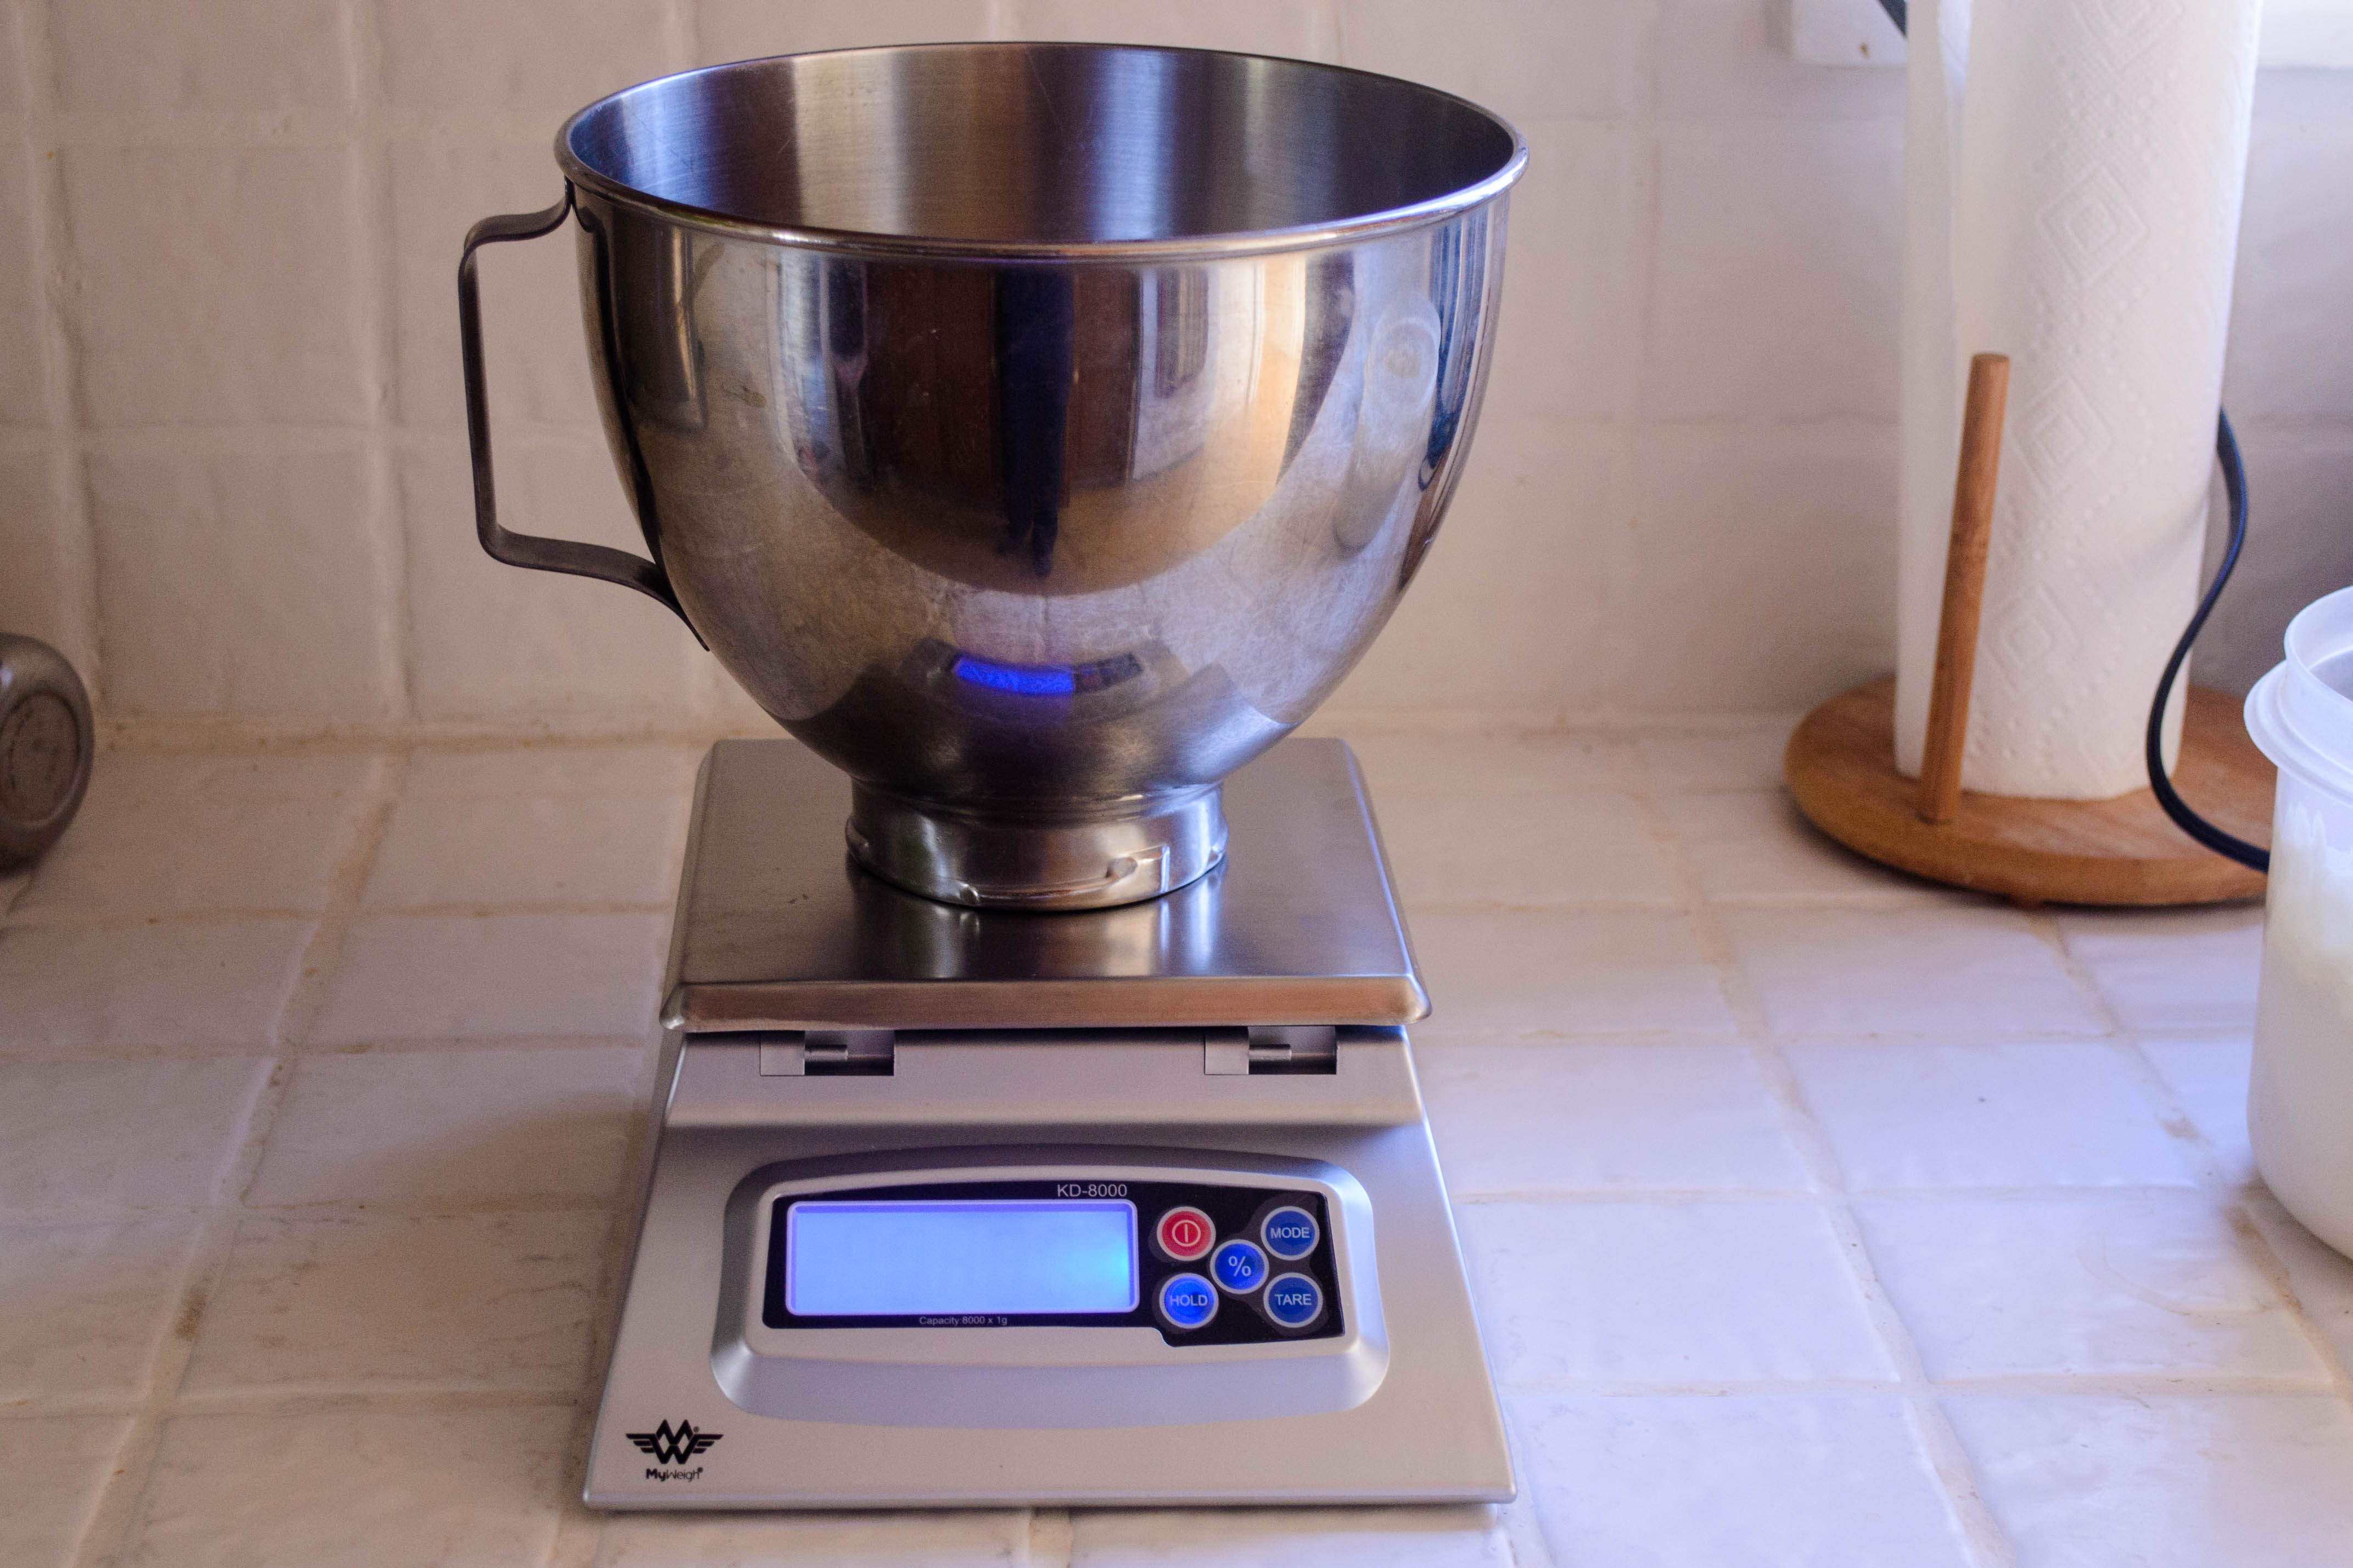 Baking by weight is hardly new. Shauna talks about it all the time, and it is just as true for baking with wheat flour as it is for using gluten-free flour mixes. Michael Ruhlman has written a whole book that relies on it. But it was new for me. There is something bizarrely scary about ignoring your measuring cups, though I’m not sure why, because working by ounces is admittedly so much more precise.
 So I threw caution (and habit) to the wind and dove in, dipping up some of my burbling fed starter, glorying in the yeasty sour smell, and kneading it gently into flour, water, salt, and a breath each of butter and honey for a little extra flavor and moisture. It made a lovely soft dough, and I lovingly nestled it in an oiled bowl, covered it with plastic wrap, and set it aside to swell.

“Shaggy” dough
And then it sat. And I sat. And we sat. And I paced. And it did nothing. For hours. No rising. No bubbling. No noticeable change of any kind. I went back to the internet and searched for solace.
 Three hours later, finally, my dough had almost doubled. In my warm home office, this usually takes a maximum of 90 minutes. But I had used no commercial yeast, only what was naturally in the starter. It takes those little guys a while to gulp down all the new food they’ve been handed, and to expel the gas that causes dough to puff and thicken.

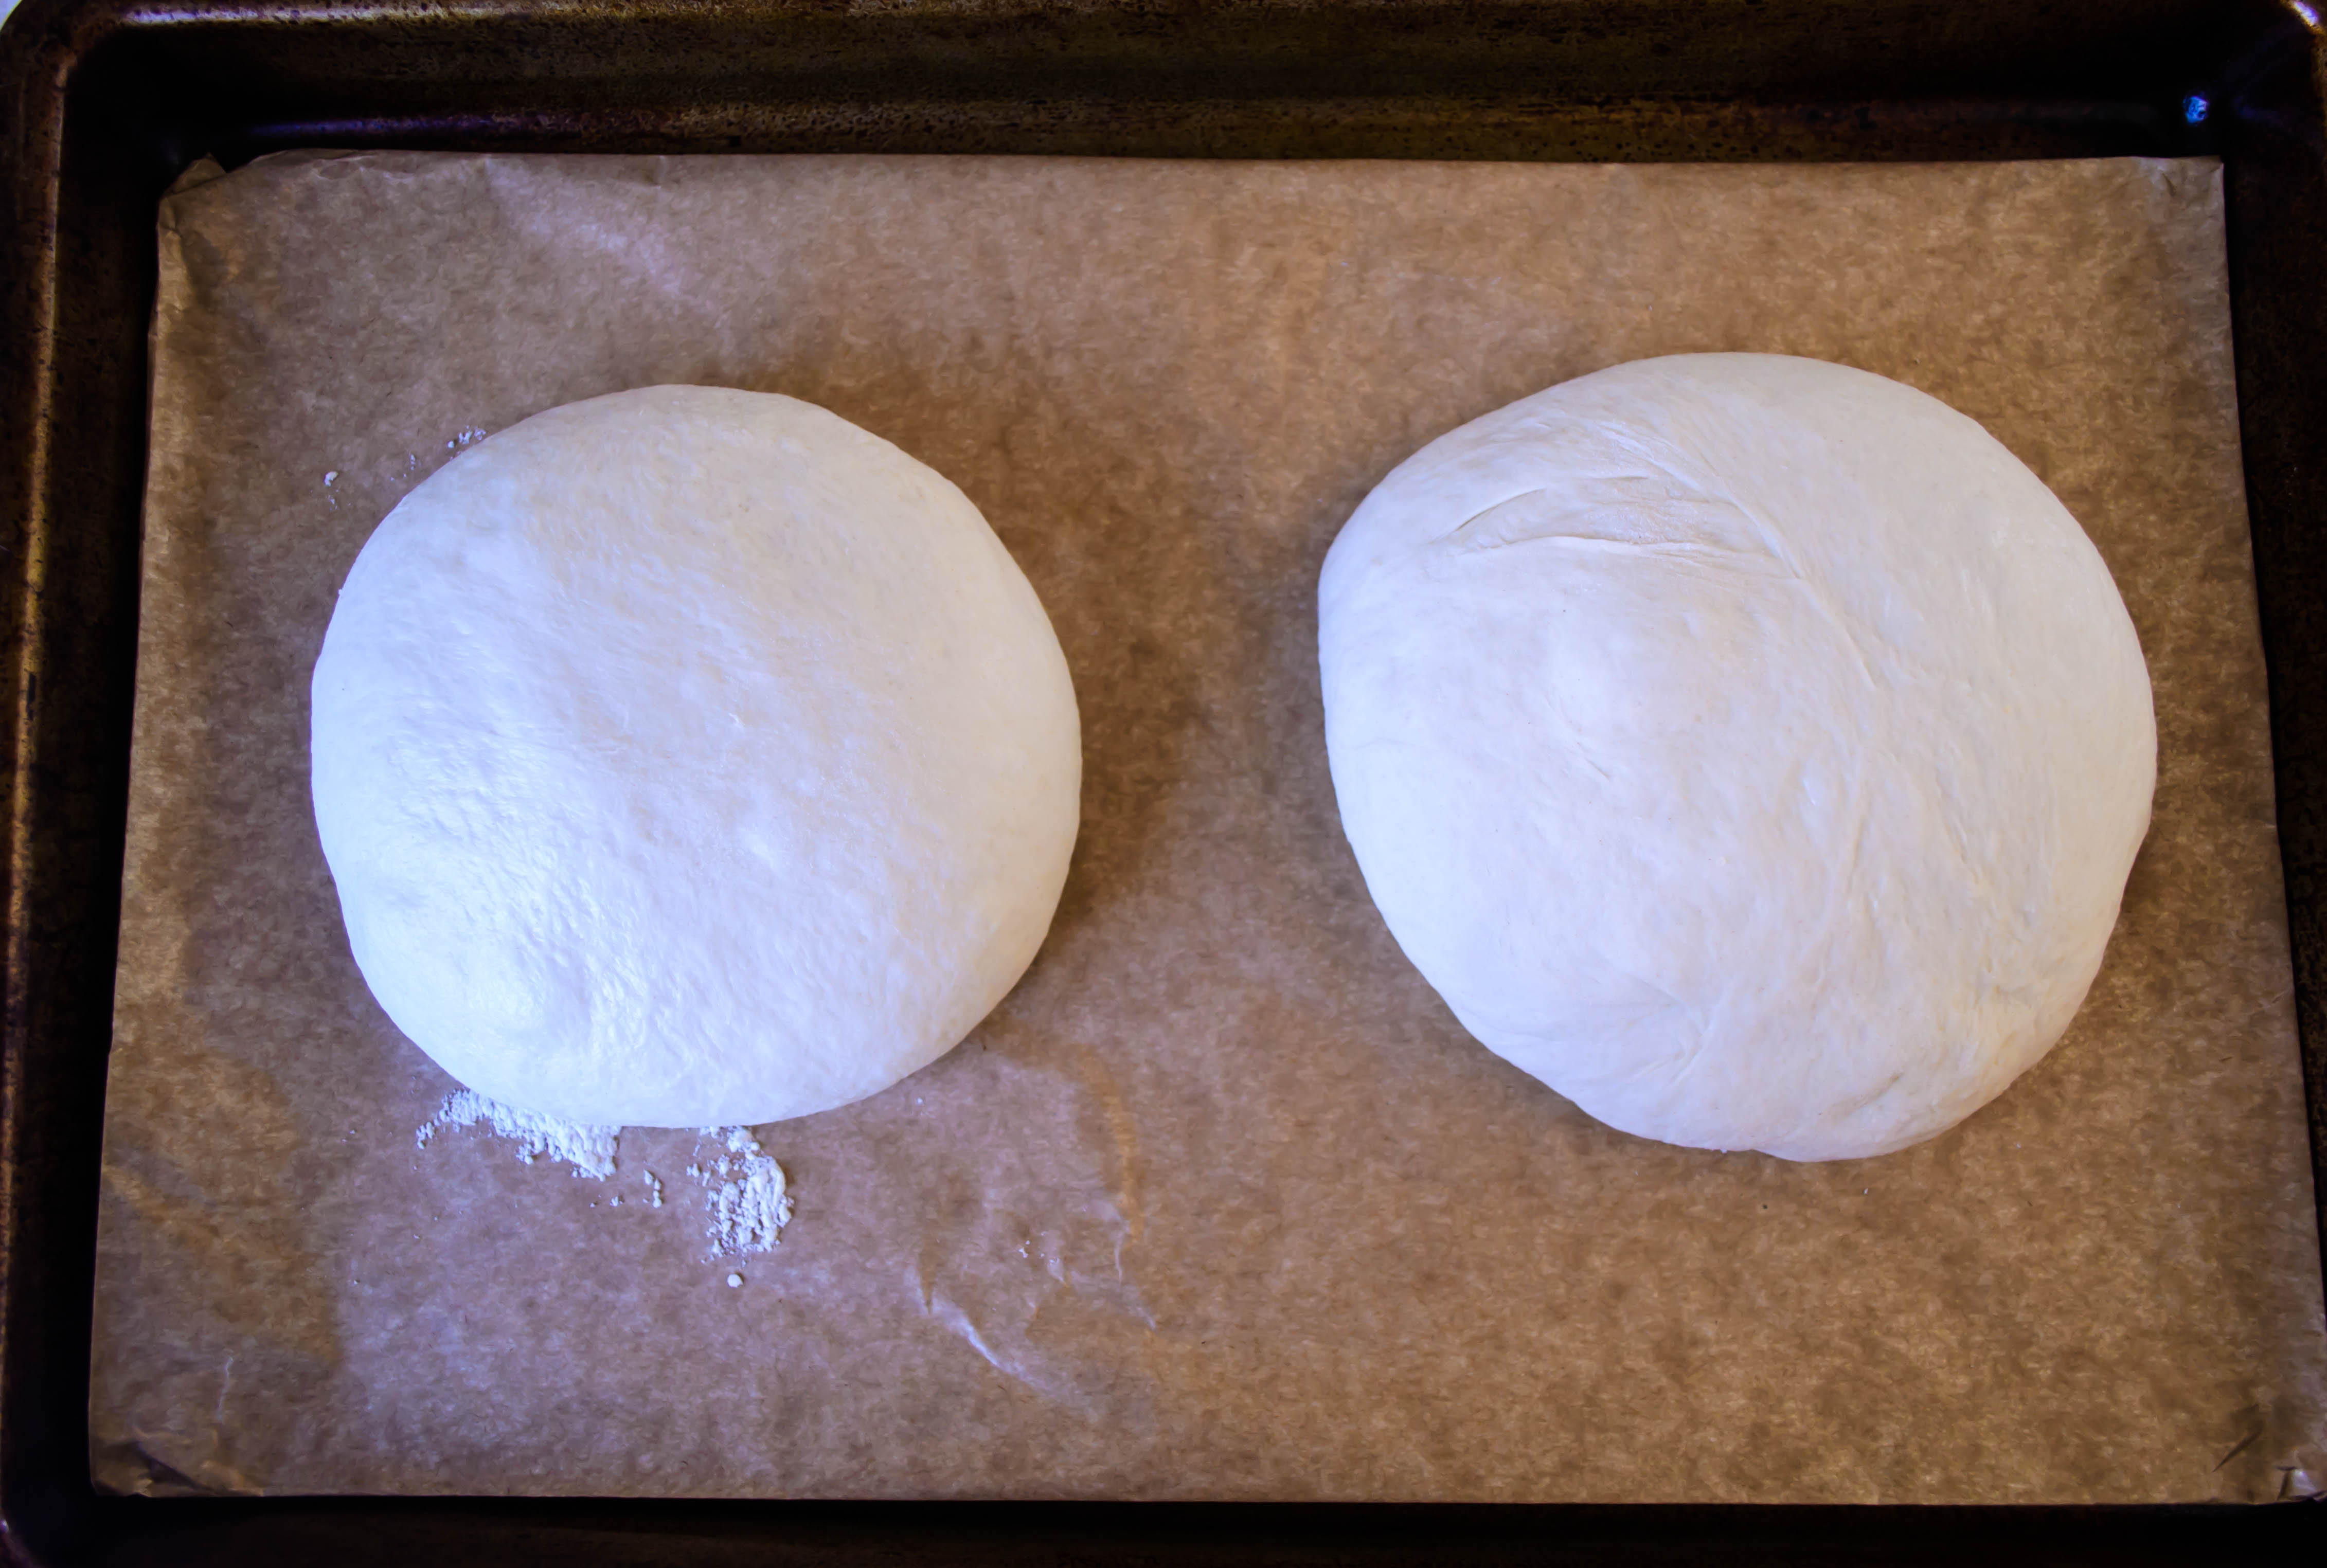 Now that I knew time was the real challenge, everything else fell into place. I divided the ball of dough in two, lightly shuffled them around in some flour and shaped them into rounds, and let them rise again for an hour and a half. They didn’t puff very high, but they did expand into fat floppiness, like doll-sized beanbag chairs. But this didn’t seem to matter. Slashed artfully across the top to help gasses escape while baking, coerced into a steam-filled oven for half an hour, and we had a conjoined pair of soft, browned loaves, moist, warm, on the dense side of fluffy, and lightly but noticeably sour. Simple.

 Simple Sourdough Boule, by weight
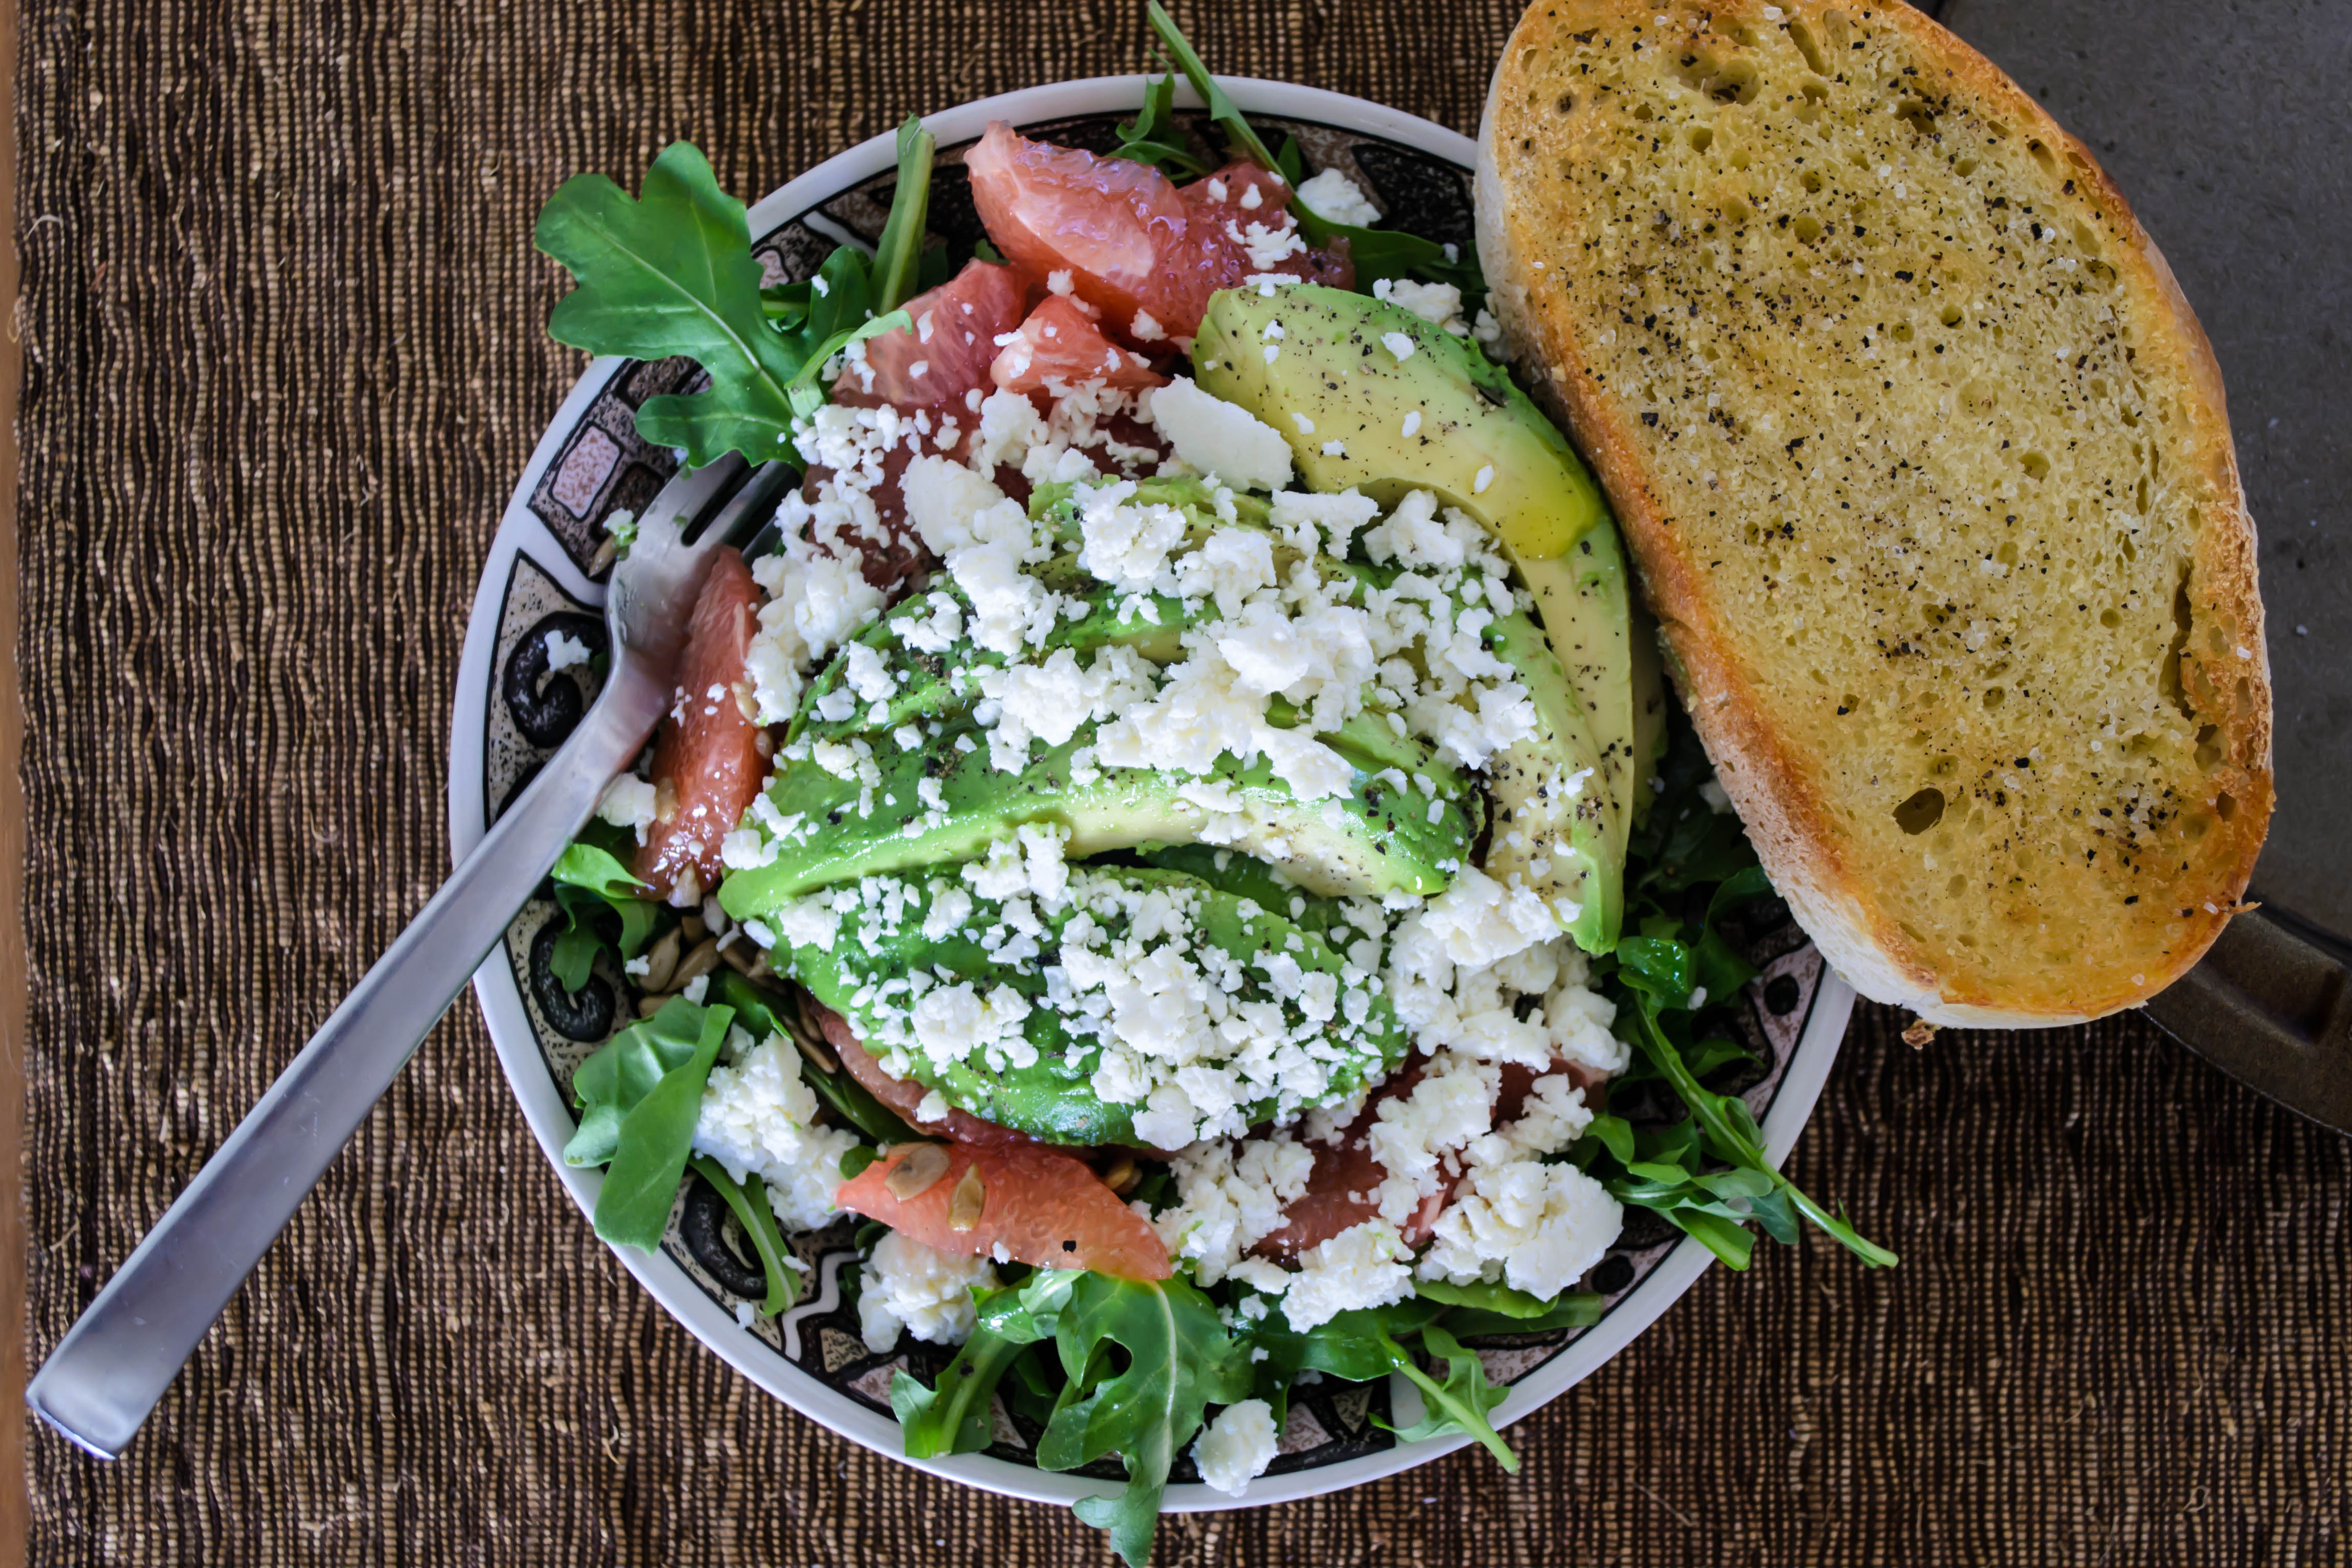
Winter fruits salad
A fabled land of farmers, farm shares, fancy (and not so fancy) restaurants, family meals, food projects and more.
cooking my way through my dissertation, one egg at a time
Fearless cooking from a tiny NYC kitchen.
food, in so many words.
Recreating the famous dishes of famous writers. Part recipe blog, part historical discussion, entirely unabashed love of books.
Epicurean Adventures from Eugene, Oregon
Celebrating the Harvest
Modern Iranian aka Persian Food & Culture Blog - Cuisine, Recipes, Stories , Photos, Pictures, DIY tutorials
Exploring Culinary Traditions of Africa, African America and the African Diaspora
food, in so many words.
food, in so many words.
food, in so many words.
Food-Stories-Recipes-Love
WordPress.com is the best place for your personal blog or business site.
