Labor Day deserves to be celebrated. The reason we have not just a three-day weekend this week, but a weekend at all, is a result of the hard work and fighting of workers, federations, and labor unions demanding reasonable working conditions and time off. In many industries, they helped us get fair working conditions. Their efforts should be commemorated.
 I think, though, on Labor Day we should treat ourselves more than fairly. We should treat ourselves well. We should celebrate what has been fought for and allow ourselves not an indulgence, but a reward we deserve. After all, we work hard!
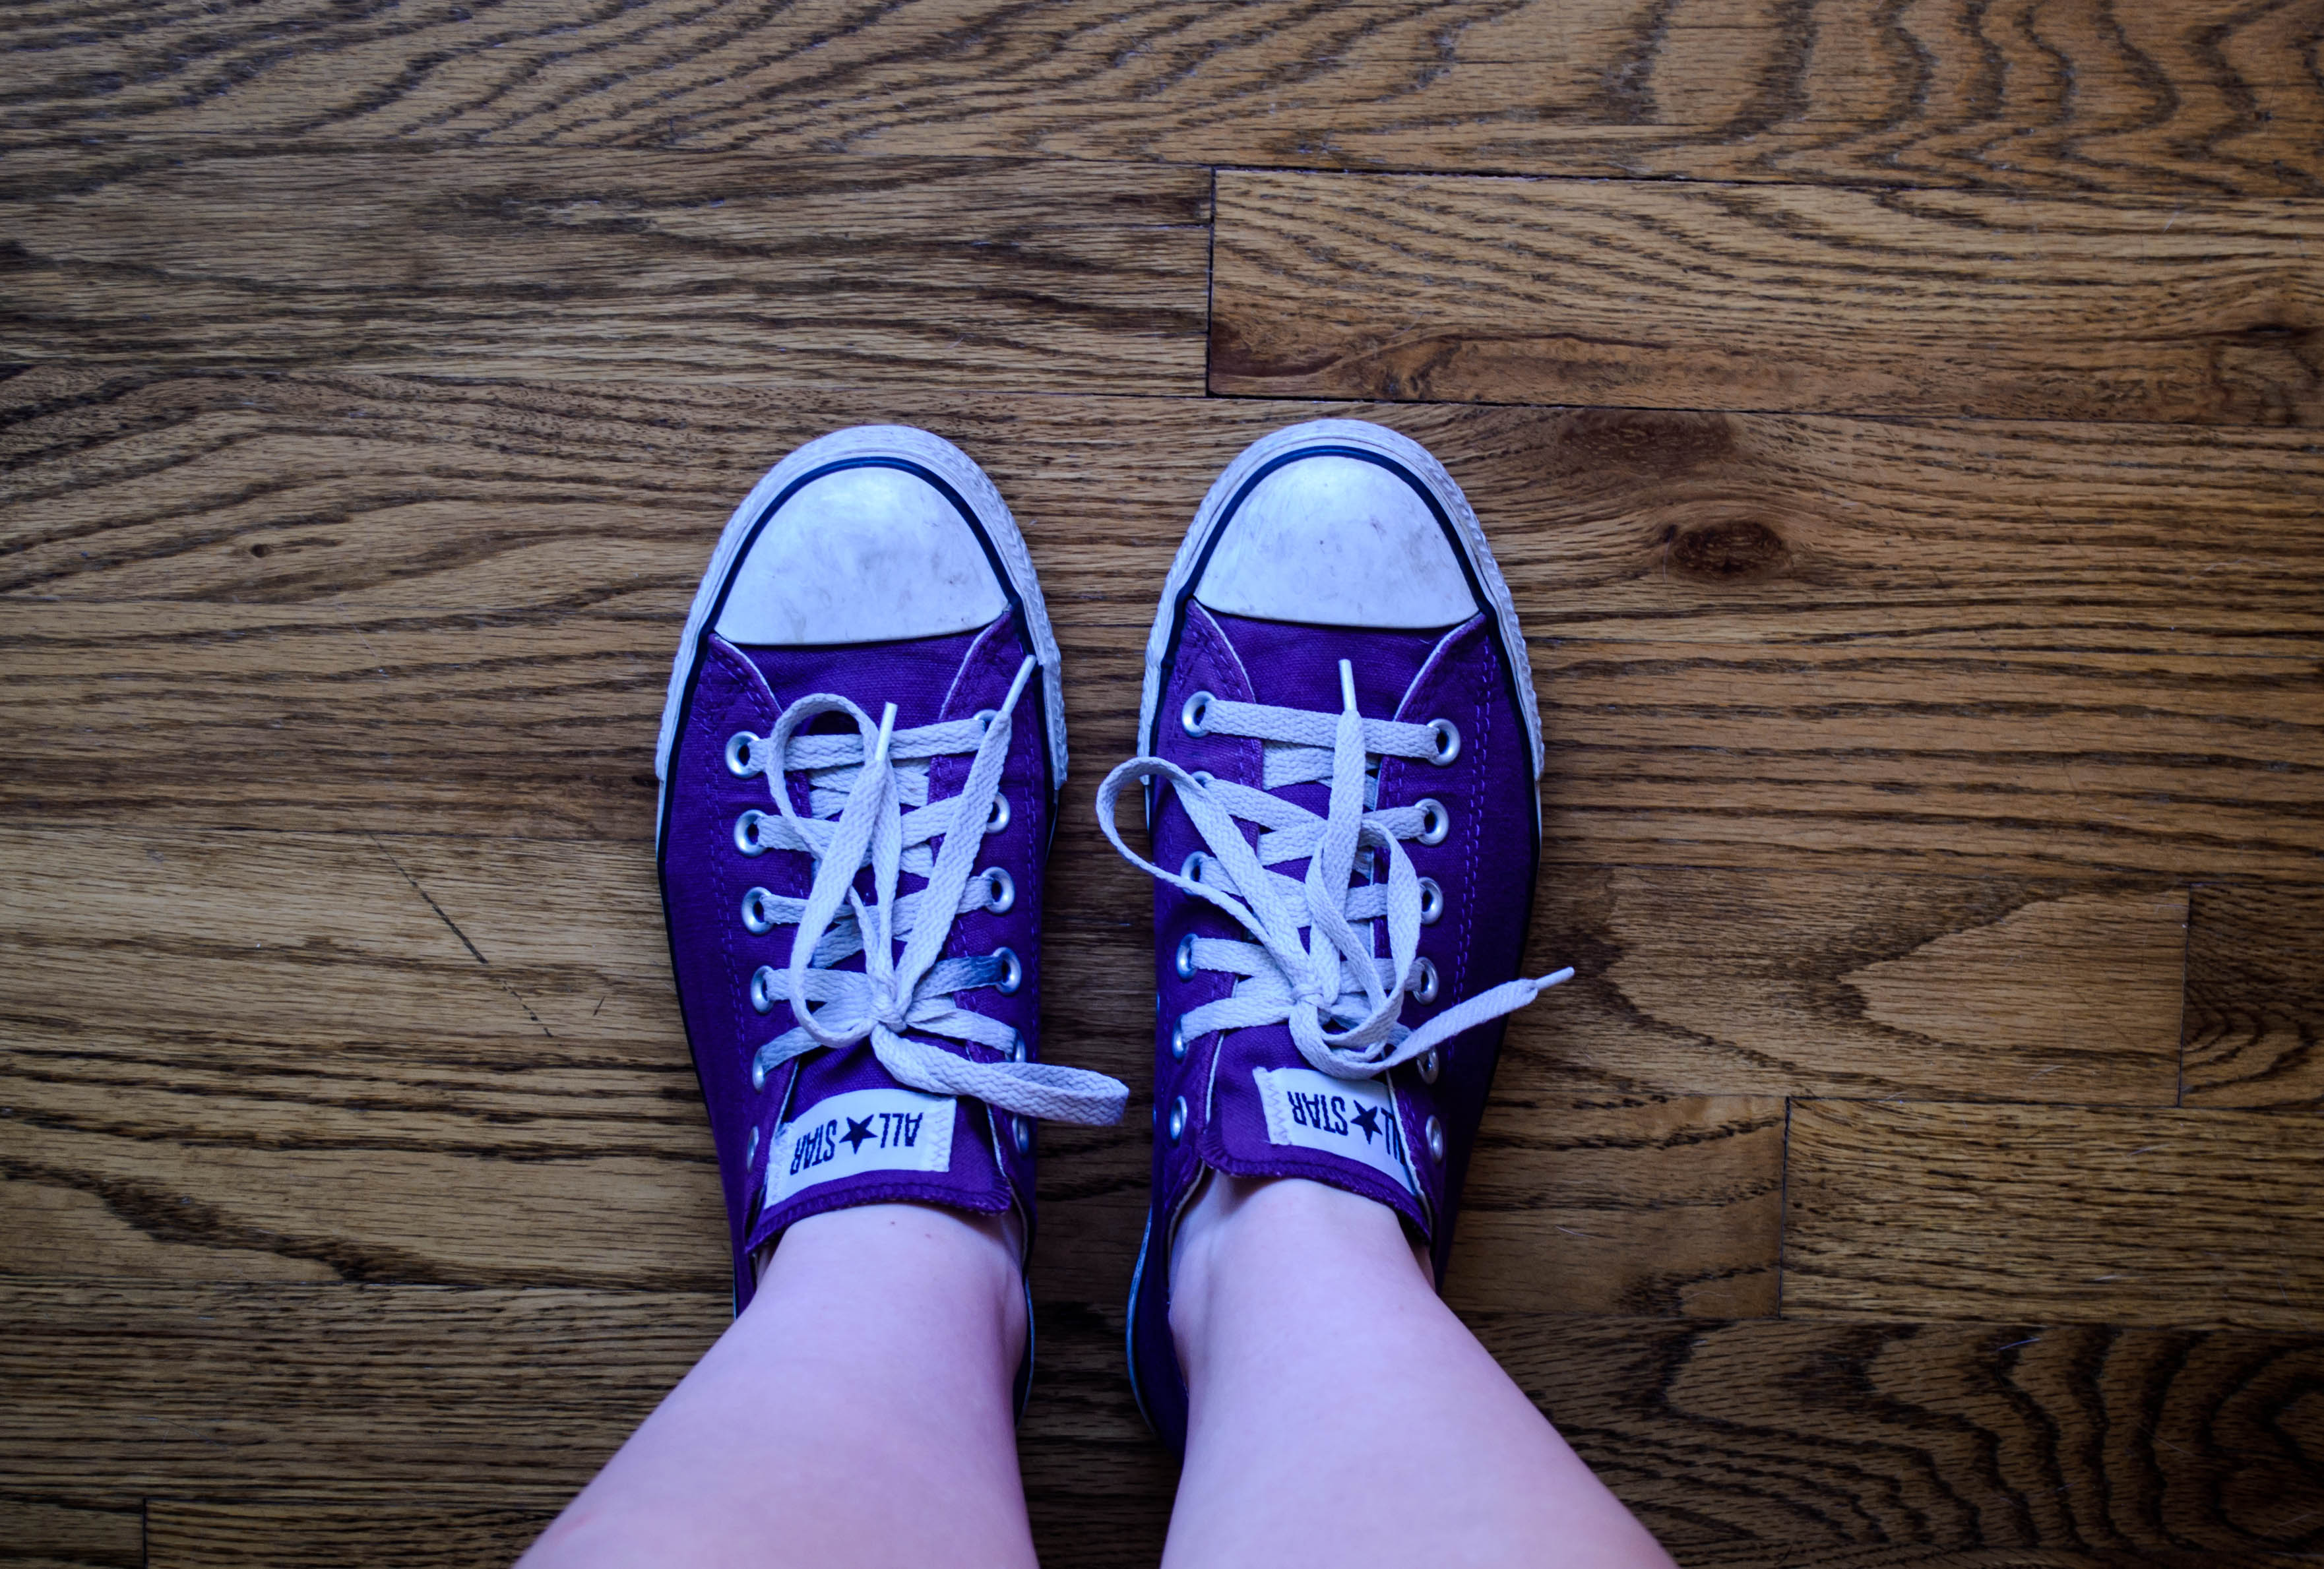
real shoes: crucial caramel-making equipment!
In my case, of course, this reward is food. I’m not completely devoted to the Labor Day barbecue tradition (in fact, tonight we are having arroz con pollo), but I do think a special dish is an appropriate method of celebration. Let’s do dessert.

dissolved sugar, rapid bubbling
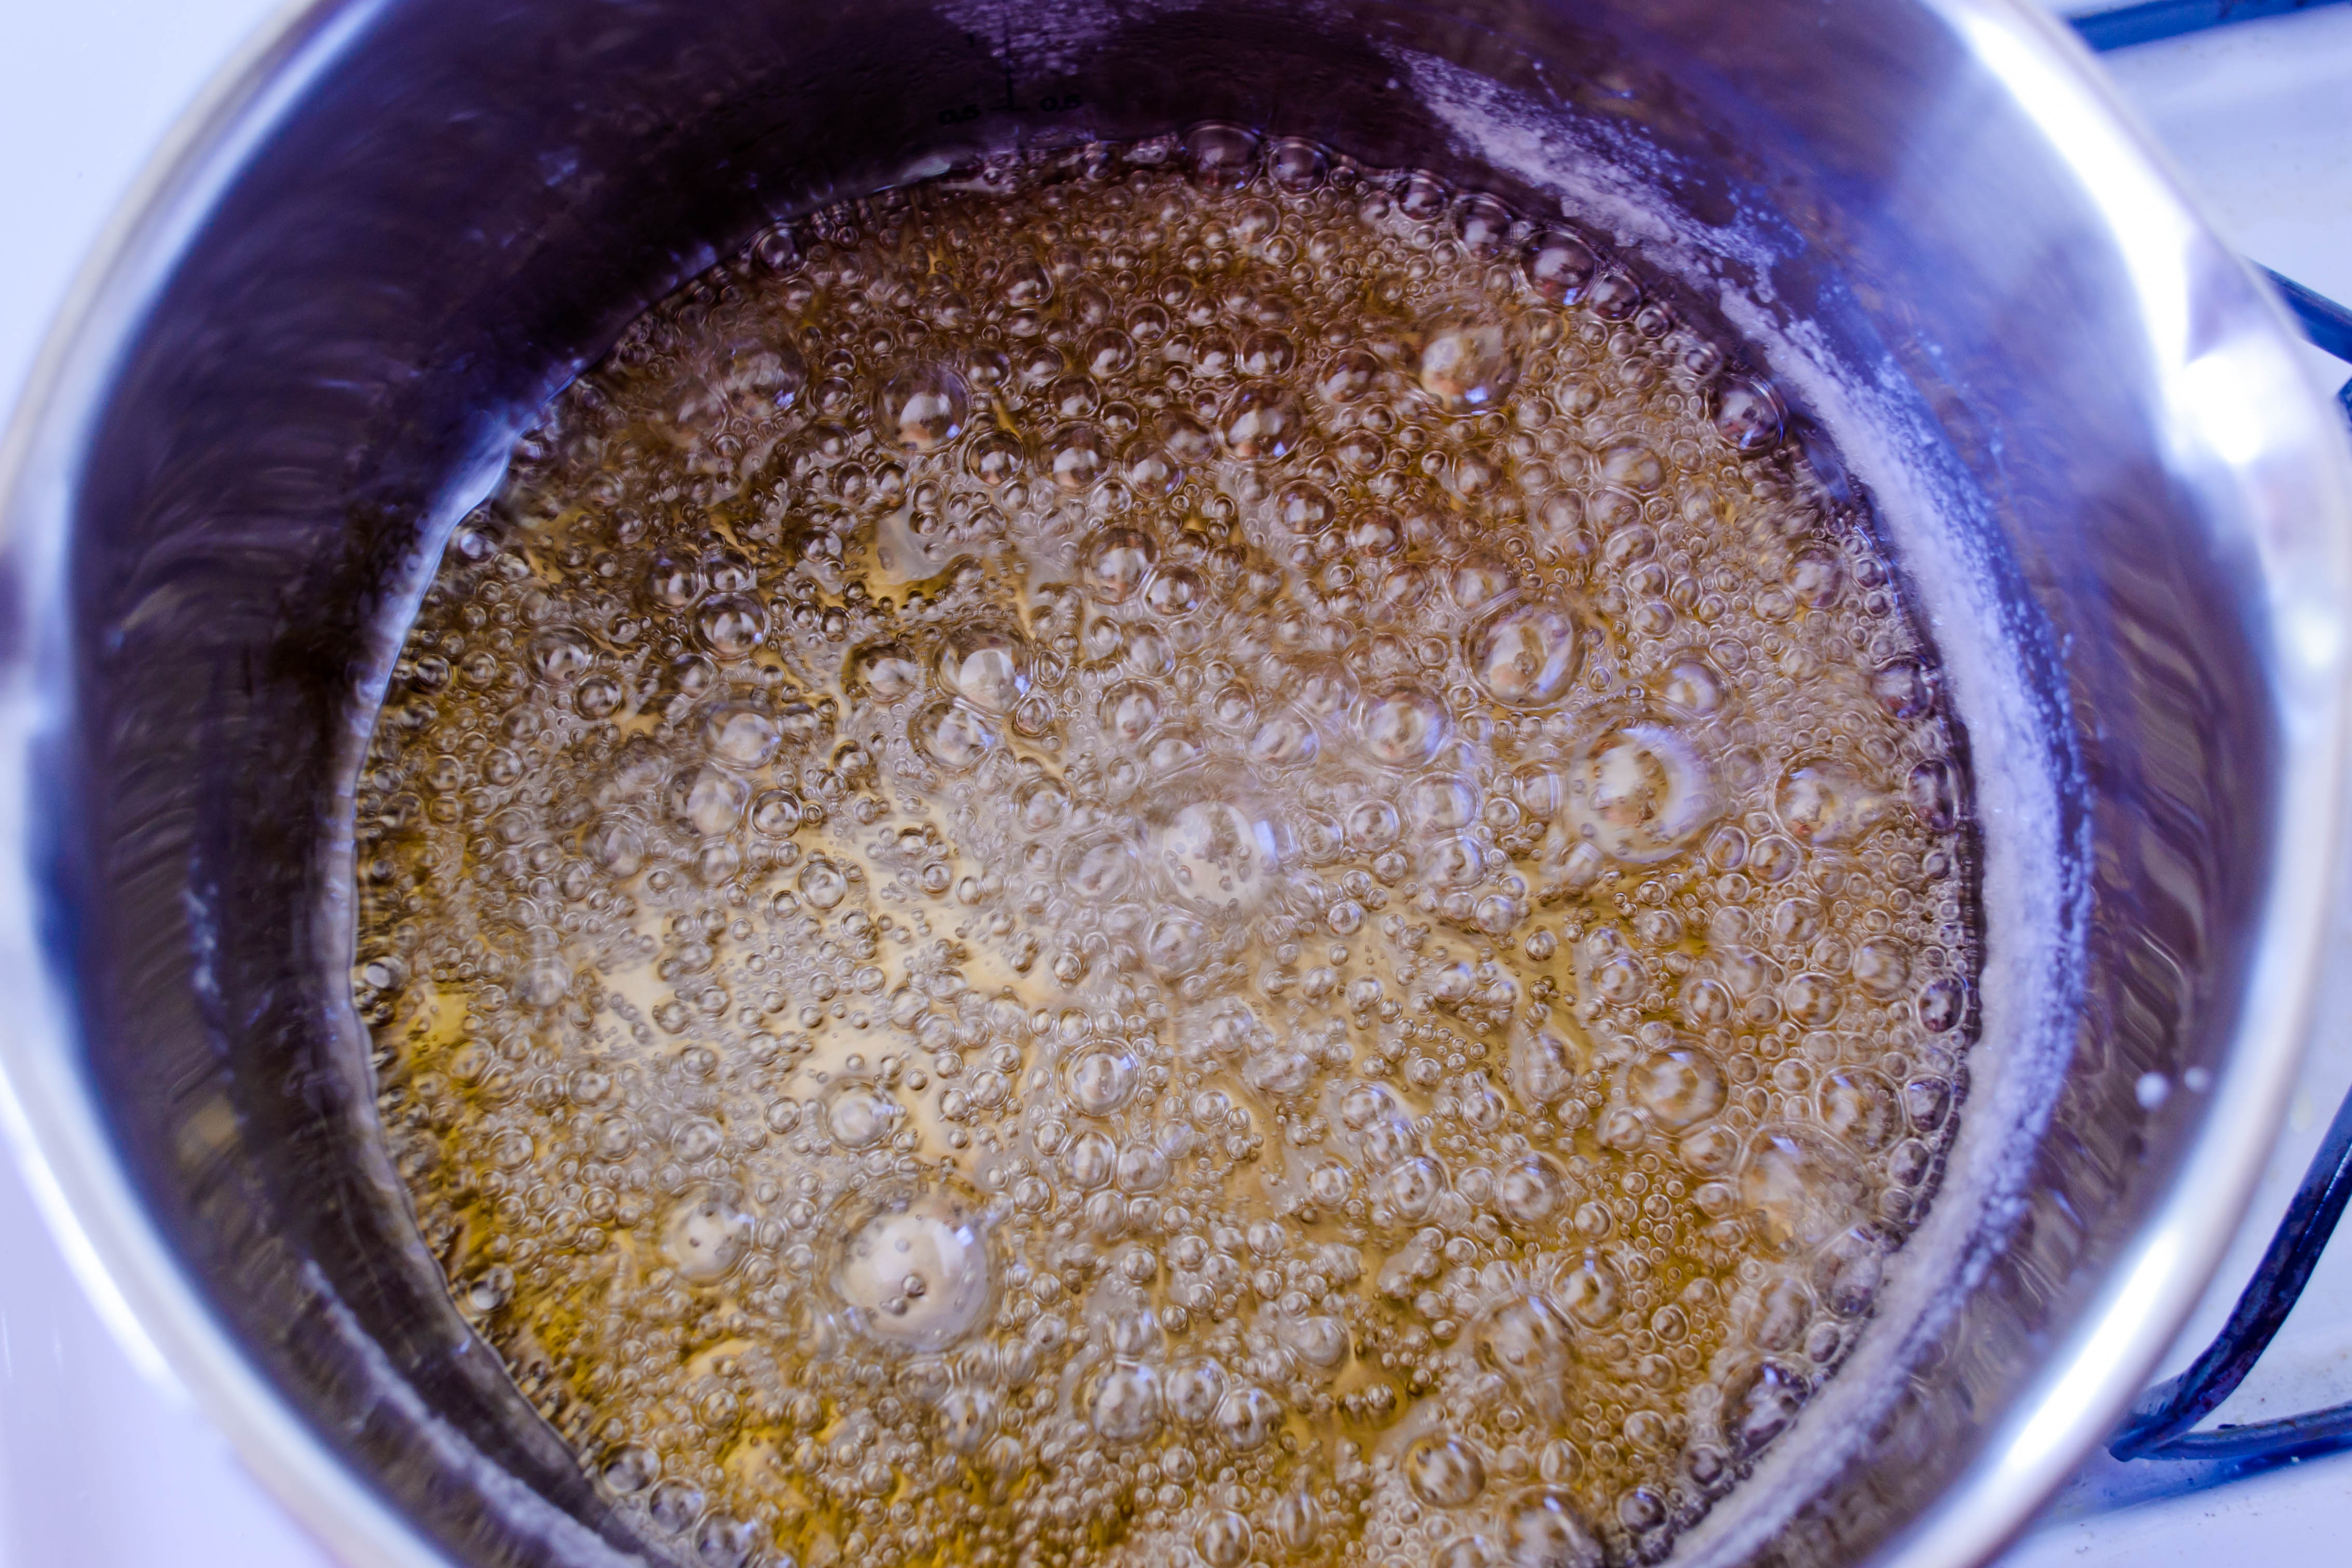
sugar caramelizing around pot edges

approaching dark amber color; almost time to add the cream.
Like Labor Day, this dessert of just rewards has several origin stories. The first is simple: as I noted here, a few months ago my friend B. asked for my tips on bourbon dessert sauces. One of her attempts involved a bourbon caramel to douse over ice cream, and terrified as I am of the whole boiling sugar thing that is required for caramel, I couldn’t pass up the challenge. I wasn’t quite satisfied, though, with presenting a recipe for caramel sauce enrobing a simple scoop of ice cream. I wanted something a bit more exciting.

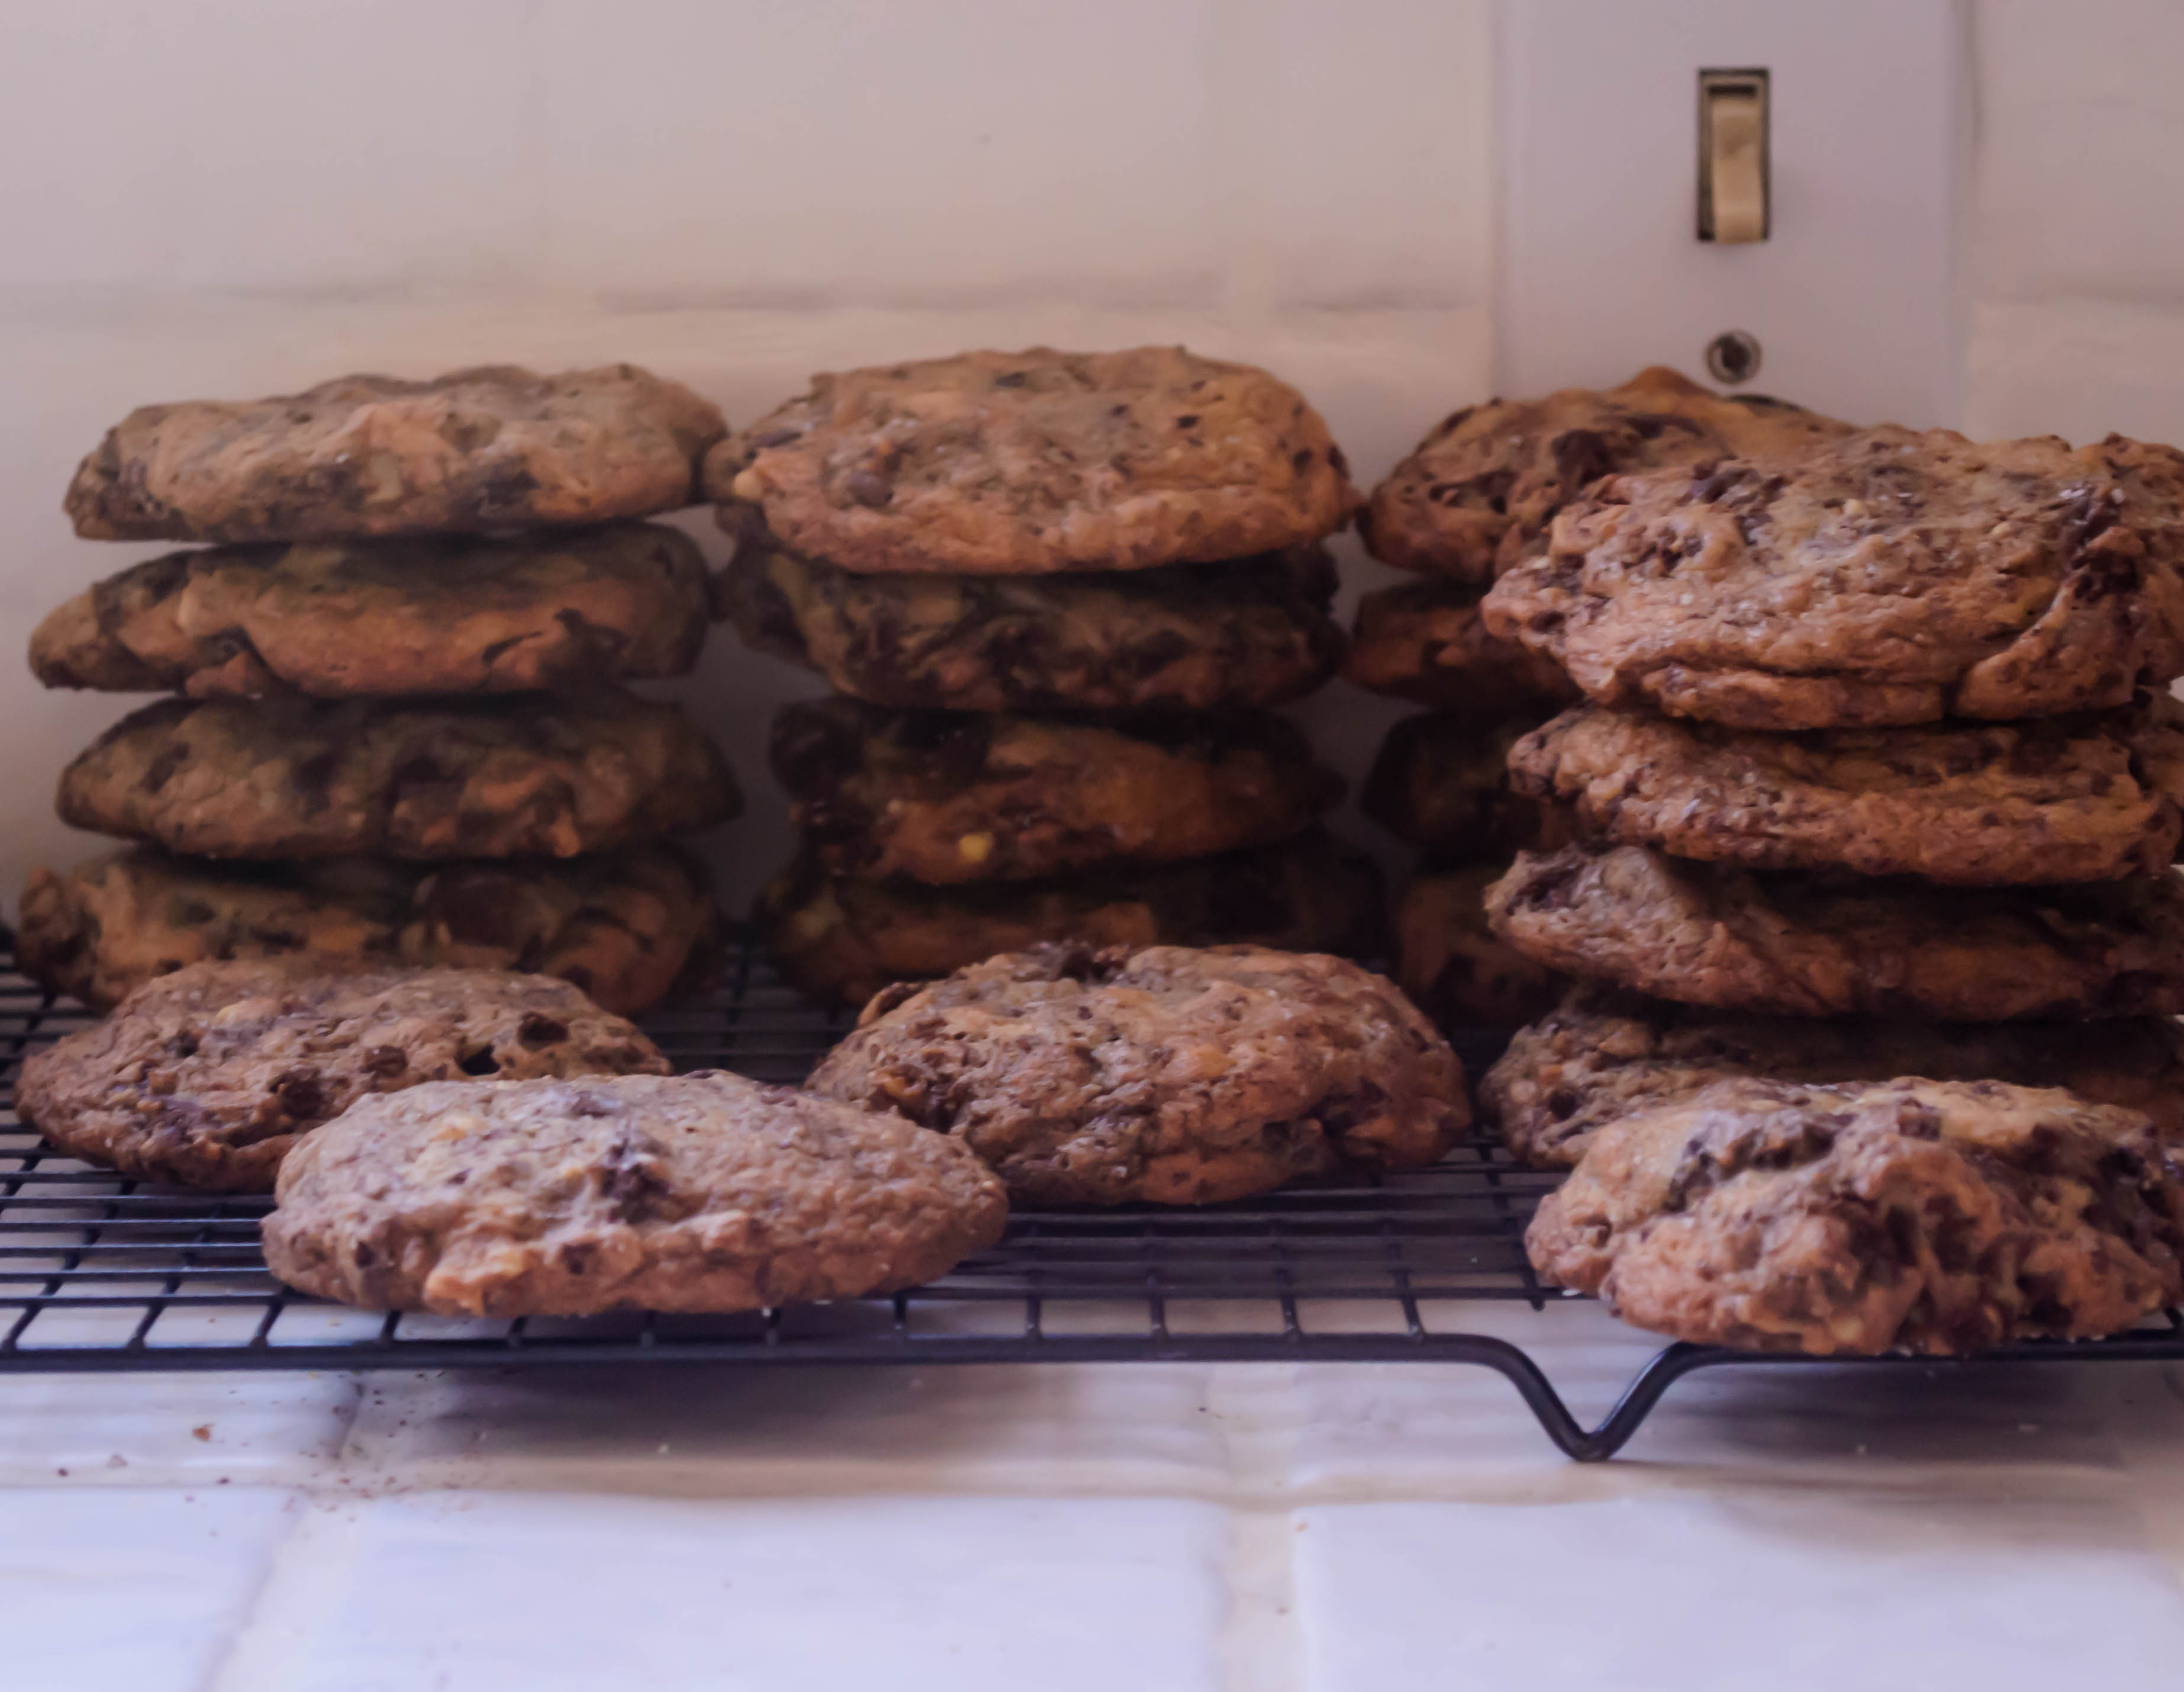
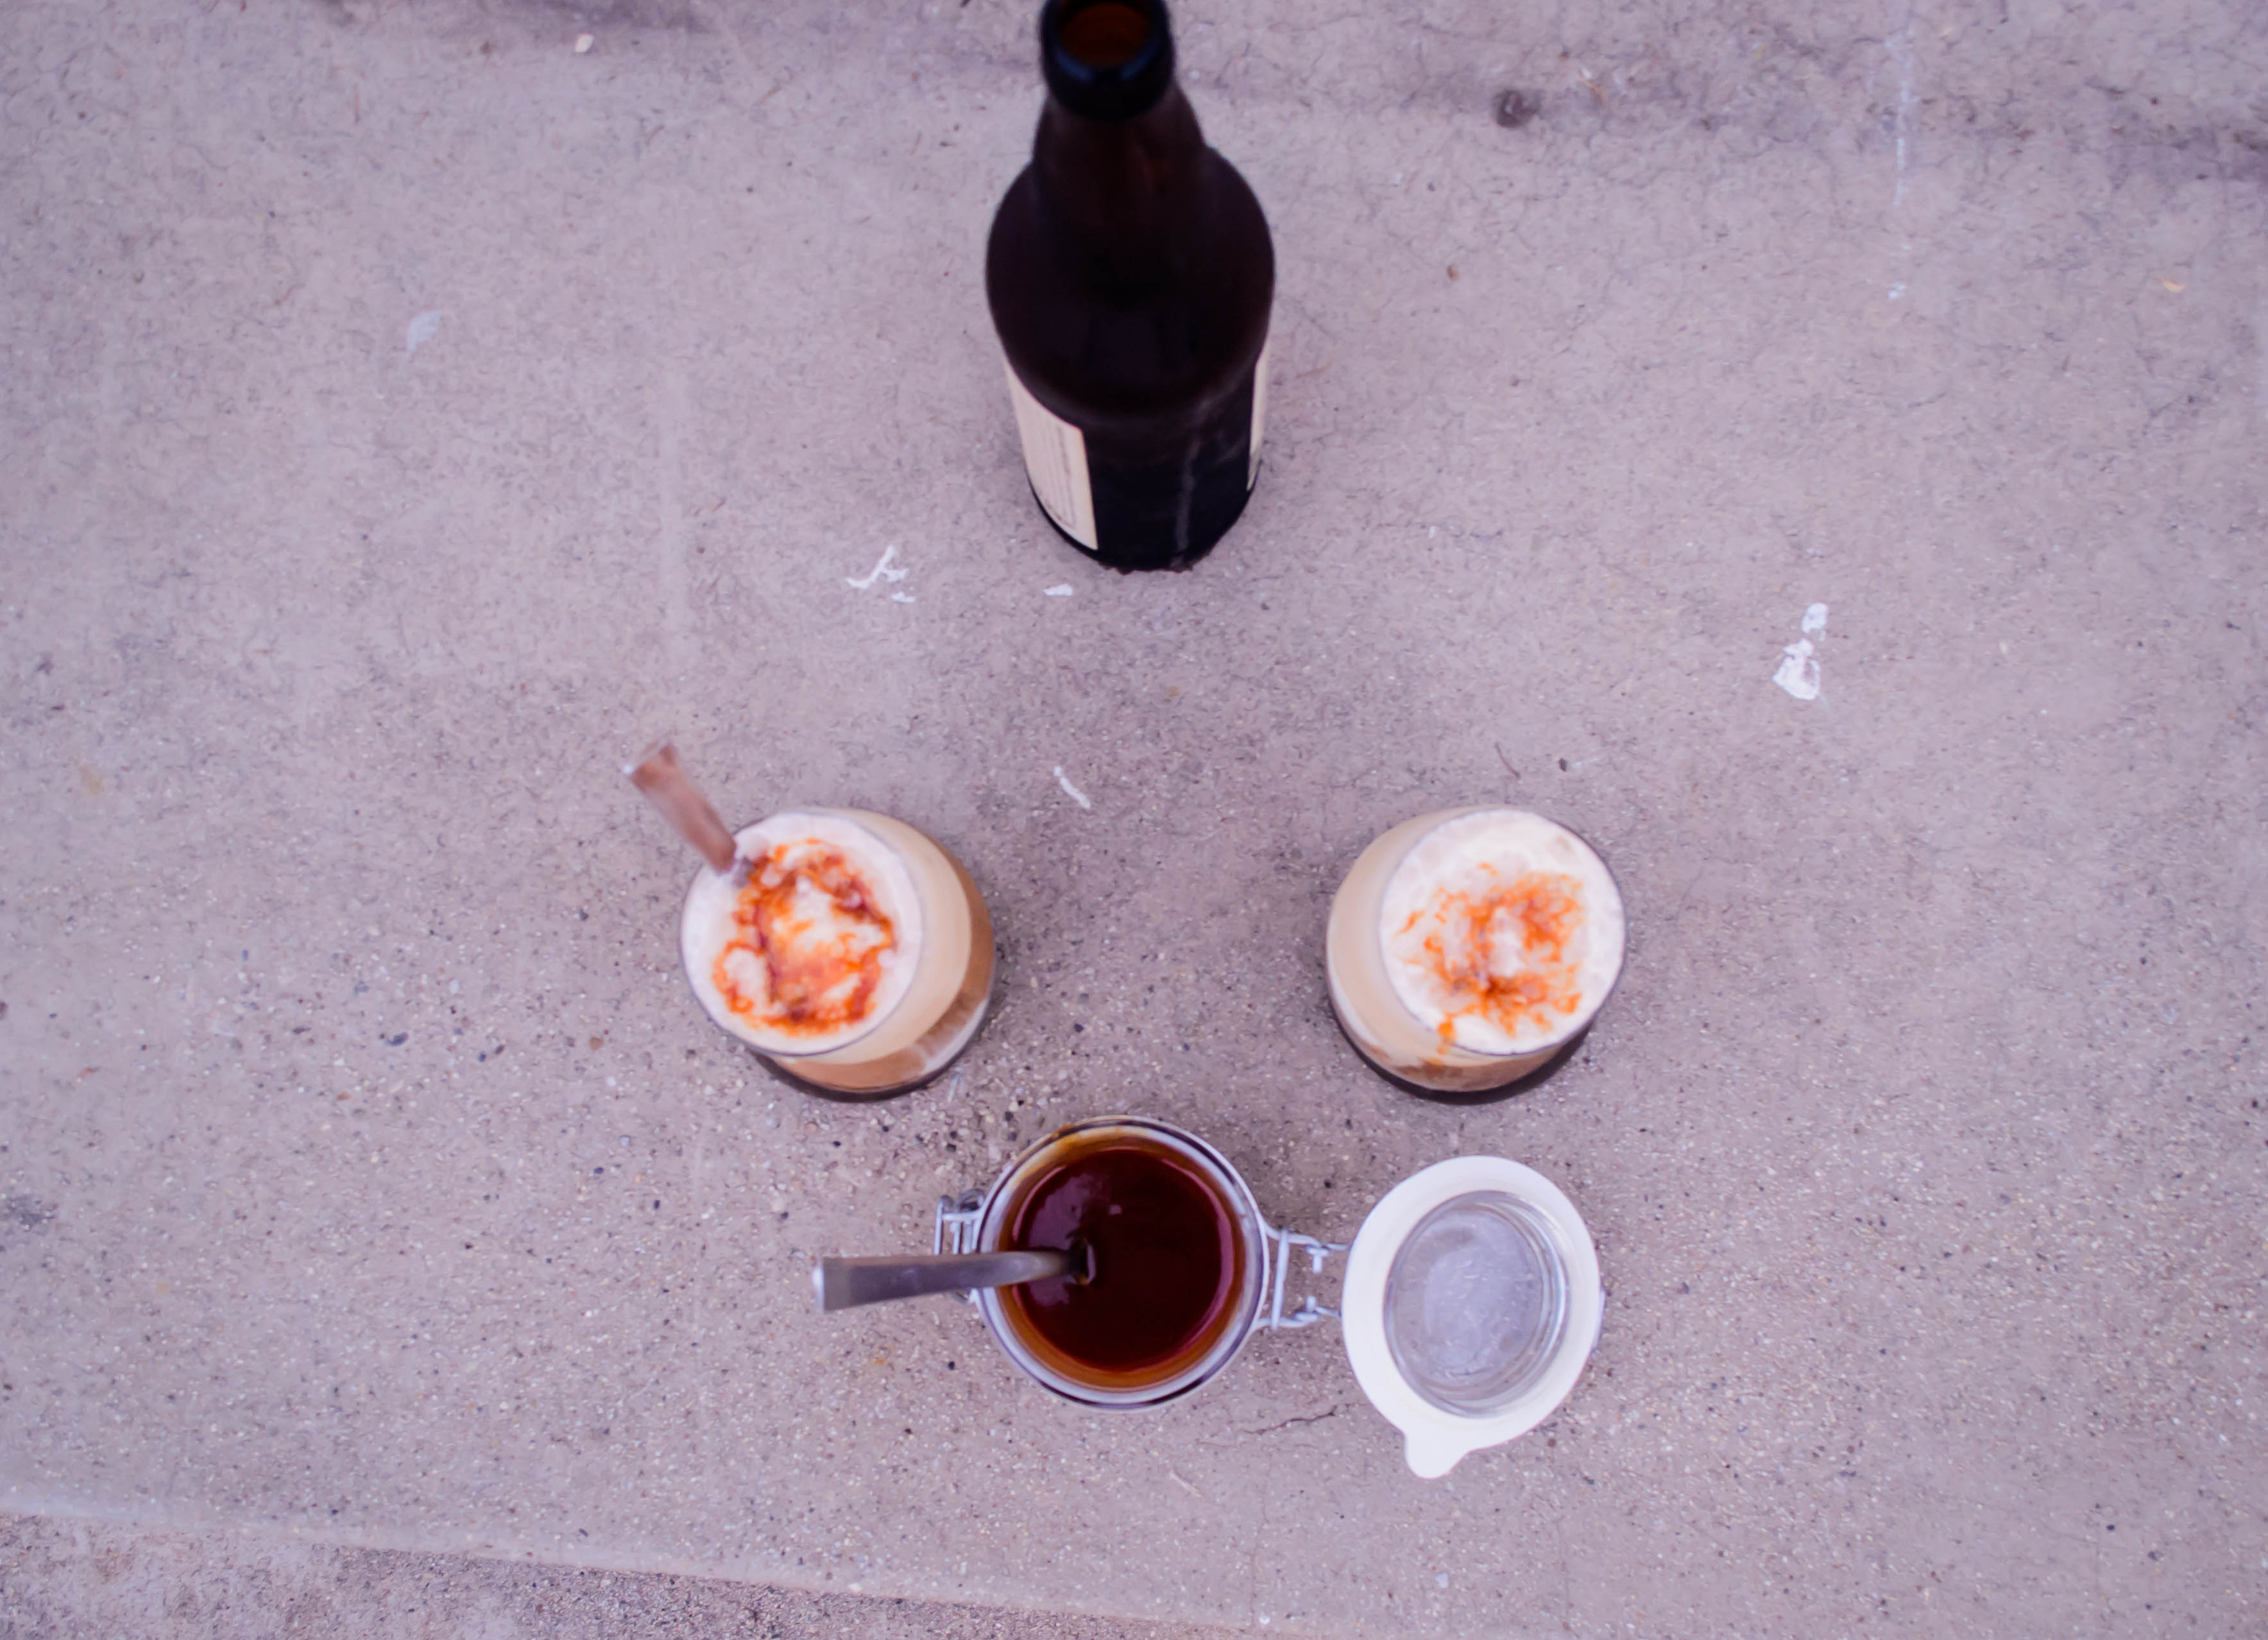
 The answer came during our summer trip to Oregon. The night of our reunion with our dissertation crew, we had chocolate stout floats for dessert: tooth-achingly cold scoops of vanilla bean ice cream drowning in a bitter fizzing cocoa bath of cold, black beer. With each spoonful, you can moderate the combination, choosing just a fleck of ice cream, or mixing the whole thing into a pale, drinkable swirl. The following day, we repeated the dessert with a new set of friends, and one of them judiciously declared the need to slosh in a shot of bourbon.
Mic drop.
There it was.
 So what I have for you today, in celebration of our hard work, is a chocolate stout float drizzled with bourbon caramel. It’s a perfect dessert for a hot day, because though it’s far from light, it’s gloriously cold. You can make the caramel sauce earlier in the day, so by the time your belly is ready for dessert, it will have had ample time to cool (and, if you’re doing the barbecue thing, you won’t have had to deal with the stove for several hours). The ice cream and beer are in lovely, tenuous balance with one another – almost too sweet, almost too bitter – and the just-shy-of-bitter notes in the caramel (which is, after all, almost-burnt sugar), play off of both. The bourbon here is noticeable, especially after the caramel cools down, but it isn’t overwhelming. It’s a light, floral, vanilla note that capitalizes on the toasty flavors already created by making the caramel.
 You can serve this in whatever quantities, by whatever process you like. I followed my usual method in considering the caramel and adapted several recipes, but mostly this one, along with several sensible suggestions by David Lebovitz. He’s right – you really do have brave the smoke and the suspiciously-close-to-burning smell of the sugar cooking, lest you end up with something that’s just sweet, not developed and complex. And warming your cream before adding it to the vat of boiling sugar makes good sense for easier integration, but you should still take precautions and wear shoes no matter how hot it is in your kitchen. Boiling sugar burns are serious business.
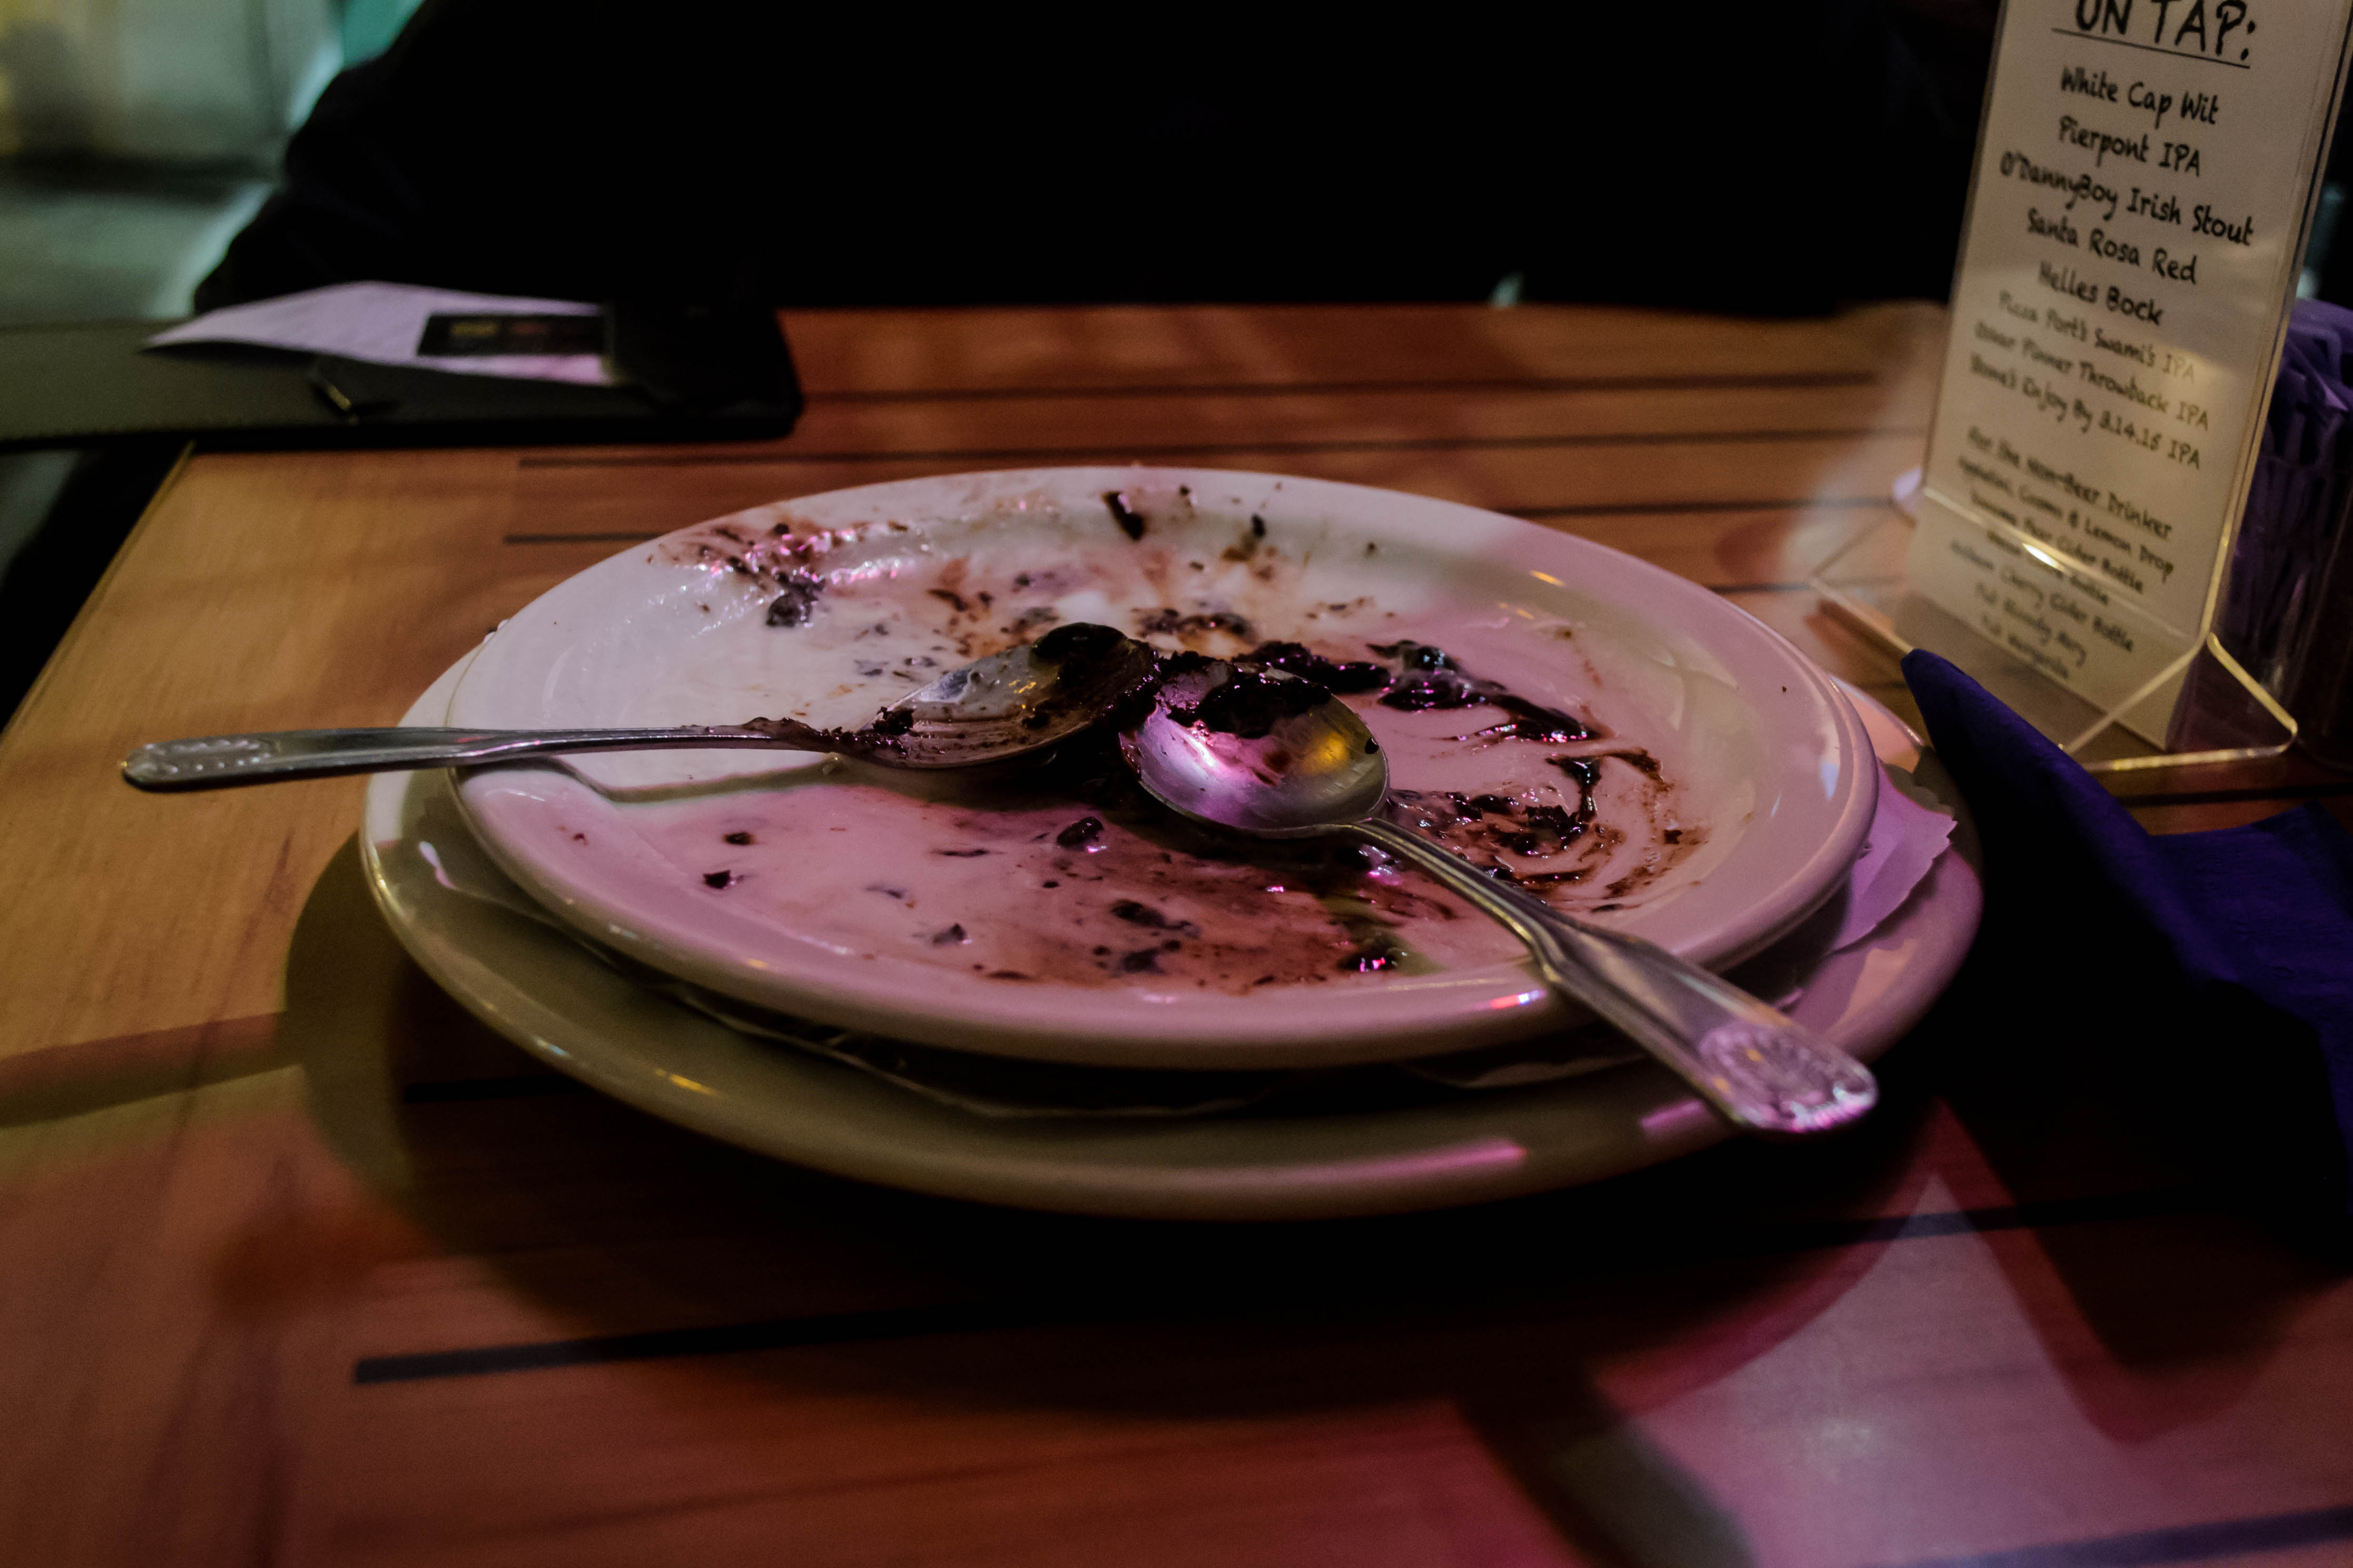
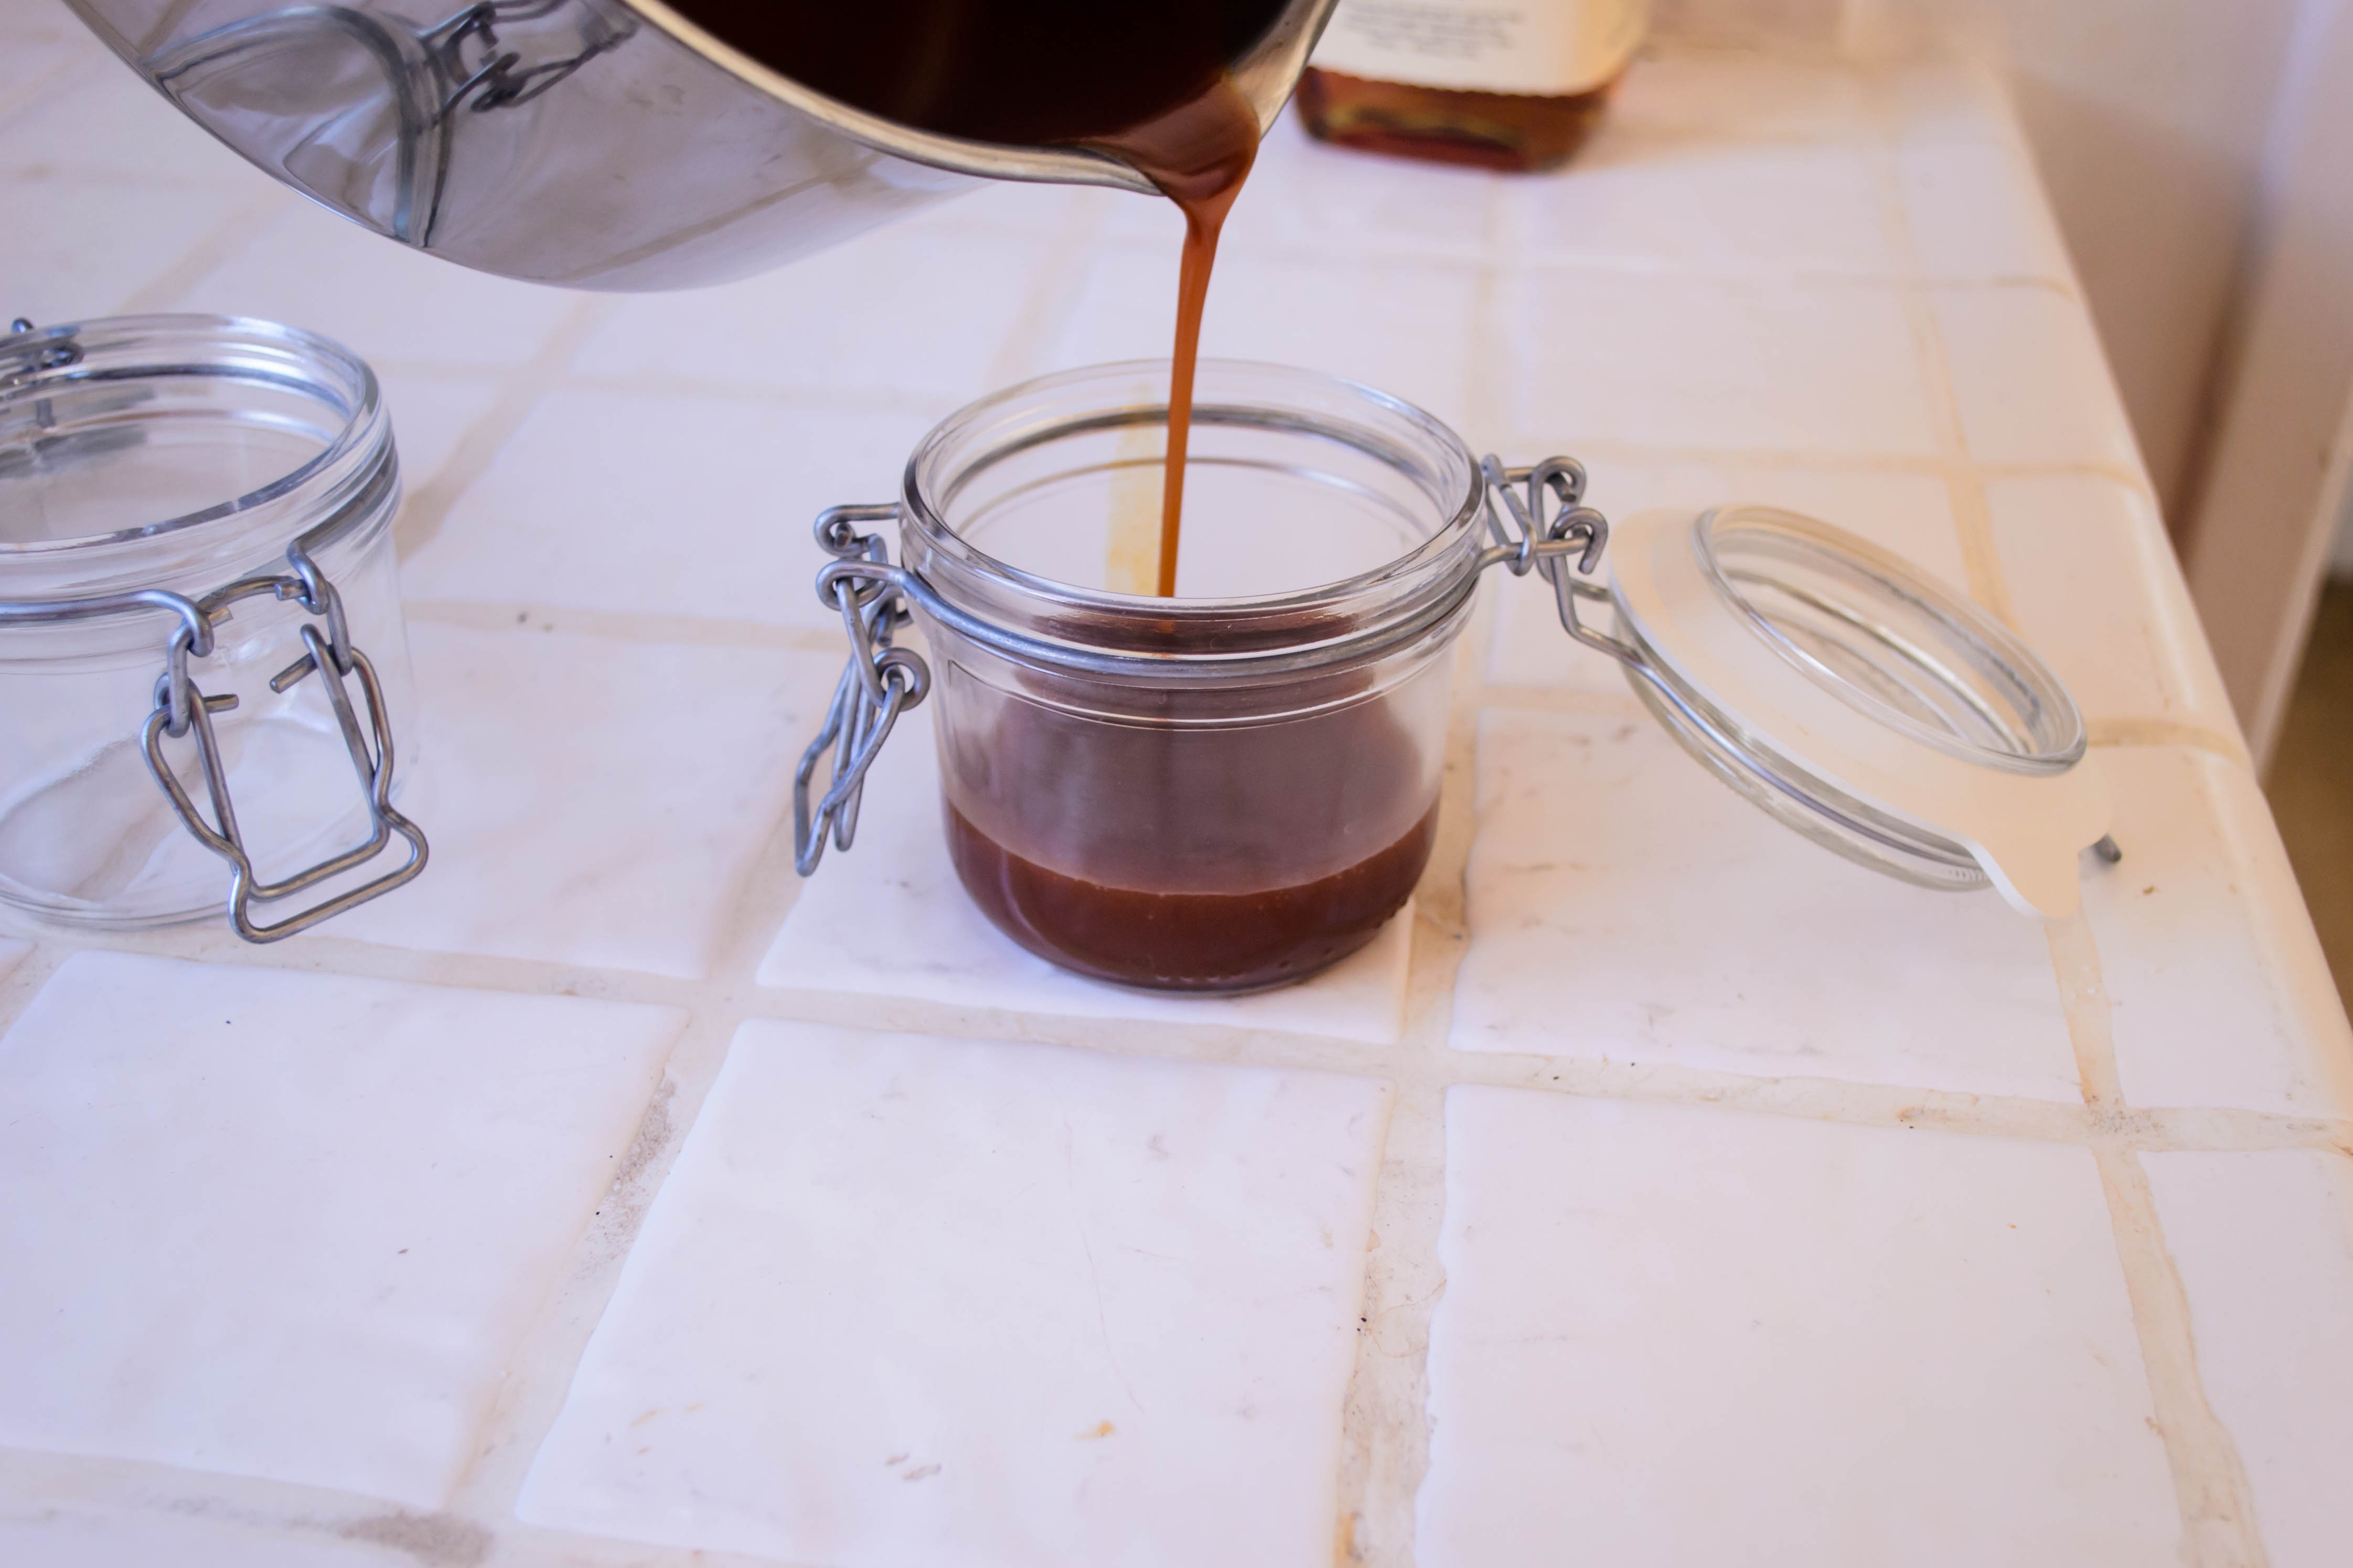
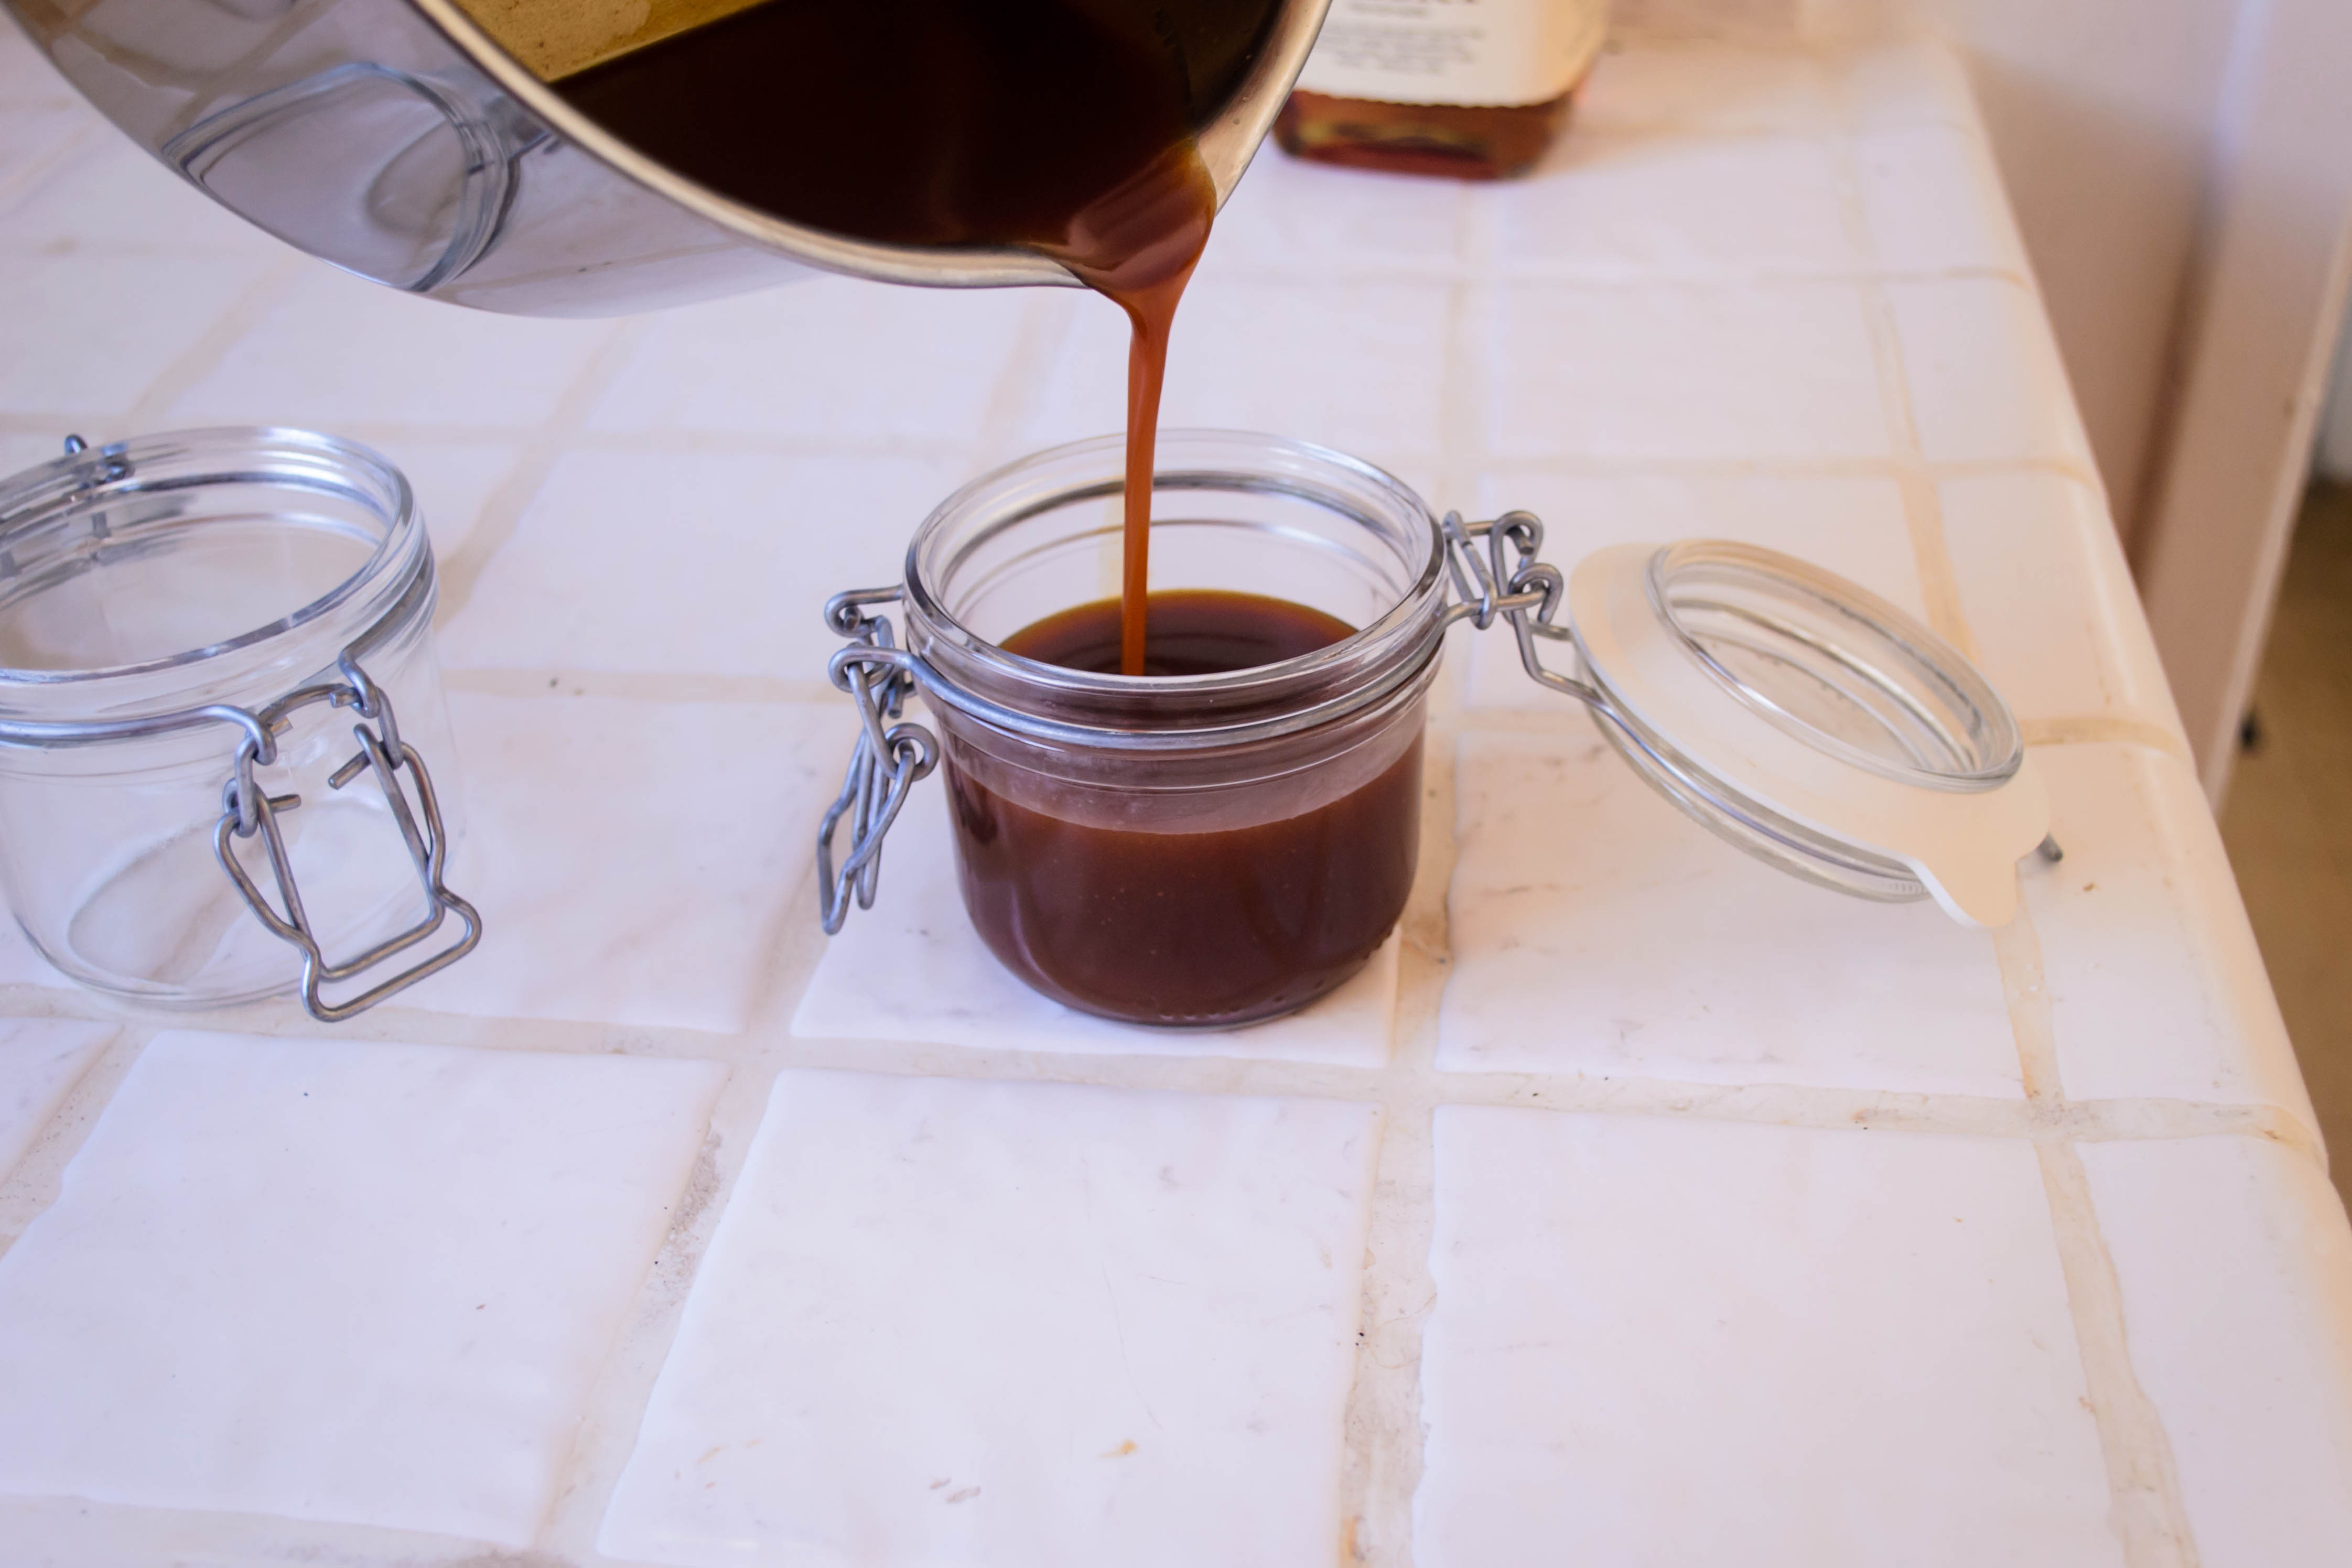
 When it comes to serving, we like to scoop in some ice cream first, then top it up with the beer. As this delicious experiment explains, this nets you a lovely, creamy foam on top, on which you can drizzle as much caramel sauce as you want. The sauce thickens as it cools, so what barely coats a spoon while hot will pour even thicker than maple syrup once it’s had time to chill for a while. The layer that sinks and coats the bottom of the glass makes for a lovely last few sips, too.
Chocolate Stout Floats with Bourbon Caramel Sauce
Makes about 1 cup caramel sauce
Approximately 20 minutes active cook time, plus an hour (or more) for the sauce to cool
For bourbon caramel:
1 cup sugar
¼ cup water
½ cup room temperature or warm heavy cream (helps it incorporate faster)
¼ cup bourbon
½ teaspoon salt
For float:
Vanilla ice cream
Chilled chocolate stout
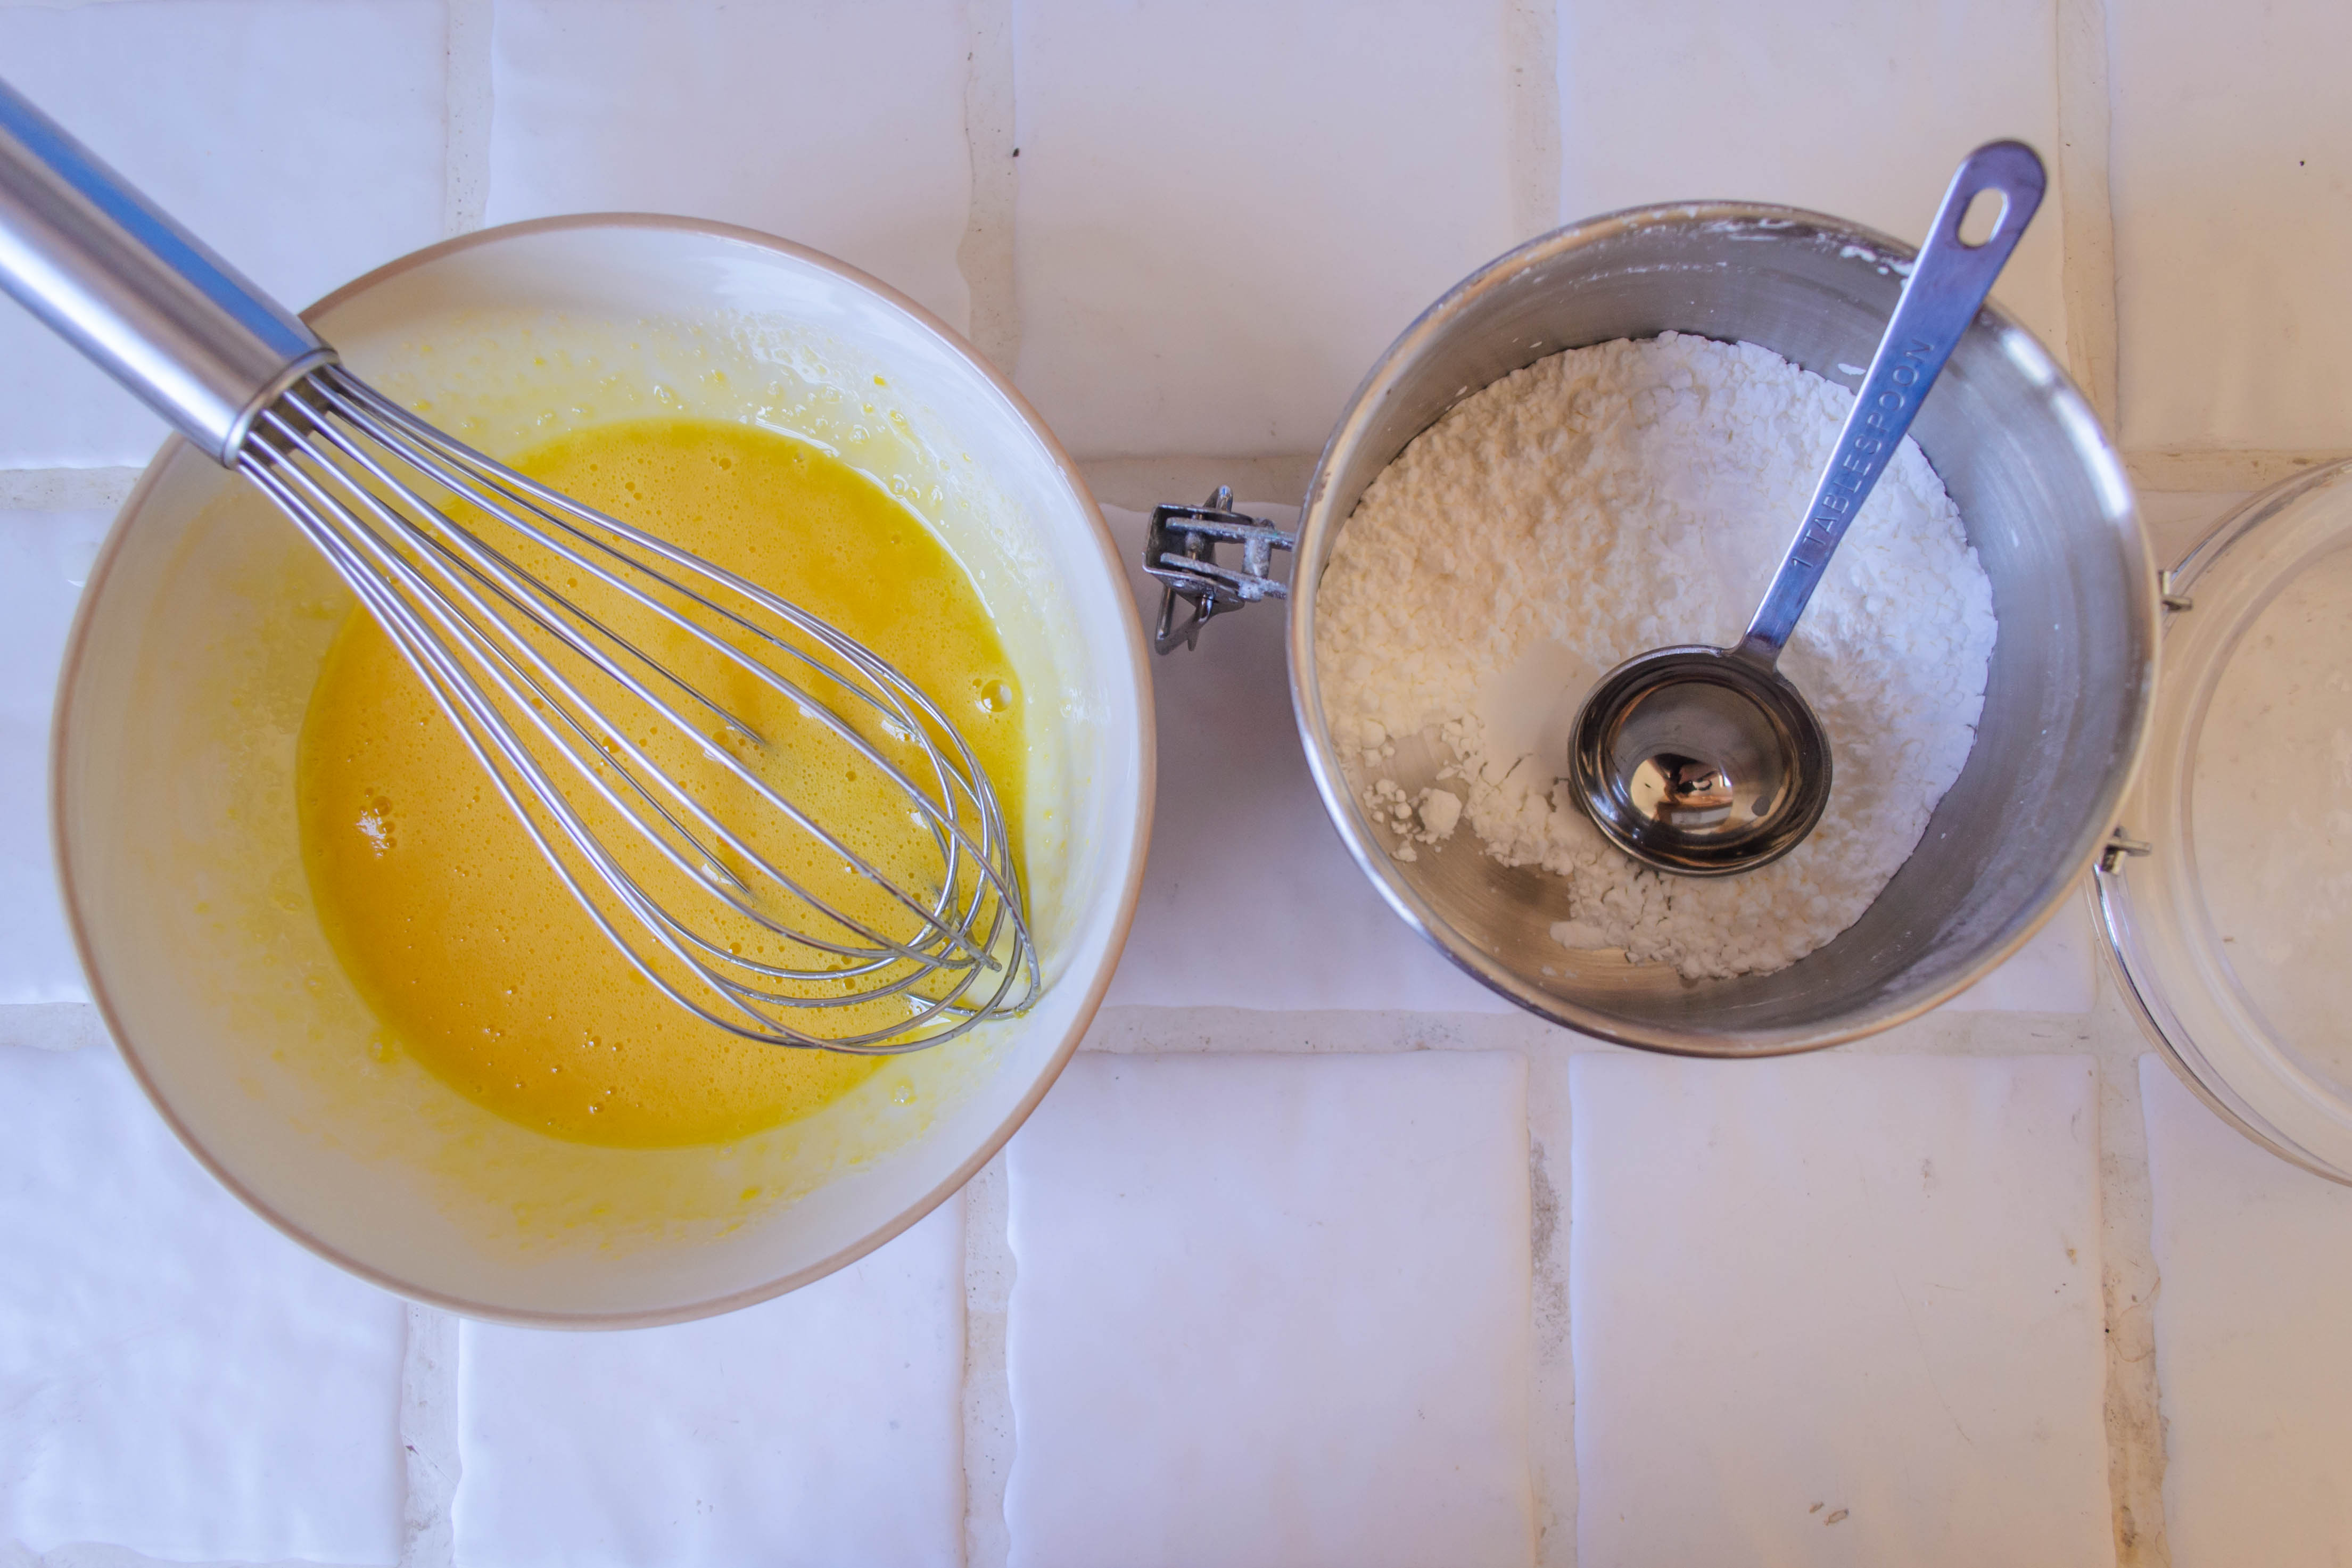
- For the bourbon caramel, stir the sugar and water together in a medium pot that is heavy in weight and light in color (the light color lets you see the color change in the caramel sauce – very important). Cook over medium high heat, stirring, until the sugar dissolves and the mixture becomes clear.
- Now, stop stirring. If you have one, use a wet pastry brush to brush down any sugar crystals that have adhered to the sides of the pot so they can melt along with the rest of the mix.
- Without stirring, let the melted sugar simmer over medium or medium-high heat until the outside edge starts to darken, about 7-8 minutes. Bubbles will be very fast. It’s important not to stir because you don’t want any unmelted sugar crystals falling in and marring the perfect smooth texture.
- As the edges darken, swirl the mixture gently and keep cooking until the whole bubbling pot is the color of dark maple syrup, another 2-5 minutes. The bubbling will slow and thicken, and the mixture will smoke a bit and may begin to smell burnt – don’t be afraid! It really does need to cook to this dark amber color, or the final product will taste overly sweet (besides, as Lebovitz points out, if you do end up burning it, you’ve only lost 1 cup of sugar which, though bothersome, is not a huge financial disaster).
- Remove from heat (I mean it!) and, with a whisk at the ready, add both the cream and the bourbon. Stand back! It will bubble up vigorously, and the bubbles will continue to form quite quickly for the rest of the cooking process. Whisk in the salt and set the pot back over medium heat, whisking until the sauce is smooth. Cook for an additional minute, just to ensure smooth texture (and to cook off some of the alcohol in the bourbon!). The sauce will remain thin at this point.
- Remove from heat and cool – it will thicken to the texture of cold honey while at room temperature, and even to something more like dulce de leche when refrigerated.
- To serve, place a scoop or two of vanilla ice cream in a tall glass. Pour in 6-8 ounces of cold chocolate stout, pausing as needed to avoid overflow. Atop the thick, rich foam that forms, drizzle a tablespoon or two of the caramel sauce and dig in.