NYT Cooking Project: Gochujang Caramel Cookies (recipe linked)

I did a lot of bragging the other week about how familiar and comfortable I am with baking, I suspect making myself out to sound like some kind of expert who always reads her recipes carefully and measures correctly… and indeed I went into this week’s NYT Cooking choice – a gorgeous and intriguing sounding recipe for Gochujang Caramel Cookies – with great confidence. I collected my ingredients, I dutifully softened butter, and I whisked together the first component of the recipe: a stick of soft butter, packed brown sugar, and a heaping tablespoon of gochujang, which is a compelling and addicting Korean sweet chili paste.

Continue reading

Contrarian Chewy Not-Chocolate-Chip Cookies

As I’ve noted here before, I can be a bit contrarian about food. I like my risotto with anything but rice, somehow I always find myself frying food in the most disgusting heat of summer, and I’m that person who, instead of making something practiced and reliable for a dinner party, always somehow ends up trying something untested.

But perhaps my most blasphemous contrarian food tendency is this: sometimes I don’t want chocolate chips in chocolate chip cookies. I love the cookie part – the depth of the brown sugar, the butter, the just-crisp edges – and then that chocolate gets in the way. Don’t get me wrong: I do like chocolate. I’m not a total monster. But in a cookie, especially after it cools and the chunks or chips or boulders of chocolate solidify again, I could do without. I sometimes find myself looking forward to the cookie that comes from the very last scrapings of batter from the bowl, since it probably won’t have much chocolate in it.

Last month N. ran a half marathon and I, following what is becoming a tradition, decided to have cookies waiting for him when he came home. Not so contrarian as me, N. loves a good chocolate chip cookie (and a mediocre chocolate chip cookie too – in fact, let’s be honest: he’ll take just about any chocolate chip cookie). Inspired by a recent trip to Le Grande Orange Café in Pasadena, I decided I wanted to do a batch of thin, crisp-but-chewy cookies with a sprinkling of salt on top. Good for helping my runner rehydrate a little. I started with a Bon Appetit recipe, but played a little: almond meal replaced some of the flour, I was out of chocolate chips, so I chopped up some dark chocolate covered pretzels and, just for fun, couldn’t resist a little instant espresso powder to the dough as well. A little buzz of extra caffeine wouldn’t hurt N. as he unwound from a thirteen mile morning.

We both loved the cookies. But again, I found myself thinking how good they would be if they just… didn’t have chocolate in them. So I did another batch here, retaining the almond meal, but eliminating all hints of chocolate. These are designed to be crisp at the edges and chewy at the middle, and several elements of the recipe contribute to that: the almond meal is always going to add some pleasant texture, as is brown sugar. The powdered sugar allows for a denser final result, which contributes to chew in that not as much air is trapped in the dough. And using egg yolks instead of just whole eggs seems to help too, though opinions seem divided on this.

My contrarian cookies were simple. As I was mixing them up, I found myself thinking, “could I add anything? What about dried cherries? What about lemon zest? Could I put in some cardamom or cinnamon, or maybe chopped nuts?” And of course the answer is yes. I could. You could too. Toss in a teaspoon or so of some warm spice. Toast and chop and fold in about a cup of nuts or dried fruit. If you’re feeling particularly contrary with me, you could even reverse hack all the way into putting the chocolate back in; you’ll want about 8 ounces.

But when I chewed my way through the first, and then the second, of these simple, too-spread-out, just bendable,* still warm offerings, I wanted none of that. The texture was right: crisp around the edge, a chew similar to a good snickerdoodle in the middle, and the occasional delightful crunch from the sea salt. And nothing, nothing at all, disrupting that deep, lovely, buttery brown sugar taste.


* because these cookies spread so much while they bake, and because they are so soft when they first come out of the oven, I’d wager you could successfully cool them over the back of a muffin tin or ramekin for little cookie bowls to fill with ice cream or custard or fruit, or maybe even a deep, rich mousse to get the chocolate back in there…


Contrarian Chewy Not Chocolate Chip Cookies
Adapted from Bon Appétit
Makes about 18 cookies
½ cup (1 stick, or 4 ounces) room temperature unsalted butter
¾ cup brown sugar
½ cup granulated sugar
¼ cup powdered sugar
2 large egg yolks
1 large egg
1½ tsp vanilla
1 cup all purpose flour
½ cup almond meal
1 tsp baking powder
¼ tsp baking soda
½ tsp kosher salt + more for sprinkling


  • Preheat the oven to 375F and line two cookie sheets with parchment paper or nonstick spray
  • In a large bowl or the bowl of a stand mixer, beat the butter with the paddle attachment or with an electric mixer until it is soft and the big pieces have broken down. Add all three varieties of sugar and continue mixing until light and fluffy, about 3 minutes. Scrape down the sides of the bowl. Add the egg yolks, the whole egg, and the vanilla. Beat again, stopping once or twice to scrape down the sides of the bowl, until the whole mixture is pale and fluffy, about 4 minutes. This seems like a long time, but it does make a difference. It will look like buttercream frosting when it’s ready, and really, it basically is.
  • If you want to, whisk the dry ingredients (flour, almond meal, baking powder, baking soda, salt) together in a smaller bowl, then slowly add to the wet mix in three additions, mixing just to blend in between. If you don’t want to bother with the whisking, just add in stages: ½ cup flour, mix to blend, ½ cup almond meal, mix to blend, then remaining ½ cup flour with leavening and salt, mix just to blend.
  • Spoon tablespoonfuls of dough onto your prepared cookie sheets, spacing them at least 1 inch apart. They will spread. I wouldn’t do more than about 6 dough blobs on each sheet. Sprinkle the tops sparingly with kosher salt or flaky sea salt.
  • Bake in the preheated 375F oven, rotating the sheets halfway through, until golden around the edges, 12-13 minutes. The middles will seem very soft, but will firm as they cool. Let sit on baking sheets 3-5 minutes before transferring to wire racks to cool completely (unless you want to mold them – see * above).

Project Cook: Seeded Pumpkin Biscotti

A few weeks ago, Irvin from Eat the Love posted on his instagram feed that he wasn’t seeing many pumpkin recipes from the bloggers he follows, and both politely and in fun, essentially told everyone to step it up! Instantly (although I’m definitely not one of his favorites – I doubt he knows I exist!) I knew I wanted to make pumpkin biscotti, using one of his tricks (more on that later). I would stud them generously with pumpkin seeds since I’d had that bag of pepitas in the pantry forever,* and maybe some other nuts, and top them with coarse, crunchy sugar or a criss-crossed shiny glaze, and I’d be right on trend.

And then, of course, I didn’t. Instead we had friends over, and I graded papers, and the kitchen was too warm, and I lost track of my biscotti for a while, but this past weekend, in between setting out Halloween decorations (and, of course, more grading), I finally got down to it. Supplies bought, I went looking for the rest of the ingredients, and after tearing through my pantry shelves, realized the wellspring inspiration for the whole recipes – the pumpkin seeds – were nowhere to be found.

Cut to me, grumbling and grouchy, on an emergency trip to the nearest grocery store, scouring what felt like every aisle until I finally found some, in measly little 2 ounce packages, next to the cocktail peanuts. Project back on track.

For the base dough, I turned to the gurus at King Arthur Flour. While their recipe looks delicious, I knew I wanted to raise the stakes a bit with various sources of crunch, and – here’s where Irvin becomes important for this recipe again – I wanted to use his pumpkin trick of drying the puree out on the stove before integrating it into the recipe. The problem with pumpkin, as I’ve noted previously, is its massive moisture content. The KAF recipe contains only ½ cup pumpkin puree, likely because it’s so wet that adding much more would not allow for crunchy cookies. I figured since I was going to reduce the moisture so much I could increase that quantity by half. This would give me a dryer ingredient with a more intense pumpkin flavor.

But making my mixture less wet entailed potential recipe problems. Biscotti should be crunchy, but reducing moisture content too much could lead to stale-tasting cookies, or a mix that didn’t hold together properly. Time to do some research. My favorite biscotti recipe, from the very first issue of Bon Appétit I ever bought, is flavored with lemon and walnut and has become a family Christmas standard. It differs considerably from the KAF recipe for pumpkin biscotti, with more egg, a good bit more butter, and of course a staggering 3 cups of chopped walnuts I was not planning to come even close to. The recipe creation then became guesswork, which involved a series of texts between me and my sister to try and figure out how to proceed.

I settled on increasing the amount of egg and butter, but not quite as much as my old reliable standby. Since I’d be adding nuts and seeds, I also opted to change up KAF’s procedure a bit to match the one I was used to: rather than putting the shaped, sticky batter straight into the oven, I wrapped mine in plastic wrap (which also helps shape it – more below…), chucked it into the fridge for a few hours, and then unwrapped and baked it once it had firmed up.

My go-to lemon and walnut biscotti recipe advocates cooling the flattened dough logs completely after their first bake, then slicing, lying the cookies down on their cut sides, and baking again at low heat. The KAF recipe I was half-following suggests cutting while still hot, then baking again with the cookies standing up on their flat bottom edges. I was intrigued and tried this new way, and I might never go back. Yes, the slicing requires delicacy, especially because the pumpkin seeds and pistachio pieces are harder than the surrounding dough, but cooking them standing up means first: the coarse sugar you press into the top stays put, and second: they brown evenly on both sides. Even browning, sugar-crunch layer, and you can even fit more on the baking tray at once. Say no more. I’m sold.

But I guess really there is one more thing to say, and that’s our assessment. These are outstandingly delicious. They are spicy and crunchy and not too sweet, and though the pumpkin flavor is mild it’s definitely there. The sparkling coarse sugar on top is perfect against the earthiness of the nuts and pumpkin seeds inside. It’s a good thing I’m taking a batch in to work tomorrow, because by the time I remembered I should count how many cookies this recipe made to report here, we had already eaten… enough of them… that guesswork was required, and when I realized I was eating what might have been my fourth in an hour or so, I sentenced them all to wait in a hard-to-open Tupperware on top of the fridge with the Halloween candy so they would be harder to access. We will certainly make these again, as should you. And I’ve already plotted out a version with amped up ginger and chopped dried apples for Christmas. Move over, lemon and walnut standard. Or at least be ready to share the plate.

* for a clear explanation of the difference between pepitas and plain old pumpkin seeds, see here.

Seeded Pumpkin Biscotti
Adapted from King Arthur Flour
Makes approximately 3 dozen
About 4 hours (including resting time) or overnight
1 cup pumpkin puree
½ cup pepitas
½ cup roughly chopped pistachios
6 tablespoons unsalted butter, softened
⅔ cups granulated sugar
1½ teaspoons ground cinnamon
¼ teaspoon ground nutmeg
scant ¼ teaspoon ground ginger
1½ teaspoons baking powder
½ teaspoon salt
2 eggs
2 cups all-purpose flour
1 tablespoon flax seeds
2-3 tablespoons coarse sugar, such as turbinado or demerara, for sprinkling


  • In a small skillet, cook the pumpkin puree over high or medium-high heat for about 15 minutes, stirring frequently, until the color has deepened and the puree has dried and has a texture something like a thick, crusted frosting. It will be reduced by about half. Set aside to cool.
  • While the pumpkin puree is reducing, if desired, toast the pepitas and chopped pistachios in a 300F oven for about 10 minutes. Set these aside to cool as well.
  • In a large bowl, or the bowl of your stand mixer, cream together the butter and granulated sugar. Add the cinnamon, nutmeg, ginger, salt, and baking powder, and beat with the paddle attachment until smooth and creamy.
  • Beat in the eggs and the cooled pumpkin puree until well combined. The pumpkin will take a minute or two to fully integrate.
  • With the mixer on low speed, add the flour a ½ cup at a time, then the flax seeds and the cooled pepitas and pistachios. Be sure to scrape the bottom of the bowl once or twice to ensure everything is mixed in. The resulting mixture will be very sticky.
  • Cut two pieces of cling wrap and spread them out on a clean counter. With a determined spatula, scrape half the dough mixture onto each. Using the plastic wrap, push and mold the dough into two long rectangles of about 10 x 2½ inches. Wrap them up in the plastic wrap, put them on a cookie sheet or other flat tray, and stow in the fridge for at least two hours, or overnight.
  • When you are ready to bake, preheat the oven to 350F. Retrieve the dough logs from the refrigerator, unwrap them from the plastic wrap, and position them an inch or two apart from one another on a parchment lined baking sheet. Sprinkle the tops with the 2-3 tablespoons coarse sugar, then use your hand to spread the sugar evenly and gently press it in to the top of the dough a bit so it adheres.
  • Bake the dough logs for 25 minutes; they will be just firm. Remove from the oven and let cool 10-15 minutes. Meanwhile, reduce the oven temperature to 325F.
  • After 10-15 minutes, use a sharp serrated knife to cut the logs crosswise into ½ inch slices. Use a gentle sawing motion to avoid breaking up the slices, which will still be very delicate at this point. Some of the nuts and seeds will be harder to cut through. Be sure to cut as straight up and down as possible; if the biscotti are thicker on the top than the bottom, they won’t stand up correctly for their second baking.
  • Stand the biscotti on their bottom edges on the same parchment lined baking sheet you used to bake the flattened logs. They can be fairly close together but should not be touching. Carefully return the pan to the 325F oven and bake for 40-45 minutes, until they are getting golden brown around the edges. They will still be soft in the middle.
  • KAF recommends turning off the oven, cracking the door, and allowing the biscotti to cool completely while inside, likely to ensure the finished cookies are crunchy. I did not do this because I had something else I needed to bake; I cooled them in the oven only 5 or 10 minutes, then removed the pan to a counter top and let them cool completely. Mine were still perfectly crisp all the way through.
  • Serve when completely cooled. Perfect with coffee, chai or other tea, or straight off the pan.

Small Batch Lemon Lavender Sugar Cookies

This is a story about two of my friends. They are very different, and our friendships are very different, but they both have a connection to these sugar cookies.

In high school, M. was my best friend. We met at the beginning of our 8th grade year, and as a newcomer to the area, I was on the lookout for a companion. Within about three weeks, our friendship was cemented. We were in many of the same classes, we played the same instrument, we lived within a mile of one another, and we had many of the same interests. That’s a pales-in-comparison way of saying we spent at least a chunk of almost every weekend together from eighth grade through our senior year.

We had a number of misadventures in our years together, and though we grew apart a bit during college and fell out of touch for a while in graduate school, these movements punctuated by increasing geographical distance as she went to the East Coast and then to Great Britain, we made little sparkling moments of contact, particularly around food – I sent her a box of Triscuits because she missed American crackers (she was horrified by their saltiness, far more than she remembered), she sent back a box of Maldon sea salt, astounded by its U.S. prices. We weren’t able to attend one another’s weddings, but thanks to the coziness of the internet we can keep an occasional eye on one another, and that feels nice.

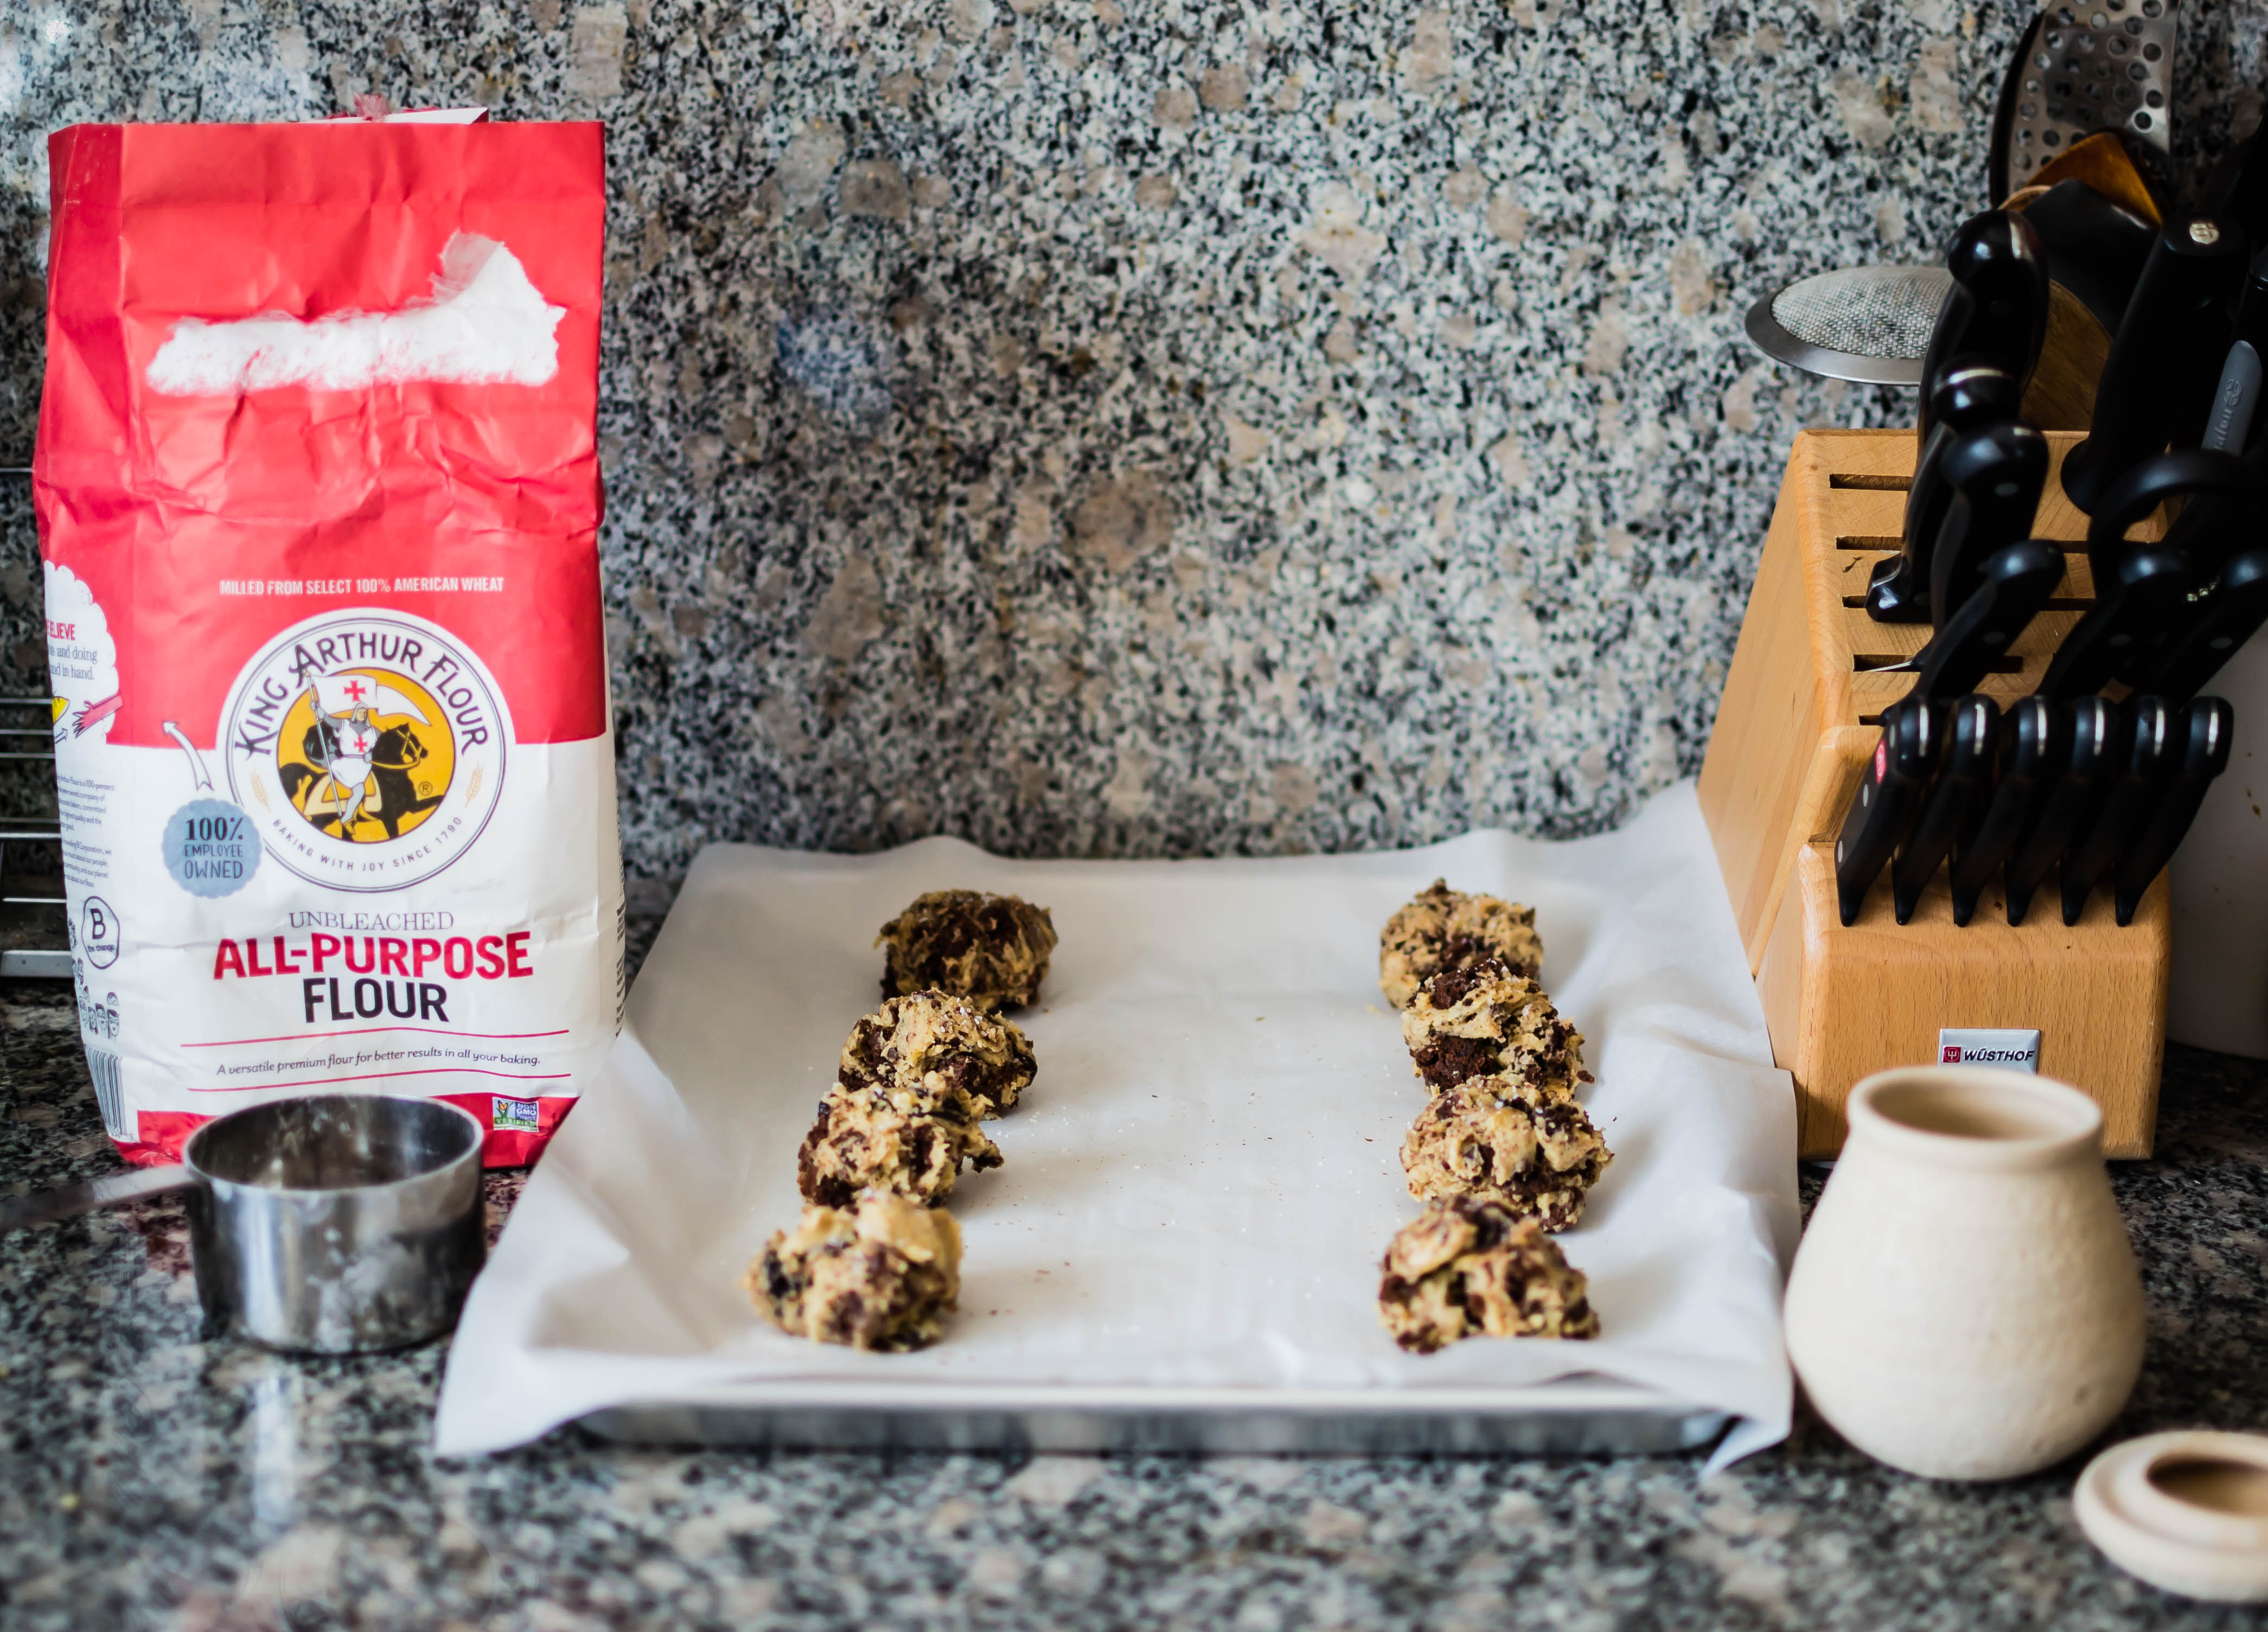
The most crucial of our adventures for this post was one chilly afternoon in high school. We were at my house, as was typical, and decided we wanted to bake some cookies. Not chocolate chip this time, though. Plain old sugar cookies. We dug out my Complete Guide to Country Cooking book my nana had sent me when she first learned I was interested in cooking, and went to work.

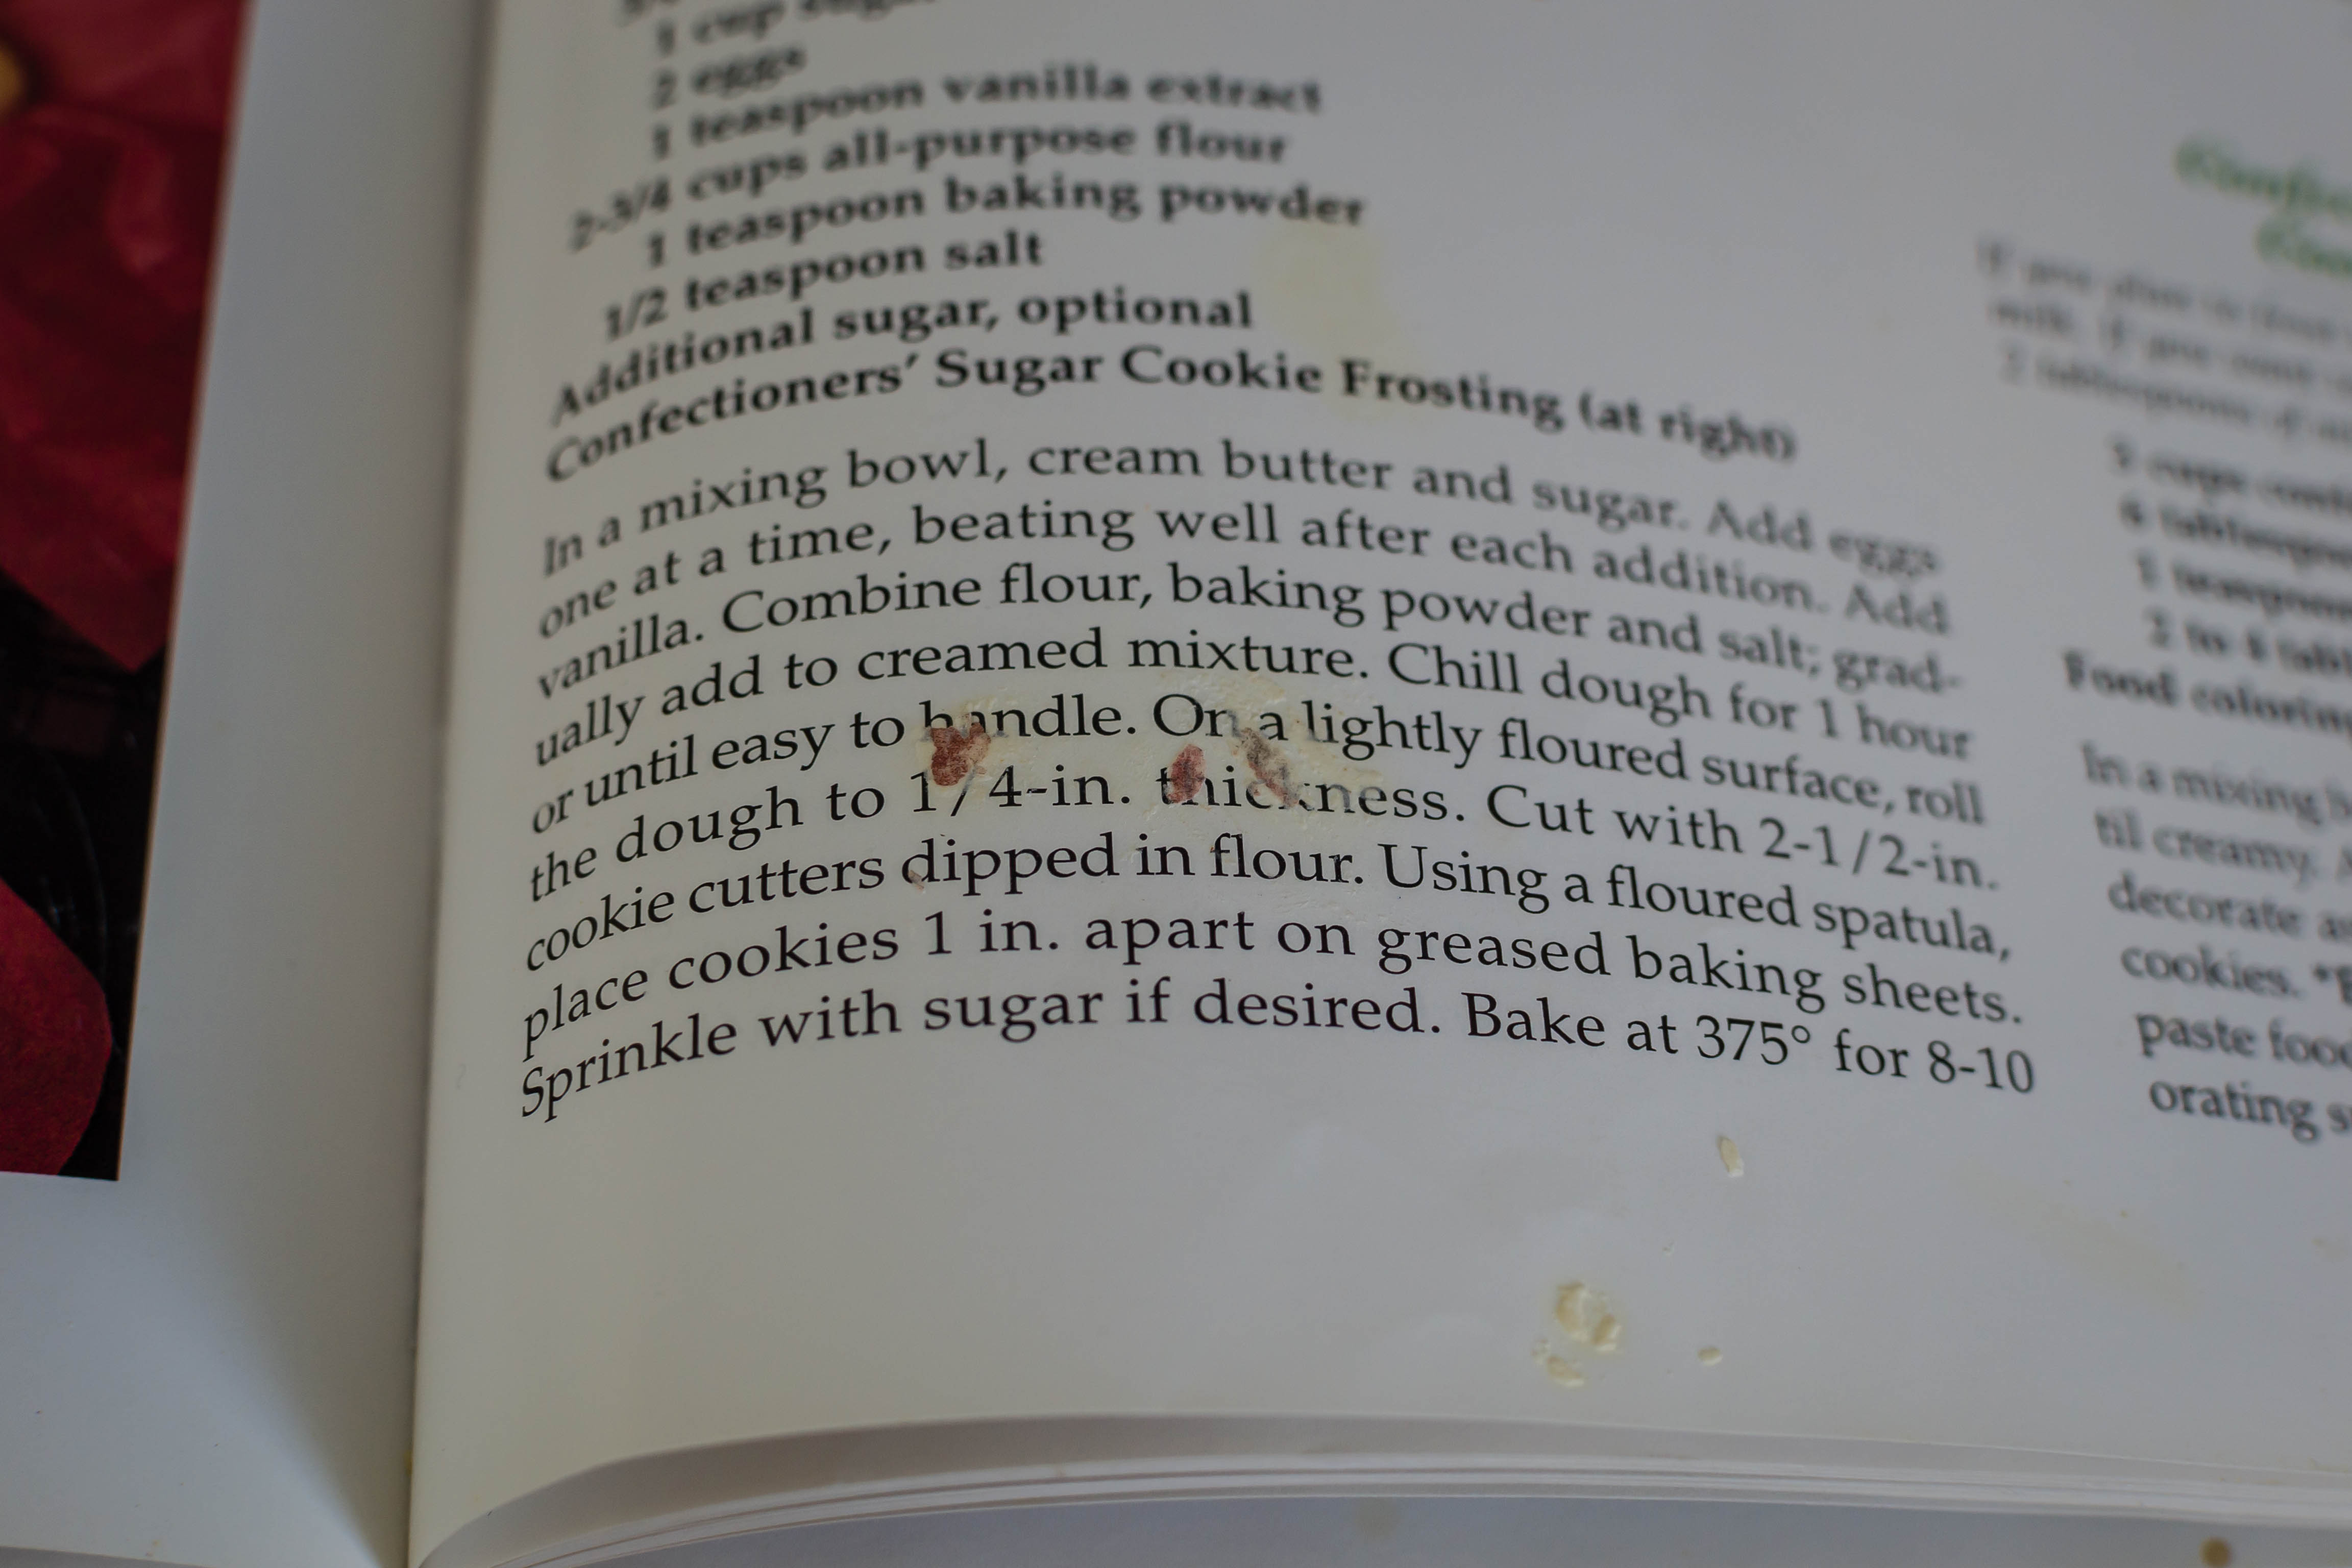
The problem with sugar cookies is that they have to be rolled out and cut, and that requires workable dough. Our instructions, the same instructions I’m following here, called for the dough to be chilled for at least an hour. But we wanted cookies! We decided it probably wouldn’t require a full hour of chilling. We’d check on it earlier. We may have waited ten minutes. We tried rolling and made a squelchy, horrible mess. Back into the fridge went the dough for maybe another ten minutes. Ad infinitum.

It turns out that when you lug a bowl of dough out of the fridge every few minutes, try and fail to roll it out, and then do the same thing ten minutes later, the butter doesn’t have enough time to harden back up and come to a rollable consistency. I don’t remember exactly what we did with the mess we finally abandoned; it probably went into the trash and we headed up to the computer to entertain ourselves with SimCity or King’s Quest or something. But our handiwork remains both in my mind and on the page bearing that recipe, and it was indelible enough for M. that she coerced a group of her college pals into recreating the cookie-baking episode on VHS (!!) for me as a birthday gift one year.

In graduate school, VV was one of my friends. We weren’t tremendously close, as she entered the program a few years after me and thus circumstances put us at different places in our studies and in our lives, but we always got along, and I remember a lovely afternoon teaching-evaluation-disguised-as-coffee-session during which we chatted about the classroom experience. VV and I, too, stay connected via that simultaneous glory and trash fire that is the internet – her Facebook page gives me a little window into her life and, most importantly to this particular story, another kind of baking: her current adventures in ceramics. Shortly before Valentine’s Day, VV showed off some hearts with inspirational messages she was preparing for the kiln, and being her generous self, offered them up to friends who admired them. A few weeks later, I received a beautiful heart, dark rose in color, with spiraled floral patterns surrounding the encouraging words “Be Brave.”

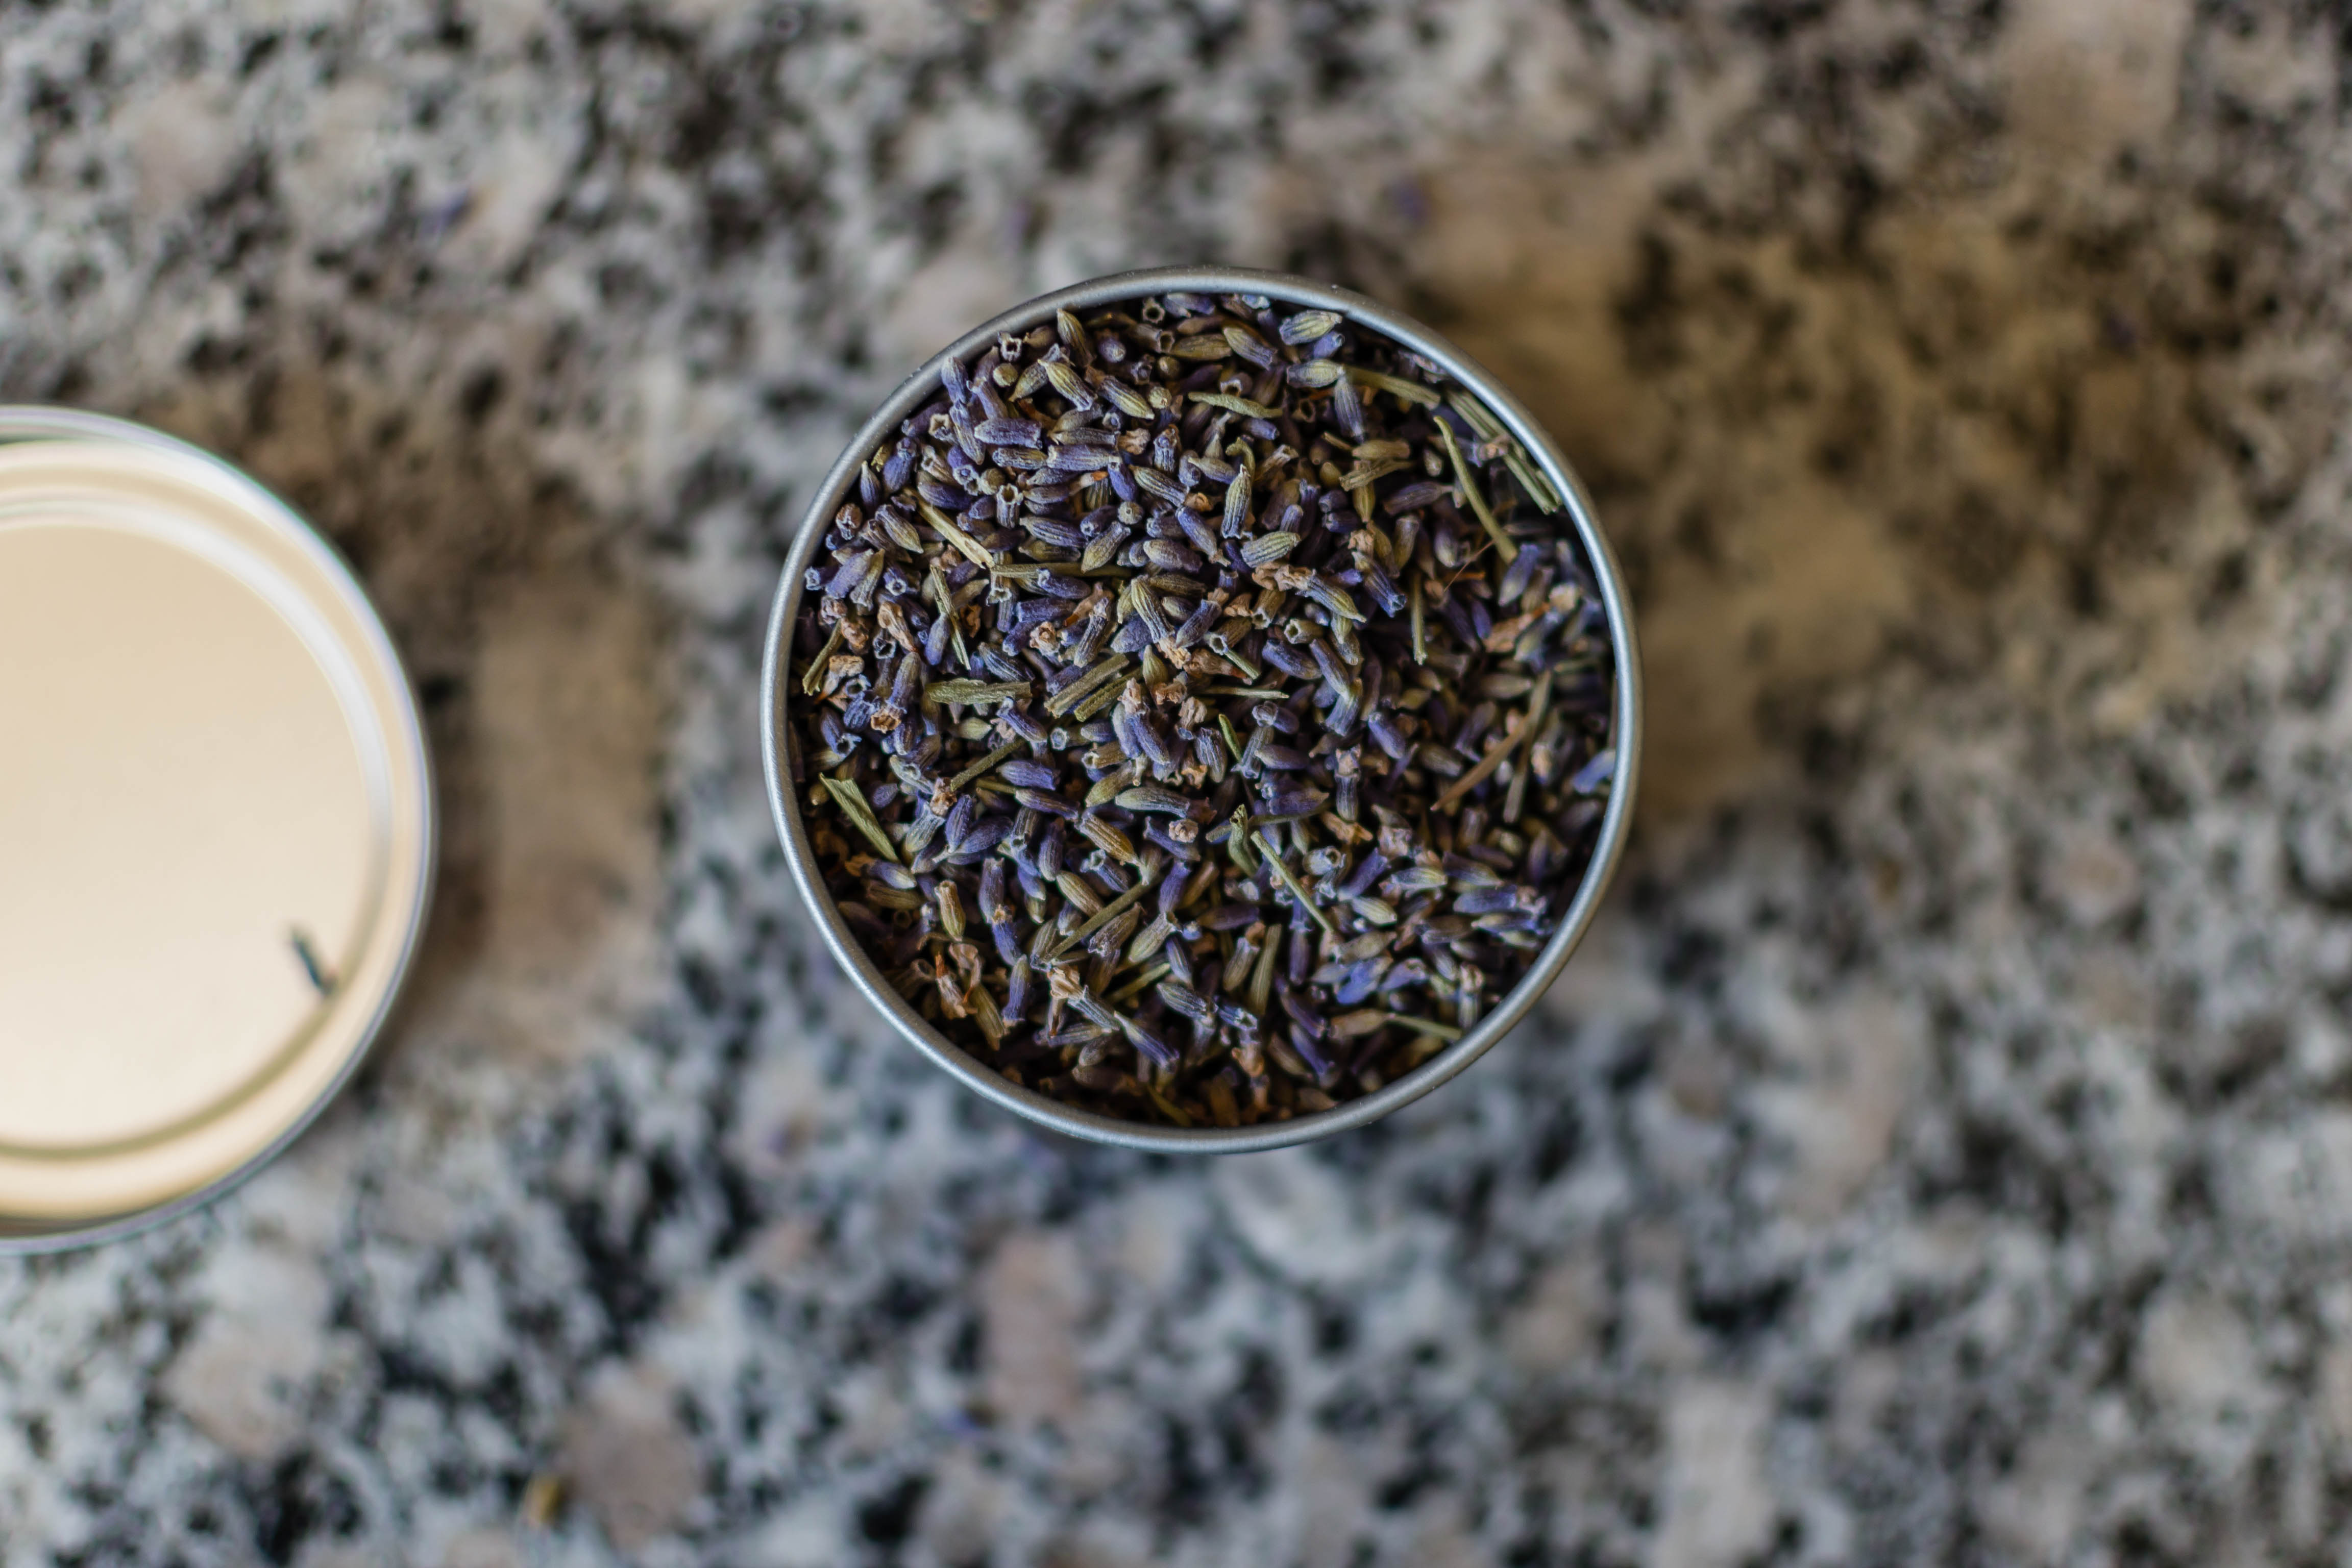
VV, then, needed a thank you. And inspired in part by another ceramics project in which she pressed lavender stems into clay to create lovely little garden signs (“Welcome Spring!” “Welcome bees!”) I realized it was time to dig out the old sugar cookie recipe and shake it up a bit with the addition of some culinary lavender and a little lemon zest.

I’m calling this a “small batch” recipe because it only makes about 18-20 cookies, if you use my size suggestion of 2×3 inch rectangles. But I really think, unless you are having a party, that’s enough. Almost two dozen cookies is enough to last a few days: it’s not so much piping that your hand cramps up, the cookies don’t get stale, and you don’t get tired of them. Though if we’re honest, with the sharp lemon and the hint of perfume from the lavender, there’s really no danger of that.

A few notes: the cookies taste a touch on the salty side by themselves, because I wanted to account for the sweetness of the frosting – with 4 cups of powdered sugar at minimum, it has the potential to quickly become overwhelming. If you aren’t frosting these, go ahead and halve the quantity of salt I’ve called for.

I’ve also gone a bit overboard on the decorations – I wanted them to reflect their inspiration, so I crafted little portrait frames and piped my best attempt at lavender onto them. I include an approximation of my method below, but you could opt for flowers of any kind, or birds, bees, butterflies, or whatever you’d like. For filling but also delicate detail piping, the best option for cookies is royal icing. It is reasonably easy to make, you can mix it with different thicknesses – firm enough to hold its shape in detail work, or thin and flowing in what’s called “flood” icing – and it dries rock hard. Since I was sending these through the mail and since I didn’t know how VV would feel about a traditional royal icing’s requirement of raw egg whites, I opted for meringue powder instead, which works near miraculously.


Small Batch Lavender Lemon Sugar Cookies
Makes 18-20 2×3 inch cookies
2-3 hours, including time to chill, cool, and ice finished cookies
For cookies:
½ cup granulated sugar
1 teaspoon lemon zest
1 teaspoon culinary lavender
3/8 cup butter, softened
1 egg
1 teaspoon lemon juice
1 3/8 cups flour
½ teaspoon baking powder
½ teaspoon salt
For royal icing:
¼ cup meringue powder
¼-½ cup water
¼-½ cup lemon juice
4-5 cups powdered sugar
optional: gel or liquid food coloring


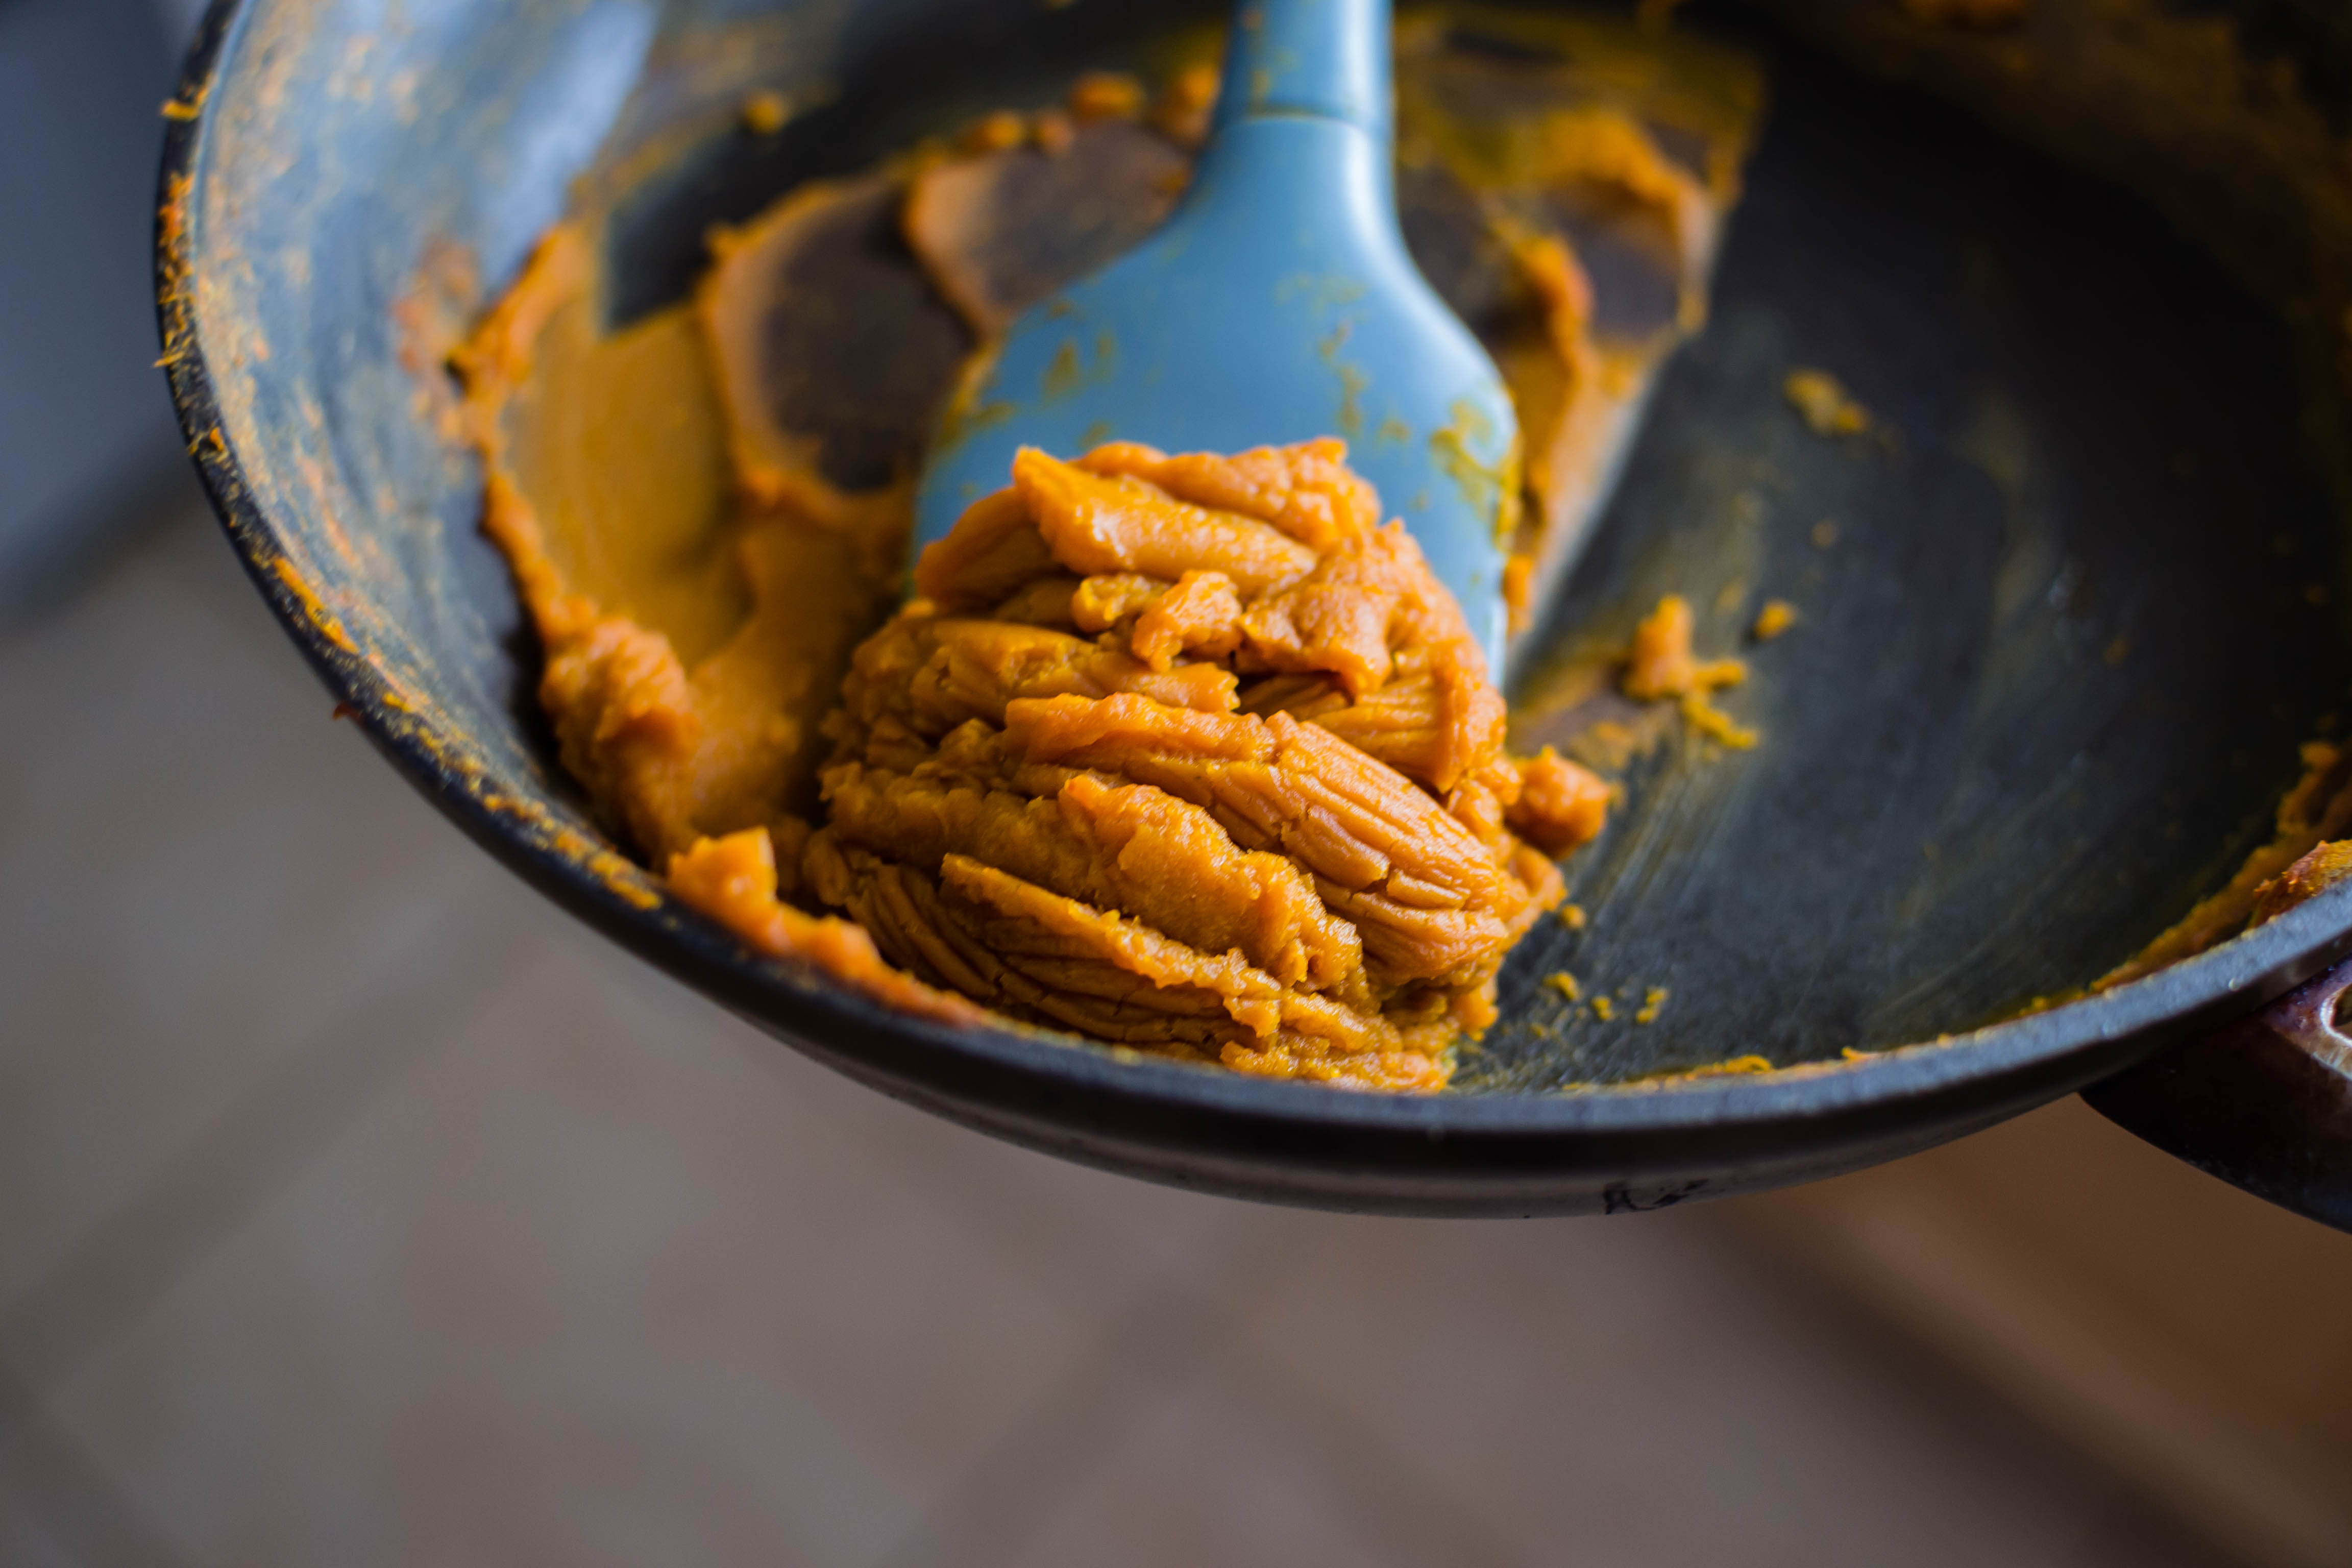
  • To make the cookies, first add the sugar, lemon zest, and lavender to your mixing bowl. Use your fingertips to rub the zest and lavender into the sugar, releasing their oils and breaking up the blossoms a bit. Add the butter and use an electric mixer or the stand mixer paddle attachment to cream the butter and flavored sugar together until they are light and fluffy.
  • Add the egg and the lemon juice and cream together again. It may look slightly curdled thanks to the acid in the lemon juice, but don’t worry. It will be okay.
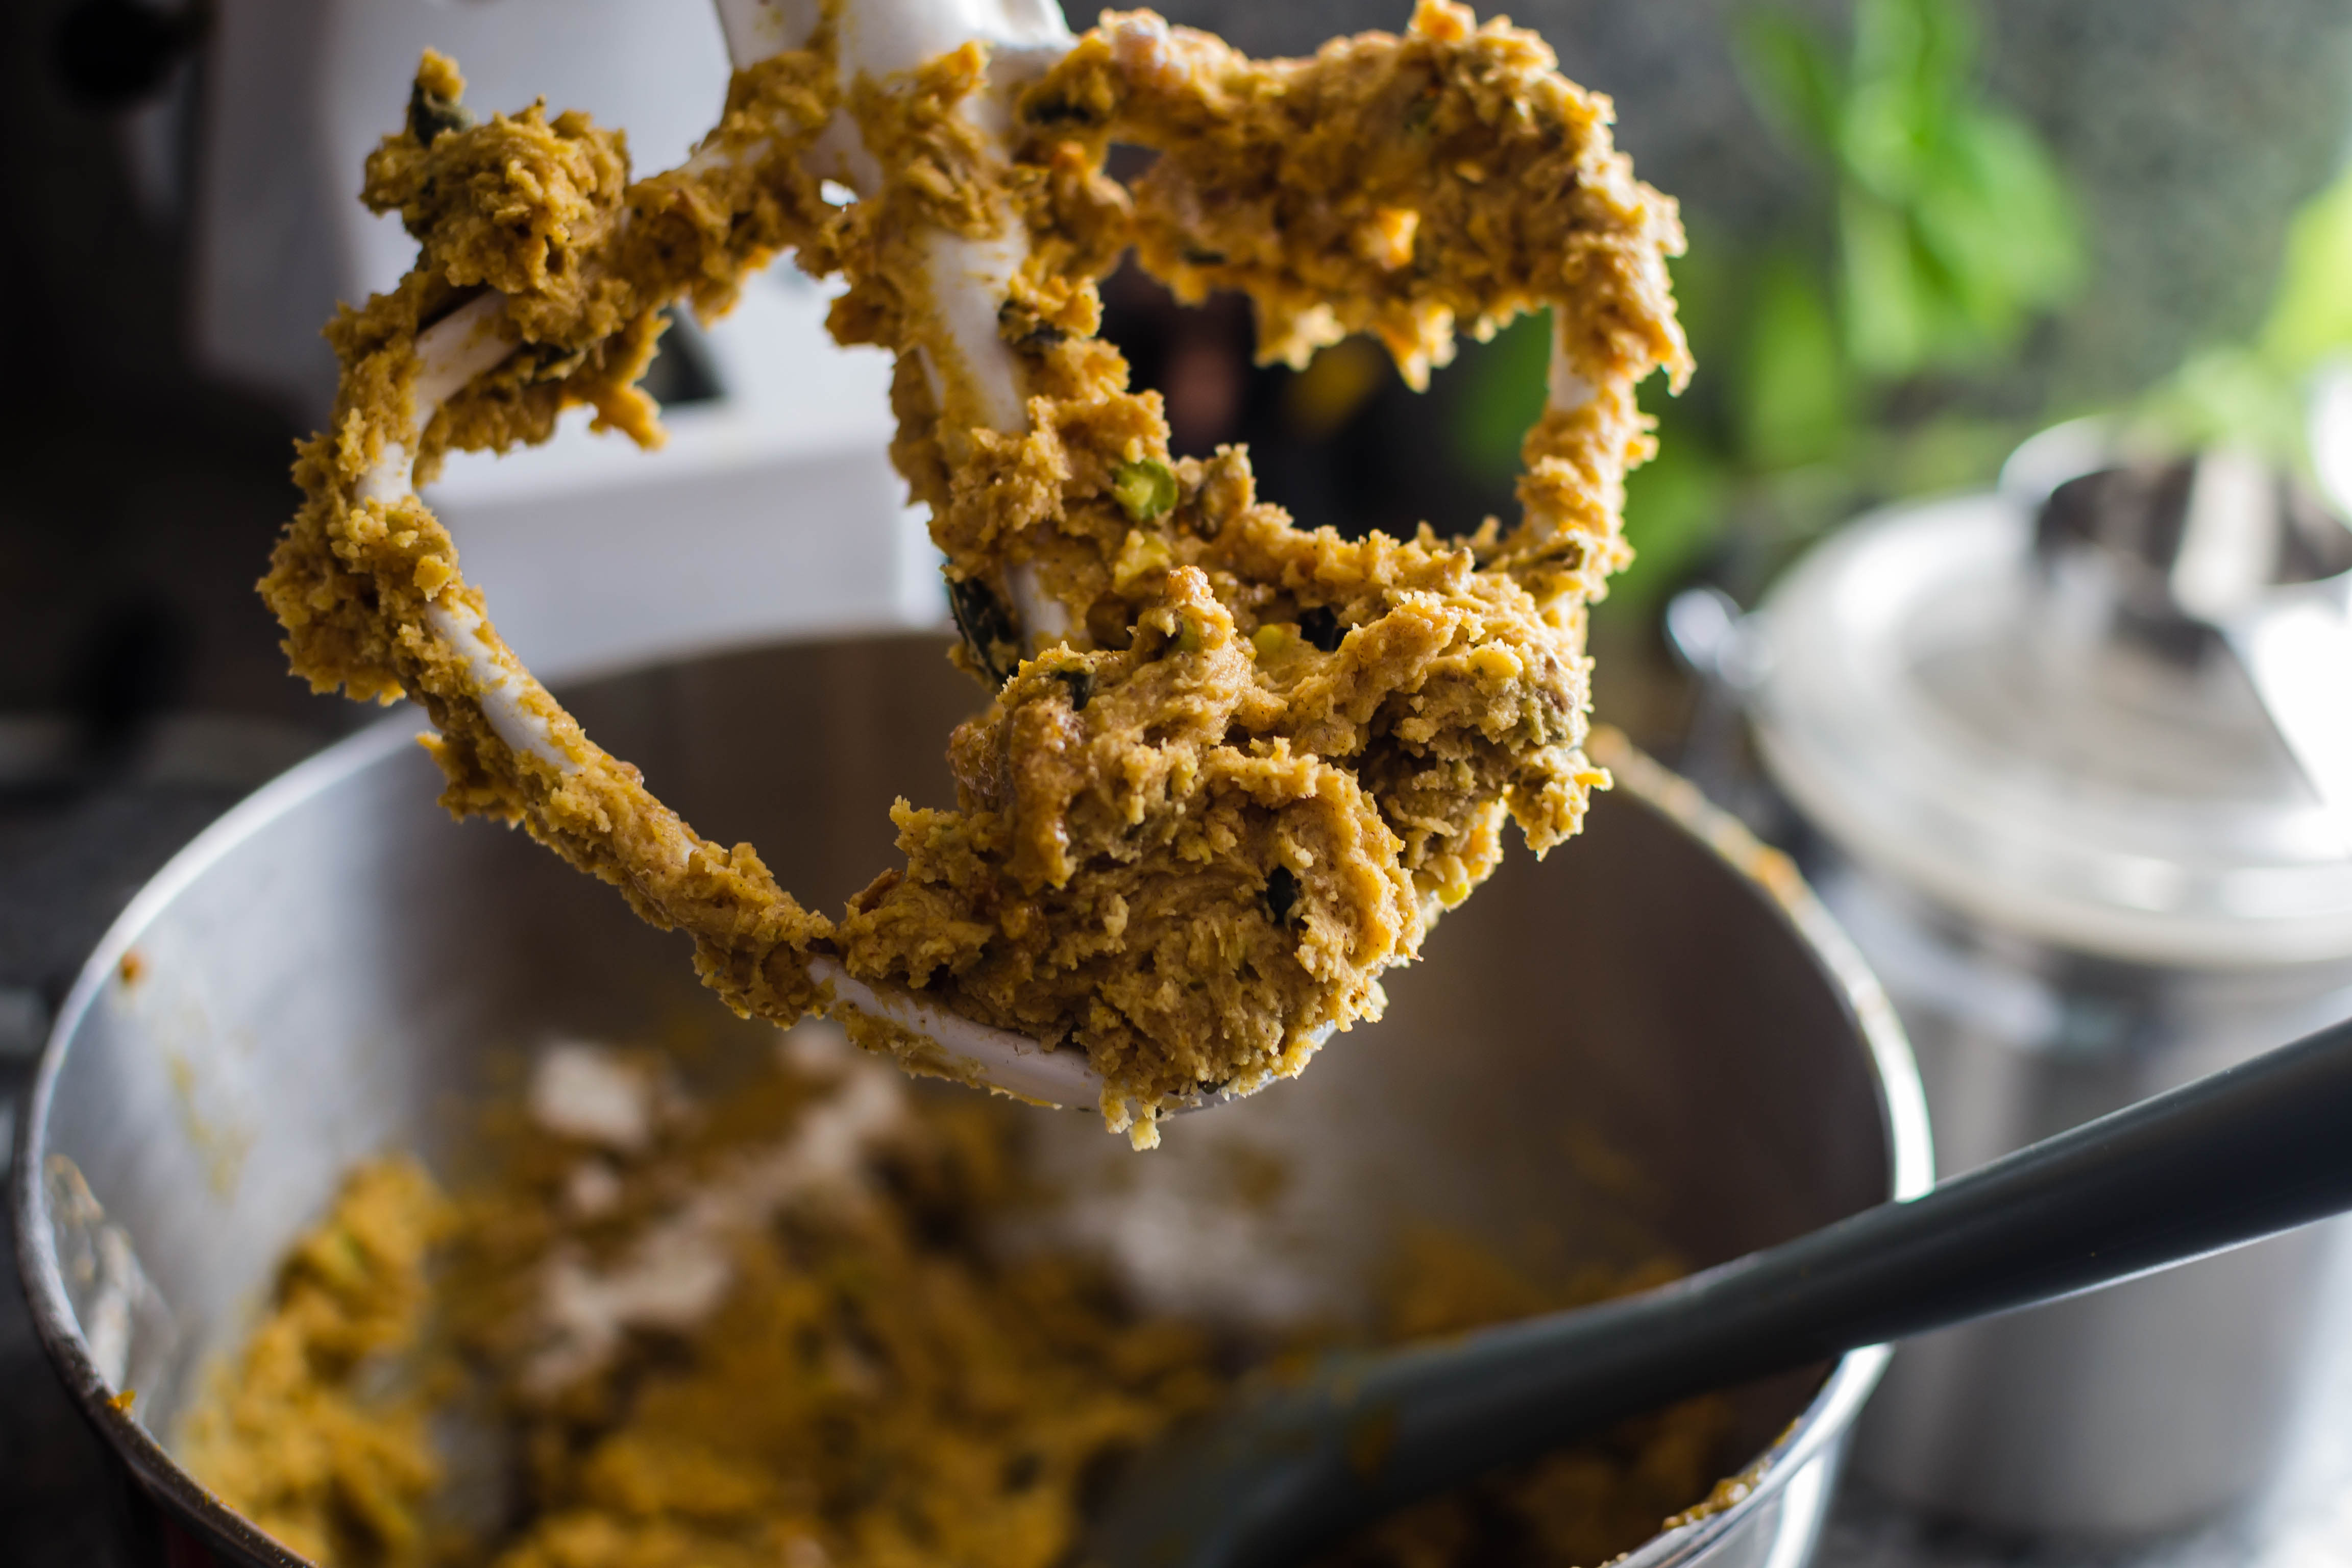
  • Combine the flour, baking powder, and salt, and gradually add it to the creamed mixture. It will seem a bit dry at first; mix it a few seconds more and you’ll almost see it start to moisten and come together.
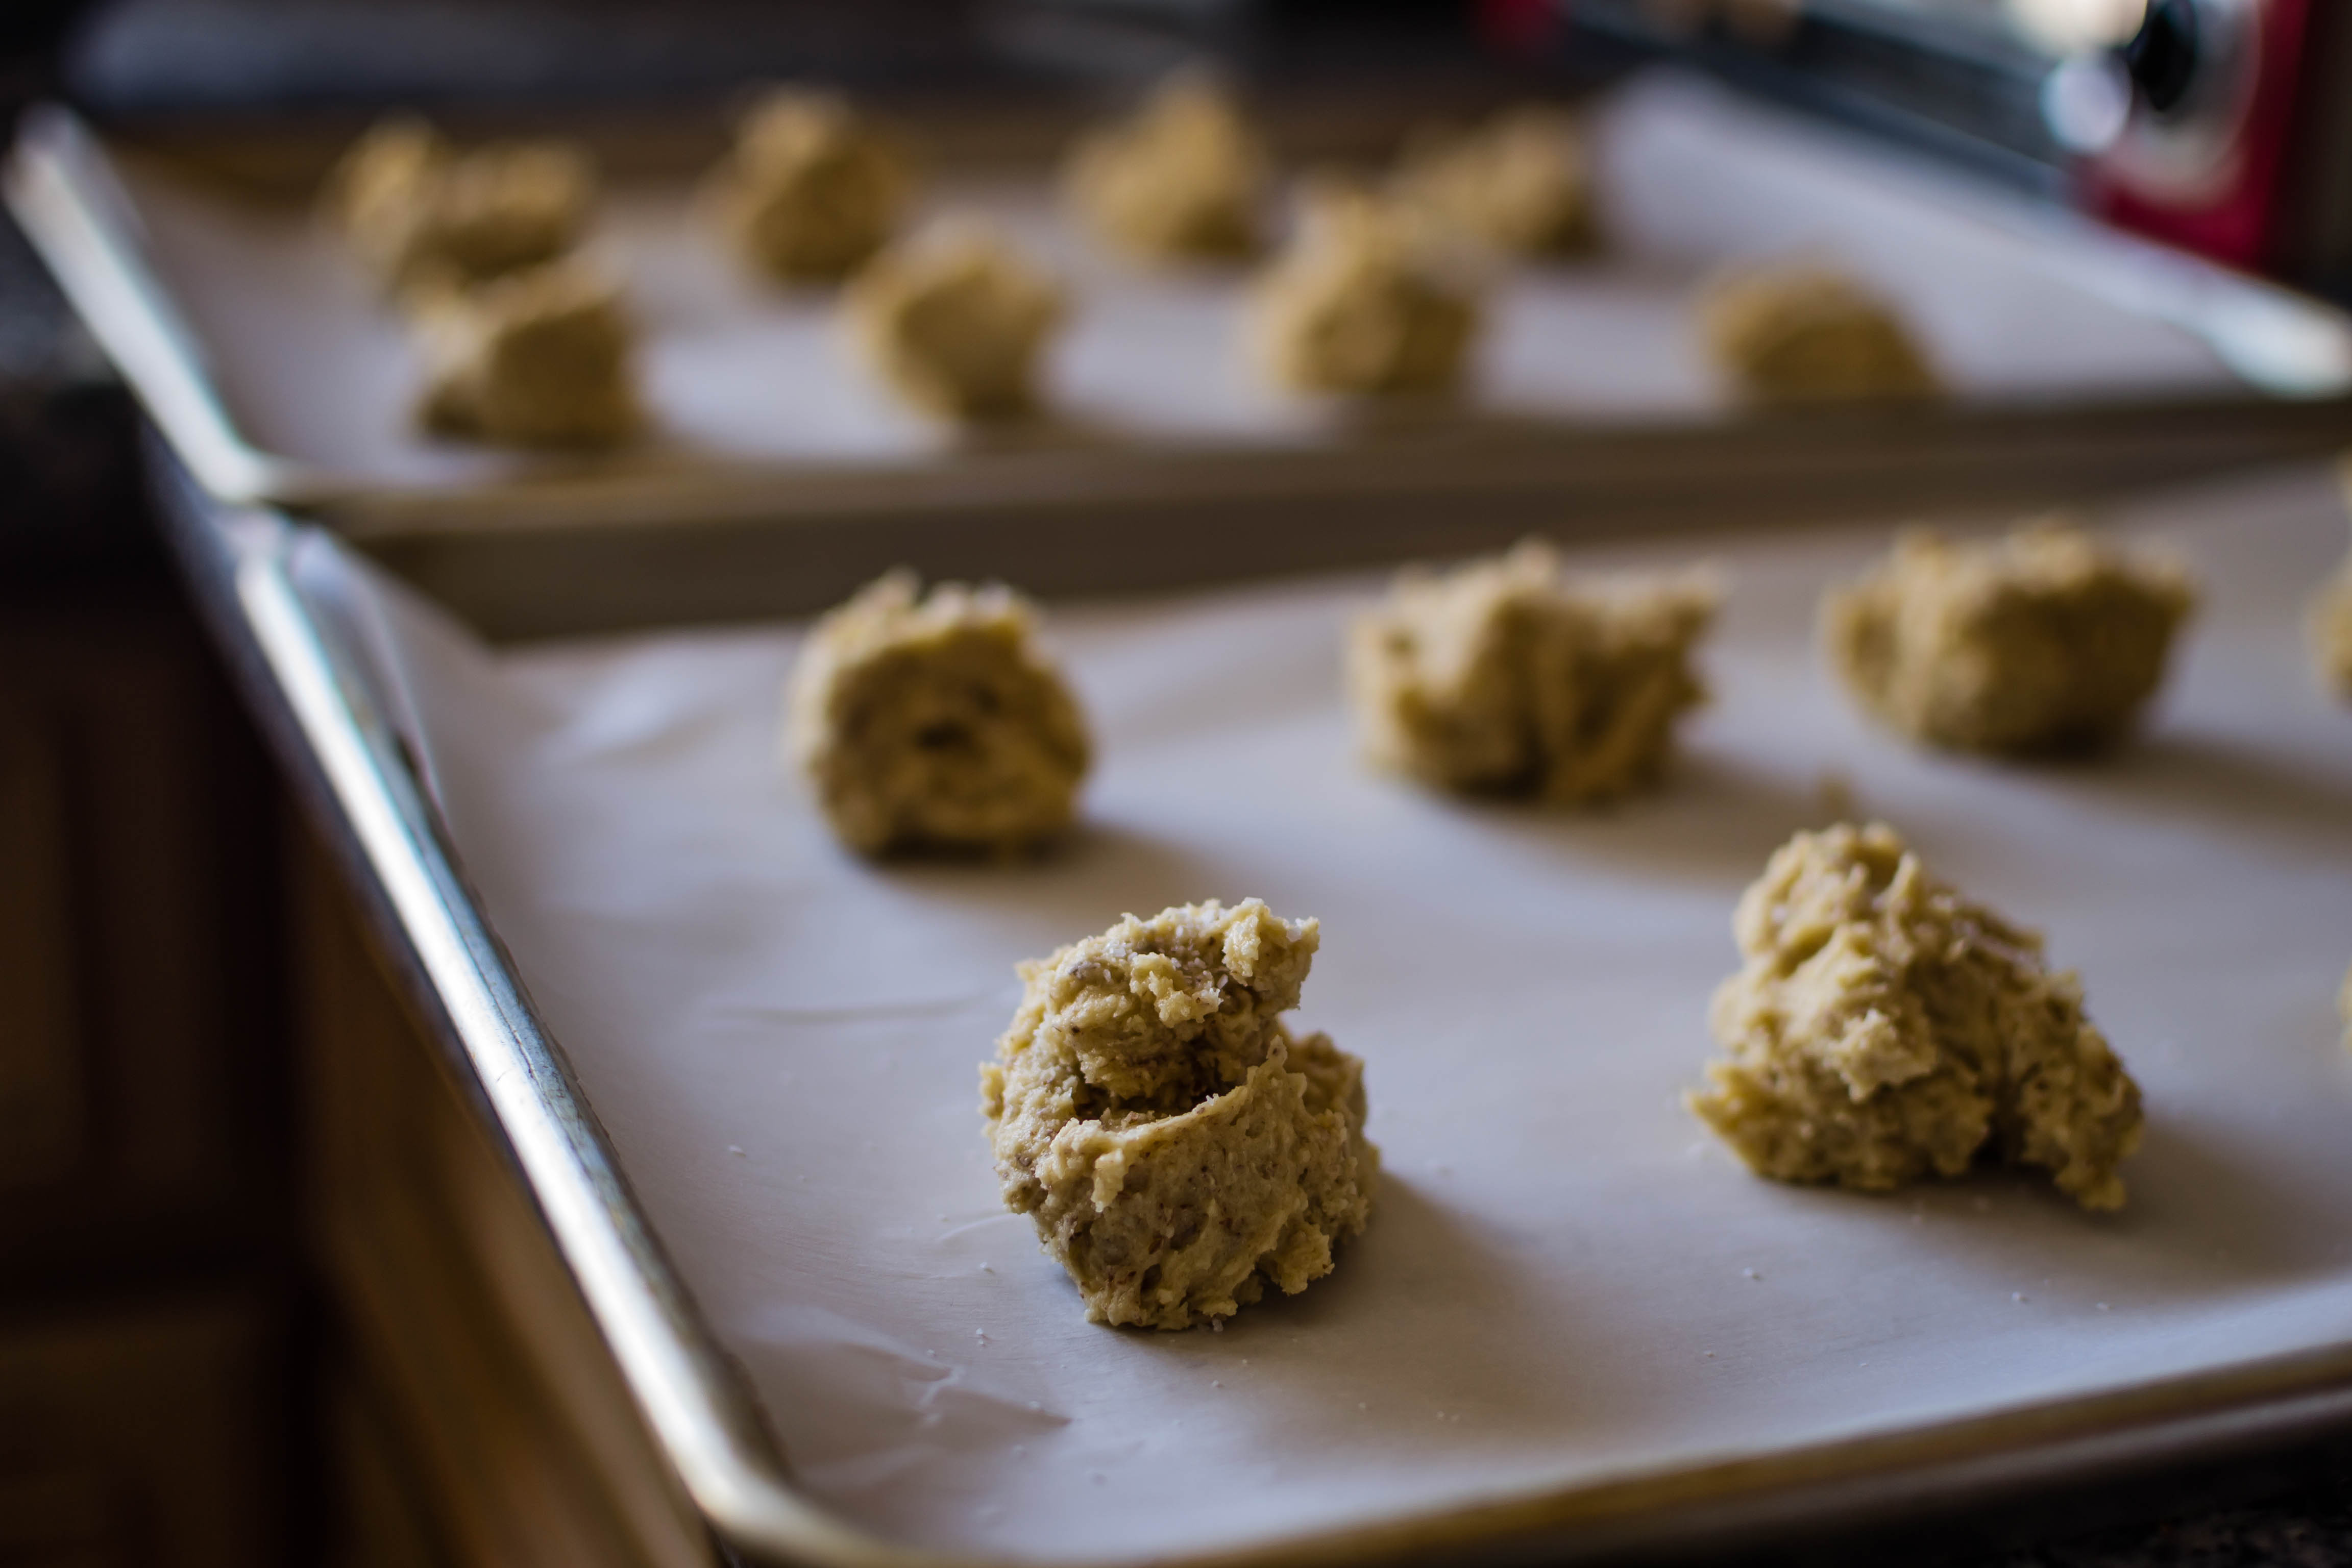
  • Pat the combined mixture into a ball and then chill the dough for one hour, until it is easy to handle.
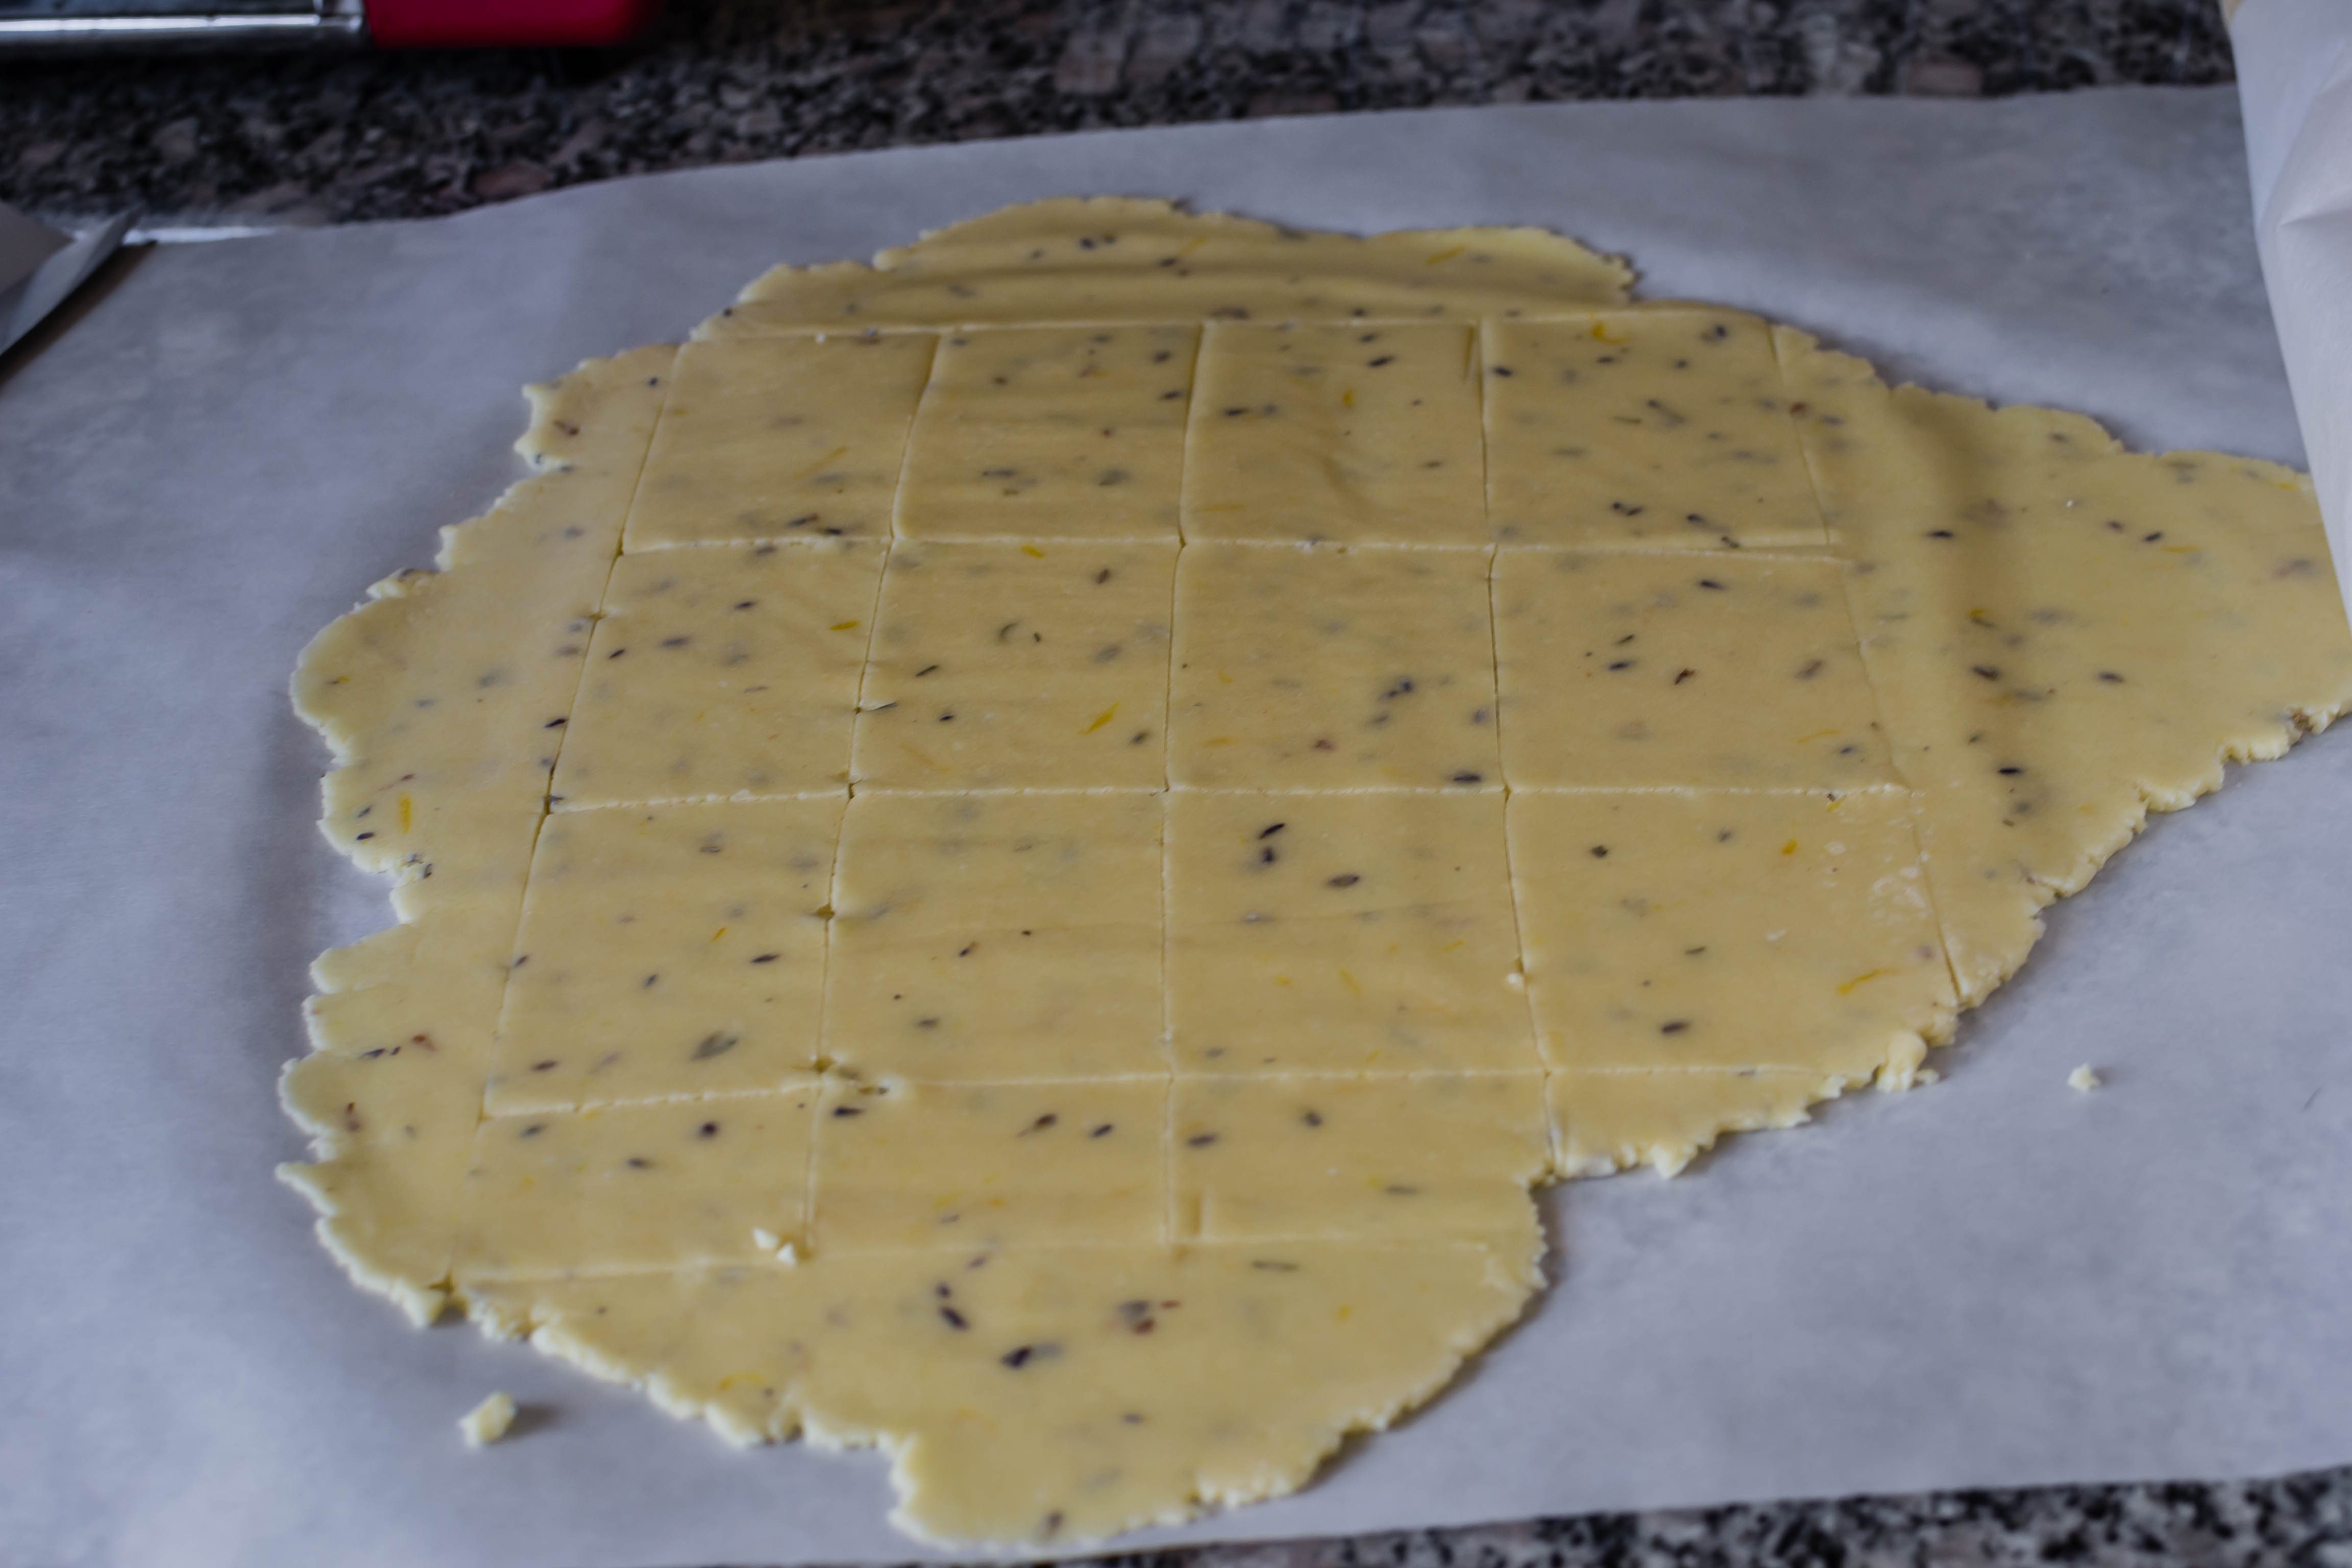
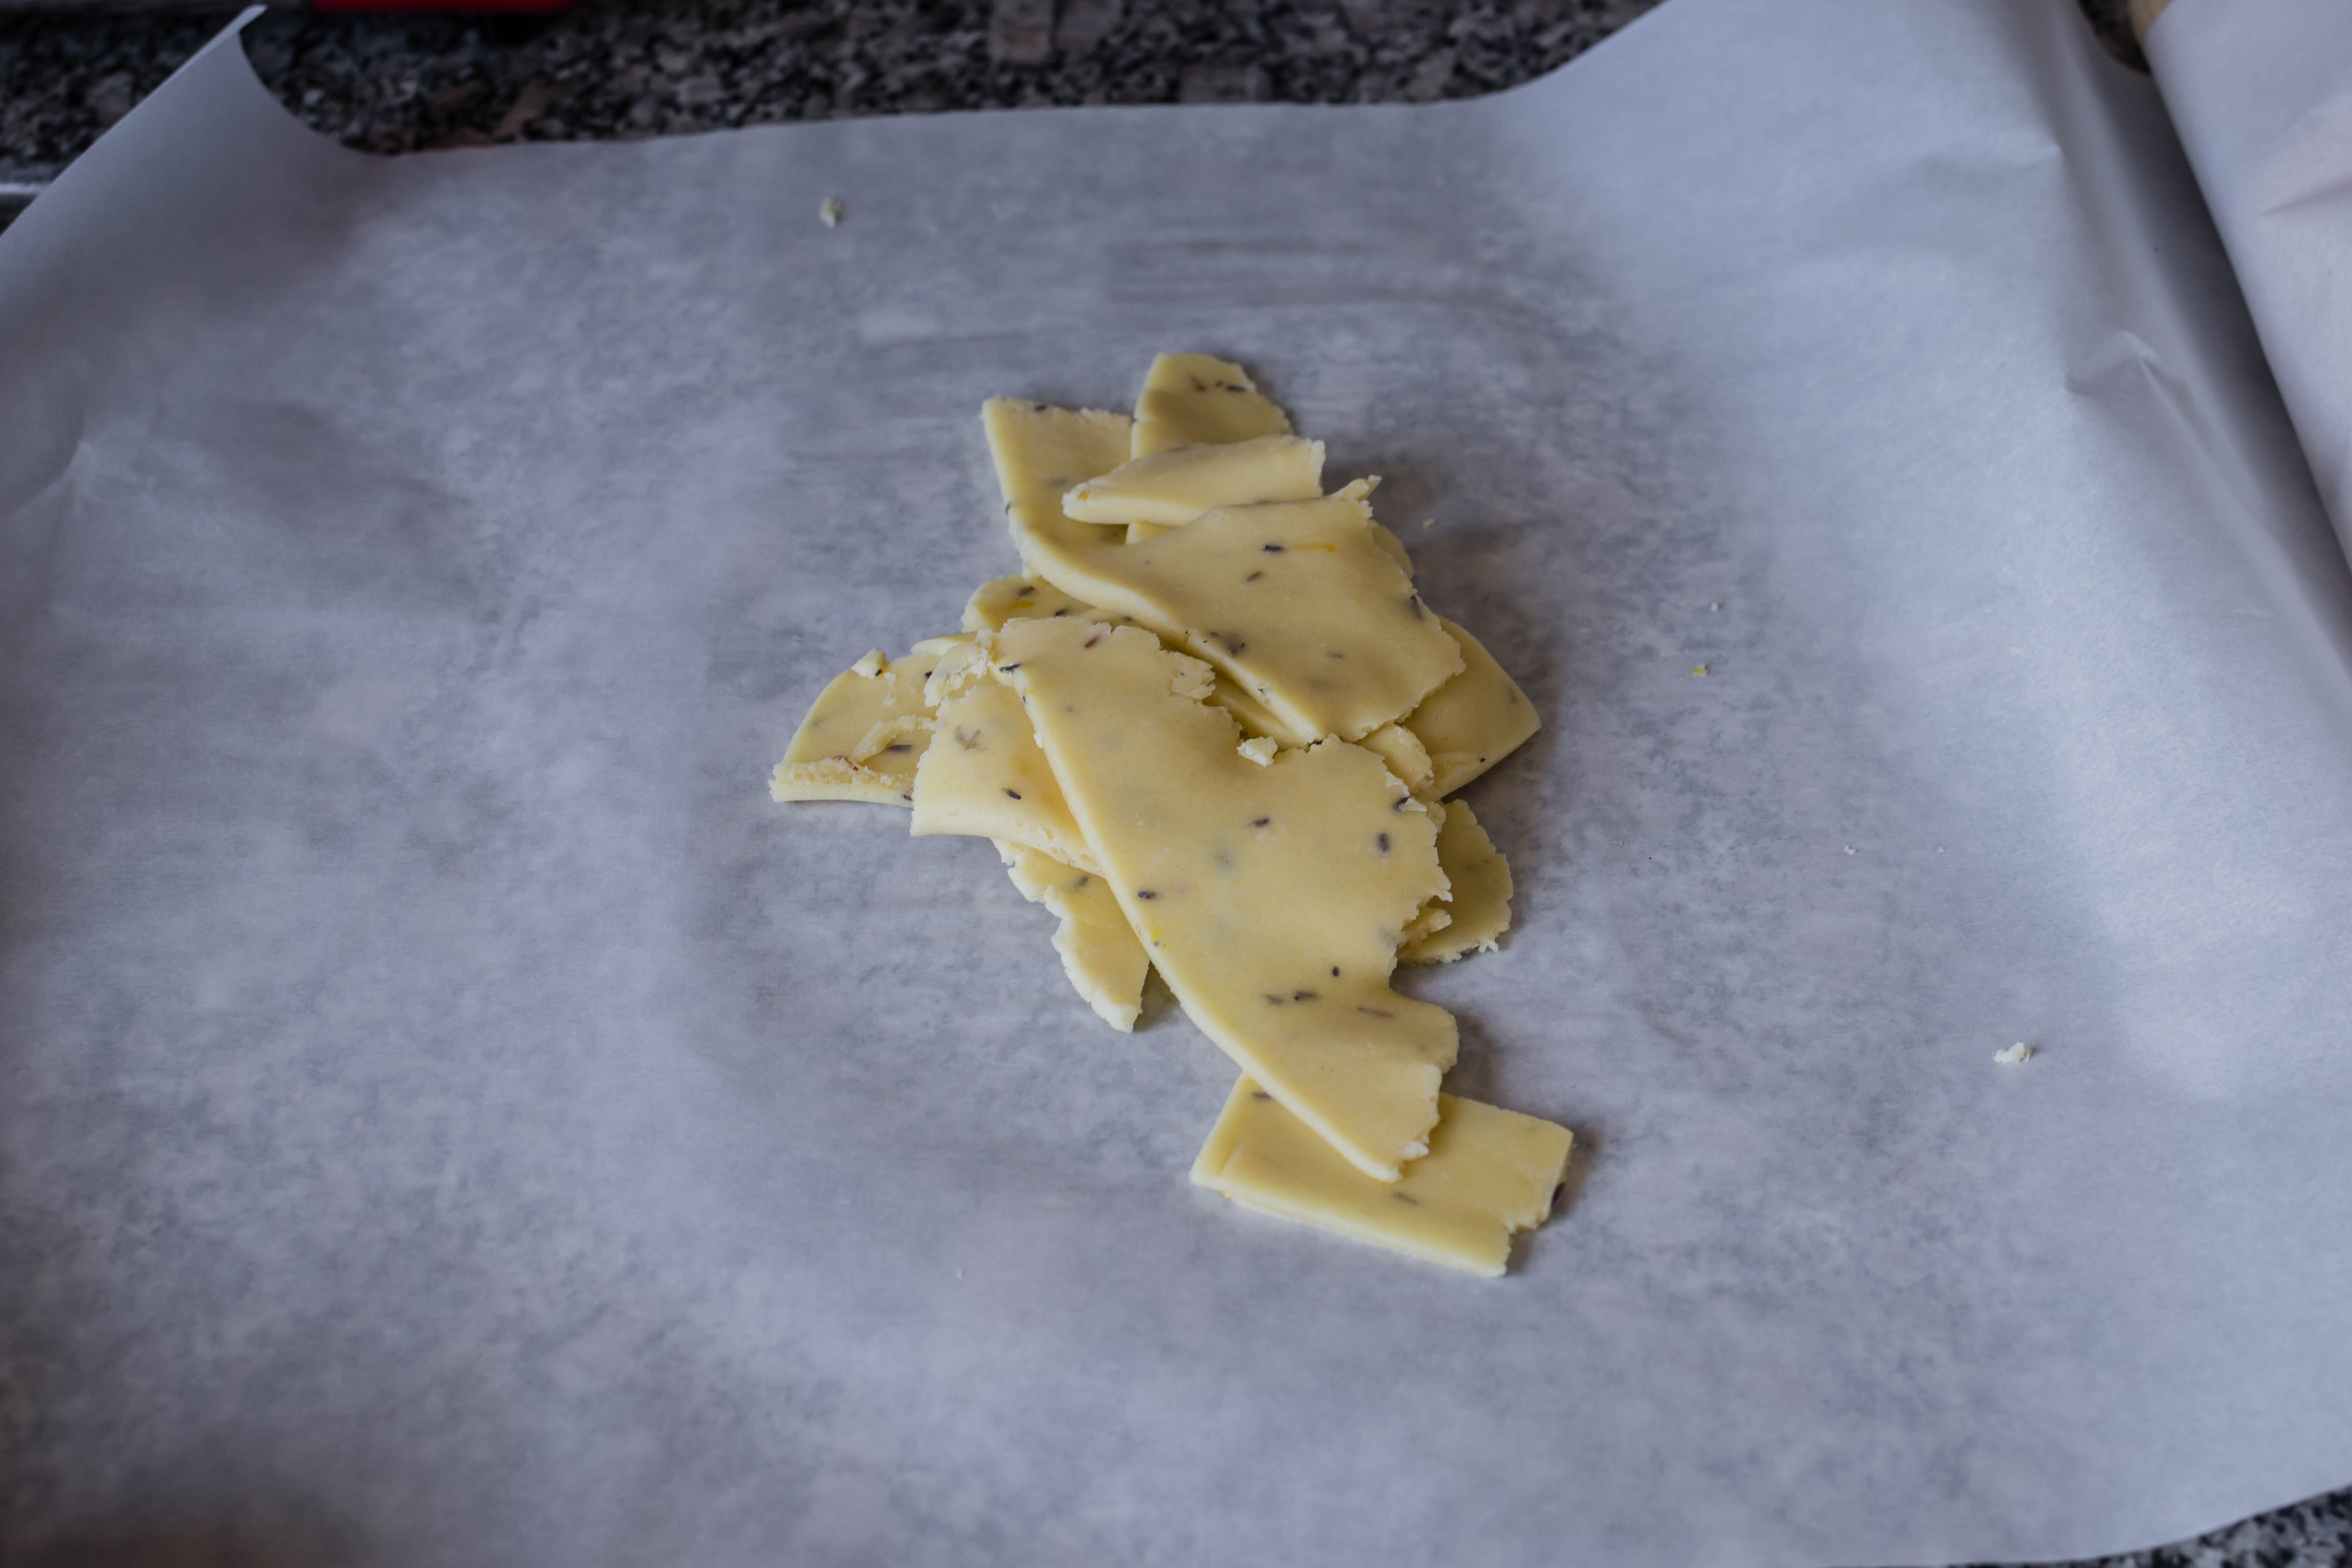
  • When the dough is ready, preheat the oven to 375F and line two cookie sheets with parchment paper. Turn the dough out onto a lightly floured surface, or, my preference, place it between two large pieces of parchment paper. Use a rolling pin to roll it out to a rough rectangle of ¼ inch thickness. It may take a few minutes for the dough to warm up before it becomes rollable.
  • Cut the dough into 2×3 inch rectangles (or use a flour-dipped cookie cutter of your choice) and place on the parchment lined cookie sheets. Reroll remaining dough and cut again, and so on until you have used all of the dough.
  • Bake the cookies at 375F for 8-10 minutes, until they are just barely golden around the edges. If you’ve cut different sized cookies, you may have to adjust this baking time. Remove to wire racks to cool completely before icing.
  • To make the royal icing, mix ¼ cup meringue powder with ¼ cup water and ¼ cup lemon juice. Beat until peaks form and the mixture is glossy.
  • Working about 1 cup at a time, add 3½ cups sifted powdered sugar and beat until fairly stiff. This will be approximately the right texture for the “flood” icing, which is useful to fill areas, as I did with the white surface on my cookies. Scoop out about half of this into a separate bowl.
  • To the remaining mixture, add another ½-1 cup powered sugar and beat until very stiff – you are looking for something pipeable that will hold its shape.
  • Load about a cup of the firmer icing into a piping bag fitted with a small round tip. If you don’t have a piping bag, you can cut off a small piece of the corner from a ziptop plastic bag and fit the tip into that. I haven’t tried doing this without a metal piping tip, but if the hole in the bag was small enough you might be able to make it work.
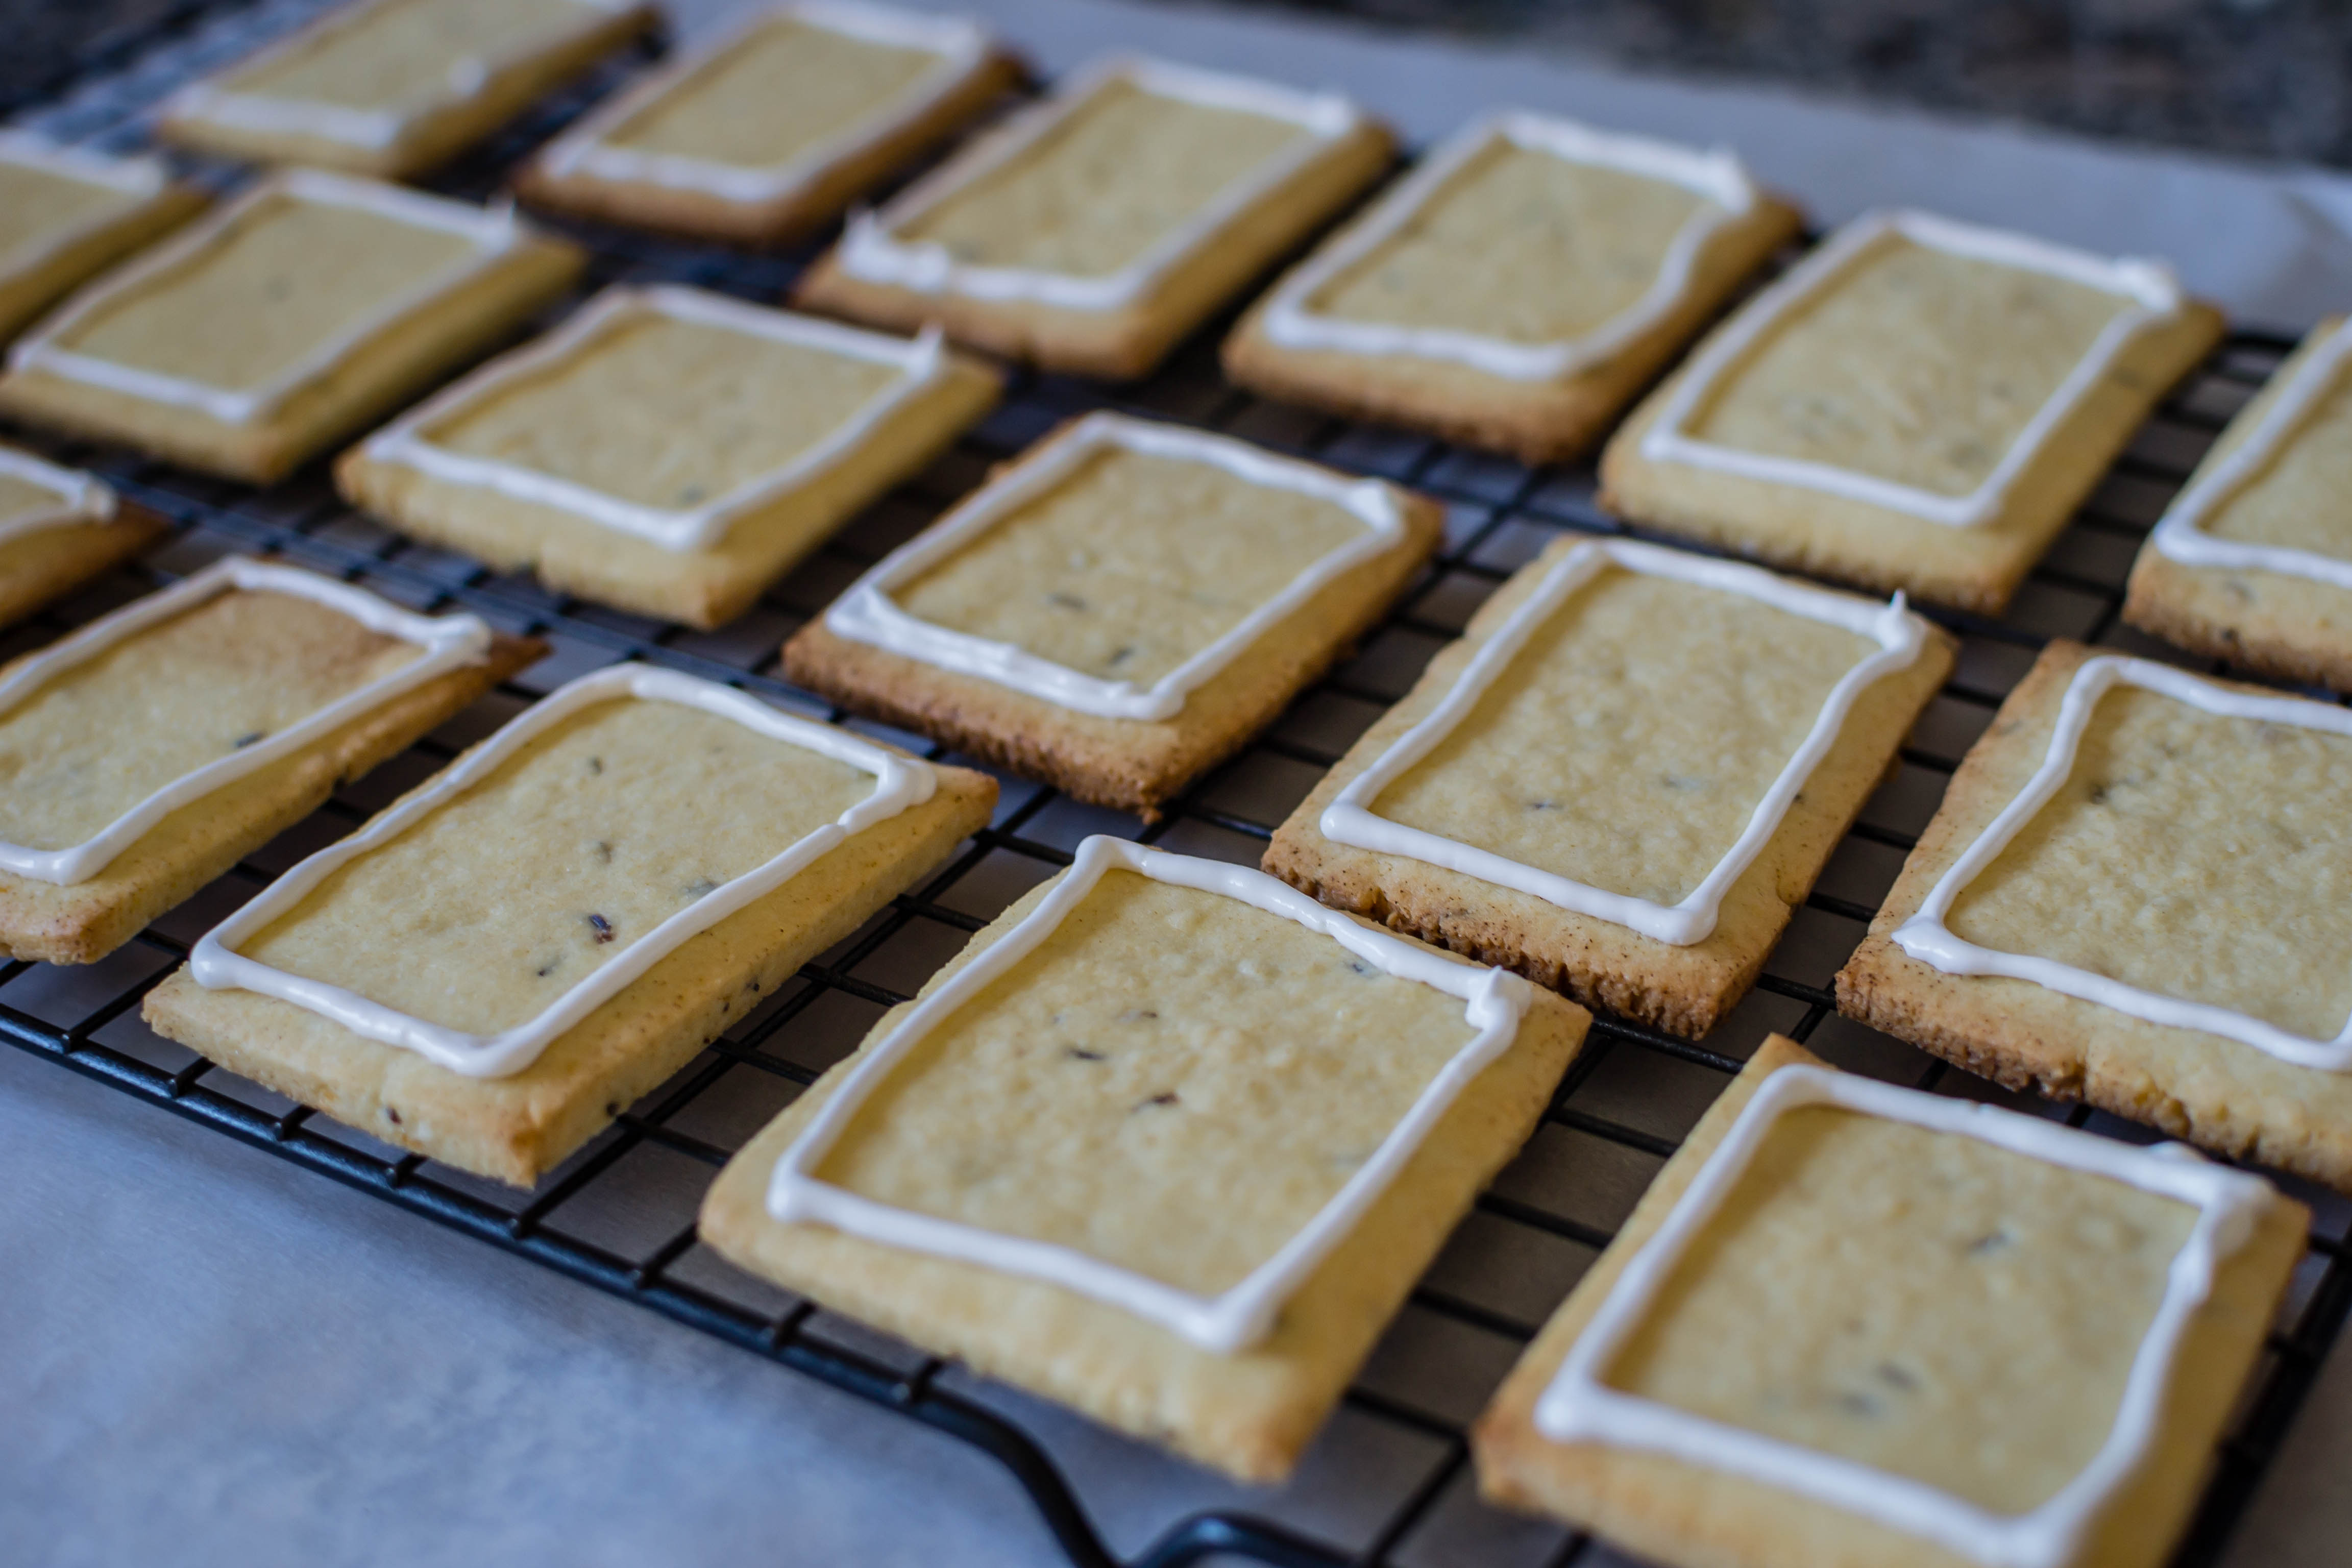
  • Starting from one corner, pipe a thin rectangular border around the top surface of each cookie, as in my photo above. Don’t go quite to the edge – a very thin visible edge of cookie looks nice.
  • Using a spoon, a small spatula, or another piping bag loaded with a tip that has a wider opening, fill the space inside your piped borders with the thinner “flood” icing. If this icing isn’t thin enough to spread quite easily, you can add more water and/or lemon juice 1 tablespoon at a time until it is the consistently you want. It should still be thick, but almost flow when you tip the cookie back and forth. Use the spoon, spatula, or piping tip to coax the icing into all crevices until you have a thin but opaque layer of icing totally filling your piped border.
  • When you’ve finished filling in the tops of the cookies, it’s time for intricate decorations. If you’re using color, divide up your remaining firm icing. You’ll need as many separate bowls as you want separate colors. If you are using gel coloring, add just a small smear to begin with, as it’s very strong. I used just a fractional bit of green, and a few drips each of red and blue to make my “lavender” purple. When you have the colors you want, load up a piping bag fitted with a small round tip and get started.
  • To pipe lavender stems, start with the green. Draw a straight or curved line about 2/3 of the way up the cookie from the bottom edge of the frosted portion. Add a few leaves on either side by piping just a small straight line of icing attached to the main stem.
  • To pipe the lavender flowers, using pale purple icing in a piping bag fitted with the small round tip, squeeze small dots starting from the top edge of your green stem up until your flower head seems tall enough. Right next to that column of dots, do another one. Squeeze a final column of dots right in the center, on top of and between the other two, as you can see in my photos above. Lavender sometimes has small, less developed flowerheads sprouting out from just above its leaves, so you can also pipe a dot or two above the leaves here and there, as you can see I’ve done in some of mine.
  • When everything is piped to your satisfaction, set the cookies aside. The icing will take several hours to dry, but once it has, it will be incredibly solid – hard enough, in fact, to make it in one piece through the mail from Los Angeles to Eugene, Oregon, yet not so hard that it hurts your teeth.


Cherry Chocolate Brownie Chunk Cookies

This is the story of a batch of cookies that almost didn’t happen. I’ve had them in the back of my mind for the better part of a week, now – a rehash of these brownie chunk cookies I’ve been playing with for a few years – and Sunday morning, as N. headed off to run a 10k in Santa Monica, I was ready to bake.

Until.

The previous night, I’d decided to make some little pesto swirled buns to use up a bit of fed sourdough starter, and plopped the kneaded dough right back into the bowl of my stand mixer to rise slowly in the refrigerator overnight. So of course when I got ready to make the cookies Sunday morning, I walked straight over to the mixer and only remembered after a few seconds of confused staring why the bowl wasn’t there: it was full of raw dough.

No matter. I’d just use my old handheld electric mixer ad my biggest glass mixing bowl… which, it transpired, was full of potato salad. A big old metal bowl it would be, then. Not as photogenic, but that’s a bit of a tiniest violin complaint.

So I creamed up the butter, added the sugar, lifted the electric mixer to clear out some of the collected mixture from inside the beaters, and the whisk part of one of the beaters – just the little bulb bit at the end that does all the work – fell off its metal post right into the butter.

I just stood there for a few seconds, considering the wisdom of options that included washing my stand mixer bowl and just throwing the butter and sugar blend I’d started right into the garbage, and decided on perhaps the laziest, least responsible option, which was to jam the beater back onto its post and mix the rest of the batch with that side smashed up against the bowl so it wouldn’t come off.

So I did. And everything was great. Until I went to add the flour, and realized I didn’t have any. Well, that’s not quite true. I had bread flour, and I had whole wheat flour. But who wants that in a cookie? (Actually, there is a bit of bread flour in these, but using such a high protein flour for the whole allotment was untested and might be less than pleasant.)

It turns out the Ralph’s down the street from my house is pretty uncrowded just before nine in the morning on a Sunday, which meant I got back from my unexpected errand quickly enough that I couldn’t be too annoyed, but still. How many setbacks is one batch of cookies worth?

The answer is at least this many. Many even one more. These cookies are triumphant. There are toasted walnuts. There are shards of bittersweet chocolate. There are hunks of brownie that somehow don’t get dried out and overbaked. And there are cherries.

I’ve never been a big fan of chocolate and cherries. Chocolate and strawberries are, of course, a worthy classic, and though I would go for one or two Mayfairs, those See’s candy creations with chopped cherry and walnuts inside, other incarnations didn’t thrill me, I think because most of the chocolate and cherry combinations I was tasting involved maraschino or other sweet cherries. These cookies, though, rely on the opposite: you need tart or sour dried cherries for this one. I used Montmorencies, which are still sweet but carry the same slight pucker as a dried cranberry – enough to make your mouth water just a little – and this hit of contrast is perfect in these chocolate-drenched cookies.

These are a project. Before actually baking the cookies, each tray of which require almost twenty minutes in the oven, you have to make the brownies and toast the walnuts, and the whole mission sets you back a full pound of butter. But when you are faced with trays of perfectly golden, chocolate studded cookies that are just crisp at the edges and softly chewy in the center, and when you crunch into the first flake of sea salt scattered decadently across the top, all of that extra preparation, even an emergency grocery store quest, feels justified.

Cherry Chocolate Brownie Chunk Cookies
adapted from the Sweet Pea Bakery and Catering, via Bon Appetit magazine
Old Fashioned Brownies
Makes a ½ inch slab of about about 10×15 inches
5 ounces unsweetened chocolate, chopped (unless you’re lazy like me)
½ cup unsalted butter (1 stick), cubed (see parentheses above)
2 cups sugar
2 teaspoons vanilla
4 large eggs
¼ teaspoon salt
1 cup all-purpose flour


  • Preheat the oven to 350F. Line a cookie sheet with aluminum foil, or parchment paper leaving at least an inch overhang on all sides to lift with.
  • Create a double boiler by filling a medium pot about half full of water and setting a glass or metal bowl over the pot, being sure the bottom of the pot doesn’t touch the water. Add the chocolate and butter to the bowl, and bring the water in the pot to a bare simmer over medium heat. Stir frequently until chocolate and butter are smooth, glossy, and completely melted. Set aside to cool for at least 15 minutes.
  • When chocolate is barely warm to the touch, whisk in the sugar and vanilla. The mixture will become clumpy. Add the eggs and salt; whisk firmly until fully combined. Switch to a spatula and stir in the flour until no white streaks remain.
  • Dump and spread the batter over the prepared pan to create a thin, even layer. You may have to manipulate it quite a bit to get it to spread that far.
  • Bake in the preheated oven until a cake tester comes out with just a few moist crumbs; about 20 minutes. Cool in pan, then cover and refrigerate for a few hours or overnight.
  • To remove from the pan, lift using the foil overhang and reserve about ½ of the slab (or maybe a bit more) for the cookies. Use the remainder for your own devious purposes.


Cherry Chocolate Brownie Chunk Cookies
Makes 2½ – 3 dozen
1½ cups room temperature butter (3 sticks)
1 cup sugar
1½ cups brown sugar
1½ teaspoons vanilla
3 eggs
3 cups all-purpose flour
¾ cups bread flour
1½ teaspoons baking soda
1 teaspoon coarse sea salt, + more for sprinkling
1 cup walnuts, toasted, then chopped (I like to pop them in while I’m preheating the oven – by the time it reaches 325F, the walnuts are usually ready)
1 cup dried tart or sour cherries, such as Montmorency
4 ounces bittersweet chocolate, chopped in chunks
½ – ⅔ old-fashioned brownie slab, cut into ½-inch chunks


  • Preheat oven to 325F and line 2 baking sheets with parchment paper (toasting the walnuts while it’s preheating is a good way to multitask)
  • Cream the butter in a large bowl until it is light and fluffy. Add the sugar and the brown sugar and cream again until well integrated – be sure there are no errant chunks of butter.
  • Add the vanilla and eggs to the creamed butter and sugar and mix well to combine, scraping down the sides to create a homogeneous mixture.
  • Stir in the flours, baking soda, and salt to form a soft dough. Add the walnuts cherries, and chopped chocolate, stirring well to combine. Finally, gently fold in the brownie chunks – we don’t want to break them up too much.
  • Spray a ⅓ – ½ cup ice cream scoop or measuring cup with non-stick spray and use it to scoop the batter into rounds on the prepared cookie sheets, spacing them about 2 inches apart (this allowed me to fit six balls of dough on each sheet). Once spaced, press down with two fingers to flatten each ball slightly.
  • Sprinkle the top of each cookie sparingly with coarse or flaky sea salt and bake in the preheated 325F oven for 18-20 minutes, until edges of cookies are starting to turn golden and the middle is set but still very soft.
  • Cool on cookie sheets for 5 minutes, then remove to a wire rack to cool completely.


Apricot and White Chocolate “Thank You” Cookies

I love a great many things about my job. Being a community college professor is rewarding in a number of ways, and my biggest fears: that it would be just an amplified version of high school, and that there would be limited opportunities to make lasting connections with students, have proved fairly unfounded. In fact, more students follow me from class to class and contact me semesters and even years after they have left our campus than anyone at the university level ever did. It’s gratifying.

The thing I didn’t expect to miss, though, was a big library. Coming from a research university to a large community college, where the focus shifted from scholarship with teaching on the side to teaching with occasional, non-required research, was a big change for me, and it’s sometimes hard to access the materials I need. Yes, my library helps me get interlibrary loan materials, and I have a library card for UCLA’s massive collection, but sometimes things are missing. Sometimes things are checked out, or libraries say no. So I turn to other options: my research assistants. Funny enough, I probably have more unofficial, unpaid, unaware “RAs” than I would were I at a research university. And they aren’t RAs, really; they are just lovely people who sometimes help me access materials.

Most recently, I branched out from my usual RA – my sister – and got some help from E., who sent me a few chapters of a book no one local could or would loan me. I’d found an electronic version of the parts I needed through Google’s book preview which, oh so helpfully, didn’t have any page numbers! How’s a responsible prof to cite her sources, if her sources won’t cooperate?

So in thanks to E., who is revising his dissertation and clearly has much more important things to do than scan and send book chapters to his needy friend across the country, in spite of his loud insistence no such action was necessary, I decided to mail him a box of thank you cookies.

I’d considered this combination a month or so previous: dried apricots and white chocolate in an oatmeal based dough sounded different and delicious, and my sister and I had talked about playing with its clear granola resonances and adding, say, flaked coconut, and maybe chopped, toasted nuts or seeds.

For this version, though, I decided to keep it simple (though I did add guesses for quantities of coconut and nuts to the recipe, if you want to experiment). For the dough, I used an adaptation of my favorite oatmeal chocolate cookie recipe, one that Ghirardelli used to print on its semi-sweet chocolate chips bags, but has since changed to include both less butter and less flour. The products of that original recipe used to come with me, in great, craggy, unevenly shaped mounds, to field show competitions when I was in high school. After the first time or two, they never made it past the table at the entrance to the band room.

But anyway, egregious quantities of barely soft butter (thought it does make a lot of cookies, so don’t despair), heaps of rolled oats, and a generous dosing of both white chocolate chips and meaty, moist dried apricots get mounded into tablespoon-sized heaps and baked until they are barely cooked through – they come out still quite soft and a little raw looking in the middle – and set up as they cool. The butter should be malleable but still cool from the fridge, never melted, and the dough should be stowed back in the fridge to keep the butter cool in between baking each batch; as with pie crust or biscuits, this keeps the cookies from flattening out as they cook. In high school I used margarine instead; if you do this they will stay puffy, but I prefer the flavor and make-up of butter. The oats should be of the old fashioned rolled variety, not quick cooking, for texture in the final cookie.

When I sampled the first one, still quite hot from the oven, I thought it was good but a touch too sweet. But then I found myself eating another one, and then had to slap my own hand to prevent myself from downing a third in a row, so I figured I had to be on to something. Cooled, they lost a little of that initial saccharine hit, and considering that several dozen lasted all of two hours in my department mailroom when I brought them in last week, I’d say they were a reasonable success.

Oh, and my primary reason for baking? I won’t embarrass him by revealing how many he told me he ate at one go, but I will say they had a good reception and I’m glad they are there to comfort him as he plows through his dissertation revision process. A little cookie comfort in the middle of that trying process, especially when that is happening as only part of the weirdness and horror of the world right now, is so necessary.

Apricot and White Chocolate “Thank You” Cookies
Adapted heavily from the old Ghirardelli’s Oatmeal Chocolate Chip Cookies recipe
Makes approximately 4 dozen
About an hour
3 sticks unsalted butter, medium soft
¾ cups brown sugar
½ cup granulated sugar
1 egg
1 teaspoon vanilla
1½ cups all-purpose flour
1 teaspoon baking soda
¾ teaspoon kosher salt
1 teaspoon ground cinnamon
⅛ teaspoon ground nutmeg
3 cups rolled oats (not quick cooking oats) OR 2 cups oats and 1 cup unsweetened flaked coconut (note: this is an approximation; I did not use coconut in mine)
12 ounces white chocolate chips
1 cup diced dried apricots
optional: ¾ cups roughly chopped unsalted toasted nuts, like walnuts or pistachios (note: this is an approximation; I did not add nuts to mine)


  • Preheat the oven to 375F and line two cookie sheets with parchment paper.
  • In a stand mixer with the paddle attachment or a large bowl with an electric mixer, beat the butter until it is broken down a bit. Add the sugars and cream on medium speed until very light in color and texture, 3-4 minutes, scraping down the sides of the bowl at least once to ensure even integration. When the mixture is pale and fluffy, add the egg and vanilla and mix at low speed until incorporated.
  • At low speed, mix in the first ½ cup of flour with the salt, baking soda, cinnamon, and nutmeg. When it has incorporated a bit, add another ½ cup flour, mix to incorporate (don’t forget to scrape down the sides of the bowl), then the final ½ cup flour. This ensures you don’t get flour everywhere.
  • If you are using an electric mixer, switch now to a sturdy spatula or wooden spoon and prepare to work out your upper arms. If you are in a stand mixer, continue at low speed. Stir in the oats until well incorporated, then the fruit and white chocolate chips just until mixed in.
  • Scoop the dough in rounded tablespoons onto the prepared cookie sheets. I did 8 per sheet, to ensure no overcrowding. Bake in the preheated 375F oven for 9-10 minutes, storing the remaining dough in the refrigerator while each batch is in the oven. When they come out, the cookies will look underbaked in the centers. Take them out of the oven anyway, and let them sit on the cookie sheet for 3-4 minutes to set up, then remove to a rack to cool for at least another 2 minutes before scarfing.