Sometimes dishes emerge from nowhere – no set, traceable inspiration; just an idea baked or simmered into existence. Philosophical. Cartesian cooking. Sometimes they are more geographical, linked to location and experience – blogs are rife with this, aren’t they? “This cake reminds me of my pilgrimage to…” But sometimes they are more narrative: visible evolution, each major ingredient or element its own origin story, entering the room at a moment that changes the direction of the final dish.
 No surprise that the narrative method is one I favor. This magnificent stack began life as a carrot cake. That is, I wanted to make a cake, and after seeing (and resisting) a container of crystalized pineapple at the grocery store, carrot cake with crystalized pineapple sounded perfect. And then I thought about adding crystalized ginger too. And then I wondered whether some apple along with the carrot would be good, because fall, and pineapple turned into a third wheel that rolled away from the party. And then, inspired by old episodes I was watching of The Great British Bake Off, I wondered about adding dried apple, and maybe finely chopped, toasted walnuts to the filling instead of just plain cream cheese frosting, and suddenly the carrots – the very namesake of the cake! – started to feel out of place.

 Suddenly I was planning an apple walnut cake. I tore through several cookbooks and a recipe site or two looking at various apple cake recipes – most rely on applesauce for both flavor and moisture, which I wasn’t interested in using – and came upon Deb’s roasted apple spice sheet cake, which does have a fair amount of applesauce, but also chunks of pre-cooked apples that, as she puts it, transform into “soft pillows of apple pie-like puddles.” I didn’t read much past that before deciding I, too, must have such puddles in my cake.

 But I still wanted the moisture and freshness I knew shreds of raw apple would bring, and so while I dithered over recipes and quantities I remembered the cake’s initial origins and adapted my favorite carrot cake recipe: a triple layer extravagance from The Bon Appetit Cookbook that calls for pre-toasted nuts and a thick, rich, almost too sweet cream cheese frosting. Not much changes in the cake itself, aside from the significant shift from carrot to apple, except that I subbed in brown butter instead of the as-written vegetable oil, and as usual, it was a worthwhile extra effort.
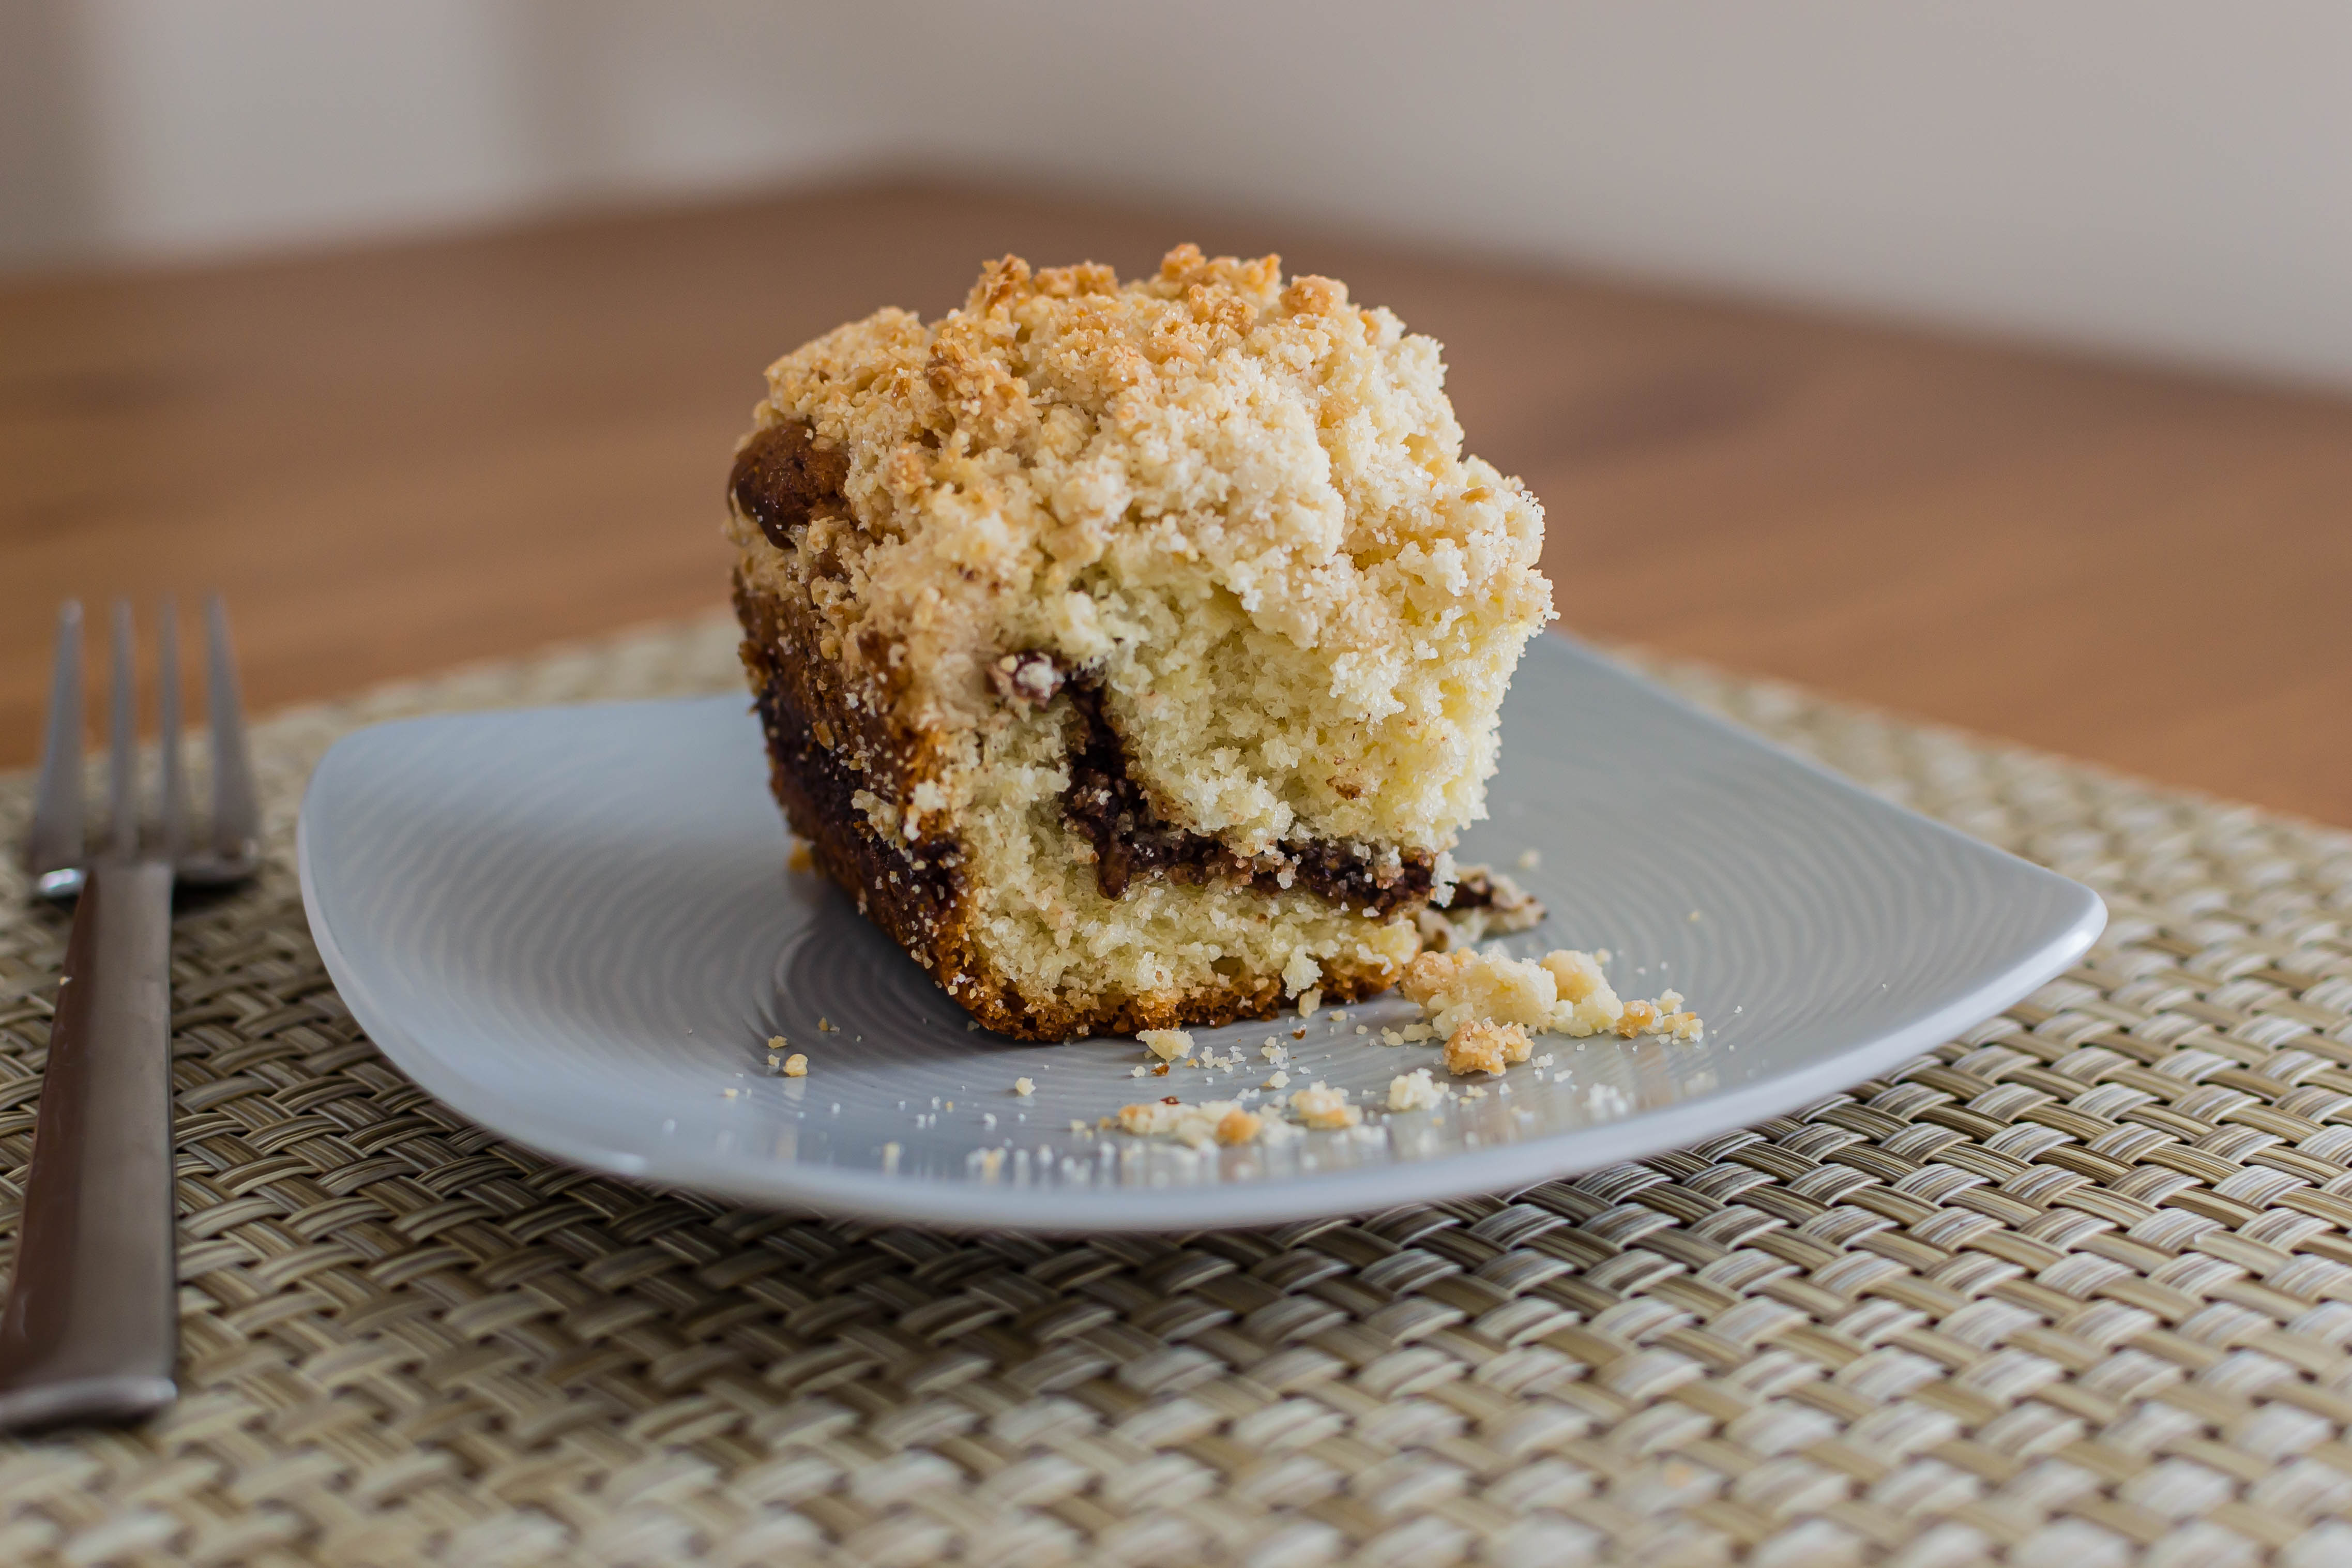
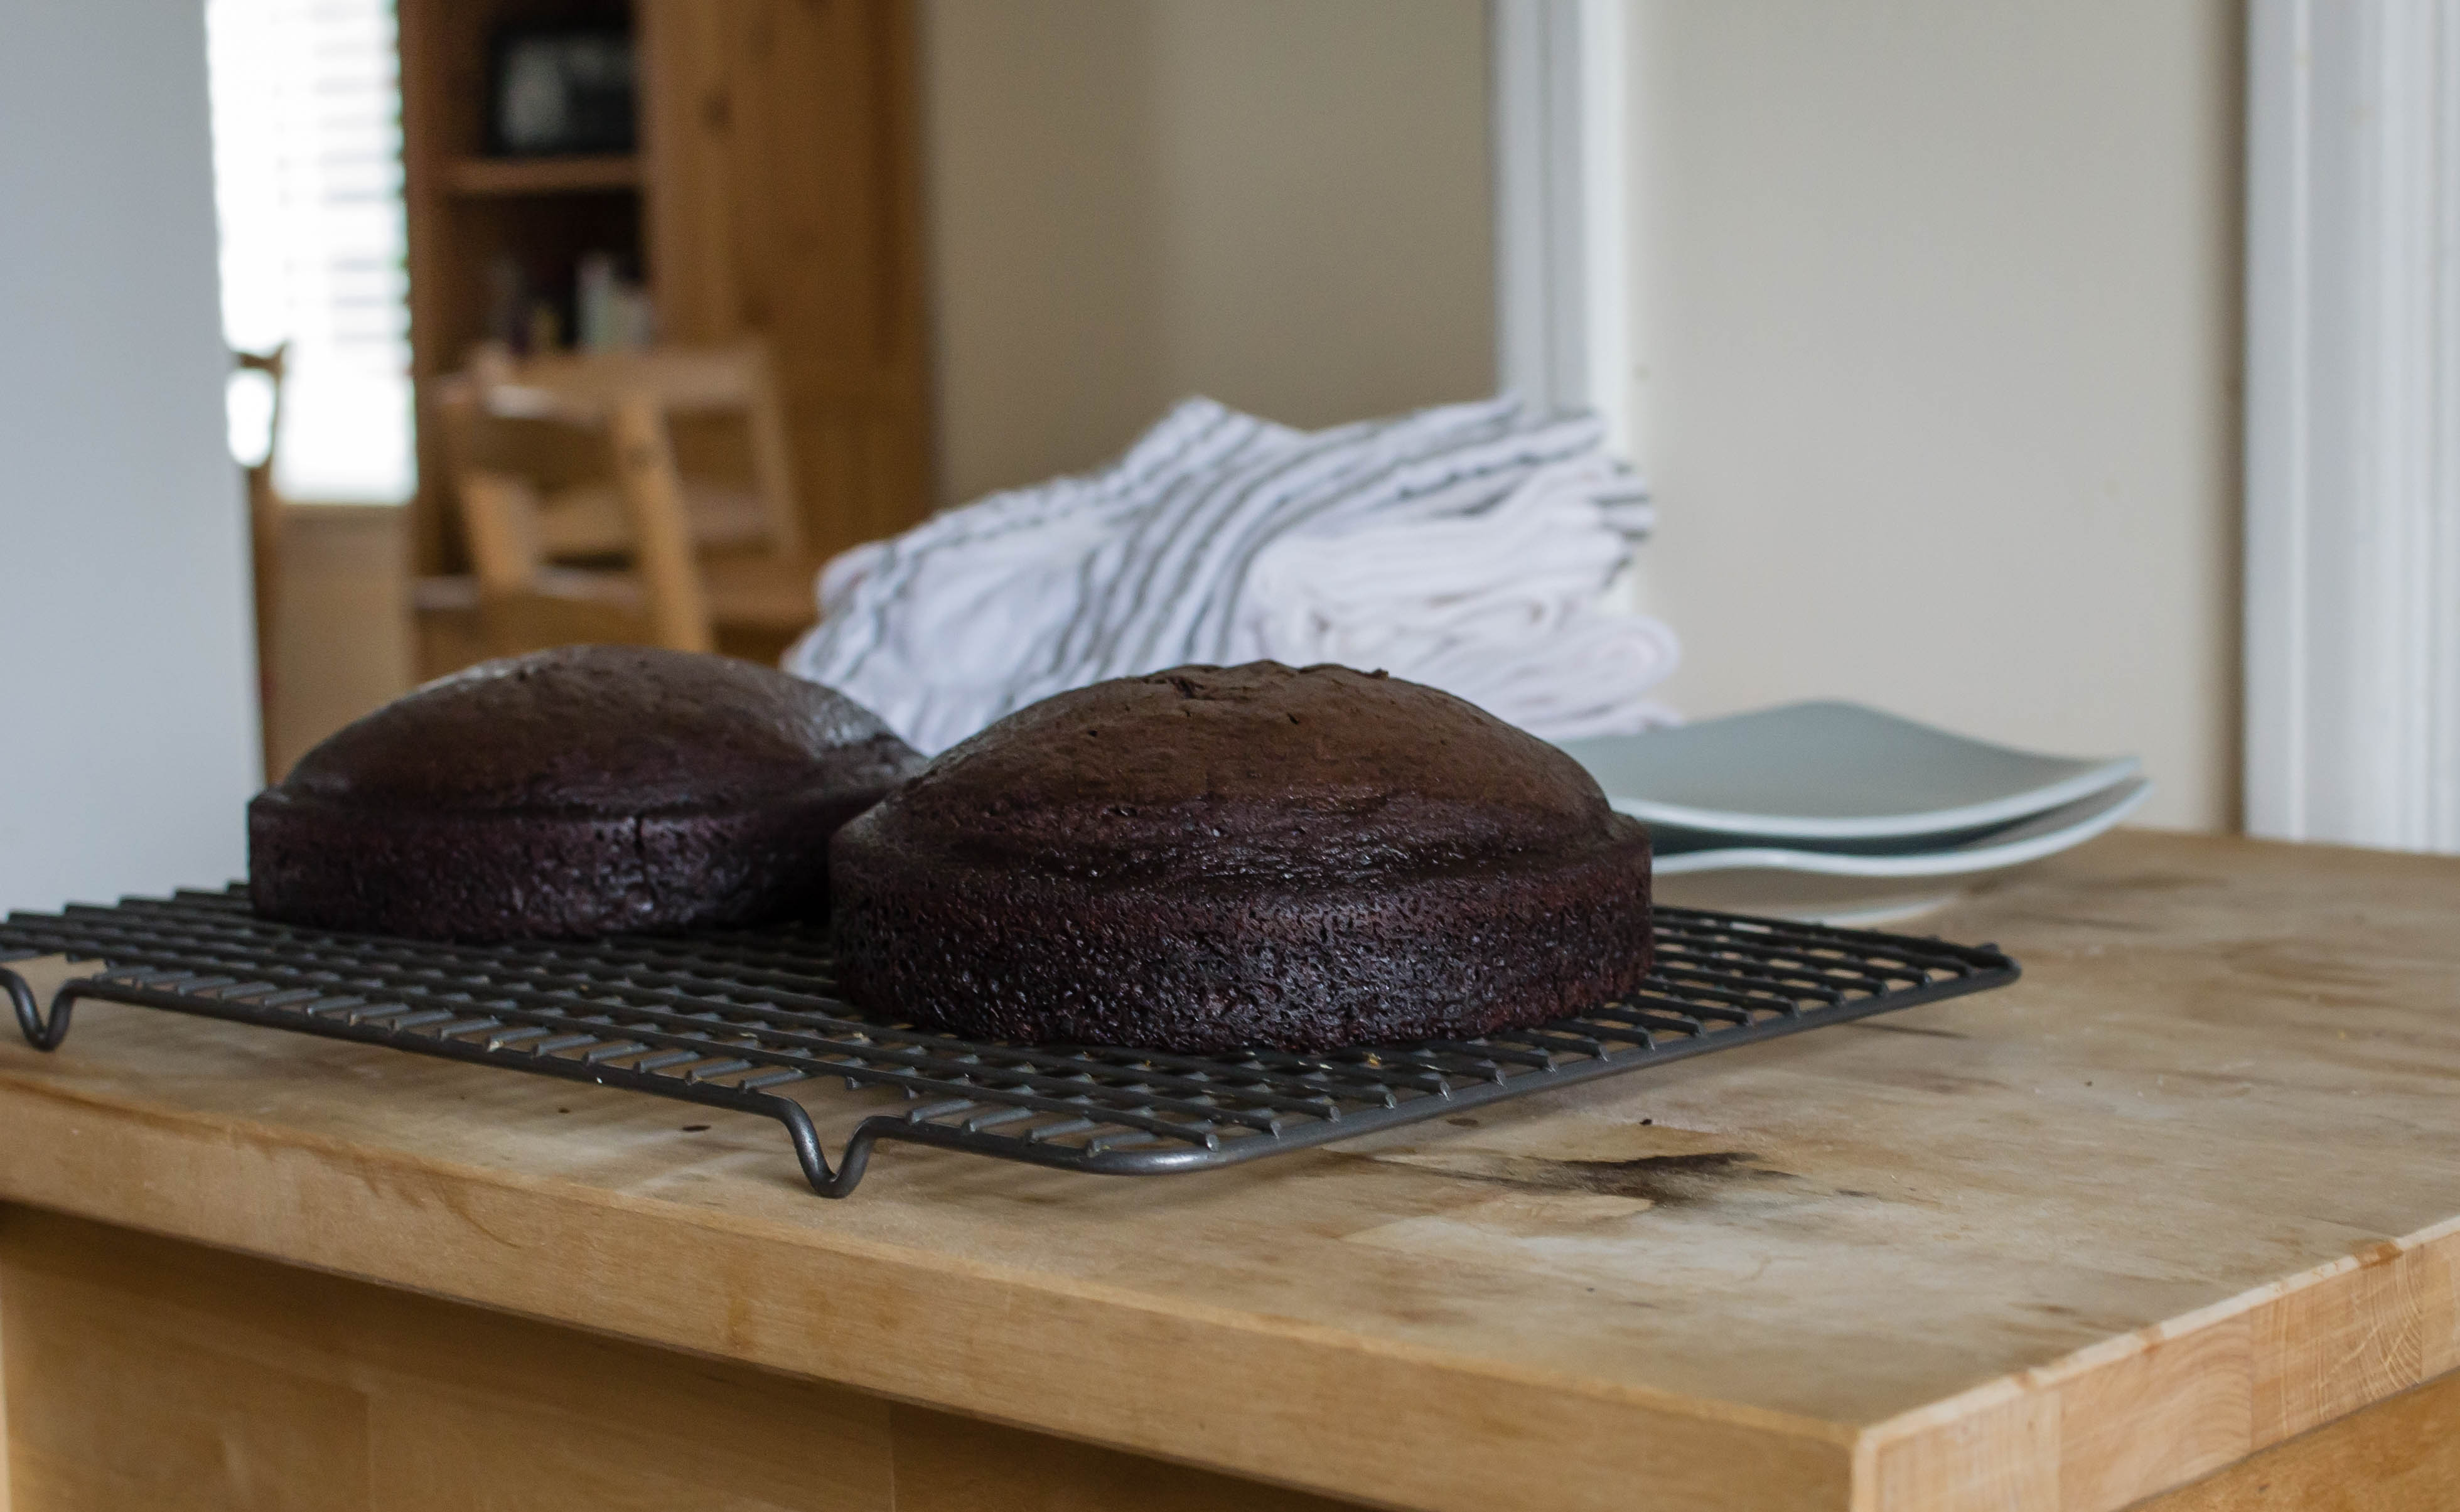
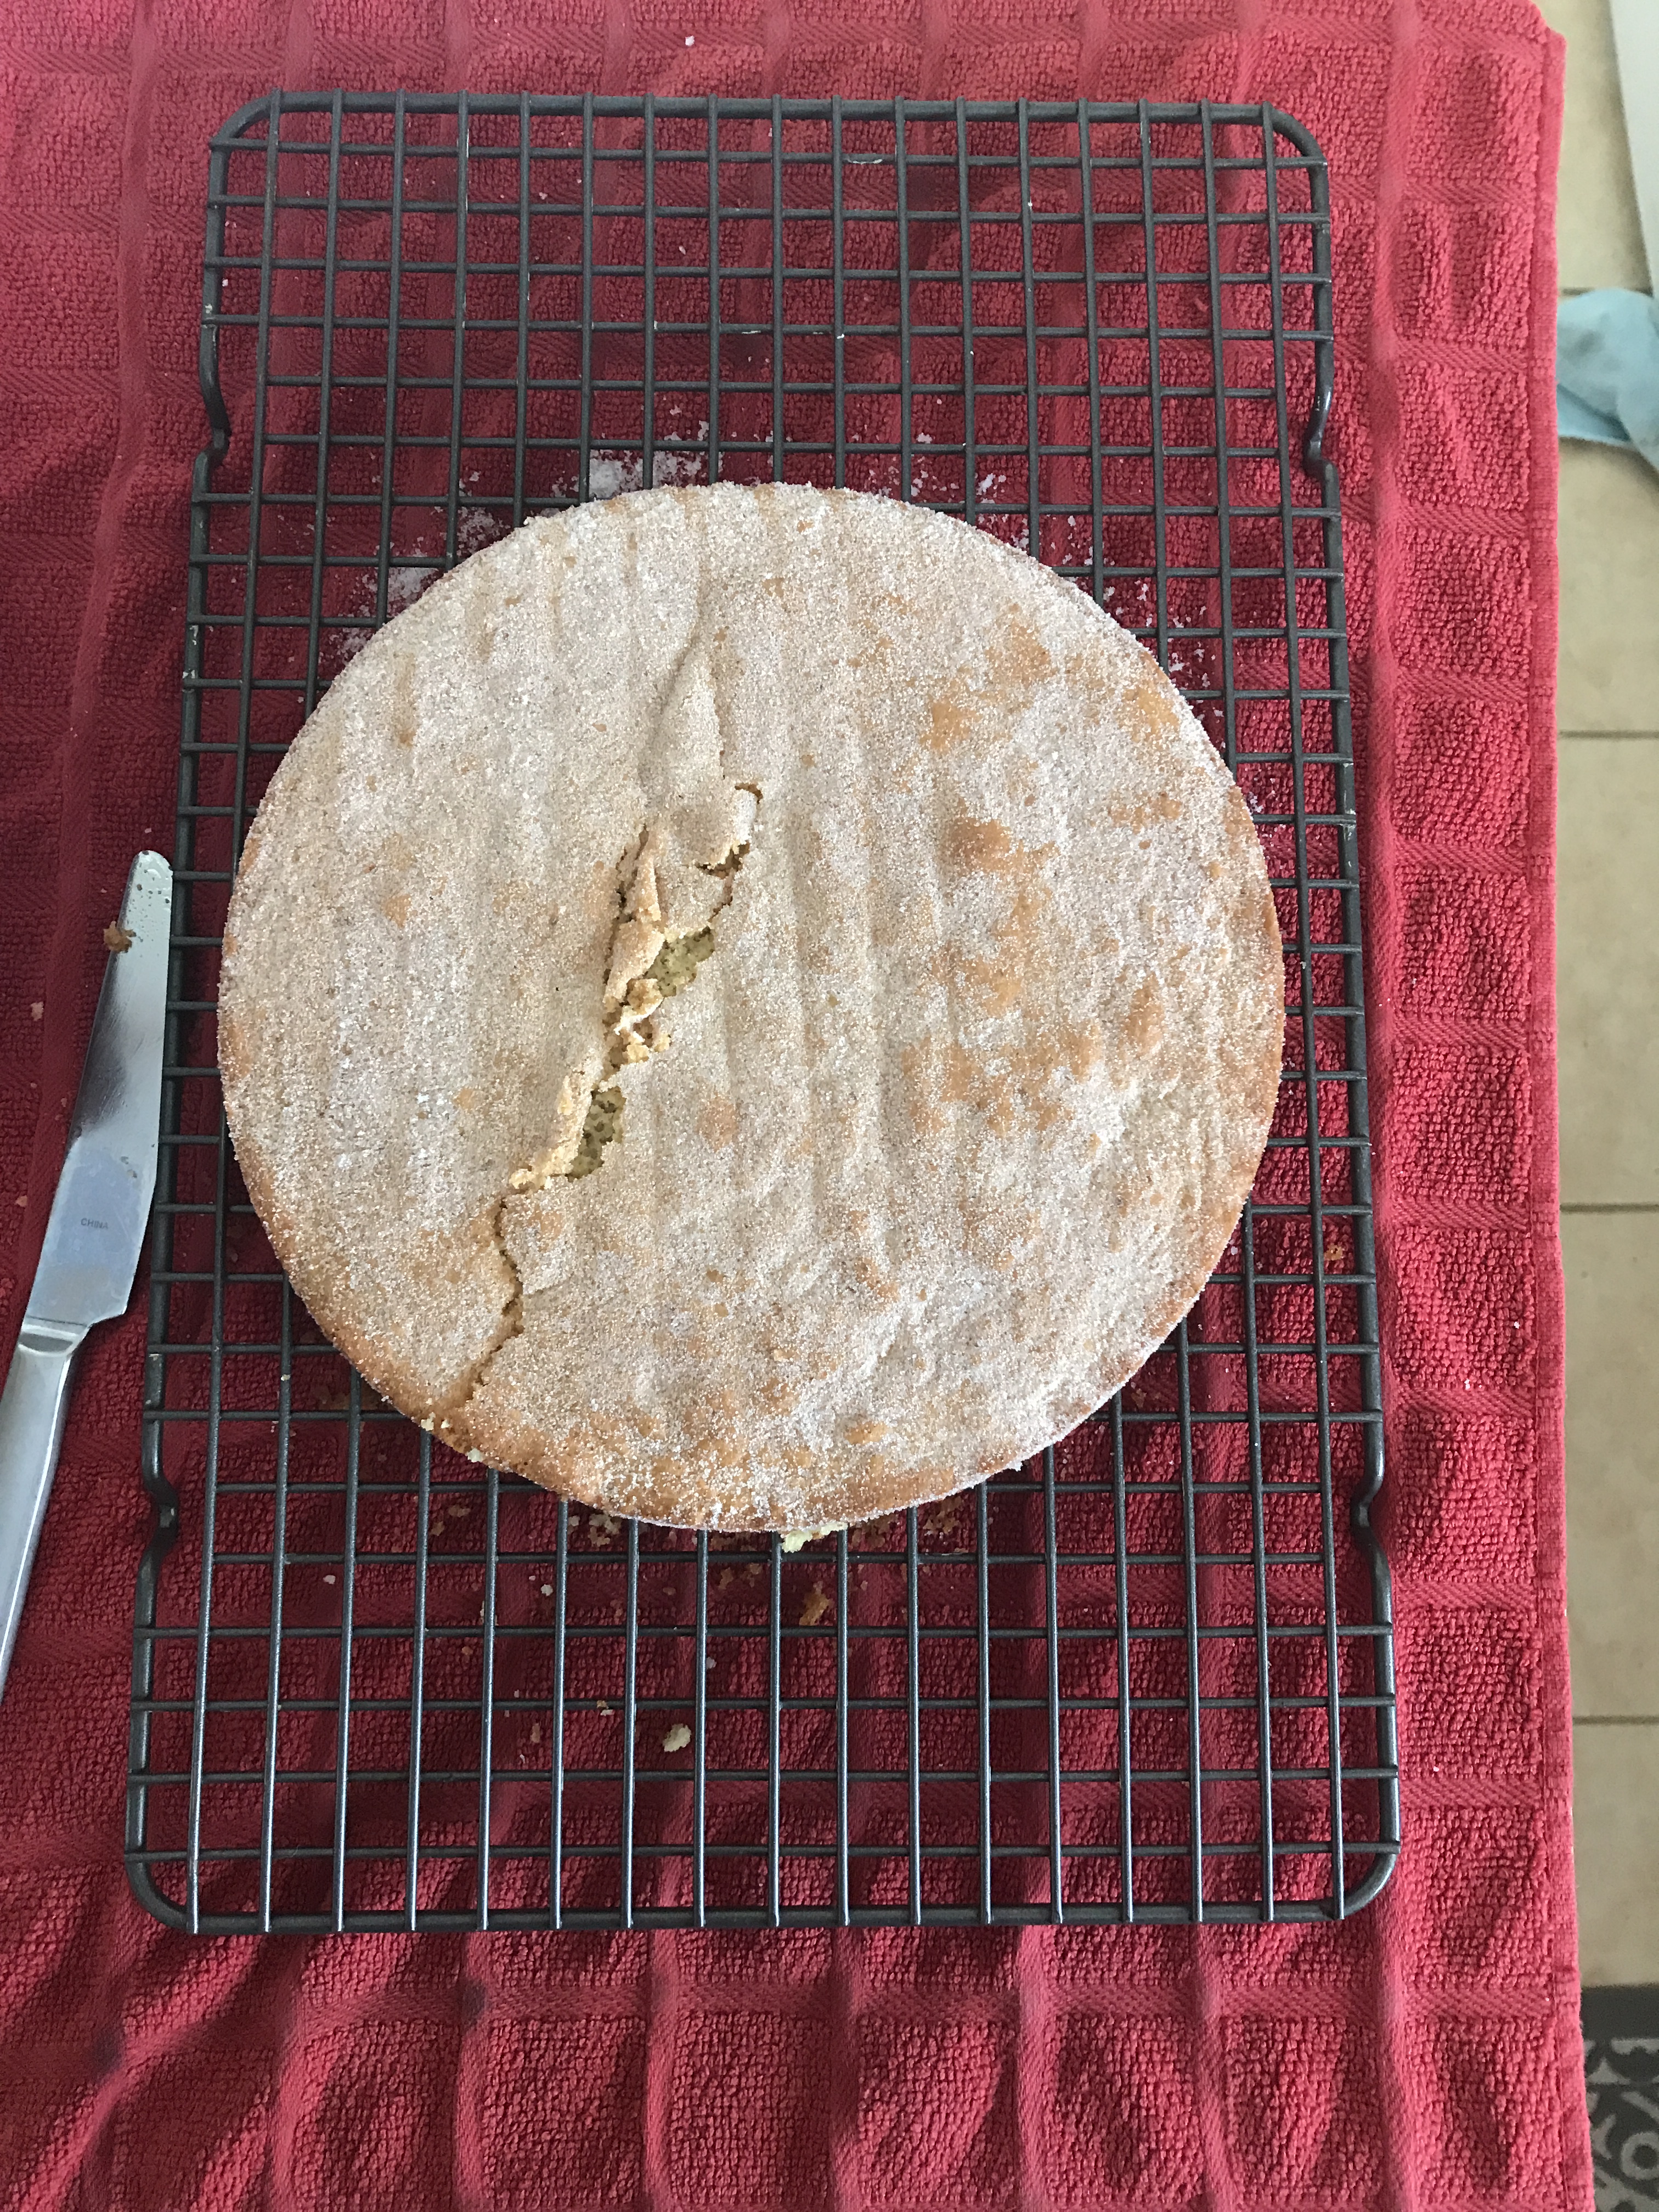
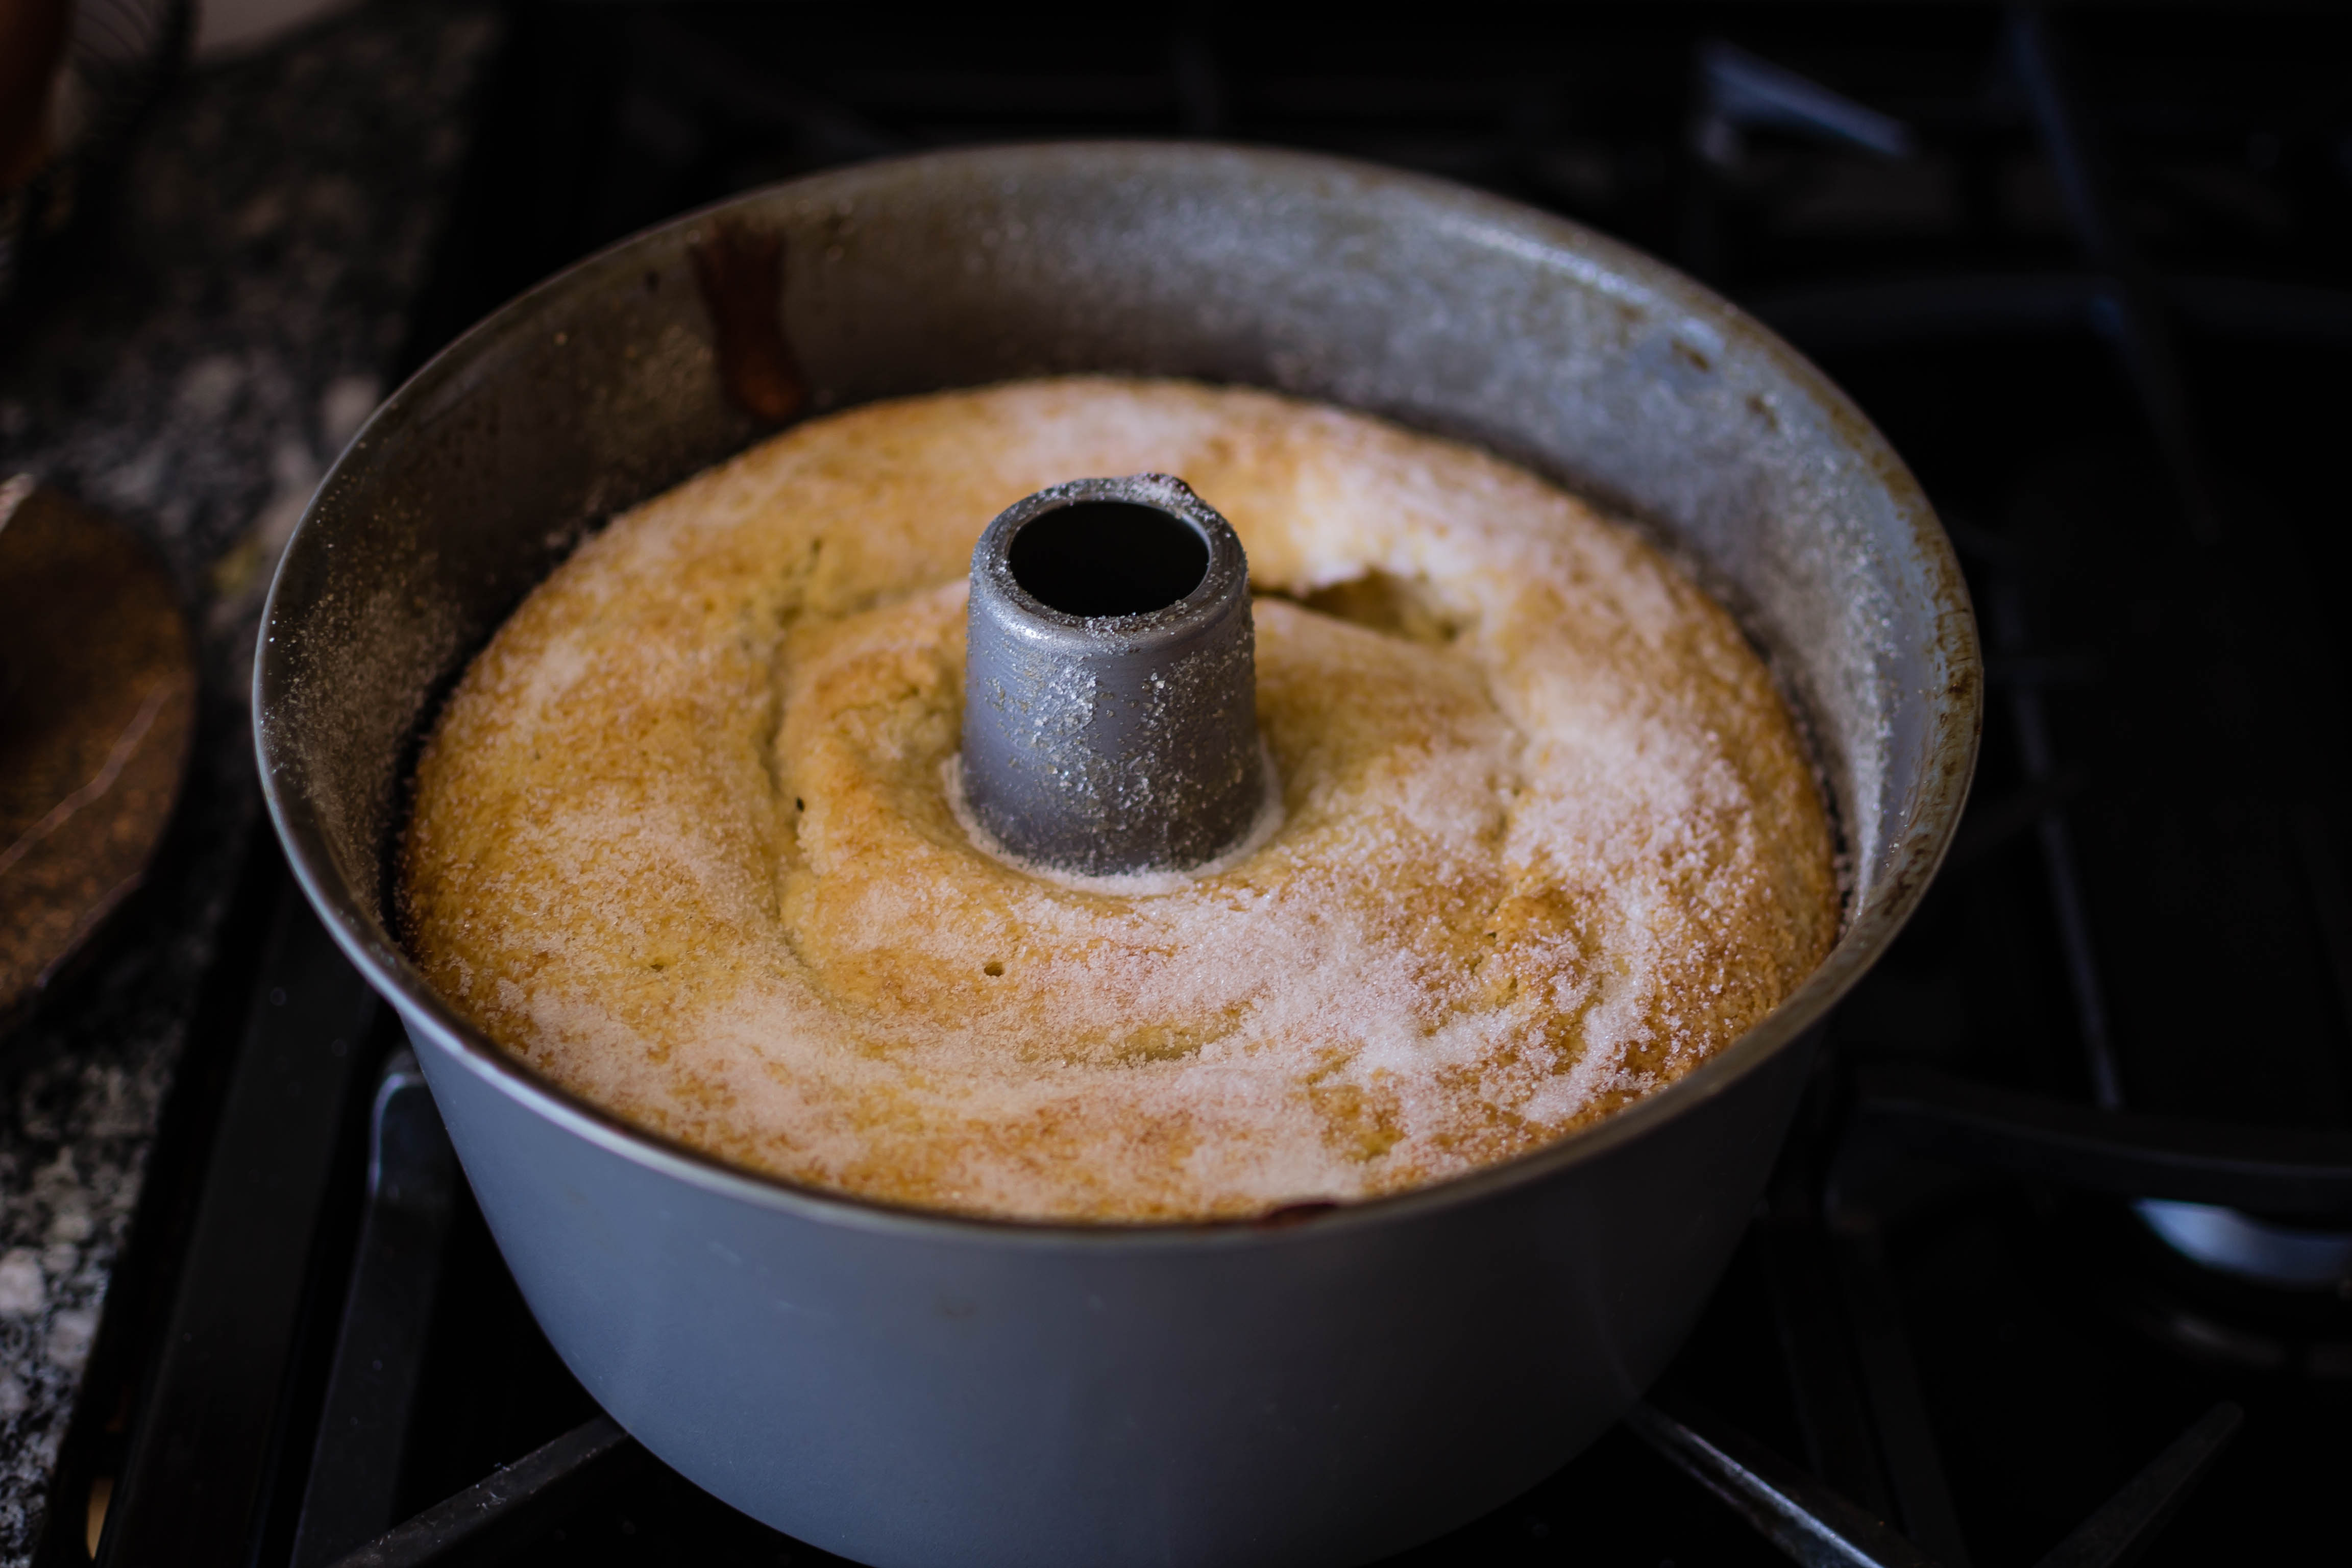
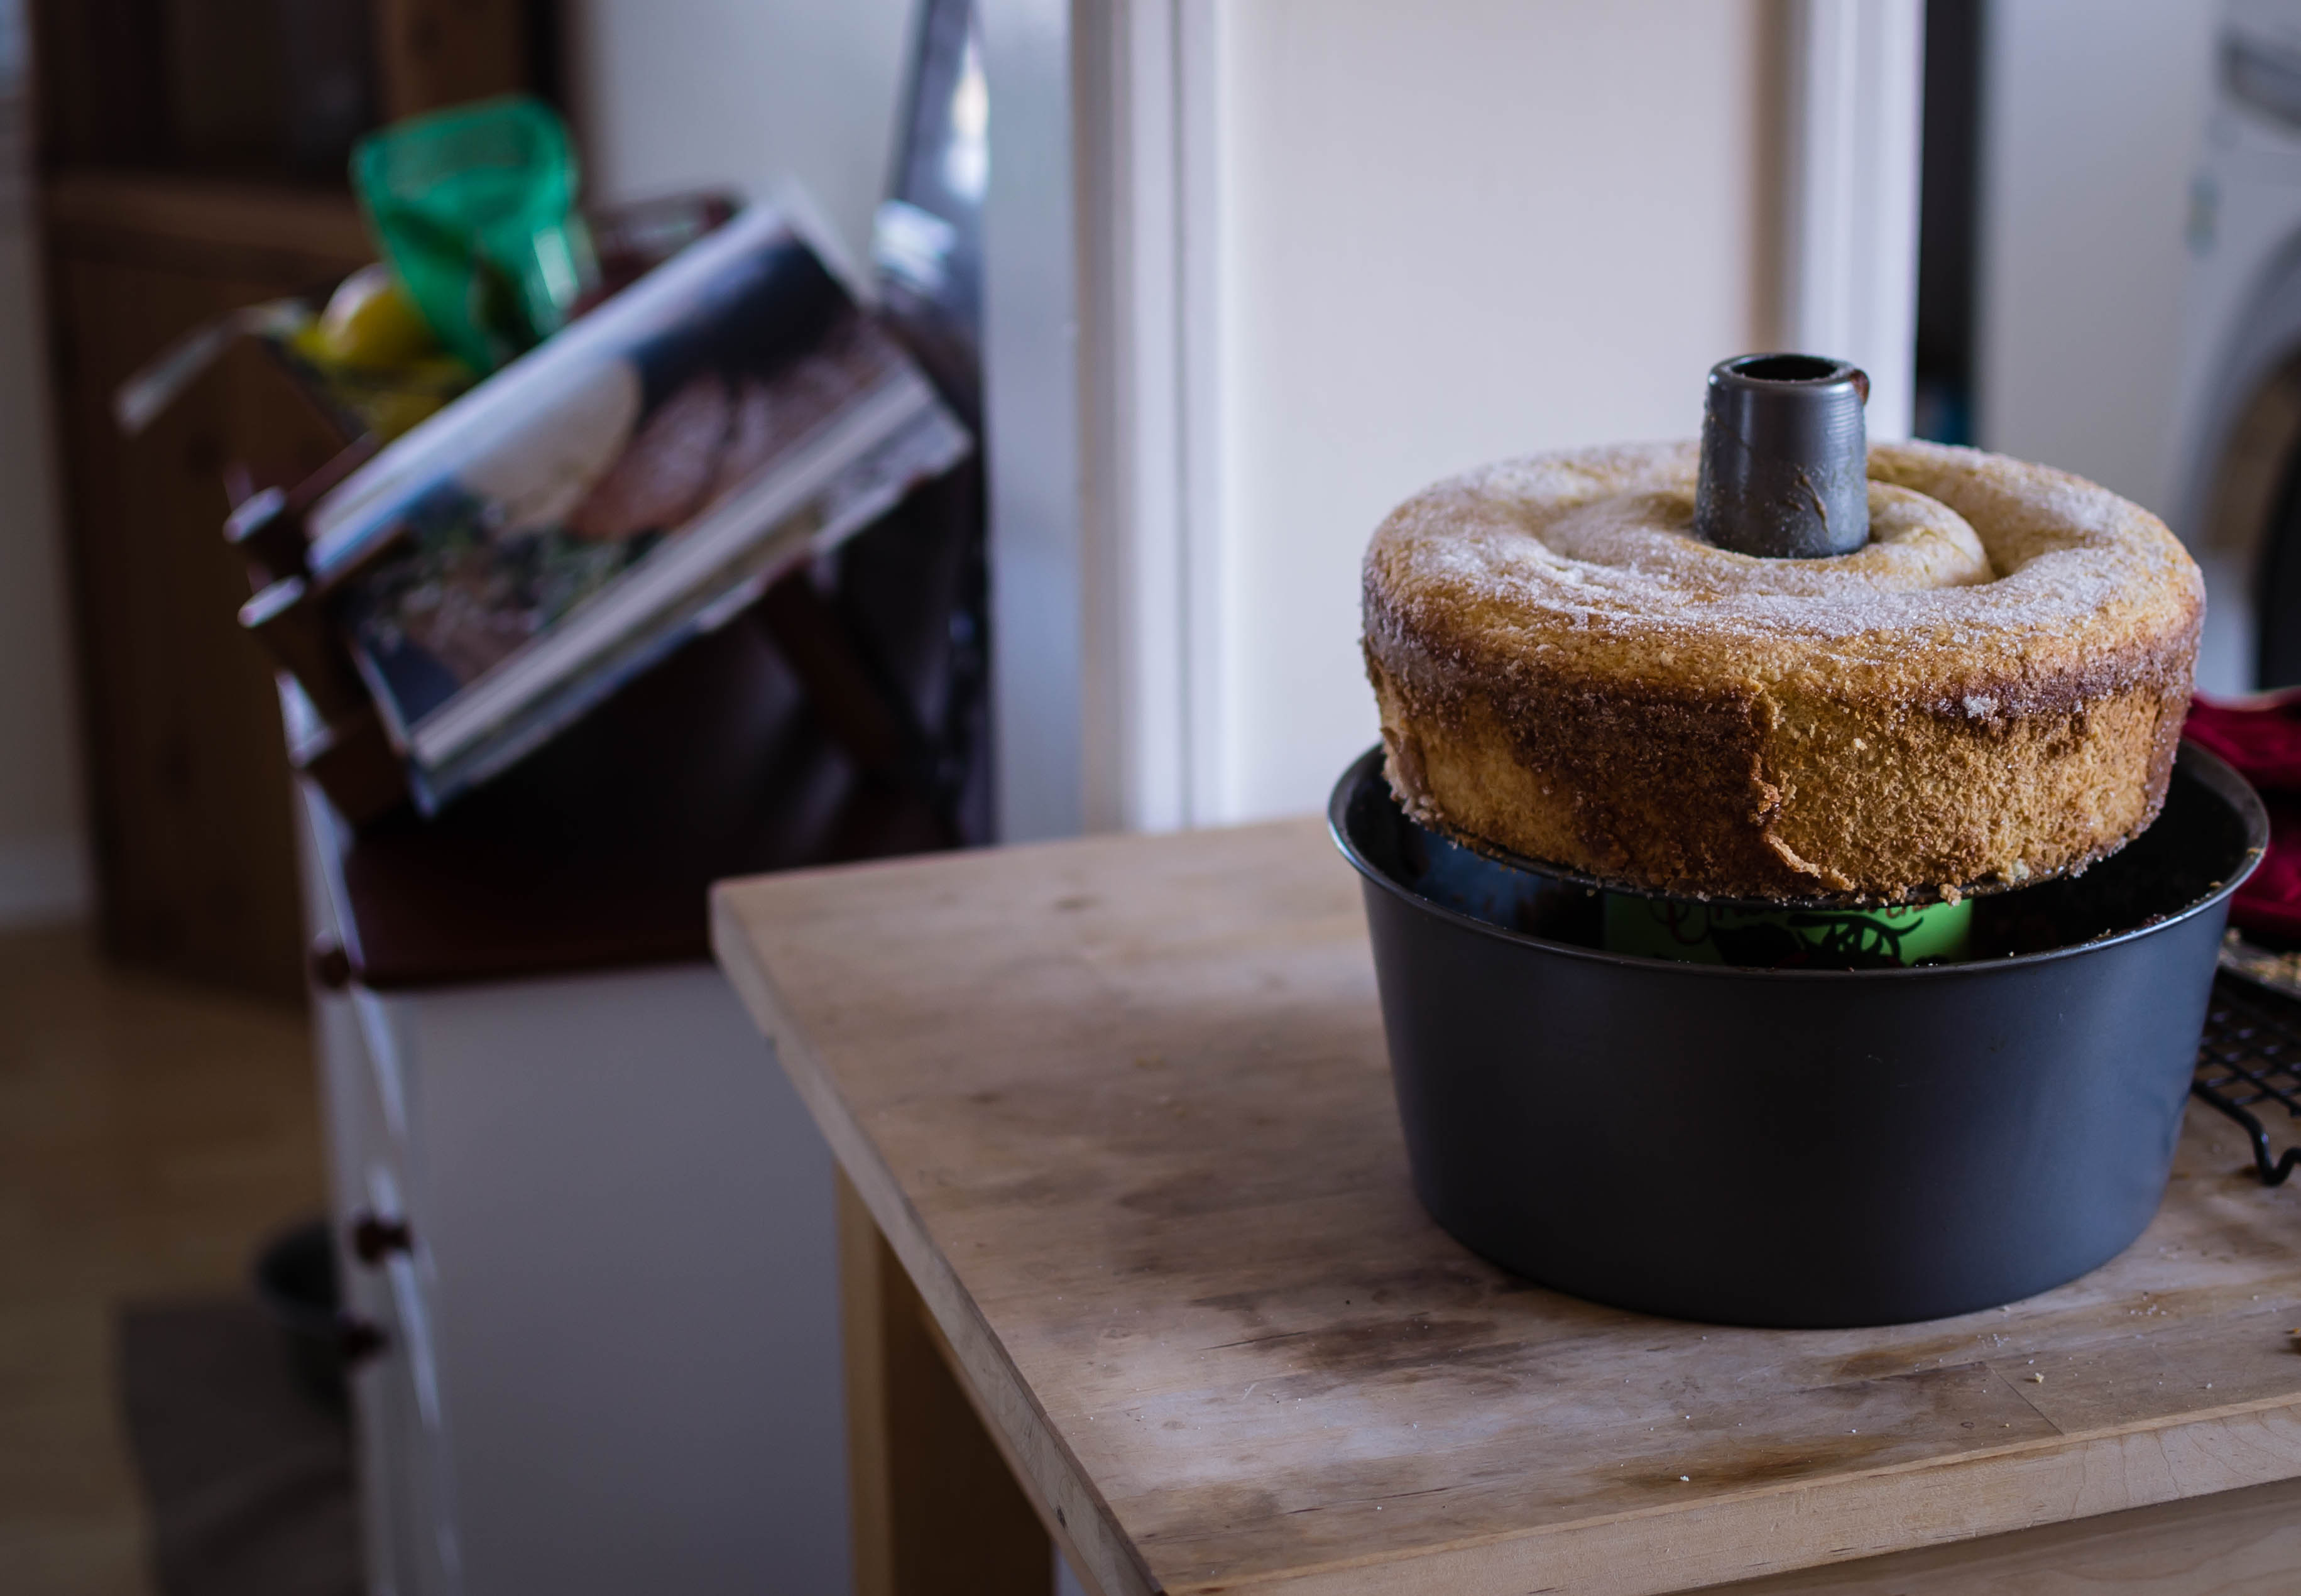
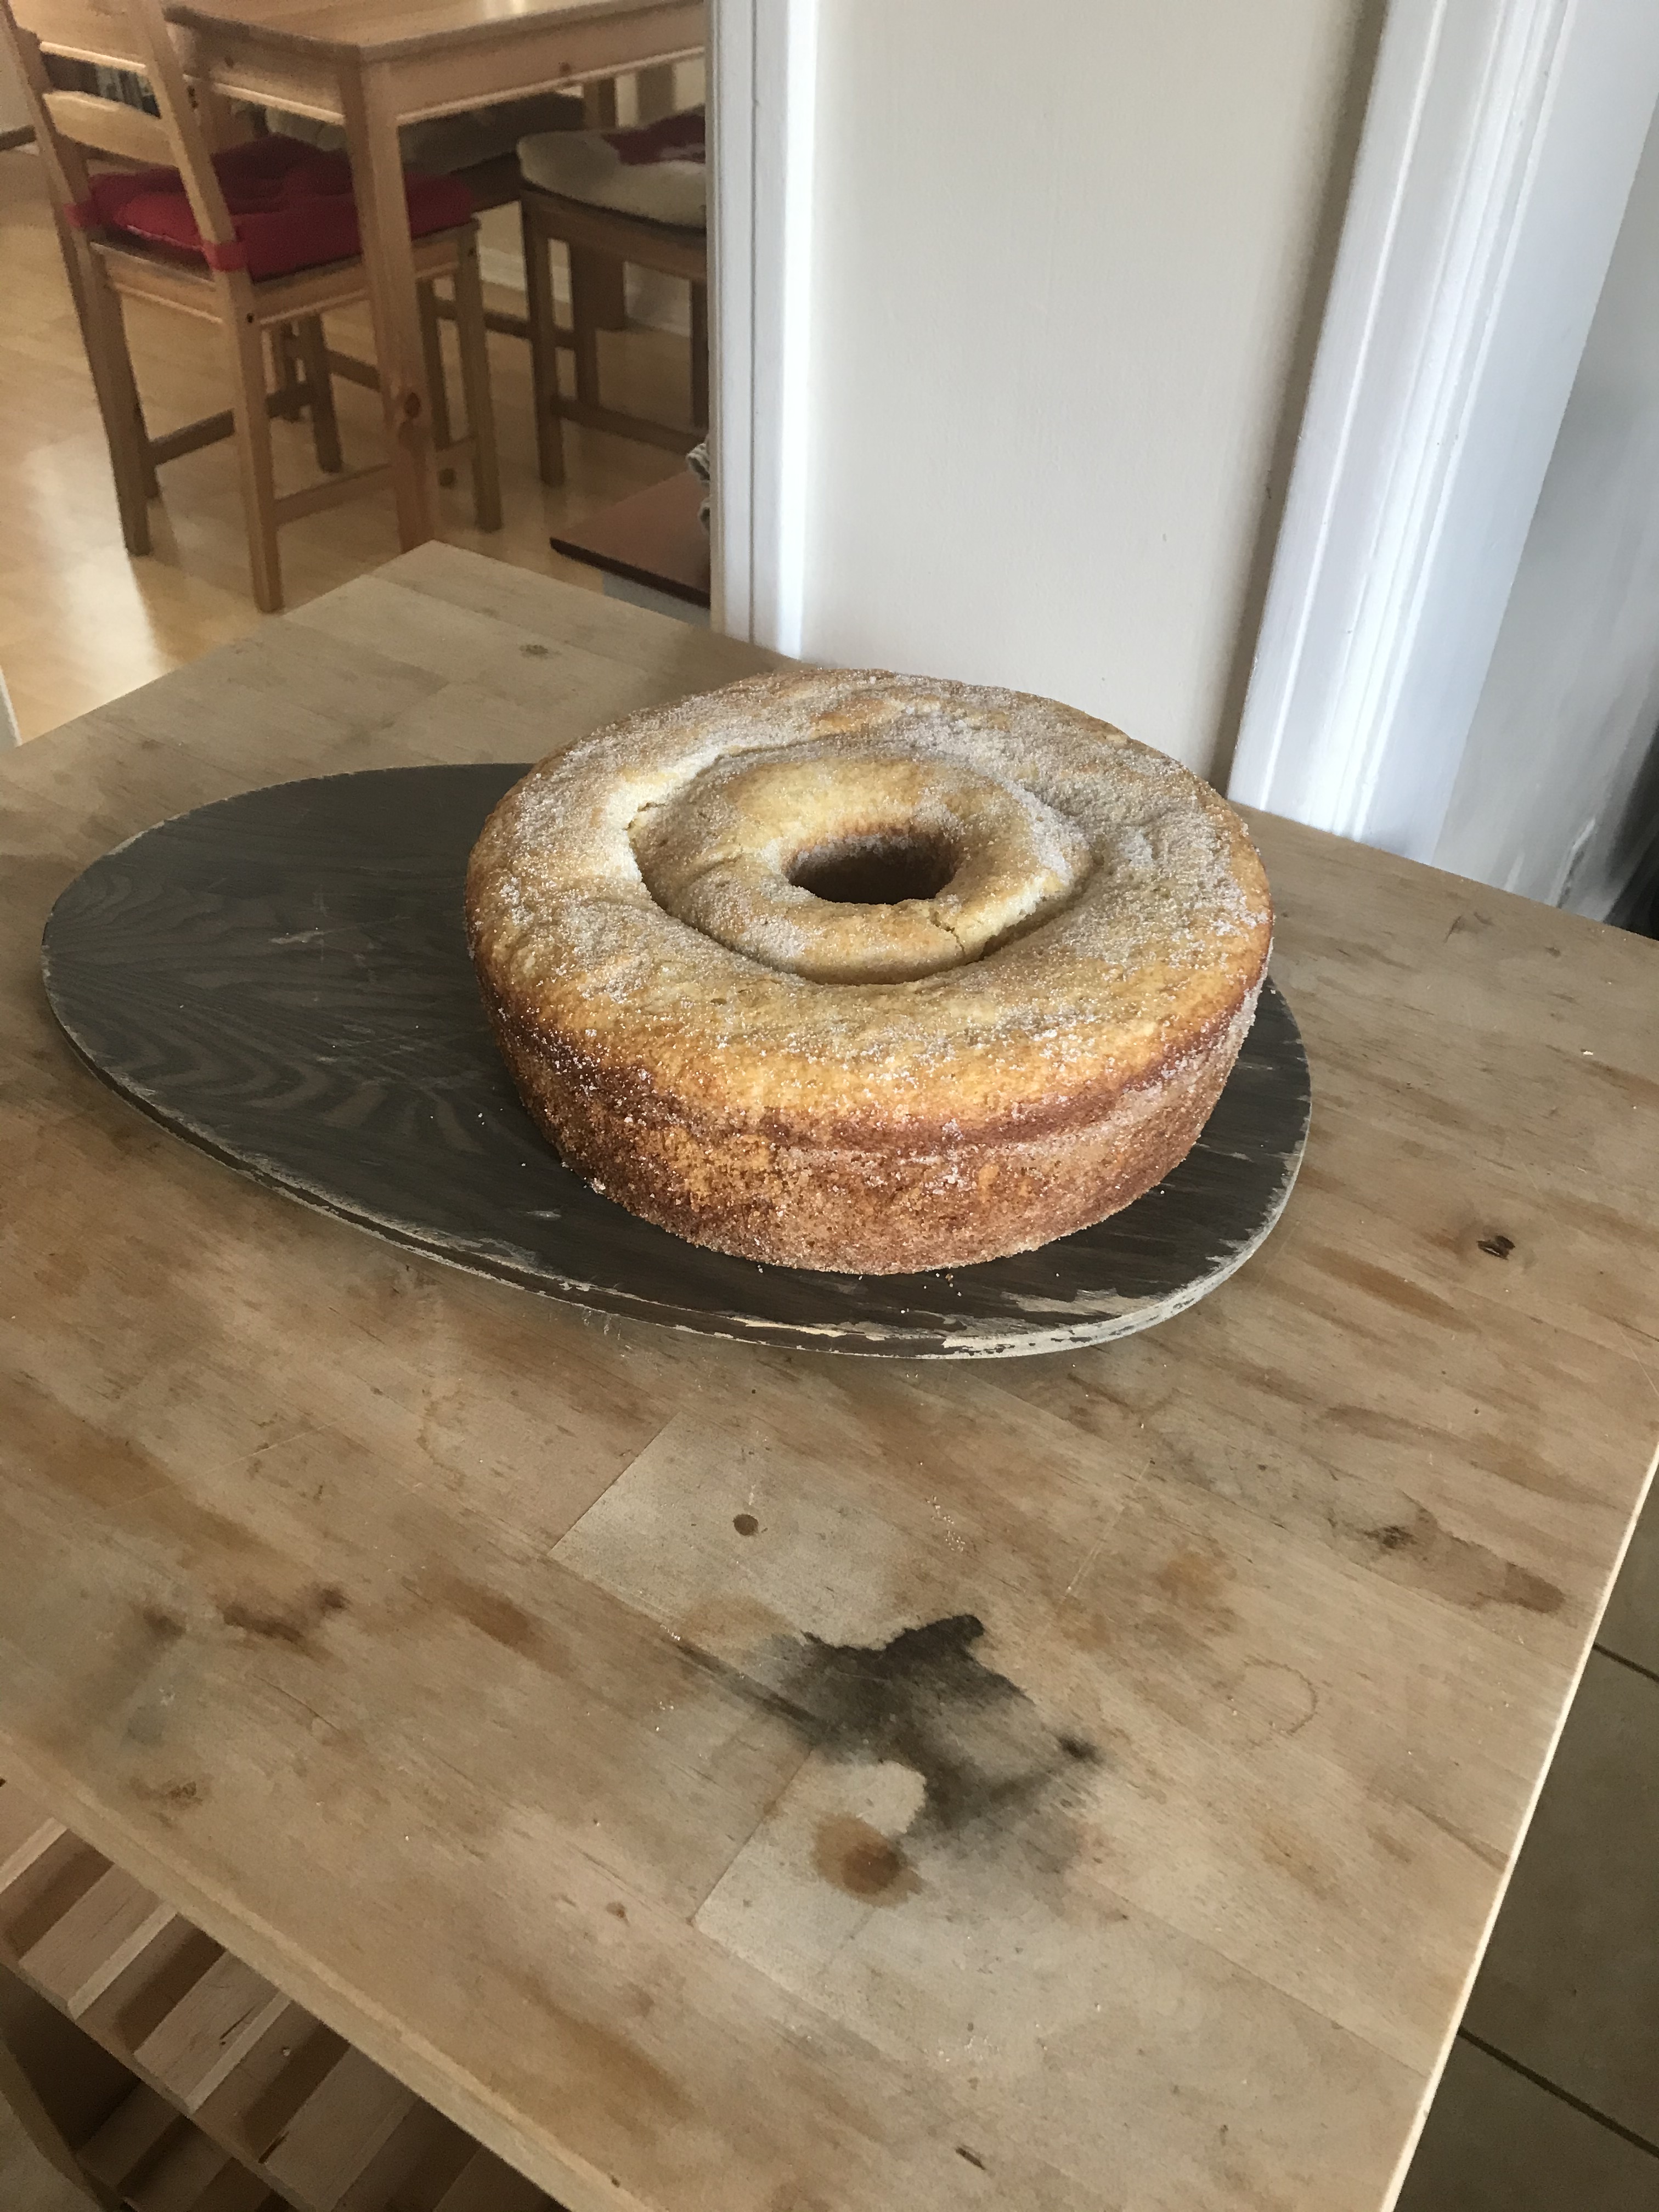
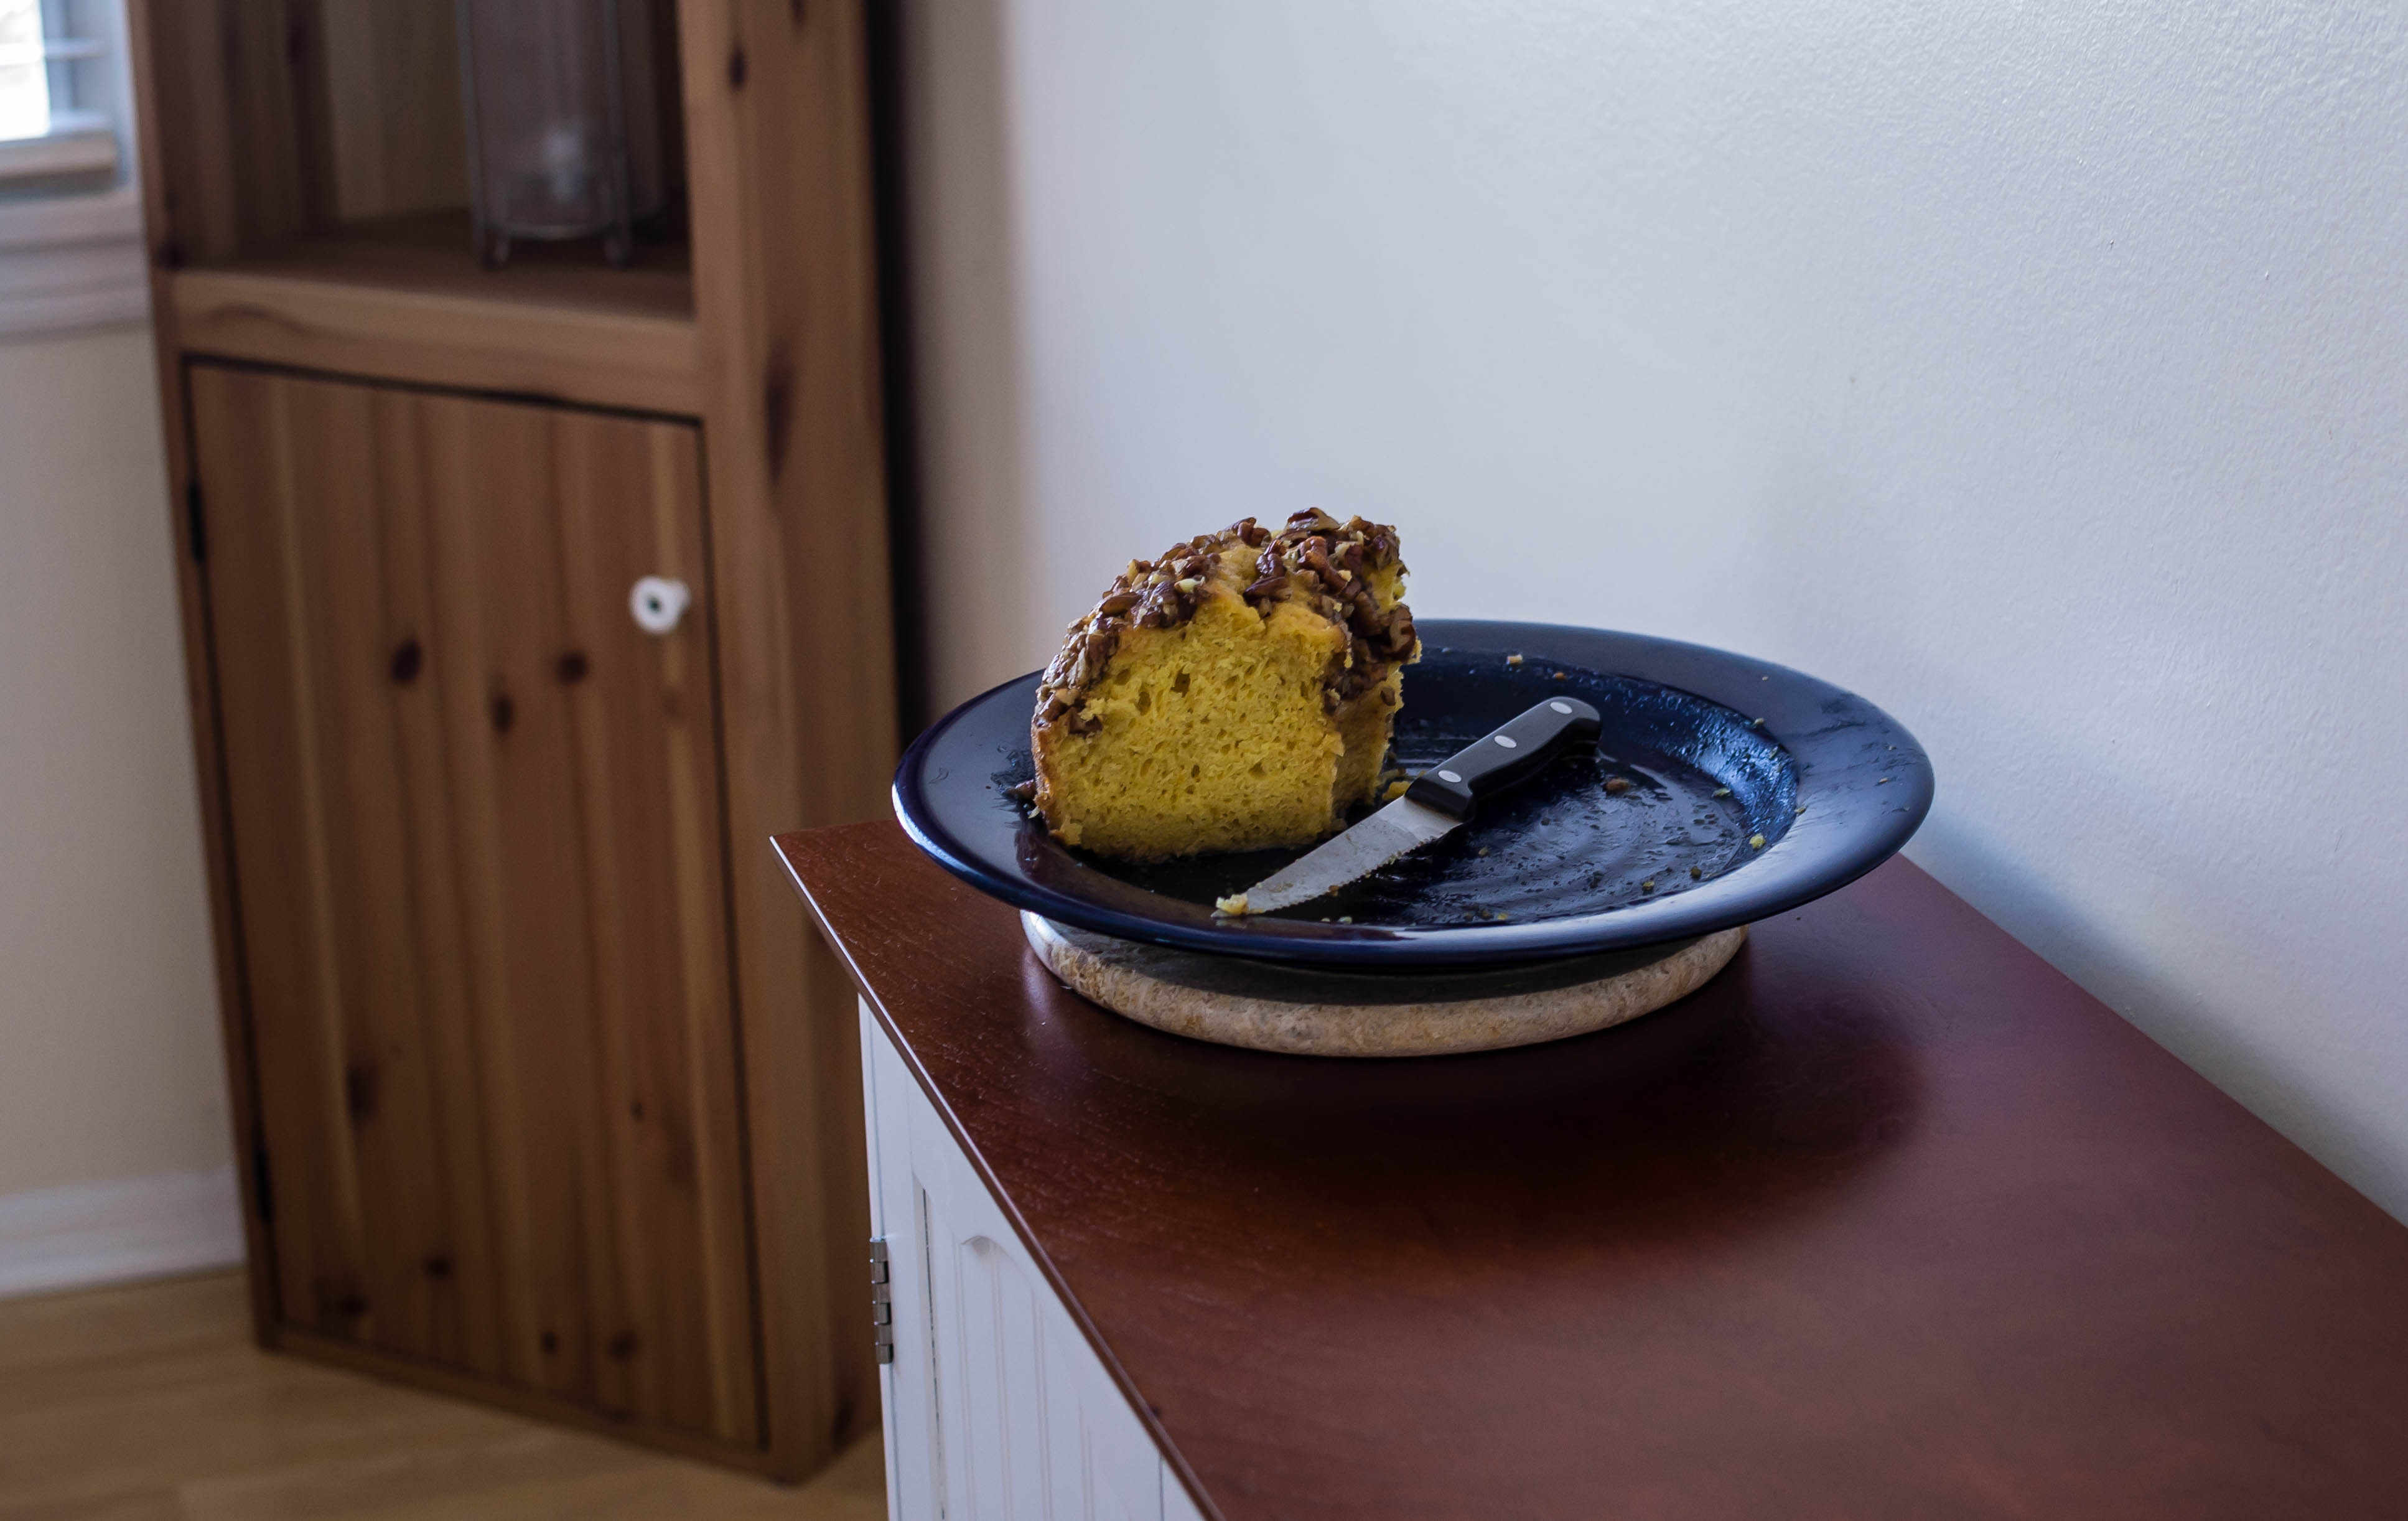
 This cake winds up so packed with threads of grated raw apple, toasted and chopped nuts, crystalized ginger, and the soft chunks of roasted apple, that it almost doesn’t feel like enough batter to encase the additions. The layers when you spread them into the pans are thin, but they do puff as they bake, into lovely, spicy, delicate layers you really do have to let cool for at least 15 minutes before taking them out of the pan. What became my middle layer, which emerged from the pan in six or seven moistly crumbling pieces, is proof positive of this. (Worth noting: if that kind of disintegration happens to you, reform the layer to the best of your ability on a sheet of plastic wrap, enclose it tightly, and put it in the freezer for half an hour or so before stacking and frosting. I was amazed by how well the pieces magically re-adhered.) If you’re worried about the fragility, I think you could get away with adding an additional ¼ cup flour to the recipe and still retain adequate moistness, but I haven’t tried this. If you do, let me know how it works out.
 There are all sorts of other fun things you could do with the cake itself to change it up. Tart dried cherries would be lovely along with or instead of the golden raisins I’ve called for. Those raisins could easily be re-plumped in rum or brandy, a step I’m sorry I didn’t think of until my layers were already in the oven. The walnuts could be swapped out for pecans. You could play with the variety of apples you use – I almost always tend toward Granny Smiths or another tart green apple for cooking because I like their flavor and sturdiness, but you could mix and match as you please.
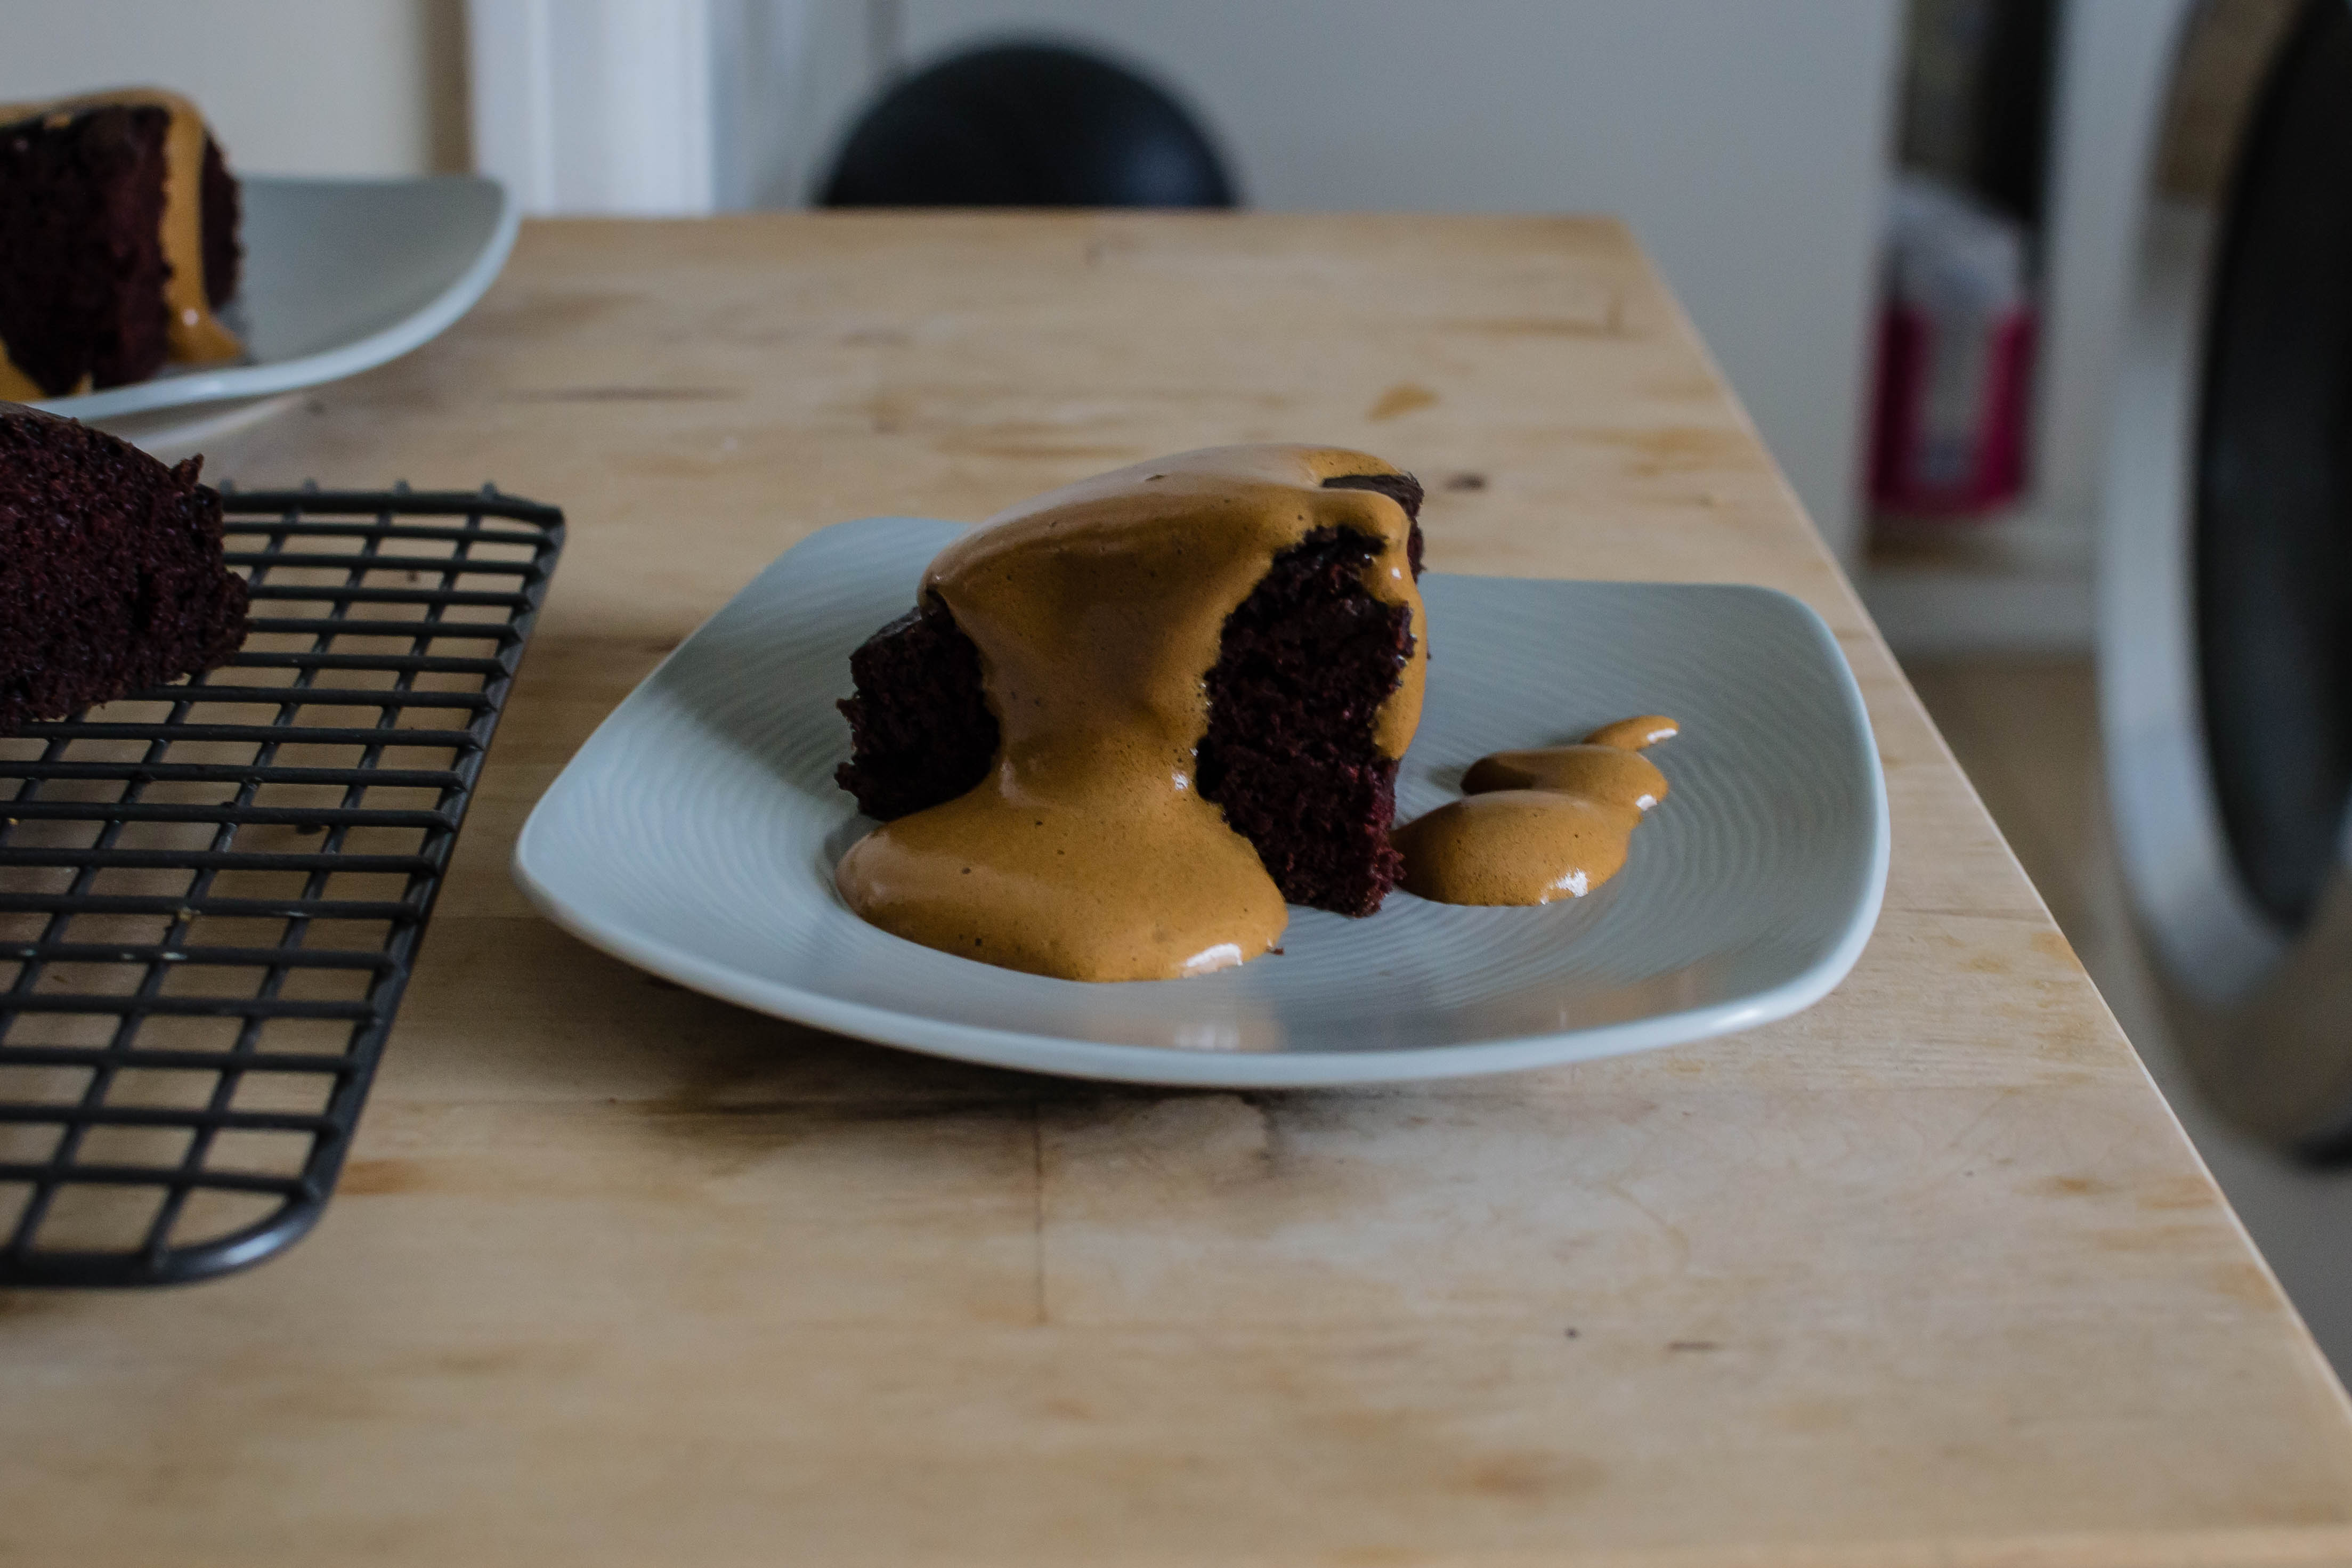
 What I really want to talk about here, though, is the filling and the frosting. When I frost a cake, with a few notable exceptions, I typically put the same thing between the layers that I do around the outside. Here, though, whether it was thanks to Bake Off (likely) or just lightening strike inspiration, I wanted some texture in the filling, and the finely chopped mixture of dried apples and toasted walnuts woven through the cream cheese frosting was delightful.

 As for that cream cheese frosting, it’s serviceable, easily pipe-able, and as rich and delicious as you could ever want. But N. and I noticed that, at least on the first day and despite the tablespoon of lemon juice I added for mitigation purposes, it is very, very sweet. Not surprising, given the number of cups of powdered sugar my recipe called for, but challenging for an insomniac to consider for an afternoon snack. So I have some thoughts, which I’ll admit I’ve tried exactly none of.
- You could decrease the quantity of powdered sugar down from 4 to 3 cups (you might end up wanting to add less vanilla as well, if you do this). This will produce a wetter frosting that might be harder to pipe, if that’s what you’re going for, but I think it would probably still spread successfully and stay where you put it.
- You could make the frosting a day ahead (would that make a difference? I don’t know…). Or, perhaps more logically, you could plan to make the whole thing a day before you serve it. We thought the whole cake tasted great – maybe even a bit better – after a night in the fridge.
- You could add a dried spice or herb to the frosting for an additional, not-so-sweet flavor. I thought first of ginger, which would make sense with the spices in the cake, but then, quite unconventionally, I thought of sage. Good with apples, decidedly savory, and about as stereotypically Fall as you can get, would a teaspoon or so of dried sage, finely crumbled and beaten into the frosting, tamp down that sweetness a bit?
- You could go the “naked” or “semi-naked” route, using only a small amount of frosting and spreading it on such that the sides of the cake artfully show through. You’ll have a fair bit of frosting left over if you opt for this route, but cream cheese frosting freezes quite well so I don’t see that as a bad thing. Emergency back-up frosting feels like a good idea.


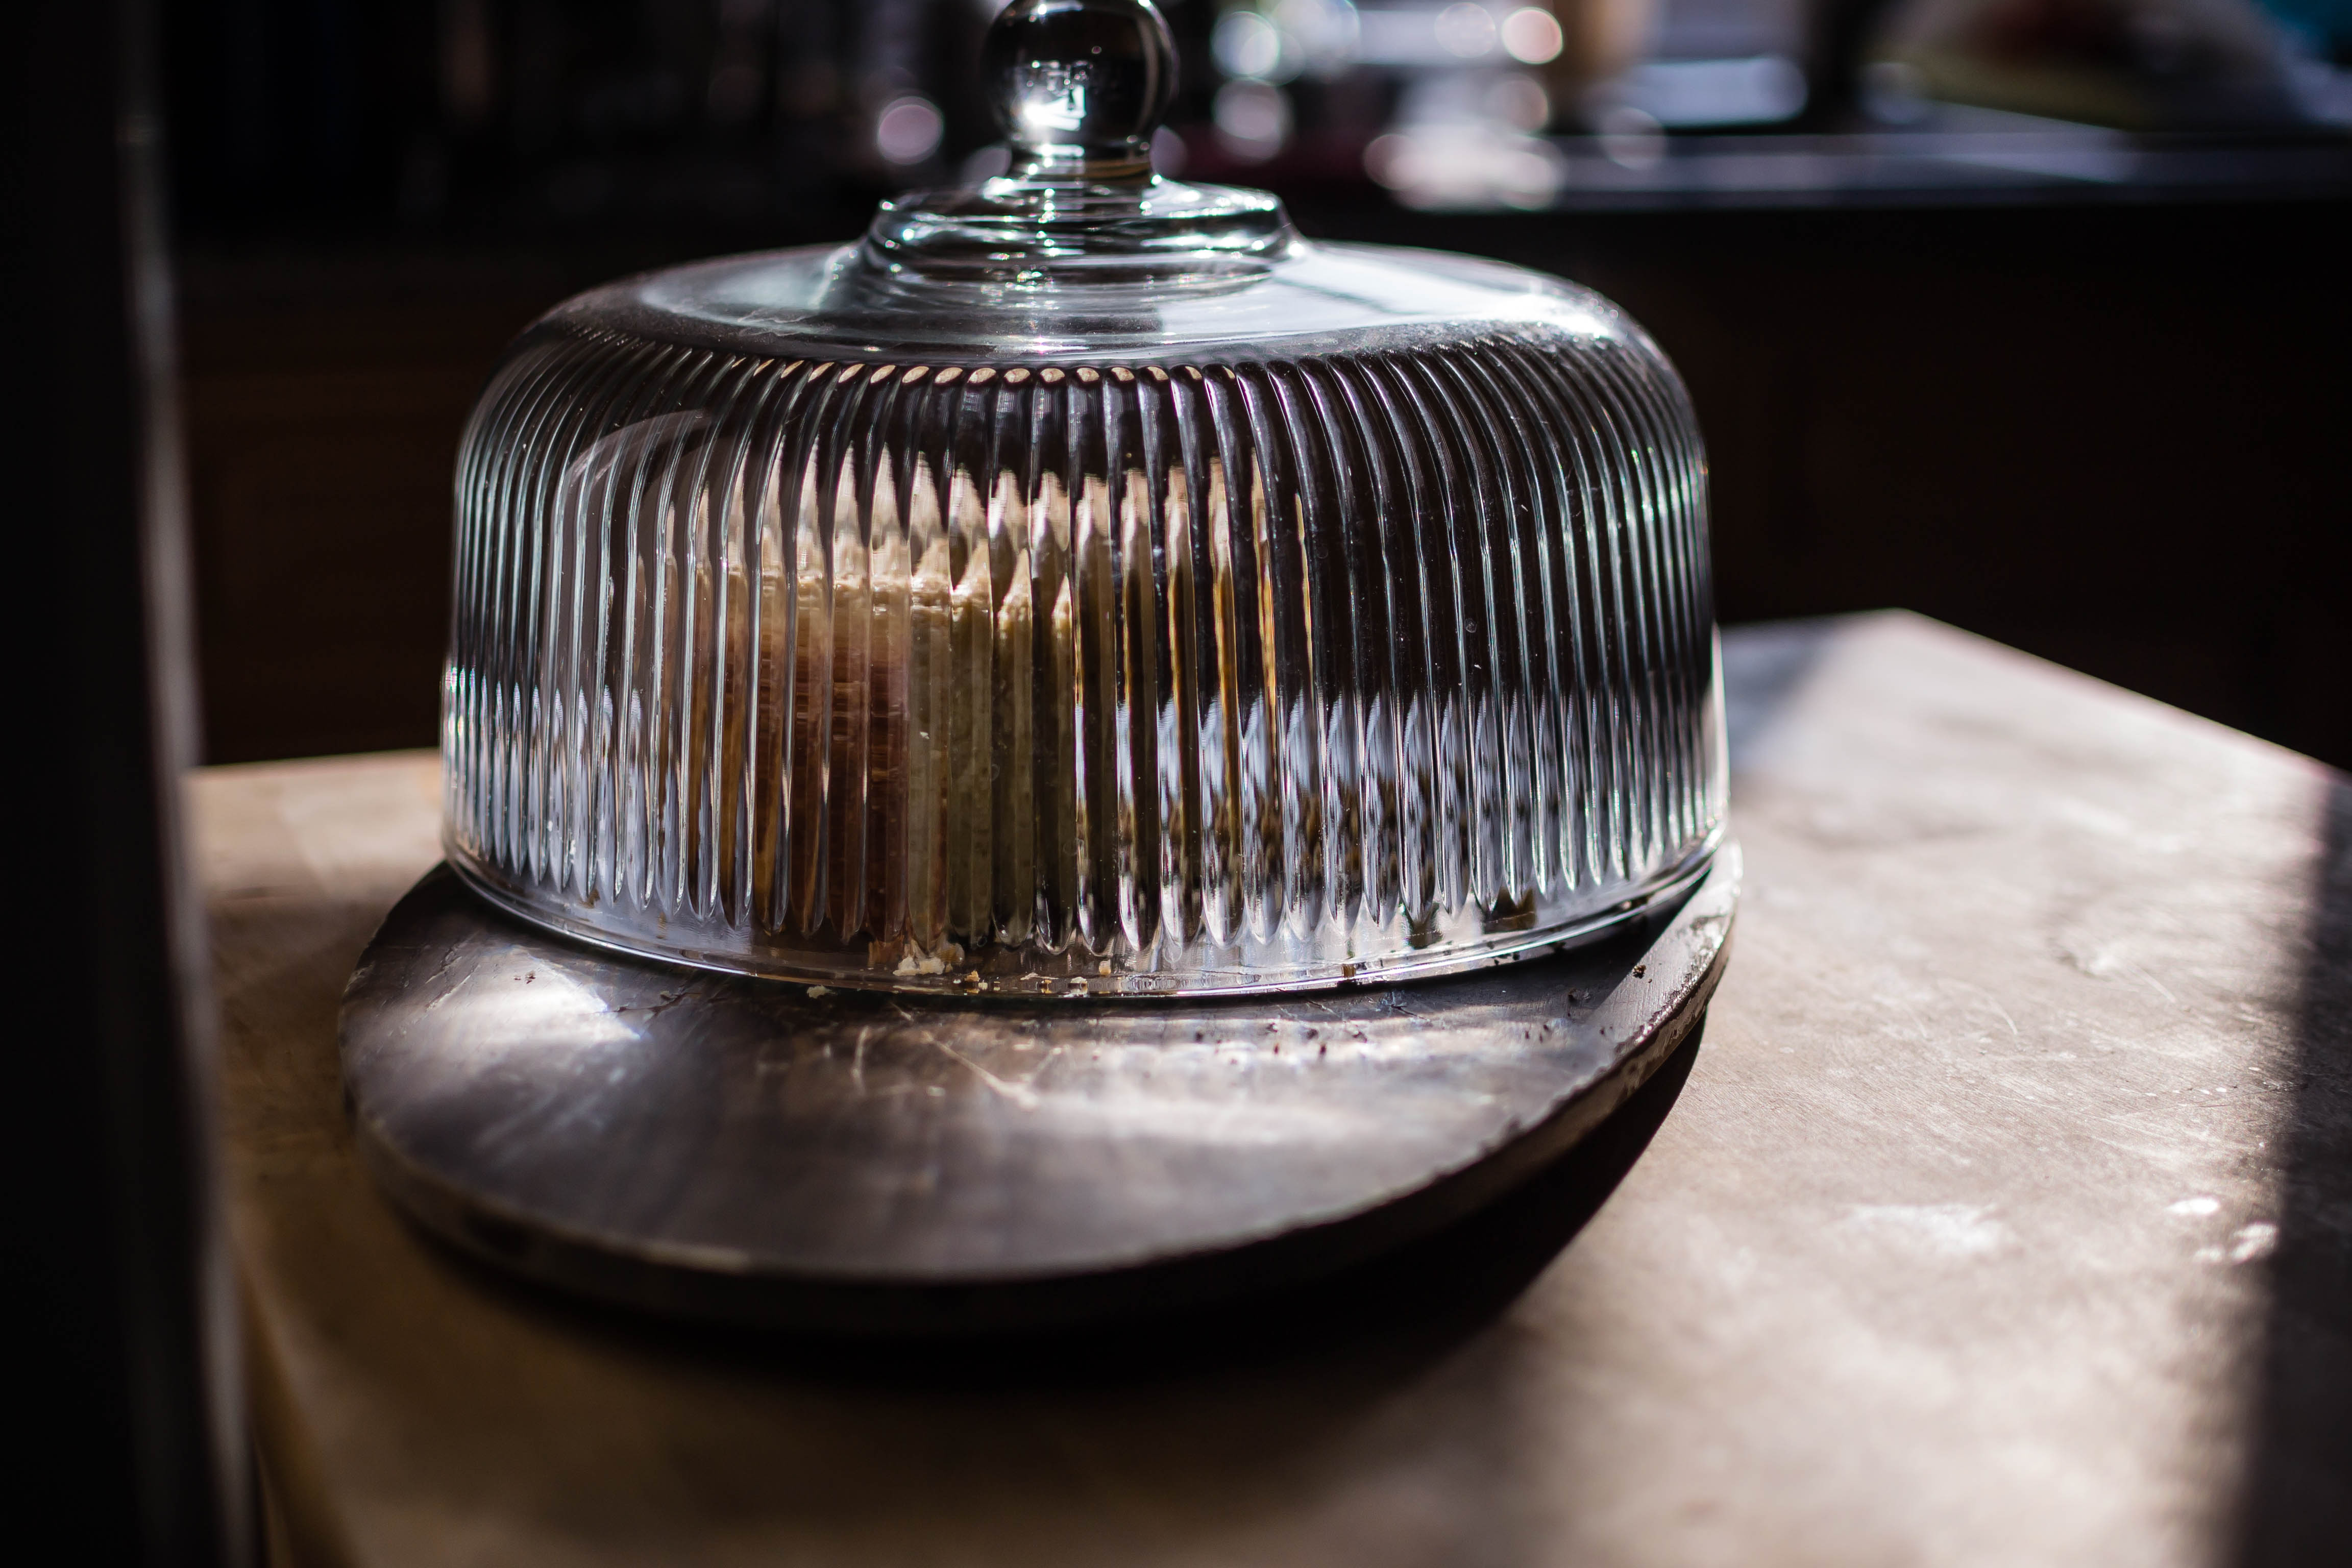
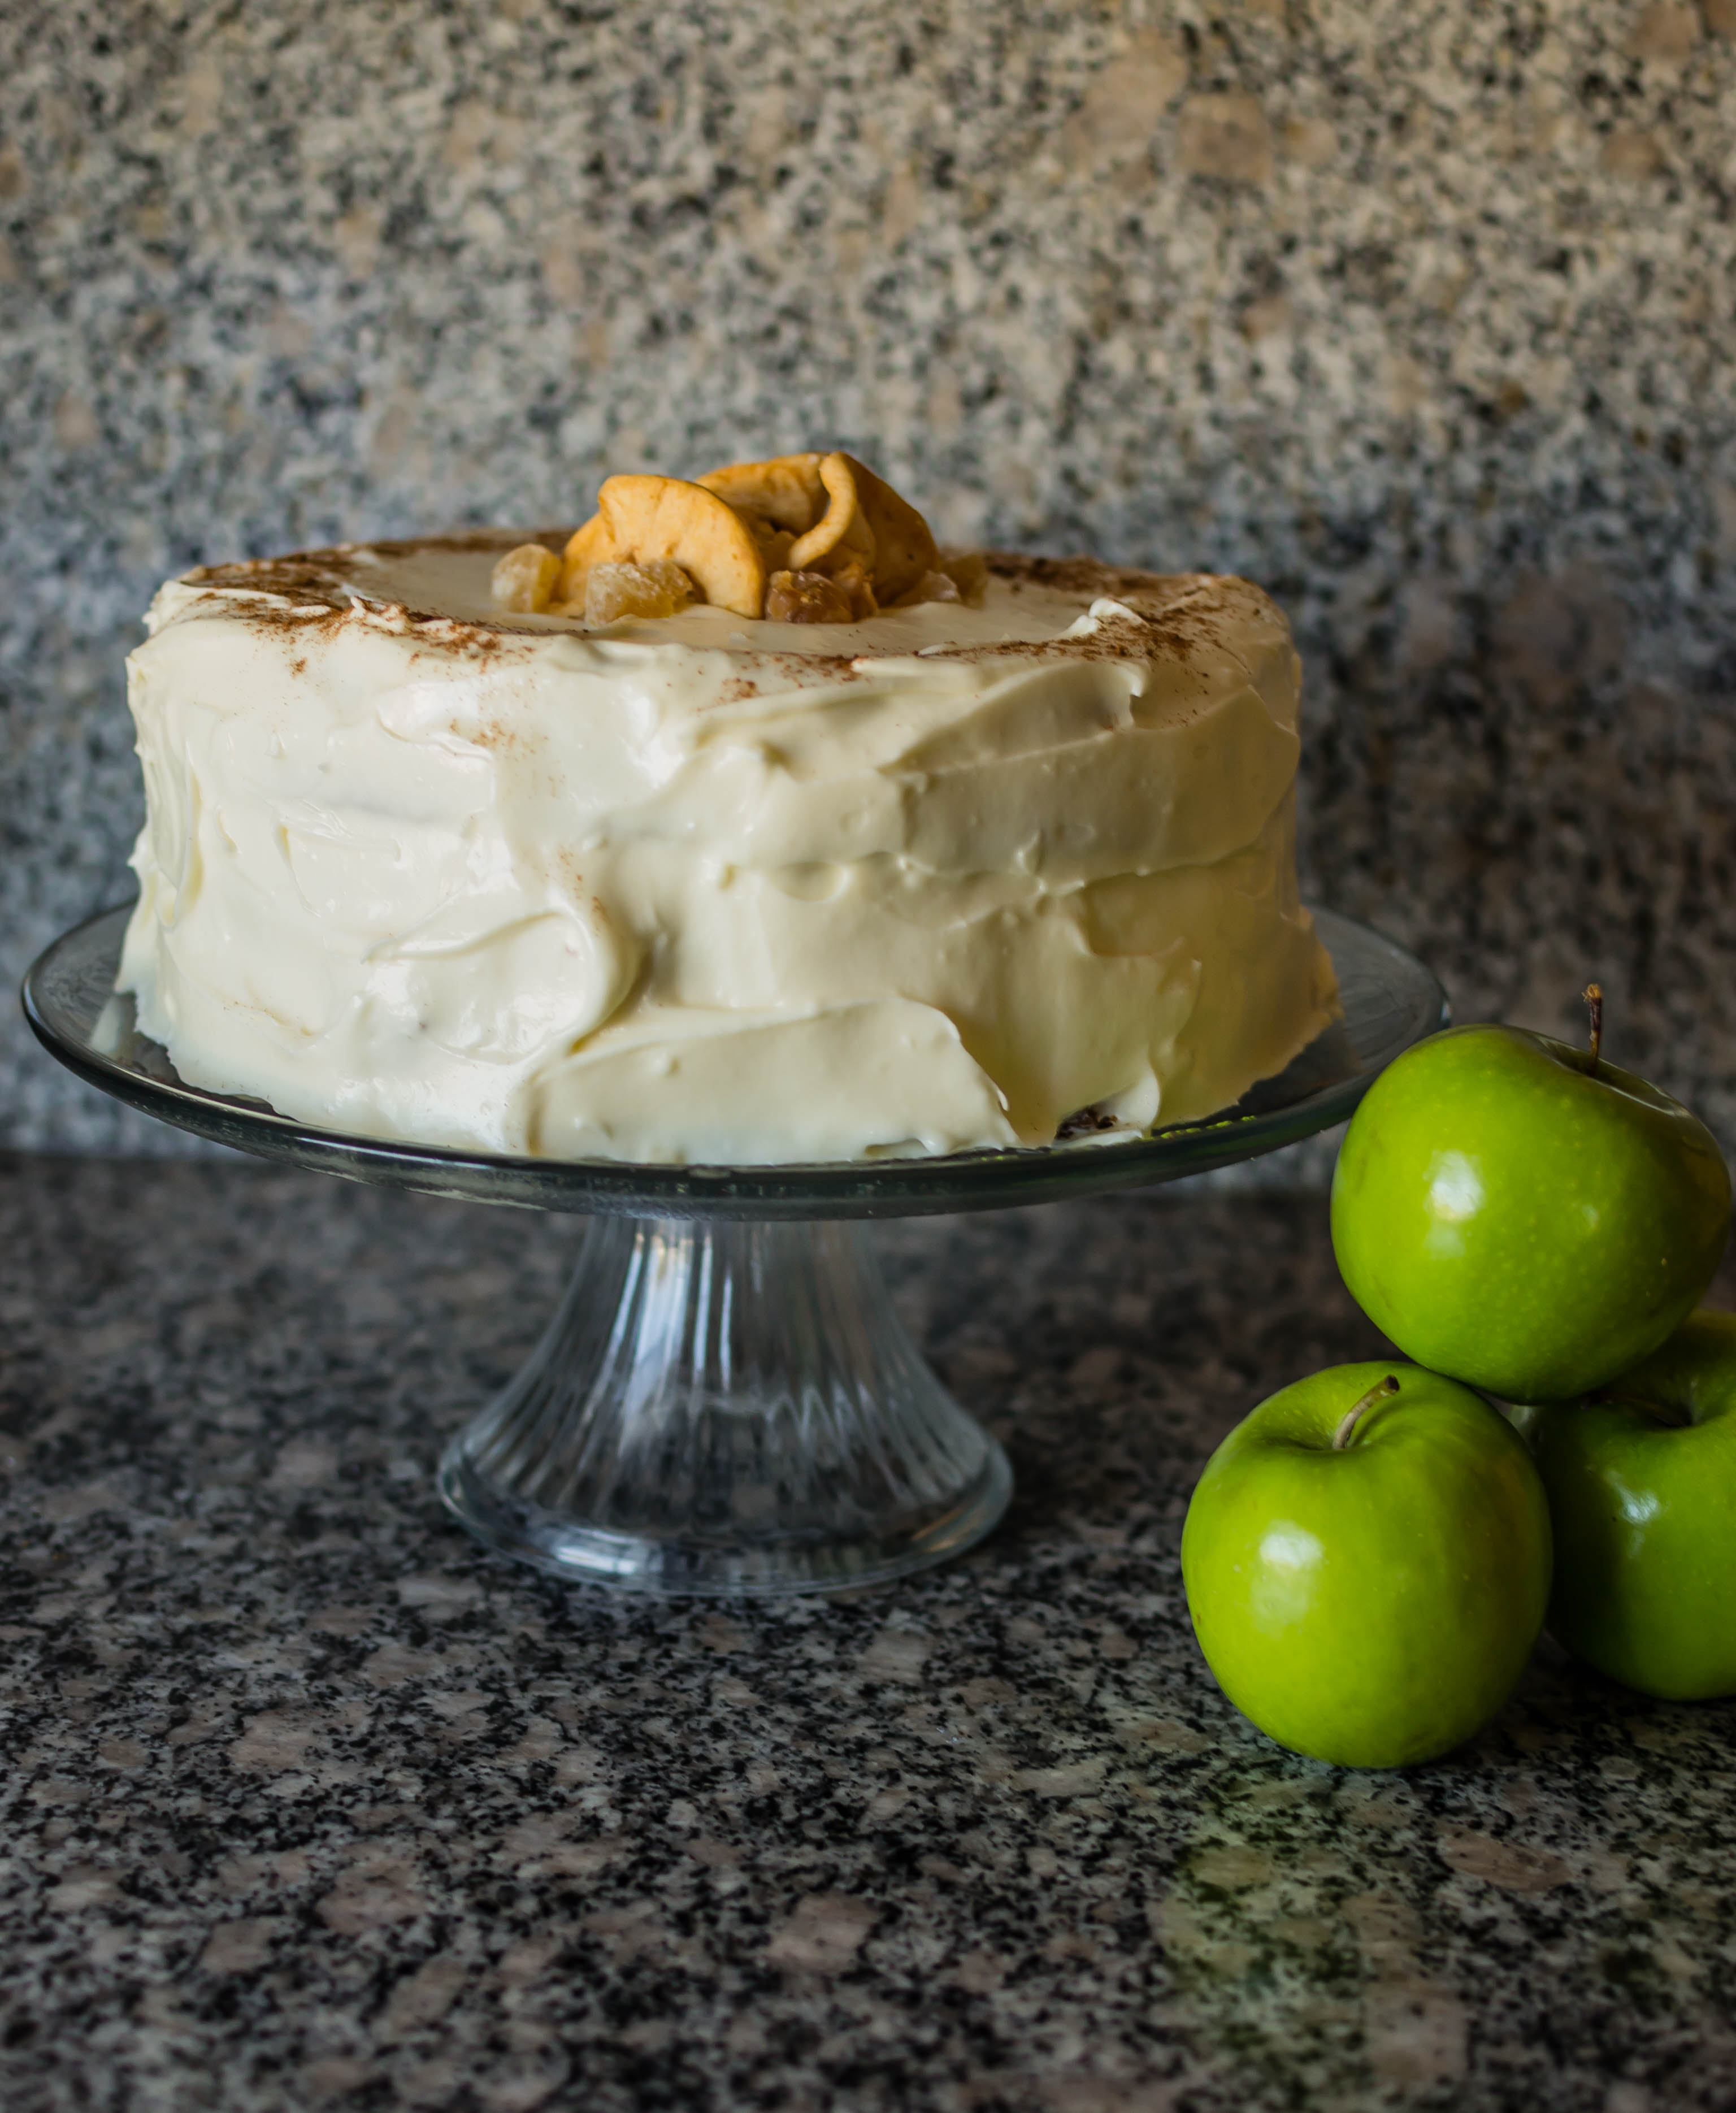 Since I’m sure you’re limiting your social gatherings at this point and thus you might not be sure you really want a triple layer cake sitting around, you’ll be happy to know that this cake is a good candidate for freezing. We ate, over the course of I’m-ashamed-to-admit-how-few-days-it-was, about half of it, and then I carefully plastered over the cut portions with some extra frosting so no cake was exposed. Leaving the fully frosted cake in the fridge overnight ensures the frosting crusts a little bit, which makes it easy to wrap securely in plastic wrap and deposit in the freezer until you next need a rich, spicy, sweet reminder of fall.
Apple Spice Cake with Walnuts and Ginger
Adapted from The Bon Appétit Cookbook
Makes 3 9-inch layers, serves 10-12
About 90 minutes, plus cooling and frosting time
For the cake:
1 cup walnuts, divided (see filling and frosting ingredients, below)
4 large, tart apples, like Granny Smiths, peeled, divided
1½ cups unsalted butter (3 sticks)
2 cups granulated sugar
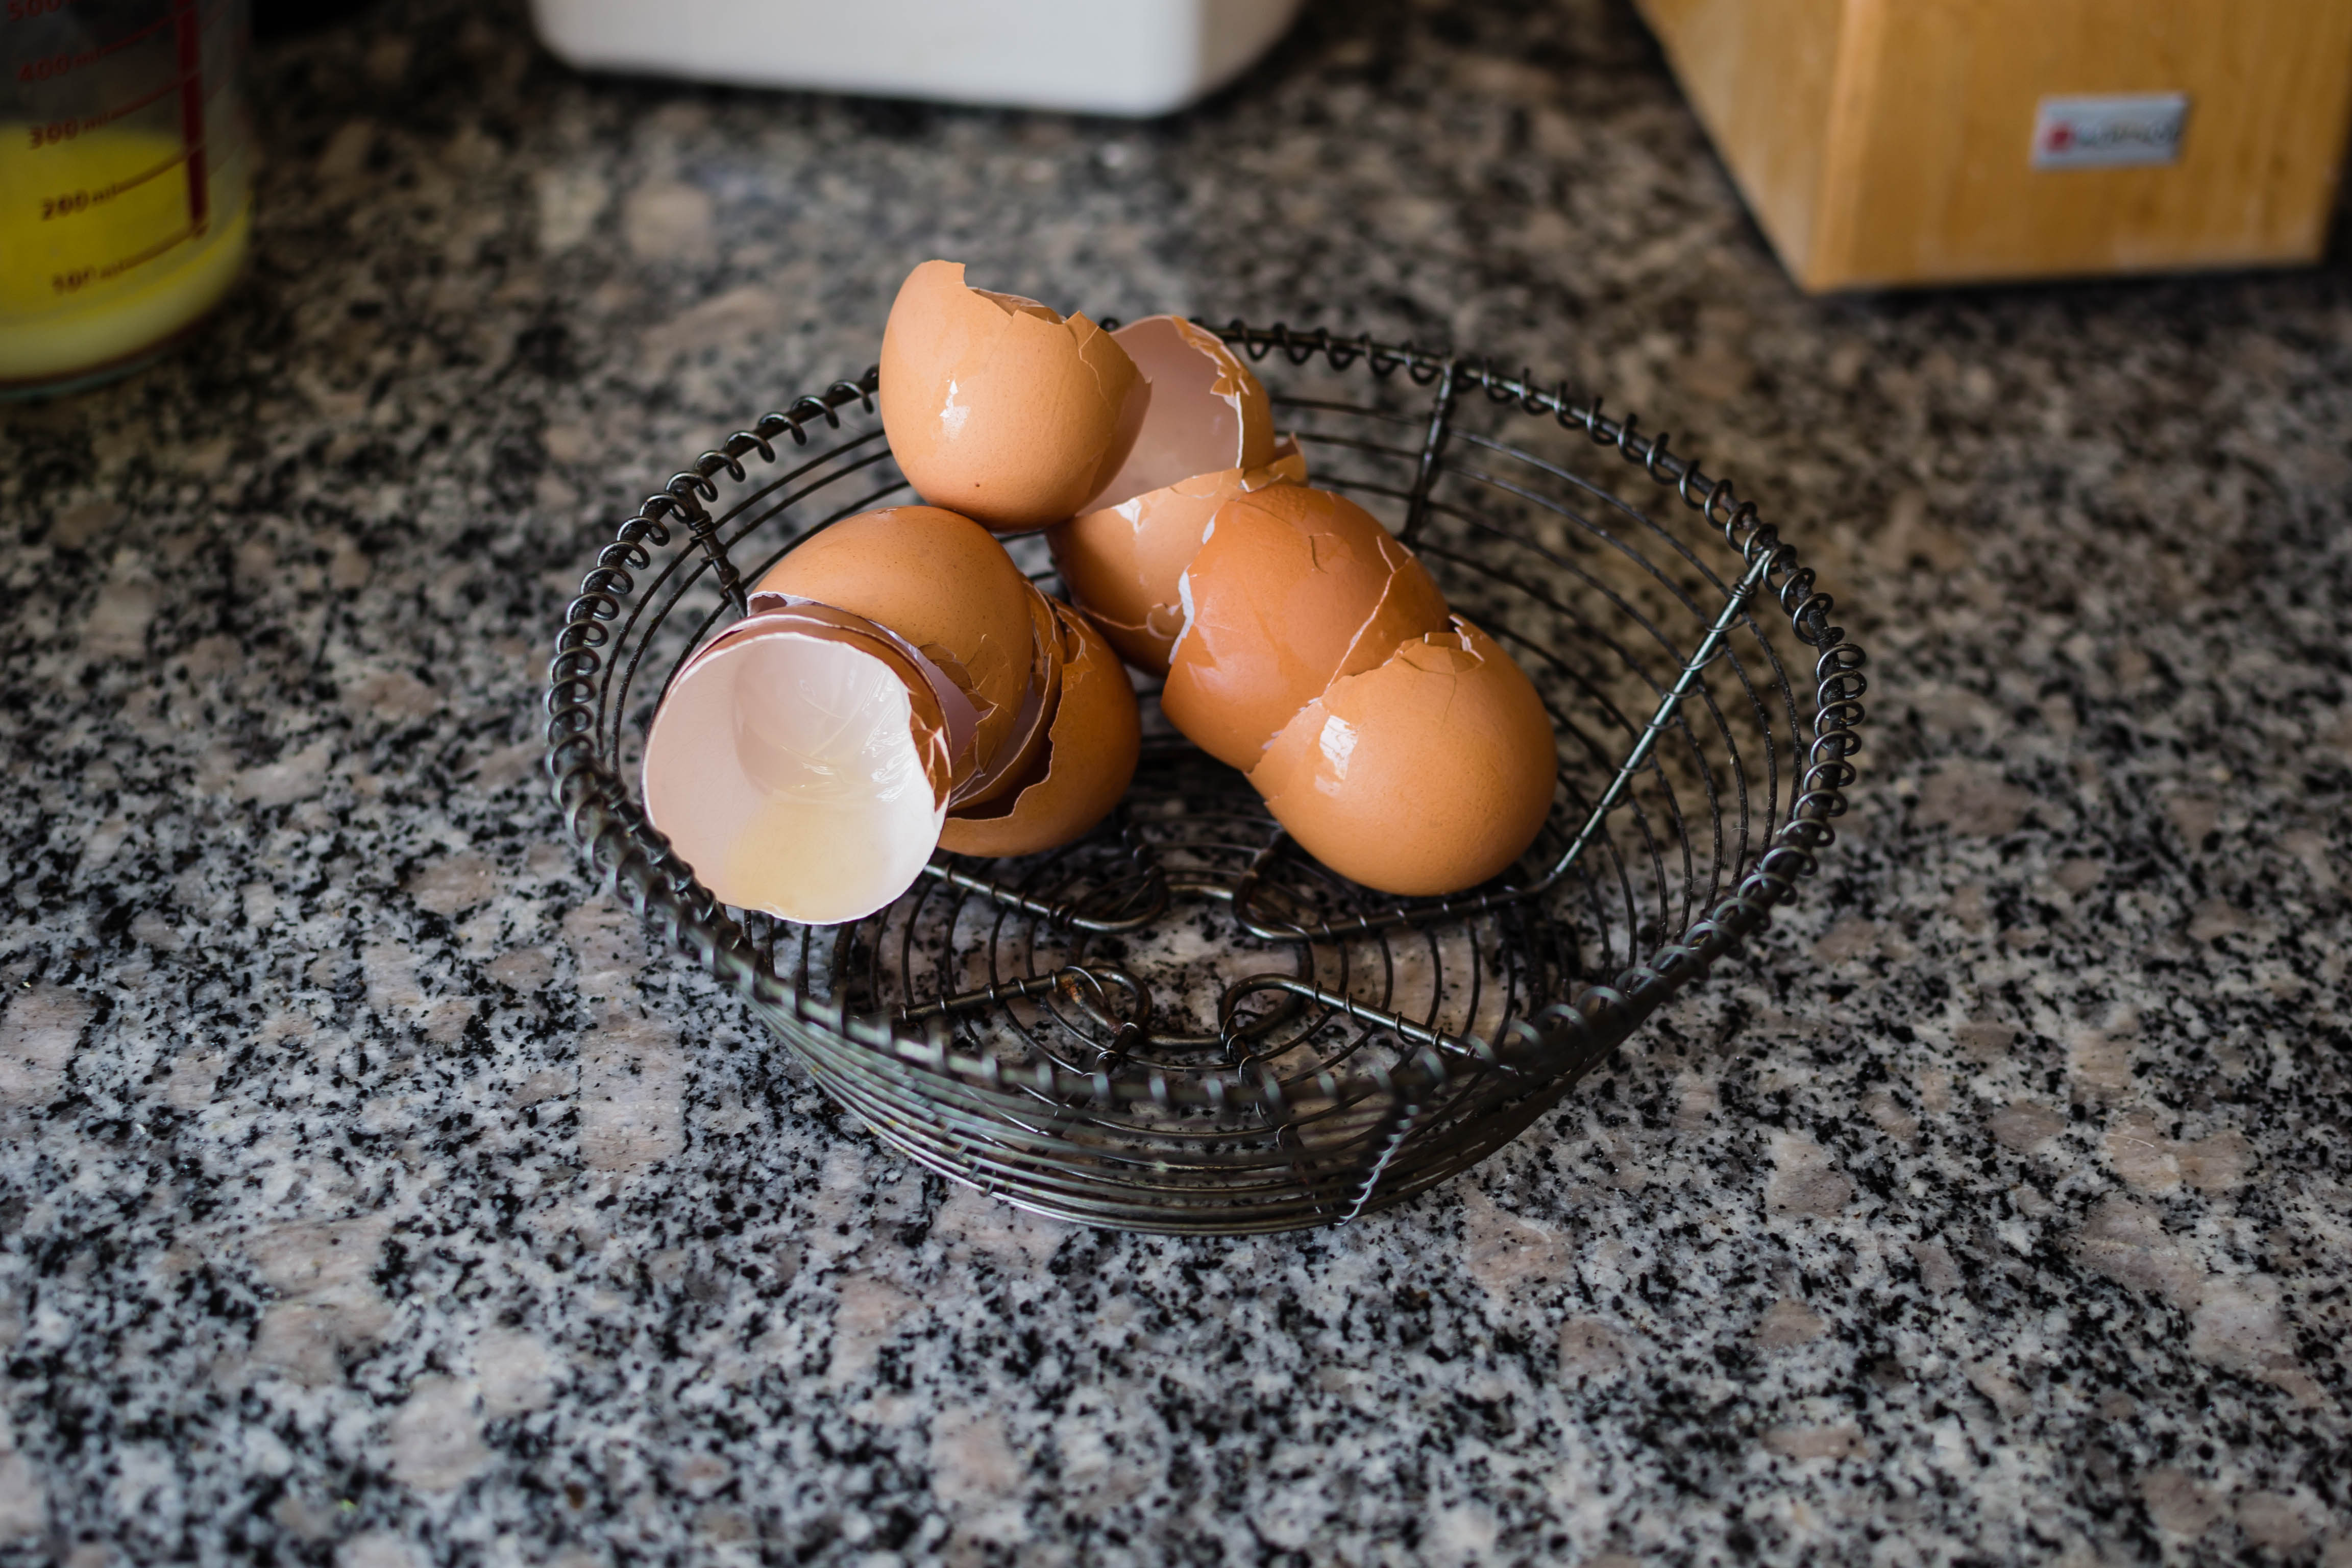
4 large eggs
2 cups all-purpose flour (as noted above, if you’re worried about very fragile layers, you could probably get away with 2¼ cups flour, but I haven’t tried that yet)
2 teaspoons baking soda
2 teaspoons baking powder
1 teaspoon salt
1 teaspoon ground cinnamon
½ teaspoon ground nutmeg
¼ teaspoon ground cloves
¼ teaspoon ground ginger
½ cup golden raisins (optional: soak in warmed rum or brandy for 10-20 minutes to rehydrate, then drain)
¼ cup chopped crystalized ginger
For the filling and frosting:
½ cup dried apples, finely chopped or cut with kitchen scissors
¼ cup finely chopped walnuts, from the 1 cup total listed above
½ cup unsalted butter (1 stick), at room temperature
16 ounces cream cheese, also at room temperature (I prefer Philadelphia brand)
1 tablespoon vanilla extract
1 tablespoon lemon juice
4 cups powdered sugar (see numbered thoughts on frosting sweetness, above recipe)
Optional: extra dried apples, crystalized ginger, and cinnamon, for decoration
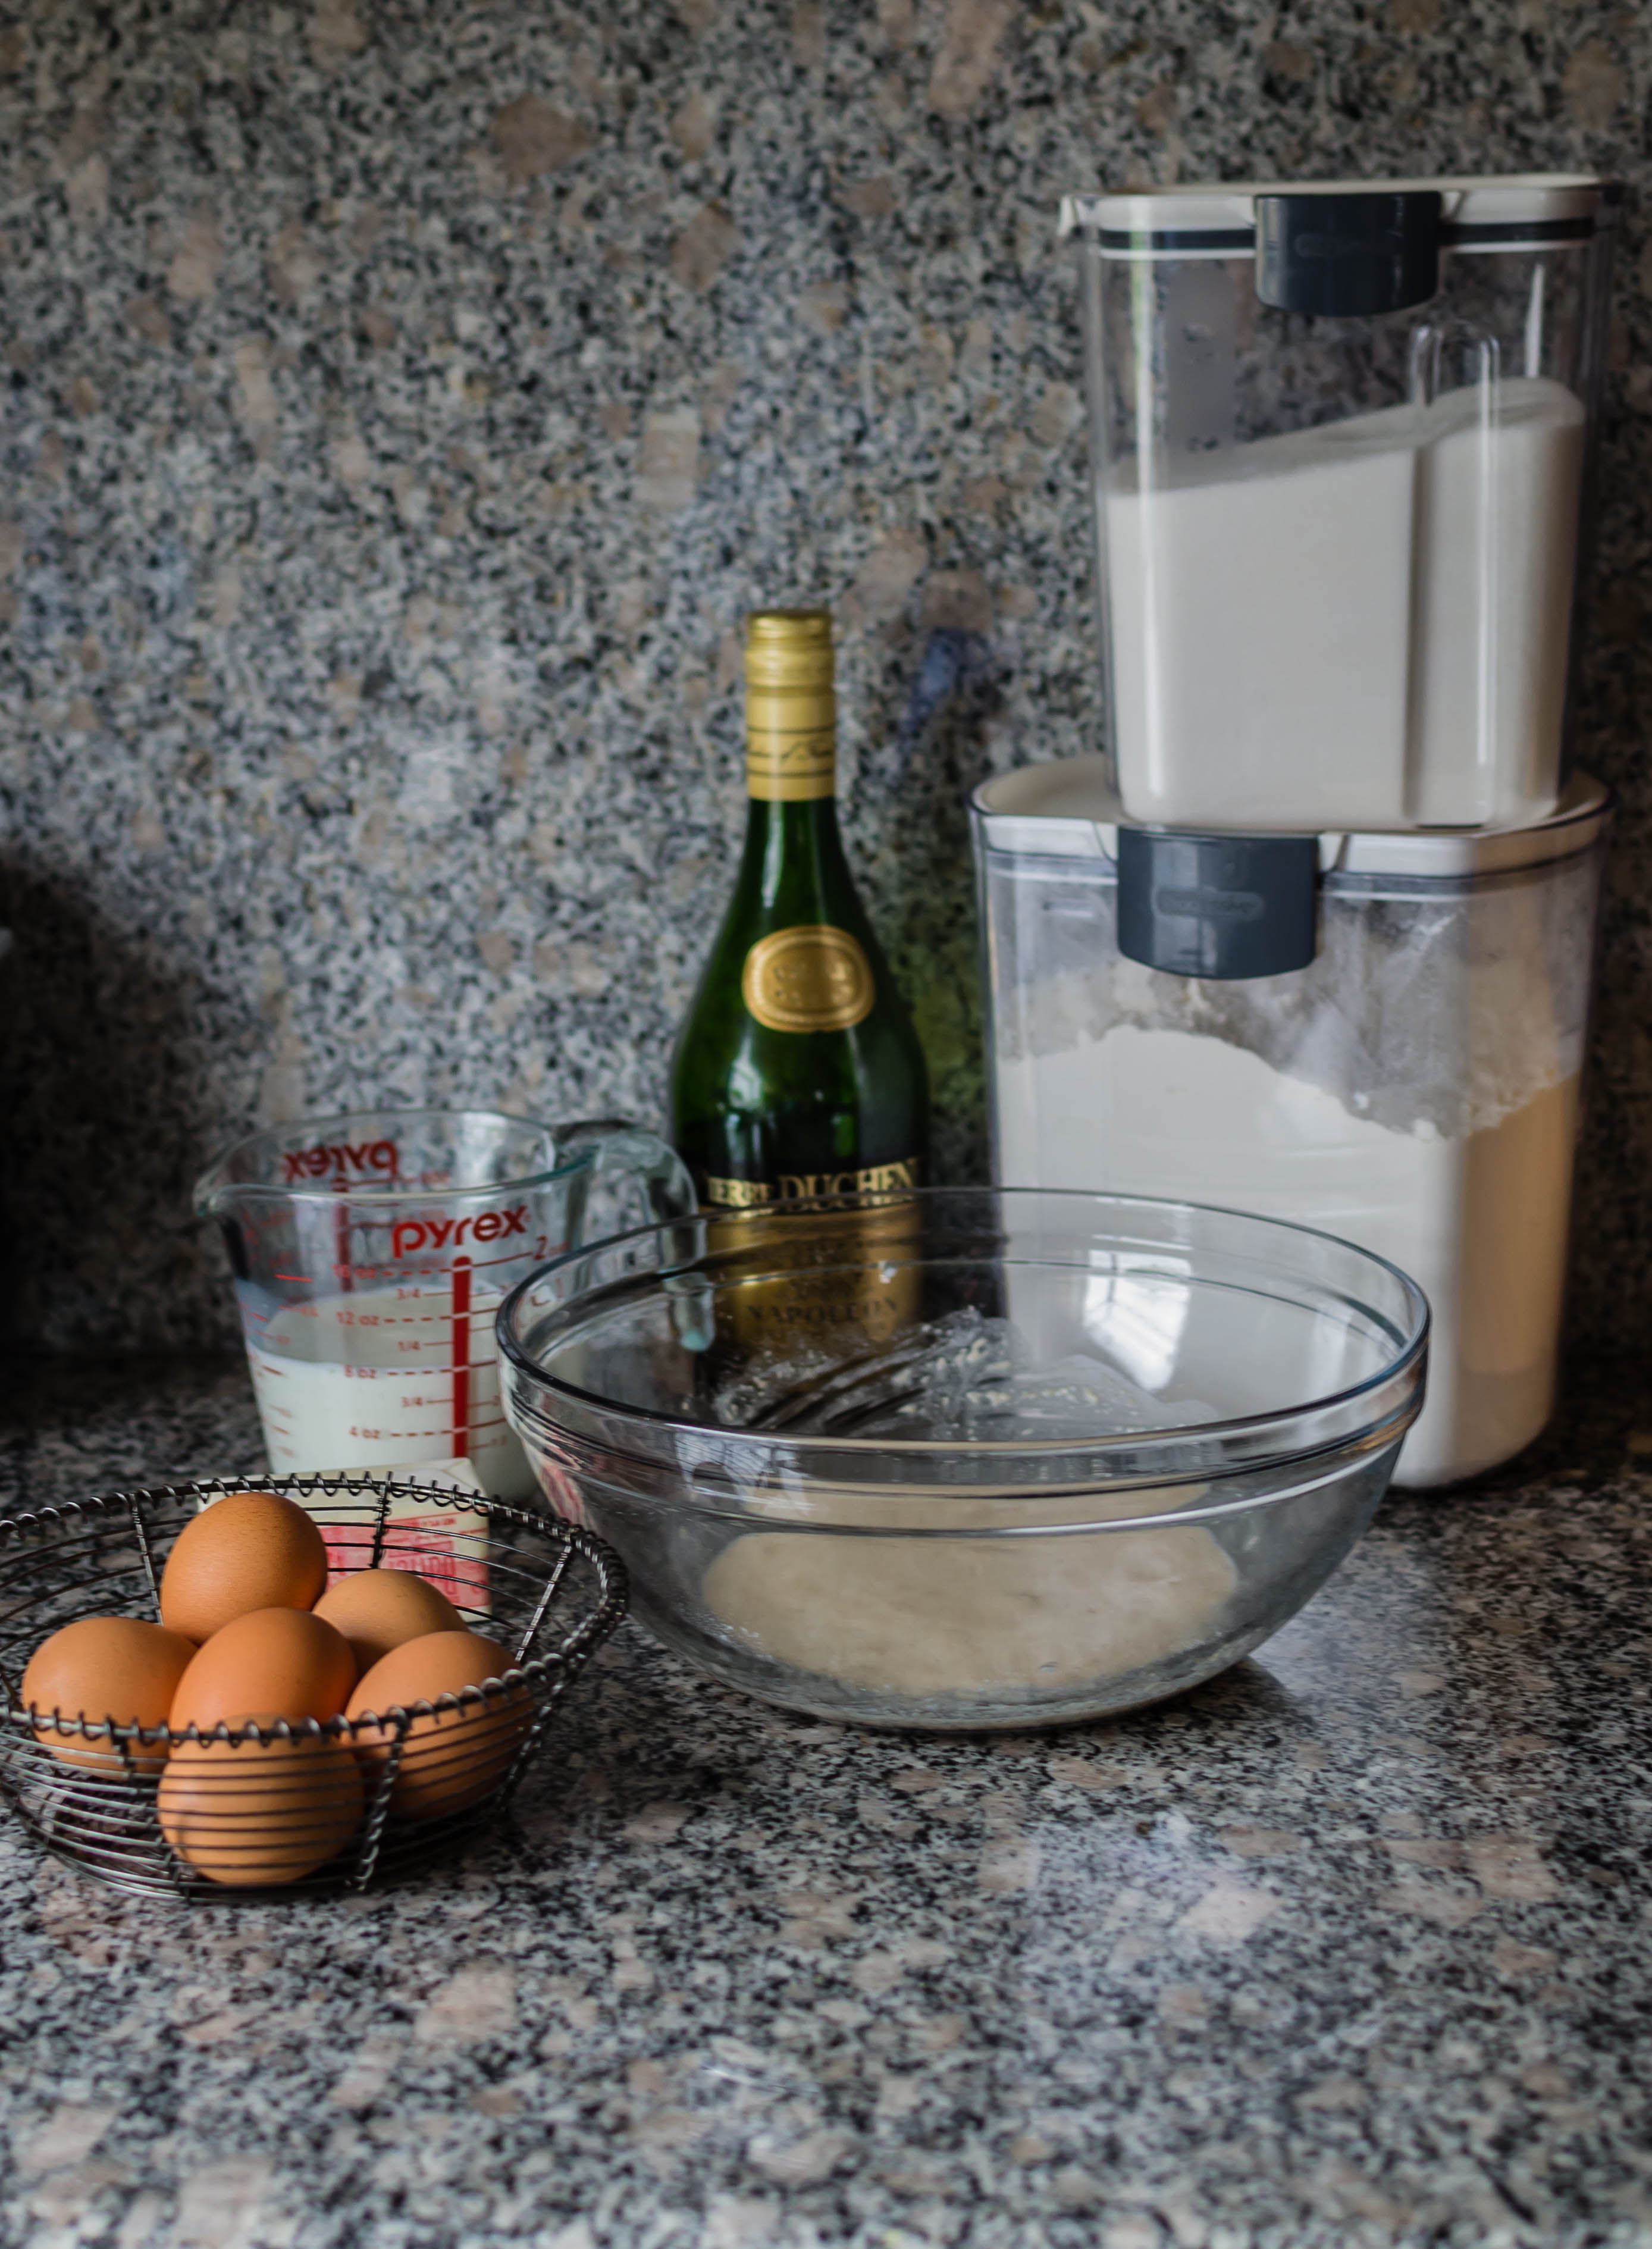
- To make the cake, preheat the oven to 375F and put the walnuts on a baking tray in the oven to toast while it is preheating. When they smell fragrant and have darkened slightly in color, they are ready. Remove and set aside until cool, then chop roughly.
- Quarter and core 2 of the peeled apples, arrange on a foil-lined baking sheet and roast in the preheated 375F oven until they are browned underneath and dry to the touch, about 20 minutes. When done, set them aside to cool, then chop them roughly into chunks of your desired size.
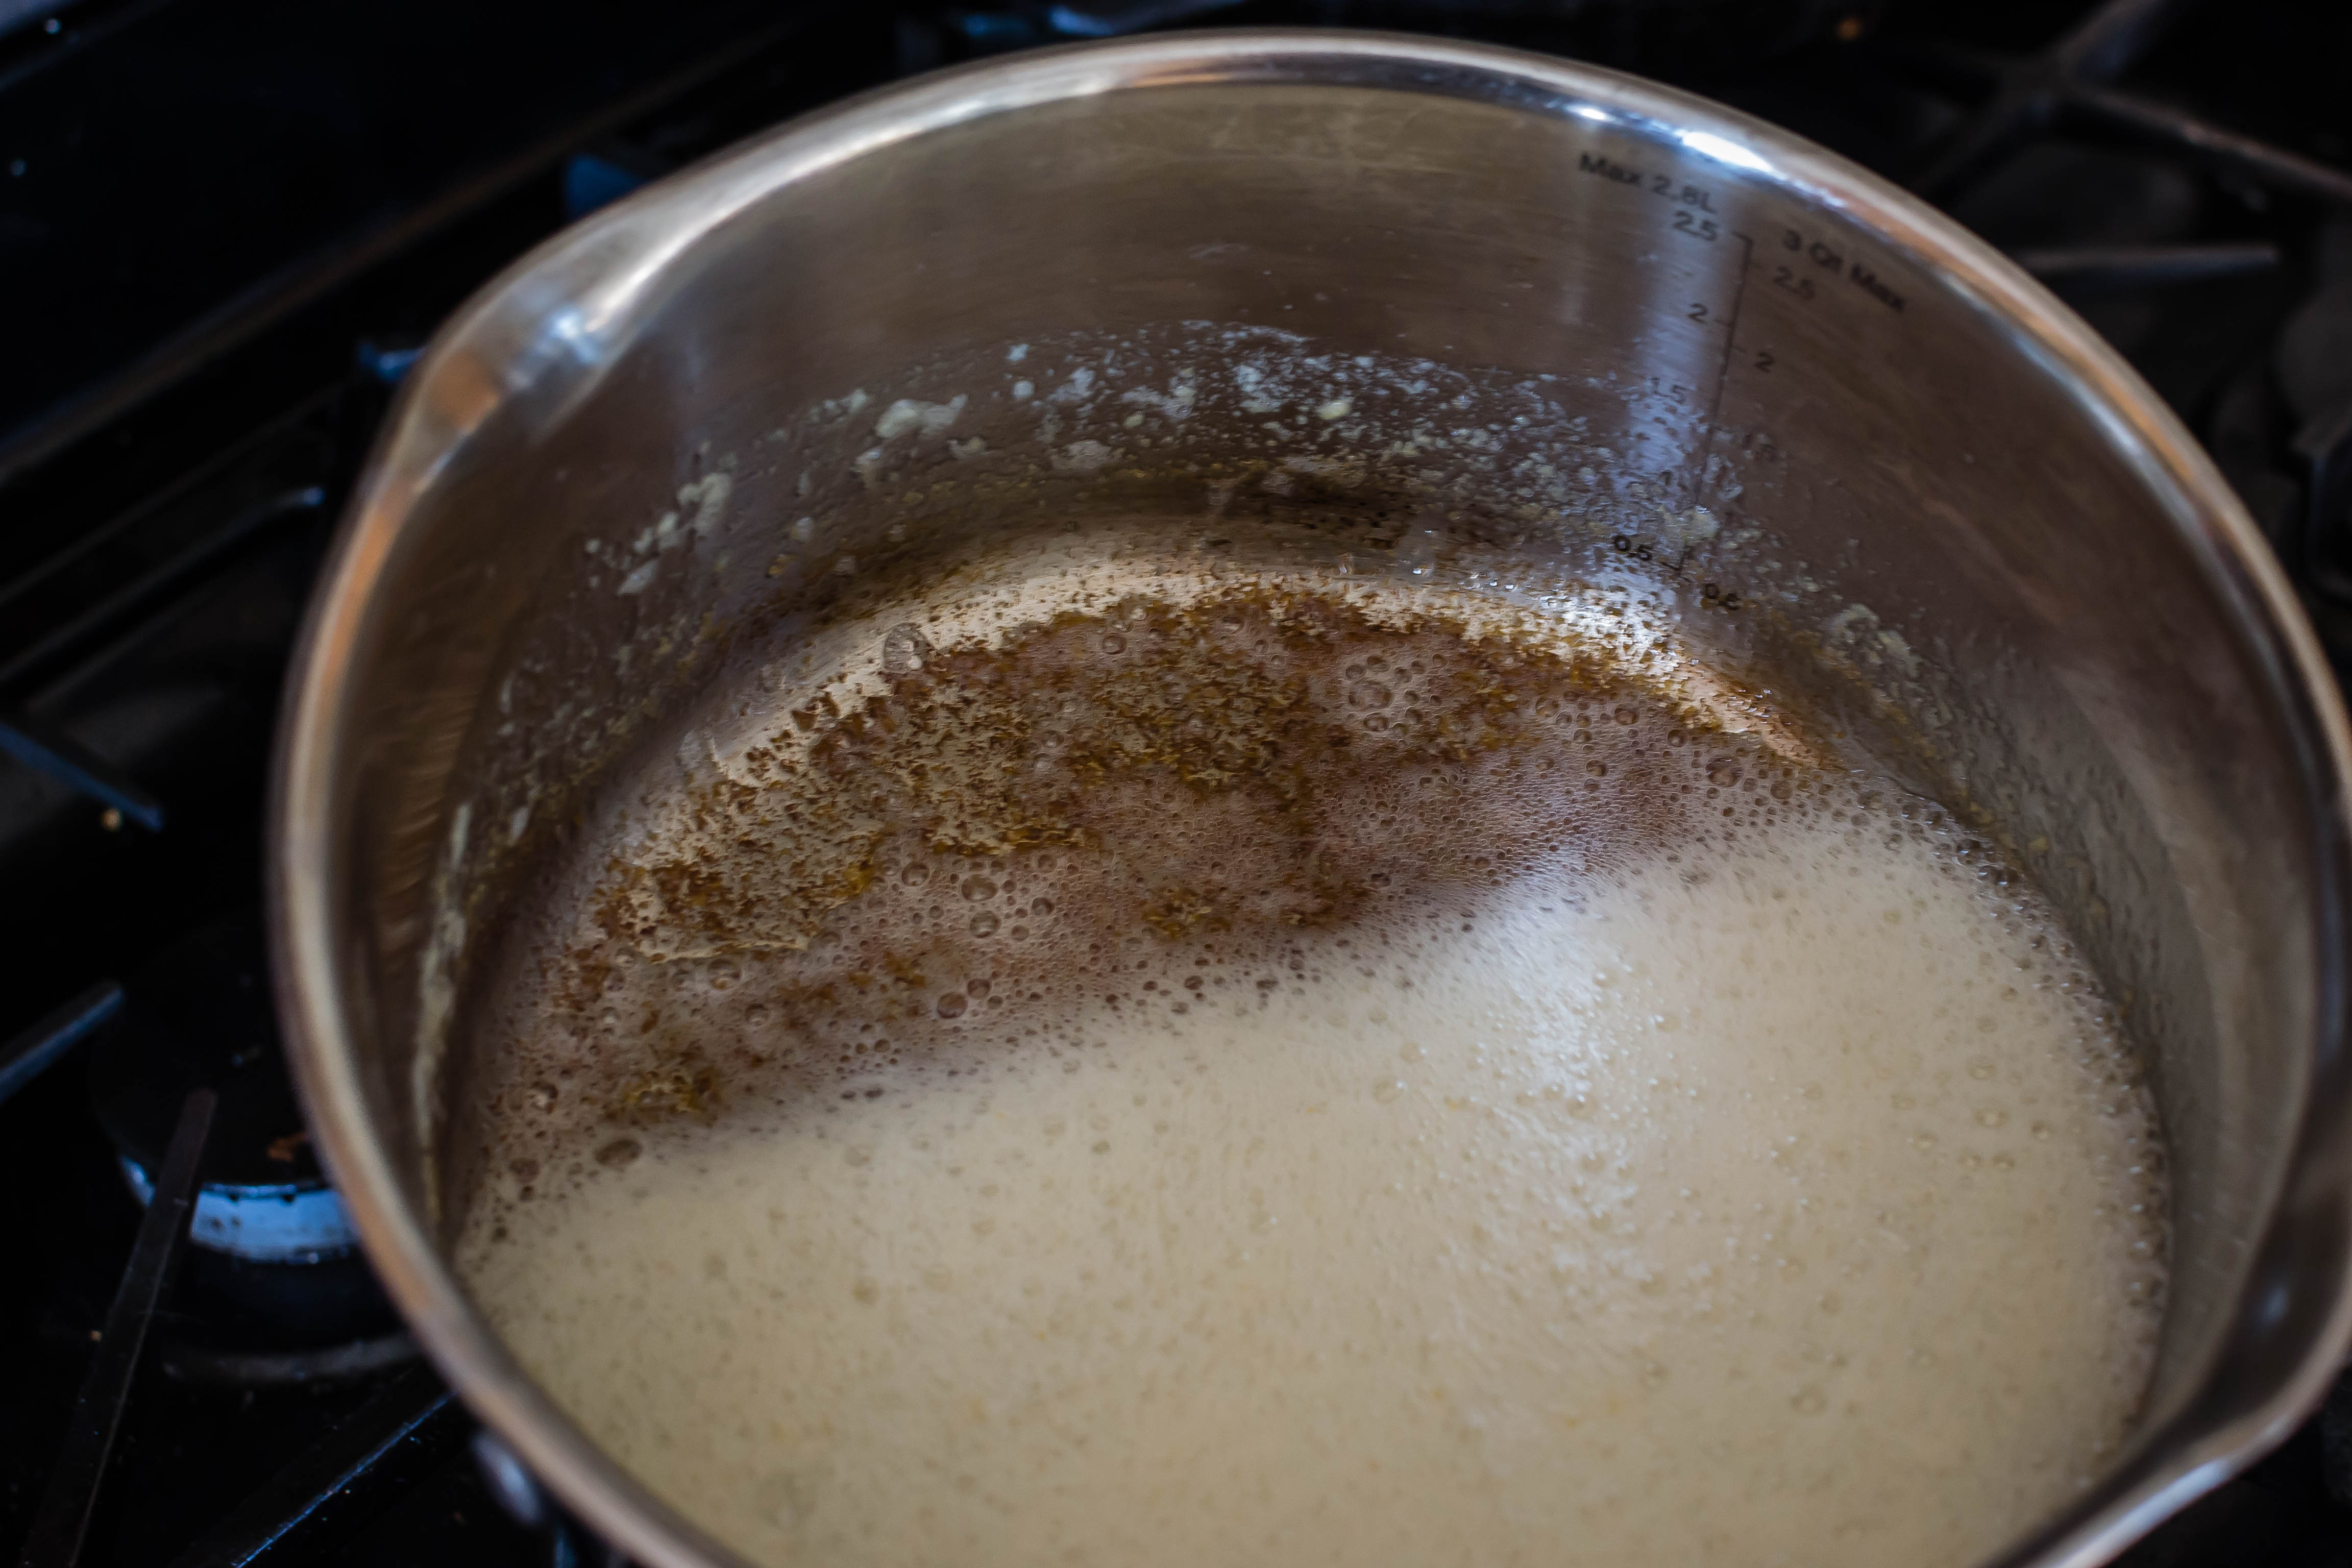
- Meanwhile, brown the butter and prepare the remaining apples. For the butter, melt all 3 sticks in a medium saucepan and let cook over medium heat until the solids on the bottom take on a toasty brown color. First it will foam up, then subside, then brown. It’s easiest to use a pot that does not have a dark surface, since you can see color changes in the butter more easily. Once those bits have browned, remove the pot from the heat and let cool.
- For the remaining two apples, grate on the large holes of a box grater or use the shredding disc of a food processor (be careful to avoid stems and seeds). Gather the shreds into a clean kitchen towel and give them one good squeeze, then set aside. Don’t squeeze them out too much; we want some of that moisture for the cake.
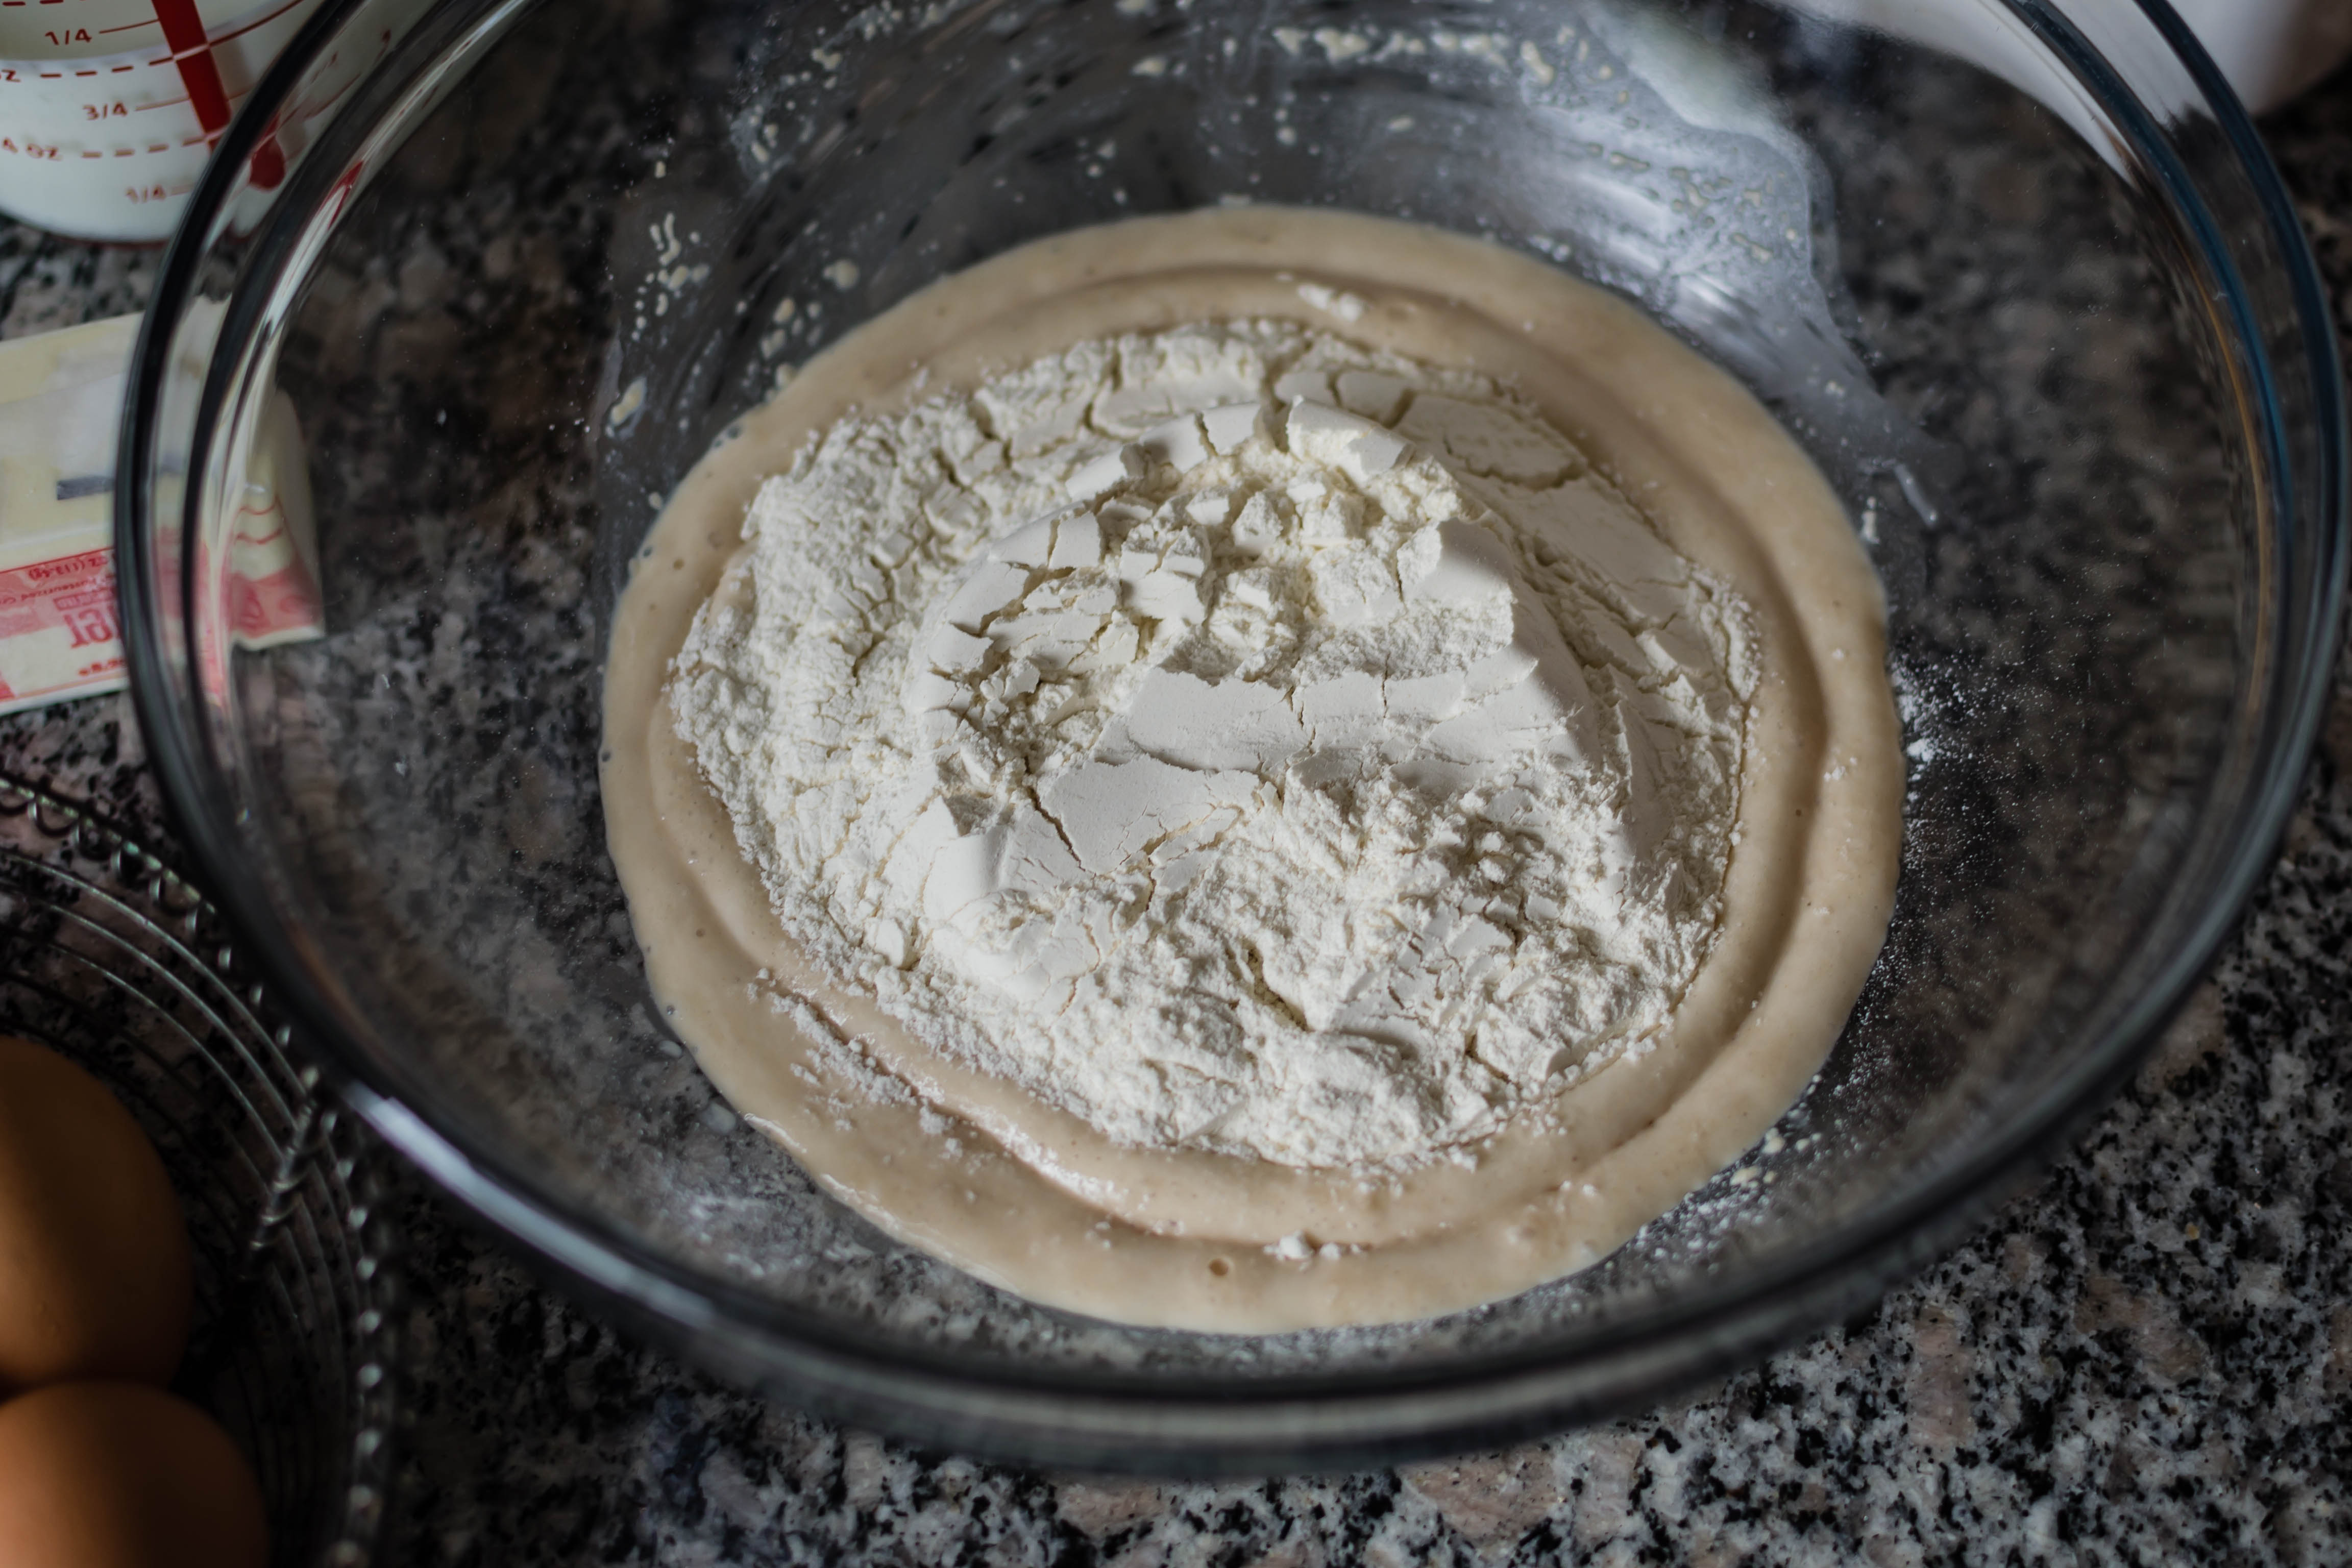
- Once all your pre-cooked ingredients have cooled down, lower the oven temperature to 325F and make the batter. In a large bowl (I used the bowl of my stand mixer), beat the sugar and the cooled brown butter together. Be sure to scrape in all of those browned bits from the bottom of the pot – that’s where much of the toasty flavor resides! Add the eggs one at a time, beating well.
- Add the dry ingredients, sifting if you want to bother. I never do.
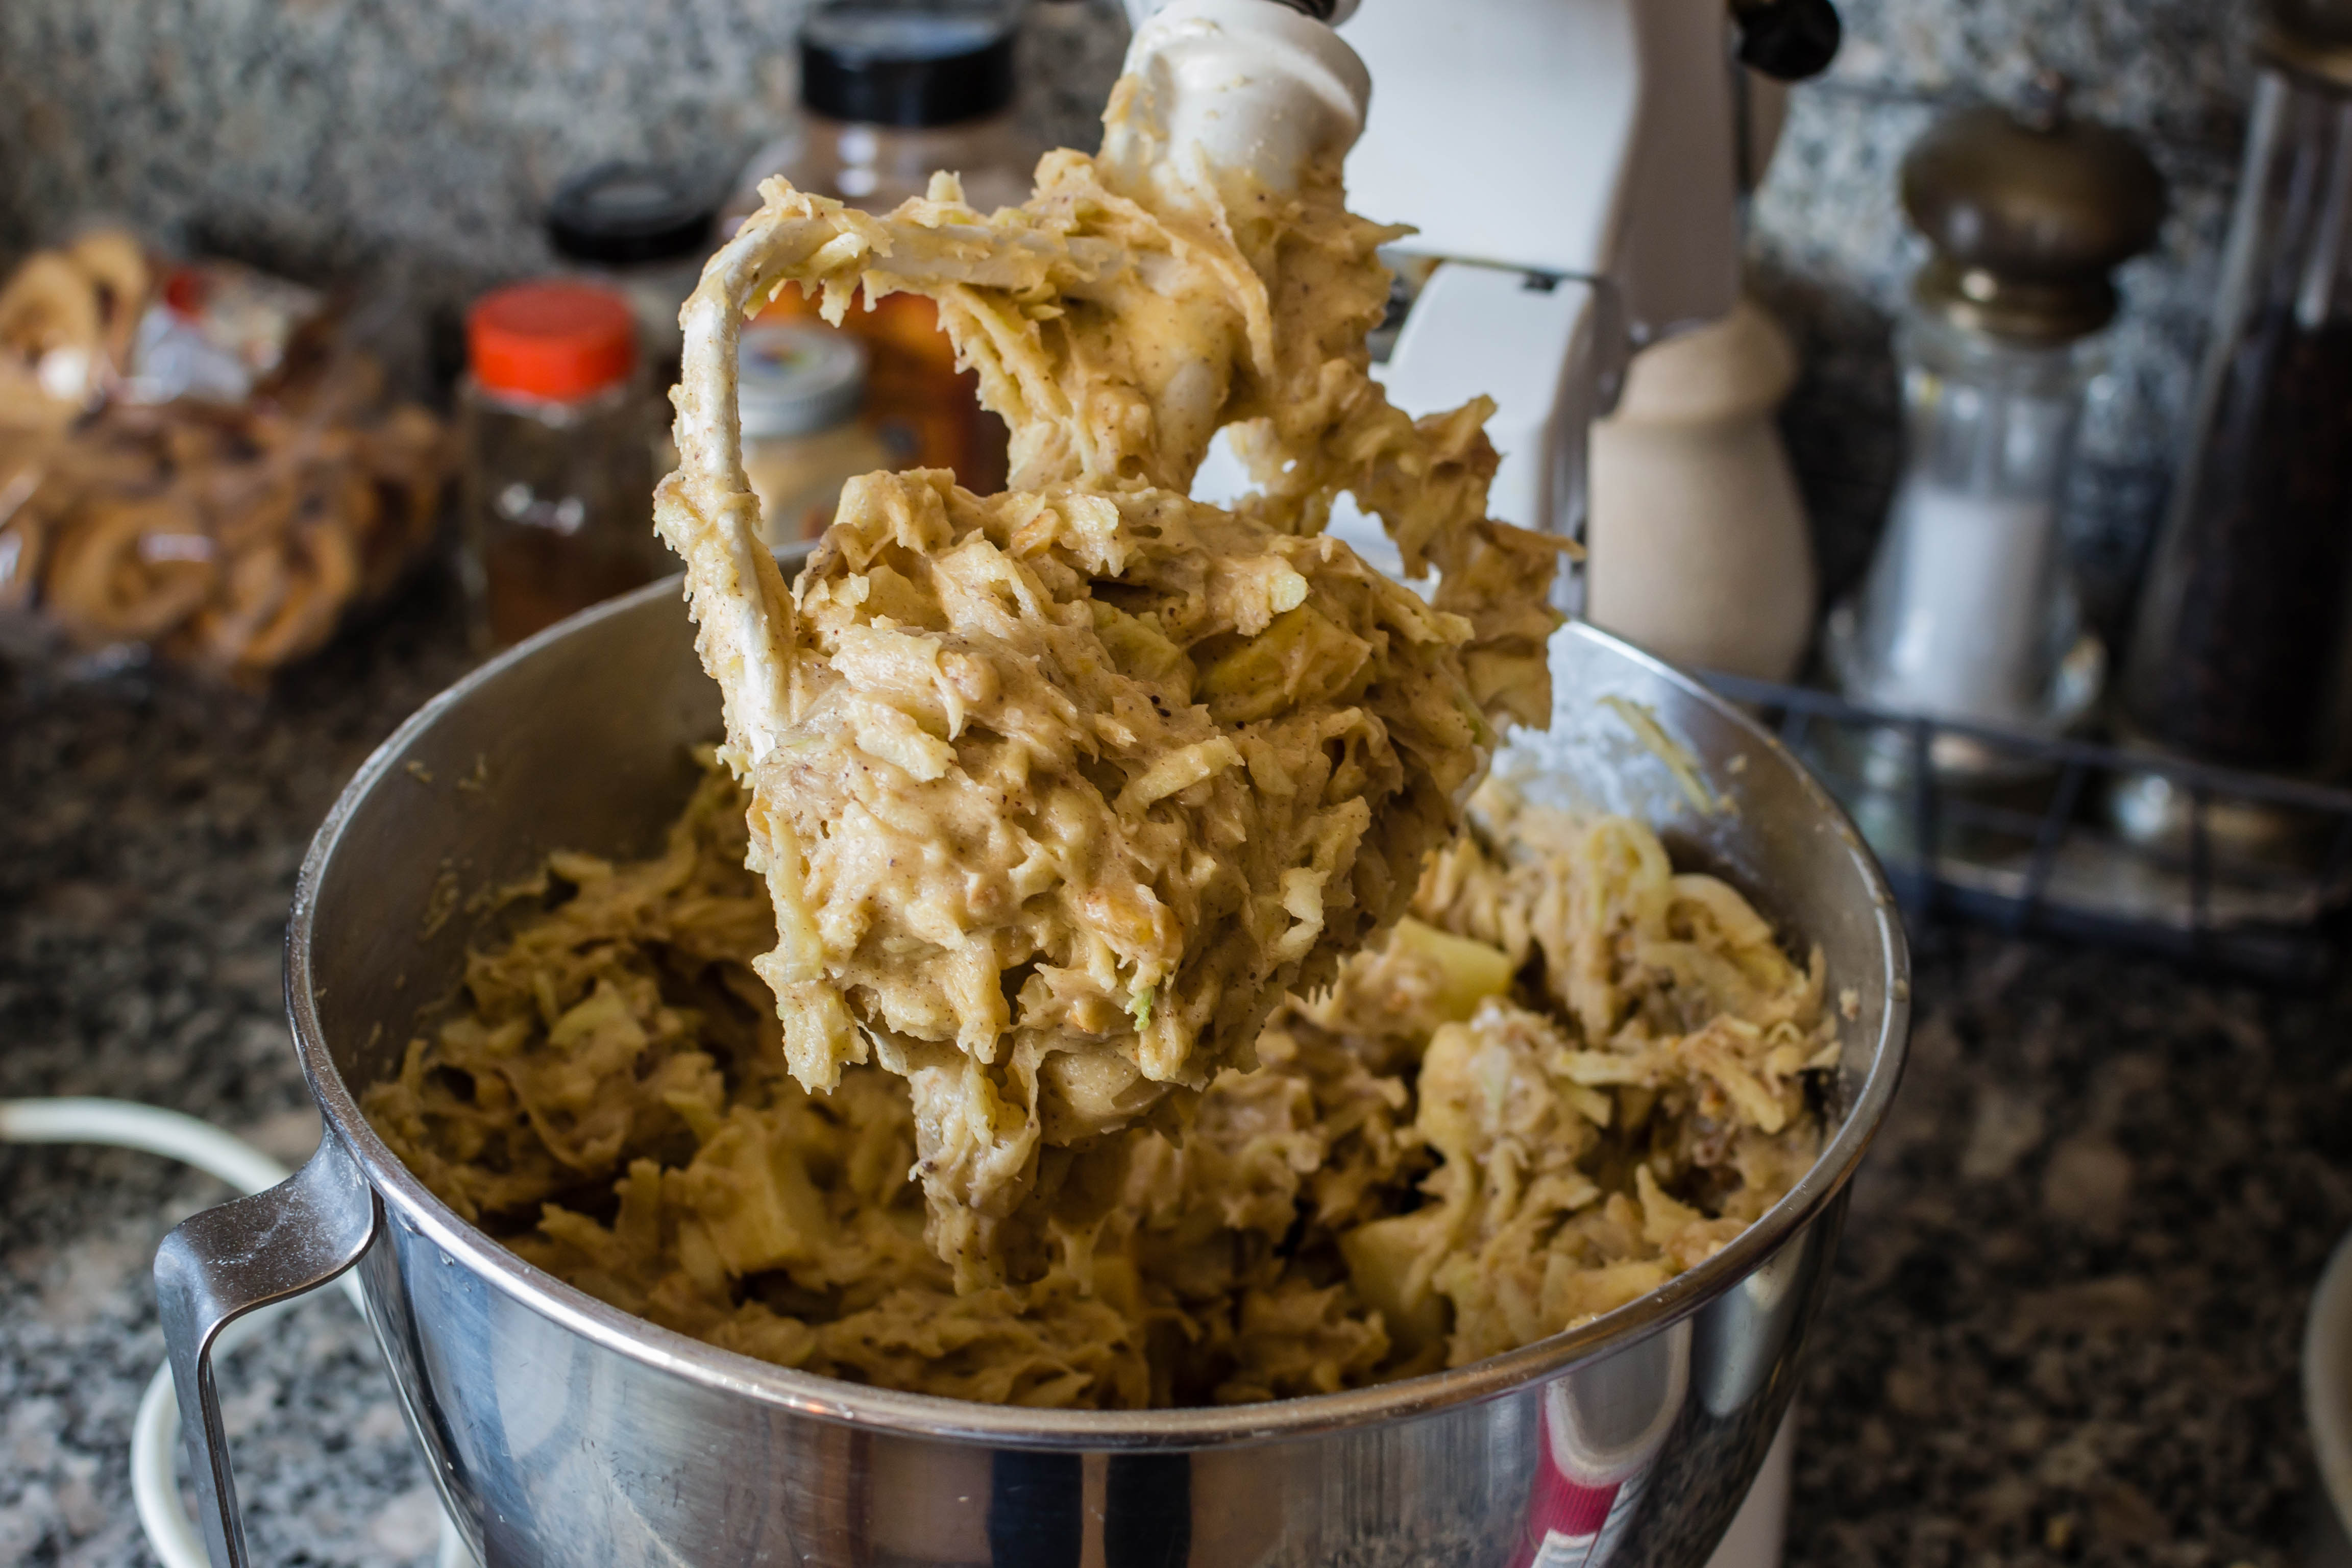
- Stir in the golden raisins, ¾ cup of the toasted, roughly chopped walnuts, the crystalized ginger, and the grated apple. Finally, gently fold in the chunks of roasted apple.
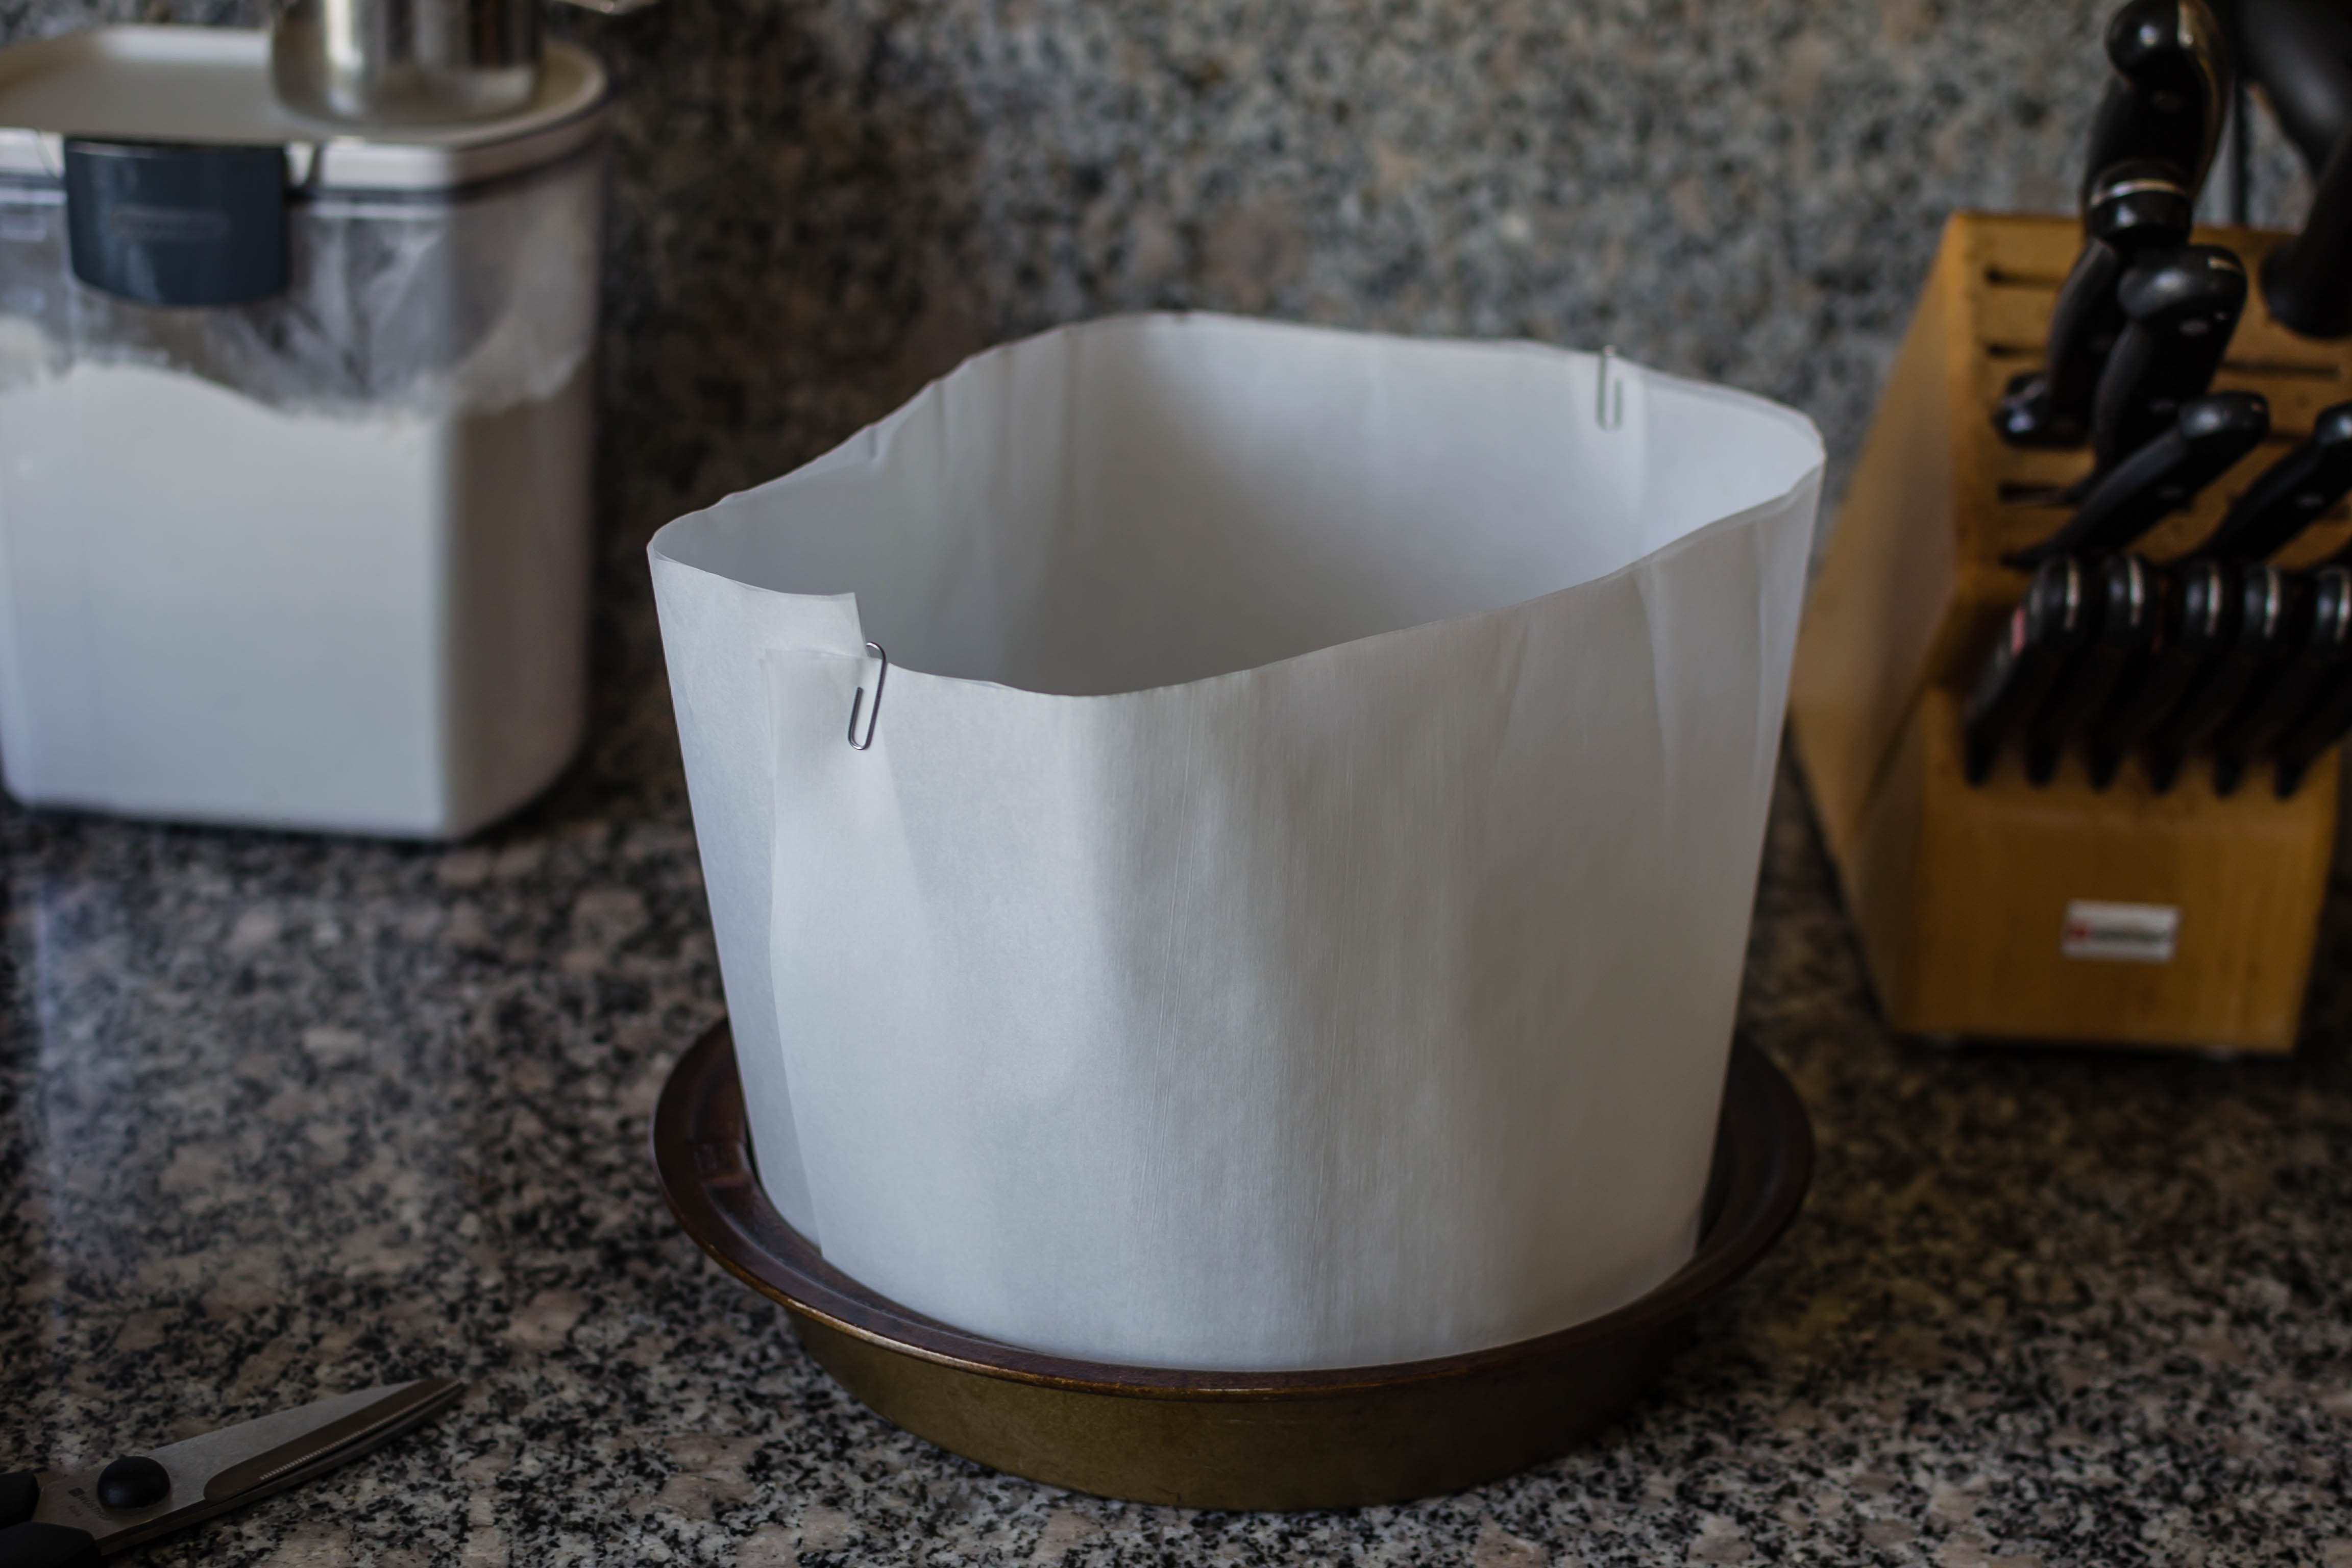
- Divide the mixture evenly between 3 well-greased 9-inch round baking pans. You can line with parchment paper too, if you want the extra insurance. The layer of batter in each will be thin. If you, like me, only have two 9-inch pans, bake two layers first, then use one of those pans again for the final layer after the first batch has cooled a bit.
- Bake in the preheated 325F oven until a toothpick inserted comes out with just a few moist crumbs, 30-35 minutes.
- Cool layers in pans for at least 15 minutes, then remove from pans and cool completely. I’m serious about that 15-minute thing, by the way. Trying to take them out before that could result in disintegration!
- To make the frosting and filling, finely chop the remaining ¼ cup of walnuts and combine with the finely chopped dried apples in a small bowl.
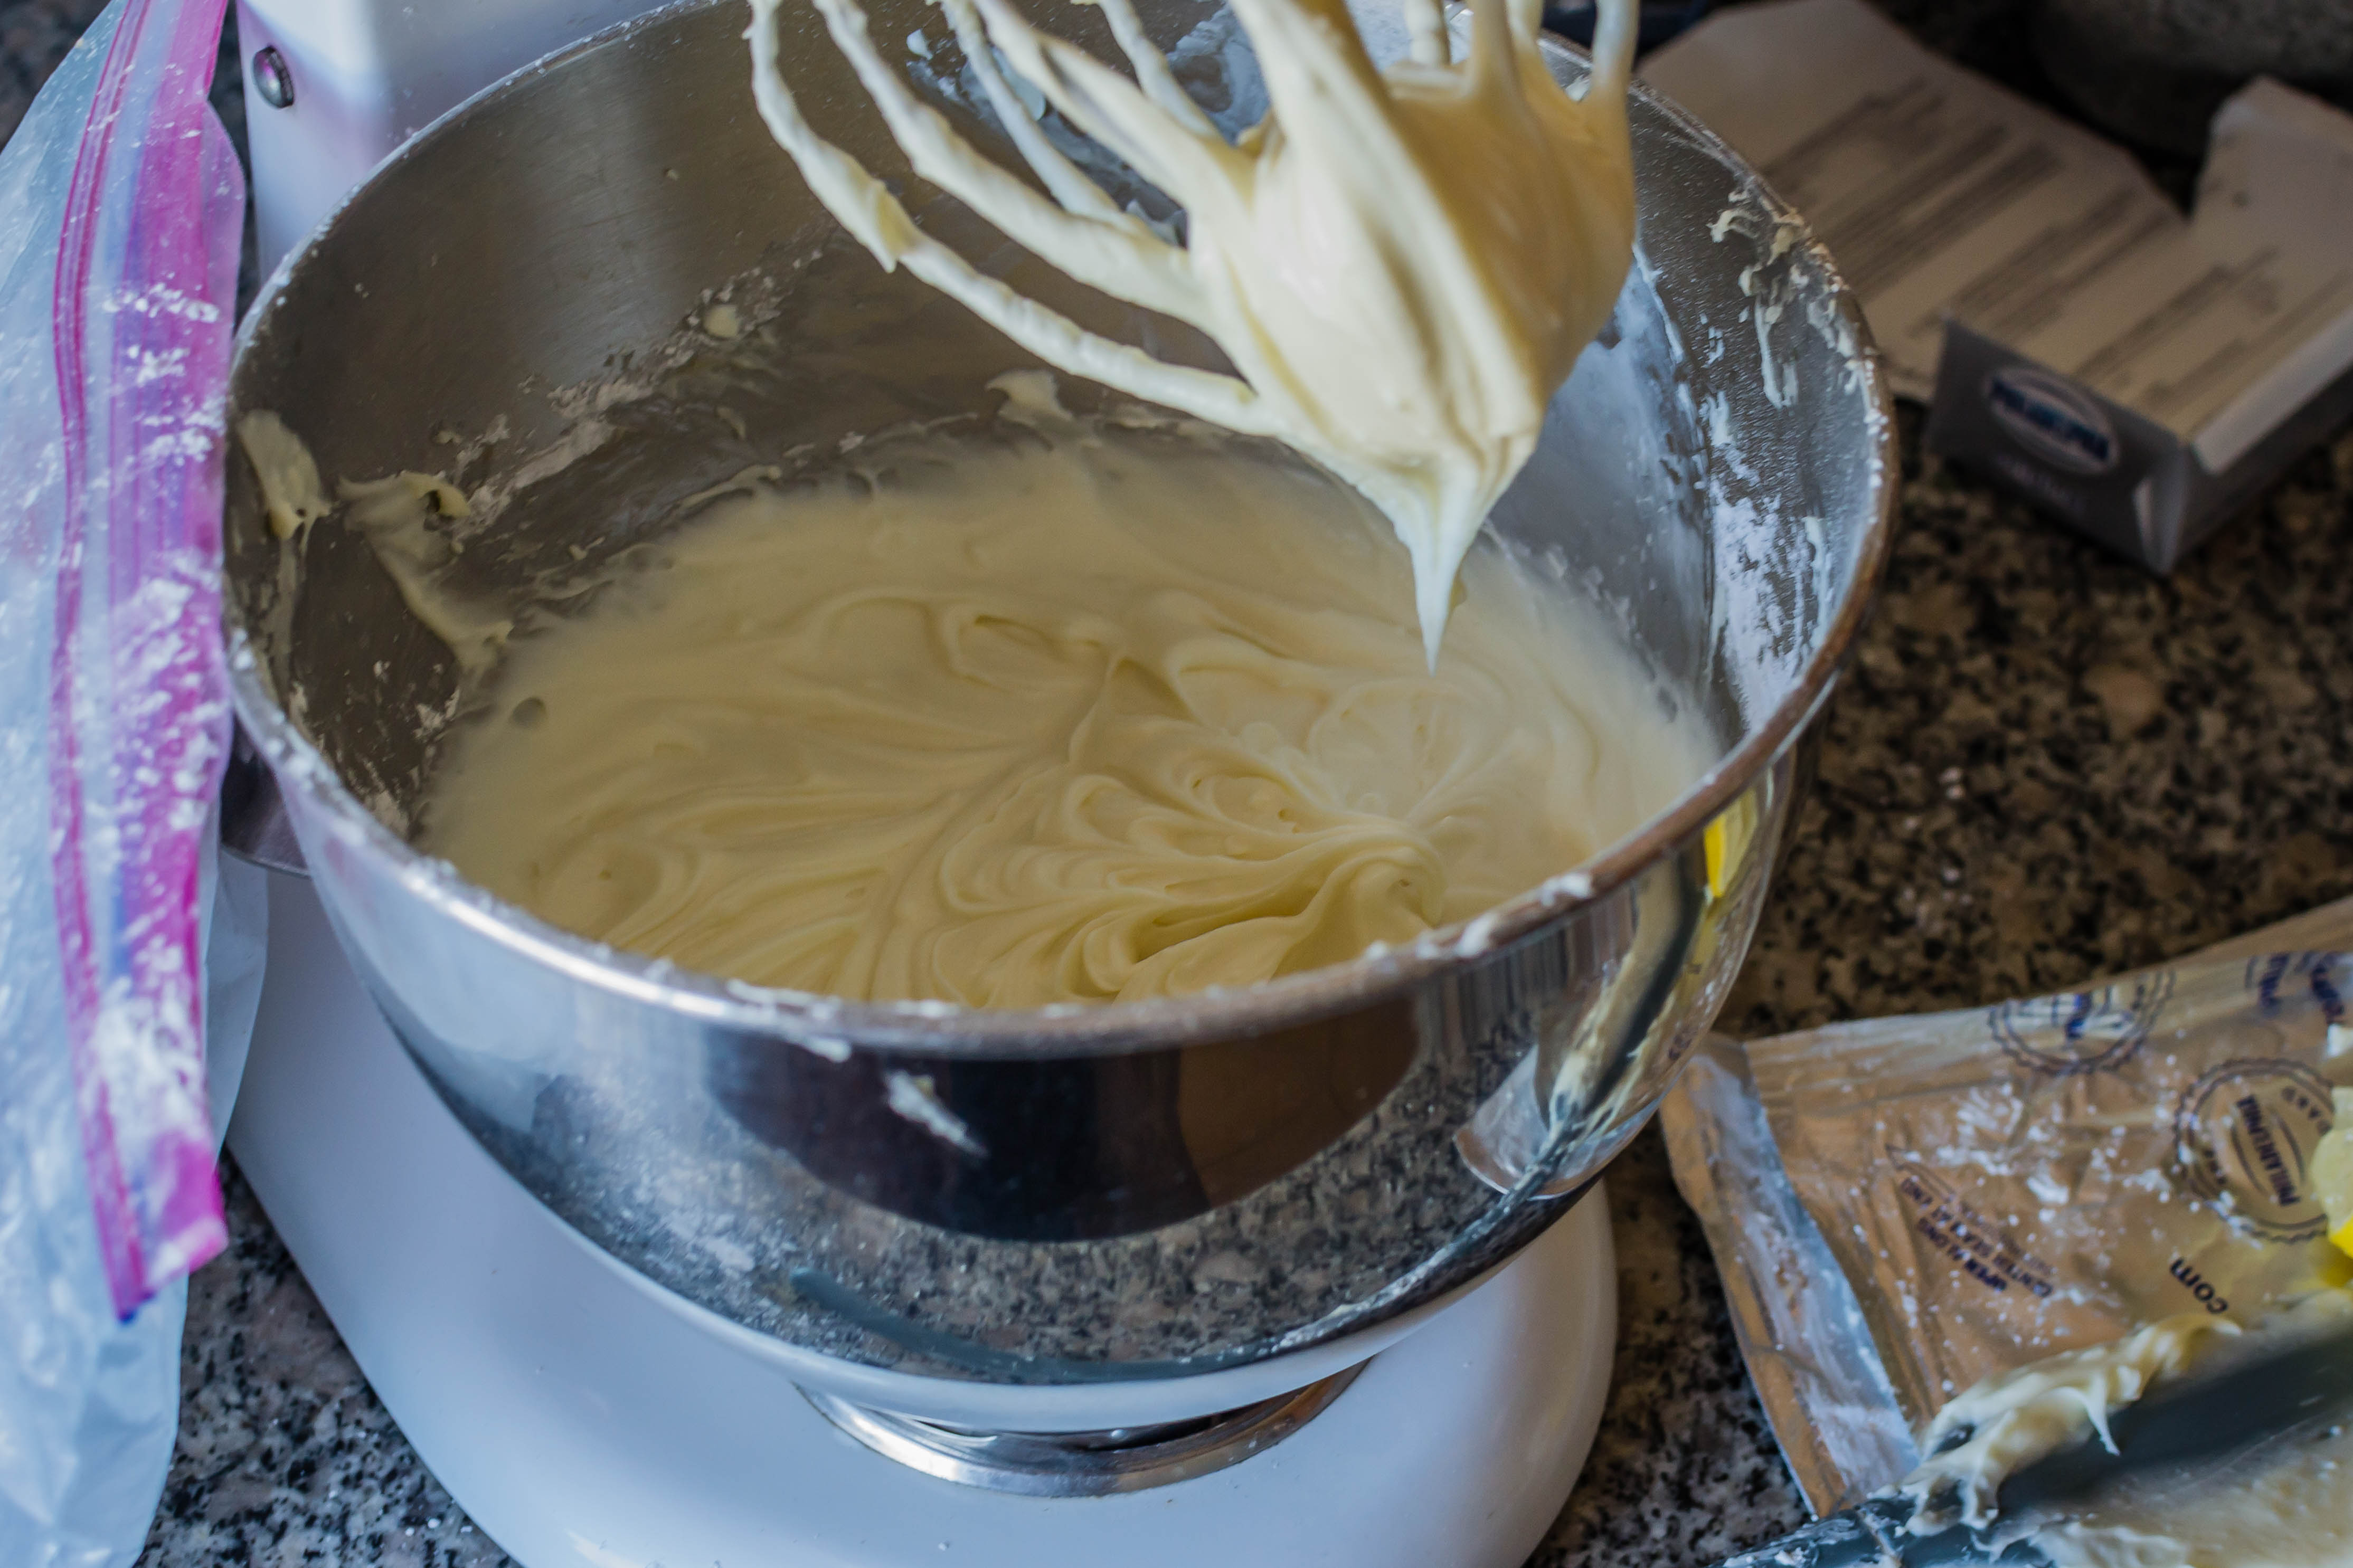
- In a large bowl, beat together the room temperature butter, cream cheese, vanilla, and lemon juice until well combined. Scrape down the sides of the bowl and the beaters to ensure full integration.
- Add the powdered sugar ½ cup at a time, to prevent cough-inducing clouds, and beat well after each addition, until the frosting reaches your desired thickness.
- Scoop out about 1 cup of the frosting and add it to the small bowl with the walnuts and dried apples; use a flexible spatula to mix in. This is your filling.
- To fill and frost the cake, position one fully cooled cake layer on a plate or cake stand. (If you are messy like me, you might want to arrange strips of wax paper to cover the exposed parts of the cake stand or plate while you frost.) Using a flexible rubber or an off-set icing spatula, spread about ½ of the filling evenly over this first layer of cake, going all the way to the edges. Add the next layer of cake and repeat, then top with the final layer of cake.
- Use the remaining cream cheese frosting to frost the cake as desired. If you want to do a crumb coat, use a small amount of frosting to coat the entire cake, not worrying about full coverage. When done, pop it in the fridge for a few minutes to let any crumbs that have come unstuck from the cake set into the frosting as it chills. Then remove from the fridge and continue. I usually scoop about two thirds of the frosting right onto the top layer of cake, then use an off-set spatula to gently push it toward the edges of the cake and down the sides, filling in any uneven gaps and creating as smooth a surface as I can. You may end up with extra frosting, which is convenient if you are thinking of freezing part of the cake, as explained above.
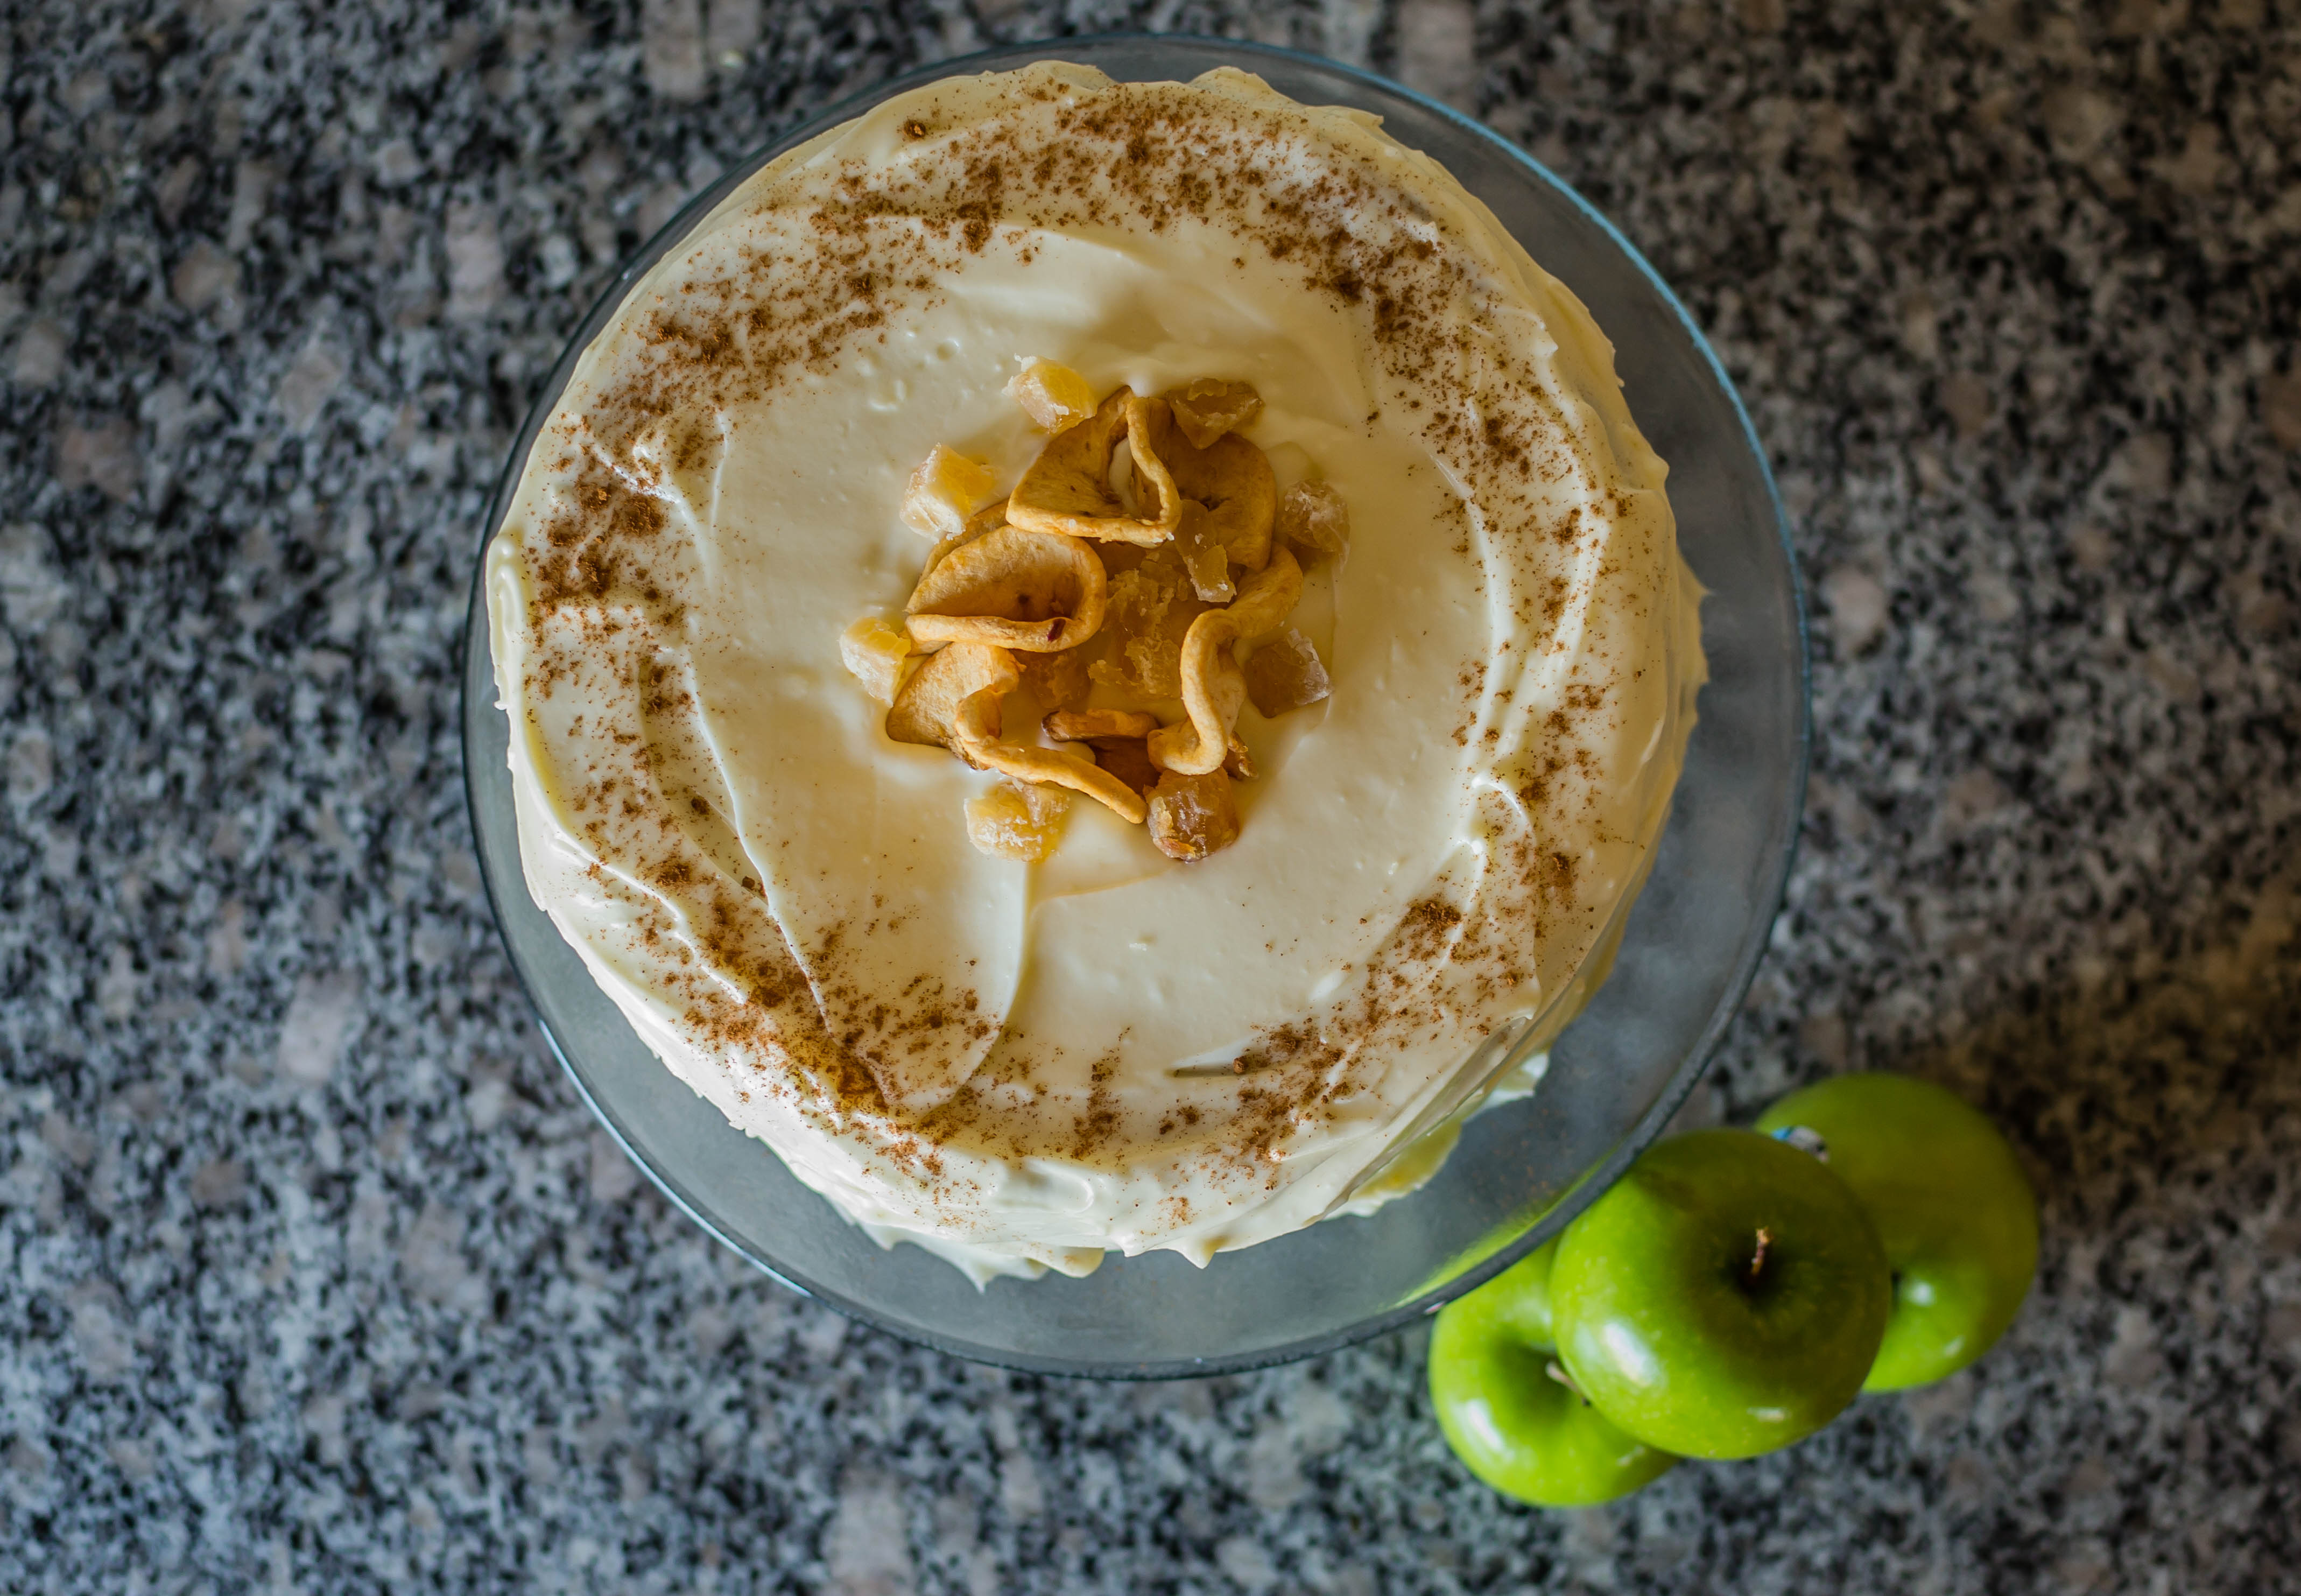
- This looks lovely with just the frosting, but if you want to decorate a little, consider artfully arranging a few dried apple rings and chunks of crystalized ginger in the center of the cake, then dusting the top edge with cinnamon before slicing and serving.