Grilled Zucchini and Corn Salad

2016 Food Blog June-0899
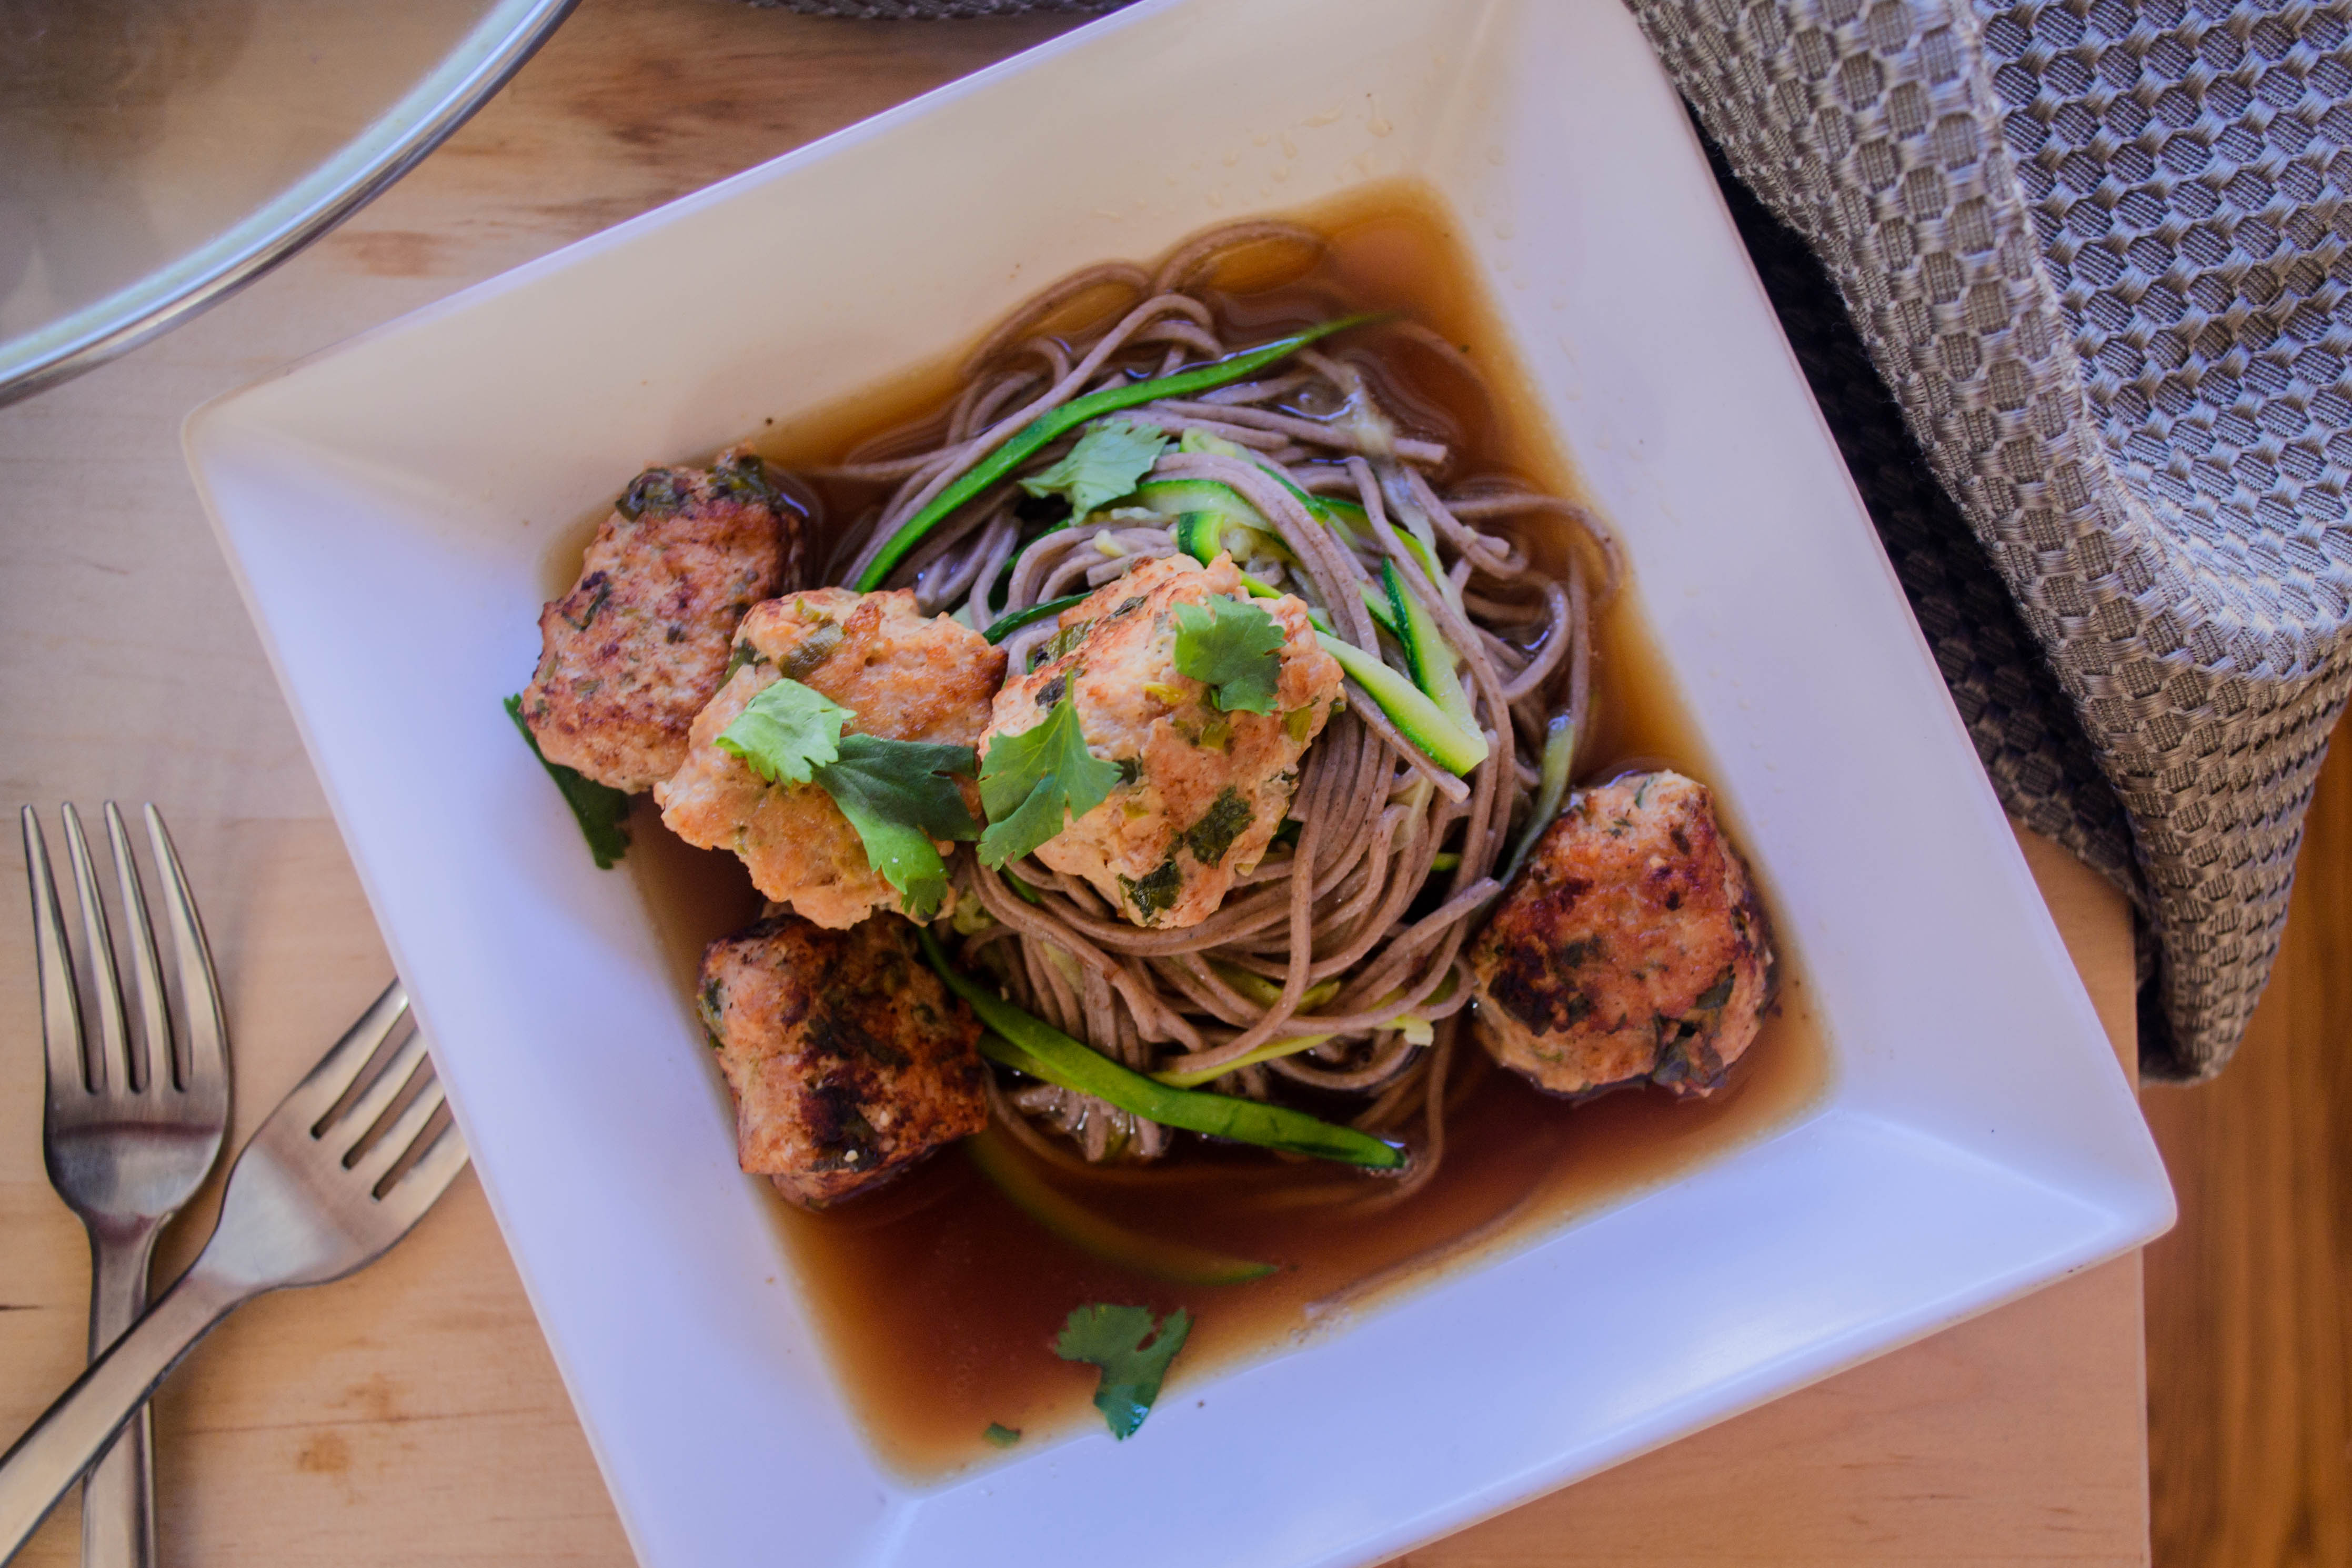
As you can no doubt discern from the dead giveaway of two grilled corn dishes in three weeks, I’m itching for summer. Southern California has dipped into its customary “June gloom,” a period of several weeks that I adore, because the marine layer keeps my morning cool enough for a comfortable dog walk, for a bit of gardening, sometimes even for a (gasp) sweater while I sip a cup of tea. And this would, under normal circumstances, be a satisfying start to summer.

2016 Food Blog June-0877But for the first time in a few years, I’m teaching a summer course. It only lasts six weeks, and so far they are engaged and have made me think new things about some of the stories we’ve read – always a wonderful thing for an English professor. Yet still, upon arriving home this past Thursday afternoon, the end of my initial week with the class, I realized I had to go back on Monday, when all I wanted was grilled food and maybe a beer on the back porch, and certainly not to craft a lecture on Frankenstein.

2016 Food Blog June-0884Since only two of these desires can be realized (Frankenstein must be attended to, whether I want to or not), I decided the grilled food should be as summery as possible. Some weeks ago I attempted a warm vegetable salad like this: corn and zucchini sautéed at high temperature and then doused with a sharp shower of lime, but the vegetables were disappointingly wilted. What they needed for the dish I’d envisioned was the grill.

2016 Food Blog June-08892016 Food Blog June-0890
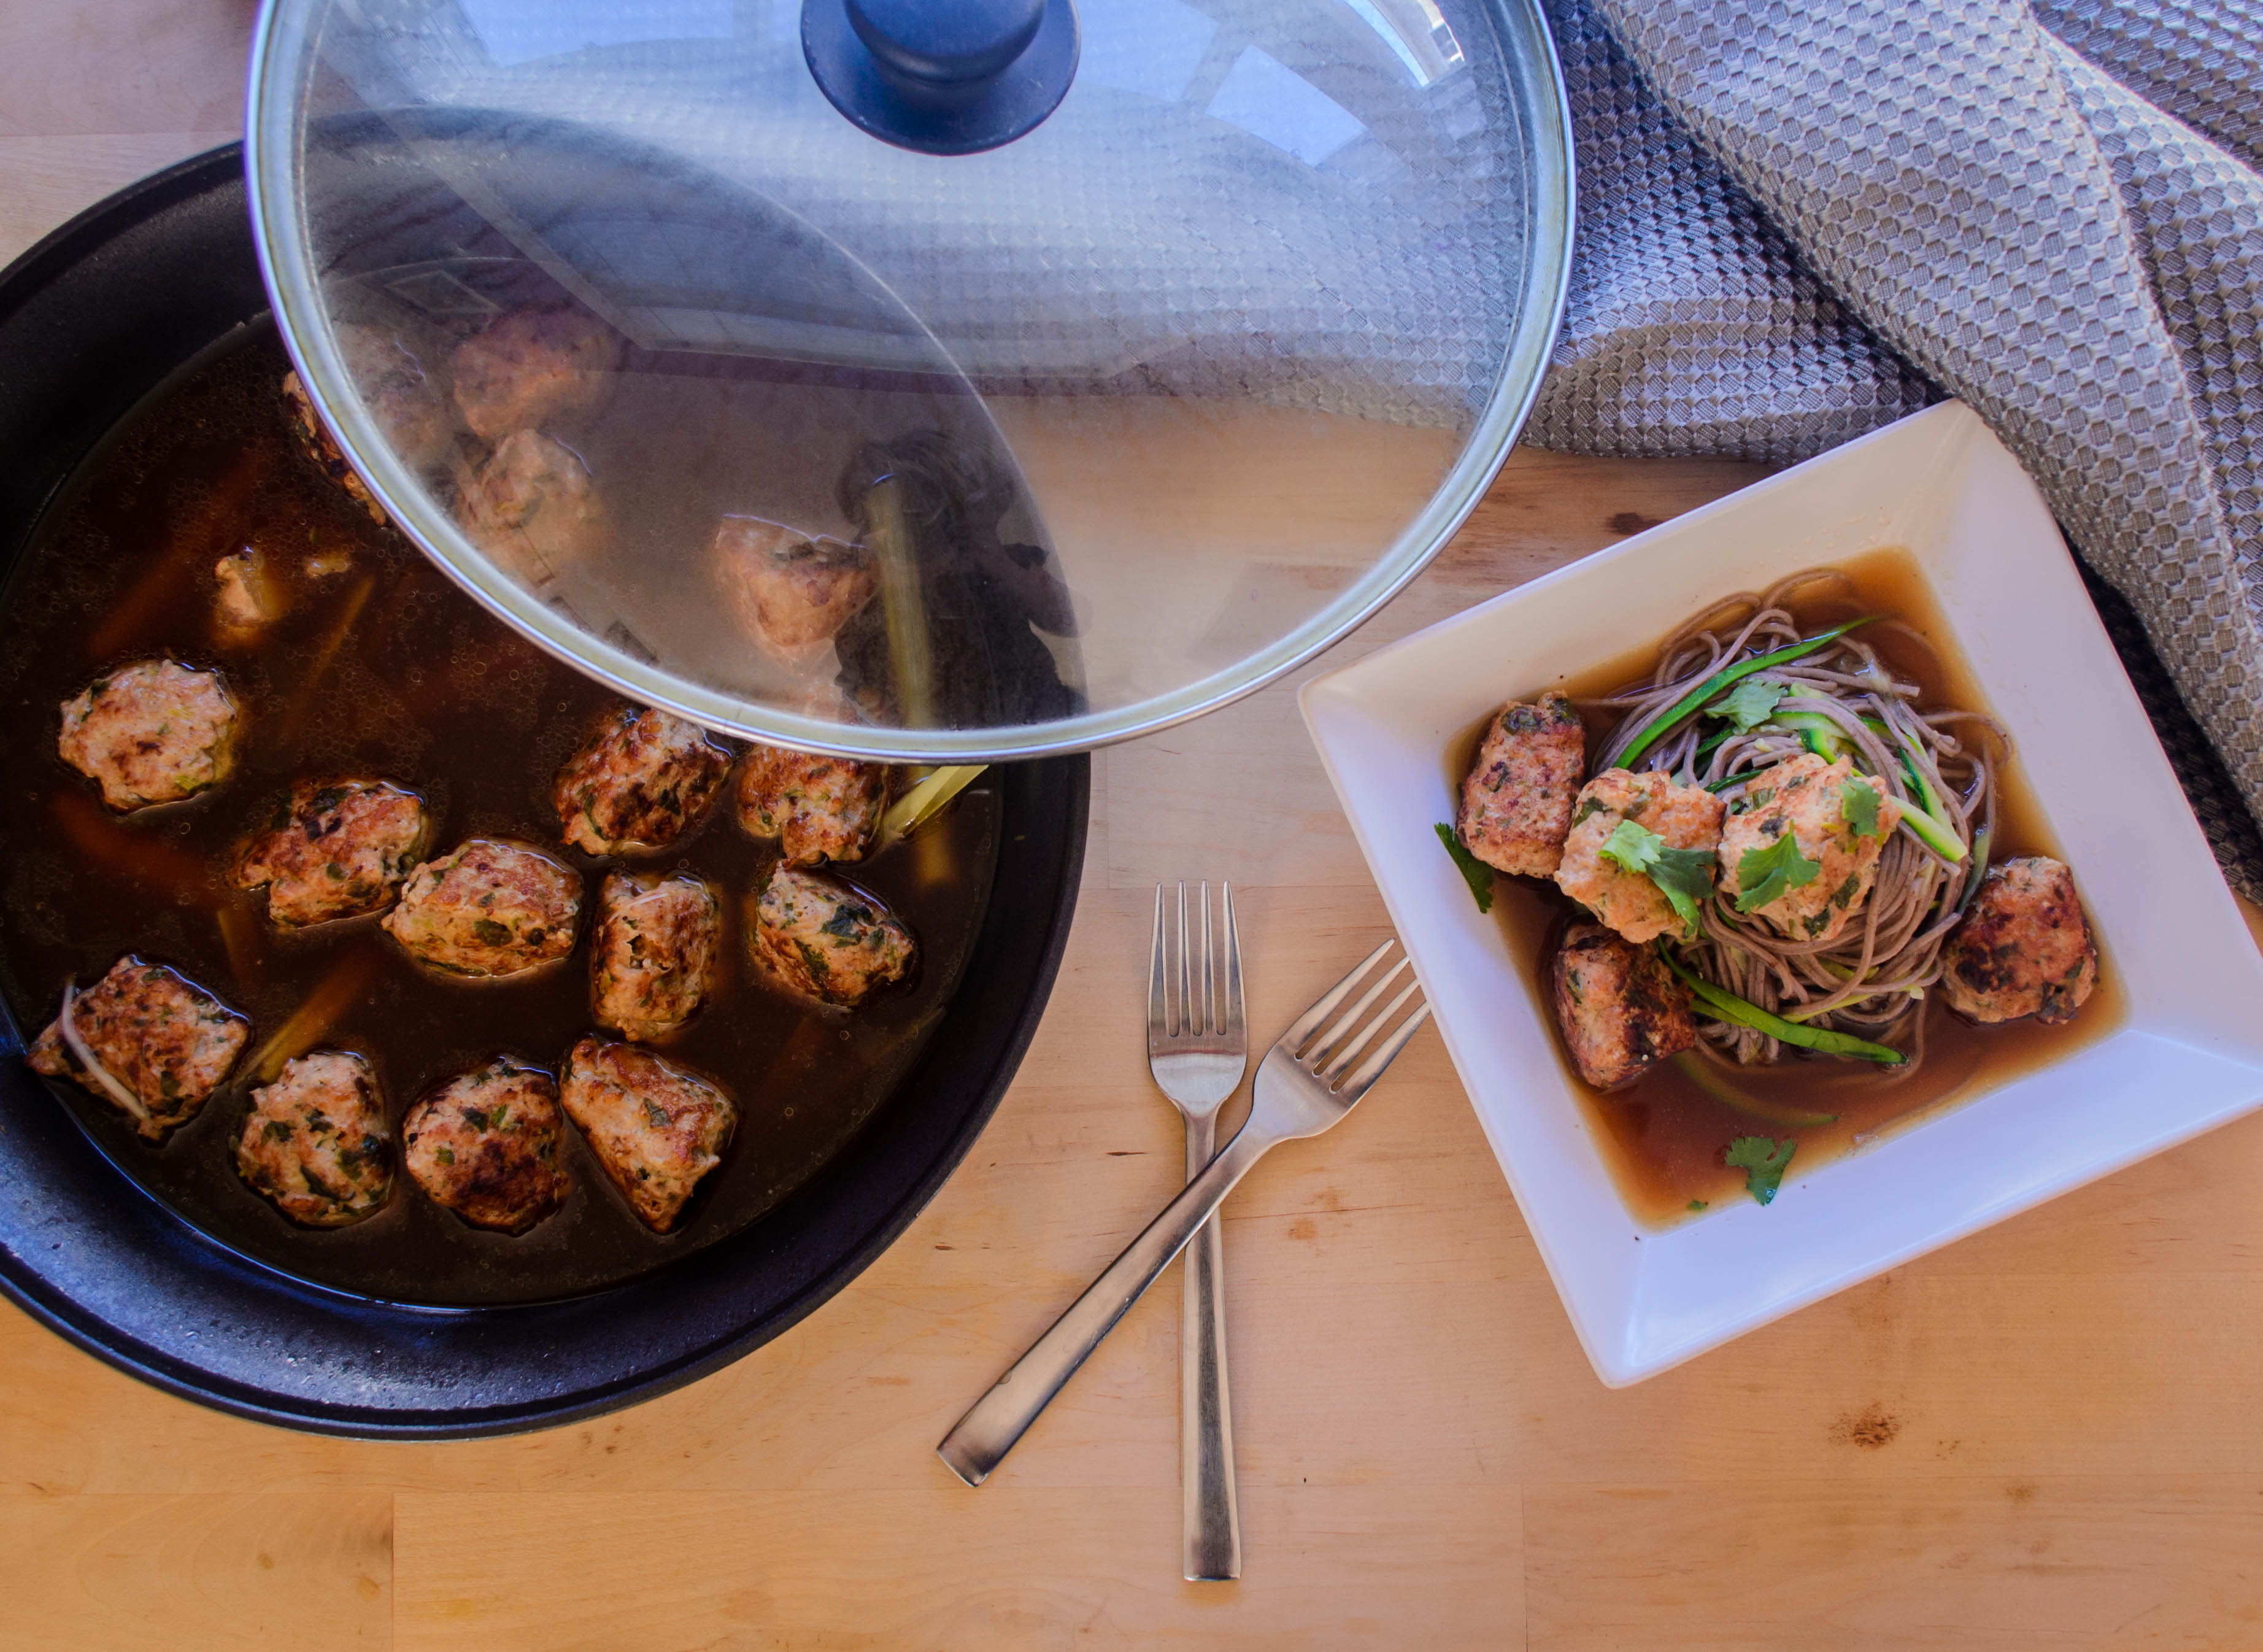
If you haven’t already investigated the trio that is corn, zucchini, and lime, I suggest you do so immediately. Zucchini is such a mild, grassy, vegetal taste, so a hit of acid wakes it up and makes it interesting again. It plays well with corn, which carries its own grassiness along with the starchy sweetness that we so prize. Both benefit tremendously from the savory char of a grill – that taste of fire we seem to cling to particularly as the weather warms outside. Michael Pollan has speculated that there’s something about the process of cooking – of submitting food to heat and to flame – that truly awakens our humanness. Grilling – that barely tamed version of fire as a cooking medium – is perfect for summer dishes, then, because it echoes the looser, easier, perhaps even more primal feel of the season. Besides, aside from, I don’t know, cheesecake or ice cream, I can think of few foods that don’t become better when cooked on an oiled grate over a bright flame.

2016 Food Blog June-0887But in case you aren’t in love already with the summery ease and boost of flavor the grill imparts, dousing the still-warm veg in a dressing of lime, honey, and cilantro makes a sprightly side dish that needs only the crunch of toasted pumpkin seeds and the squeaky saltiness of crumbled cotija to complete it.

2016 Food Blog June-0892Because he’s nursing the same summer bug I am, N. wanted steak, so in addition to the vegetables he grilled a piece of sirloin flap.* As I played with presentation ideas, I realized the now-flexible planks of zucchini with their glorious char marks could be artfully arranged on a long platter, and the steak could be sliced thinly across the grain and draped over top, and I could have something that looked, well, like it came from somewhere a bit fancier than my backyard.

2016 Food Blog June-0903By the same token, though, the salad could simply be piled high on a plate, dusted with cheese and pumpkin seeds, and served alongside anything grilled, or perhaps spiced potatoes, or even wedged inside a tortilla as a quite respectable base for a vegetable taco.

2016 Food Blog June-0910* 
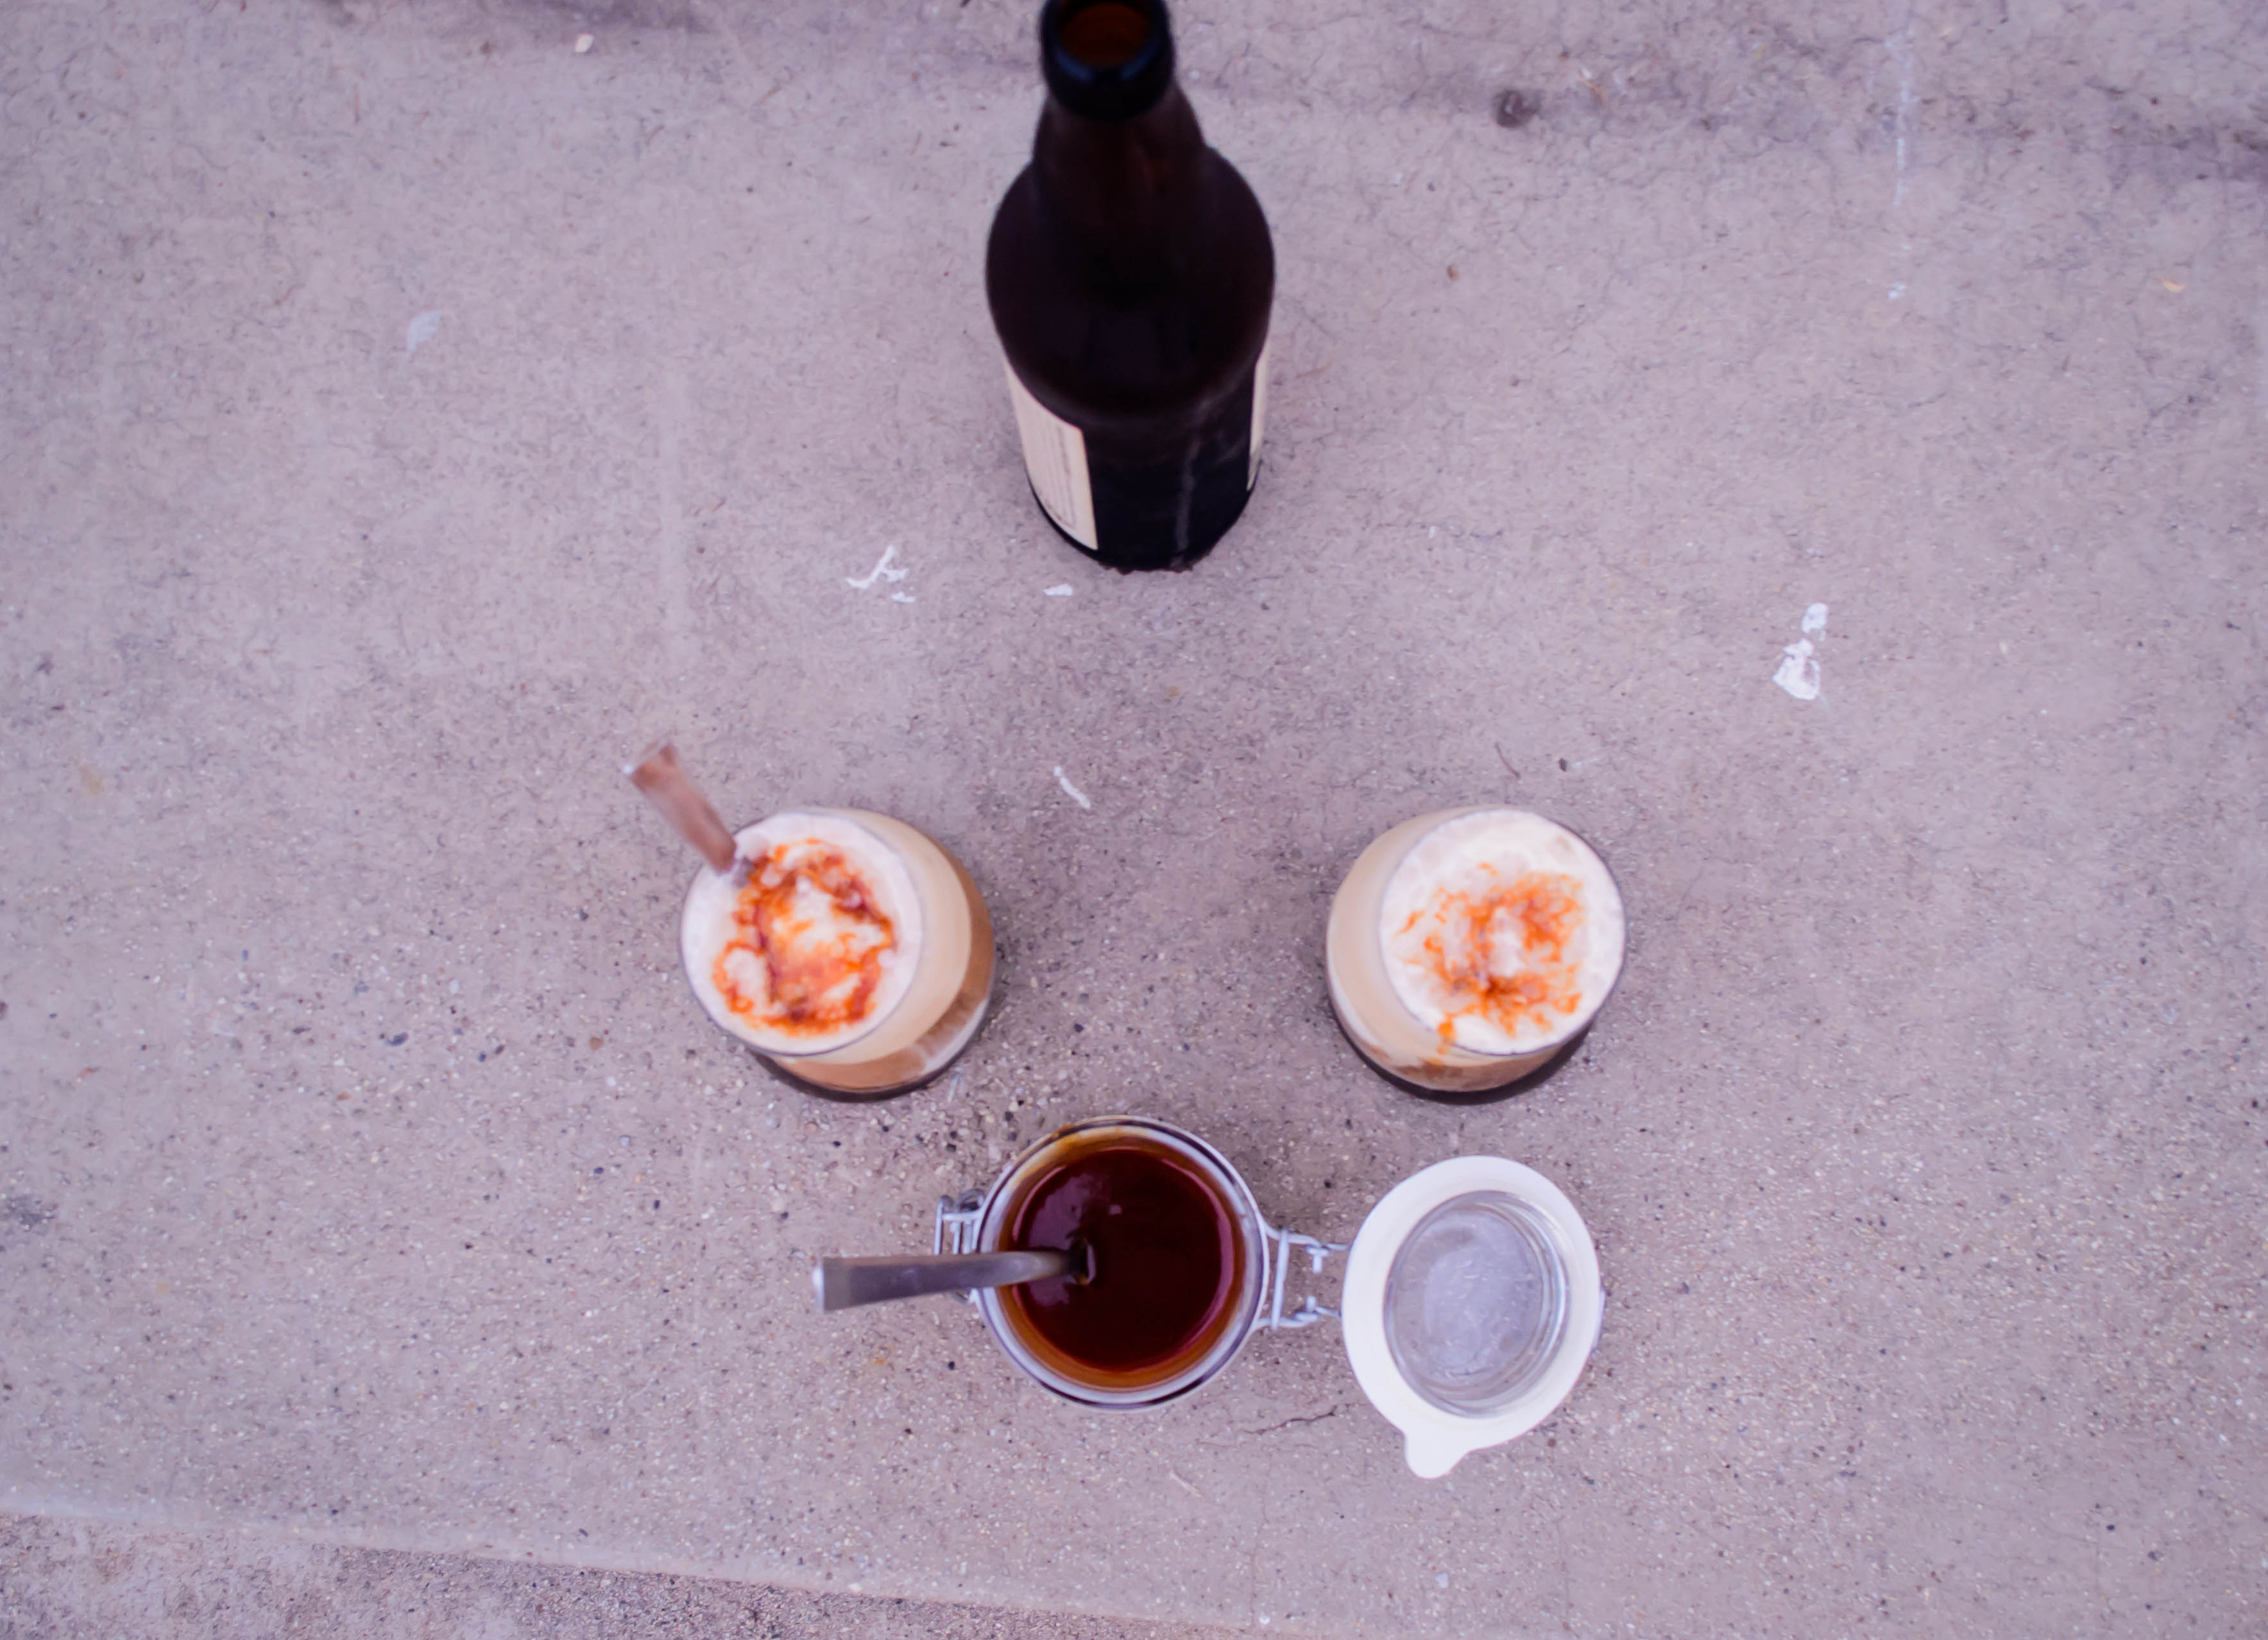
You should make this, too. I didn’t document it with any kind of precision, but I marinated the steak overnight in some dark beer, crushed garlic and coriander, and a bit of red pepper flake, then N grilled it for something like 3 minutes per side over the cooler side of the grill (ours has some hot spots), and rested it wrapped in aluminum foil for about five minutes to produce an incredibly tender, flavorful main course.


Grilled Zucchini and Corn Salad with Lime Vinaigrette
Serves 2-4 as a side dish
3 ears corn on the cob, husk and silk removed
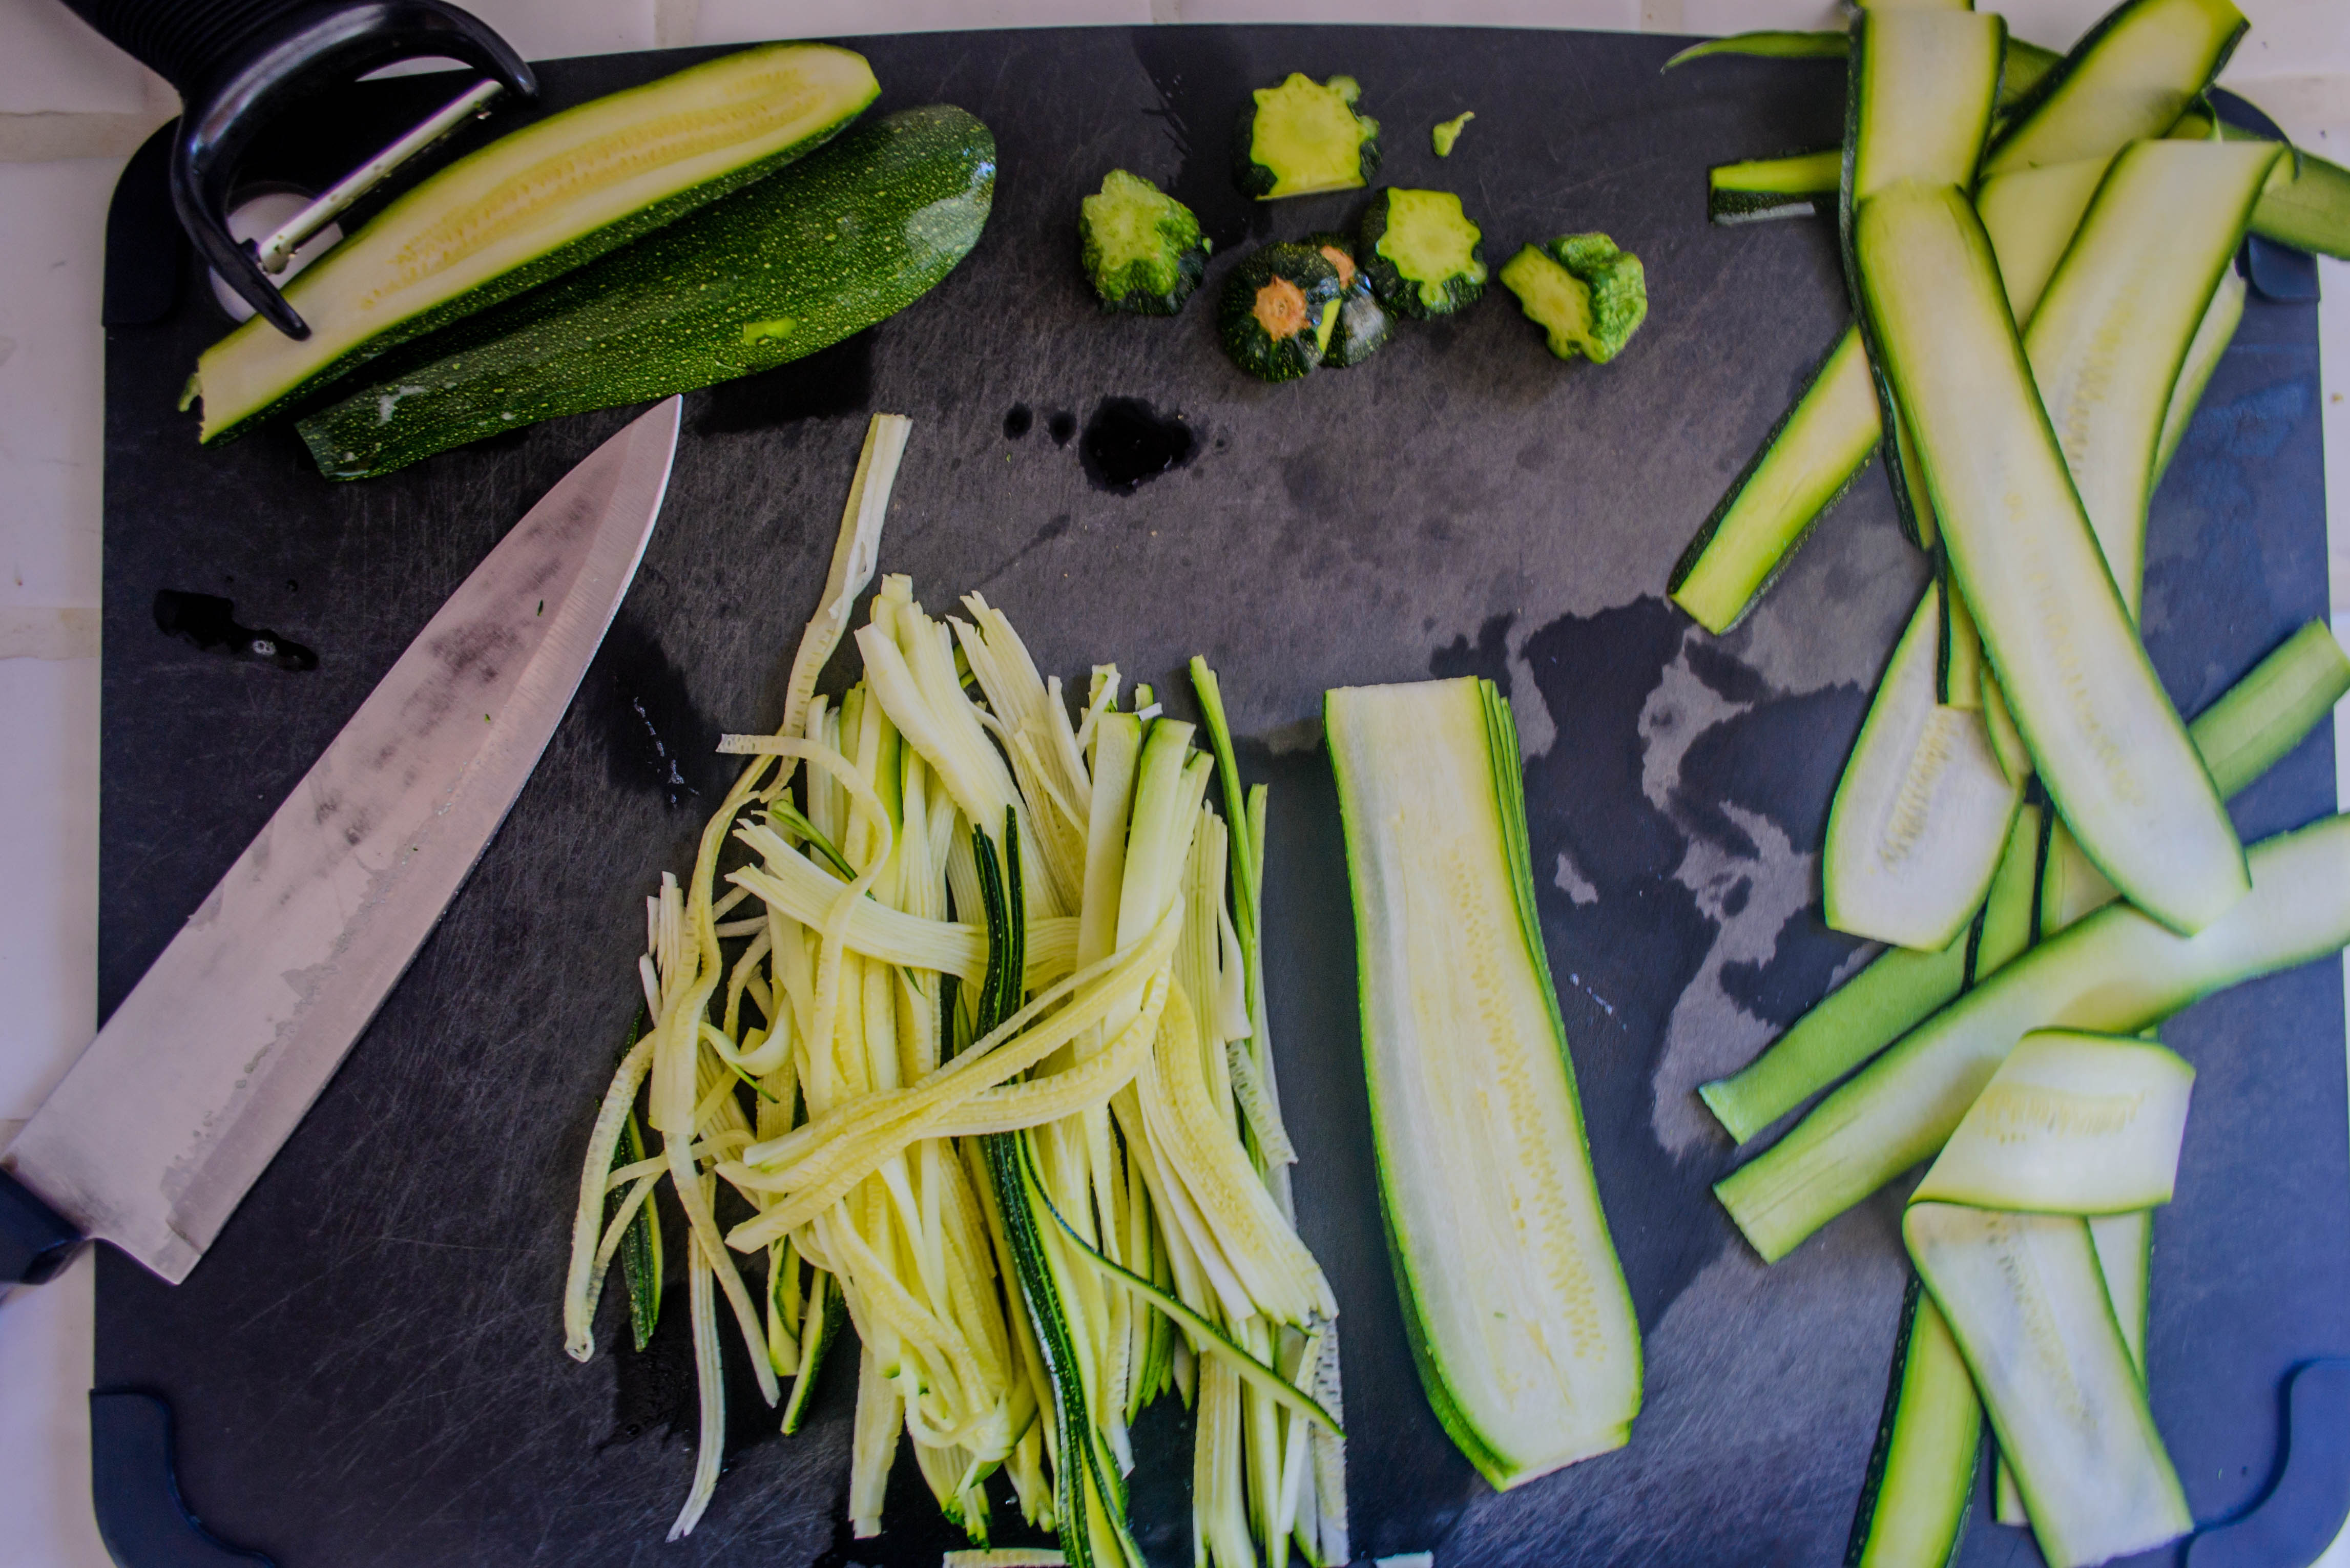
4 medium zucchini, stem and flower ends removed
6 tablespoons olive oil, divided
1 teaspoon salt, divided
½ teaspoon pepper, divided
¼ cup pumpkin seeds
¼ cup lime juice from 1-2 limes
1 tablespoon honey
¼ cup chopped cilantro
¼ cup crumbled cotija cheese


  • Preheat a gas grill or a grill pan to high heat. While it warms, rub the corn with 2 tablespoons olive oil, ½ teaspoon salt, and ¼ teaspoon pepper. Grill the ears of corn over direct high heat for about 8 minutes, turning every minute or two, until the kernels are cooked and all sides are lightly charred. Remove and set aside until cool enough to handle.
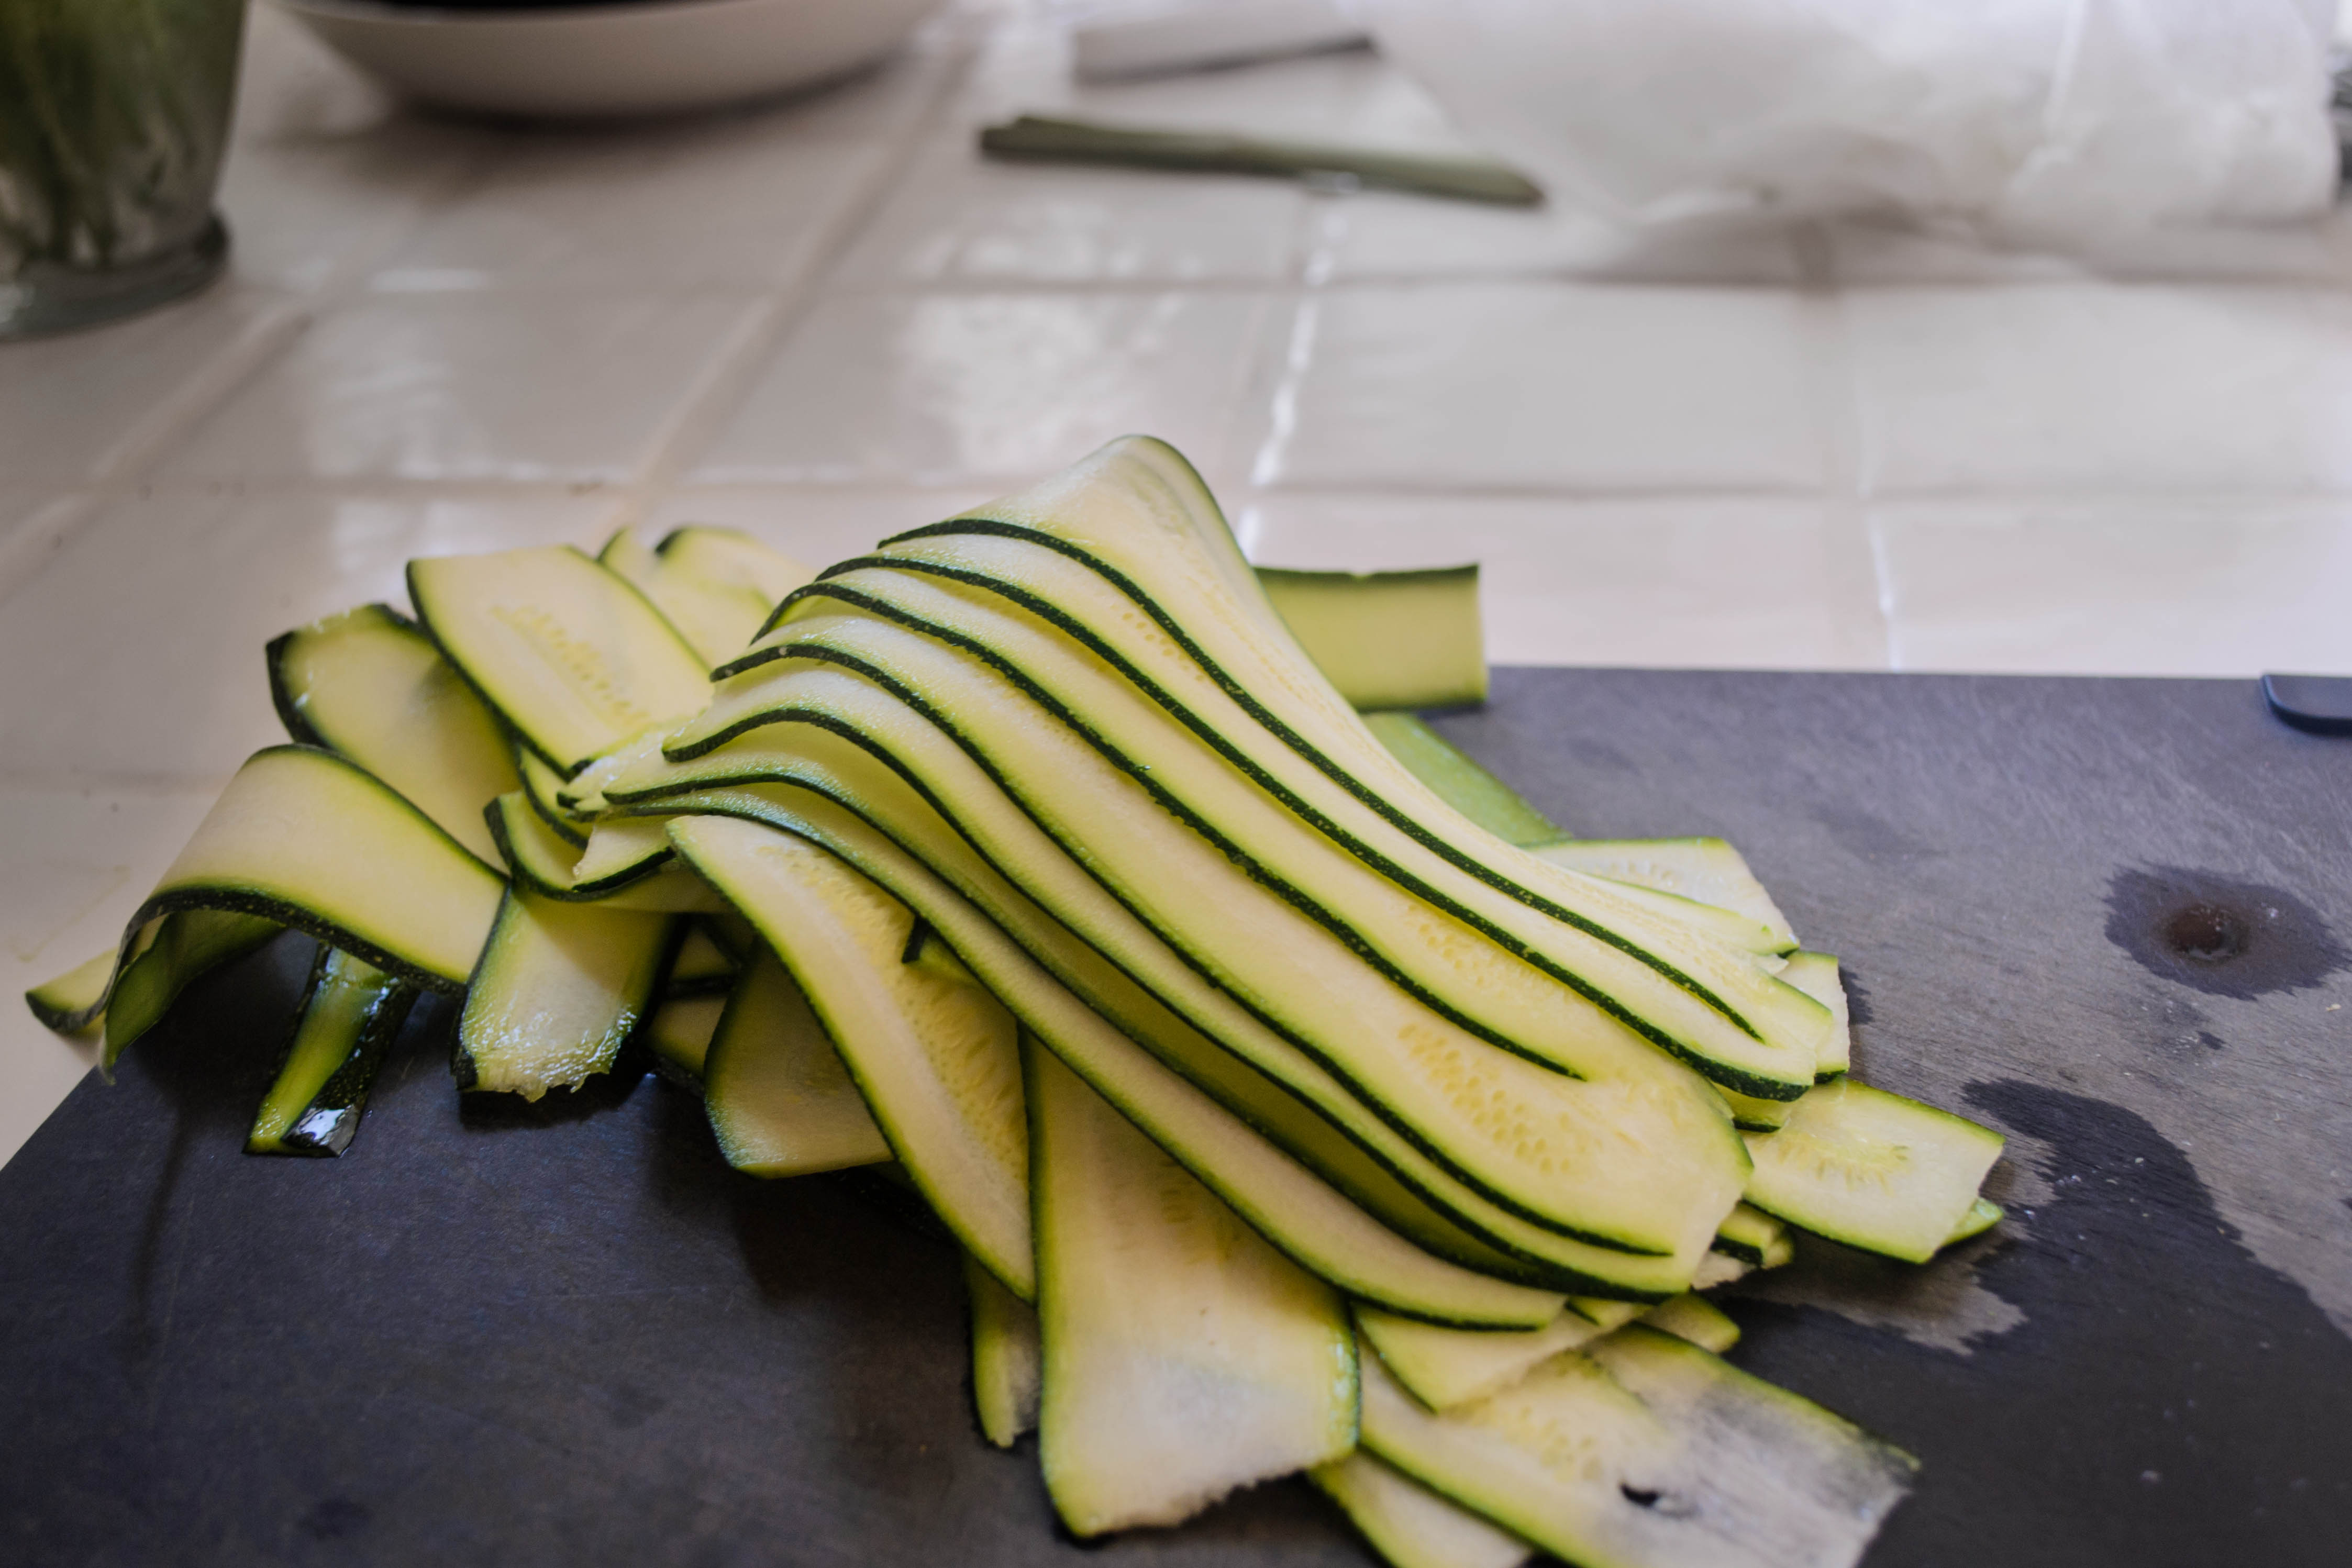
  • While the corn cooks, prepare the zucchini: slice from stem to flower end into ¼ inch planks. In a large bowl, toss with remaining 4 tablespoons olive oil, ½ teaspoon salt, and ¼ teaspoon pepper. Lay out on grates or pan, being careful to keep them in a single layer, reserving any leftover oil in the bowl. Grill until cooked through and nicely marked, 2-3 minutes per side. Remove and set aside.
  • While vegetables are grilling, toast pumpkin seeds and mix dressing. Scatter pumpkin seeds in a small baking tray and cook in a 300F oven for 10-15 minutes. Seeds will take about 10 minutes if the oven is preheated, and more like 15 minutes if you forgot that whole preheating part. When they are browned and starting to crackle, take them out and set them aside.
  • To make the dressing, combine the lime juice, honey, and chopped cilantro in the bowl with the reserved olive oil from tossing the zucchini. Whisk well to combine.
  • When the corn is cool enough to handle, cut off the kernels by standing up the cob on your cutting board (you can use the stem to hold onto, if you’ve left it attached) and carefully cutting straight down the ear with a sharp knife, sawing the blade back and forth a bit to help loosen the kernels. When you get to the bottom of the ear, rotate the cob a half turn or so and cut again, repeating until you have removed all kernels. Some will be individual and some will come off in big chunks; that’s okay. The variety is nice.
  • Add the corn kernels and the grilled zucchini planks to the bowl with the dressing and toss to combine. To serve, either keep the vegetables in the bowl and offer the pumpkin seeds and cotija cheese for individual diners to add to their own portions, or arrange the vegetables on a square or long rectangular platter and sprinkle the seeds and cheese over the top.

Save

Grilled Corn and Radish Herb Salad

2016 Food Blog May-0711When Corin Tucker, one of the vocalists of the musical group Sleater Kinney, released her first solo album after the band’s separation in 2006, she described in song how losing the band in some respects meant losing her vision of music and composition as well – she “stood frozen for so long,” and the silence felt like 1,000 years. To me, the song resonates with all kinds of creativity blocks. Every once in a while, when I think about writing here, I feel frozen – not just cold feet, but cold hands and stiff fingers and icicles in my brain – a sensation of writer’s block that extends to my enthusiasm for cooking itself. Broken off from my usual schedule, and with all but one stack of final papers graded and recorded and filed* in hopes students will return in the fall to pick up their work, you would think I would be panting for the kitchen and the refreshing feeling of absolutely zero comma splices or missing thesis statements to worry about.

2016 Food Blog May-06782016 Food Blog May-0679Instead I feel immobilized by a combination of exhaustion, puritan work ethic, and plain old laziness: if I’m not doing schoolwork, I should feel guilty, but I’m too tired to grade anything else. The kitchen, then, becomes a strange zone of misdirected productivity, and the couch and TV are just so friendly…

2016 Food Blog May-06892016 Food Blog May-0696But I should enjoy the sliver of summer I’m allotted (I’m teaching a session of summer school this year), so if I have to force myself, the gateway drug is corn on the cob. Corn speaks summer in ways few other vegetables do. Tomatoes, of course, but they typically show up a little later in the season, at least the massive spurting heirlooms I’m most interested in. Zucchini is a late summer crop – an overload that reminds you the last few weeks are approaching. Corn is sweet and juicy and plays so well with others. Raw, it has a kind of grassy starchiness, and of course the classic boiled or steamed cob works so well with butter and plenty of salt. For the past few years, though, my favorite way to eat corn is from the grill. Rubbed with olive oil, salt, and pepper and roasted all huskless, it blisters and crusts, and the sweetness we’ve bred into those kernels deepens into a toasty richness that reminds me vaguely of popcorn.

2016 Food Blog May-07012016 Food Blog May-0702For this dish, I was after a kind of warm salad, and thought the cold, peppery bite of radishes would work amazingly well with corn, especially doused with assertive lime vinaigrette. Both Food and Wine and Martha Stewart make a jalapeno dressing for this combination. I didn’t want spicy, but I did want to amp flavor, which I did with a bumper crop of added herbs: parsley, dill, chives, even some basil, to play with the flavors of the vegetables and contribute a different kind of sharpness to the dressing. For color and for fun, I added a handful of cherry tomatoes. You could also toss in some baby arugula or chunks of avocado.

2016 Food Blog May-0704We ate this with fish tacos, but it would be equally good with grilled meat of any variety, really, as well as a nice, lighter side salad option at a picnic or barbecue. A crisp white wine, especially with a touch of effervescence, would pair well.

Bring on the summer, then. I’m ready to thaw.

2016 Food Blog May-0721* well, in a carefully shoved stack on the back corner of my desk

2016 Food Blog May-0720

Grilled Corn and Radish Herb Salad
Serves 4-6
4 ears corn on the cob
4 tablespoons olive oil, divided
salt and pepper, to taste
juice of 1-2 limes
1-2 teaspoons honey
½ cup mixed chopped soft-stemmed herbs, such as parsley, dill, basil, chives, or cilantro
6-8 large red radishes, tops and tails removed, thinly sliced
4 ounces cherry tomatoes, halved
(1-2 ounces baby arugula, optional)
(1 avocado, cut in cubes, optional)


  • Preheat a gas grill or grill pan over medium high heat. While you wait, shuck the corn, removing the husk and as much silk as possible, but leave on the stem, as this will make for easier kernel removal. Rub the ears with 1 tablespoon of the olive oil and sprinkle liberally with salt and pepper. Place on the preheated grill and cook for about 8 minutes total, turning every two minutes or so, until the corn is fully cooked and has a healthy golden brown char.
  • Set the corn aside until it is cool enough to handle. Meanwhile, in a large bowl, whisk the lime juice with the honey and the remaining 3 tablespoons of olive oil. Add in the mixed chopped herbs and whisk well to incorporate.
  • When the corn has cooled enough that it won’t toast your fingers, cut off the kernels by standing up the cob on your cutting board (you can use the stem to hold onto, if you’ve left it attached) and carefully cutting straight down the ear with a sharp knife, sawing the blade back and forth a bit to help loosen the kernels. When you get to the bottom of the ear, rotate the cob a half turn or so and cut again, repeating until you have removed all kernels. Some will be individual and some will come off in big chunks; that’s okay. The variety is nice.
  • Add the corn, the sliced radishes, and the halved cherry tomatoes to the bowl with the dressing and herbs, and toss well to combine and distribute. The herbs will sometimes clump together; be sure to mix well so they – and the dressing – coat the other vegetables evenly. Taste for seasoning and add additional salt and pepper if desired.
  • If you are using arugula and/or avocado, add these as well and toss gently to avoid breaking up these delicate ingredients too much.
  • Serve warm or at room temperature with a grilled main.

Chocolate Stout Floats with Bourbon Caramel

2015 Blog September-0416Labor Day deserves to be celebrated. The reason we have not just a three-day weekend this week, but a weekend at all, is a result of the hard work and fighting of workers, federations, and labor unions demanding reasonable working conditions and time off. In many industries, they helped us get fair working conditions. Their efforts should be commemorated.

2015 Blog September-0420I think, though, on Labor Day we should treat ourselves more than fairly. We should treat ourselves well. We should celebrate what has been fought for and allow ourselves not an indulgence, but a reward we deserve. After all, we work hard!

real shoes: crucial caramel-making equipment!

real shoes: crucial caramel-making equipment!

In my case, of course, this reward is food. I’m not completely devoted to the Labor Day barbecue tradition (in fact, tonight we are having arroz con pollo), but I do think a special dish is an appropriate method of celebration. Let’s do dessert.

2015 Blog September-0399

dissolved sugar, rapid bubbling

2015 Blog September-0401

sugar caramelizing around pot edges

2015 Blog September-0402

approaching dark amber color; almost time to add the cream.

Like Labor Day, this dessert of just rewards has several origin stories. The first is simple: as I noted here, a few months ago my friend B. asked for my tips on bourbon dessert sauces. One of her attempts involved a bourbon caramel to douse over ice cream, and terrified as I am of the whole boiling sugar thing that is required for caramel, I couldn’t pass up the challenge. I wasn’t quite satisfied, though, with presenting a recipe for caramel sauce enrobing a simple scoop of ice cream. I wanted something a bit more exciting.

2015 Blog September-04042015 Blog September-04052015 Blog September-04062015 Blog September-0409The answer came during our summer trip to Oregon. The night of our reunion with our dissertation crew, we had chocolate stout floats for dessert: tooth-achingly cold scoops of vanilla bean ice cream drowning in a bitter fizzing cocoa bath of cold, black beer. With each spoonful, you can moderate the combination, choosing just a fleck of ice cream, or mixing the whole thing into a pale, drinkable swirl. The following day, we repeated the dessert with a new set of friends, and one of them judiciously declared the need to slosh in a shot of bourbon.

Mic drop.

There it was.

2015 Blog September-0411So what I have for you today, in celebration of our hard work, is a chocolate stout float drizzled with bourbon caramel. It’s a perfect dessert for a hot day, because though it’s far from light, it’s gloriously cold. You can make the caramel sauce earlier in the day, so by the time your belly is ready for dessert, it will have had ample time to cool (and, if you’re doing the barbecue thing, you won’t have had to deal with the stove for several hours). The ice cream and beer are in lovely, tenuous balance with one another – almost too sweet, almost too bitter – and the just-shy-of-bitter notes in the caramel (which is, after all, almost-burnt sugar), play off of both. The bourbon here is noticeable, especially after the caramel cools down, but it isn’t overwhelming. It’s a light, floral, vanilla note that capitalizes on the toasty flavors already created by making the caramel.

2015 Blog September-0413You can serve this in whatever quantities, by whatever process you like. I followed my usual method in considering the caramel and adapted several recipes, but mostly this one, along with several sensible suggestions by David Lebovitz. He’s right – you really do have brave the smoke and the suspiciously-close-to-burning smell of the sugar cooking, lest you end up with something that’s just sweet, not developed and complex. And warming your cream before adding it to the vat of boiling sugar makes good sense for easier integration, but you should still take precautions and wear shoes no matter how hot it is in your kitchen. Boiling sugar burns are serious business.

2015 Blog September-0417When it comes to serving, we like to scoop in some ice cream first, then top it up with the beer. As this delicious experiment explains, this nets you a lovely, creamy foam on top, on which you can drizzle as much caramel sauce as you want. The sauce thickens as it cools, so what barely coats a spoon while hot will pour even thicker than maple syrup once it’s had time to chill for a while. The layer that sinks and coats the bottom of the glass makes for a lovely last few sips, too.

2015 Blog September-0420

Chocolate Stout Floats with Bourbon Caramel Sauce
Makes about 1 cup caramel sauce
Approximately 20 minutes active cook time, plus an hour (or more) for the sauce to cool
For bourbon caramel:
1 cup sugar
¼ cup water
½ cup room temperature or warm heavy cream (helps it incorporate faster)
¼ cup bourbon
½ teaspoon salt
For float:
Vanilla ice cream
Chilled chocolate stout


  • For the bourbon caramel, stir the sugar and water together in a medium pot that is heavy in weight and light in color (the light color lets you see the color change in the caramel sauce – very important). Cook over medium high heat, stirring, until the sugar dissolves and the mixture becomes clear.
  • Now, stop stirring. If you have one, use a wet pastry brush to brush down any sugar crystals that have adhered to the sides of the pot so they can melt along with the rest of the mix.
  • Without stirring, let the melted sugar simmer over medium or medium-high heat until the outside edge starts to darken, about 7-8 minutes. Bubbles will be very fast. It’s important not to stir because you don’t want any unmelted sugar crystals falling in and marring the perfect smooth texture.
  • As the edges darken, swirl the mixture gently and keep cooking until the whole bubbling pot is the color of dark maple syrup, another 2-5 minutes. The bubbling will slow and thicken, and the mixture will smoke a bit and may begin to smell burnt – don’t be afraid! It really does need to cook to this dark amber color, or the final product will taste overly sweet (besides, as Lebovitz points out, if you do end up burning it, you’ve only lost 1 cup of sugar which, though bothersome, is not a huge financial disaster).
  • Remove from heat (I mean it!) and, with a whisk at the ready, add both the cream and the bourbon. Stand back! It will bubble up vigorously, and the bubbles will continue to form quite quickly for the rest of the cooking process. Whisk in the salt and set the pot back over medium heat, whisking until the sauce is smooth. Cook for an additional minute, just to ensure smooth texture (and to cook off some of the alcohol in the bourbon!). The sauce will remain thin at this point.
  • Remove from heat and cool – it will thicken to the texture of cold honey while at room temperature, and even to something more like dulce de leche when refrigerated.
  • To serve, place a scoop or two of vanilla ice cream in a tall glass. Pour in 6-8 ounces of cold chocolate stout, pausing as needed to avoid overflow. Atop the thick, rich foam that forms, drizzle a tablespoon or two of the caramel sauce and dig in.

Chicken miso meatballs

Food blog July 2015-1180…and then it was a week later, not just a few days. That’s the way summer is sometimes, isn’t it? And there’s about to be another hiatus as I travel to Oregon for our annual visitation.

Food blog July 2015-1151We are now officially half a year through this meatball exploration. I like assigning myself these year-long projects because they give me plenty of opportunities to experiment, and when I emerge, breathless, come December, I feel I’ve attained (sometimes tenuous) mastery over the subject at hand.

Food blog July 2015-1158A year-long food project can present challenges, though. The chief difficulty, it seems to me, is the bald truth that single food types don’t often translate well through the seasons. A sweet potato project, as delicious as that might sound, would not be as welcome in July as it would in November. Meatballs, similarly, seem most suited for cooler months: draped with sauce, topped or wedged beside or squashed between bread and cheese, they are a heavy prospect.

Food blog July 2015-1160What is needed, then, as this month grows more and more sultry, is a summer-soaked meatball: light on the stomach, feathery in texture, heavy only in flavor. Conveniently, this meatball dish delivers not just on flavorful meatballs that didn’t leave us feeling meatball-shaped, but it takes into account and makes gratuitous use of that most prolific and dreaded of summer vegetables: zucchini. If you have a garden, chances are you’re growing zucchini. And as you know, it’s getting to be the season when you’ve given loaves of zucchini bread to everyone you can think of, jammed a few in your freezer for good measure, stuffed and baked a few of the baseball bat sized specimens that escaped your notice for a few weeks, and the thing just keeps spitting out squashes. This dinner takes at least two more off your hands by offering them sliced into thin strands, barely cooked, and woven into a tangle of soba noodles.

Food blog July 2015-1163Food blog July 2015-1168Food blog July 2015-1174For the meatballs themselves I went in an Asian direction, inspired mostly by pot stickers, one of my favorite indulgent snack foods, but in part by the container of miso paste hanging out in the back of my refrigerator. The aggressive saltiness of the paste means you don’t have to add a tremendous amount of additional seasoning to the meatballs, but as long as you are judicious, it doesn’t overwhelm the classic, welcome pairing of ginger and garlic. There’s lemongrass here too, for some fragrance and brightness, its persistent woody fibers tamed and made entirely edible after a run-in with a microplane.

Food blog July 2015-1173Food blog July 2015-1179The meatballs cook in a simple broth flavored with more ginger and lemongrass – which conveniently helps you use up those stalks after you’ve grated down the bulb end – and means you can serve this like a pasta, with just a bit of flavorful sauce to moisten the noodles, or, my preference, enough broth to make it almost like a soup, with the meatballs all but bobbing. Beautifully, the meatballs, the noodles, and the broth taste just as good at room temperature as they do just off the stove, in case you, in the midst of summer, are boiling quite enough on your own.

Food blog July 2015-1186

Chicken Miso Meatballs with Soba and Zucchini Noodles
Serves 3-4
For meatballs:
2 tablespoons red miso paste
1 egg
1 lb. ground chicken (dark meat preferred)
1 tablespoon grated lemongrass bulb (remove the outermost layer first, then use a microplane or a zester)
1 tablespoon grated fresh garlic (about 4 cloves)
1 tablespoon grated fresh ginger (easiest if frozen first)
¼ cup finely chopped fresh cilantro
3 tablespoons finely chopped green onion, dark and light green parts only
¼ teaspoon black pepper
½ tablespoon fish sauce
3 tablespoons olive or vegetable oil
For sauce:
3 cups low sodium chicken broth
3 lemongrass bulbs, smashed with the back of a knife (you can certainly use the one you grated from earlier)
knuckle of fresh ginger (about 2 tablespoons)
1-2 tablespoons tamari or soy sauce (if you are gluten-free, be sure to check the label – most soy sauce contains wheat)
For noodles:
2 bundles soba noodles (200 grams or about 7 ounces)
2 medium zucchini
2 teaspoons sesame oil
Toasted sesame seeds and sprigs of cilantro, optional


  • In a large bowl, whisk together the egg and miso paste. The goal here is to break up the miso a bit for easier integration with the chicken.
  • Add the ground chicken, lemongrass, garlic, ginger, cilantro, green onion, black pepper, and fish sauce to the egg and miso. Using your fingertips, lightly mix and work the seasonings into the ground chicken until evenly distributed.
  • Heat a teaspoon of the olive or vegetable oil in a large, deep skillet over medium high heat. Scoop up about a teaspoon of the meatball mixture, press it into a small patty, and fry it about a minute on each side until cooked through, then taste for seasoning and adjust for the rest of the mixture if needed.
  • Heat the remaining olive or vegetable oil in the skillet over medium high heat. While it warms, use a tablespoon and moist hands to make small meatballs. They will be very soft – don’t worry about making them perfectly round. As you make each tablespoon-sized meatball, set it aside on a clean plate. You should have enough mixture for 18-20 meatballs.
  • Carefully place meatballs in the skillet, taking care they do not touch. You will likely need to fry them in batches. Brown them on all sides (about 2 minutes per side), then remove to a clean plate. Repeat with a new batch of meatballs until all are browned.
  • Your skillet should now have a layer of deeply browned bits and drippings stuck to the bottom. This is called fond and it is lush with flavor. Add the 3 cups of chicken broth directly to this residue in the pan and use a whisk to scrape up and incorporate the fond into the liquid. Toss in the smashed lemongrass bulbs and the knob of fresh ginger, then bring to a simmer.
  • When the liquid reaches a simmer, taste for seasoning. If it needs salt, add the 1-2 tablespoons of soy sauce. Keep in mind the flavors will concentrate a bit as cooking continues. Add all of the meatballs back into the broth mixture. Try to keep them in a single layer, but it’s okay if they bump up against each other now. Clap on the lid, reduce the heat to medium, and simmer for 15-20 minutes, basting and turning the meatballs occasionally.
  • While the meatballs simmer, make the noodles. Draw a y-shaped peeler along the zucchini lengthwise repeatedly to cut it into long, thin strips. Stack up 5 or 6 of these strips at a time and, very carefully, cut them into thin “noodles” with a sharp knife (see photos above for reference). Set aside.
  • Cook the soba noodles in boiling salted water according to package directions. About 30 seconds before you are ready to drain them, toss in the zucchini noodles and stir gently. Drain and rinse as instructed.
  • In the same pot you used for the noodles, heat the 2 teaspoons of sesame oil over medium-low heat. Add the drained noodles back in and toss gently to evenly coat them with the oil and to be sure the zucchini is well distributed, not just clumped up by itself. Keep warm until the meatballs are ready.
  • To plate, coil up a tangle of soba and zucchini noodles in a shallow bowl. Top with meatballs – 5 per person is about right – and ladle on about ½ cup of broth for a soupy presentation (my preference), or 3-4 tablespoons of broth for a more pasta-like assembly. Add a sprinkle of toasted sesame seeds or sprig of cilantro if desired, and serve hot or warm.

Ahi Nori Wraps

Food blog May 2015-0757Months and months ago, I showed you photos of a tiny shack in Kauai and promised you my own rendition of their signature ahi nori wraps: thick, squared-off cylinders of seared ahi and spears of cucumber, surrounded by brown rice, doused with a mysterious wasabi sauce and wrapped up in a spinach flour tortilla lined with a sheet of nori. A delightful cross between a burrito and sushi, they were one of our favorite meals while on the island. But then, you know, life, with all those pesky obligations, insisted on happening, and now we are a full school year later and I’m finally getting around to it. It’s a cringe-worthy cliche to declare that these are worth the wait, but since we are now on our second version of them in two weeks, I’m going to take the chance.

Food blog May 2015-0742Since it has been so long, I’ve had plenty of time to reflect on what make these funny little sushi / burrito mash-ups so good. Well-spiced, lightly seared tuna, still rare or even raw in the middle, is of course the main reason. But only slightly secondary are the issues of texture and temperature. As you’ll know if you like sushi, there’s something amazing about a perfect piece of ahi – it’s meltingly soft but, when seared around the edges, it becomes softness with a bouncy chew. It is hot on the outsides, but still cool in the interior. Flanked by cucumbers, you get a fresh, bright, cold crispness, and the chewy strangeness of the nori seaweed layer is somehow perfect.

Food blog May 2015-0743Food blog May 2015-0744Food blog May 2015-0749These also offer perfectly contrasting tastes. Of course there’s the glorious fresh fish flavor, but there’s also nostril-piercing heat from the wasabi, and saltiness from the seaweed, and the welcome nutty blandness of the rice. Because I can’t leave well enough alone, I thought the addition of rich, creamy avocado blitzed into a velvet puree with a touch of mayonnaise would be the right vehicle for the wasabi, and insisted on crusting the tuna itself with sesame seeds, lime zest, and some red pepper flakes as well as the customary salt and pepper sprinkle before searing it off.

Food blog May 2015-0751Food blog May 2015-0752We ate these in big gulps, then went back for more. One wrap is plenty for a dinner, especially if you wisely offer yourself a side of mango-spiked salad or lightly sautéed vegetables, but we are not always wise, and opted instead to make a third wrap and split it. Still, even the resulting food coma couldn’t deter our enthusiasm about the meal.

Food blog May 2015-0753If you aren’t comfortable with raw fish, you can of course cook yours all the way through, though if you’re going to do that I wouldn’t bother with the pricey ahi. Cut a nice filet of salmon into long strips and crust and sauté or broil until just cooked through. Or, if you want to go an even easier route, sprinkle some lime juice over a few layers of smoked salmon and wrap that up inside instead. Food blog May 2015-0756

Ahi Nori Wraps
Makes 4
For rice and sauce:
1 avocado, pitted and peeled
juice from ½ a lime
¼ cup mayonnaise
1-2 tablespoons wasabi paste or sauce
(alternatively, you could use about ¼ cup of wasabi mayonnaise)
2 cups cooked brown rice, warm or at room temperature
For the tuna:
½ tablespoon coarse salt
½ teaspoon black pepper
pinch of red pepper flakes
zest of 1 lime
2 tablespoons untoasted sesame seeds
½ pound ahi or other sushi grade tuna, cut into long rectangles that are about 1×1 inch at the ends
2 tablespoons vegetable oil
1 teaspoon sesame oil
To assemble:
1 seedless cucumber, halved lengthwise and cut into long, thin planks (thinner is better – too thick and they won’t roll up well. Go for translucent, but be careful!)
4 spinach tortillas
4 sheets nori


  • In a small bowl or blender, combine the avocado, the lime juice, the mayonnaise, and the wasabi paste. If you have wasabi mayonnaise you like the flavor and heat level of, you could use that instead. I wanted my mixture a little spicier than my wasabi mayo, so I opted to make my own mix. Whiz together with a standard or immersion blender until a completely smooth, pale green puree forms; it will be too thick to pour.
  • Combine the puree with the cooked brown rice and taste for seasoning. Adjust as needed, then set aside.
  • For the tuna, combine the salt, black and red pepper, lime zest, and sesame seeds on a small plate. Carefully dredge each log of tuna in the mixture by rolling it through the seasoning. When all are well coated, heat the vegetable oil and sesame oil in a large skillet over medium-high heat until shimmering. Add the crusted tuna carefully, watching out for oil spatters, and sear about 1 minute on each side (for raw in the center), or until done to your liking. I overcooked mine, as you can see from my photos; I would have preferred red, not pink, in the center.
  • When tuna is done to your liking, remove from pan immediately and set aside.
  • To assemble, lay out your tortillas and place a sheet of nori in the center of each one. Lay 4-5 planks of cucumber atop the nori, all facing in the same direction. Add about ½ cup of the rice and sauce mixture per wrap, and spread this out to the edges of the cucumber planks. Lay one log of ahi in the center of each one in the same direction as the cucumber planks, then wrap up like a burrito, carefully folding in the edges.
  • To serve, cut on a bias and, if you’re feeling fancy, stand one half up like I’ve done above to show off the interior.
  • Eat immediately, and lick your fingers with no shame.

Apricot Bourbon Barbecue Sauce

Food Blog September 2014-0579I wasn’t expecting that a barbecue sauce would be one of the dozen pourable concoctions I developed this year. Call me a snob but, barbecue sauce? It just seems so… pedestrian. Break out a bottle, squeeze it over some drumsticks, and reach for the wet-naps.

Food Blog September 2014-0570But that’s exactly what happened. Faced with a summer that just won’t end (upper 80s/low 90s predicted for the first weekend of October. October, people!), we couldn’t bear to waddle back to the butter-laden list of French classics. Brimming from the success of last month’s gastrique, I found myself continuing to think about fruit-based sauces – at once sweet and tart and deep in flavor from long simmering – and realized that barbecue sauce is, at its core, something like a gussied-up gastrique. There’s almost always a molasses or brown sugar component, and there’s usually vinegar of some kind, even if that is hidden within one of the most ubiquitous barbecue sauce ingredients of all: ketchup.

Food Blog September 2014-0575I’ve never been a huge fan of ketchup, so I decided to steer clear of it here and build my own collection of flavors. I’d been considering the merits of combining the flavors of apricot and bourbon, and what better place to do that than in a sticky, bubbly sauce, well-spiced, just aching to be brushed gently over some lucky poultry? Deeply caramelized onions, a squeeze of dijon mustard, a whisper of cayenne, and some cider vinegar joined the party, and then, because the richness and depth of concentrated tomato is such an expected note in this sort of sauce, I gave in and added some tomato paste for verisimilitude.

Food Blog September 2014-0573The important thing about this sauce is the time you give it. The onions must be cooked down and toffee colored. The simmer must last at least twenty minutes – I did mine for thirty before I was satisfied. The thick, slightly lumpy result can be used as is, or you can give it a quick whir with an immersion blender or standard blender to make a glossy, velvety smooth glaze you’d eat just as happily on a piece of toast as on a grilled chicken breast or pork chop (at least, if you’re me). I briefly considered using fresh apricots here rather than preserves, but since the prep time already promised to be the better part of an hour, I decided to take just one shortcut. Besides, the sweetness quotient in fresh apricots is unpredictable, and dealing with their thin, impatient skins did not sound like a welcome addition to my weekend plans. The guaranteed sticky thickness of a pectin-laced jar of preserves was the kind of guarantee I wanted.

Food Blog September 2014-0576It should not come as a surprise that apricot and bourbon, balanced against a meaty tomato backdrop and laced with just enough spice, are a beautiful match. The chicken thighs we lacquered this onto never stood a chance. Neither would pork, or salmon, and I’d even venture that with a splash of soy sauce, this could make an interesting adaptation of teriyaki to sauce a bowl of perfectly steamed rice and veg. What’s more, even though it’s still summer here, the blend of fruity sweetness and dark caramel from the bourbon make this sauce a lovely offering for fall as well, if you are lucky enough where you are to be watching the seasons shift.

Food Blog September 2014-0582

Apricot Bourbon Barbecue Sauce
Makes 1 cup (will generously sauce 6-8 chicken thighs)

3 tablespoons olive oil
1 cup finely diced onion (about ½ a large onion – I like the purple ones)
1 teaspoon dijon mustard
1 tablespoon tomato paste
½ cup apricot preserves
½ cup bourbon + 1 tablespoon, divided
¼ cup water
1 tablespoon cider vinegar
½ teaspoon salt, or to taste
¼ teaspoon black pepper, or to taste
¼ teaspoon cayenne pepper, or to taste
6-8 boneless chicken thighs or desired protein


  • In a 10-12 inch skillet, heat the olive oil over medium heat and add the finely diced onions with a pinch of salt. Slap on the lid and cook for 10-15 minutes, stirring occasionally, until the onions are nicely caramelized. Lidding the skillet will help the onions brown faster while allowing for less burning.
  • When the onions are caramelized to your liking (deeper brown = deeper flavor), add the tomato paste, mustard, and cider vinegar and stir through. Then add the apricot preserves, the water, the salt and the black and cayenne peppers.
  • Remove the skillet from the heat and add the ½ cup of bourbon (reserve the remaining 1 tablespoon for later). We are doing this off the heat to prevent an accidental flame-up; alcohol can and will catch on fire!
  • Stir all ingredients together, bring to a simmer, and reduce the heat to low.  Simmer, stirring occasionally, for at least 20 minutes (but 30 is better).
  • When sauce is thick and shiny, remove from heat and cool to room temperature. Puree if desired for a smooth consistency, then stir in the remaining 1 tablespoon of bourbon.
  • To use, season your chicken thighs to your liking (maybe just salt and pepper, maybe a fancy spice rub). Preheat your grill to high heat and oil the grates.
  • Add the chicken thighs to the grill, spreading them out for faster, more even cooking, and brush the exposed side with the sauce. Close the grill lid and cook, undisturbed, for 5 minutes.
  • After 5 minutes, flip the chicken over, brush with more of the sauce, and close the lid to cook for another 5 minutes.
  • With a clean brush, slick the chicken one more time with the sauce and cook for a final 1 minute, just to get the surface really sticky and glazed and good. Serve hot, with whatever you deem best for a barbecue. For us, that meant potato salad and corn on the cob.