 N. and I first discovered Panera when we were living in Eugene. This seems a bit counterintuitive, since Eugene doesn’t have any Paneras. But on a visit or two with my parents, and N.’s parents, it became an easy place to pick up lunch, or a dinner for a sunset hike, and I was quickly sold on their vegetarian sandwich, not just because it came layered with pickled red peppers and fresh greens and spicy spread and crumbled feta, but because the bread it used – a fluffy tomato and basil flavored loaf with an intriguing, slightly sweet streusel across the top crust – was addicting. When we could, N. and I started buying a whole loaf of the bread on our last day in California, to take home to Eugene with us.
 Now that we are in Los Angeles, there are Paneras everywhere (in fact, I just checked: there are at least five within a 5 mile radius of our house). Despite that proximity, though, we don’t go there very often. There are several reasons for this, but mostly, if I’m going to spend my money on restaurant fare, I’m going to explore what Los Angeles has to offer rather than a national chain. Regardless, the tomato basil bread, with that intriguing streusel, remains a favorite of mine, and when “red” was declared as February’s Twelve Loaves theme, I decided this was the right time to try a little re-creation attempt.
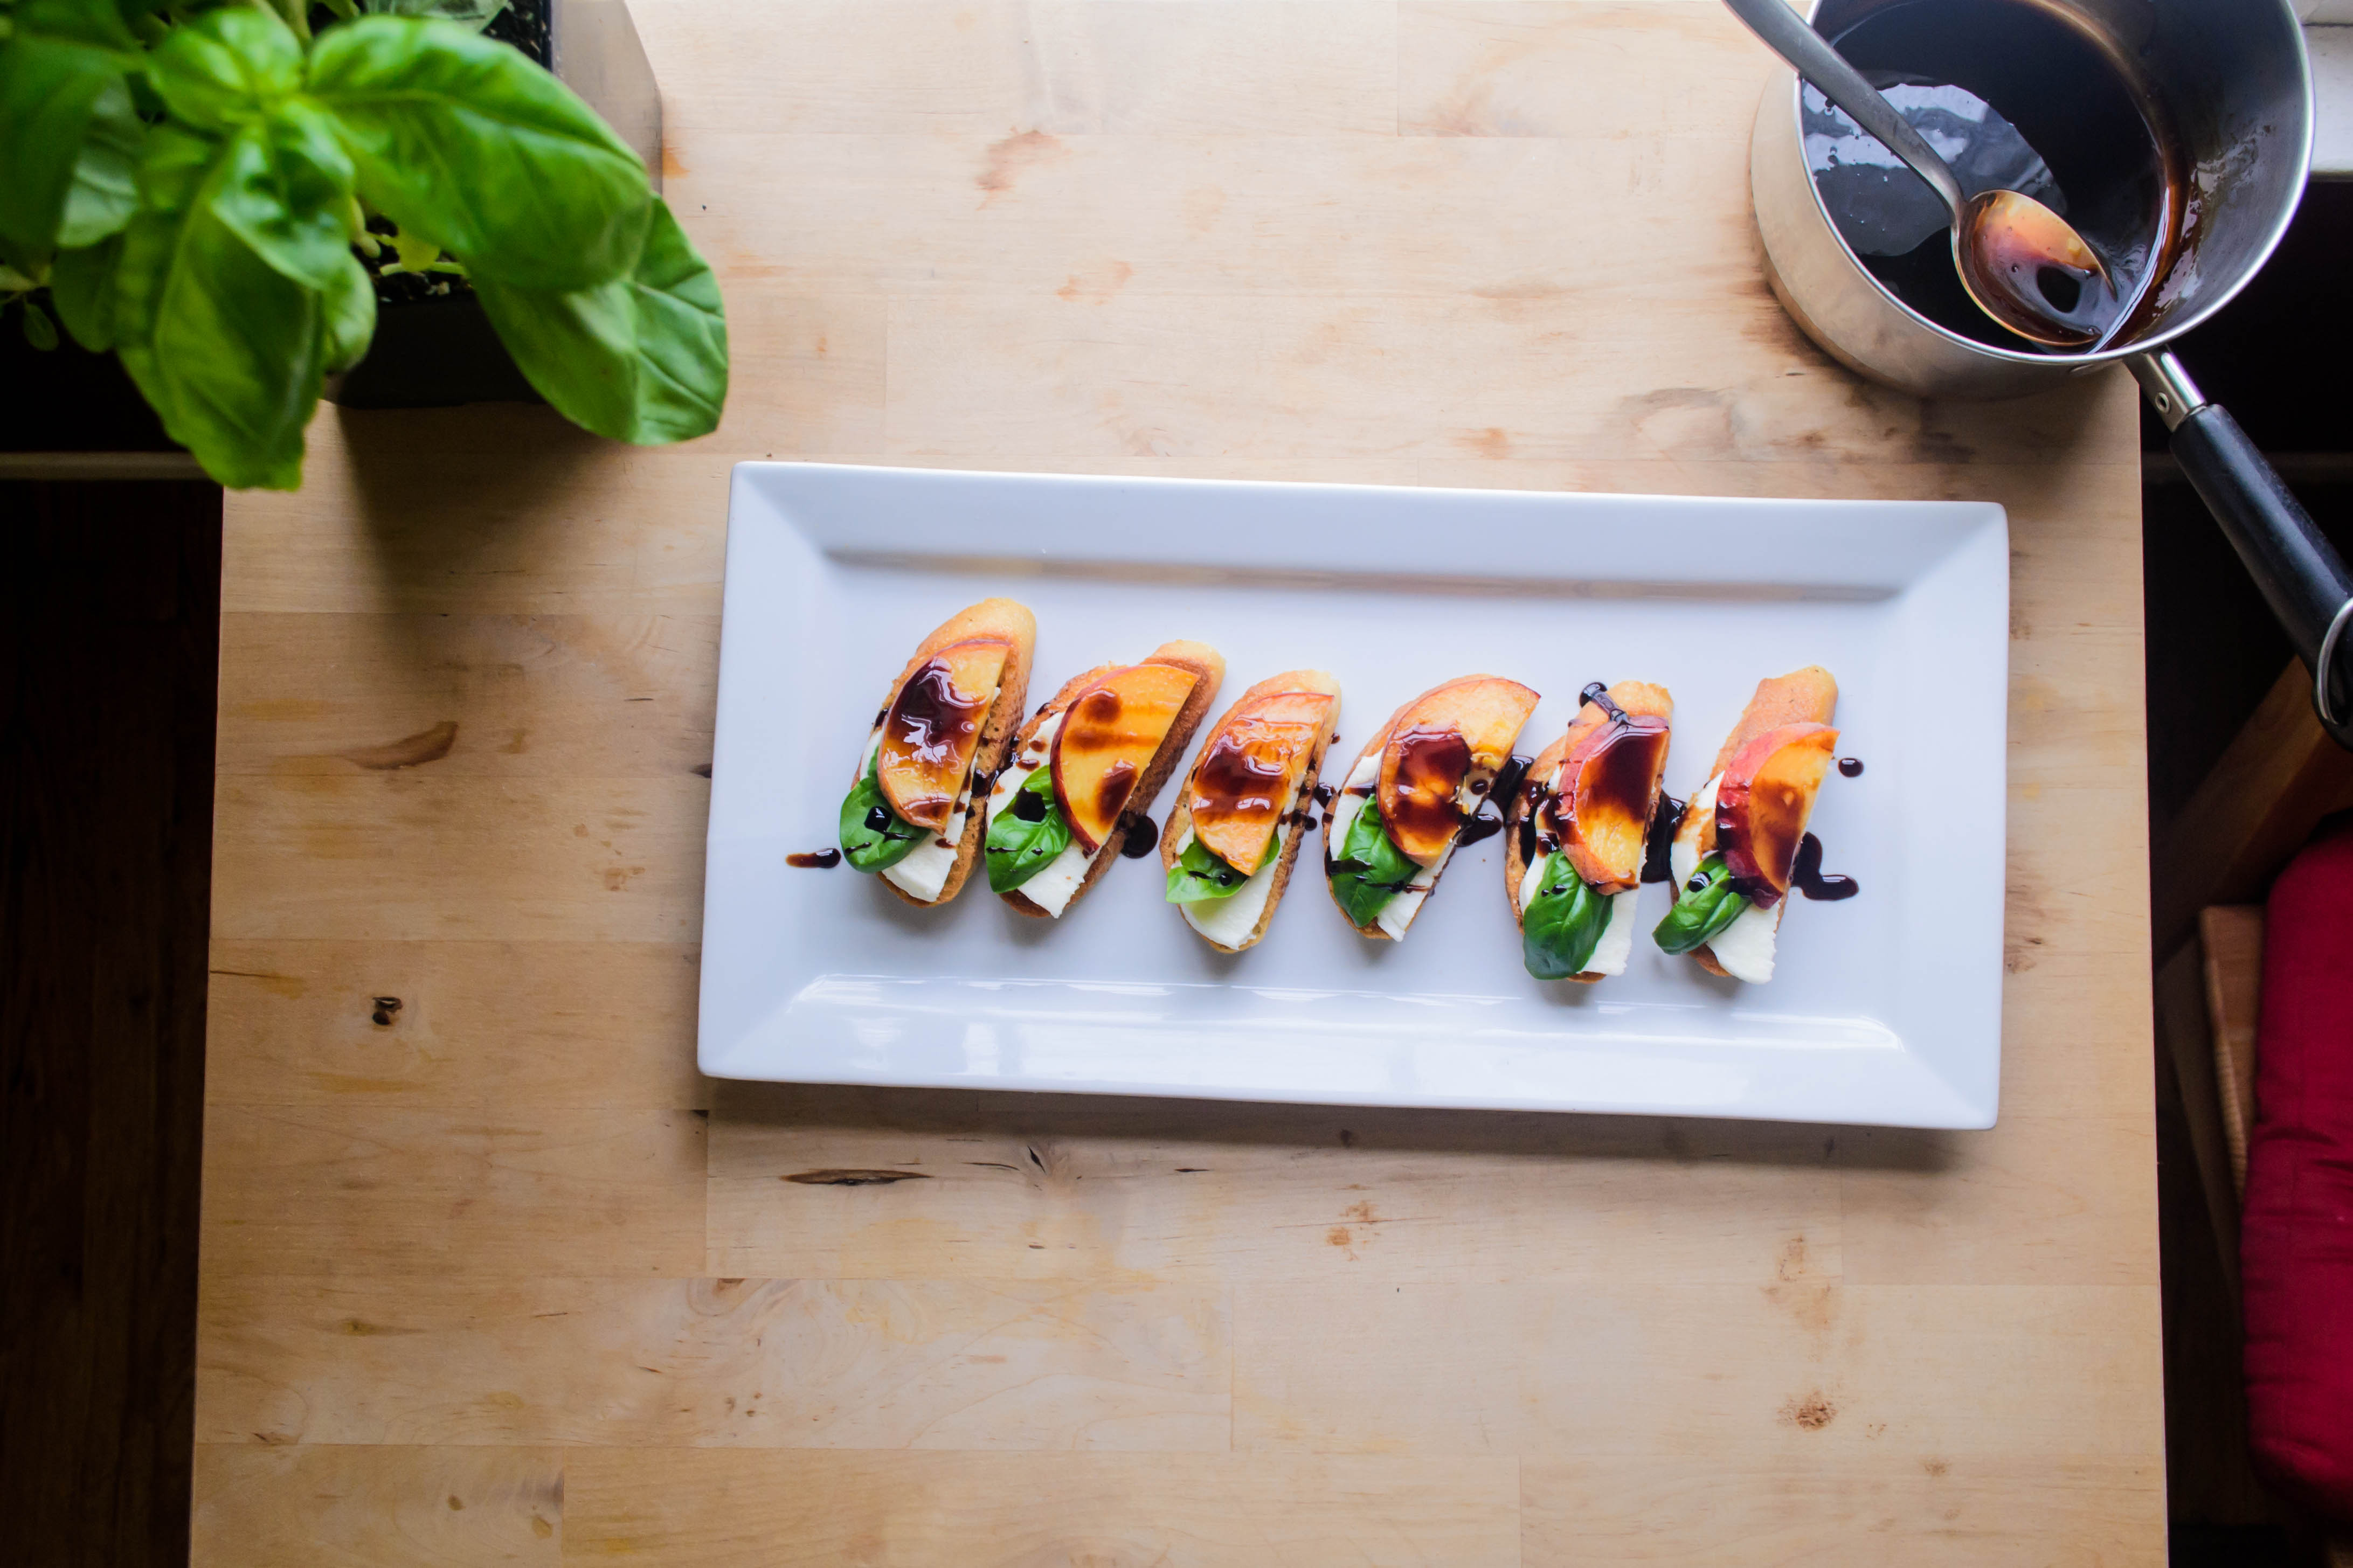
 My bread combines lush, densely flavored scarlet tomato paste with a generous dusting of dried basil. The loaf itself is moistened and sweetened with buttermilk and molasses, and though it does bake up more orange than red, it makes perfect sandwich slices for cucumber and mozzarella, or pesto chicken, or just well-buttered toast.
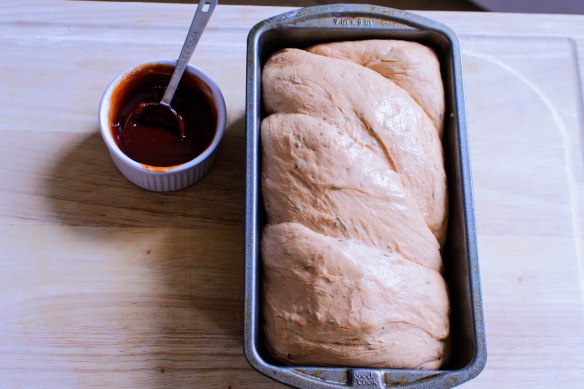
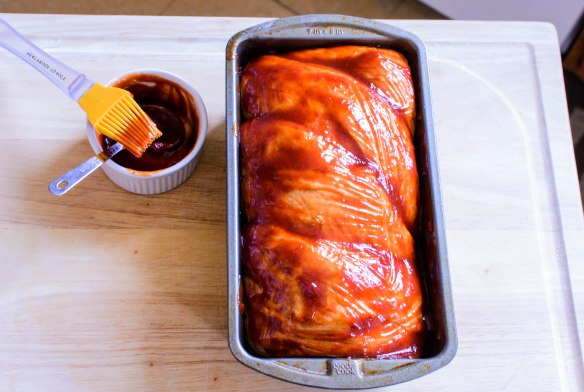
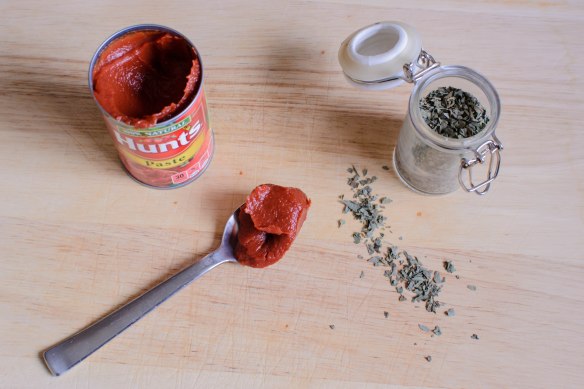 The challenge here was the streusel. There are a number of “copycat” recipes out there for Panera’s loaf, but few of them make any attempt at the dark, sweet, sticky crumble adorning the top crust. I finally found a suggestion for a glaze made from tomato paste and brown sugar, thinned with a little water, and brushed over the top of the loaf. Since my first attempt was a little heavy on the tomato paste in the dough itself, reserving some for the top seemed like a smart adjustment. It did look a bit distressingly like a meatloaf with the traditional ketchup coating when I first applied the glaze, but the flavor of the finished product was strikingly similar to my inspiration.

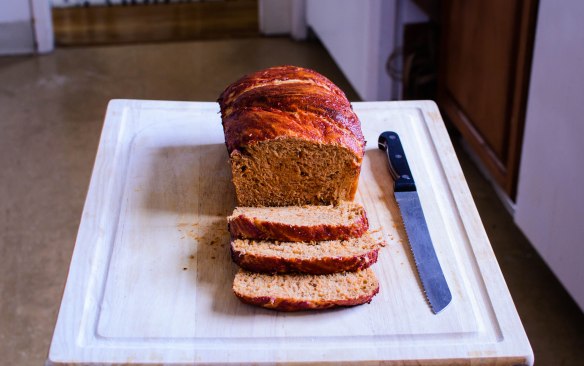
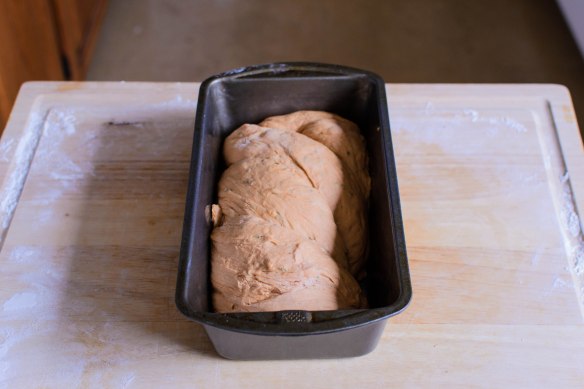 Panera’s loaf is scored straight down the center so that the top crust puffs and pulls away from itself in two fat rounds, leaving the top of a slice looking almost heart shaped. I decided I wanted to try something new, so I went for a twist instead, separating my dough into two sluggish, sticky logs and wrapping them around each other before depositing into a loaf pan.
 A second rise, a glaze, and a quick 40 minutes in the oven, and I was rewarded with a loaf that, despite not being truly red, may be as close to the original as I’ll ever get. The interior is tender and chewy and springy, and the glaze hardened into gleaming sticky shellac (though it loses its crustiness as it sits). The tomato and basil flavor are both easily discernible, and the combination of tomato paste and brown sugar burnishing the top crust is just the right toasty sweetness, since despite the molasses, the bread itself is fairly savory.
 Because the dough is pretty sticky, the loaf is moist and tender, which also means it’s a bit delicate. Take care when slicing into it, and be sure to give it at least half an hour to cool before attempting a slice at all. Conveniently, we found we liked the flavor better once the bread had cooled completely. As noted above, the glaze resorts to stickiness after a few hours, but it is still quite tasty, and will “crisp” up again just slightly after a trip through the toaster. Slicked with salted butter, it makes a perfect accompaniment to lesson-planning on a blustery afternoon.

Tomato Basil Loaf
Makes 1 large sandwich loaf
4-4½ hours, including rising and baking time
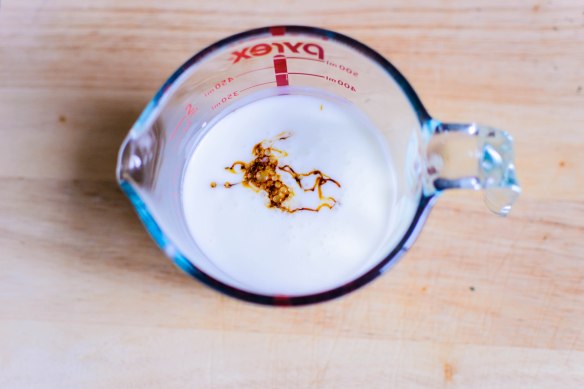
1 cup cold buttermilk
⅓ cup boiling water + more to thin the glaze
3 tablespoons molasses
2 teaspoons active dry yeast
3 ¾ cups bread flour (you may not use all of it) + additional flour to dust the board
2 teaspoons salt
1 tablespoon dried basil
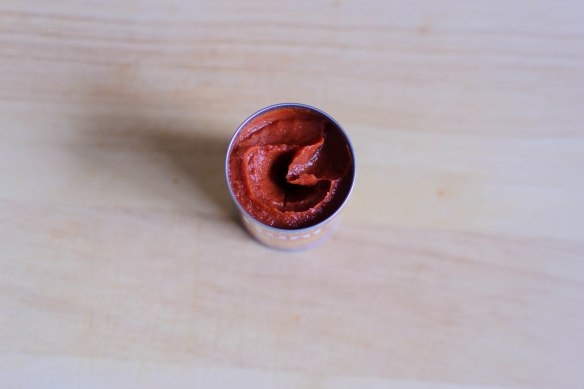
½ cup tomato paste, divided
3 tablespoons brown sugar
- In a 2-cup glass measuring cup, combine the cold buttermilk and the boiling water. This creates a yeast-friendly temperature without having to wait for the buttermilk to warm up. Stir in the molasses and the yeast, and let sit for 5-10 minutes until the surface of the mixture foams up and it smells bready.
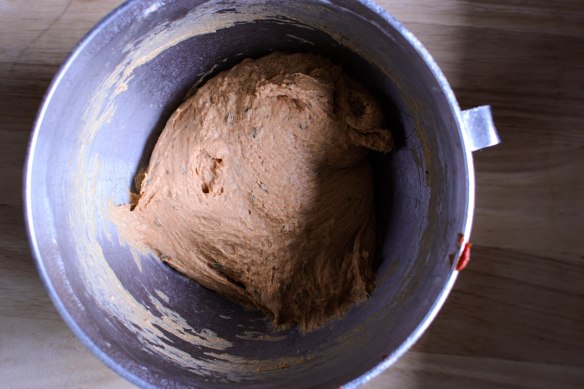
- While the yeast is working, combine 3 cups of the flour with the salt and basil in a large bowl. I use the bowl of my stand mixer. After the yeast has had a chance to wake up and is foamy, add the liquid slowly to the flour mixture and mix on low with the paddle attachment (or with a wooden spoon) to combine. Scrape in the tomato paste and again, mix just to combine.
- Now, if you are using a stand mixer, switch to the dough hook. If you are not using a stand mixer, turn out onto a well-floured board. Knead at medium speed for 5-7 minutes, adding in more flour if needed ¼ cup at a time, until the dough pulls away from the sides of the bowl and takes on the consistency of soft, sticky play-dough.
- Oil the inside of your work bowl (I use a non-stick spray), turn the ball of dough over inside a few times to coat it evenly, and then cover the bowl tightly with plastic wrap and stow in a slightly warm spot for 1½-2 hours, until almost doubled.
- Once the dough has risen adequately, punch it down by gently depressing your fist into the center to release the air, then let rest about ten minutes to get its breath back. Meanwhile, spray or butter a standard loaf pan.
- Turn the dough out onto a lightly floured board and divide it into two equal portions. Roll each half out into a pudgy log about 9 inches long. Pinch one end of each log together tightly to connect, then create a twist by lifting the left strand over the right, then repeating (because now what was the right strand will be the left one) until you come to the other end of each log. Pinch these remaining ends together tightly, then tuck underneath the twist you’ve created and gently place it in the prepared loaf pan. Cover lightly with plastic wrap and set aside to rise again for 45-60 minutes.
- About 30 minutes before you put the dough into the oven, preheat to 350F, and make the glaze by combining the remaining 2 tablespoons of tomato paste, 3 tablespoons of brown sugar, and 1-2 tablespoons of hot water to thin to a barely pourable glaze. When ready to bake, remove the plastic wrap, brush the glaze over the top of the loaf in a thin layer, and gently slide it into the preheated oven. Bake 35-40 minutes, or until the interior tests 180-200F on an instant read thermometer.
- Cool at least 10 minutes in the loaf pan, then turn out onto a wire rack and cool at least 20 minutes more before slicing and eating. We found the flavor was better once the bread had completely cooled.
#TwelveLoaves is a monthly bread baking party created by Lora from Cake Duchess and run with the help of Heather of All Roads Lead to the Kitchen, which runs smoothly with the help of our bakers.
This month we’ll be baking breads with a RED theme in honor of National Heart Month, Valentine’s Day, and the Oscars (red carpet) – any red ingredient goes! For more bread recipes, visit the #TwelveLoaves Pinterest board, or check out last month’s mouthwatering selection of #TwelveLoaves enter last month’s breads featuring a “new to you” type of flour!
- Braided Red Bean Bread from All That’s Left Are The Crumbs
- Detroit Red Top Pizza from Karen’s Kitchen Stories
- Japanese Plum Wine Donuts from NinjaBaker.com
- Red Beet Challah from Savoring Italy
- Red Velvet Quick Bread with Cream Cheese Swirl from The Redhead Baker
- Roasted Red Pepper Fougasse from All Roads Lead to the Kitchen
- Salara (Red Coconut Roll) from CulturEatz
- Sourdough Beet Bread from A Shaggy Dough Story
- Tomato Basil Loaf from blackberry eating in late september
If you’d like to bake along with us this month, share your “RED” themed bread using hashtag #TwelveLoaves!