Zucchini Spice Bread

Well, I did it. In my exuberance about having a vegetable garden at last (one year into our tenancy in our very own house, N. built us a few raised beds and I treated myself to a few varieties of heirloom seeds), I brought home a little zucchini plant from the garden store.

The first time I planted zucchini, it did what zucchini does: it grew so many squash for us that, halfway into summer, and after grilling, stuffing, roasting, and frying, I filled every baking dish in my kitchen with batter and looked for new friends so I had new possibilities for offloading all the loaves and cakes and muffins my happy plant had obligingly helped me produce.

The second time I planted zucchini, which was only a year or so later, about seventy percent of our potential squashes got about three inches long, then turned yellow at the blossom end, softened, and shriveled. Unwilling to dive into experimental hand pollination, I sighed and concentrated on tomatoes instead.

So I was delighted when, in a different garden and a different state, this spring’s zucchini plant proved the adage about third times and charms, as it perked its little leaves up and started to produce its familiar little orange blossoms. And then it got bigger, and I celebrated our first little courgettes. And then it made more. And its leaves reached the size of small umbrellas. Its flowers would have fit a full four-ounce mini-log of goat cheese and had room to spare. Suddenly, underneath those spiky umbrella-sized leaves and fragile, pollen-dusted blossoms, I was facing down an army of tiny squashes and remembering why so many avid home gardeners leave laundry baskets of zucchini on their neighbors’ porches in the summer.

It was time to bake zucchini bread. Fortunately, I have a pretty foolproof recipe, a zucchini spice loaf from the thick and dependable Bon Appetit Cookbook, and that is fine. But I wanted to play. My recipe calls for vegetable oil, cinnamon, and chopped toasted nuts. Oil is a good choice for quickbreads, especially if the loaf also contains nuts, because it’s 100% fat and thus keeps the bread moist. But the best banana bread I’ve ever had, bought from a roadside stand in Maui, was advertised as containing all butter. I wondered if, with a little tinkering, I could bring that buttery perfection to my zucchini loaf.

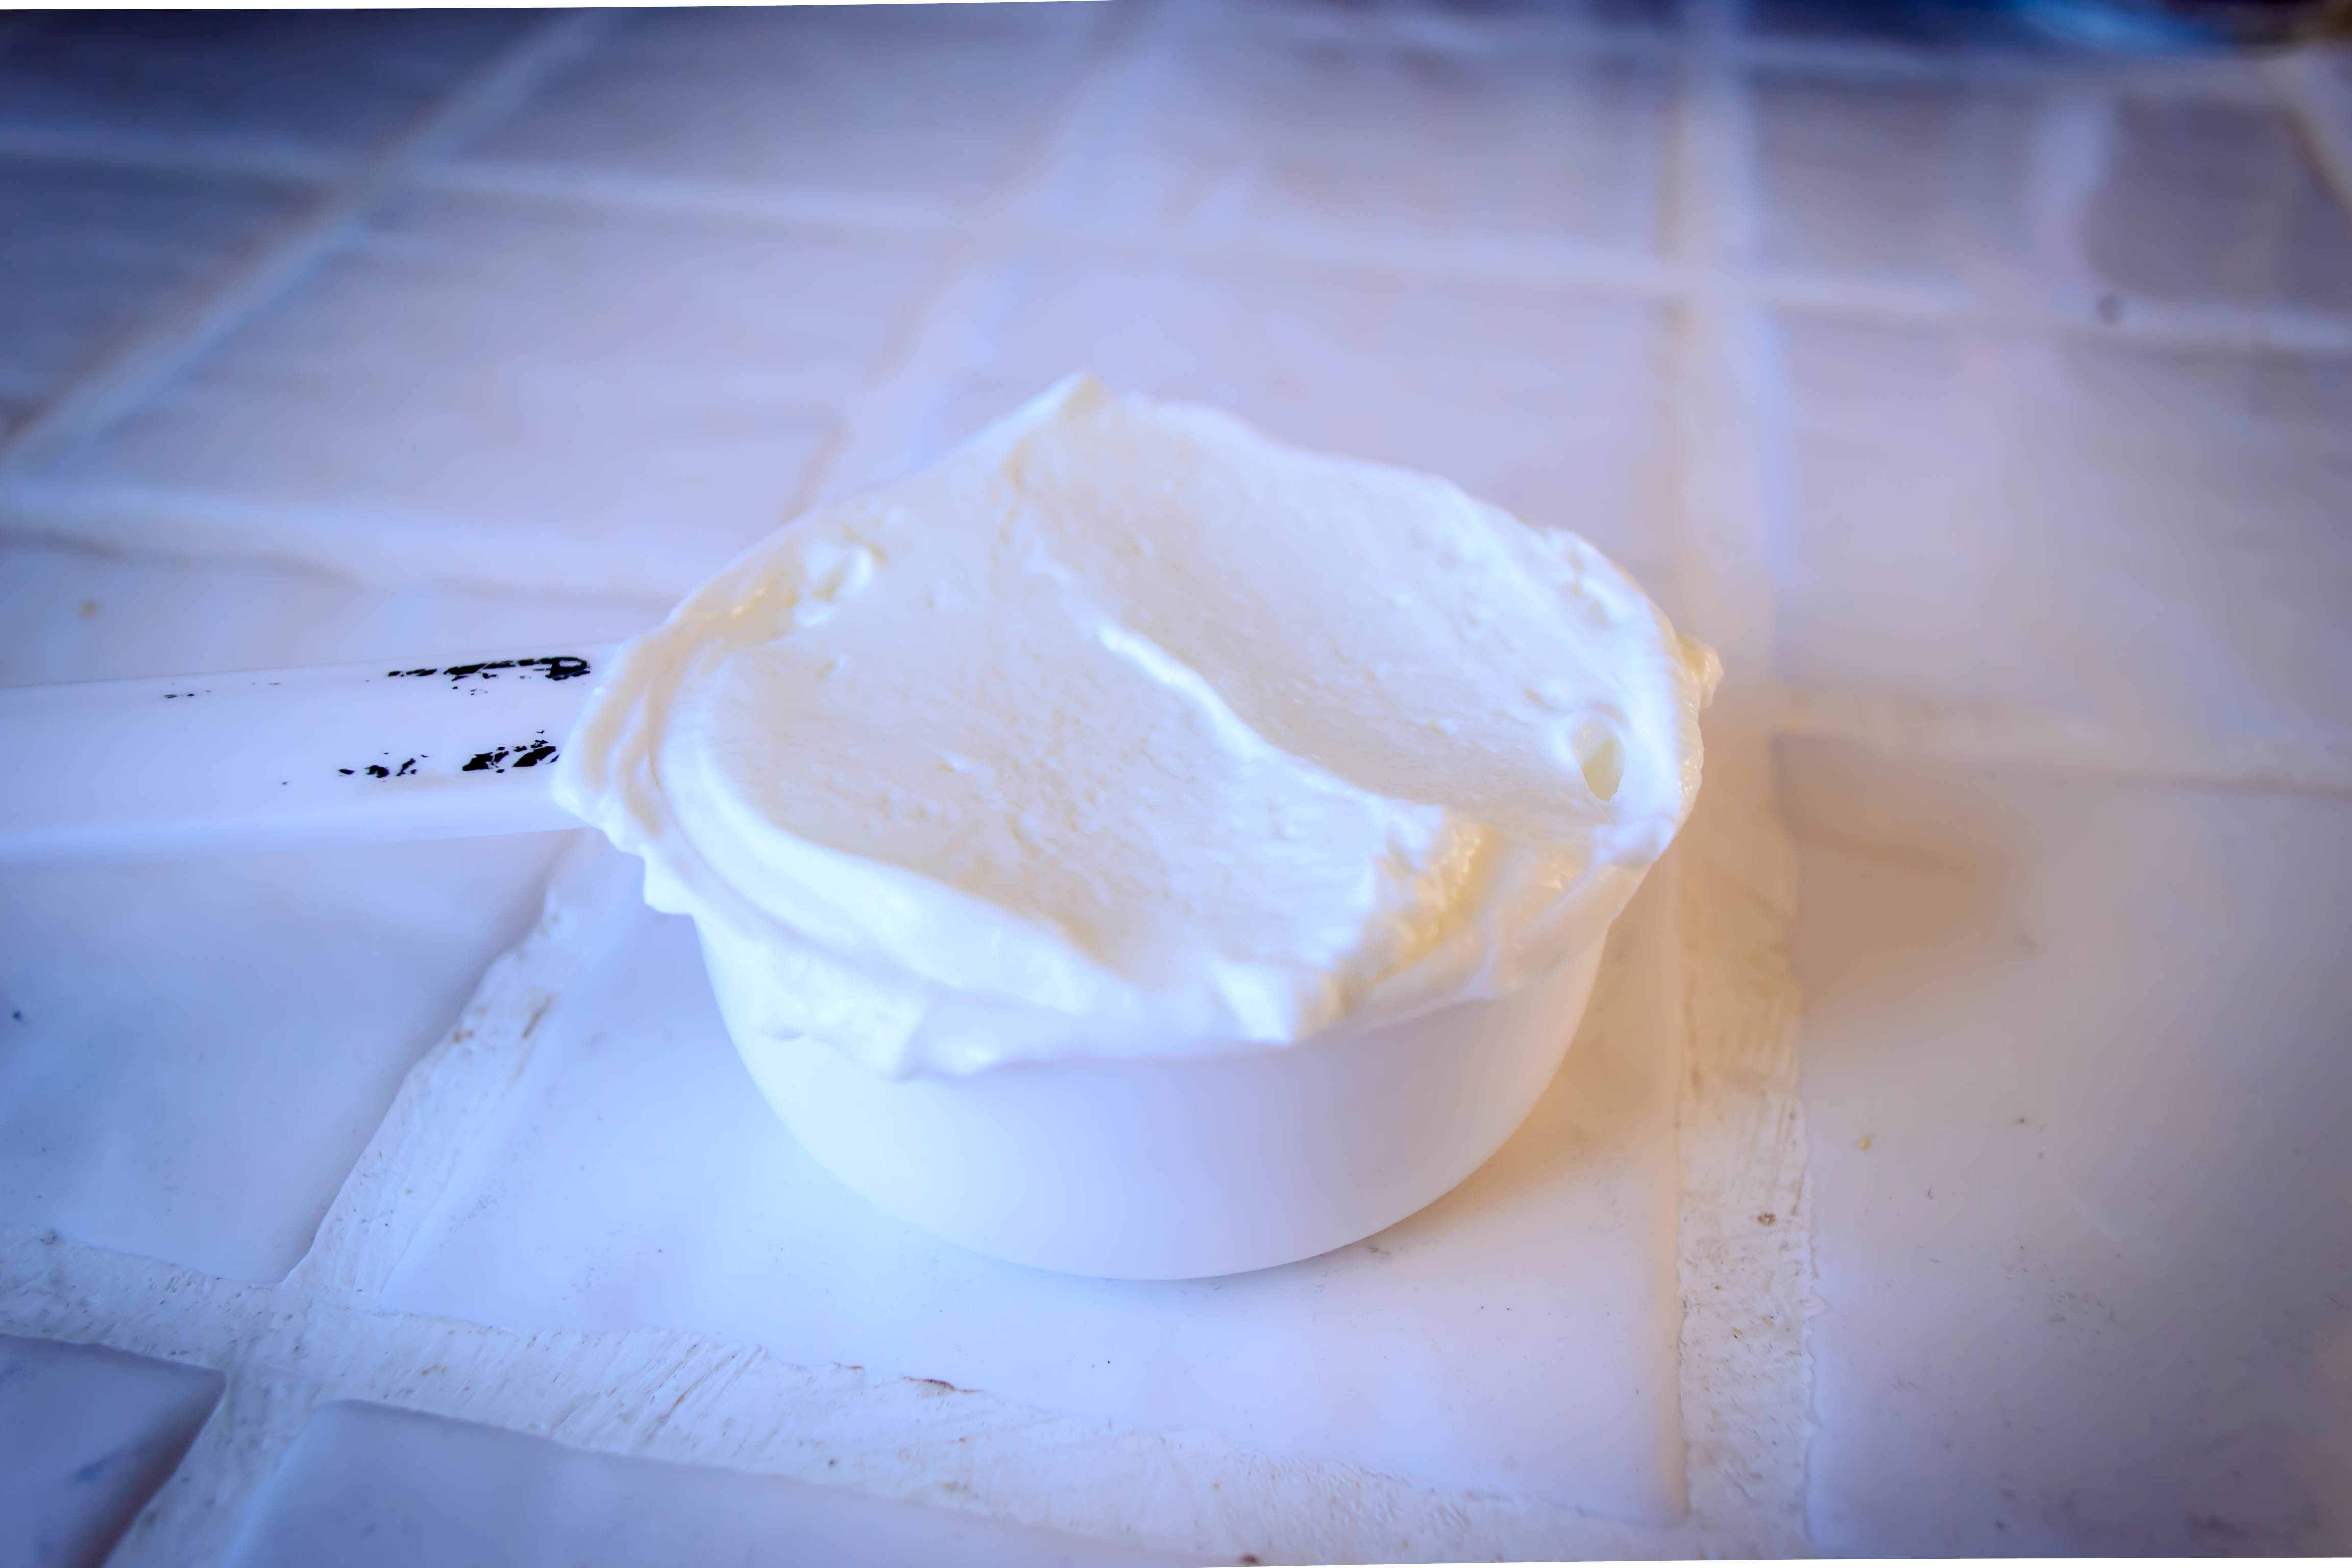
Converting from oil to butter requires a little calculation – butter is not 100% fat; it’s a mix of fat and water, so you need more butter than oil if you’re substituting. Since the oil is liquid when it’s incorporated into the batter, the butter would need to be as well, and if we were already melting it, well, we might as well go the extra step and brown it. This would also evaporate that pesky water in there, leaving us with 100% fat again.

That sorted, and wanting to keep things toasty and rich, I replaced half the granulated sugar called for in the original recipe with brown sugar, added some tart dried cherries for extra interest, and replaced the cinnamon with cardamom for a bright kick that played well with the fruit. And how was it? Well, so far we’ve sliced our way through three loaves of the stuff and I wouldn’t say no to another piece.

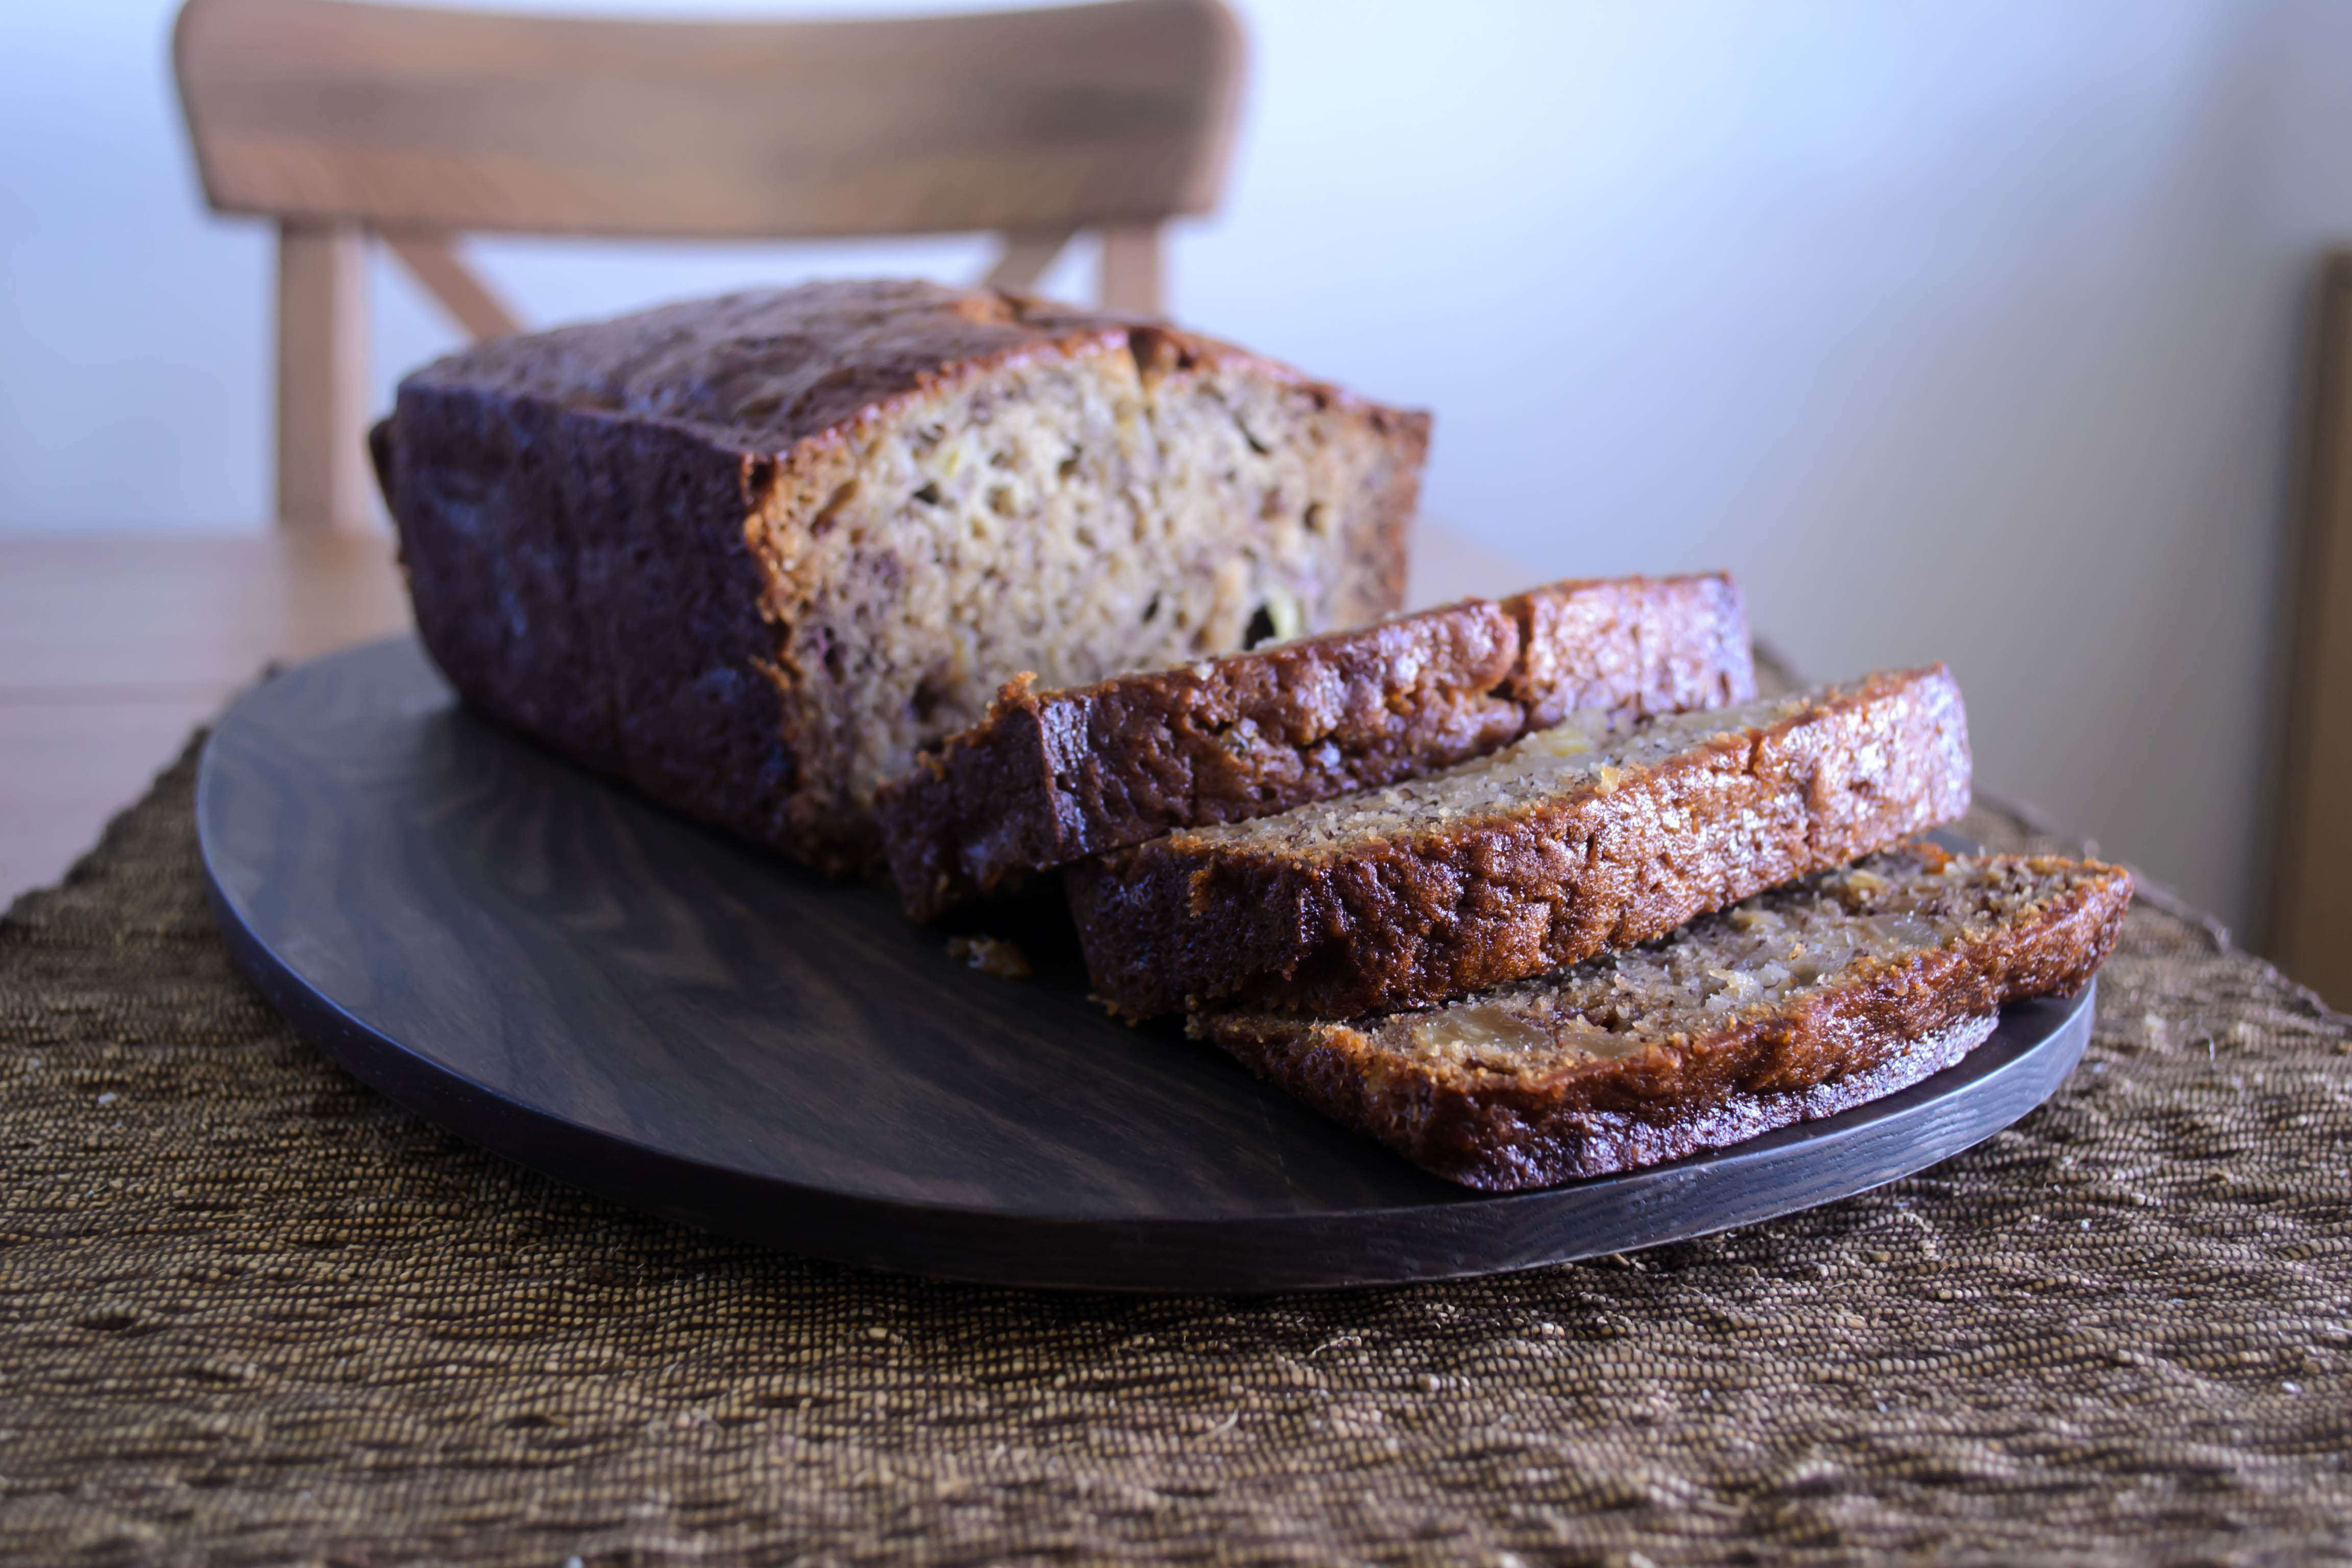
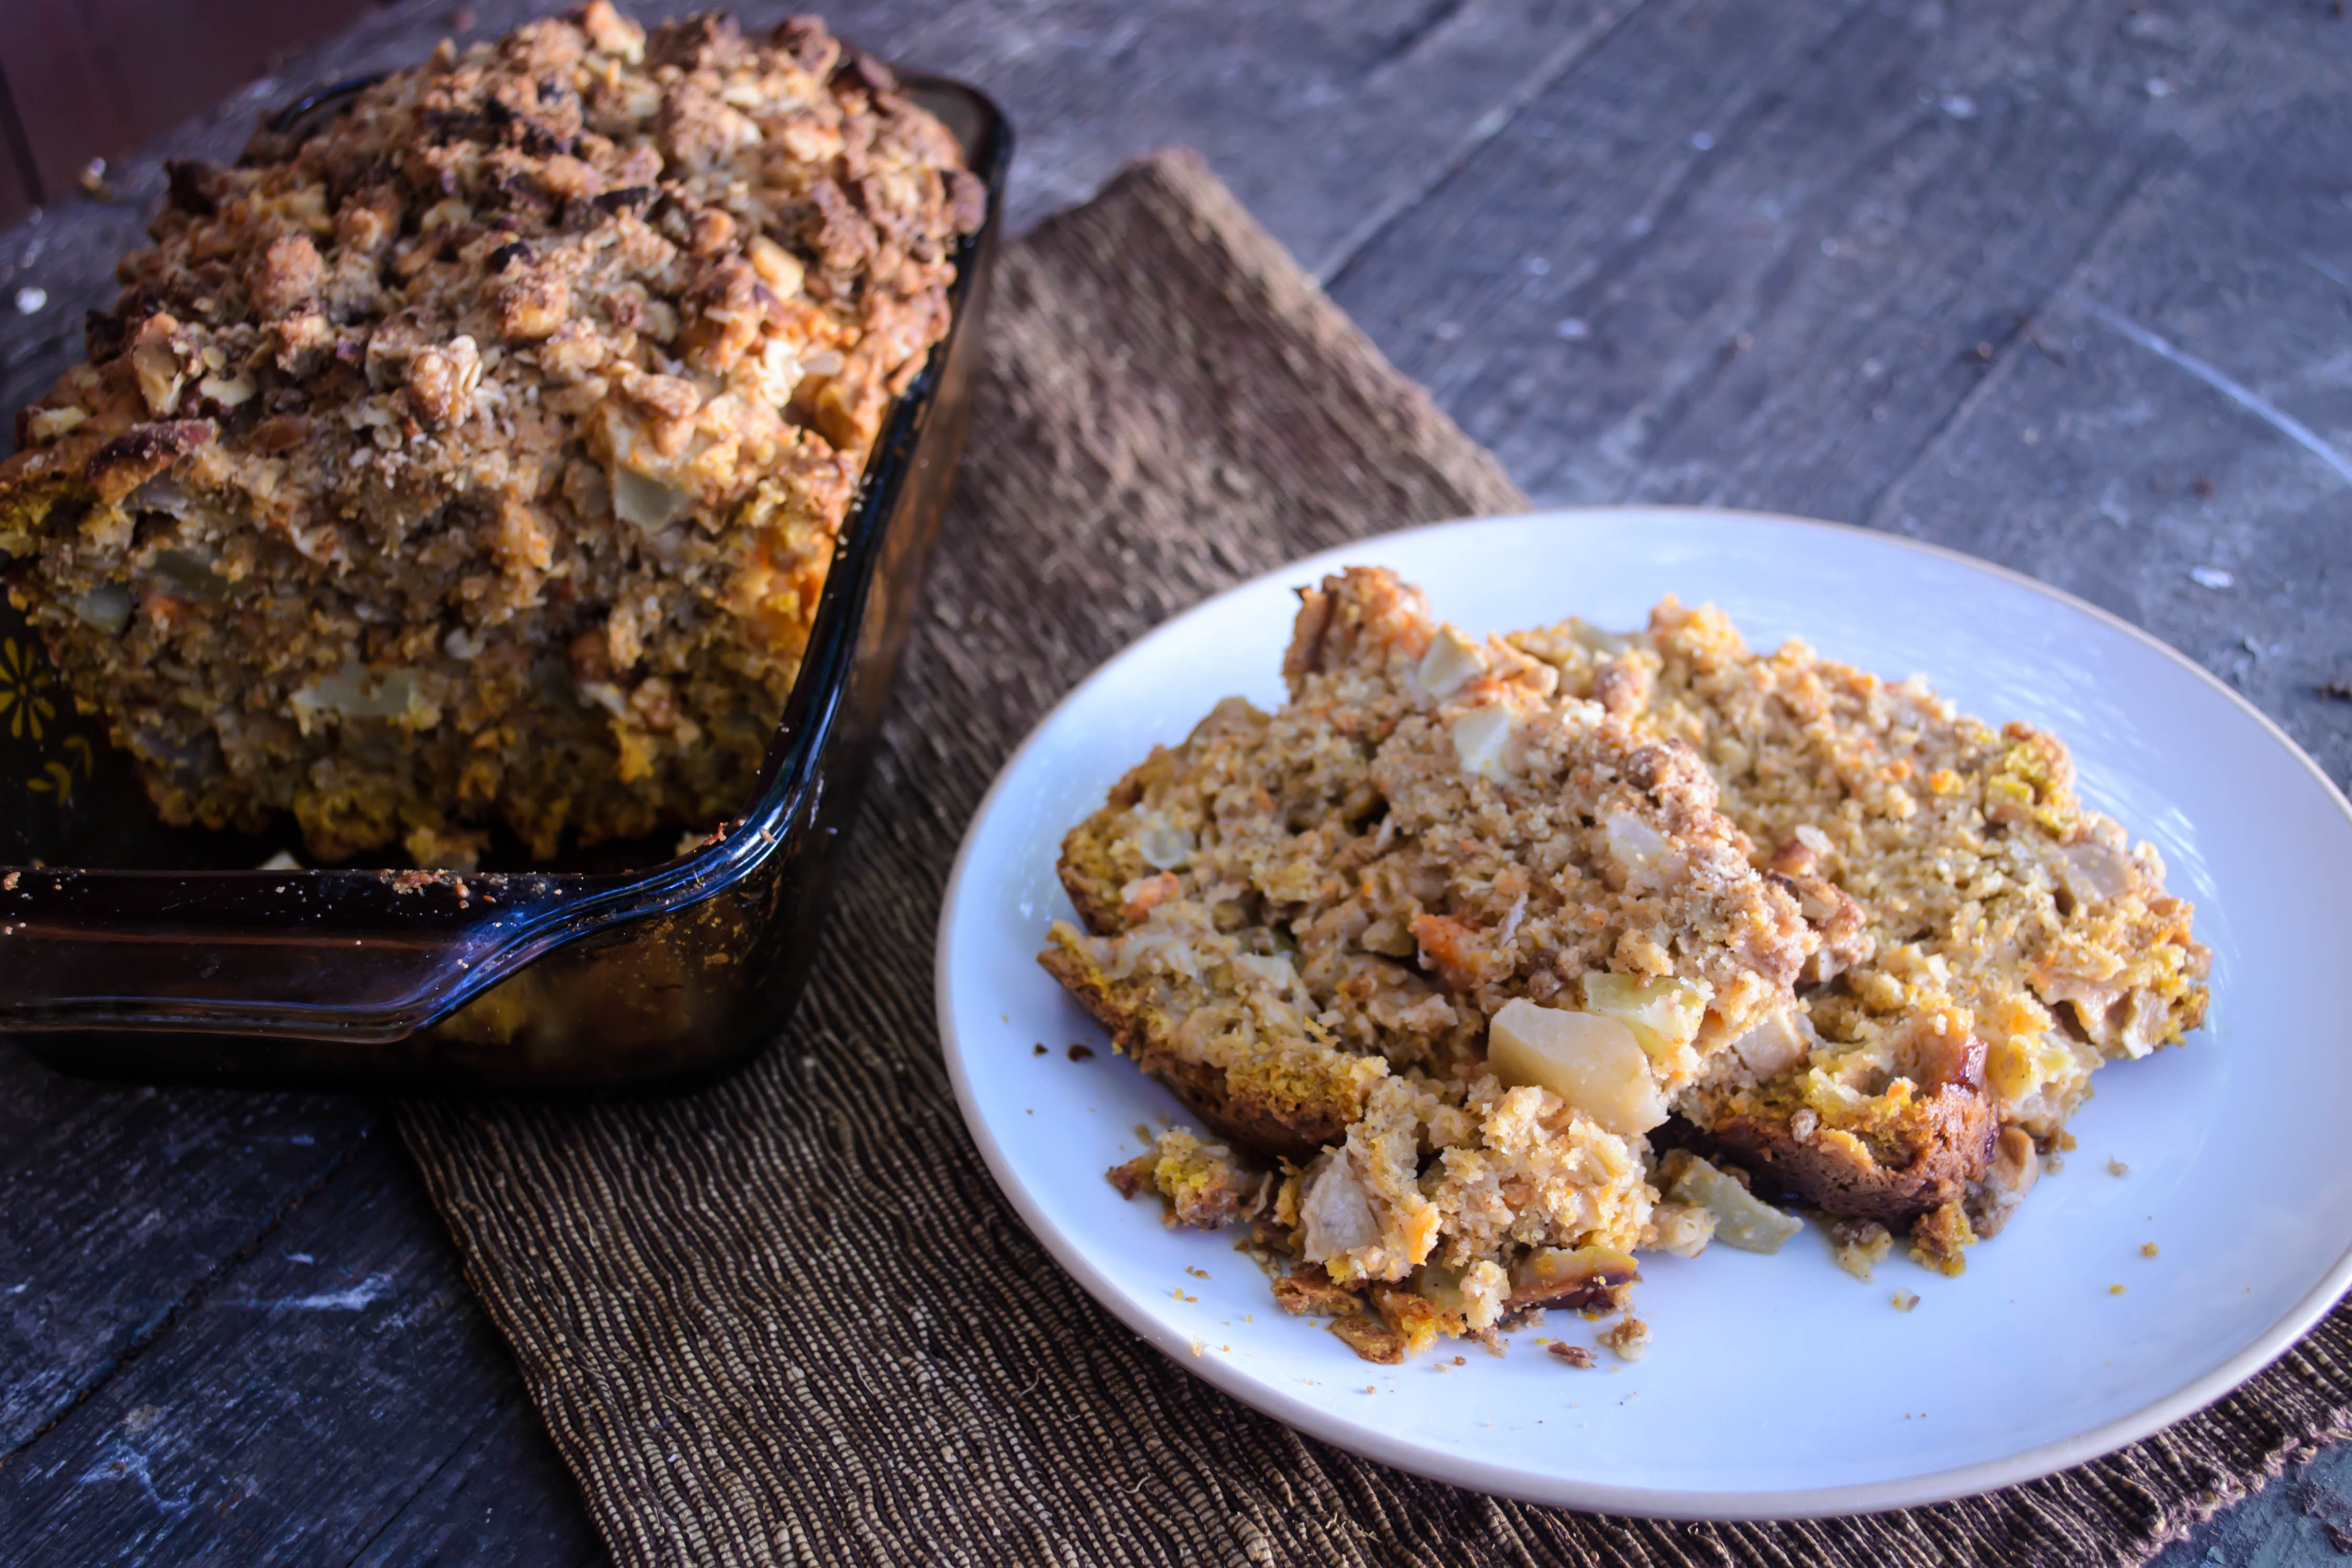
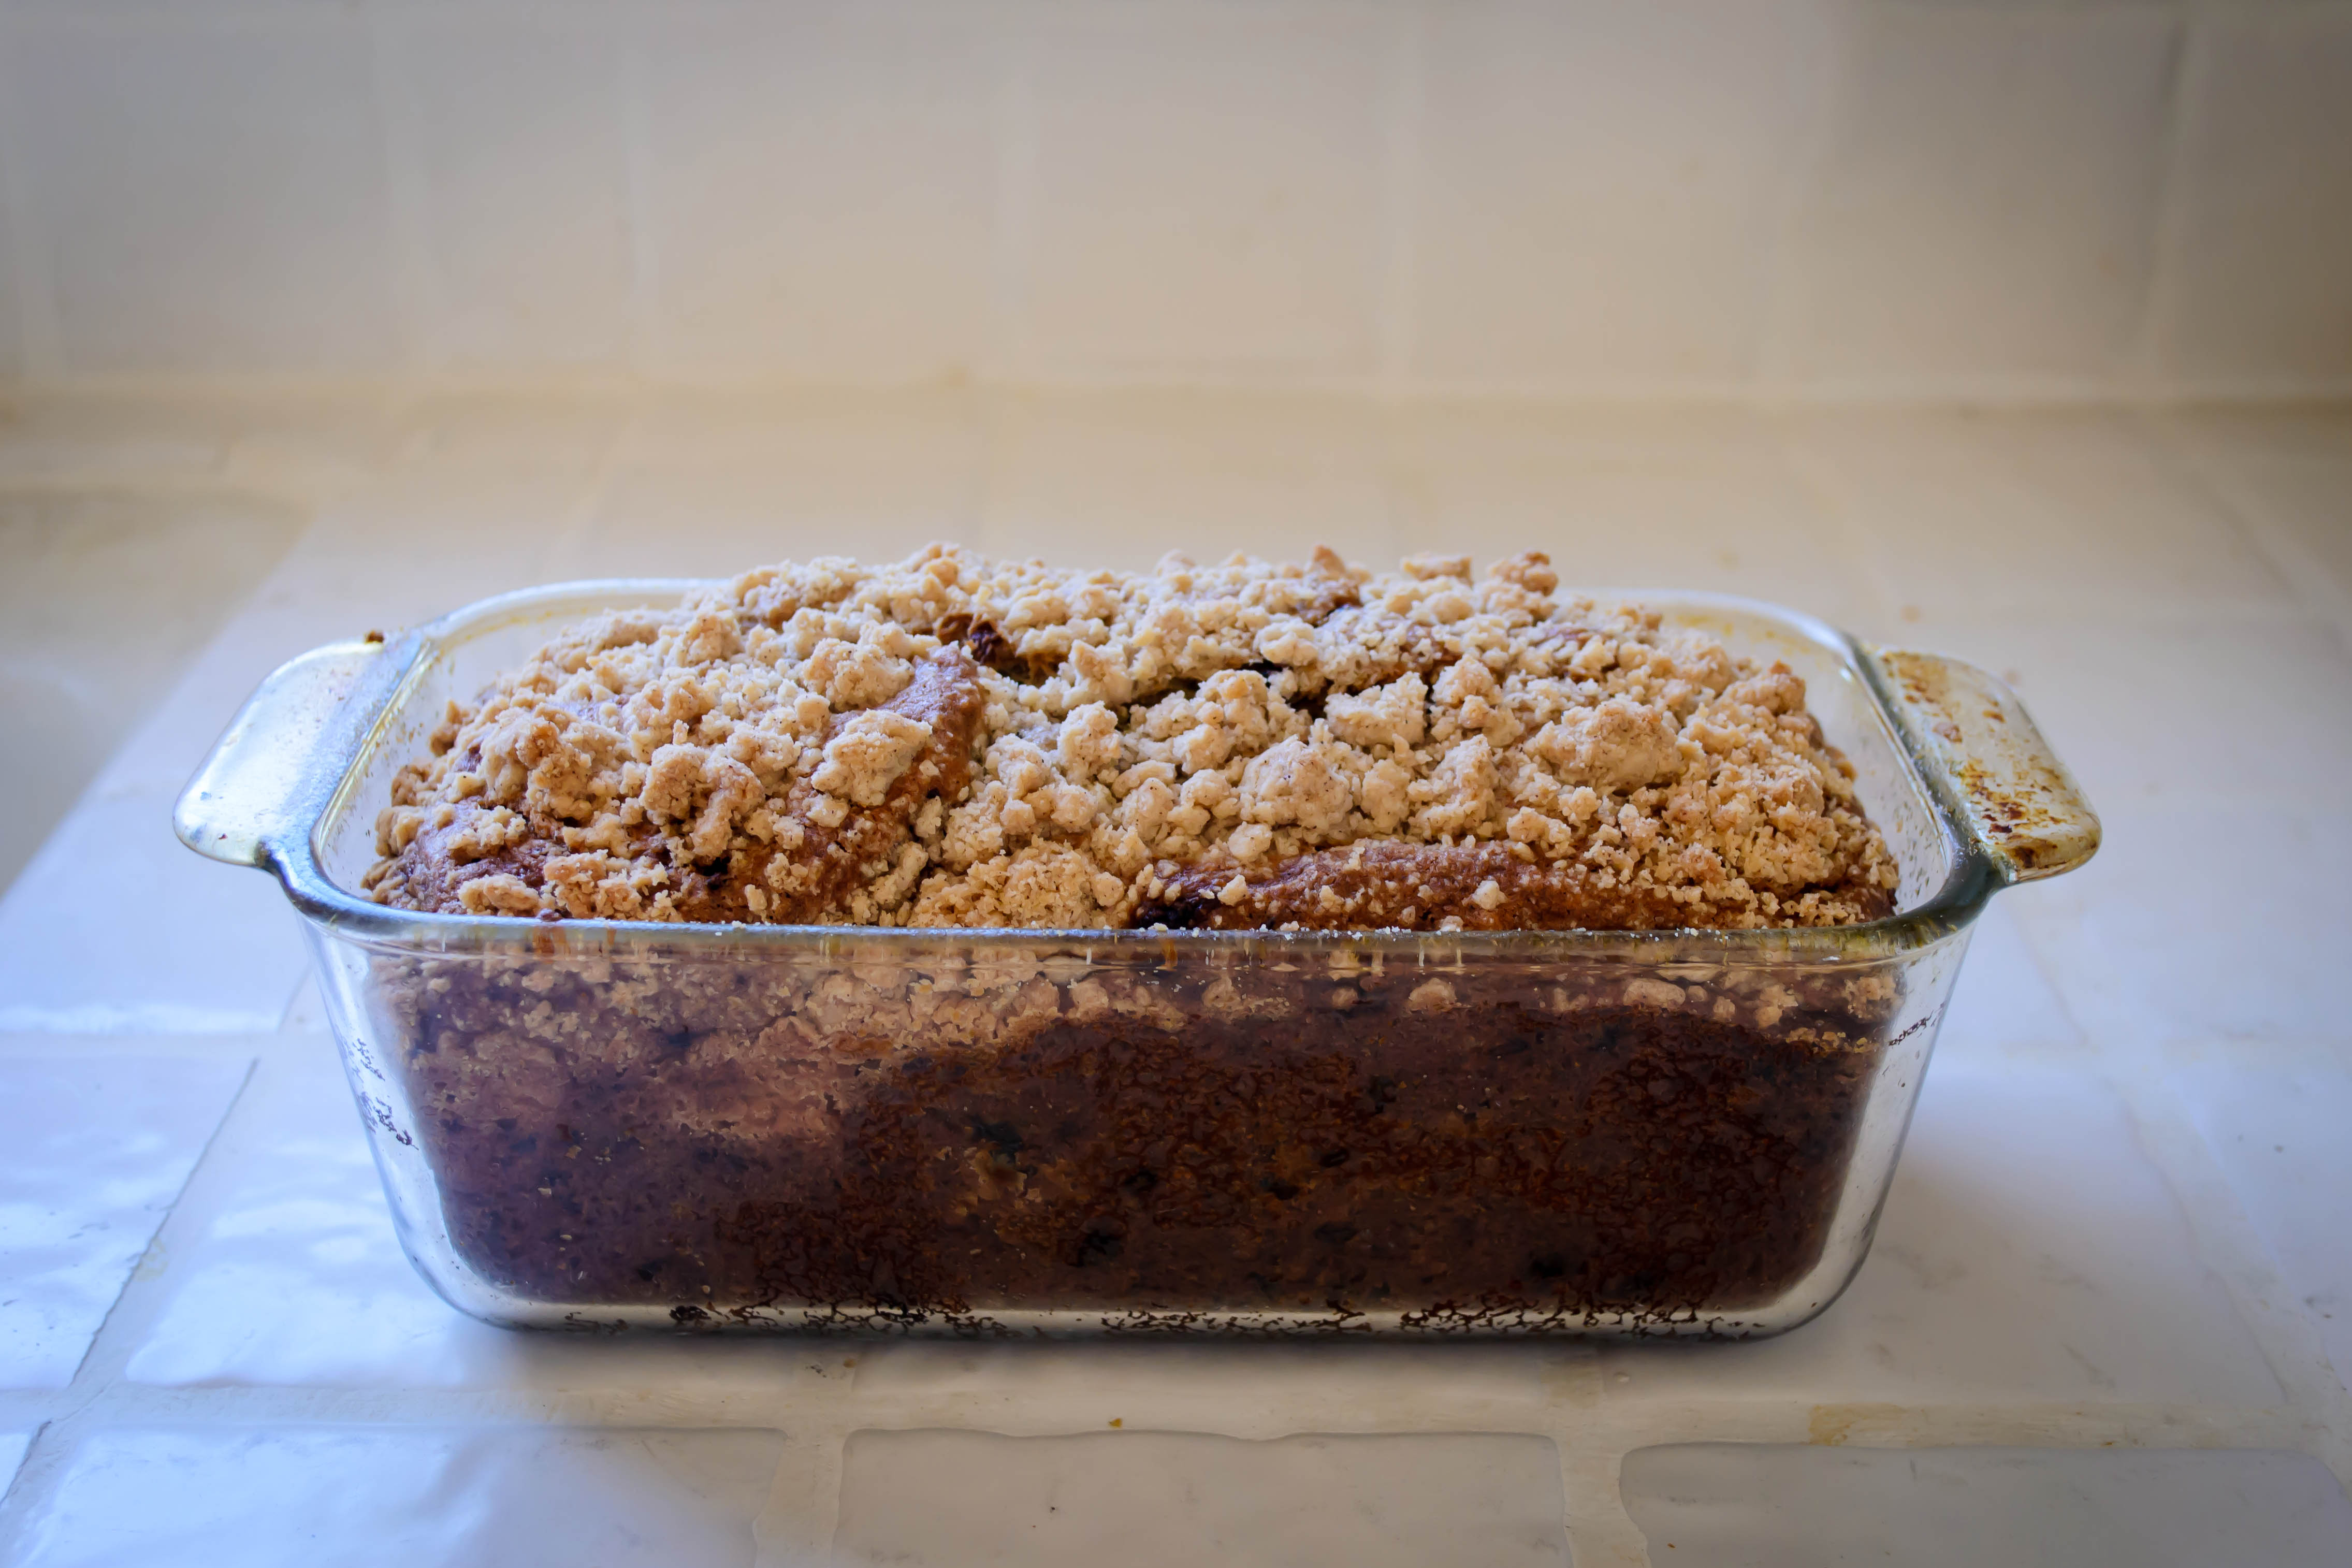
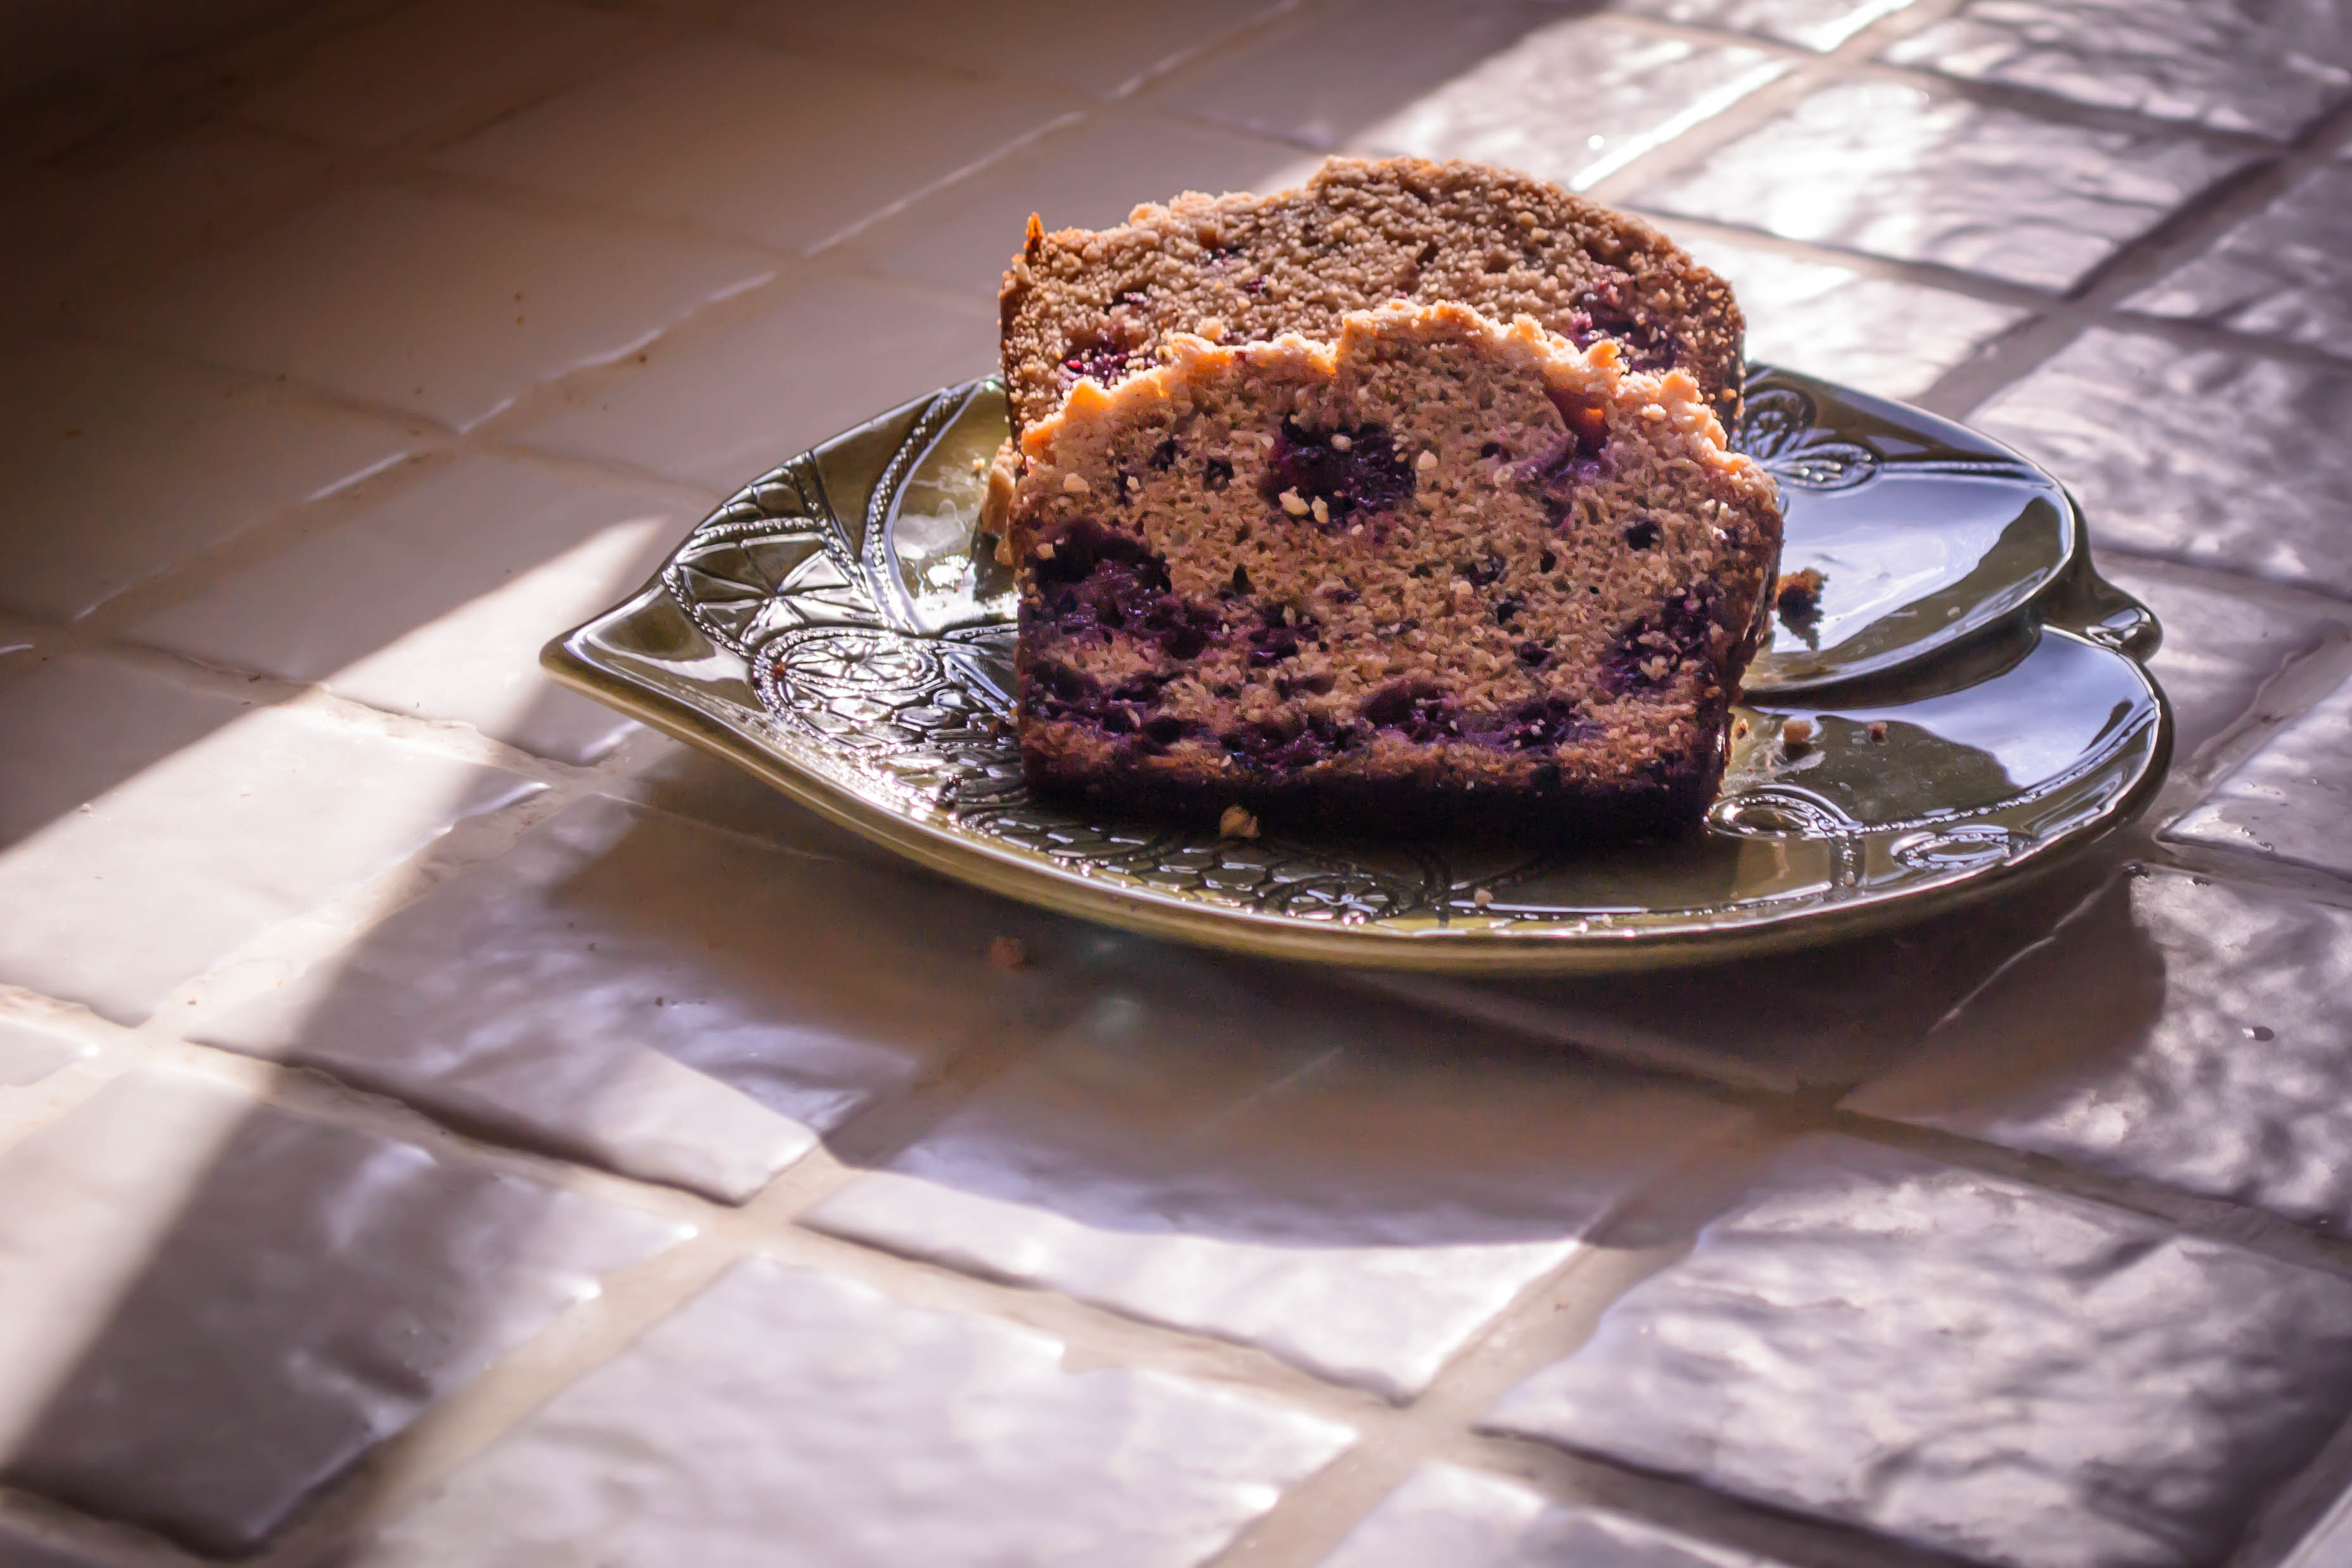
Should you decide to make your own (or if you’ve been the victim – I mean recipient – of some of your neighbors’ zucchini harvest), know this: this is quite a thick batter, almost like soft cookie dough rather than cake. There’s not a lot of liquid in the mix – just eggs and the melted butter – and I think that’s why the recipe doesn’t require any draining of zucchini shreds before you fold them in. They add just enough juice of their own to keep the loaf dense but tender after an agonizing hour and a half in the oven. That means, all told, this is at least a two hour endeavor, which might entice you to skip the initial steps of toasting the nuts and browning the butter. Don’t be tempted. Both really to enhance the flavor in a way it would be a shame to miss.

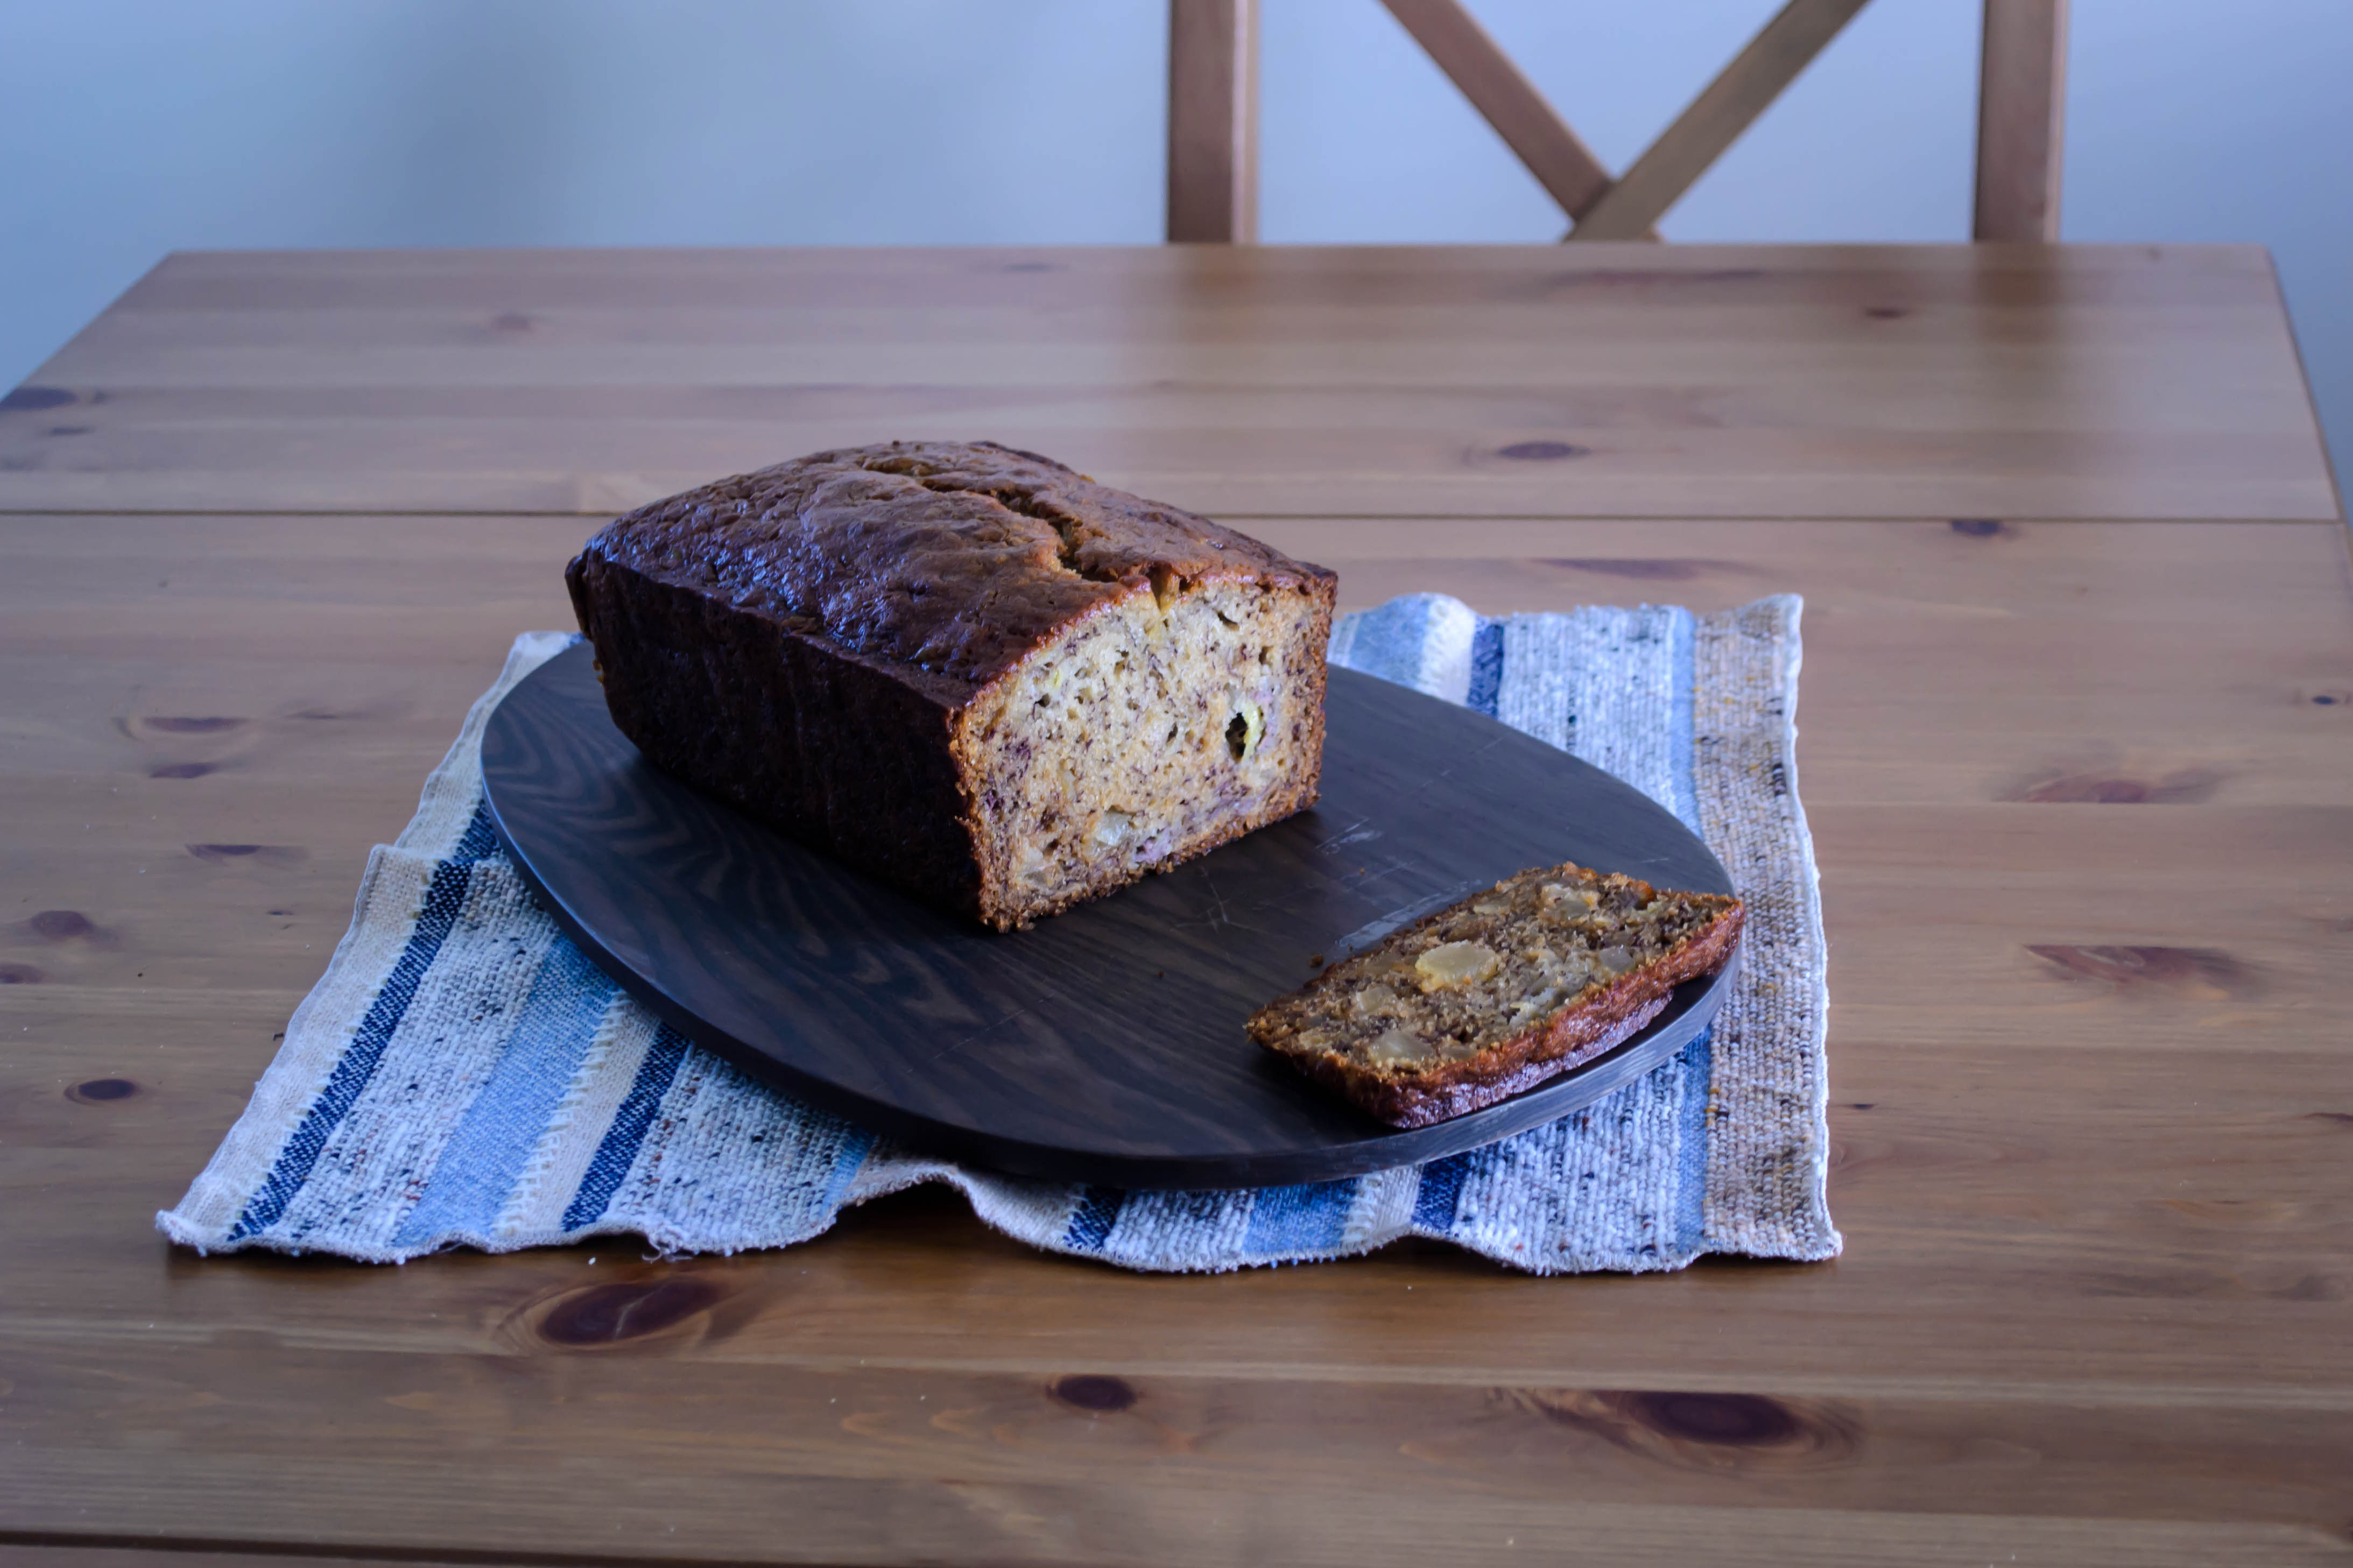
As is frequently the case for quickbreads, this is delightful on its own, sliced right from the loaf. It stays reasonably fresh wrapped in aluminum foil on the counter for 3-4 days. If, however, it starts to feel a little stale, or if you’ve overbaked it a touch, I’ll just remind you that a smear of cream cheese rectifies many sins…


Zucchini Spice Bread
Adapted from The Bon Appetit Cookbook
Makes 1 large loaf
2–2½ hours
2½ cups flour
1 teaspoon salt
1 teaspoon cardamom
1 teaspoon baking soda
¼ teaspoon baking powder
3 eggs
1 cup granulated sugar
1 lightly packed cup brown sugar
16 tablespoons butter (2 sticks)
1 teaspoon vanilla
2 cups grated zucchini
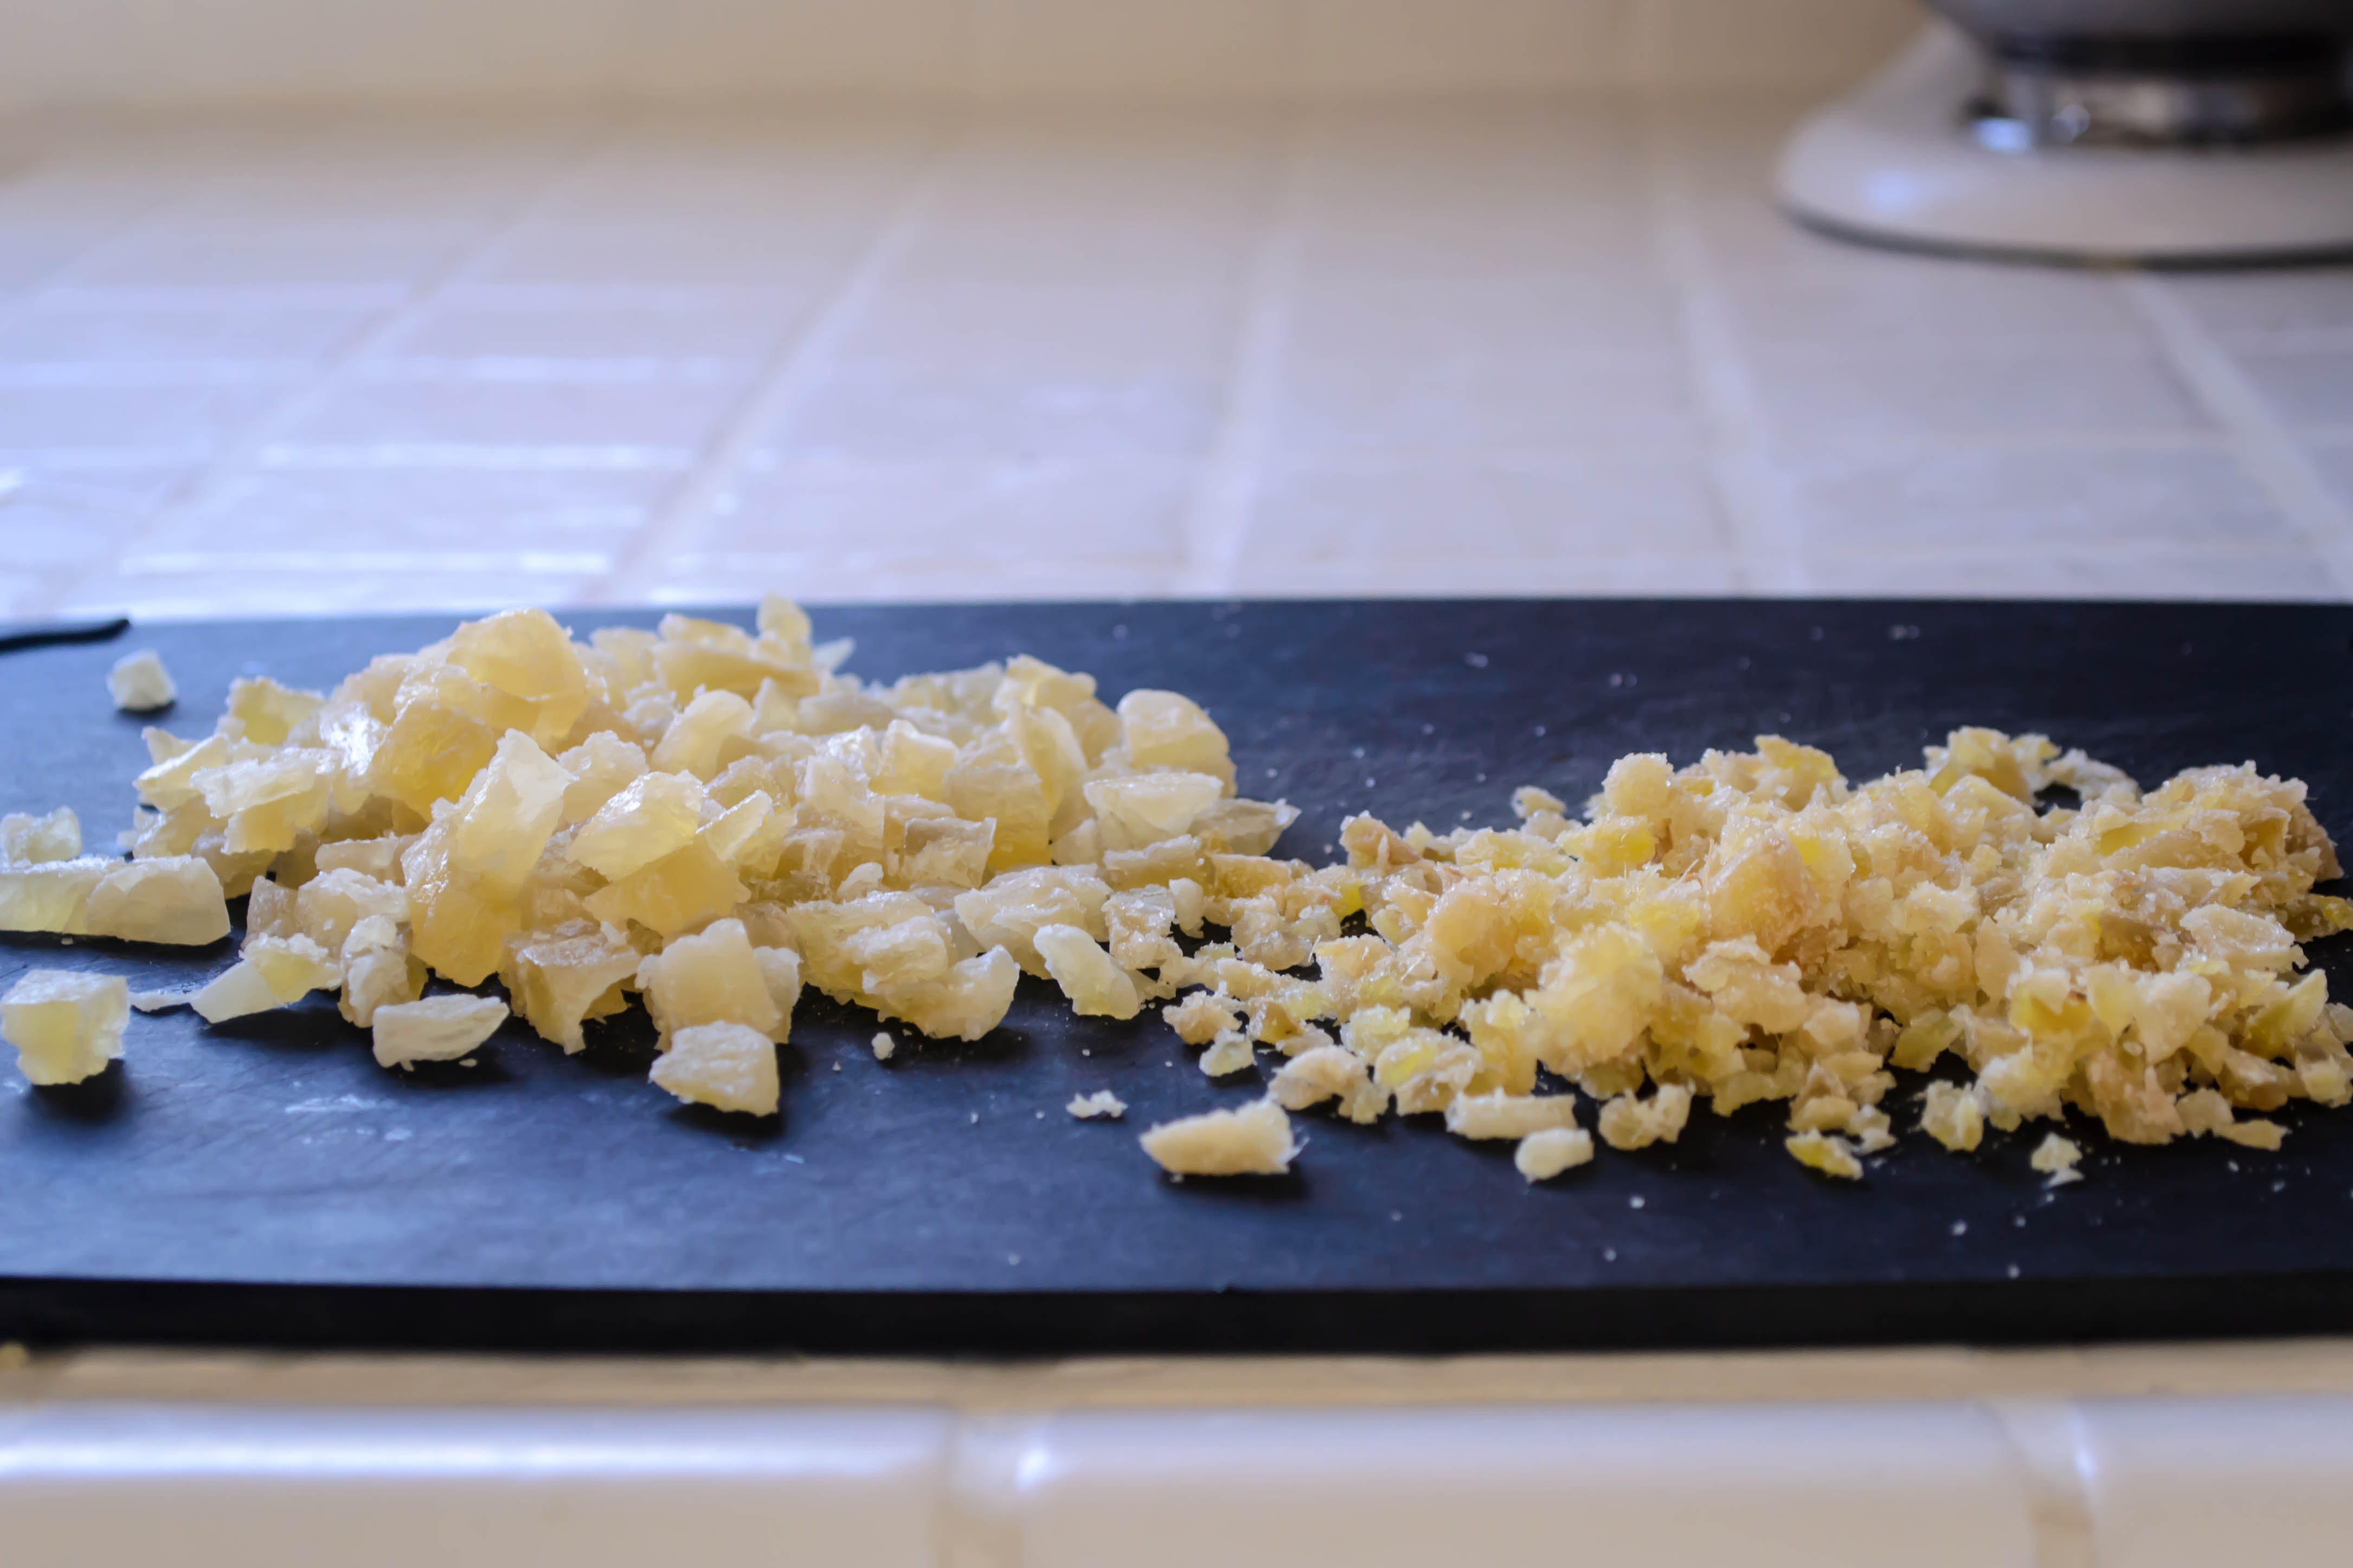
1 cup finely chopped walnuts or pecans, toasted
1 cup dried tart cherries or chopped dried apricots


  • Spray or butter a 9x5x3 inch loaf pan, and preheat your oven to 350F. This is a good opportunity to toast the nuts – they are usually ready by the time the oven reaches its target temperature. Once they are lightly browned and smell fragrant, set them aside to cool.
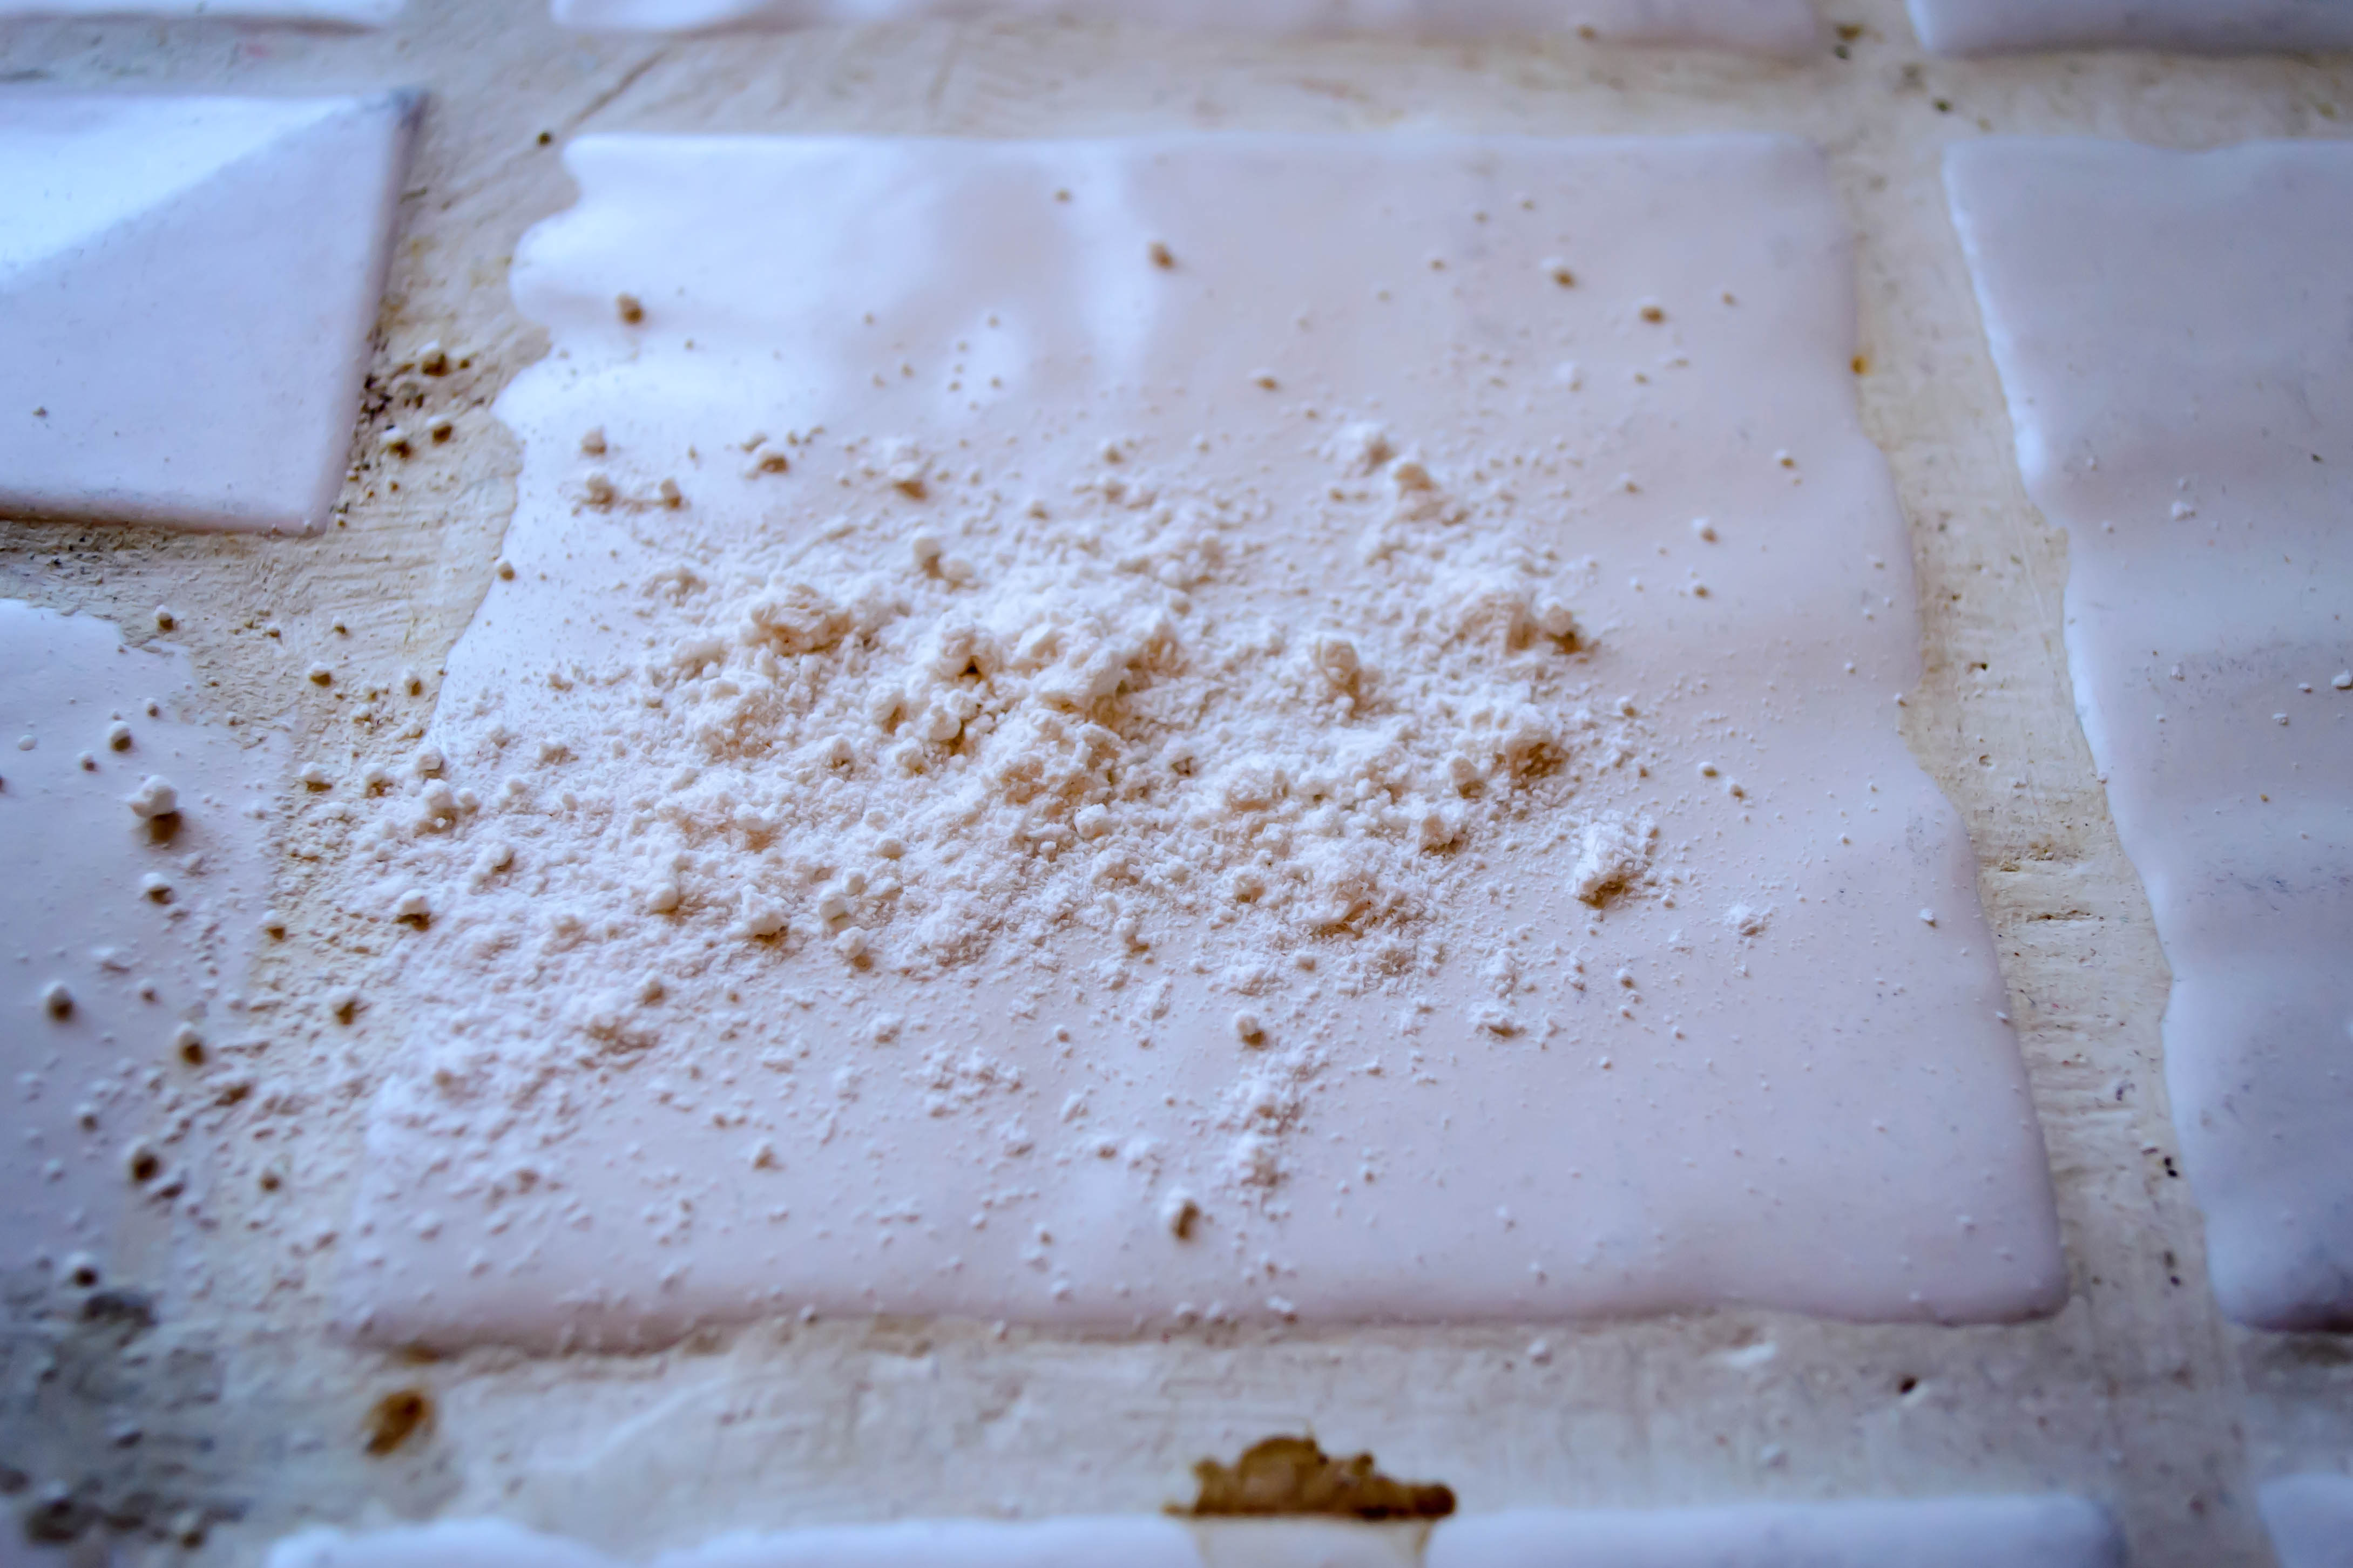
  • For the batter, first brown the butter. To do this, place the sticks of butter in a small saucepan over medium-low heat and let them melt and bubble. First, there will be a lot of foam on top. Then it will clear to liquid gold, then you’ll start to see a lot of clear bubbles stacked atop one another. Keep waiting and stirring occasionally. Eventually you’ll start to see some darker yellow residue, then pale brown, then almost bronze bits mixed in with the clear melted butter when you stir. As soon as these bits look bronze, turn off the heat and remove the pan to allow it to cool. If you get antsy, you can put the pan in the freezer for a few minutes.
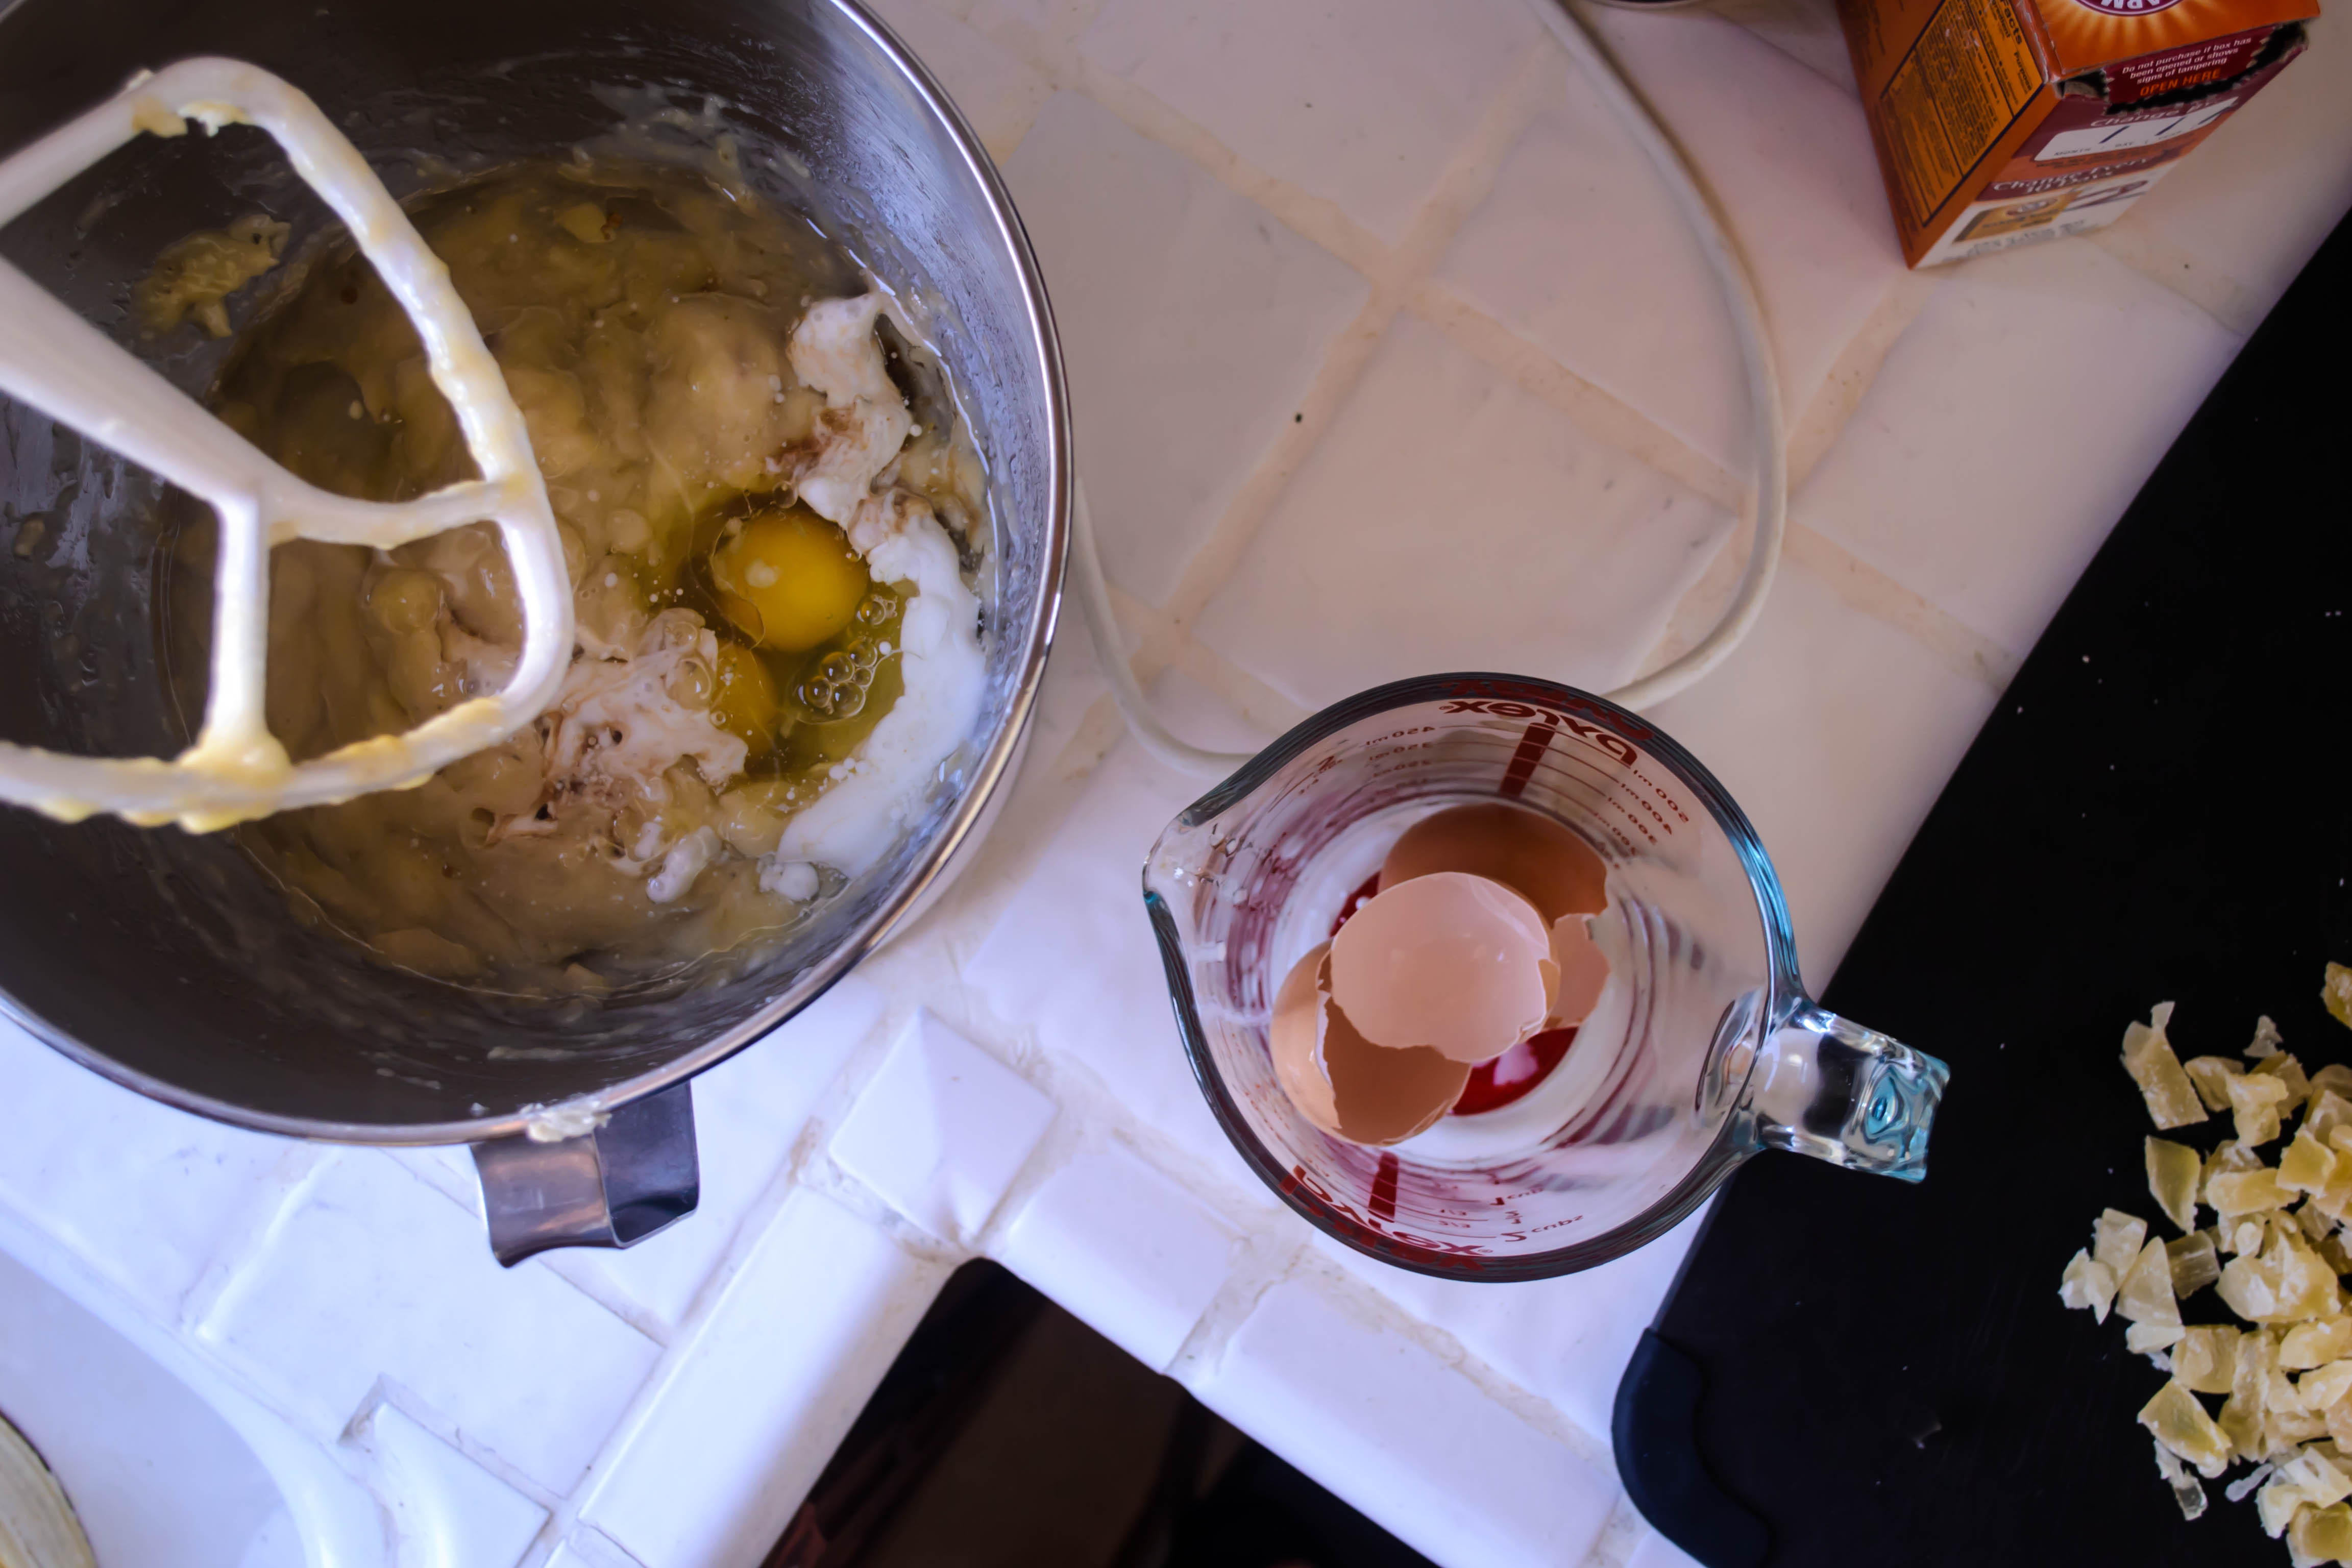
  • In a medium bowl, whisk together the flour, salt, cardamom, baking soda, and baking powder. In a larger bowl (I used the bowl of my stand mixer), use an electric mixer or the paddle attachment of a stand mixer to beat the eggs until very well combined and foamy on top. Gradually add the granulated sugar and the brown sugar, then mix until pale and thick, about 4 minutes. It will look almost like you are on your way to meringue. Add the vanilla and the cooled brown butter, beating well to combine.
  • Now incorporate the dry ingredients in three additions, beating just until combined. The batter will be very thick. Stir in the grated zucchini, then fold in the nuts and dried fruit, if using.
  • Pour and scrape the thick batter into the prepared loaf pan and bake in the preheated 350F oven until the top is dry and crusty, and the center is cooked through and a toothpick or cake tester inserted emerges with only a moist crumb attached. This will take about 1 hour and 30 minutes.
  • Let cool in the pan at least 10 minutes to avoid breakage, then turn out onto a wire rack and cool completely before slicing.

Tropical Banana Bread for the Hawaiian Vacation we should all be on

Food Blog March 2014-3354As I type this, I am one week – count it! – one lousy week from Spring Break. That doesn’t sound like much, but as I’m sure any of my students would agree if you asked them, in lived reality it is an eternity. On top of that, the sudden influx of warm weather draping itself all over Southern California this past weekend has enchanted misled my poor little vacation-focused brain into thinking the upcoming break might actually be the onset of summer break. It’s going to be so disappointed.

Food Blog March 2014-3327Because I’m foolishly thinking of summer, it’s finding its way into my cooking. N. and I have promised ourselves a Hawaiian vacation this year, in celebration of various job and life related things, and so I’m feeling a bit tropical in some of my undertakings.

Food Blog March 2014-3330In light of my recent declaration that what I do here inelegantly boils down to messing with classics, I’m bringing you banana bread. Now, my banana bread recipe – the one I’ve used so many times the page in the cookbook is torn and spattered and hard to read – is pretty sacred. I’ve been using it since high school, and it produces a loaf that is thick and moist and golden and just barely crusty on top, and when N. heard that I was going to change it, I am fairly certain he let out a legitimate whimper. Apparently there are some things you just don’t mess with.

Food Blog March 2014-3326But I did it anyway, jamming the moist, fragrant batter with indecent quantities of chopped candied pineapple and crystallized ginger.

To make it even more of a celebration, I finally decided to replace the old, mismatched, stained and eternally sticky-handled (they aren’t dirty, the stickiness just doesn’t wash off anymore) glass bread pans I bought from a thrift store while I was in college with actual 9×5 inch standard loaf pans. Non-stick, too. What a luxury! Unfortunately, the stickers advertising how amazing these pans are had been adhered to the insides with gigantic globs of something that can only be described as superglue derived from elephant snot. When not even liberal doses of rubbing alcohol failed to remove all of the adhesive, I got so angry I actually started hiccuping.

Food Blog March 2014-3335Good thing the resulting bread was so delicious. Truly, with all my recent quasi-failures, this one is a real triumph. It is moist, studded with fruit that softens over the long, low bake. These bits of fruit, especially the ones that sink to the bottom of the loaf, take on an appealing kind of gumminess, and some even attain a whisper of the kind of caramelization you’d find in the fruit of a tarte tatin. Sliced thick, it is rich but not too sweet, making it a perfect companion for morning coffee or mid-afternoon chai (the basic boxed mix combined with vanilla coconut milk is my current favorite, and all the more appropriate for the whole Hawaiian vacation thing). It’s the kind of bread you want to eat barefoot, lightly clothed, on a lanai looking out over the ocean, perhaps after you’ve just enjoyed some –ahem– morning activities that left you wanting a snack. The pineapple and ginger mingle well with the already slightly tropical feel of the banana, and the ginger adds a welcome warmth without being spicy (I used a lot, and the flavor is quite pronounced – see my quantity suggestion below if you are unsure about this).

Food Blog March 2014-3333We should all be on a Hawaiian vacation. We probably all deserve one. But if it’s not possible for you, and if you are still in a part of the country that refuses to let Spring over the threshold, may I humbly recommend this bread? At least your taste buds can hop a quick flight… Food Blog March 2014-3338

Tropical Banana Bread
Makes one 9×5 inch loaf
Adapted from Country Cooking
3 medium overripe bananas
½ cup vegetable or other neutral tasting oil
2 eggs
¼ cup + 1 tablespoon buttermilk (if you don’t have buttermilk, use ¼ cup regular milk + 1 tablespoon white vinegar, stir to combine, and let sit for 2-3 minutes)
1 teaspoon vanilla
1 ¾ cups flour
1 cup sugar
1 teaspoon baking soda
½ teaspoon salt
1 cup roughly chopped candied or crystallized pineapple
½ cup finely chopped crystallized ginger (this results in a strong ginger flavor. If you aren’t sure about this or you’re not overly fond of ginger, reduce to ¼ cup)


  • Preheat the oven to 325F and prepare a 9×5 inch loaf pan. I usually just coat the bottom and sides with non-stick spray, but this time I lined the inside with parchment paper to protect against any lingering elephant snot glue (see above).
  • In a large bowl, or the bowl of your stand mixer, mash the bananas into a pulpy mess. Add the oil, the eggs, the buttermilk, and the vanilla and combine thoroughly.
  • Add the sugar and mix well.
  • Add the flour, baking soda, and salt, and mix just until combined. Be sure to scrape the bottom – sometimes streaks of flour wind up hiding out down there.
  • Add the pieces of pineapple and ginger and combine thoroughly; you want even distribution of the fruit through the batter.
  • Carefully pour and scrape the batter into your prepared loaf pan. Beware: if your pan is smaller than 9×5 inches, you may want to make a few muffins as well, or at least place a cookie sheet under the pan in the oven in case of overflow.
  • Bake at 325F for 80-90 minutes, or until a tester comes out with just a few moist crumbs clinging to it. Check at 80 minutes, but don’t be surprised if it is still a bit raw in the middle. This is quite a large loaf, and depending on the size of your bananas it may take even longer than 90 minutes to bake.
  • Let cool completely (or at least twenty minutes) before removing from the pan and slicing.
  • Keeps wrapped well in foil for at least three days, but I doubt you’ll have that problem.

Sweet Potato Apple Oatmeal Bread

I seem to be increasingly fond of dishes with long titles. There’s nothing particularly extravagant about this quickbread (though I must admit, the prep work involved makes it not all that quick), but the title is lengthy because it does have a lot going on.  Harvest color from a baked, mashed sweet potato, juicy chunks of apple, a hearty, wholesome boost from the oats, plus a hefty dose of brown butter, buttermilk, cinnamon, and a streusel topping crammed with walnuts and dried apple rings. But I didn’t want to overload you, so sweet potato apple oatmeal bread it is.

Food Blog October 2013-2708This bread turned out to be a lovely little response to October’s Twelve Loaves theme: root vegetables. Upon first reading this mandate, I was a little concerned. I’ve already done loaded potato biscuits. Carrot cake is, eponymously, not bread. Beets and rutabegas and parsnips and all those other decidedly savory tubers I’d welcome in a roasting pan or in a latke just don’t seem like a good fit in bread, yeasted or otherwise.

Food Blog October 2013-2701Los Angeles has recently decided that, since it’s almost the middle of October now, Fall might be okay. It might be acceptable to hover below 80 degrees during the day,* and nights could, possibly, occasionally, fall to the chilly (hah!) mid-50s. This has put me in mind of all the harvest flavors I love which, predictably, takes me to Thanksgiving. Once there, it’s only a tiny hop to the humble sweet potato.

Food Blog October 2013-2687Sweet potatoes are true root vegetables. Unlike taro or ginger, which are technically modified stems, or even the grand old potato itself, which is a tuber but not a “true” root (I know, I was shocked too!), sweet potatoes are the root of the plant.

Food Blog October 2013-2680Food Blog October 2013-2685Food Blog October 2013-2682Thankfully, they are also delicious. I love their mellow, starchy sweetness in savory and sweet applications, but I’d never tried incorporating them into bread before. I knew almost immediately I wanted a quickbread rather than a yeasted loaf, and from there it only remained to pair a few flavors. Apples seemed like a nice match for sweet potato: big, fresh Honeycrisps have been showing up at our Farmers’ Market lately, and their juicy tartness would be a good foil for the dependable mellow of my main player. Oatmeal would bulk up the bread a little, giving it strength to support the onslaught of apple and sweet potato I had in mind. I found an oatmeal quickbread recipe that sounded promising on Flour Child, but things really cemented when I read Irvin’s post on Spiced Brown Butter Apple Walnut bread on his blog Eat the Love.

Food Blog October 2013-2688So, sweet potato, baked rather than steamed or boiled to cut down on moisture, an excessive mound of apples, left in sizable chunks that, when you start to mix them in will seem like far too many, rolled oats to bake into a breakfast-worthy slice, and the usual players – brown sugar and cinnamon and just enough salt – get topped off by a streusel you will want to eat not just on this bread, but on everything.  Walnut pieces, more oats, cinnamon for flavor and flour for texture, enough butter to hold things together, and the crowning touch: roughly chopped dried apples that, when baked, dehydrate even more into crispy, gloriously tart-sweet candy. I’m already imagining it on oatmeal, or pancakes, or baked on its own into a take on granola.

Food Blog October 2013-2699This is a moist loaf, and hearty, but not particularly dense. It can’t quite support its own weight, which means slices collapse easily on themselves because they are groaning under the quantity and size of the apples. It is also not terrifically sweet. I was aiming for a breakfast or a mid-morning snack kind of loaf. If you want something more dessert-like, or if you just have a determined sweet-tooth, try increasing the quantity of brown sugar by a few tablespoons.


* This morning’s meteorological news, however, may have made a liar out of me.

Food Blog October 2013-2707

Sweet potato apple oatmeal bread
Adapted from Flour Child and Eat the Love
makes one large loaf
For bread:
1 ½ cups flour
1 cup old-fashioned rolled oats
1 teaspoon baking powder
½ teaspoon baking soda
½ teaspoon salt
1 teaspoon cinnamon
½ cup butter (8 tablespoons or 1 stick)
½ cup buttermilk
2 large eggs
½ cup brown sugar
1 cup baked, mashed sweet potato (from one medium)
2 apples, peeled, cored, and cut into generous ½ inch pieces (I used Granny Smiths)
For streusel:
2 tablespoons oats
2 tablespoons flour
2 tablespoons brown sugar
½ teaspoon cinnamon
¼ cup roughly chopped walnuts
¼ cup roughly chopped dried apple rings
2 tablespoons softened or melted butter


  • If you have not already baked your sweet potato, preheat your oven to 400F, pierce the flesh of the sweet potato a few times with a knife or the tines of a fork, and bake until the potato is evenly soft – anywhere from 35-60 minutes, depending on the size of the root.  When done, remove from the oven and cool completely before halving lengthwise and mashing the flesh. Discard the skin (or just eat it – it’s sweet and soft and good for you!).
  • Turn the oven down to 350F (or, if you haven’t just baked a sweet potato, preheat it to 350F) and butter, grease, or spray a loaf pan.  Set aside.
  • Begin by browning the butter. Melt your ½ cup of butter in a small pot over medium-low heat. As it melts, it will foam and sizzle a bit and some scummy stuff will appear on the surface. That’s okay. Water is evaporating and leaving us with a more concentrated product. After a while, little brown bits will begin to form on the bottom. This is what we want, but watch carefully – it takes a matter of seconds for butter to go from perfectly brown to burned. When the brown bits are nice and toasty, turn off the heat and set aside to cool.
  • While the butter cools, it’s a good time to make your streusel so you’re prepared later. In a small bowl, combine all streusel ingredients except the butter and whisk lightly together with a fork. Add butter and toss with the fork again or with your fingers until the mixture begins to stick together in clumps. Set aside.
  • Now, back to the bread. In a medium bowl, combine the flour, oats, baking powder, baking soda, salt, and cinnamon. I like to use a whisk for this – it aerates the flour and evenly disperses the leavening agents.
  • In a large bowl (or the bowl of your standing mixer), combine the buttermilk, eggs, brown sugar, and mashed sweet potato. Add the brown butter and beat until a soupy, homogenous mixture is formed.
  • Add the dry ingredients to this wet mixture in two batches, beating just enough to combine after each. Once the flour mixture is incorporated and you have a thick, stiff batter, fold in the apples using a stiff spatula. It will seem like there are too many for the quantity of batter, but don’t worry. It will all work out.
  • Scrape the batter, which might seem more like just battered apple cubes, into the loaf pan.  Tap it once or twice on the counter to release air bubbles and help it settle a bit.
  • Pack on the streusel.
  • Bake in a preheated 350F oven for 1 hour and 30 minutes, or until the topping is deeply bronzed and a toothpick or knife inserted in the center of the bread comes out with just a few moist crumbs. Since the size and juiciness of your apple chunks may vary, check for doneness the first time after an hour, so you can gauge how much more time you might need.
  • If your bread is not done yet but outlier edges of dried apple or walnut threaten to burn, treat this like you’d treat a pie crust: tent the offending areas loosely with aluminum foil to keep them from getting too dark.
  • Cool completely before attempting to slice or remove from loaf pan.  Trust me.

Blackberry Bourbon Bread (#Twelve Loaves April)

I’m a sucker for alliteration.  Call it having been an English major for so many years.  So when I read on April’s Twelve Loaves challenge that the objective was berry bread, I may have freaked out a little.  And when the idea of blackberries and bourbon zinged into my brain – dark, sultry, tartly perfumed – I may have freaked out a little more.  Food Blog April 2013-1083

Blackberries, bourbon, yogurt, and crumbly pebbly streusel all done up in a quickbread that we’ll pretend isn’t really an excuse for cake.  How could you want anything more?  Well, maybe a warming breath of cinnamon.  Granted.  And maybe some browned butter. Food Blog April 2013-1138

Just as this is barely a bread, it’s also barely a dough.  It only fits into my dough challenge by virtue of its attachment to the idea of bread, which, as I’ve noted, isn’t a very strong attachment at all.  Aren’t “quickbreads” really just desserts that we like to eat at non-dessert hours of the day?  But it is delicious, and warm, and comforting, and I think we could all do with a bit of that after this week.

Food Blog April 2013-1110Yogurt, browned butter, blackberries, bourbon, streusel, and cinnamon all in the same bread sounds a bit overwhelming, but really, all of the components played very well together.  Blackberries and yogurt scream breakfast, and mixed in a thick batter with plenty of melted butter they produce a moist, slightly dense loaf splotched with purple pockets of jammy tartness.  But the addition of bourbon makes this a naughty thing to consider having a slice of too early in the morning (unless you are still up from the night before, I suppose).  When I tasted the batter, I was concerned about how assertively the alcohol came through, but after baking what lingers is a lovely floral aroma – all the peaty, throat-searing headiness fades (and honestly, it left me wondering whether another tablespoon or two of bourbon might be welcome in the recipe).  Really, this is a loaf perfect for that most wonderful of British institutions we are sadly lacking in the U.S: afternoon tea.  And if you slathered a thick slice with clotted cream, I don’t think anyone would complain. Food Blog April 2013-1115

Blackberry Bourbon Bread

Makes 1 large 9×5 loaf

For the bread:
1 ½ sticks butter (12 TB, or ¾ of a cup)
2 eggs
1 ½ cups sugar
1 tsp vanilla
¼ cup bourbon (I like Knob Creek)
½ cup Greek yogurt, though likely any plain, unsweetened yogurt would do
2 cups flour
1 tsp salt
1 tsp cinnamon
1 tsp baking soda
12 oz. blackberries, rinsed and air-dried (I realize this is an odd quantity, but that’s how much was in the container I found.  The advantage here is that it means you can start with two pints [16 oz.], and the inevitable handful you end up eating by sneaking “just one more” at a time will leave you with just the right amount!)
Food Blog April 2013-1123For the streusel:
½ cup flour
½ cup powdered sugar
½ tsp cinnamon
4 TB (½ a stick) cold butterFood Blog April 2013-1124
  • First, you’ll need to brown the butter for the bread.  In a small saucepan, preferably not black (it’s harder to see the browning against a dark background), melt the butter over medium heat.  Continue cooking, occasionally swirling gently, as it foams up.  That’s the water separating and steaming away.  After a few minutes, the solids will start to collect on the bottom of the pot, and begin to darken to gold and then coppery brown.  When that happens, turn off the heat.  It’s amazing how quickly those cooking solids go from perfectly brown to burned.  Set the pot aside to cool while you work with the other ingredients (I stuck mine in the freezer on top of a pot holder to chill down quickly).
  • While your butter cools, preheat the oven to 350F and prepare a 9×5” loaf pan by rubbing the bottom and sides with butter or spraying with a non-stick spray.
  • In a large bowl (or the bowl of your stand mixer), beat the eggs until slightly foamy.  With the mixer running (you could do this by hand with a whisk, I suppose, but an electric mixer of any kind will make it much easier), add the sugar ½ a cup at a time, integrating it completely before the next addition.  When all of the sugar is added, continue mixing for another 2 minutes, or until the mixture has become quite pale in color and increased in volume.
  • Add the vanilla, bourbon, yogurt, and cooled butter, and mix until well combined.  The yogurt may break up a bit and make things look curdled, but don’t worry.  Once you add the dry ingredients everything will be fine.
  • In a medium bowl, whisk together the flour, baking soda, salt, and cinnamon.  Add 1/3 of the dry mix to the wet ingredients, mixing on low speed just until the flour is integrated.  Add another 1/3 of the dry mix and combine again.
  • When you have just 1/3 of the dry mixture left, toss the blackberries in it gently.  This will help keep them evenly distributed in the batter as it bakes, rather than all sinking to the bottom.  Add this final portion of flour, with the berries, to the batter and fold it in gently with a spatula.  This is harder to do evenly, but will keep the berries intact better than using a mixer blade.  The resulting batter will be quite thick.
  • Scrape-pour the batter into your prepared loaf pan.  Mine got tremendously full, and to prevent any chance of overflow during baking, I relocated some of the batter to a 6-inch cake pan instead.  If you are concerned about overflow, I suggest filling the loaf pan only about 2/3 full, and make muffins or tiny cakes out of the rest of the batter. Food Blog April 2013-1116
  • For the streusel, which I insist you use because it adds such a nice textural contrast, combine the flour, sugar, and cinnamon in a small bowl.  Using a fork to whisk them together works nicely.
  • Rub in the butter with your fingers or a pastry blender until it is very well integrated.  Ordinarily I use a pastry blender for this sort of thing, but here I think your fingers really do work best, since you can squash and smoosh the butter more efficiently.  You want tiny pebbles – the biggest should be smaller than peas and the smallest like grains of couscous.
  • Sprinkle the streusel over the surface of your bread in an even, thick layer.  You will probably have a bit extra, but I think that’s hardly a bad thing. Food Blog April 2013-1117
  • Deposit your loaf in the oven and bake for 80 minutes, or until a toothpick or cake tester inserted in the middle comes out with only a few moist crumbs clinging to it.  Since ovens are all different, I recommend you first test for doneness at 60 minutes, just to be safe.
  • Remove and cool in the pan on a wire rack until you can’t stand it any longer.  Then slice and enjoy with tea, with cream, with a dollop of yogurt, or just all on its own. Food Blog April 2013-1160

Honesty and Irish Soda Bread

Food Blog March 2013-0878
It seems like admission and honesty are the motifs of the moment in many of the blogs I read.  A few weeks ago Joy the Baker created a beautiful list of things to remember while blogging – things like despairing over the cuteness of other people’s pages isn’t worth it.  Things like not stressing over ratings, and remembering that the internet is always changing, which means it’s okay to not be involved in every single new trend.  She has just ended a week on that most humble and most basic of vehicles for deliciousness: toast.  Simple.  Honest.  Real.  (Also, can you tell I’m kind of crushing on Joy the Baker right now?  This is about honesty, after all…).  Shauna on Gluten-free Girl and the Chef has been writing for herself lately, not for ratings or comments or trends.  In fact, she has closed comments on her blog; she’s writing in the undisturbed beauty of what is important to her, not what is important to others making demands on her.  Just Monday, Irvin at Eat the Love published a beautiful, real, excruciatingly honest piece he’d been sitting on for over a year about jealousy and perfection and measuring up in the blogging world.  (Lately I’m crushing on Irvin too; he just seems so nice!  And sometimes he responds to my tweets!  Squee…).
Food Blog March 2013-0854These are courageous posts.  It’s hard to be real here in this virtual world.  It’s hard to admit to imperfection or doubt or dissatisfaction or envy.  These are ugly ideas.  Yet we have them, and our impulse is to hide them behind the veneer of beautifully crafted pages, or photos with the white balance adjusted, and cropped just right to edit out the dish soap we forgot to move, or fluffy, romantic sentences with words like “mouth-feel” or “buttery crumb” or “silky texture.”
Food Blog March 2013-0858
And I do it too.  Despite my assertion that you are going to see imperfect products or read about unsuccessful attempts, of course I want every item I post about here to be beautiful and balanced and insurmountably delicious.  Of course I don’t want to admit to the doubts and worries and sneaky hate spirals that sometimes result from something as simple as turning away from grading papers to bake a loaf of bread and then half an hour later I’m trembling before a monster of despair that maybe by cooking instead of researching I’m throwing away all that work I did on my PhD because my dissertation might never become a book.  That by insisting on making dinner every night and posting every week, I’m sabotaging my own search for a better job and therefore I’m never going to “make it” in the adult world.  That I’m wasting my time as a blogger because I don’t have – and will likely never have – the same kind of following as Deb or Ree.  That there are a billion food blogs out there and I’m just adding to the clamor without bringing anything original or special or any of the things I hoped to be when I started writing.

Food Blog March 2013-0861

But I don’t want to tell you all that.  Despite my doubts, I, too, want to be a “good blogger,” a “popular blogger” with a following and cooing comments over the little messes I arrange just right so they look like masterpieces on screen, so I try to do the things that will make this happen.  I want to be an authority.  I want to spring to people’s minds when they think of food sites they like.  I want to talk about food and I want to be real, but I still want to find that magical, imaginary combination of words and photos and style and design that pulls people here in droves.  Those days where my little stats bar doesn’t even tick from zero to one are too real.  I never tell you that.
Food Blog March 2013-0862But I think this desperate, ugly, gasping kind of honesty can be a good thing, even if it only emerges now and then.  It’s a sign of strength and a sign of independence.  It forces you – it forces me – to reassess, to remember that I am doing what makes me happy for the reasons it makes me happy.  And maybe that is part of what Spring is about: cleaning out your assumptions.  Stripping down the need for perfection and presenting a more naked, more truthful, more real version of yourself to your audience.  Even if that version is a little ugly.
Let’s call it mental Spring cleaning.

Food Blog March 2013-0851

This week I made Irish Soda Bread.  Simple, rustic, honest.  Lumpy.  Rough.  Uneven.  No yeast, no eggs, no herbs or dried fruit or fancy techniques or browned butter or sifting.  I didn’t even wipe down the counters first to make you think my kitchen is always spotless.  I shuffled through a few recipes and found suggested combinations like golden raisin and rosemary, or candied orange peel and bittersweet chocolate.  Those didn’t feel truthful.  They were too dressed up – too showy.  So I turned to the most basic, most honest cookbook I have: Baking Illustrated.  BI is willing not only to present you with a recipe, but to explain why they made the choices they made, and what happened when they tried things in other ways.  They talk about the cakes that came out gummy or runny.  They talk about overly eggy batters and dry loaves and dense biscuits.  They show you what a less-than-perfect product looks like.  And then they tell you how to fix it.  This was the kind of Springtime honesty I needed.

Food Blog March 2013-0866

I changed very little from the original recipe, only using brown sugar in place of white granulated sugar for a deeper flavor, and taking up the suggestion to bake the loaf in a deep covered pot to enhance the texture of the crust.  Since I’ve been doing that with success in my yeast experiments, it seemed worth trying out here too, and I have to recommend it highly.  Our loaf was surprisingly tender – almost like a giant scone – and the crust was springy and buttery – it felt like it must be loaded with eggs even though there are none in the recipe.  I like the flavor the baking soda provides, which is a different kind of tangy breadiness than yeast.  After weeks of churning out loaves that require hours and hours and multiple rise times, it was nice to have a quick-bread that rose just enough on baking time alone, and left behind concerns like proofing and kneading and windowpanes and tucking and shaping.  Honestly.
 Food Blog March 2013-0868
Irish Soda Bread
adapted from Baking Illustrated
3 cups all-purpose flour (BI recommends one with a relatively low protein content, like Gold Medal or Pillsbury) plus a scattering for your work surface
1 cup cake flour (even lower protein, which makes for a more tender end product)
2 TB brown sugar
1½ tsp baking soda
1½ tsp cream of tartar
1 tsp salt
2 TB softened butter
1½ cups buttermilk
3 additional TB butter, divided
Food Blog March 2013-0872

Here’s the final product, when I edit and trim.

Food Blog March 2013-0873

But since we’re being honest here, this is the set-up; I just push all that other stuff aside and crop it out…

Preheat your oven to 400F.  BI says to position a rack in the upper middle portion of your oven, but I left mine near the bottom and things turned out fine.
Whisk the dry ingredients together in a large bowl.
Cut in the softened butter with a fork, your fingers, or a pastry blender until it is distributed in small crumbly bits.  The mixture, BI says, should resemble coarse crumbs.
Add the buttermilk and combine with a fork just until the mixture begins to come together – the coarse crumbs should clump into slightly wet crags.
Turn out onto a floured board and knead slightly – 12 to 14 turns – just till the dough becomes “cohesive and bumpy” (43).  You don’t want to overknead this bread because it will become tough.  The intent here is not to stimulate gluten production, as it would be in a yeast dough.  We just want a homogenous mass that stays together.
Pat the dough into a 6 inch round (about 2 inches high) and score an X in the center with a sharp knife; use 2 TB of the additional butter to grease the bottom and sides of a dutch oven or similar covered pot.  Place the loaf carefully inside, cover, and bake with the lid on for 30 minutes.  Then remove the lid and continue baking for an additional 10 minutes, or until the internal temperature is 180F.
Melt the final TB of butter.  As soon as you remove the loaf from the oven, brush the top with the melted butter to keep the crust soft and tender.
Wait about half an hour before you attack it – this bread is delicate and it needs the extra structural support gained by cooling.  Earlier slicing will result in squashing and crumbling, and as honest as that is, we’d rather have nice slices or, as N. and I prefer, thick wedges for dunking.

Food Blog March 2013-0875Food Blog March 2013-0877