Dill and Cream Cheese Crust

I’ll be the first to admit that this post is totally cheating. Despite my plans to participate in December’s Twelve Loaves project (they are cooking holiday breads and I can’t wait to check out the offerings tomorrow), amidst cleaning and cooking and family and tree hunting (since we visit family during the actual Christmas holiday, I like to get my tree early so I can enjoy it for a couple weeks first), there was also a pile of grading to be done, and oh, right, lesson planning so I know what I’m doing in class this week would be good too, and there simply weren’t enough hours in any of these glorious days to include several rises, and shaping, and spicing, and glazing, and all those steps I’d intended to embark on to have something sweet and festive to share with you today (no spoilers, though, only hints, because I still want to make them…)

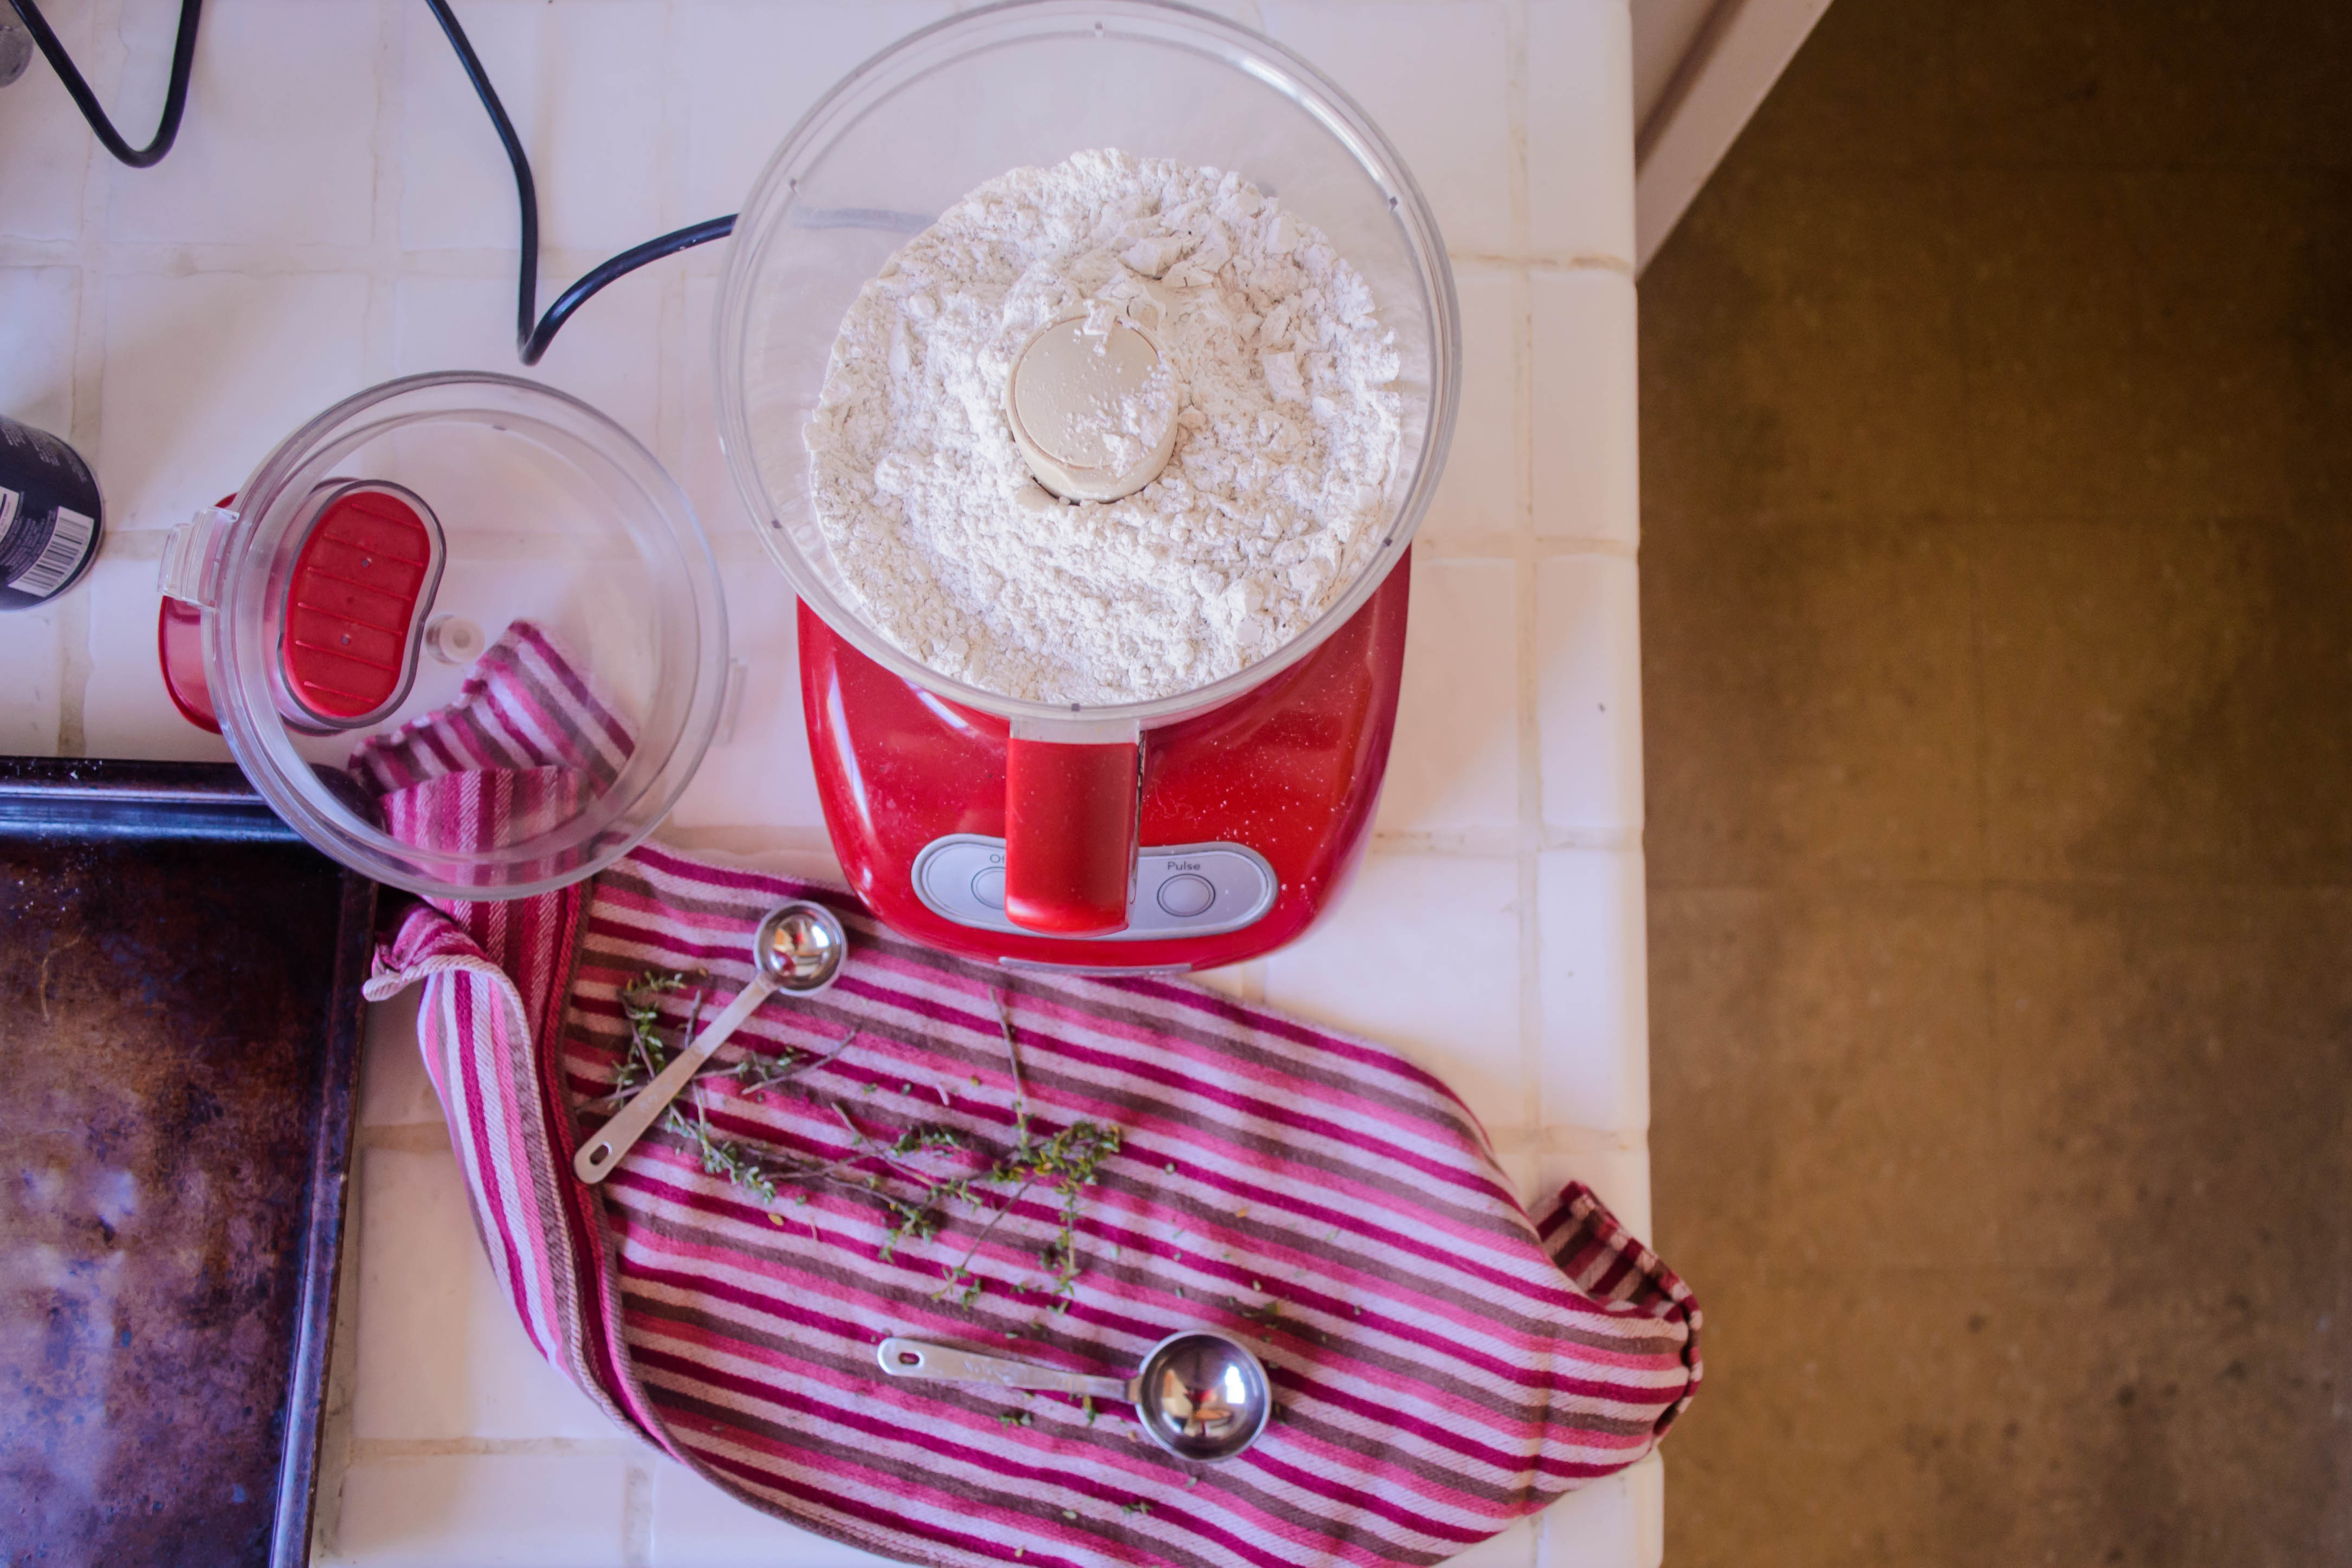
Instead, here’s a cheat post to tide us all over. There are no photos (besides the one from Instagram yesterday; take a peek down on the right side of the page), and only a quick little recipe, but if you, like me, struggle endlessly with pie crust, you might want to give this one a try. It is decadent but simple, since all the work is done in a food processor, it rolls out like a dream, and I even managed to keep it flaky! I’m including suggestions for both savory and sweet below, and feel free to omit or change out the herbs to your liking. I used the sweet variety for my Thanksgiving pumpkin pie on Thursday, and the savory for a turkey pot pie on Saturday.

Both recipes are adapted from Shirley O. Corriher’s wonderful book Bakewise, and make enough for 1 single-crust 9-inch pie. Including chilling time for the dough, they take a little under 90 minutes, and the procedure is exactly the same.

Cream Cheese pie crust
1 cup flour
For savory: 1 tablespoon finely chopped fresh dill
For sweet: 1 tablespoon granulated sugar
1 teaspoon salt
4 ounces full fat cream cheese
4 ounces cold, unsalted butter, cut into slices
1-2 tablespoons very cold water


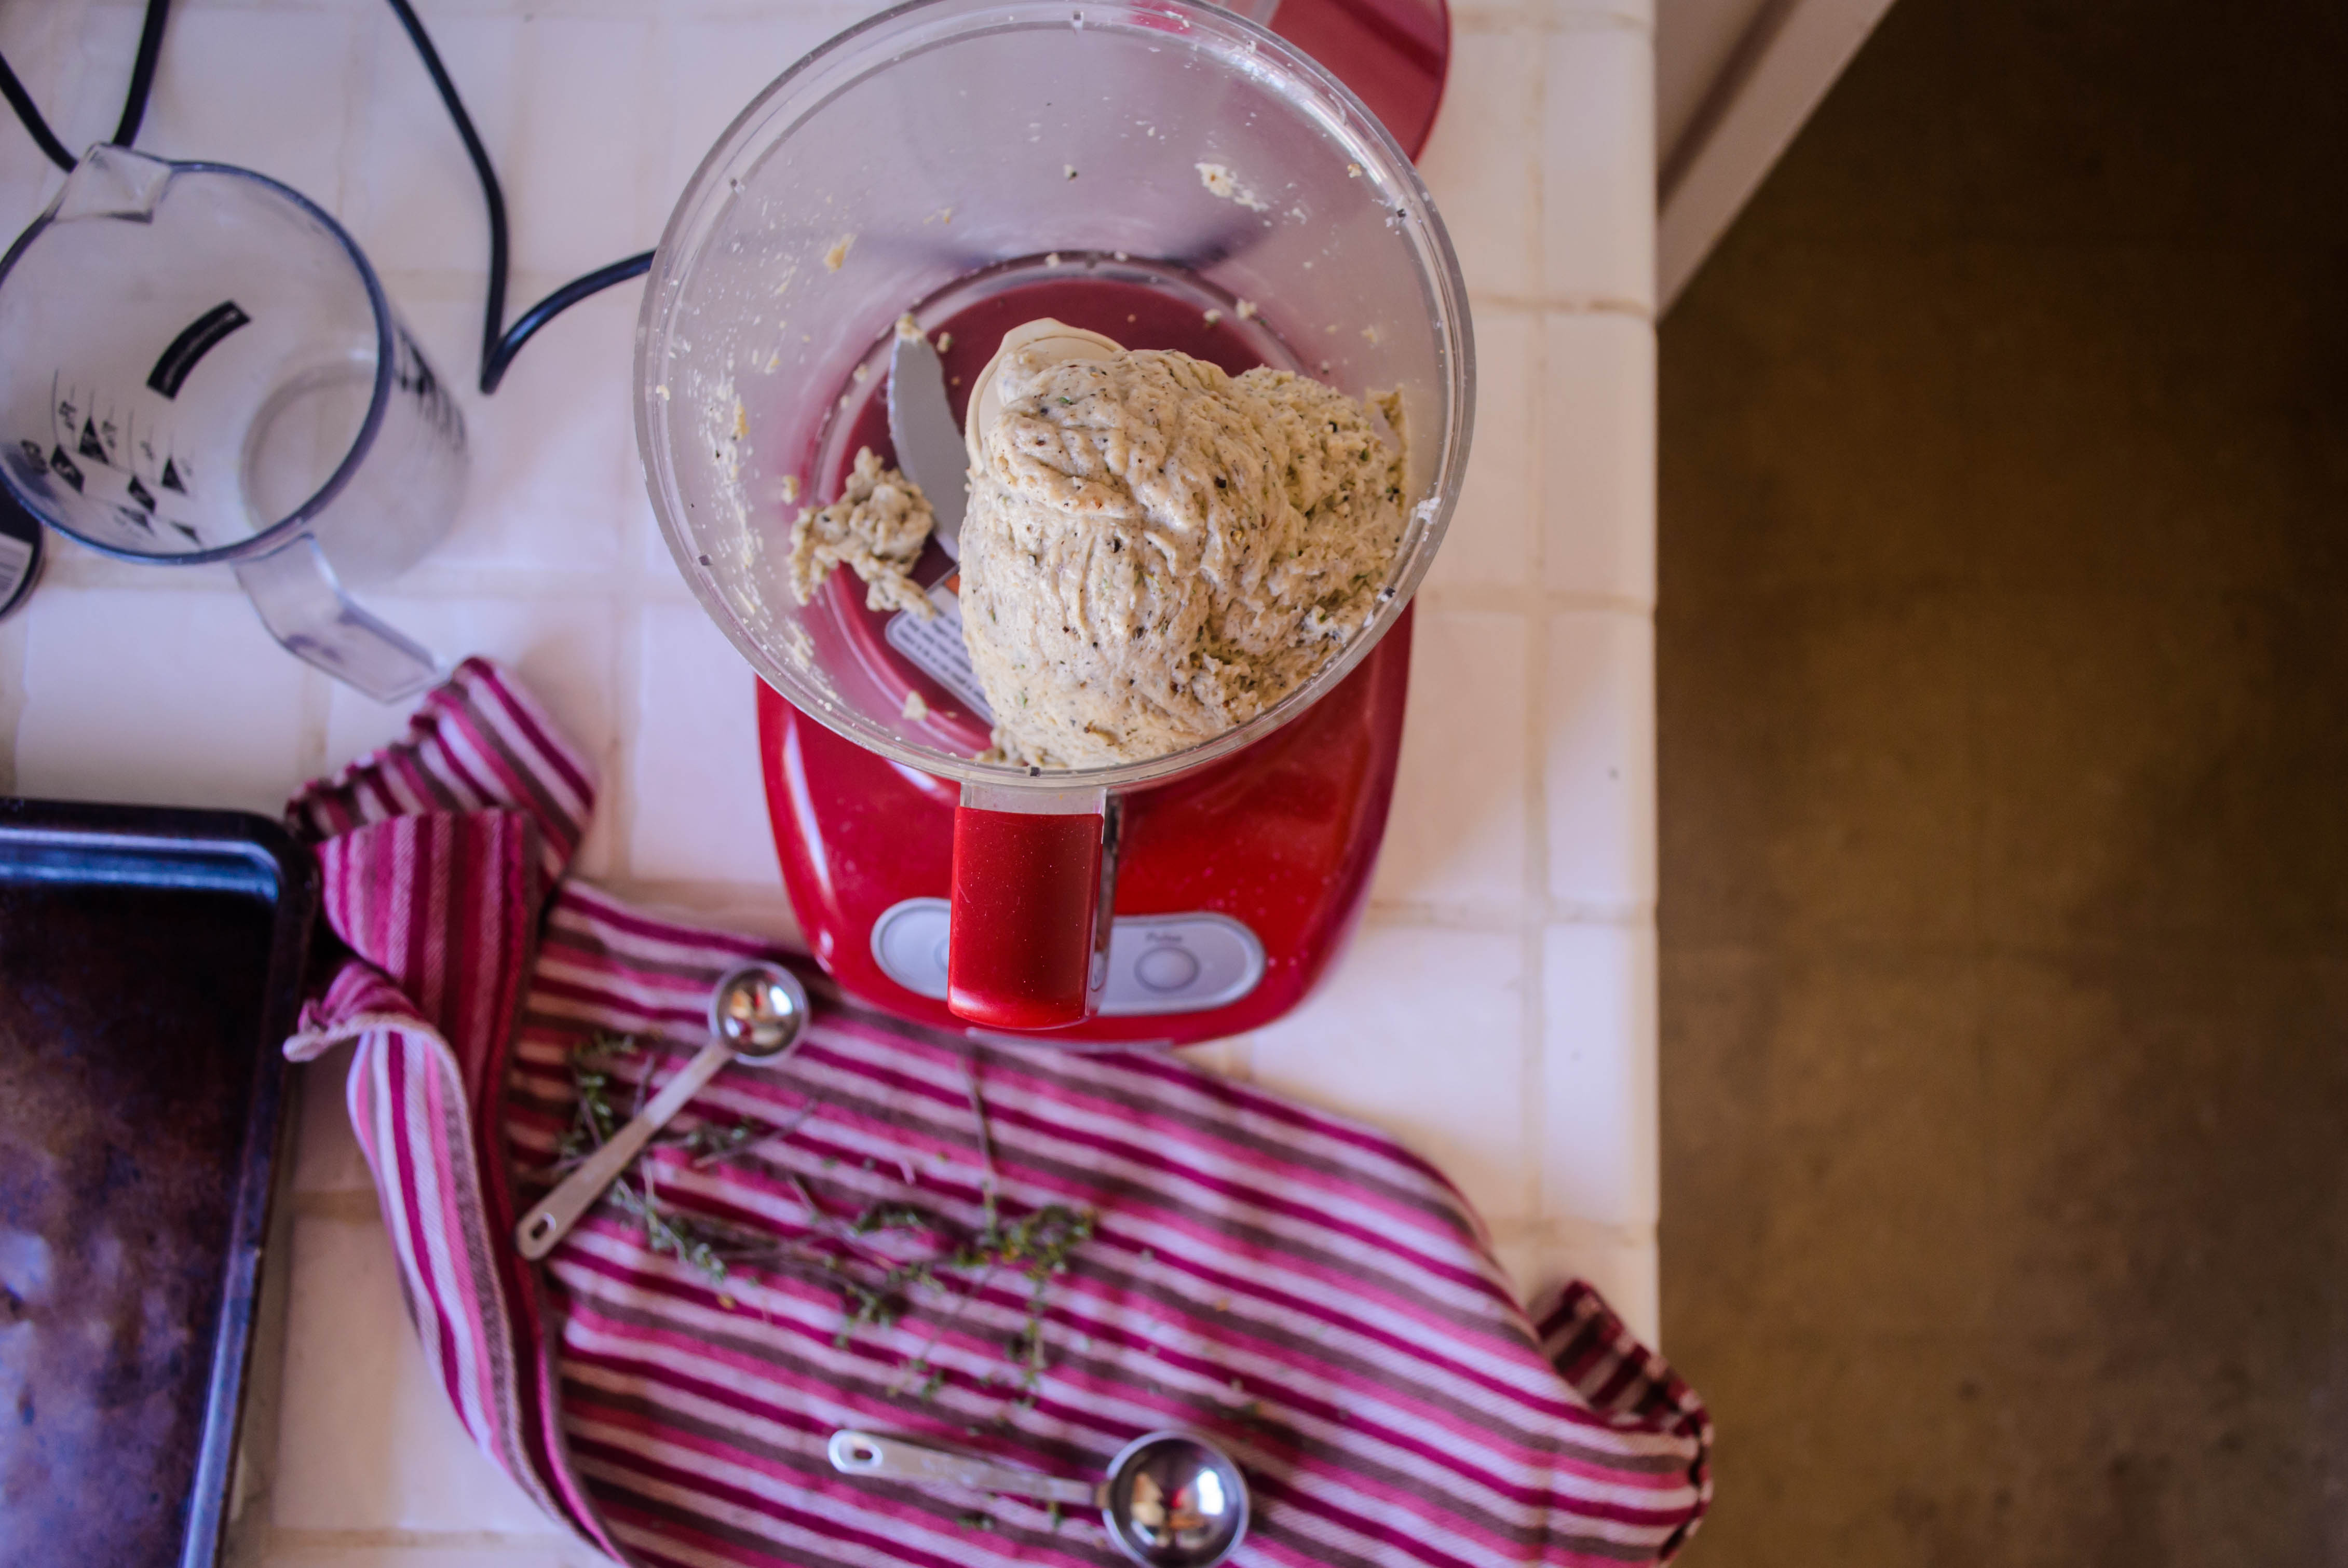
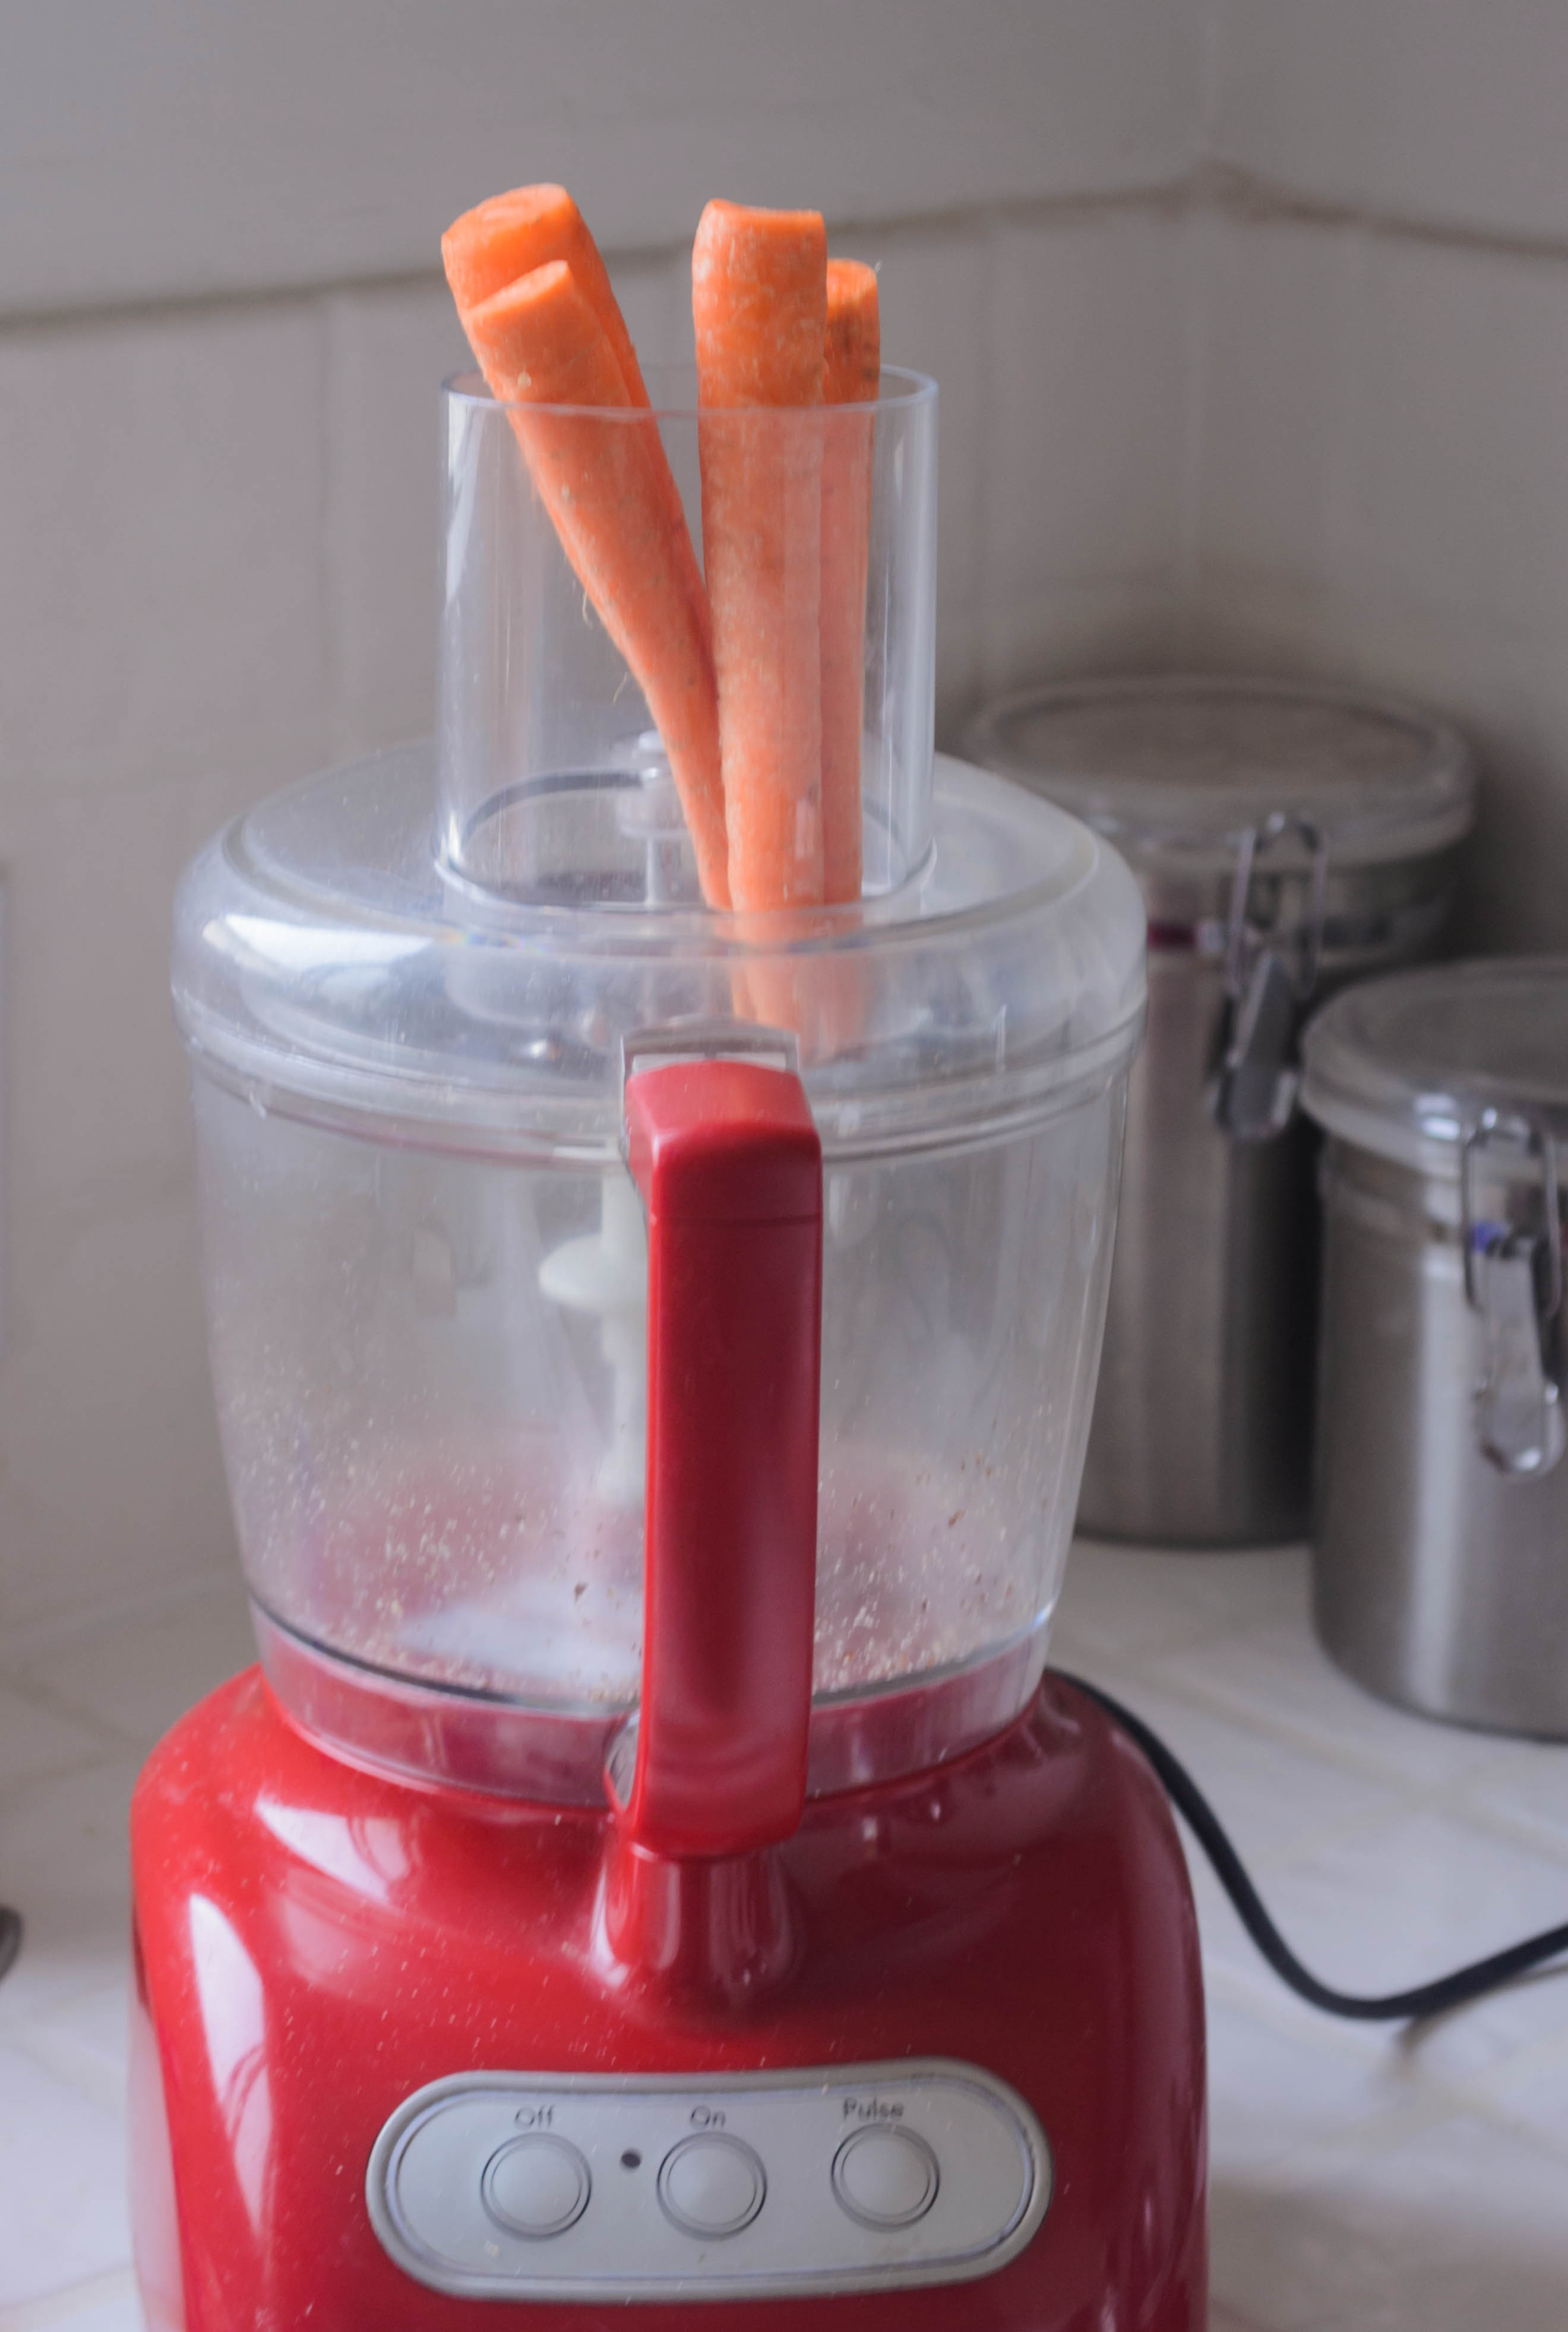
  • In the belly of a food processor, pulse the flour, dill or sugar (depending on whether you’re making sweet or savory), and salt until evenly distributed. Add the cream cheese and let the mixer run until the mixture is homogeneous – it will be the texture of barely moistened sand and stay together only a moment when pressed between thumb and fingertip.
  • Dump in the slices of butter and pulse in 1 second intervals until most of the butter is broken up and, when tested, the mixture stays together when pressed between thumb and fingertip.
  • Drizzle in 1 tablespoon of the cold water and pulse again briefly once or twice. We are looking for the mixture to just start to come together into a rumbling ball in the belly of the machine. If the mixture seems too dry, add the second tablespoon of water and pulse again briefly to bring together.
  • Stretch out a piece of plastic wrap on your countertop and dump the contents of the food processor onto it. Remove the blade and use the plastic wrap to help you shape the dough into a disc 4-6 inches in diameter. Try to handle as little as possible to keep it tender. Wrap it up and stow it in the fridge for at least an hour.
  • About ten minutes before you are ready to roll out the crust, remove the chilled disc from the refrigerator and set it on the counter. The fats inside the dough need to warm just a little bit to make rolling easier. When ready, dust a bread board generously with flour, unwrap the disc of dough and sprinkle it with flour as well.
  • With a floured rolling pin, roll out the dough in a rough circle. Start in the center and push forward, then back again toward you. If the dough cracks, don’t worry, just keep rolling and it will usually come back together.
  • After one or two rolls in one direction, turn the dough 90 degrees and flip it over, then roll again. Continue this process, rolling, turning, and flipping, and rolling again, until you have a circle about 11 inches in diameter. Re-flour the board, the crust, or the rolling pin in between if things start to get sticky.
  • Carefully drape about half the dough over the rolling pin and quickly move it to your 9-inch pie plate. Settle it in gently, easing it into the bottom edge of the pan, and rather than cutting off the excess, fold it back and wedge it between the pie plate and the crust itself. A little extra crust at the top is always a good thing. Use your thumb or a fork to press the edges at the top for a decorative border.
  • Fill and bake as directed, and enjoy.

Pumpkin Chocolate Cupcakes with Spiced Cream Cheese Frosting

2015 Blog November-0577The beauty of having a perfect chocolate cake recipe, as I do, is that it’s always there in the back of your memory, ready for any holiday, any event, any Wednesday evening you really need a piece of cake. It’s always tender, it’s always moist, it tastes refreshingly of cocoa but is not overly sweet. It is easy to make – 45 minutes from empty bowl to tins hot out of the oven if you’re organized, and its recipe is easily halved and quartered for when you want a single layer, and when you just need a 6-inch cake for you and somebody you’re willing to go halfsies with right out of the cake tin.

2015 Blog November-05572015 Blog November-0560Because this recipe is so dependable, because it is so easy and so well loved I’ve learned the measurements by heart, I’ve basically come to the conclusion that it is magic. It’s delicious, it’s quick, it’s vegan (until you drape it in whipped cream), which also means it’s cheap. But most magically, it is easily modified in dozens of ways, and every time it seems to come out right. I’ve made it gluten-free, I’ve soaked it in liqueur, I’ve added coffee, I’ve used olive oil instead of vegetable oil, I’ve switched out the type of vinegar, I’ve turned it into cupcakes; somehow, it just always works.

2015 Blog November-05622015 Blog November-0563Here, in the ultimate experiment, I added an entire cup of pumpkin puree without adjusting any of the other ingredient values, and it STILL WORKED. That shouldn’t be possible. Pumpkin is so wet that dumping in such a healthy portion of it should require some tweaking. But because this cake is magic, it produced more than two dozen deeply dark, tender, moist cupcakes within an hour and a half.

2015 Blog November-05642015 Blog November-05662015 Blog November-0569Though I usually fill and slather this cake in an unapologetically thick layer of whipped cream, for cupcakes, I wanted to play with the subtle pumpkin flavor by spiking the frosting with the spices of pumpkin pie. Cream cheese frosting is a perennial favorite of mine, though for some reason I always forget about it when I’m not addressing a carrot cake. Here, though, it works perfectly: the tang of the cream cheese prevents the frosting from getting too sweet too fast, and it can hold up to the strong flavors of the spices that get whipped in.

2015 Blog November-0573Plus, bonus, cream cheese frosting is easy to pipe because it remains nice and stiff, which means you end up with professional looking cupcakes you can impress your coworkers or your Thanksgiving guests with. You know, if you feel like sharing.

2015 Blog November-0575

Pumpkin Chocolate Cupcakes with Spiced Cream Cheese Frosting
Makes 28
60-90 minutes (plus at least 30 minutes cooling time for cupcakes)
For cake:
3 cups flour
2 cups sugar
2 teaspoons baking soda
1 teaspoon salt
½ cup unsweetened cocoa powder
⅔ cups vegetable oil
2 teaspoons white vinegar
1 teaspoon vanilla
1 cup unsweetened pumpkin puree (NOT pumpkin pie filling)
2 cups cold water
For frosting:
16 ounces (2 packages) plain, full-fat cream cheese, at room temperature
4 ounces (8 tablespoons or 1 stick) unsalted butter, at room temperature
1 tablespoon vanilla
2-3 cups powdered sugar
1 teaspoon cinnamon
½ teaspoon cardamom
¼ teaspoon nutmeg
¼ teaspoon ginger
  • Preheat the oven to 350F and spray or line a 12-cup muffin tin with cupcake wrappers. Set aside.
  • In a large mixing bowl, or the bowl of a stand mixer, whisk together the flour, sugar, baking soda, salt, and cocoa powder. It turns a lovely pale pinkish color when the cocoa is fully integrated.
  • In a 2-cup glass measuring cup, measure out the vegetable oil and stir in the vinegar and the vanilla. Carefully add the pumpkin puree and whisk together. Add to the dry ingredients and use the stand mixer or an electric handheld mixer to combine – it will form a wet, clumpy mess.
  • With the mixer running on low, slowly add the 2 cups of cold water. As the batter loosens you’ll want to add no faster than a trickle lest the now suddenly deep, deep cocoa-brown batter splatters.
  • Once all the water is added, continue mixing until well combined – at least a minute. Be sure to scrape the bottom of the bowl with a spatula to ensure no hidden pockets of dry ingredients.
  • When the batter is fully mixed, scoop ⅓ cup into each cavity of your prepared muffin tin. I use an ice cream scoop that holds ⅓ cup and has one of those trigger pieces that sweeps across and cleans out the scoop – I highly recommend this. It’s very convenient.
  • Bake for 18 minutes or until a toothpick or cake tester inserted comes out with only a moist crumb or two. Cool in muffin tin for 5-10 minutes, then remove to a wire rack to cool completely. Repeat with remaining batter until all cupcakes are baked and cooled.
  • To make the frosting, drop the cream cheese into a large bowl and beat well with an electric handheld mixer or the whisk attachment on a stand mixer. When the cream cheese is looking fluffy, scrape down the sides, add the room temperature butter, and beat again until mixture is thick and fluffy. Scrape down the sides, add the vanilla, and beat once more.
  • Now, sift in the powdered sugar ½ cup at a time, beating well in between each addition. You will want to start with slow speed each time to avoid a powdered sugar cloud. Once you’ve hit the 2 cup mark, let the mixer run for 2-3 minutes until the frosting becomes very thick. Give it a taste to check for sweetness and texture. If it seems thick enough for your purposes, add the spices, beat to integrate fully, and you’re done (I found 2 cups was perfect in flavor and texture). If the frosting is not thick enough, add the remaining powdered sugar ½ cup at a time, beating well, for additional stiffness. Then add the spices, beat to integrate fully, and prepare to frost the cupcakes.
  • If you have a piping bag, fit it with a star shaped tip and use a rubber spatula to fill it halfway with frosting. If you don’t have a piping bag, cut the bottom corner off a gallon sized zip-top freezer bag and slide in a star shaped tip (or just leave it open for a less defined swirl of frosting). Half fill with frosting. Use your fingers to gently smoosh the frosting toward the bottom of the bag. Twist the top (empty) half of the bag around two or three times.
  • To frost the cupcakes, hold the filled half of the bag in your dominant hand and a cupcake in your other hand. Without touching the icing tip to the surface of the cupcake, squeeze the bag gently and move your hand in a clockwise circle, letting the frosting ooze out and create a curlicue of frosting on top of the cupcake. Repeat until all cupcakes are frosting, refilling the bag when needed. You’ll likely have some extra, which seems to me like a terribly good thing, and which apparently freezes quite well.
  • Refrigerate cupcakes until ready to serve – they keep just fine overnight (and, in fact, were still moist and tender into day three).

Thyme and Black Pepper Crackers

2015 Blog September-0498Over the past few years, N. and I have made it our business to conclude the week with a happy hour – we load some cheeses and crackers on a plate, sometimes some sliced cured meat, sometimes a few dried figs – and pour something cold and alcoholic into a frosty glass. Through this process, I’ve learned that N. loves black pepper. We bought a wedge of cheese crusted in black pepper once as an experiment, and I think since then it has been on every shopping list, every week, for about the last two years. More recently, we started picking up variety packs of crackers – the crushed wheat rounds, the chalky water crackers, the rectangles spiked with vegetable bits – and in one variety-pack, a black pepper water cracker. This sleeve always, always disappears first. N. doubles up on the pepper – peppered cheese on peppered cracker. And should there be peppered salami? The kid is in paradise.

2015 Blog September-04712015 Blog September-0475Because we always run out of the black pepper cracker first, I knew when I saw this month’s Twelve Loaves theme of crackers, crisps, or flatbreads that I wanted to recreate them. I poked around and considered, decided to add some fresh thyme for a little more interest, and ended up with these. At first I called them water crackers, but decided to amend for the sake of accuracy. A real water cracker, traditionally speaking, contains only flour and water (and sometimes some salt or leavening agent). No fat. Yet fat is what, so often, imparts flavor. Here, a few glugs of oil result in a cracker that crackles in thin, flaked layers, almost like a very crisp pastry crust.

2015 Blog September-04762015 Blog September-04782015 Blog September-04792015 Blog September-0482A few notes: first, these are not for the weak-of-tongue. The black pepper flavor is quite aggressive, and though a smear of creamy cheese will certainly cool things down, it can’t disguise the sharp spice of the bits of cracked pepper. Second, as with most crackers, the greatest trick here is getting them thin enough. I’ve recommended ⅛ inch at the thickest, but even thinner than that is better. They swell up only slightly as they bake, and a thick cracker is, alas, a decidedly not-crisp cracker. Those that I didn’t get quite thin enough tasted stale already barely cooled from the oven, simply because they didn’t snap and crumble adequately between the teeth. For us, the thinnest, most golden specimens stayed crisp and fresh tasting for a mere two days afterward, even stored in a firmly flattened zip-top bag. That means, unless you have a pepper fiend around your house, you are best served by making these for a gathering (the spice suggests a Halloween party might be a good venue), or throwing together a half recipe, or maybe even freezing half the dough until you need another batch. I haven’t tried that with this particular cracker, but I have done so with great success with Joy the Baker’s Sharp Cheddar Cheese Crackers, so I have every confidence these will be equally suited for the deep freeze.

2015 Blog September-0488Serving recommendations: topped with any sort of cheese, of course. But they would be equally good with cured meat of some sort, or a scoop of egg salad, or maybe even some hummus. While they were hot, I found myself compulsively snatching one and then another from the cooling rack, suggesting they are even acceptable bare. I do think, though, that a glass of something sparkling to wash them down is not to be discounted.

2015 Blog September-0497

Thyme and Black Pepper Crackers
Adapted from Chowhound
Makes 4-5 dozen 2½ inch crackers
Time needed: about an hour
2 cups all-purpose flour
1 teaspoon baking powder
½ teaspoon salt
1 tablespoon black peppercorns
1 tablespoon fresh thyme leaves
⅔ cup warm water
⅓ cup olive oil


  • Preheat the oven to 400F and line two cookie sheets with parchment paper.
  • In a food processor, pulse the flour, baking powder, salt, and thyme until combined. Use a spice grinder or similar small bladed tool to crush up the peppercorns until some are coarsely chopped and some are a fine powder. Add this pebbly pepper dust into the food processor and run until the pepper is evenly distributed through the flour mixture.
  • Measure out the warm water and the oil into the same vessel. With the food processor still on, drizzle in the water and oil and let the machine run until the ingredients form a smooth, slightly sticky dough. First small hunks will clump together, then quite suddenly a mass will form and run in circles around the belly of the processor.
  • Lightly flour a board and a rolling pin, and turn out half the dough. Sprinkle a little flour atop the dough as well. Roll out until very thin – at maximum ⅛ inch, but 1/16 inch is better for crisp crackers. Be sure to get the edges as thin as the middle. If you fear the dough is getting sticky, flip it over and turn it 180 degrees, then sprinkle with a little flour and roll again.
  • Cut the thin, even layer of dough into shapes of your choosing. We like rounds, and I used a glass with a diameter of 2½ inches. Prick rounds with a fork three or four times, then transport dough rounds to the prepared cookie sheets. Place them in a single layer, but they can sit very close together because they will not spread out. I easily fit 2 dozen on a single cookie sheet. Repeat for the remaining half of the dough.
  • Bake 12-14 minutes, until golden on top and quite dry. Cool completely before topping with cheese, salami, hummus, or whatever’s your favorite.
  • These can be stored in an airtight container or zip-top bag for a few days, but because they are freshly made and contain no preservatives, they will get stale faster than the average boxed cracker.


#TwelveLoaves is a monthly bread baking party created by Lora from Cake Duchess and runs smoothly with the help of Heather of All Roads Lead to the Kitchen, and the rest of our fabulous bakers.

Our host this month is Camilla from Culinary Aventures with Camilla, and our theme is Crackers, Crisps, and Flatbreads. For more bread recipes, visit the #TwelveLoaves Pinterest board, or check out last month’s mouthwatering selection of #TwelveLoaves enter last month’s #TwelveLoaves Seeded Breads!

If you’d like to bake along with us this month, share your Crackers, Crisps, and Flatbreads using hashtag #TwelveLoaves!

Five-Seed Loaves

2015 Blog September-0394Growing up, my sister and I ate a lot of reasonably healthy food. Mom wasn’t the “crunchy granola type,” especially not by the time my sister showed up, but her waffle recipe involved wheat germ, and my lunchtime sandwich bread always had a measure of whole wheat in it. When I got a little older, it seemed like the more seeds and nuts a loaf contained, the more likely my mom was to buy it. Nine grains? Hearty nuts and seeds? R. and I wouldn’t always eat it, but it was probably in our freezer.

2015 Blog September-0359Thus I felt a certain fondness when I started to consider this month’s Twelve Loaves assignment of seed breads. I knew I wanted multiple seeds, and I knew I wanted them on the inside and outside of my loaves. A bit of internet research led me to Suzanne’s lovely little site Flour Arrangements, and even if she hadn’t had a great seeded loaf recipe to work with and adapt, I would have been enticed by her blog’s clever title (not the mention how many great sounding loaves she’s made – I can’t wait to adapt her multigrain pumpkinseed loaf as the weather cools – I’m thinking of adding some pumpkin puree and rye flour, and maybe some oatmeal).

2015 Blog September-03642015 Blog September-0366I kept her recipe mostly the same, only replacing oil with butter and adding a few additional seeds for a total of five: sesame, poppy, sunflower, pumpkin, and flax.

2015 Blog September-03672015 Blog September-0369I’ve been baking mainly sourdough loaves lately, trying different ratios of starter and flour, comparing notes with S. about various stirring or folding techniques instead of kneading the dough, tipping in just enough whole wheat flour to make a nutty loaf that isn’t too dense, and getting used to long, slow rise times and overnight rests in the refrigerator to develop a tangier sour flavor. Imagine my delight, then, when my bowl of dough, bolstered by its full tablespoon(!) of yeast, agreeably puffed enough to press against its plastic wrap lid in a little over an hour. Not only that, but after carefully pressing and rolling the lovely tight loaves I’d formed through a jumble of seeds, they swelled again in their pans to triumphant heights. Sourdough is delicious and tends to be my go-to for everyday toast, but it is an exercise in patience and in long-term benefits. These loaves, though they do require two rises, expand so eagerly it feels like a reward for a job well done.

2015 Blog September-0376And really, these are a reward. Yes, the seeds you’ve so carefully pressed into the surface of the dough go everywhere – when you turn the baked loaves out of the pans, when you slice into them, when you bag and store them – but those that stay affixed offer a really nice set of flavors and textures. The heat and time in the oven toasts and crisps them lightly, and the flax seeds in particular take on a roasted taste and a slippery crunch I find incredibly appealing. And that’s just the surface. Inside, the crumb is tender and light and barely sweet, as soft as a commercially made pre-sliced loaf, but with the hearty, toasty, wholesome feel and flavor that comes with homemade.

2015 Blog September-0384You could certainly trade out the seeds here if you wanted – caraway would give a stronger anise-y feel, tiny nigella or black onion seeds would make for a more savory flavor, maybe good for meat or tomato based sandwiches. But I am devoted to sweet breakfast toast, and this bread, toasted or not, welcomes salted butter and cinnamon sugar so nicely I must admit I never explored beyond that combination.

2015 Blog September-0390

Five-Seed Loaves
Adapted from Seeded Wheat Bread on Flour Arrangements
Makes 2 9×5 inch loaves
4-5 hours, approximately (including rising/resting time)
¾ cup warm water
1 tablespoon active dry yeast
pinch white sugar
1 ½ cups warm milk
2 cups whole wheat flour
5 tablespoons poppy seeds, divided
5 tablespoons sesame seeds, divided
3 tablespoons very soft or melted butter
¼ cup molasses
1 tablespoon salt
3-4 cups bread flour
¼ cup sunflower seeds
¼ cup pumpkin seeds
3 tablespoons flax seeds


  • In the bowl of your stand mixer, or in a large bowl if you aren’t using a mixer, combine the warm water with the yeast and the pinch of sugar. Stir and let it sit for about 10 minutes until the mixture smells bread-like and the yeast has foamed up a bit.
  • Add the milk, whole wheat flour, butter, molasses, and salt to the yeast mixture. Add two tablespoons each of the poppy seeds and sesame seeds. Mix with the paddle attachment or with a wooden spoon until well combined.
  • With the mixer running on low speed, add the bread flour ½ cup at a time until you have a soft dough that pulls and tears away from the sides of the bowl. I needed all 4 cups of the flour, as it was a bit humid in my kitchen – you might need less depending on the day.
  • If you are using a stand mixer, switch to the dough hook. If you are mixing by wooden spoon, now is the time to turn the dough out onto a floured surface. Knead on medium speed for about 5 minutes if you are working by machine, or about 7-8 minutes by hand, to form a smooth and elastic but still sticky dough. It will still droop and pull when you stop kneading, not sit firmly in a cohesive ball. That’s okay. This ensures a more tender loaf.
  • Lightly grease the sides of a large bowl (I just use the stand mixer bowl; you don’t even have to clean it out) and position your dough in the middle of it. Cover tightly with plastic wrap and let it rise until doubled – 1½-2 hours, depending on how warm your house is.
  • As the rising period nears its end, combine the remaining 3 tablespoons poppy seeds, 3 tablespoons sesame seeds, and the sunflower, pumpkin, and flax seeds on a baking tray. Butter or grease two 9×5 inch loaf pans and set aside.
  • Punch down the risen dough to release trapped gas by gently depressing your fist into its center, then turn it out onto a very lightly floured board (too much flour and the seeds won’t stick). Divide the dough in equal halves, shape into tight loaves and roll each one in seeds, turning to coat the ends, or just pushing a palmful of seeds against the ends of the loaves.
  • Set the seed-coated loaves gently in the prepared loaf pans, pat remaining seeds on top and drizzle down into the corners. Drape lightly with plastic wrap and let rise again for about 45 minutes, until doubled once more. They swell beautifully.
  • About twenty minutes before the rising period ends, preheat your oven to 375F. When the loaves are fully risen, remove the plastic wrap and place them gently into the oven to bake for 30-40 minutes. To test for doneness, either use a digital thermometer and check for a temperature between 180-200F, or thump the bottom lightly for a hollow sound.
  • Cool loaves in pans at least 20 minutes, then turn out onto wire racks to cool completely before slicing. At all manipulation, seeds will scatter everywhere, but the flavor and texture are worth the mess.


Check out what our other awesome Twelve Loaves bakers made this month, below:

#TwelveLoaves is a monthly bread baking party created by Lora from Cake Duchess and runs smoothly with the help of Heather of girlichef, and the rest of our fabulous bakers.

Our host this month is Lora from Cake Duchess and our theme is Seeds. For more bread recipes, visit the #TwelveLoaves Pinterest board, or check out last month’s selection of #TwelveLoaves Malt Breads!

For more bread recipes, visit the #TwelveLoaves Pinterest board, or check out last month’s selection of #TwelveLoaves Malt Breads!

If you’d like to bake along with us this month, share your Seed Bread using the hashtag #TwelveLoaves!

Carrot Cake Breakfast Bars

Food blog June 2015-1023The cake world is populated by two camps, it seems to me: those which are definitively dessert, and those which are trying to be breakfast (I’m looking at you, coffeecake). Some of the “trying to be breakfast” denizens bridge the gap by taking the appellation “bread” rather than cake – banana and zucchini bread are the chief players in this particular masquerade. But they are, at heart, essentially still cake: sweet, plenty of fat from oil or butter, and sometimes interspersed with shards of chocolate for good measure. Carrot cake, the other popular vegetal option, doesn’t even pretend. It just comes right out there and, whether it’s for alliterative reasons or not, boldly declares itself a cake and leaves it at that.

Food blog June 2015-1002The idea of putting these long orange taproots into a sweet application came originally from the Middle Ages, when sugar was barely on the horizon and other sweeteners were hard to come by. Carrots as a cake ingredient have since had two spikes in popularity: once during the second world war, when sugar and honey were, again, in short supply, and once starting in the 1970s or so when it was touted not as a sugar-rationing option, but as a “healthy cake.” Really though, if we’re honest today’s carrot cake is far from healthy. It may have a discernible threading of carrots, and it’s frequently studded with nuts, raisins, sometimes even coconut or pineapple, but it is also loaded with oil for moisture and draped with that miracle that is cream cheese frosting.

Food blog June 2015-1000During a text conversation with my sister about golden raisins (probably 70% of our texts are about food), I developed a craving for carrot cake. This is an irritating paradox that happens quite often to me during the summer: now that I have plenty of time on my hands, I frequently get the urge to embark on elaborate baking projects. However, because it’s summer and school is not in session, I don’t have a whole department of people to foist my creations off on. I only have N. and me, and we would both like to retain our svelte (haha) figures. My sister suggested turning carrot cake into a muffin so it could be consumed for breakfast, and I thought even easier might be a tray of breakfast bars – moist and flat and portable and loaded with carrots and golden raisins. Thus I’ve taken carrot cake – the cake that isn’t even pretending to be anything but a dessert – into the breakfast cakes camp.

Food blog June 2015-1003What resulted is not your traditional super moist, super tender carrot cake drowning in sweetened cream cheese (not that there’s anything wrong with that, mind you). After deciding on a breakfast version, I wanted something that was not, in fact, cake. Even if we didn’t want it for breakfast, we should be able to turn to it as a mid morning snack without suffering an instant sugar high. It might be a good option for N. to slice into after running. It should be more filling – more substantial – than your typical carrot cake, and very lightly sweet. It should definitely include both nuts and raisins, the nuts should always be toasted, and the spices should be more assertive than in your typical cake. I added oats in place of some of the flour, taking a hint from one of my favorite granola/energy bar recipes and toasting them first. I cut down on the quantities of oil and sugar that most recipes call for, and ended up with something very lightly sweet – the carrots and raisins contribute most of the bursts of sweetness, not the mere ½ cup of brown sugar. If you’re looking for something sweeter, bump up the sugar by ¼ cup, as I note in the recipe below.

Food blog June 2015-1005The worst thing about making a carrot cake is grating the carrots. Working from the always brilliant suggestions in The New Best Recipe, I eliminated the frustration of grated knuckles and bright orange fingernails and used the food processor. This ends up being a considerable time-and-dishes-saver, because you can also use it to chop the nuts, pulse the oats, and, as the recipe testers in TNBR devise, emulsify the oil with the eggs and sugar to make a frothy, perfectly combined syrup of wet ingredients that integrate smoothly and quickly. Toasting the nuts and the oats in the same 9×13 inch pan you’ll later bake the bars in means you’re only using, aside from various measuring and mixing utensils, a food processor, a single mixing bowl, and one baking dish.

Food blog June 2015-1019At first I considered making a simple cream cheese icing – just a breath of powdered sugar, and maybe some lemon juice to brighten it up – but found I didn’t want it after all. They were perfect, just as they were, and even better with a glass of iced chai. If you find you miss the frosting component, I’d suggest whisking a little honey or maple syrup into some room temperature cream cheese, maybe with a little lemon or lime zest if you’re feeling fancy, and adding a dab to the top of your bar.

Food blog June 2015-1020As well-spiced, fruit-laden desserts often do, these improve after a night of resting in the refrigerator, and are still just as good on the third or fourth day. This is perfect, really, because it means you can bake them the night before and have something all ready for an early breakfast before heading off on some summer adventure.

Food blog June 2015-1024Carrot Cake Breakfast Bars
Makes one 9x13x2 inch pan; 15-18 squares or bars, depending on how enthusiastically you slice them
1 cup old fashioned rolled oats
1 ½ cups pecans, walnuts, or a mixture
1 ½ cups all-purpose flour
1 teaspoon salt
2 teaspoons baking soda
2 teaspoons cinnamon
¾ teaspoon nutmeg
½ teaspoon cardamom
½ teaspoon ginger
¾ cup golden raisins
½ pound carrots, stem ends removed (approximately – for 2 cups finely shredded)
½ cup brown sugar for barely sweet, ¾ cup brown sugar for slightly sweeter
2 large eggs
1 teaspoon vanilla
1 cup vegetable oil


  • Preheat the oven to 350F. In a 9x13x2 inch pan, scatter the oats in as close to a single layer as possible. Toast in the oven at 350F for 15 minutes, until lightly golden and smelling strongly of oatmeal. Remove and pour into the belly of a food processor fitted with the metal blade.
  • In the same pan, scatter the pecans and/or walnuts and toast in the oven at 350F. Depending on the size of the nuts, pecans will take 5-7 minutes and walnuts will take 5-10 minutes. They are ready just as you begin to smell them, even if they don’t look it – they will darken as they cool, and burned nuts are unsalvageable. When ready, remove from oven and set aside to cool slightly.
  • While oats and nuts cool, whisk together remaining dry ingredients in a large mixing bowl: the flour, the salt, the baking soda, and the four spices.
  • Using the metal blade attachment, pulse the oats in the food processor 3 or 4 times, until some are fine and powdery but some are almost fully intact. Add to dry ingredient mixture and whisk to combine.
  • Add the toasted, cooled nuts to the food processor. Pulse 4 or 5 times until roughly chopped, then add to the dry ingredient mixture and again, whisk to combine.
  • Now replace the metal blade attachment in the food processor with the shredding disc. Feed the carrots through as close to vertical as possible for fine, thin shreds. You can peel the carrots before doing this if you want; I just scrubbed them off a bit. Transfer the finely shredded carrots to the bowl of dry ingredients. Add the golden raisins and fold them in with a rubber spatula.
  • Switch the food processor back to the metal blade attachment. Process the brown sugar with the eggs and vanilla until the mixture is frothy – about 20 seconds. With the machine still running, add the vegetable oil in a steady stream and continue processing until it is emulsified – another 20 seconds or so. The mixture will be surprisingly thick, almost like a butterscotch sauce in texture and in color.
  • Pour and scrape the emulsified oil mixture into the bowl of dry ingredients and carrots, and use a rubber spatula to fold them together until no hidden dry pockets remain. The resulting mixture will be thick, more like cookie dough than a standard cake batter.
  • Lower the oven temperature to 325F and spray the same 9x13x2 inch pan you used for toasting with a non-stick spray. Scrape the batter into the pan and use your rubber spatula to flatten it into an even layer. Bake at 325F until a toothpick inserted in the center comes out with just a few moist crumbs; 25-30 minutes.
  • Let cool in the pan for at least 15 minutes before slicing into bars or squares.