Coffee ice cream (and an unexpected love story)

Ah, expectations. They can be weasel-y little twerps, don’t you think? We organize our lives around them, constructing hope-castles, forts stabilized by plans that don’t pan out, two-story shambles resulting from too many taken-for-granted ideals. Expectations bolster us. And then they dissolve into crumbs, or explode, or sink, or flop around in directions we weren’t expecting.

Food Blog February 2014-3214In college, I had sky-straddling expectations. I expected to figure this life thing out in the first year or two. I would be at the top of my major. I would make decade-spanning friendships. I would collect acclaim, graduate with honors, make my parents proud, especially my dad. I expected to land a perfect career, garner financial success, all while also a perfect wife, mother, homemaker, lover, even though I didn’t know what that entailed yet. I expected to write a novel or two along the way.

Food Blog February 2014-3187I didn’t expect to fall in love with an older version of our language and want to study its literature forever, setting me up for a career path typically paved with loans and let-downs. I didn’t expect to struggle with roommates or friendships or classes. I didn’t expect to have my heart torn by the gentle trampling of a pair of shining sneakers, in snap-up track pants, driven by reasons that probably involved a raucous house full of boys, boredom, and possibly a brunette with glasses.

Food Blog February 2014-3186But after that, I tried to give up on expectations. I would stop thinking “everything would work out.” I would stop expecting him to realize he’d made a mistake. I would stop, oh please, I would stop, writing terrible mopey songs about this person who wasn’t even the same person anymore. I would just live. I would just try to be me. I wouldn’t ask someone else to repair the torn bits for me, because that would be expecting too much. And since I’ve never been much of a seamstress, my repairs were clumsy. I was patched, the stitches were irregular, and I felt worn and fragile but maybe whole, and maybe a little bit strong.

Food Blog February 2014-3178And then I met N. And because I was done with expectations, I didn’t expect anything at all. Not even a friendship. It would be a, well, a something. It might be fun, it might be sweet, but it would end. We were seniors. We were going somewhere. We didn’t know where yet, because we weren’t expecting anything, but we were sure of little, then. We spent phone calls trying to scare each other away by explaining our neuroses, and our cynicism, and what we considered our more unlovable attributes. I hate phone calls, but ours would last hours.

Food Blog February 2014-3179I’m not going to say, at this point, that because N. was worn and patched and had sewed his heart back together in an irregular shape too that these two odd shapes fit perfectly together and made one another complete – my ventricle, his aorta – because I don’t believe in that. We were both whole people before, and we are both whole people now. I’m not a half, and I wouldn’t want N. to be either. But because he was patched up too, and some of my stitches were snagged like his, he was better able to understand me. We weren’t what we expected. The thing about patches is, they hide but don’t erase the worn spot. Every stitch, meant to repair, could also re-harm. But when you are patched and stitched up, and you still feel raw from that needle of hope and trying and blistering independence loneliness solitude you weren’t sure you wanted, you know how to see that in someone else, and you know how gently you have to reach out. Or how hard. We weren’t what we expected, no. But ten years into a relationship, and seven years into a marriage, he defies and surmounts and explodes any expectations I could have had. And I wouldn’t have it any other way.

Food Blog February 2014-3182This, oddly enough, brings me around to Valentine’s Day, and to ice cream. This is, you may notice, a bit heavy, a bit confessional, for me. I wasn’t expecting to tell you all this. But we’re approaching that holiday that is supposed to be about love, and I’ve always felt a little torn and patchy about it (the day, not the love), so here we are.

Food Blog February 2014-3213I had big plans for our Valentine’s Day celebration. I’m not talking about me and N. He’s always hated Valentine’s Day, probably thanks to that whole expectations thing. I’m talking about us. You and me. We were going to have soufflé. And not just any soufflé; chocolate soufflé. I wanted to teach you a quick, easy, all-but-fool-proof version of the dessert, one that I’ve now made for several big-deal-must-impress events with zero problems, so you could defy someone’s expectations this Valentine’s Day. Maybe even yours!

Food Blog February 2014-3215I had never thought about serving soufflés with ice cream. A lovely sweet drizzle, yes. A liqueur infused caramel or cream, completely. But when I saw Lindsay’s chestnut soufflé with matching ice cream a few weeks ago, and when I watched a recorded episode of Nigella Lawson making a coffee ice cream that required no eggs and no churning, I knew this would be our Valentine’s Day pairing: deep, dark, rich chocolate soufflé, and an ice cream so easy, so deep, silky as satin lingerie and toasty with espresso (because hey, you might need that shot of caffeine on the evening of Valentine’s Day!), it would be perfect. I would be perfect. I even half-bragged in a comment on Lindsay’s post about how easy soufflé-making is, once you get the hang of it.

Food Blog February 2014-3216
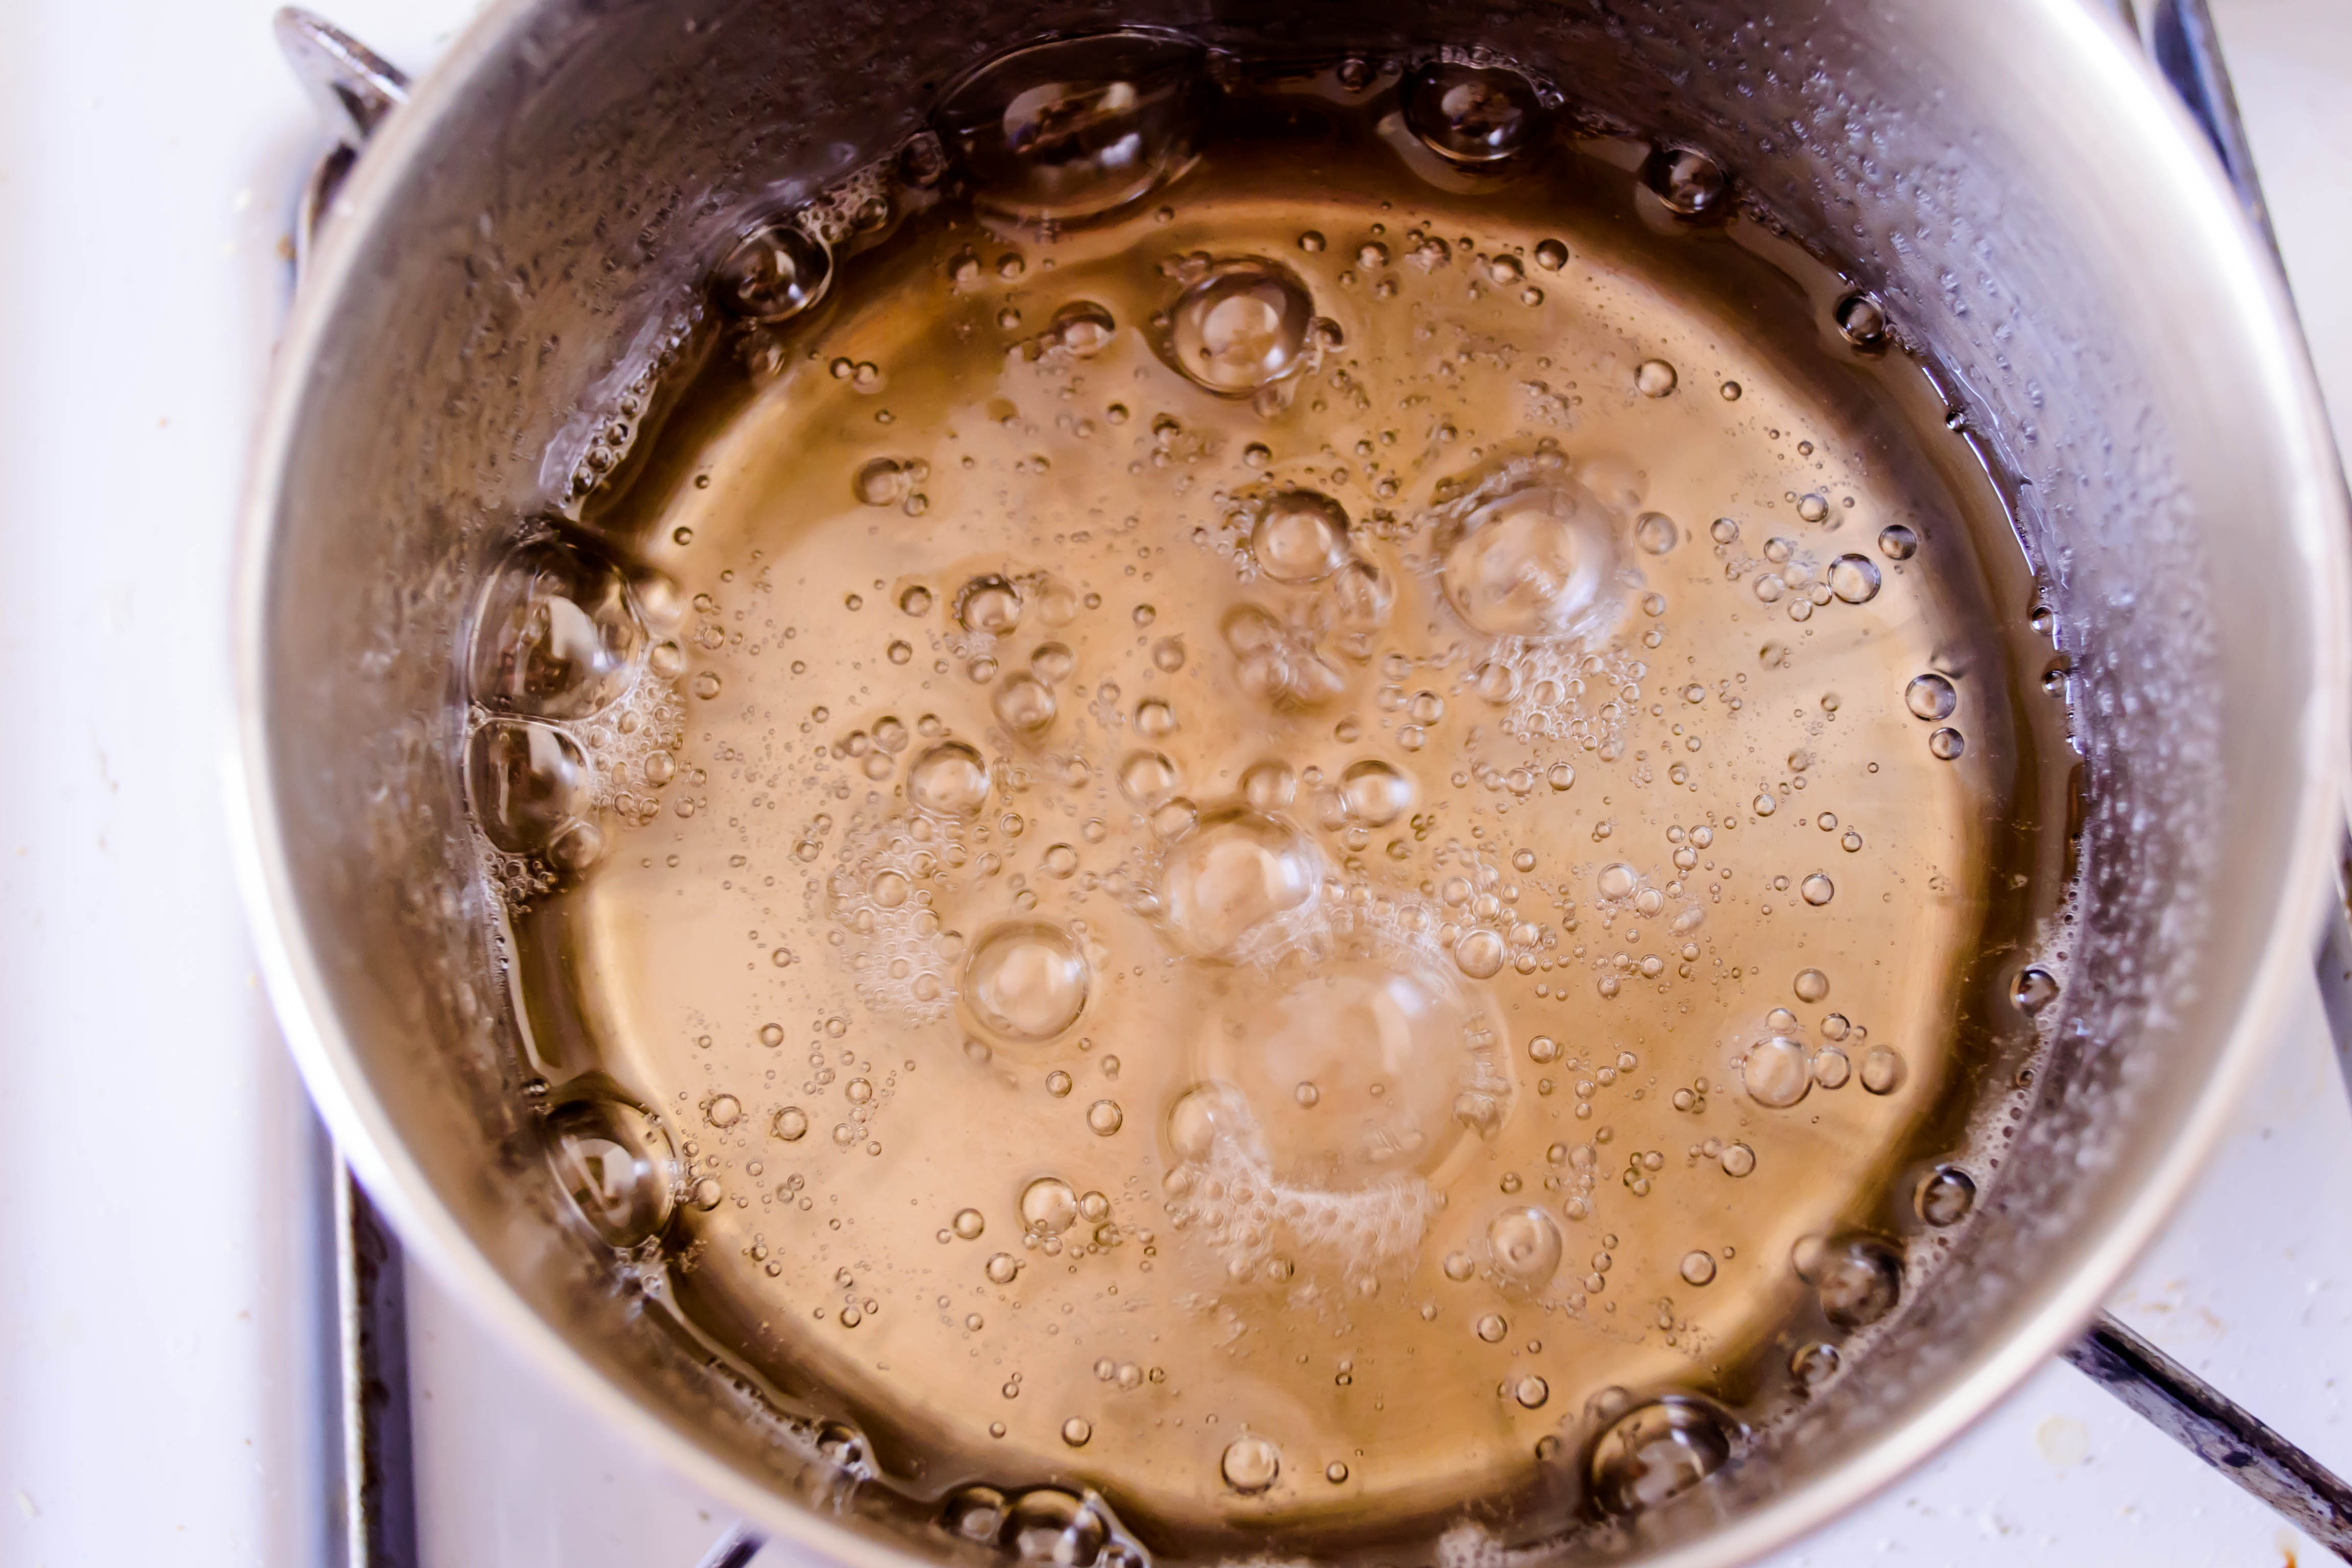
And so, expectations. Because I don’t know what happened – maybe my eggs were too small (they were of the homegrown variety, given to N. by a student), maybe I didn’t whip the whites enough, maybe I scrambled the yolks a little or the chocolate seized or the oven was too hot – but my soufflés were a disaster. They rose only a few reluctant centimeters. They were dark and rich, but dense, thick, almost crumbly where they should have been flat-topped trembling pillows.

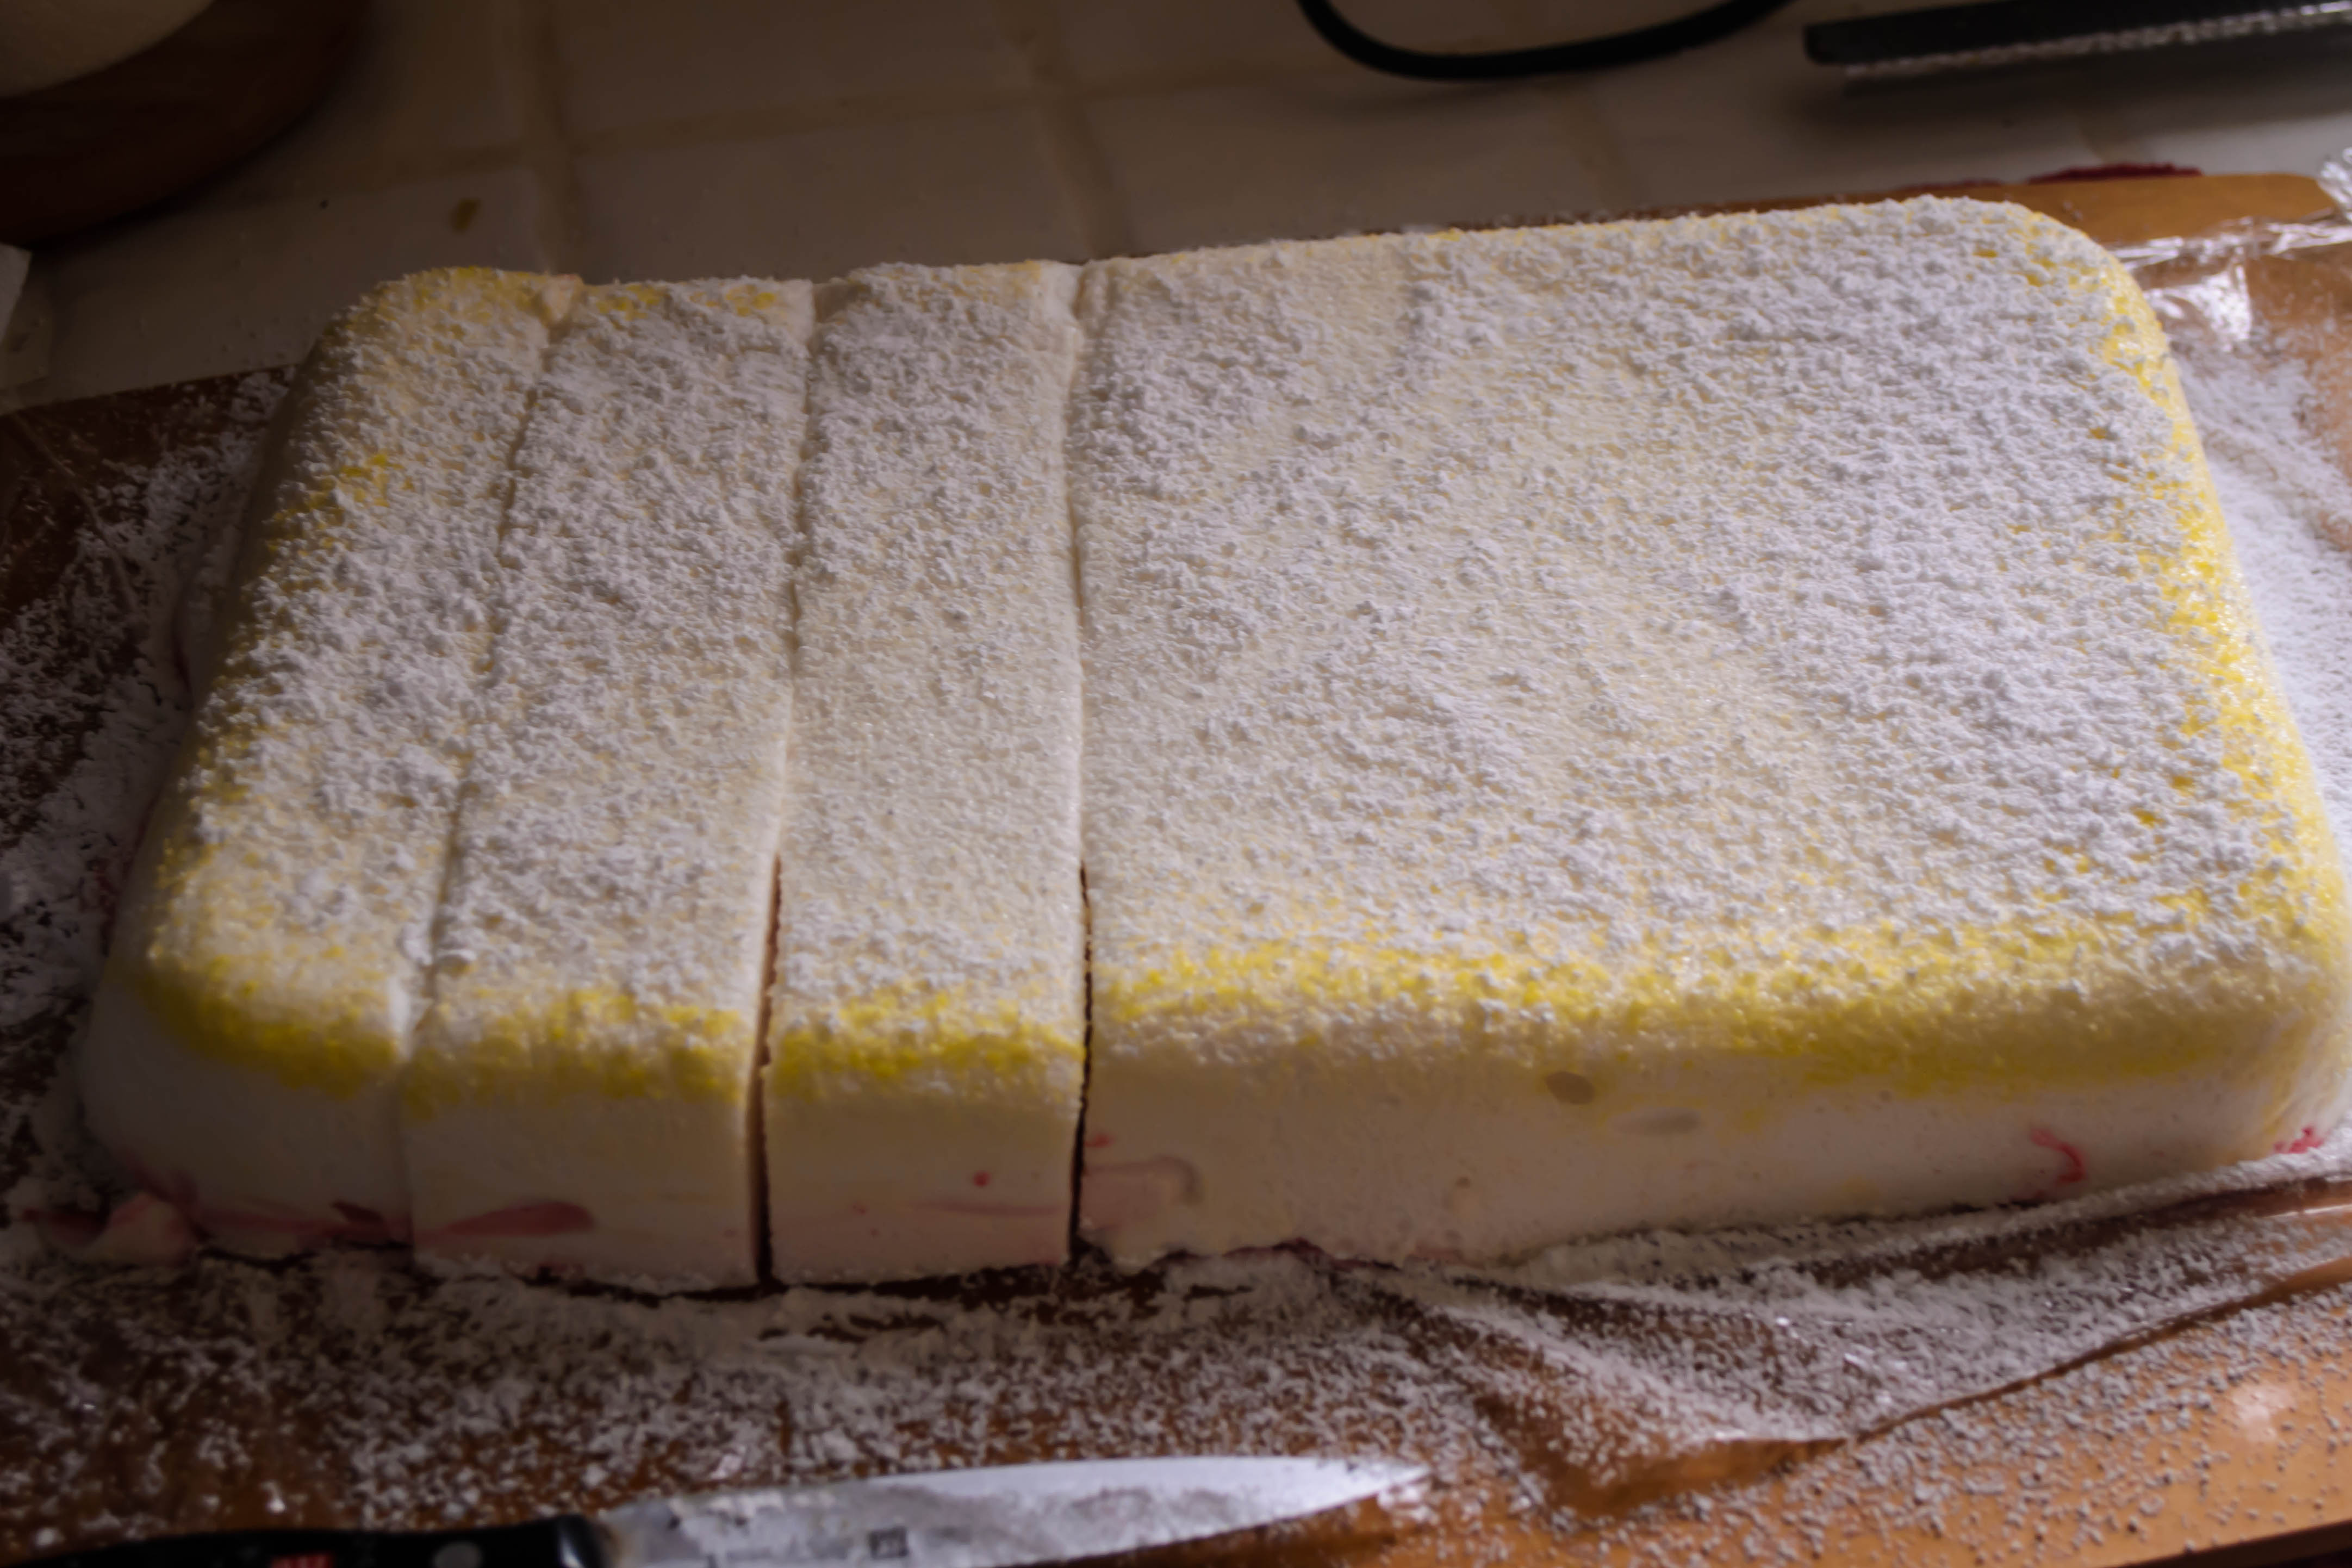
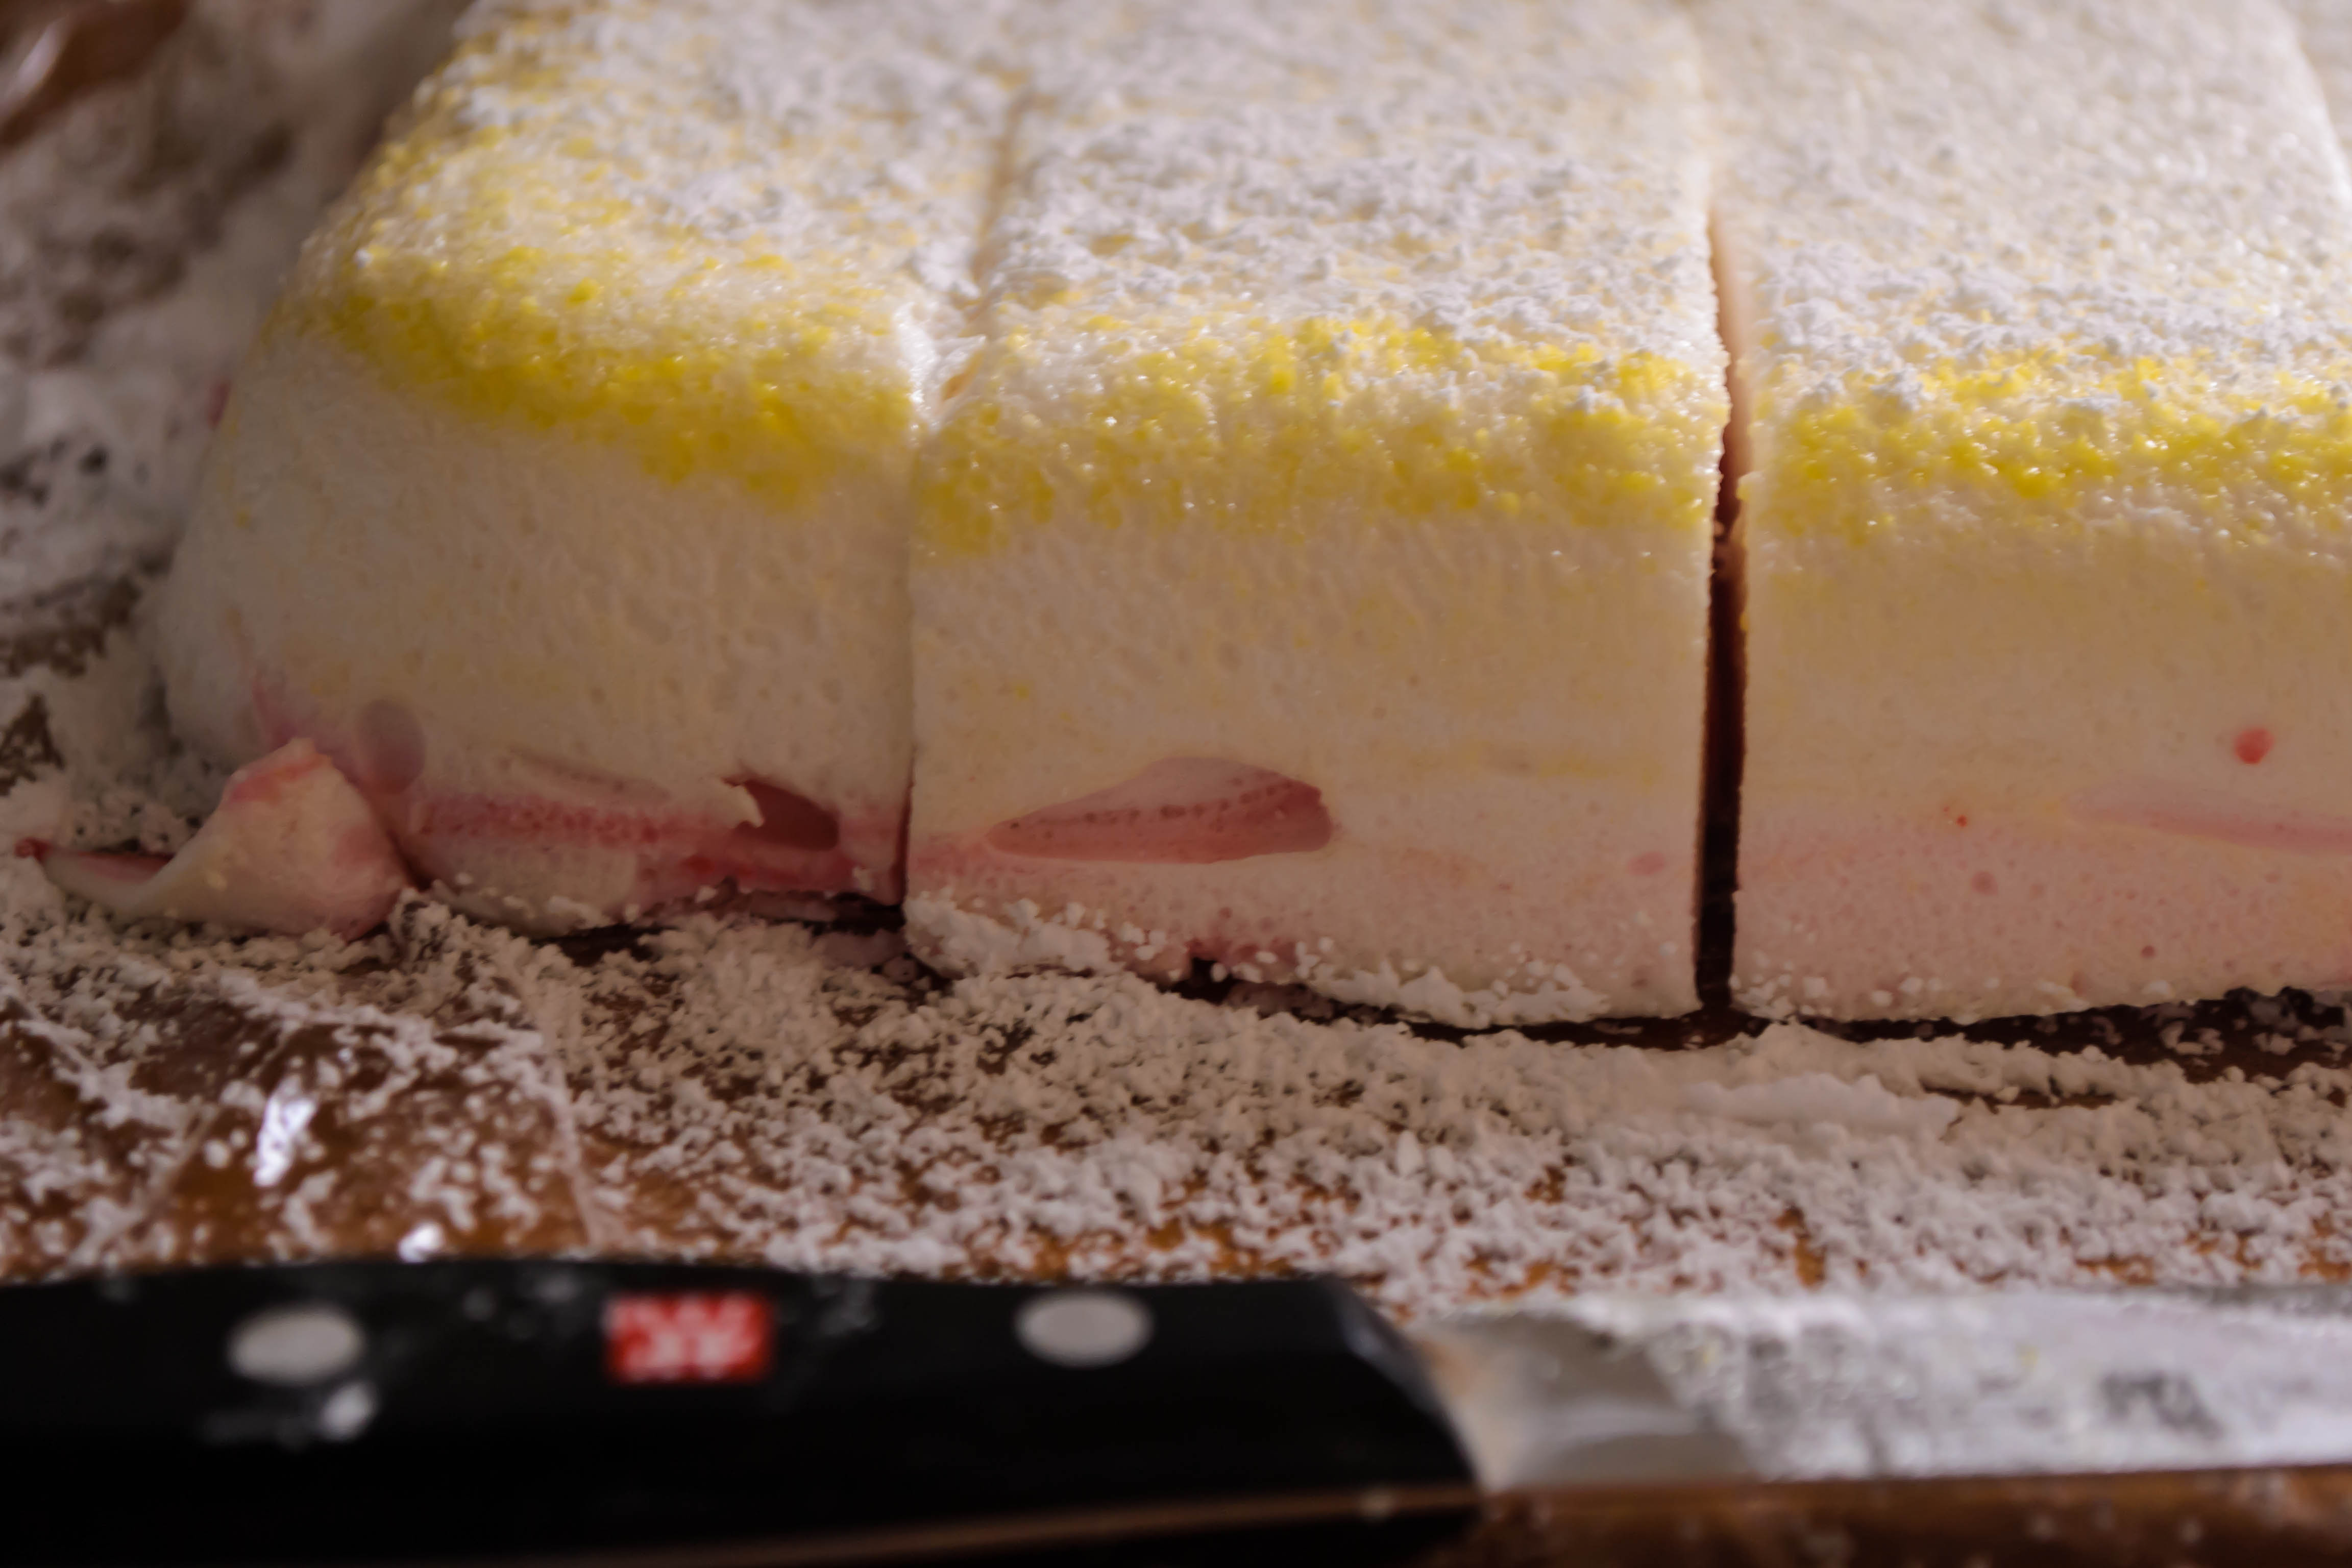
I despaired. But then I remembered me, and my patchwork, and that I had this ice cream that was so so creamy, and so thick, and so tasty and light and dangerously easy, that in fact the soufflé was hardly necessary. It may even have muddied things. And so, I put expectations aside again, the better to embrace what I had.

Food Blog February 2014-3217Nigella’s ice cream does not start with a custard. It combines unlikely and few ingredients: sweetened condensed milk, double cream (a British institution we would do well to adopt), espresso powder, and a few tablespoons of coffee liqueur. I made a few changes, inspired by my own insufficiencies and a suggestion from a commenter on the original recipe. For a slightly lighter result, I replaced some of the double cream with whipping cream. For want of coffee liqueur, I replaced it with Irish cream. The liqueur serves two purposes. First, it deepens and enhances the flavor of the ice cream. Second, it offers a textural benefit: since alcohol doesn’t freeze (or at least it freezes at lower temperatures than water), the ice cream maintains a soft, scoopable consistency indefinitely (not that you’ll have long to find out – I suspect you’ll eat all of it before conclusive data can be gathered).

And so, I send you into the week of that dubious, expectation-laden lovers’ holiday with this: I hope you are happy, and that your version of love, whether it is patched and fragile, or hearty and unblemished, is at least in part directed back toward you. Because no matter what your expectations have told you, you are lovely and perfection is overrated. And I think ice cream is a perfectly suitable Valentine to send yourself. I recommend this one.

 Food Blog February 2014-3219

No-churn, no-egg Coffee Ice Cream
Adapted from Nigella Lawson
Makes a generous 1 pint
 
2/3 cups sweetened condensed milk
1 cup heavy whipping cream
6 ounce jar double cream (I found mine at Whole Foods)
2 tablespoons Irish cream or coffee liqueur
2 tablespoons instant espresso powder


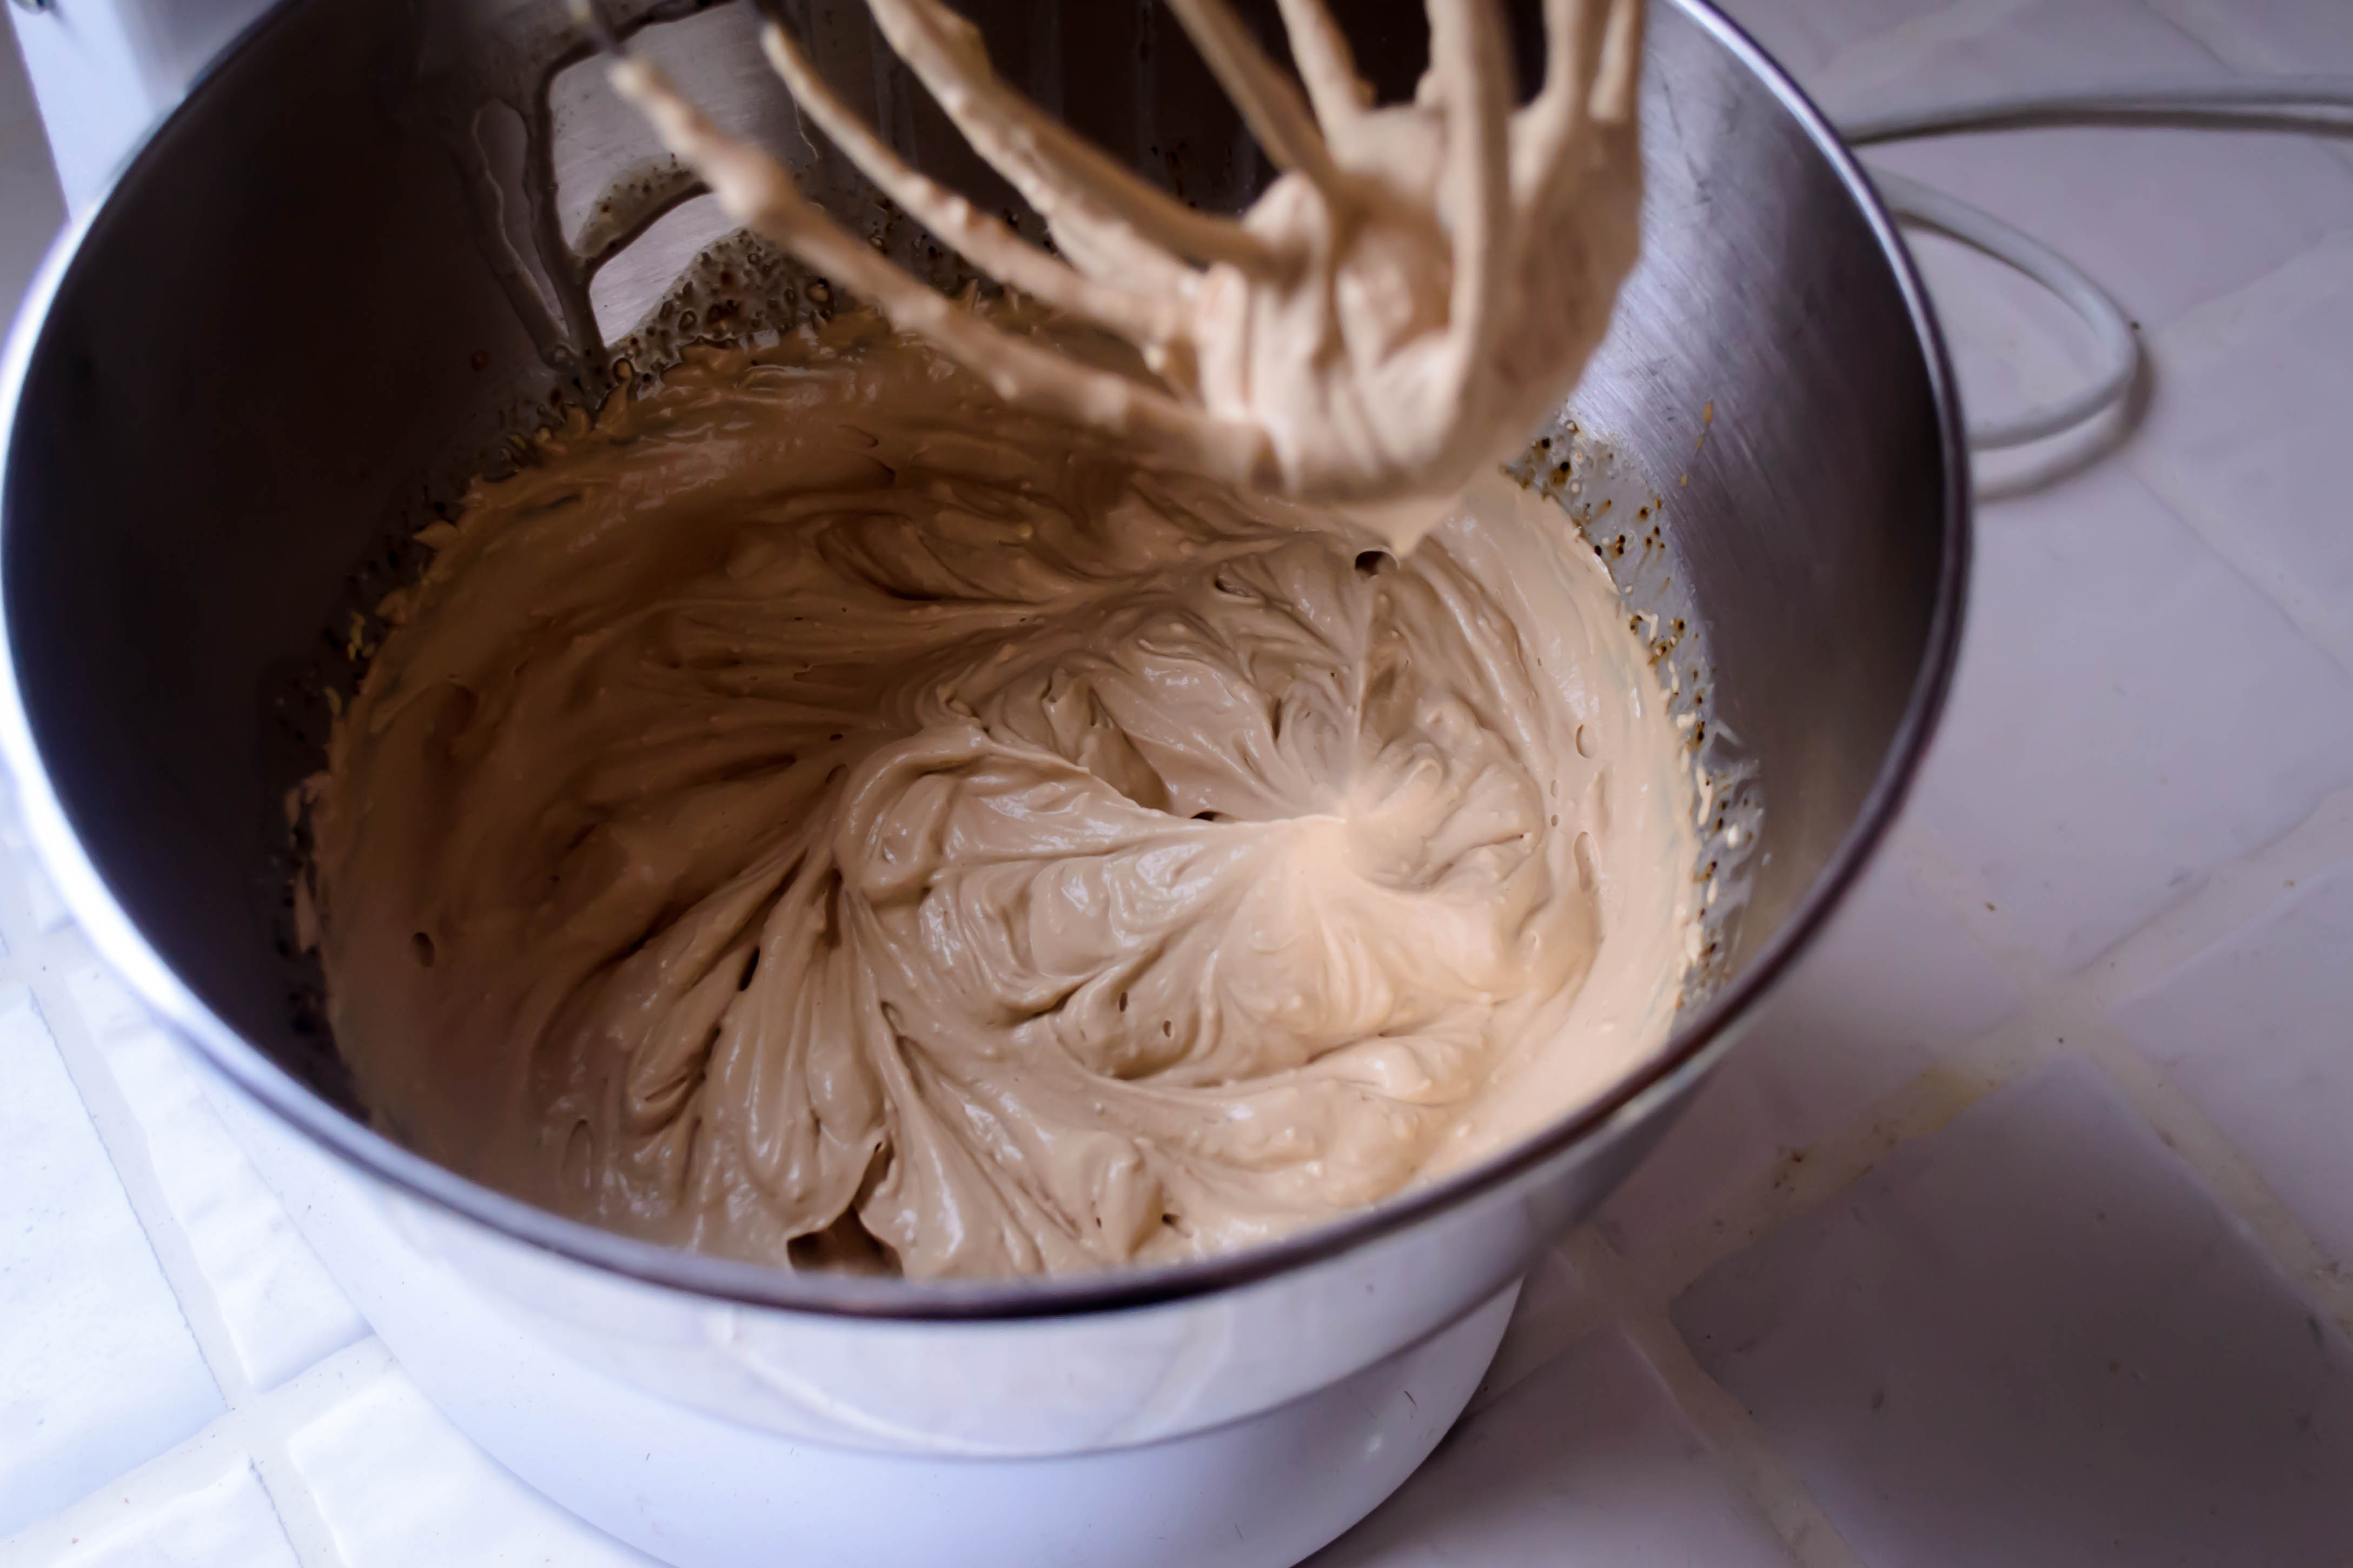
  • Dump all ingredients as unceremoniously as you like into the bowl of a stand mixer. You could do this in a regular mixing bowl with a hand-held mixer too.
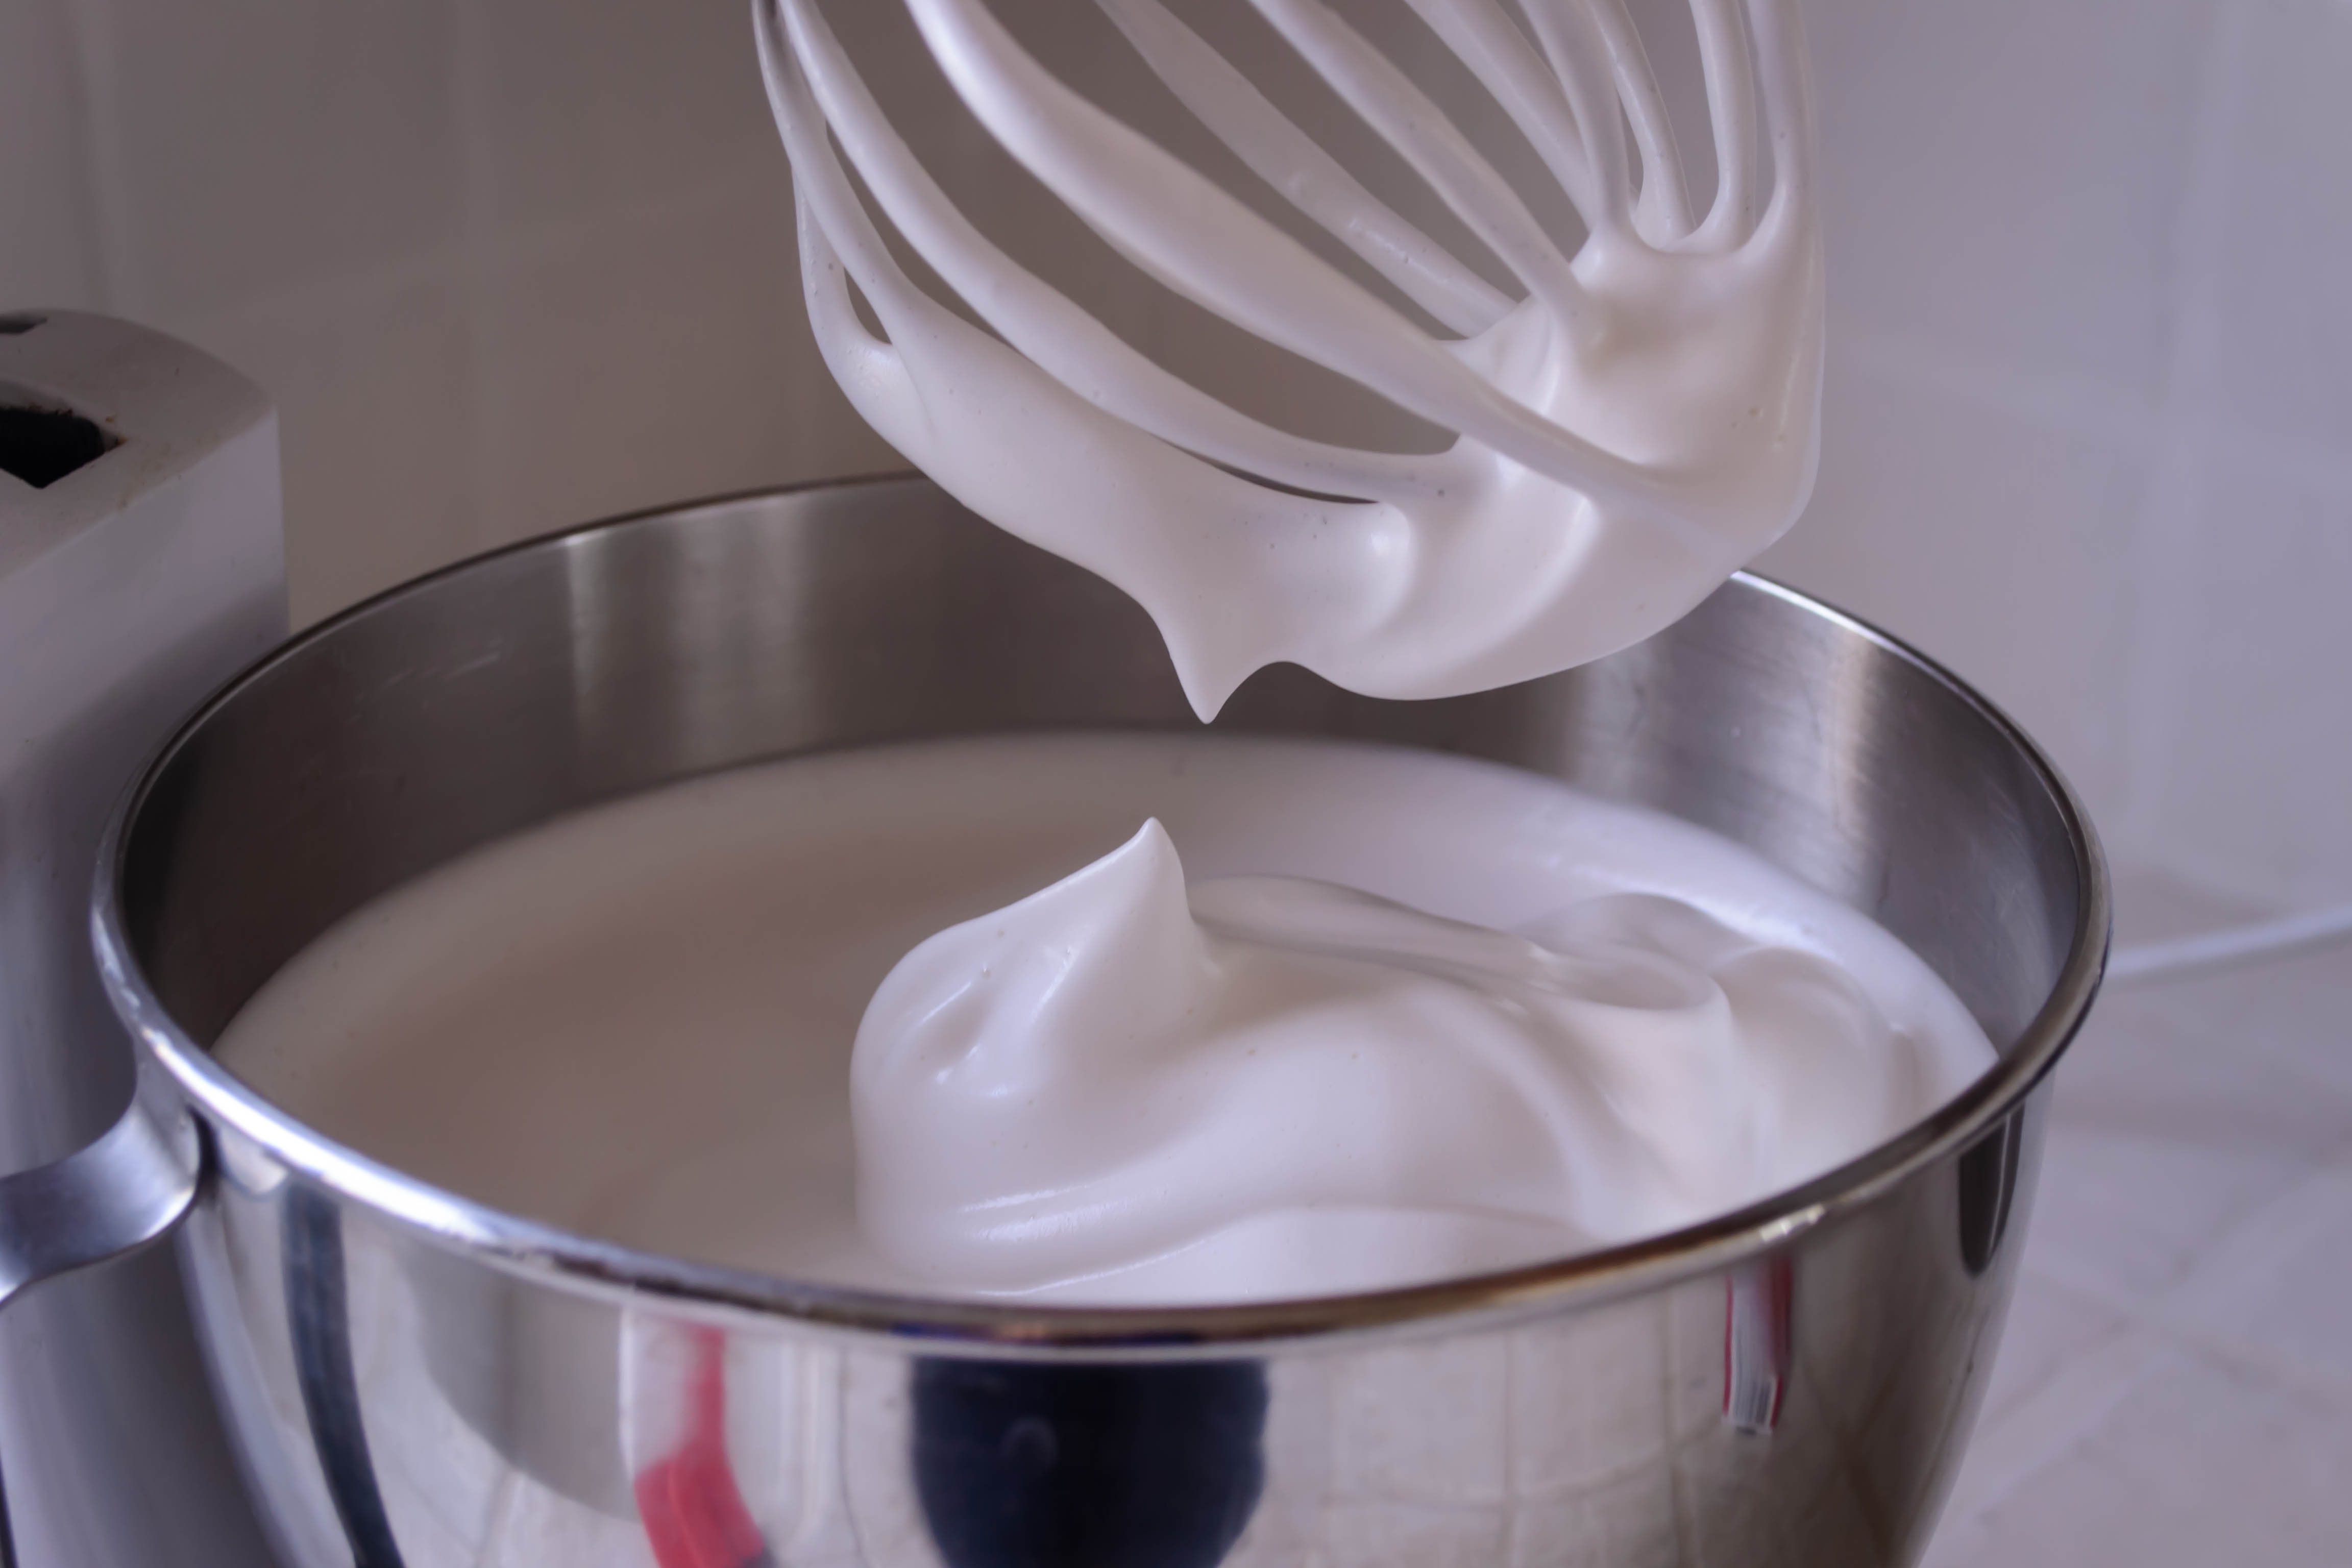
  • Using the whisk attachment (or regular beaters), whip on medium speed until soft peaks form. For me, this took only 3-4 minutes. It may take more or less time for you depending on the speed of your mixer.
  • Using a rubber spatula, scrape the fluffy, coffee-scented clouds into a freezer friendly container – I used a clean empty Greek yogurt tub – and freeze for at least 6 hours to let the mixture harden up.
  • Serve atop a soufflé, or with whipped cream, or in a cappuccino, or with fudge sauce, or just with you and a spoon and a spot against the refrigerator door.

Cheesy Brussels and Bacon Mashed Potato Cakes

Generally speaking, N. and I are boring restaurant attendees. One drink apiece, no appetizers, an entrée for each, and by then we are too full for dessert. The most exciting thing we do (hold your breath, folks) is to share plates, particularly when we are torn between what we want to order. This is likely borne out of graduate school poverty, though in a world of extravagant portion size it seems like a reasonable practice to continue.

Food Blog January 2014-3026But once in a while, an appetizer or a side dish sounds so luscious, or so interesting, or so, I don’t know, good (are we still allowed to use that word?), that we can’t resist it. At one of our more favorite haunts a week or two before the holidays, we were enticed by just such a side – a craggy mass of mashed potatoes threaded with strands of Brussels sprouts and bacon, a suggestion of cheddar, and broiled until the top was smattered with crusty dark bits. It sounded like a dream. It was… fine.

Food Blog January 2014-3014Photo Friday 2013-2940Food Blog January 2014-3015As I ate it, I couldn’t help but feel that the flavors could have been stronger. More cheese. More bacon. More crunch. It needed to be, perhaps not a heap of mash subjected to broiling, but shaped into tender cakes and fried in a pan. Yes, cheesy patties shot through with ribbons of Brussels sprouts and chunks of bacon, fried up in the very bacon grease the meaty bits had expelled as they cooked. Crunchy, creamy, melting, with enough green that a very imaginative person could just barely declare them virtuous.

Food Blog January 2014-3016What I ended up with was a marriage of that classic British leftovers dish bubble and squeak (though certainly in a modern reinterpretation), and a latke so unkosher that we might as well have piled shrimp on top and called it a day.

Food Blog January 2014-3052Yukon gold potatoes have quickly become my standard for mash (I could even call them the “gold” standard, but you might groan at that, eh?), and this dish is no exception. Their flavor is terrific – hearty and rich – and they whip into lovely buttery fluff. And here, where texture is intentional, there is no need to peel them. The tissue-thin skins shred into the mix and echo the ribbons of Brussels sprouts. Chewy crisp hunks of bacon stud the cake with smoky saltiness, and do yourself a favor and use the sharpest cheddar cheese you can find – it needs to be saliva-inducing to stand up to the other flavors here. A single egg, lightly beaten and worked in, holds the cakes together, and then it’s just a question of heating up your cast iron skillet and frying them to order. I can imagine scarfing these for breakfast, lunch, or dinner, and I’m admitting nothing, but they are even acceptable stolen cold out of the fridge.

Food Blog January 2014-3053*A note about bacon grease: I found, as I fried these, that bacon grease lends terrific flavor, but because it can be shot through with remnants of browned bits from frying the bacon, it can make the exterior of the cakes quite dark. To prevent this, as in the directions below, I recommend that you pour out the grease, reserving only a tablespoon or two. If you’re feeling particularly fussy, you can strain this reserved portion, but I wouldn’t be too worried about that. Discard the rest (or save for some other application) and wipe out your pan in between frying the bacon and frying the cakes. When it is time to fry again, combine the reserved bacon grease with some olive oil. You’ll still get the smoky, unctuous flavor, but the olive oil raises the smoke point and will produce a golden, rather than an almost-black, crust.

Food Blog January 2014-3054Cheesy Brussels and Bacon Mashed Potato Cakes
Makes 12-14 cakes of 3-inch diameter
4 medium Yukon gold potatoes (about 1 pound), each cut into large chunks of roughly equal size
2 tablespoons milk
Salt, pepper, and garlic powder to taste
8 ounces Brussels sprouts (about 12 large), stemmed and stripped of any discolored or damaged outer leaves
8 ounces bacon, diced
4 ounces shredded cheddar cheese, the sharpest you can find
1 egg, lightly beaten
2 tablespoons bacon grease reserved from frying the bacon
2-4 tablespoons olive oil
  • Deposit potato chunks in a pot of salted water, bring to a boil, and cook until they are fork tender but not mush. This should take, depending on the size of your potato chunks, 7-10 minutes after the water comes to a boil. Drain and cool potatoes completely.
  • While potatoes are cooling, fry the bacon pieces in a skillet (my preference is cast iron) over medium heat until they are golden, almost crispy, and cooked through. Fish them out with a slotted spoon and set aside on a plate lined with paper towels. Reserve 1-2 tablespoons of the grease, discard the rest, and wipe out the pan to clear any bacon bits residue (see note above).
  • Using the slicer disc on a food processor (or a very steady hand and a sharp knife), shred up the Brussels sprouts into a mixture of ribbons and wafer-thin slices.
  • Shred the cheddar cheese.
  • By this time, your potatoes should be just about cool! When they are at room temperature, place them in a large mixing bowl and add the milk, salt, pepper, and garlic powder. Whiz them up with an electric mixer until more or less evenly combined. It won’t be a completely smooth mixture, because we’ve left the skins on, but it will come together into a buttery golden mash.
  • Add the cheese, Brussels sprouts shreds, and bacon pieces to the potatoes and mix well. I started out using a rubber spatula for this, but quickly switched to my hands, which did a much more thorough job. Taste for seasoning and add more salt, pepper, and garlic powder if needed.
  • Add the lightly beaten egg and mix to combine.
  • Using your hands, shape the potato cakes. Gently form rounds slightly bigger than a golf ball, then flatten them into patties about 3 inches in diameter. As you finish each patty, set it aside on a plate.
  • When your patties are formed, heat the olive oil and the reserved bacon grease in your skillet (to save on dishes you can, and should, use the same skillet you cooked the bacon in) over medium-high heat. When the oil shimmers, add the cakes. Don’t crowd them, though. Each one should have space around it – they shouldn’t touch one another. In my 9 inch cast iron skillet, 4 at a time was perfect.
  • Once you have placed the cakes, don’t mess with them. Leave them alone for 4-5 minutes (4 minutes and 30 seconds was perfect for me) before flipping. You will need to do this with deliberation. Slide a thin spatula under each one quickly and firmly, then flip and leave alone for another 4-5 minutes. Disrupting the cakes too early, or fussing with them too much, will result in sticking, smashing, and general disintegration. They need time to form a stiff crust on each side before they will consent to flip cleanly.
  • Continue, frying 4-5 patties at a time for 4-5 minutes on each side, until all cakes have been cooked. You may need another dollop of olive oil after a few batches to re-slick the skillet. If the oil starts to smoke or the cakes are frying up darker than you like, turn the heat down to medium.
  • As you finish each batch, serve them immediately, or to hold them until all are cooked, stow on a cookie sheet lined with a wire rack in a 200 degree oven.
  • As with all fritter-type beasts, these are best consumed as soon after taking them out of the oil as possible.

Quick Chocolate Bark

If you have leftover chocolate from the holidays (hah), or if you need something impressive for that New Year’s Eve party you didn’t expect to be invited to (double hah), but you aren’t feeling up to full-blown candy making, this is your recipe.

Photo Friday 2013-2955Chocolate bark is dead simple to make, totally delicious, and looks very fancy – essentially, you are producing a custom fruit and nut candy bar, but it takes only as long as the time chocolate needs to melt into a smooth, gloriously dark river of supple brown satin, and the time it takes that satiny pool to harden again. This leaves you sufficient time to shower, put on makeup, find the other earring from that pair that never stays together in the drawer, and possibly practice your dance moves, just in case.

Photo Friday 2013-2961Just before you leave for the party (or moments before your guests arrive), you can cut up the block of glorious, jewel-studded candy into neat bricks or, if you’re me, random quadrilaterals (random shapes and sizes = no one questioning your honesty when you say you made it yourself), stack it on your prettiest serving platter, and wait for it to disappear.

Photo Friday 2013-2965 Fruit and nut chocolate bark
makes a 9×14 inch slab, approximately
8 oz. semi-sweet or bittersweet chocolate
1/2 cup chopped, toasted almonds
1/2 cup dried cranberries
1/2 cup chopped dried apricots
  • Pour about 1 cup of water into a medium pot and begin to heat it over medium-low heat on the stove. Place a glass bowl over the top of the pot, being sure it covers the opening completely but does not touch the water inside. You are making a double boiler.
  • Cut the chocolate into small pieces and deposit it into the glass bowl. Stir occasionally. It will melt slowly as the water in the pot below the bowl heats. If the water comes to a boil, turn the heat down or off completely. The residual heat will be more than enough to melt the chocolate.
  • If you haven’t already chopped and/or toasted your toppings, now is a good time. Just take care to check and gently stir your chocolate every minute or so, to ensure that it doesn’t seize or burn.
  • Line a cookie sheet with parchment paper or wax paper.
  • When the chocolate is completely melted into a glossy, shiny puddle, pour it slowly and evenly onto the parchment paper-lined cookie sheet, leaving a slim border around the edges.
  • Using a rubber spatula or an off-set icing spatula, spread the chocolate into a rectangle of even thickness. Mine was about 9×14 inches, though I’ll confess to not measuring it exactly.
  • Sprinkle the fruit and nuts over the warm, still semi-liquid chocolate in whatever pattern or quantity you like. Set aside to cool.
  • After an hour or two, the chocolate will have hardened around the fruit and nut pieces, holding them in place. To serve, cut the slab of chocolate into chunks with a sharp knife.

Peppermint Marshmallows

Last week I promised you something sweet and holiday inspired, but gave you very little else to go on.  I didn’t know, yet, that what I would have to offer would be a beautiful red and white swirl, a puffy, gooey, perfectly melting cube of magic, like a candy cane exploded into clouds and rained powdered sugar all over my kitchen.

Food Blog December 2013-2952Marshmallows.

Food Blog December 2013-2944Specifically, peppermint marshmallows, flavored with mint extract and swirled with a few drops of red food coloring to emulate the striping in a candy cane.

Food Blog December 2013-2935Marshmallows look like an ambitious cooking project, and I’ll admit they are not quite as easy as, say, your average chocolate chip cookie or gingerbread recipe. But they are so, so worth trying. When you compare store-bought marshmallows to homemade they are, as I explained yesterday, like the difference between those sheets in a discount motel, and the Egyptian cotton sheets with the sky-high thread count you dream about treating yourself to maybe that’s just me…). The homemade ones are soft and luxuriously puffy, and they linger on your taste buds without that powdery residue you get from the kind that come out of a bag. Plus, you get to play with gelatin and egg whites.

Food Blog December 2013-2921Food Blog December 2013-2927Food Blog December 2013-2930Food Blog December 2013-2931To make mine, I looked to two of my sweets inspirations: David Lebovitz and Irvin Lin. I’ve been reading these two men’s blogs for years now, continually impressed as they churn out ambitious baking projects I never, three or two or even one year ago, would have considered attempting. Then over this summer my sister and I decided to try Irvin’s red velvet s’mores with cream cheese marshmallows, and the recipe he put together was so precise and, once I got over my fear of the boiling sugar syrup, so unthreatening that I decided homemade marshmallows should become at least a semi-regular part of my repertoire.

Food Blog December 2013-2923This is essentially a three-part recipe. First, you dissolve some gelatin in cold water.  While it softens and thickens and turns into a curious gooey business that resembles nothing so much as that sticky glue magazine companies use to affix perfume fold-outs and coupons to their pages (how delicious does that sound?!), you melt some sugar with corn syrup and a touch more water, making a barely golden syrup that bubbles and thickens but doesn’t hurt you, because you stir carefully and make sure you have shoes on, in case of disasters. It takes some time for the syrup to come up to the requisite 240F degrees, so while you wait, you whip some room temperature egg whites to soft peaks, helping them along the way with a pinch of cream of tartar.

Food Blog December 2013-2936Food Blog December 2013-2942Food Blog December 2013-2941Then all that remains is to combine. Off the heat, you scrape the gelatin, now congealed into this weird, pecan-pie-filling consistency, into the syrup, whisk to combine, and then pour the still-hot gelatinized syrup carefully into your egg whites. You whip them for a long time – ten minutes long! – and they expand triumphantly until you aren’t sure your stand mixer can hold them all. At the last minute, you add some vanilla and mint extract, and then deposit into a well-greased baking dish, swirl with some food coloring if desired, and stow in the fridge overnight to cure.  The next day, you have a wide dish of marshmallow, which you can slice, toss with powdered sugar, and use for whatever purposes your heart desires.

Food Blog December 2013-2945I found, through intense and repeated experimentation (I do these things for you…) that they melt with almost no resistance in cocoa, and would be a revelation dipped in dark chocolate. You could likely torch them just a bit to top a peppermint variation of a grasshopper or chocolate cream pie. But I find that with this peppermint flavor in particular – swirled for the holidays and almost aggressively minty – I like them best straight out of the refrigerator.

Food Blog December 2013-2951

Peppermint Marshmallows
Adapted from Eat the Love and David Lebovitz
Makes one 9x13x2 inch pan slab of marshmallow, which you can cut to your desired size
2 envelopes unflavored gelatin (about 14.5 grams, though the quantities on the Knox brand box are not very forthcoming)
¾ cups water, divided
4 egg whites, at room temperature (being at room temp helps them whip faster)
¼ teaspoon cream of tartar
1 cup granulated sugar
⅓ cup light corn syrup
1 teaspoon vanilla
1 teaspoon peppermint extract (or less – it’s quite strong)
10-12 drops red food coloring (optional)
1-2 cups powdered sugar, for coating cured marshmallows to prevent sticking


  • Grease a 9x13x2 inch baking dish with non-stick spray. Mine was butter flavored and looked a little yellow – I’d advise a white or clear version.
  • In a small bowl, sprinkle the gelatin powder over ½ cup of the water, then set aside to gel.
  • In a small saucepan, combine the sugar, corn syrup, and remaining ¼ cup of water, then stir over medium heat. Use a candy thermometer to moderate the temperature – you are looking to heat this to 240F.  This will probably take about 8-10 minutes, with the last 10 degrees taking the longest. You can turn away from this now and then, but be sure to stir regularly as the sugar dissolves to prevent it from burning.
  • While the syrup heats, beat the egg whites with the cream of tartar in the bowl of an electric stand mixer (or in a large bowl with a hand-held mixer, but using a stand mixer is much easier and faster) until they form soft peaks. When the whisk or beater attachment is pulled out of the eggs, what remains on the attachments will droop a bit back toward the bowl – those are soft peaks – peaks that fold over.
  • When the syrup reaches 240F, remove it from the heat and scrape the gelatin into the hot syrup, stirring with a whisk to dissolve. Drizzle a few tablespoons of the hot syrup mixture into the egg whites and mix gently, just to warm them up so they aren’t shocked.  Then, with the mixer on medium speed, pour the syrup into the egg whites in a slow but steady stream, being careful to aim for the whites themselves, not for the whisk or the side of the bowl, which can cause droplets of hot syrup to fly out onto you. As Irvin says, this sounds scarier than it is. Just be careful and you’ll be fine.
  • With all of the syrup poured in, turn the mixer speed up to medium-high and beat for 5 minutes. The egg whites will take on the consistency of a thick whipped cream.
  • After five minutes, add the vanilla and peppermint extract, then increase the mixer speed to high and beat for another five minutes. The mixture will increase dramatically in volume, become glossy and thick, and resemble that marshmallow fluff you can buy in jars.
  • You’ve now beaten your egg whites for a total of ten minutes. Use a rubber spatula, greased for extra insurance if you wish, and pour/scrape the mixture into your greased 9×13 inch pan. For the swirly candy cane effect, drip 10-12 drops red food coloring over the surface of the marshmallow, spacing the drops evenly for best coverage.
  • Gently insert the tip of a butter knife into the marshmallow mass and swirl around, dragging the food coloring over and through the pan to create a swirled effect. Don’t overdo it, though – you want well-defined swirls, not pink marshmallows.
  • When you are satisfied with your swirls, cover the pan tightly with plastic wrap, taking care not to let it touch the top of the marshmallows (it would stick like crazy), and stow it in the fridge overnight, or at least 8 hours, to let the marshmallows cure.
  • After marshmallows have cured, all that remains is to liberate them from the pan, slice them to your desired size (I used a pizza wheel for this), and toss them in powdered sugar to keep them from sticking to everything they come in contact with. To do this, I put 1-2 cups sifted powdered sugar in a brown paper bag, added the marshmallows, and shook them gently until they were evenly coated. Then, remove and consume as desired!

Orange glazed broccolini

Food Blog December 2013-2882As I lounged on the couch Friday evening, halfheartedly sketching out a grocery list even as Thanksgiving dinner still occupied two thirds of my fridge and three quarters of my brain (let’s not even mention my stomach), I asked N. what he wanted to eat this week. “Heavy on the veg,” he said, and that was that. Into the cart, and then into a pan, went all the greens I could fit, with some salt, some pepper, and some sesame oil. On a whim, thin slices of garlic and a cautious tablespoon of orange marmalade followed, and the gluttony that resulted could more kindly be called love.

Food Blog December 2013-2874This recipe was originally conceived for broccoli rabe (also called rapini), that assertive, bitter collection of leaves with stubby little florets dotted between them. But this week my produce department didn’t have any, so I settled for broccolini instead. If we’re honest, though, it would probably also be fantastic with kale, or mustard greens, or regular old broccoli. Why leave him out?

Food Blog December 2013-2876The point is, the bitterness of the vegetable plays incredibly well with the marmalade which, with its bits of orange rind, at once offsets but also complements the bitterness of the greens. The greens are lightly blanched which, for me, just means throwing them into a pot of heavily salted boiling water for something like 90 seconds, then draining, administering a stern flick to bounce extra water out of the florets, and tumbling into a skillet shimmering with a film of olive and sesame oil. The greens sauté for another minute or two, the garlic, tossed in with abandon, crisps into little chips, and the orange marmalade melts down over the whole thing in a jammy glaze studded with bits of rind, and you’re done. Once you start cooking, the whole thing takes maybe six minutes, and then you can eat the entire pan and call it lunch. Or, you know, share it with your family, because I would never do something like eating a whole skillet of barely sweet, crisp and garlicky vegetables without telling anyone…

Food Blog December 2013-2879Variations: you could certainly adjust this dish to suit your whims. The marmalade could be lemon instead of orange, and red pepper flakes or even a dash of soy sauce would not feel out of place here. A scattering of lightly toasted sesame seeds over the finished dish would be lovely as well.


Orange glazed broccolini
Serves 2-3 as a side
2 bunches broccolini (or 1 large bunch of broccoli rabe or kale, or 1 large head of broccoli)
1 tablespoon olive oil
1 teaspoon sesame oil
3 cloves garlic, sliced paper thin
¼ teaspoon each salt and pepper, or to taste
1 scant tablespoon orange marmalade


  • Bring a pan of salted water to a rolling boil. While you wait for it to heat, prepare your broccolini: rinse the bundle and then trim off the bottom ½ inch or so of the stalk. If the stalk is ½ an inch or more in diameter, halve it lengthwise for easier consumption. Submerge in the boiling water for about 90 seconds, until the florets and stems are intensely green and just barely tender. Drain well.
  • Heat the olive and sesame oils in a large skillet over medium high heat. Toss in the broccolini and agitate the pan to coat it evenly. Add salt and pepper to taste, and sauté, tossing frequently, for 2-3 minutes.
  • Add the garlic and sauté one additional minute, until the little slices begin to brown and crisp a bit. Then add the orange marmalade and toss well to coat. As soon as it melts and glazes the vegetables, it’s done. Remove from the heat and serve immediately.