This is a recipe born out of need and change and a series of odd connections. I bought a bag of red potatoes intending to make a gratin, but a sudden upswing in temperature made the idea of roasted anything feel oppressive. Meanwhile, my beautiful heads of romaine lettuce in my garden started to bolt, and my parsley was already flowering. I thought of salad, of course, and then of potato salad, and then of likely ways I could combine them. A potato salad with green beans and parmesan I had in Eugene crept back into my mind, and parmesan reminded me of pesto. Pesto is such a convenient way of using excess greens, even when they are getting bitter, so I wondered if lettuce pesto would be tasty. The garlic and parmesan of pesto along with the lettuce reminded me of Caesar salad, and suddenly I was adding anchovies and mayonnaise and hard-boiled eggs for good measure, and this franken-potato-salad was born.*
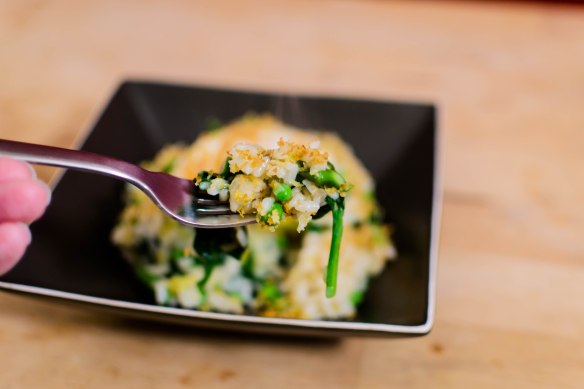
 This is not one of those “not your average gloopy potato salad” iterations. I must admit, as an ardent mayonnaise lover, I resent those complaints about gloopiness. This one is gloopy. It is unapologetically gloopy. It is a potato salad for mayonnaise aficionados. But I have an important secret when it comes to those “gloopy” mayonnaise based summer salads, whether their bases are potato or pasta: you have to add the dressing while the starch base is still warm. If the potato chunks or noodles are cold, the dressing just weakly sits beneath and around them. If it’s stirred in while they are warm – or even hot – the dressing soaks in. The texture is better, the flavor is better, and you can get the hot part of the process out of the way hours before you intend to serve anything. At least 2 hours in the fridge after everything is combined ensures nicely melded flavors – the anchovy mellows, the garlic relaxes, the lettuce emerges not as a strong presence but as a juicy green background taste we found quite pleasant.
 Because I’m me, I couldn’t quite leave well enough alone: since the lettuce and anchovy and parmesan allude to Caesar salad, and since lately we’ve been all about crunch and texture, I wanted to give a nod to the crouton component. A shower of panko crumbs well toasted in olive oil right over the top added crunch, though if you wanted to be a little less excessive, you could probably used well-toasted almonds instead. I’d suggest a rough chop for rubbly texture.
 * As I wrote this, I was weirdly reminded of my most recent and ongoing scholarly project, which suffers from organizational stress. A few weeks ago a fellow academic tweeted “How has anybody ever structured a piece of writing? It’s an impossible con, all the things to be said must be said at exactly the same time or none of them will make sense” (Jones). I felt that as I tried to explain the intersecting idea strands for this salad: in my brain, the connections happened nearly instantaneously. Here, which do you mention first? The potato salad with parmesan that reminded me of pesto? The lettuce that evoked Caesar? Words prohibit the all-at-once-ness that feels so natural when we think…
Pandemic Potato Salad
Serves 6-8 as a side, not that you’re having anyone over right now…
2 ½-3 hours, including chilling time
6-8 ounces green beans or haricot verts
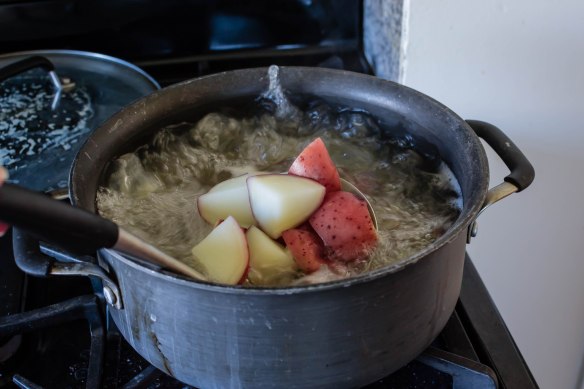
10-12 medium red potatoes
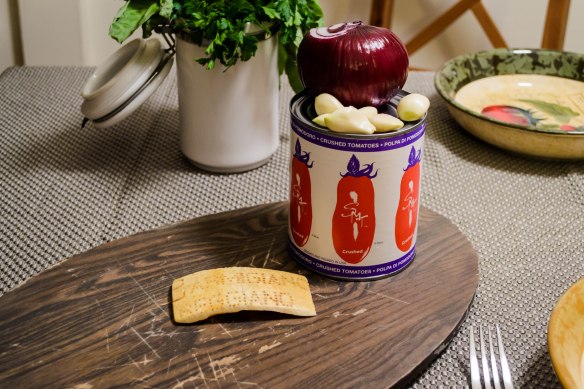
4-6 cloves garlic
5-9 anchovy filets (wide range, but adjust according to how much you love anchovies)
zest and juice from 1 lemon
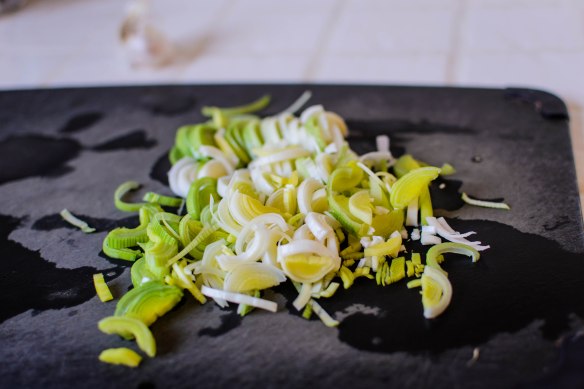
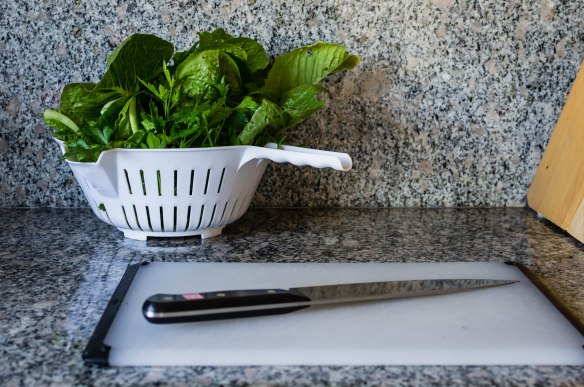
1 head romaine lettuce, core removed, leaves roughly torn
1 cup packed parsley leaves and stems
1 cup mayonnaise
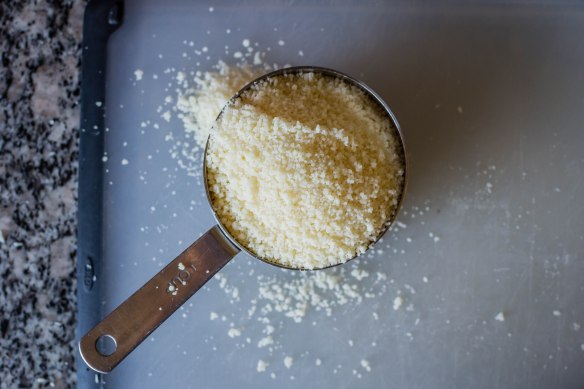
1 cup grated parmesan cheese
3 hard-boiled eggs, peeled and roughly chopped
salt and pepper to taste
Optional: 2 tablespoons olive oil and ½ cup panko breadcrumbs or ½ cup roughly chopped almonds
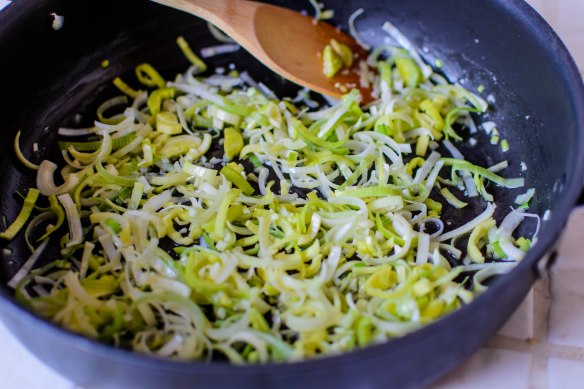
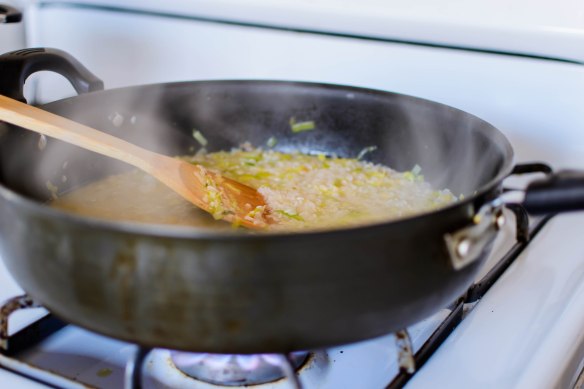
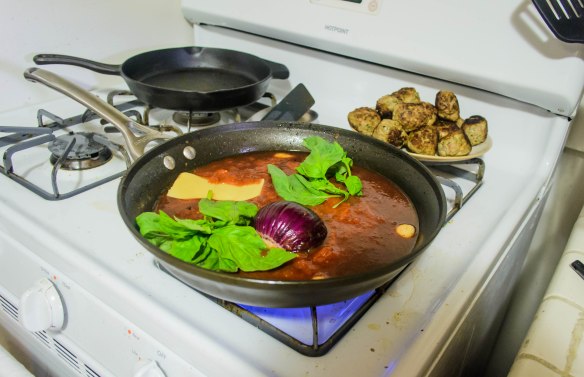
- Blanch the green beans in a large pot of boiling salted water. This will take 2-3 minutes for large size beans, or about 90 seconds for skinny little haricot verts. Remove from the pot and douse in cold water to stop them from cooking further. Reserve the salted cooking water. Quarter the potatoes (or if they are gigantic, cut down into large bite-sized pieces) and place them in the same pot. Fill the pot with more water if needed to cover the potatoes, then bring back to a boil over high heat. Turn down to medium and simmer until the potatoes are just tender when pierced with a fork. Drain and set aside while you make the dressing.
- If you need to grate the cheese, load the belly of your food processor with small chunks of parmesan, then run on high speed until the cheese is adequately broken down. Empty the processor, measure out the required cup of cheese, and set aside to add later.
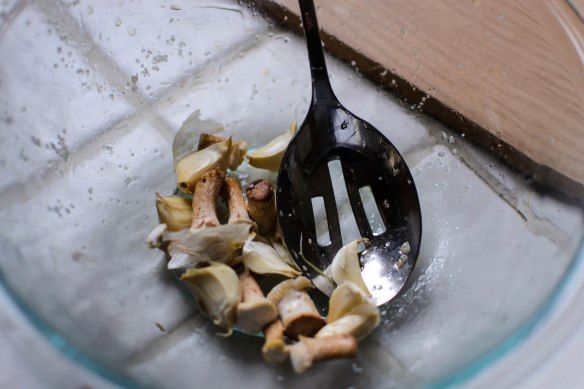
- Process the garlic cloves, anchovy filets, and lemon zest and juice together first into a clumpy paste. Use a rubber spatula to scrape down the sides of the processor, then add about half of the torn lettuce leaves and the parsley and pulse a few times to break them down. When there is enough room in the processor, add the remaining lettuce and parsley and process on high until the mixture is finely chopped.
- Scrape down the sides of the processor again and add the mayonnaise and reserved parmesan cheese. Process on high speed until well combined. Taste for seasoning; add salt and pepper as needed. It’s important to wait until now to add the salt, since the anchovy, mayonnaise, and cheese are all salty already.
- Add the still-warm potatoes and the drained green beans to a large bowl. Stir in about ¾ of the dressing until the vegetables are evenly coated. Gently fold in the chopped hard-boiled eggs. Add more dressing, if needed.
- At first this will probably taste too salty. Refrigerate for at least 2 hours to allow the flavors to mellow and combine. Bring back to room temperature before serving.
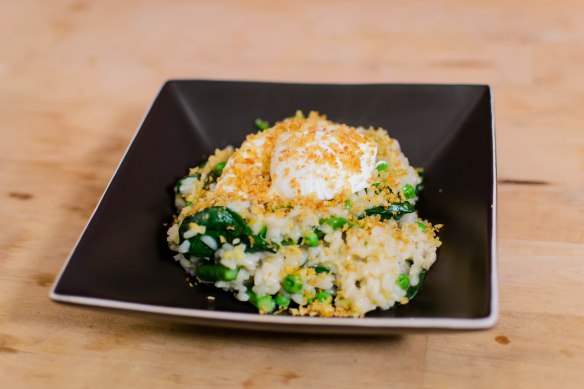
- This is ready to serve as is. But if you like a little excess (or if crunch is important to you), heat the optional 2 TB olive oil in a small skillet, then stir in either ½ cup panko breadcrumbs or ½ cup roughly chopped raw almonds and toast until deeply golden. Sprinkle over the top of the potato salad just before serving.


 This last week has been a lot. A new president, an elderly dog with suddenly severe mobility challenges, a new president, a state that seemed to offer a pointed meteorological response, particularly on inauguration day (and then clear, sun-swept skies for the women’s march the next morning – what up, universe!), oh, and that whole new president thing. I opted, as is my usual practice, to respond in part by shuffling into the kitchen. Cooking doesn’t do a great deal on a large scale, but it makes me feel safe and in control, and it is with those feelings that I gain a foundation of strength and confidence to undertake other, more consequential actions. So let’s talk foundations. The foundation – the basis – of soup is liquid. That’s not always the part you add first, and it often doesn’t feel like the most interesting part,* but it’s what separates soup from puree, or pasta, or pile-of-diced-vegetables-with-some-beans-and-meat-or-maybe-potatoes.
 Obviously you have a lot of choice when it comes to choosing this liquid. You could, of course, work with plain old water, and
 The first hurdle to surmount is the question of broth vs. stock. These terms get used pretty interchangeably, but there is a difference.
  More recently, though, at least in American cooking parlance, stock vs. broth tends to be a question of bones vs. meat. A broth is a liquid made from meat that has been simmering, usually along with vegetables and herbs for flavor. Stocks are made from bones as well as connective tissue, along with vegetables and aromatics for flavor, and the collagen extracted from the bones during the simmer results in a product with more body – a heft or thickness absent from broth. As

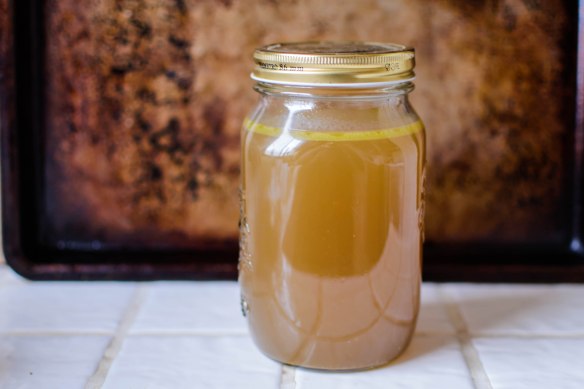
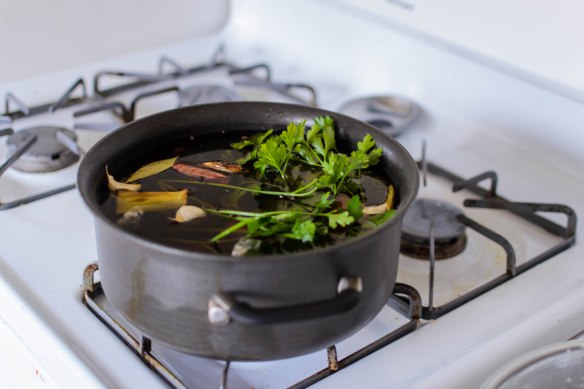
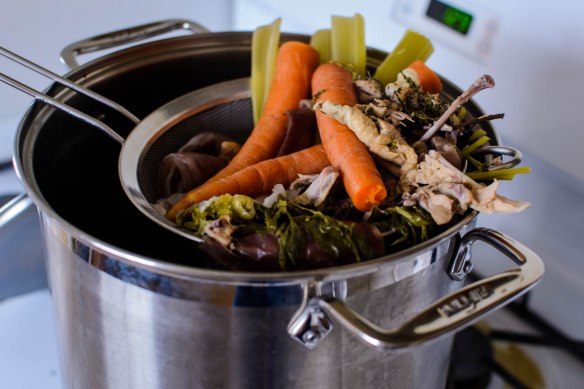 According to these defining principles, then, what we’re going to make here is one broth (no bones; all vegetables), and one stock (well, broth-stock. Brock? Stoth?). The ingredient lists are similar and the procedure is easy, if a little time-consuming: roast some veg or a chicken, pop the roasted veg or bones in a big pot, add flavoring agents, cover with water, simmer long enough to produce a bronzed, aromatic liquid. Strain, cool, and store. That’s it. Yes, it’s an additional step or two on your quest for soup, but it makes plenty, and then you’re set for a few months, depending on the frequency of your broth needs. Call it a project for a rainy day, which we seem to be having plenty of lately.
 I particularly like making the effort just after Thanksgiving, when the bones and trimmings of that turkey carcass make enough meaty, strengthening, belly-consoling stock to service my soup, stew, risotto, couscous, and arroz con pollo needs for at least a quarter of the year.**
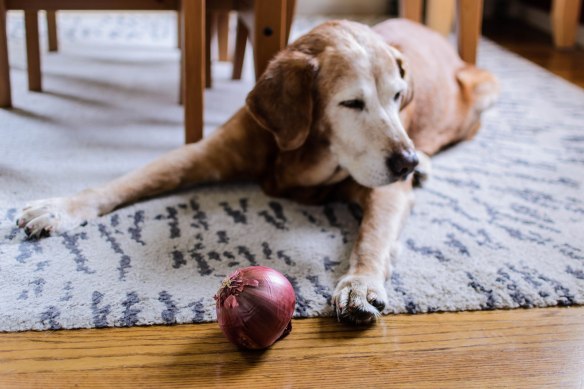
 * it’s also not the most interesting or sexy thing to take photos of, so I hope you appreciate Lucy’s willingness to help out by posing with various vegetables (she couldn’t be bothered with the celery, so we stuck with onion and carrots).
 ** with the Thanksgiving turkey carcass, I increase the amount of water in the mix, but tend to leave the other ingredient quantities about the same.