I have to admit, this meatball is a bit of a cheat. I mean, when it comes right down to it, this is a breakfast sausage patty, spiked with small chunks of apple and onion sautéed in butter, slivers of sage, and a generous glug or two of maple syrup. And plenty of black pepper, of course. I know, what’s to complain about there? But essentially, it’s just that, rolled into a meatball form instead of flattened into a patty. I’ve made this a number of times already as a sausage patty, and the simple change feels a bit dishonest – a bit like a masquerade. But the thing is, it allows me to tell you about an event for which I feel a great deal of fondness. So consider this a cheat with good intentions. An excuse, let’s say, to tell you about a time of warmth which, as the winter rolls on, might be something you need.
(Additionally, as I’ve recently noticed, sorry about the lousy photo quality on the in-post photos. I’m thinking this is largely due to artificial lighting, which makes maybe one good thing about that whole Daylight Saving Time curse that has fallen upon us, but also might be a WordPress thing, because if you click on the image for a larger version, it looks clearer and higher quality – more like the original shot.)
 The apple and onion in these meatballs (or patties) play very well with the sage and the fatty pork, and the maple syrup results in stellar caramelization, while giving a nod to the “breakfast” idea. This combination was so successful at home in some trial runs and at a summer gathering last July that I broke it out again this January. One of my dearest family friends, a young woman I’ve known so long it feels strange to acknowledge that she is, in fact, a young woman rather than a kid, got married in November, in Chile. She and her now-husband’s Southern Hemisphere nuptials meant that only a small handful of her American friends and family were able to attend. In January, then, while many of us were still off work for the holiday, they had a “stateside celebration” in northern California, which N. and I thankfully were able to attend.
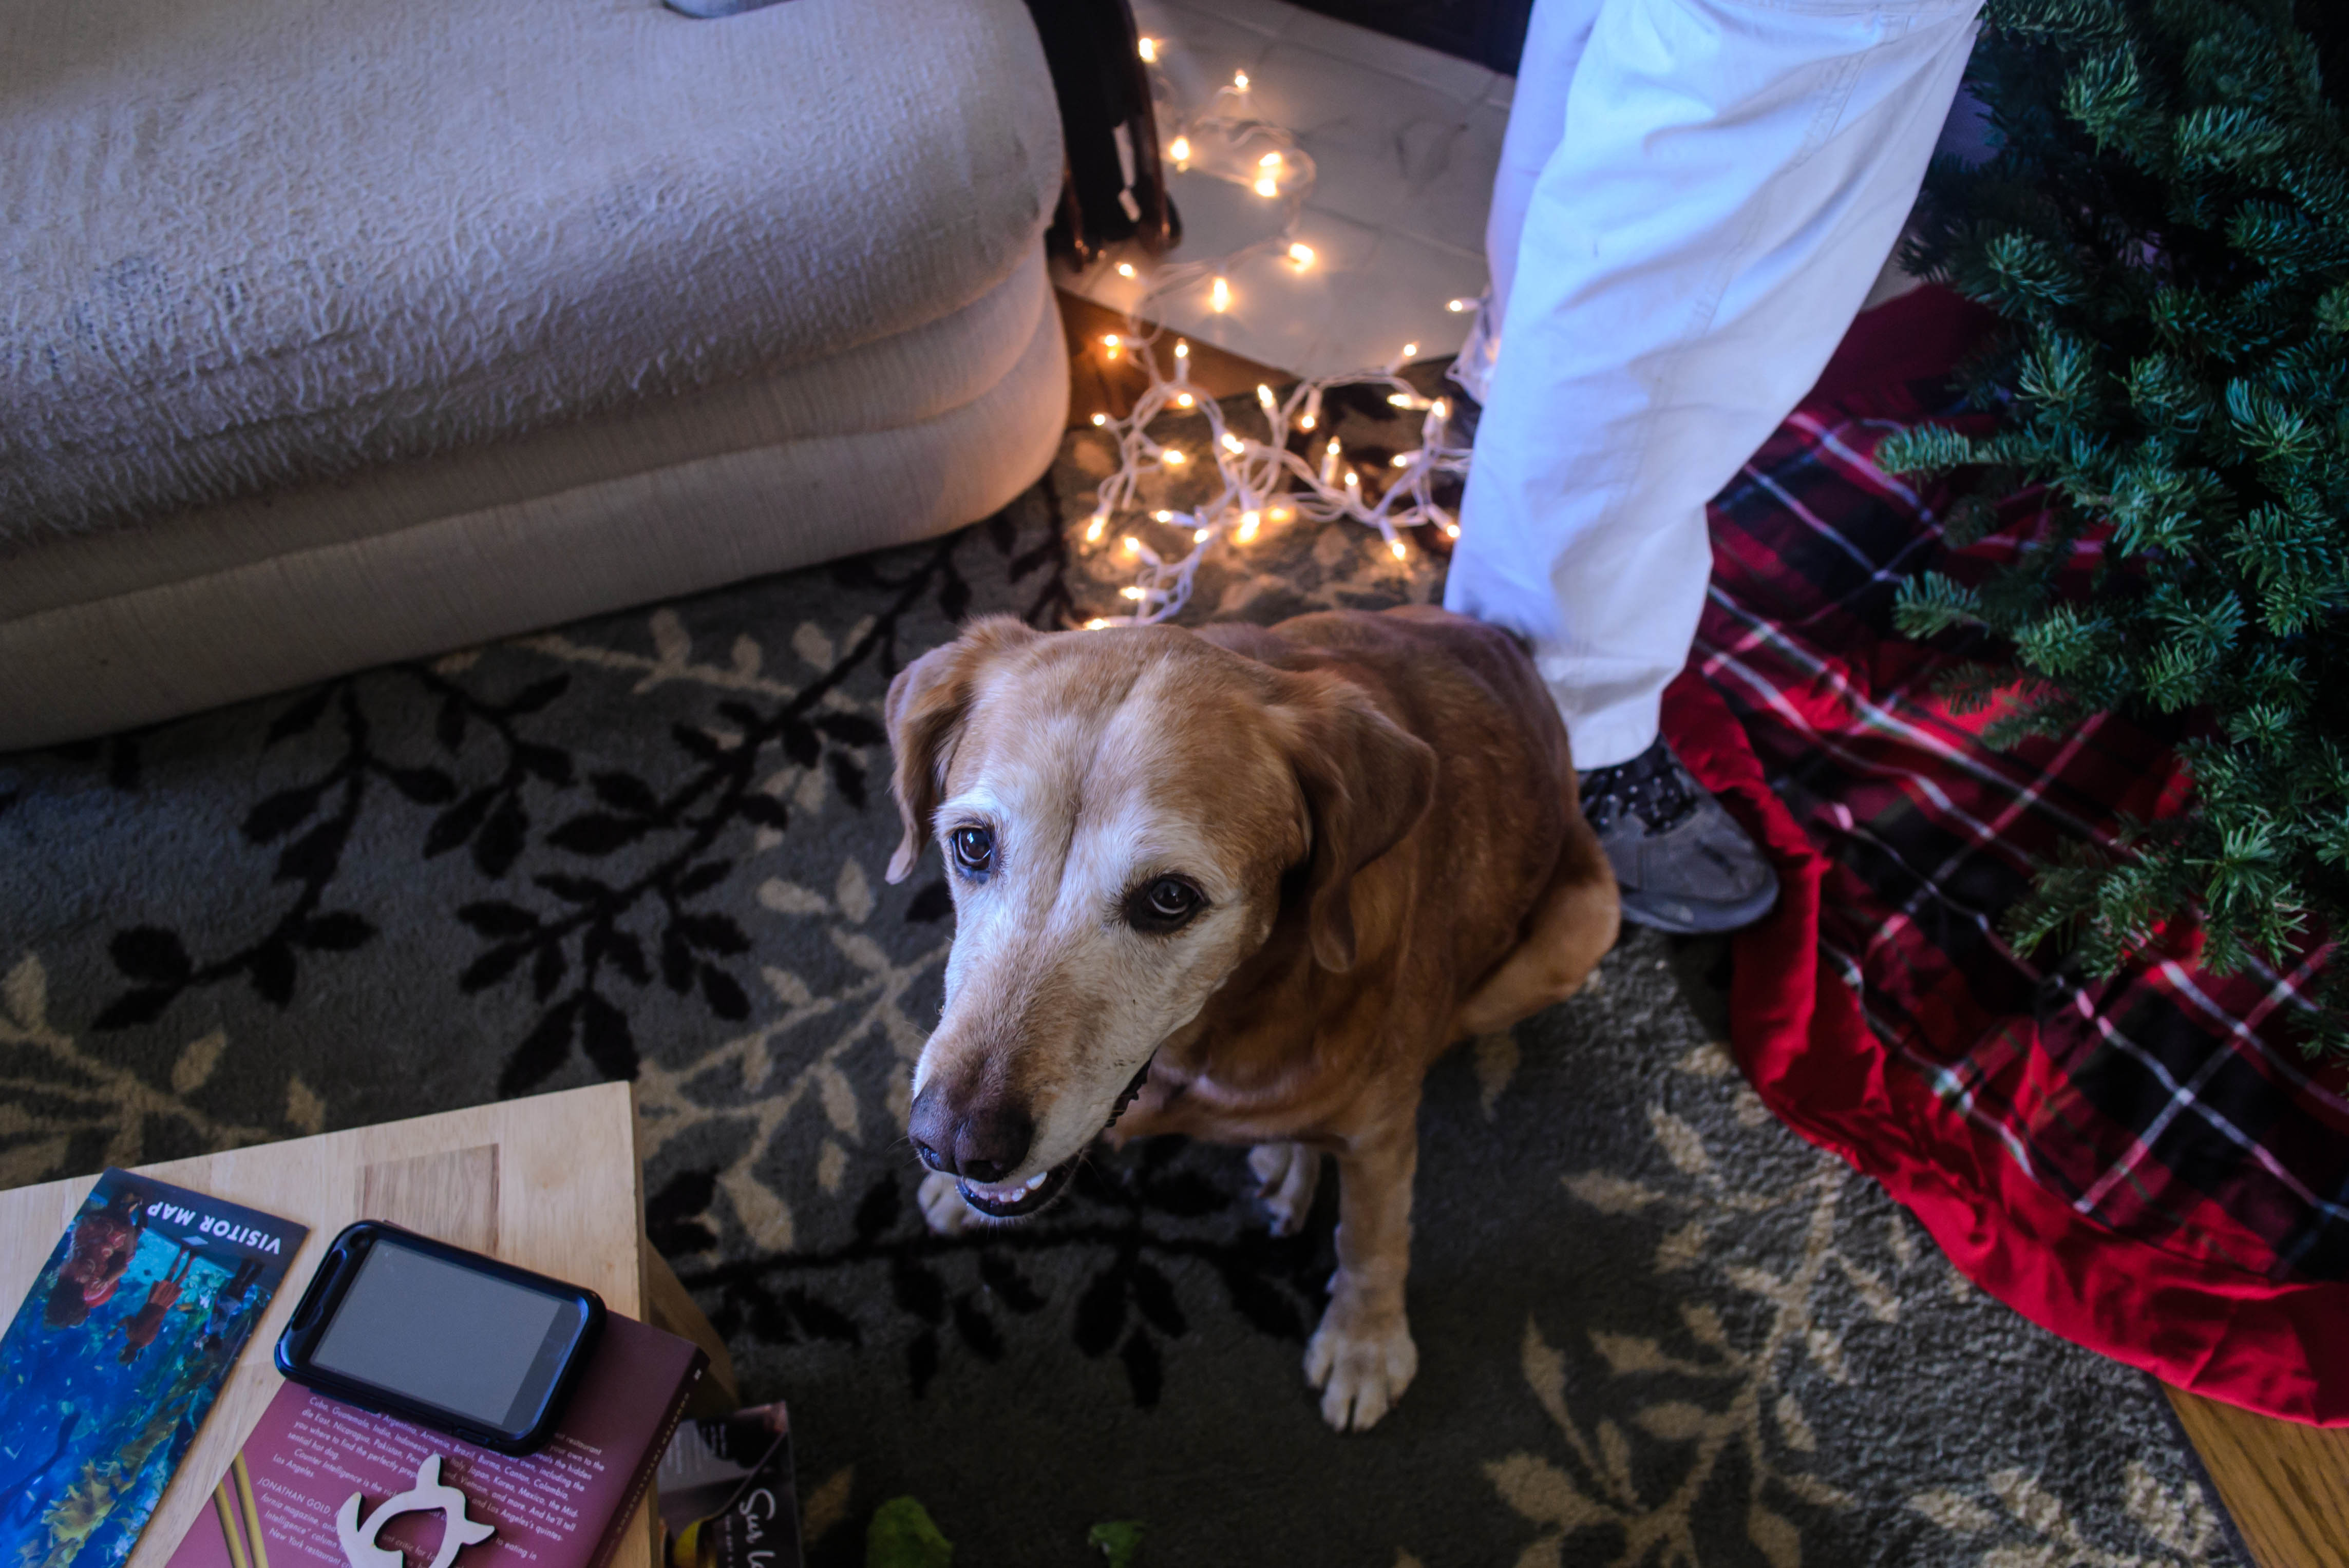
 The bride’s mother, whose capacity for party planning is unparalleled, rented a house for the weekend for the “kids” to stay in, and as the oldest members of that no-longer-accurate category, N. and I somehow got in under the age wire and hung out with the “young people” at the party house. This allowed for opportunities like feeding (fat, greedy, possibly possessed) miniature ponies who happen to live on the grounds, wandering an impressive, decked-out-for-Christmas back garden, exclaiming over the proliferation of strange decor choices in the house (lots of religious imagery, a fully decorated Christmas tree in every room of the house, a large rocking horse at the foot of our bed, Victorian and Rococo linens and bathroom paintings, modern art pieces contributed by grateful former guests, a fur stole my sister briefly considered wearing to the party), and riding to and from the event itself in an aesthetically impressive but poorly stocked limousine, my first limo ride ever. (Really, this house was amazing. A Secret Garden/Windsor Mystery House of a place, and we were so lucky to get to experience it).
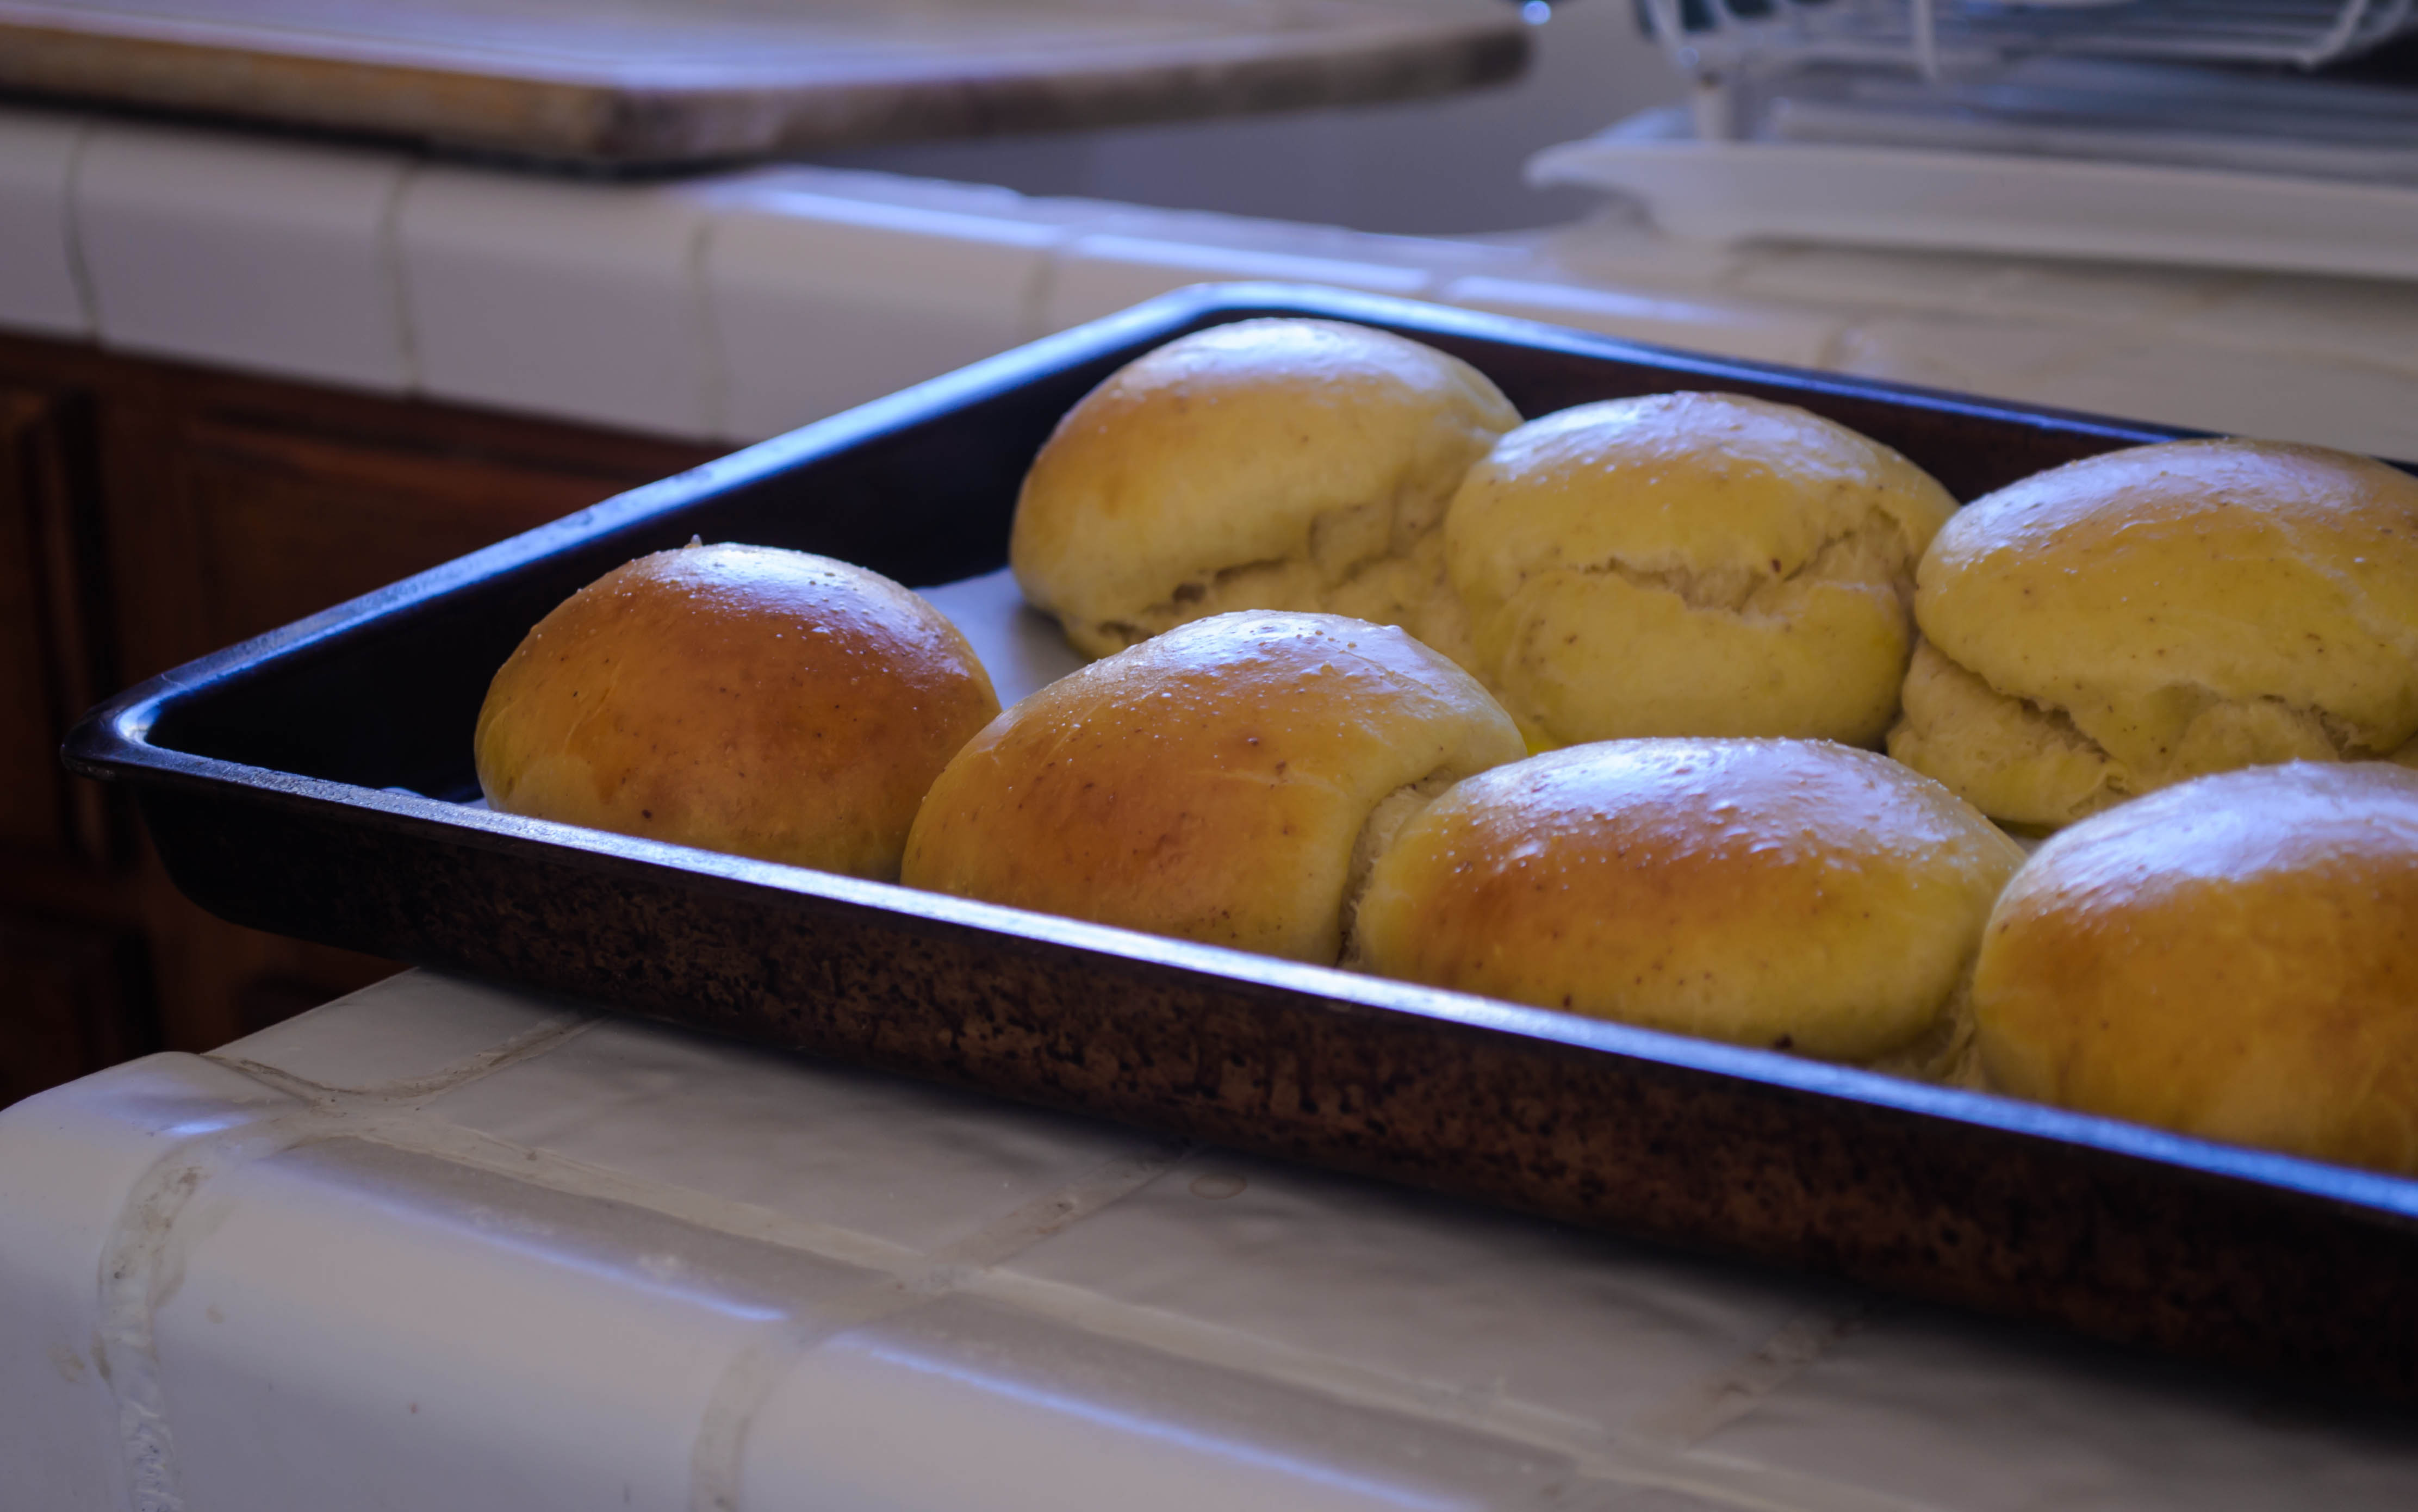
 To offer my thanks, of course I turned to food, offering to cook breakfast for all of the “kids” on the morning of the marriage blessing ceremony. This offer was met with enthusiastic approval, and so my sister and I got up early(ish) and set about finding the least battered tools in the kitchen (it contained an astounding variety of dishes and utensils, but as you might expect of a rental property, many were not well maintained) to make breakfast-for-eight. Among the offerings were these same sausage patties, which were met with considerable acclaim. There were no leftovers.
 I realize this is not much about meatballs, but for me, food is so tied to the people I’m feeding and the events surrounding its production that they become part of the taste. These people we were celebrating are so dear to me, and became so with such haste, that I can’t remember a time I didn’t think of them as an extension of my family. She was my bridesmaid when I married, and now at the celebration of her own marriage, it felt so tied to my own declarations of love and familial belonging. As I said when I offered my toast at their reception – while remarking on the tendency my eyes suddenly had at trying, on their own, to alleviate California’s massive drought – there has never been a time when I was not so, so happy to see them. This has been true from the very first time we met (it was raining then, too, relieving this poor parched state once again, as the now-bride’s father welcomed us in with the shout “We’re having a rain party!”), till that evening, surrounded by others they love, who love them.
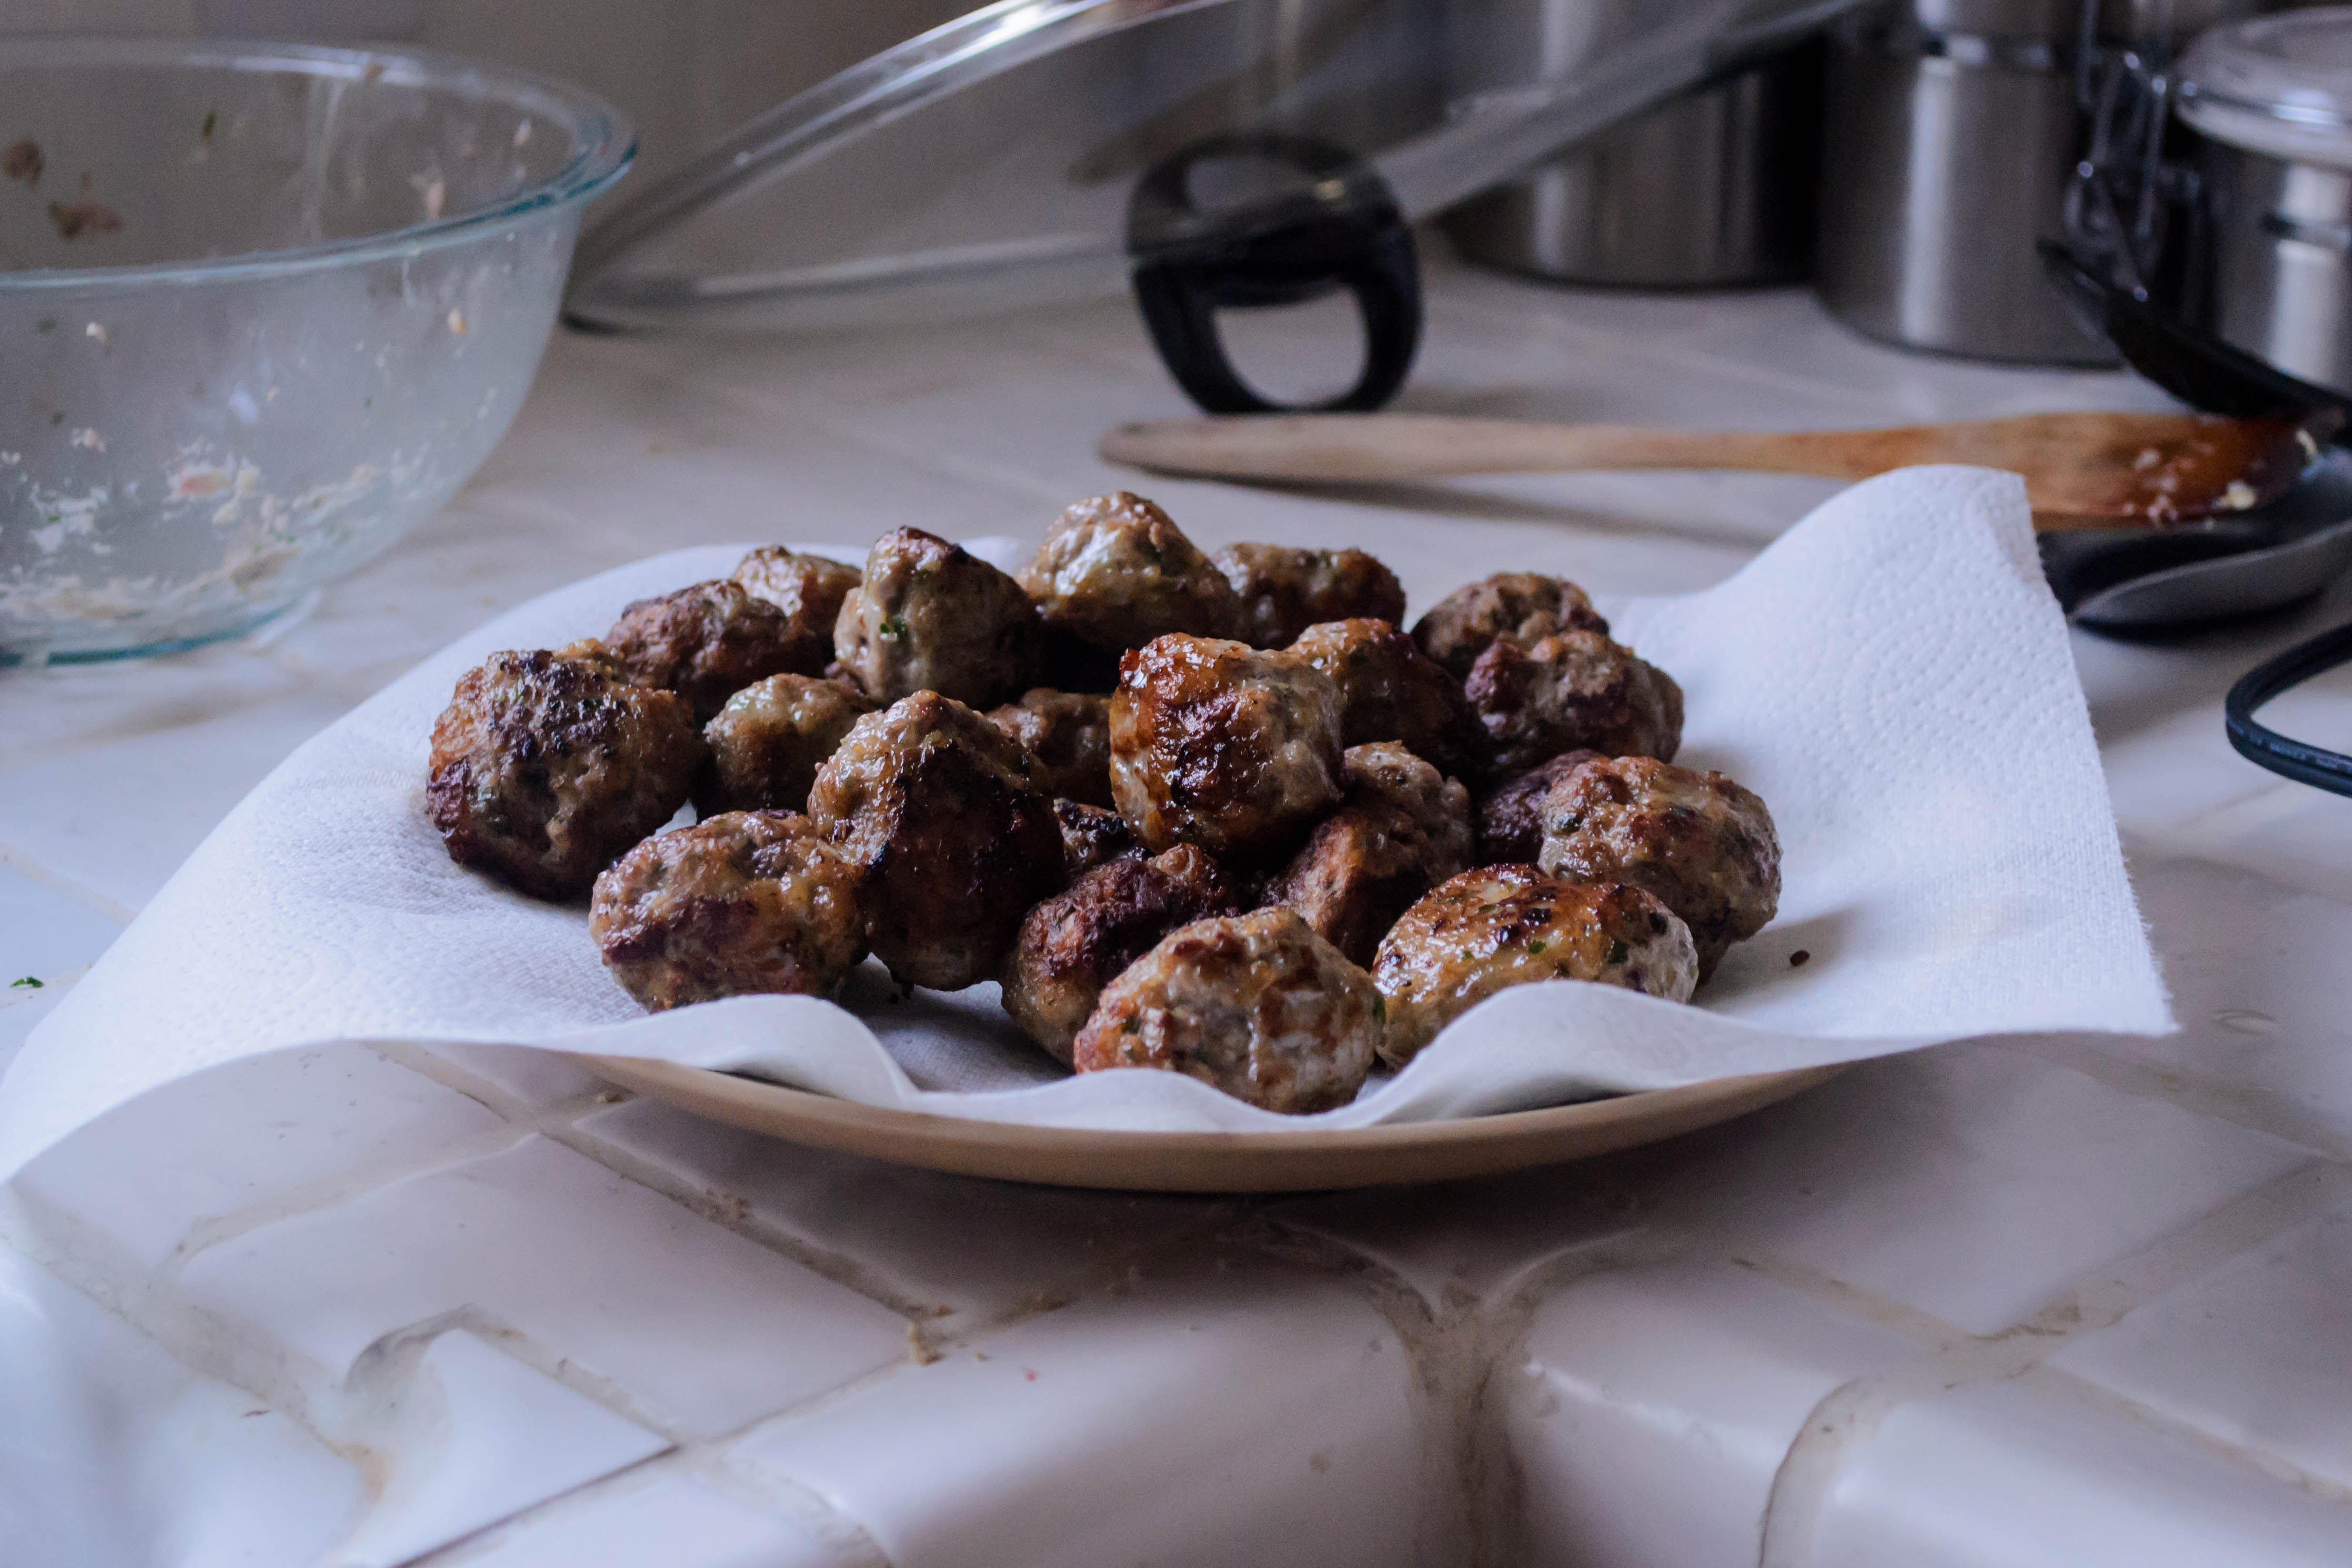
 This is all a bit tumbling and confessional and warm, but I know you’re really here for the meatballs, so let’s get to it. All I’ve done is taken the same ingredients from my sausage patties and rolled them into a meatball, rather than flattening them for the pan. But really, they are perfect either way. They are one of those offerings that, even if they get a little dark on the bottoms from the sugars in the maple syrup (and they may, so don’t despair), they are gobbled up willingly. And even if they stay in the pan a bit too long because you are taking the time to catch up with family who re friends who are family, they stay moist thanks to the apple and onion threaded through them. They are a standby indulgence. I hope they become that for you as well.
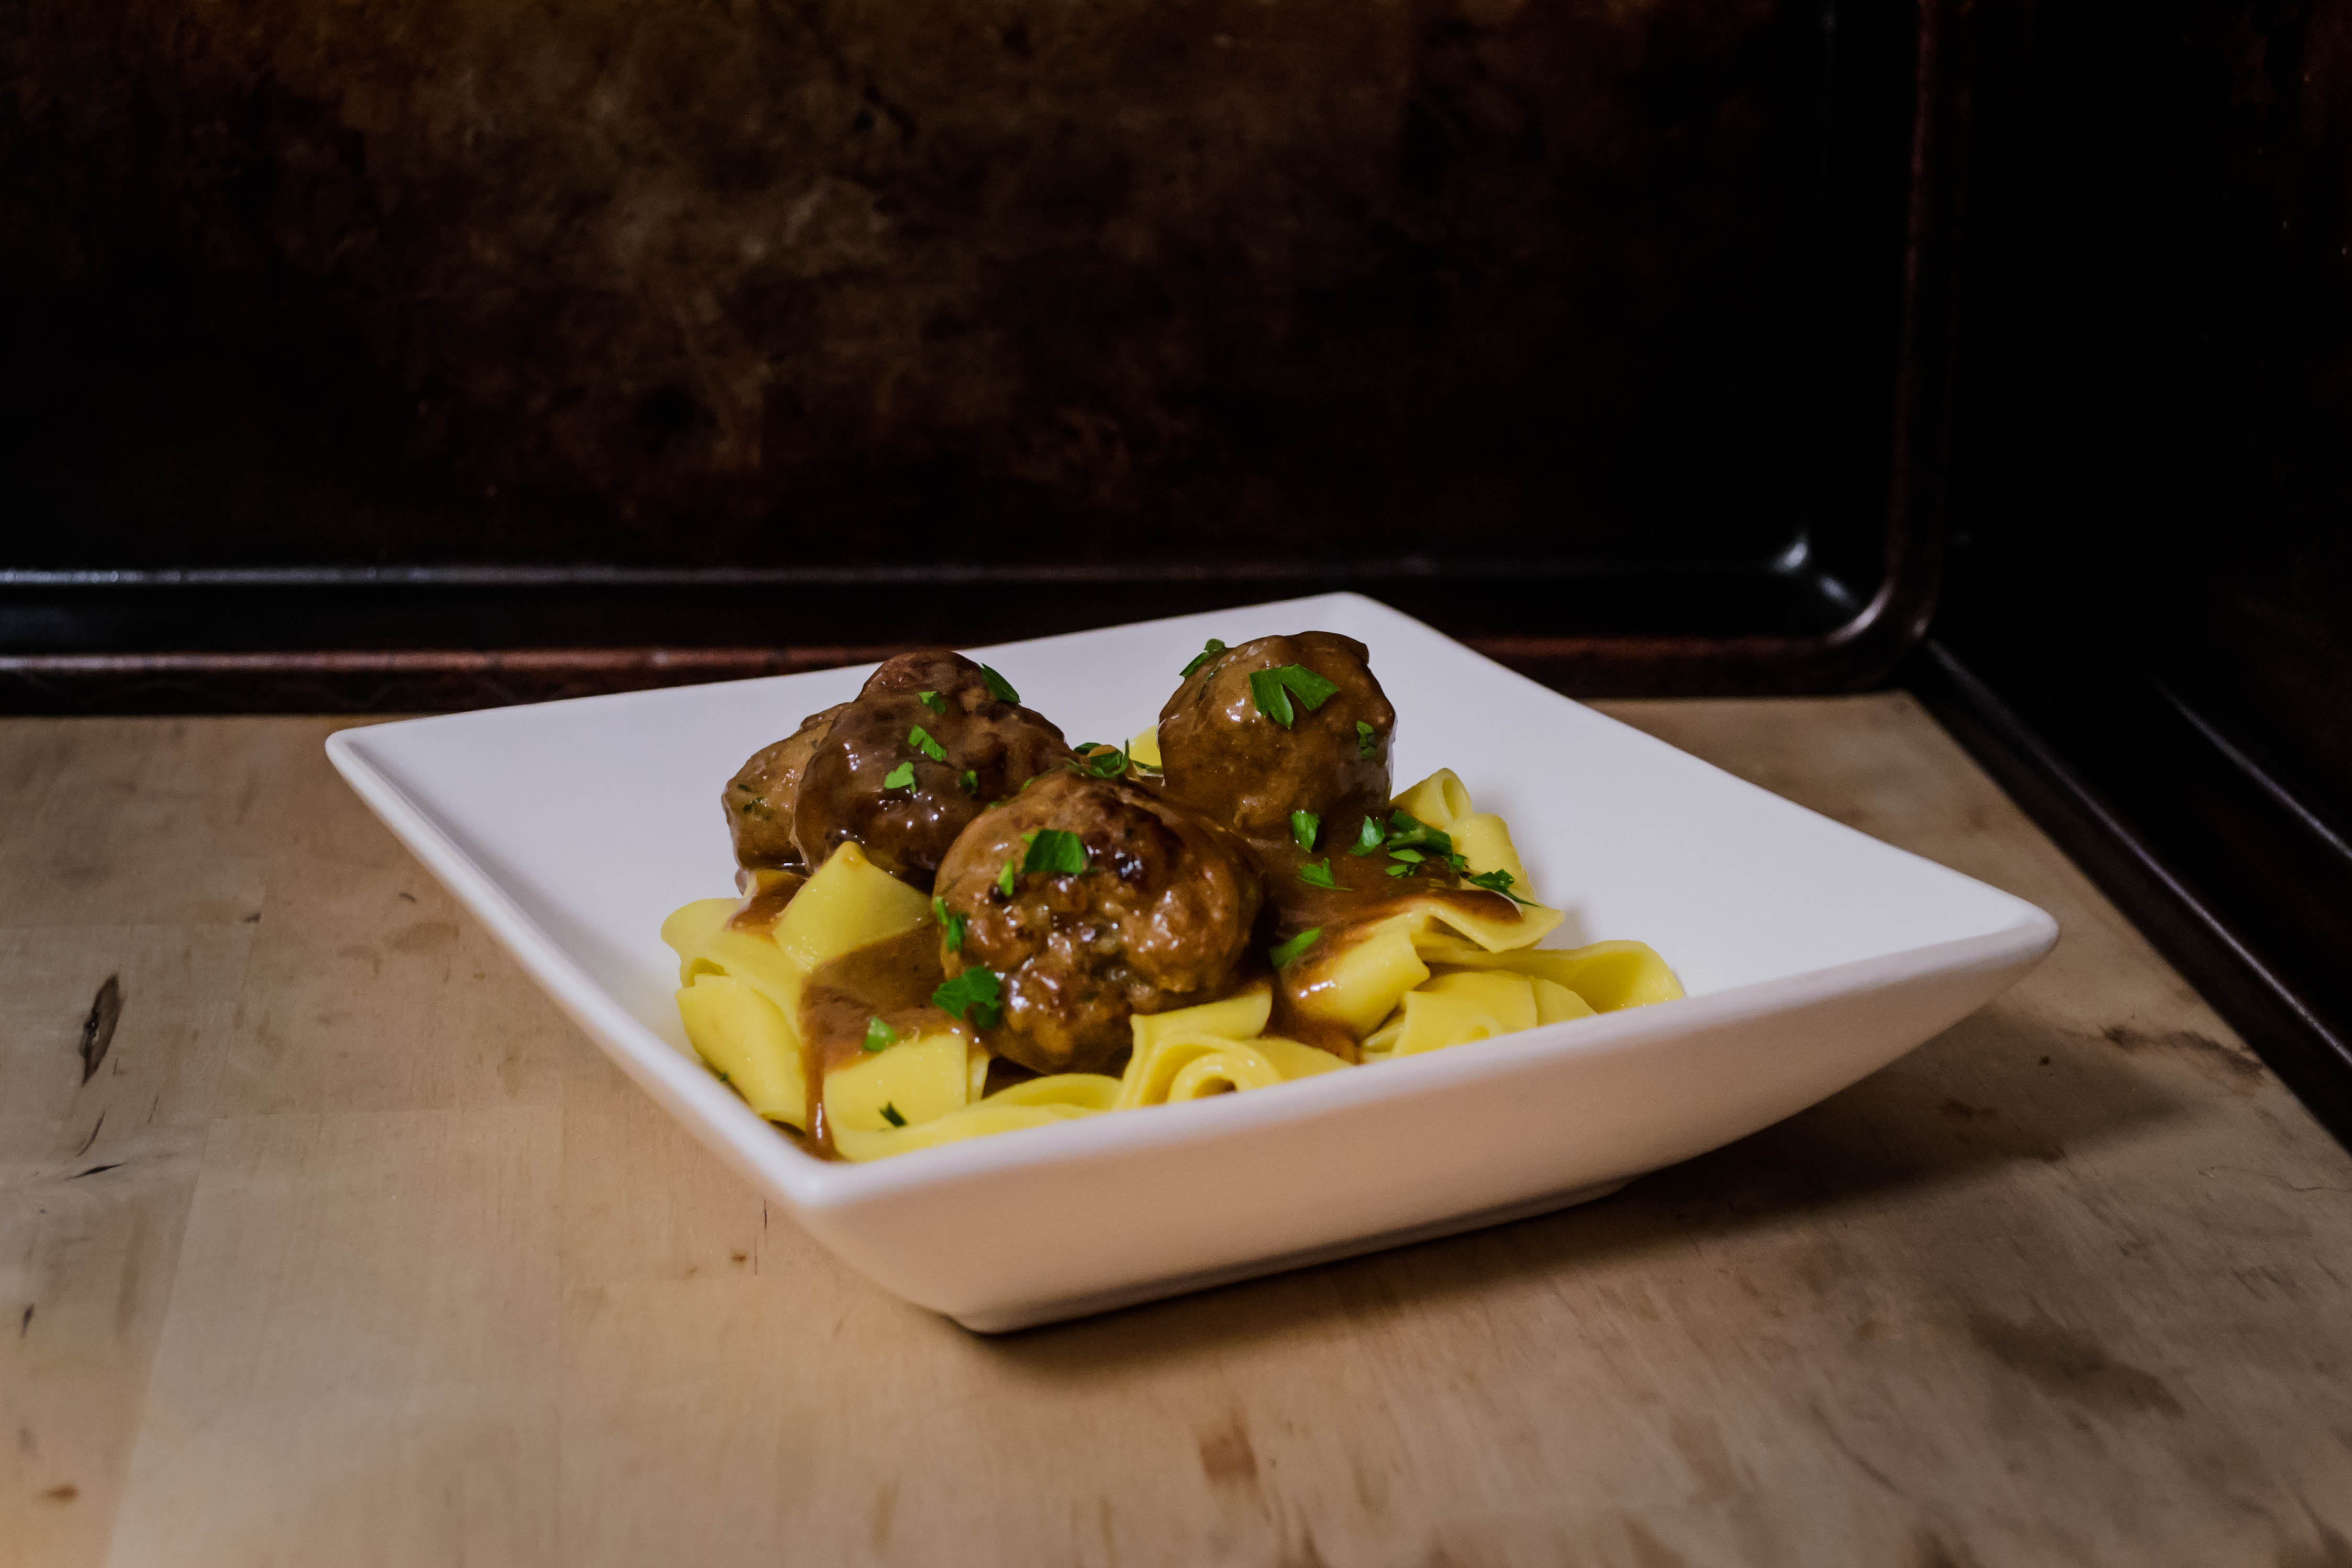
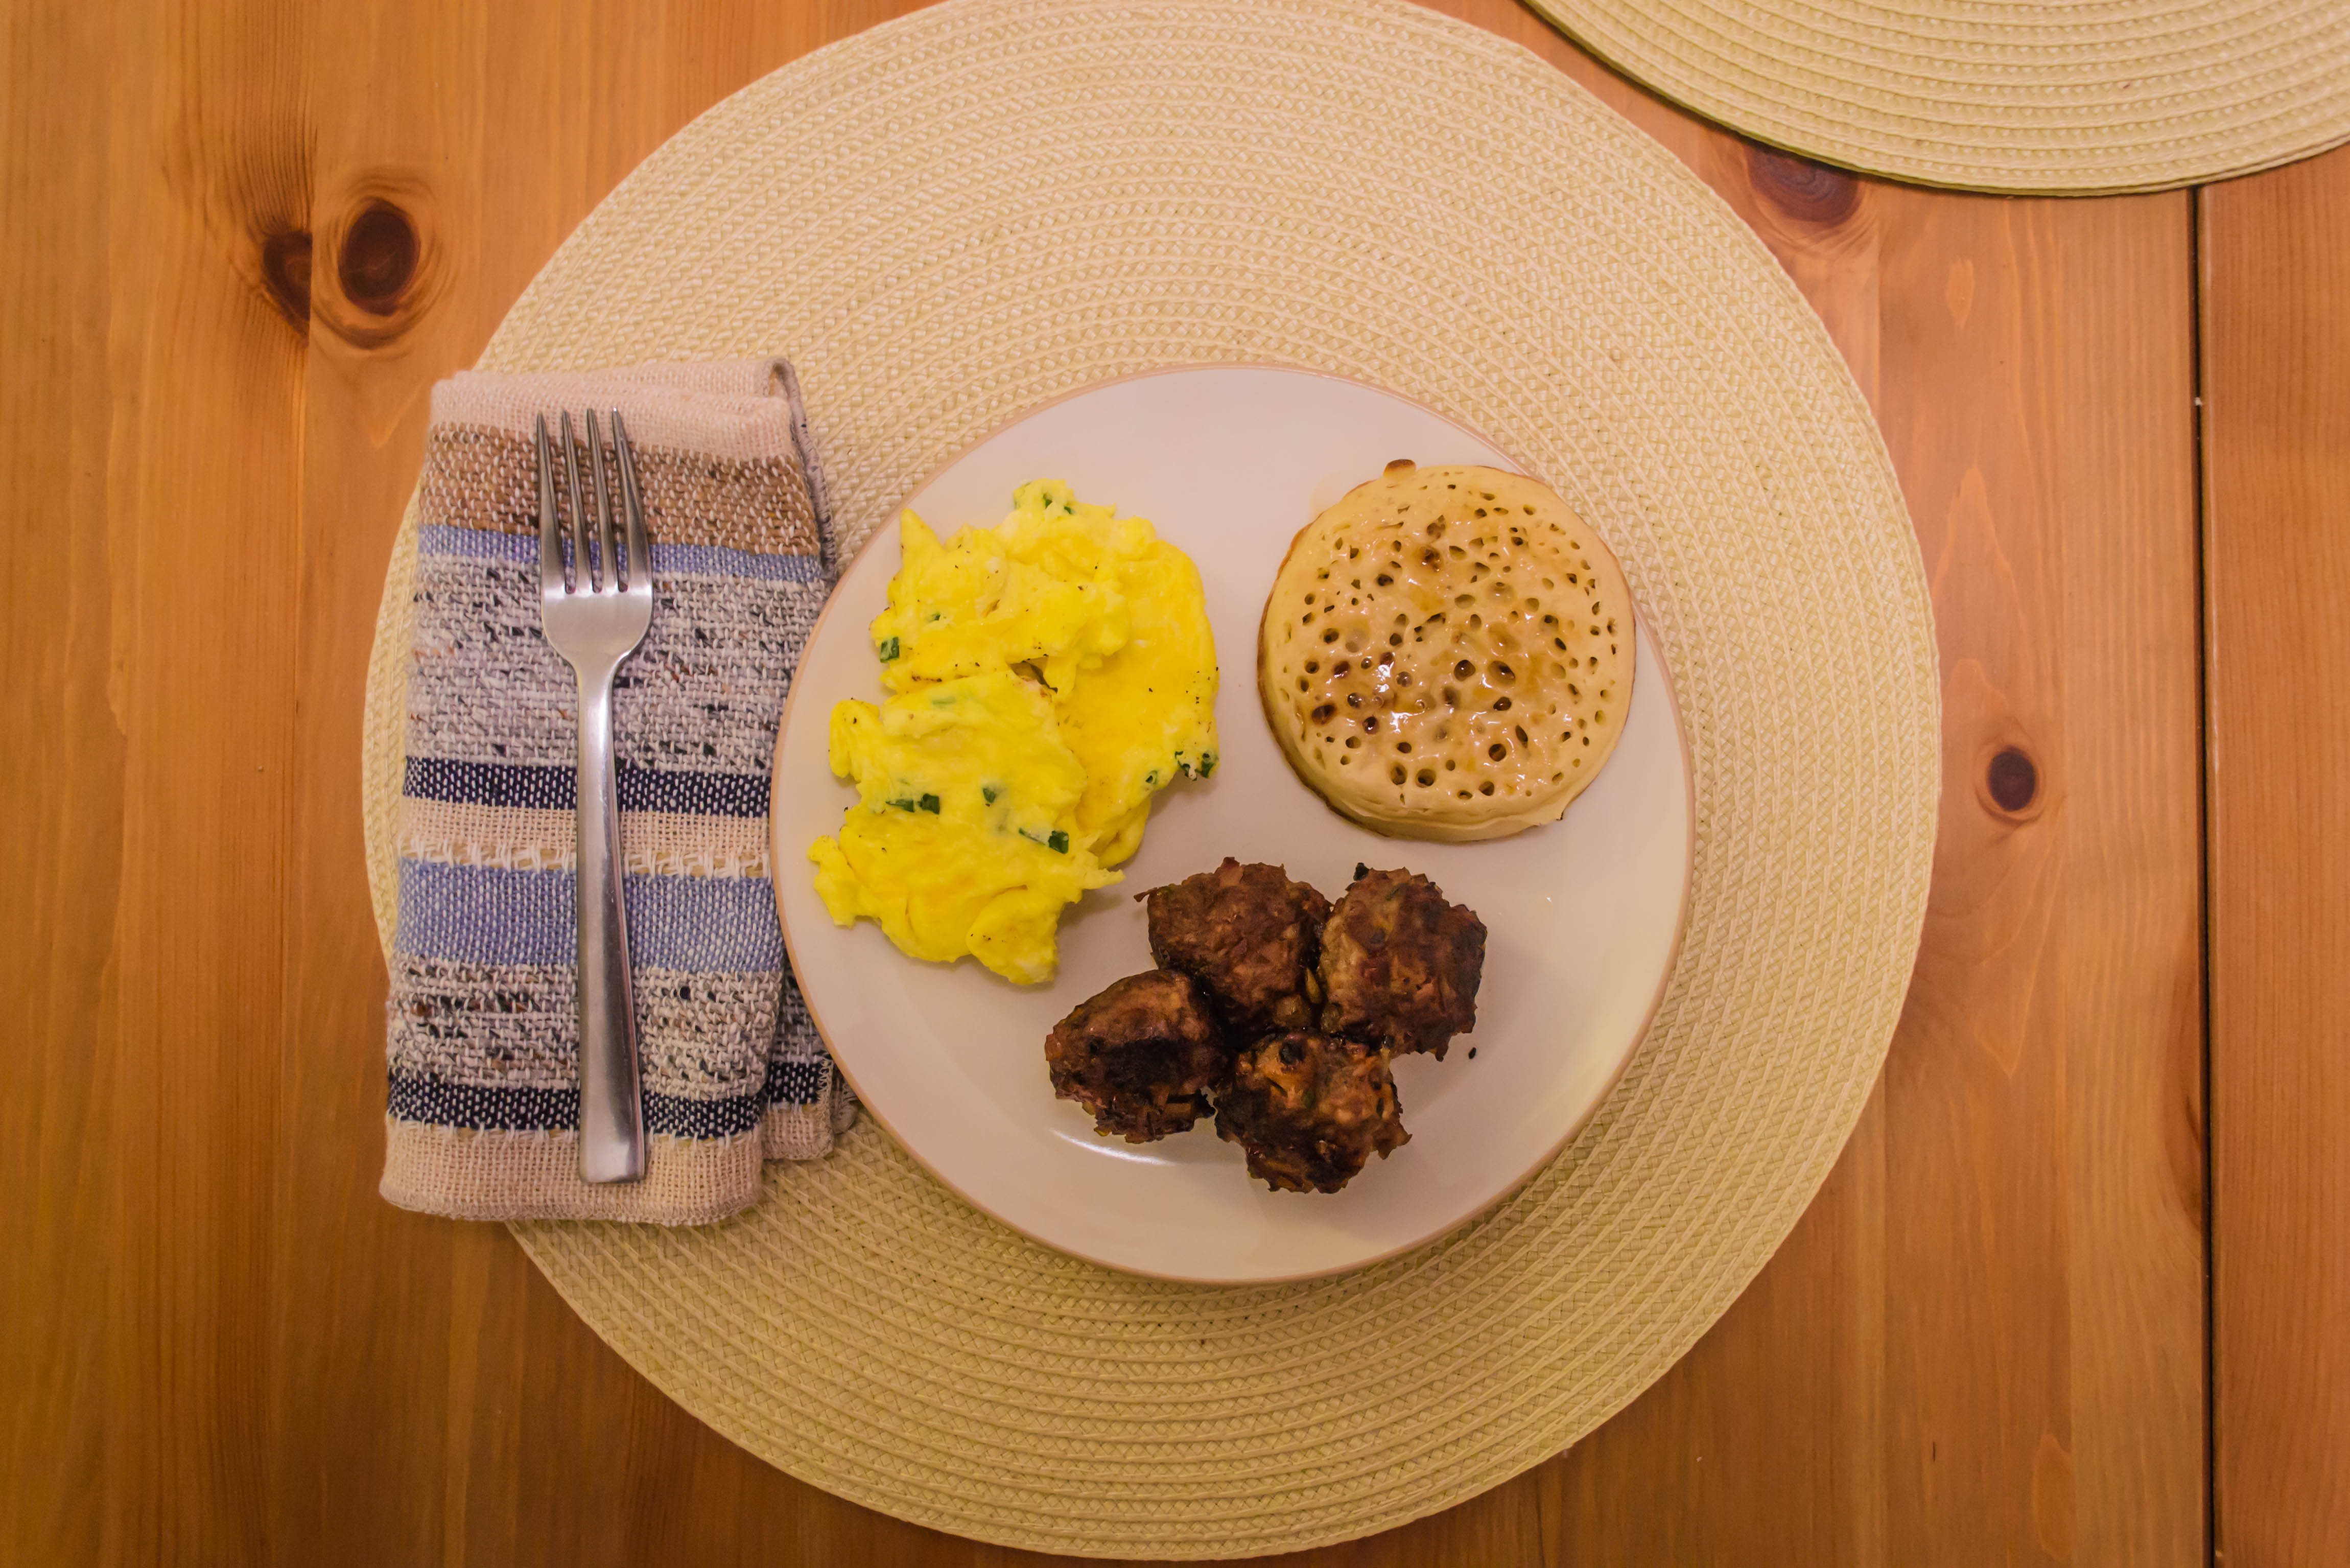
Serving suggestions: as you can see, we had ours alongside a fluffy pile of scrambled eggs and some well toasted crumpets. They would also be perfect stuffed inside a pillowy buttermilk biscuit as a fancy little breakfast sandwich bite, and I certainly wouldn’t say no to a pyramid of them gracing a belgian waffle or two. In short, pick your breakfast favorite, and add these.
Apple Onion Breakfast Meatballs
Serves 2-3 (but is easily doubled or even tripled)
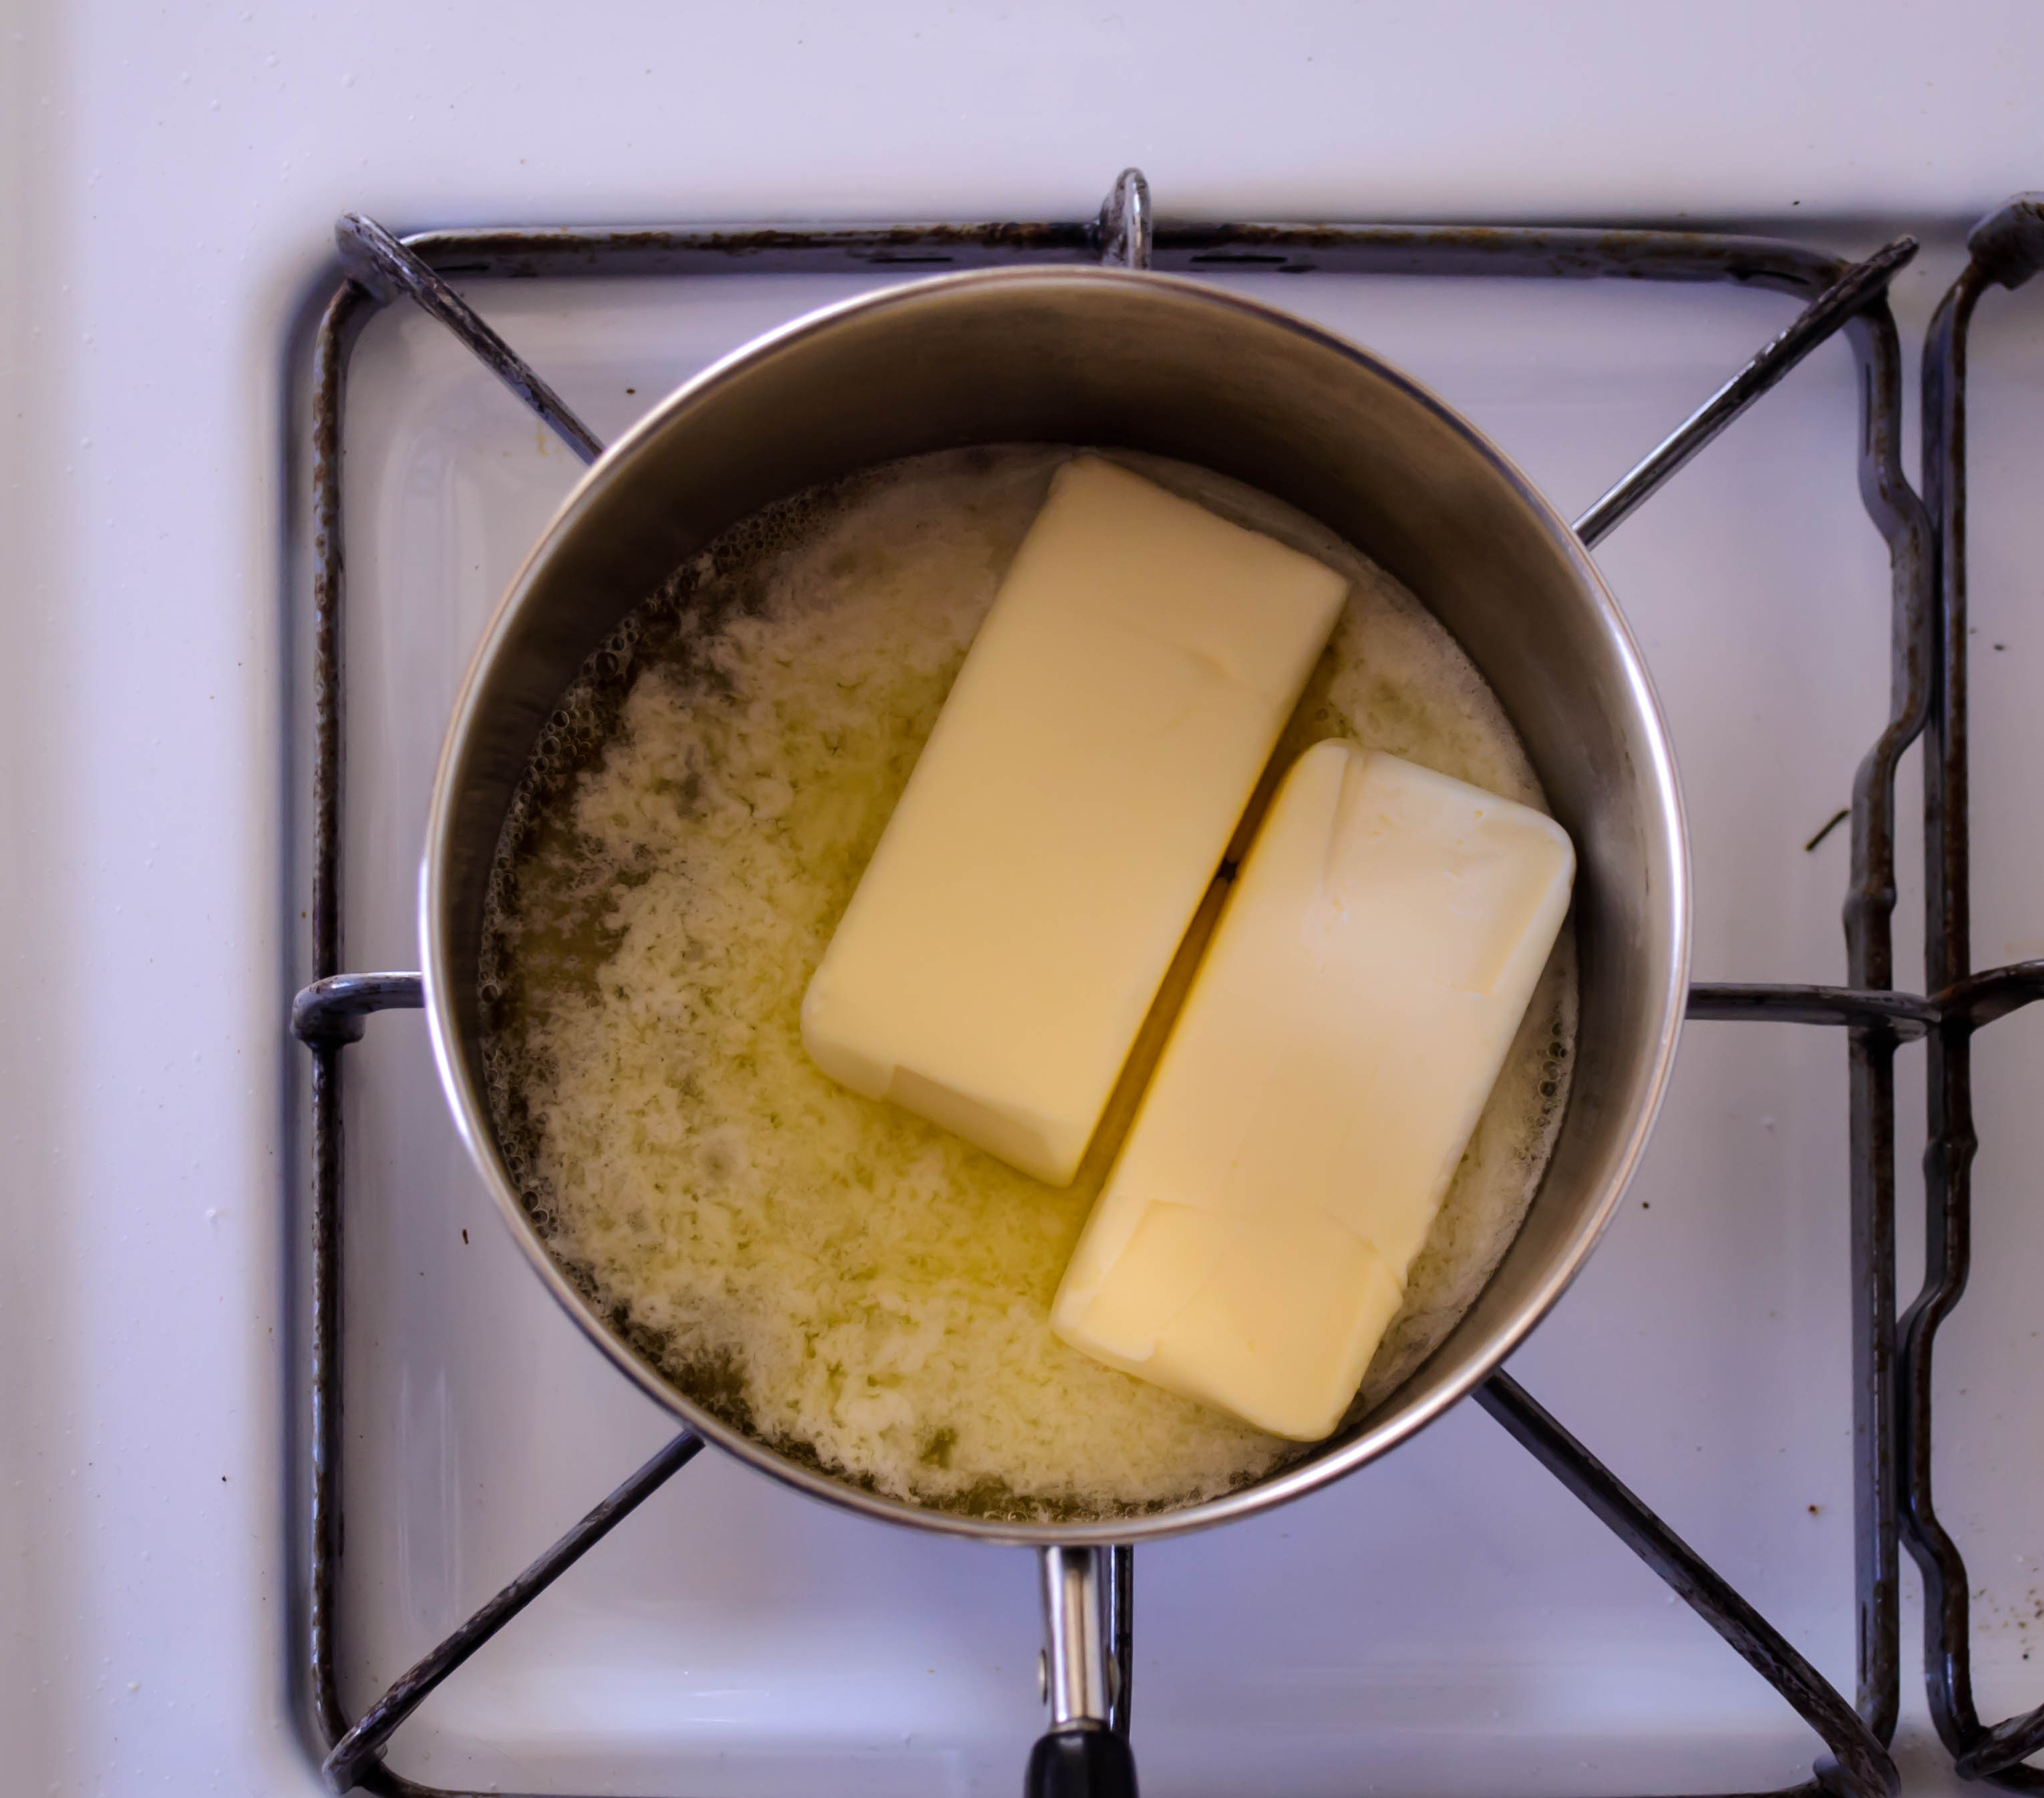
2 tablespoons butter
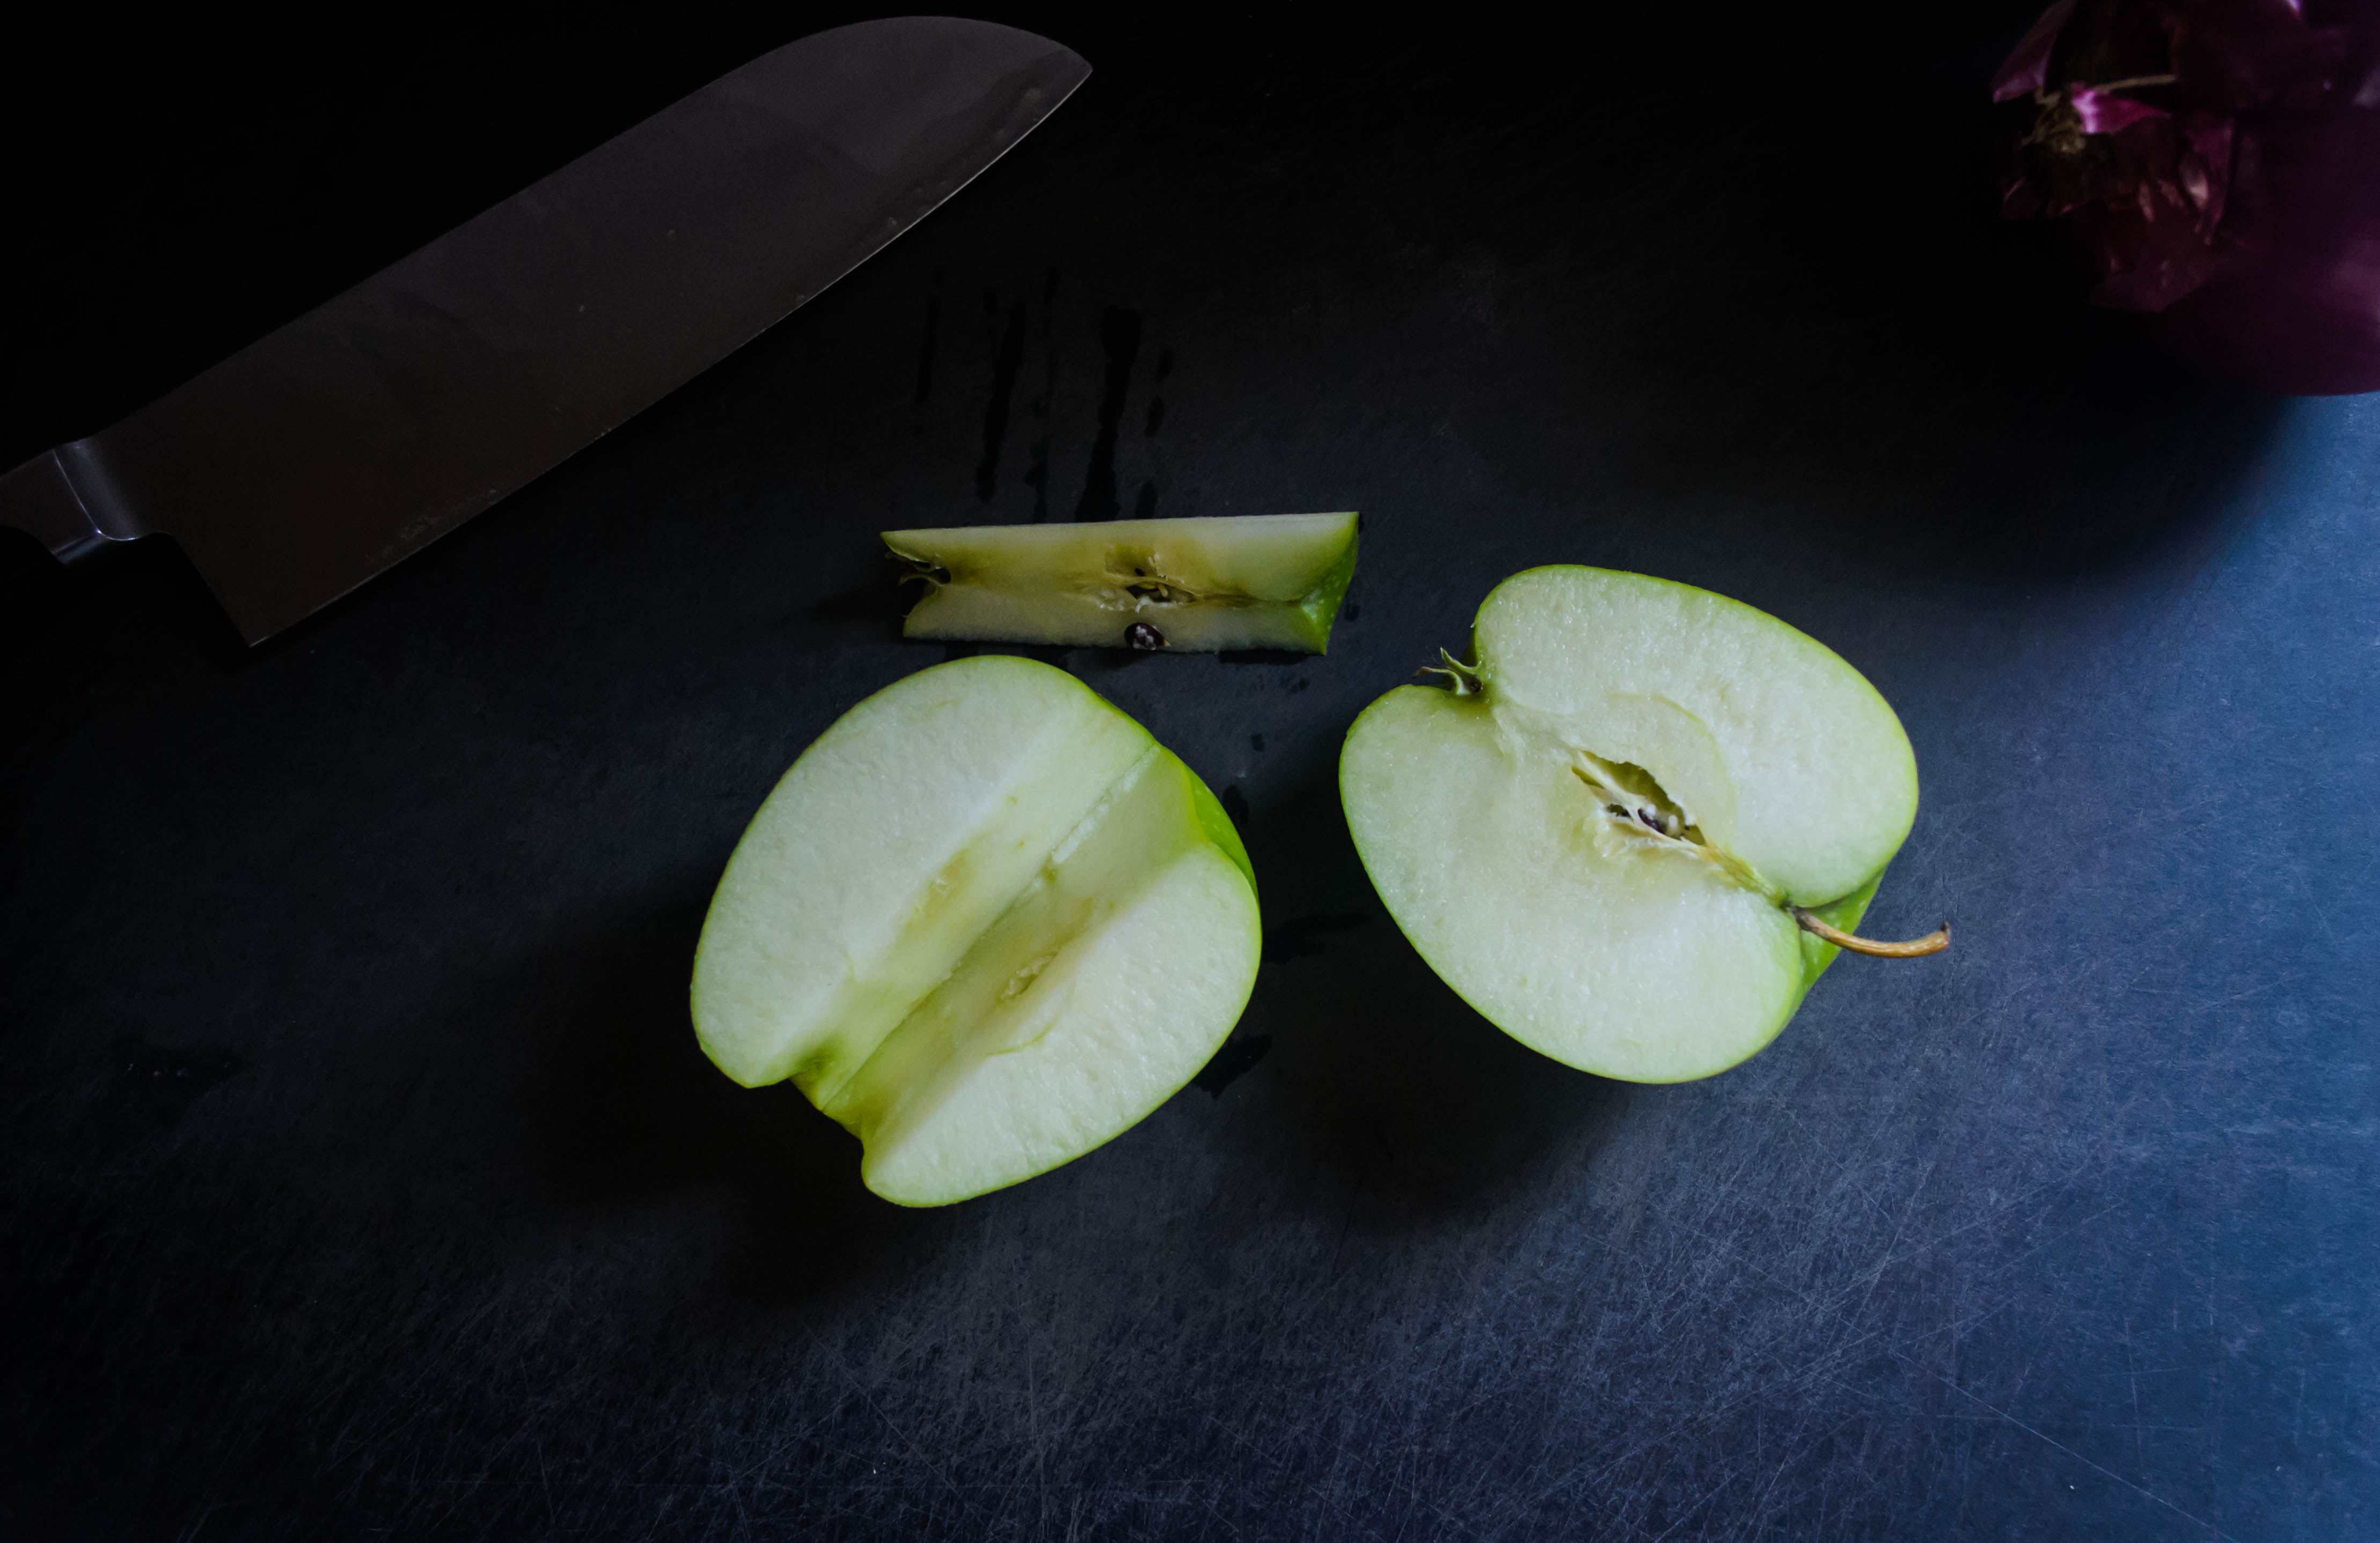
⅔ cup diced green apple (about half a medium apple)
⅔ cup diced red onion (about half a small onion)
⅛ teaspoon each salt and pepper
1-2 teaspoons sage (sage is strong!)
8 ounces pork sausage
2 tablespoons maple syrup
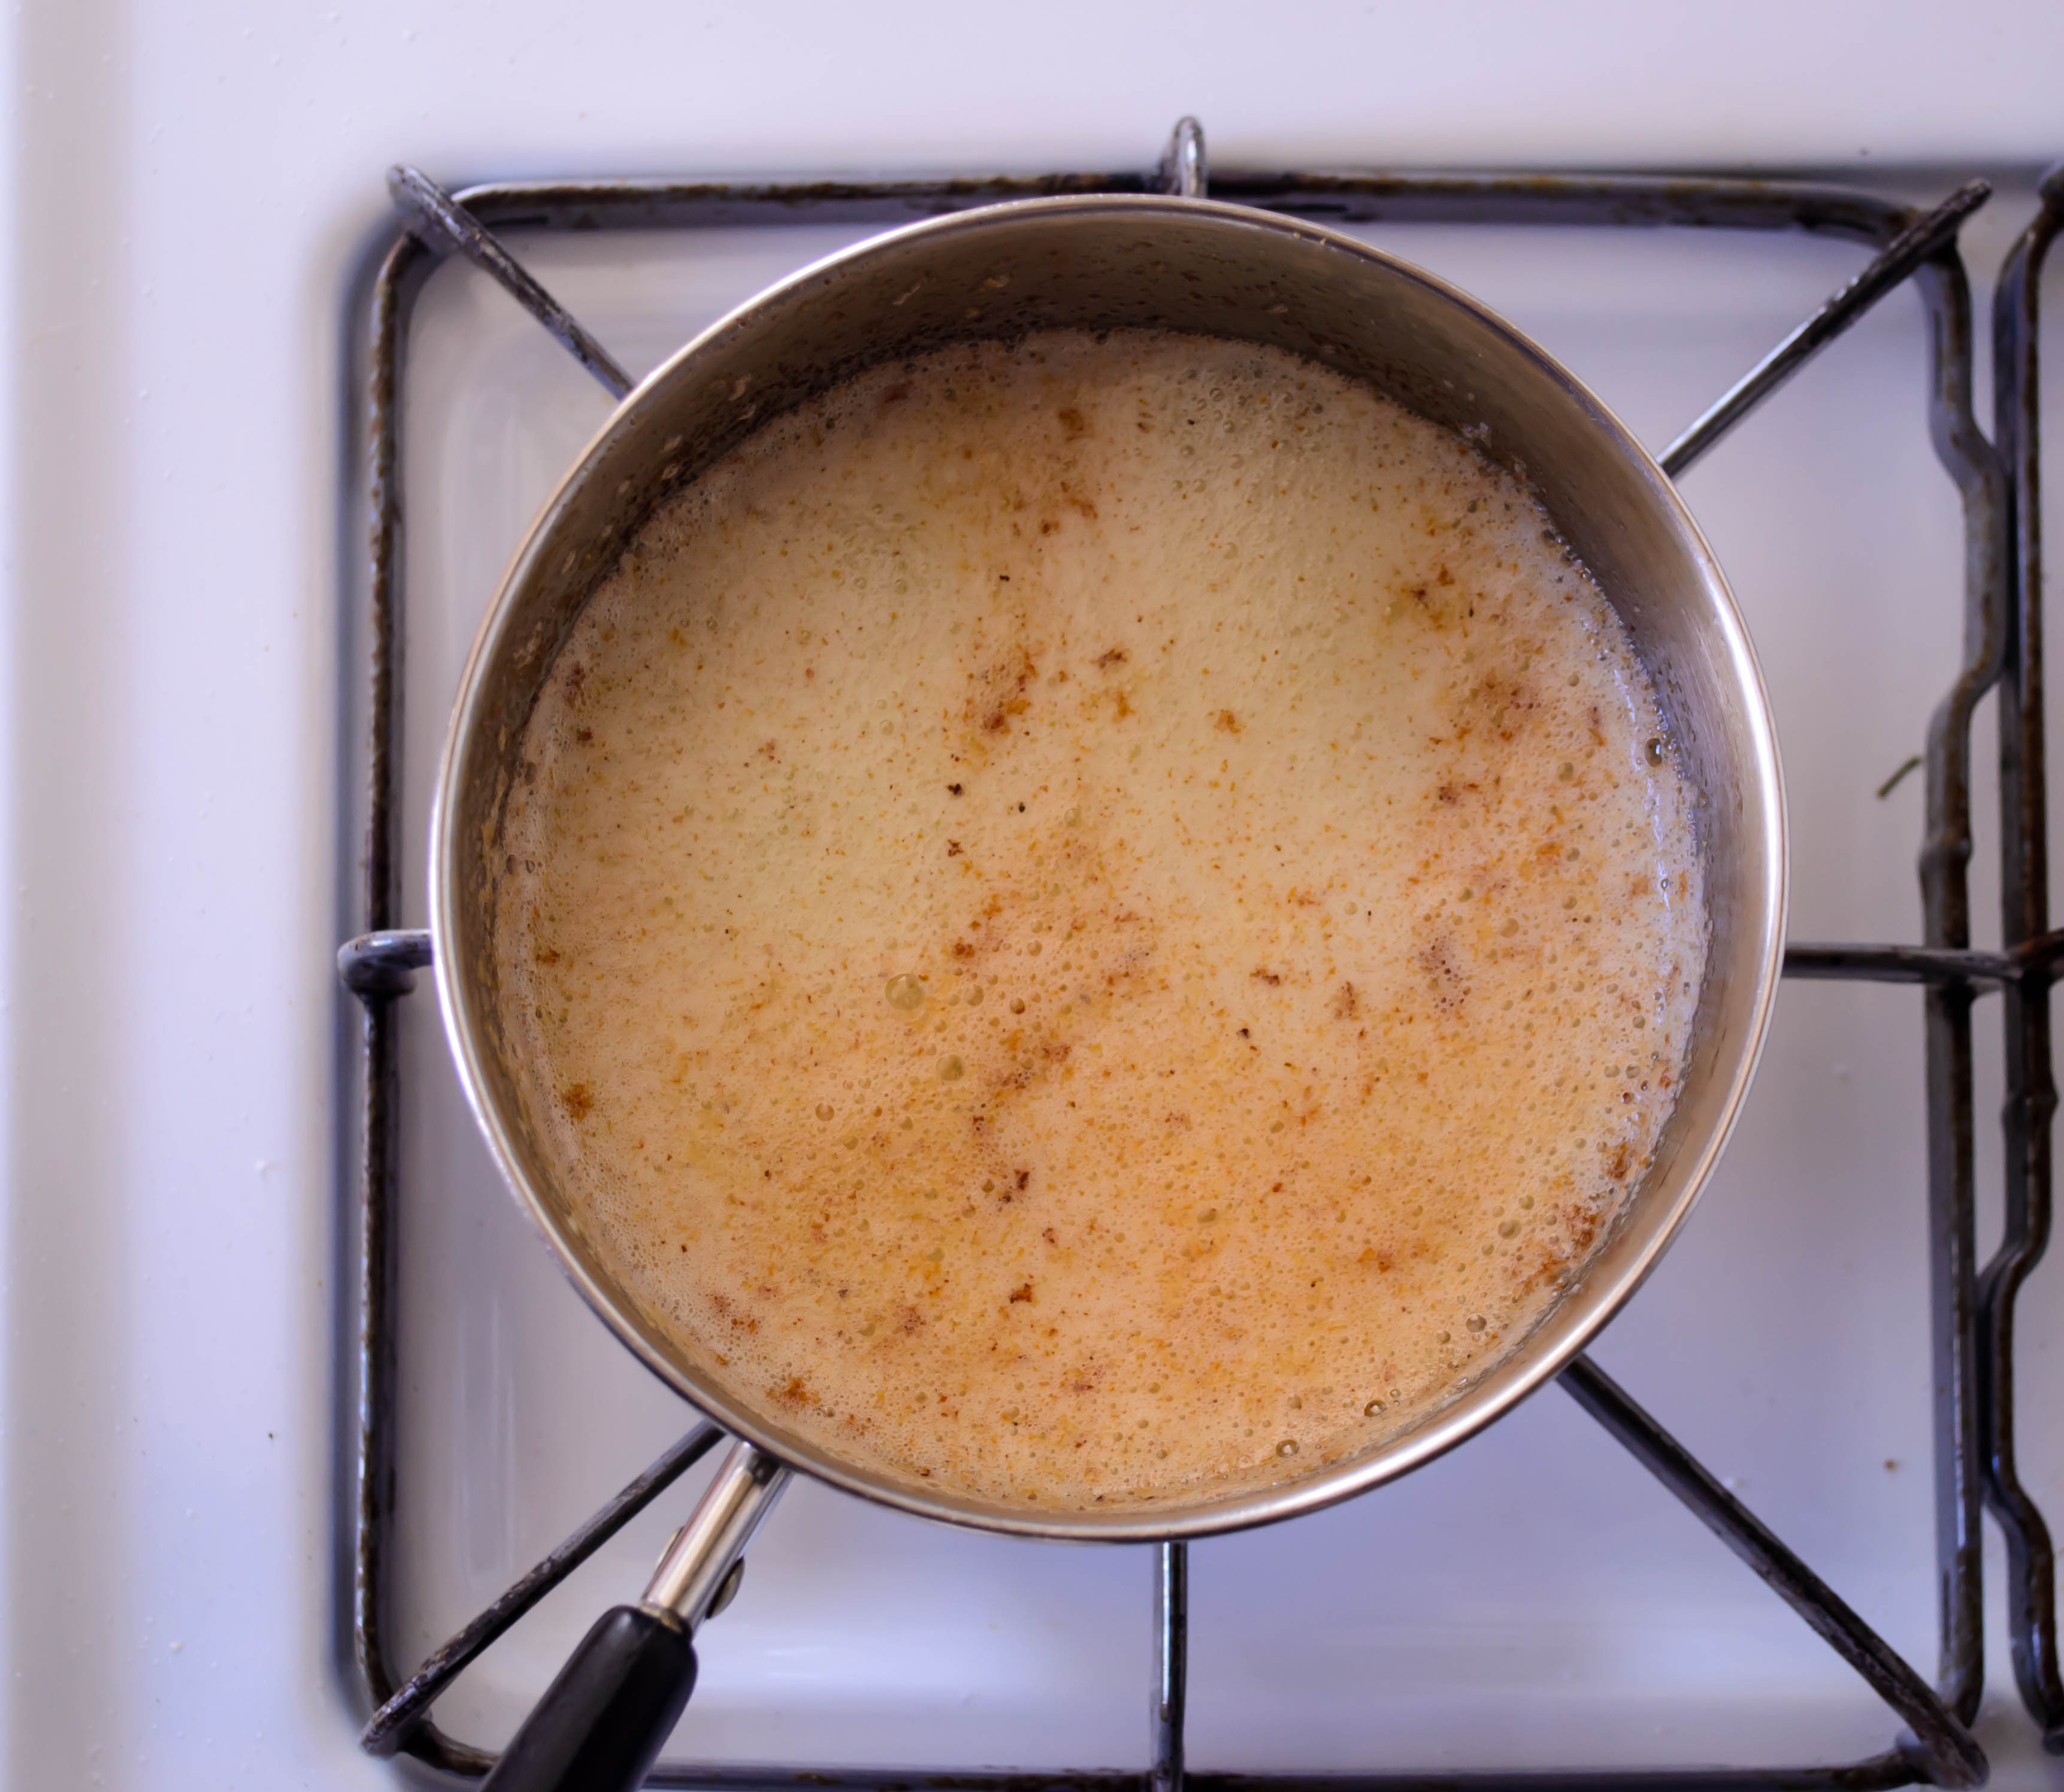
- Heat 2 tablespoons butter over medium heat. When melted, add apples and onions, season with ⅛ teaspoon each salt and pepper, and cook over medium or medium-low heat until tender: 5-8 minutes.
- In the last 30 seconds or so of cooking, add the sage and stir to integrate. Then remove from heat and let cool until room temperature or barely warm.
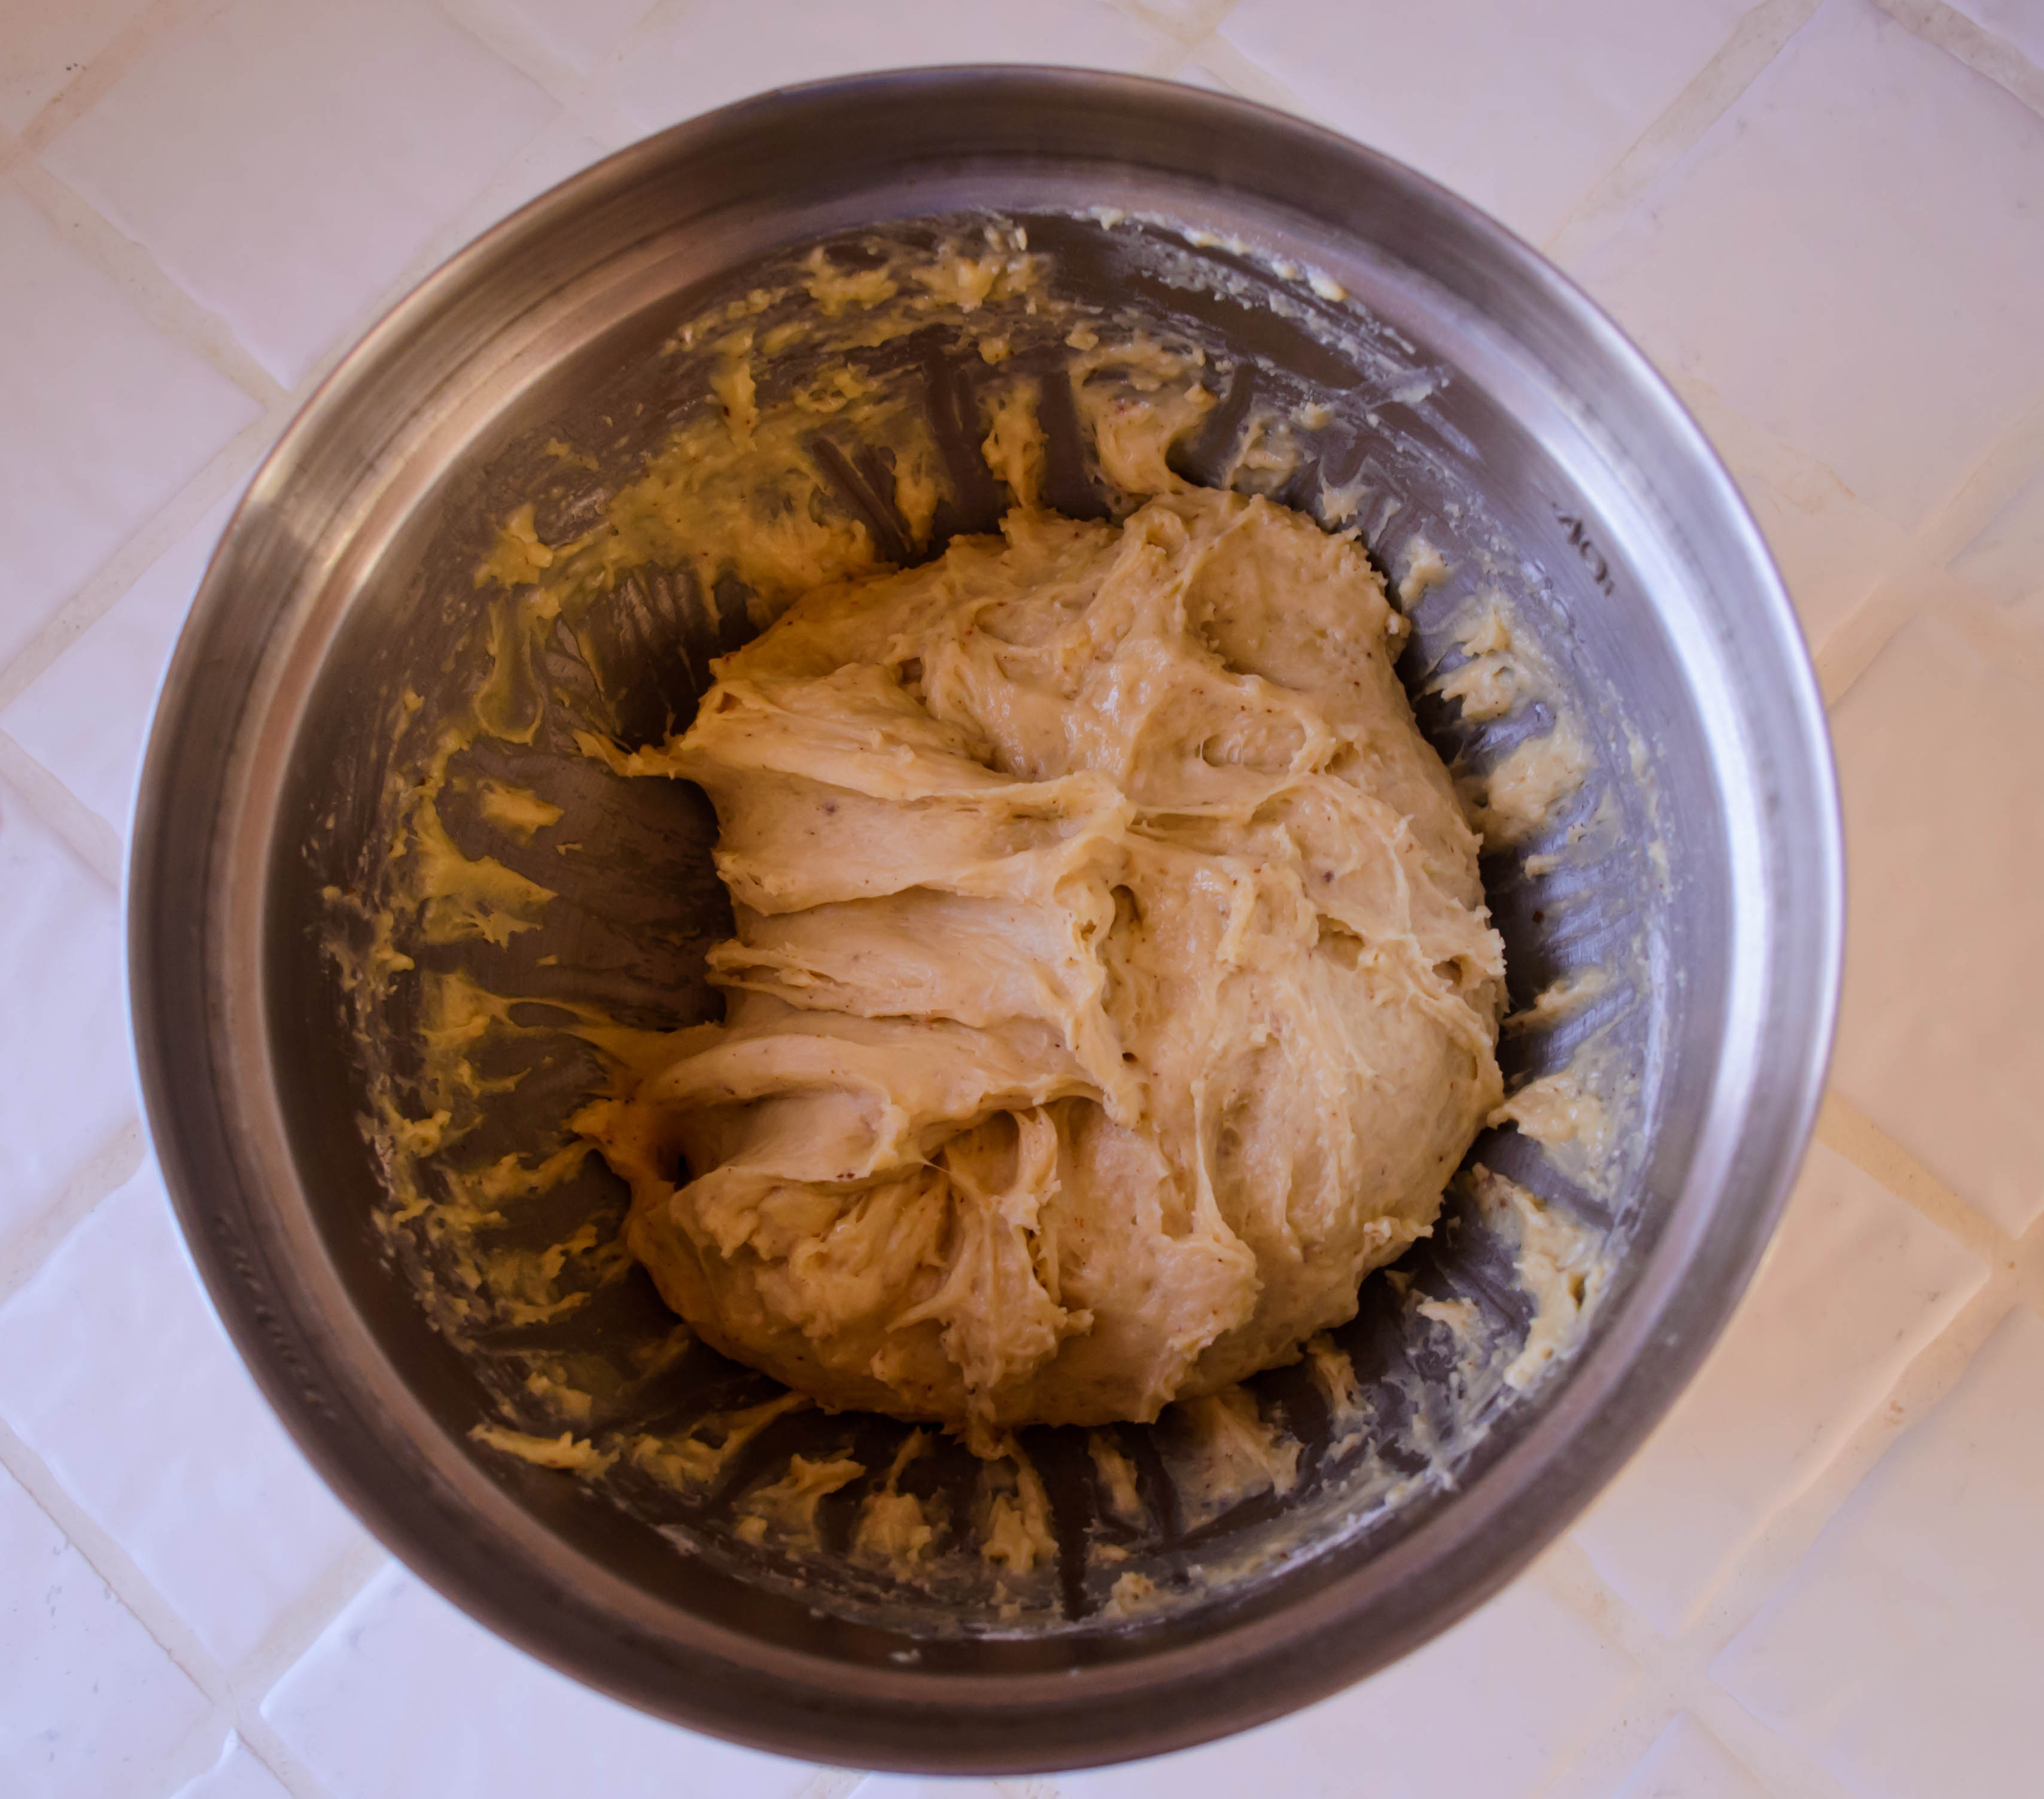
- In a medium bowl, combine the sausage, maple syrup, and cooled apple and onion mixture. This is already seasoned, thanks to the salty sausage, the sweet syrup, and the salt and pepper added to the cooked apples and onions. If you like a heavy hand with the seasonings, though, feel free to add an additional ⅛ teaspoon each of salt and pepper.
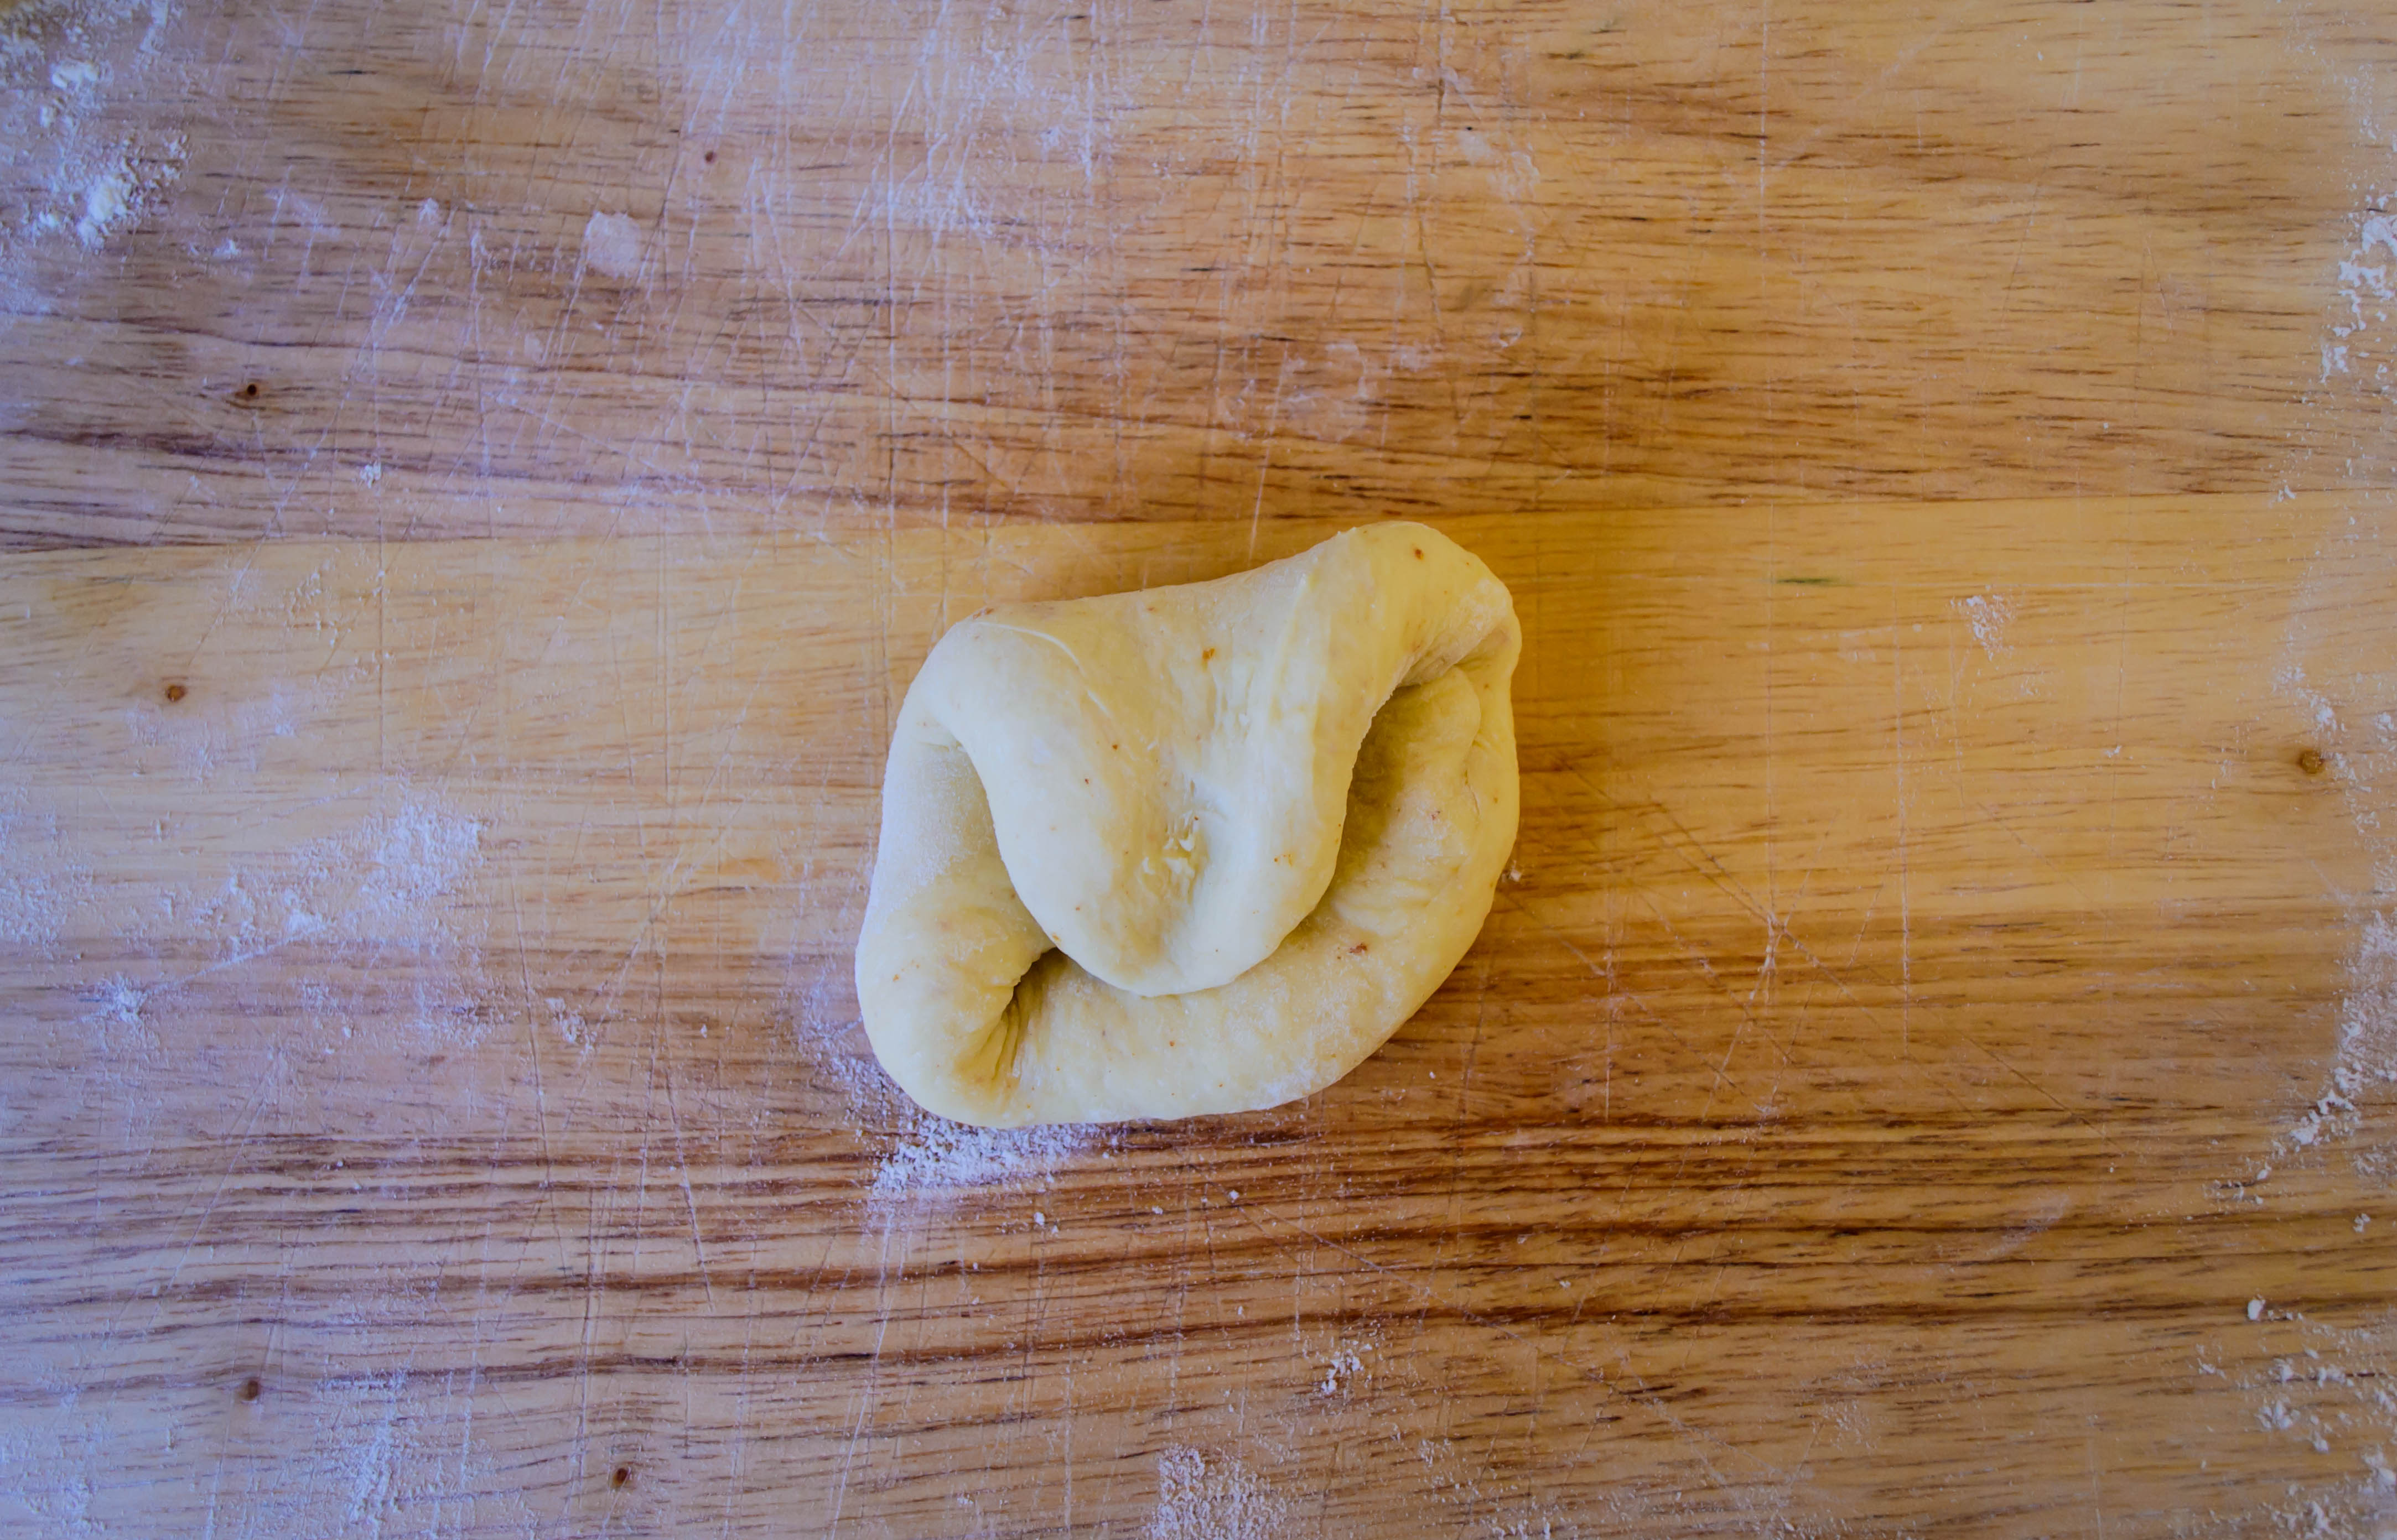
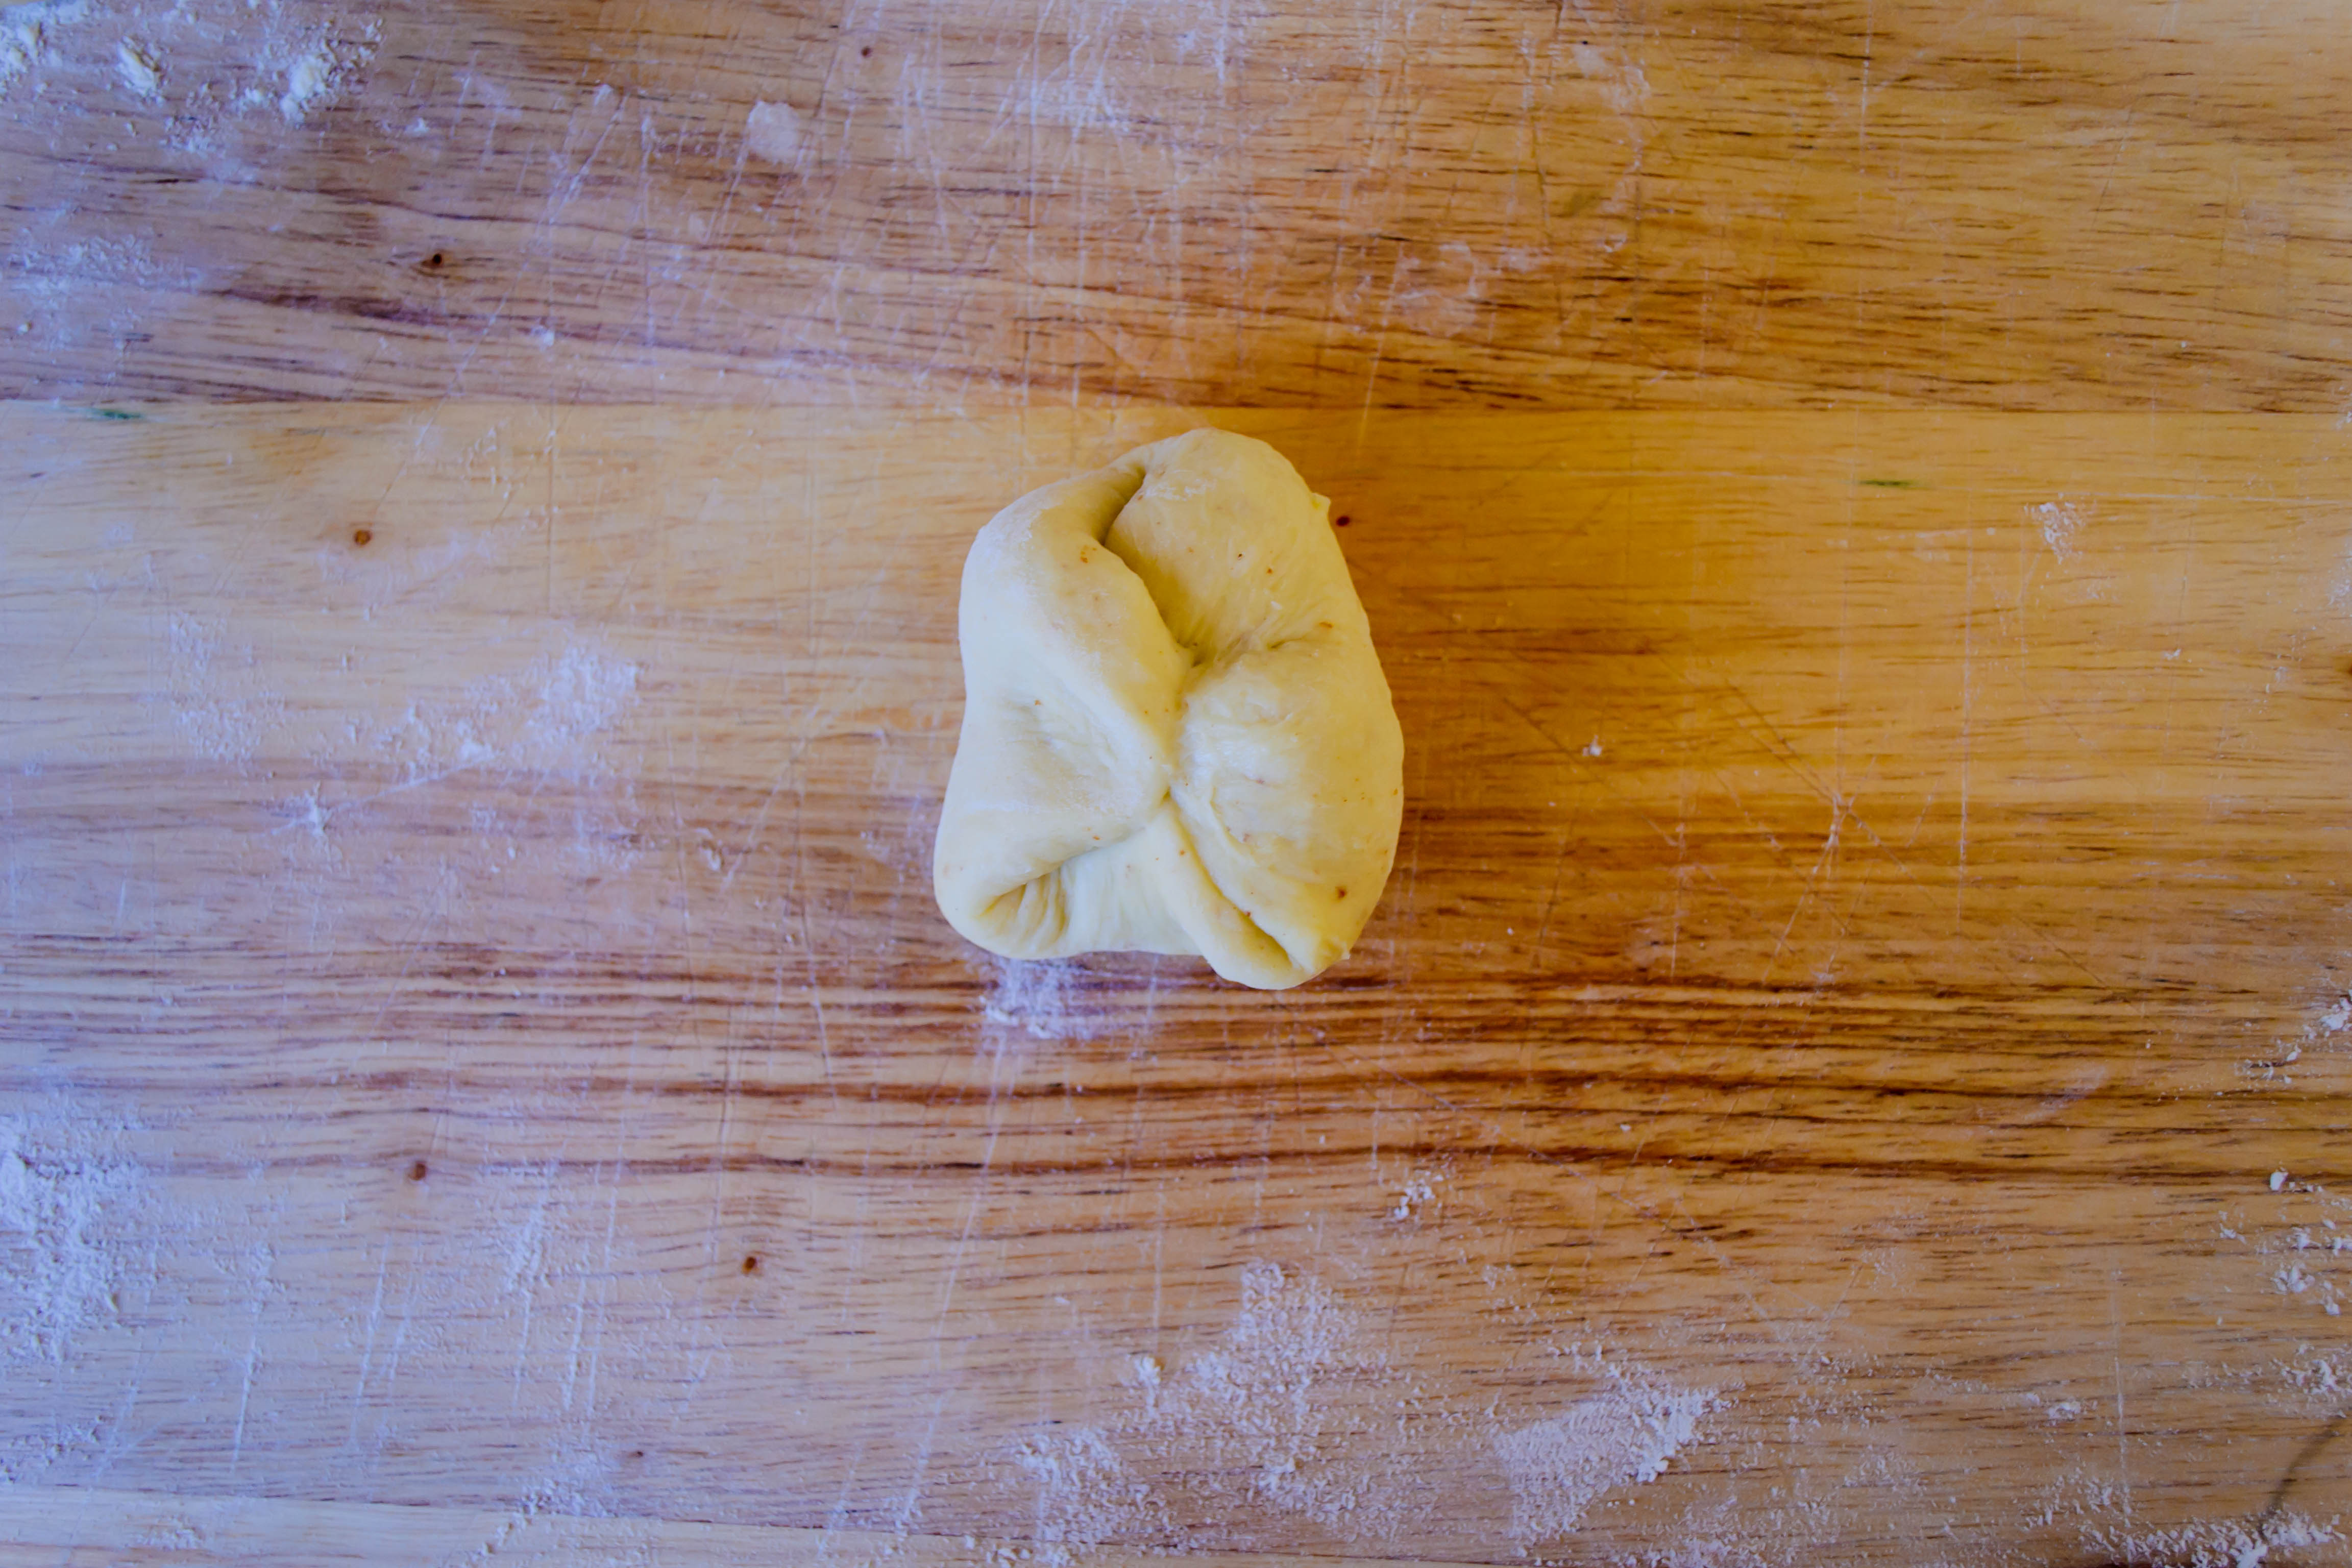
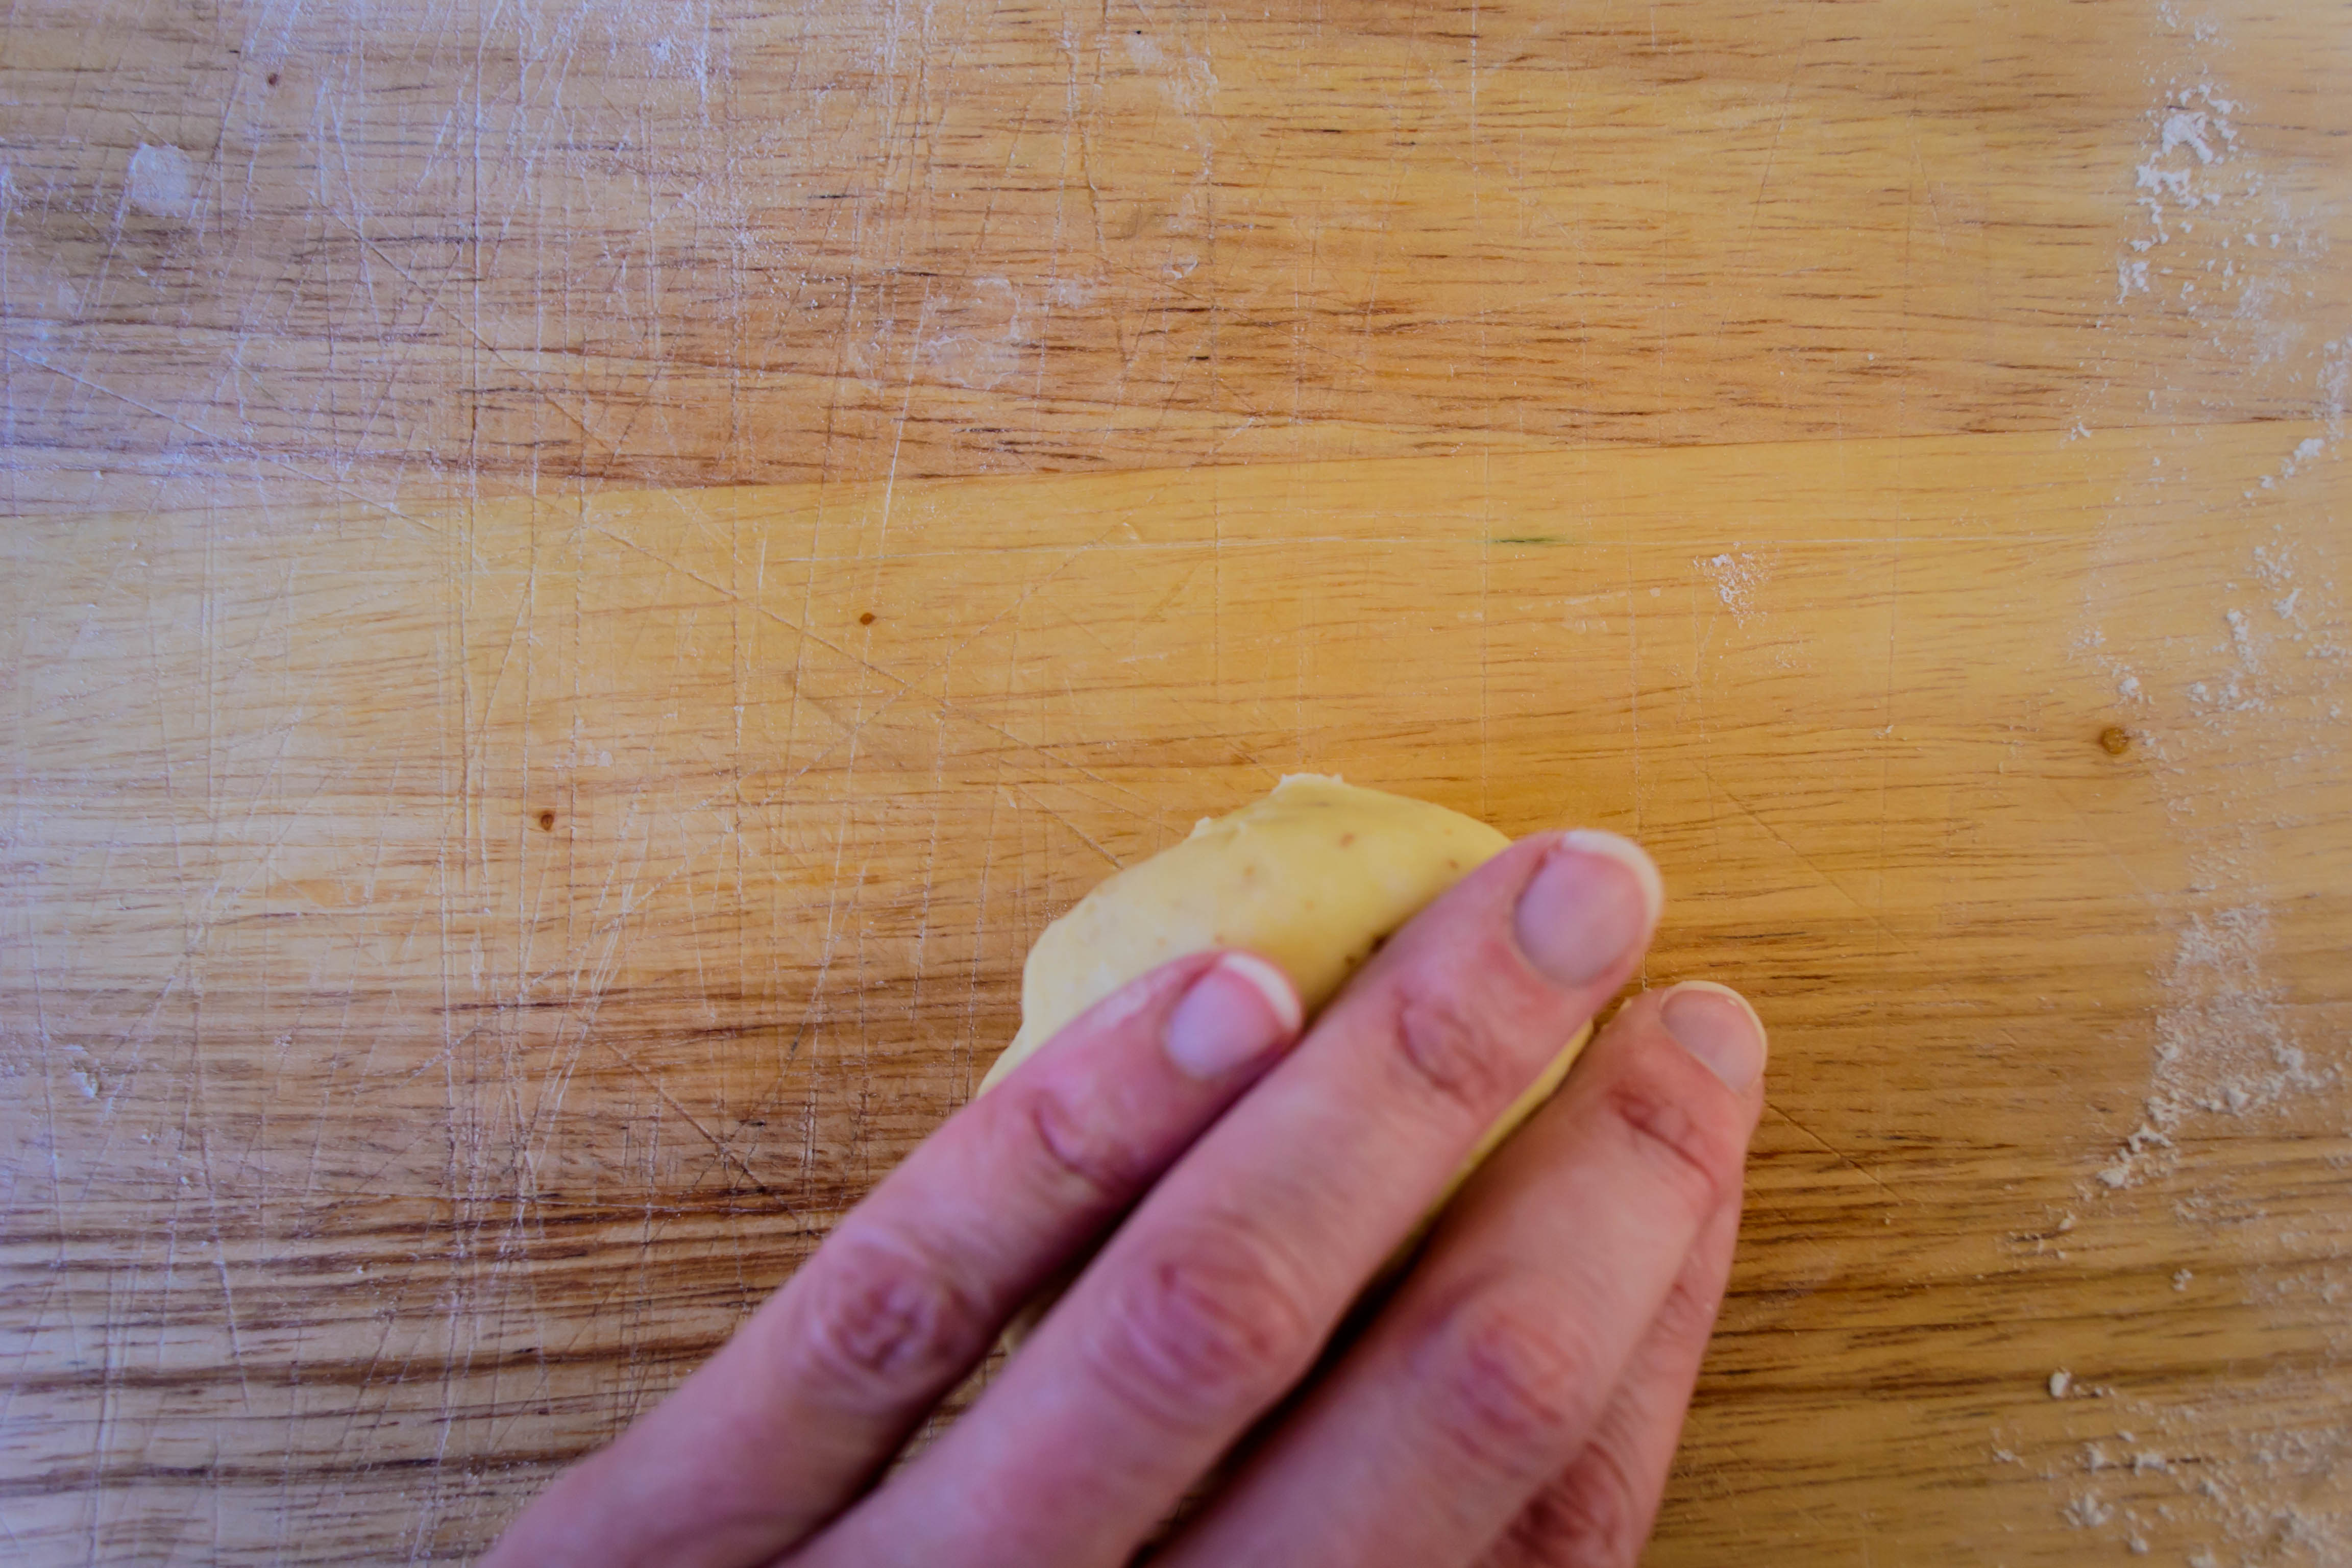
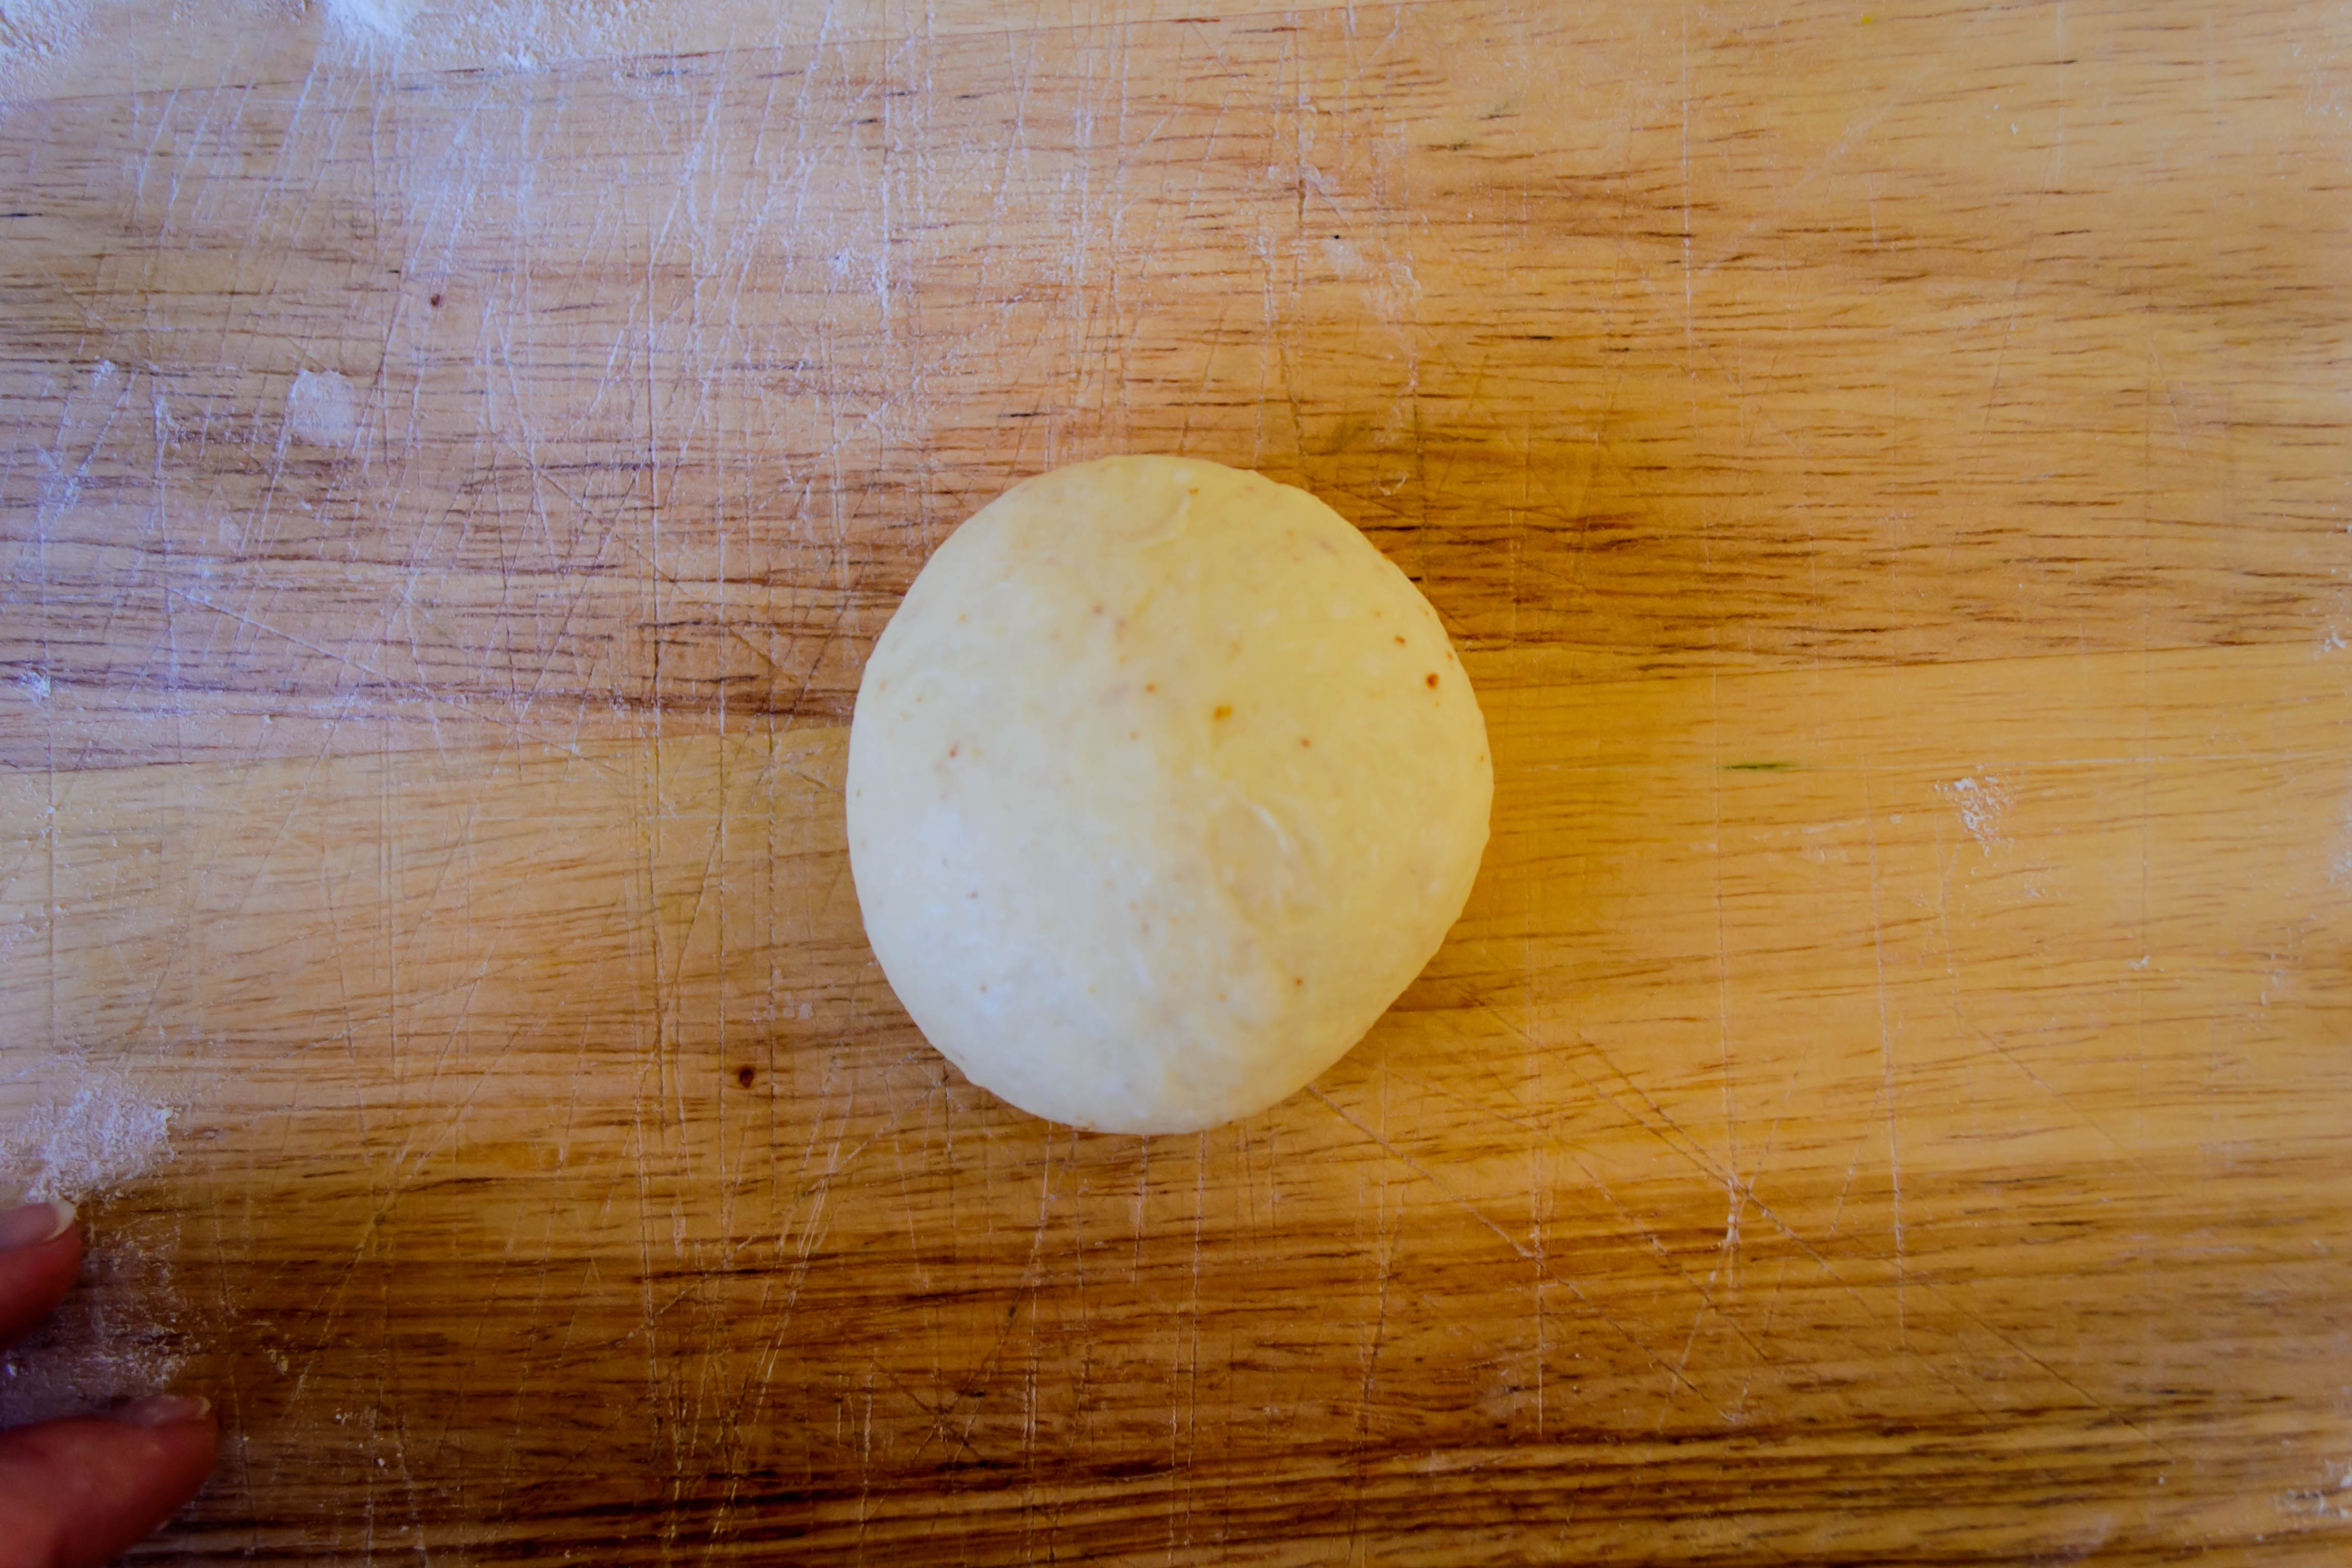
- Using moistened fingertips, mix well until apple and onion pieces are evenly distributed. Moisten the palms of your hands as well, then gently roll mixture into 10-12 equal sized balls – it will be soft.
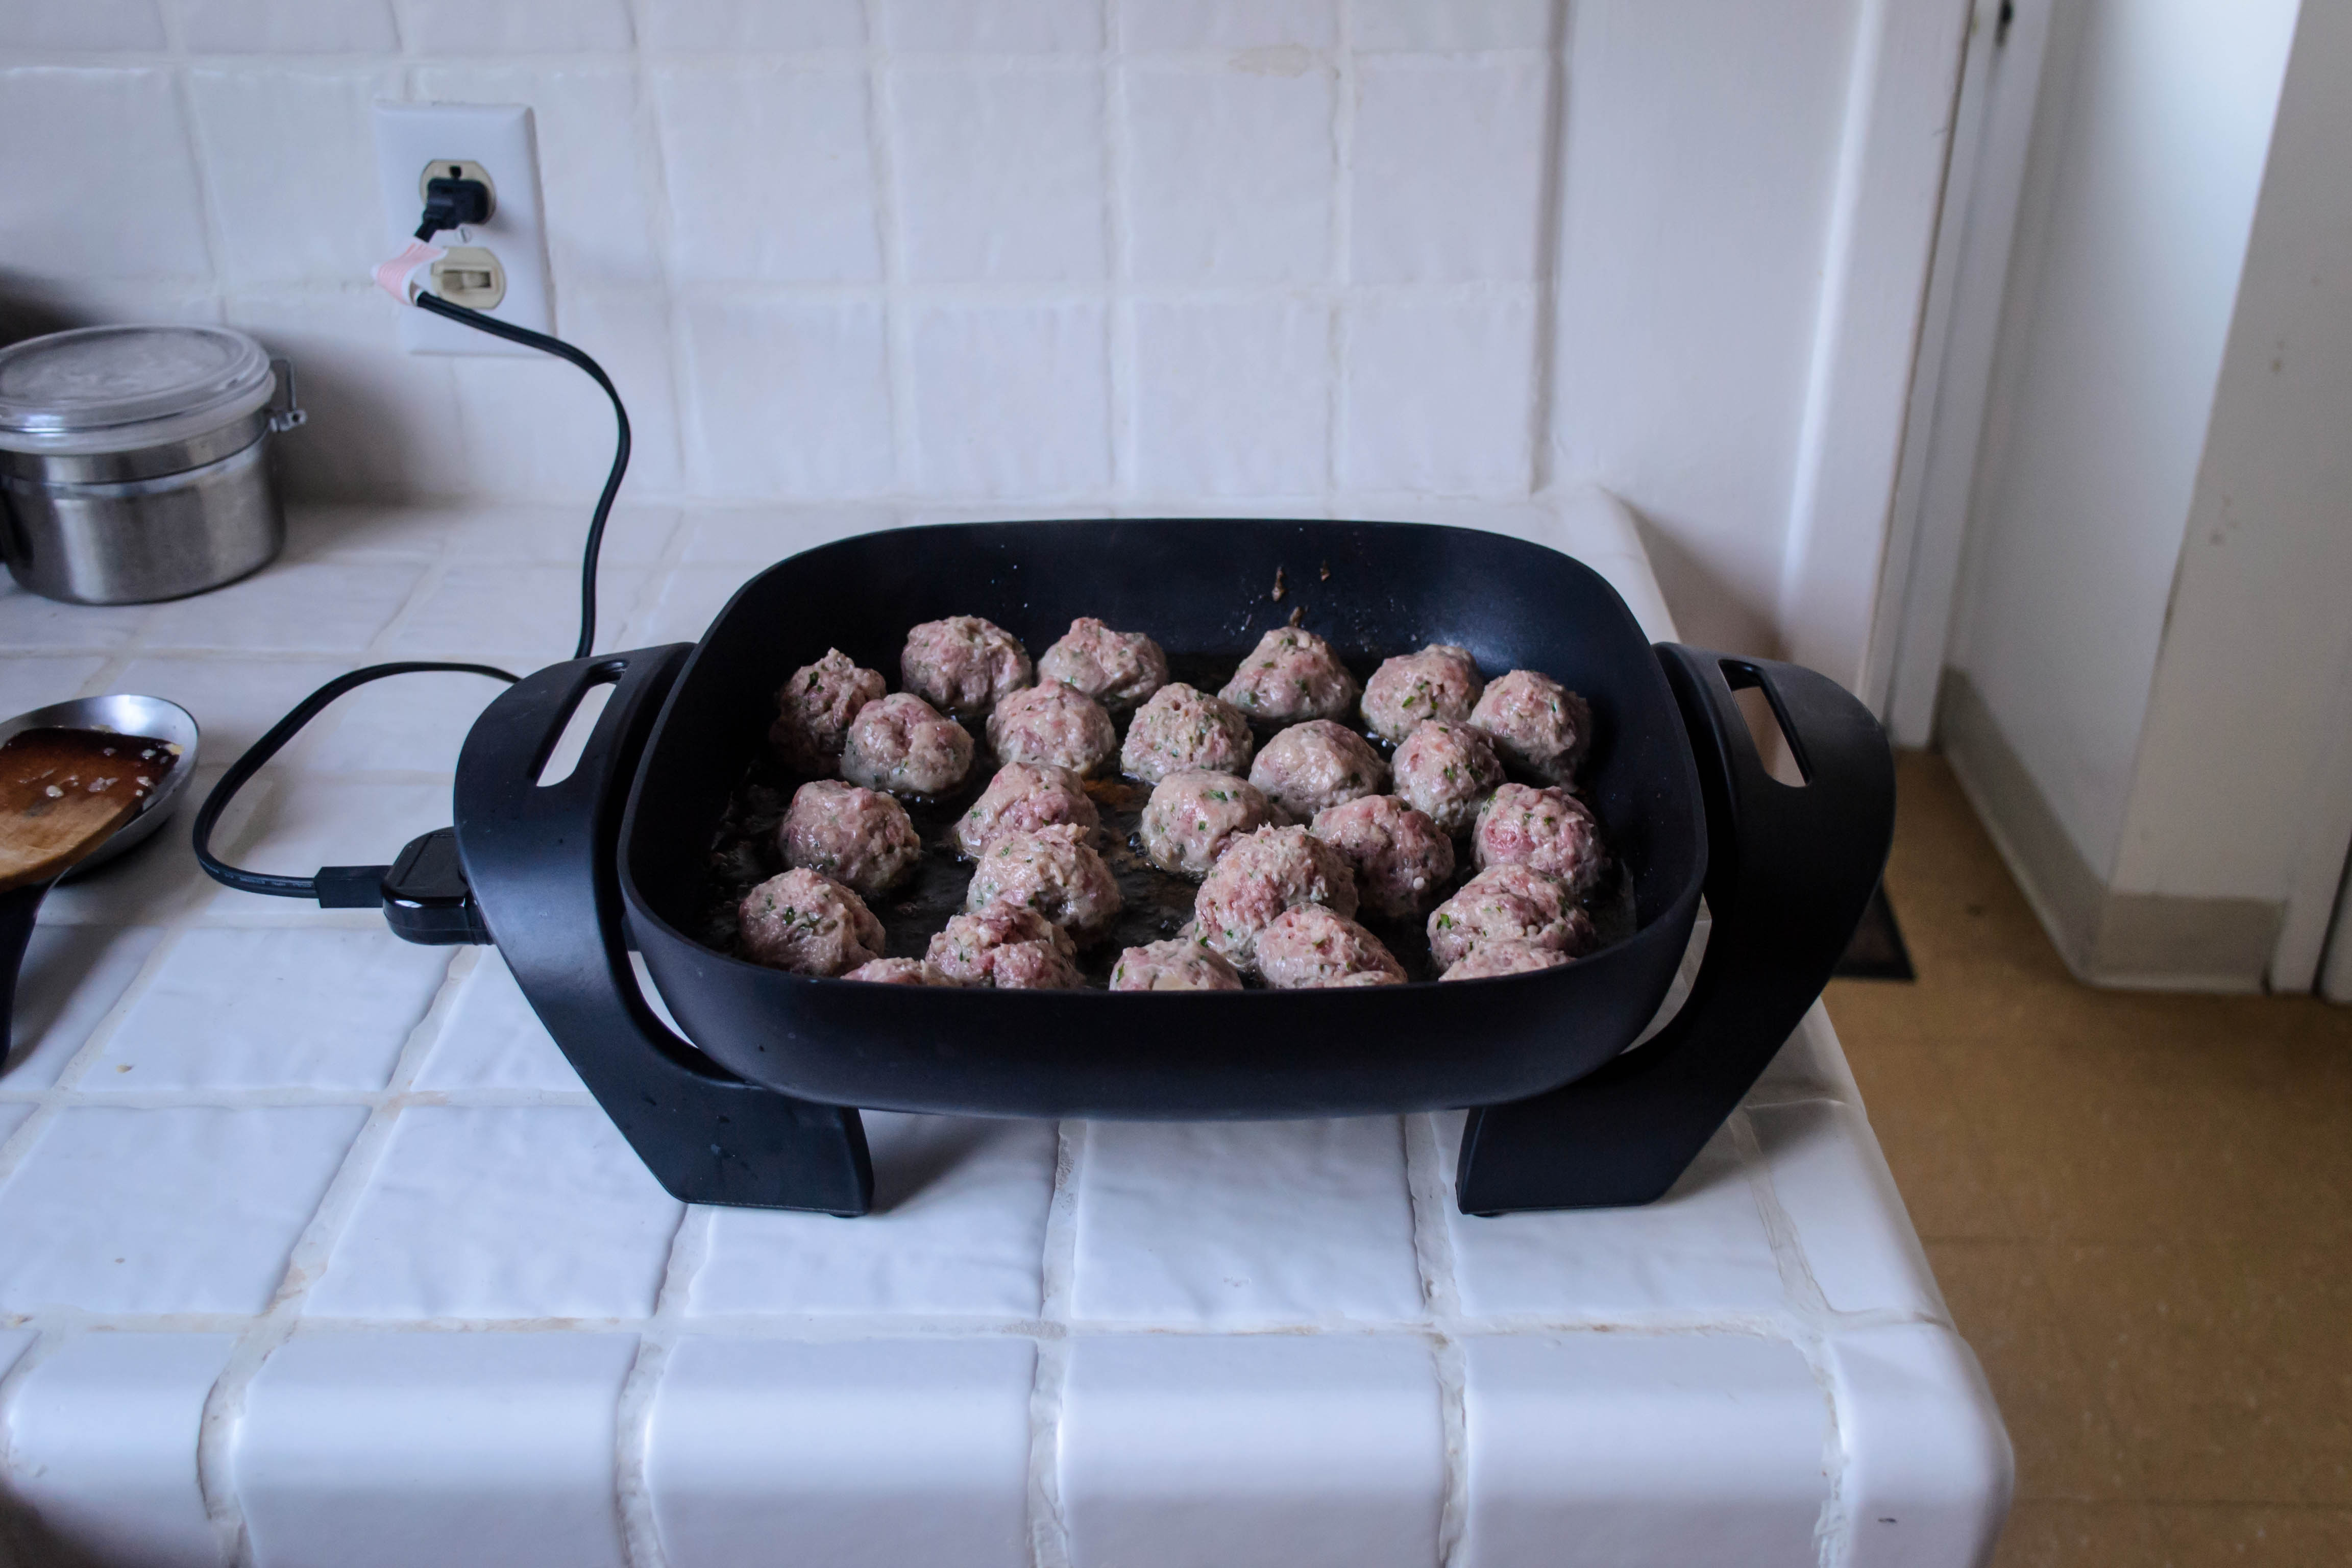
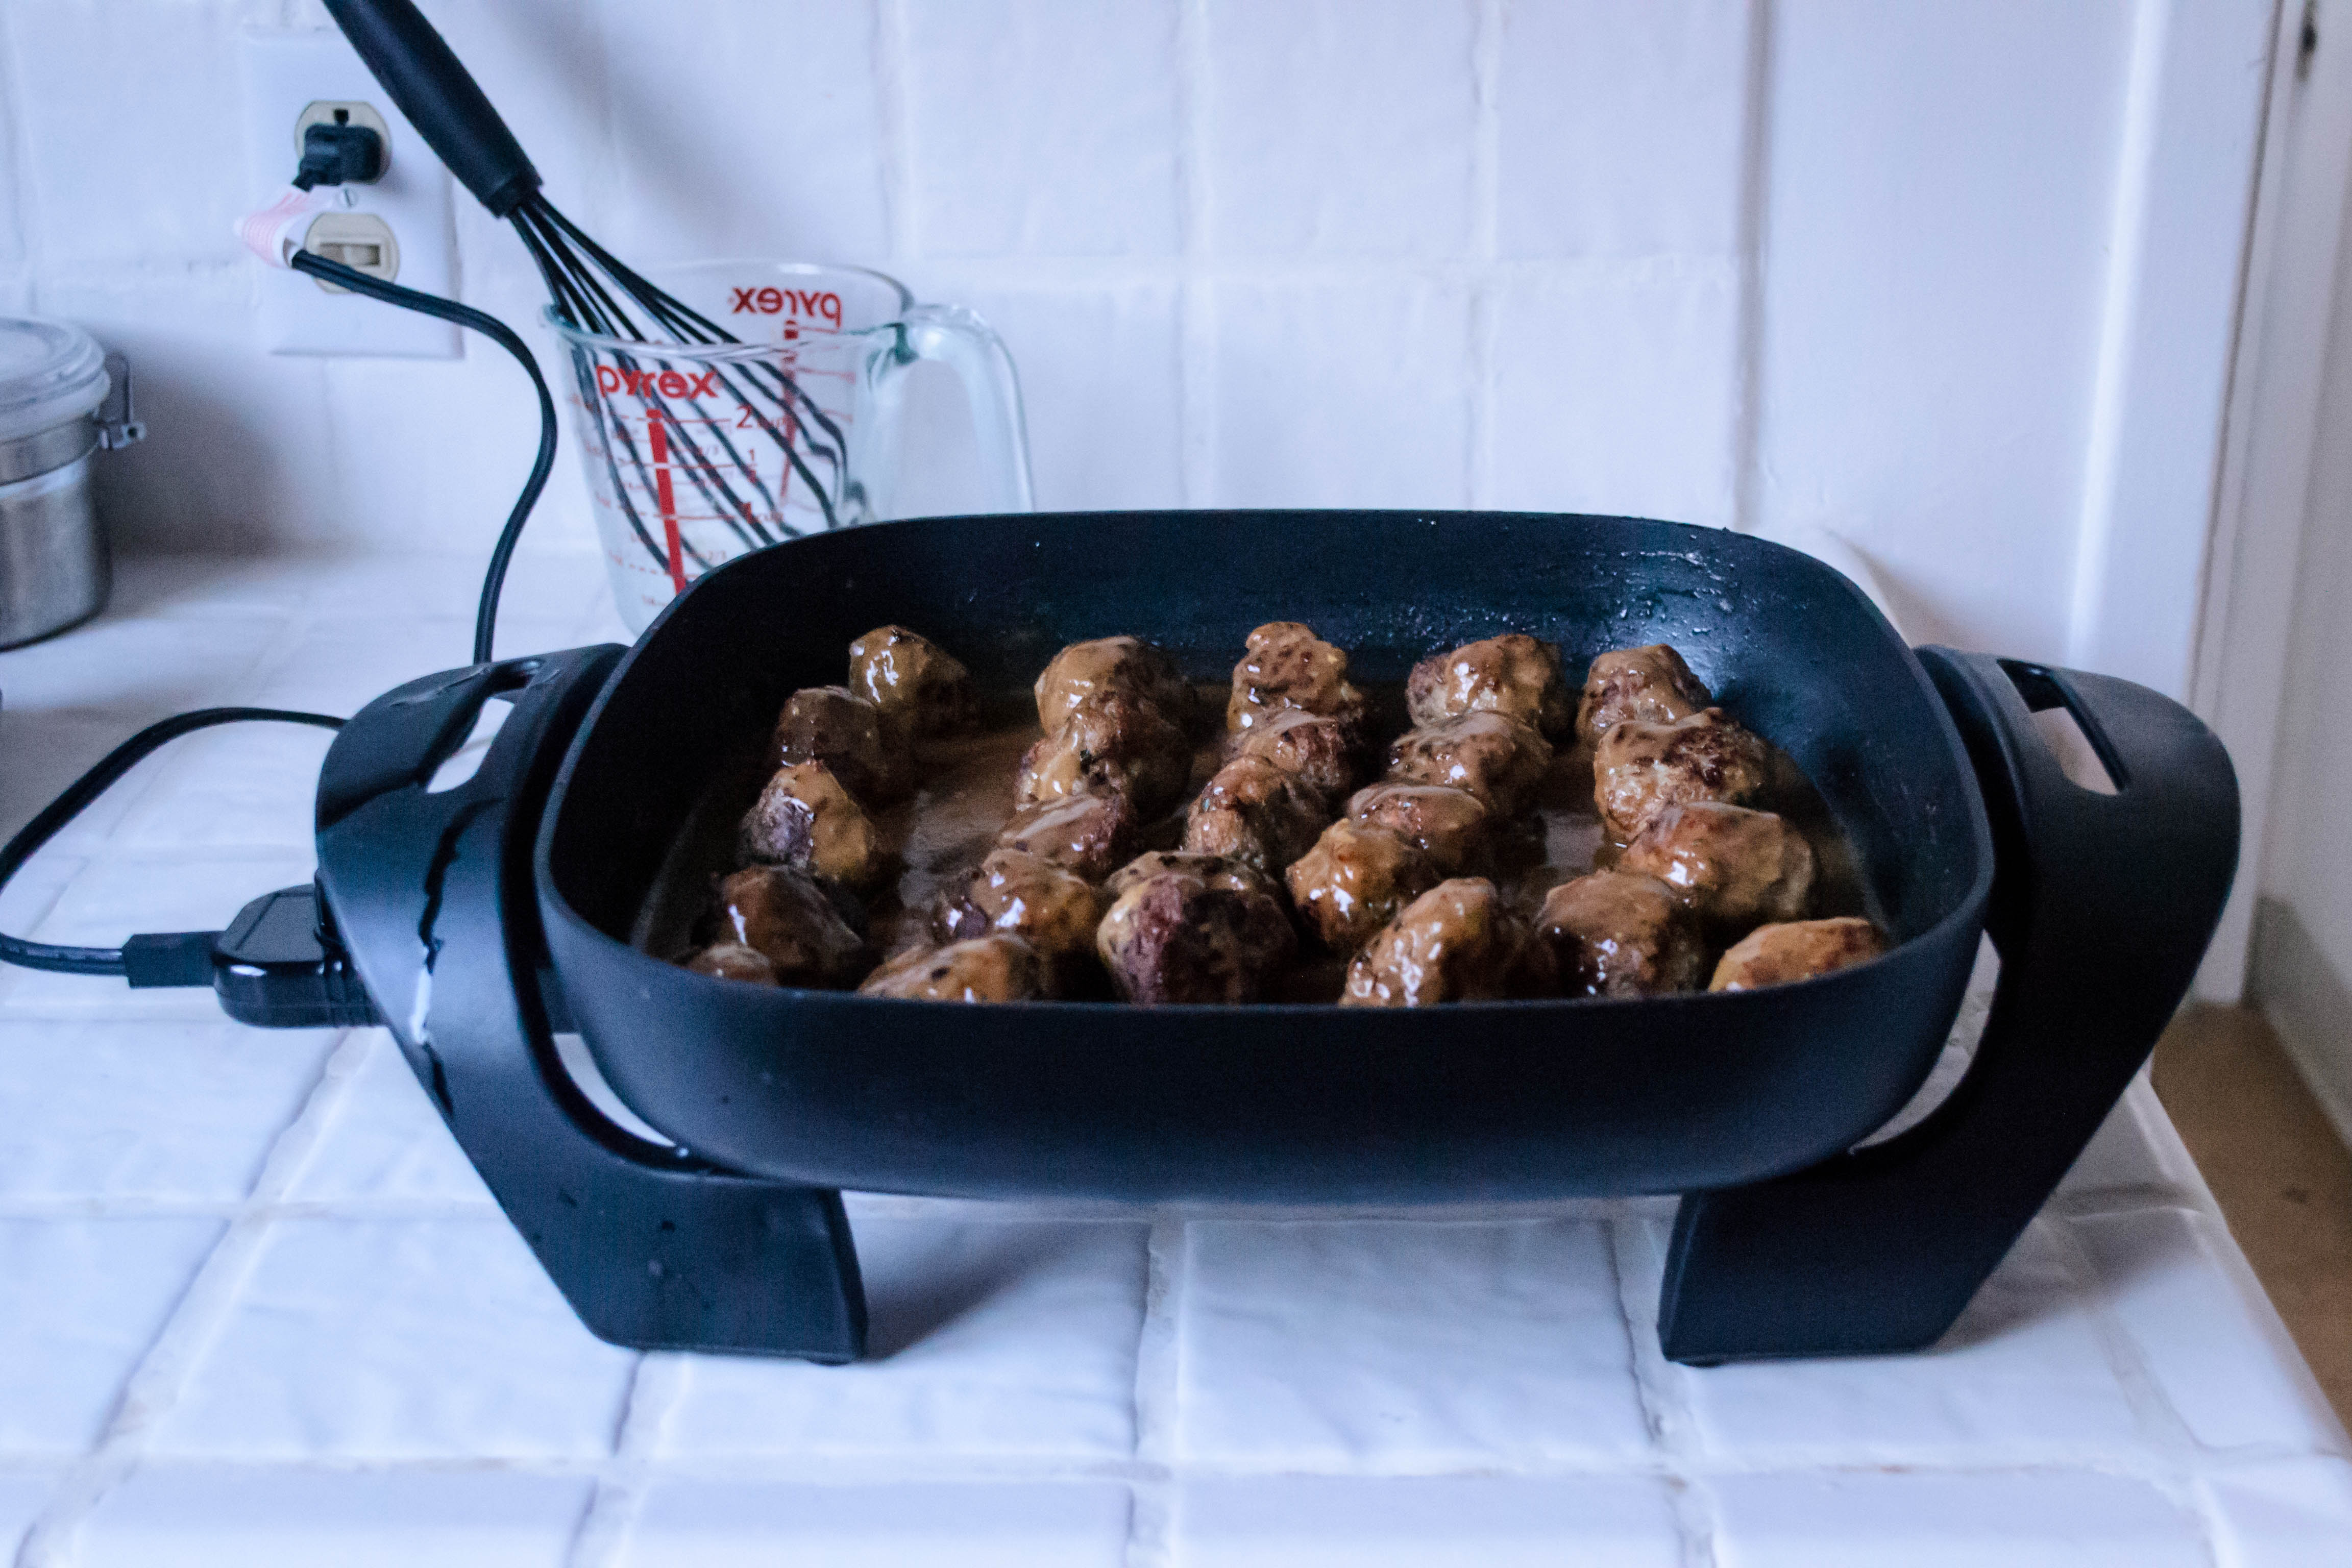
- Heat the same skillet you used for the apple and onion over medium heat and gently add the meatballs evenly spaced, not touching each other. Cook over medium heat until browned on all sides – about 3 minutes per side – then cover the skillet with a lid and turn the heat down to medium-low. Let sizzle until meatballs are cooked all the way through – another 8-10 minutes. If the bottoms of the meatballs begin to look a bit on the dark side, add a few tablespoons of water to the pan.
- Serve hot or warm with breakfast foods of your fancy.