 I’m sure it won’t surprise you to learn this, but I am one of those people who makes a meal plan. Every week, before we head to the grocery store, I write out a shopping list. I like to know what we’ll be eating most nights ahead of time, to be sure the pantry is adequately stocked, but also to prevent a lot of impulse buys or take-out emergencies (also I just love making lists. You probably aren’t surprised by that either). When I put the meal plan together, I usually ask N. for some input. Sometimes it’s because I need a little inspiration, sometimes it’s because I want to make sure he’s getting a meal or two he’s excited about, and sometimes, I’ll admit, it’s just because I want him to feel like he has some say about what happens in our kitchen.
 This considerate move doesn’t always play out as helpfully as expected, however. Most weeks, without even looking at the list or at the meals I’ve proposed, he immediately says “tacos.” Nothing else gets this kind of instantaneous, definitive response. Tacos. Sometimes, when he says this, we’ve just had tacos. Sometimes, when I query him further, he doesn’t seem very enthusiastic about the suggestion he’s just made. Sometimes I’m just not in the mood for tacos (I mean, we JUST had them) and so I nod and smile and write down something else instead.
 Finally, though, I got curious, and yesterday I asked him why he suggests tacos so frequently. Does he really like them that much? What is it about a taco that he finds so compelling? Turns out it’s not the food, exactly, but the name. Be warned, people. This is what happens when you fall for a words person. He really likes the sound of the word “taco.” It is, he claims, an interesting sounding word. You can put emphasis on each of the syllables in turn, you can change the pronunciation of the vowel, you can draw out the length of each part of the word, all with different sounds and results. He then proceeded to say “taco” four or five times. It is, I must admit, a fun word to say. I’ll wait while you try it a few times…
 As much fun as the word is, N. noted that he likes the dish as well, and it got me thinking about the constituent parts – what makes a taco a taco? As I see it, tacos break down into three major components: the shell, the “meat,” and the sauce. Of course you can – and often should – add cheese and lettuce and other garnishes, but I think you have to have at least these three parts. Once you have these critical components, you can take your tacos in a variety of directions.
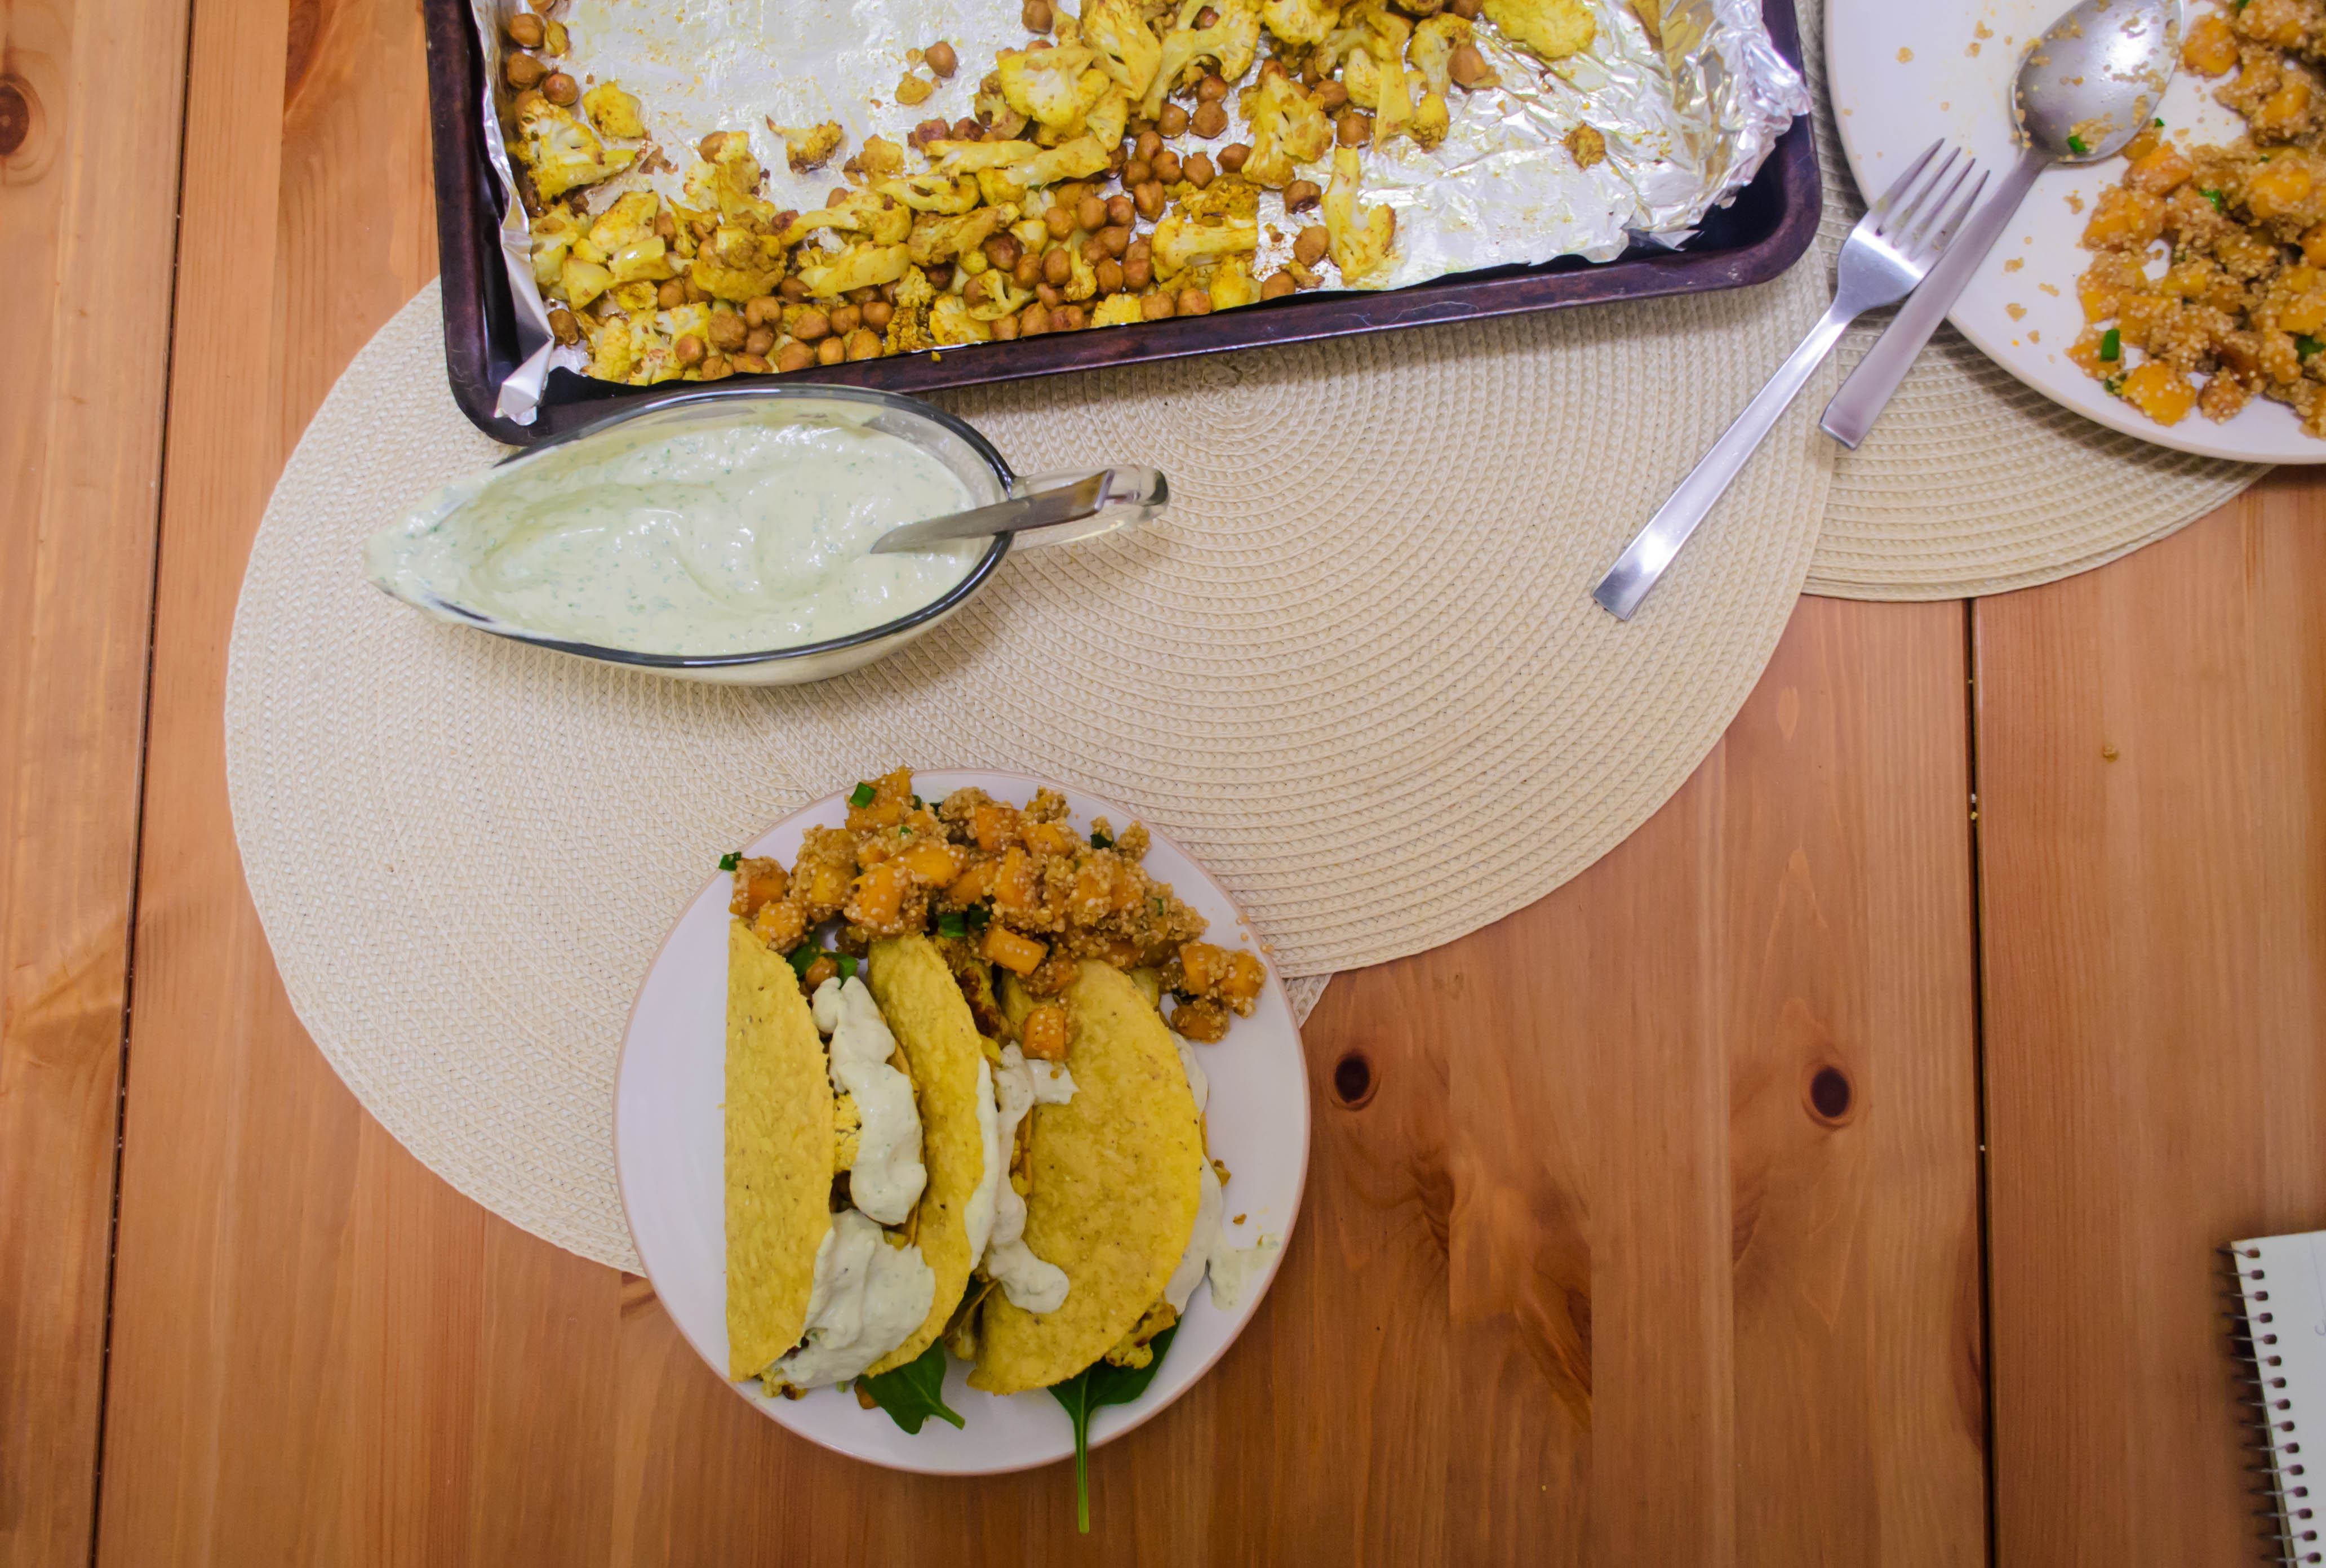
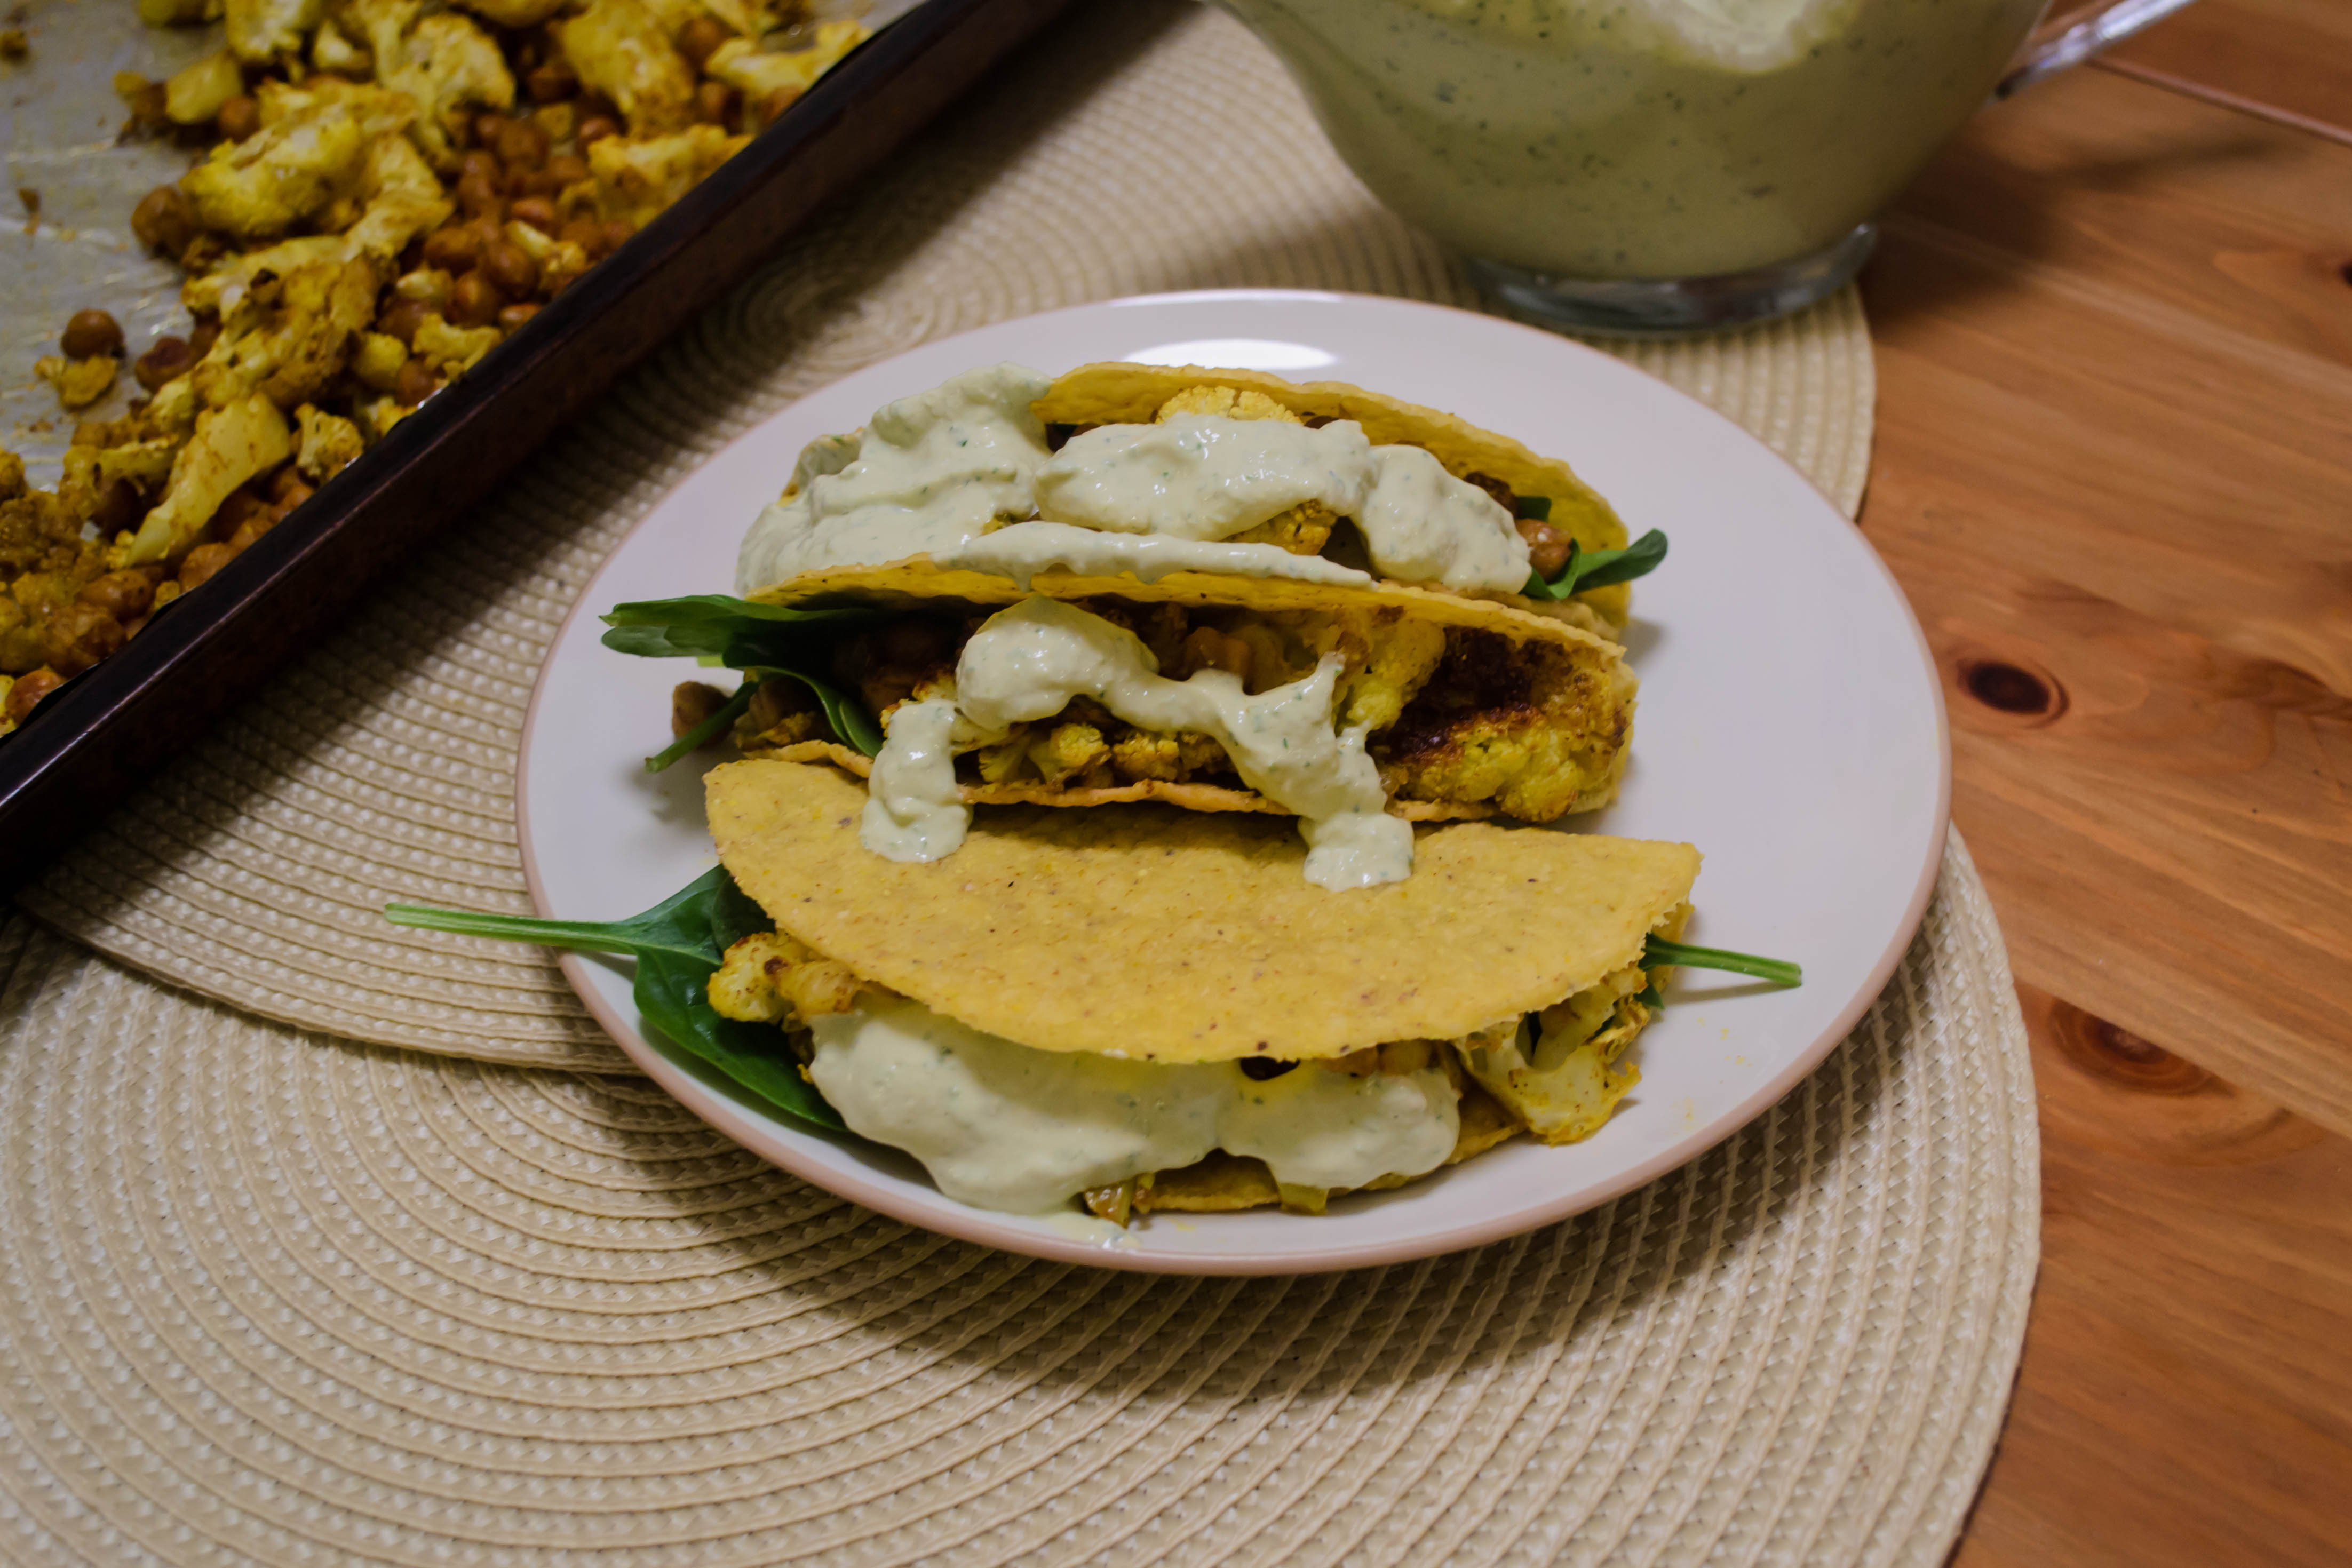
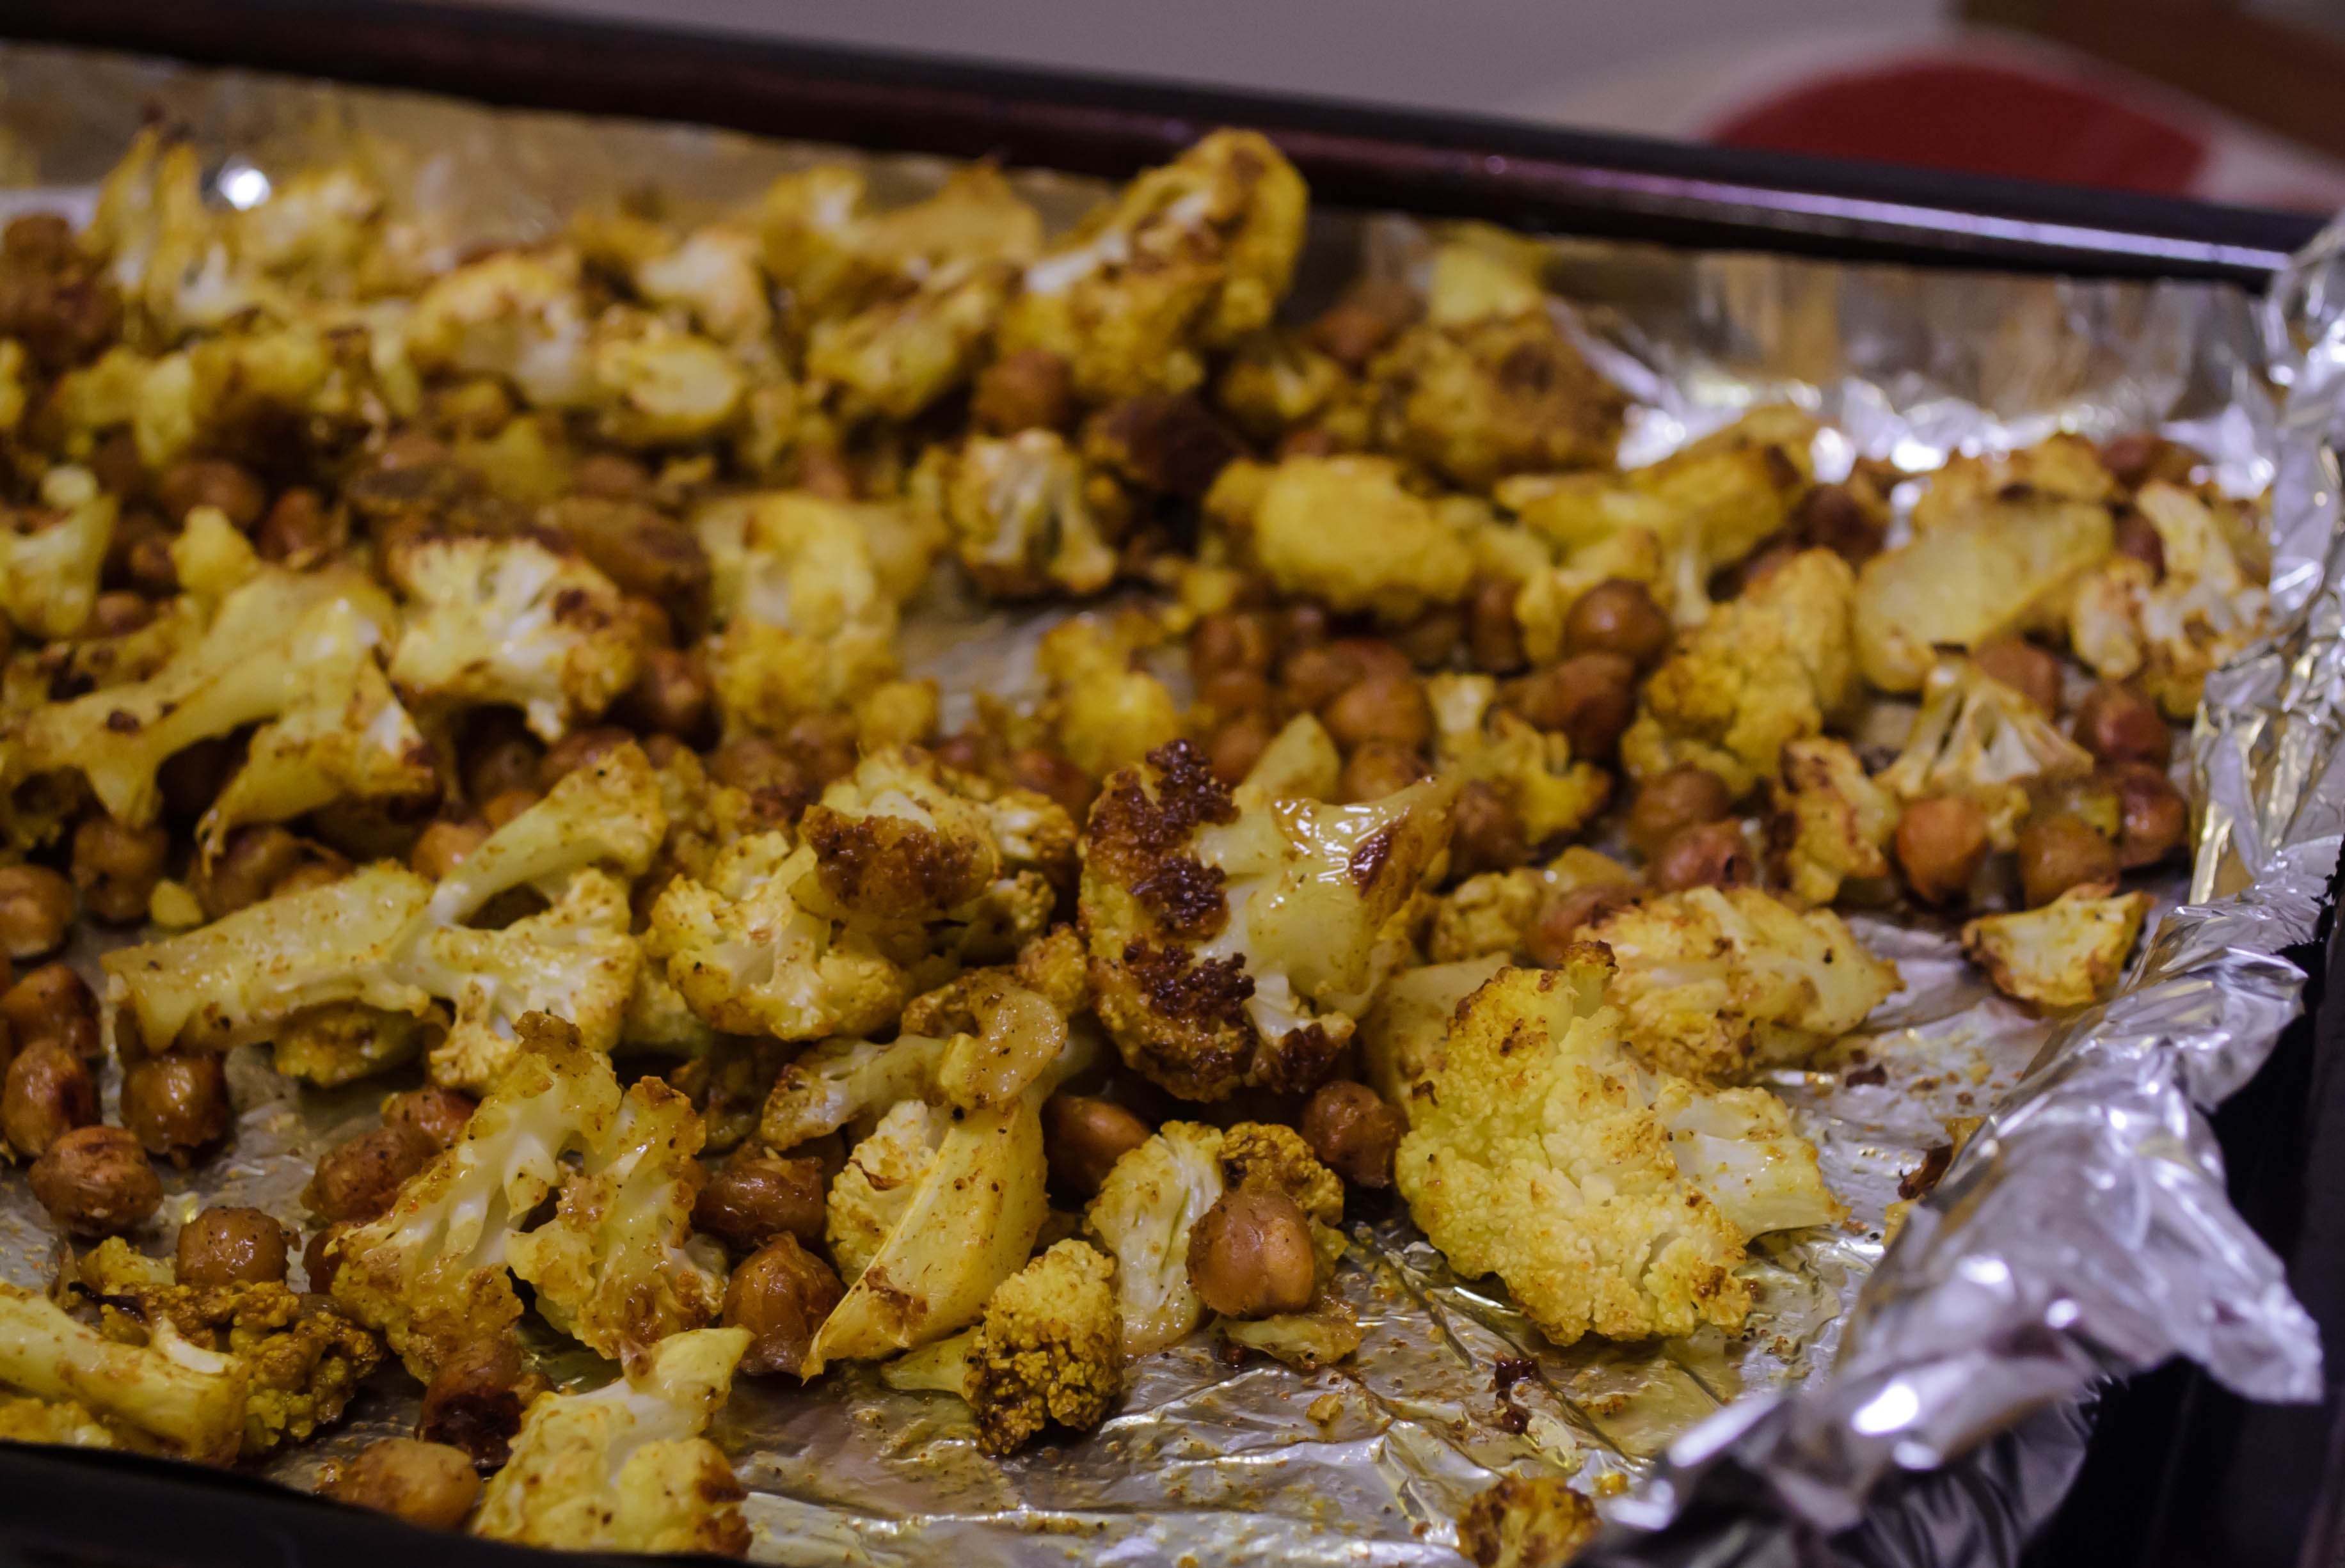 Perhaps because N. is so fond of them – whether it’s the word or the dish itself – I quickly tire of the standard ground-meat-with-cheese-and-things compilation, and look for other options. We’ve had grilled zucchini tacos with crumbled queso fresco and lime, dozens of incarnations of fish tacos (my favorite always involves a corn relish and plenty of smashed avocado), tofu tacos overloaded with pepperjack cheese, and I’m working on a potato taco inspired by an amazing version at – of all places – the Getty Museum cafeteria. This time around, though, I wanted something a little more outside the box (or should I say outside the shell? No, you’re right, I probably shouldn’t. Let’s pretend it didn’t happen). I’m not sure where the combination came from (if I’m honest, probably Pinterest), but I decided on a tumble of roasted cauliflower and chick peas, liberally spiced with a ras al hanout-esque blend and drizzled with a sauce of tahini and yogurt, tangy with lemon and flecked with parsley.
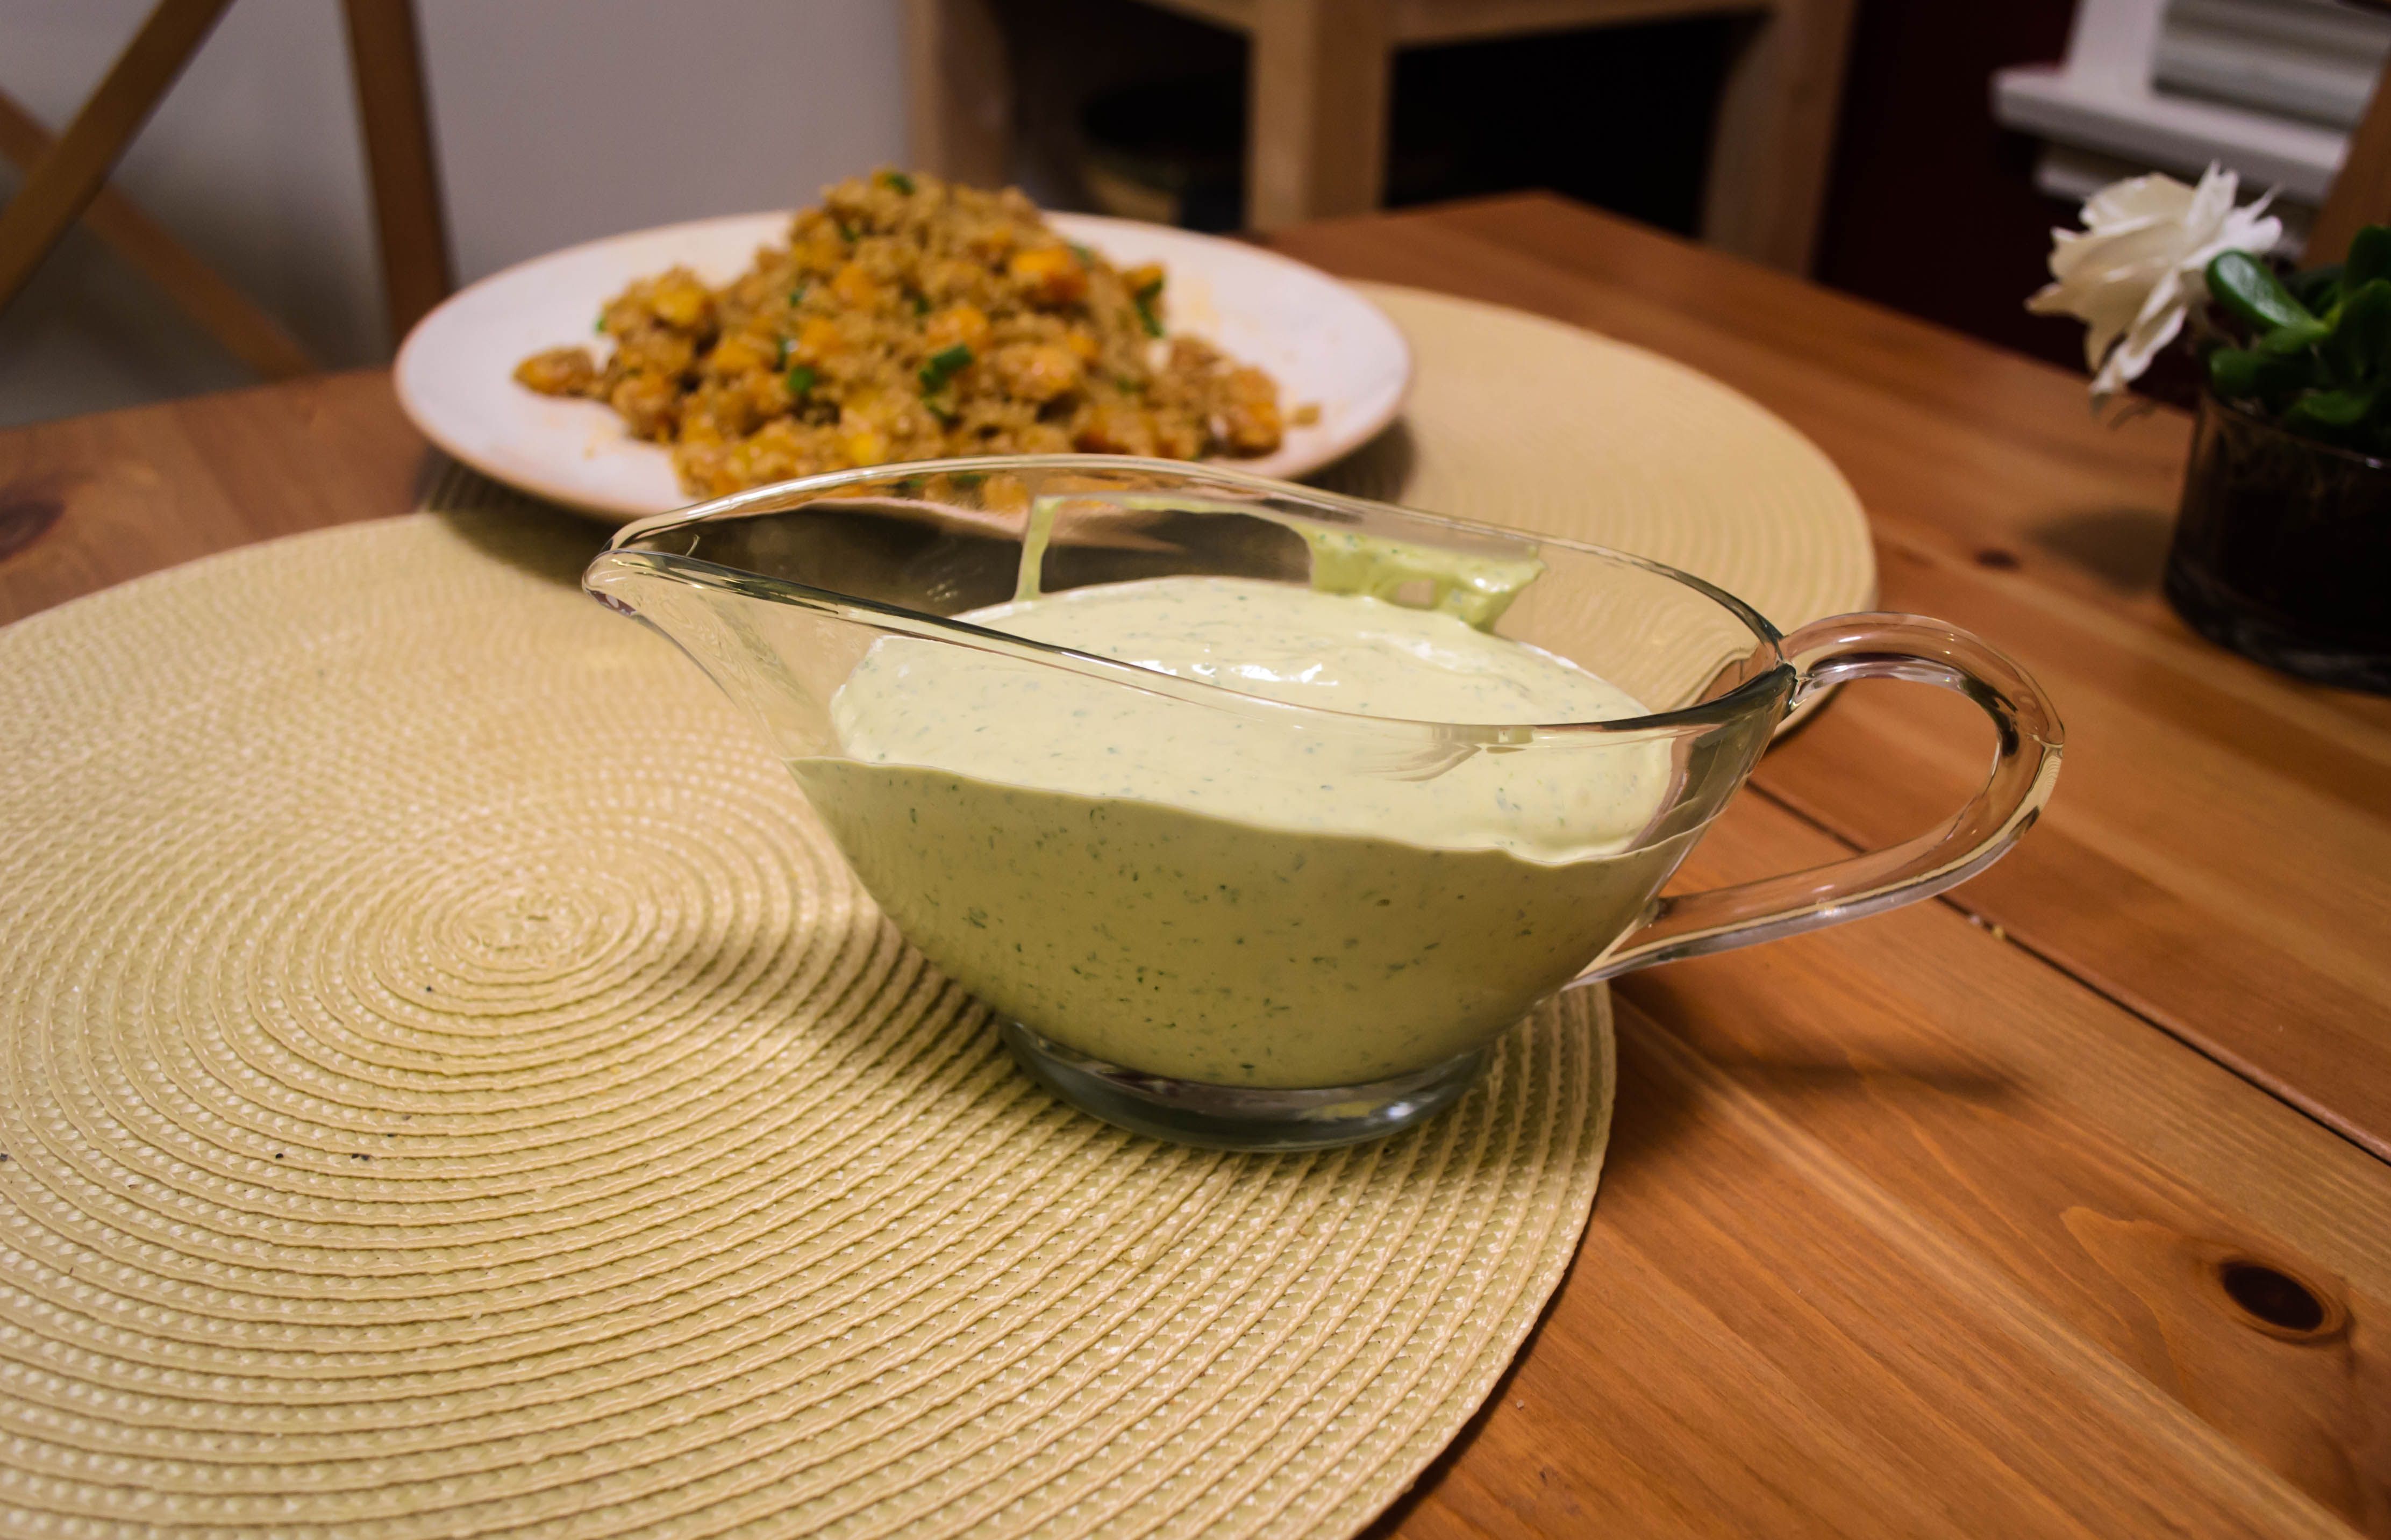 What resulted was not N.’s favorite taco ever (though I doubt it will stop him from requesting them), but I am finding, a day or two later, that I’m mildly obsessed with them, especially the sauce. It wasn’t fancy, but there was something quietly brilliant about how the yogurt and parsley lightened up the earthiness of the tahini. Roasted vegetables, though I will almost never say no to a bowl of them, can feel a little heavy. Blanketed with this sauce, they are bright and buoyant, and the creamy spread is just as fitting against the soft unctuousness of the cauliflower as it is against the toasted crunch of the chick peas.
 This is one of those recipes where the list of spices looks daunting, and by all means, if your spice cabinet is not as
 ridiculous overflowing full as mine is, go easy on yourself and use a pre-mixed blend. I won’t judge. Ras al hanout is a North African combination of spices, one of those lovely warm mixtures incorporating options American dishes usually reserve for desserts. Really, though, any mixture of Mediterranean or Middle Eastern spices would be lovely here – choose your favorite and apply accordingly.
 Once you’ve got the spices sorted, this dish is a multi-tasker’s dream. The cauliflower and chick peas need a good chunk of time in the oven at high heat, and while they are roasting you have plenty of time to whip up the sauce, warm the taco shells according to your favorite method, and even concoct a side dish (we ended up with sautéed cubes of butternut squash folded into a bit of cooked quinoa and a shower of green onions). By the time the filling finishes roasting, all you have left to do is scoop and serve, and if you’ve been reasonably efficient it has probably taken you just under an hour.*Note: you’ve probably noticed by now, and may be horrified by the omission, that these tacos don’t include a cheese component. With the yogurt and the deep earthy roasted flavors of the vegetables, I found I didn’t miss it. If you can’t do without, however, I suggest a few crumbles of feta to fill the void.
Roasted Cauliflower and Chick Pea Tacos
Makes 10-12 tacos
For the tacos:
½ teaspoon ground cardamom
½ teaspoon ground cumin
½ teaspoon ground coriander
½ teaspoon ground ginger
½ teaspoon ground turmeric
½ teaspoon freshly cracked black pepper
¼ teaspoon ground allspice
¼ teaspoon ground cloves
¼ teaspoon cayenne pepper
1 teaspoon coarse salt
6 tablespoons olive oil
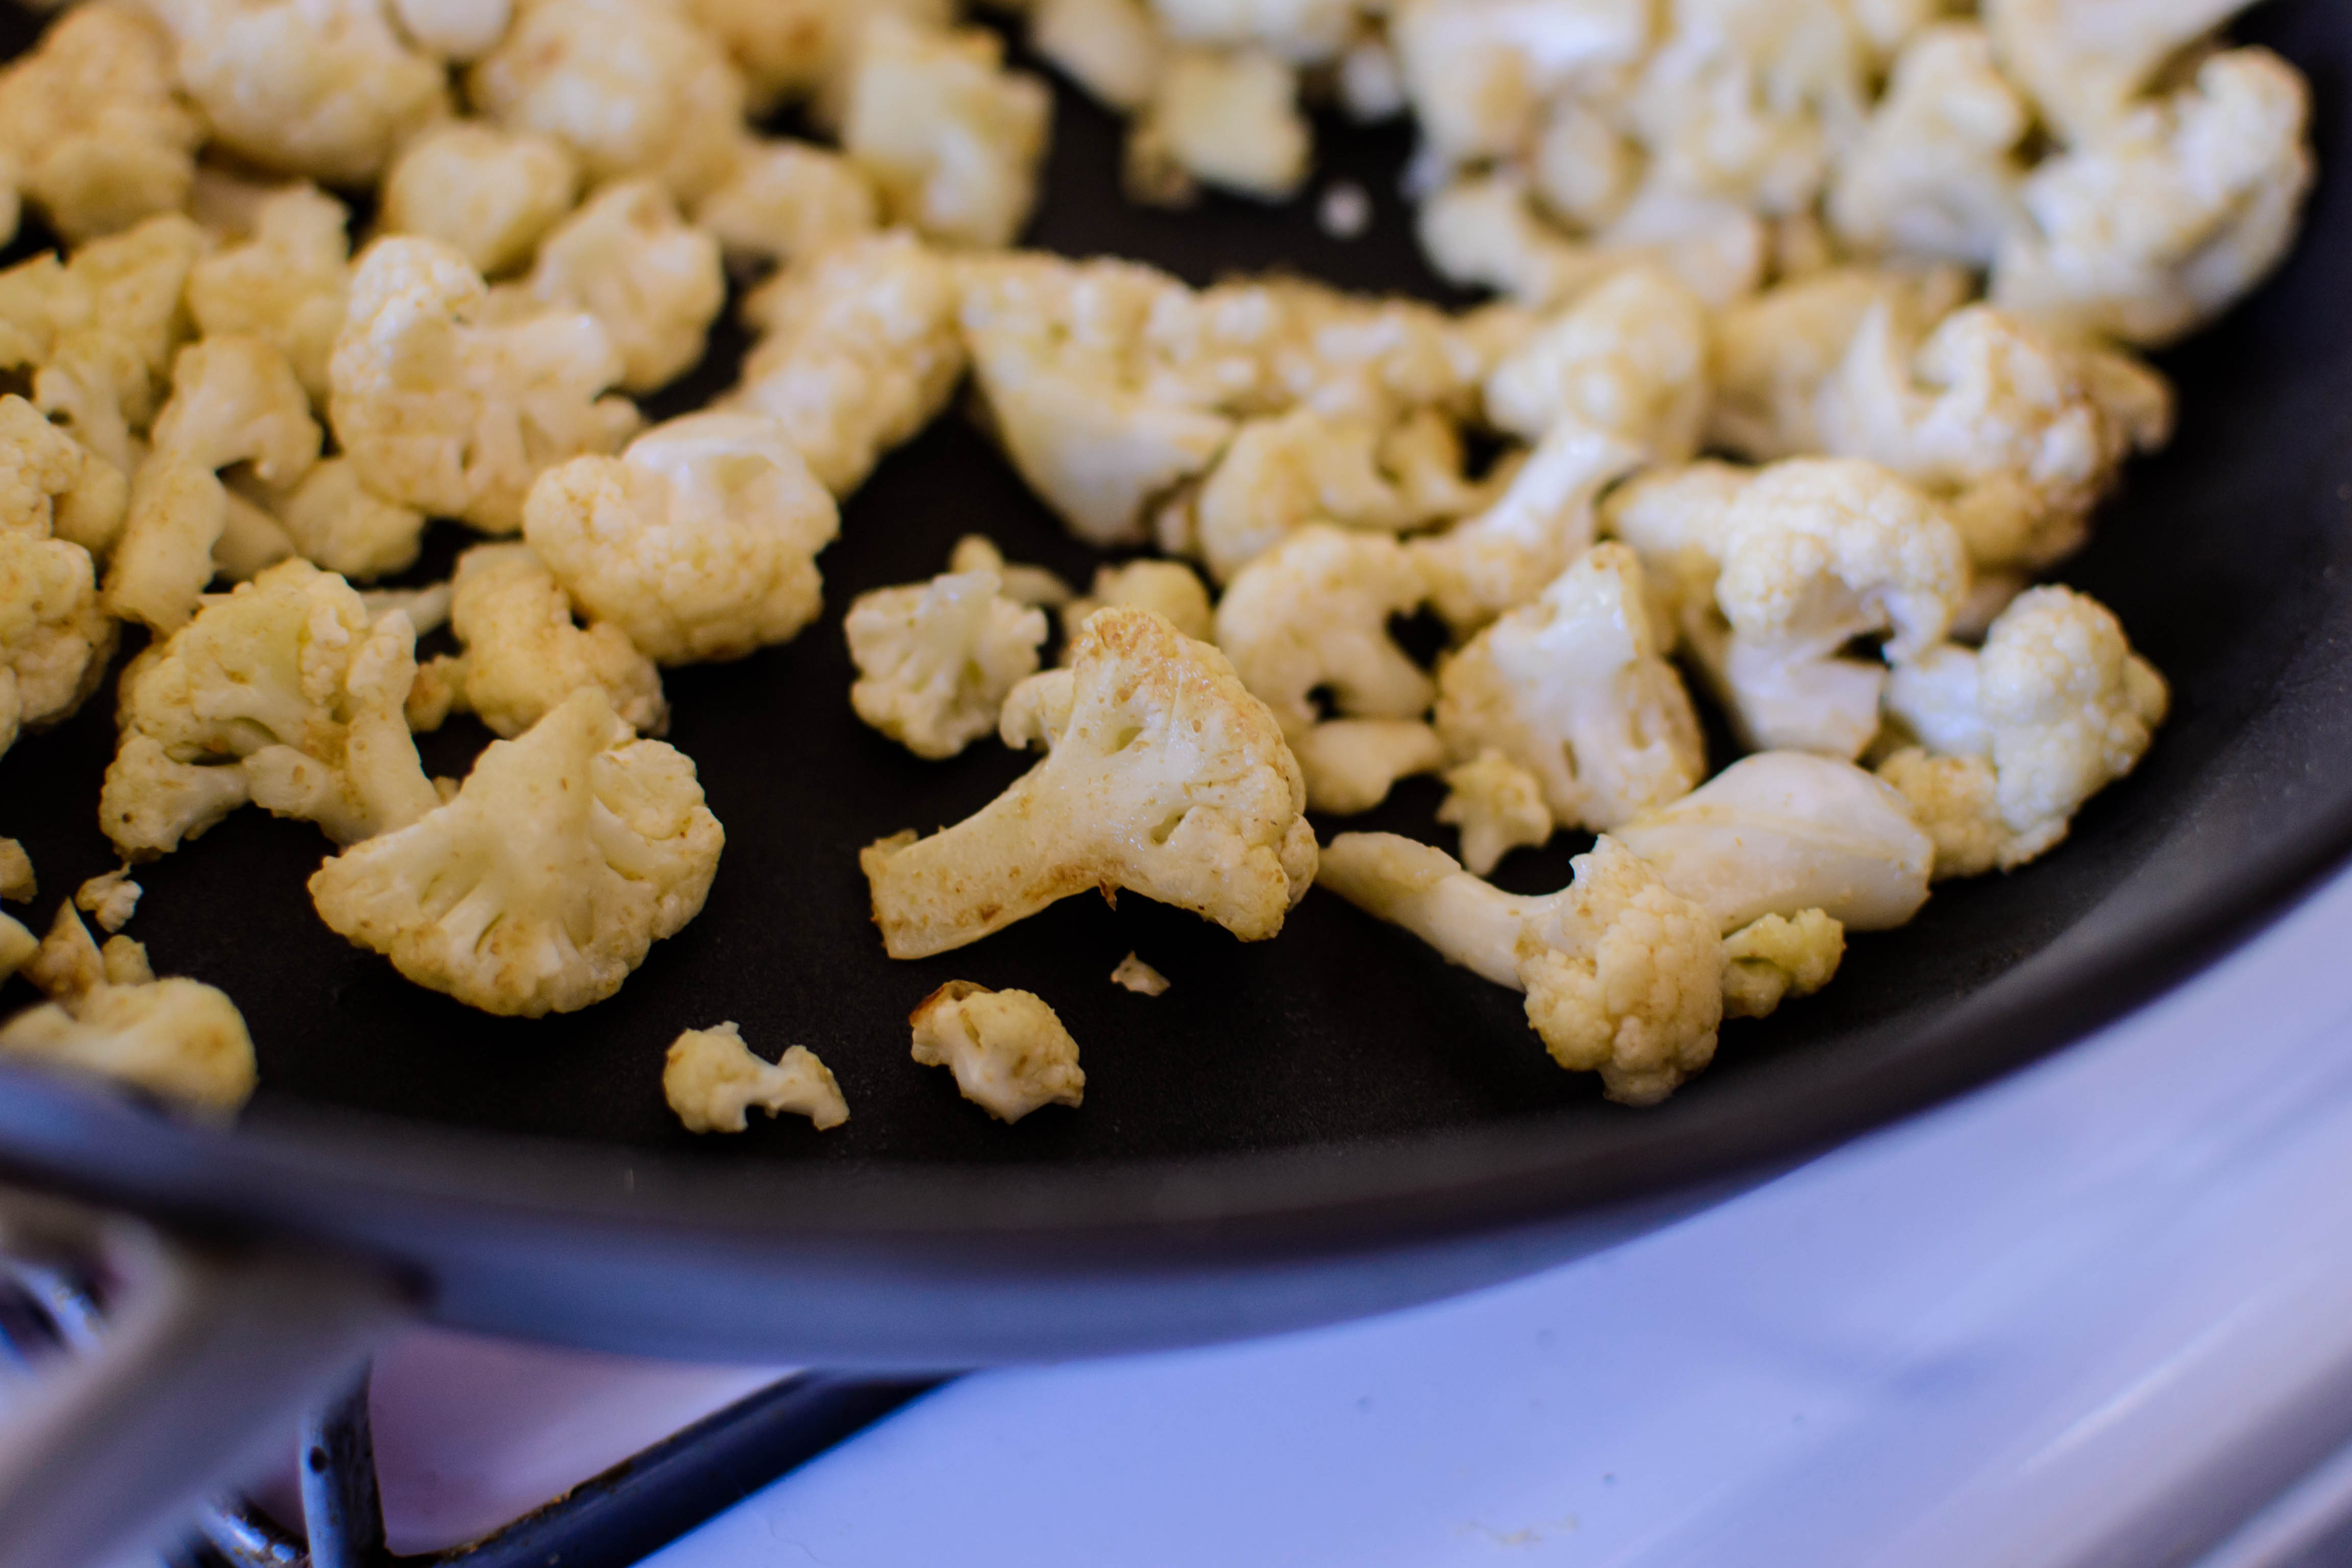
1 head cauliflower, cut into bite-size florets
15 ounce can chick peas, drained and dried
1 cup loosely packed baby spinach leaves
taco shells
For the sauce:
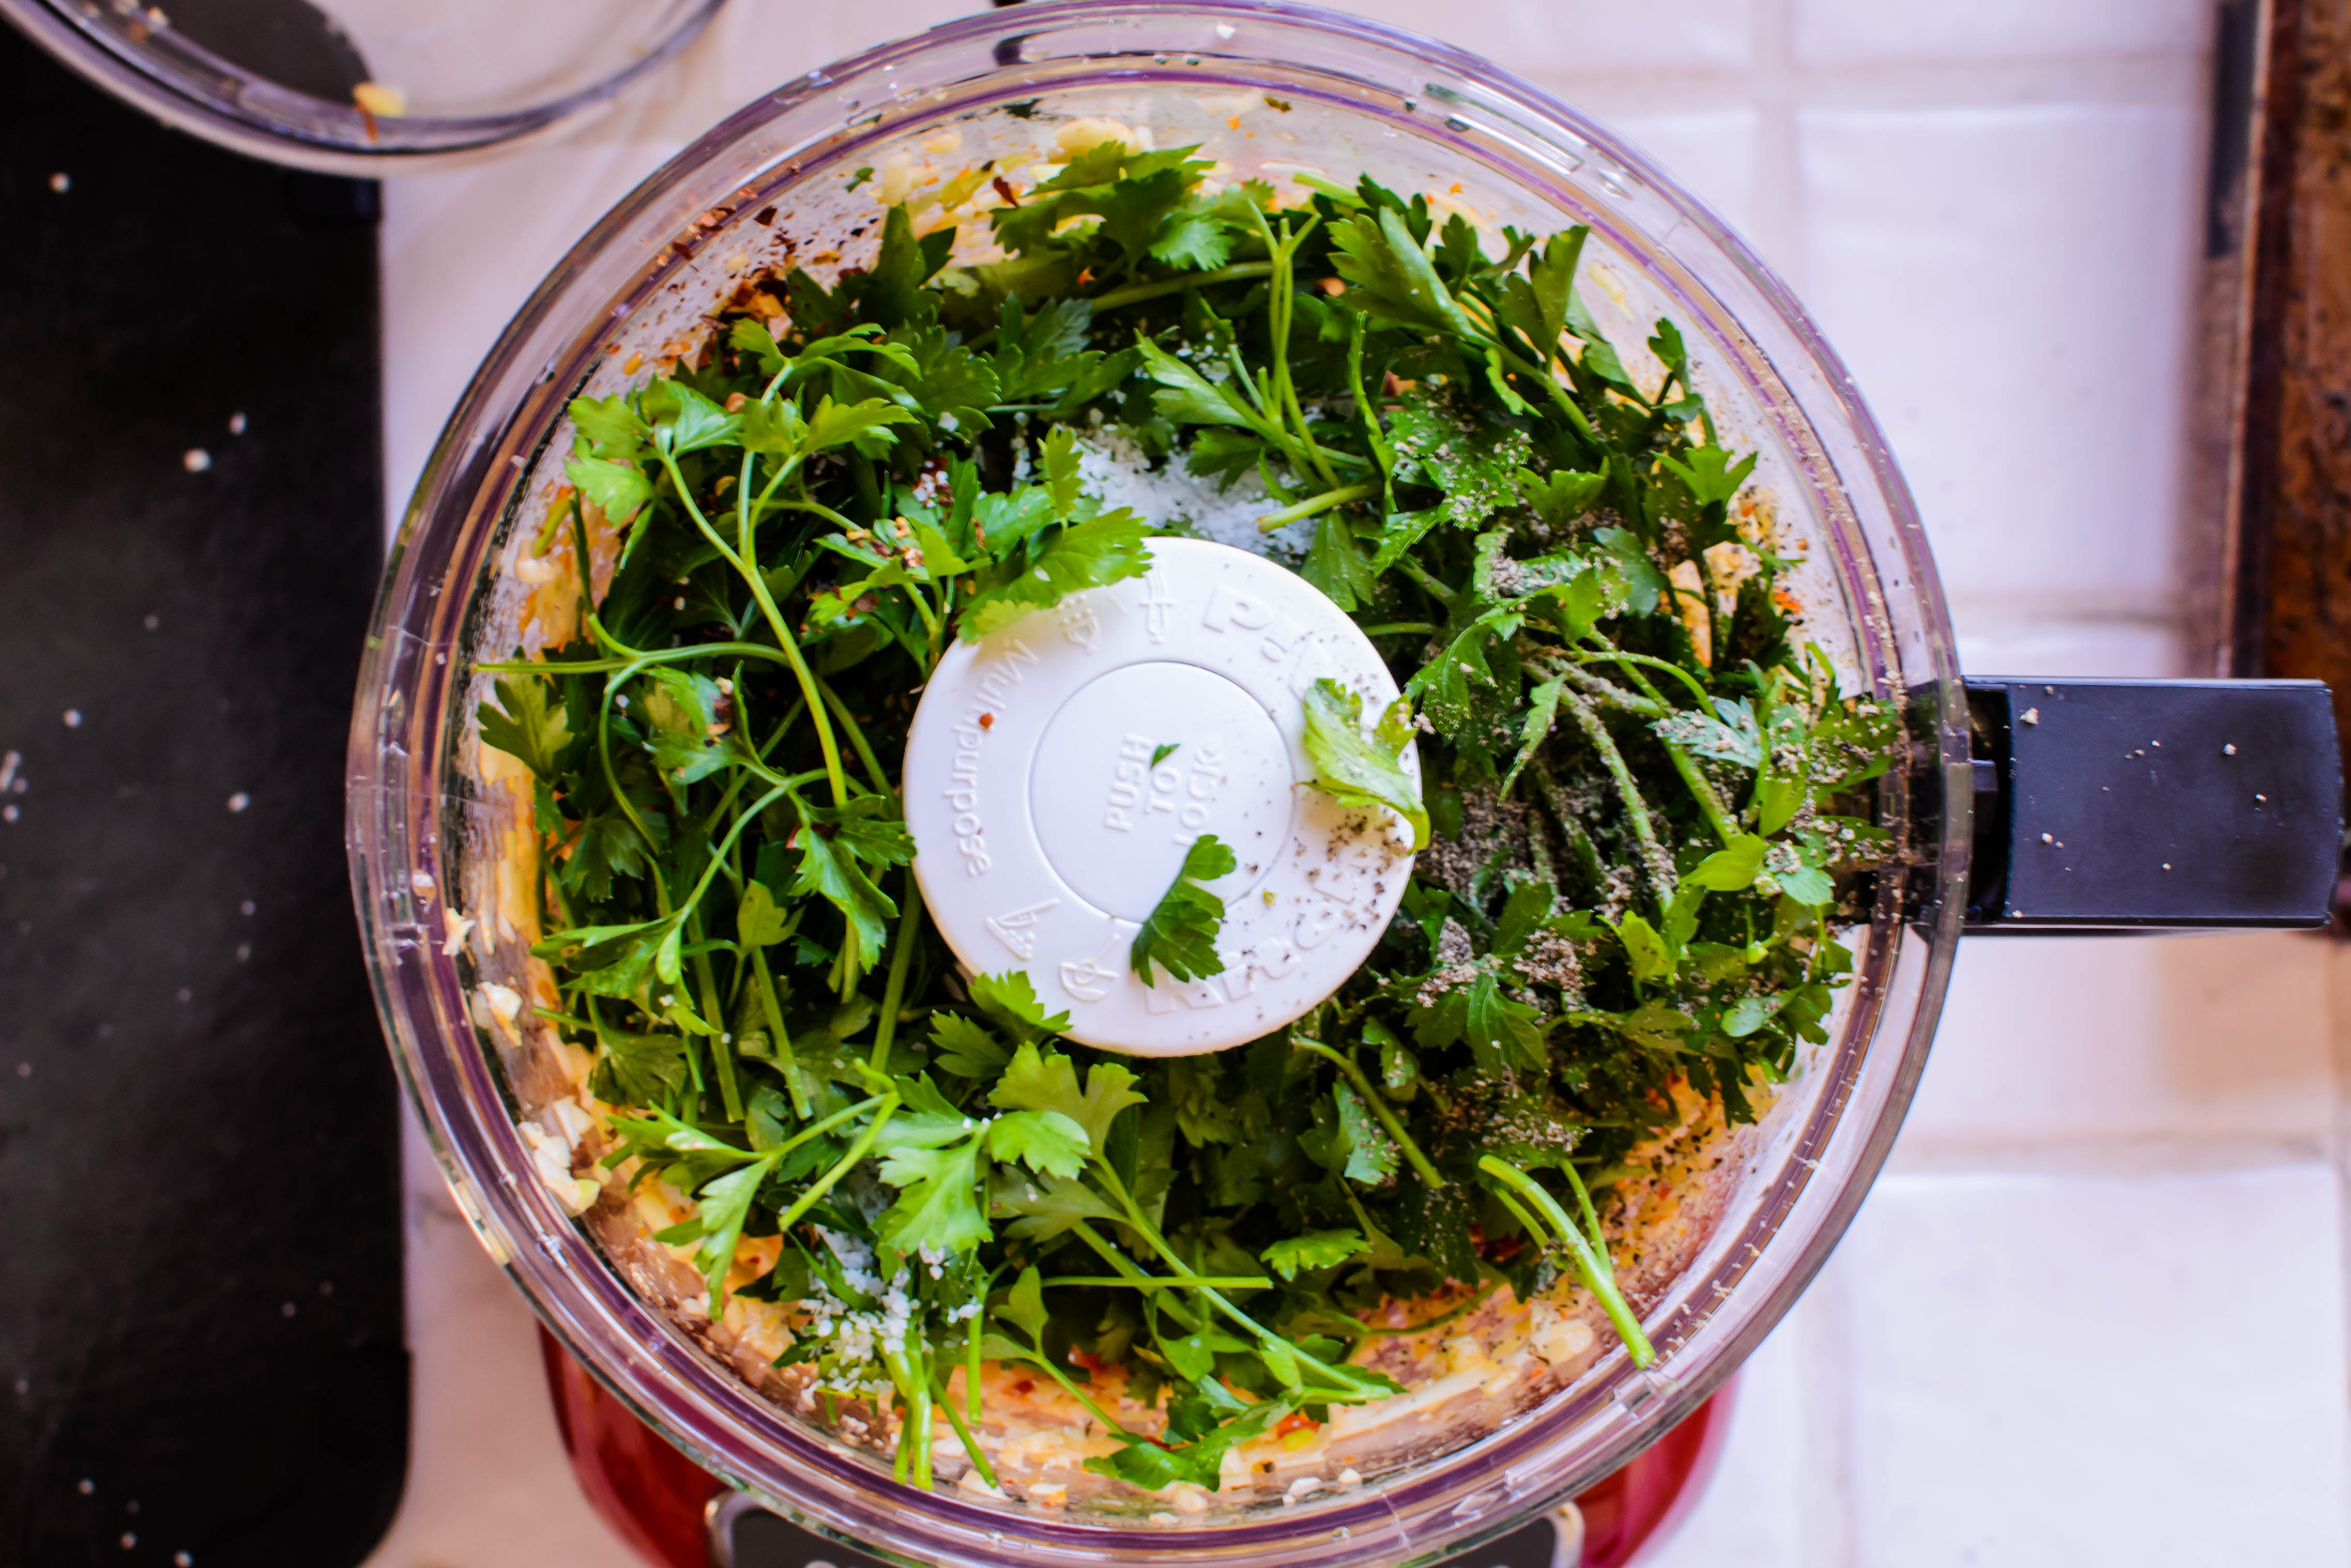
½ cup tahini
½ cup plain greek yogurt
½ cup flat-leaf parsley
2-3 tablespoons lemon or lime juice, or a combination
1 teaspoon honey
½ cup water, to thin
salt and pepper, to taste
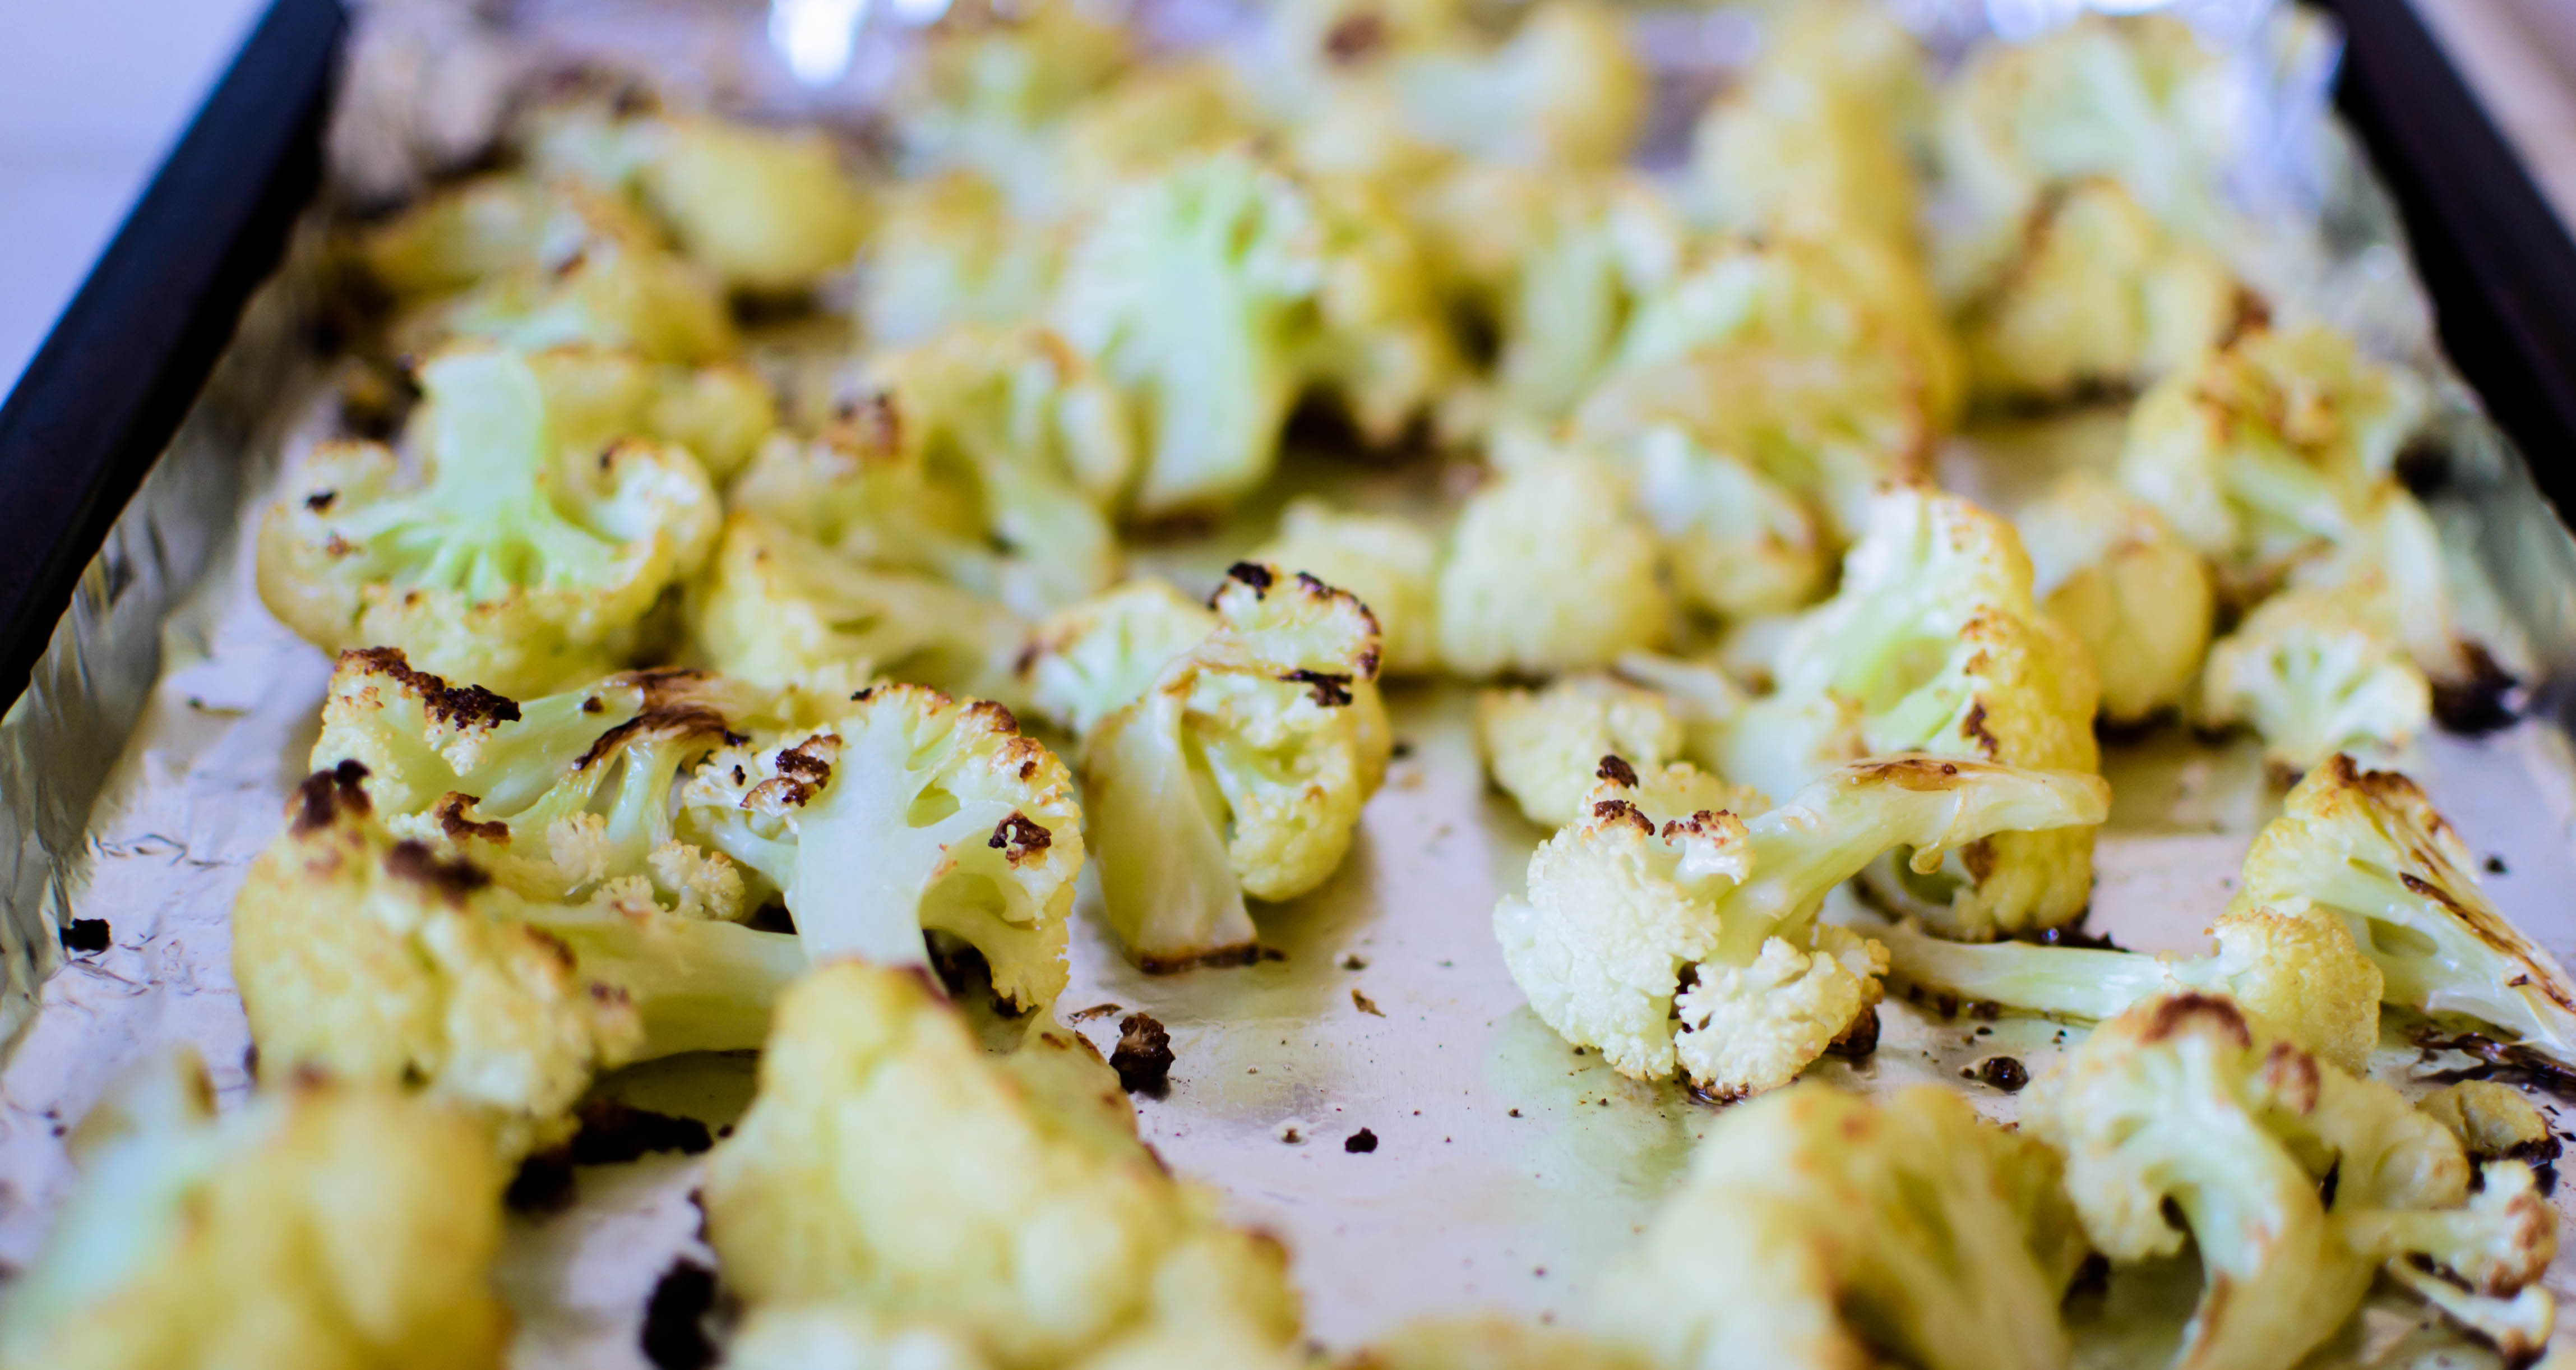
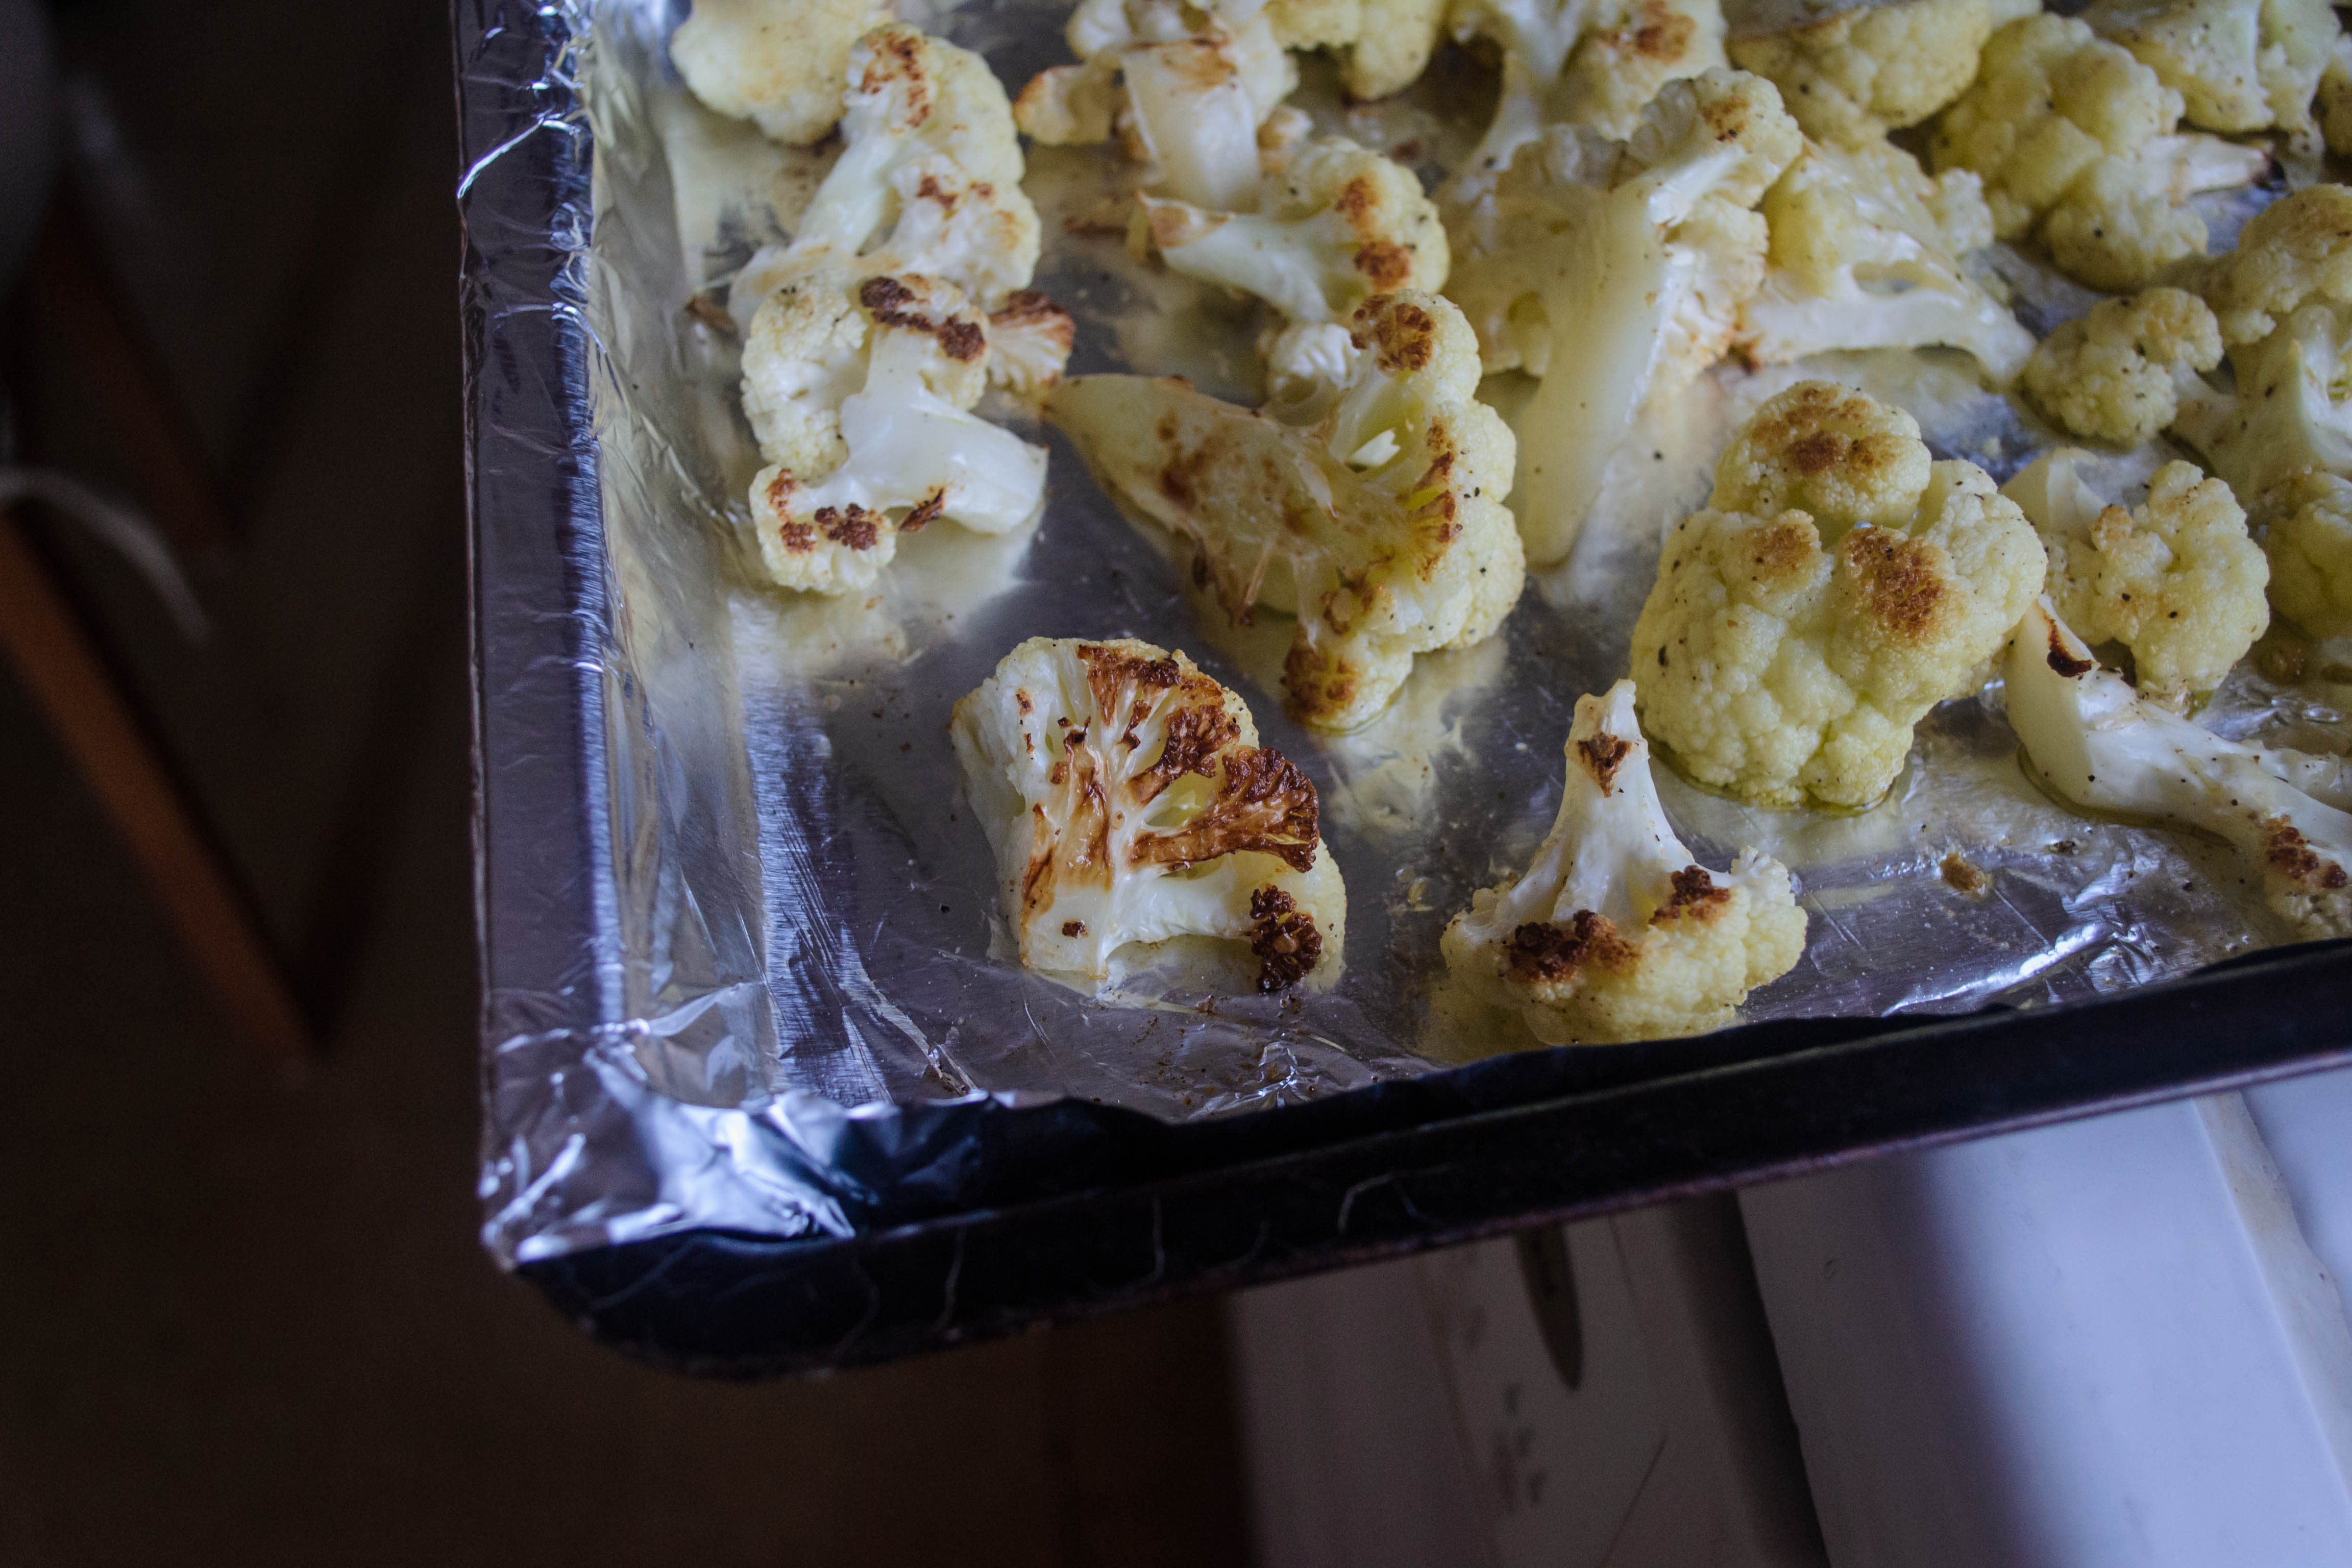
- Line two baking trays with aluminum foil and place them in the oven. Preheat oven, trays and all, to 450F.
- In a small bowl, combine all of the spices and the salt, stirring to be sure they are well-blended. Add the olive oil and stir or whisk to combine.
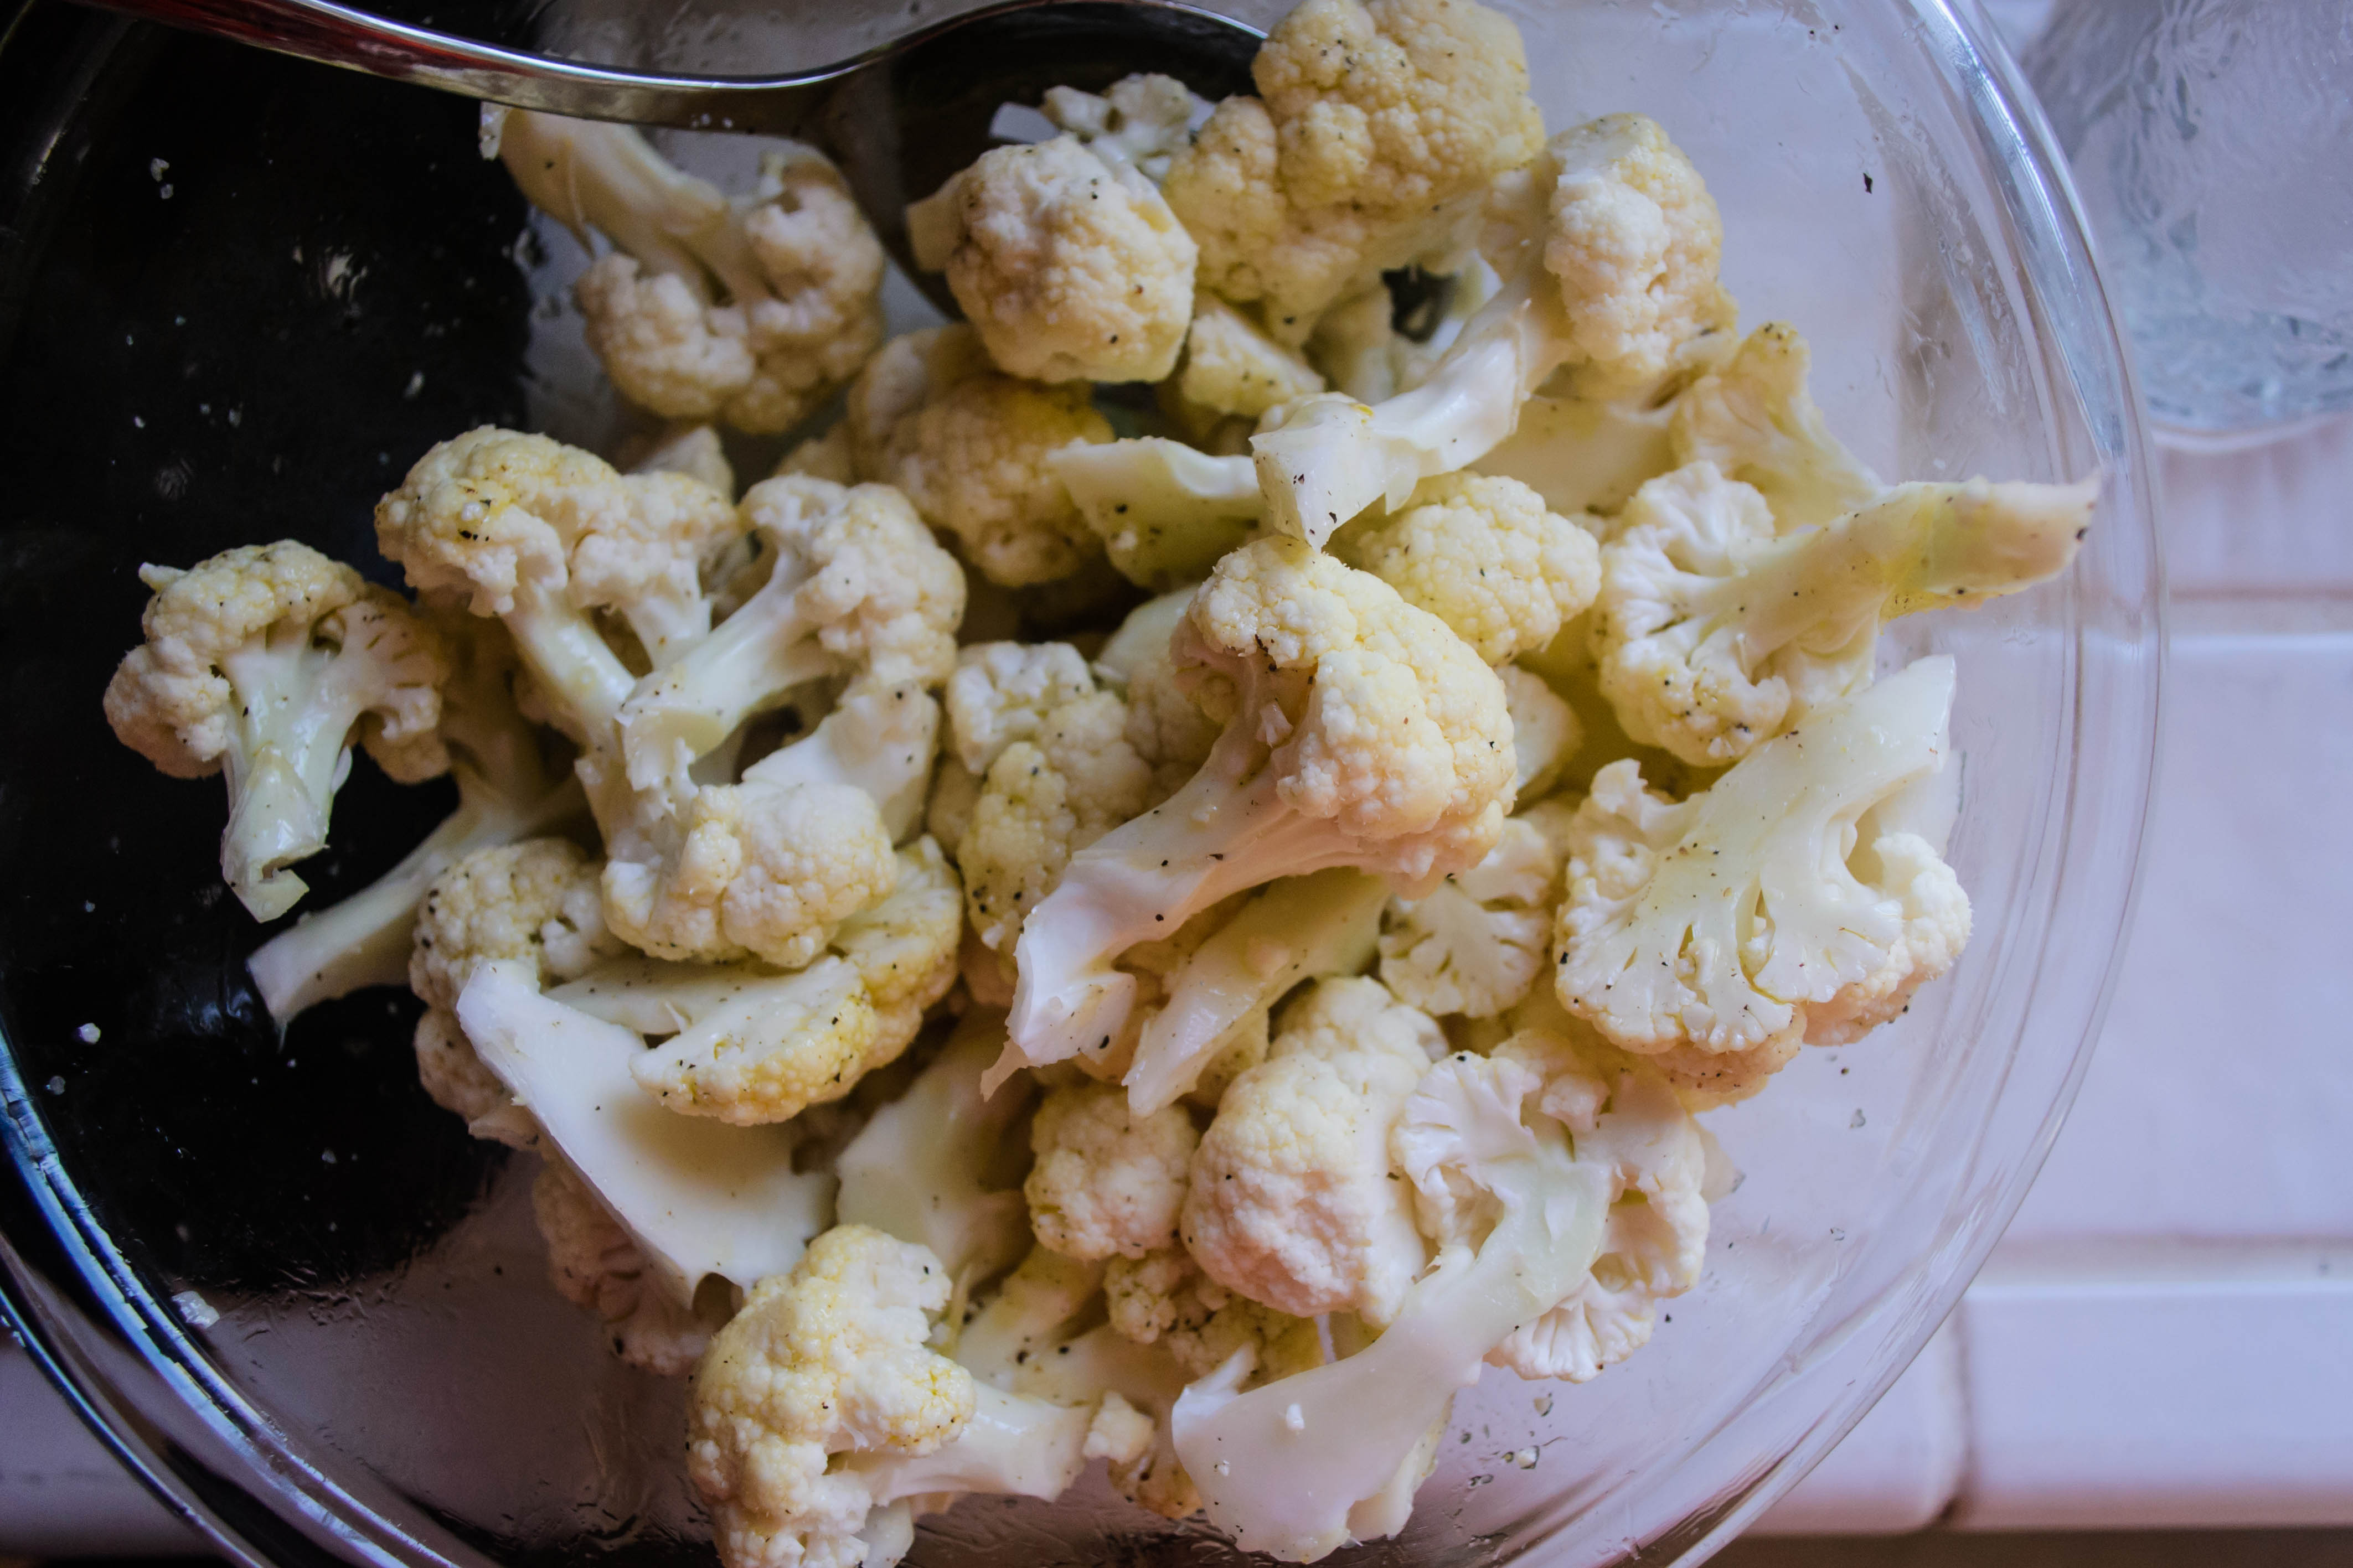
- In a large bowl, toss the cauliflower with about ⅔ of the spiced olive oil mixture, then spread on one of the preheated baking trays in a single layer (if possible).
- In the same bowl, toss the chick peas with the remaining olive oil and spice mixture, then spread onto the other baking tray.
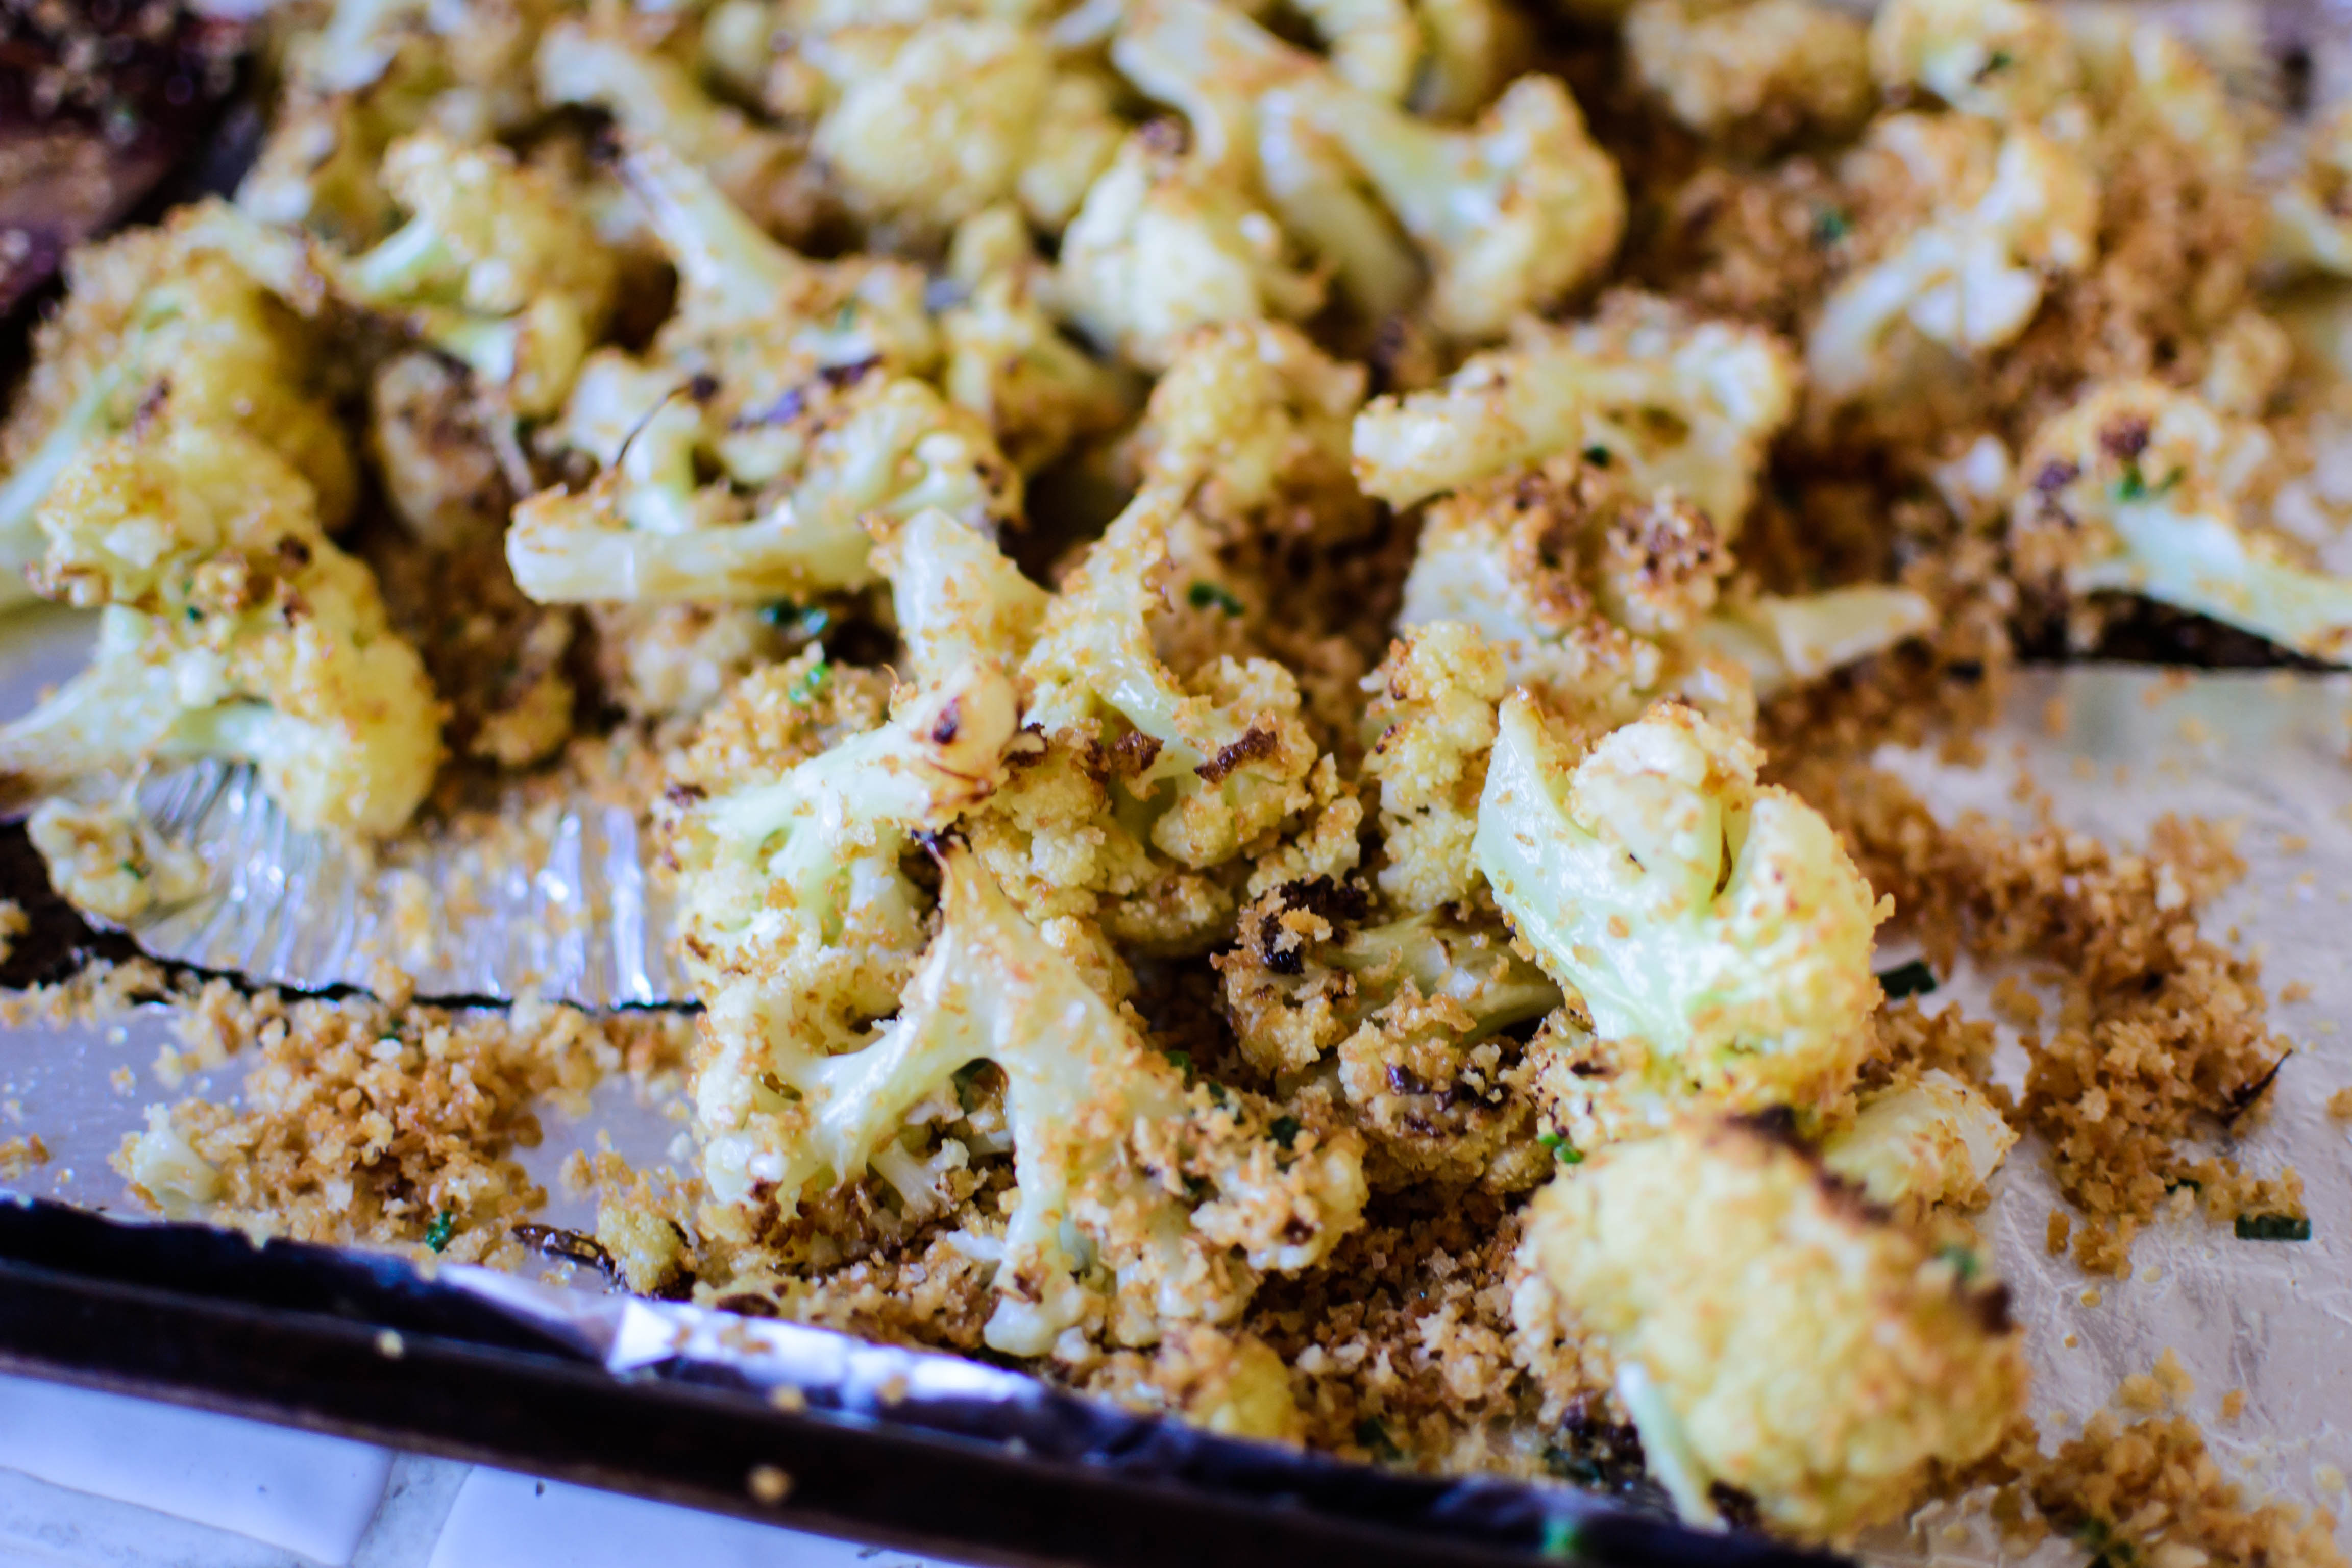
- Stow both baking trays in the oven and roast at 450F for 20 minutes. After 20 minutes, remove the tray of chick peas, shake them around a bit to deter sticking, and set aside. They should be toasty and crunchy. Shake and stir the tray of cauliflower pieces to promote even browning, then return just the cauliflower tray to the oven and roast for another 10-15 minutes, until both sides of most pieces are nicely browned.
- While vegetables are roasting, combine the tahini, yogurt, parsley, honey, and lemon juice in a food processor and whir to create a thick paste. With the food processor running, dribble in the ½ cup of water slowly to transform the paste into a sauce. You may not need the entire ½ cup – thin to your desired consistency. Season to taste with salt and pepper, then set aside and prepare your chosen form of taco shells according to your preferences.
- When the cauliflower is nicely browned and tender, toss it with the chick peas and stuff the mixture into taco shells with a few spinach leaves for freshness. Top with tahini yogurt sauce and serve immediately.