Two things come to mind when I think of split pea soup, both from childhood. In the real world, I think of my mom and sister – R. ate a lot of Campbell’s soups for lunch when she was little, and I remember Mom asking her whether she wanted some “hammy pea soup.” On screen, I remember the charming little clip from the beginning of Disney’s The Rescuers Down Under depicting how the fancy restaurant Bernard and Bianca go to gets its soup course to the table. Both memories charm me more than the actual product, so I decided, as a first real dip into the soup project, in a February that veers wildly between dreary and bright (and not just on a meteorological front), making this one over would be a rewarding project.
 I’ll be honest, though, right out of the gate: this is indeed a project. This is not a soup you’ll have on the table, or in a mug curled up on the couch, in a half hour or so. This is a multi-step, multi-hour prospect.
Are you still here?
Good.
 The average split pea soup is not unlike a dreary February day, the kind where you feel pressed into the couch by lack of motivation, or just unable to move away from your newsfeed. It is thick and heavy and sometimes muddy in flavor, as pulse-based soups can be. There are, I think, two ways to amend this. One is to go the daal route, amping up the spice quotient. The other, the one I chose, is to add freshness near the end of the cook time, forcing the wintry brew toward something springy, no matter what Punxsutawney Phil had to say this year.
 My method of freshening was almost entirely though association of the two major players. Split peas are a starchy, dry, processed product. Why not take them to a family reunion with their plump, sweet, former selves? A cup of frozen peas would jangle in at the end to brighten things up. The other major ingredient in the mix – the ham – is usually in the form of a “ham hock,” the lower part of the leg, smoked, with the skin and bone still present. Ham hock reminded me of collard greens, and I started wondering how some ribbons of greens, cooked until tender but not decimated, would do in this soup. Pairing collard greens with starchy legumes is hardly new – food historian Michael Twitty writes this important discussion of the cultural background of collard greens, including their frequent matching with peanuts in the cuisine of the African diaspora.
 Split pea soup usually has some other starchy ingredient in it – most often potatoes. I opted to omit this entirely, but you could certainly add some back in, or change it up and use celery root instead for a more herbaceous flavor. Instead, I made my base simple: carrots for sweetness and color, leeks for a mild onion-y punch, and just a bit of garlic to keep things savory. At the last minute, I stirred in a handful of parsley for a final bright burst.
 As I noticed when I consulted a few recipes for inspiration, differences in procedure really lie in how you treat the vegetables. Some recipes brown them first, then add the peas and broth, but this can result in disintegrated veg by the time the soup is ready. Some, to prevent this over-softening, add the vegetables part way through the cooking, but then the soup doesn’t benefit from the extra flavor a bit of caramelization and initial browning provides. The New Best Recipe cooks the vegetables in a separate vessel before adding them to the soup, and that would be fine if you don’t object to extra dishes… but I always object to extra dishes. I would rather it take longer and have less to wash up.
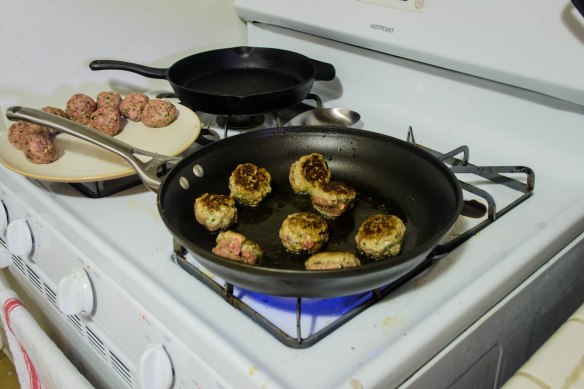
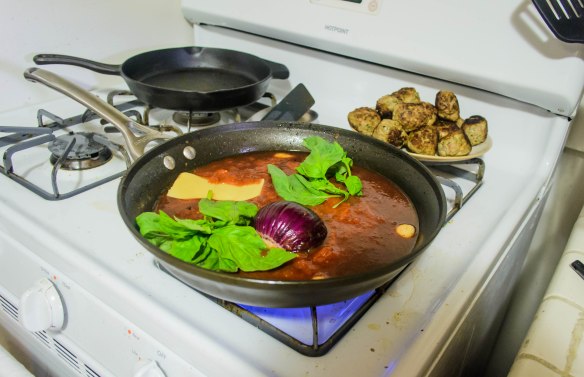
 In my procedure, we cook everything in the same pot. First, brown the exterior of the ham hock first (I used a smoked pork shank, but they are almost the same thing). Once it is crisp and golden on the exterior, the vegetables get browned in the residual fat (plus some fatty bits and pockets, if you want to carve any off and add them), then set aside until the final twenty minutes of simmering, so they retain some texture and have the extra flavor from the pork fat. Yes, this adds some time, but you’re prepped for a project anyway, right?
I have to admit, though I always want to like what I make, I wasn’t expecting to be crazy about this soup. With the dreary, February-gloom hanging around my expectations despite attempts to create brightness, I thought I would like it but not love it.
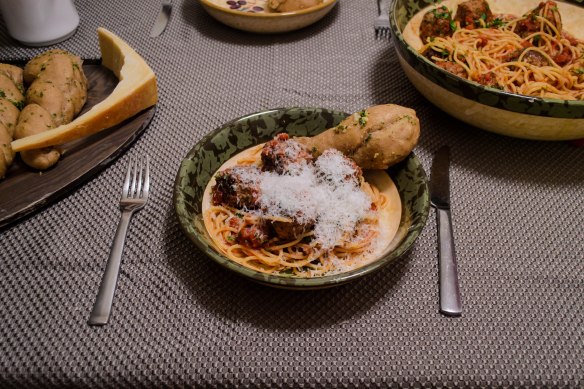
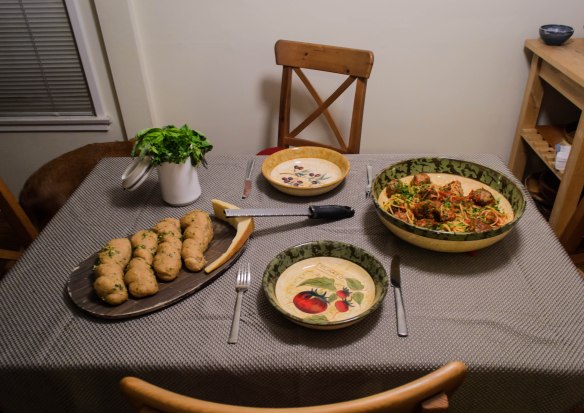
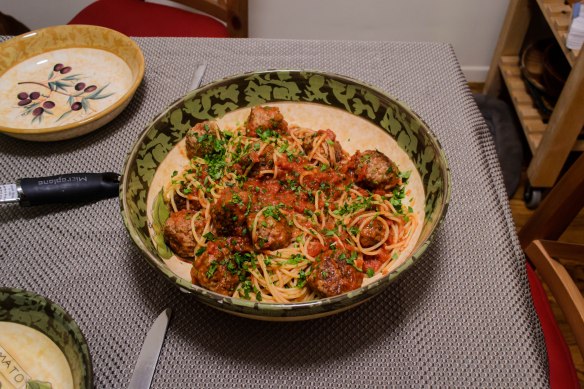
 It’s nice to be wrong sometimes, isn’t it? This soup exceeded my expectations by leaps and bounds. The play between the two kinds of peas – creamy and starchy on one hand and barely cooked pops of sweetness on the other – was delightful. The ribbons of collard greens were perfect: vegetal and tender, good flavor companions with the peas and the shreds of ham. Sometimes when I make a soup I end up freezing half of it and planning in vain to use it again, but this one we scarfed down the night of, and then for lunch the next day, and then for lunch again, and it was gone, and our bellies were warm and bolstered against the gloom of February.
This will keep in the fridge for 4-5 days in a sealed container, and reheats easily in the microwave or on the stove. You might need to add a drizzle or two of extra broth when reheating, since the peas suck up a lot of the liquid as they cook and as they cool. Delightfully, this is one of those soups that, while it’s delicious the first day, improves as it sits and its flavors mingle.
 * yes, that coaster does say “I want to hold your ham.” It’s from a set my sister gave me that features misheard song lyrics, the technical term for which (can I tell you how much I love that misheard lyrics have a technical term?!) is mondegreen.
Split Pea and Ham Soup with Collard Greens
3-4 hours
Serves 6
1 tablespoon olive oil
¾-1 pound ham hock, smoked pork shank, or bone-in picnic ham
2 leeks, white and pale green sections only
3 carrots, stem end lopped off, peeled
2 cloves garlic, crushed, papery skins removed
2 bay leaves
2-3 sprigs fresh thyme
½ pound green split peas (a little more than 1 cup)
ground black pepper to taste
salt to taste
1 bunch collard greens, tough stems removed
1 cup frozen green peas
¼ cup chopped fresh parsley
- Begin by prepping the vegetables. You’ll be happier later. For the leeks, slice off the root end, then cut vertically so you have two half-moon shaped logs. Rinse these under water, working your fingers between the layers to excavate hidden dirt. Shake vigorously. Set on your cutting board with rounded sides up, then cut in half vertically, then in half again so you have four piles of thin strips, as in the photo above. Slice across these strips to produce small squares. For the carrots, cut each in half horizontally, then in half vertically. Treat these like the leeks, slicing each rounded half-log into four thin strips, then cutting across the strips into small pieces. For the collard greens, once you have removed the tough stems, stack the leaves in a pile and roll them up tightly into a fat log. Slice across the log into thin ribbons. You can cut those into smaller pieces if you want to, but I liked the look and feel of the ribbons.
- In a large pot, heat the olive oil over medium high heat. When it is shimmering, add whatever sort of ham you’re using and cook until all sides are nicely browned: 2-4 minutes per side. Remove the meat and set aside. Lower the heat to medium and add the prepped carrots, leeks, and garlic. If the ham has some pearly fatty bits, carve those off and add them to the pot with the vegetables to continue rendering. Cook, stirring, until nicely caramelized: about 10 minutes.
- Remove vegetables and fat scraps to a plate. Discard the fat scraps, if there were any, but reserve the vegetables. In the pot, add the stock or broth or water, the ham again, and the bay leaves. Cover the pot, turn the heat up to medium high until you reach a boil, then reduce heat to a simmer, cover the pot, and simmer until the ham is tender and pulling away from the bone. For me, this took about 90 minutes. It may take you up to 2 hours, depending on what kind of meat you are using.
- When the ham is quite tender and pulling away from its bone, remove it from the fortified cooking liquid and set it aside until it is cool enough to handle. After it cools, separate the meat from the bone and shred the meat. Discard any rind or fatty bits.
- To the cooking liquid in the pot, add the thyme sprigs and the green split peas. Keep the liquid at a simmer for 45 minutes, until the peas are tender but not dissolved. Once you’ve shredded the ham, you can add the bone back into the cooking liquid if you wish. Season to taste with salt and pepper, keeping in mind you’ll be adding ham back in, which can be quite salty.
- With the peas tender and just beginning to fall apart, add the reserved vegetables, the prepared collard green ribbons, and the shredded ham to the pot. Return to a simmer for 20 minutes. Many of the split peas should now have collapsed into a creamy mess.
- Finally, add the frozen peas to the pot and cook just until they are hot – another 5 minutes at maximum. Remove the bay leaves, the crushed garlic pieces, and the ham bone, if you put it back in there. Stir in the parsley, taste for seasoning once more, and serve, preferably with a piece of garlic-rubbed toast to dip.
Save
Save
Save

 This is a dish that plays with tradition, inspired by a place that plays with tradition. And really, as we approach a time of the year deeply steeped in traditions, I think that’s nice: to be able to play while invoking the original makes both the respected origins and the process of recreating (read like the kind of “recreation” you do during a summer vacation, not like the semi-faithful attempt at “creating again”) more fun.
 Traditionally, patatas bravas are fried cubes or chunks of potato, served warm with a spicy sauce as part of a tapas spread. These are whole baby or fingerling potatoes, cooked through, smashed lightly, then pan fried until pieces of the skin go quite crunchy and small pieces that fall off get crackly in the almost-smoking oil at the bottom of the pan.
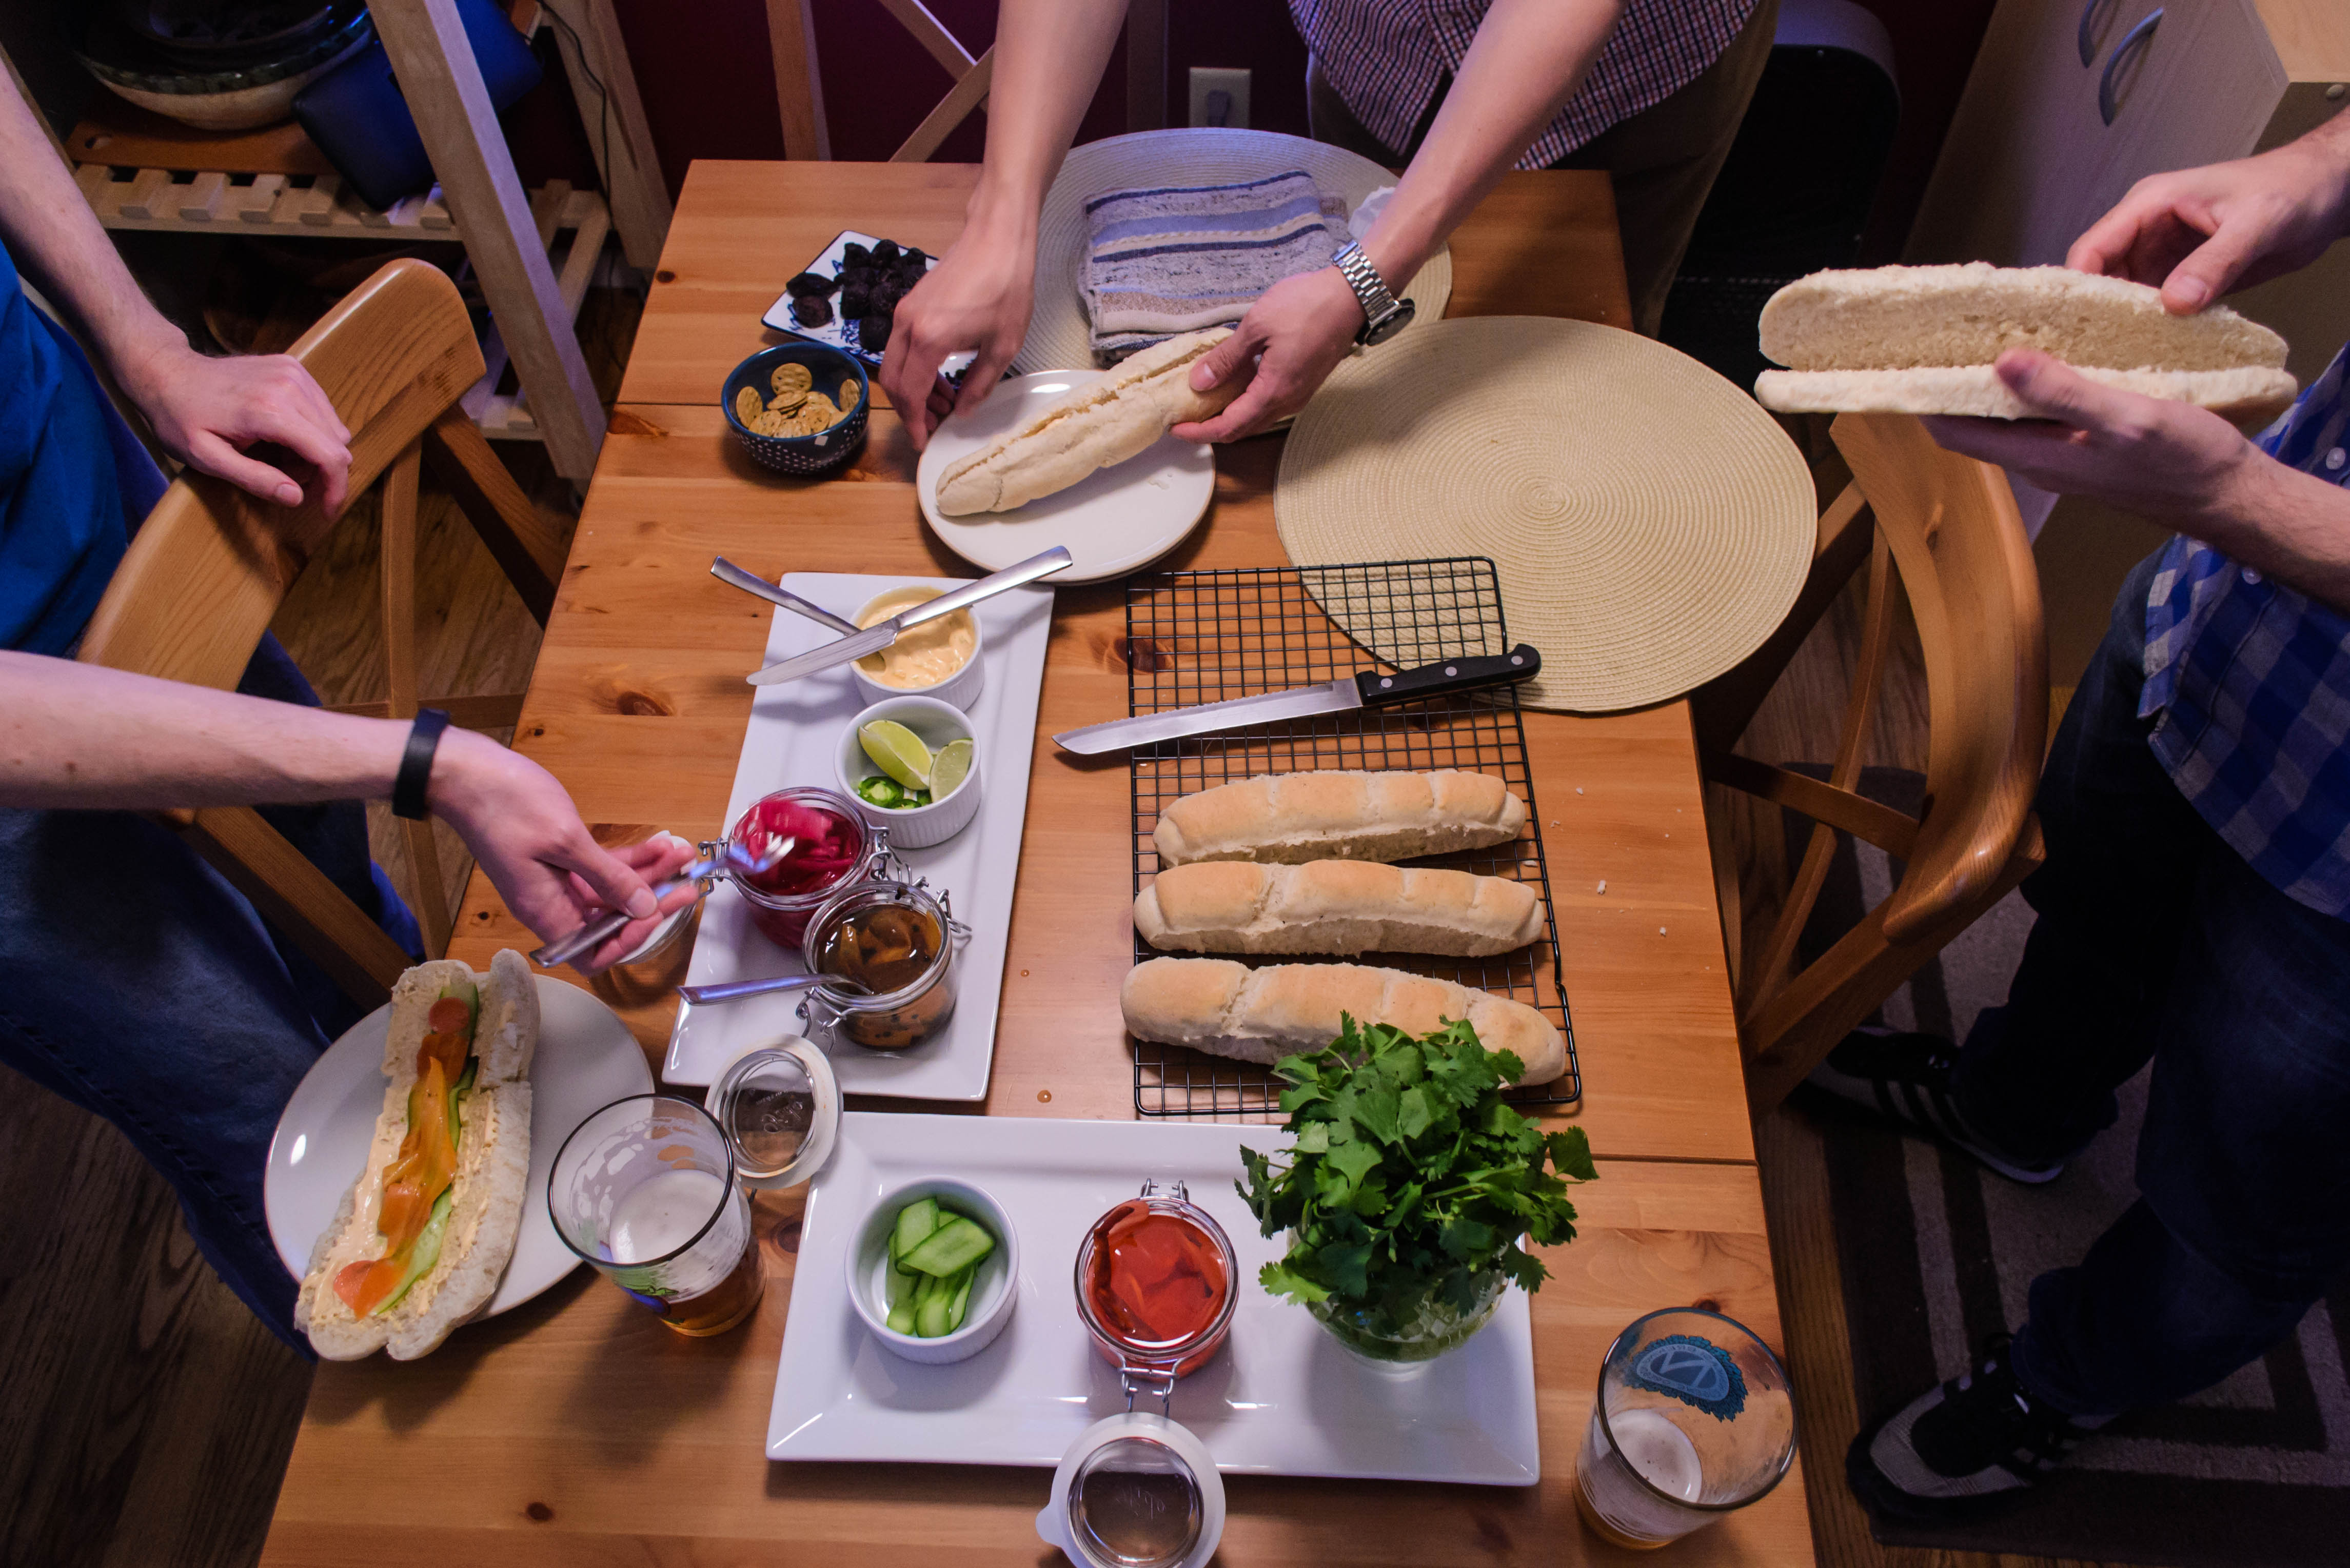
 Sofrito, on the other hand… well, the thing about tradition here is that sofrito differs depending on where it’s being made. As well as Spain and Latin America, Italy, Greece, and even the Philippines have versions of this cooking base of aromatics and vegetables, long simmered into something like a ragout. This one, with red bell pepper as well as onion and garlic and some crumbles of chorizo, probably most closely resembles the Cuban iteration.
 The dish I’m recreating here was served to me years ago as an appetizer at Father’s Office, a Westside gastropub staple and home not only of the divisive Office Burger, but of the delightfully draconian “no substitutions, no ketchup” policy (which I for one appreciate, though understand others’ objections to). Instead of the controversial burger, N. and I ordered a few small plates to share and couldn’t get over these potatoes, which arrived in a golden heap, their skins wrinkled in a way that can only be achieved by deep frying, smothered in a rich, spicy sofrito that, forgive me, was not exactly like a thick chili, but is the best way I can describe the sauce if you’ve never had it. On top of that, a generous crumble of goat cheese and some cilantro sprigs, and the same night I was looking up the history and variations of the component parts so I could recreate it.
 It’s funny, then, that I forgot about it, and it only resurfaced when N. suggested it for dinner last week. Even funnier, given that we exclaimed our enjoyment through the whole meal, that I could have gone half a year or more at a time without thinking about it. I hope, after you dig in, that doesn’t happen to you.