As the culminating entry in this sauce project, where else could we end up but drowning in butter? I realize it’s after Christmas, which means you might balk at this, but it’s not January just yet, which I think means it’s safe to endure one more indulgence before we resign ourselves to a month or three of crisp winter salads, pickled vegetables, and herb soups (actually, all of that sounds pretty good… maybe I’m just hungry).
 But before we get to all that, reflections are in order. As the Parson in Geoffrey Chaucer’s Canterbury Tales promises in introducing his sermon, it is time to “knit up all this feast and make an end.” This is a meal of endings. The month is almost over, and the year is fast on its way out after that. Even my camera battery decided to go with the theme, running out of juice mere moments after I snapped the top photo.
 I chose sauce as the subject for this year’s project because I knew only basics about it. It struck me as mysterious – puddled round or gently but surely emulsified over various restaurant and food-TV displayed dishes, deeply flavored and succulent, providing a link between the otherwise fractured components on the plate. I was acquainted with some – the kind of softly thickened, creamy concoctions resulting from a roux – but terrified of others – hollandaise and mayonnaise and this final entry, béarnaise, seemed outside the arsenal of an ordinary home kitchen. Why else would eggs benedict always cost so much on a brunch menu? Yet they weren’t as frightening as I’d expected. In fact, despite being prepared to make multiple versions of each and frantically fix broken or greasy sauces, I had little trouble. And as I wound my way through the project, some lessons became clear:
1.) Butter is king. Though there are some recipes that rely on simple reduction as their method for producing thick, glossy pours, most require fat to add shine and to help emulsify, and because so many of these classic sauces are French in origin, there is no other fat even under consideration besides butter. It makes sense, too. Bringing a sauce together frequently requires emulsification, which means suspending together insoluble droplets together to thicken the liquid. Whole butter is a combination of fat and water, which means as it sits there all innocent and golden in that paper-wrapped stick, it is already an emulsion all on its own. If you’re going to work with sauces, be prepared to go through a lot of butter. Just remember you’re usually making enough sauce for a crowd, so it’s not quite like you’re chowing down on that whole stick all by yourself…
 2.) There are three main methods of thickening: eggs, flour or starch, or reducing. The eggs help thicken the sauce because they cook, transforming from a viscous goop into supernatural, temperamental velvet. The flour and starch work by expanding as they heat in the liquid you whisk them fervently into – they swell and absorb and, if you’re assiduous in your stirring, result in an evenly thickened mixture, not a soup full of doughy clumps. Saving these, however, the simplest method of thickening is reducing. Since in most cases a sauce is a pot of liquid suspended over heat, enough simmering is going to result in loss of water, and the more water evaporates from the pot, the less there is left in the sauce. Evaporation, though, takes time, which leads me to lesson three.
3.) Don’t rush. While these sauces are not particularly difficult to make, they do take time. Bringing a pot full of liquid even to a light simmer takes a while, and if you want a thick, glossy reduction in less than five minutes, you’re going to be disappointed. Much of the rich savoriness achieved by something like a veloute or a barbecue sauce comes from simmering away the water in your mixture to concentrate the flavors. As for the egg-based incarnations, mayonnaise just doesn’t come together in an instant. Be prepared for the long haul before you can spread it on that sandwich.
 4.) Get ready to stir. While we’re considering the long haul, it’s not enough to just throw a pot of sauce on the stove and walk away for a while. In almost every case, a successful sauce is the result of determined and consistent whisking for long minutes at a time. Eggs scramble, flour lumps, and milk curdles if left unattended. Since the objective of sauce is a smooth texture, be prepared for the stirring this requires. Relatedly, this also means having your ingredients pretty much prepped before starting the process – there’s just not time to finely mince a shallot at the same time you’re vigorously stirring a pot of slowly expanding egg yolks.
5.) Carnivore-friendly. Vinaigrettes and dessert offerings excepted, most of these sauces to seem to be intended for consumption with flesh of some sort, whether that be fowl, fish, or four-footed. Some are based around meat broths or stocks, while others just classically pair with specific cuts. This month’s offering, for example, is a classic steak-house luxury. I suppose this is reflective of an era in which meat is the focal point of a meal. But we found that, far from a necessity, many of these sauces are just as enjoyable puddled over a pile of lightly steamed vegetables or roasty starches. Because really, a thick emulsion of butter and egg yolks should be poured over almost anything, as far as I’m concerned.
So let’s get to that whole butter and egg yolks thing, shall we? As sauces go, béarnaise is not so different from last month’s beurre blanc. In fact, as restaurant legend goes, beurre blanc was an accident, created by a chef who was intending to make béarnaise, but forgot to add the egg yolks. That tells you much of what you need to know about this fluffy, decadent concoction. Reduced wine and vinegar, some aromatics, egg yolks tenderly and assiduously whisked like a hollandaise, and then an embarrassing amount of melted butter carefully dribbled in. It emulsifies into a pale, almost foamy lemon-colored sauce that is a bit strong on its own, but utterly lovely enrobing everything from red meat to barely blanched green beans.
 I wasn’t sure I would love béarnaise sauce at first, because in order to be a classic béarnaise, it has to be flavored with a hefty note of tarragon, an herb with lush, pointed leaves redolent of that most repulsive of flavors: black licorice. The anise-y taste it imparts in its dried form exiles it from my spice cabinet, and I was worried that stirring a whopping three tablespoons of it into my sauce would render it inedible. Surprisingly though, despite the strong aroma, the final flavor is delicate and inoffensive. It’s noticeable, yes, but in the final product it’s just an herby freshness not so different from basil.
Because this was sort of an occasion, being the final sauce and all that, we decided to make it celebratory and eat béarnaise with its classic pairing. In addition to the crisp-tender green beans and smashed potatoes, we inhaled thick slices of seared chateaubriand, a thick cut from the tenderloin similar to filet mignon. Over this, the béarnaise dribbles and foams and mixes, and the richness is decadent and heroic, and we didn’t lay our forks down until every molecule of food was gone from those plates.
I hope you are enjoying the holiday season. Project Sauce may be over, but with New Year’s Eve just around the corner, there is one more sort of sauce I think you should consider. And in this case, you don’t even have to make it. You just have to hit it. And then let someone else take you home and tuck you in. Happy New Year, friends. I can’t wait to tell you about the project for 2015.
Pretty Classic Sauce Béarnaise
Makes a little over 1 cup
8 tablespoons unsalted butter (1 stick; 4 ounces)
1 shallot, minced (1/4 cup?)
1/4 cup white wine
1/4 cup white wine vinegar
3 tablespoons finely chopped tarragon leaves, divided
1 teaspoon crushed peppercorns
3 egg yolks
salt to taste
- In a small pot, melt the butter, skimming off and discarding the bubbly scum that forms at the surface.
- Meanwhile, simmer the wine, vinegar, peppercorns, shallots, and 2 tablespoons of the tarragon leaves until only a tablespoon of the liquid remains. Strain into a glass or metal bowl and let cool for a minute or two.
- Set the bowl over a pot half full of water and begin warming it up over medium heat. Before it has a chance to heat up much, add the three egg yolks to the bowl with the wine mixture and whisk vigorously. Continue to whisk as the water comes to a bare simmer.
- Continue whisking the yolk mixture until it is doubled – about 5 minutes. It will become pale and fluffy.
- When yolk mixture has doubled, turn the heat down to low and begin dribbling in the melted butter a few drops at a time. If the mixture begins to look curdled or really shiny, remove from the heat for a minute, whisking constantly. This will slow down the speed at which the eggs cook. If you’re really nervous about it, add about a teaspoon of water and whisk vigorously to bring things back together.
- Continue whisking and dribbling in the melted butter, on and off the heat, until all the butter is added and the sauce is thick. Add the final tablespoon of chopped tarragon, season to taste with salt, and set aside in a warm spot until ready to serve – a thermos works very nicely.

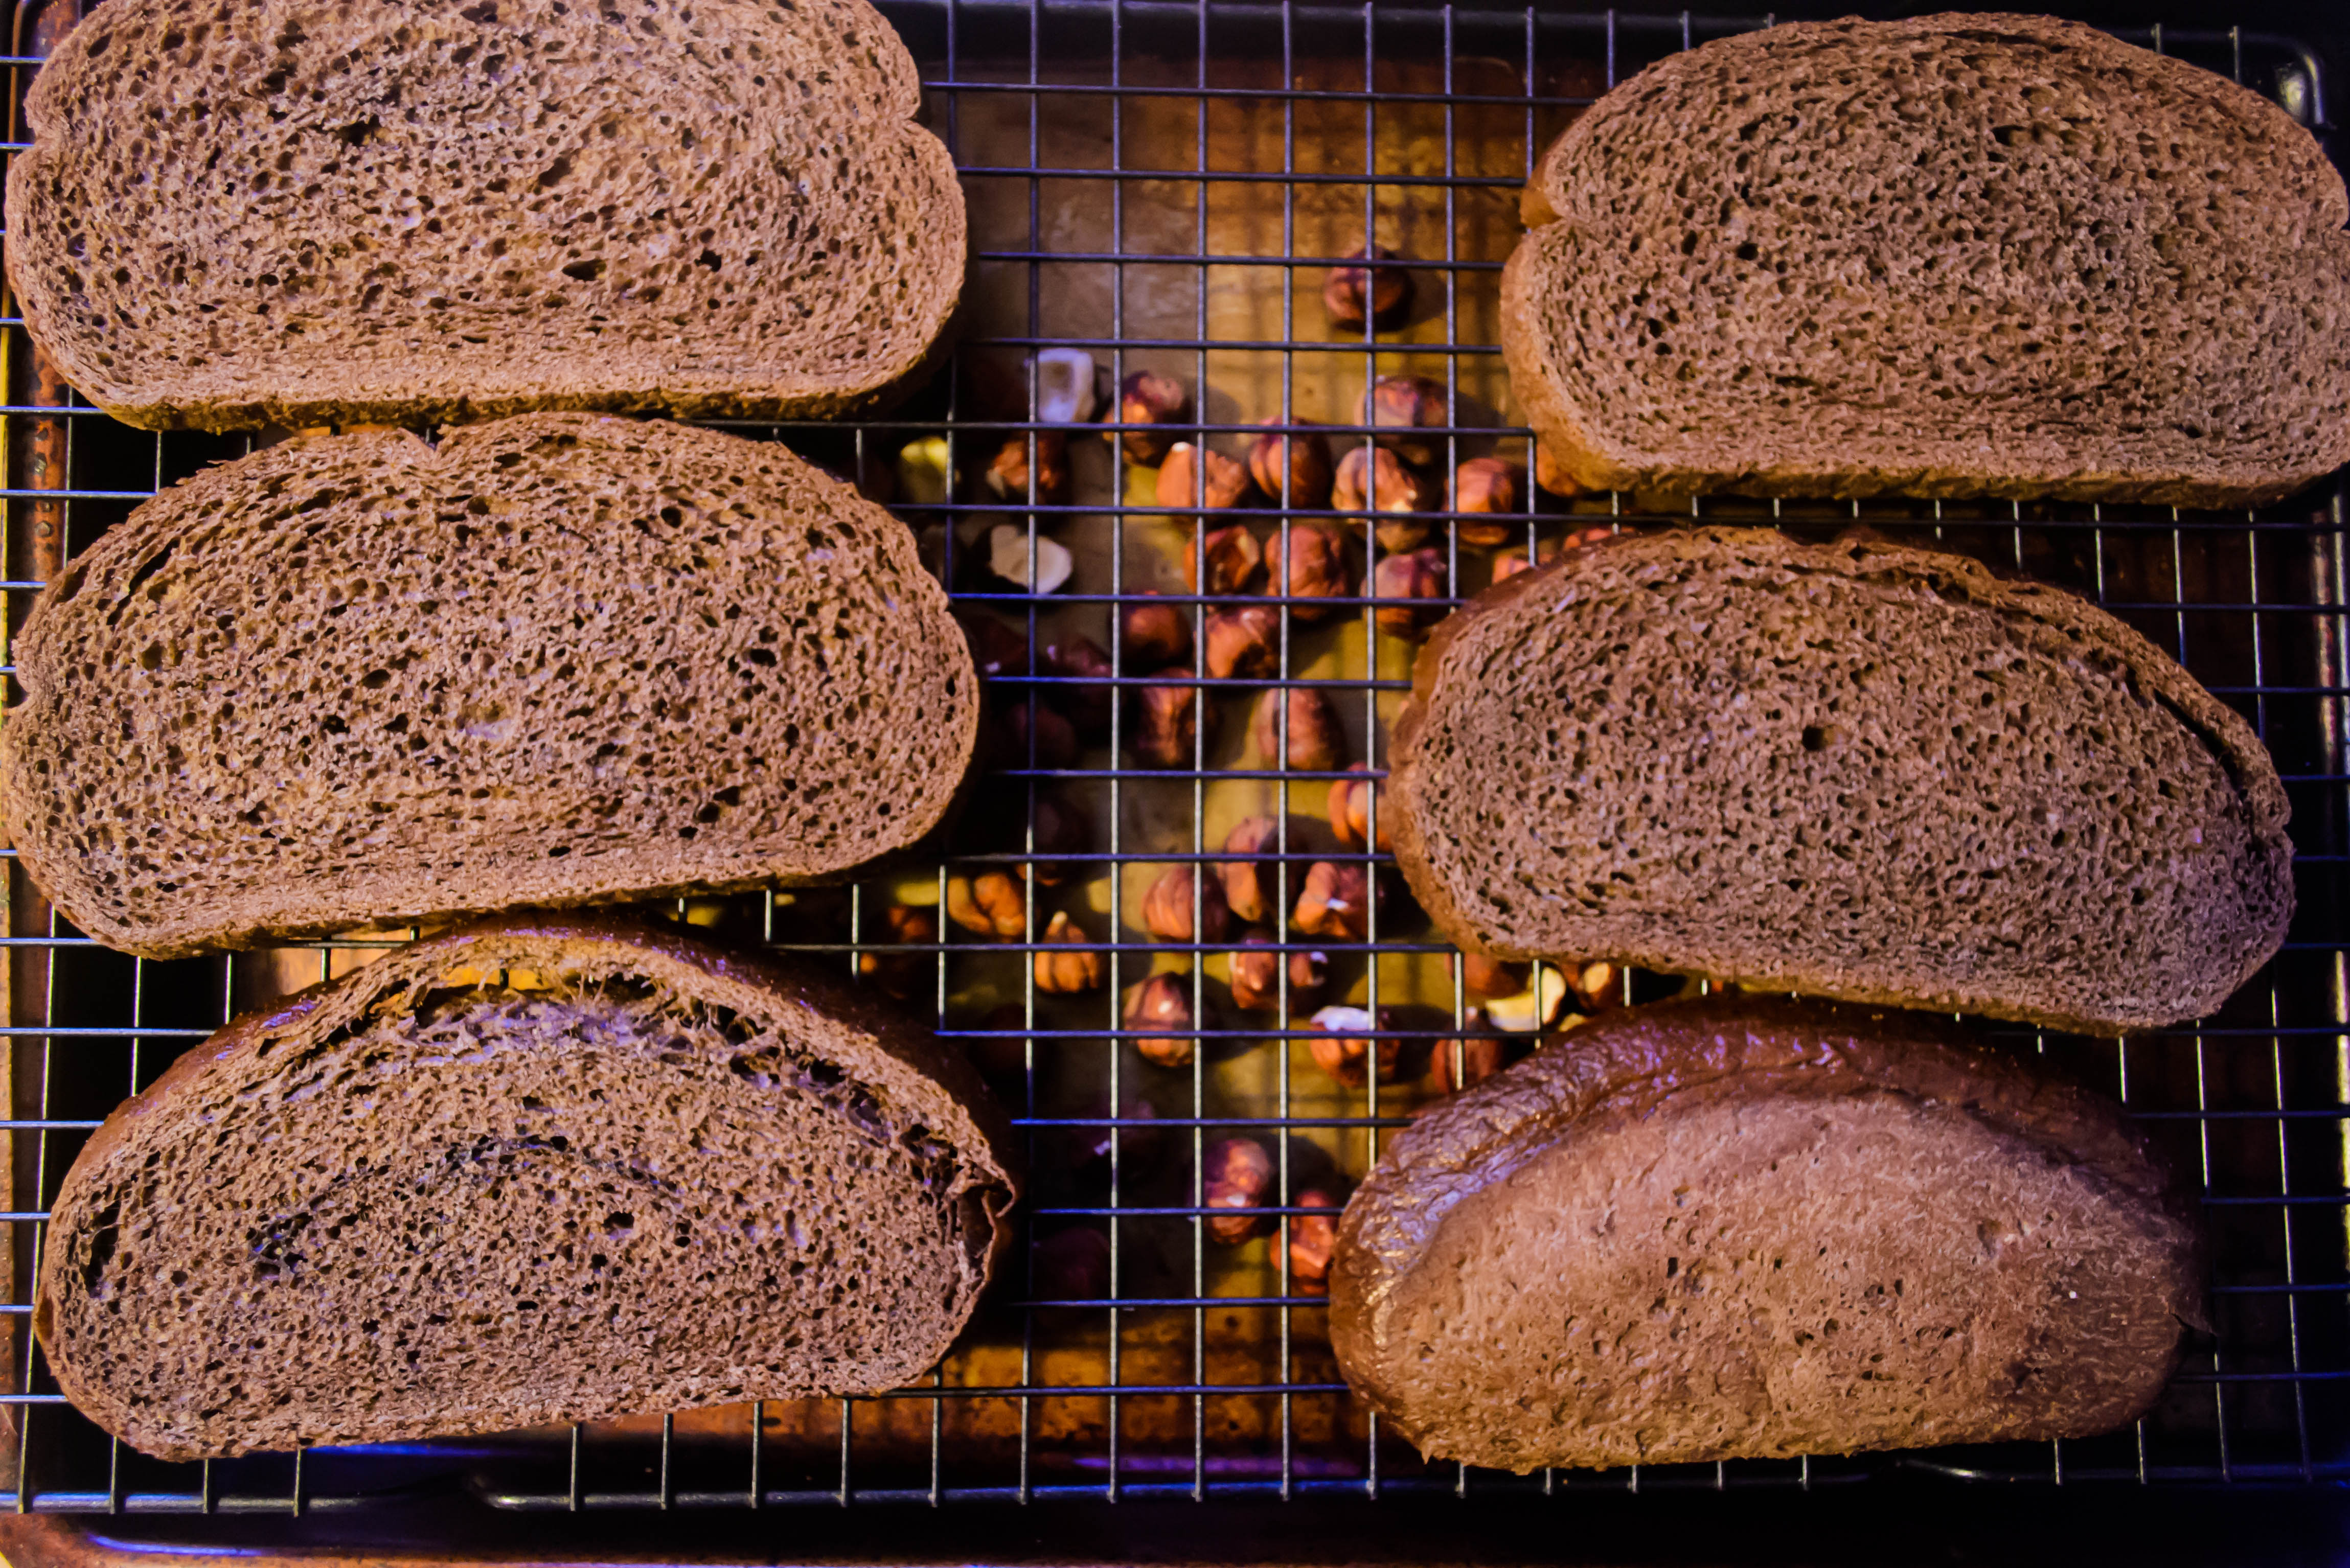
 When I think about my food photographs from this year, this one tops the list. It seems like an odd choice – it’s just olive oil on bread, a simple shot and a simple idea. But that’s part of what I like about it. It shows a beginning: something good about to develop. Additionally, I love the glistening look of the olive oil spilling over those slices, and I love how apparent the holes in the ciabatta are. Finally, I like that I took this photo myself – only one hand on the shutter button, hoping for steady fingers as I poured olive oil with the other.
 Here, I love the perfect cup of my coworker’s hands around the spring roll she was so delighted to wrap. The focus on the roll itself, though you can still see clearly the lines and prints of her hands, shows your eye exactly where to look. I’m not always a huge fan of centering the main event in a photo (it can get expected and even boring after a while), but here it was the right thing to do.
 This one is all about the angle. Often I like to shoot dishes from an angle level with or just above the table they sit on – it makes for a clear image of their size, texture, and composition. But this one, as I stood on a chair bending over the dish, captured just the right glow from a nearby window, and showed off the ragged edges of the scoops in such a pleasing way.
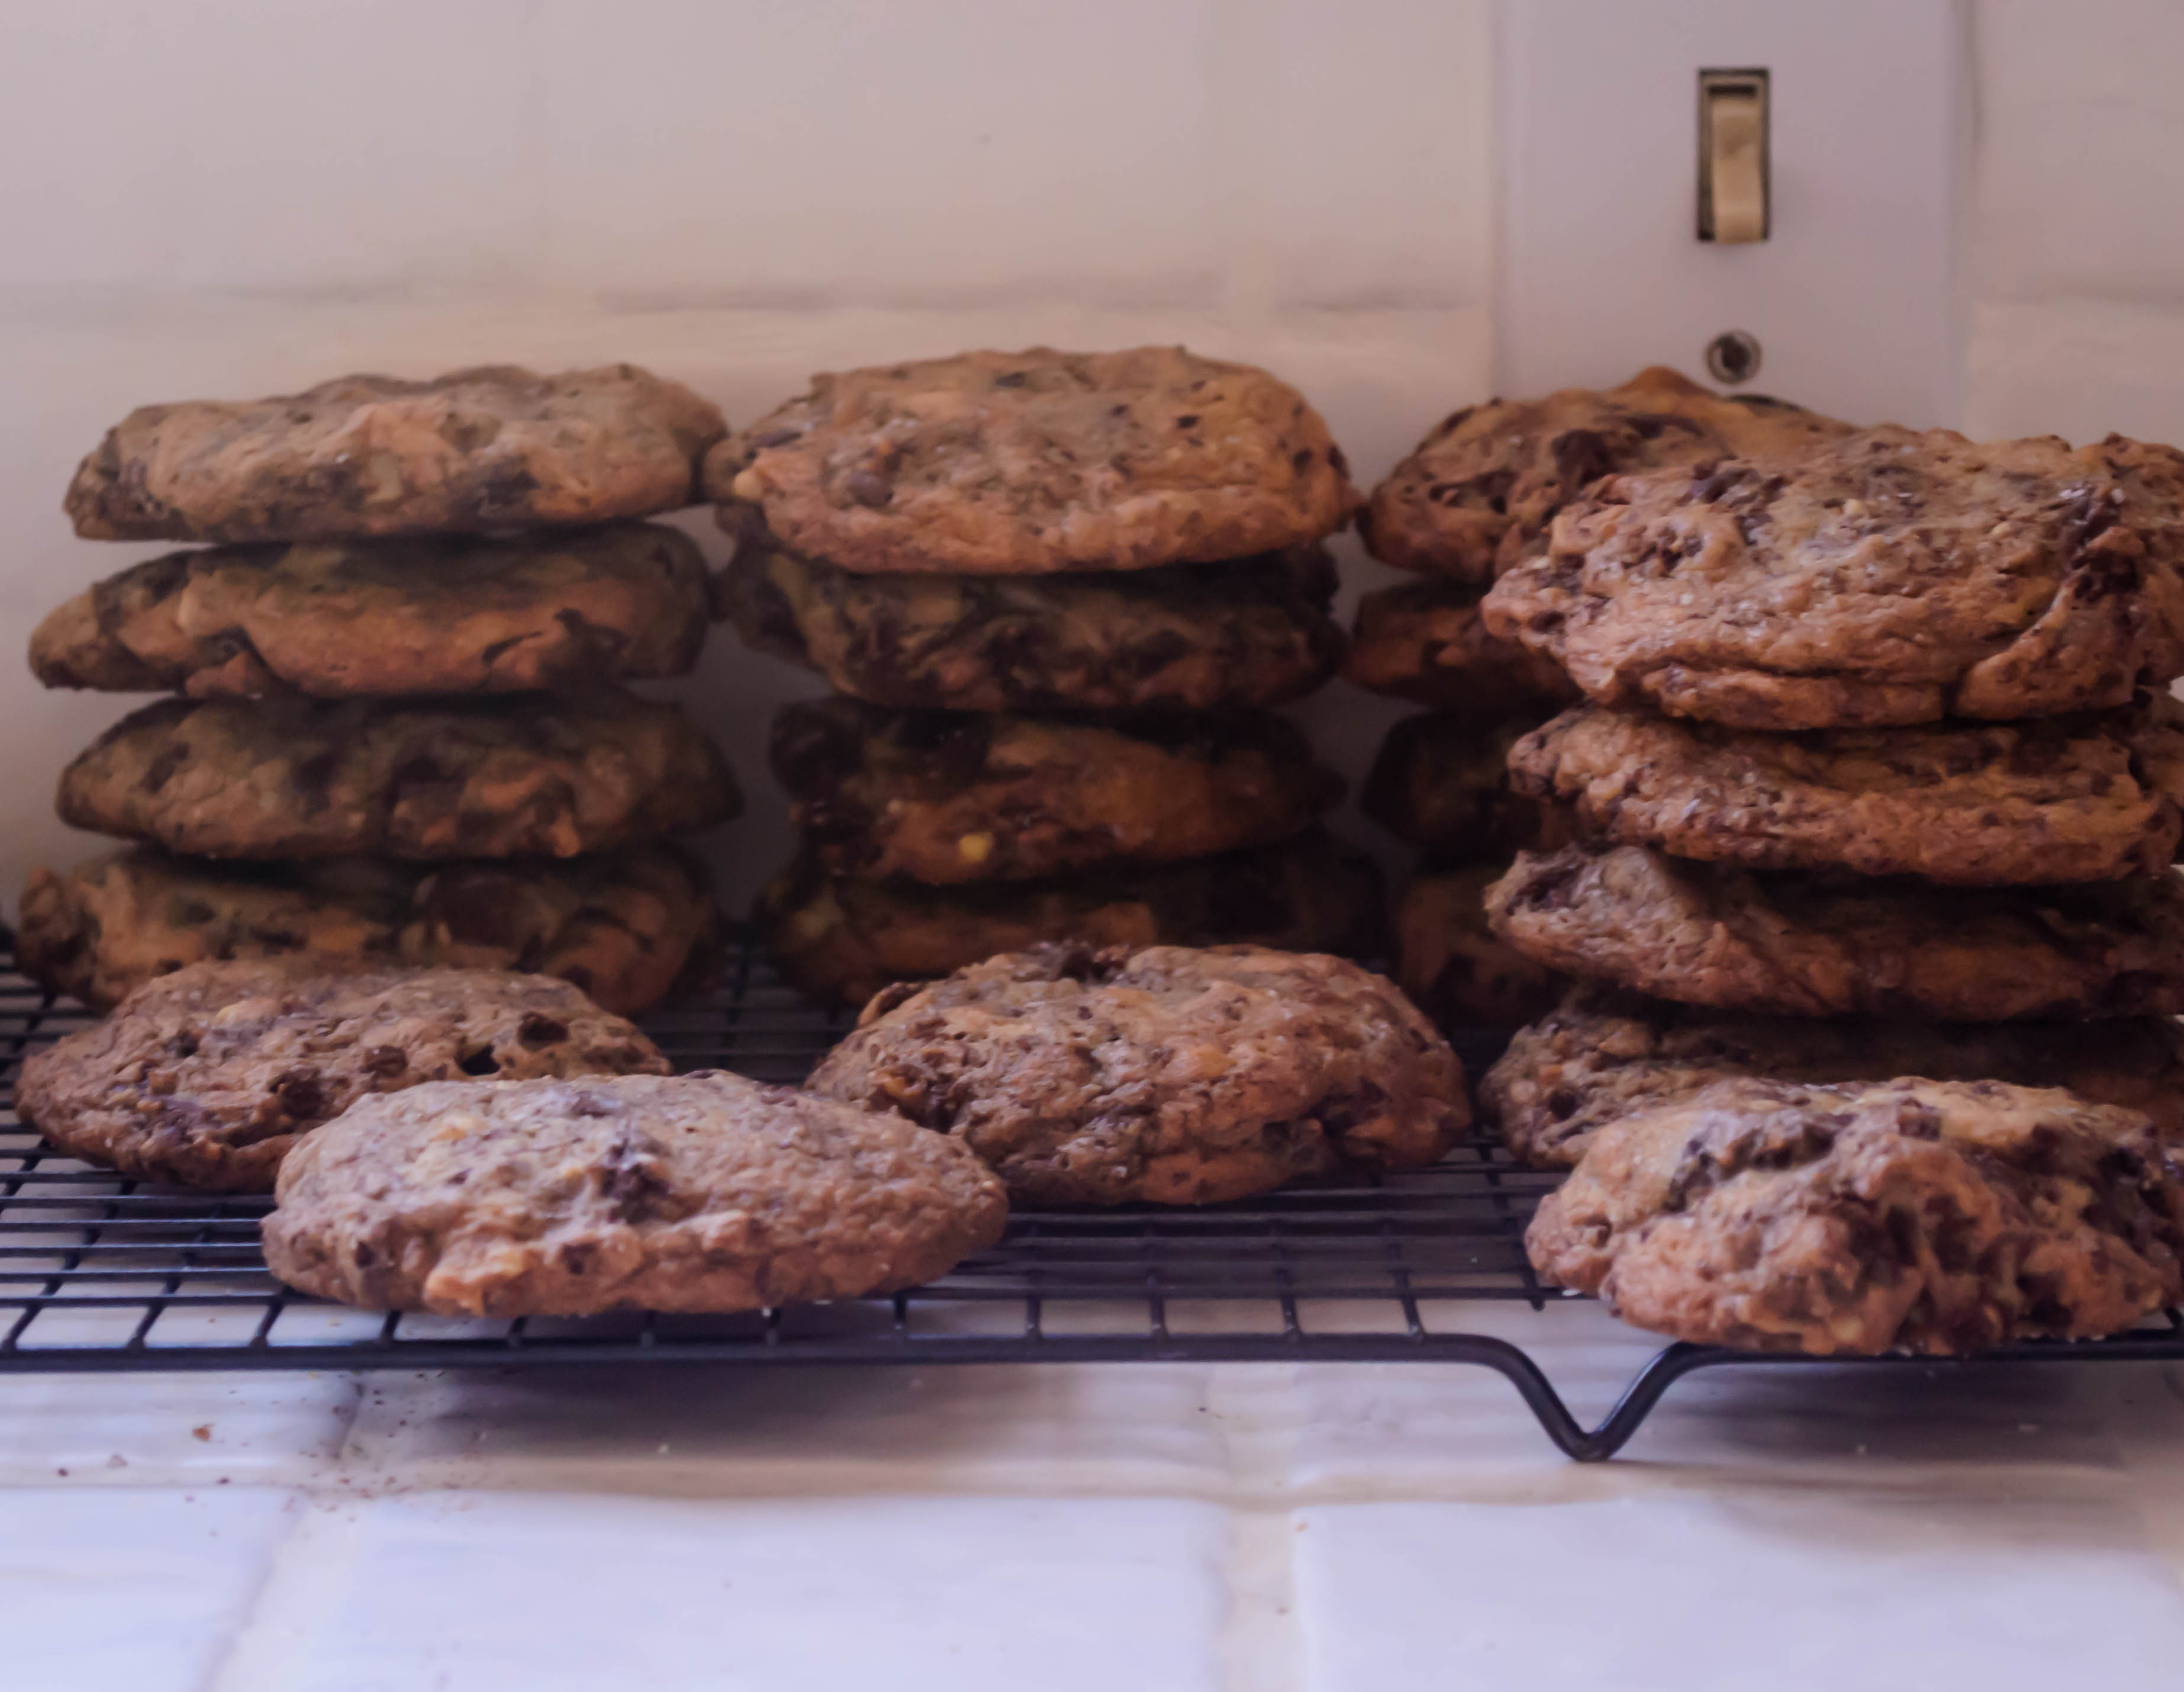
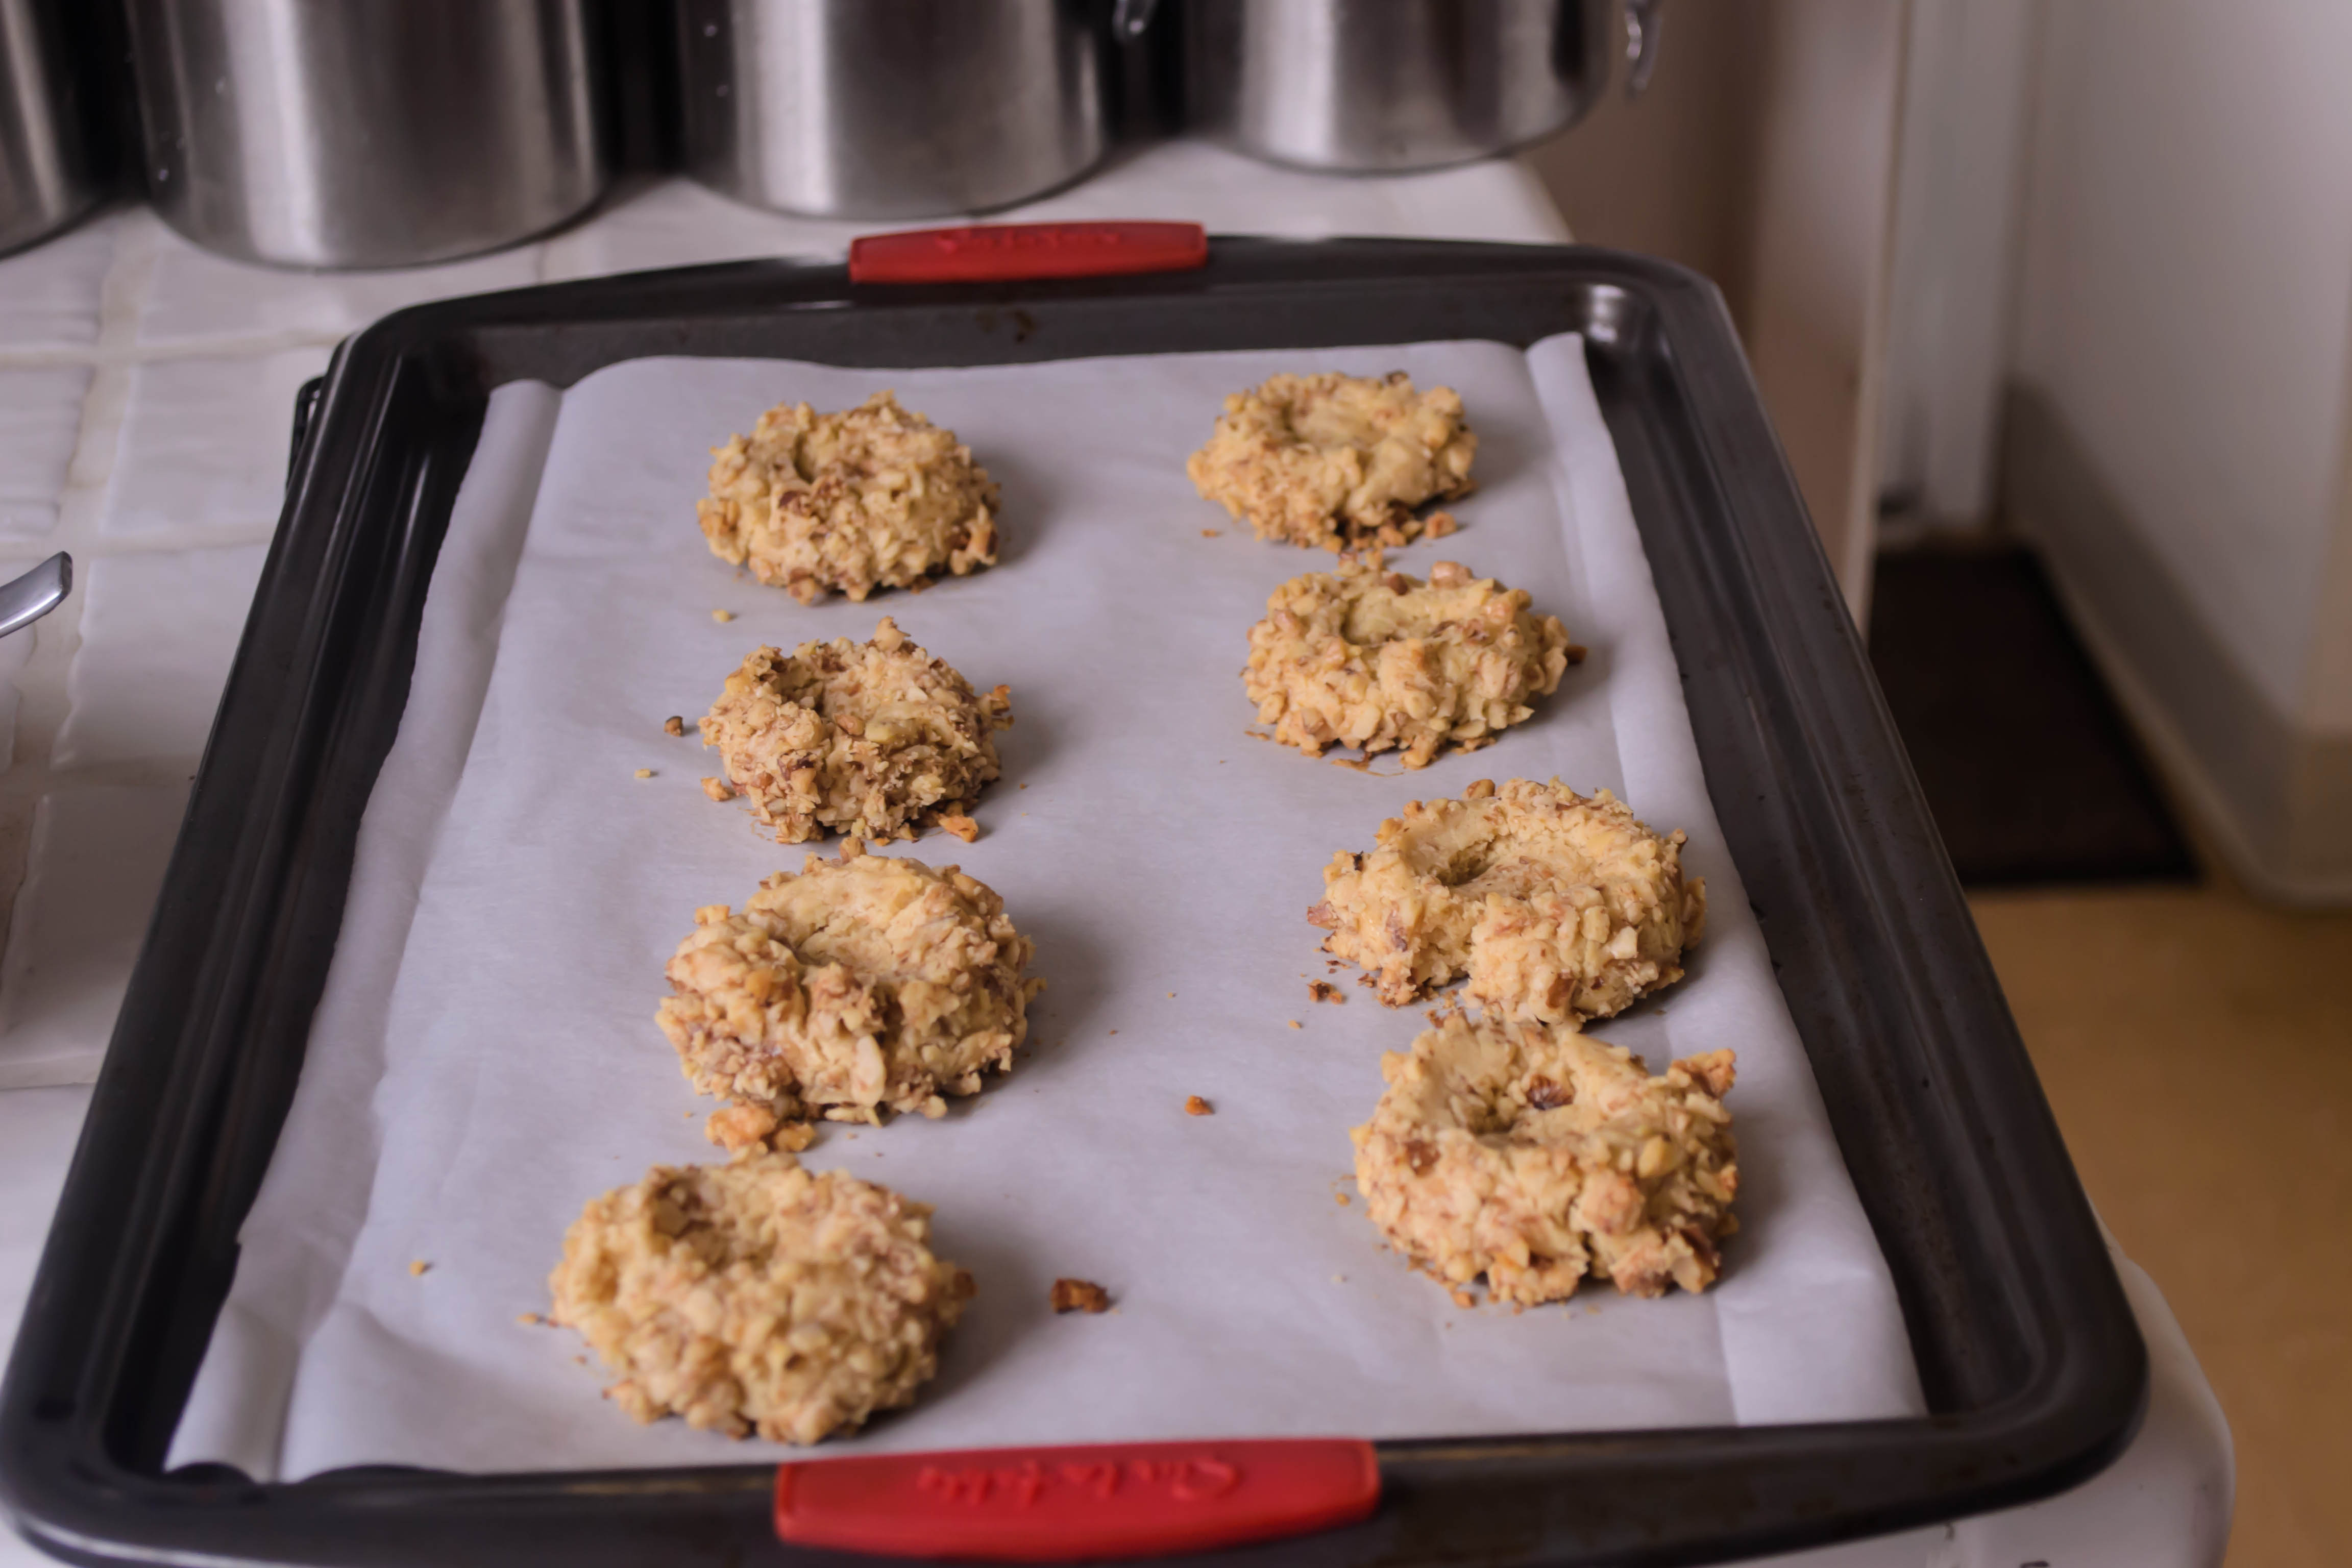
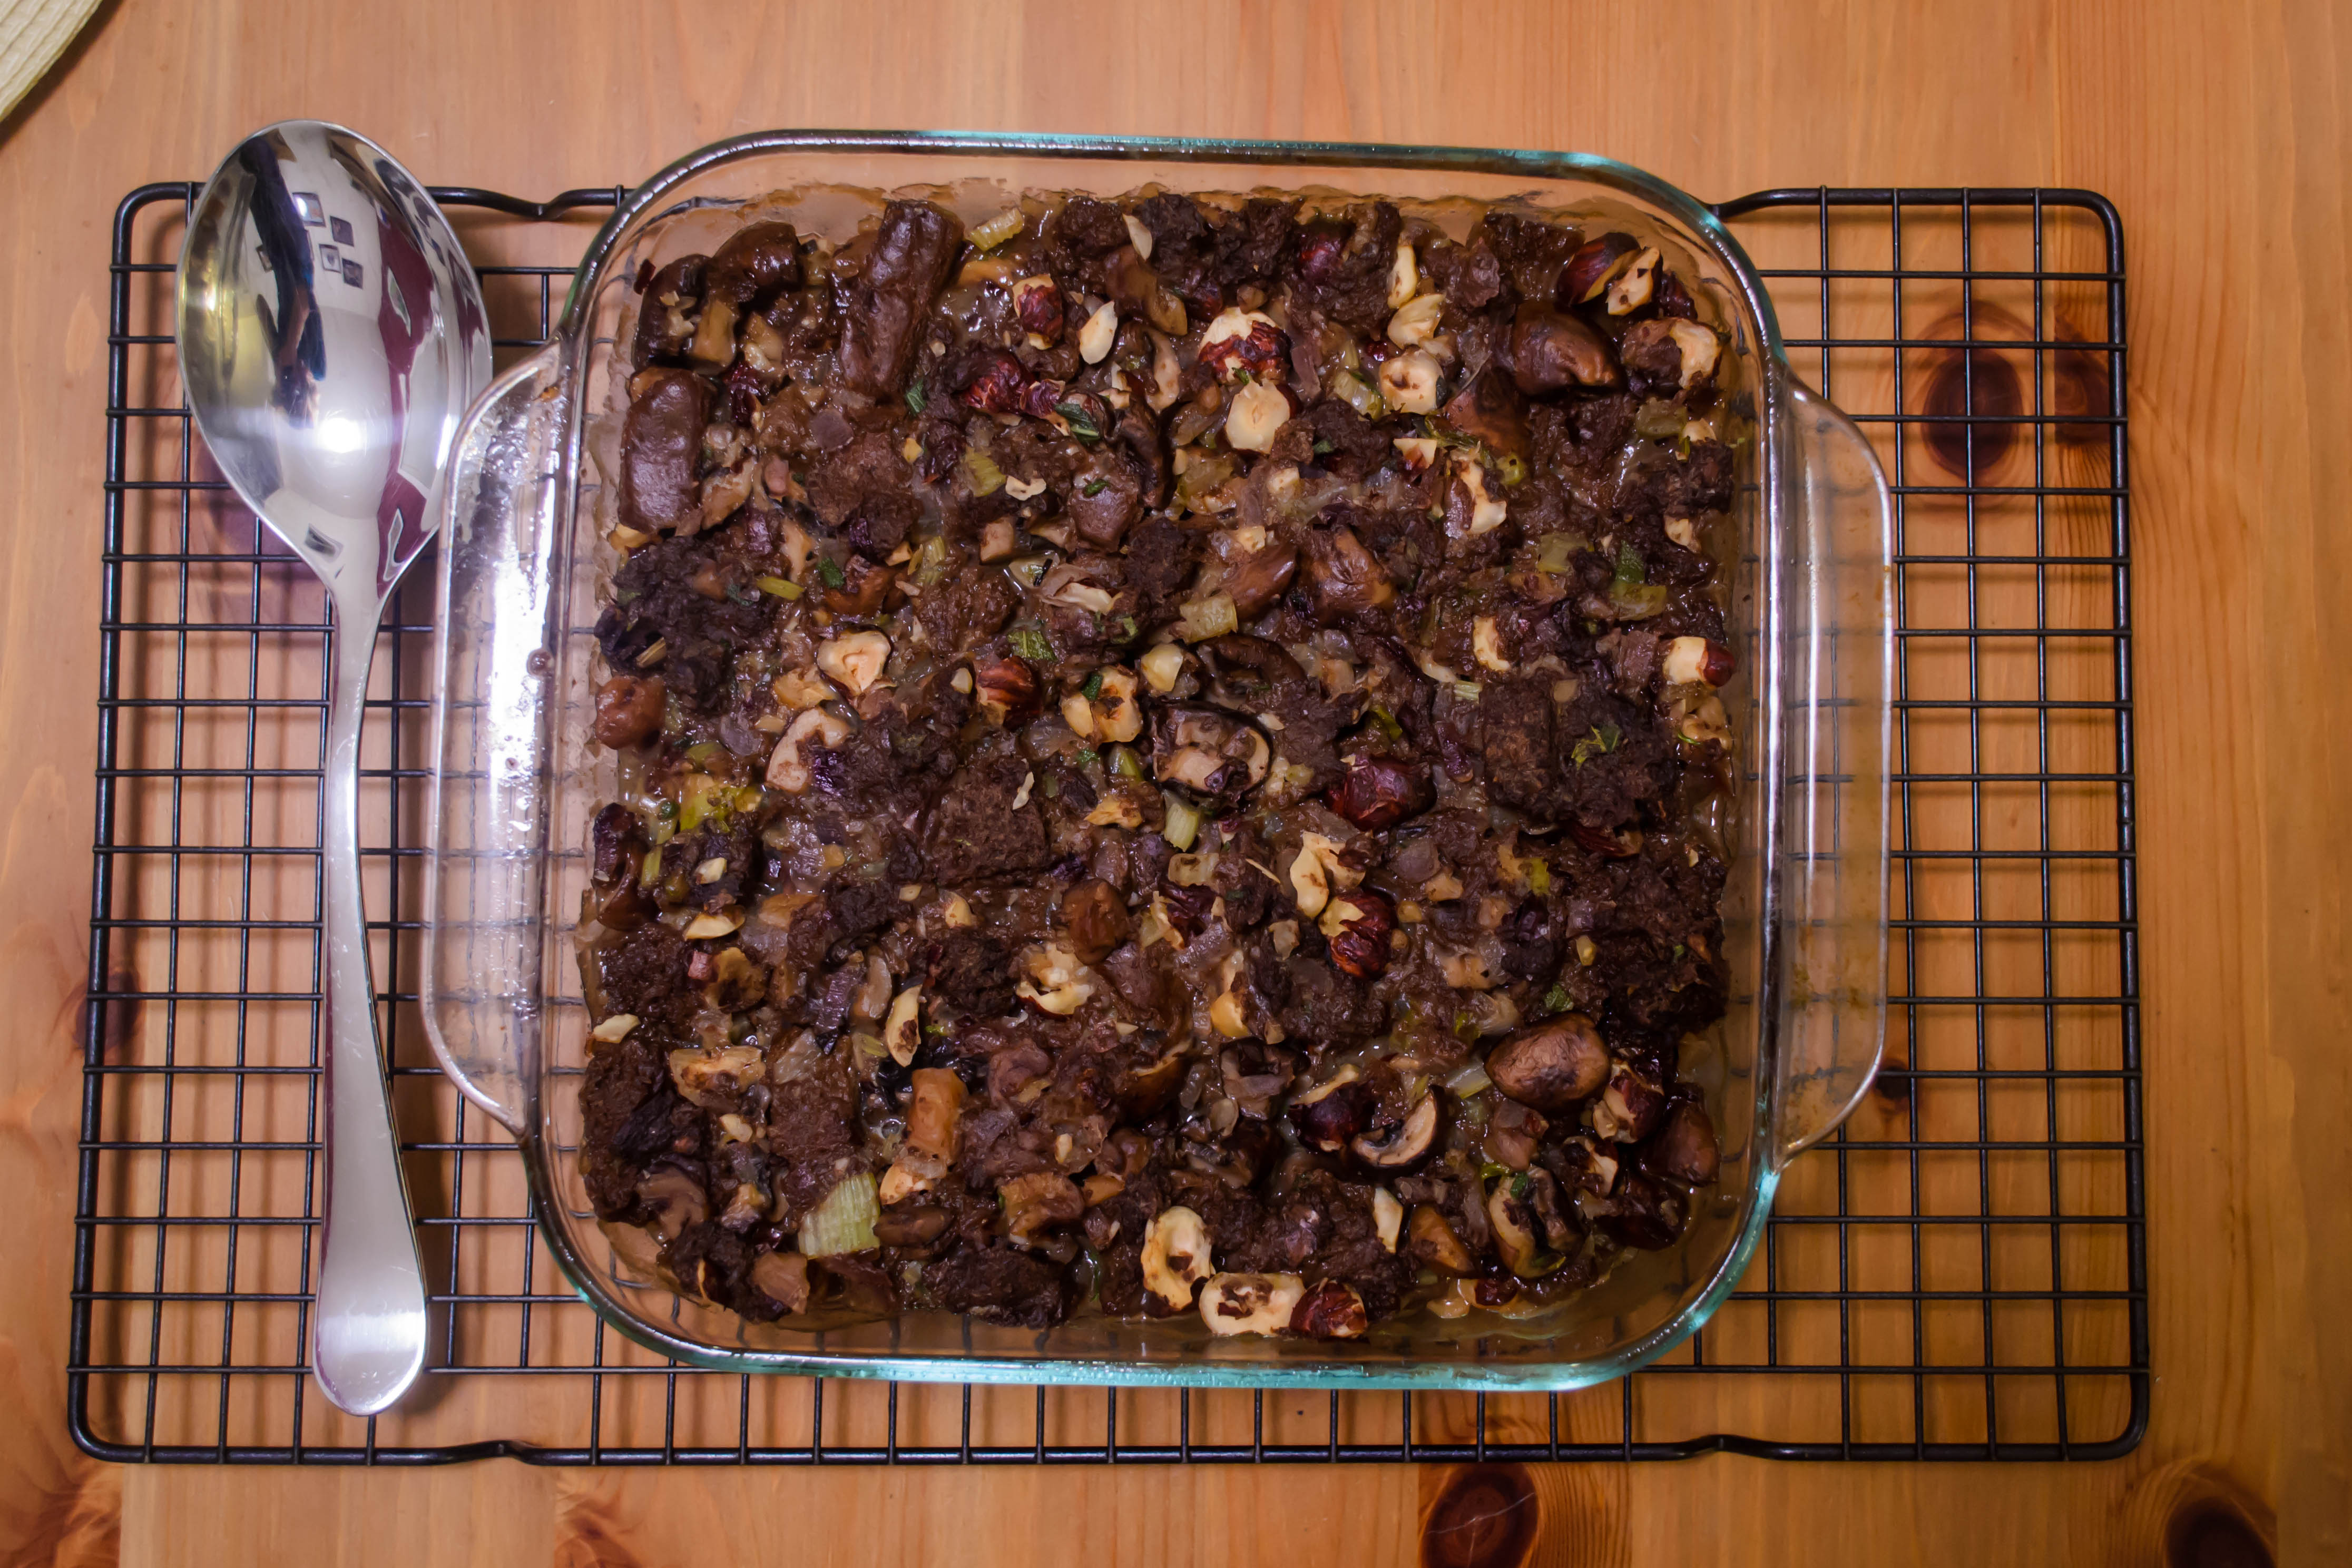
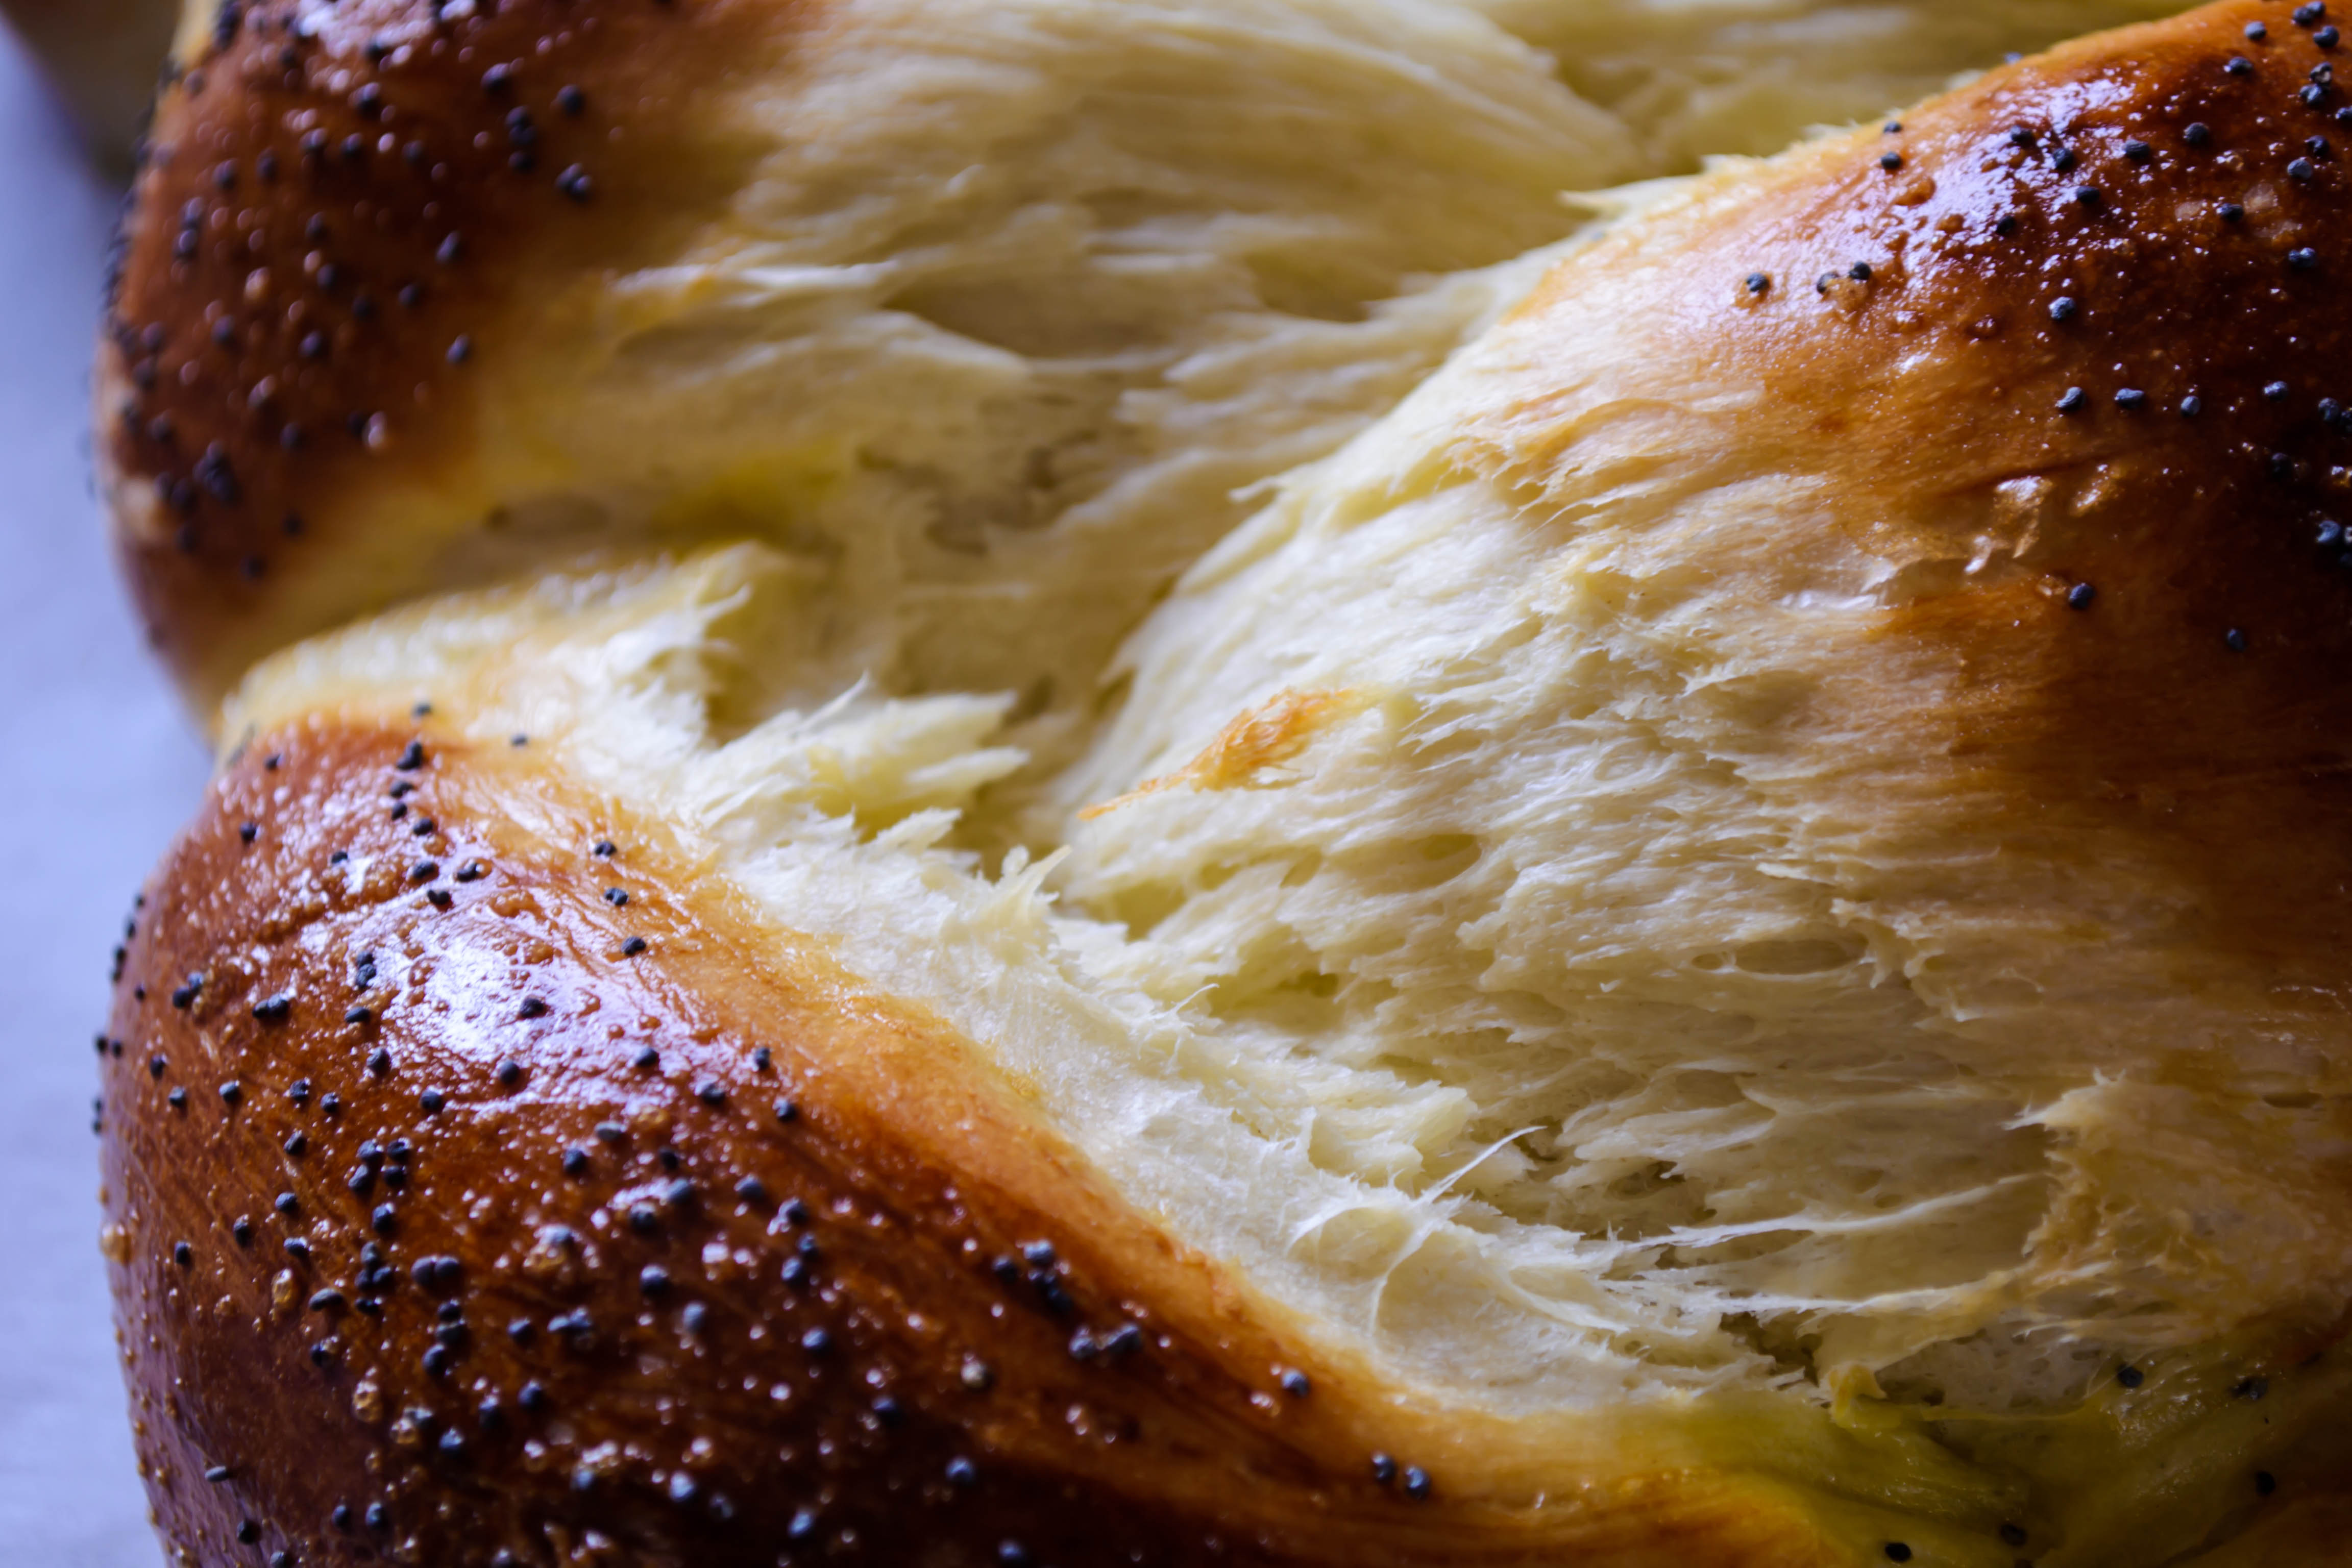 More and more, I’m excited about texture in a photograph, whether it’s the ridges of a leaf in a heap of salad greens or of the beautiful creases around someone’s eyes showing how hard they are laughing. Here, the way the strands of dough stretched and tore as they baked draw me in, and I’m delighted, as usual, with my trusty Nikon’s ability to capture such fine detail.
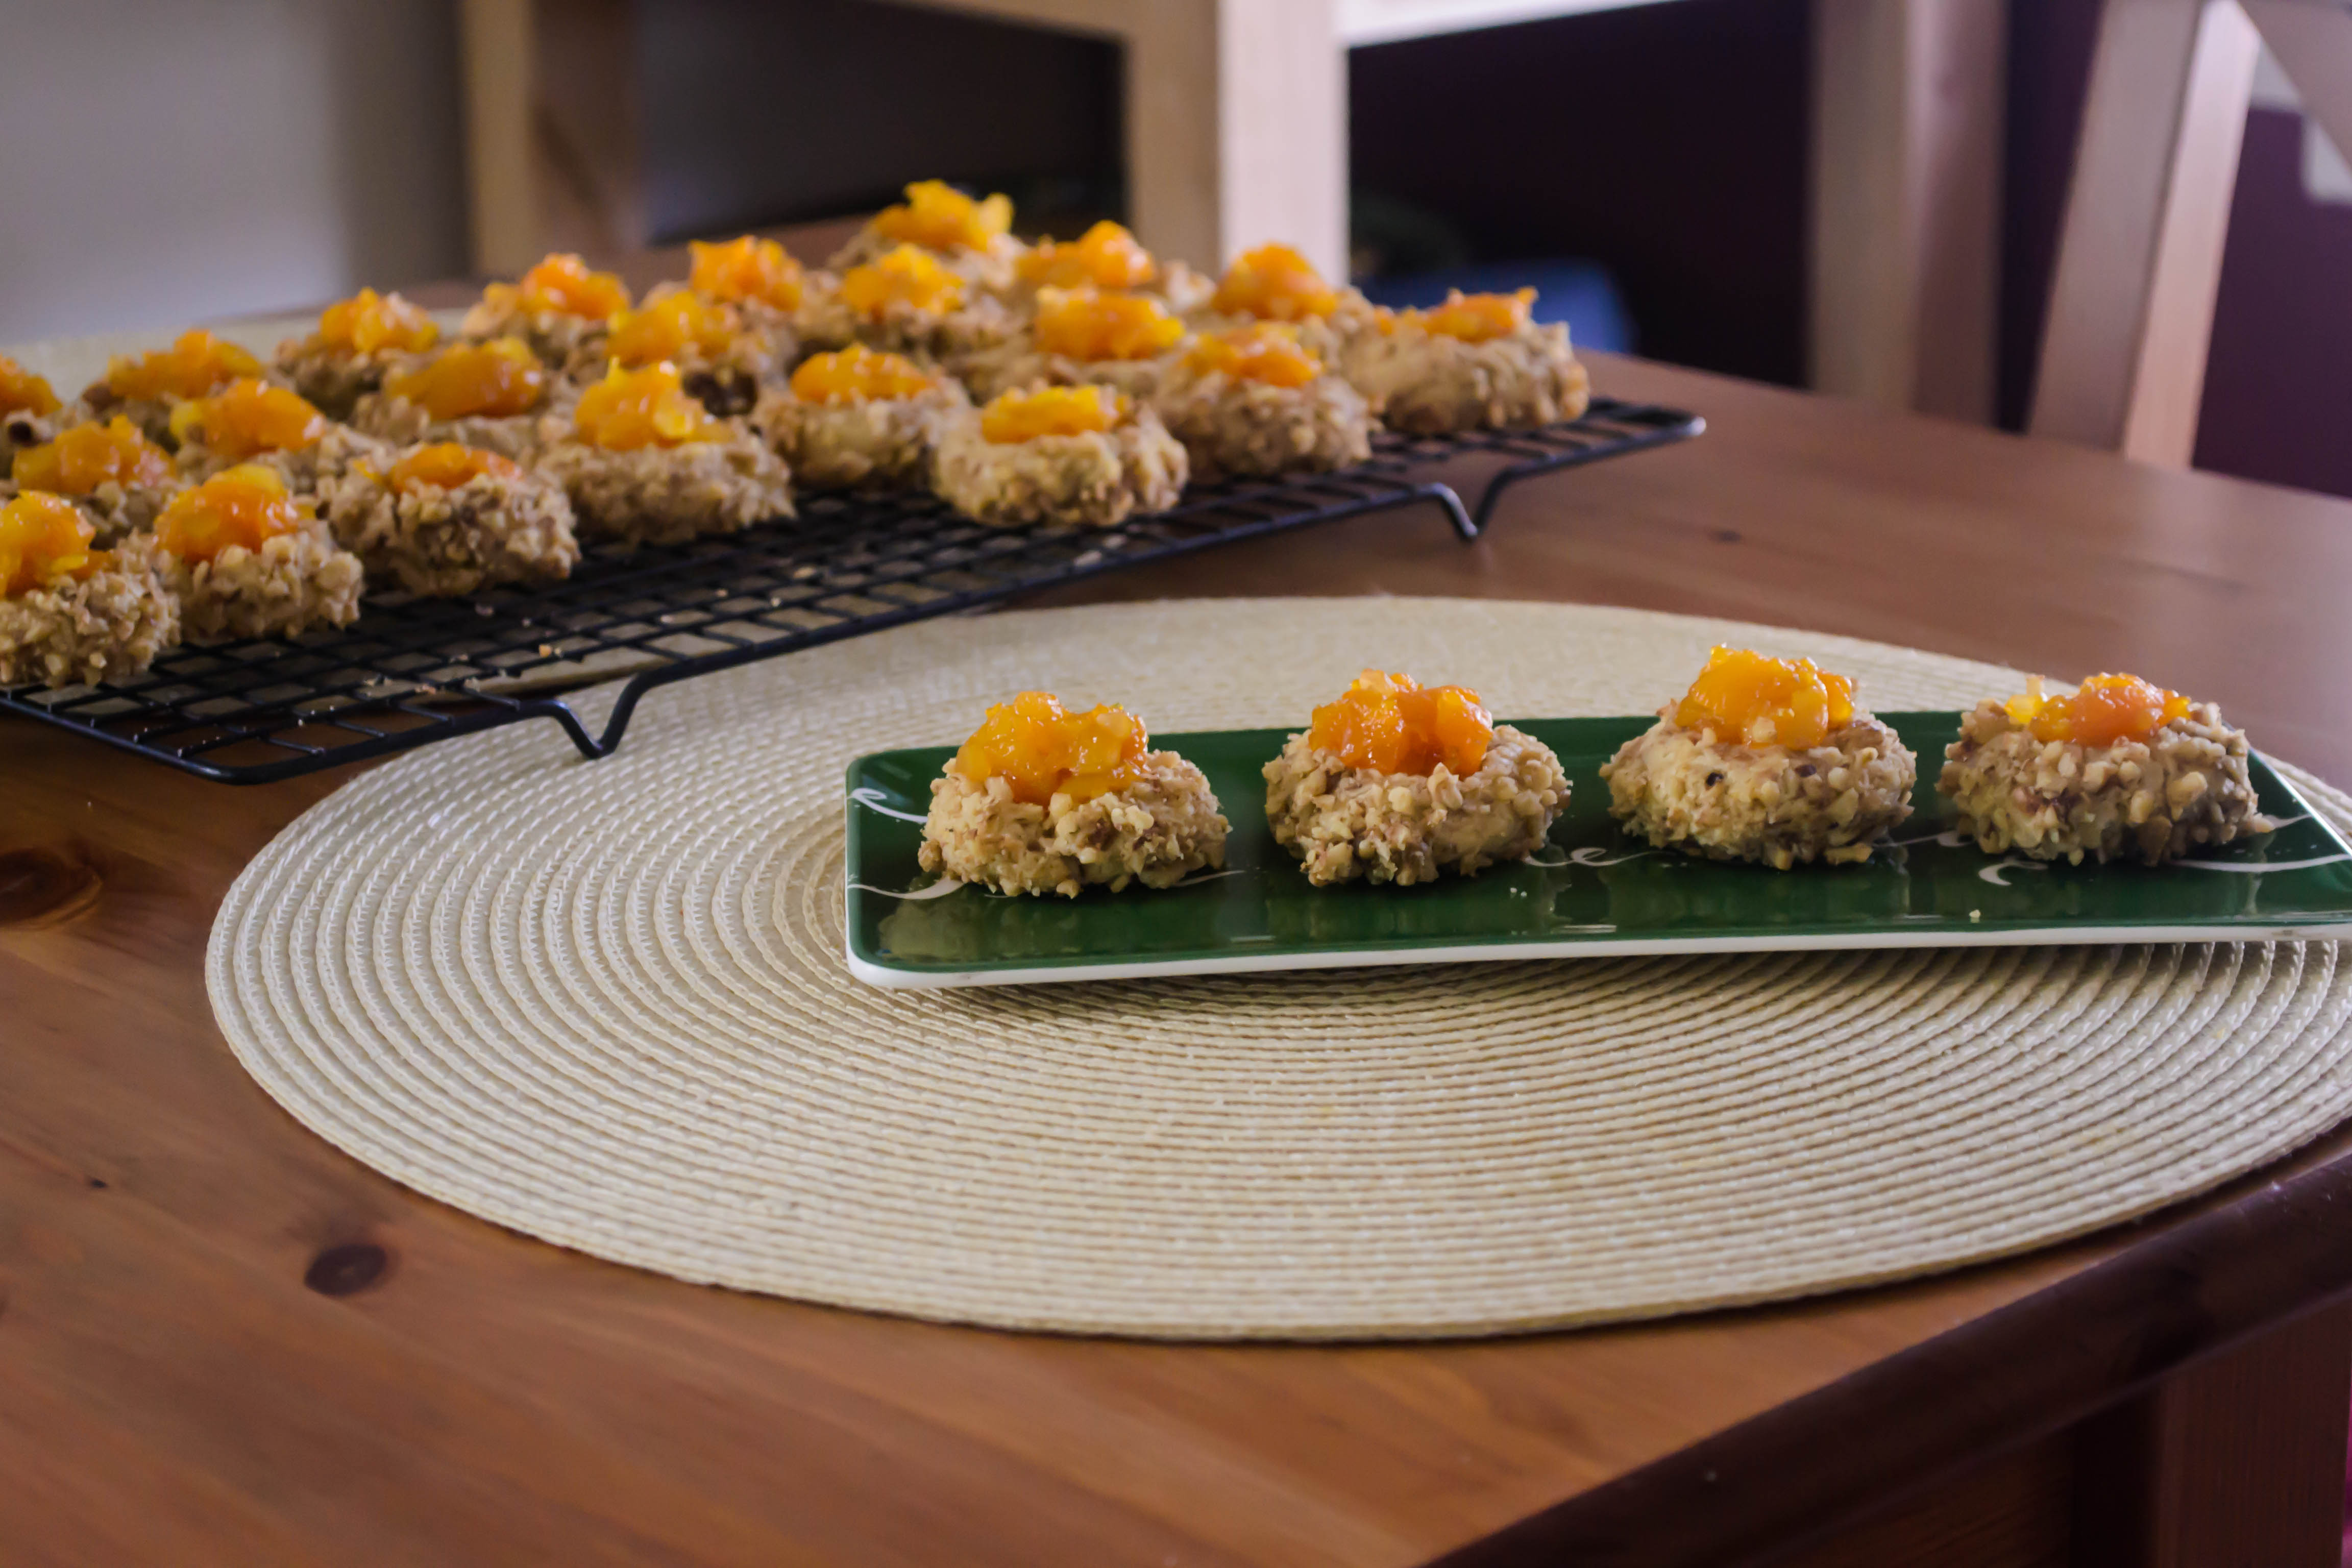
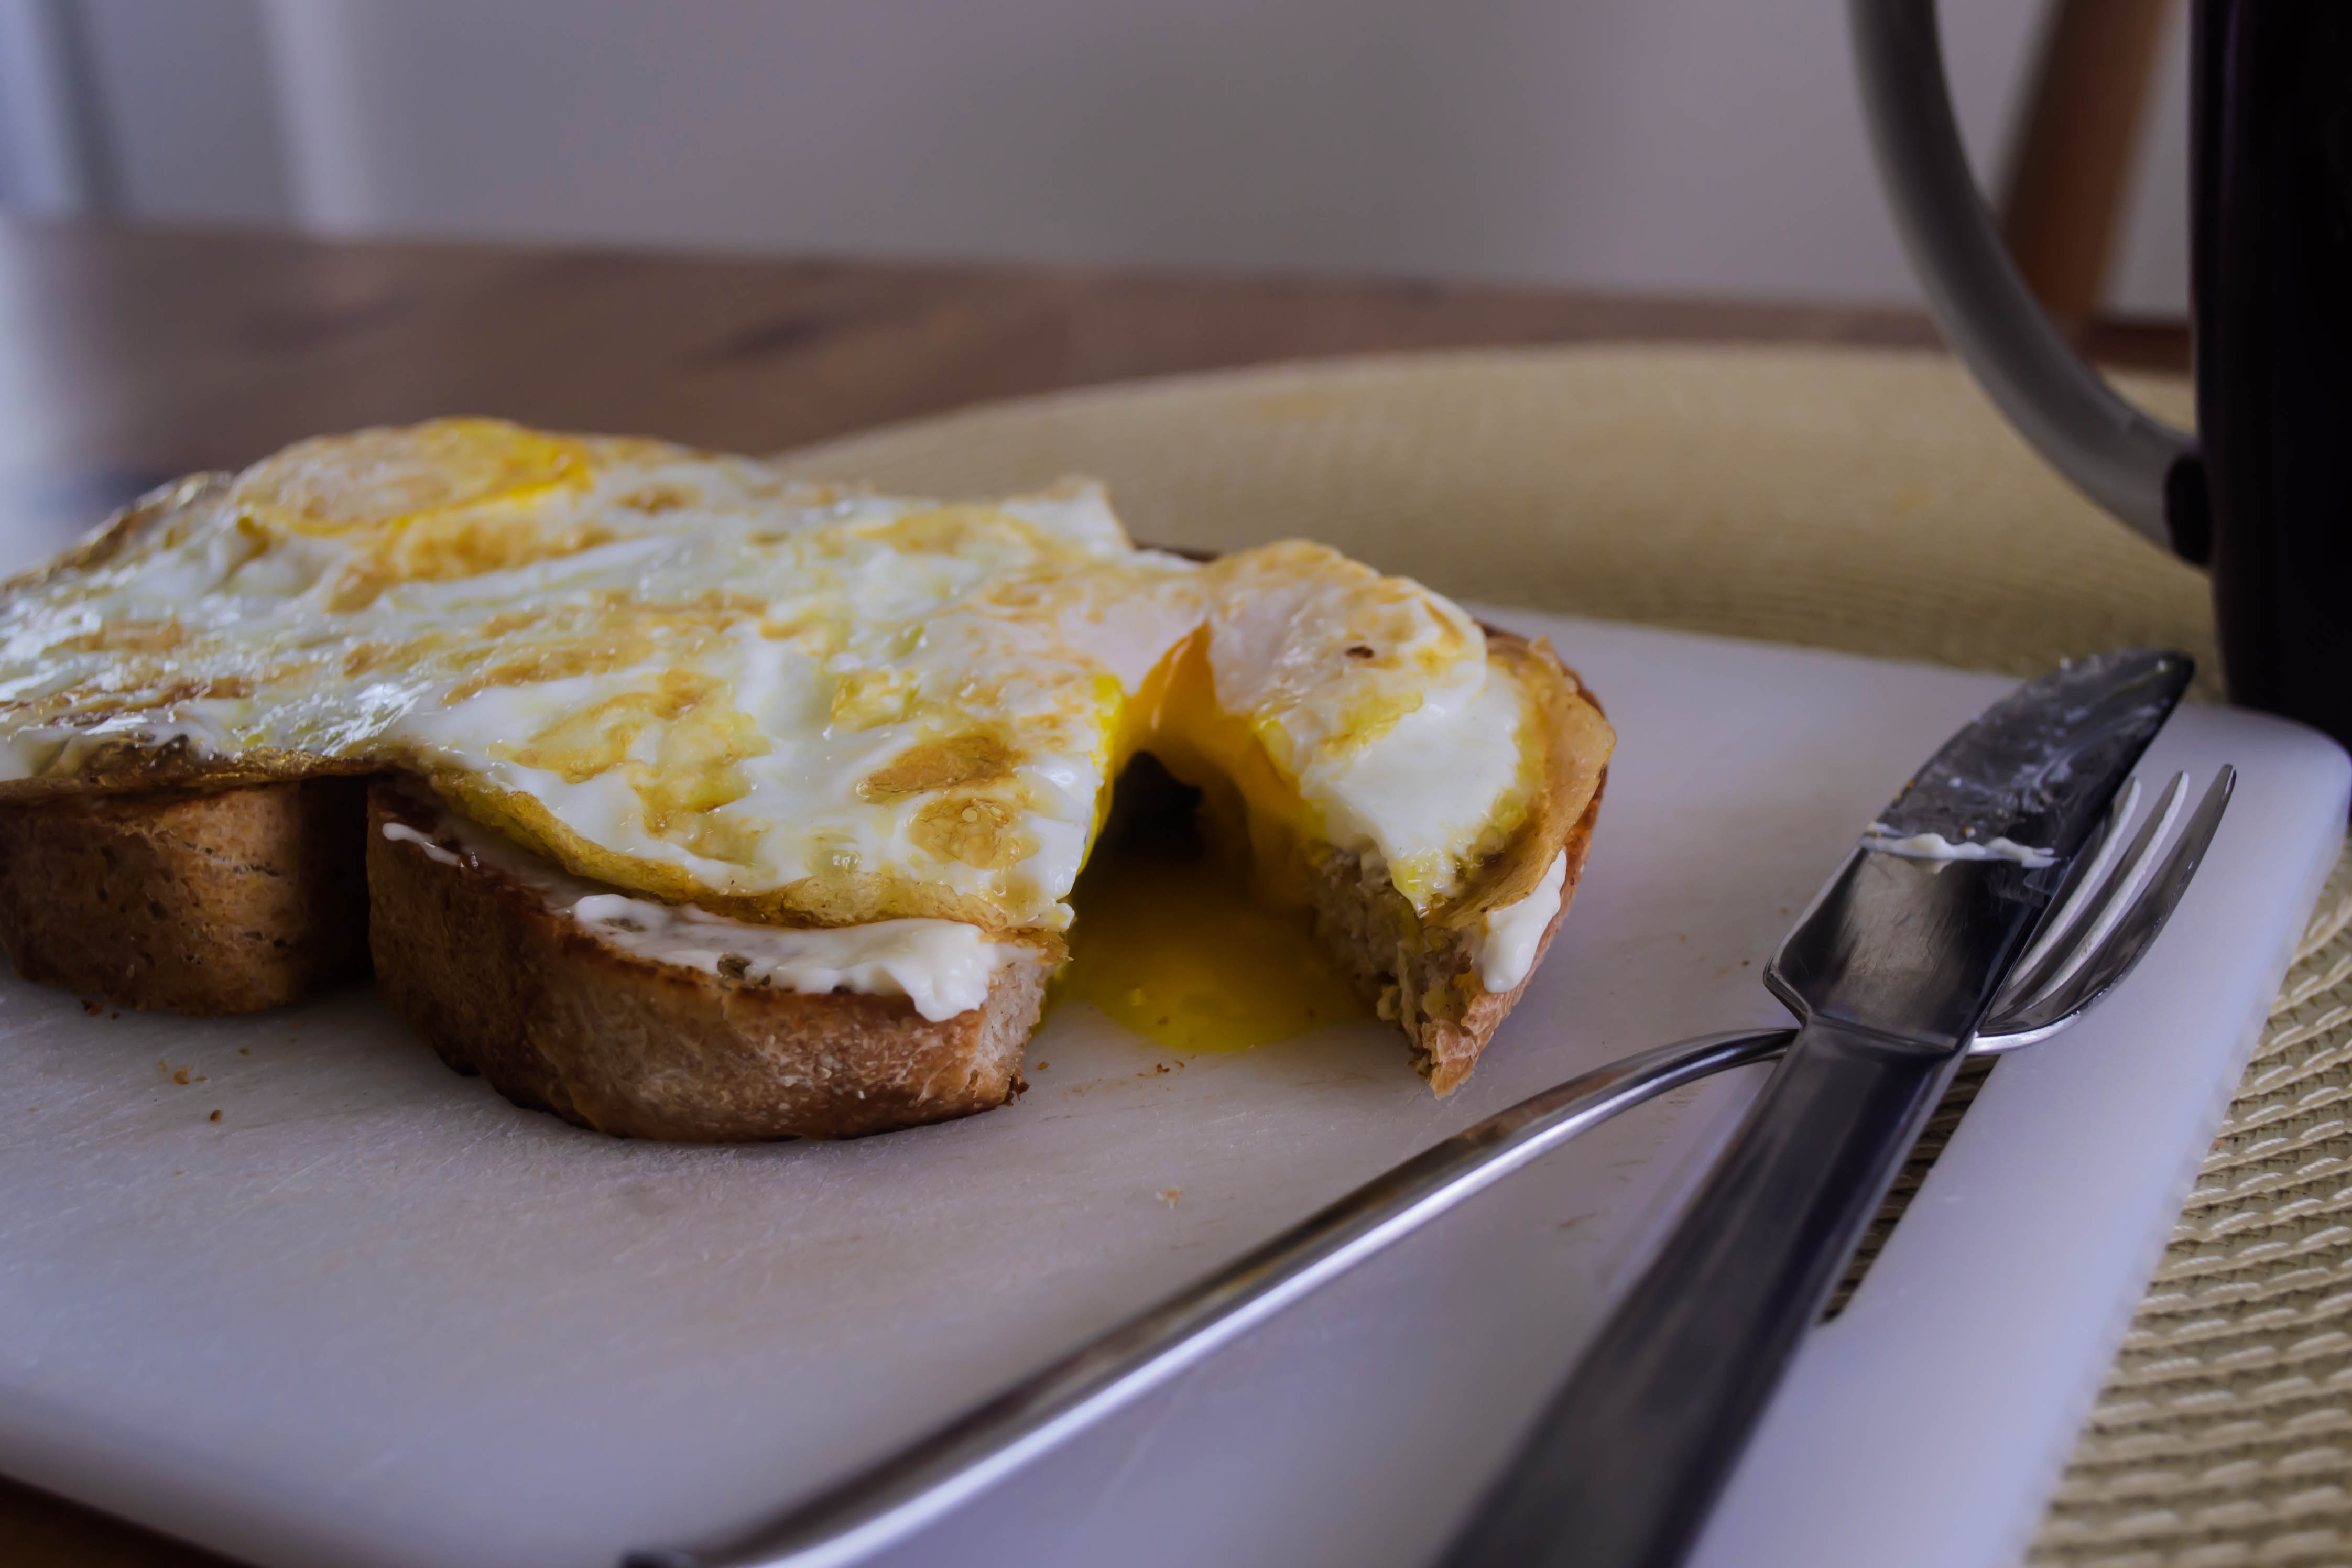
 This one is all about the light. I took this on my kitchen counter, mid-morning, and the light spilling in is from the window above my sink. I love the shadows of the bowl and of the apricots, and the way you can see where the frame of the window cuts off that spill of sunlight. The hazy, unsteady pillar of steam rising off the just-boiled fruits is a nice touch too.
 Okay, this isn’t food. But I can’t resist an excuse to reprise a shot of my most faithful kitchen helper, bashfully refusing to address the camera despite the promise of one of her favorite crunchy treats. The encroaching white on her muzzle sometimes alarms me a bit, but the photographer in me admits the contrast it provides against her fox red fur is lovely.