Course: appetizer
Ingredients: bulk sausage, bell pepper, sriracha, panko bread crumbs
 Here it is! The first “basket”! N. decided that for the first challenge of the year, it would make sense to offer the first course of the meal, so to speak. He says he will change up and randomize courses later on, but I know for sure that January = appetizer, February = entrée, and March = dessert. That doesn’t tell me much, but it does offer a solid start.
 As seems so often to be the case with real Chopped baskets, three of the four ingredients seemed to go together well however I shuffled them. Sausage, bell pepper, panko: reasonable! Sausage, bell pepper, sriracha: okay. Even bell pepper, sriracha, and panko seemed to fit. But all four? I couldn’t wrap my brain around how it was going to work and still keep this an appetizer.

 Ultimately I landed on a blast from the past, if you will. I’ve been digging mushrooms lately, and realized at least three of the four: the sausage, the bell peppers, and the panko, could get crammed inside (or at least on top of) a mushroom and baked into a tasty, bite-sized little throwback classic. The sriracha would have to become part of a sauce – I didn’t fancy a spicy kick inside my mushrooms (besides, one of the biggest complaints from the judges on the actual show is the relative dryness of a dish – they are always after a sauce or dressing component).
 To wrestle the heat into the dish, but also to ensure more exposure for the bell peppers, which were really just going to get minced and cooked down with the sausage and some onions, I decided roasted red pepper would be a nice flavor base for the sauce. It would need something to enrich it, though, and goat cheese would provide a tang and a welcome thickness. There. I had my dish.
 Though this definitely took me more than the twenty minutes allotted on the show (could I have done it in time if pressed? Maybe… with a much bigger mess…), it came together well. It’s hard to fault pork sausage cooked with aromatic vegetables, especially when it gets mounded with panko soaked in what seems like an excessive amount of oil and baked until feverishly crispy. At first taste we weren’t sure the sauce matched the mushrooms – the roasted red pepper has such a strong vegetal clarity that, blended down and even spiked with hot sauce, it can stand up to and overpower its supporting players. Yet we kept going back to it, sliding the mushroom caps through and dotting on another spoonful, and when we each tried a mushroom bare, it was good, but we wanted that kick from the bright, orange-red smear left on the plate. Ultimately I think the sauce was on the right track, but needed a little something to combat the overly heavy vegetal quality, so the recipe below cuts the pepper-forward flavor with the addition of broth. I suspect this will help it meld with the mushrooms better.
 We tried out two serving options, just to see which we preferred: a puddle of sauce topped with a few stuffed caps, and a row of caps drizzled with sauce. Though we decided the puddle of sauce on the bottom would be better for hors d’oeuvres that were going to sit around for any length of time, as the sauce-on-top styling could damage the pristine and glorious crispness of the panko topping, we preferred the sauce-on-top delivery method as both prettier and easier to eat. In either case, a final dusting of parsley made for a prettier presentation and a welcome little herbal freshness to the bite.

 * Photo note: this week, as I wait for my new machine, I’m using the editing features on Preview on my laptop. I’m… underwhelmed. Le sigh.

Sausage stuffed mushrooms with goat cheese and roasted red pepper sauce
Makes 12 mushroom caps + extra sauce
40-45 minutes
For mushrooms:
12 large crimini mushrooms, stems removed
½ cup finely minced onion
½ cup finely minced red bell pepper
4 tablespoons olive oil, divided
1 sprig thyme, optional
8 ounces bulk pork sausage
¼ – ⅓ cup panko bread crumbs
salt and pepper to taste
For sauce:
6 ounces roasted red pepper (you can do it yourself, of course, but the jars are so quick and easy)
3-4 ounces goat cheese
3-4 ounces vegetable or chicken broth
2 teaspoons sriracha, or to taste
To serve:
chopped parsley
- Preheat the oven to 400F and place a wire cooling rack in a baking tray or cookie sheet – we are making a slightly elevated platform for the mushrooms to prevent waterlogging.
- Using a small spoon, carefully scrape the gills and some of the innards from each of your mushroom caps. We need lots of room for filling. Finely chop the “guts” you’ve removed.
- Heat 2 tablespoons of the olive oil in a medium skillet over medium heat. Add the mushroom pieces (not the caps), the onion, the red bell pepper, and the thyme sprig, if using. Season with black pepper if you like that sort of thing, and cook, stirring once or twice, until the onions are tender, around 5-7 minutes.
- Meanwhile, place the hollowed out mushroom caps stem side down on the cooling rack and place into the oven. This gets them started cooking and allows some of the water they will expel to drain right into the cookie sheet. Cook them until the sausage is done.
- When the vegetables in your skillet are looking tender, add the sausage and use a wooden, flat-sided spoon or spatula to break it up. Continue to cook over medium heat, breaking up the sausage and stirring often, until the meat is just cooked through. Taste for seasoning and add salt and pepper as desired. Remove from heat and let cool a few minutes for easier handling. (Reminder: at this point you should also remove your mushroom caps from the oven!)
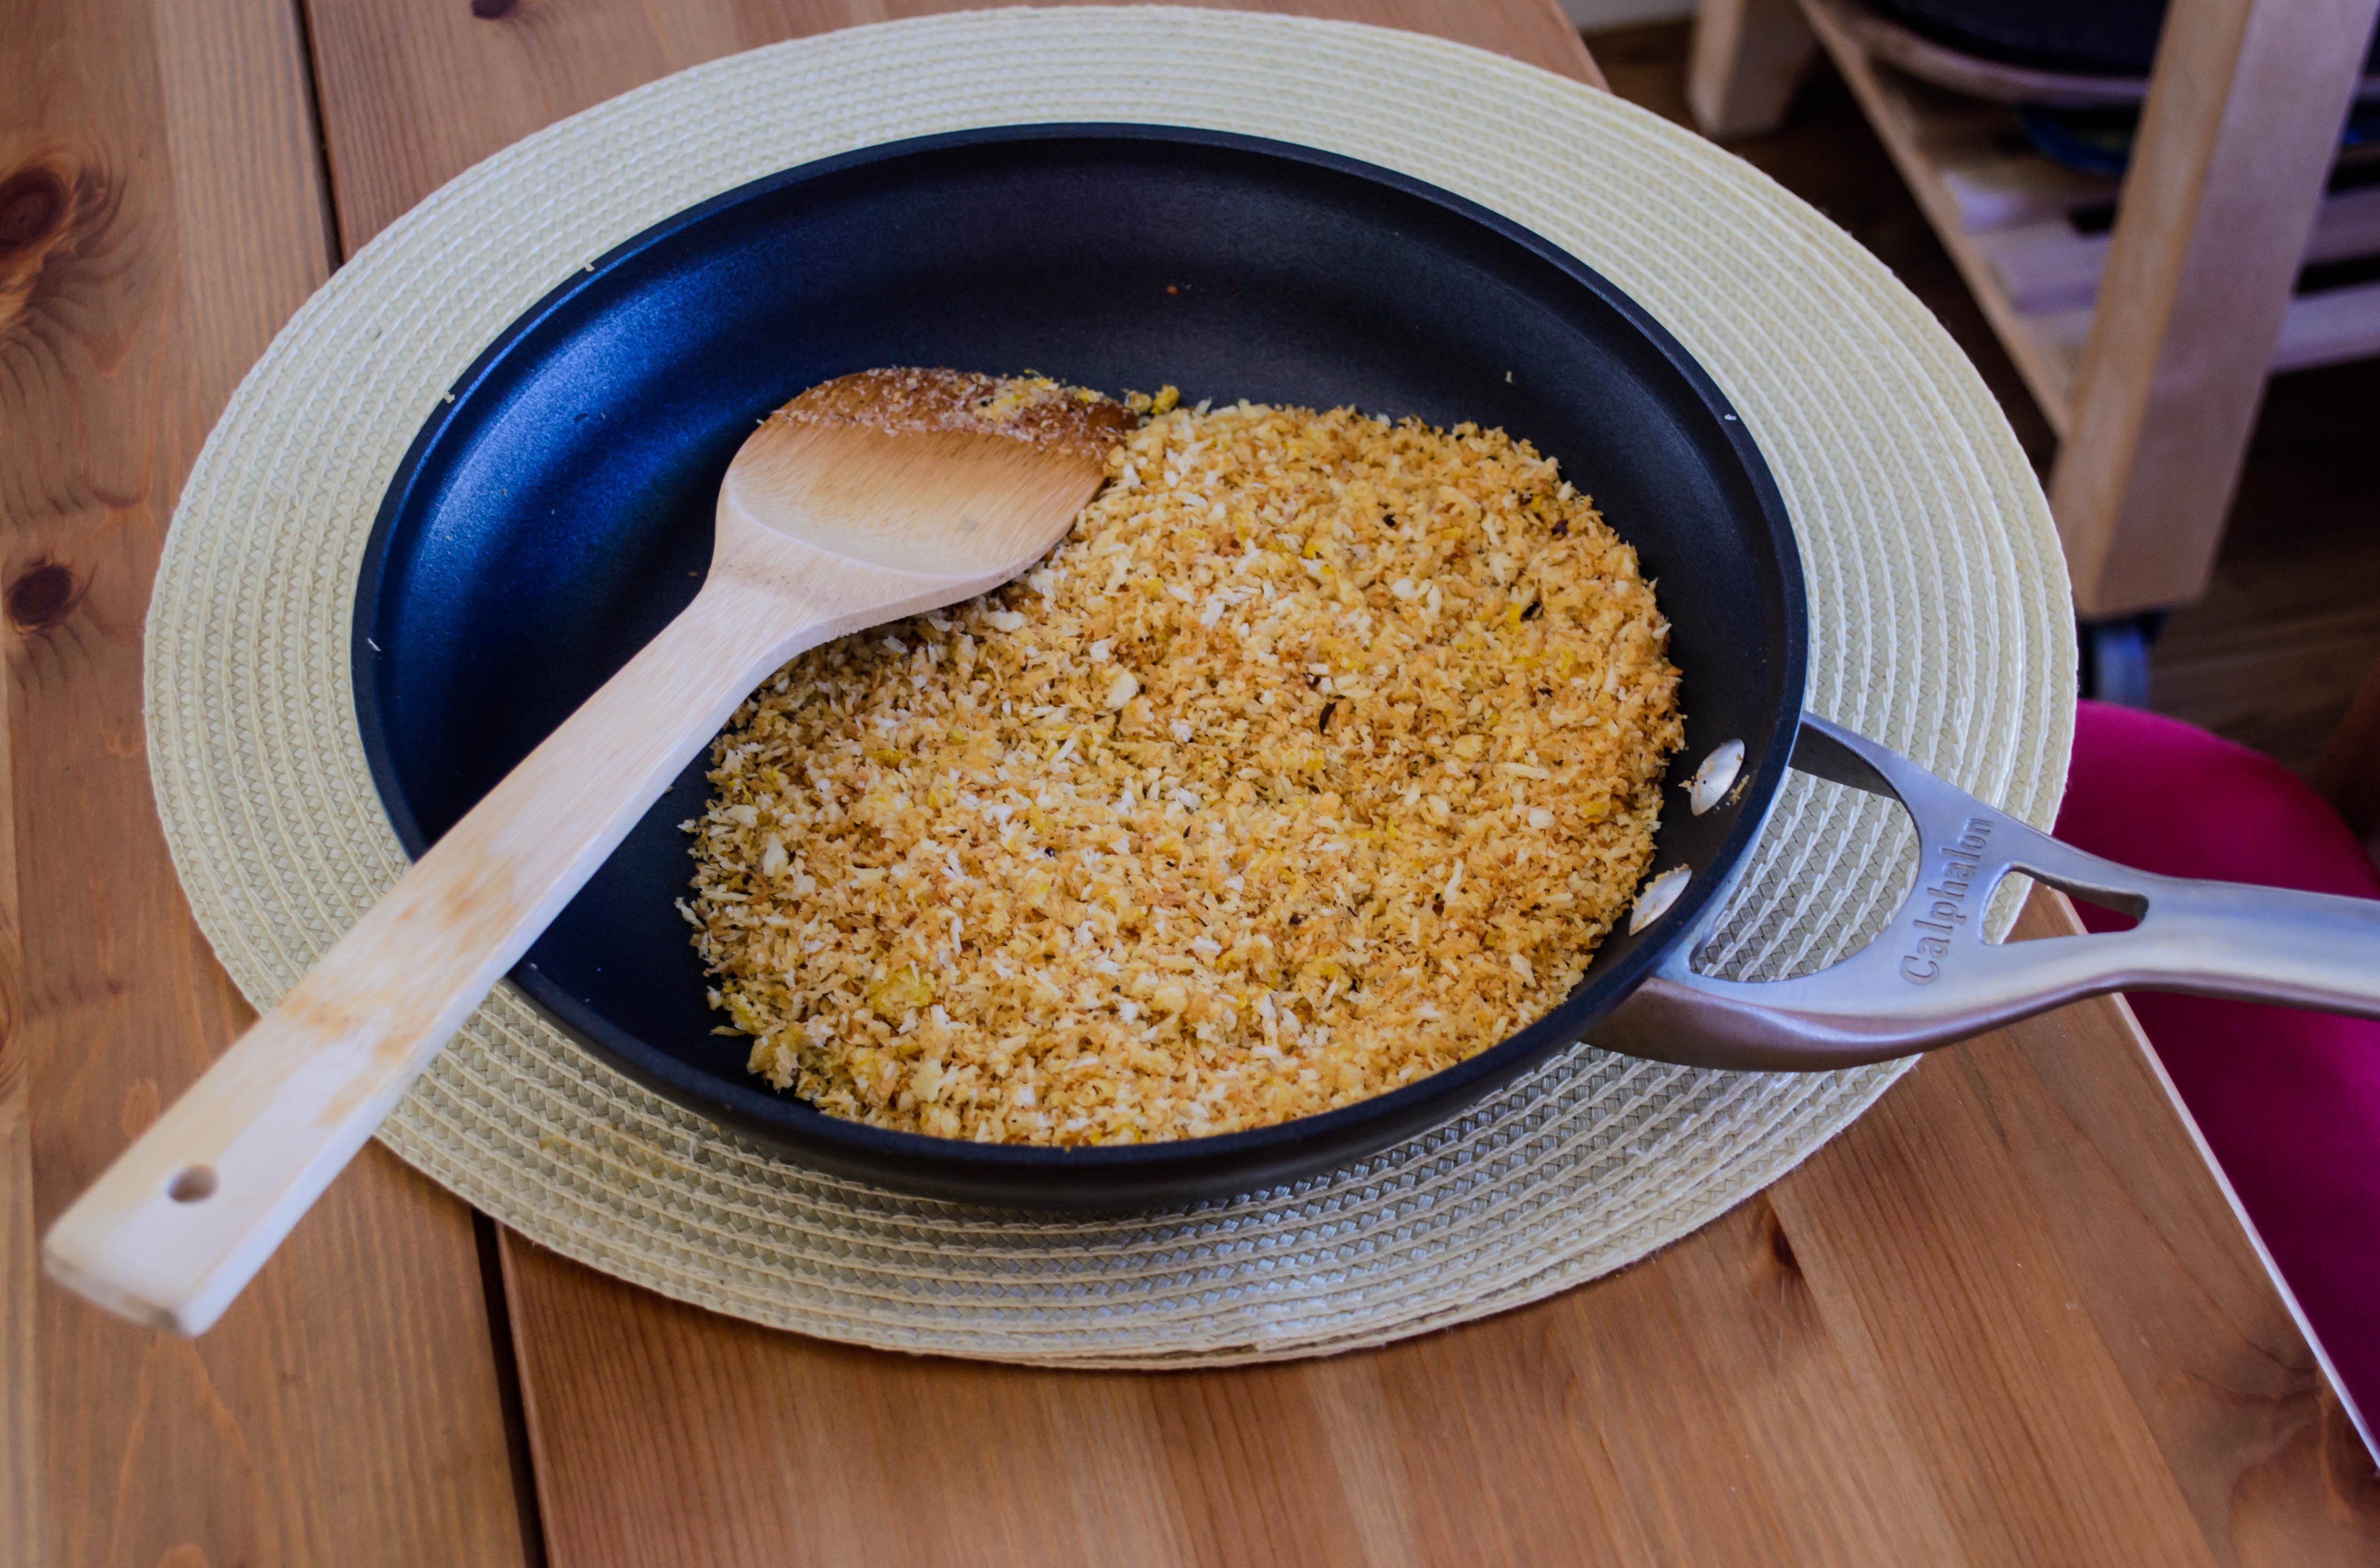
- While the sausage cools, toss the panko and the remaining 2 tablespoons olive oil in a small bowl until the crumbs are thoroughly moistened. Add salt and pepper to taste.
- When you are ready to fill, flip the mushroom caps over so the hollow side faces up. If you want, you can move each and lightly spray the rack with non-stick cooking spray; they do start to cling a little bit while baking.
- Fill the mushroom caps with heaping spoonfuls of the filling, lightly but firmly packing it in. It will be a little crumbly, so be determined but not rough, as that can break the delicate mushroom caps. Top each filled cap with a mound of panko, then carefully place back into the oven to bake at 400F for 15 minutes.
- While the mushrooms cook, make the sauce. Using a standard or an immersion or stick blender, whiz together the roasted red pepper, the goat cheese, and the broth until very smooth. Pour into a pan (I used the same skillet I’d cooked my vegetables and sausage in, just wiped clean with a paper towel), add the sriracha (start with just 2 teaspoons; you can always add more) and bring to a simmer. Taste for seasoning and adjust as needed. Simmer about 5 minutes, then remove from heat.
- To serve, either spread a puddle of sauce on the platter and place the mushrooms on top of it, or arrange the mushrooms on a platter and then drizzle sauce over each. Both are pretty. Either way, sprinkle some chopped parsley over the top to add freshness, and serve warm.