When I read this month’s Twelve Loaves premise of holiday breads, I was stumped for a few days. To me, and to my family, holiday bread means challah, and not only have I done that one here, but I’ve done it for another Twelve Loaves challenge! I certainly couldn’t reprise it. “Holiday” would have to mean “in the spirit of,” and not “in my own traditions.” I’d been kicking around the idea of pairing fresh cranberries and hunks of white chocolate in a cookie for some time, and somehow* this flavor combination morphed into the conception for a sweet roll. Softly sweet, chewy and rich, embracing a sweet tart filling, and drizzled all over with a white chocolate and cream cheese glaze, and the holidays are basically accounted for.
 I used my Nana’s sweet dough again – it is proving to be such a reliable and user friendly recipe that I see no reason to change it. The dough comes together into an almost play-dough consistency when it’s been kneaded enough, and it rises, slow and steady, tender but elastic, easily rollable, and neutral enough in flavor to accept any filling you throw at it. I opted to dress it up for the season with a touch of vanilla. A grating of orange peel would probably be lovely as well.


 These take two rises – one to let the dough expand and form gluten chains, and one after rolling out, filling, and slicing, to redistribute the yeast and develop the flavor a bit more – before a quick 20 minutes in the oven. I went for mini sized rolls, so I could have more of them, which entailed dividing my dough in two.
 You could certainly also do full-sized rolls, which might require a slightly longer baking time. While they are still hot, golden and just crusty on top, but bubbling around the sides with the escaped gush of cranberries, you tip a smooth, ivory stream of melted cream cheese and white chocolate over them, and let them cool as long as you can stand it before serving. The brightness of the cranberries peeking out from under the frosting makes a nice contrast that does reference the Christmas holiday, especially if you really go for the obvious and serve it on a green plate. Not that I would ever do such a thing.
 We thought these were quite tasty, and a refreshing twist; certainly worthy of ending up in my department mailroom as a last-week-of-school treat, but if I’m honest, they are not the “match made it heaven” combination I had thought they would be. Cranberries and white chocolate are a holiday fling – experimenting, having fun, but they know it won’t last. They will probably break up come January, and cranberry might skitter home to orange to make amends. White chocolate, on the other hand, stimulated by cranberry’s tartness, might shack up with raspberries for a while, and you guys, what about tender raspberries and shards of white chocolate all wrapped up in a soft, champagne cake roulade? I think I just made you a come-summer promise…
 * “Somehow” probably means Deb, whose recent post on cranberry sweet rolls could just possibly have kicked my brain into this direction.

Cranberry and white chocolate sweet rolls
Makes 18 mini sweet rolls
For the dough:
2 teaspoons yeast
½ cup warm milk
1 egg
1 teaspoon vanilla
¼ cup softened butter
1 teaspoon salt
¼ cup sugar
2 ¼ cups bread flour
For the filling:
12 ounces fresh cranberries
½ cup sugar
8 ounces white chocolate, broken into small pieces (or you can use white chocolate chips)
¼ cup melted butter
For the icing:
4 ounces cream cheese
4 ounces white chocolate, broken into small pieces (don’t use chips here – they contain a stabilizer that prevents them from melting silky smooth)
1 tablespoon milk or cream
- In the bowl of a stand mixer, combine the warm milk and the yeast and let them stand for five minutes while the yeast wakes up. It will begin to smell bready and bubble slightly.
- Add the ¼ cup softened butter, the egg, and the vanilla to the yeast and milk combination and mix with the paddle attachment just until combined.
- Add the sugar, salt and two cups of the flour to the wet ingredients and mix with the paddle attachment just until a wet, softly shaggy dough forms. Switch to the dough hook attachment and knead for 6-8 minutes or until the dough comes together into a firm ball and is somewhere around the consistency of play-dough. If the dough is extremely sticky, add the additional ¼ cup of flour, 2 tablespoons at a time, just until the dough is workable again.
- After 6-8 minutes of kneading, place your ball of dough in a buttered or oiled bowl (I just lift it out of the stand mixer bowl, spray it with non-stick spray, and put the dough back in), cover with plastic wrap, and let it rise until doubled – usually about 90 minutes. My house was on the chilly side on the day I made this, so it took me more like two hours.
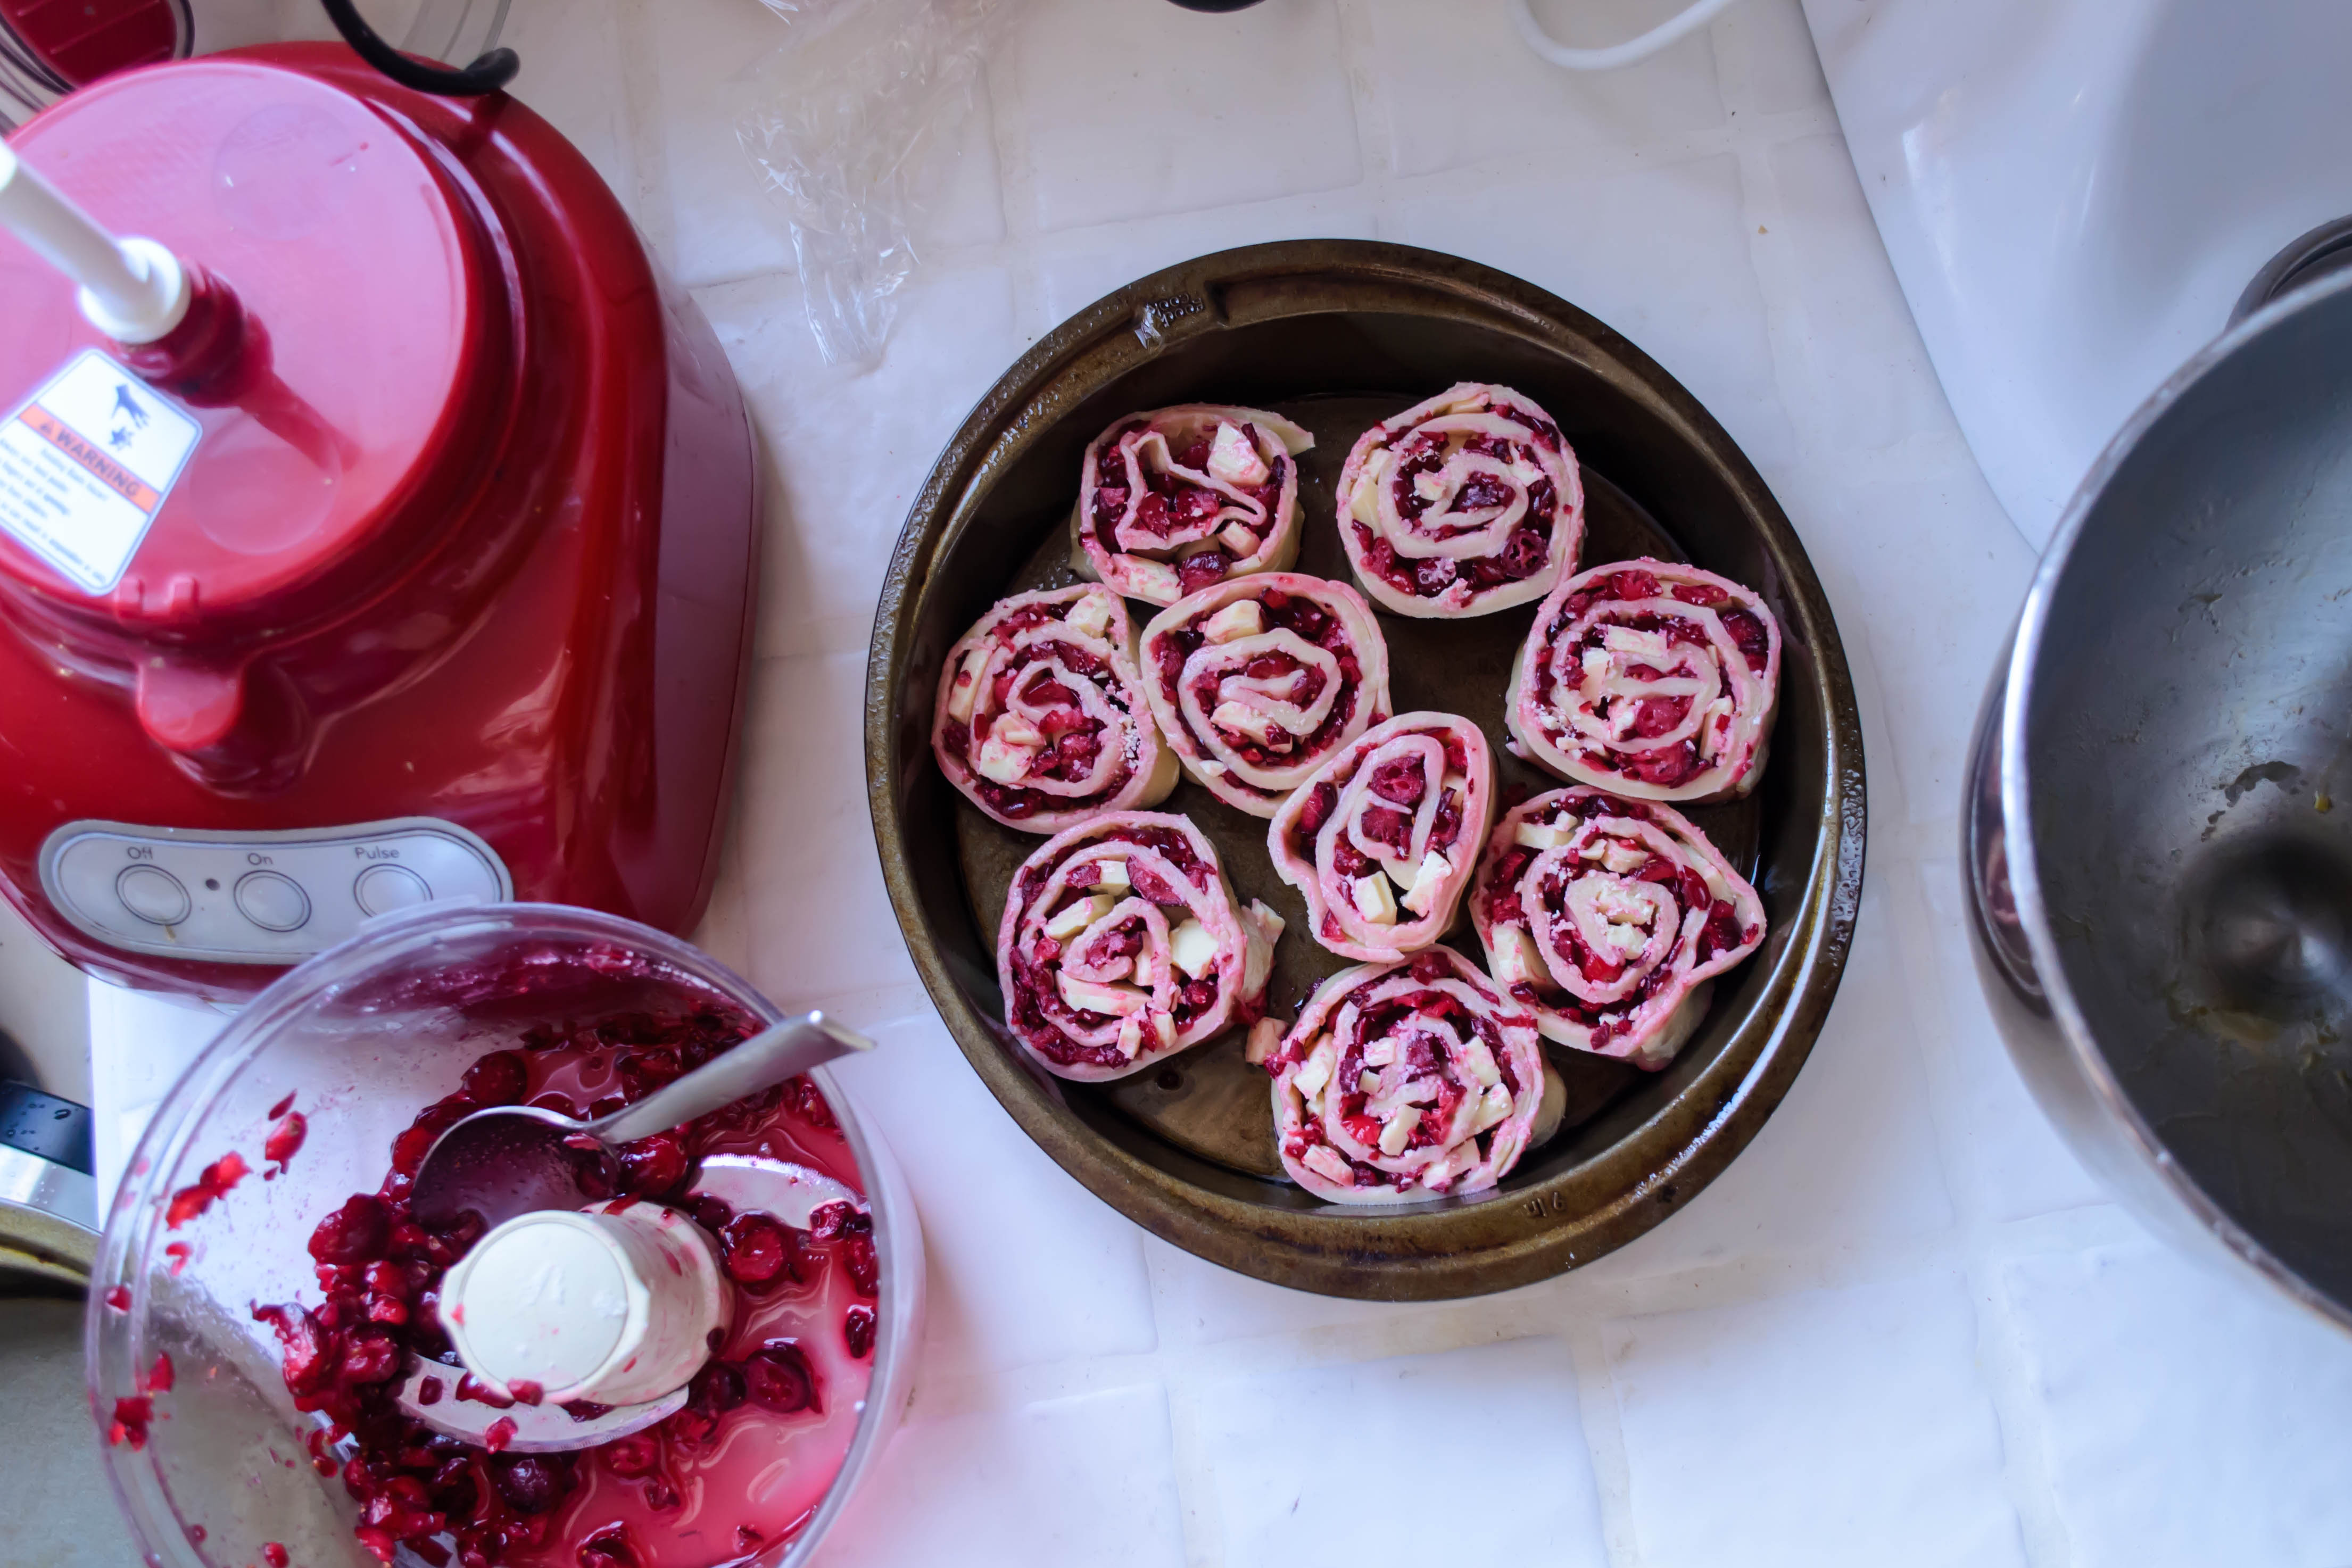
- While the dough rises, make the filling components: place the cranberries and the ½ cup of sugar in a food processor and pulse three times for three seconds each. This sounds fussily precise, but you don’t want to decimate the cranberries; just break them up a bit so they will cook faster. Chop the white chocolate and melt the butter, and you are ready to go.
- Punch down the dough by depressing your fist gently into the center of it to release the trapped gasses. Let it sit for five minutes to get its breath back.
- If you are making mini rolls, divide the dough in half. Place the half you are going to work with on a floured board, and reserve the other half in the bowl you let it rise in.
- Using a floured rolling pin, roll out the dough into a rectangle of about 9×12 inches, or as close as you can get. It will be quite thin, but that’s okay. It’s going to expand when it rises again on the counter and in the oven.
- Brush the rectangle of dough with the melted butter, leaving at least a ½ inch margin on all sides. Then, respecting the same margin, sprinkle on half of your cranberry mixture and half of your chopped white chocolate.
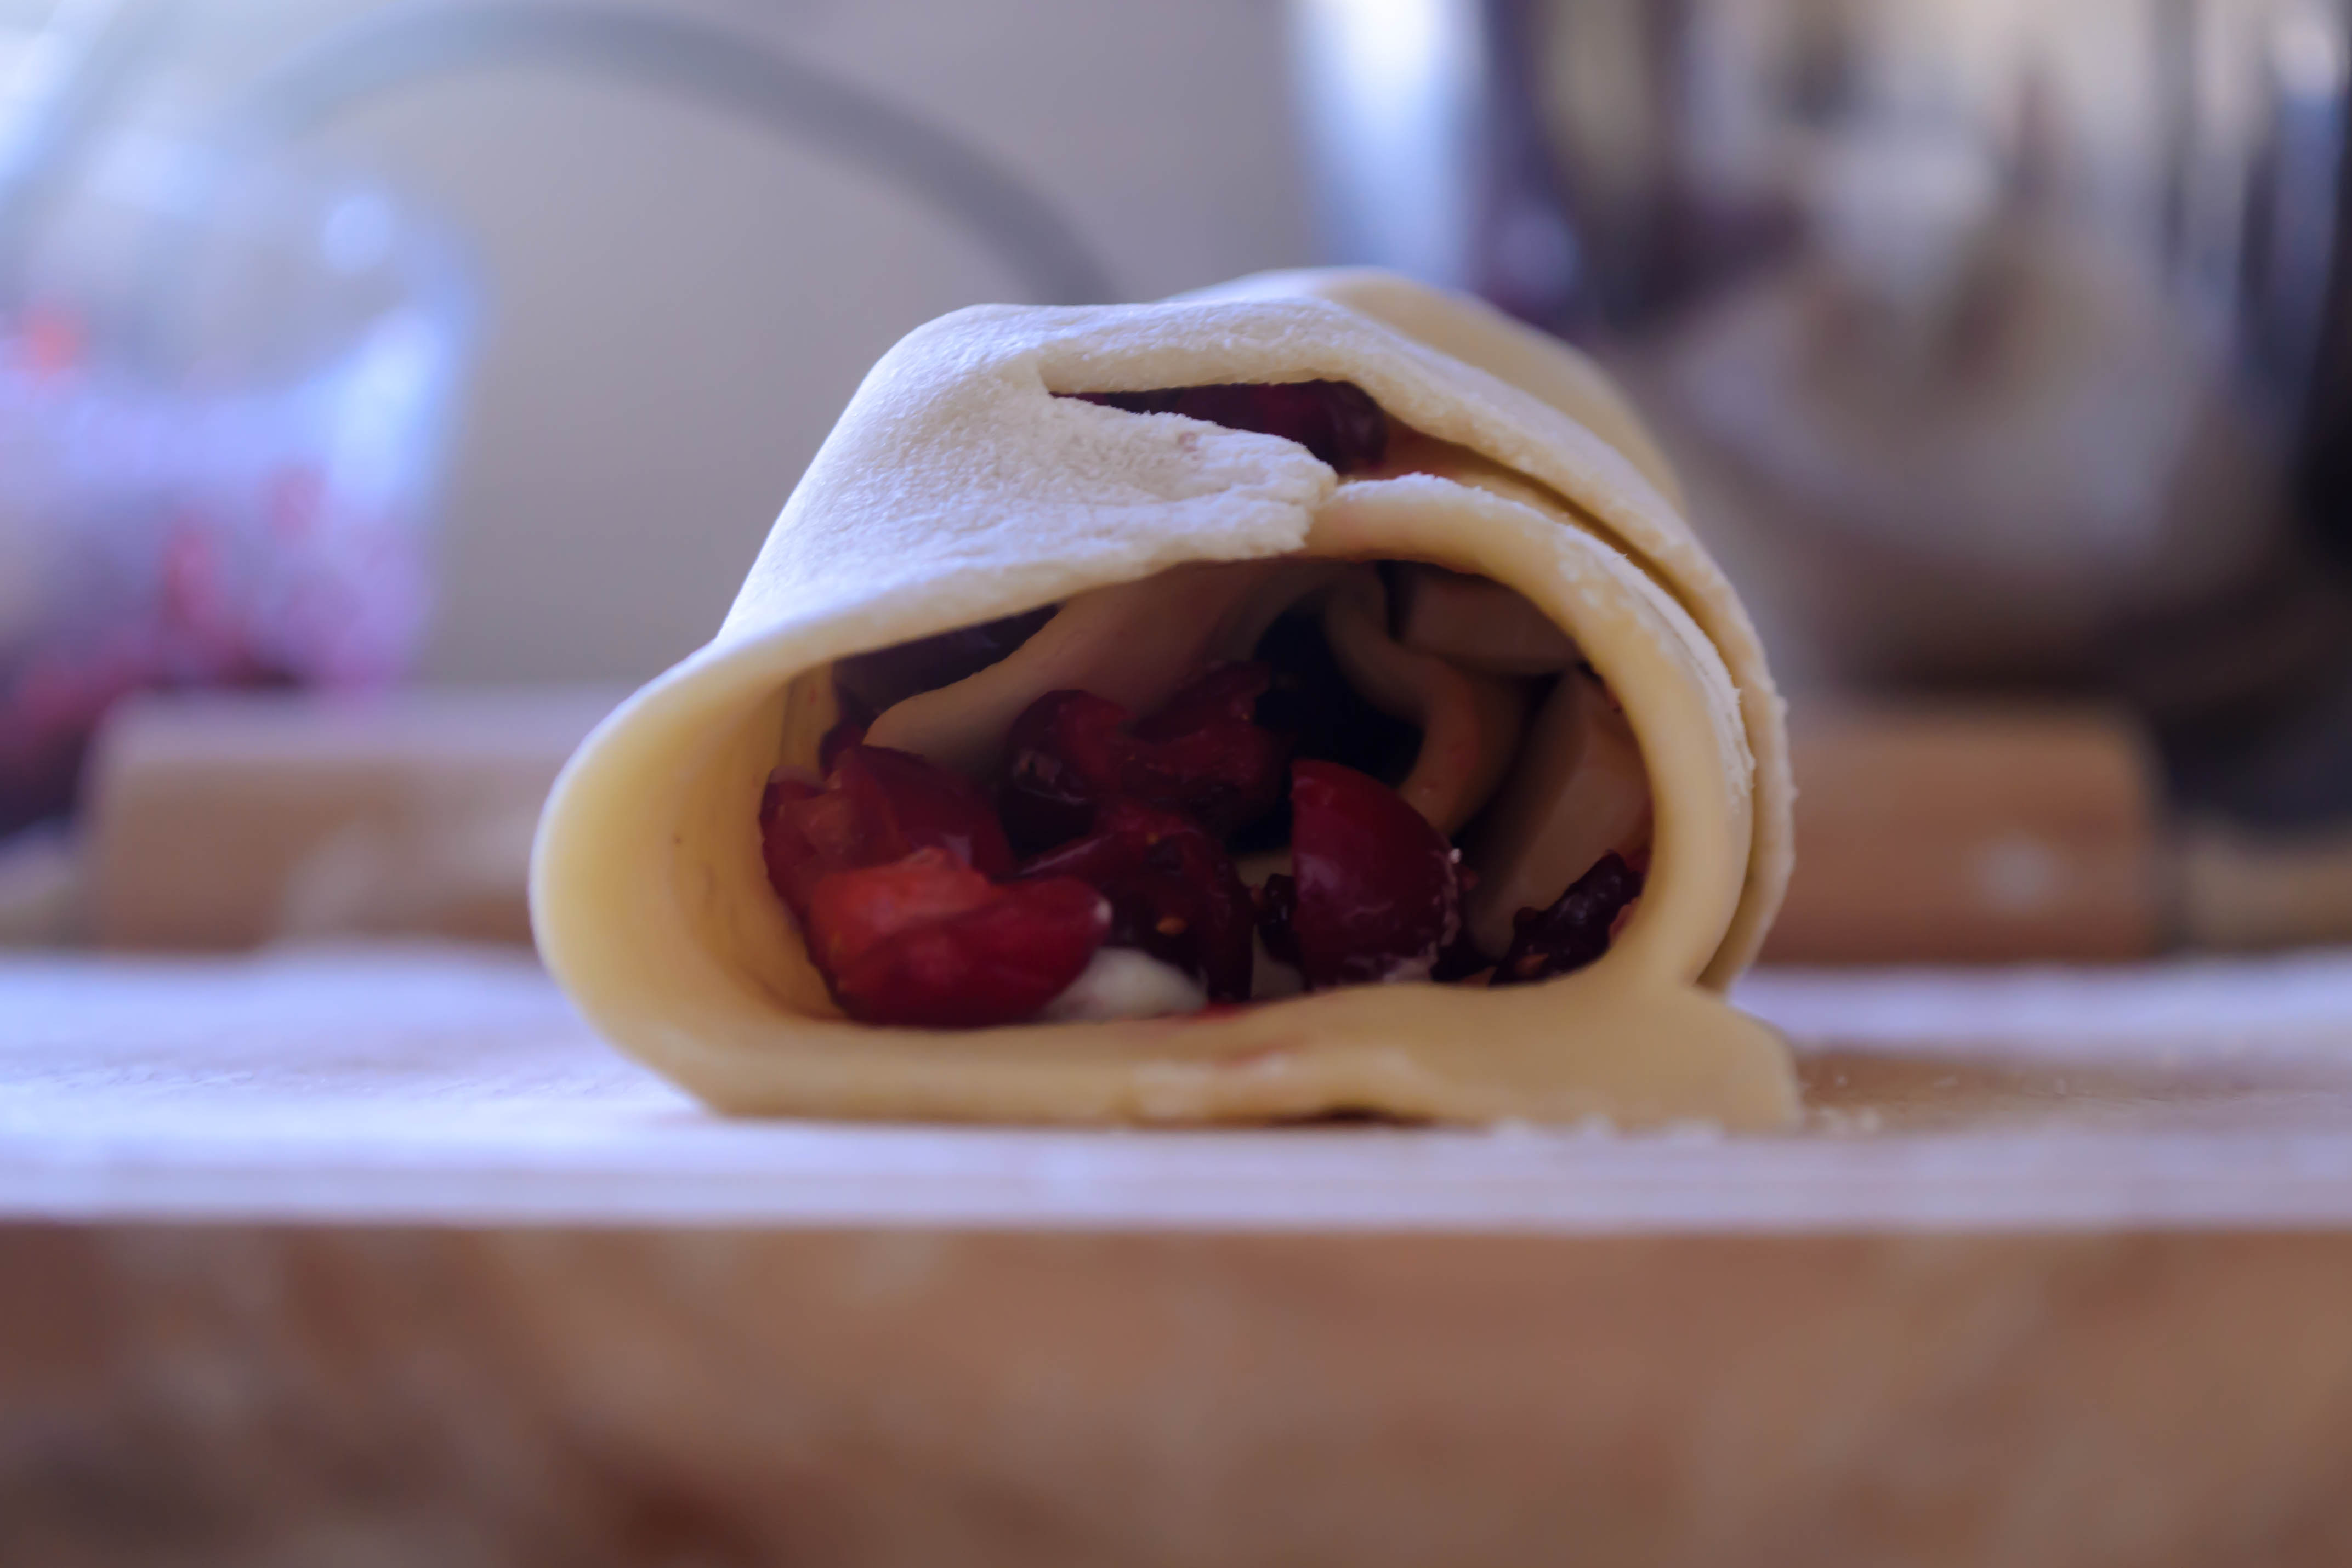
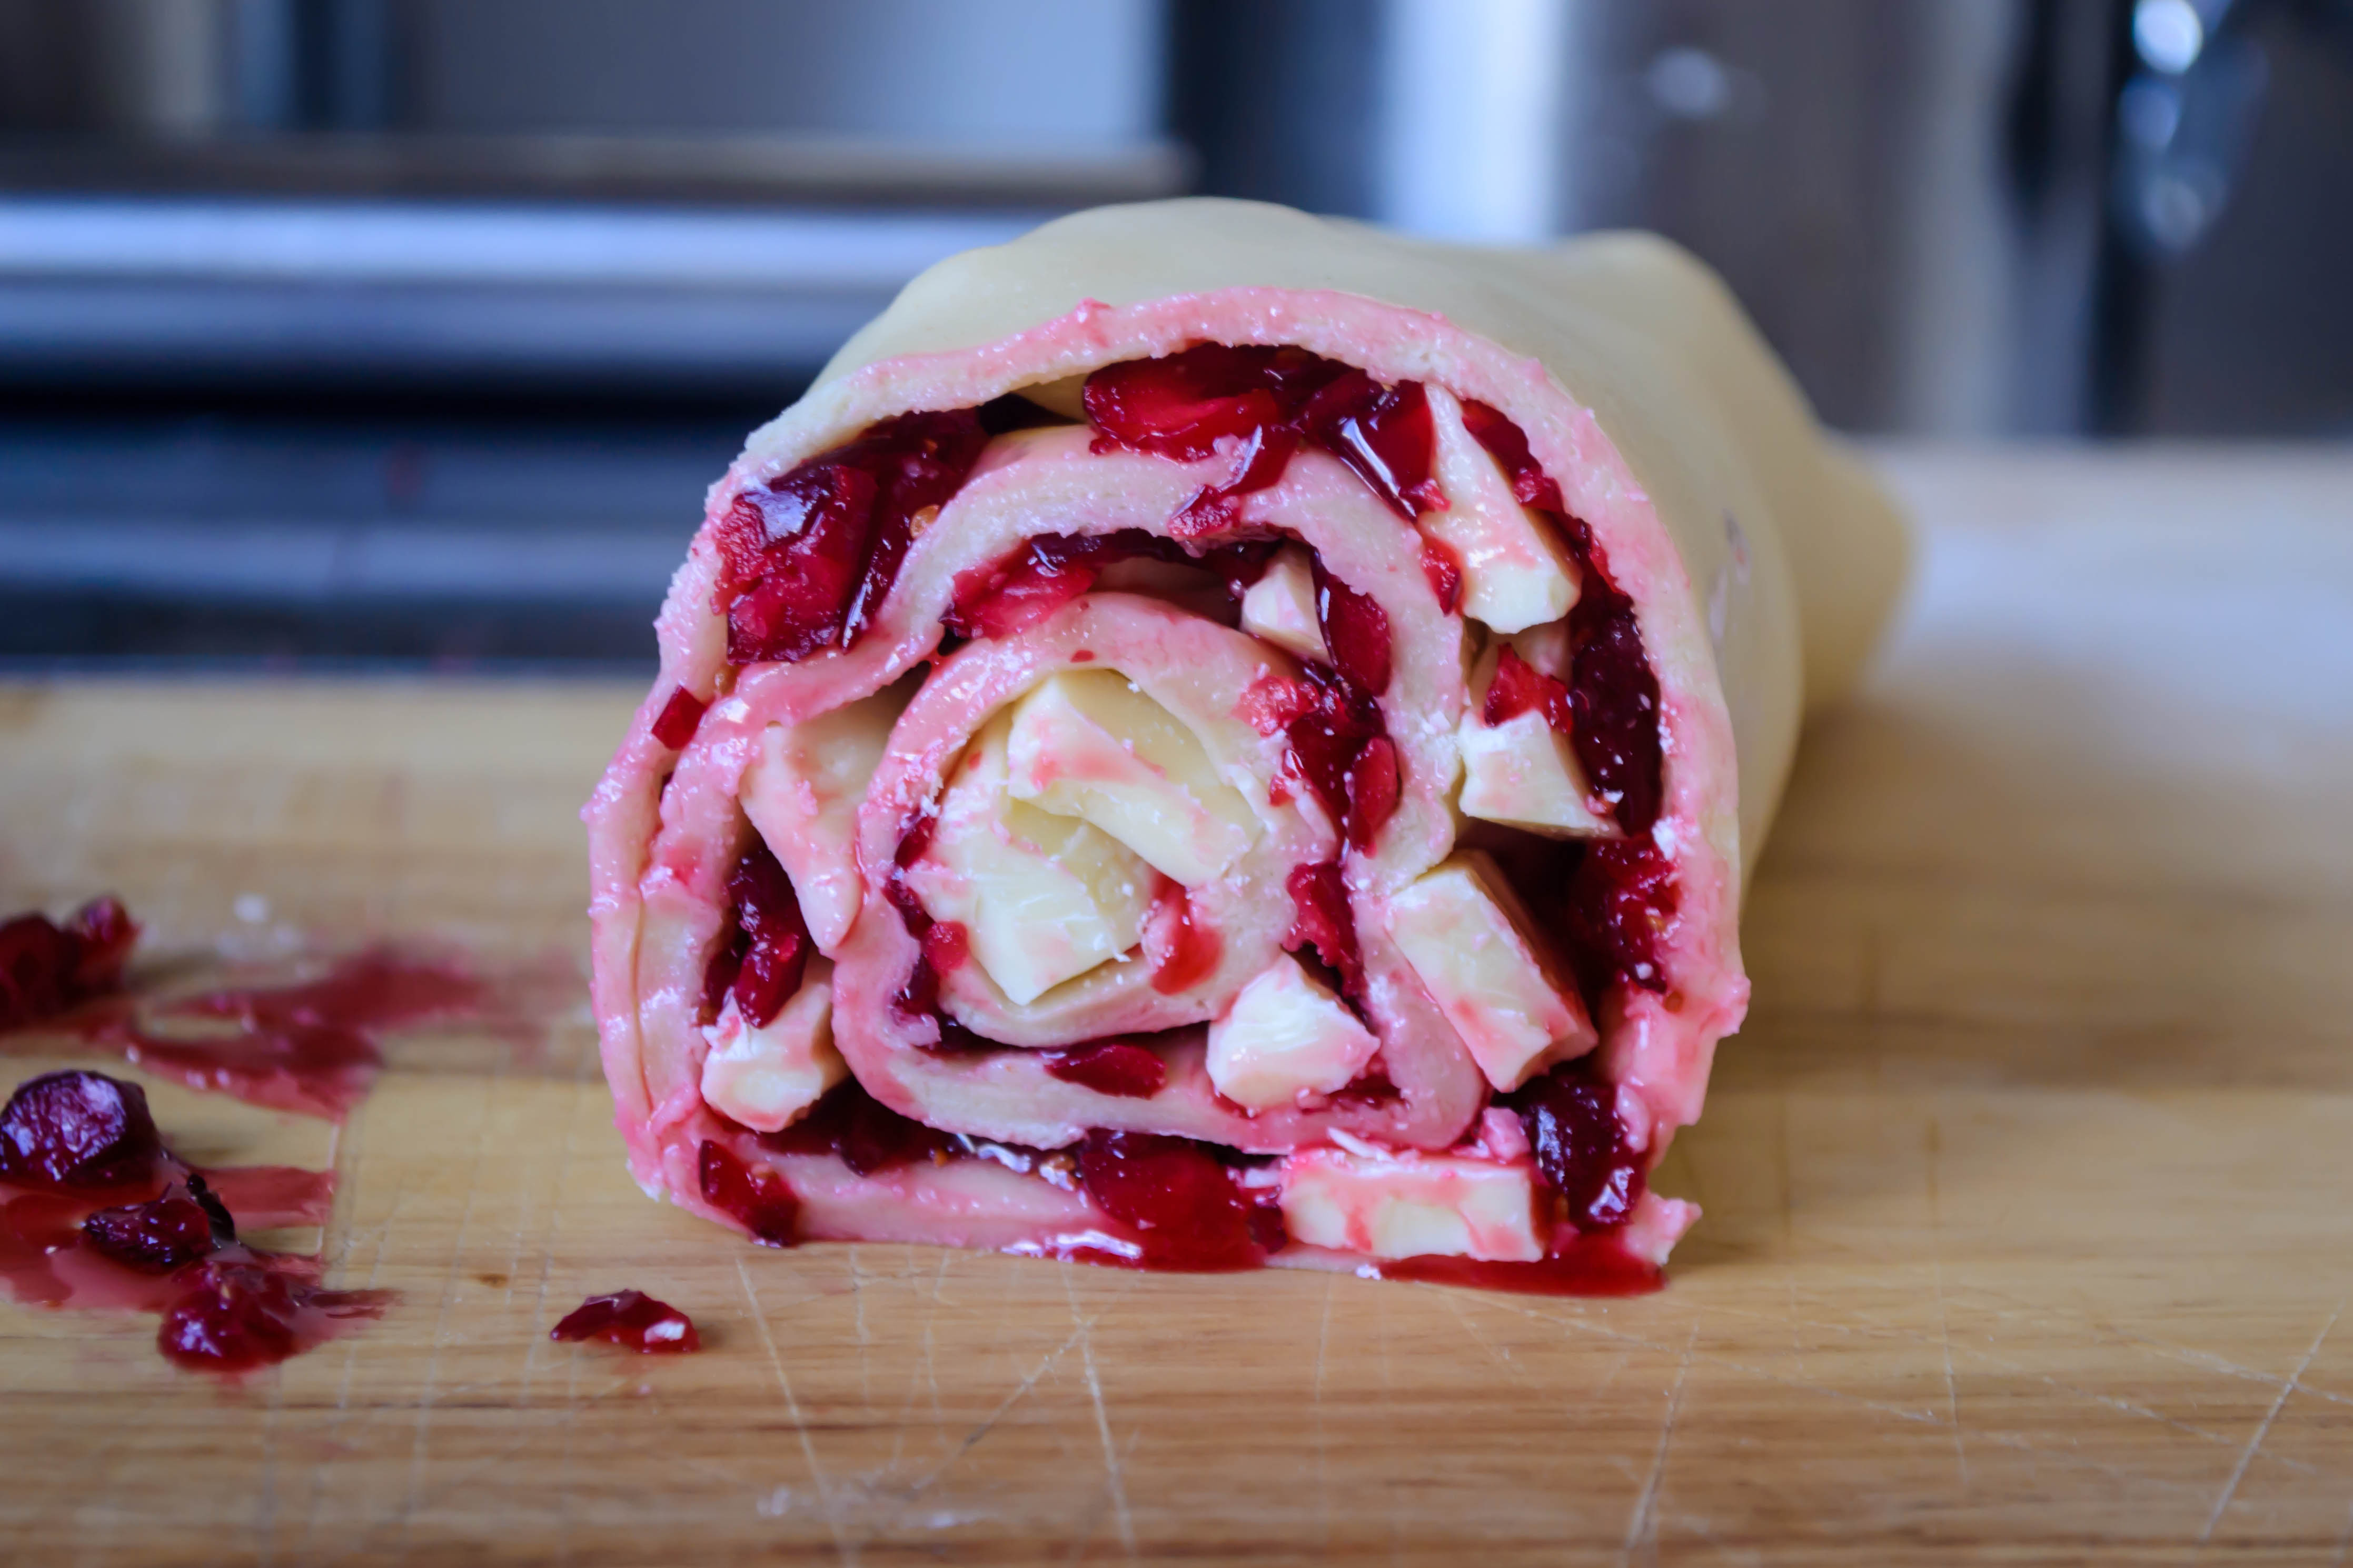
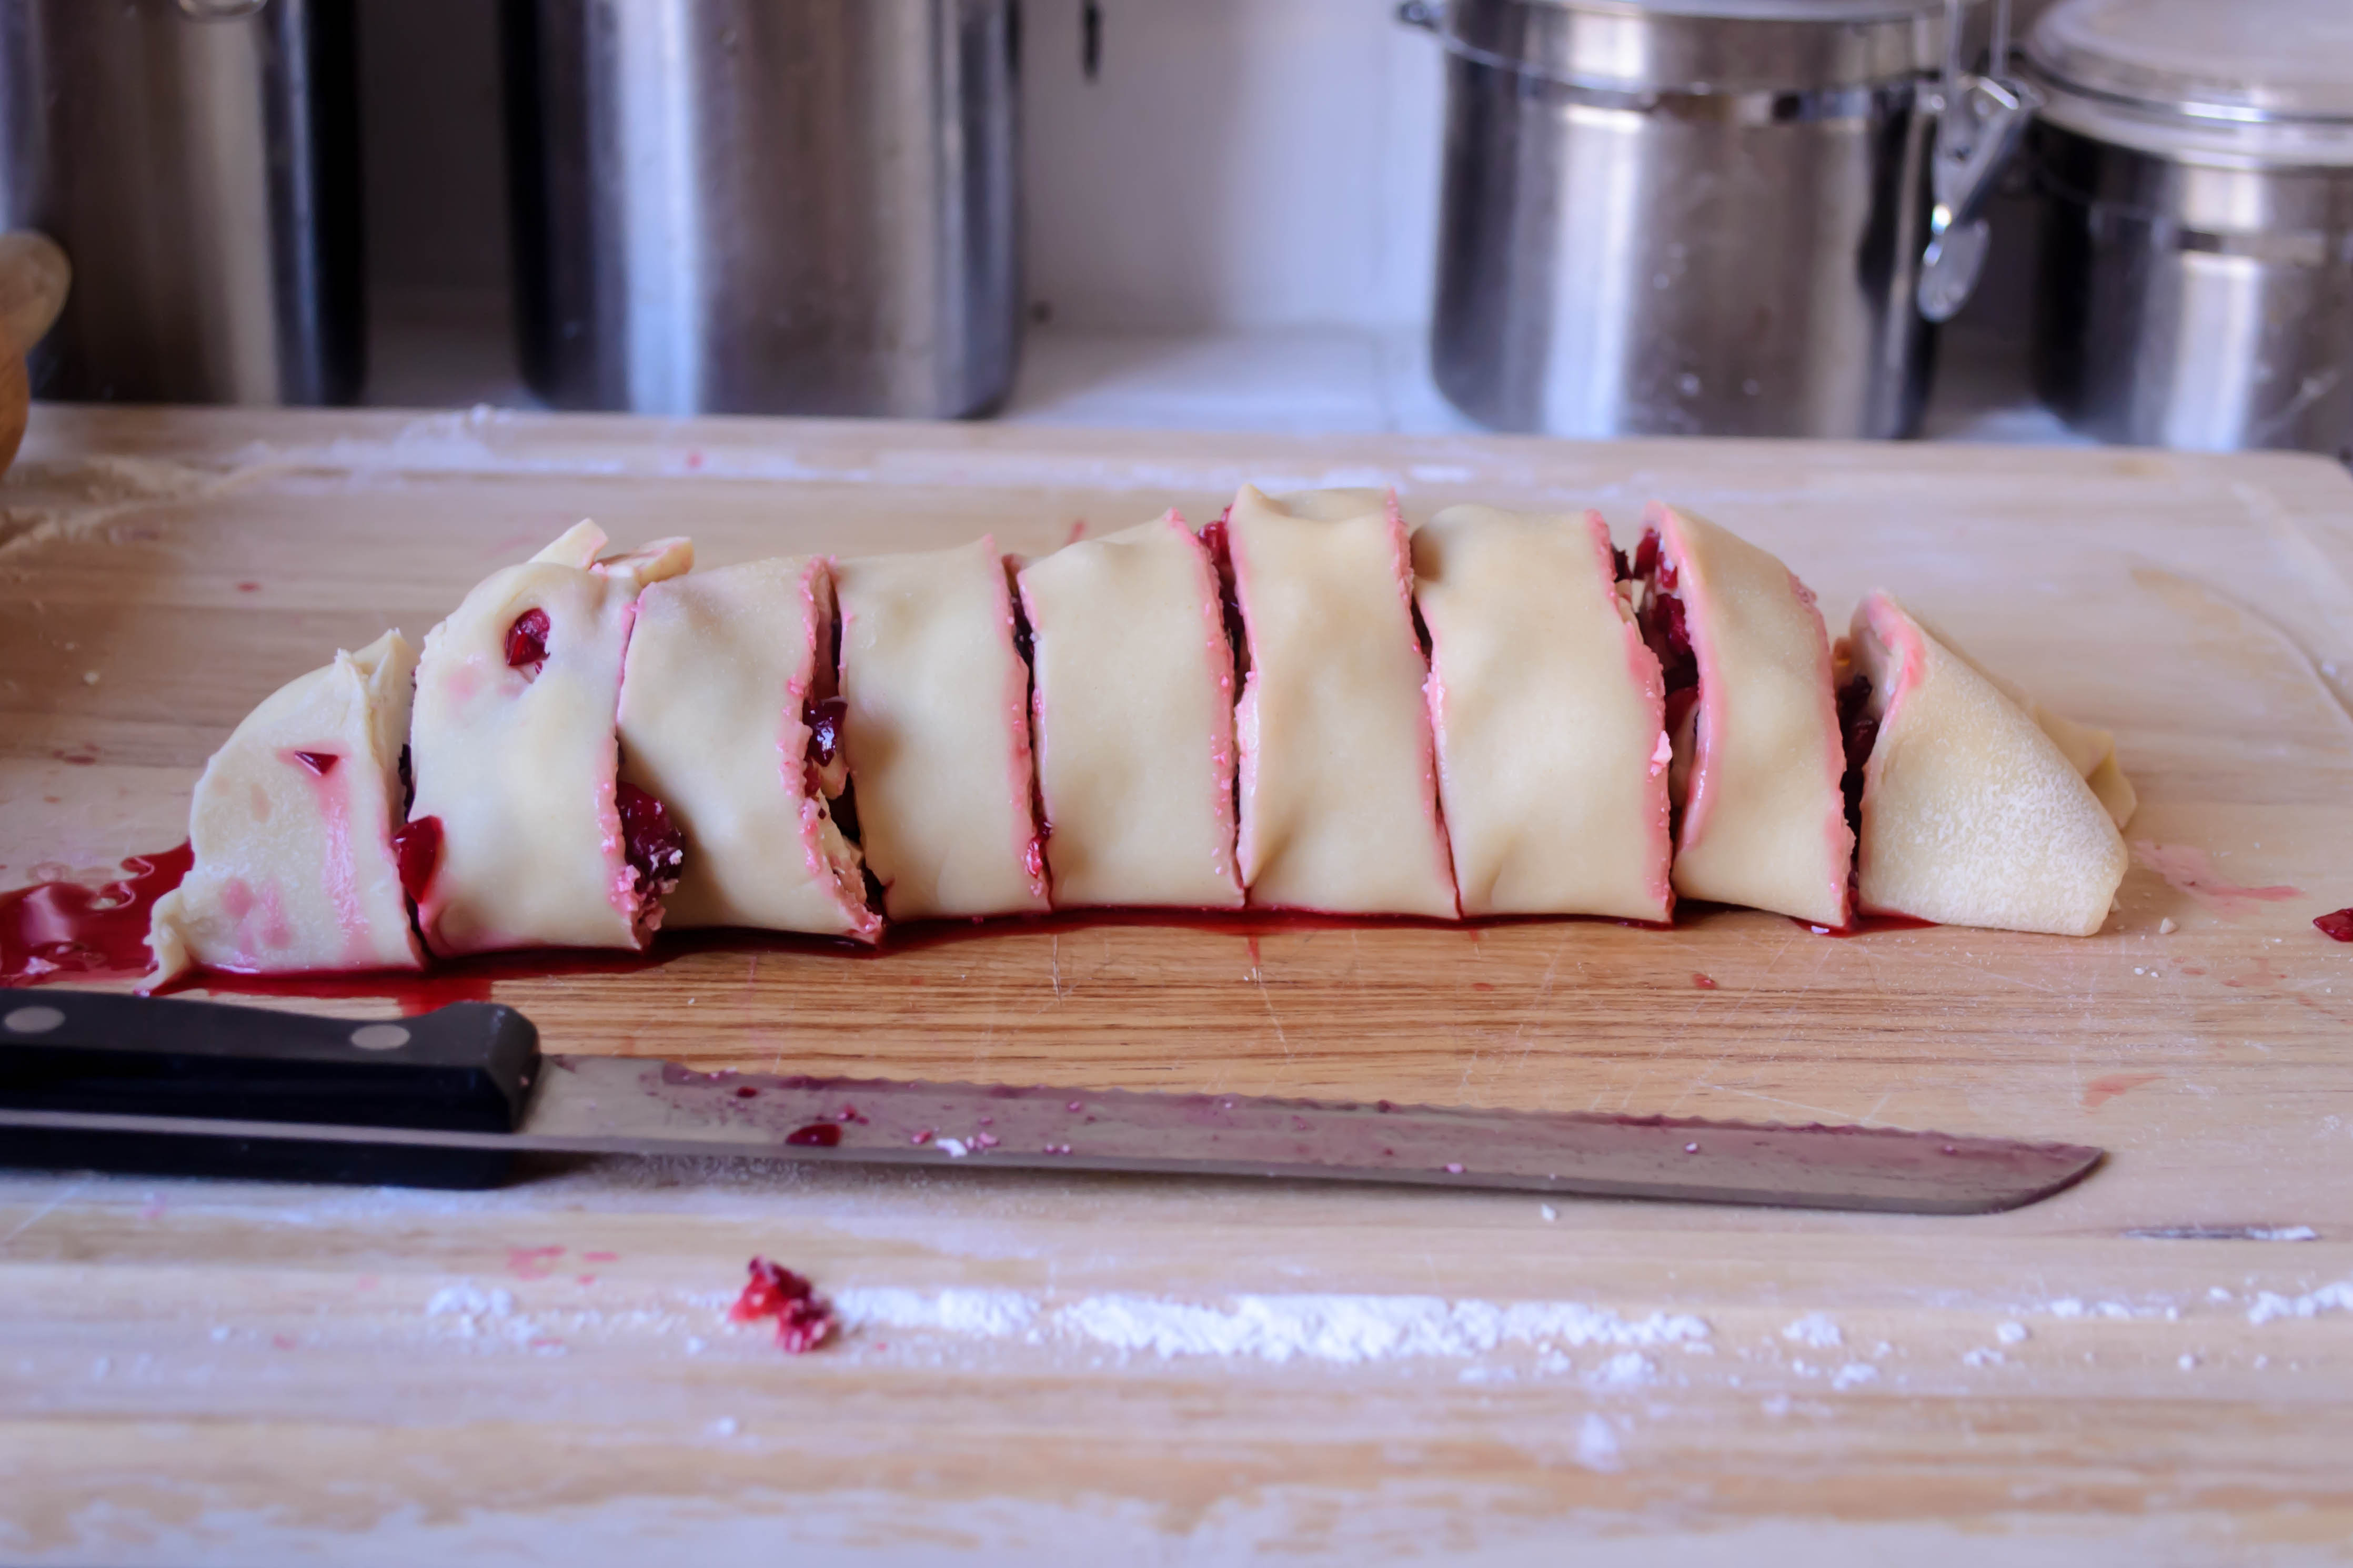
- Now roll up the dough: starting with the long edge closest to you, begin rolling in the middle, then moving out evenly to each side, to create a long log. Crimp the long edge on the other side firmly to the roll itself to prevent deconstruction later. A few cranberry bits may fall out as you do this; that’s okay. Just stuff them back in.
- Slice the log into 1-inch slices with a sharp serrated knife, moving the knife back and forth across the surface but applying very little pressure. This will produce truly round sweet rolls, rather than smashed, oddly-shaped ones.
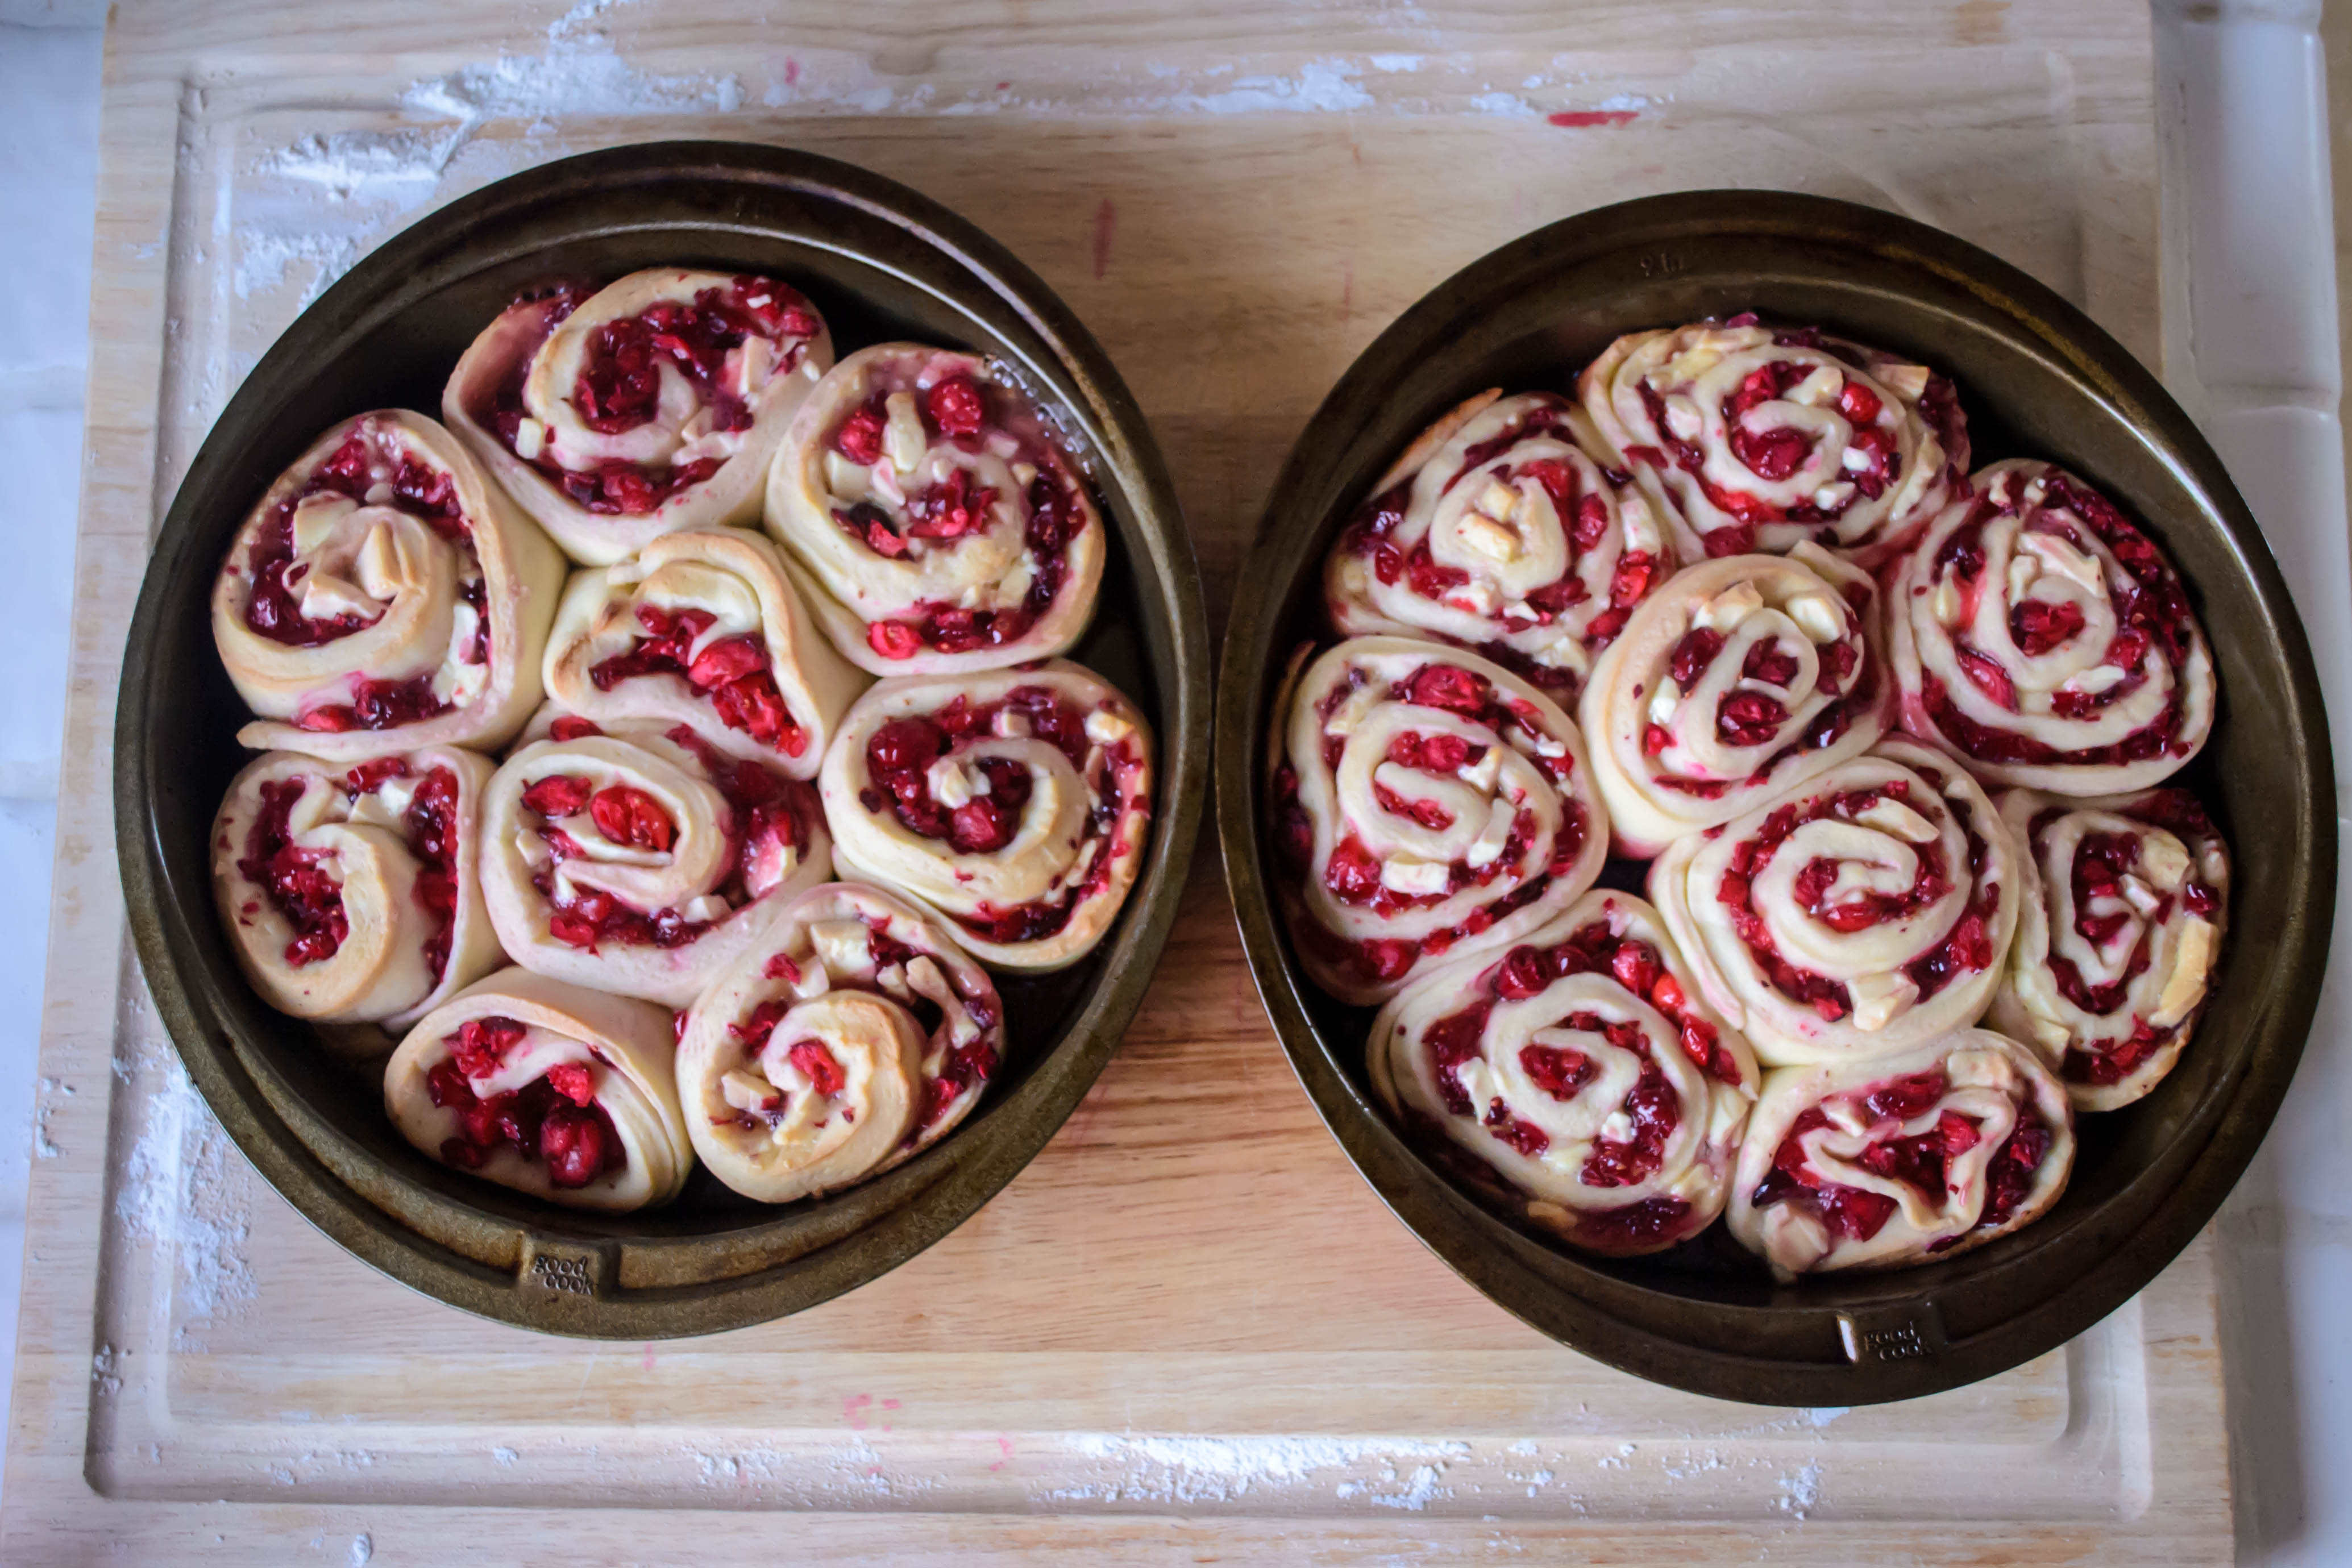
- Place the slices cut side up, so the red-spiked spiral shows, in each of two greased 9-inch cake pans. They should be spaced evenly, and don’t worry if there is room in between them, since they are going to rise again.
- Cover each pan with plastic wrap and let rise again in a warm place for 30-45 minutes. Meanwhile, preheat the oven to 375F.
- Once the rolls have puffed again, jostling and pressing against each other in the pan, stow them in the preheated oven for 18-20 minutes, or until lightly browned on top and cooked through. Remove from oven and set on wire racks to cool.
- While the rolls bake, you can make the icing. In a small pot, combine the cream cheese, white chocolate chunks, and milk or cream. Over low heat, stir constantly until everything has melted together into a velvety, smooth sauce (I mean it – if you step away, this is almost guaranteed to seize, getting grainy and unsalvageable). Once you have liberated the sweet rolls from the oven, pour the sauce liberally over them, using a spatula to spread it around evenly, if needed. Let everything cool before serving, so the sauce can solidify into icing, and the rolls themselves can firm up and stay together better.
- These taste just as good straight out of the refrigerator as they do warm in the pan. Store them in the fridge covered with foil or in an airtight container for two to three days.