Sometimes I worry that I’ve killed my yeast.
Sometimes I don’t.


Sometimes I worry that I’ve killed my yeast.
Sometimes I don’t.
 Today’s post serves double duty. Last month, Joy the Baker issued a baking challenge. Pairing with King Arthur Flour, she invited readers to join her in baking four different items, each featuring a different flour from the King Arthur line-up.
 For the first – All-Purpose Flour – she made a beautiful wreath of sweet bread, braided and swirled with cinnamon sugar and a trio of summer berries. I determined that I would, indeed, bake this bread. I had yet to try a wreath or crown shape, and was curious about how it would come out.
 Of course, I have trouble leaving well enough alone. By the time I was done looking at Joy’s photos of her magnificent loaf, I was already scheming about what tweaks I would apply to my variation. The answer, of course, came from the June Twelve Loaves assignment: cherries.
 Here, I’ve replaced Joy’s berries with blood-red bing cherry halves, gushing with juice, their tartness mellowed by baking. Since I’m not crazy about cinnamon with cherries, I have substituted in cardamom, which has an intriguing deep, citrusy scent but offers a spiciness reminiscent of the zingiest flavor in your favorite chai tea blend. To bring together the flavors, I also splashed in a little vanilla.
 The trickiest thing about this bread is shaping the crown. This requires flattening, spreading, stuffing, rolling, and then slicing open that roll to reveal the rebellious little rubies inside, which then all immediately threaten to spill out all over your board. You have to “braid” the bread by lifting one strand over the other down its length, all the while trying to keep the fruity guts inside from escaping. Then, once you’ve tamed it into a beautiful interlaced wreath, you somehow have to pick the whole thing up and nestle it into your baking vessel. I know. Mine collapsed a little bit, but honestly, after it rose during its baking time, it was hard to notice. And once we dug in, crunching through the lightly sugared, spicy-tart sweet layers, we didn’t care. The tartness of the cherries is pleasantly rounded by the oven’s heat, but the real star, to me, was the cardamom. Its flavor is so delightful here – brighter than cinnamon but no less flavorful – that I now want it in everything. I suppose they wouldn’t really be “cinnamon rolls” without the cinnamon, but false advertising (or blasphemy) or not, those may be my next cardamom target.
 I didn’t take very many photos of the twisting and shaping process, mostly because I got so involved in the process I just forgot. It happens. But do take a look at Joy’s photo-by-photo instructions if you need help – they are really clear and easy to follow.
 Two tips for success when it comes to this bread, then, before we get all this out of the way and charge into the recipe.
 1.) Distribute the fruit evenly. I mean it. Don’t just dump the cherries in the middle and decide that’s good enough. Spread them out across your dough rectangle before rolling it up. Though it’s important to leave a slight border, if you have a lot more cherries in the middle of the dough log, it will be much more difficult to keep them contained while you braid it, and you will end up with a really uneven wreath – one section will be much fatter than the rest and therefore bake unevenly. Take the extra few seconds to spread them out well.
2.) While you are manipulating it, be assertive with this dough. Joy, delightfully, notes that the dough can sense fear. I suspect she’s right. If you hesitate as you braid or lift, the dough sags disastrously. Just move smoothly and confidently and with a clear plan. And remember that a trip through the oven and a dusting of powdered sugar repairs many mistakes.

 afternoon light…
 I didn’t learn to drive until I was 17, an oddity at my high school where brand new cars to fit their brand new drivers started showing up during junior year. When I did learn, however, my dad took me on biweekly drives through Orange County, making a wide circle that climbed a gradual hill and then descended steeply toward, much to my dismay, a stoplight that was always red. One week I vividly remember Smash Mouth’s “Walkin’ on the Sun” playing as I coasted down the hill, hoping to hit the brakes soon enough to show I was paying attention, but not wanting the downhill glide to end. Another week, I remember stopping at a bagel shop just before getting to that glorious hill, and then, poised nervously at the parking lot exit, fumbling for the gas pedal instead of the brake. You only make that mistake once.
 But really, the bagel shop is the important part here. My parents moved a lot when I was a kid, and one of the most important components about making a new city “home” was finding a good bagel place. This meant they were always hole-in-the-wall, never big names. This one in particular, though it was a bit of a drive from our house, was special in that it carried a treat I’d never had before: a bialy.
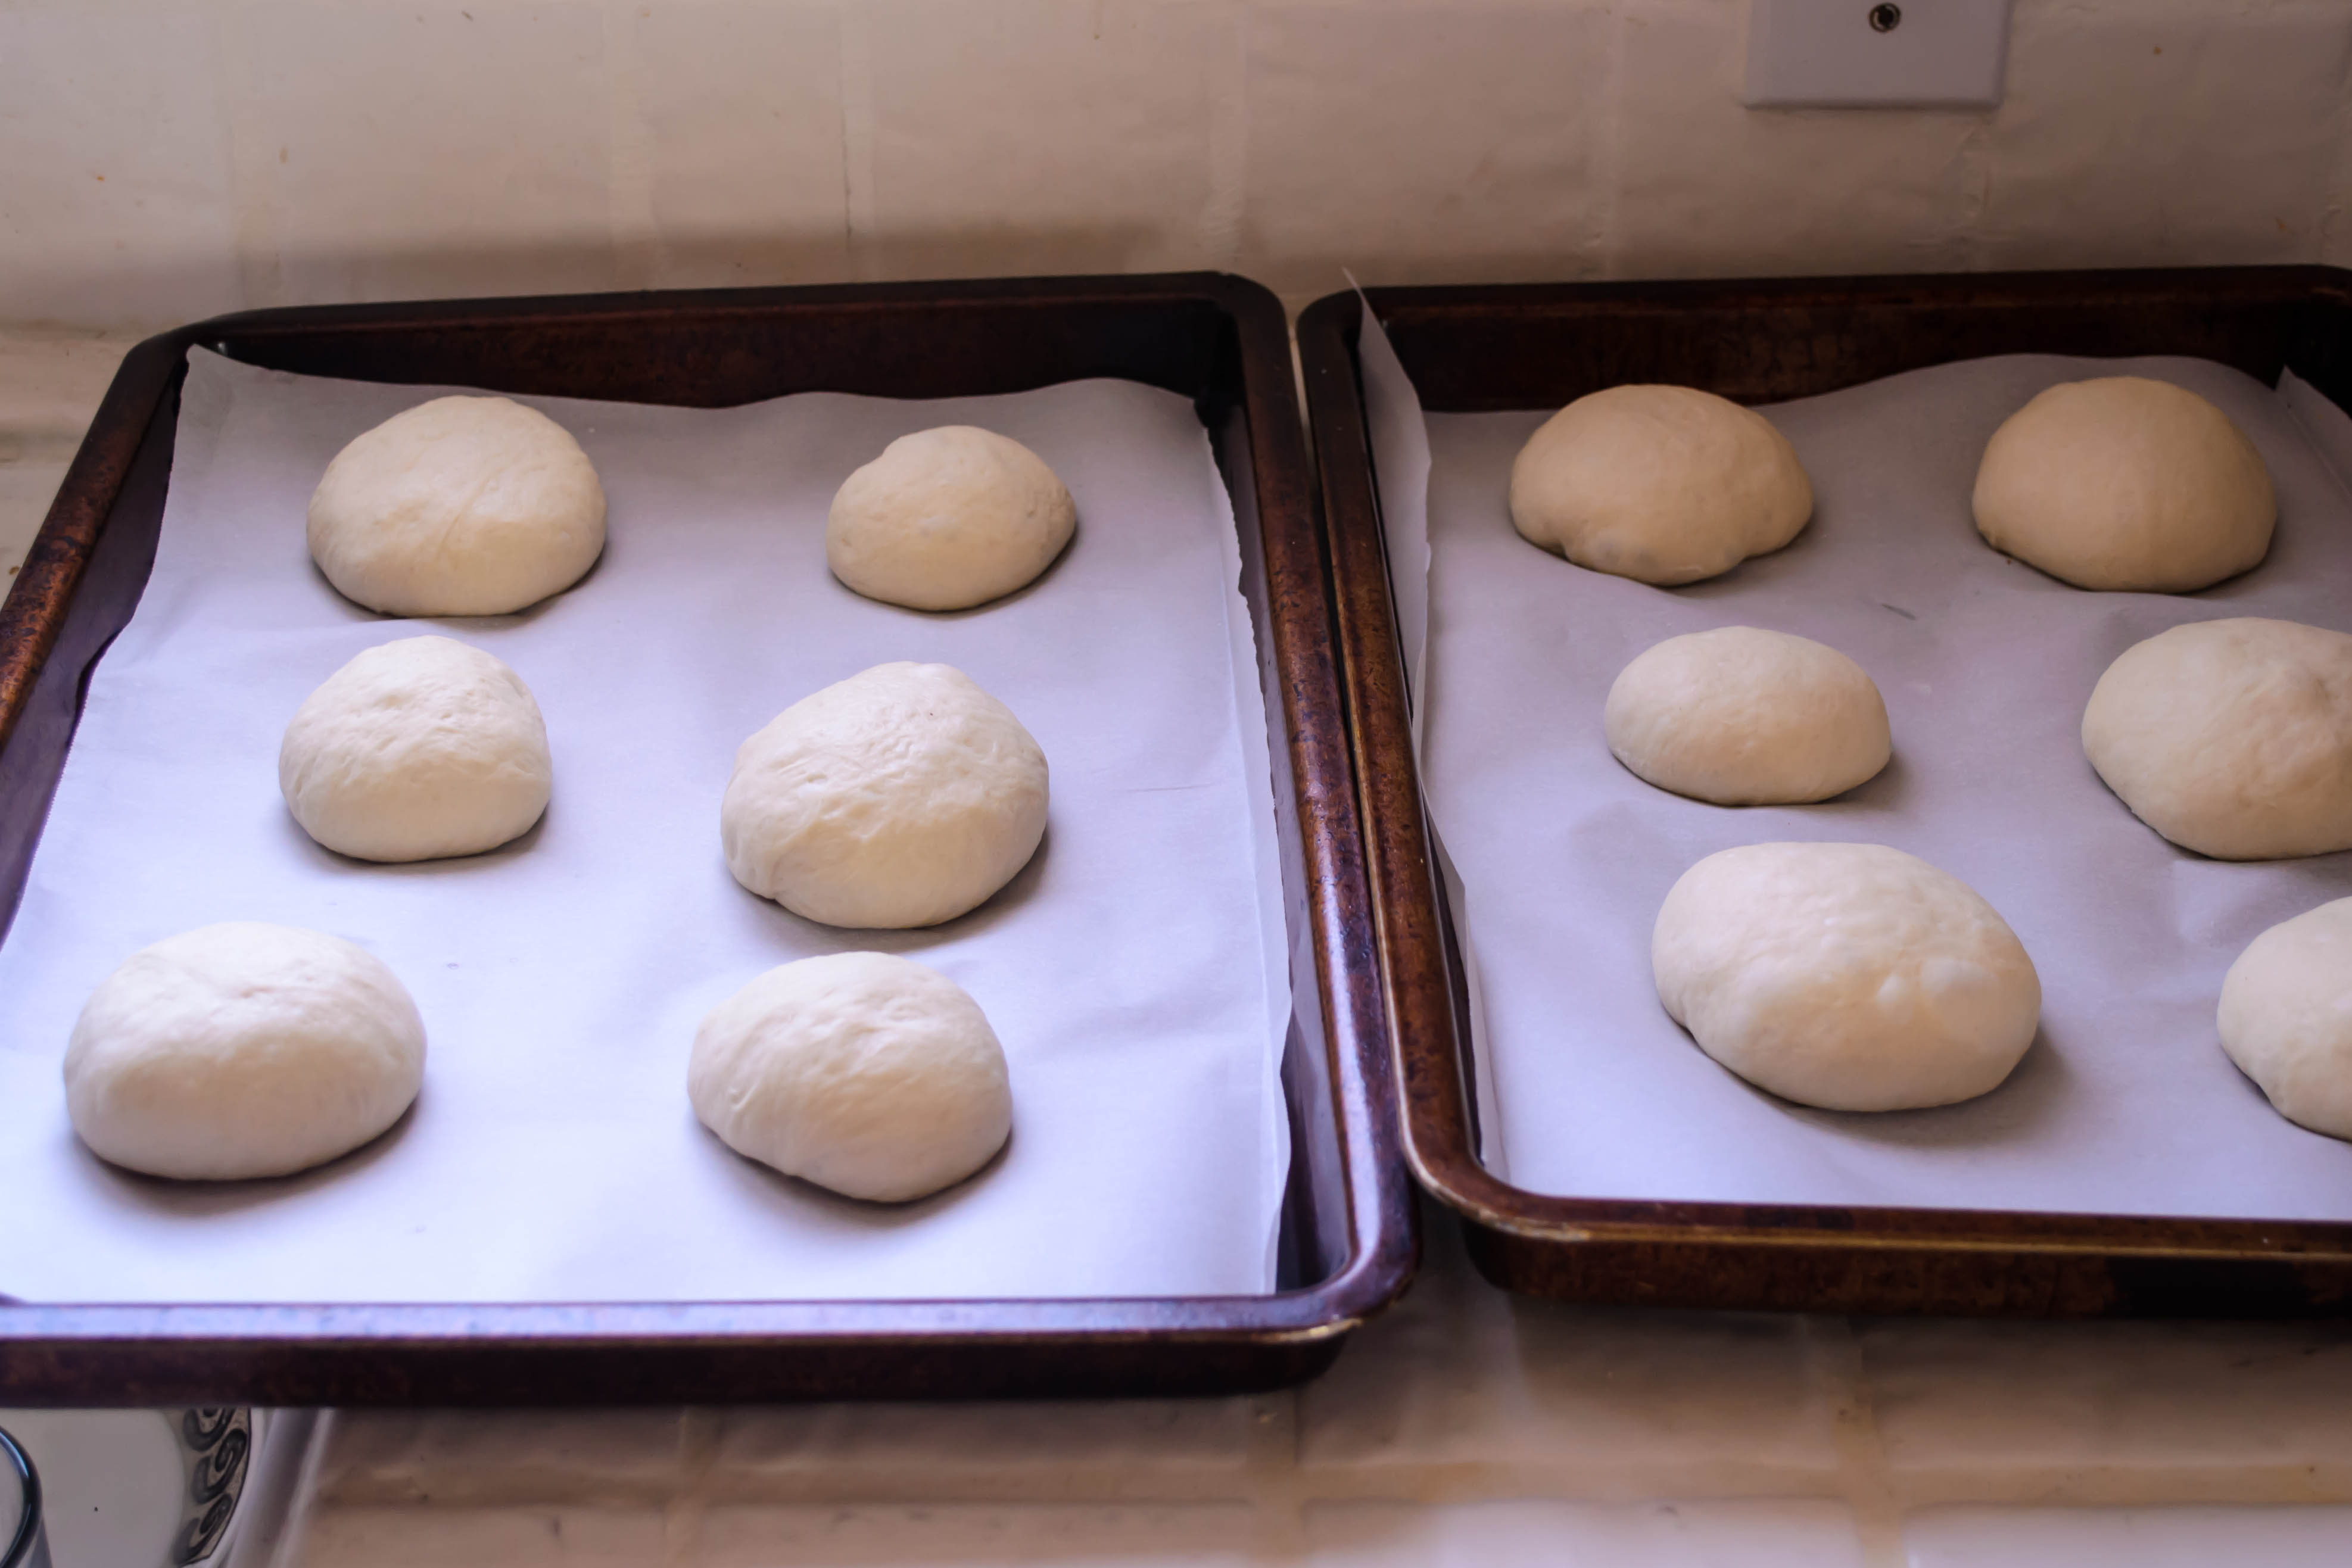
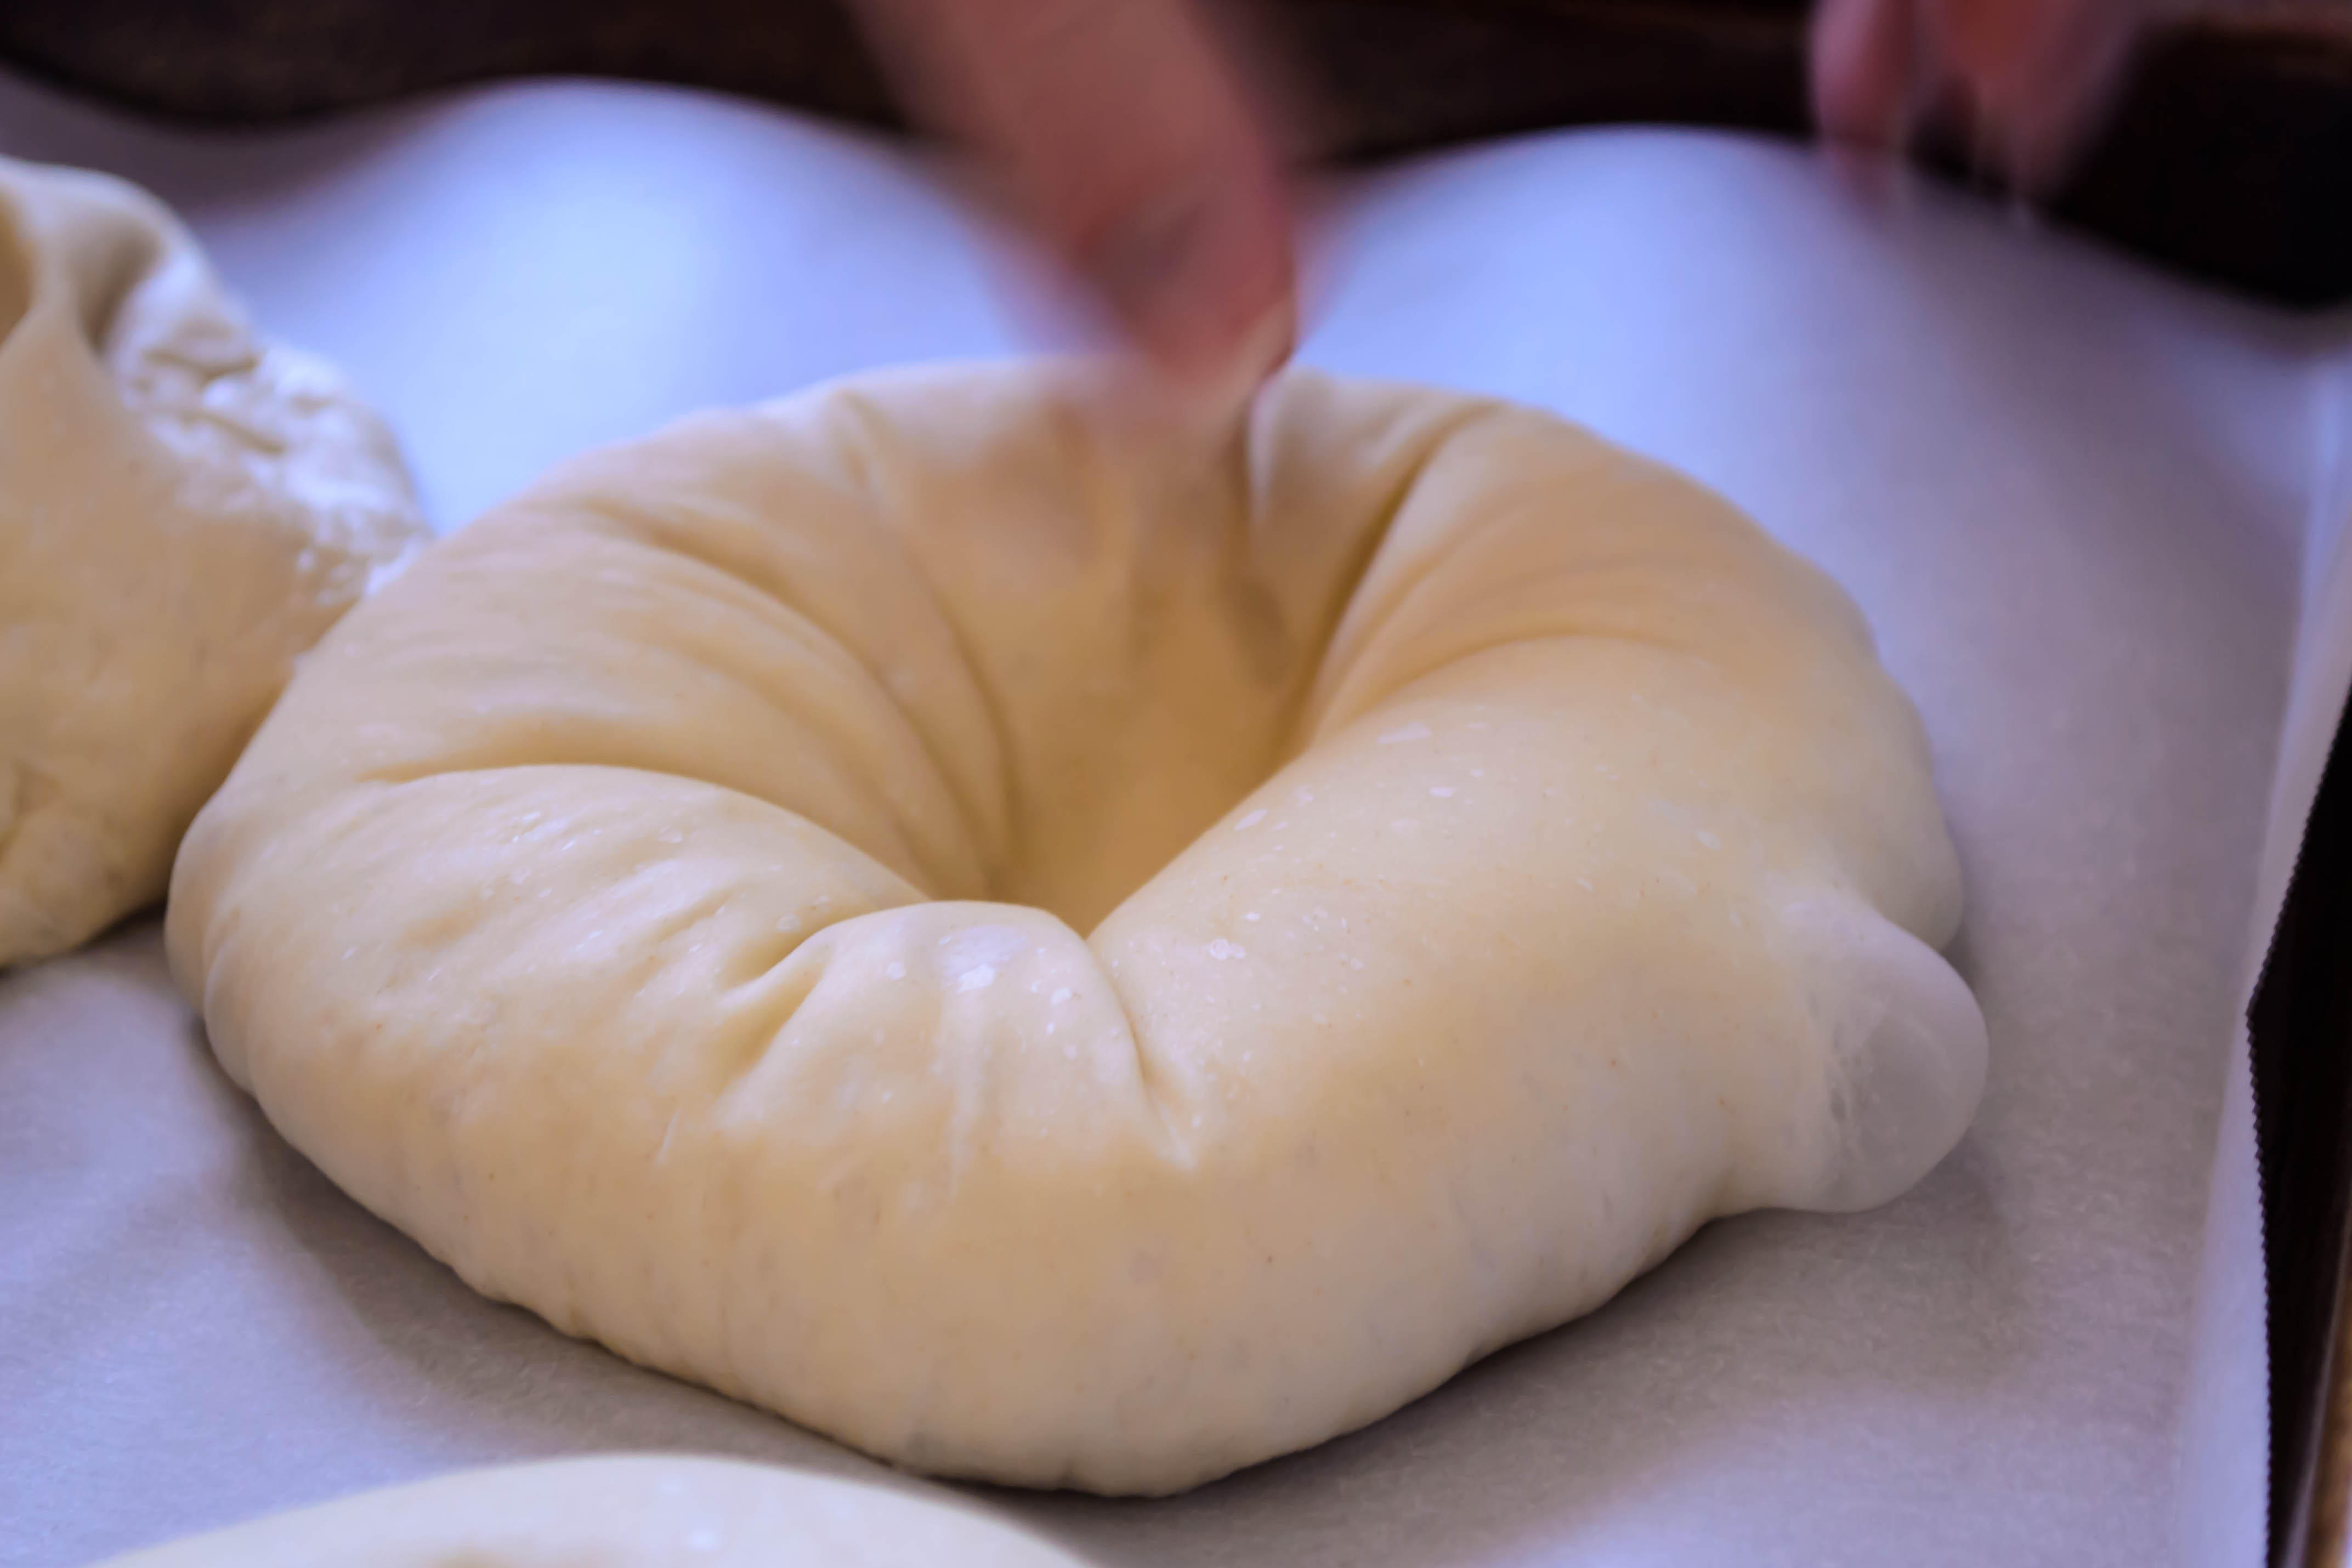
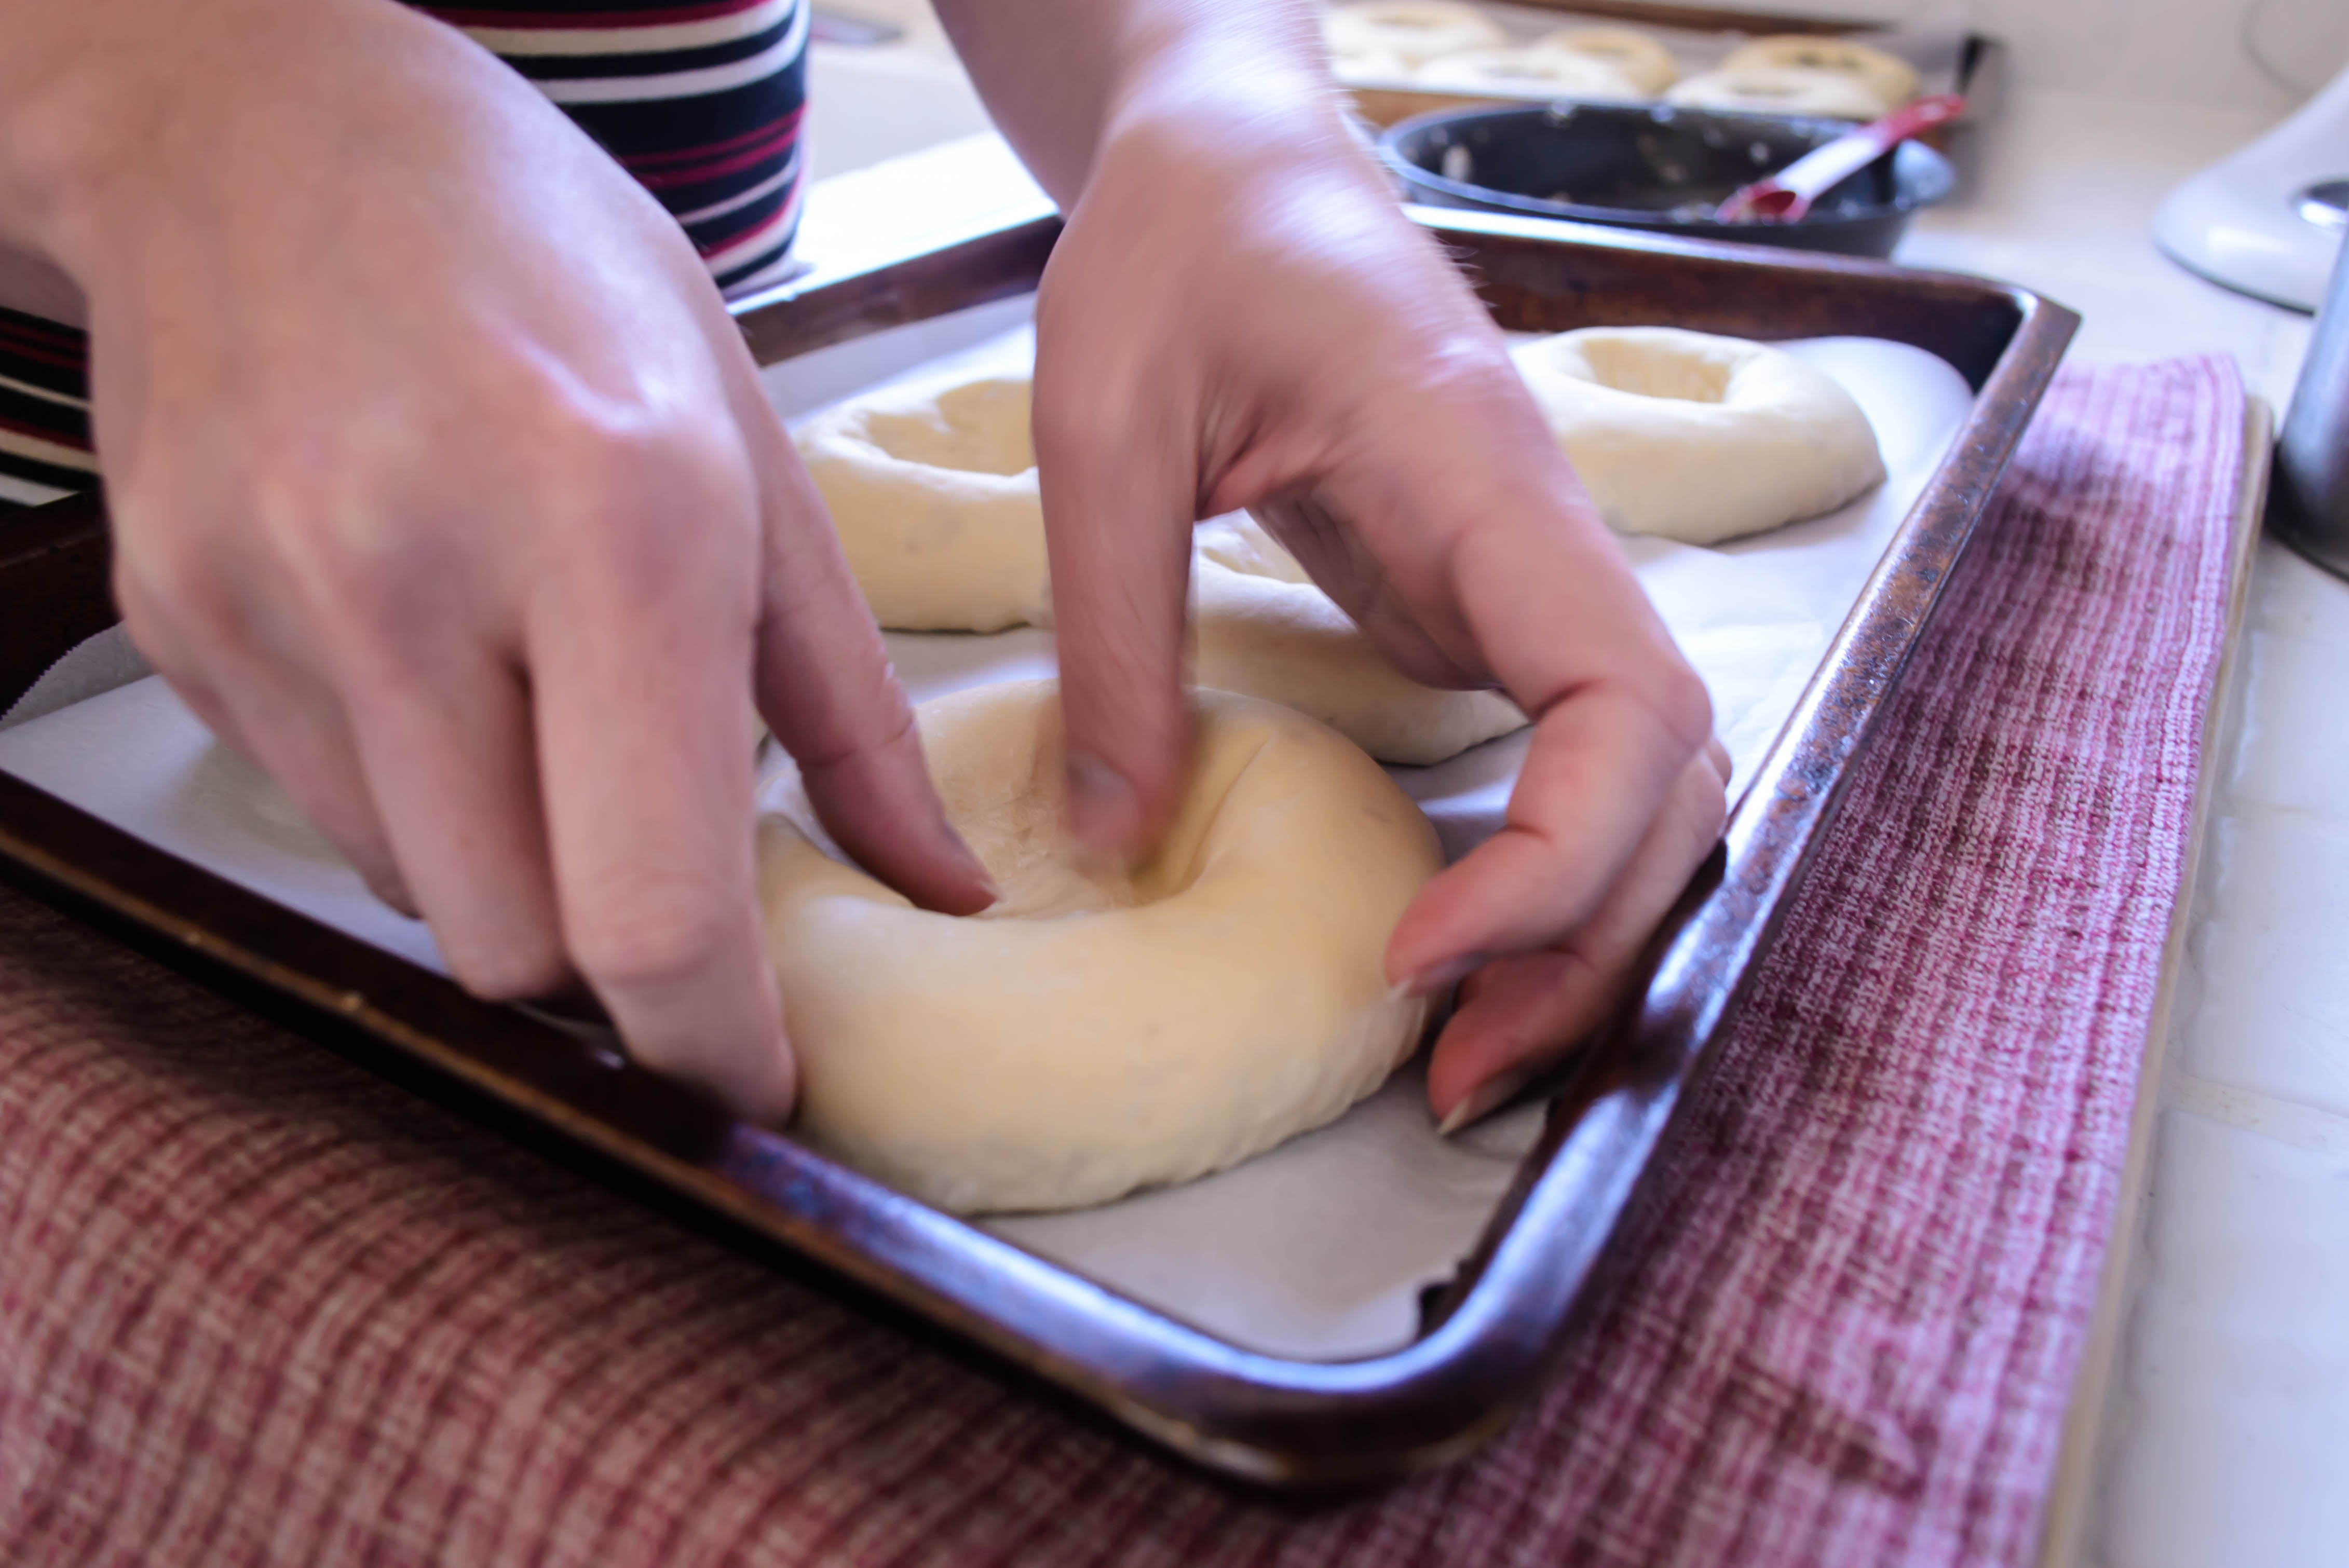
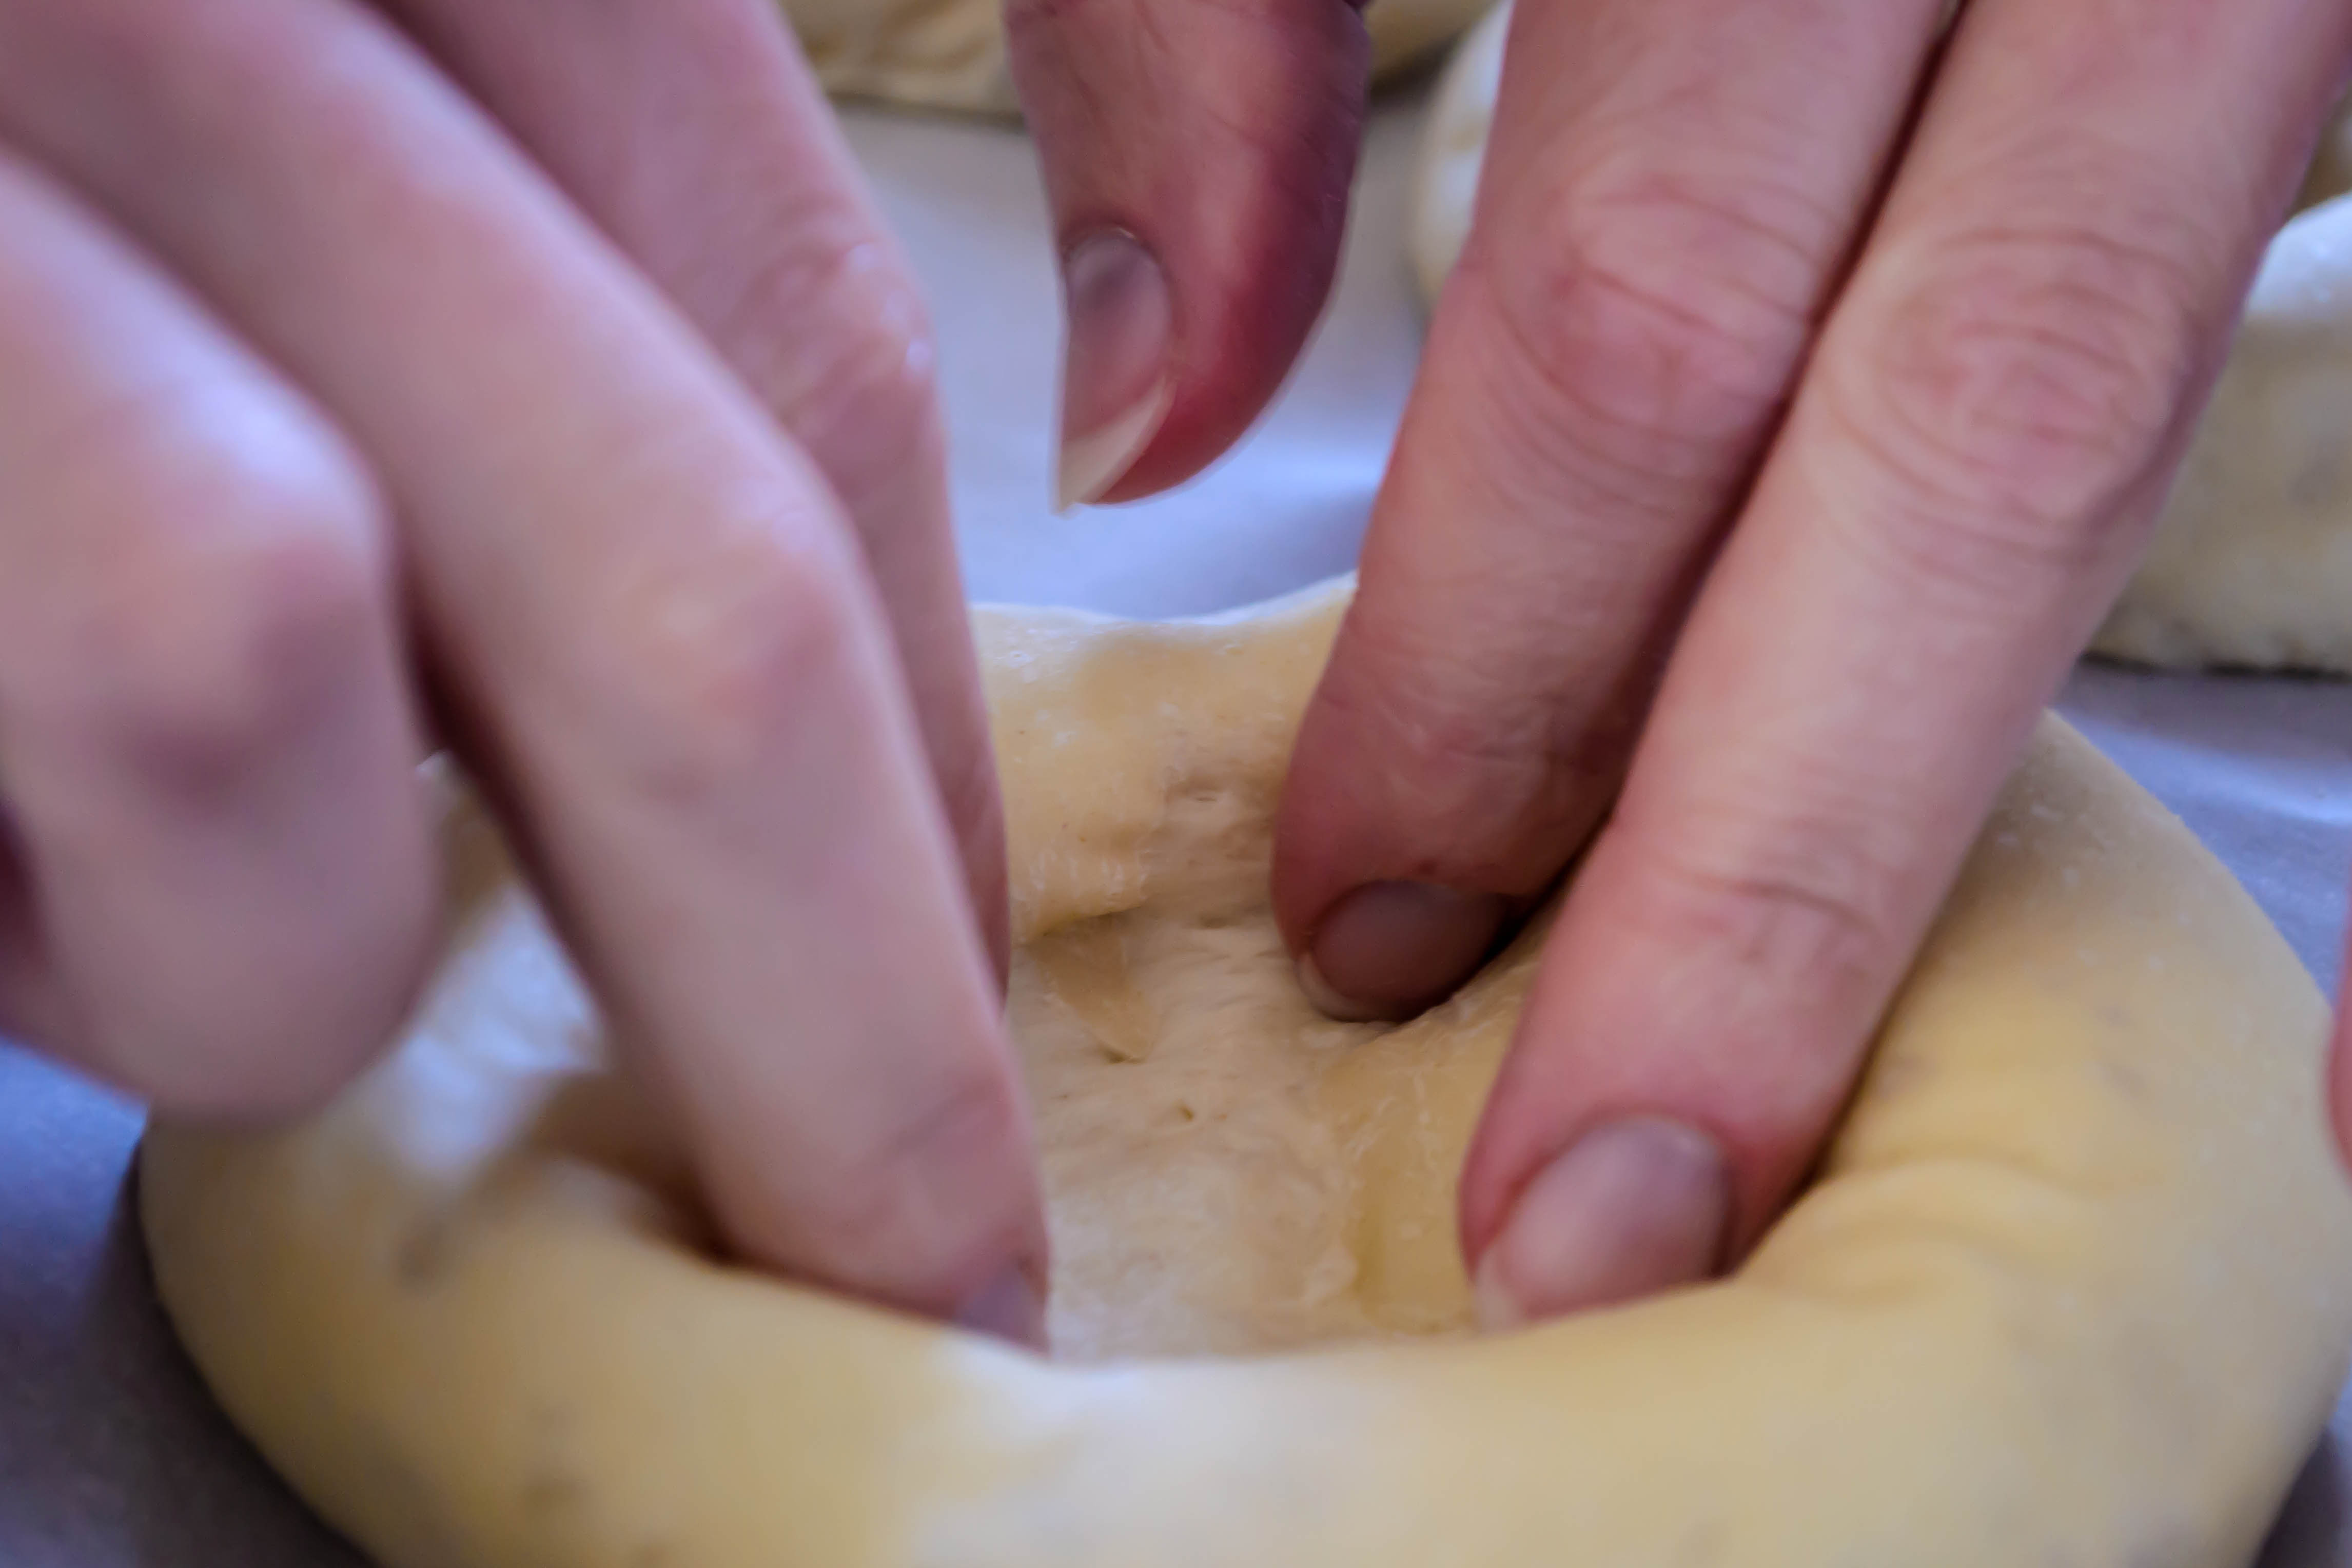
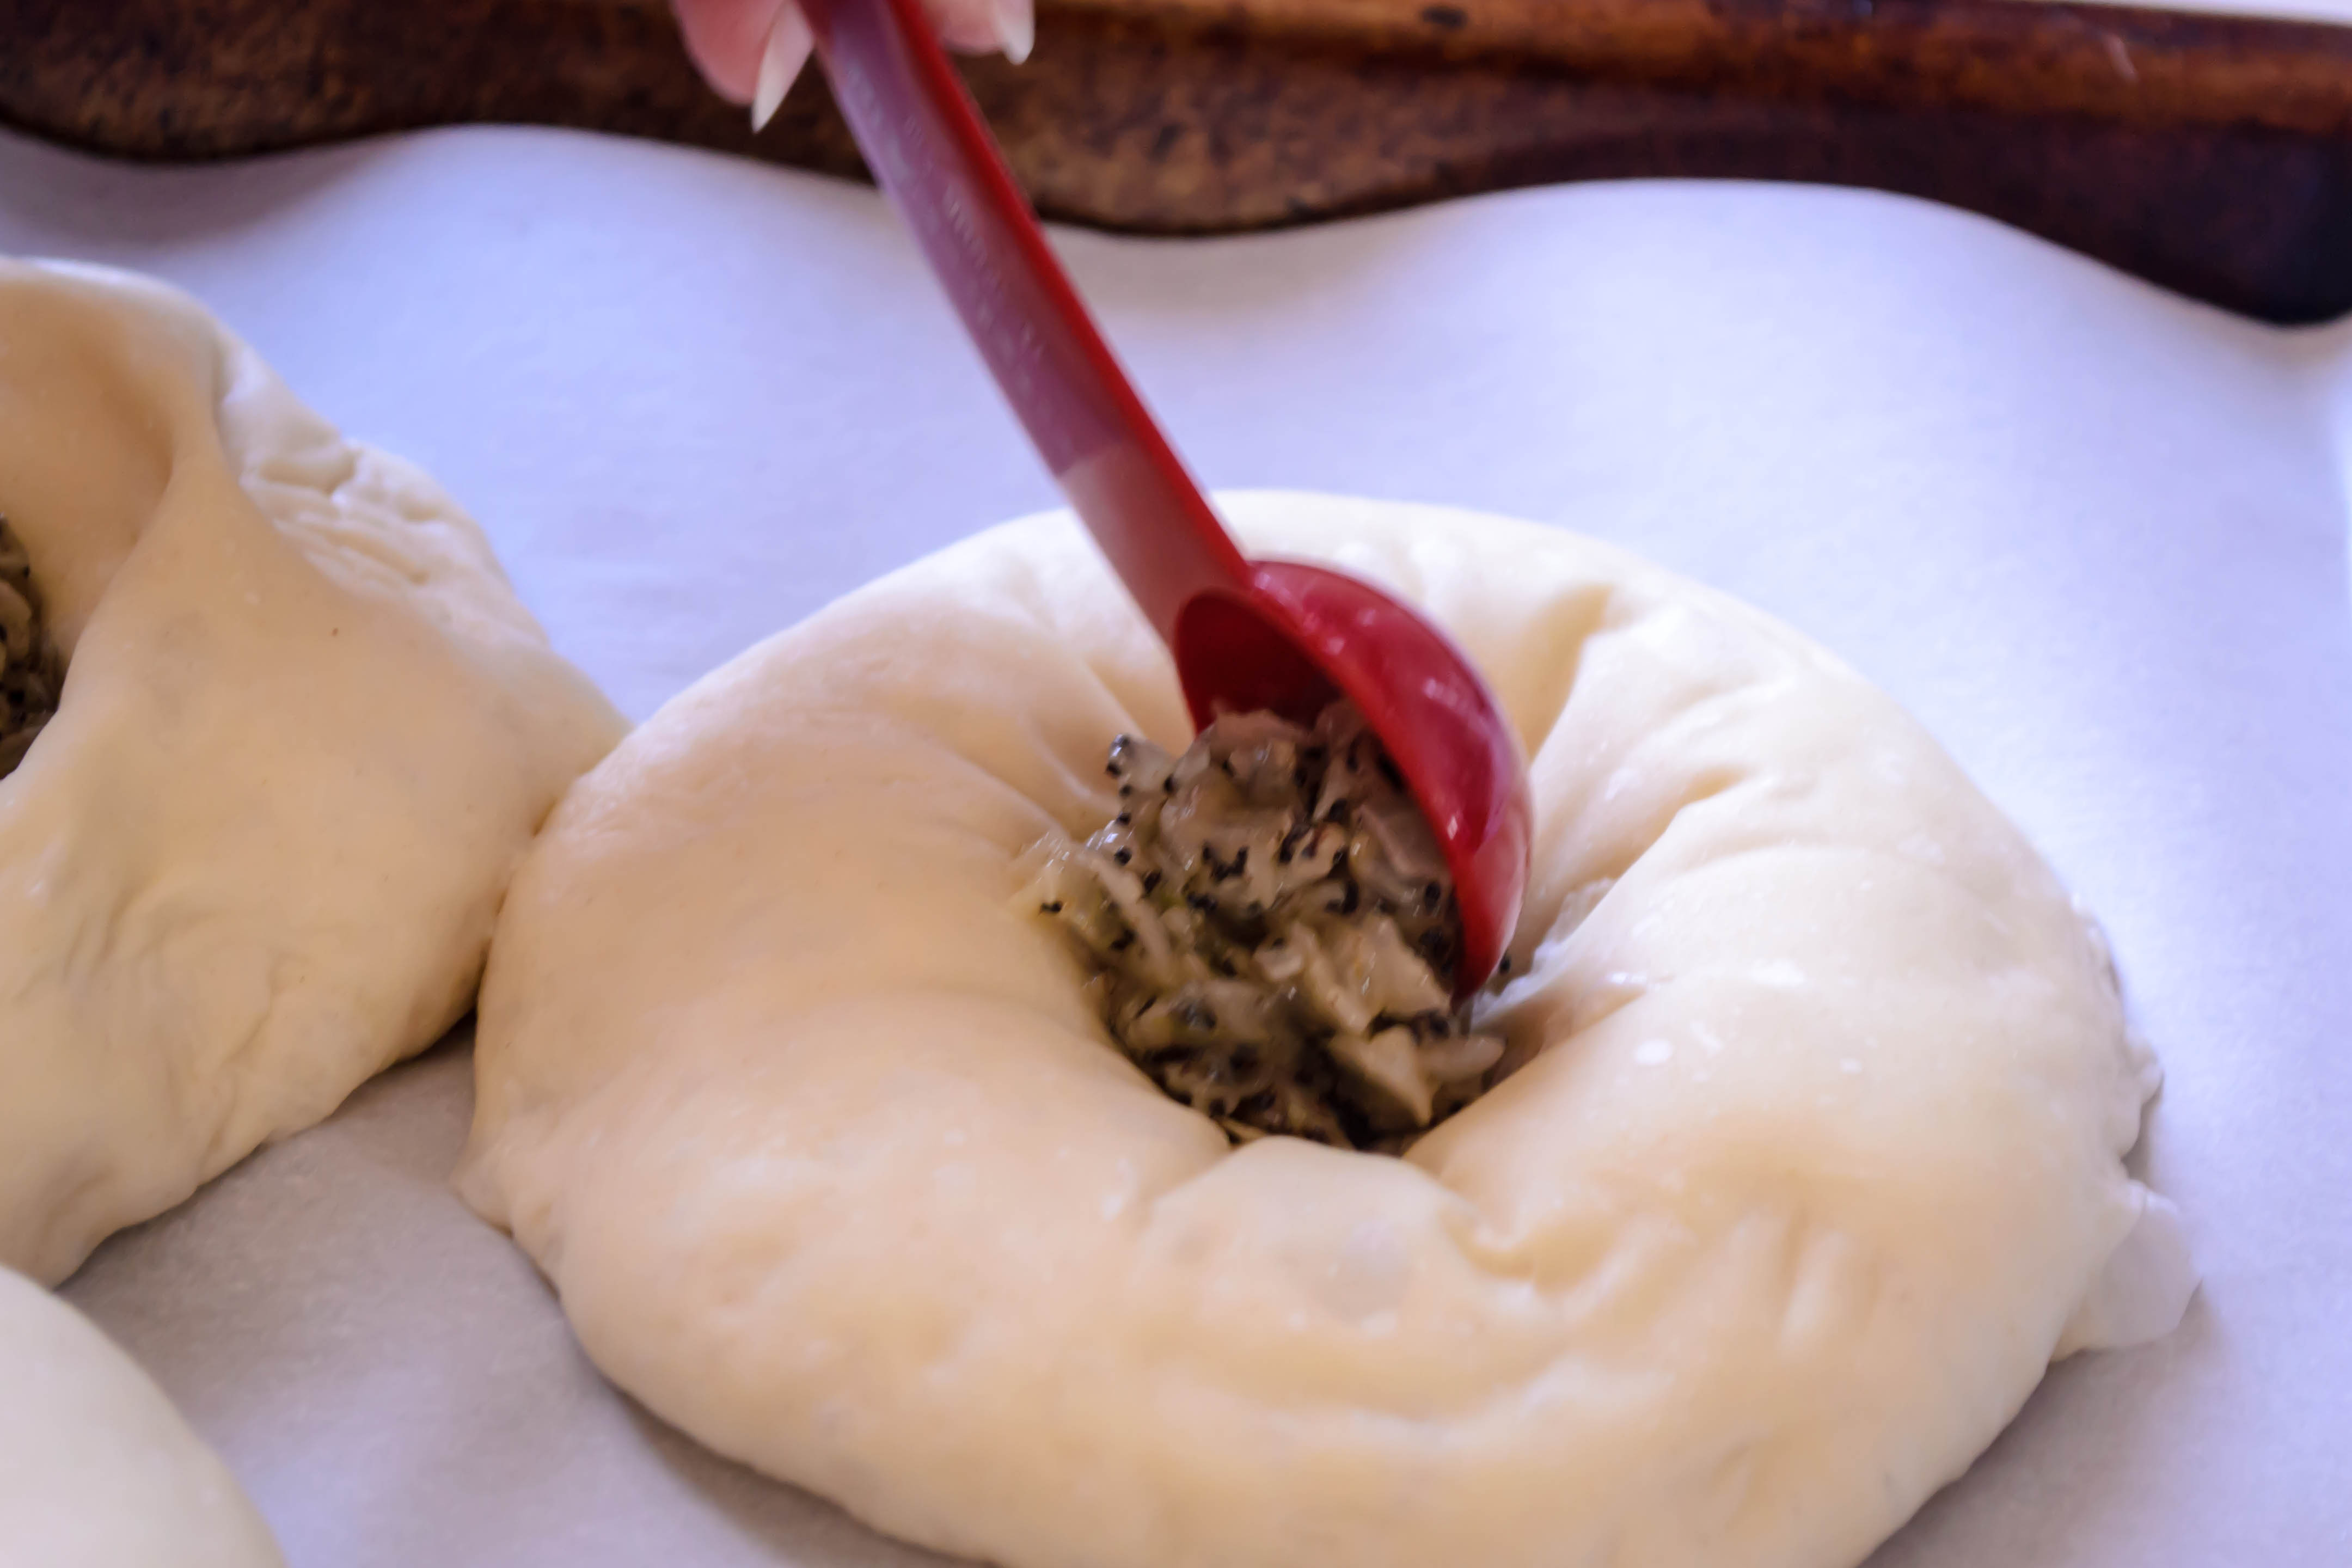
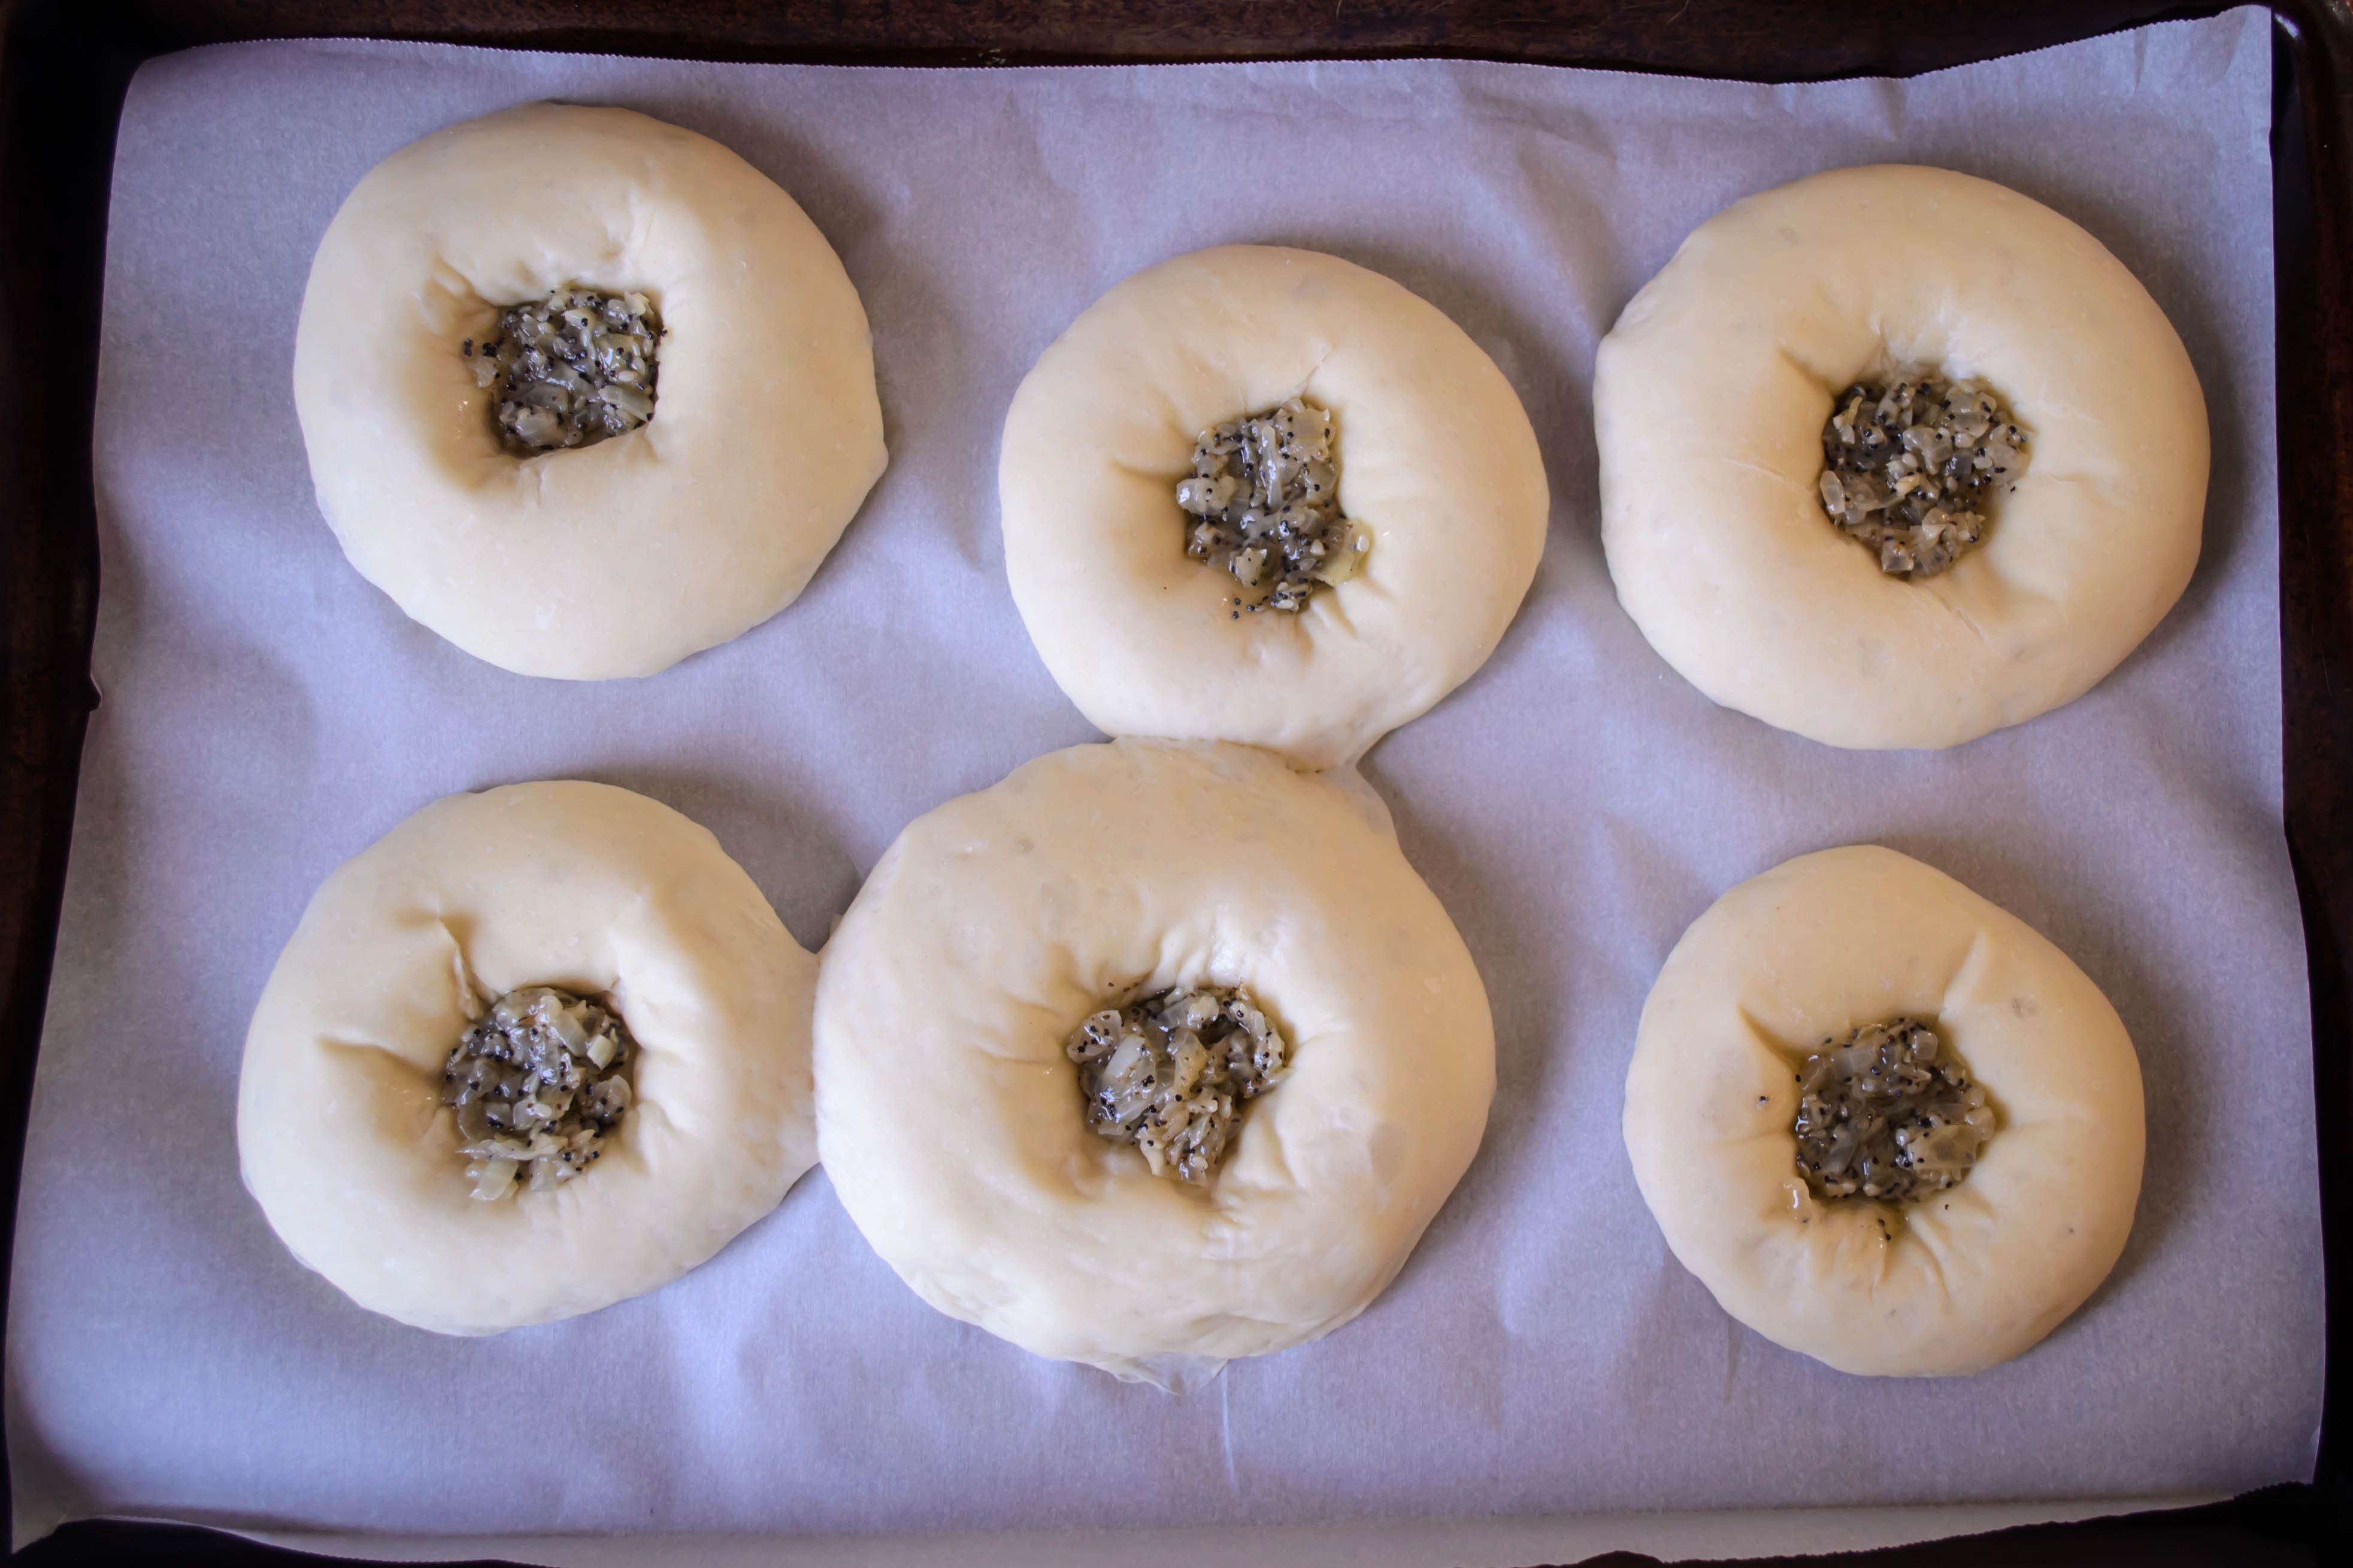
 Bialys, if you’re not in the know (which more than likely means not from the East Coast ), are a bagel relative. A cousin, perhaps. Bagels are special because they are a chewy yeast dough that is boiled before it is baked, and they have that signature hole in the middle. Bialys, though their dough is similar in composition, have a depression rather than a hole in their centers, and that depression is filled with sautéed onions, poppyseeds, and sometimes garlic. Because they contain this little gold mine of flavor, they aren’t boiled, but go straight into the oven for a hot, short bake.
 It is their filling – that little pocket of gooey caramelized onion goodness – that makes them right for this week. The Twelve Loaves challenge for May was baking with onions. I was stumped at first, but when N. suggested onion bagels, this chewy crusty treat flooded back at me with all the power of Proust’s madeleine.
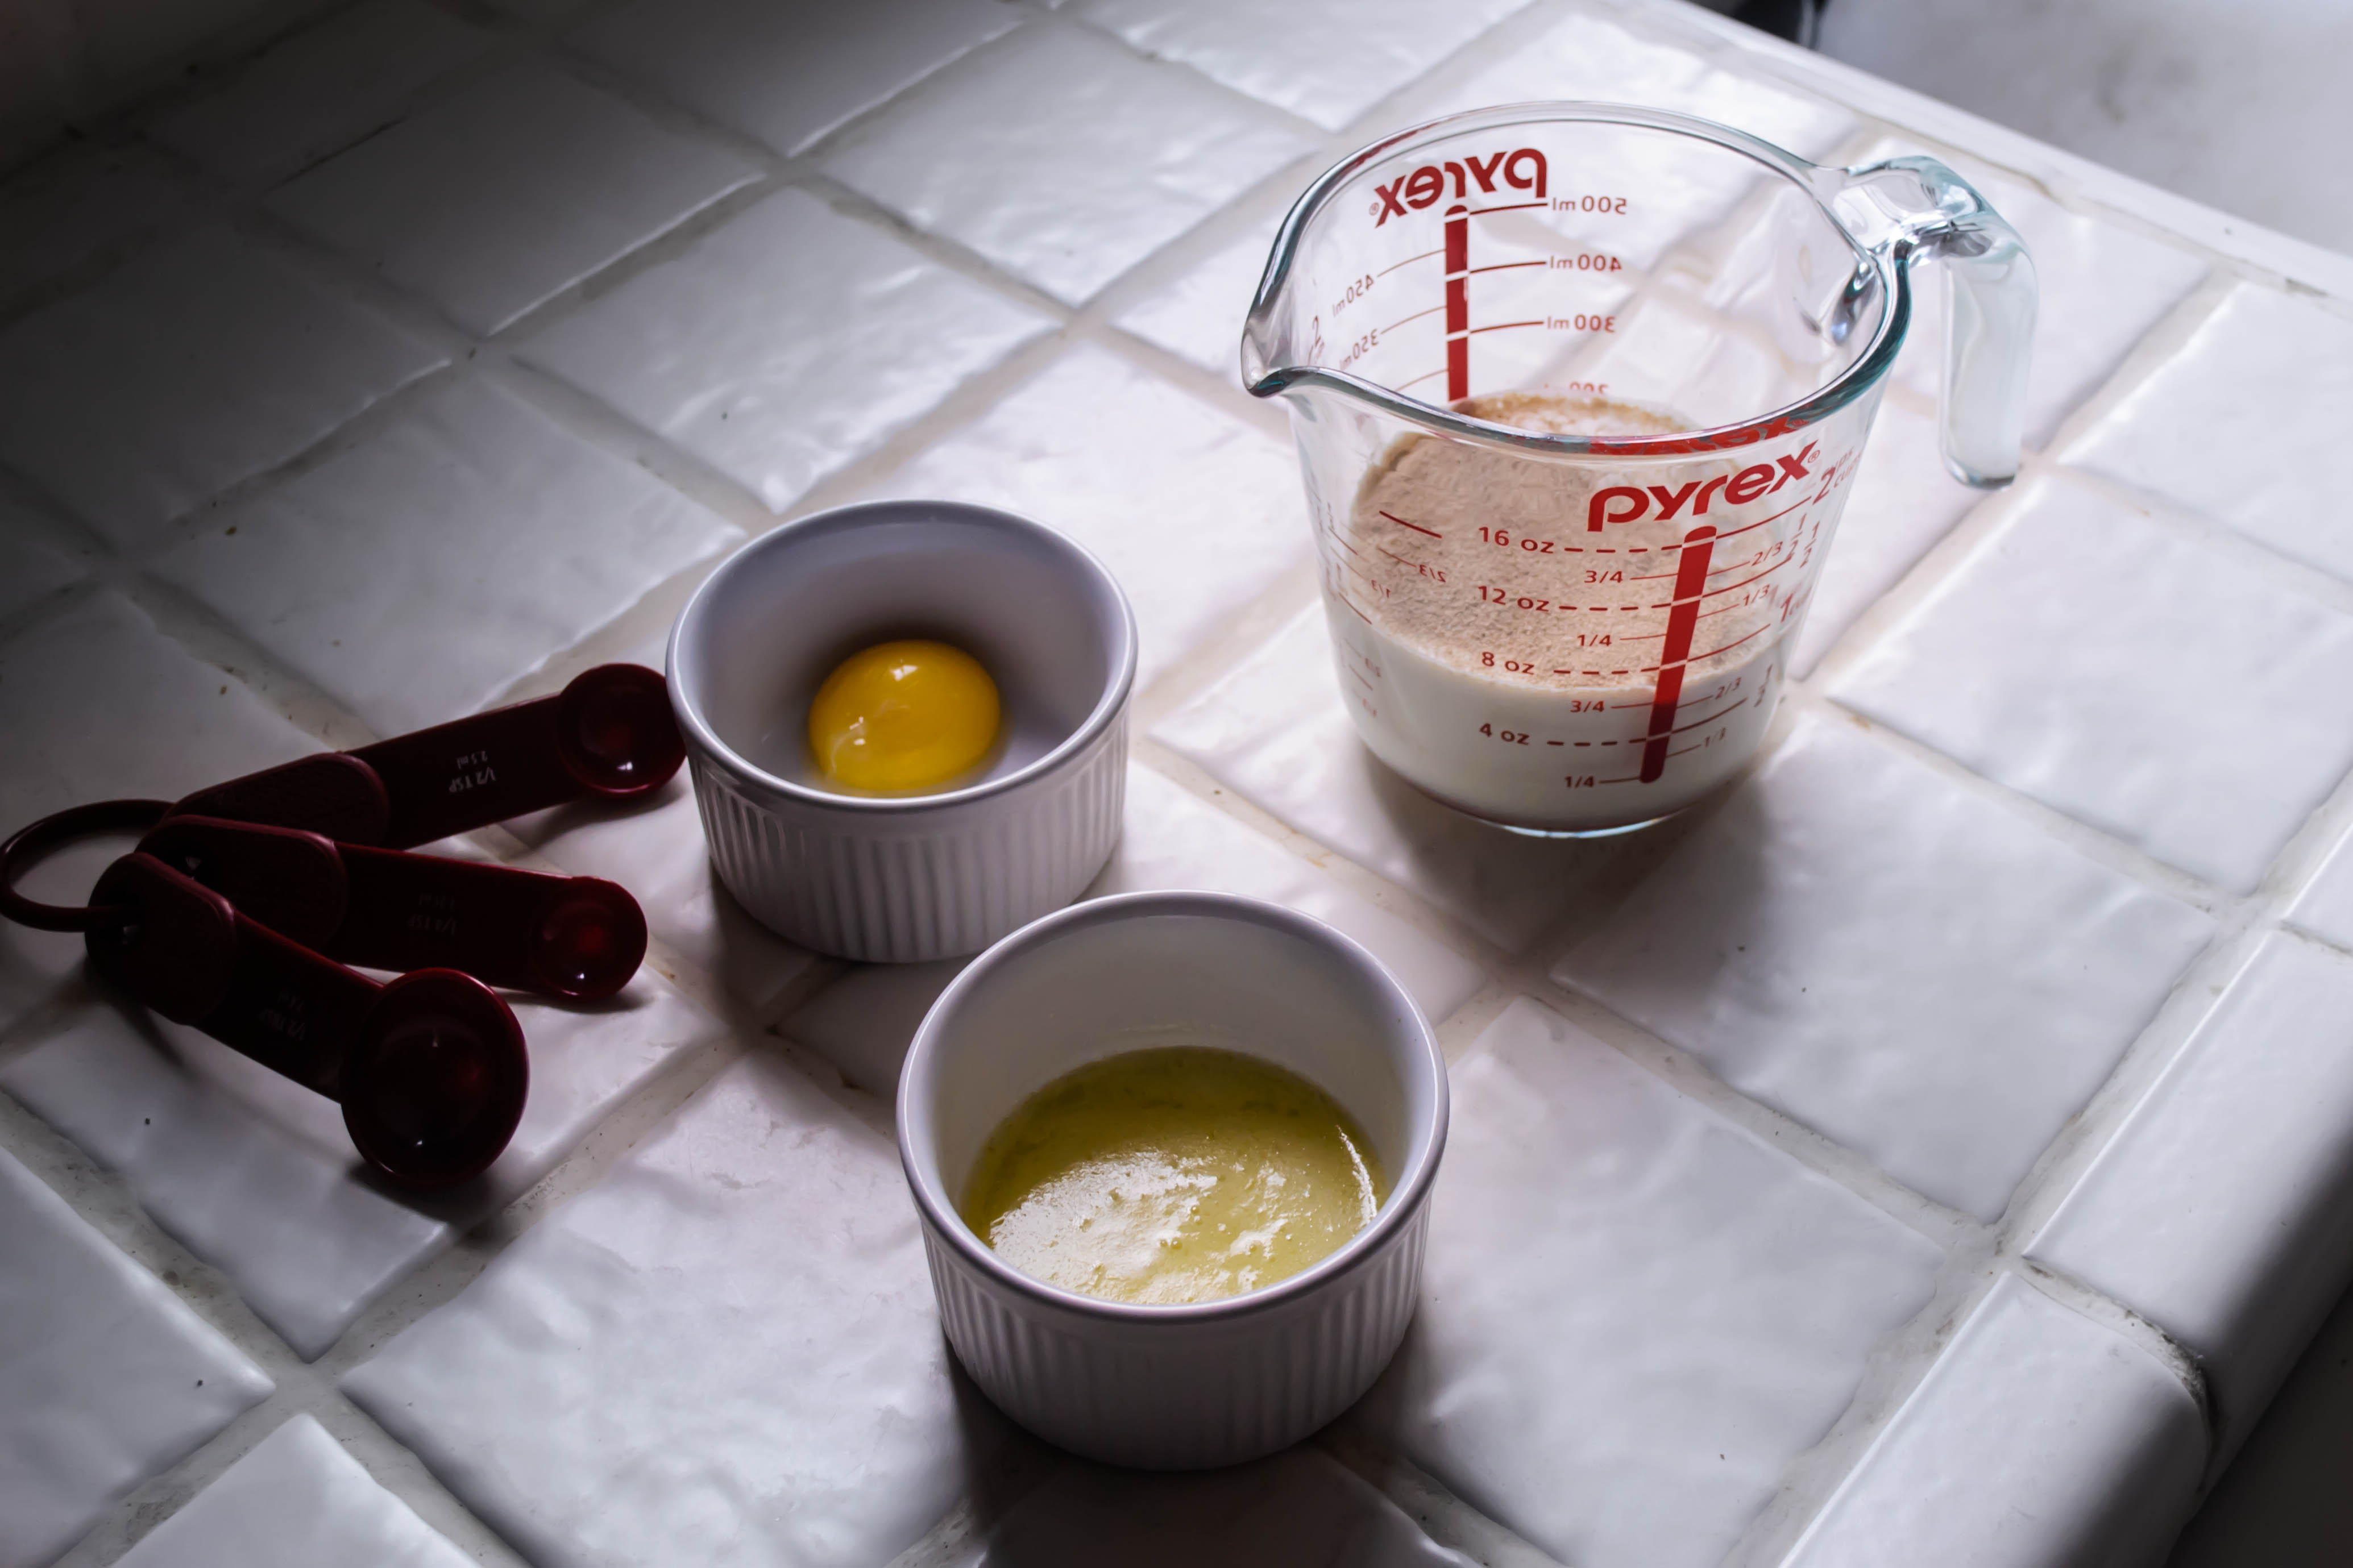
 The recipe I’m using here is a minor adaptation of Deb’s. I’ve added a few twists, incorporating garlic and sesame seeds in with the onion and poppyseed filling, sautéing the aromatics in butter rather than oil because I love the added richness, and combining a few tablespoons of vital wheat gluten with my bread flour to replace the high gluten flour I don’t have in my pantry. Plain bread flour will likely work as well, but the extra hit of gluten adds a chewiness I wouldn’t forgo.
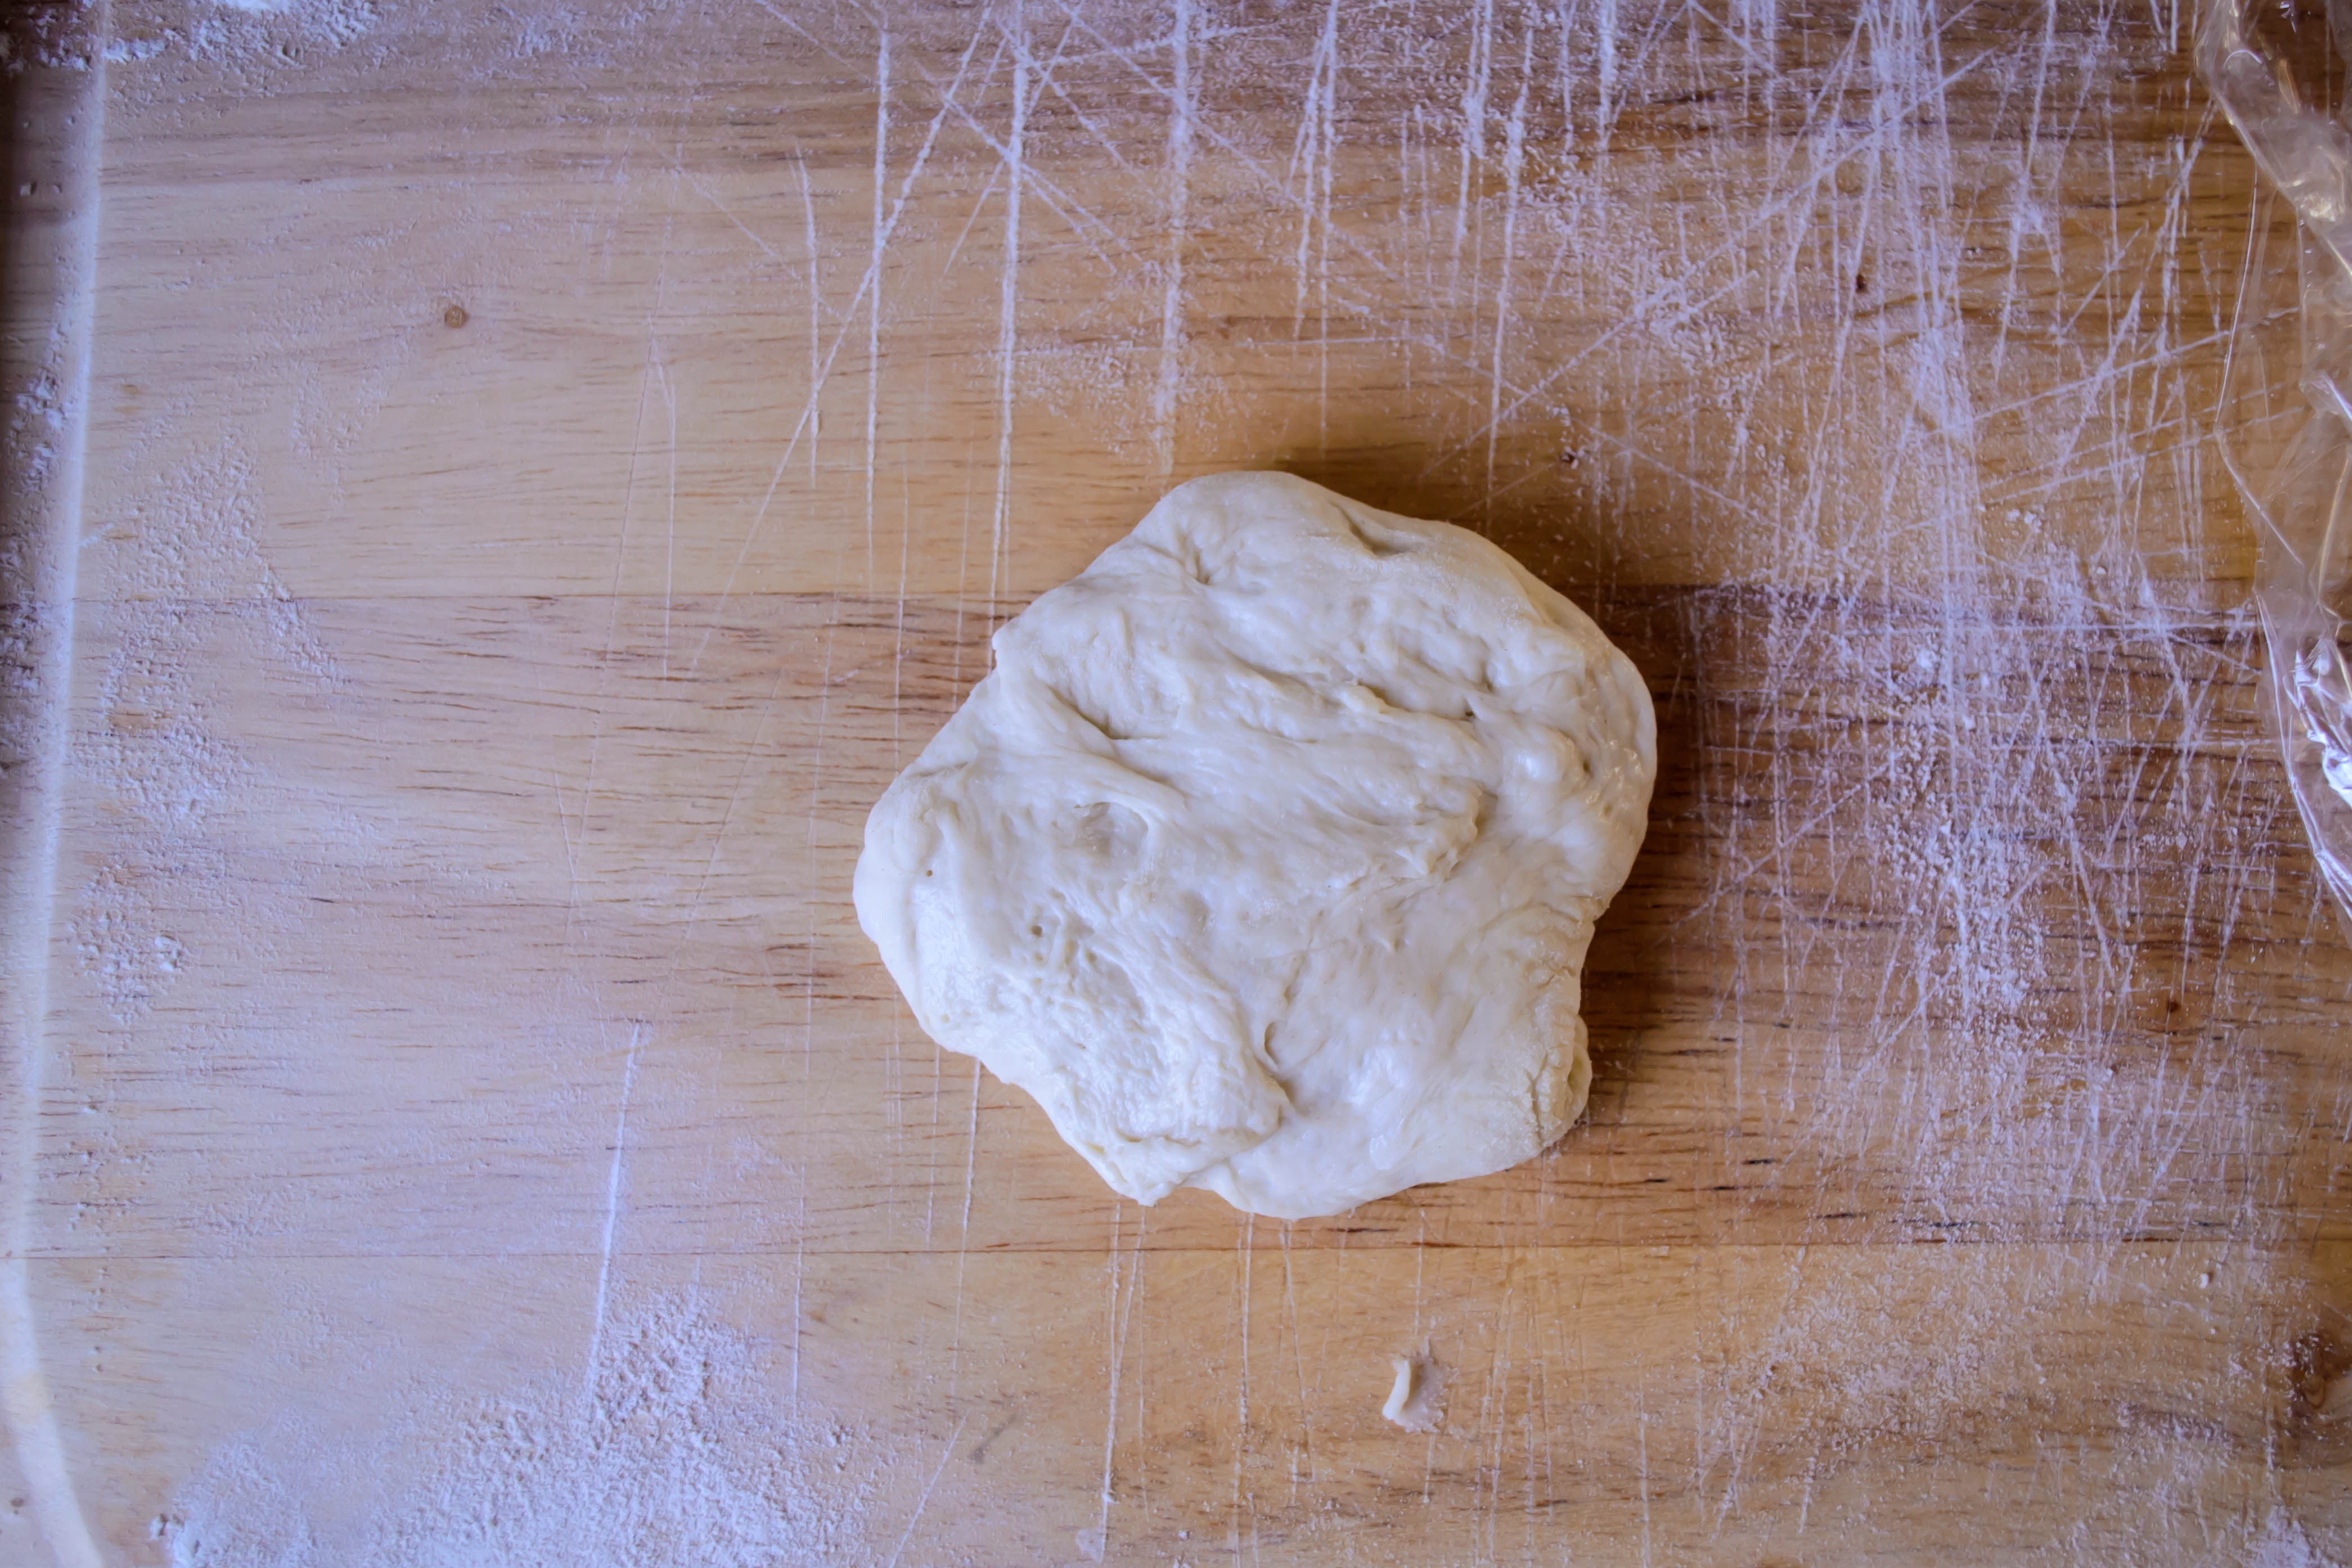
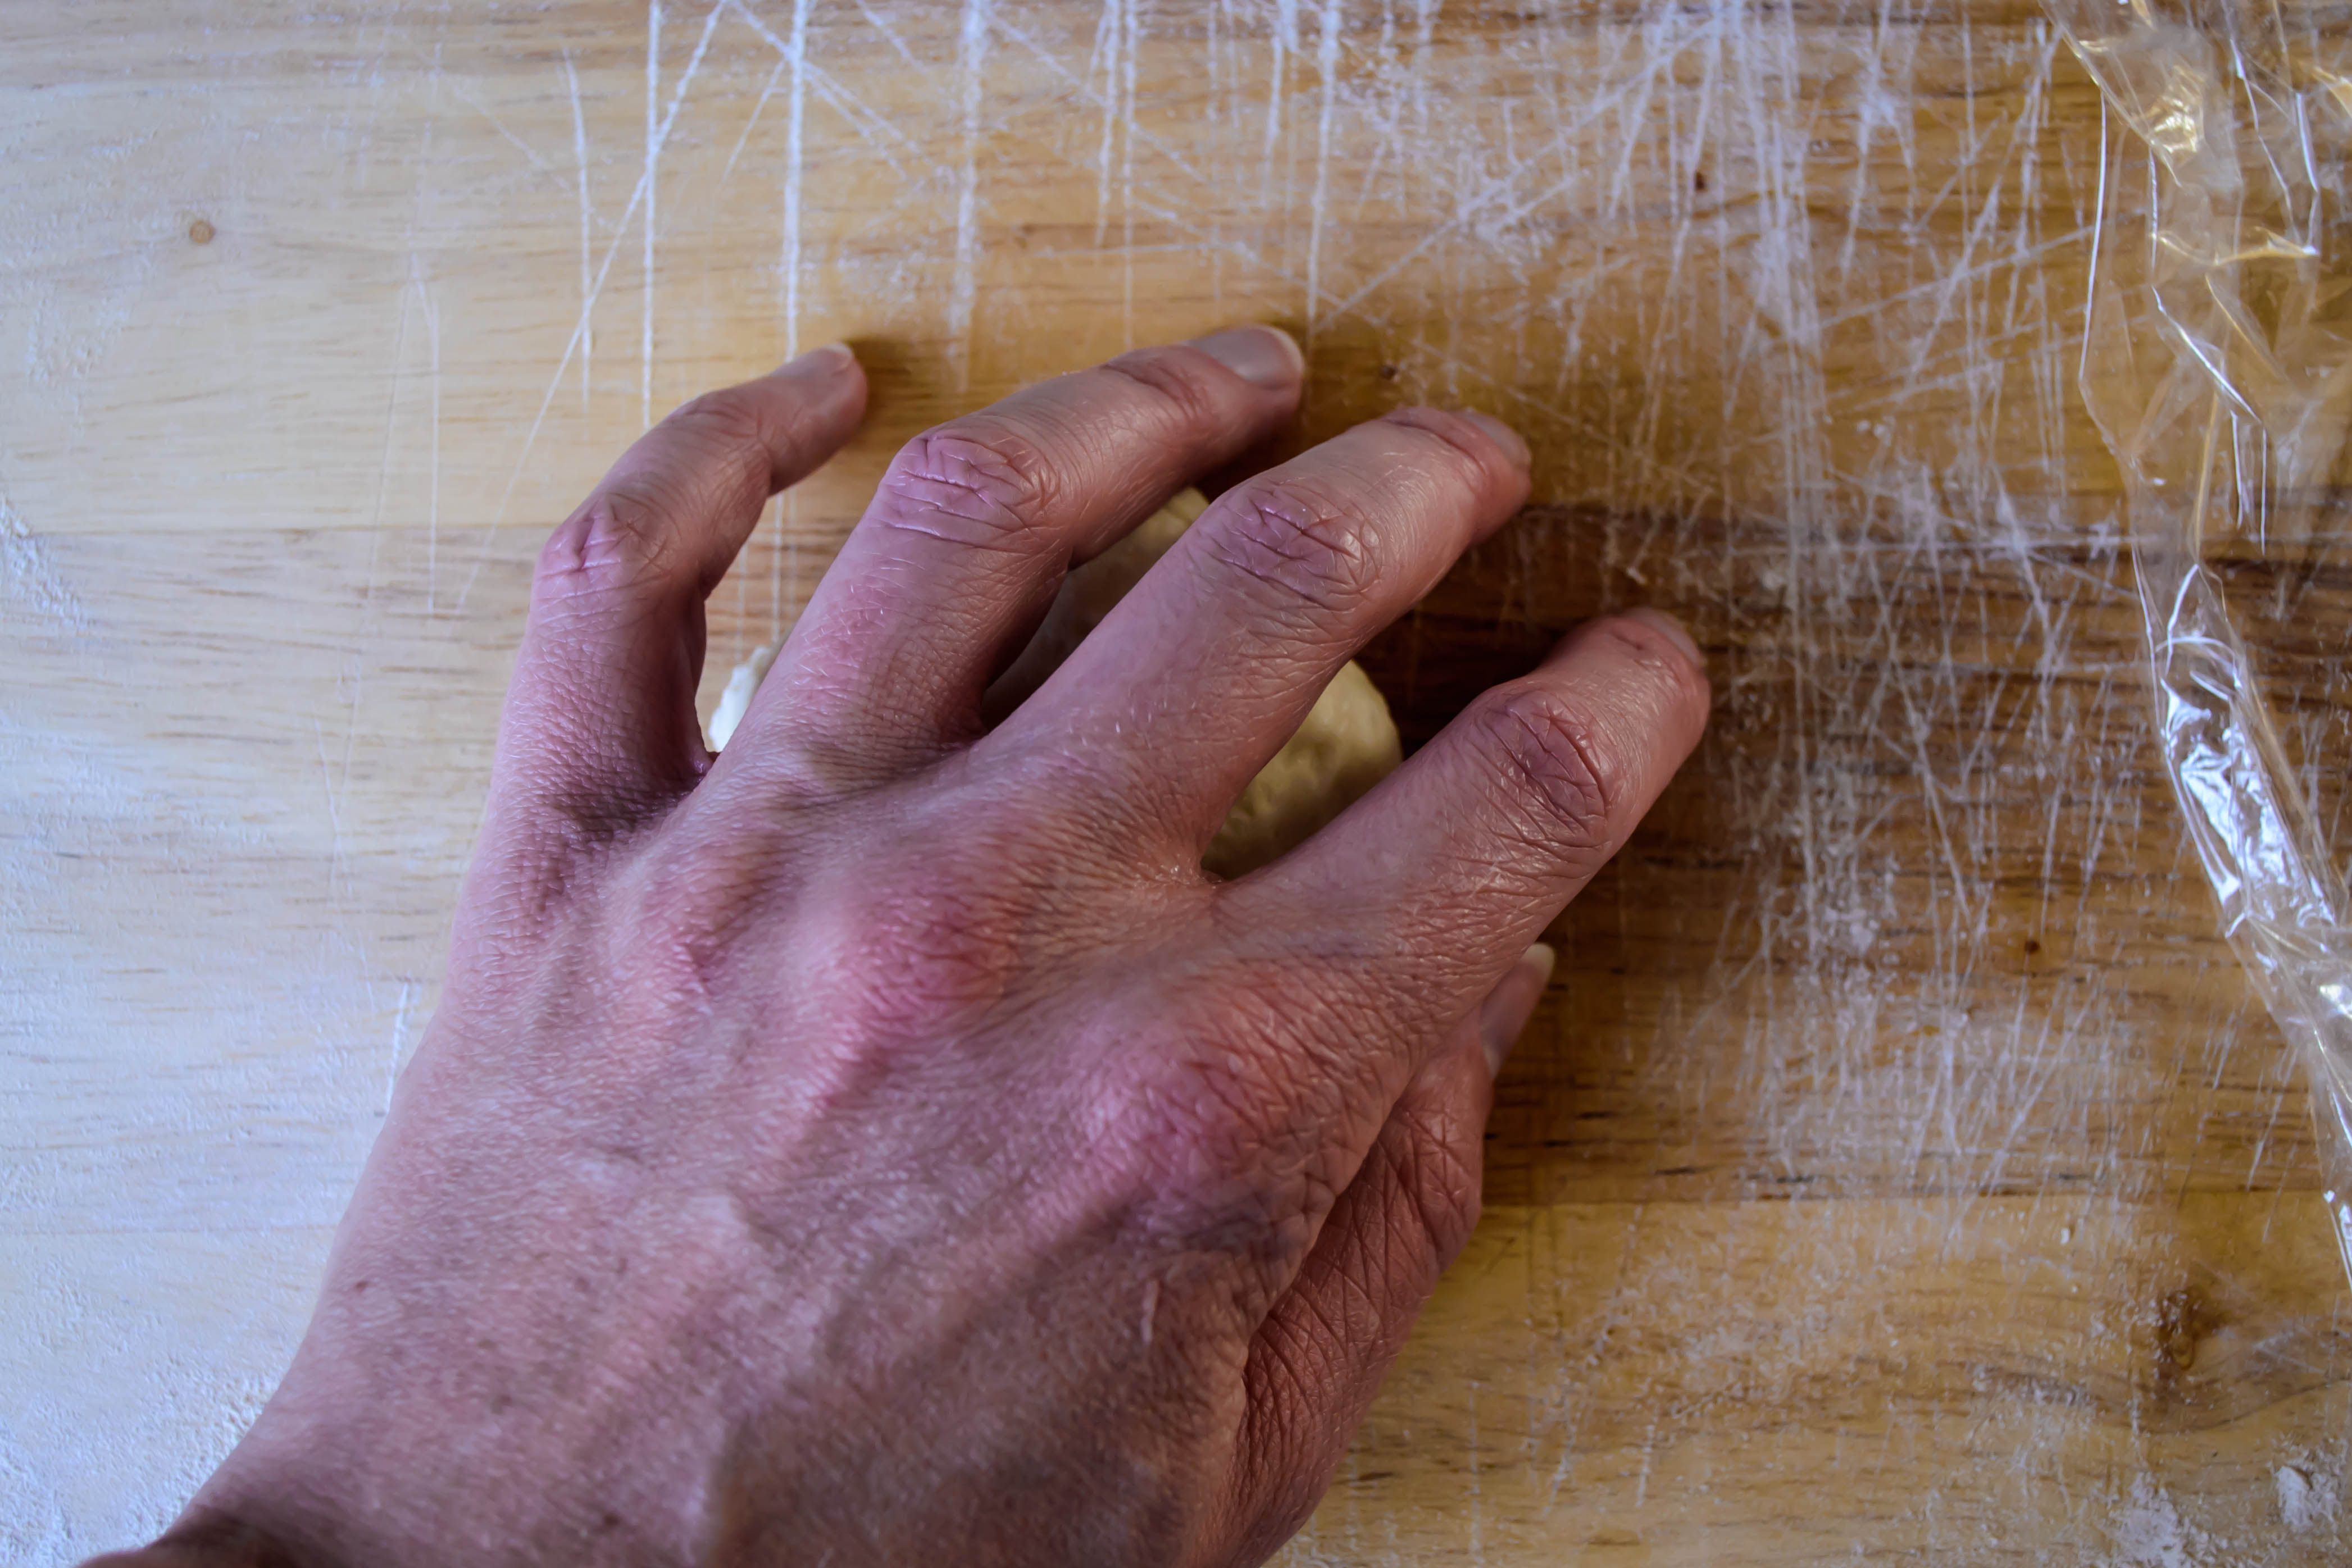
 I asked N. to take some photos for me while I rolled, pinched, and prodded the dough, so much of what follows is his work. Some of mine, though, include the rolling pictorials that follow. I’m using my own version of Joe Pastry’s technique, which I’m finding I like quite well. Rather than just slicing off hunks of dough and rolling them, I flatten out a piece, fold up and pinch the edges into a weird starfish, and then follow Joe’s suggestion of lightly rolling the dough in circles around the board inside my lightly curled hand. My system – in pictures – follows, but you can see Joe’s technique here.


Rosemary and black pepper sourdough, before and after…


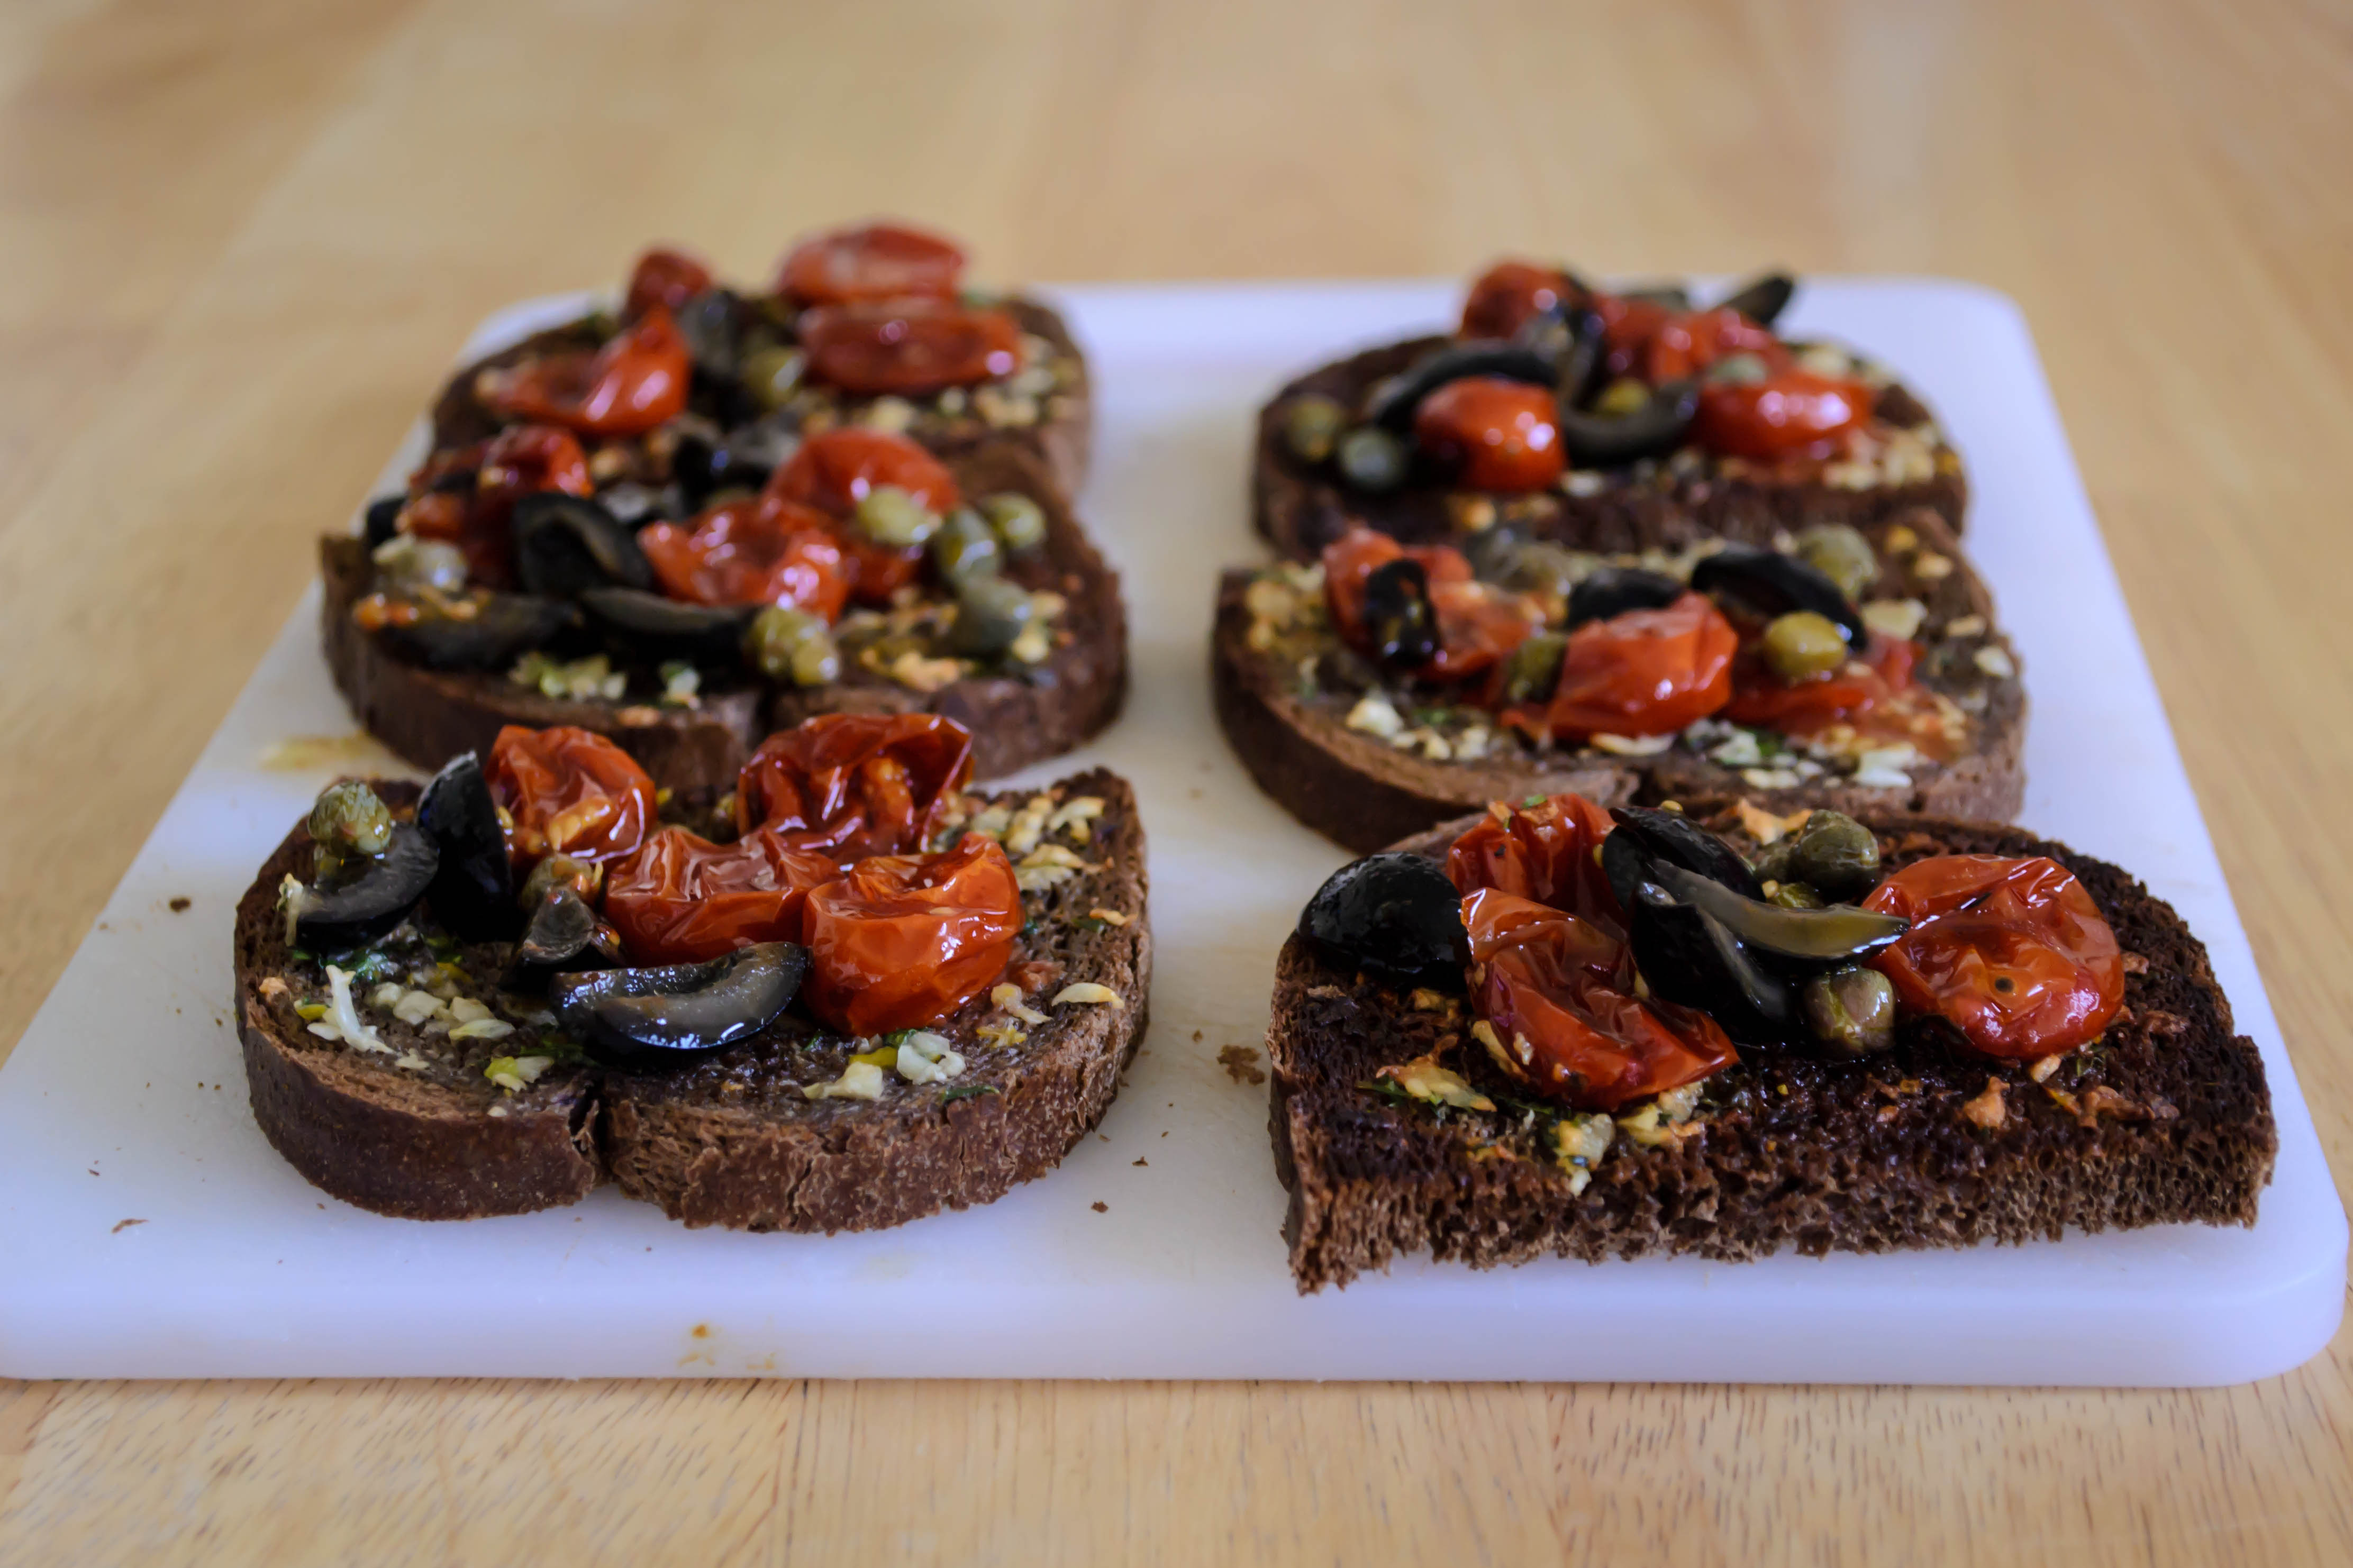
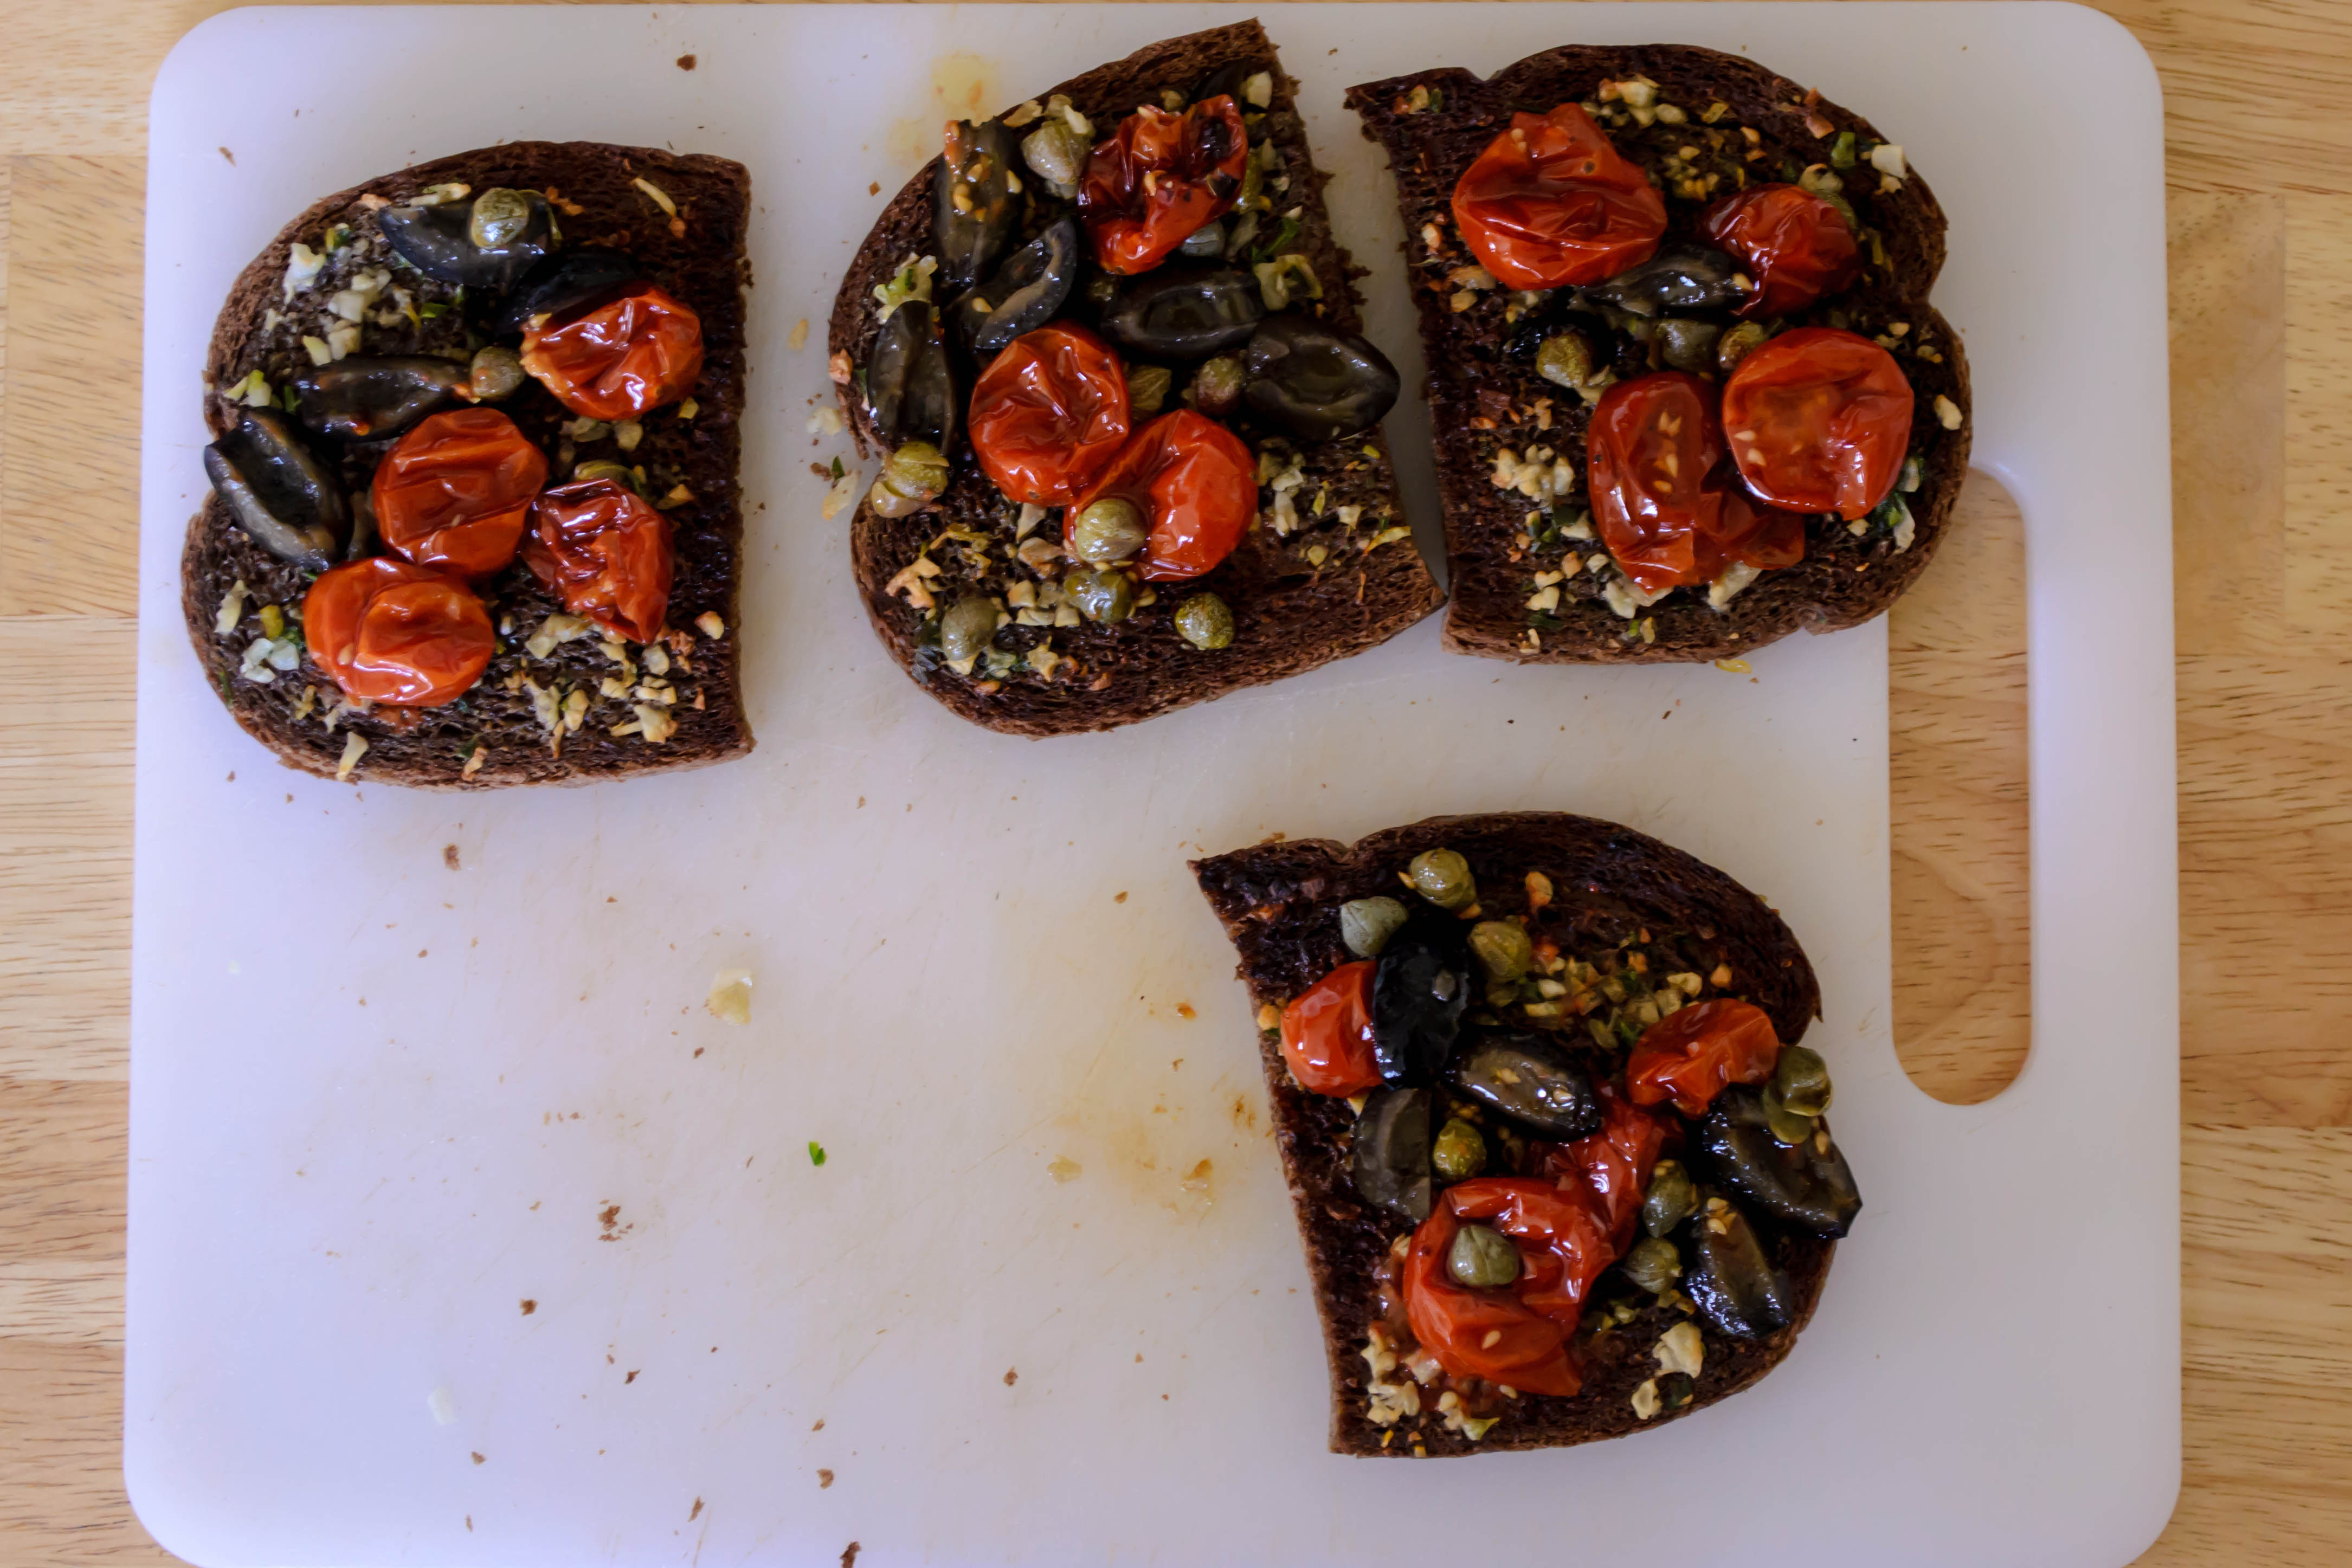 experiments with crostini
A fabled land of farmers, farm shares, fancy (and not so fancy) restaurants, family meals, food projects and more.
cooking my way through my dissertation, one egg at a time
Fearless cooking from a tiny NYC kitchen.
food, in so many words.
Recreating the famous dishes of famous writers. Part recipe blog, part historical discussion, entirely unabashed love of books.
Epicurean Adventures from Eugene, Oregon
Celebrating the Harvest
Modern Iranian aka Persian Food & Culture Blog - Cuisine, Recipes, Stories , Photos, Pictures, DIY tutorials
Exploring Culinary Traditions of Africa, African America and the African Diaspora
food, in so many words.
food, in so many words.
food, in so many words.
Food-Stories-Recipes-Love
WordPress.com is the best place for your personal blog or business site.
