
 Theologically, pride is commonly understood as the most serious of the seven deadly sins. For medieval Christian thinkers, it was the wellspring: the sin from which all other sins derived. Some writers interpreted that Lucifer – the morning star, the best and most beautiful of the angels – was ousted from Heaven because he exhibited pride: in trying to rise above his station, rule over others, or see himself as equal with God, he was guilty of pride and thus cast out. In Paradise Lost Milton famously equates Lucifer with Satan, showing the extremes of pride as a sin: rather than simply being cast out of heaven, he is thrown all the way to Hell.
 I think, though, that as dangerous as pride may be, I have a right to feel it about this dish. I’ve been rewatching the first two seasons of The Great British Baking Show with its new cast (quick assessment: I love and miss Mel and Sue dearly, but I think Noel and Sandi are doing a fine job, and I think I might prefer Prue to Mary Berry just a tad – she doesn’t let Paul get away with as much. Happy to hear your thoughts, fellow obsessors…), and I’m certain that was the source of my inspiration. Certainly it was how I came to the combination of coffee and cardamom.
 This is a glorious play of flavors. Each component of the cake – the sponge, the filling, and the buttercream – has its own star. Together it is a layered, complex combination, but each part is uncrowded. The cake, one of the moistest I’ve ever made, pulls together buttermilk, vegetable oil, and eggs to ensure a tender, luscious crumb. Strong black coffee and instant espresso add flavor, but surprisingly, that flavor is subtle – a suggestion with a sneaky kick of caffeine rather than the bitter slap a cup of the stuff can have.
 Cardamom flavors the buttercream, and here I decided I wanted something new. I’ve dabbled in American buttercream before, and though I’ve achieved praiseworthy fluffiness and pipe-able texture, it remains as a product overwhelmingly, tooth achingly sweet. There are other buttercreams out there – French and Swiss and Italian – that rely on eggs, rather than pounds of powdered sugar, for their structure. In part to assuage the sweetness problem but in larger part because I have all this meringue powder left from my royal icing experiment a few weeks ago, I decided to try one out, and I was magnificently rewarded: the Italian buttercream that enrobed the cake was fluffy and rich but surprisingly light, spicy from the cardamom and not overly sweet, and it spread and piped like a dream (the first time I typed cream. Appropriate I’d say, Mr. Freud).
 Italian buttercream, for all its advantages, is a bit of a terrifying bother to make. I used a King Arthur Flour recipe, which worked perfectly, but this component is a project in itself as it requires bringing a sugar syrup up beyond boiling temperature, making a meringue, pouring the molten sugar syrup carefully into the bowl of meringue while mixing, and then running your mixer until the whole thing cools by more than 100 degrees. Even then, you aren’t done: you next have to incorporate masses of butter, which can be neither too hot nor too cold, and you have to sit patiently through what looks like certain disaster as the whole bowl you’ve now coddled along for the last half hour suddenly turns into a sloppy, almost curdled-looking mess. But you have to be strong, and keep mixing, and eventually it does start to smooth and fluff and turn into buttery clouds.

 With all this richness, the filling in between needed to be sharp and fresh, to provide contrast and keep the dessert from getting sickly. I went with plums: stone fruit of any kind works beautifully with the slight citrus notes of cardamom, but I think plums, with their sometimes surprisingly tart bite that I’m convinced comes from the oh-so-thin layer of bright red in between their skins and flesh, are the best pairing. Simmered down with a bit of sugar and a healthy squeeze of lemon, they made a successful quasi-jam to spread between the layers.


 You may have noticed there are no pictures of slices, or of the artful “cake with a section missing” to show off the layers. There’s a very good reason for this: I had no real occasion to make this cake. I just wanted to bake, and with a surprisingly free weekend as a result of – ahem – not very many assignments turned in on time, I launched into the creation of what sounded like a delightful dessert. To avoid, therefore, eating the whole thing ourselves, I took the whole cake to work and left it in the mailroom for my colleagues to enjoy. I left it there in the 7am hour, and when I went to pick up my dish in the early afternoon, only crumbs remained. Don’t feel bad for N. and me, though. I always carve off the rounded tops when I’m going to make a layer cake, and those can’t go to waste… we sampled and then resampled and then decimated them (pride giving way to gluttony?), with a fair sampling of both the jam and the frosting. And let me tell you something: for years, despite my experiments with whisky, with champagne, with fruit, with mousse, N. has demanded only one cake for every birthday, anniversary, or what have you. But after our sampling-turned-gorge, he said it might be okay to sub this in for The Cake once in a while. So sin or not, wellspring or not, I must admit feeling justified in my pride.

Espresso Cake with Cardamom Buttercream
Cake and buttercream adapted from Molly Yeh and King Arthur Flour, respectively
Makes a 4 layer cake from two 8 or 9 inch rounds
For the cake:
1½ cups sugar
2½ cups flour
1 teaspoon kosher salt
1 teaspoon baking soda
1½ teaspoon baking powder
2-3 teaspoons instant espresso powder
2 eggs
1 cup buttermilk
½ cup vegetable oil
1 tablespoon vanilla
¾ cups strong, cold coffee (I used a cold brew concentrate from Trader Joe’s)
For the filling:
6 plums
1 tablespoon lemon juice
½ cup sugar
For the Italian buttercream:
¼ cup water
⅝ cups sugar
¼ cup meringue powder
½ cup water
pinch salt
3 tablespoons sugar
3 sticks butter (24 tablespoons or ¾ of a pound) at a cool room temperature, cut into chunks
1-2 teaspoons ground cardamom
- To make the cake, first preheat the oven to 350F and butter or spray two 8 or 9 inch cake pans with nonstick spray. In a large bowl, whisk together the dry ingredients: flour, sugar, salt, baking powder and soda, and instant espresso. In another bowl, whisk together the wet ingredients: eggs, buttermilk, oil, vanilla, and coffee. Carefully pour the wet mixture into the dry mixture and fold together just until everything is well incorporated. Be sure to scrape down the sides and check the bottom of the bowl for hidden clumps of flour.
- Pour and scrape the batter into your prepared cake pans so each holds an even amount. Bake in the preheated 350F oven for 30-35 minutes, but begin checking for doneness at around 28 minutes. When done, a cake tester or toothpick inserted should have only a few moist crumbs. Remove from the oven and cool in pans for at least ten minutes, before removing from pans to cool completely on a wire rack.
- While the cakes are cooling, make the filling. I opted not to peel the plums because I like the color and the texture the skins offer, but you can if you want: cut a small x in the bottom of each whole plum and immerse in boiling water for about 30 seconds. The skin should peel off fairly easily. Slice and pit the plums and dump them into a medium pot.
- Skins or not, slice and pit the plums and add them, the lemon juice, and the sugar to a medium pot. Bring to a simmer, stirring occasionally, and cook until the plums have broken down and the mixture has slightly thickened. For me, this took around 20 minutes. Scrape out of the pot and into a bowl (to cool faster) and set aside to cool completely.
- Once both cakes and jam have completely cooled, you can set to work on the buttercream. Start the ¼ cup water and ⅝ cups sugar cooking in a small pot. Check the temperature occasionally – it needs to come to 240F. While that is heating, make the meringue by whisking together the meringue powder, the ½ cup water, and the pinch of salt in the bowl of a stand mixer on high speed until you can see tracks forming in the fluffy white mixture. With the mixer running, sprinkle in the 3 tablespoons sugar and continue beating until the mixture is stiff.
- When the sugar syrup has reached 240F, carefully remove it from the heat and even more carefully, with the mixer running on medium-low speed, pour all of the hot syrup slowly down the side of the bowl. Once it is incorporated, turn the mixer speed back up to high or medium high and continue whisking until the meringue mixture cools to at least 80F. KAF suggests you can speed this up by wrapping the bowl in ice packs, and I found this worked well.
- As soon as the meringue cools the 80F (and no sooner!), turn the mixer speed down to medium and begin incorporating the butter a few pieces at a time, allowing them to fully integrate before adding more. When most of the butter is in the mix, add the cardamom: 1 teaspoon if you want a mild flavor, 2 teaspoons for a more assertive flavor.
- After all the butter is added, keep on whisking. At a certain point the mixture will collapse on itself and look like a greasy, clumpy mess. Don’t despair. Just keep on mixing. As long as your meringue was no warmer than 80F when you started adding and your butter wasn’t melted, eventually it will start to smooth and get fluffy, and you’ll have frosting.
- To assemble the whole thing, use a long serrated knife to carefully carve the rounded tops off each cake, then slice each in half for four thin layers. On a cake plate or cardboard round, place the first layer bottom side down (that is, the side that touched the bottom of the cake pan). (Reserve the other bottom for the very top layer; this allows for a flat, less crumb-y layer on the top.) Scoop a generous amount of buttercream into a piping bag fitted with a tip that has a wide opening of any shape. Pipe a circle of buttercream around the top edge of the bottom cake layer to create a border so the filling won’t escape. Inside this border, spoon about ⅓ of the plum jam and use the back of a spoon to carefully spread it out just to the buttercream.
- Place another layer of cake on top of this buttercream and jam, lining it up carefully so it’s even with the one below. Repeat the border of buttercream and ⅓ of the plum jam.
- Repeat for the third layer – you should now have used up all of the plum jam.
- Stack the final cake layer with the bottom side (that is, the side that originally touched the cake pan) facing up.
- To create a crumb coat, use an offset spatula to smooth a thin layer of frosting all the way around the cake. The idea here is to catch any crumbs that detach from the cake in this thin layer so when you add the rest of the frosting it will not have any tell-tale cake crumbs in the smooth frosting.
- Scoop and pile all but about 1 cup of frosting onto the top of the cake and use an offset spatula to gently move it toward, down, and around the sides, until you have a smooth, even layer all the way around. Scoop the remaining cup or so of frosting into a piping bag fitted with a tip of your choosing – I used a large star tip – and decorate as desired.


 For the first – All-Purpose Flour – she made a beautiful wreath of sweet bread, braided and swirled with cinnamon sugar and a trio of summer berries. I determined that I would, indeed, bake this bread. I had yet to try a wreath or crown shape, and was curious about how it would come out.
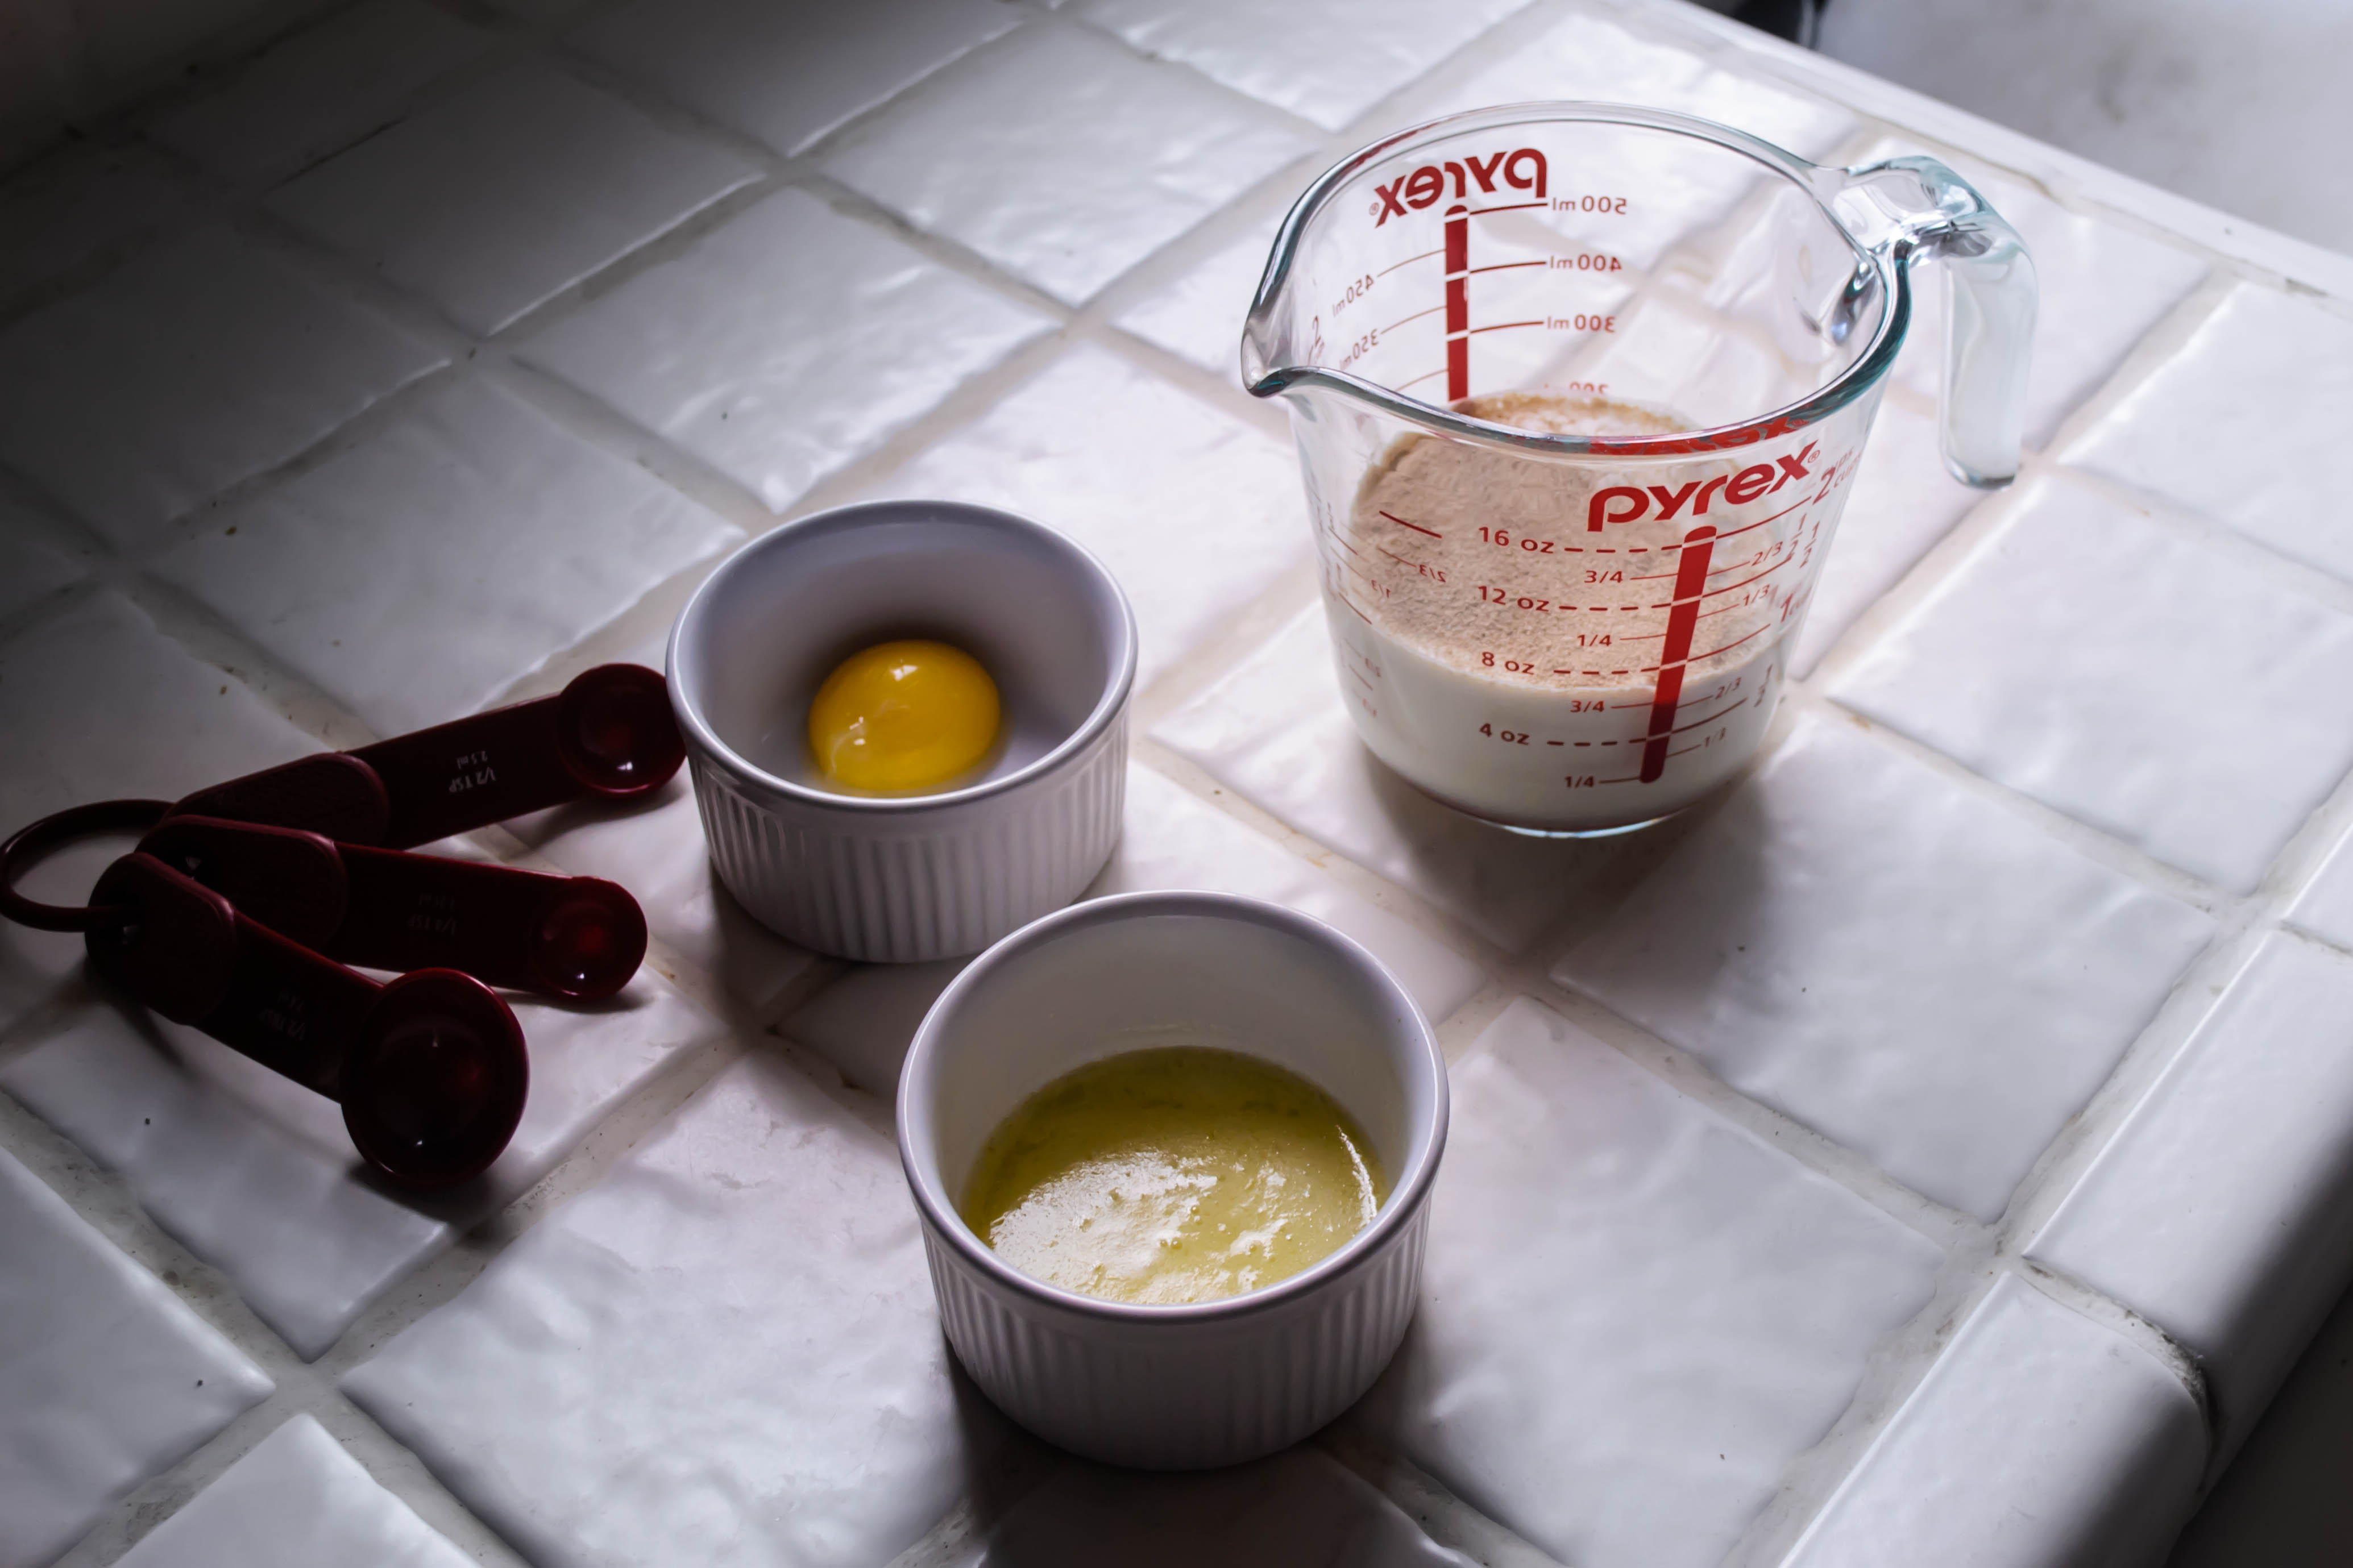
 Here, I’ve replaced Joy’s berries with blood-red bing cherry halves, gushing with juice, their tartness mellowed by baking. Since I’m not crazy about cinnamon with cherries, I have substituted in cardamom, which has an intriguing deep, citrusy scent but offers a spiciness reminiscent of the zingiest flavor in your favorite chai tea blend. To bring together the flavors, I also splashed in a little vanilla.
 The trickiest thing about this bread is shaping the crown. This requires flattening, spreading, stuffing, rolling, and then slicing open that roll to reveal the rebellious little rubies inside, which then all immediately threaten to spill out all over your board. You have to “braid” the bread by lifting one strand over the other down its length, all the while trying to keep the fruity guts inside from escaping. Then, once you’ve tamed it into a beautiful interlaced wreath, you somehow have to pick the whole thing up and nestle it into your baking vessel. I know. Mine collapsed a little bit, but honestly, after it rose during its baking time, it was hard to notice. And once we dug in, crunching through the lightly sugared, spicy-tart sweet layers, we didn’t care. The tartness of the cherries is pleasantly rounded by the oven’s heat, but the real star, to me, was the cardamom. Its flavor is so delightful here – brighter than cinnamon but no less flavorful – that I now want it in everything. I suppose they wouldn’t really be “cinnamon rolls” without the cinnamon, but false advertising (or blasphemy) or not, those may be my next cardamom target.
 Two tips for success when it comes to this bread, then, before we get all this out of the way and charge into the recipe.
 1.) Distribute the fruit evenly. I mean it. Don’t just dump the cherries in the middle and decide that’s good enough. Spread them out across your dough rectangle before rolling it up. Though it’s important to leave a slight border, if you have a lot more cherries in the middle of the dough log, it will be much more difficult to keep them contained while you braid it, and you will end up with a really uneven wreath – one section will be much fatter than the rest and therefore bake unevenly. Take the extra few seconds to spread them out well.
