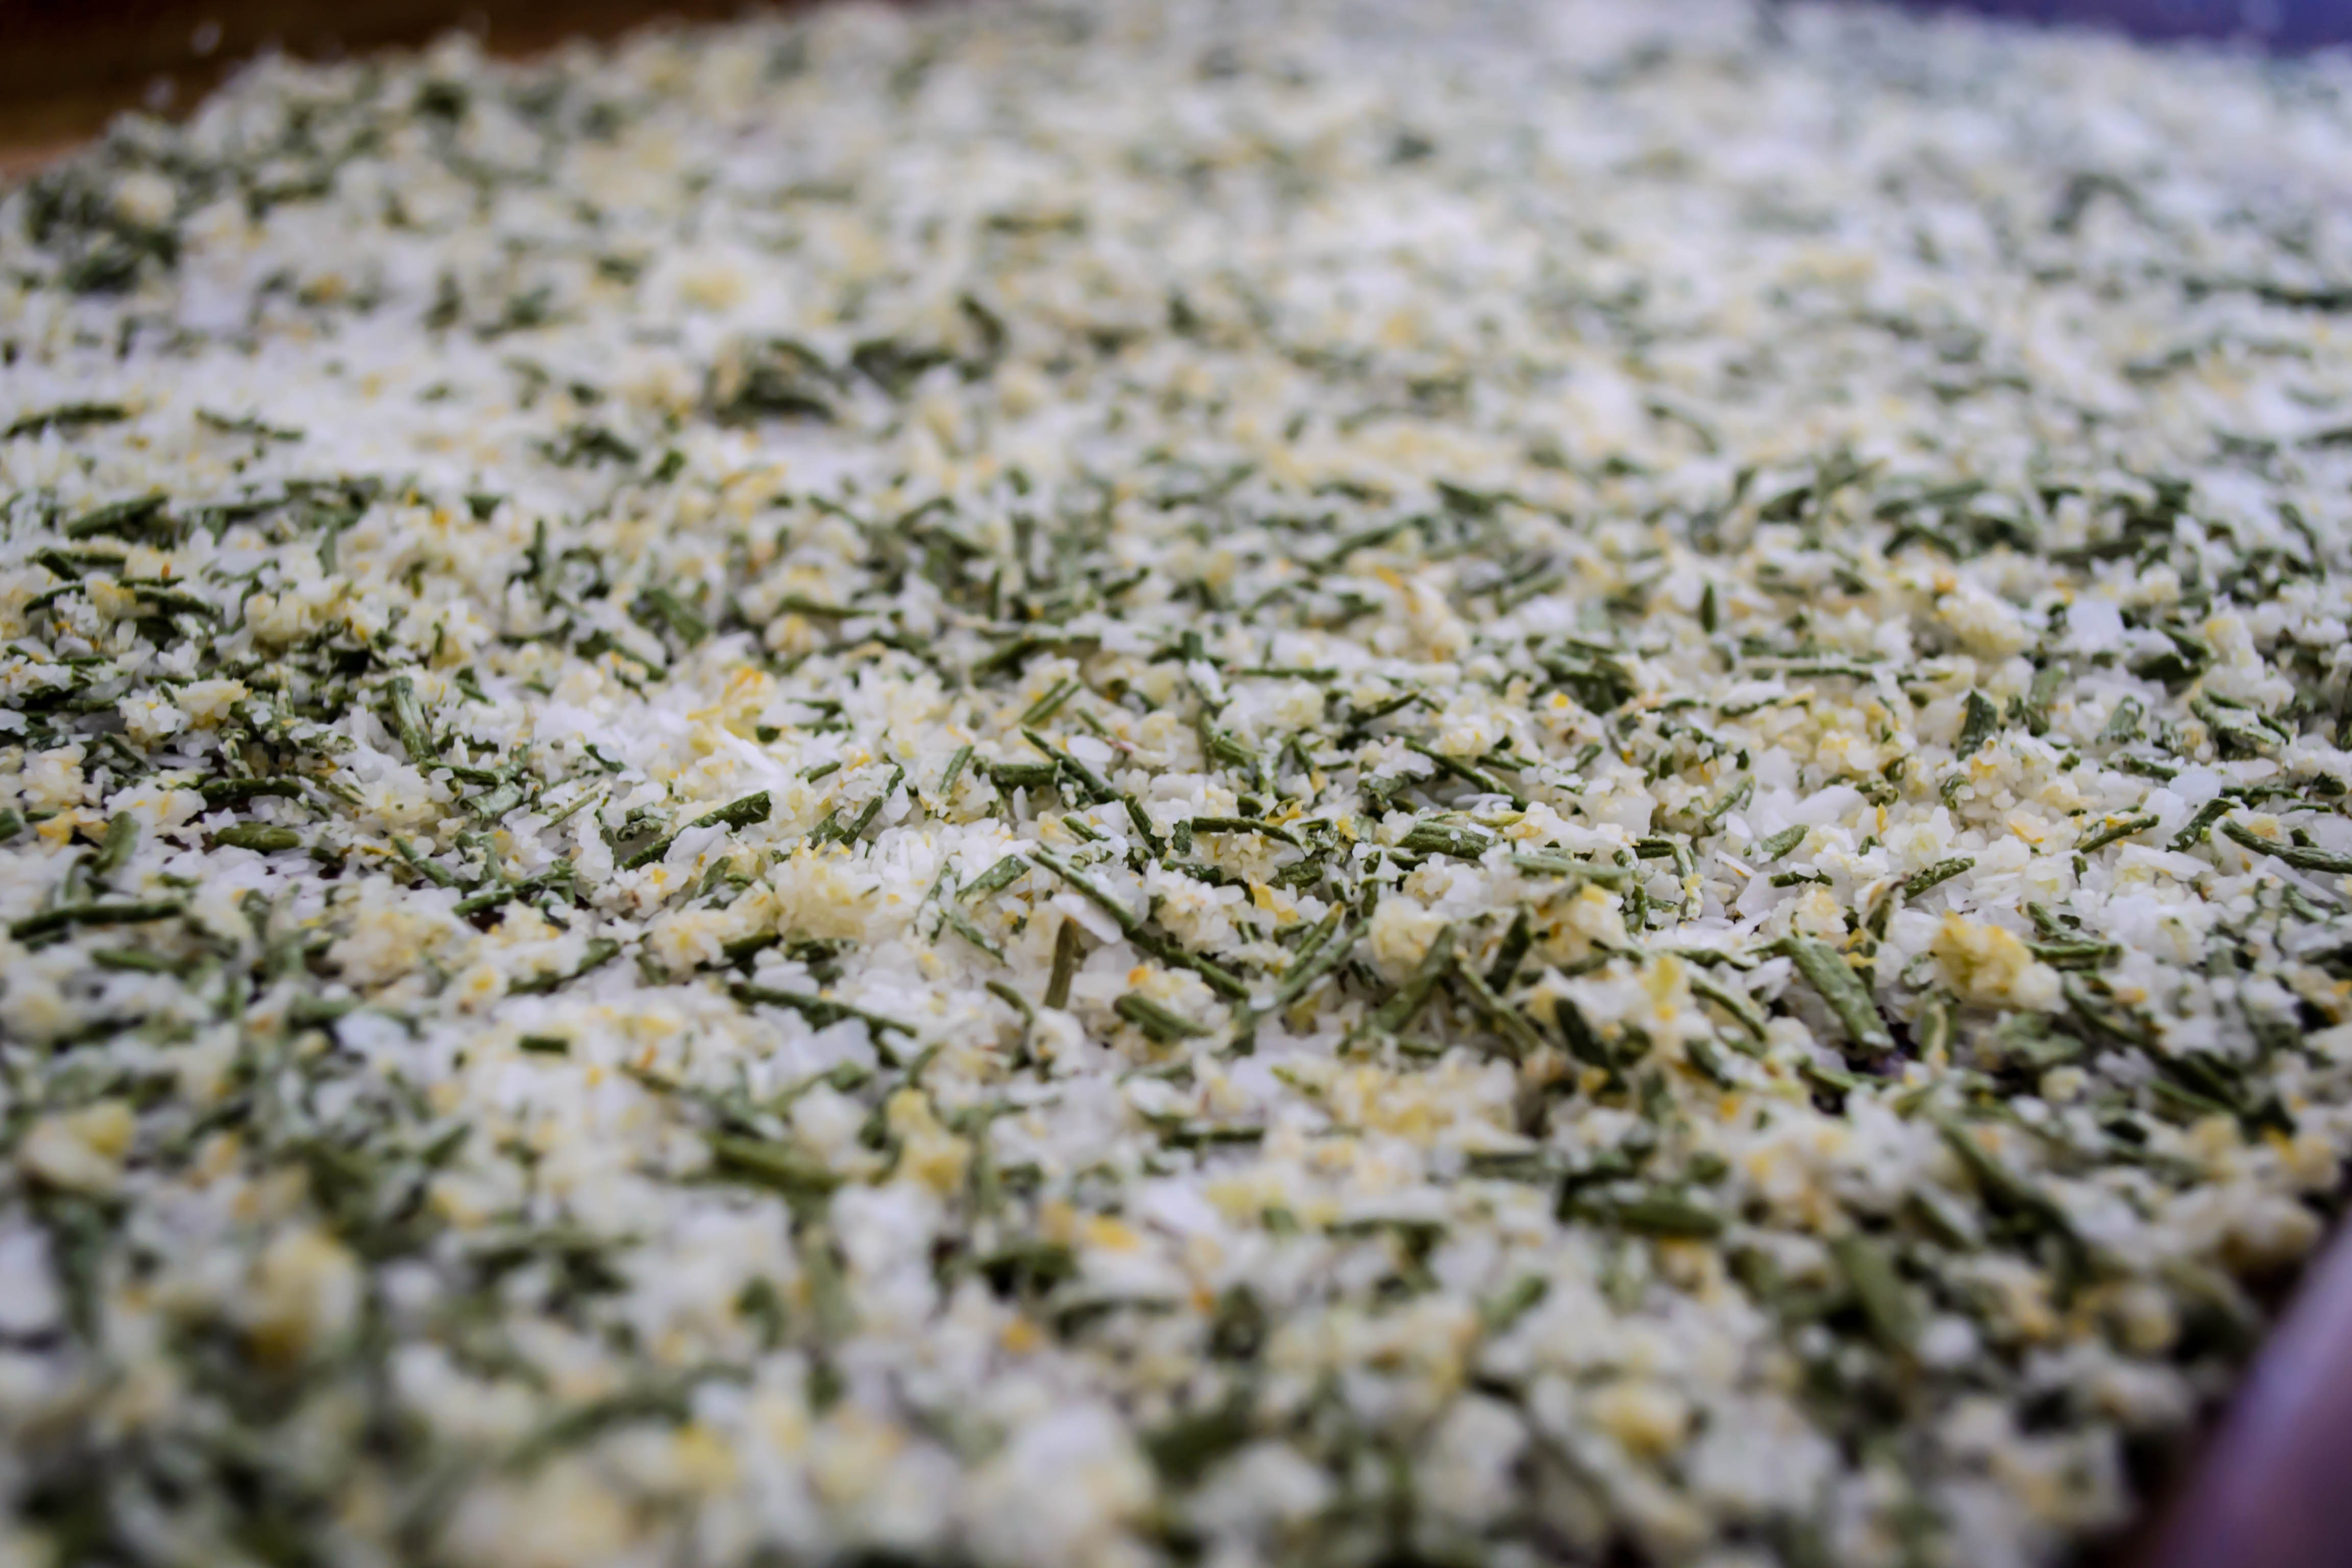
Garlic herb salt, drying on the counter: the greatest air freshener you could ask for.

Garlic herb salt, drying on the counter: the greatest air freshener you could ask for.
Rosemary and black pepper sourdough, before and after…


Head above water. That pretty much describes where I’m at these days. I’m about a month out from completing my first year as a full-time faculty member at my college: my first real professorship! This means my desk is somewhere underneath a pile of research proposals from one class, reading responses from two more, and the weight of Edmund Spenser’s Faerie Queene providing a ballast (read: another thing I have to work through) in one corner. My world is scattered with attendance sheets, evaluation materials, paperclips, and an amazing image of the shield from Sir Gawain and the Green Knight that a student drew for me in February and I still haven’t gotten around to hanging on my wall.
 This means that every week when it comes time to sit down and write a post, I scramble. At least it’s getting lighter outside every night, which means the moment when I can photograph the intricacies of one of our dinners – perhaps even on a week night – is coming. But for now it usually means making and photographing something on a Saturday, editing the photos (I do a little fiddling with white balance and noise reduction) and cobbling together a few things to say about it on Sunday, and scheduling it to go live as usual Monday morning.
 It’s only a very few things, I find, that I have to say this time around. The Twelve Loaves challenge for April was oranges. Bake a bread, any bread, whether it be yeast, quick, muffins, biscuits, savory or sweet, and incorporate orange in some way. This one stumped me for a while until I read a post from my new blog obsession, Joe Pastry. Do you guys know Joe? He runs a delightful site in which he pulls inspiration for post topics from questions his readers ask, and along with some really interesting recipes, he explains the science behind baking.

 Recently, Joe posted a procedure and recipe for Pan di Ramerino, a Tuscan take on the hot cross bun that incorporates rosemary and raisins. It’s a not-quite-savory-not-quite-sweet bun as welcome in a breakfast basket as on the dinner table. Joe provides a bit more history about it, but I’ll let him tell you that if you’re interested.

 Remembering how much I like the combination of orange with rosemary from one of the first loaves I baked during my dough project, I decided to add a hefty scattering of orange zest to the dough, and replace the apricot glaze Joe advocates for an orange one instead to tie things together. Though I let mine rise a little too long (the room was quite warm and I was distracted by lesson planning) and thus the final product was a bit less puffy than I’d hoped, we scarfed our way through the first bun, and then bun-and-a-half, and then two, in little time. They are a soft, moist offering, not as eggy as challah but reminiscent of it in the sticky elasticity of the dough, with an intriguing herbal note that keeps them from turning resolutely into dessert.

 The recipe to follow is adapted very slightly from Joe’s. I ended up with eleven buns, but that was just carelessness and poor counting on my part (thankfully I’m not a math professor…); you will easily be able to make twelve. Easter is over now, I know (head above water, people), but these are a lovely expression of spring for your kitchen, and would make really nice offerings for a bridal or a baby shower. Or, you know, roast a chicken stuffed with a sprig of rosemary and half an orange, and serve these up on the side.


My home office – the room where grading, blogging, photo editing, and general work happens – has the most wonderful light in our house. A huge sliding glass door lets sunlight pour in during the morning hours, and in the afternoon I get brightness mediated by the roof of the house. Even when it’s overcast, there is still so much natural light that it makes for wonderful food shots.
But winter is a problem. I’m discovering that if I make a dish for dinner, I’m not going to be able to photograph it from my office because it’s too dark by 5pm. And wedded to this blog and this project as I am, there’s no way we’re having dinner at 4:30 in the afternoon just so I can get the best light in the house. So I’m trying out new angles, and new placement, and new adjustments. I’m learning more about artificial light: which arrangements I find glaring and which I find acceptable. Bear with me, and look forward to the return of Daylight Savings Time!
“17. Sauté chopped onion in butter, then chunks of sweet potato and stock or water to cover. Simmer until the sweet potatoes can be pierced with a knife, then add chopped kale and cook until wilted.”
This was easy, and quick, and tasty. I made a few additions to Bittman’s recommendations and think the soup really benefited from them. I used:
4 TB butter 
½ a medium onion (mine was yellow)
1 big sweet potato, peeled and cut into small chunks (the smaller the chunks, the faster they will cook, so make your decision based on how much time you have and what size is most pleasing to you)
Salt, pepper, ground nutmeg to taste
4 cups broth – vegetable or chicken, depending on your preference
6 oz. kale
1 tsp red wine vinegar
Heat the butter in a pot over medium heat. When it has melted, add the onion and cook gently, stirring occasionally, until the onion is soft and translucent but not bronzed.
Add the sweet potatoes and seasoning, stir to combine for a minute or two, then add the broth. The quantity of liquid you need will depend entirely upon the size of your sweet potato. You may need more or less than the 4 cups listed here.
Let the soup simmer until the sweet potatoes are tender but not falling apart. Mine took about 15 minutes.
Add the kale and stir to combine. You will be bewildered by how quickly it collapses on itself, wilting from smoky green to a brighter, more vibrant hue as it is immersed in the liquid. Cook just until it reaches the texture you like against your tongue – I let it simmer for about 5 minutes, because I like my kale to still put up some resistance and retain its bright color.
I tasted and thought this needed something. Extra salt to heighten the flavor of the kale, certainly, but there was a kind of dullness about the whole concoction. Remembering my soup lessons from Alton Brown, I sprinkled in just a hint of red wine vinegar, and the difference was amazing. The whole thing was brighter, somehow, even though you couldn’t taste anything harsh or stringent.
We consumed this happily with freshly toasted, garlic-rubbed slices of pugliese. It was good, but could have been stuffed with even more flavor: I’d consider adding garlic, ginger, maybe even rice or ramen noodles.

“4. Onion jam with bacon and bourbon: Thinly slice red onions and cook in olive oil with chopped bacon until soft. Add a little bourbon and brown sugar to taste and cook until the jam thickens.”
Bourbon is new for me. N. has been enjoying the occasional scotch for a few years now, but we recently acquired a bottle of Knob Creek and I’ve been appreciating the floral notes of it – so much less musty and boggy than its British cousin.
4 slices thick-cut bacon, halved lengthwise into long strips, then sliced into small rectangles
½ large red onion, thinly sliced
¼ cup bourbon
2 TB brown sugar
Freshly ground black pepper
1 small sprig rosemary

I used about a tablespoon of olive oil to start the pan, but I don’t think you really need it. Just toss in the bacon slices over medium heat and let them work for about 5 minutes. You will get a shimmer of fat across the bottom of the pan that is more than enough to start the onions sizzling in.
Add the onions and cook over medium or medium-low for at least ten minutes, until the onions soften and the bacon is mostly cooked. Stir with some frequency to ensure even cooking.
Off the heat (especially if you are using a gas stove) add the bourbon and the brown sugar. Stir to combine, then return to medium heat and simmer slowly for about 20 minutes, to let the flavors mingle and the bourbon soak into the onions and bacon.
After a few minutes of cooking, I added pepper and rosemary for additional flavor components, and I think they were a good choice. The rosemary’s woodsy flavor was a nice contrast to the fatty bacon and sweet onions. Everything cooked down into a sticky, caramelized jam that I draped across some baked rounds of polenta.

This was delicious, but misplaced. The meaty, smoky bacon was intensified by the bourbon, and the brown sugar and onions had a nice note of molasses. It didn’t belong on polenta. It belonged, I think, on a freshly toasted piece of crostini, possibly smeared with a thick slice of brie. The funkiness of the cheese could stand up nicely to the sweet smoky strength of this jam.
We paired our misguided polenta with green beans, lightly blanched and then seared in a hot pan and deglazed with a bit of red wine. These, too, were delicious, but not the ideal pairing for the sweet saltiness of my jam. Apples, maybe, or red grapes would make better pairings. Regardless, we ate with joy and returned to the pan once or twice for a final sweet chunk of sticky, gooey jammy bacon to sweeten our palates, even though dessert was still to come.
“91. Pears in Red Wine: Simmer 2 cups red wine with ½ cup sugar, 2 cloves, a cinnamon stick and a few slices of ginger in a pot for a few minutes, then gently poach peeled and cored pears (use a spoon to hollow them from bottom), until soft. Cool or chill, and serve with a bit of the poaching liquid.”
This is supposed to be one of the most sophisticated desserts you can offer: not overly sweet, laden with mulled flavor, perfect for a gourmet adult party in celebration of autumn. Pears, with their temperamental habits and signature grainy texture, are perhaps the same kind of acquired taste as wine or coffee or any of those other “adult” tastes. As dessert for our onion-jam-crusted dinner, I decided to attempt these.

I used 2 pears, but followed the rest of Bittman’s quantities exactly.
 Well, one exception to note: I thought about getting fancy and adding things like citrus peel or rosemary (apparently I’m hooked on the stuff these days). But in the end, I just splashed in a bit of bourbon to link the flavor profile back to our dinner: red wine from the beans, bourbon from the jam, and this dessert would fit right in.
After the first simmer, in which I stirred gently to let the sugar dissolve and the spices mull gently into the wine, I prepared the pears.
The issue with pears is that inside their tender skins they are slippery little beasts. You can’t grasp them too firmly or they sigh into bruises. You can’t hold them too delicately or they slide out of your hands and threaten to slip from the edge of the kitchen counter.
I dove into my attempt to core the pears only after peeling them. This, and the attempt to do so with a spoon, may have been a mistake. The spoon tore through the tender flesh of the pear but was too wide to remove only the core. Further, I wasn’t sure how much core I was supposed to be removing, so I ended up with two pale, naked, slightly mutilated pears, which I slid into their (hopefully) healing bath of alcohol.
I let them simmer, turning them occasionally to dye all sides a lovely burgundy, for about 15 minutes. Then I turned off the heat and let them sit a further 20 minutes until we were ready for dessert.
Surrounded by a moat of spiced wine, these were achingly tender and nicely flavored. I would choose pears that were less ripe if I attempted this dessert again, because a bit of additional texture might have done them good. As it was, though, much of the graininess disappeared in the poaching, and the soft floral flavor was really nice against the wine and assertive spices. A scoop of vanilla ice cream on the side would have made this a richer endeavor, but I think the creaminess would have matched well with the fruit and the wine. Or maybe I just need the extra comfort as we roll into December…

Halloween is easily in my top three holidays. I have to give the prize to Christmas, because it means family and love and sweaters, but Thanksgiving and Halloween chase each other in circles to gain second place. Despite that love (overwhelming in some cases, especially if you, like N., are not invested in costuming yourself at every possible occasion), this is the first year in almost a decade that I’ve done nothing to celebrate. No costume. No party. No decorations. We bought candy for the six kids that showed up (only six! The whole evening! Was it just because it was a Wednesday, or do kids not trick or treat like they once did?) and I definitely listened to the Halloween party mix my friend D. made for me a few years ago, but it felt a bit like a lost holiday.
I did embrace the season, though, the following day. Having Thursdays off gave me the opportunity to do something I’ve been wanting to do for years: pillage Target’s day after Halloween sale for leftover clearance items (read: treats!).
The tricks began when I began work on the evening’s dinner. It was, I realize in retrospect, a bit of a Chopped style enterprise: appetizer, entree, and dessert, each made with ingredients I’d not expected to meld. In each case, however, the “trick” aspect of the dish was my doing, not the recipe’s.
“12. Garlic-Rosemary Figs: Soak dried figs, stems removed, in warm water until plump; drain and halve. Heat rosemary and lightly smashed (and peeled) garlic with olive oil on medium-low heat, until softened. Add figs, along with some fresh orange juice. Cook until saucy.
Pairing figs, garlic, and orange juice seemed odd. Nevertheless, I collected enough for one portion (this was not N.’s kind of dish):
6 dried black mission figs
1-2 tsp fresh rosemary
2 smashed, peeled garlic cloves
1 TB olive oil
juice from 1 small orange (⅓ – ½ cup juice)
I heated some water in my teakettle and poured it over the figs (which I’d halved prematurely. Apparently paying attention to the directions is kind of important), which I let stew on the counter for half an hour.
Figs vaguely plumped, I drained them and set them aside, then put the garlic cloves, rosemary, and oil into a cold pan. I heated it over medium for five minutes or so – just until the rosemary started to sizzle and the garlic turned a little blonde. Then I added the figs and orange juice, and simmered for fifteen minutes or so, until the orange juice had reduced considerably.

I plated, I ate, and I considered. This didn’t taste bad, but it didn’t marry absurdly well either. The rosemary and the figs were lovely. The orange juice and figs were fine (though the orange was a bit overpowering). The garlic and figs were… unobjectionable. They just weren’t my favorite.
I must say, though, I recalled while I was cleaning up after dinner that this entry was in the “Sauces and Relishes” category. I had eaten it straight. This was, perhaps, why I wasn’t enamored of it. Therefore, I’d recommend spooning this over lamb chops, or pork tenderloin, either of which would add some savory notes to make the garlic feel less anomalous.
Though this “appetizer” wasn’t fantastic, I ate it with a fantastic grain-salad-turned-hash inspired by Smitten Kitchen. I want to revisit this hash, because I think it could use some additions, but here are the basics:
 Line a baking sheet with aluminum foil. Set it in the oven and preheat to 400F. Yes, you are preheating the pan along with the oven.
Peel and halve a butternut squash. Seed half of it and cut that half into small cubes. In a bowl, toss the cubes with salt, pepper, and olive oil, then tumble onto the baking sheet (where they will sizzle immediately – this is a good thing) and stow back in the oven for 35-45 minutes, or until they have golden edges and creamy soft middles. 
During the last ten minutes of squash roasting, push the squash to the sides of the pan (or just grab another pan, if you aren’t invested in avoiding dishes, like me) and stack 4 cups or so of trimmed, cut kale that has also been tossed in olive oil, salt, and pepper. The kale and squash will cook down a little more together, and you will be left with something not quite like kale chips, but a bit more textured than if you’d boiled or steamed it.
While the squash and kale roast, cook 1 cup of bulgur wheat in chicken (or vegetable) broth. When done, fluff gently with a fork and toss with squash and kale.
 During the last few minutes of roasting time, toast 2 TB pumpkin seeds in a dry pan until they begin to snap and crack.* Be careful not to burn them. Toss with bulgur and vegetable mixture.
In the pumpkin seed pan (again, avoiding dishes), heat an egregious quantity of butter until foamy and crack in an egg to fry until the edges frizzle and brown and crackle. Despite a few careful taps, on this egg of all eggs – the egg I wanted to photograph quivering atop my hash, the egg I wanted to show just cut and lusciously runny – I somehow shoved my thumb through the yolk and it broke all over the pan. Nasty trick, egg.

Nevertheless, I piled my hash up on my plate, carefully laid the fried egg over it, and dug in. It was a hearty, pretty, perfectly autumnal dish. It needs some tweaking before I’m thrilled with it – perhaps some sautéed leeks folded into the bulgur, or some light spices on the butternut squash – but this was a delightful start.

I turned to dessert:
“96. Sweet Autumn Gratin: Combine cubed pumpkin or sweet potato with cranberries and hazelnuts in a buttered baking dish. Sprinkle with brown sugar and toss. Drizzle cream all over, dot with butter and bake until soft, bubbly and browned, 50 to 60 minutes. Re-warm before serving if you like.
I’m going to give you a list not of my ingredients and procedure, but of what I should have used and done.
1 big sweet potato, peeled and diced
½ cup dried cranberries (I didn’t have fresh, so I don’t know what they would be like. Presumably more successful because they would emit, not swallow, liquid)
½ cup walnuts, coarsely chopped (I couldn’t find hazelnuts anywhere – who would have thought this would be the food item I would miss most from Oregon?!)
¼ – ½ cup brown sugar, depending on how sweet you like it
¼ cup heavy cream
¼ cup butter
 Preheat the oven to 400F. Butter a 9×13 inch pan (my round, much smaller dish was a poor choice).
Toss the sweet potato chunks, cranberries, and walnuts with brown sugar. Spread them out in the pan in an even layer. Pour on the cream, then pinch off pieces of butter and dot them over the top.
Bake for an hour, or until the sweet potato pieces are fully cooked.
I did few of these things. My sweet potatoes were in bigger-than-they-should-have-been chunks, piled up in a small casserole dish, starving for cream (I only had a tablespoon or two) and shorted on sugar. As a result, at the end of an hour they were hot but still resistant in texture. I think what you want is melting, creamy softness.
Tricked again.

To remedy this problem, I tried several things. First, I made a bourbon hard sauce (equal parts sugar and water, stir to melt. Add ¼ cup butter, stir carefully until it melts. Add a shot or two of bourbon, cook just a minute or two to take the edge off) to pour over the top. This helped, and I willingly ate a serving, but it was lacking whipped cream or ice cream or, bizarrely, pie crust.

I didn’t figure out the pie crust thing until the next day when I was making empanadas for dinner. As I pressed my fork into the edge of the dough to crimp it, I was flooded with the right answer: tiny hand pies stuffed with my sweet potato mixture!
This was clearly the right thing to do. Saturday afternoon, I unrolled a pie crust on my counter, cut out 3 inch circles, and proceeded to fill them with a teaspoon or two each of the gratin, which I’d mashed with a fork to make smoother and therefore more manageable.

Once filled, fold in half, press and then crimp with a fork, and brush with egg wash (1 egg yolk + 1 TB water). Sprinkle with turbinado or other raw, chunky sugar, and bake in a preheated 400F oven for 15 minutes, or until the tops are golden brown and the dough is flaky.

These make lovely, tiny snacks. The craisins give a punch of tartness to the sweet, earthy, almost heavy sweet potato and walnut pairing. There are subtle floral hints in there, because before putting it away that first night I admit to dumping the bourbon sauce over the whole thing, but this adds a flavor I wouldn’t change. The dough is buttery and flaky and collapses easily around the filling, and it’s difficult to prevent yourself from standing over the pan as it comes steaming out of the oven and eating four or five in a row, scalding your tongue and not caring at all.

Perfect November treat.
* You could, I suppose, use butternut squash seeds, if you are the sort of person with the forethought to save, rinse, and dry the seeds while you clean your squash. I, clearly, am not.
A fabled land of farmers, farm shares, fancy (and not so fancy) restaurants, family meals, food projects and more.
cooking my way through my dissertation, one egg at a time
Fearless cooking from a tiny NYC kitchen.
food, in so many words.
Recreating the famous dishes of famous writers. Part recipe blog, part historical discussion, entirely unabashed love of books.
Epicurean Adventures from Eugene, Oregon
Celebrating the Harvest
Modern Iranian aka Persian Food & Culture Blog - Cuisine, Recipes, Stories , Photos, Pictures, DIY tutorials
Exploring Culinary Traditions of Africa, African America and the African Diaspora
food, in so many words.
food, in so many words.
food, in so many words.
Food-Stories-Recipes-Love
WordPress.com is the best place for your personal blog or business site.
