Fig, gorgonzola, and prosciutto crostini

Let’s talk about hazing for just a minute. I don’t mean the kind that covers the skies down here in Southern California – that filmy grayness that hangs a little thicker the closer to get to the skyscrapered center of Los Angeles. I don’t mean the kind that fills your brain when you remember there’s still a week of school left, and who knows how much grading after that. I mean the kind that happens when you’re the new guy. Being the new guy at my job means, through none of your own doing, that you are the party planner. At the department meeting in November, with no previous knowledge of customs or expectations, you suddenly get told that you (with any other new hires for the year) are in charge of planning the holiday party.
April May June 2014-3780You do it. It turns out fine. And in my case, you end up with some funds left over. And suddenly the hazing becomes self-inflicted. You find yourself sitting in your boss’s office suggesting we organize something for the end of the spring semester as well because, well, why not? We work hard. We might want a party to celebrate the close of the school year. So when May rolls around, you remember that suggestion, and those leftover funds, and suddenly you’re planning a happy hour for the colleagues you can’t believe you’ve grown so fond of in just a year, and feeling, under the weight of the grocery bags, again quite lucky to have landed this position.
April May June 2014-3770When I plan a party, I have a tendency to go overboard. Potlucks N. and I hosted during graduate school became theme parties. We were late to our graduation party because I wanted to make sure the pulled pork I’d made to share was perfect. Though I was determined to keep this work function a casual, easy-to-throw-together affair, I still found myself sketching out a shopping list two weeks in advance, when we weren’t even sure where the party would take place yet.
April May June 2014-3771And then I was suddenly not just adding ready-to-serve items to the list, but ingredients. I was menu planning.
April May June 2014-3773
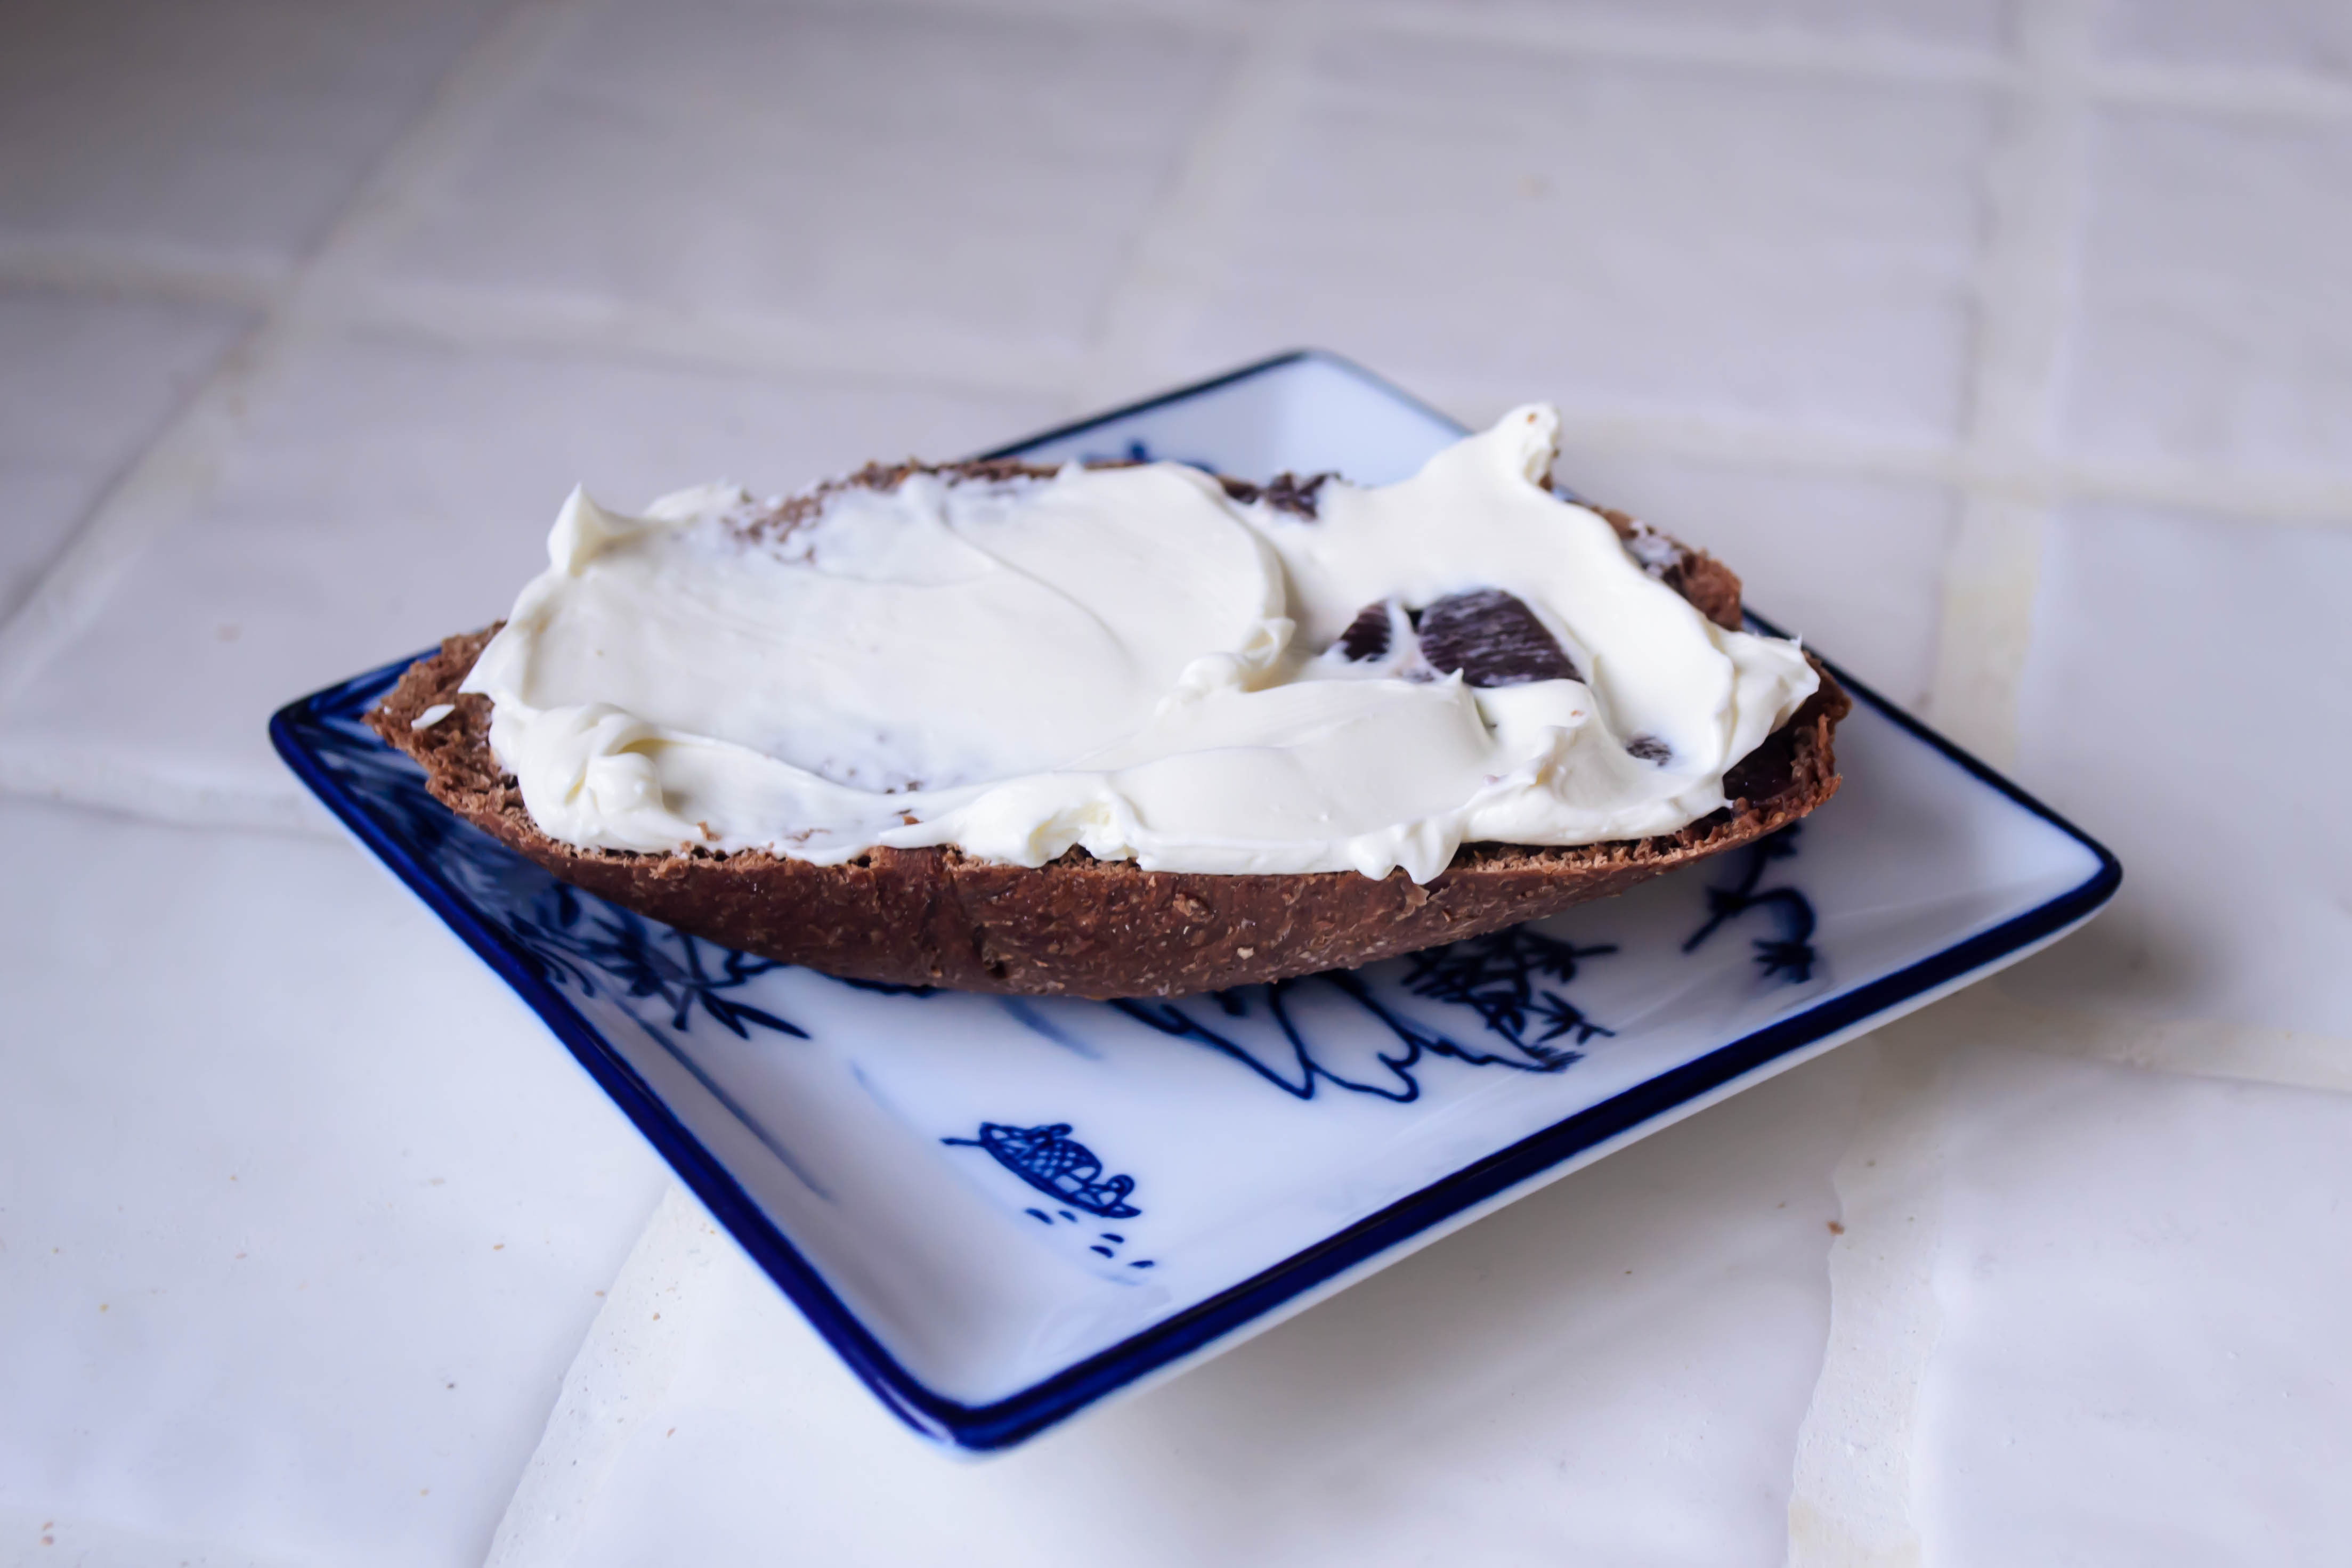
It seems to me that a gathering of the sort I executed this past weekend – a casual happy hour in a gorgeous community clubhouse in San Pedro – is perfectly lovely with entirely purchased snacks. A selection of red and white wines, good cheeses, some crackers and a vegetable platter, and perhaps some nice briny olives and hard salami, more than does the job. But adding one or two homemade items really makes things special. For me, these included some spring rolls and peanut sauce (I may share the recipe at some point, if I can get my act together), some freshly baked sourdough bread spiked with rosemary, and a crostini combination I am crazy for that was gone within the space of an hour.
April May June 2014-3775
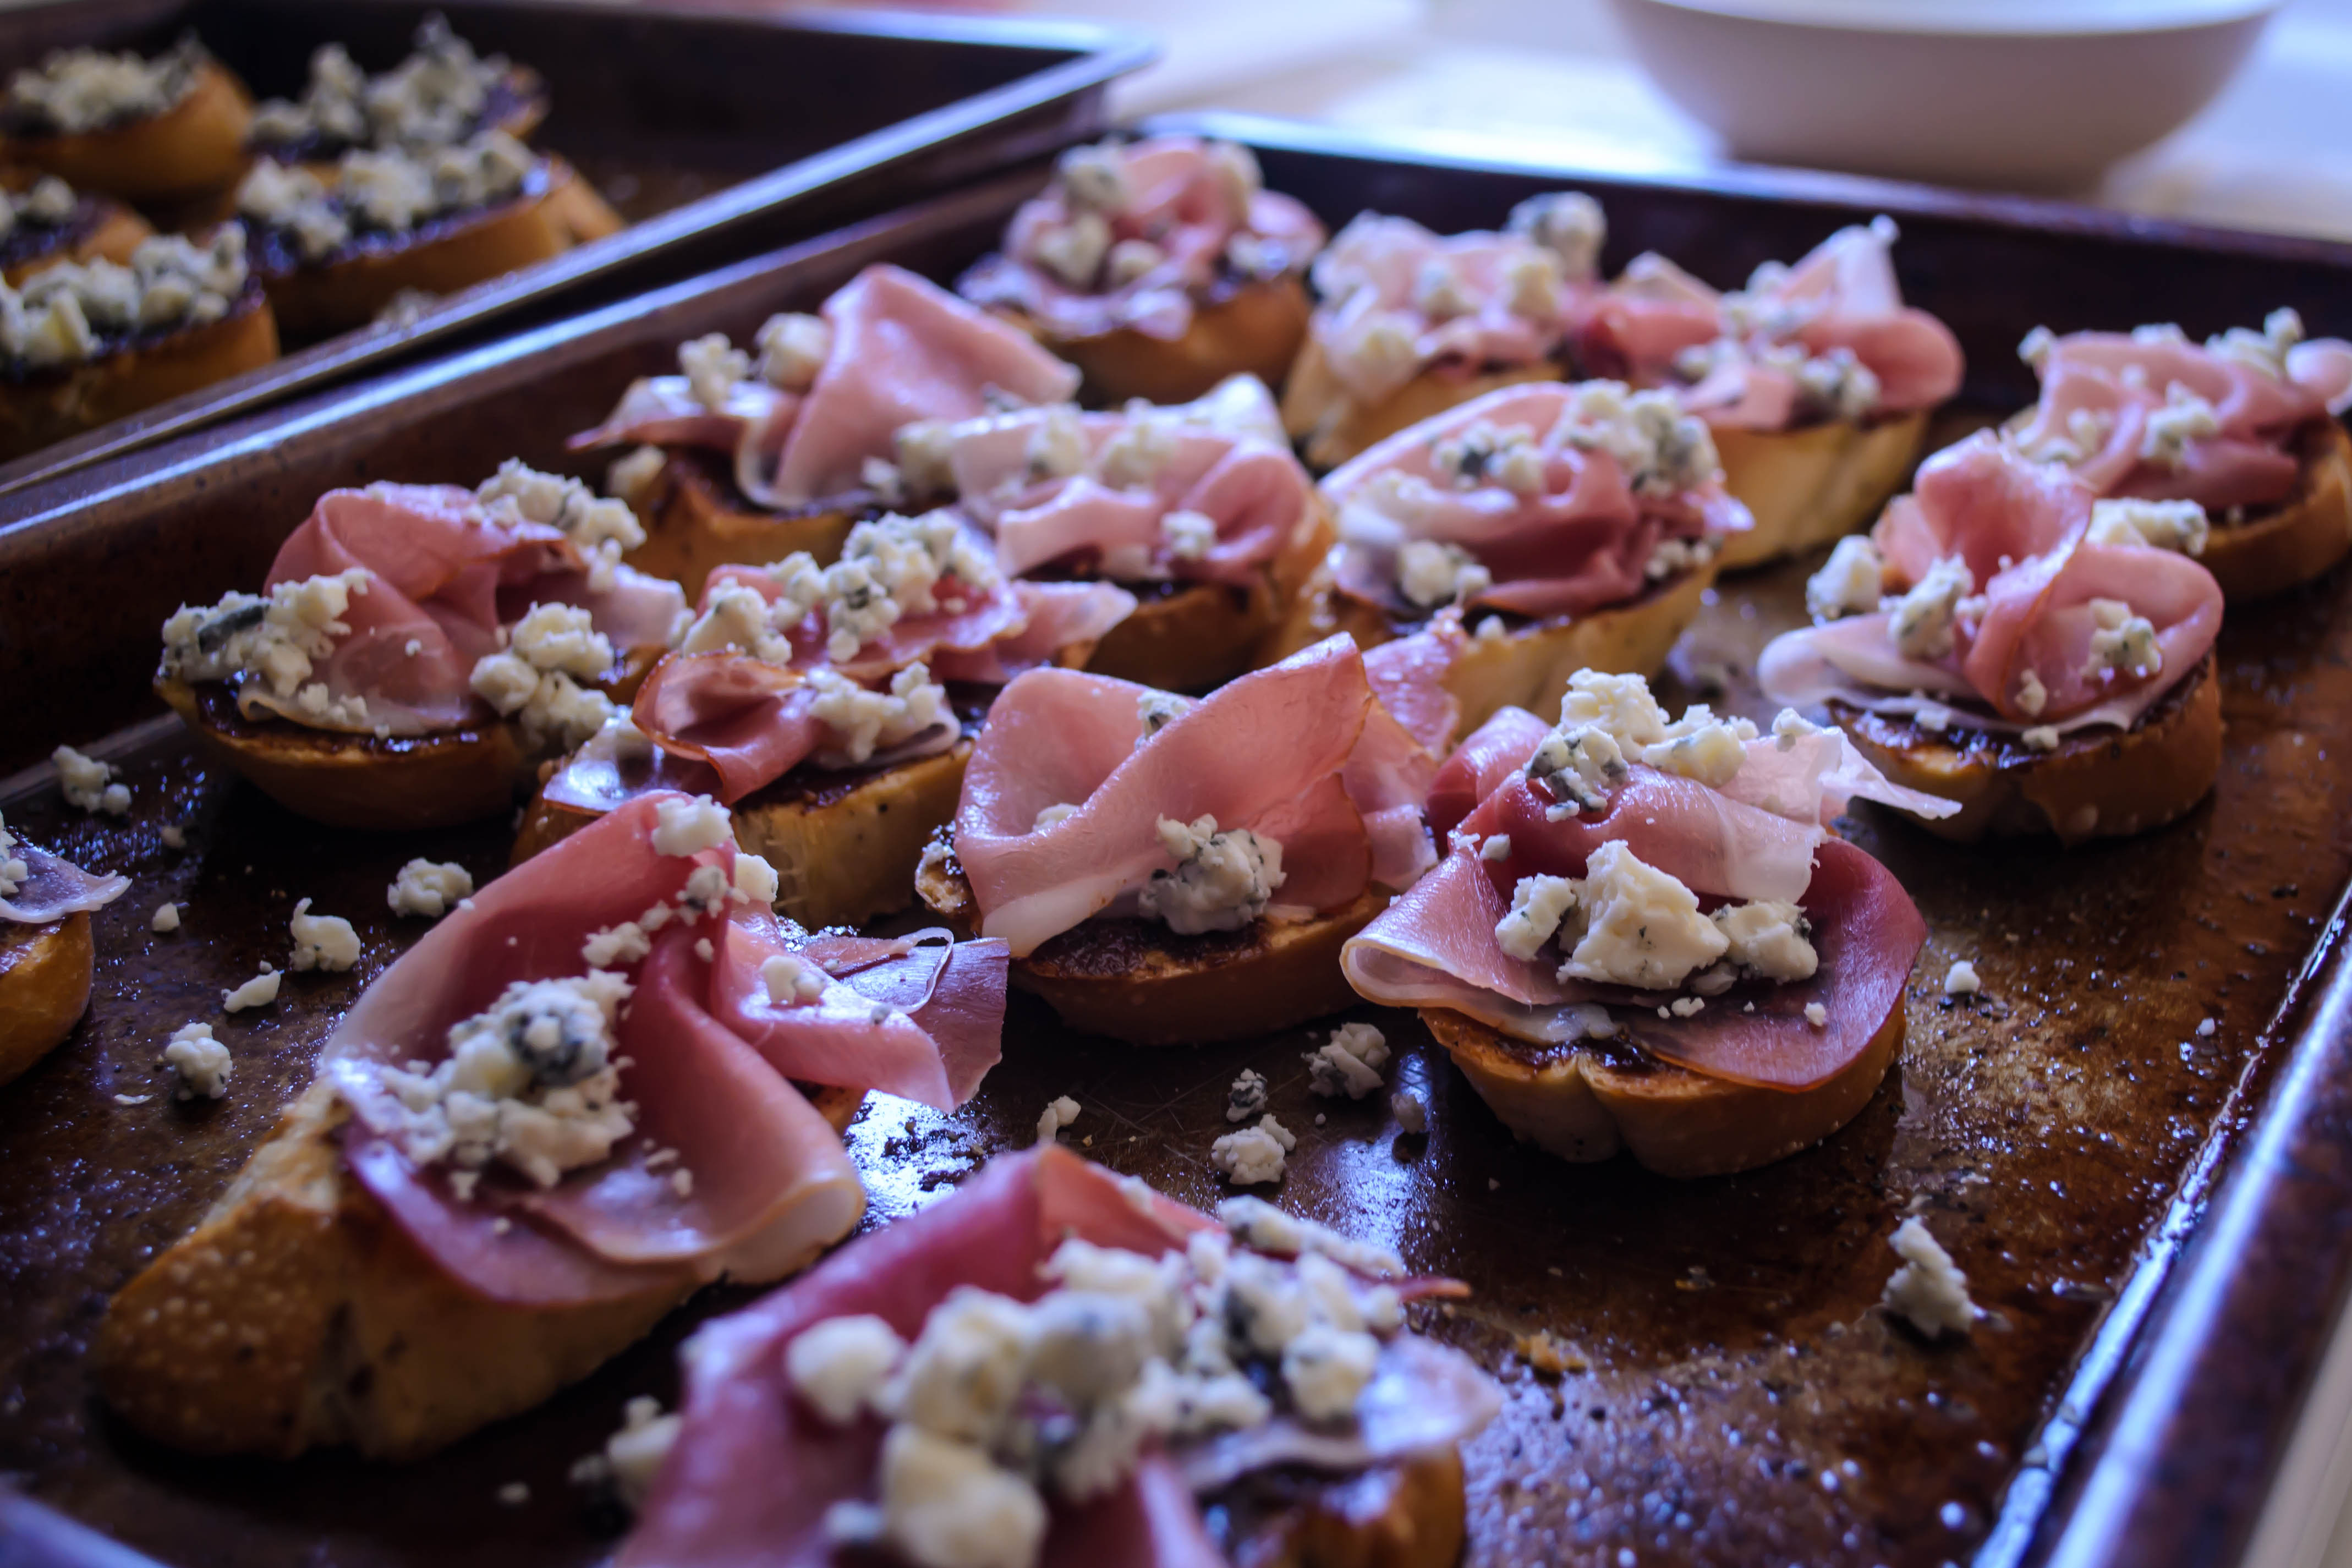
This crostini blends salty and sweet in a tremendously successful way. It’s pretty, it smells fantastic, it looks impressive, and it is so easy there’s barely a recipe at all. That’s what we all need, I think, for the end of the semester.
April May June 2014-3778Ready?
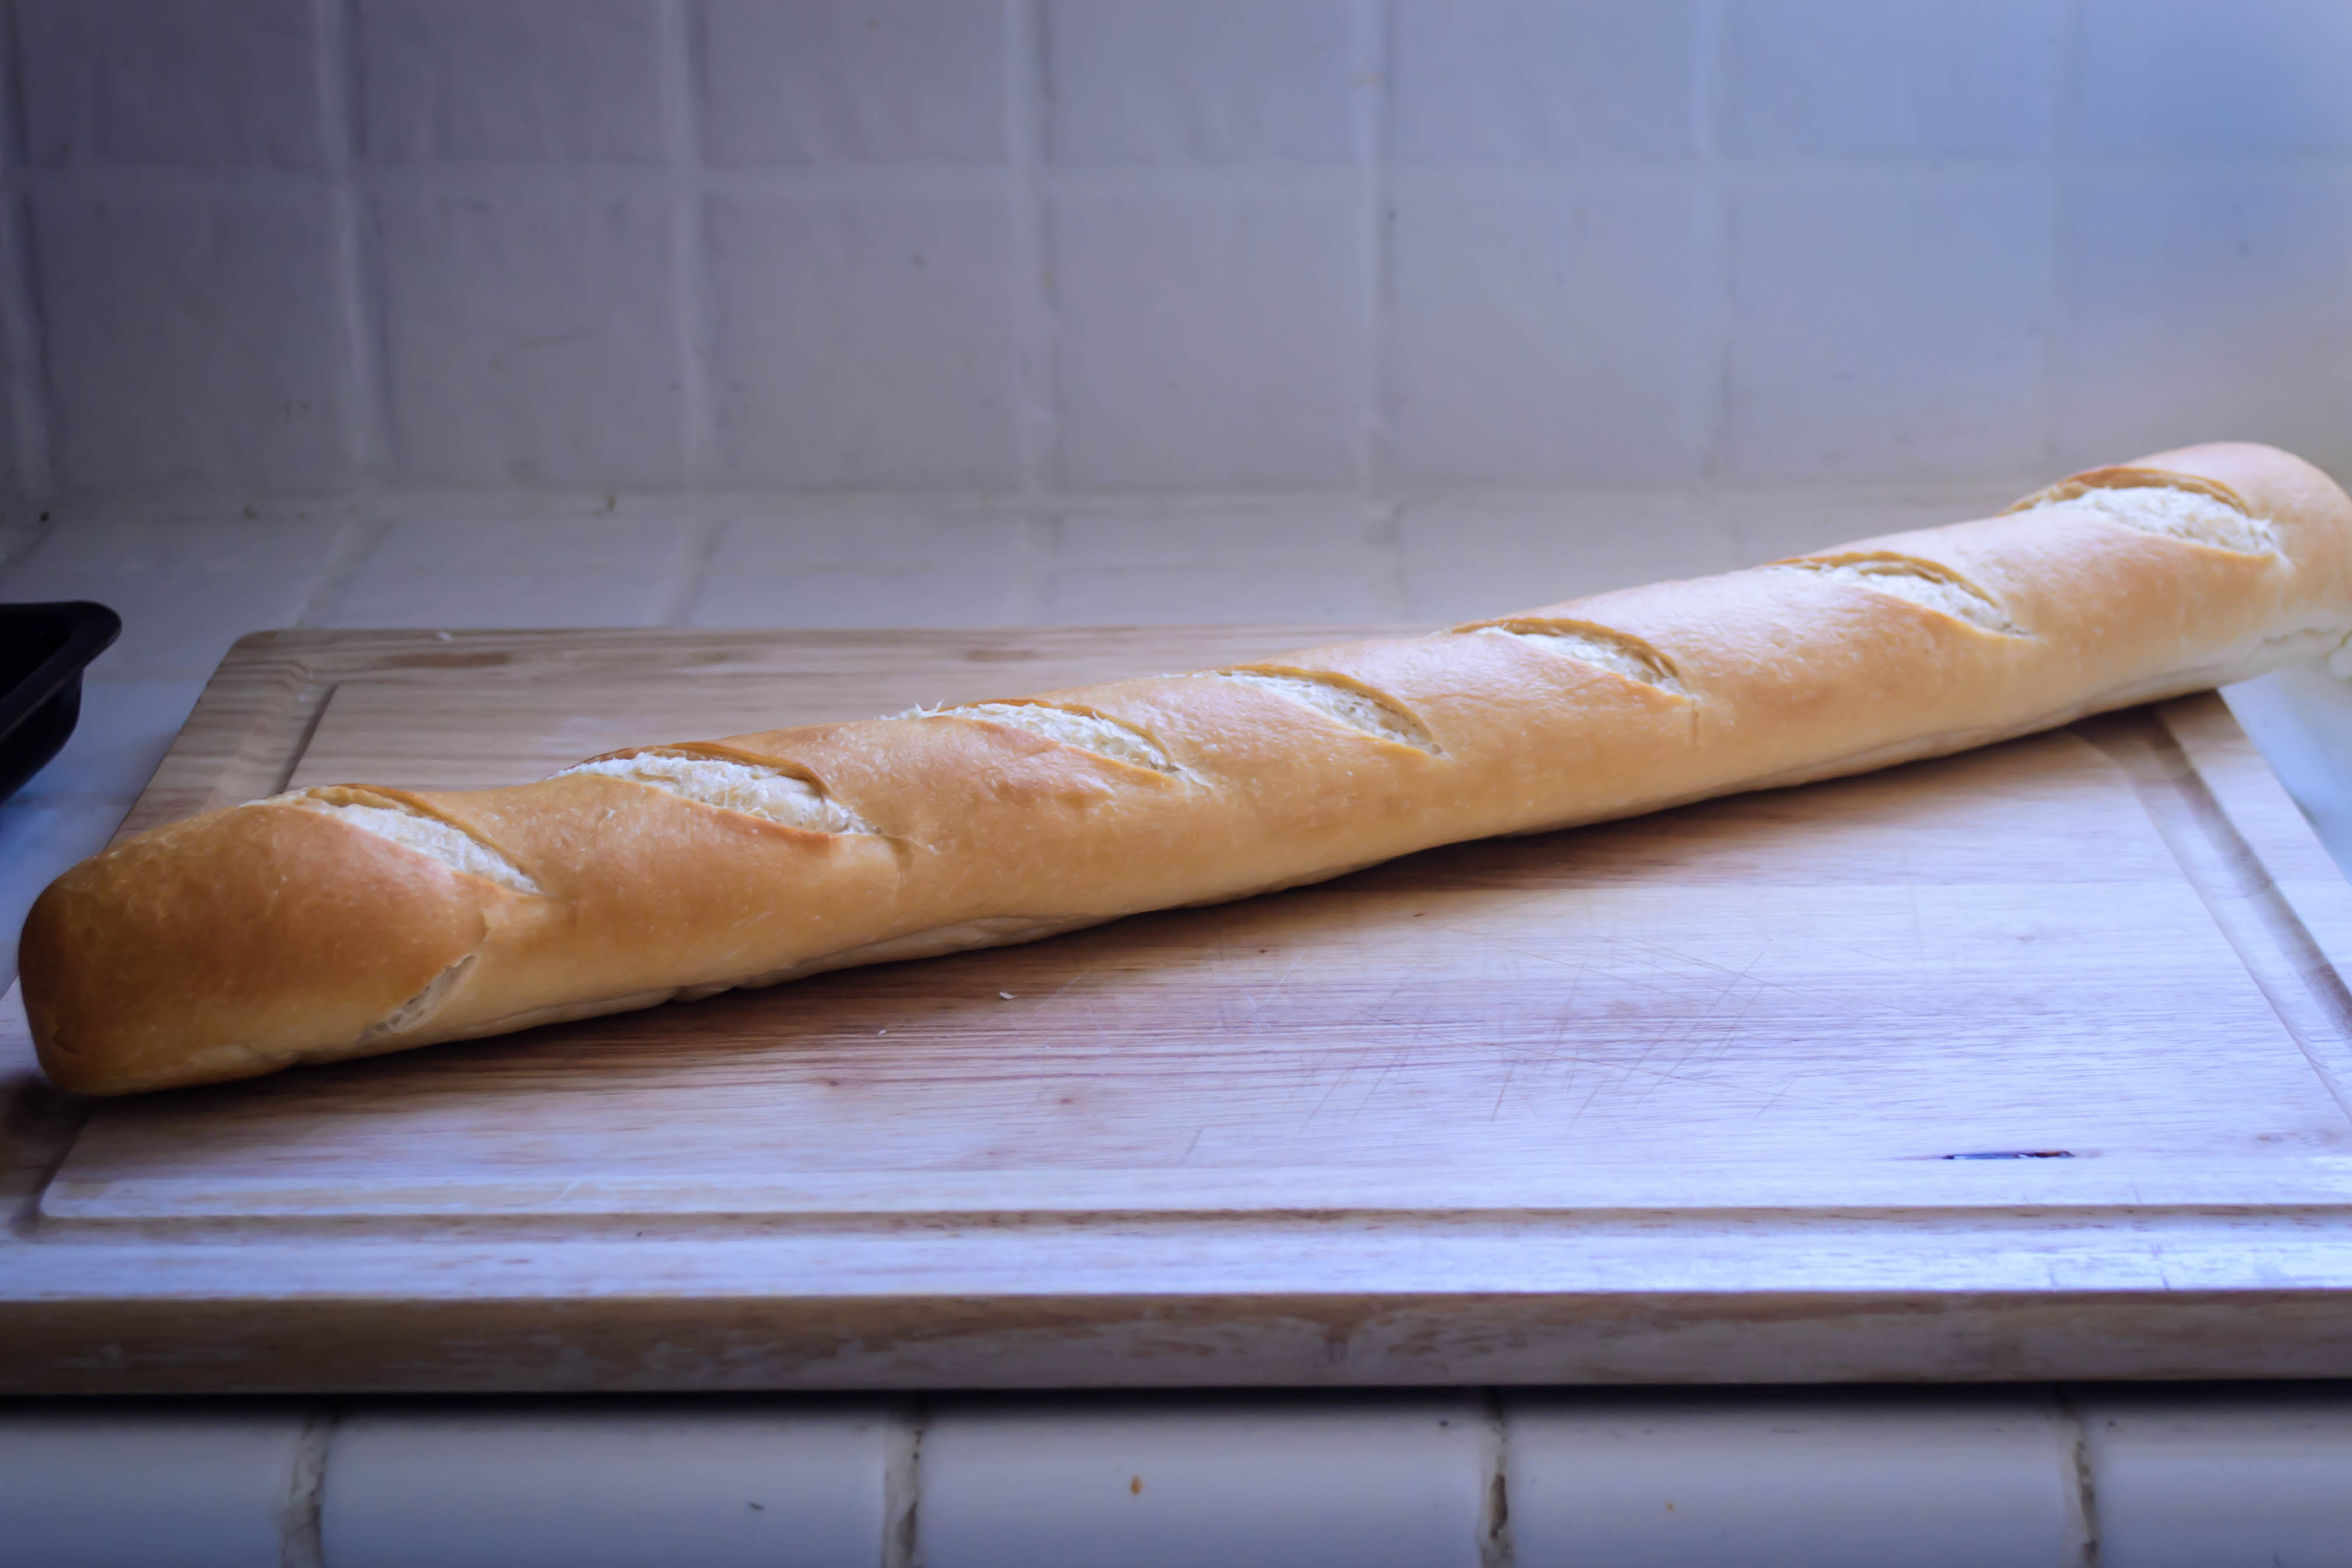
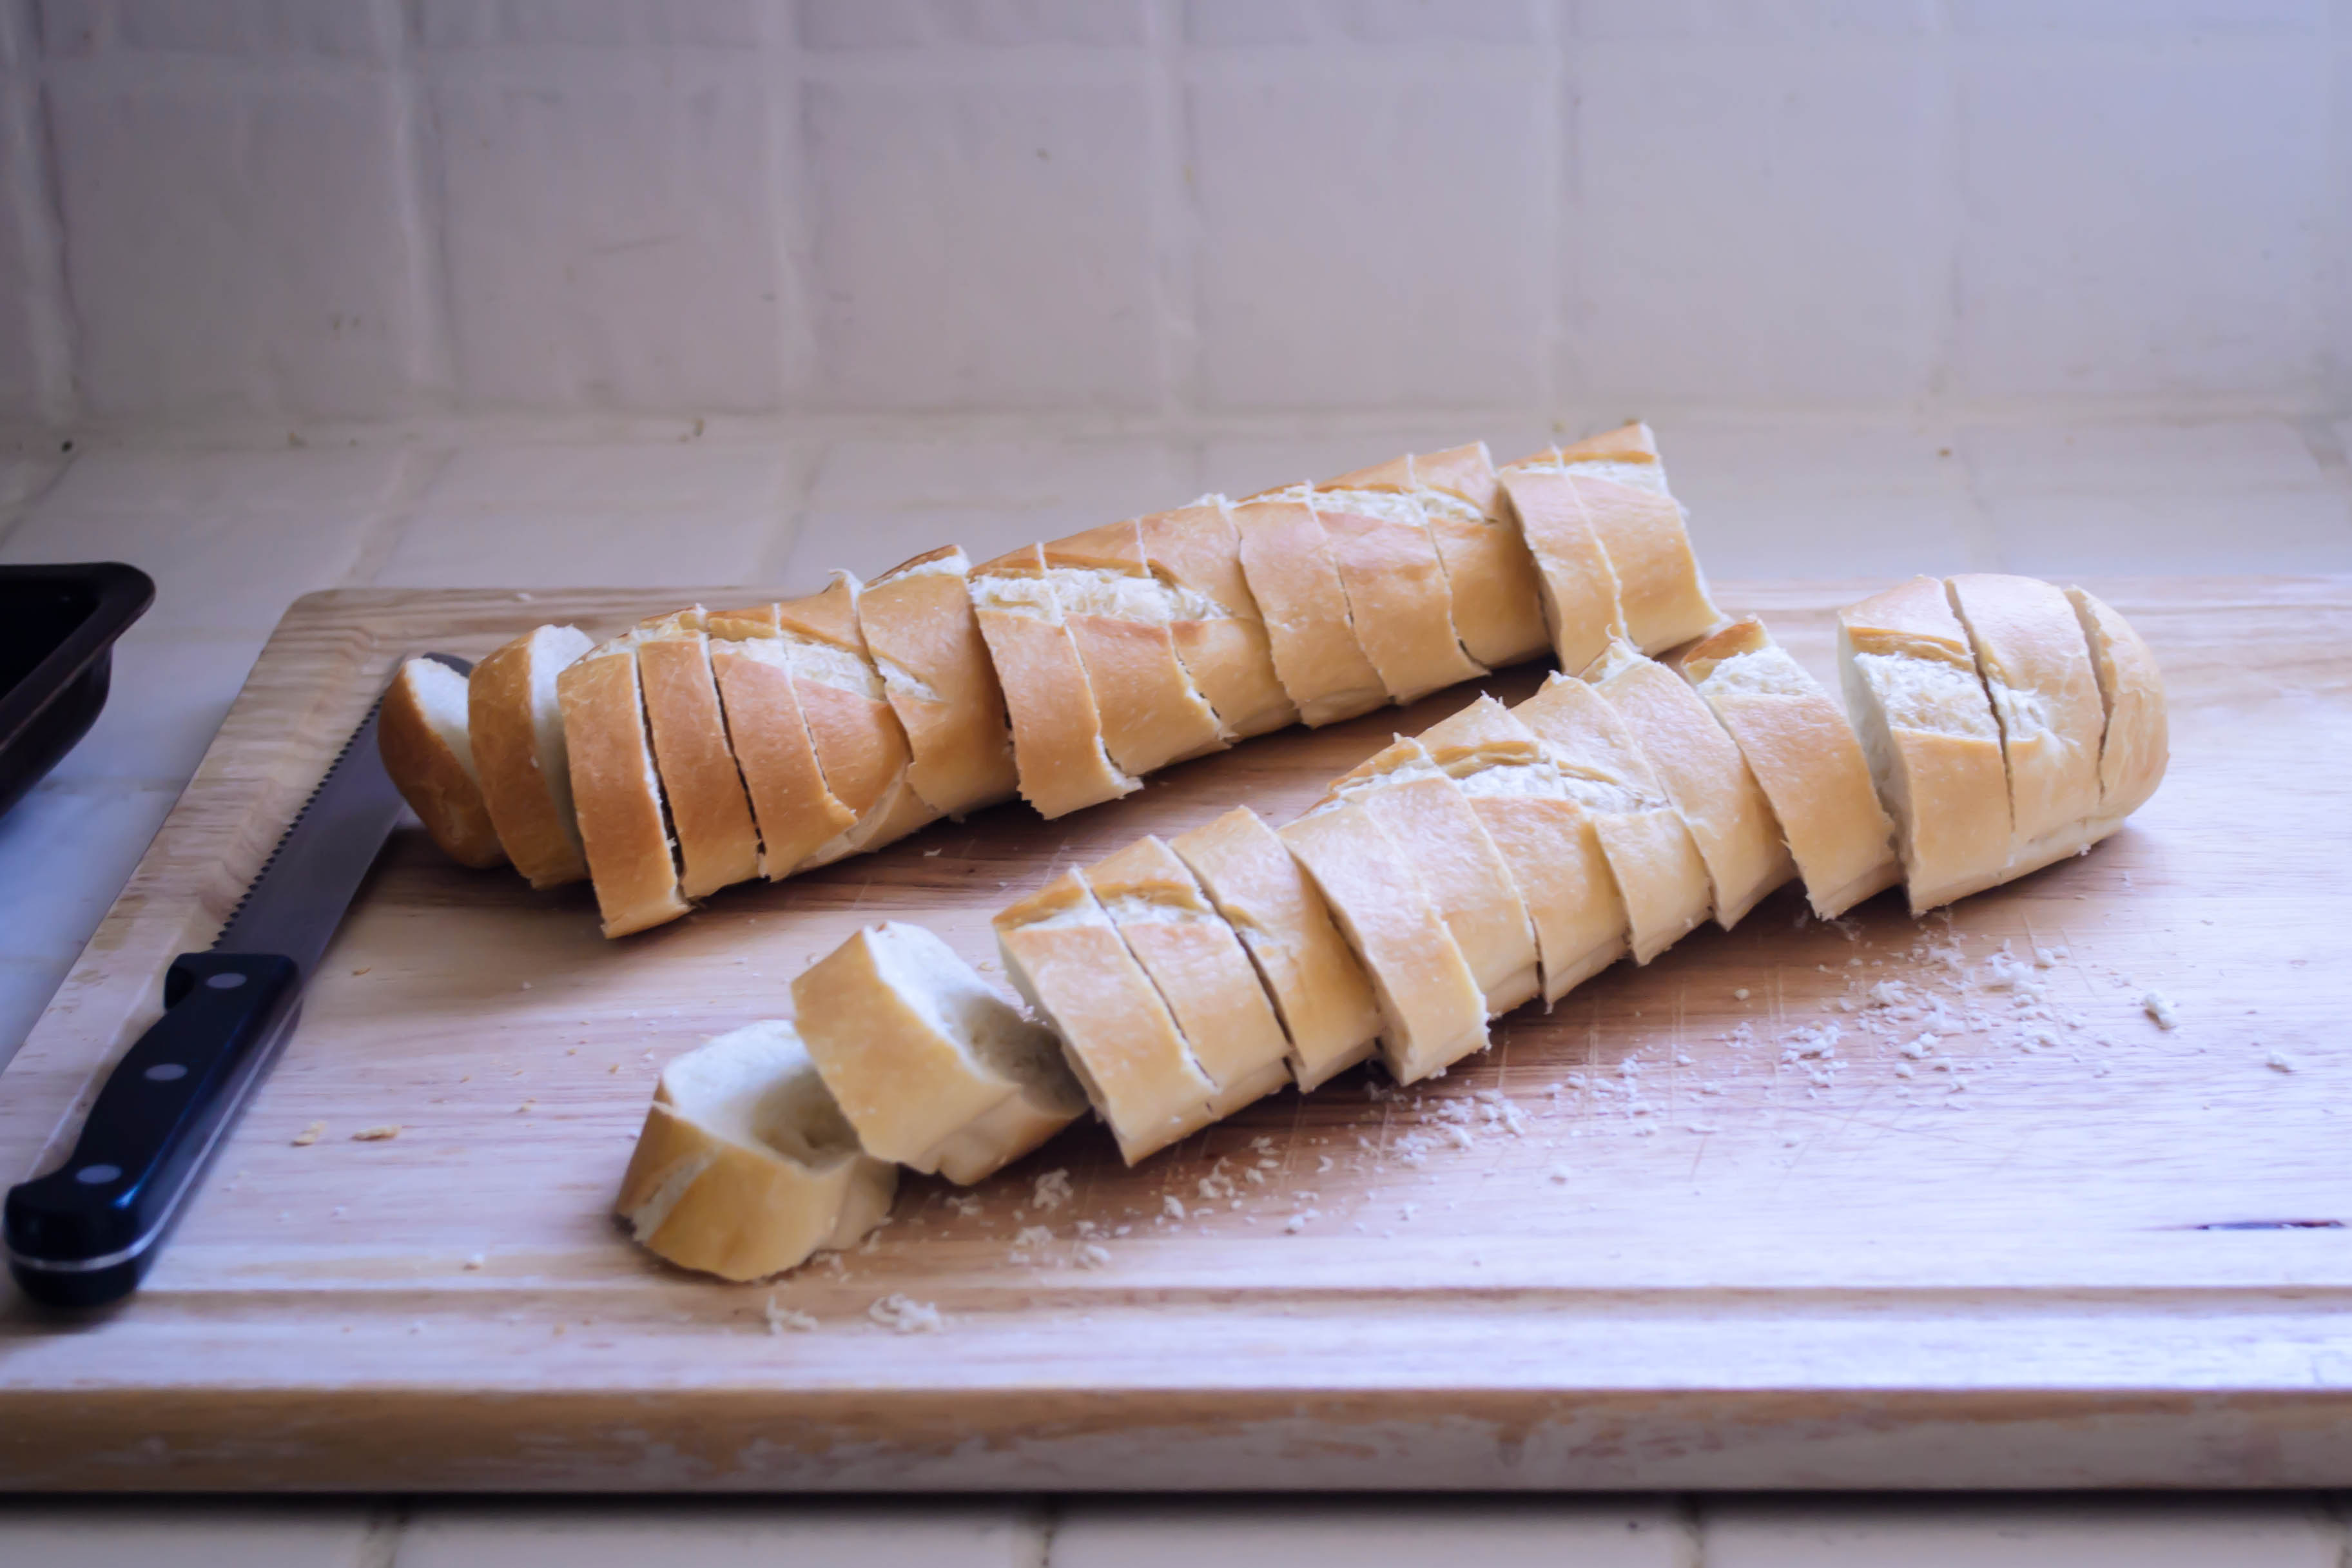
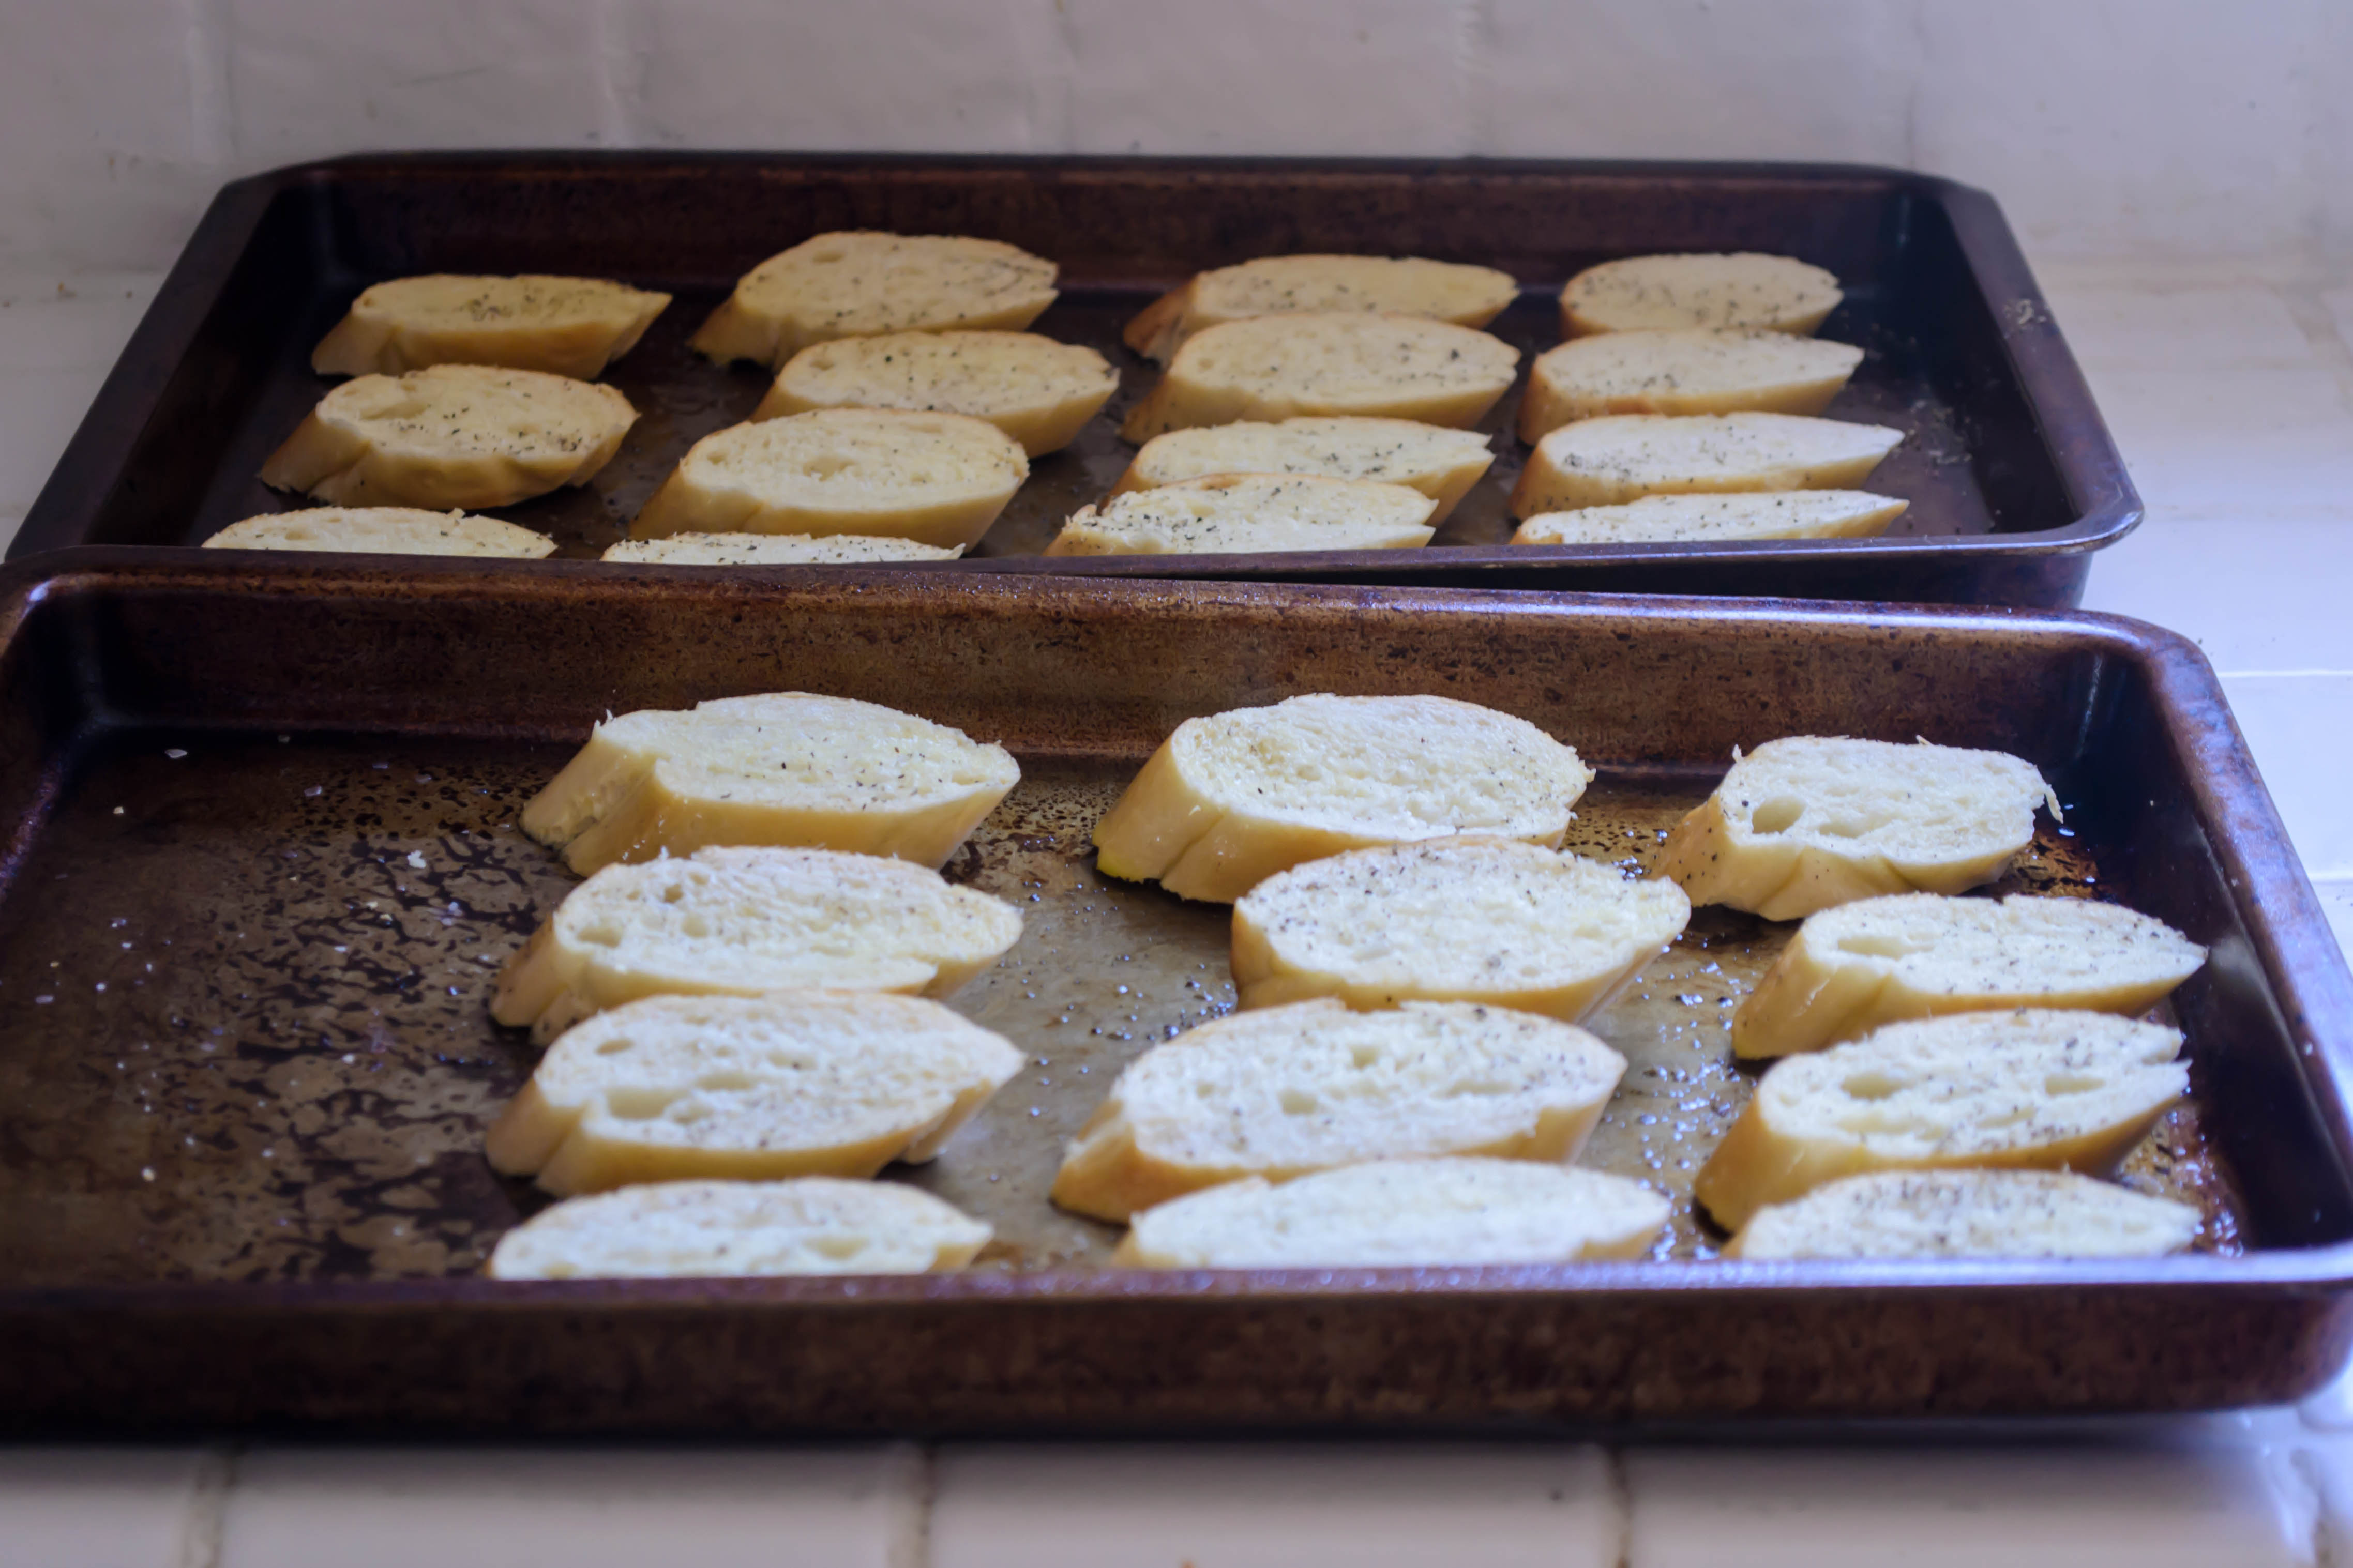
You slice a baguette, drizzle the slices with olive oil and pepper, and toast them. No salt, since we’ll be adding cured meat and cheese in a moment. You spread them with fig jam, nestle a half slice of prosciutto atop each, and then add a sprinkling of gorgonzola cheese. Then you shove the whole tray under the broiler for a few minutes until the edges of the prosciutto are crinkling and toasting with heat, and then you scoop your little toasts onto a platter and send them out to watch them disappear. Done. If you want, you can add a little wisp of baby arugula to the top for greenness and another peppery punch. As you can see, I did a tray without prosciutto, to allow vegetarian snackers to partake as well.

April May June 2014-3781*Note: these quantities are approximate. Depending on how well oiled you like your bread, how peppery you want your toasts to be, and how thick a layer of jam and cheese you want to offer, you may need slightly more or slightly less than I’ve suggested here.

Fig, gorgonzola, and prosciutto crostini
Makes 24-30 toasts, depending on how thick you slice your baguette
1 french baguette
¼ cup (approximate) olive oil (or olive oil spray)
½ teaspoon black pepper
½ cup fig jam
10-12 slices prosciutto, halved into fat rectangles (as opposed to long, skinny ones)
¾ cup crumbled gorgonzola cheese
1 bunch baby arugula, optional
  • First, preheat your broiler.
  • Slice your baguette on a bias into ½ – ¾ inch discs. Arrange on two baking trays in a single layer. Brush (or spray) with olive oil and sprinkle with black pepper. Broil for 2-3 minutes or until the top of each slice is golden. Flip over each slice and broil another 1-2 minutes until these, too, are golden. Set aside to cool slightly.
  • When the toasts have cooled enough to handle without toasting your fingertips, spread each one with a thin layer of fig jam, being sure to get all the way to the edges.
  • Top the jam with a slice of prosciutto, fluting it a bit as you set it on the bread so that it sits up like a rumpled napkin, rather than lying flat. This will ensure a bit of crisping, and it looks awfully pretty.
  • Sprinkle some gorgonzola crumbles atop the prosciutto, trying to keep them on the toasts as much as possible, rather than on the baking tray around the toasts.
  • Place your loaded sheet trays back into the broiler and let them go for just a minute or two, until the edges of the prosciutto are sizzling and crisp, and the gorgonzola starts to wilt and bubble slightly.
  • Remove from the oven, settle on a serving platter, and top each with a curl of baby arugula, if desired.

Orange Pan di Ramerino for Twelve Loaves April

Head above water. That pretty much describes where I’m at these days. I’m about a month out from completing my first year as a full-time faculty member at my college: my first real professorship! This means my desk is somewhere underneath a pile of research proposals from one class, reading responses from two more, and the weight of Edmund Spenser’s Faerie Queene providing a ballast (read: another thing I have to work through) in one corner. My world is scattered with attendance sheets, evaluation materials, paperclips, and an amazing image of the shield from Sir Gawain and the Green Knight that a student drew for me in February and I still haven’t gotten around to hanging on my wall.
Food Blog April 2014-3697This means that every week when it comes time to sit down and write a post, I scramble. At least it’s getting lighter outside every night, which means the moment when I can photograph the intricacies of one of our dinners – perhaps even on a week night – is coming. But for now it usually means making and photographing something on a Saturday, editing the photos (I do a little fiddling with white balance and noise reduction) and cobbling together a few things to say about it on Sunday, and scheduling it to go live as usual Monday morning.
Food Blog April 2014-3689It’s only a very few things, I find, that I have to say this time around. The Twelve Loaves challenge for April was oranges. Bake a bread, any bread, whether it be yeast, quick, muffins, biscuits, savory or sweet, and incorporate orange in some way. This one stumped me for a while until I read a post from my new blog obsession, Joe Pastry. Do you guys know Joe? He runs a delightful site in which he pulls inspiration for post topics from questions his readers ask, and along with some really interesting recipes, he explains the science behind baking.
Food Blog April 2014-3680Food Blog April 2014-3683Recently, Joe posted a procedure and recipe for Pan di Ramerino, a Tuscan take on the hot cross bun that incorporates rosemary and raisins. It’s a not-quite-savory-not-quite-sweet bun as welcome in a breakfast basket as on the dinner table. Joe provides a bit more history about it, but I’ll let him tell you that if you’re interested.
Food Blog April 2014-3686Food Blog April 2014-3691Remembering how much I like the combination of orange with rosemary from one of the first loaves I baked during my dough project, I decided to add a hefty scattering of orange zest to the dough, and replace the apricot glaze Joe advocates for an orange one instead to tie things together. Though I let mine rise a little too long (the room was quite warm and I was distracted by lesson planning) and thus the final product was a bit less puffy than I’d hoped, we scarfed our way through the first bun, and then bun-and-a-half, and then two, in little time. They are a soft, moist offering, not as eggy as challah but reminiscent of it in the sticky elasticity of the dough, with an intriguing herbal note that keeps them from turning resolutely into dessert.
Food Blog April 2014-3695Food Blog April 2014-3693The recipe to follow is adapted very slightly from Joe’s. I ended up with eleven buns, but that was just carelessness and poor counting on my part (thankfully I’m not a math professor…); you will easily be able to make twelve. Easter is over now, I know (head above water, people), but these are a lovely expression of spring for your kitchen, and would make really nice offerings for a bridal or a baby shower. Or, you know, roast a chicken stuffed with a sprig of rosemary and half an orange, and serve these up on the side.

Food Blog April 2014-3697

Orange Pan di Ramerino
Adapted from Joe Pastry
Makes 12
3 ½ teaspoons active dry yeast
2 tablespoons sugar
¾ cups warm or tepid water (at or just above body temperature)
¼ cup olive oil
3 sprigs rosemary (about 3 inches each) plus an optional extra 1 tablespoon, finely chopped
⅔ cup golden raisins
3 ¼ fluffy cups bread flour (that’s 17.5 ounces, if you’re being disciplined about it)
1 teaspoon salt
1-2 tablespoons orange zest from one large orange
2 eggs
1 additional egg, for egg wash
Additional dribble of water, for egg wash
Orange glaze, recipe follows


  • In a 2 cup glass measuring cup or a small bowl, combine the yeast, sugar, and ¾ cups warm water, and set aside to burble for 5-10 minutes.
  • While the yeast activates, heat the olive oil in a small pan over medium low heat. When it just shimmers, add the 3 sprigs of rosemary and sauté for 30 seconds. They will barely brown and the leaves will start to look a little weary. Remove and discard.
  • Add the raisins to the same olive oil and sauté them for 30 seconds. Remove and drain, reserving the oil. Let the raisins and the oil cool.
  • In the bowl of a stand mixer, combine the flour and salt using the paddle attachment. Chop the remaining rosemary, if using, and zest the orange.
  • By this time your yeast mixture should be assertively bubbling and smell like fresh bread. Add the cooled oil and the two eggs to the yeast mixture and whisk lightly.
  • Add this collection of wet ingredients to the flour and salt and mix with the paddle attachment until most of the flour is moistened. Exchange the paddle attachment for the dough hook and knead at medium speed for 3-5 minutes. The dough will become lovely: supple and elastic.
  • Add the additional rosemary, if using, the orange zest, and the raisins to the dough, and knead again until these flavoring agents are incorporated. This will take a good minute or two, since the first inclination of the raisins will be to hang out stubbornly at the bottom of the bowl. You may have to stop the mixing and fold them into the dough by hand a few times to get them to behave.
  • Once things are nicely incorporated, the dough will be a bit on the sticky side, but that’s okay. Transfer it to a clean, oiled bowl, or just smear some olive oil around the sides of the bowl you’ve been using, and cover the bowl with plastic wrap. Set it aside to rise until doubled. This could take as many as 90 minutes, or it could take more like 60. It depends on how warm your house is.
  • When the dough has doubled in volume, turn it out onto a floured board. You may find it is still a bit sticky, so you want to be sure you have enough flour down to prevent frustration.
  • Using a dough scraper, a pizza cutter, or a reasonably sharp knife, divide the dough into 12 equal pieces. If you want to be precise about it, this should mean each chunk will be 2.75 ounces.
  • With the palm of your hand, gently roll each chunk into a soft round. Joe has an excellent method for this – take a peek at his instructions if you want a method to work with.
  • Line two baking sheets with parchment paper and load them up, six buns on each. Lightly oil the tops of the buns, then cover with plastic wrap or a clean cloth and let them rise again for 45 minutes. At this point, you should also preheat the oven to 400F.
  • Once the buns have risen again and the oven is hot, brush the tops with egg wash, made by beating the remaining egg with a tiny dribble of water. Then, with a sharp serrated knife, cut a criss-cross pattern in the top of each. As Joe notes, this produces something less than aesthetically perfect, but it’s traditional.
  • Bake in the upper third of a 400F oven for twenty minutes. At this point the tops of the buns should be nicely bronzed. Take them out and let them cool for a bit before topping them with a light layer of orange glaze.


Orange glaze
Makes enough for at least 12 buns
Juice of one large orange
1 tablespoon sugar
1 tablespoon orange marmalade


  • Combine all ingredients in a small pot or saucepan and let simmer for 10-15 minutes, until slightly thickened. Cool slightly before brushing onto the warm pan di ramerino.

Photo Friday

I’m now feeling secure enough about myself, almost a month later, to share a few shots from my strawberries-and-goat-cheese biscuit disaster… They were pretty, and I love how ethereal the kitchen lighting is, but they were just so. damn. flat. Lesson learned. Jamming a full pint of strawberries into an innocent batch of dough does not fluffy biscuits make.

Food Blog Photo Friday 2014-3371 Food Blog Photo Friday 2014-3375 Food Blog Photo Friday 2014-3424 Food Blog Photo Friday 2014-3429

Strawberry Irish Soda Bread for #TwelveLoaves March

Though I am reasonably certain I have some Irish blood somewhere in my Northern European mongrel veins, the luck of the Irish has never been particularly strong for me. I didn’t end up at the schools I’d crossed my fingers for, my job, while great, wasn’t my initial choice, and my thumbs are, at the best of times, a sickly pea soup color, not truly green. The bare, arid stalks of mandevilla I need to dig out of that pot on my porch speak wonders. I’m not destitute, and I’m far from unfortunate. Yes, things work out, but they mostly work out through just that: work.

Food Blog March 2014-3476This week was no exception. Bound and determined to make something spectacular, I embarked on this month’s Twelve Loaves challenge with plans to produce a tray of flaky, delicate biscuits, tangy with goat cheese and loaded with strawberries, folded and rolled and folded and rolled in the Ruhlman method to produce at least a dozen fluffy, puffy layers. I was going to call them “puff biscuits.” I’d already started writing a post.

Food Blog March 2014-3359But demanding that a full pint of strawberries get jammed into a biscuit dough containing a mere 9 ounces of flour (a scant two cups, if you’re counting) is apparently a recipe for disaster. The berries, juicy and tart, immediately dampened the dough. Every time I chilled, then folded, then rolled the dough, more juice, more moisture, more sticky sodden mess. And when I baked them, even after correcting my mistake of setting the oven temperature too low, they just didn’t rise. I mean, they rose a little, pushing up a half inch or so, but it wasn’t the sky-high triumph I was looking for. No puff. Maybe “button biscuits” would be more appropriate. An investment of over three hours produced a bowl full of terrifically flavored, flat-as-a-pancake discs I deemed, with dough packed under my fingernails and flour streaked in my hair (it was an emotional moment), a complete waste of time.

Food Blog March 2014-3451Except that they were delicious. It took me the rest of the evening, and part of this morning, to decide what had happened, and whether to post about it. In the long run, as I’ve noted, though I want this blog to be about delicious and beautiful food, I also want it to be about learning. In sampling piece after piece (of biscuit after biscuit – honesty is important, people), I was reminded of several puff pastry tarts I’ve made that didn’t cooperate either, and my conclusion is that this is a weight problem. Strawberries, even cut into small pieces, are heavy. Leaking juice and packing the dough, they prevented any kind of substantial rise from taking place, even though, as their flaky surroundings indicated, the baking powder and chunks of butter were doing their work. Additionally, the excessive smears of goat cheese I layered in probably didn’t help matters, overwhelming the dry ingredients with more fat than they could handle. Button-busting biscuits, perhaps.

Food Blog March 2014-3449 Food Blog March 2014-3454 Food Blog March 2014-3456Food Blog March 2014-3460So today, I’m trying my luck in another application that embraces both the strawberry theme and the cultural occasion: Irish soda bread, studded with strawberries, perked up with the added interest of lemon zest and fresh thyme leaves. It’s lousy with springtime.

Food Blog March 2014-3464This soda bread cooks in a pot, rather than on a cookie sheet, a technique I learned a year ago and haven’t gone back on since. Baking in a lidded pot retains the kind of moisture bread likes – the kind that commercial ovens pump in that home cooks have trouble emulating. The final few minutes of baking with the lid off sets a crisp crust, but the dribble of melted butter you brush over the loaf when it emerges from the oven ensures that this crust is tender and flavorful.

Food Blog March 2014-3465When baked like this, strawberries become at once sweeter and tarter (really? tarter? I’d prefer “more tart” but my grammar checker admonished me). Their tartness is enhanced by the lemon zest perfuming this loaf, and the herby note of the thyme makes sure it is not too sweet.

Food Blog March 2014-3467This in-betweennness is, I think, what I like so much about Irish soda bread. It feels eggy and rich, but in fact it has no eggs and only a few tablespoons of butter to it. It feels like a breakfast bread you could spread with jam or honey, but it could just as easily sit beside a thick beef stew (well, maybe minus the strawberries). And you could probably administer a few globs of chocolate hazelnut spread to its tender and willing embrace with no complaints.

Food Blog March 2014-3468In any case, the important thing is that it worked, and it was zingy and springy and delicious. Depending on the juiciness of your strawberries, this loaf may look slightly underdone when you pull it out of the oven. Give it an extra ten minutes, if you must, but once it is between 180-200F it should be fully cooked. The berries may create some doughy-looking pockets here and there, but this is nothing that a quick slick of butter and a toast under a broiler or toaster oven won’t fix.

Food Blog March 2014-3480

Strawberry Irish Soda Bread
Makes one 8-9 inch loaf
3 cups all-purpose flour
1 cup cake flour
2 tablespoons brown sugar
1 ½ teaspoons baking soda
1 ½ teaspoons cream of tartar
1 teaspoon salt
2 teaspoons fresh thyme leaves
Zest from 1 lemon (about 1 tablespoon)
5 tablespoons butter, divided
1 ½ cups buttermilk
1 pint strawberries, roughly chopped
1-2 teaspoons raw sugar, optional


  • Position a rack in the top third of your oven and preheat to 400F.
  • In a large bowl, whisk the dry ingredients, including the sugar, lemon zest, and thyme leaves.
  • Using a pastry blender, a fork, or your fingers, cut in or rub in 2 tablespoons of the butter until it is evenly dispersed in pebbly little bits through the flours.
  • Add the buttermilk and bring the dough together with a fork. It should be damp but a bit crumbly. When there is almost no dry flour remaining, add the strawberries and combine gently.
  • Dump out your dough onto a floured board and knead gently, pressing the dough together into a ball with the heels of your hands. We are looking just to bring this together into a rough, sticky ball, not to knead it firmly. Think of scones, not of yeasted bread dough.
  • Once you are able to form the dough into a ball of about 6 inches in diameter, score the top with a very sharp knife – an x shape is most traditional.
  • Using 2 of the remaining tablespoons of butter, grease the inside of a dutch oven or similar large, oven-safe, lidded pot.
  • Carefully place the loaf in the pot, clamp on the lid, and bake in your preheated 400F oven for 30 minutes.
  • Remove the lid and bake an additional 10 minutes, until the loaf is golden and lightly crisp, and an oven thermometer registers between 180-200F. If it still looks doughy when you peer at the score marks, give it an additional 5-10 minutes in the oven with the lid off. Meanwhile, melt the remaining tablespoon of butter.
  • Immediately upon removing from the oven, brush with the melted butter and, if you wish, sprinkle with the 1-2 teaspoons of raw sugar for a sweet crunch.
  • Let cool in the pot for at least thirty minutes before removing to a wire rack or straight to a bread board for slicing.

Chocolate Cherry Bread for #TwelveLoaves February

Food Blog February 2014-3250It’s a good thing I acknowledged and made fragile peace with my own status as an imperfect individual last week, because this week’s cookery was a series of thinly veiled almost-disasters, The sauce mornay I tested for February’s sauce entry was too thin (fix: more cheese!). The battery on my camera pooped out on me just as I was photographing the assembled components for the dish I was testing to go with the mornay (perhaps not a terrible thing after all: see above). I made hummus from scratch using Yotam Ottolenghi’s recipe (it was phenomenal) to add to another Ottolenghi recipe: a “mumbo-jumbo,” as he calls it, of fresh crisp salad, hard boiled eggs, and fried eggplant atop a warm toasty pita. The eggplant was brown and soft through the center. Not my fault, true, but still discouraging. It’s a week that has left me feeling more attracted to the idea of eating cheese and crackers for dinner than storming into the kitchen to whip up a grapefruit glaze for some unknowing salmon filets.

Food Blog February 2014-3225Even this recipe I’m about to share left me feeling challenged. To comply with this month’s entirely apropos Twelve Loaves theme of chocolate, I decided I wanted to make a chocolate cherry bread – a rich, moist loaf studded with halved juicy gems and redolent of cocoa, as I’d tried once at a Farmers’ Market in Eugene, Oregon. In text-chatting with my mom, I discovered she’d just made a marvelous chocolate rye bread that sounded like the perfect starting recipe for my February loaf.

Food Blog February 2014-3234Food Blog February 2014-3236Food Blog February 2014-3238Food Blog February 2014-3239Food Blog February 2014-3240Food Blog February 2014-3241Except.

I was out of rye flour.

The cherries I bought were less than spectacular (it’s not the season, I know. When will I learn?!).

Food Blog February 2014-3244I didn’t let the loaf rise long enough, or bake long enough, ending up with something a bit doughy in the center and dense (but moist!) besides. Oh, and it’s pretty funny-shaped, isn’t it? I know. And to add insult to injury, I couldn’t even get it together enough to post at my regular morning time.

Food Blog February 2014-3247And yet ten minutes after I’d finished eating my first piece, I found myself back in the kitchen slicing another. And when I got home from a warm, dusty walk with Lucy yesterday morning along a trail that runs just below the grounds of Loyola Marymount University (where other dog owners don’t understand what “all dogs must be leashed” means, apparently), all I wanted was a piece of this bread, toasted, slicked with a layer of cream cheese. And now, I’m thinking it probably won’t spoil my dinner if I saw off a thick slice…

Food Blog February 2014-3254This is not a sweet bread. It is bright with cherries and moist, but barely sweetened with a mere ¼ cup of molasses for that dark, treacle roastiness. The cocoa powder makes it a deep, dark brown and offers a strong flavor, but it doesn’t taste like dark chocolate (somewhat unfairly, I think, since it smells like nothing else!) because it isn’t highly sweetened.

It is, in fact, a good bread for February. It is hearty without being too filling or too rich. It’s a good vehicle for something creamy, to satisfy your need for comfort. It has a perky little reminder of springtime buried inside in little mines of sweetness. If you’re not a fan of the admitted heaviness of the whole wheat flour I’ve used here, you could use more (or even all) bread flour instead. If you don’t like cherries, I suppose you could use blueberries or cranberries or even strawberries, but I do think there is something special about the chocolate and cherry combination that I wouldn’t want to replace.

Food Blog February 2014-3255I think it only fair to tell you that am going to revisit this bread, because I think it deserves some fiddling. I am going to gift it with better cherries. I will try a higher ratio of bread flour to whole wheat, and maybe add some of that rye flour I was missing back in. I might up the sweetness quotient with additional molasses. But in any case, give it a swing through your kitchen and see what you think. Because there’s nothing wrong, when it comes to chocolate, with a little experimentation.


Chocolate Cherry Bread
Makes 1 medium round loaf
2 teaspoons active dry yeast
1 teaspoon sugar (optional)
1 cup warm water (just barely above body temperature)
2 cups whole wheat flour (makes a noticeably whole wheat-y loaf)
1 cup bread flour (exchange whole wheat flour and bread flour quantities for a slightly lighter loaf)
¼ cup unsweetened cocoa powder
1 ½ teaspoons salt
¼ cup molasses
1 tablespoon soft butter
1 cup halved, pitted cherries
  • Combine the yeast, warm water, and the teaspoon of sugar in a small bowl or a glass measuring cup and set aside for 5-10 minutes to activate. The sugar is not completely necessary, but it does help the yeast get to bubbling a bit faster.
  • While the yeast wakes up in its spa, whisk the flours with the cocoa powder and the salt in a large bowl (or the bowl of your stand mixer) to create a lovely, rich brown dust.
  • When the yeast is bubbling and frothy and smells like bread, add the molasses and the softened butter and stir together before tipping into the dry mixture.
  • If you are using a stand mixer, insert the paddle attachment and mix for a minute or two just until the dough comes together. If you don’t have a stand mixer, use a wooden spoon and some elbow grease to do the same.
  • Once the dough clings together in a shaggy ball, swap out the paddle attachment for the dough hook (or turn the dough out onto a floured board and use your hands). Knead for 6-8 minutes, until the dough becomes shiny and smooth.
  • Set your dough aside in an oiled bowl, covered with plastic wrap, to rise until doubled. Depending on your flour combinations, your yeast, and the temperature of your house, this could take anywhere from 45-90 minutes.
  • When the dough has puffed to double its previous size, punch it down by gently depressing your fist into its center to release collected gases. Let it rest to regain its breath for 5-10 minutes.
  • While your dough gasps, halve and pit the cherries, then lightly flour a bread board to prepare for rolling.
  • Dump your dough out onto a floured board and roll or pat it into roughly a 9×12 inch rectangle or oval. Spread the cherries in an even layer on top of the dough, then either roll or fold the dough up around the cherries. I folded it, as you can see in the photos above. Once the cherries are folded in, gently knead the dough for a few turns to distribute the fruit through it.
  • Shape the dough into a round (or stow it in a greased loaf pan) and let it rise again, covered with plastic wrap, for 1 hour.
  • During the last 30 minutes of rising, preheat your oven to 375F. If you will be baking your bread on a pizza stone, bread stone, or cast iron pan, preheat that along with the oven.
  • When the oven is preheated and the dough has risen again, gently relocate it to whatever baking surface you’ll be using (i.e. a bread stone or a baking tray). Bake for 30-35 minutes, or until the bottom feels hollow when thumped.
  • Cool at least ten minutes before slicing, to let the structure solidify a bit and be sure the center is cooked through. Then by all means, slice and eat warm, with or without a good healthy smear of cream cheese.