
Head above water. That pretty much describes where I’m at these days. I’m about a month out from completing my first year as a full-time faculty member at my college: my first real professorship! This means my desk is somewhere underneath a pile of research proposals from one class, reading responses from two more, and the weight of Edmund Spenser’s Faerie Queene providing a ballast (read: another thing I have to work through) in one corner. My world is scattered with attendance sheets, evaluation materials, paperclips, and an amazing image of the shield from Sir Gawain and the Green Knight that a student drew for me in February and I still haven’t gotten around to hanging on my wall.
 This means that every week when it comes time to sit down and write a post, I scramble. At least it’s getting lighter outside every night, which means the moment when I can photograph the intricacies of one of our dinners – perhaps even on a week night – is coming. But for now it usually means making and photographing something on a Saturday, editing the photos (I do a little fiddling with white balance and noise reduction) and cobbling together a few things to say about it on Sunday, and scheduling it to go live as usual Monday morning.
 It’s only a very few things, I find, that I have to say this time around. The Twelve Loaves challenge for April was oranges. Bake a bread, any bread, whether it be yeast, quick, muffins, biscuits, savory or sweet, and incorporate orange in some way. This one stumped me for a while until I read a post from my new blog obsession, Joe Pastry. Do you guys know Joe? He runs a delightful site in which he pulls inspiration for post topics from questions his readers ask, and along with some really interesting recipes, he explains the science behind baking.

 Recently, Joe posted a procedure and recipe for Pan di Ramerino, a Tuscan take on the hot cross bun that incorporates rosemary and raisins. It’s a not-quite-savory-not-quite-sweet bun as welcome in a breakfast basket as on the dinner table. Joe provides a bit more history about it, but I’ll let him tell you that if you’re interested.

 Remembering how much I like the combination of orange with rosemary from one of the first loaves I baked during my dough project, I decided to add a hefty scattering of orange zest to the dough, and replace the apricot glaze Joe advocates for an orange one instead to tie things together. Though I let mine rise a little too long (the room was quite warm and I was distracted by lesson planning) and thus the final product was a bit less puffy than I’d hoped, we scarfed our way through the first bun, and then bun-and-a-half, and then two, in little time. They are a soft, moist offering, not as eggy as challah but reminiscent of it in the sticky elasticity of the dough, with an intriguing herbal note that keeps them from turning resolutely into dessert.

 The recipe to follow is adapted very slightly from Joe’s. I ended up with eleven buns, but that was just carelessness and poor counting on my part (thankfully I’m not a math professor…); you will easily be able to make twelve. Easter is over now, I know (head above water, people), but these are a lovely expression of spring for your kitchen, and would make really nice offerings for a bridal or a baby shower. Or, you know, roast a chicken stuffed with a sprig of rosemary and half an orange, and serve these up on the side.

Orange Pan di Ramerino
Adapted from Joe Pastry
Makes 12
3 ½ teaspoons active dry yeast
2 tablespoons sugar
¾ cups warm or tepid water (at or just above body temperature)
¼ cup olive oil
3 sprigs rosemary (about 3 inches each) plus an optional extra 1 tablespoon, finely chopped
⅔ cup golden raisins
3 ¼ fluffy cups bread flour (that’s 17.5 ounces, if you’re being disciplined about it)
1 teaspoon salt
1-2 tablespoons orange zest from one large orange
2 eggs
1 additional egg, for egg wash
Additional dribble of water, for egg wash
Orange glaze, recipe follows
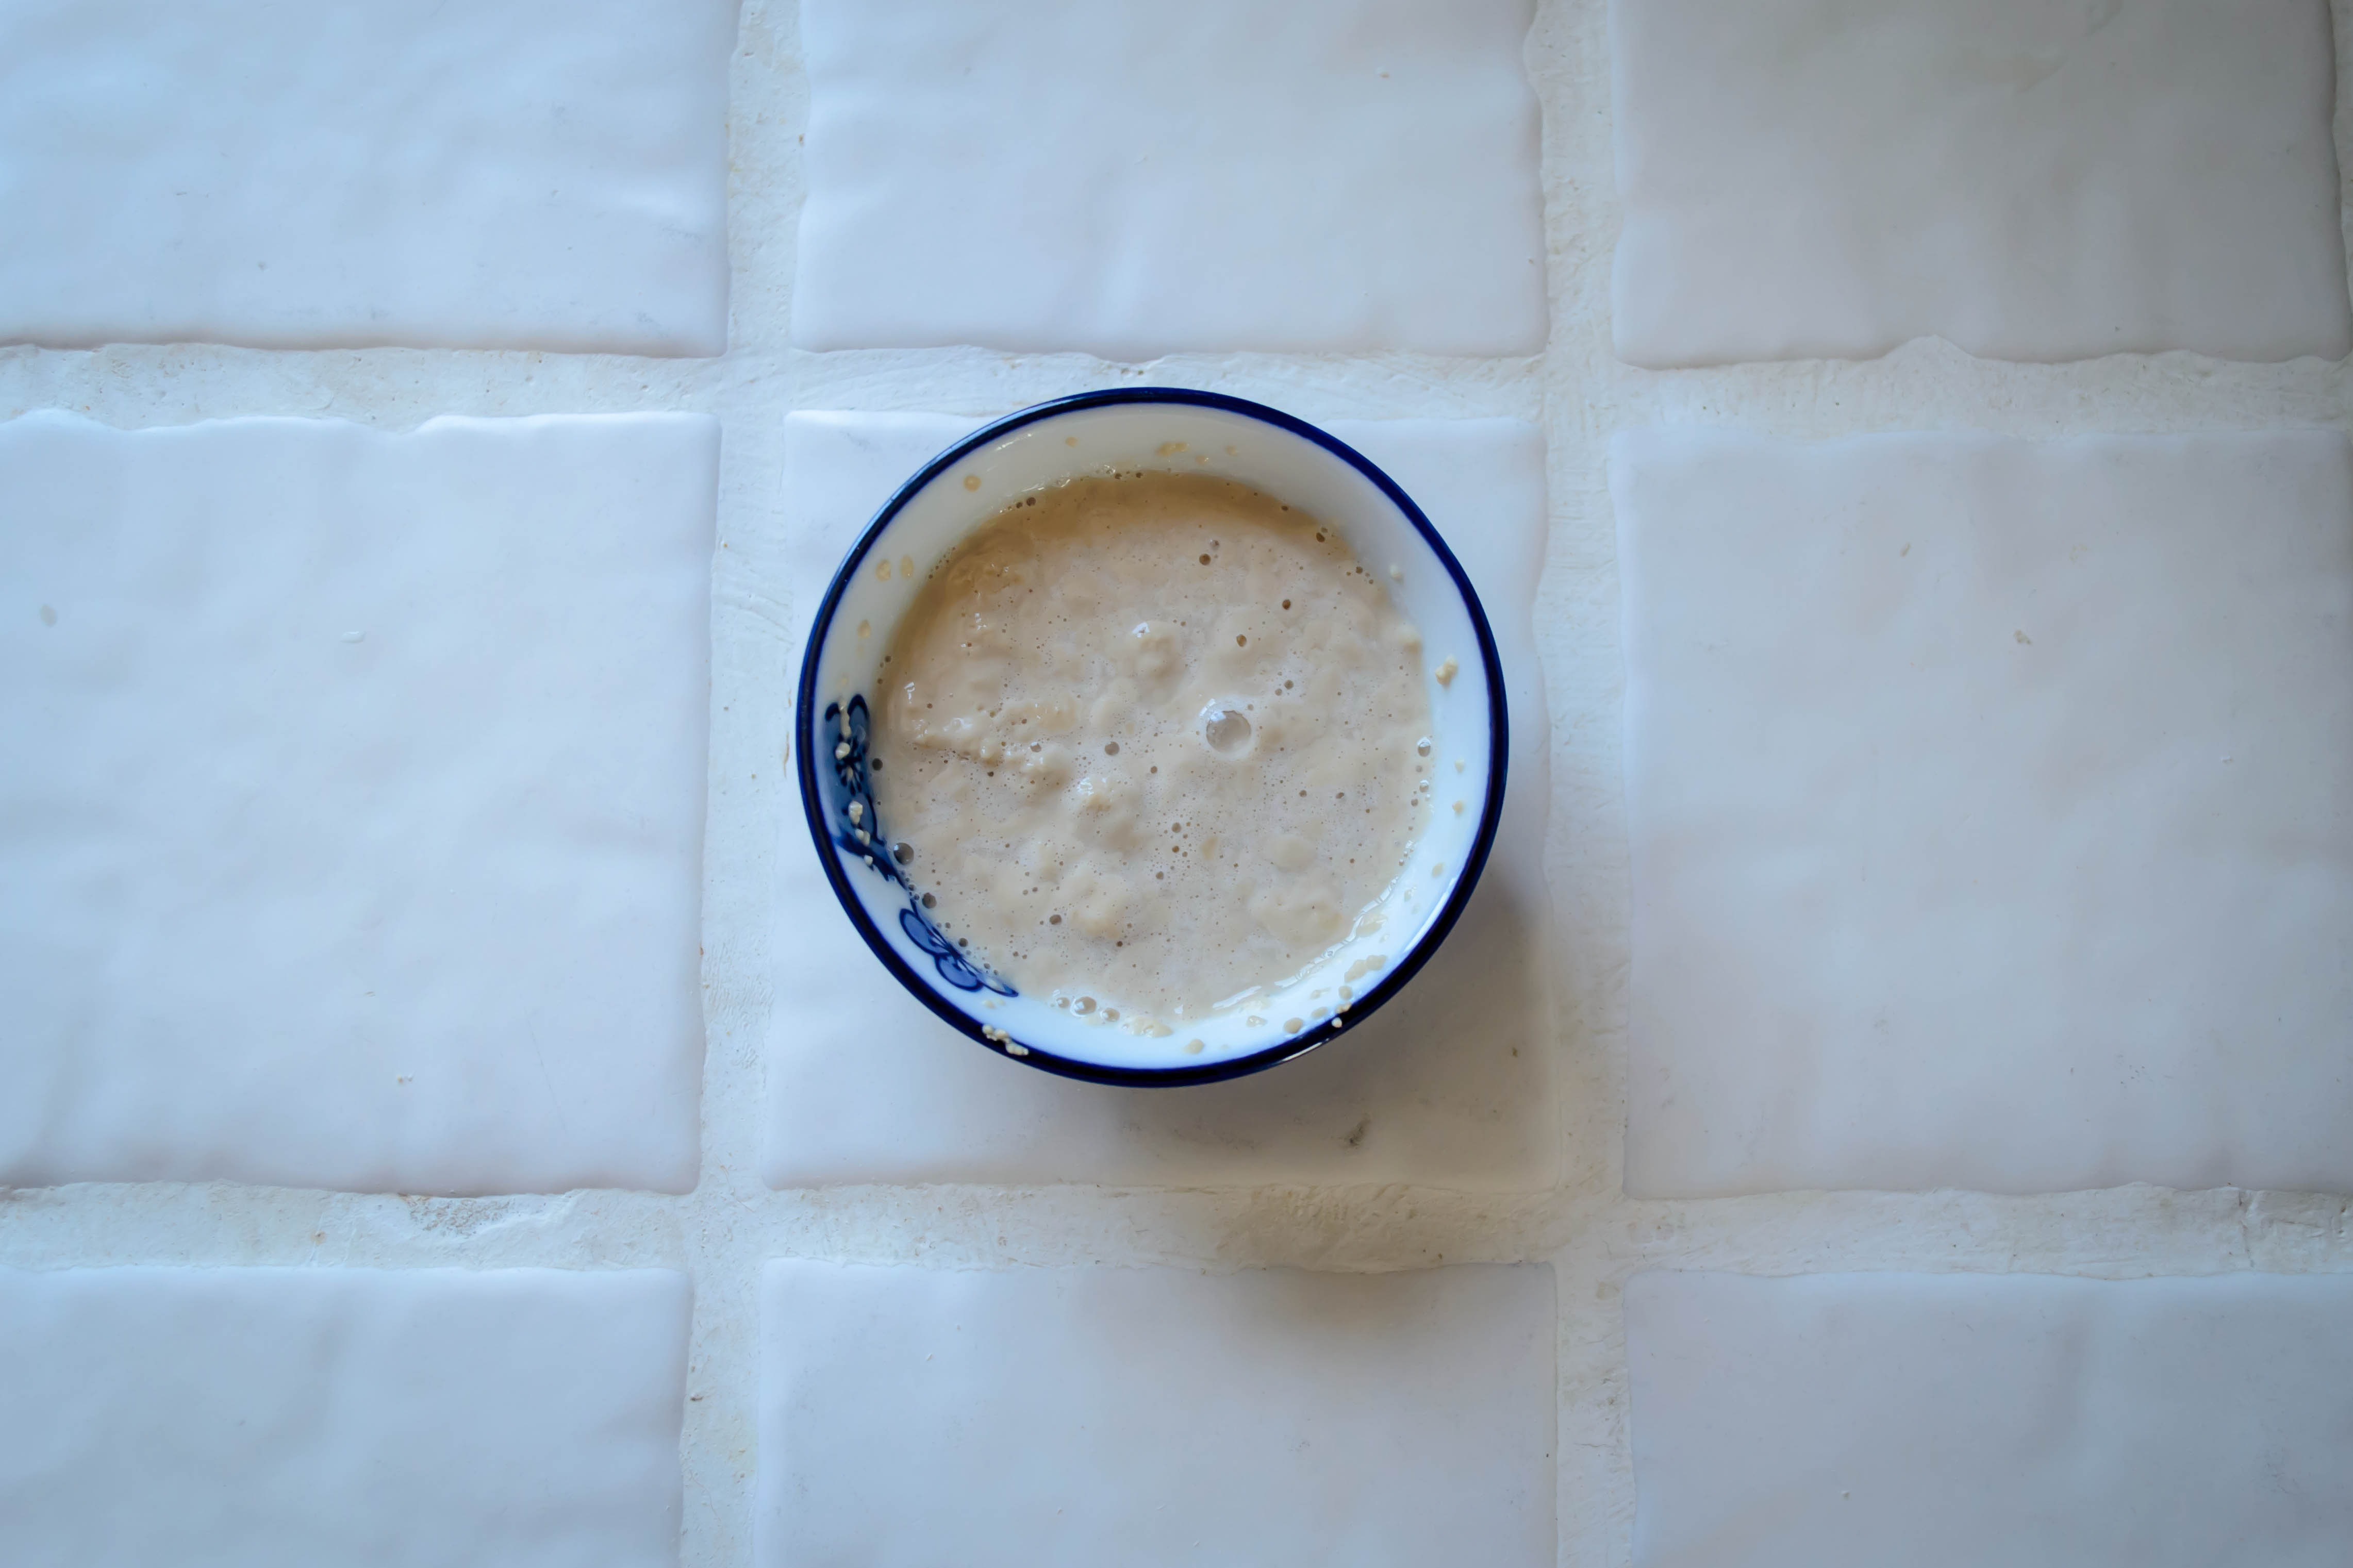
- In a 2 cup glass measuring cup or a small bowl, combine the yeast, sugar, and ¾ cups warm water, and set aside to burble for 5-10 minutes.
- While the yeast activates, heat the olive oil in a small pan over medium low heat. When it just shimmers, add the 3 sprigs of rosemary and sauté for 30 seconds. They will barely brown and the leaves will start to look a little weary. Remove and discard.
- Add the raisins to the same olive oil and sauté them for 30 seconds. Remove and drain, reserving the oil. Let the raisins and the oil cool.
- In the bowl of a stand mixer, combine the flour and salt using the paddle attachment. Chop the remaining rosemary, if using, and zest the orange.
- By this time your yeast mixture should be assertively bubbling and smell like fresh bread. Add the cooled oil and the two eggs to the yeast mixture and whisk lightly.
- Add this collection of wet ingredients to the flour and salt and mix with the paddle attachment until most of the flour is moistened. Exchange the paddle attachment for the dough hook and knead at medium speed for 3-5 minutes. The dough will become lovely: supple and elastic.
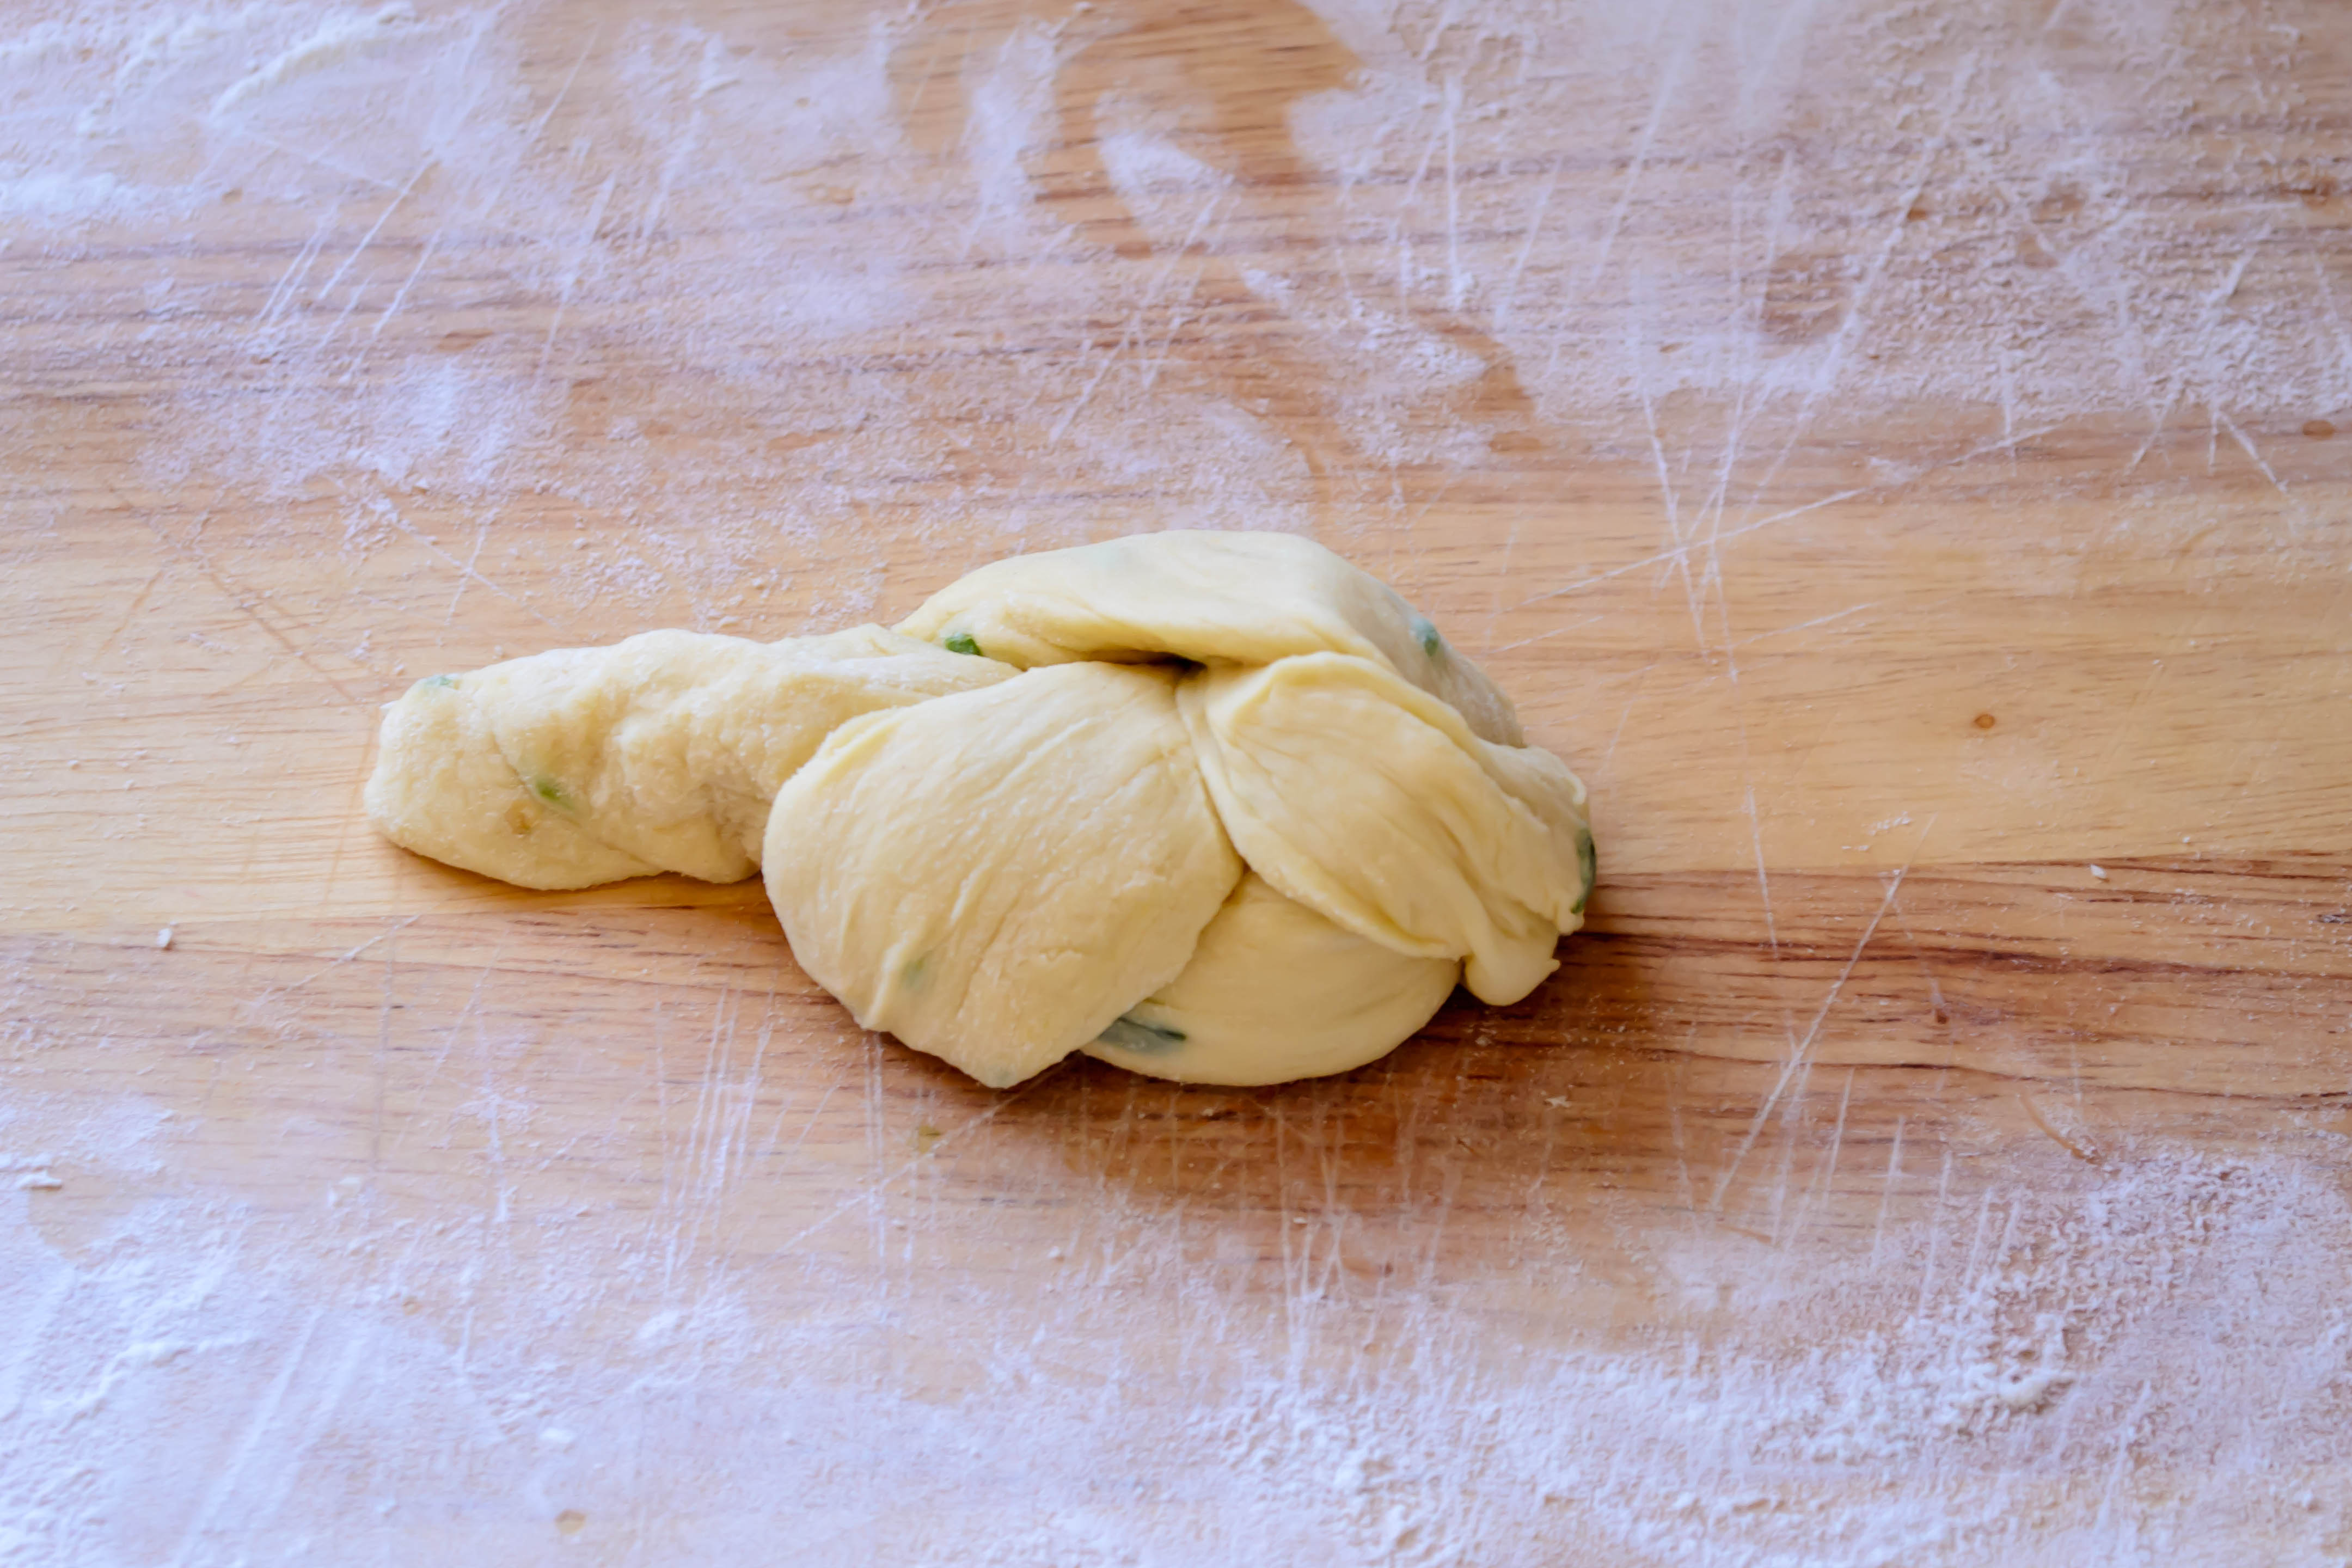
- Add the additional rosemary, if using, the orange zest, and the raisins to the dough, and knead again until these flavoring agents are incorporated. This will take a good minute or two, since the first inclination of the raisins will be to hang out stubbornly at the bottom of the bowl. You may have to stop the mixing and fold them into the dough by hand a few times to get them to behave.
- Once things are nicely incorporated, the dough will be a bit on the sticky side, but that’s okay. Transfer it to a clean, oiled bowl, or just smear some olive oil around the sides of the bowl you’ve been using, and cover the bowl with plastic wrap. Set it aside to rise until doubled. This could take as many as 90 minutes, or it could take more like 60. It depends on how warm your house is.
- When the dough has doubled in volume, turn it out onto a floured board. You may find it is still a bit sticky, so you want to be sure you have enough flour down to prevent frustration.
- Using a dough scraper, a pizza cutter, or a reasonably sharp knife, divide the dough into 12 equal pieces. If you want to be precise about it, this should mean each chunk will be 2.75 ounces.
- With the palm of your hand, gently roll each chunk into a soft round. Joe has an excellent method for this – take a peek at his instructions if you want a method to work with.
- Line two baking sheets with parchment paper and load them up, six buns on each. Lightly oil the tops of the buns, then cover with plastic wrap or a clean cloth and let them rise again for 45 minutes. At this point, you should also preheat the oven to 400F.
- Once the buns have risen again and the oven is hot, brush the tops with egg wash, made by beating the remaining egg with a tiny dribble of water. Then, with a sharp serrated knife, cut a criss-cross pattern in the top of each. As Joe notes, this produces something less than aesthetically perfect, but it’s traditional.
- Bake in the upper third of a 400F oven for twenty minutes. At this point the tops of the buns should be nicely bronzed. Take them out and let them cool for a bit before topping them with a light layer of orange glaze.
Orange glaze
Makes enough for at least 12 buns
Juice of one large orange
1 tablespoon sugar
1 tablespoon orange marmalade
- Combine all ingredients in a small pot or saucepan and let simmer for 10-15 minutes, until slightly thickened. Cool slightly before brushing onto the warm pan di ramerino.


