Caprese Meatballs

Food blog May 2015-0898You may have noticed there was no recipe post on Monday. I could, were I a bit less honest, have sold you on the idea that this was related to the holiday weekend, or me traveling, or some such minor fabrication. But I don’t have a great poker face, so I’ll admit it was in fact because I’ve been feeling a bit of whatever the cook’s version of writer’s block might be called. I had cloudy ideas of things I could cook, I just didn’t really feel like figuring them out.

Food blog May 2015-0876Then I went to a wedding in Sacramento on Sunday, and saw a friend I realized I’ve known for over a decade, despite last seeing him something like seven or eight years ago. As we caught up, he told me he’d had to stop reading this blog because it always made him hungry, and licking his computer screen seemed like a bad idea. Despite the concerning image this conjured, it tripped something in my brain. Making you hungry is just what I’m after! That means – at least in his case – this blog is doing its job.

Food blog May 2015-0877Thereafter, the block was broken. On the drive back to Los Angeles (only while I was a passenger, of course), I kept having to text myself food ideas. One was these meatballs, which I’m posting off-schedule because I have to get them in while it’s still May! I know you aren’t reading this, J., but I hope you would want to eat them anyway, since it’s your fault thanks to you that they came to be.

Food blog May 2015-0878
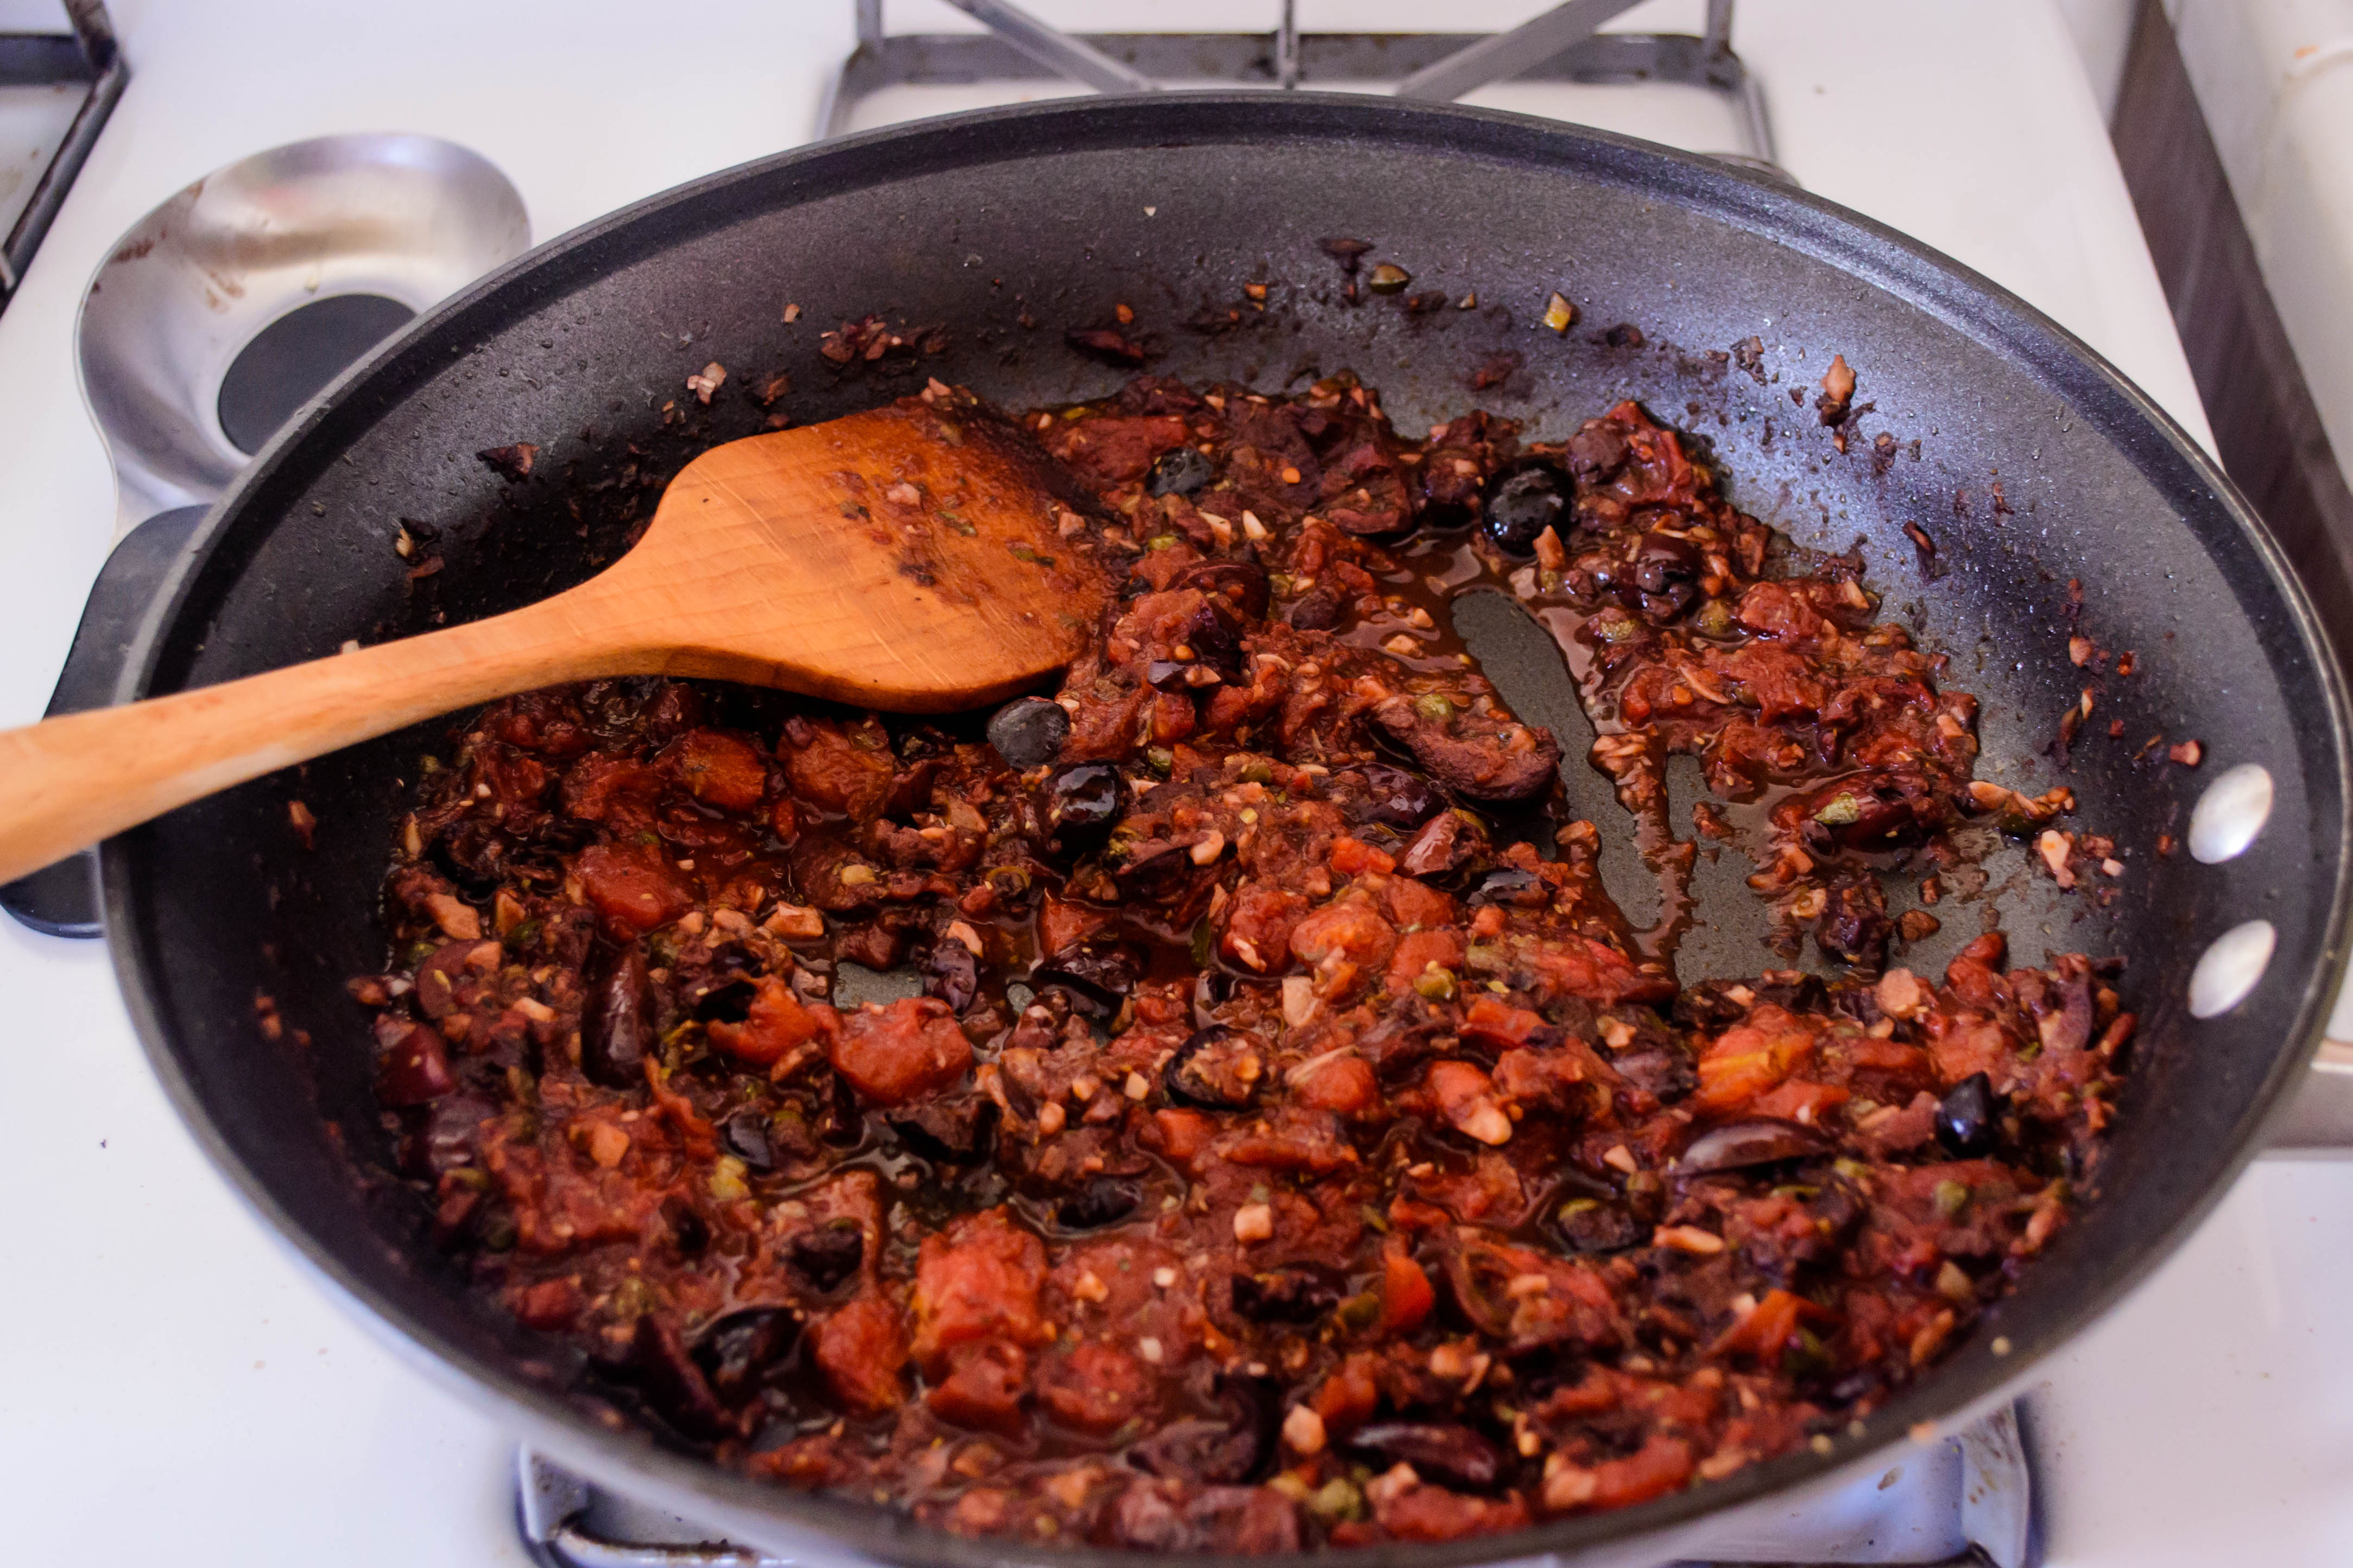
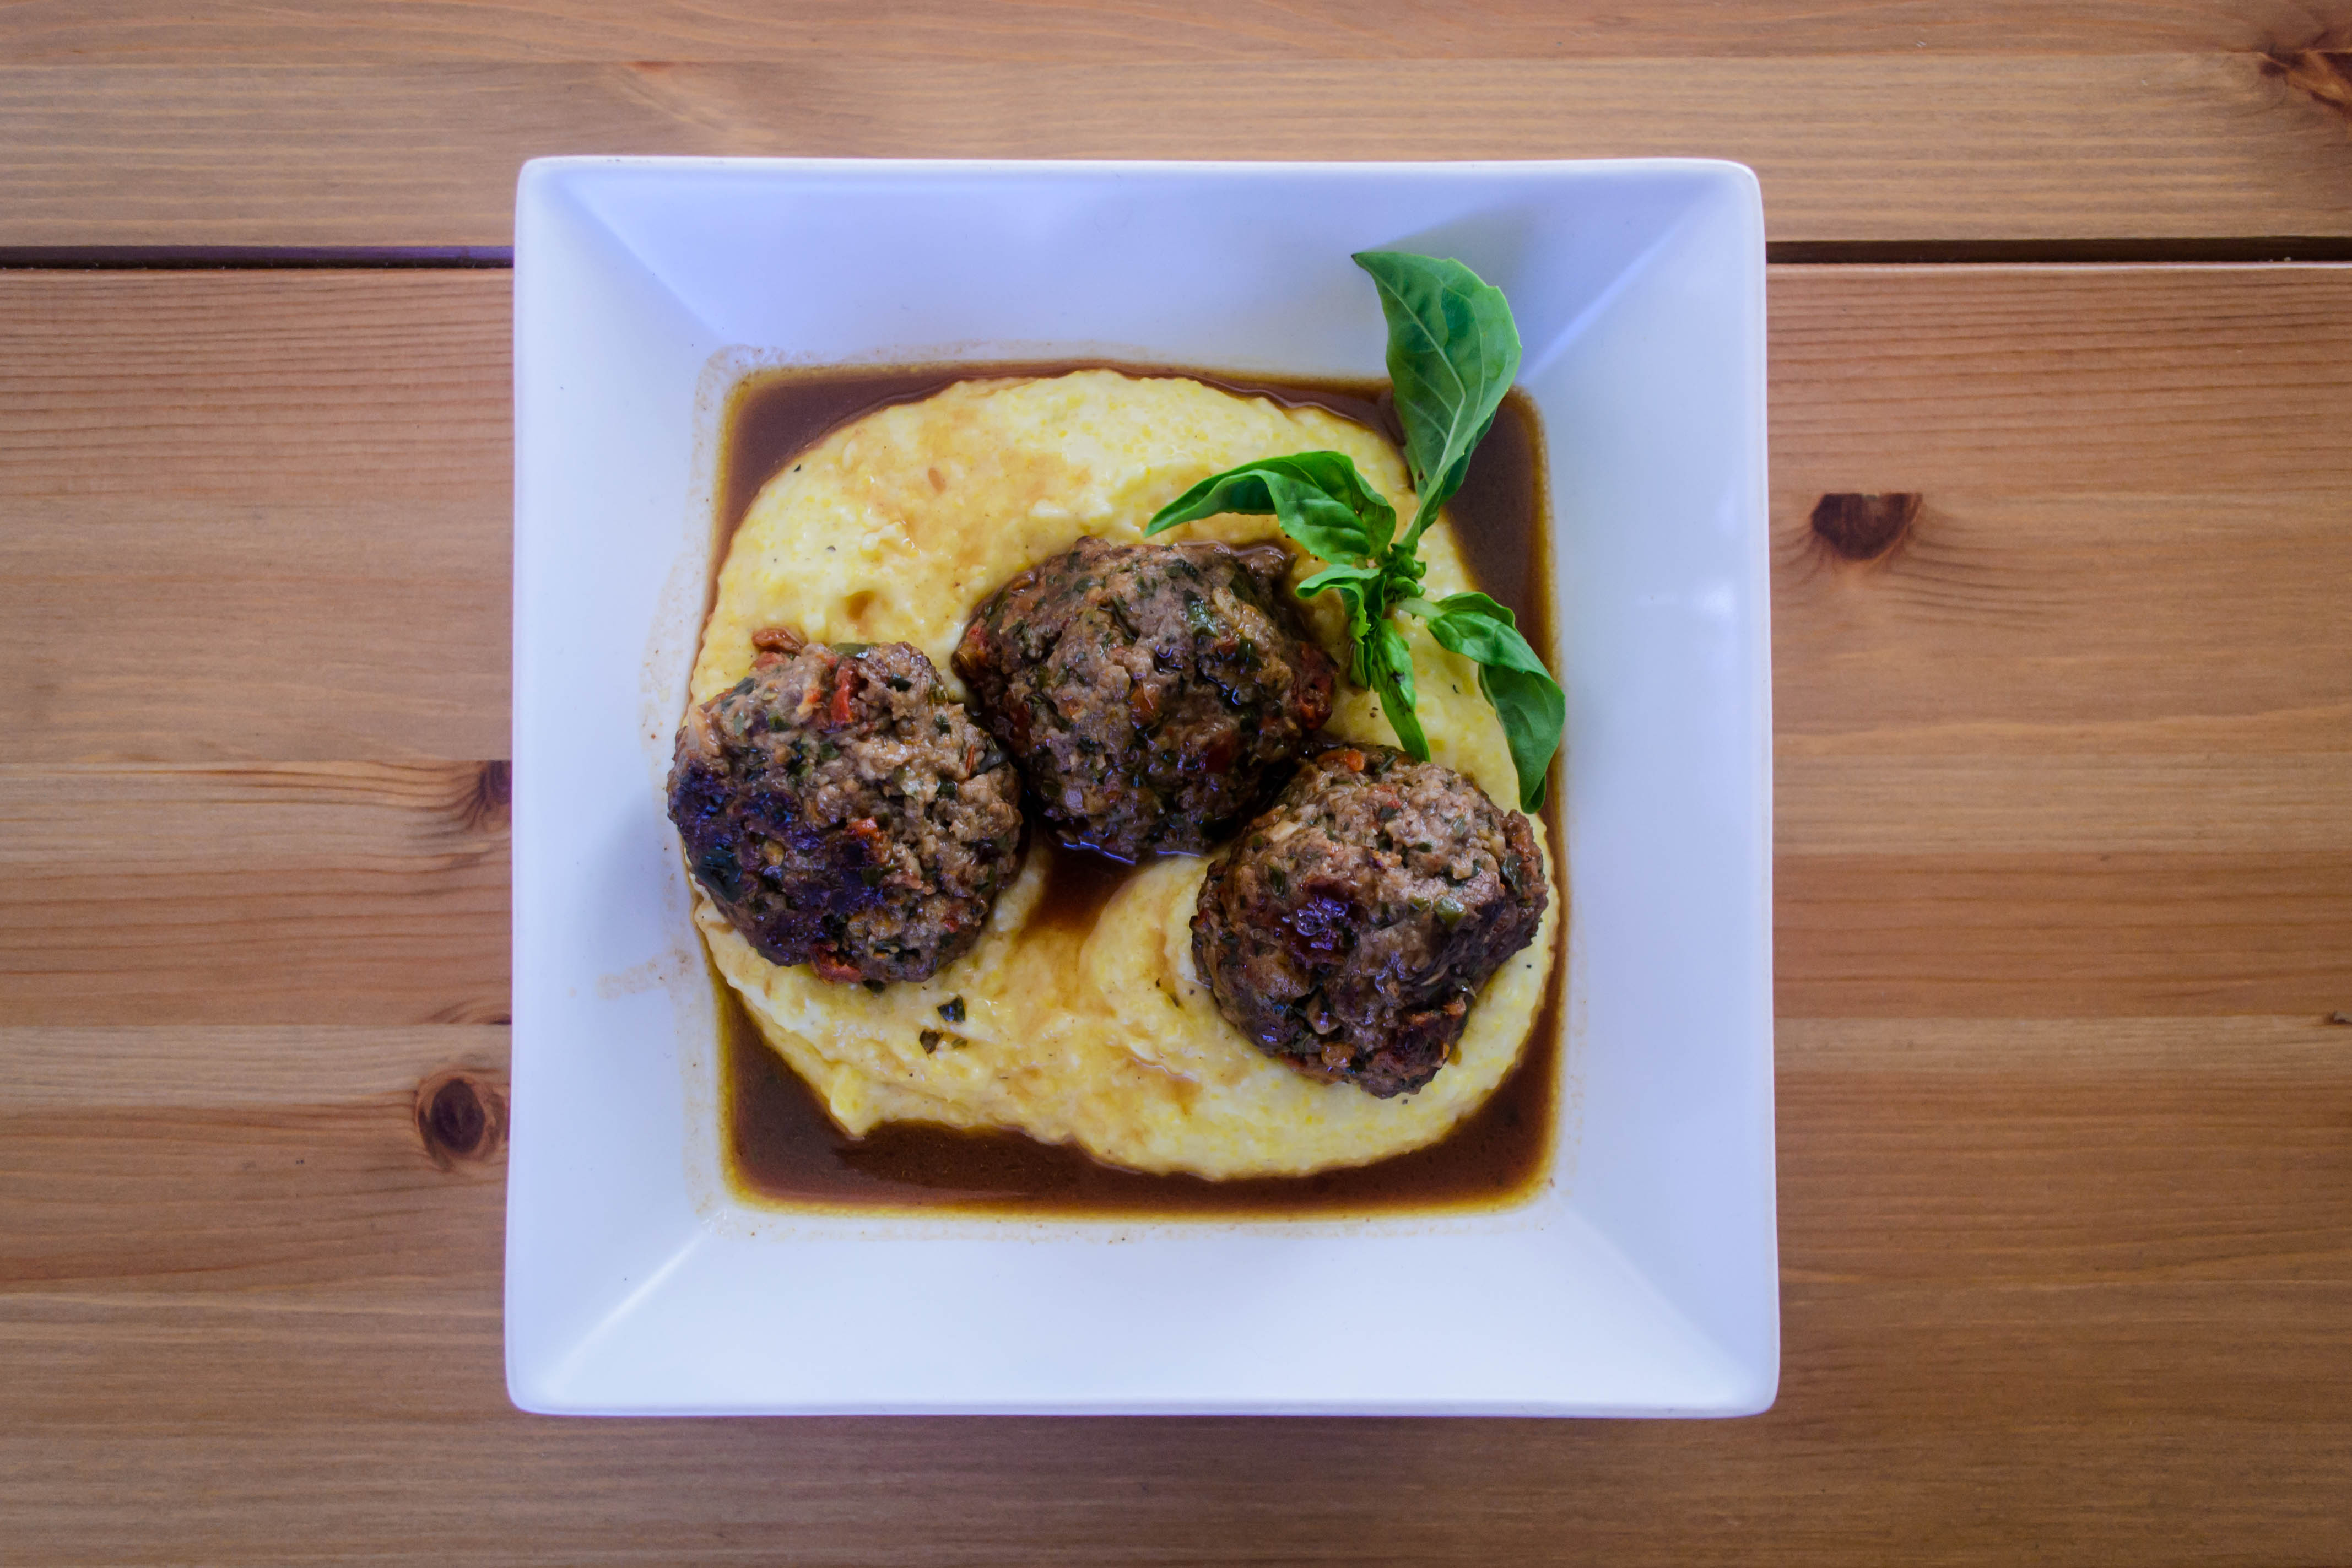
Previous to my little block, my sister and I had a rapid-fire email exchange of meatball ideas. One of her suggestions – a bruschetta meatball – eventually morphed into what I came up with here: a nod to a caprese salad in a moment when the juicy, swollen garden-ripe tomatoes of your dreams are far from ready. A beef meatball shot through with sundried tomato chunks, ribbons of basil, and roasted garlic. Seared and then simmered in a balsamic vinegar and red wine sauce. And then, the pay-off: the glorious goo of melted mozzarella cheese oozing out from the inside. We snuggled them down in a pillow of soft polenta and gobbled them up before the cheese inside had time to cool.

Food blog May 2015-0886Food blog May 2015-0885
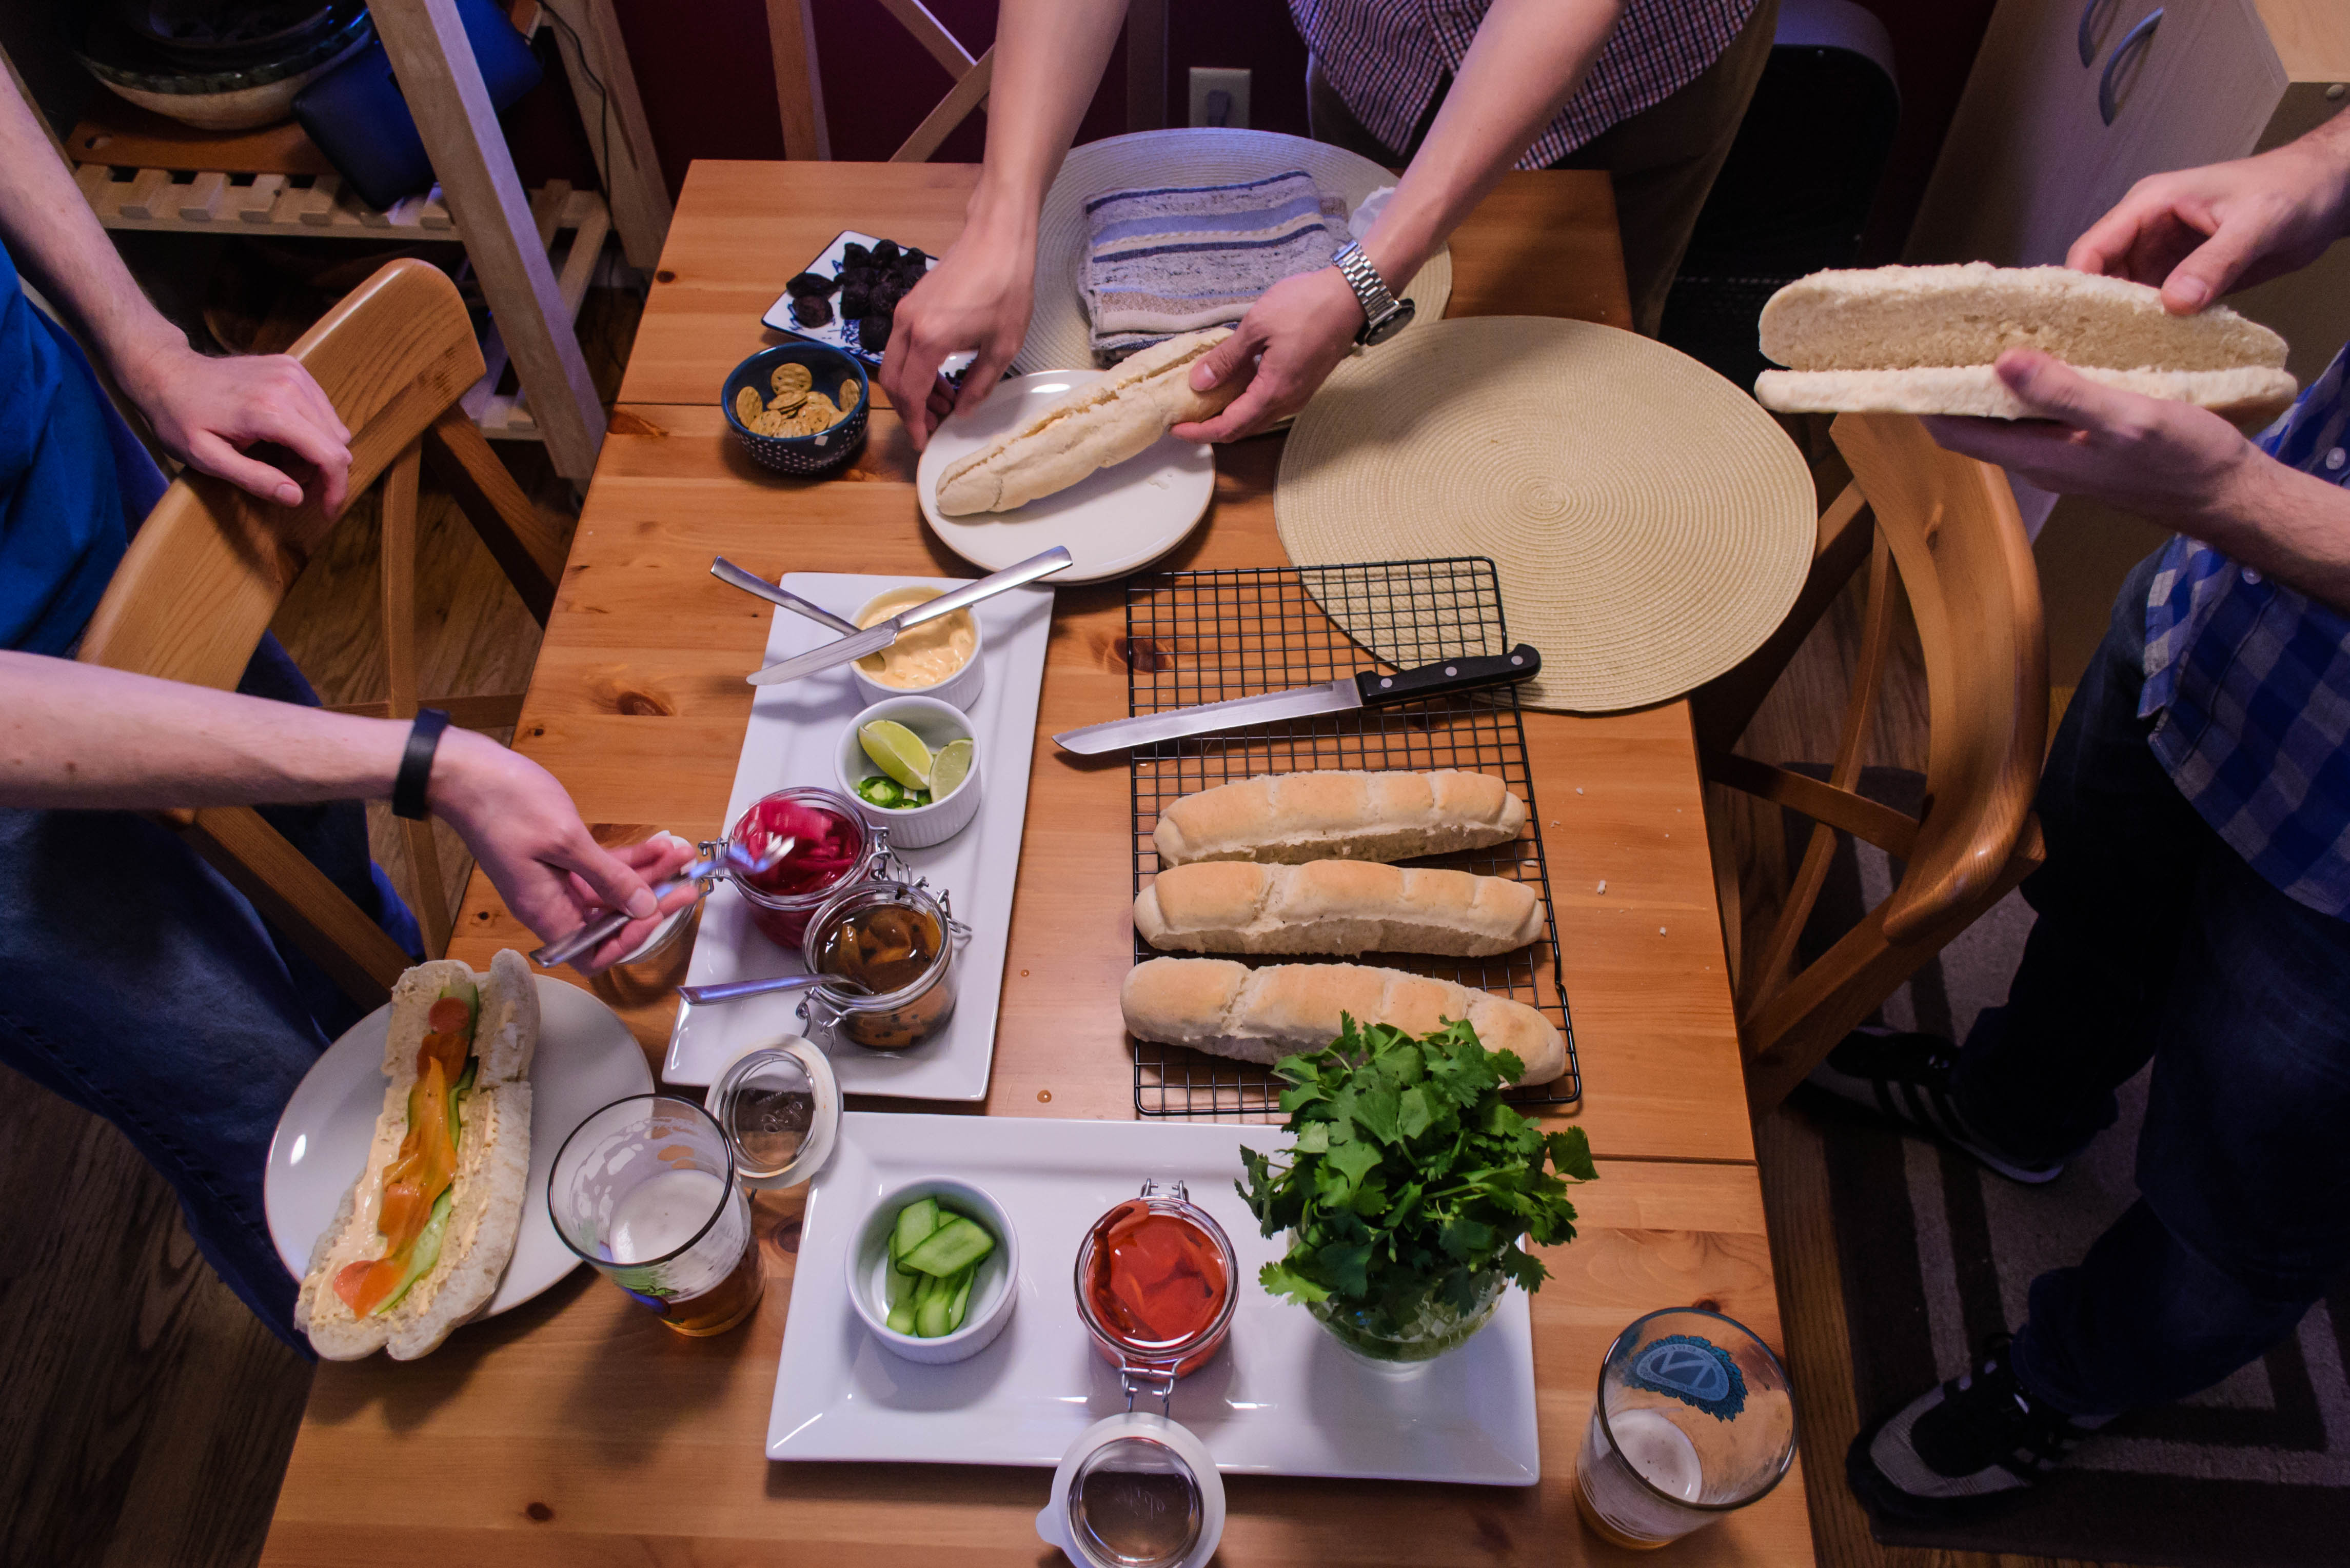
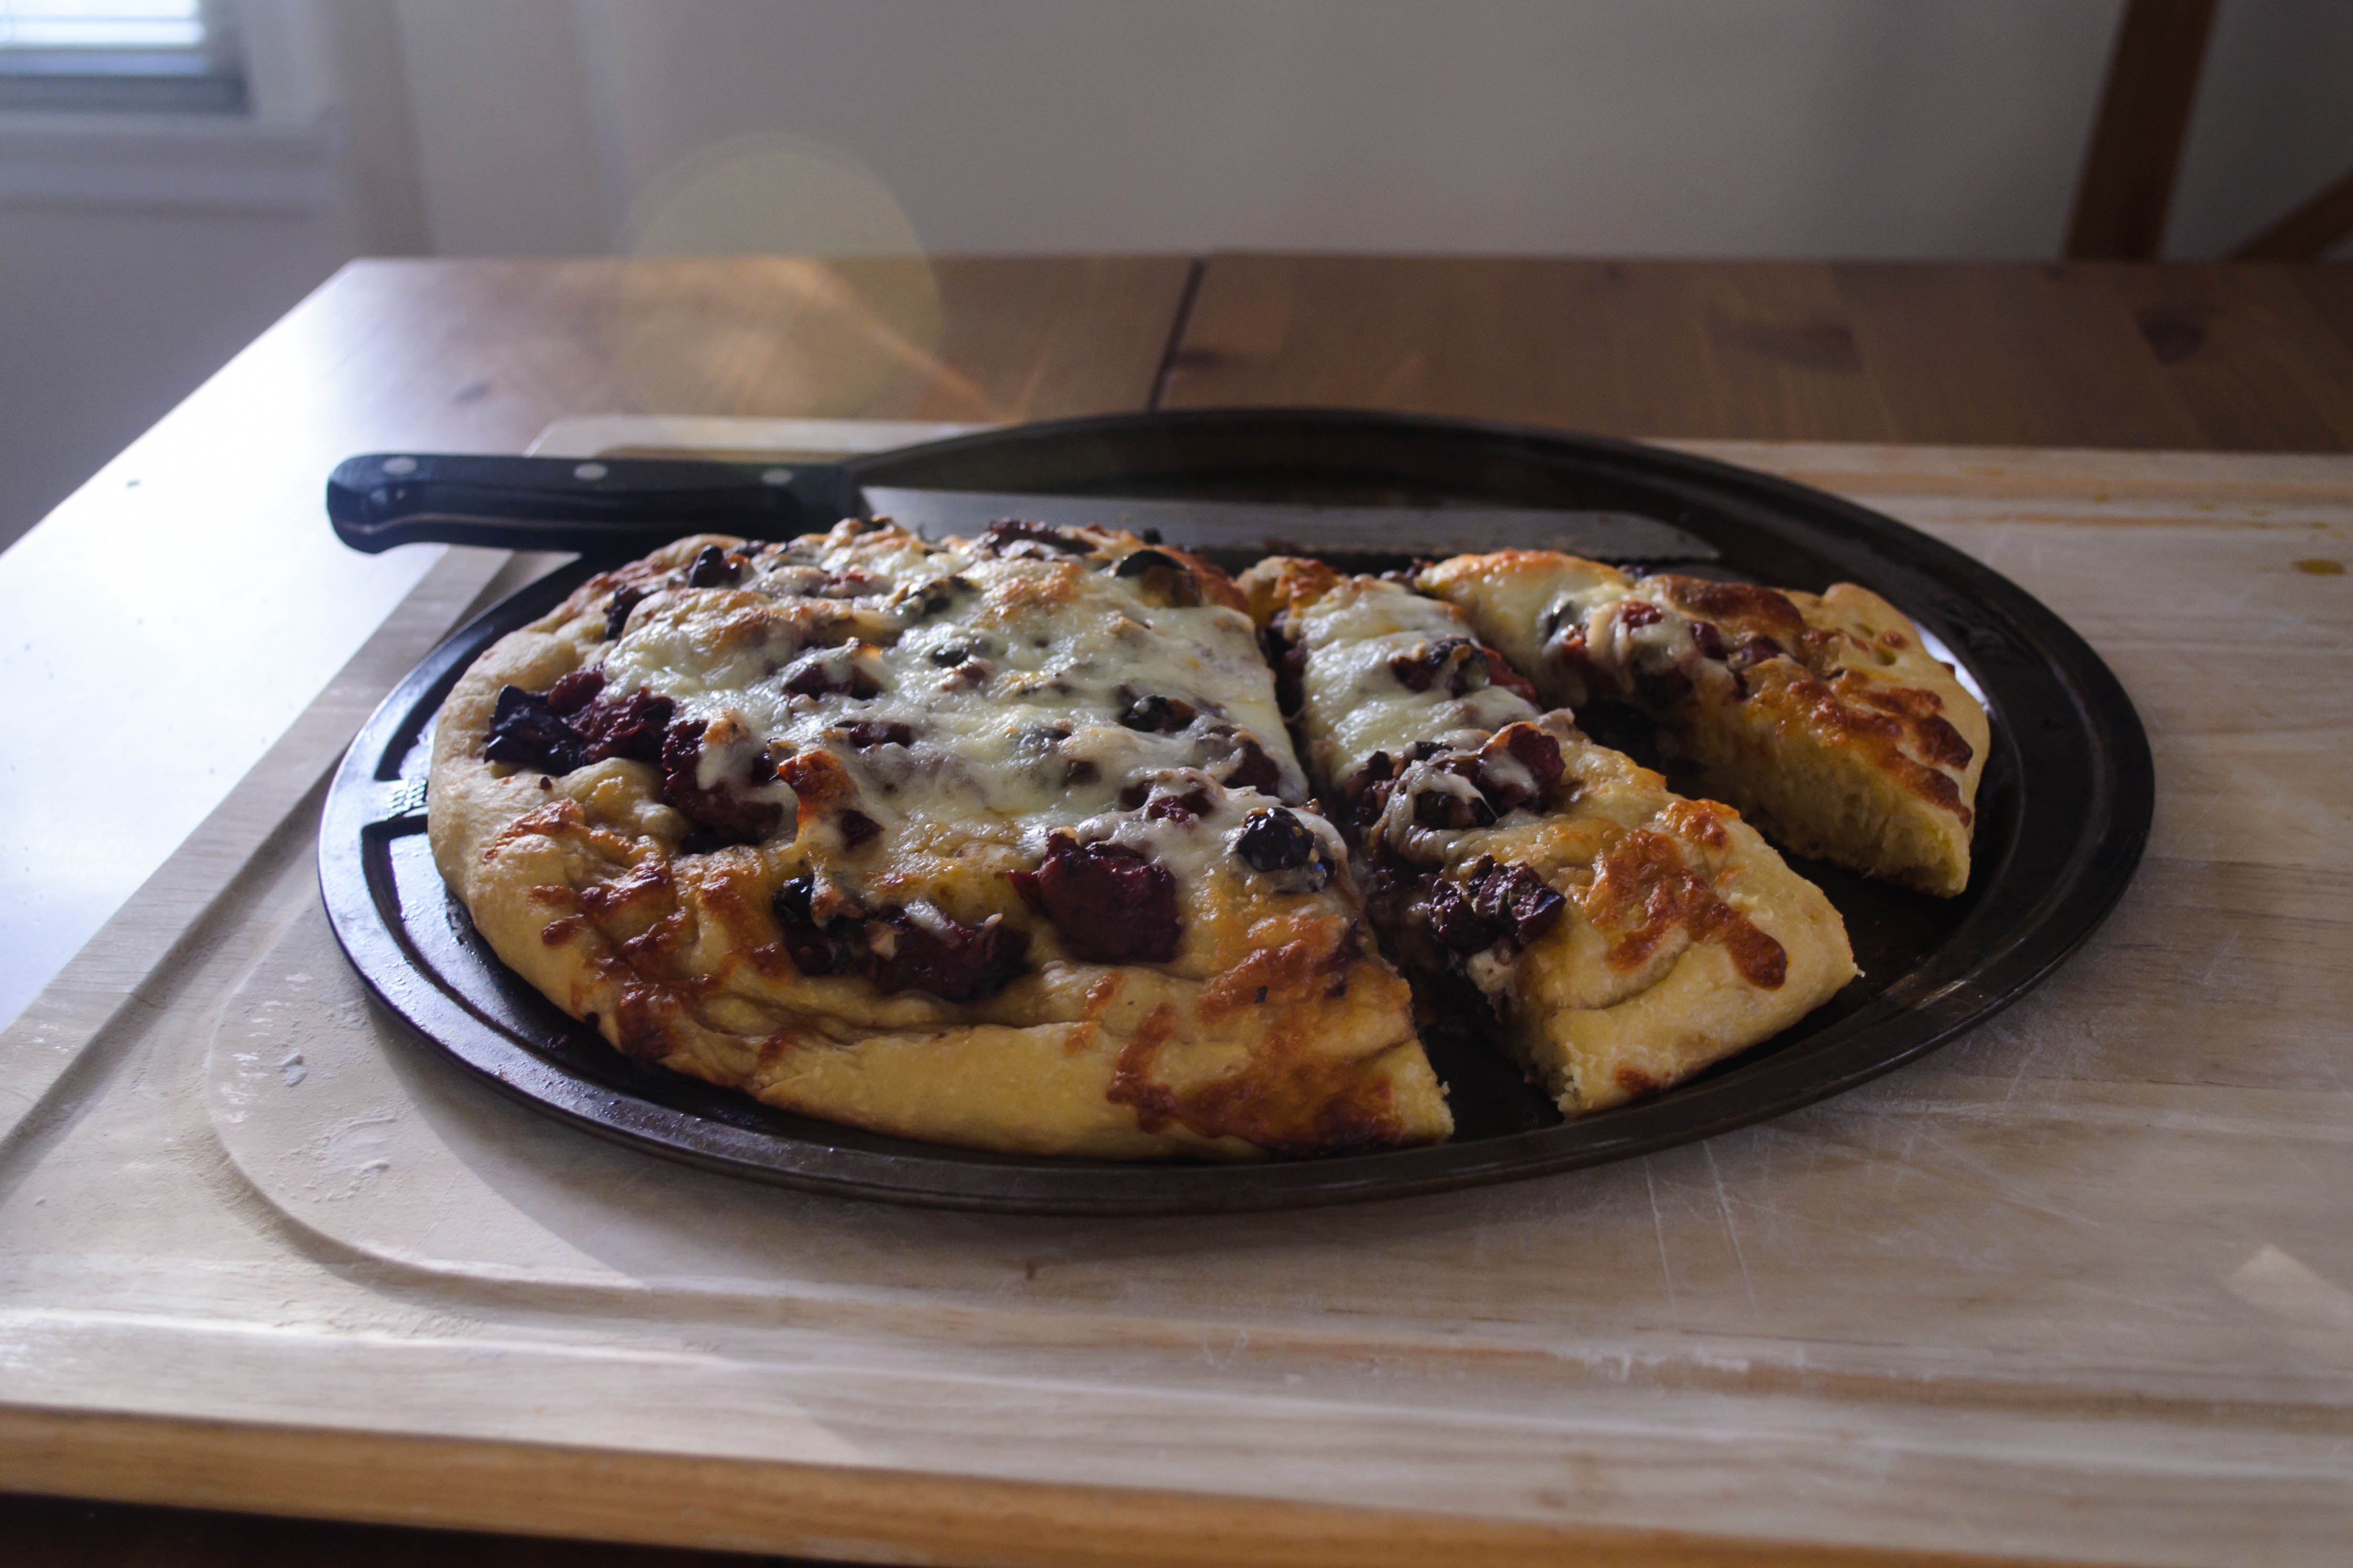
Though I prefer these meatballs piping hot with a molten center of oozing cheese, they are also tasty as part of a sandwich or an antipasti platter. In fact, they basically are the platter – tomato, herbs, cheese, and meat already included. They just need a drizzle of olive oil, maybe a few torn leaves of fresh basil or parsley, and a glass of wine to complete the picture.

Food blog May 2015-0889
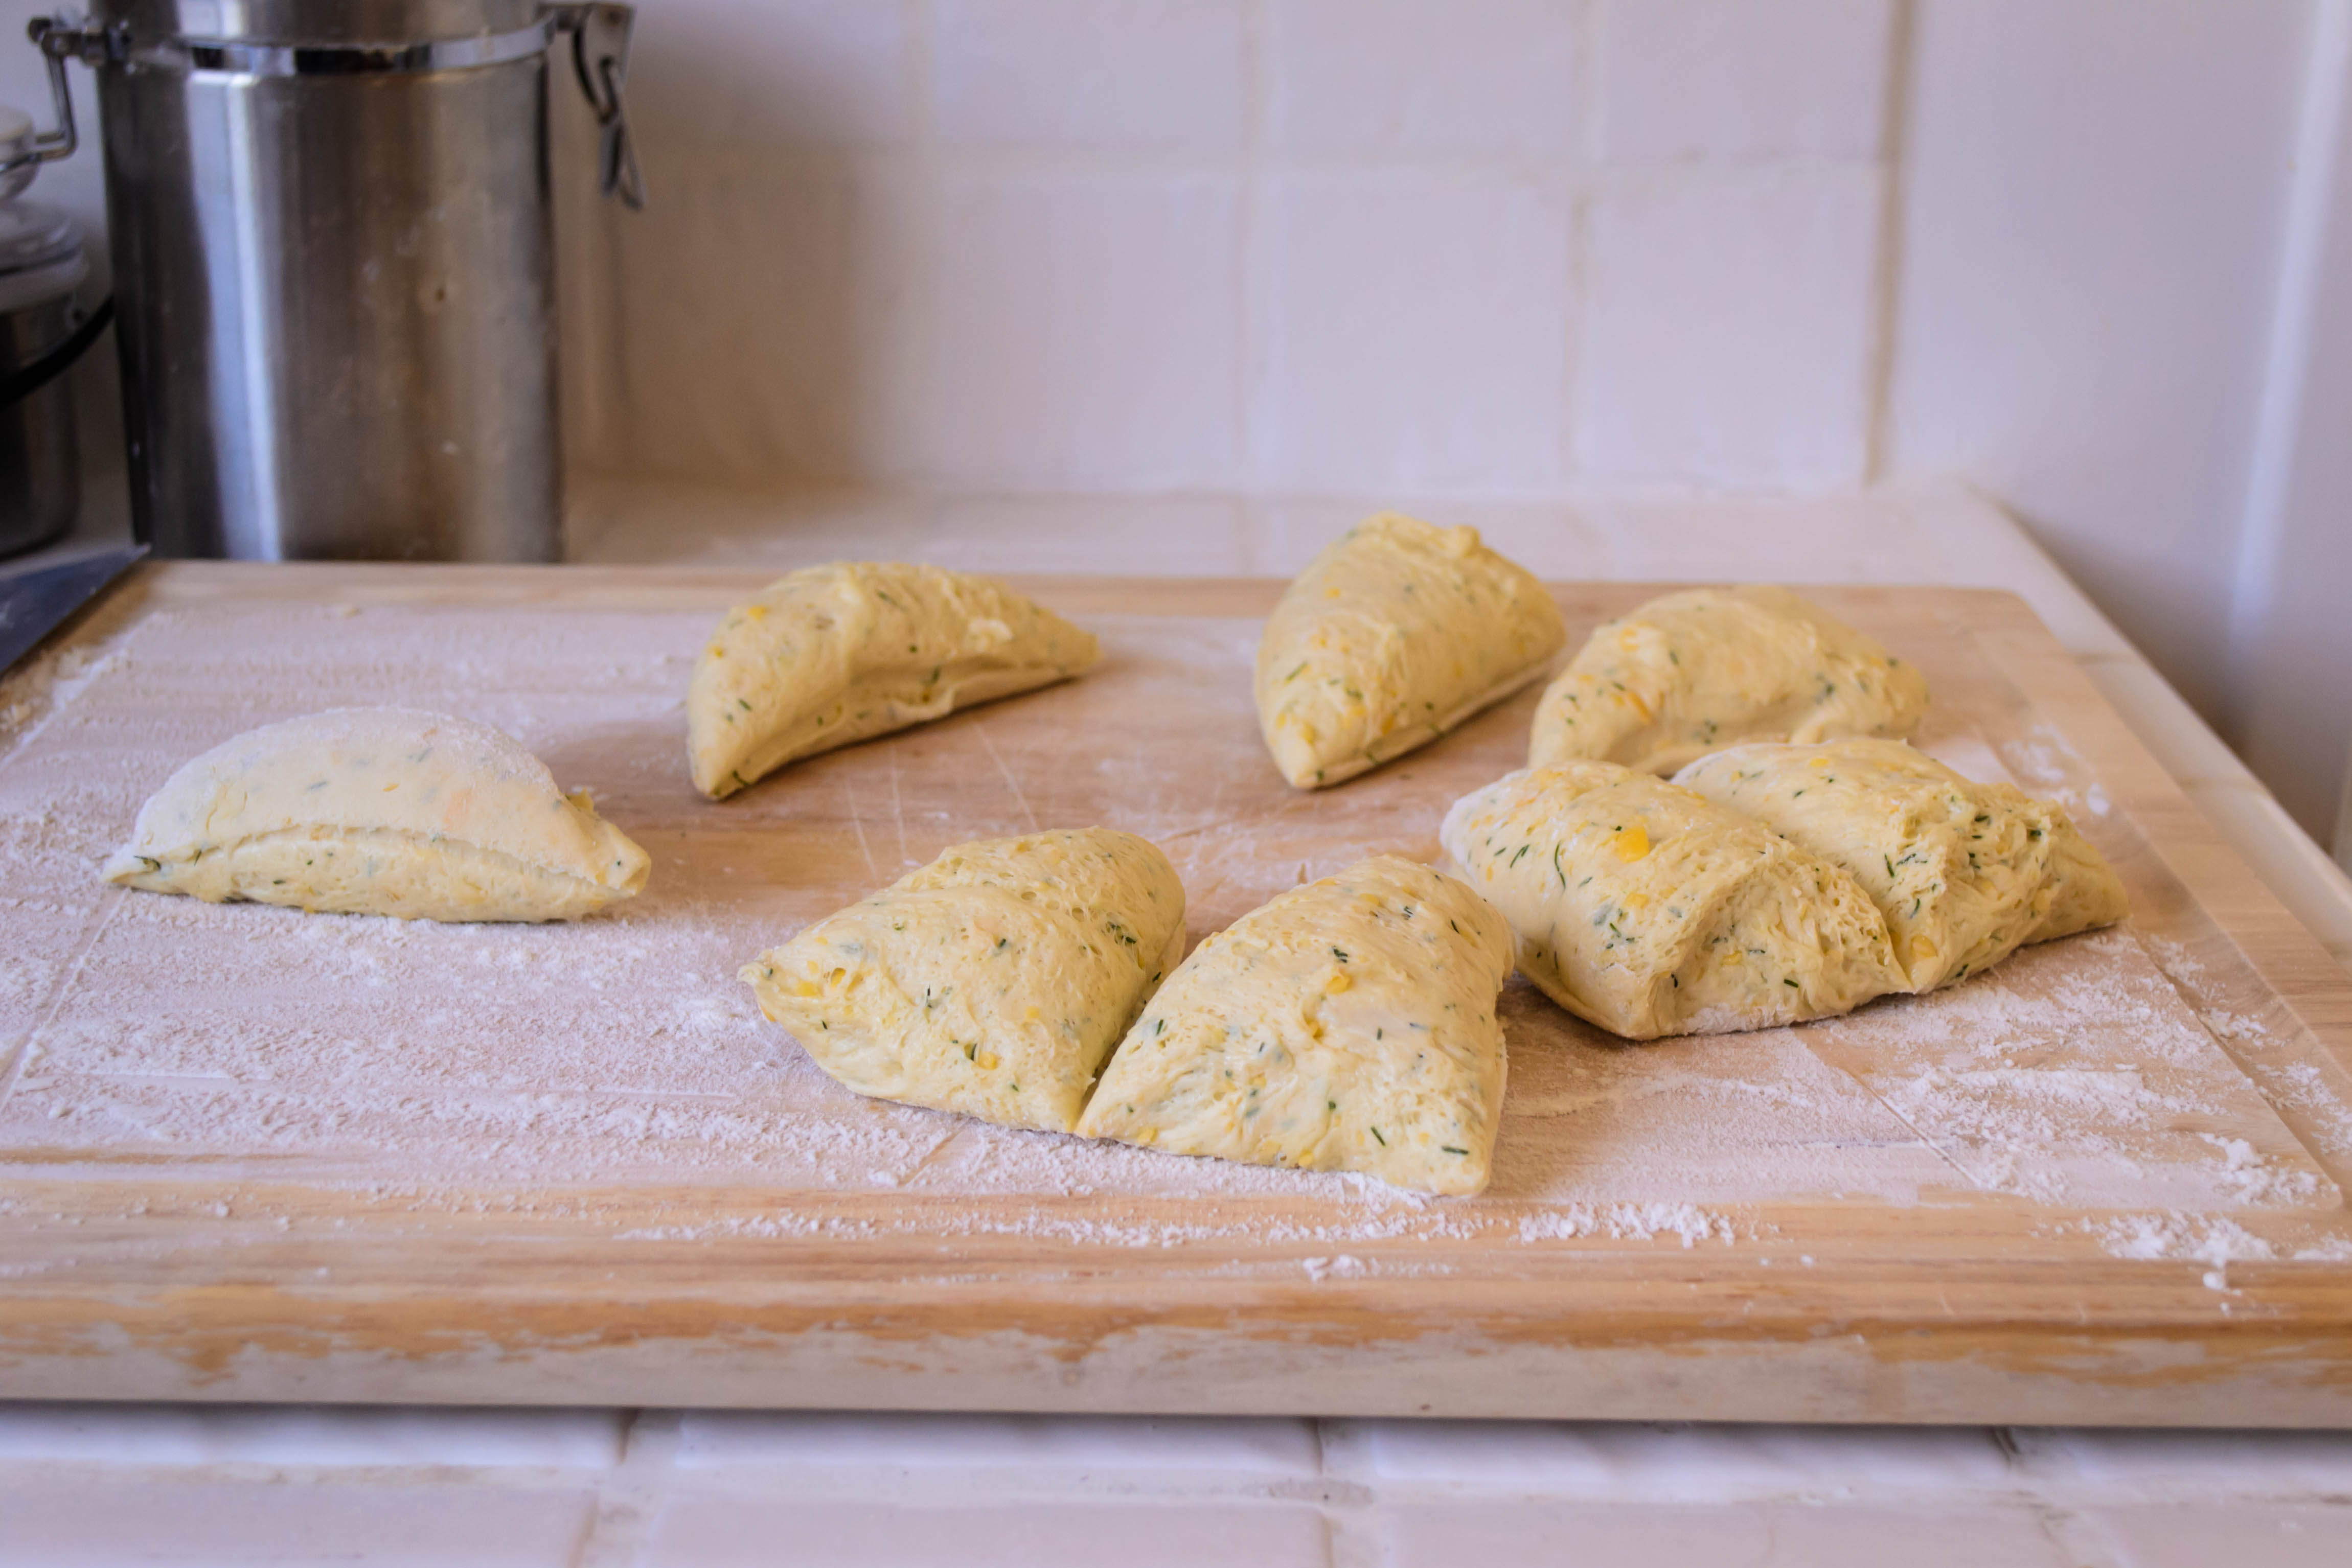
A word: as you’ll see from the procedure, these are delicate little beasts. I made mine without the egg I’ve added to the ingredient list here, and half of my meatballs were oozing cheese before they completed their simmer. They were still good, but didn’t have the melty surprise factor I was hoping for. The addition of egg should make the meat and crumbs bind more securely. Still, though, be gentle as you work with these, and be doubly triply sure the cheese is completely enclosed inside the meat mixture before you introduce them to the heat.
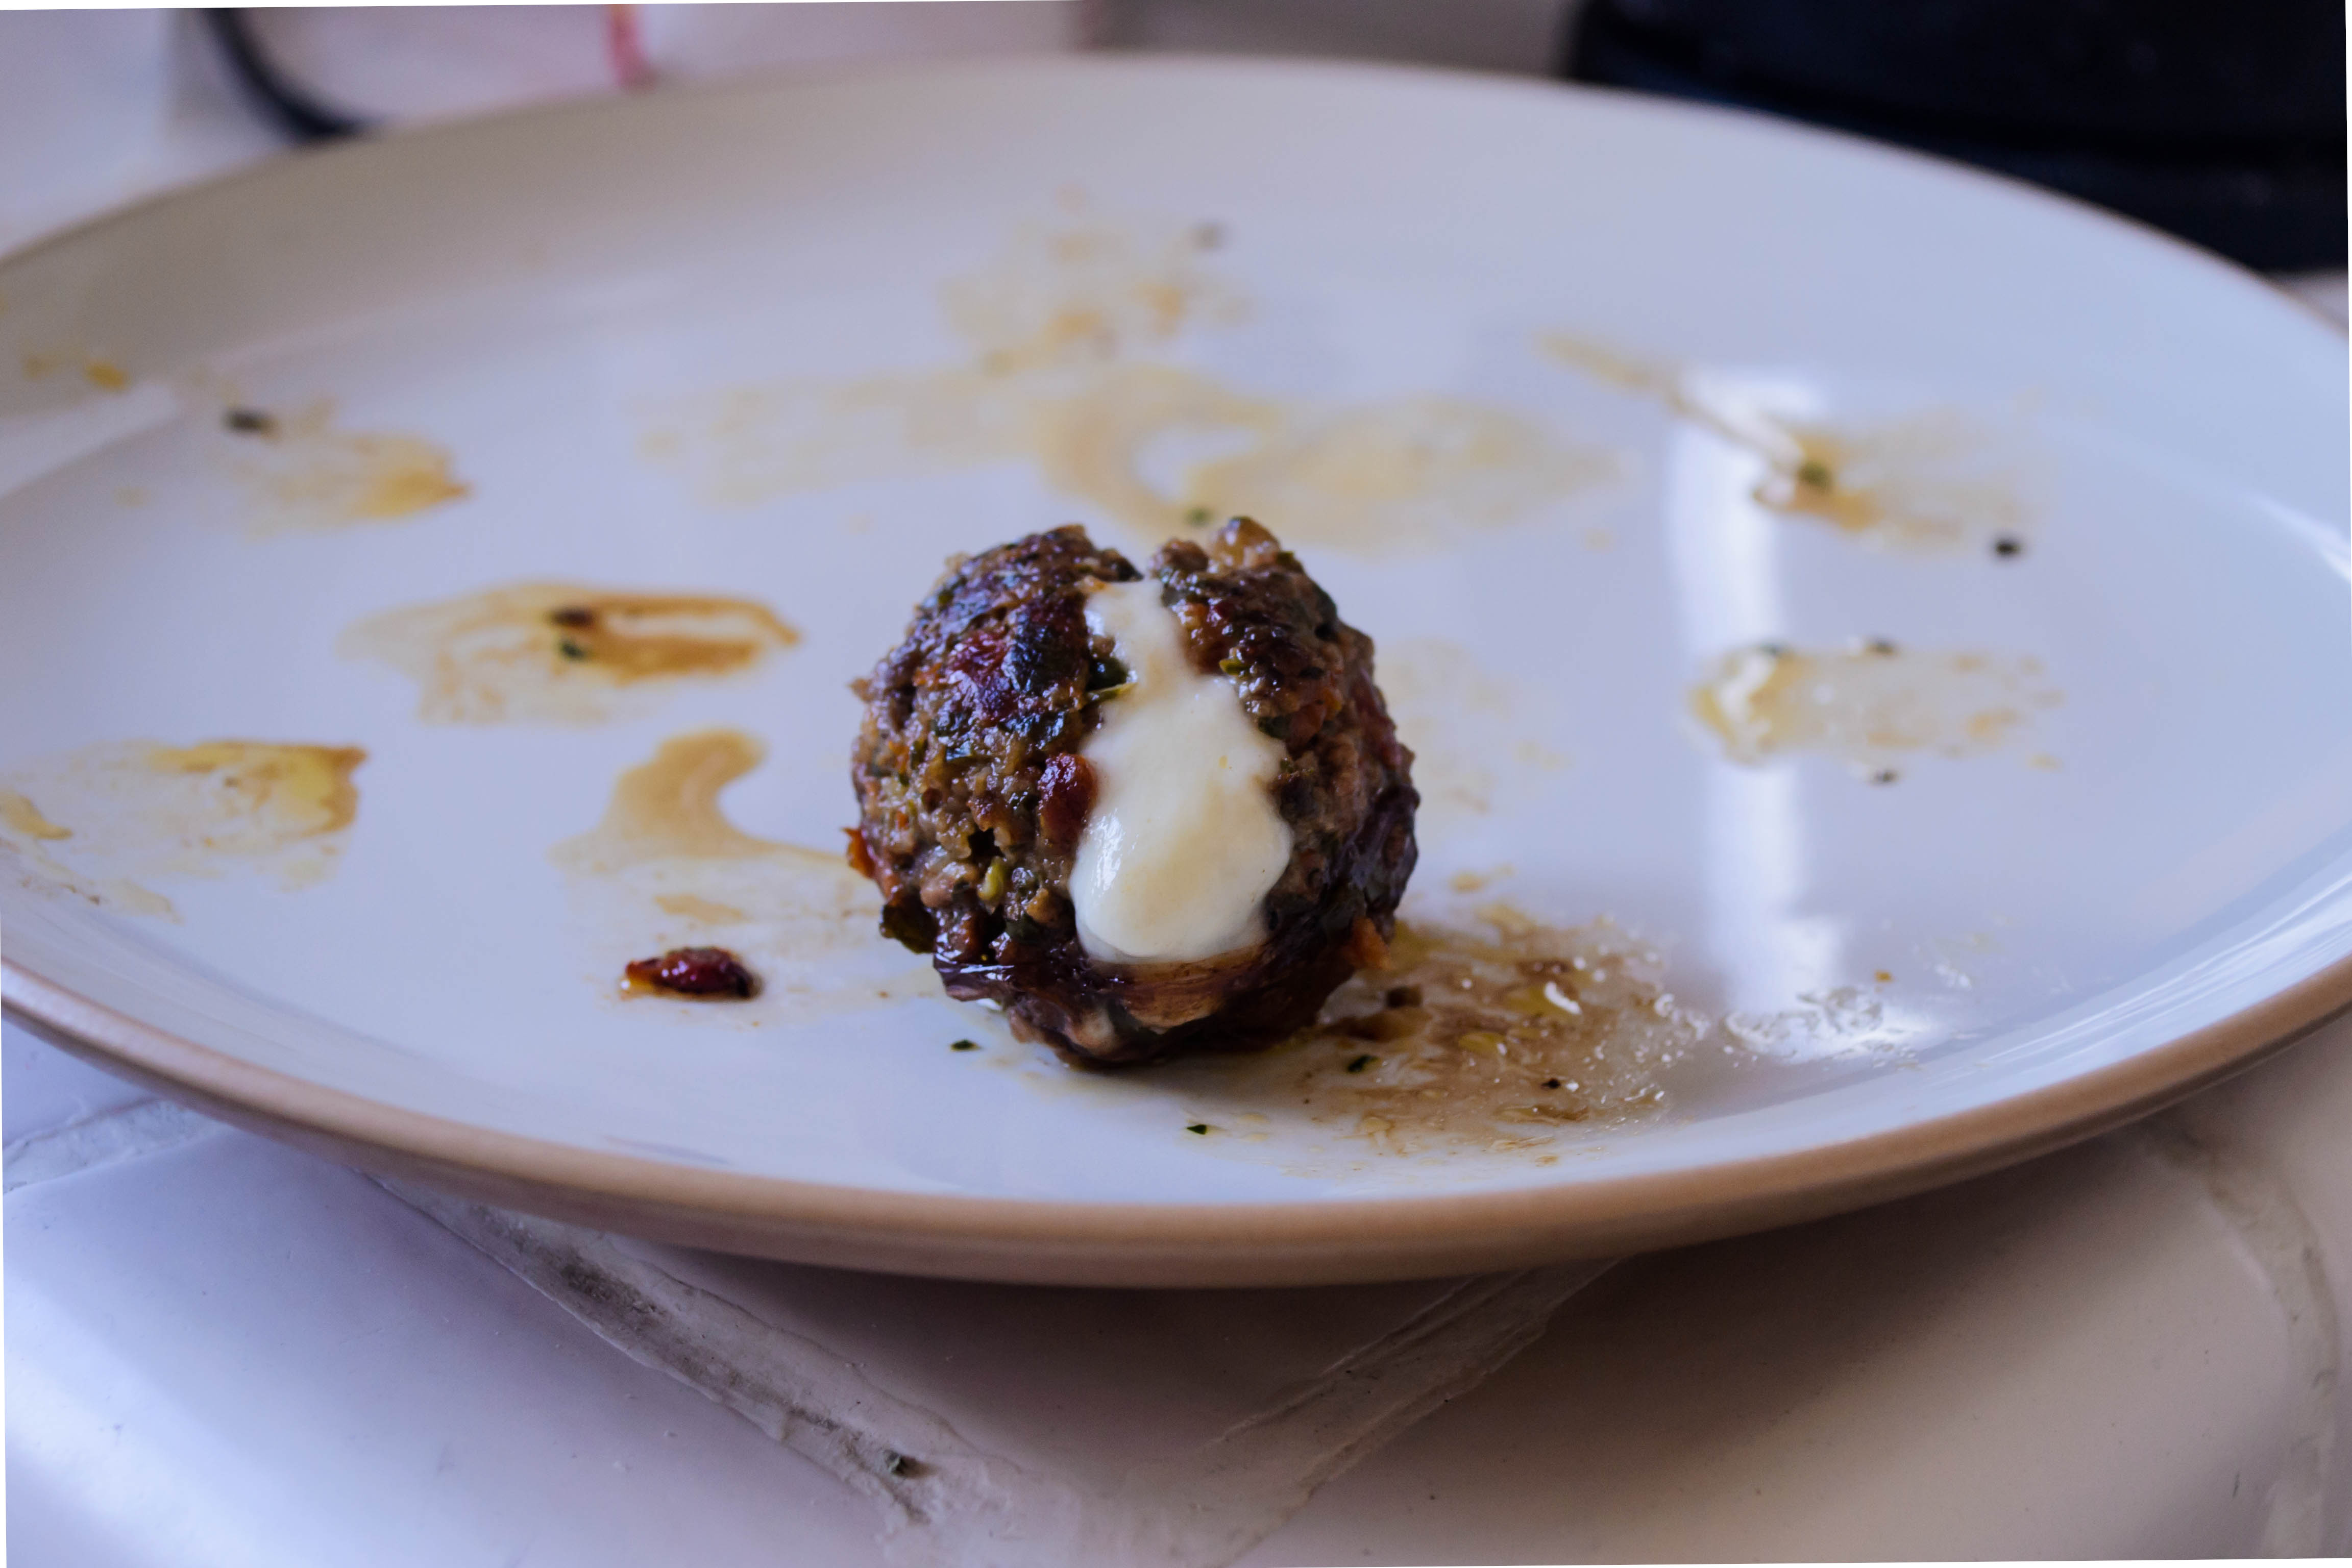
 Food blog May 2015-0901Food blog May 2015-0903

Caprese Meatballs
Makes 10-12 large meatballs
For meatballs:
4 cloves garlic + a splash of olive oil
½ cup fresh bread crumbs
½ cup milk or cream
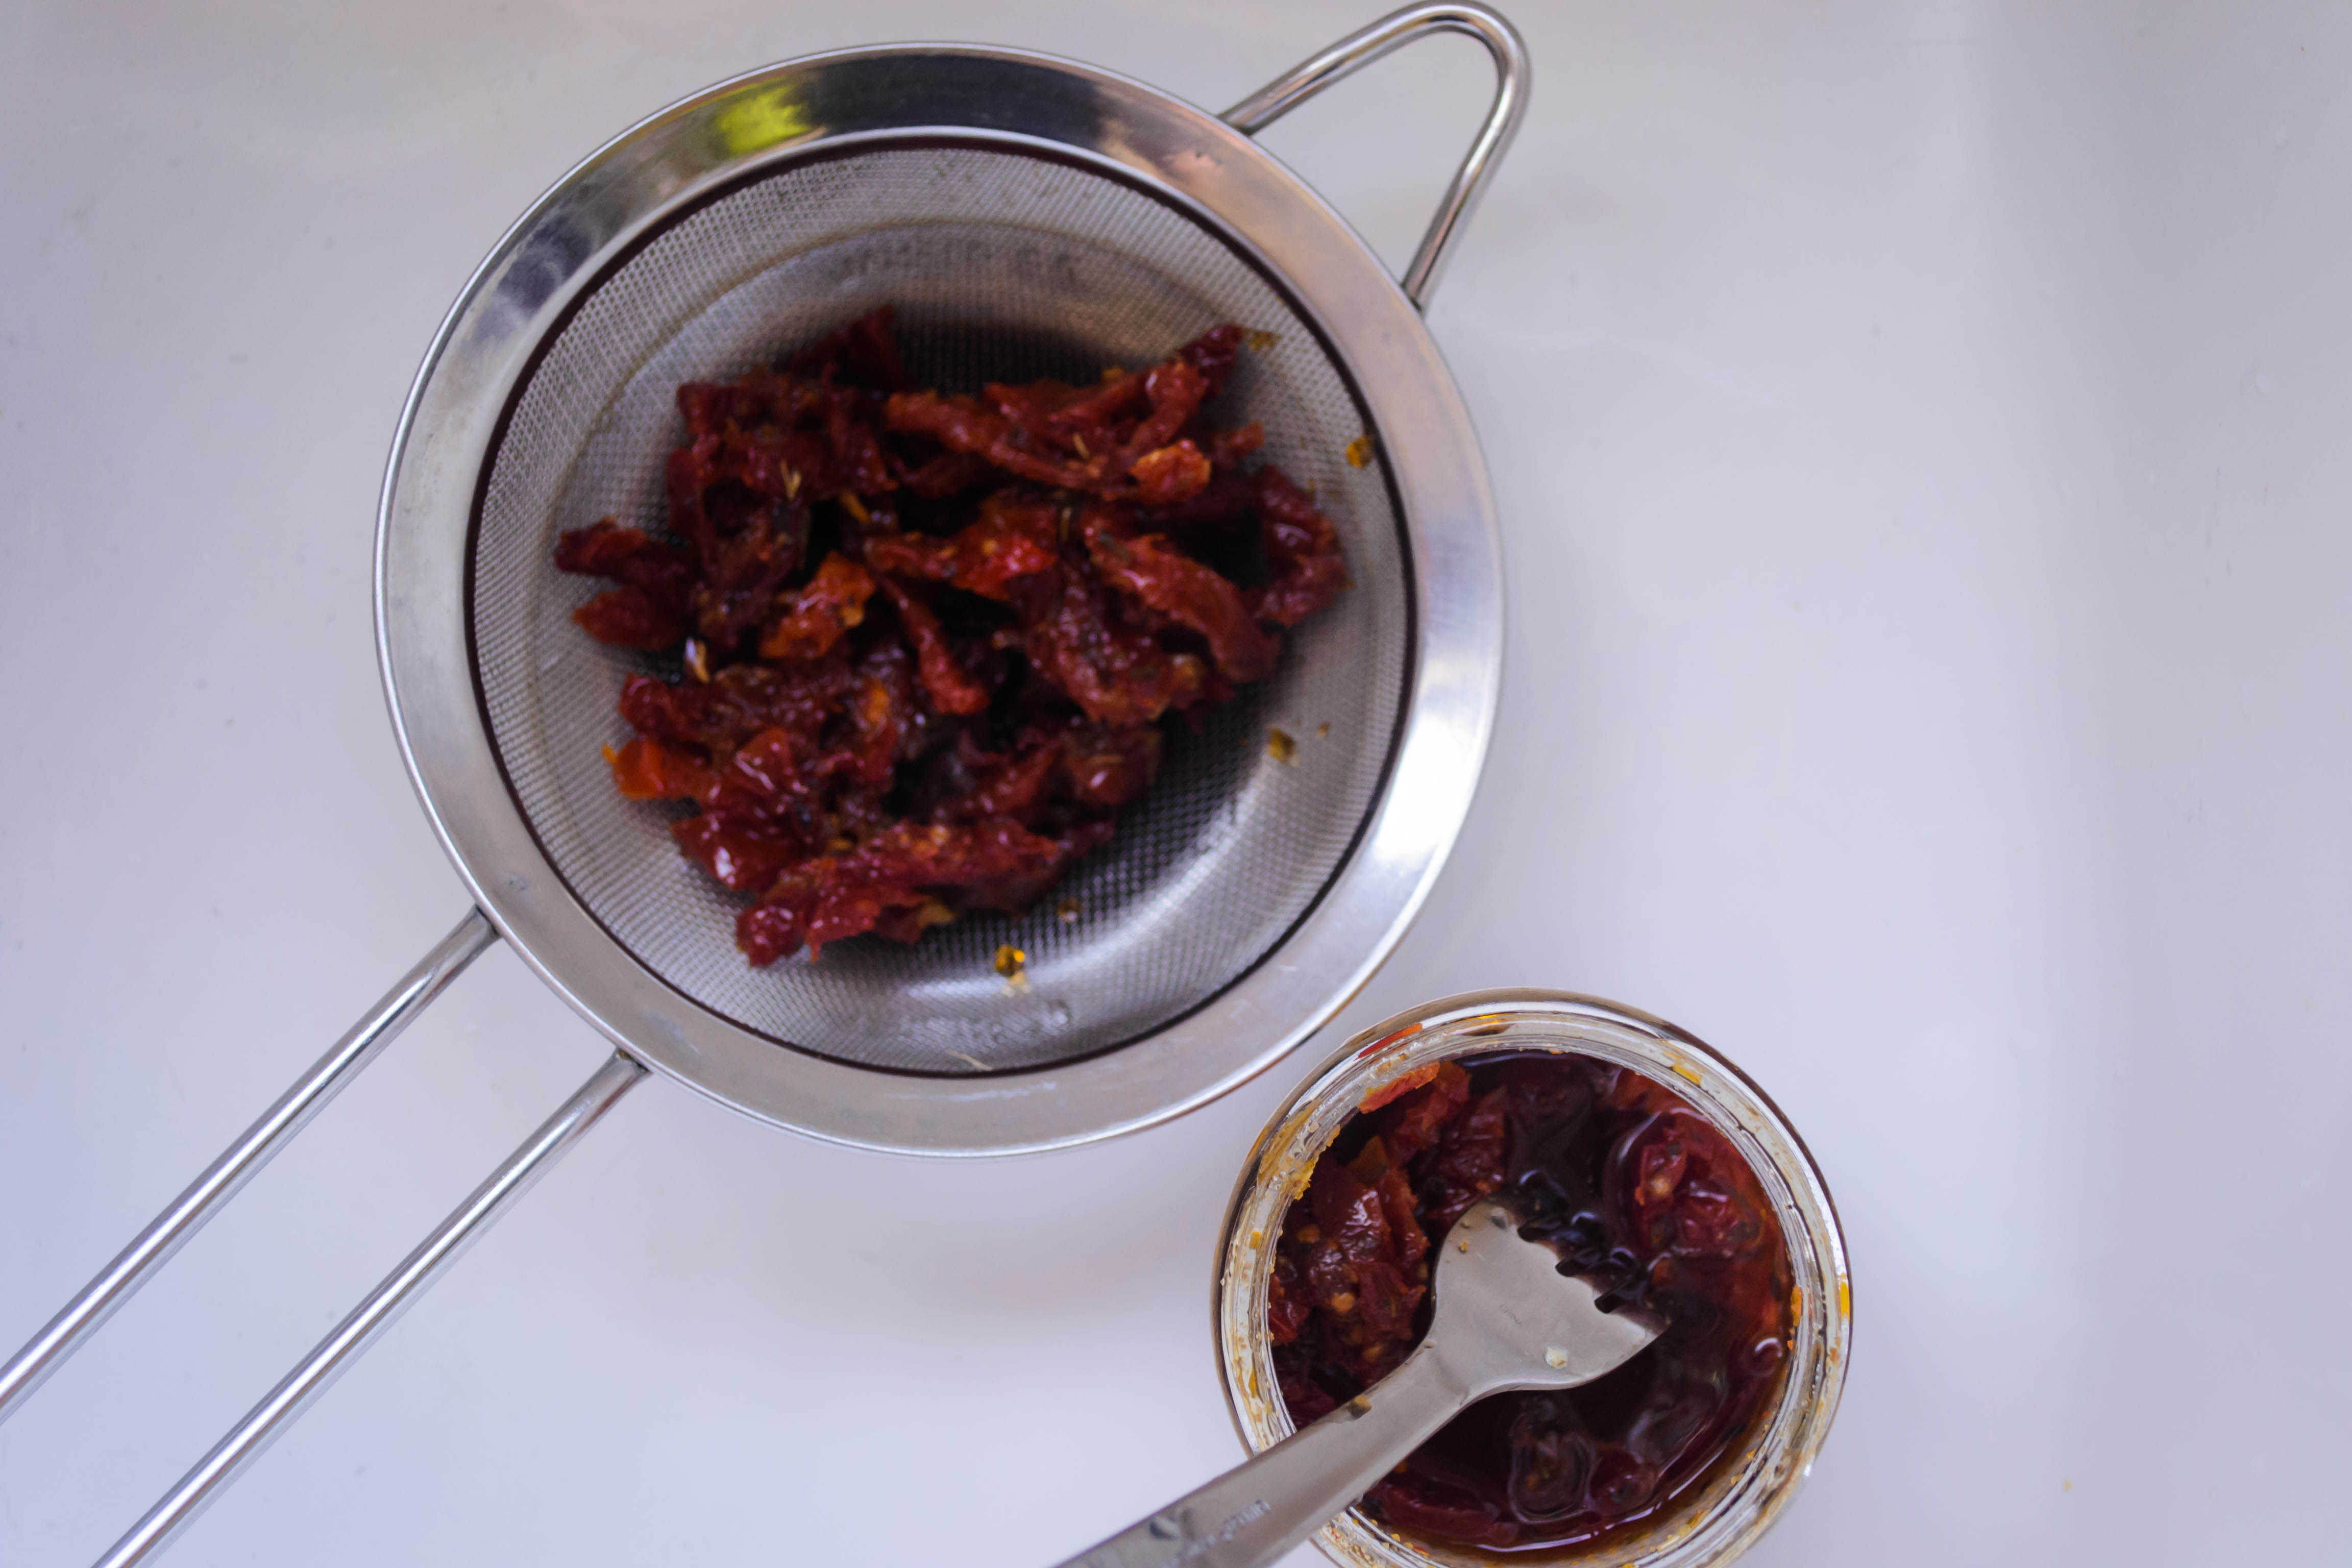
½ cup oil-packed sundried tomatoes, well drained
1 cup loosely packed basil leaves
1 tablespoon finely chopped chives – I like to use my kitchen scissors
1 teaspoon salt
½ teaspoon pepper
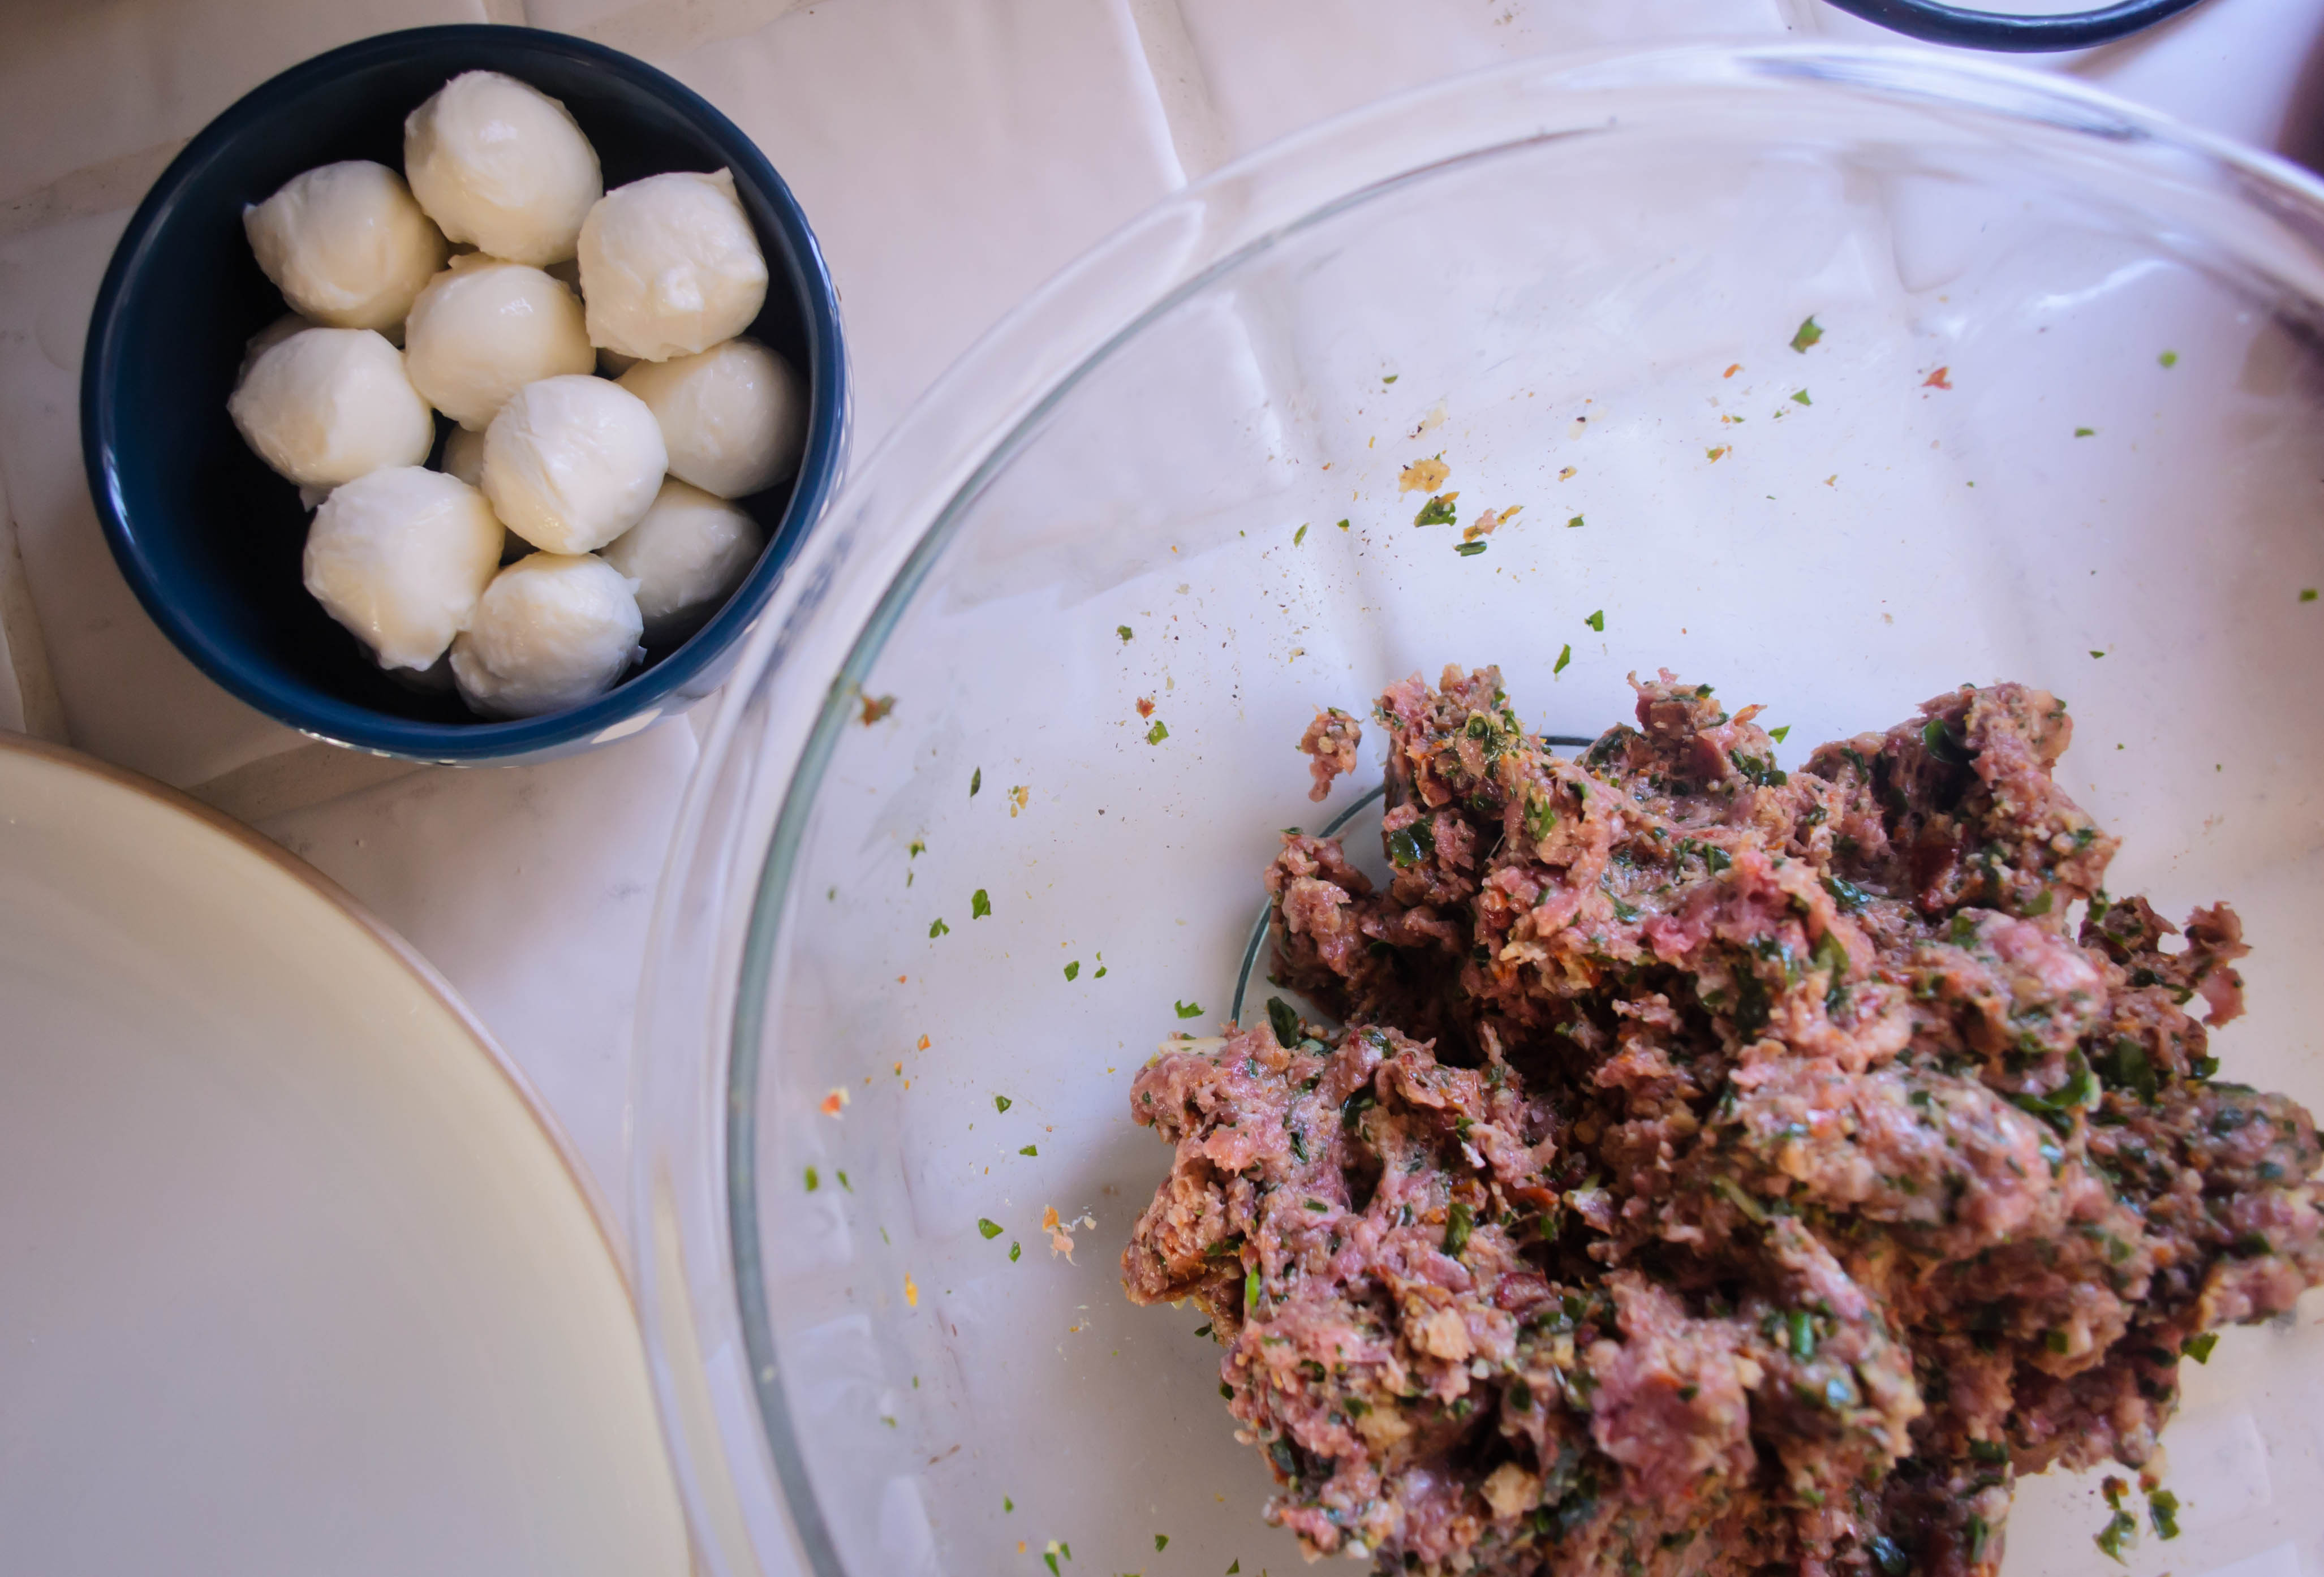
12 ounces (3/4 lb.) ground beef, at least 15% fat
1 egg, beaten
10-12 room temperature miniature mozzarella balls, or 10-12 small cubes of fresh mozzarella cheese
3 tablespoons olive oil
For sauce:
Meatball drippings
1 tablespoon flour
1 ½ cups beef broth or chicken broth
1 cup dry red wine
¼ cup balsamic vinegar
salt and pepper to taste
1-2 teaspoons brown sugar or honey, optional
To serve:
Soft polenta, cooked according to package directions with water, milk, or broth
A few sprigs of basil for presentation, if desired


  • Place garlic and splash of olive oil in a small oven-safe dish. Cover with aluminum foil and roast at 300F for 20-25 minutes, until garlic cloves are soft and fragrant inside their skins. When cool enough to handle, remove and discard the skins.
  • Once you’ve ground your fresh bread crumbs in the food processor, combine them with the milk or cream in a small bowl and let sit for 10 minutes or so to soak.
  • In the belly of the food processor, combine the sundried tomatoes, basil, cooled and peeled garlic cloves, and chives. Pulse at 3 seconds intervals until all ingredients are very finely chopped. They won’t quite form a paste because there’s no liquid in the mix, but they should all be in very small pieces for easy meatball integration.
  • Dump the tomato and herb mixture into a mixing bowl. Drain the bread crumbs by squeezing them out with your hands, then add the crumbs to the tomato and herb mixture. Add the salt, pepper, ground beef, and egg, and use your fingertips to lightly combine into a fairly homogenous mixture.
  • (If you want to check for seasoning at this point, heat a very small puddle of olive oil in a large skillet over medium high heat and drop in a teaspoon or two of the meat mixture. Let it cook, then taste. Adjust salt and pepper as needed.)
  • When you are ready to form the meatballs, flatten about 2 tablespoons of the meat mixture in your hand, then enclose it around one of the room temperature mozzarella balls. It’s important for the cheese to be room temperature because otherwise it might not melt completely inside the meatball during the simmer. Be sure the cheese is completely sealed inside the meat layer; structural integrity is important! Repeat until meat mixture is used up, setting each meatball on a plate once formed.
  • Heat 3 tablespoons of olive oil in a large skillet over medium-high heat until shimmering. Gently add the meatballs in a single layer and allow them to sear undisturbed for about 2 minutes per side. When nicely browned on all (or at least most) sides, remove to a clean plate while you make the sauce.
  • Reduce the heat on the skillet to medium and sprinkle 1 tablespoon of flour over the remaining oil and meatball drippings already in the pan. Whisk the flour into the drippings and let cook for a minute or two into a soft golden smear.
  • Slowly add the broth, whisking continuously to ensure no lumps form, then add the red wine and the balsamic. Cook, whisking occasionally, until the liquid reaches a simmer. Simmer for 5-10 minutes, turning the heat down if needed. The sauce will take on a velvety appearance and thicken slightly. Now give it a taste, and season with salt and pepper as needed. If it is too acidic for you, add 1-2 teaspoons brown sugar or honey, but remember it will be less intense once ladled over meatballs and polenta.
  • When the sauce is velvety and slightly thickened, add the meatballs back in. Be gentle! We don’t want them to crack open.
  • Simmer the meatballs in the sauce, basting often (but not flipping – again, structural integrity!), for 15 minutes. Serve immediately over soft polenta with a spoonful or two of sauce.

Ahi Nori Wraps

Food blog May 2015-0757Months and months ago, I showed you photos of a tiny shack in Kauai and promised you my own rendition of their signature ahi nori wraps: thick, squared-off cylinders of seared ahi and spears of cucumber, surrounded by brown rice, doused with a mysterious wasabi sauce and wrapped up in a spinach flour tortilla lined with a sheet of nori. A delightful cross between a burrito and sushi, they were one of our favorite meals while on the island. But then, you know, life, with all those pesky obligations, insisted on happening, and now we are a full school year later and I’m finally getting around to it. It’s a cringe-worthy cliche to declare that these are worth the wait, but since we are now on our second version of them in two weeks, I’m going to take the chance.

Food blog May 2015-0742Since it has been so long, I’ve had plenty of time to reflect on what make these funny little sushi / burrito mash-ups so good. Well-spiced, lightly seared tuna, still rare or even raw in the middle, is of course the main reason. But only slightly secondary are the issues of texture and temperature. As you’ll know if you like sushi, there’s something amazing about a perfect piece of ahi – it’s meltingly soft but, when seared around the edges, it becomes softness with a bouncy chew. It is hot on the outsides, but still cool in the interior. Flanked by cucumbers, you get a fresh, bright, cold crispness, and the chewy strangeness of the nori seaweed layer is somehow perfect.

Food blog May 2015-0743Food blog May 2015-0744Food blog May 2015-0749These also offer perfectly contrasting tastes. Of course there’s the glorious fresh fish flavor, but there’s also nostril-piercing heat from the wasabi, and saltiness from the seaweed, and the welcome nutty blandness of the rice. Because I can’t leave well enough alone, I thought the addition of rich, creamy avocado blitzed into a velvet puree with a touch of mayonnaise would be the right vehicle for the wasabi, and insisted on crusting the tuna itself with sesame seeds, lime zest, and some red pepper flakes as well as the customary salt and pepper sprinkle before searing it off.

Food blog May 2015-0751Food blog May 2015-0752We ate these in big gulps, then went back for more. One wrap is plenty for a dinner, especially if you wisely offer yourself a side of mango-spiked salad or lightly sautéed vegetables, but we are not always wise, and opted instead to make a third wrap and split it. Still, even the resulting food coma couldn’t deter our enthusiasm about the meal.

Food blog May 2015-0753If you aren’t comfortable with raw fish, you can of course cook yours all the way through, though if you’re going to do that I wouldn’t bother with the pricey ahi. Cut a nice filet of salmon into long strips and crust and sauté or broil until just cooked through. Or, if you want to go an even easier route, sprinkle some lime juice over a few layers of smoked salmon and wrap that up inside instead. Food blog May 2015-0756

Ahi Nori Wraps
Makes 4
For rice and sauce:
1 avocado, pitted and peeled
juice from ½ a lime
¼ cup mayonnaise
1-2 tablespoons wasabi paste or sauce
(alternatively, you could use about ¼ cup of wasabi mayonnaise)
2 cups cooked brown rice, warm or at room temperature
For the tuna:
½ tablespoon coarse salt
½ teaspoon black pepper
pinch of red pepper flakes
zest of 1 lime
2 tablespoons untoasted sesame seeds
½ pound ahi or other sushi grade tuna, cut into long rectangles that are about 1×1 inch at the ends
2 tablespoons vegetable oil
1 teaspoon sesame oil
To assemble:
1 seedless cucumber, halved lengthwise and cut into long, thin planks (thinner is better – too thick and they won’t roll up well. Go for translucent, but be careful!)
4 spinach tortillas
4 sheets nori


  • In a small bowl or blender, combine the avocado, the lime juice, the mayonnaise, and the wasabi paste. If you have wasabi mayonnaise you like the flavor and heat level of, you could use that instead. I wanted my mixture a little spicier than my wasabi mayo, so I opted to make my own mix. Whiz together with a standard or immersion blender until a completely smooth, pale green puree forms; it will be too thick to pour.
  • Combine the puree with the cooked brown rice and taste for seasoning. Adjust as needed, then set aside.
  • For the tuna, combine the salt, black and red pepper, lime zest, and sesame seeds on a small plate. Carefully dredge each log of tuna in the mixture by rolling it through the seasoning. When all are well coated, heat the vegetable oil and sesame oil in a large skillet over medium-high heat until shimmering. Add the crusted tuna carefully, watching out for oil spatters, and sear about 1 minute on each side (for raw in the center), or until done to your liking. I overcooked mine, as you can see from my photos; I would have preferred red, not pink, in the center.
  • When tuna is done to your liking, remove from pan immediately and set aside.
  • To assemble, lay out your tortillas and place a sheet of nori in the center of each one. Lay 4-5 planks of cucumber atop the nori, all facing in the same direction. Add about ½ cup of the rice and sauce mixture per wrap, and spread this out to the edges of the cucumber planks. Lay one log of ahi in the center of each one in the same direction as the cucumber planks, then wrap up like a burrito, carefully folding in the edges.
  • To serve, cut on a bias and, if you’re feeling fancy, stand one half up like I’ve done above to show off the interior.
  • Eat immediately, and lick your fingers with no shame.

Vegetable pickles, three kinds

Food Blog April 2015-0565Not long ago, I finished Cooked, Michael Pollan’s latest, in which he seeks to elucidate the magic of our kitchens. He looks at the transformative power of each of the four elements when applied to ingredients, and works to understand the connections we draw from and through what we eat as it ceases to be raw materials and becomes food. I couldn’t put it down. I tore through it like a fluffy bedtime novel, as my friend S. probably knew I would when she sent me a copy.

Food Blog April 2015-0548In a number of ways, Pollan’s investigation reminded me of my own scholarly work a few years ago when I was a graduate student. Though I was focused on medieval literature, I was intensely interested in what we could learn about human – and not-so-human – beings by examining the literary depictions of how and what they ate. Dietary habits, I thought, along with sexual practices, might be what determines humanness within this field of literature. Too much, too little, or too weird, and your food habits moved you outside what we think of as human, and into something else.

Food Blog April 2015-0546Unsurprisingly, as anyone who has researched food and its cultural impacts deeply knows, this led me to anthropologist Claude Levi-Strauss and The Raw and the Cooked, the first volume of his elaborate, complex exploration of human myth and culture. Without getting too academic, I’ll just say that Levi-Strauss thinks a great deal of the development of culture happens as – and as a result of – foodstuffs transforming from raw to cooked. His analogy equates the wild to the raw, and the civilized to the cooked.

Food Blog April 2015-0549Pollan pulls on and plays with this idea, considering that if indeed cooked food represents culture or civilization, then there must be something about the cooking process itself that is civilizing and bridging. The four elements he examines are aligned with four types of cooking methods: fire explores the tradition of barbecue; water looks at stews and braising; air relates his adventures in the magic/science of bread baking; and earth digs into fermentation, the weird, marginally repulsive transformation of fresh food into pickles, or beer, or cheese – food that is prized and yet impacted by earth and death and rot.

Food Blog April 2015-0552This, too, reminded me of my own work (and don’t worry, we’re getting to the recipe part here soon), particularly an article I ran across as I was working on the Chaucer chapter of my dissertation. Subtitled “The Raw, the Cooked, and the Rotten,” the article took on Levi-Strauss’s nature/culture formulation and added a step to accommodate one of the characters in Chaucer’s The Canterbury Tales. If raw food is wild and cooked food is civilized, what happens when that cooked food goes bad? This seemed to equate to my idea of people who had exceeded the limits of humanness through their eating habits, turning food into waste.

Food Blog April 2015-0557But I was looking at food habits from a perspective of too little as well as too much. What about superhuman beings who survived without eating, or whose bodies remained impenetrable, and un-penetrated, by the eventual corruption of food? I hypothesized making this triangle a square: adding preservation as a fourth corner. Suspended in limbo by sealing oneself against the external corruption consumption and digestion can bring, you remain preserved. This is not humanly possible, but it is not considered with disgust in medieval literature. Rather, such individuals hang closer to the divine than to the monstrous or subhuman.

Food Blog April 2015-0551Though this is not quite the four-some Pollan presents, I think fermentation and preservation have some similarities. In being preserved by their “cooking” process, fermented foods and preserved foods are mysterious blends of human and natural magic. Jams and jellies, preserved by being cooked with sugar, are the sweet side of this equation. Pollan opts to explore sauerkraut and cheese and beer. Today, I’m taking on pickles: simple raw, sliced vegetables transformed, “cooked,” and held in briny limbo by vinegar, sometimes sugar, and salt.

Food Blog April 2015-0559When N. and I got serious, we started using pickles as a metaphor for our relationship. In most refrigerators, there is a jar of pickles shoved way in the back, often on the top shelf, getting in the way of the orange juice and the milk and the mayonnaise. When you finally pull that jar out and peer inside, it’s almost never full. There are one or two pickles in there, floating around in the dill-and-peppercorn-laced brine, warty and sour and beautiful. The ubiquity of that pickle jar became our metaphor. As long as there were pickles in our fridge, we would be okay.

Food Blog April 2015-0560As with most Americans, I would wager, the pickles I was accustomed to when I was younger were always cucumber based, and usually dill (though I am a fiend for bread and butter pickles). I had no real sense that other sorts of vegetables could be pickled (aside from beets, thanks to my Nana) until I started frequenting the McMenamins pubs, an Oregon and Southern Washington chain of sorts featuring decent beer, good burgers, and remarkably slow service. Our little graduate crew went often – there were three different locations in the city of Eugene alone. Their hummus platter, ever present on the appetizer menu, came with a variety of vegetables along with triangles of pita, and often the spears of green bean and carrot, and the occasional nub of cauliflower, were pickled. Of course I had little thought of doing this myself until, chasing after an elusive potato salad that included pickled green beans, I started noticing how expensive these various vegetable pickles were in the grocery store. Recreating that potato salad required pickled green beans, dammit, and as a poor graduate student I was both unable and morally opposed to spending $7.99 on a slender little jar.

Food Blog April 2015-0561Fortunately, vegetable pickles are easy and fall within even a humanities graduate student’s budget. Vinegar, sugar, and a healthy shower of salt, heated to a simmer to dissolve the crystals. Jam as many vegetables as you can into a jar, shove in some flavoring agents: bay leaf, mustard seeds, dill, fennel, and pour on the vinegar. Cap, relocate to the fridge, and remember them a few days later when they’ve had a chance to sour up.

Food Blog April 2015-0562Vegetable pickles seem entirely suitable for the season. Fresh, young vegetables are great for pickling, especially while they are still small in size, so the vinegar can penetrate faster. Slender carrots, or plump radishes, or the tiny lanterns of young peppers, are a sign of spring that is often gone too fast. Pickles, though, hold that spring forever, jarred and capped and safe on the top shelf lurking behind the orange juice. Though they are not unaltered – the raw crispness is indeed transformed – in that way too they are like a spring gone by, or perhaps the memories of that spring that remain. It’s not that perfect, warm day anymore, but you remember its brightness – you need only uncap the jar and fish out a crisp briny souvenir.

Food blog April 2015-0616I’ve done three types of pickle here: onion, carrot, and radish. Each is seasoned with a different combination of spices, and because I like to be fancy, I’ve used a different variety of vinegar. The radishes, I must admit, are my favorite. To play on their peppery flavor, I’ve added mustard seeds and a dried chili, but teased them as well with a heaping helping of sugar for the sweet-hot kick.

Food blog April 2015-0634While these are lovely in salads, as part of a cheese or hummus plate, or just bright and sour on a fork, they are dynamite on a sandwich. And as the above photo suggests, it is on a sandwich that they found their sprightly home for us. Specifically, on a banh mi sandwich, that fresh, crisp Vietnamese invention. Even more specifically, on the idea that spawned my whole 2015 project: a banh mi-tball. There are essentially three components to this sandwich. These pickles are the first. Next week we’ll look at the bread (the true banh mi), and in the third and final installment, pork meatballs awash in aromatics, simmered in a miso-spiked broth I wanted to drink all on its own.

But for the moment, let’s just revel in the transformative magic of pickles. You’ll need the week for them to get good and sour before you can properly enjoy the sandwich anyway.
Food blog April 2015-0619

Refrigerator Vegetable Pickles
My jars held 6 ounces (¾ cup), so these measurements are keyed to that.
Carrots:
carrot ribbons from 1 carrot to fill jar (use a vegetable peeler to create long strips)
⅔ cup white wine vinegar
2 teaspoons celery seed
2 teaspoons kosher salt
2 teaspoons sugar
1 teaspoon whole black peppercorns
Sweet/hot Radishes:
thinly sliced radishes to fill jar
1 small dried chili pepper
scant ⅔ cup rice wine vinegar (unseasoned)
2 teaspoons salt
4 tablespoons sugar (¼ cup)
2 teaspoons black mustard seeds
Onions:
thinly sliced red onion to fill jar
1 bay leaf
⅔ cup cider vinegar
2 teaspoons salt
2 teaspoons sugar
1 teaspoon fennel seed
  • For each: fill a heat-safe, lidded jar with vegetable slices (add chili or bay leaf, in the radish or onion case, respectively).
  • In a small pot, combine vinegar, salt, sugar, and other spices. Heat over medium-high, stirring occasionally, until liquid reaches a rolling boil and salt and sugar have completely dissolved.
  • Carefully, pour vinegar mixture over vegetables in jar until full. Gently push vegetables into liquid if needed – they will want to float.
  • Close jars tightly and refrigerate until vegetables are pickled to your liking – at least 2-3 days.

Cheddar Dill Twists

Food blog April 2015-0691It seems fitting that I should do my first post along with the Twelve Loaves bakers during a month that celebrates cheese. On any given day, you can find between three and six different kinds of cheese in the tiny drawer in my refrigerator. My last two posts have featured it as a key ingredient, and in both I’ve waxed eloquent about using not just some, but MOAR. I seriously love cheese. It’s the primary reason I could never go completely vegan. I could give up meat with very little trouble (though I would miss bacon, I must admit). I could wave a cheerful goodbye to fish, to beef, to chicken, and stock my cupboards with vegetable broth and my freezer with coconut based ice cream. I already use soy rather than regular milk on my cereal and in my weekend chai. But I would have serious problems bidding farewell to cheese.

Food blog April 2015-0666Food blog April 2015-0670Food blog April 2015-0674Even though I know this isn’t true – they had their ingredient chosen long before I came into the picture – it feels almost like the Twelve Loaves baking group planned this month’s post just for me. Bake with cheese. Yes. I. Will. Cooking with cheese is exciting because the ingredient offers such variety. Do you want something mild, or so sharp it makes your mouth water? Do you want a familiar flavor, or something tart or funky or stinky like last month’s socks? And then there’s texture. Cheese already runs the gamut from so soft it seems already melted to the firmness of parmesan that requires a knife point to dismantle. Add to that the different reactions it has to heat: some cheeses sigh into liquid. Some pull into foot-long strings. Some – and this is one of my favorite results – some flatten and solidify and transform into crunchy little cheese crisps suitable for nothing fancier than jamming into your mouth as quickly as you can.

Food blog April 2015-0677Food blog April 2015-0680With all of these options to work with, I was surprised by how quickly I landed on a choice. I’ve been playing around with a pairing of dill and cheddar, and this seemed like the perfect opportunity to showcase it. Dill goes really well with yogurt, so for a different source of fat and moisture, I decided to use some thick, tangy Greek yogurt instead of butter in my dough. The tartness of the yogurt would be nice with the rich sharpness of the cheddar. And since I like to be fancy, I decided to make little twists, rather than a standard loaf.

Food blog April 2015-0681 Food blog April 2015-0682 Food blog April 2015-0683 Food blog April 2015-0684 Food blog April 2015-0685Guys, these are definitely the right thing to do. The dill-cheddar-yogurt trio is a chamber group on a good night. They bounce off each other in such a lovely way. But it can’t be denied that the star here is the cheese. It melts into little orange pockets while the dough turns into bread, and the smell of it while cooking makes a better homecoming than much else I can think of. I made one tray of twists with cheese sprinkled on top and one without, just to see which was better. As you might expect, more cheese won the day. It drips over the edges into crisp little crackered pieces you can snap off and crunch through before you dive into the main event.

Food blog April 2015-0687 Food blog April 2015-0689I had the idea that these would make fantastic extra-large tea sandwiches: halve them into long pieces, toast lightly, slather with cream cheese, then layer with long strips of cucumber. Cheese on cheese is rarely a bad thing, and the cucumber would nod to the dill and provide a crisp freshness and a lightness for the perfect spring lunch. Alas, when I reached into the fridge drawer jammed with vegetables, not cheese, my cucumbers were past their prime. So I had to settle for cream cheese alone, with a side of Caesar salad. I can’t say I ended up disappointed.

Food blog April 2015-0699Serving suggestion: these are perfect all on their own straight out of the oven. But they do make a nice, roll-sized vehicle for anything sausage shaped, and I can’t see many people objecting to using this as the base for a good solid cheesesteak sandwich. If you really wanted to get decadent, the twists could be split lengthwise, spread with a garlic butter, and broiled into a dreamy take on garlic bread.

To capitalize on the tea sandwiches idea, you could make them even smaller, dividing into 16 or even 24 pieces, and creating miniature twists to serve as part of an appetizer spread with the requisite cream cheese and cucumber filling. I haven’t tested this smaller size so I can’t be sure how much to reduce the baking time – start with 12 minutes and go from there.
Food blog April 2015-0693

Cheddar Dill Twists
Makes 8 sandwich sized twists
2 teaspoons yeast
1 tablespoon brown sugar
½ cup lukewarm milk
½ cup plain, unsweetened Greek yogurt (you could use regular yogurt too, but you might need additional flour)
1 large egg
2 – 2½ cups bread flour
1 teaspoon salt
2 tablespoons finely minced fresh dill
1 cup grated cheddar cheese, if not topping the twists. 1-½ cups grated cheddar, divided, if topping the twists
  • In a bowl or a 2-cup glass measuring cup, combine the yeast, brown sugar, and lukewarm milk. Stir, then set aside for 5-10 minutes until bubbly and smelling of bread.
  • In the bowl of your stand mixer, or another large bowl, stir together the egg and the yogurt (use the paddle attachment, if you are working with a stand mixer). Add in the milk and yeast mixture, stirring well, then add 2 cups of the flour, the salt, the dill, and 1 cup of the cheddar cheese. Mix until the dough comes together into a rough ball.
  • Switch from the paddle attachment to the dough hook and set to medium, if you are using a stand mixer. If you are mixing by hand or with a wooden spoon, turn the dough out onto a floured board. In either case, knead into a smooth, slightly sticky ball with some elasticity. If it seems too sticky to work with, add more flour 2 tablespoons at a time. This unfortunate stickiness may increase as the cheese softens; don’t despair.
  • Plop the kneaded dough in an oiled bowl (I just spray down the sides of my stand mixer bowl and flip the dough ball over a few times), cover tightly with plastic wrap, and leave it to rise for 60-90 minutes, until doubled. Punch it down by gently pressing your knuckles into the center, then let it rest for 5 minutes.
  • Turn the dough out onto a lightly floured board and divide into 8 equal pieces. Using the palms of your hands, roll into 18-inch long ropes. As you roll, the middle will get thin and the ends will plump up. Prevent this by pushing outwards toward the ends of the rope (so your hands are moving slightly away from each other) as you roll.
  • Fold the rope over into a long horseshoe shape, then twist or “braid” it by lifting one side over the other in 3 or 4 tight twists, as in the photos above. When you reach the ends, crimp them together and tuck them under for neatness.
  • Transfer each twist to a baking sheet lined with parchment paper, settling them at least 2 inches apart, and let rise again for 45-60 minutes, until noticeably plumped but not quite doubled.
  • At least 30 minutes before cooking, preheat the oven to 350F.
  • When you are ready to bake, if you want to top the twists with cheese, sprinkle the remaining ½ cup of cheddar in equal amounts over each – this will be about a tablespoon per twist.
  • Bake at 350F for 18 minutes, until the twists are golden and the top layer of cheese is melted and slightly crisp.
  • Cool for 5-10 minutes, if you can, before removing to a rack or directly to your mouth.


#TwelveLoaves is a monthly bread baking party created by Lora from Cake Duchess and runs smoothly with the help of Heather of girlichef, and the rest of our fabulous bakers.

Our host this month is Robin from A Shaggy Dough Story, and our theme is CHEESE. For more bread recipes, visit the #TwelveLoaves Pinterest board, or check out last month’s mouthwatering selection of #TwelveLoaves enter last month’s Italian Breads!

If you’d like to bake along with us this month, share your CHEESE bread using hashtag #TwelveLoaves!


Mushroom Puttanesca Calzone

Food Blog March 2015-0498It would seem that I’m developed a bit of an obsession with well-oiled, aggressively seasoned mushrooms, patiently pan-roasted until deeply, deeply browned and edging toward crisp. Still bouncy on the inside, these golden crusted, meaty little nuggets are finding their way into my cooking more and more frequently. This would be, I think, an entirely good thing in terms of health and waistlines, except I keep drowning them in small mountains of cheese. Last week it was the quintessential quesadilla (which, if you’re wondering, is also stellar in taco format with the addition of tempeh, per my friend S.). This week, a calzone filled with deeply caramelized mushroom quarters, a chunky adaptation of my favorite puttanesca sauce, and of course, the requisite cheese all folded up and pinched inside a swollen half moon of dough.

Food Blog March 2015-0464Food Blog March 2015-0479I love a good calzone, but N. is a little resistant for the same reason he is resistant to lasagna: the not-smooth-enough texture of ricotta cheese. Its strange milky loyalty to both savory and sweet applications is not quite cheese-flavored enough, and the slight graininess of the tiny, tiny residual curds lingering in there weirds him out. Fortunately, in this case as with most cheese-related conflicts, the answer is more. Mashing a healthy dose of grated mozzarella in with the ricotta adds a stronger cheese flavor and ups the salt content, which I think ricotta often needs. Here, I’ve bumped up the flavor and interest even more by folding in a small pile of chopped herbs and some lemon zest. This provided welcomed brightness against the deep earthy mushrooms and puttanesca.

Food Blog March 2015-0471Food Blog March 2015-0476The trick with calzones, as you might expect, is moisture. Because you are sealing up this lovely little packet, it should be baked at a lower temperature than a pizza – the dough tends to be a bit thicker, and because half of it is on the inside, it needs more time to cook all the way through without burning the outside. But what you’ve stacked up inside also has more time to release its own juices, which can result in a bottom crust which is a bit, well, mushy is such an ugly word. Let’s call it soft. Ours certainly was. Calzone dough should be chewy and slightly pillowy but still, there’s a reason it’s called crust.

Food Blog March 2015-0481Food Blog March 2015-0482My thoughts on preventing this are as follows: ensure you are using only the chunky vegetable bits from the puttanesca sauce for the inside. Save the sauce component to spread over the top of the calzone. Additionally, if you have the time, drain the ricotta lump in a strainer lined with cheesecloth or paper towels. Even an hour would allow some of that moisture to escape, which means it would end up in the sink rather than the bottom crust of your dinner.

Food Blog March 2015-0484Food Blog March 2015-0485Food Blog March 2015-0488But even if you do end up with a bottom crust that isn’t as, well, crusty as you might like, you won’t be hurting for flavor. Mushrooms and ricotta – particularly a ricotta jazzed up with mozzarella and aromatics – play incredibly well together, and somehow both hold up to the briny strength of the sauce.
Food Blog March 2015-0492It’s a good dish, then, with which to bid March farewell: still those dark, warm notes of winter, but a lovely springy freshness too, all wrapped up in a chewy, melty package, and just as delicious the next day.

Food Blog March 2015-0499

Mushroom Puttanesca Calzone
Serves 6-8
16 ounces pizza dough, homemade or store bought
8 ounces crimini or button mushrooms, stemmed and quartered
2 tablespoons olive oil
pinch of pepper
sprig of thyme (optional)
4 ounces ricotta cheese, drained if desired
8 ounces (1 cup) low moisture mozzarella cheese, grated and divided
2 tablespoons fresh parsley, minced
1 tablespoon fresh basil, minced
pinch of salt
1 teaspoon lemon zest
For sauce:
2 tablespoons olive oil
4-6 cloves of garlic, minced
1 tablespoon capers, minced
¼ cup coarsely chopped kalamata olives
2 anchovy fillets
pinch of red pepper flakes, to taste
1 teaspoon dried basil
½ cup dry red wine
8-10 ounces diced canned tomatoes, with their juice
  • On an oiled pizza pan, spread out the pizza dough in a rough circle 12 inches in diameter. If it springs back, no worries; let it rest for ten minutes and then stretch it out again. At least half an hour before you are ready to bake, preheat the oven to 375F with a rack in the middle position.
  • In a large skillet, heat the 2 tablespoons olive oil over medium heat. Add the mushrooms, the pinch of pepper, and the thyme sprig if desired and cook until the mushrooms are well-browned. This should take 8-10 minutes with occasional stirring, during which time the mushrooms will suck up the oil, release their liquid, and then accept some of that liquid back again.
  • While the mushrooms cook, combine the ricotta and ½ cup of the mozzarella cheese in a small bowl with the fresh parsley, fresh basil, lemon zest, and pinch of salt to taste. I find a rubber spatula works well for this. Reserve the remaining ½ cup of mozzarella for the top of the calzone.
  • When the mushrooms are done, set them aside in a small bowl and discard the thyme sprig, then put the skillet back over medium heat. Add the remaining 2 tablespoons of olive oil and the minced garlic. Saute for 1-2 minutes, until the garlic is soft and aromatic and edging toward golden. Add the anchovy fillets and mash them around with a wooden spoon to break down. Scrape in the capers and olives and saute for an additional 1 minute.
  • Toss in the red pepper flakes, the basil, and the ½ cup of red wine and bring to a simmer. Add the tomatoes with their juice and simmer over medium heat for 15-20 minutes, until the liquid has reduced a bit and the flavors are well combined. Remove from heat and let cool for a few minutes.
  • To assemble, spread the cheese mixture over half of the stretched dough, leaving a healthy inch margin around the edge. Pile the mushrooms on top of the cheese, and then use a slotted spoon to add the chunky portions of the sauce – the tomato and olive and caper bits – on top of the mushrooms (again, keep and respect that inch margin).
  • With slightly moistened or lightly oiled hands (especially if your dough is sticky), grab the edge opposite the area you’ve been filling and pull up, folding over to meet the half-circle edge along your margin. You’ll form a half-moon shape with the dough. Crimp the edge by pulling the bottom layer of dough up slightly over the top layer in a series of small segments. Press and pinch each one tightly into the top layer of dough about a half inch from the edge. This will form a seal to prohibit the top from opening up during baking. It also looks pretty. Because we care about that.
  • With the calzone fully sealed along the circular edge, brush the top with some of the remaining puttanesca sauce, then sprinkle on the remaining ½ cup of mozzarella cheese. Carefully place into the preheated oven and bake for 30-35 minutes, until the cheese on top is melted and crusty, and the dough is golden and cooked through. After removing from the oven, wait 5-10 minutes before slicing, then serve hot with any remaining puttanesca sauce, if desired.

Mushroom Kale Quesadillas

Food Blog March 2015-0538Because I have the habit of wanting to impress you, the simple, day-to-day dinners I make often don’t end up here because they don’t strike me as “blog-worthy,” as I’m fond of saying. But much as I want to blow you away all the time, this is a silly habit. The point is not over-the-top impressive, outrageously original, faultlessly styled plates. At least it shouldn’t be. The point is good food. And yet because I get sucked in by things like Pinterest and Tastegawking and Foodspotter and vice versa, we had these mushroom kale quesadillas three or four times in a month because they were so damn delicious I couldn’t stop thinking about them before I realized they might be something I should share with you. Even though they are simple. Even though they are just quesadillas.

Food Blog March 2015-0533Because, seriously? Mushrooms. Kale. Cheese. Toasted tortillas. What a combination! Quesadillas are, weirdly enough, a kind of touchstone for me. If I wrote one of those memoir/cookbook mash-ups, a quesadilla would have to find its way in there somewhere, because when I stop and think about it for three seconds, my life contains a number of memory-charged quesadilla incidents. Example: when my family moved from Southern to Northern California shortly after I graduated from high school, some of the first ingredients in our new fridge were tortillas, cheddar, and salsa. As my mom unpacked the kitchen and the movers unloaded box after box after box from the massive truck into our new garage, we realized the morning had wasted thin and we were starving. Cue Chelsea at the stove with a skillet and spatula rinsed free of box dust seconds ago, flipping quesadillas. They weren’t magnificent, because they were just cheddar folded inside a flour tortilla, but when the cheese melted and sizzled out the sides, and the fat hidden in that deceptively dry flour tortilla browned in huge freckles all over the surface, no one wanted anything else for lunch, including the movers. We used up the whole package of tortillas and most of the cheese, but it was nice to watch everyone unfolding the fried half-moons and pouring liberal doses of salsa over the molten orange goo inside.

Food Blog March 2015-0527Quesadillas are best when you don’t think about them too much. What I mean is, they are best when they contain a quantity of cheese you’d rather not cop to. During our second year of living together, my college roommate K. wondered briefly why she liked my quesadillas so much more than hers. Part of it was undeniably the fact that food tastes so much better when someone makes it for you. But part of it, we determined, was that I used more cheese than she did. Great blocks of monterey jack sacrificed themselves to feed our quesadilla longing, and K. placed me permanently in charge of quesadilla production, as long as I never told her how much cheese I was folding inside. In those days, we upgraded from spooning a scoop up jarred salsa inside to smashing a velvet green half of avocado over the top, and maybe a luscious scoop of sour cream. These lunches were probably, now that I think about it, the base of much of my weight gain that year (the post-break-up pints of Godiva ice cream were likely the other culprits). But in retrospect, my “sophomore sixteen” is so much less important than how good those quesadillas were with their different kinds of softness and the crisp, almost oily tortilla in between.

Food Blog March 2015-0523Food Blog March 2015-0525Though I’m still on board with a simple monterey jack quesadilla with avocado, guacamole, or salsa of any kind smeared over the top, I gradually realized quesadillas could also be employed to funnel vegetables into us. I don’t skimp on the cheese – no sense forgetting what I’ve learned – but now I jam in layers of corn or spinach or, in this version, thinly sliced mushrooms pan roasted until golden and almost crisp, folded together with torn leaves of kale barely wilted with some olive oil and salt. In quantity, cheese is non-negotiable, but the variety you mound on is a personal choice. I’m partial these days to pepperjack for that lovely extra kick, but regular, dependable old monterey jack, or a combination of jack and fontina or gouda would also be glorious. Here I’m using spinach tortillas in a combination vain attempt to make these seem healthier, and because I just dig the flavor, but you could use plain flour tortillas, or even corn, though they will obviously require less filling.

Food Blog March 2015-0528I’m not going to make the claim that these quesadillas will turn a mushroom and kale hater into a mushroom and kale lover, because we’re really not hiding the vegetables; we’re celebrating the way they complement the cheese and toasty tortilla. But they might turn a mushroom tolerator into an almost-fan, and someone who is tired of kale might find in them a gasp of fresh breath. And they will without question provide you with a quick, delicious dinner item that is absolutely perfect with a side of these beer braised beans.

Food Blog March 2015-0540

Mushroom Kale Quesadillas
Serves 2 as a main dish, 4-6 as an appetizer
2 tablespoons olive oil
16 ounces crimini mushrooms (1 pound)
5-6 ounces kale, tough stems removed
2 cups monterey jack or pepperjack cheese, or a mixture of soft white cheeses
4 burrito size tortillas (I like the spinach ones)
  • Heat the 2 tablespoons olive oil over medium heat until glistening. Add the sliced mushrooms and sauté over medium for 8-10 minutes, until they are nicely golden and some are barely crisp.
  • Add the kale to the cooked mushrooms and sauté for another 3-4 minutes until barely wilted but still bright green; season with salt and pepper if desired. Remove from heat and set aside to cool slightly.
  • To build the quesadillas, lay out the bottom tortilla and scatter ⅔ cup of the cheese evenly across it. Add half the mushroom and kale mixture, then scatter ⅓ cup of cheese on top of the vegetables. Top with the second tortilla. This construction – cheese, vegetables, cheese – holds in the vegetables because the cheese melts on both sides of them, binding them inside. This makes for easier, cleaner flipping.
  • Cook the quesadilla in a dry pan (I use the same one I cooked the mushrooms and kale in, just wiped clean with a paper towel) over medium to medium-high heat until the bottom tortilla is nicely browned (or slightly charred, if you like that), and the bottom layer of cheese is well melted; 3-4 minutes. Flip and repeat.
  • While the first quesadilla cooks, build the second one as described above.
  • When both sides of the quesadilla are nicely browned and crisp, remove from heat. Wait 1-2 minutes before slicing to avoid losing too much cheese. Repeat with second and all subsequent quesadillas.
  • Repeat with second and all subsequent quesadillas.
  • To serve, cut in quarters (or smaller wedges) and offer with guacamole, sour cream, salsa, or just bare and crisp and oozing and perfect.