 It seems fitting that I should do my first post along with the Twelve Loaves bakers during a month that celebrates cheese. On any given day, you can find between three and six different kinds of cheese in the tiny drawer in my refrigerator. My last two posts have featured it as a key ingredient, and in both I’ve waxed eloquent about using not just some, but MOAR. I seriously love cheese. It’s the primary reason I could never go completely vegan. I could give up meat with very little trouble (though I would miss bacon, I must admit). I could wave a cheerful goodbye to fish, to beef, to chicken, and stock my cupboards with vegetable broth and my freezer with coconut based ice cream. I already use soy rather than regular milk on my cereal and in my weekend chai. But I would have serious problems bidding farewell to cheese.

 Even though I know this isn’t true – they had their ingredient chosen long before I came into the picture – it feels almost like the Twelve Loaves baking group planned this month’s post just for me. Bake with cheese. Yes. I. Will. Cooking with cheese is exciting because the ingredient offers such variety. Do you want something mild, or so sharp it makes your mouth water? Do you want a familiar flavor, or something tart or funky or stinky like last month’s socks? And then there’s texture. Cheese already runs the gamut from so soft it seems already melted to the firmness of parmesan that requires a knife point to dismantle. Add to that the different reactions it has to heat: some cheeses sigh into liquid. Some pull into foot-long strings. Some – and this is one of my favorite results – some flatten and solidify and transform into crunchy little cheese crisps suitable for nothing fancier than jamming into your mouth as quickly as you can.
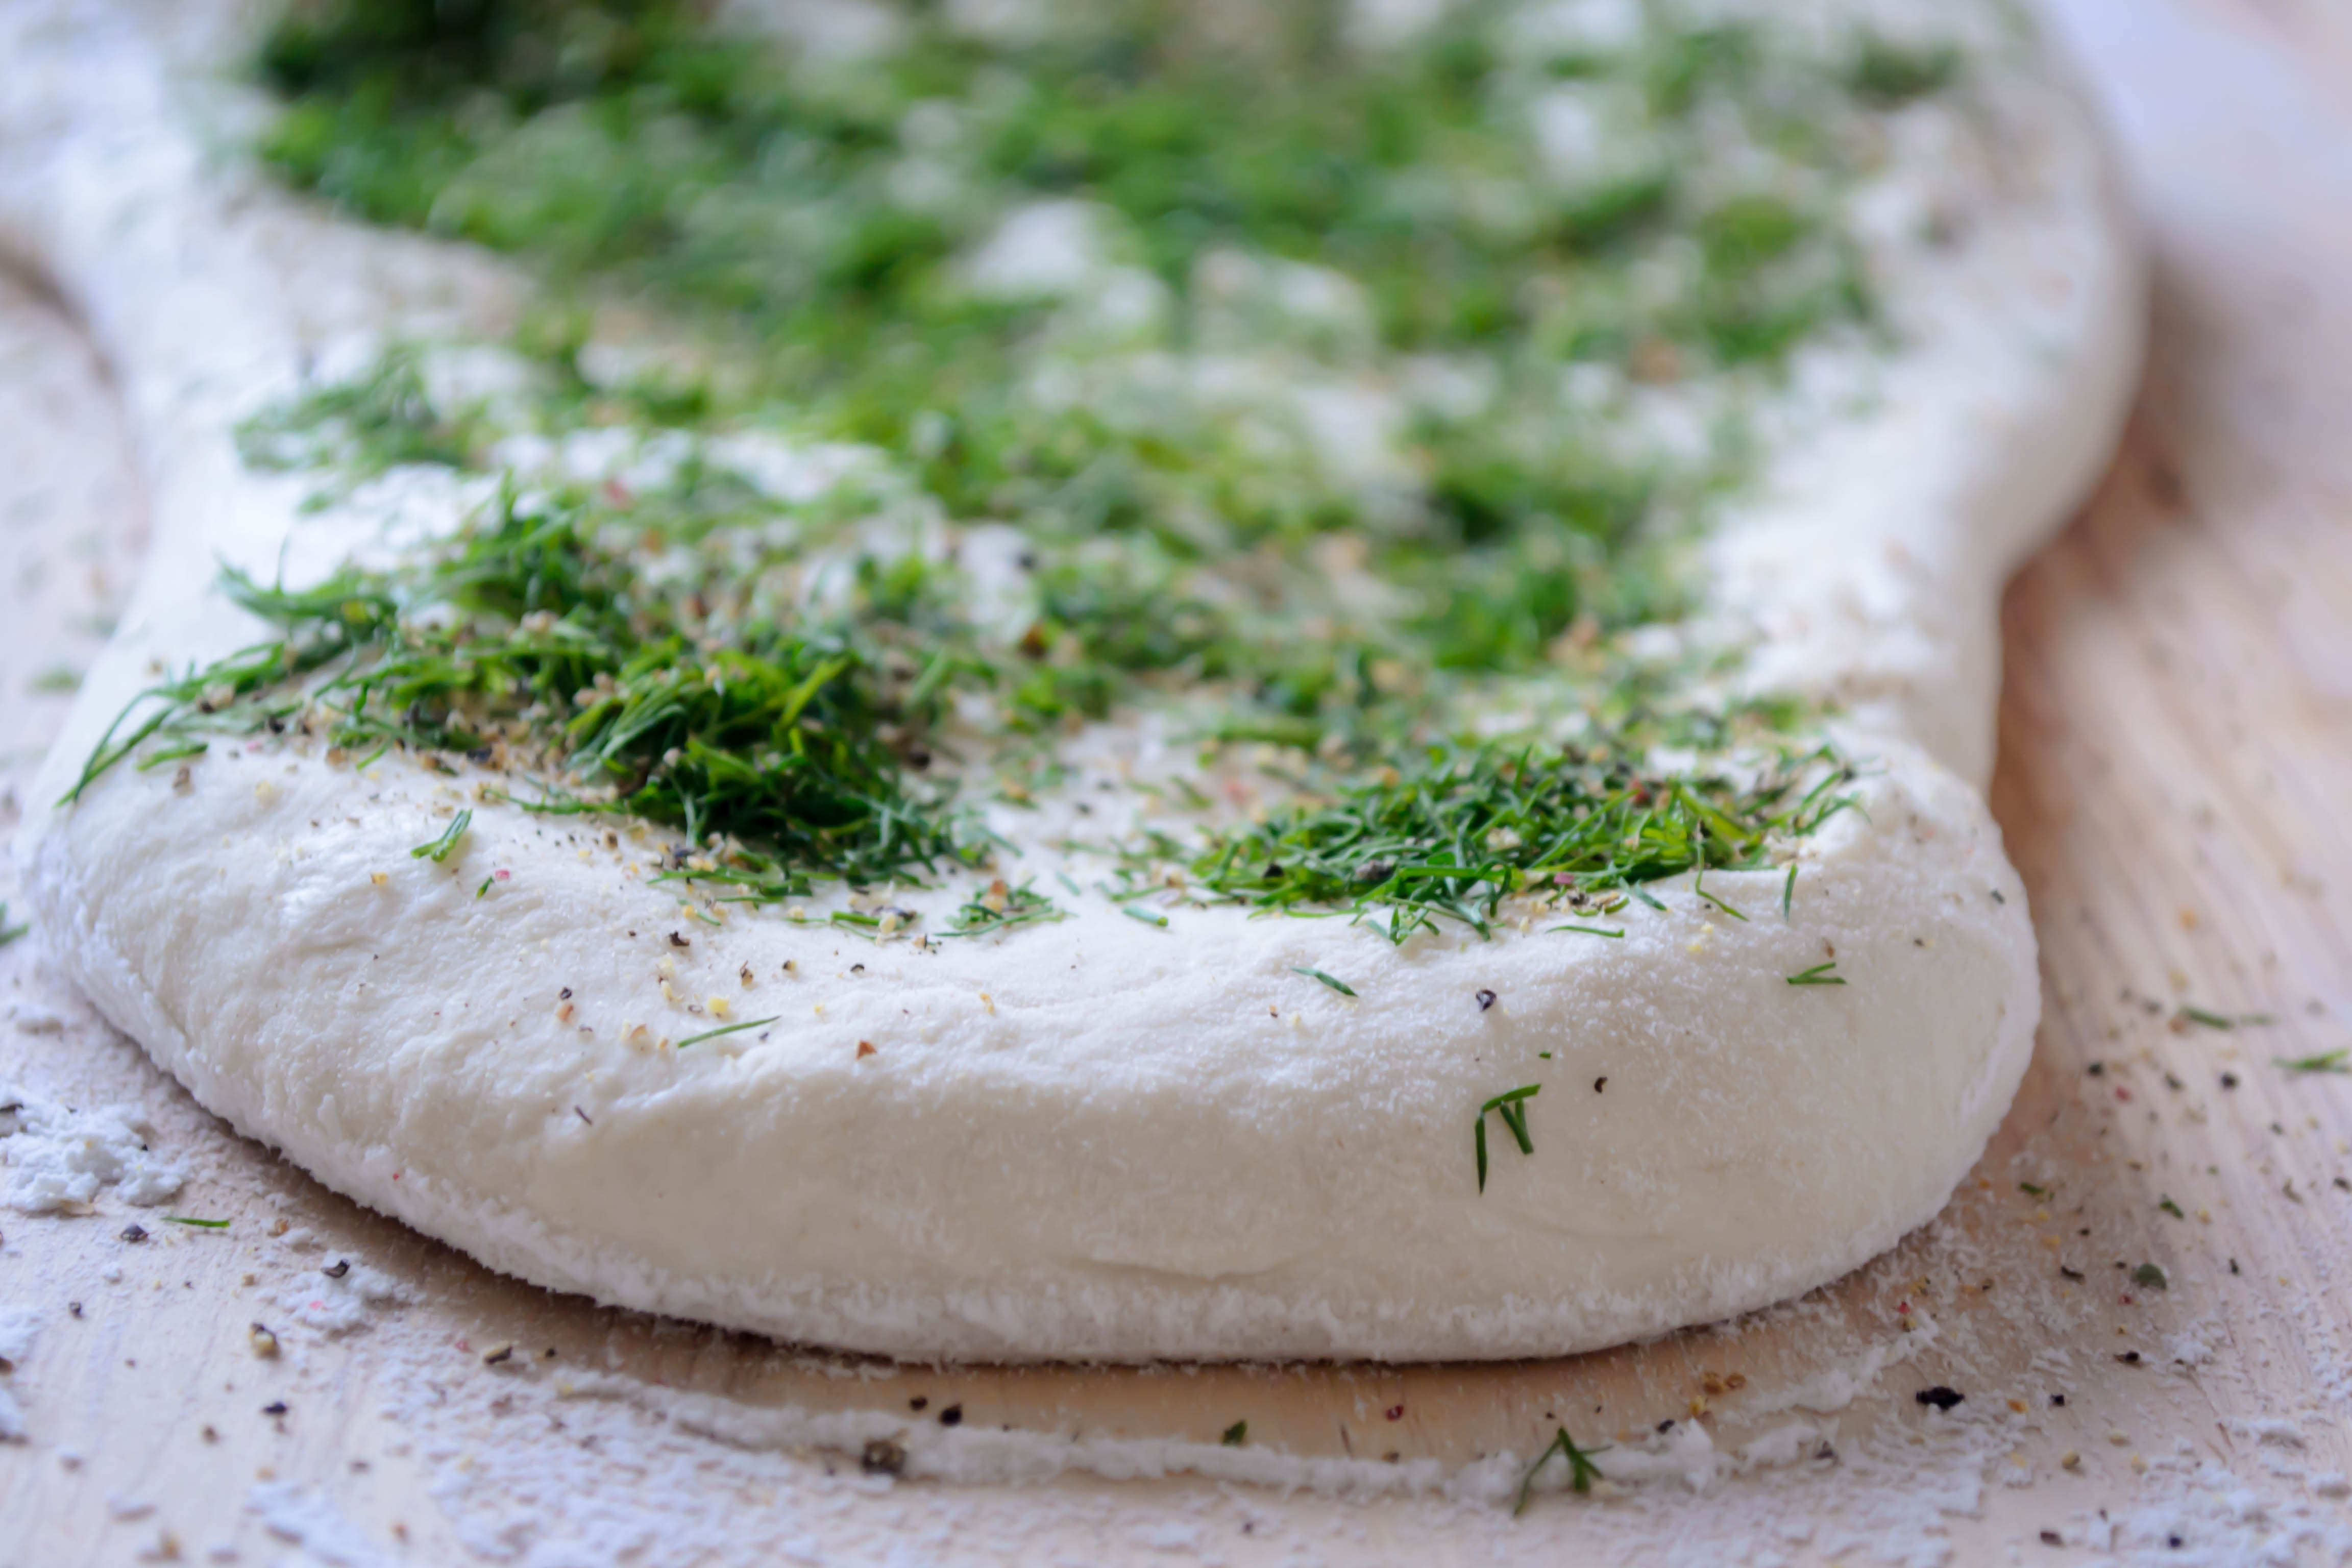
 With all of these options to work with, I was surprised by how quickly I landed on a choice. I’ve been playing around with a pairing of dill and cheddar, and this seemed like the perfect opportunity to showcase it. Dill goes really well with yogurt, so for a different source of fat and moisture, I decided to use some thick, tangy Greek yogurt instead of butter in my dough. The tartness of the yogurt would be nice with the rich sharpness of the cheddar. And since I like to be fancy, I decided to make little twists, rather than a standard loaf.


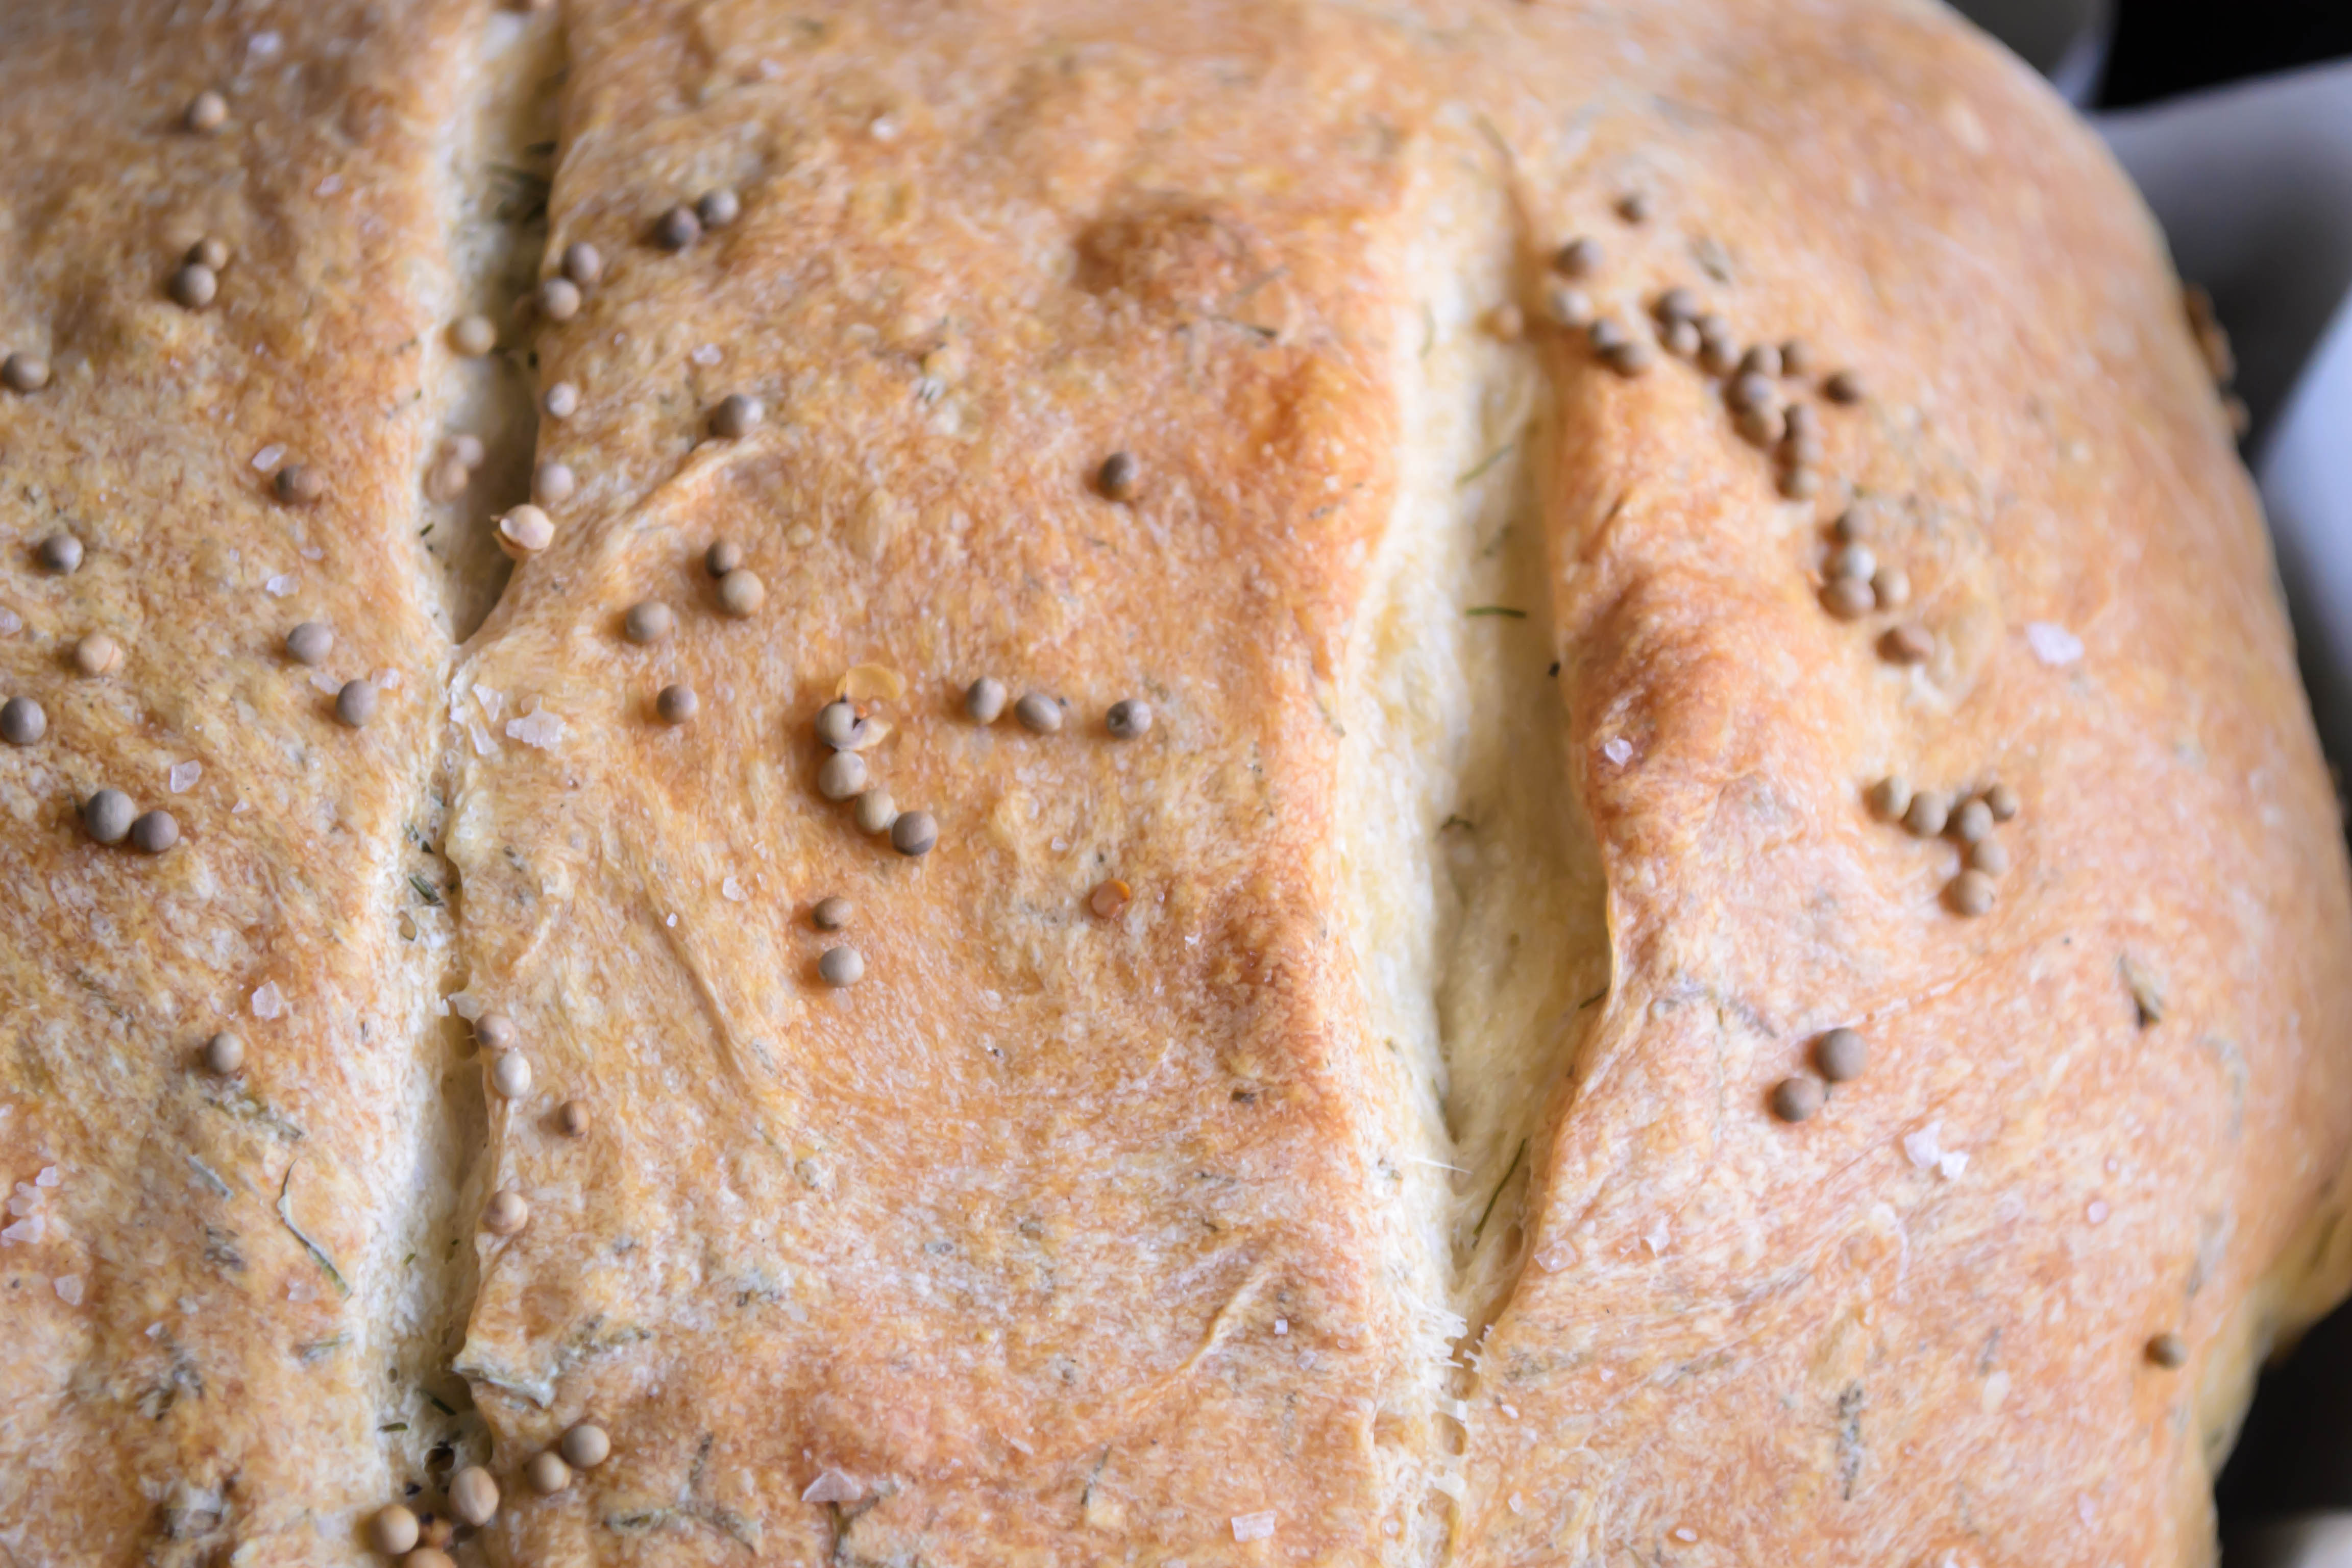
 Guys, these are definitely the right thing to do. The dill-cheddar-yogurt trio is a chamber group on a good night. They bounce off each other in such a lovely way. But it can’t be denied that the star here is the cheese. It melts into little orange pockets while the dough turns into bread, and the smell of it while cooking makes a better homecoming than much else I can think of. I made one tray of twists with cheese sprinkled on top and one without, just to see which was better. As you might expect, more cheese won the day. It drips over the edges into crisp little crackered pieces you can snap off and crunch through before you dive into the main event.

 I had the idea that these would make fantastic extra-large tea sandwiches: halve them into long pieces, toast lightly, slather with cream cheese, then layer with long strips of cucumber. Cheese on cheese is rarely a bad thing, and the cucumber would nod to the dill and provide a crisp freshness and a lightness for the perfect spring lunch. Alas, when I reached into the fridge drawer jammed with vegetables, not cheese, my cucumbers were past their prime. So I had to settle for cream cheese alone, with a side of Caesar salad. I can’t say I ended up disappointed.
 Serving suggestion: these are perfect all on their own straight out of the oven. But they do make a nice, roll-sized vehicle for anything sausage shaped, and I can’t see many people objecting to using this as the base for a good solid cheesesteak sandwich. If you really wanted to get decadent, the twists could be split lengthwise, spread with a garlic butter, and broiled into a dreamy take on garlic bread.
To capitalize on the tea sandwiches idea, you could make them even smaller, dividing into 16 or even 24 pieces, and creating miniature twists to serve as part of an appetizer spread with the requisite cream cheese and cucumber filling. I haven’t tested this smaller size so I can’t be sure how much to reduce the baking time – start with 12 minutes and go from there.

Cheddar Dill Twists
Makes 8 sandwich sized twists
2 teaspoons yeast
1 tablespoon brown sugar
½ cup lukewarm milk
½ cup plain, unsweetened Greek yogurt (you could use regular yogurt too, but you might need additional flour)
1 large egg
2 – 2½ cups bread flour
1 teaspoon salt
2 tablespoons finely minced fresh dill
1 cup grated cheddar cheese, if not topping the twists. 1-½ cups grated cheddar, divided, if topping the twists
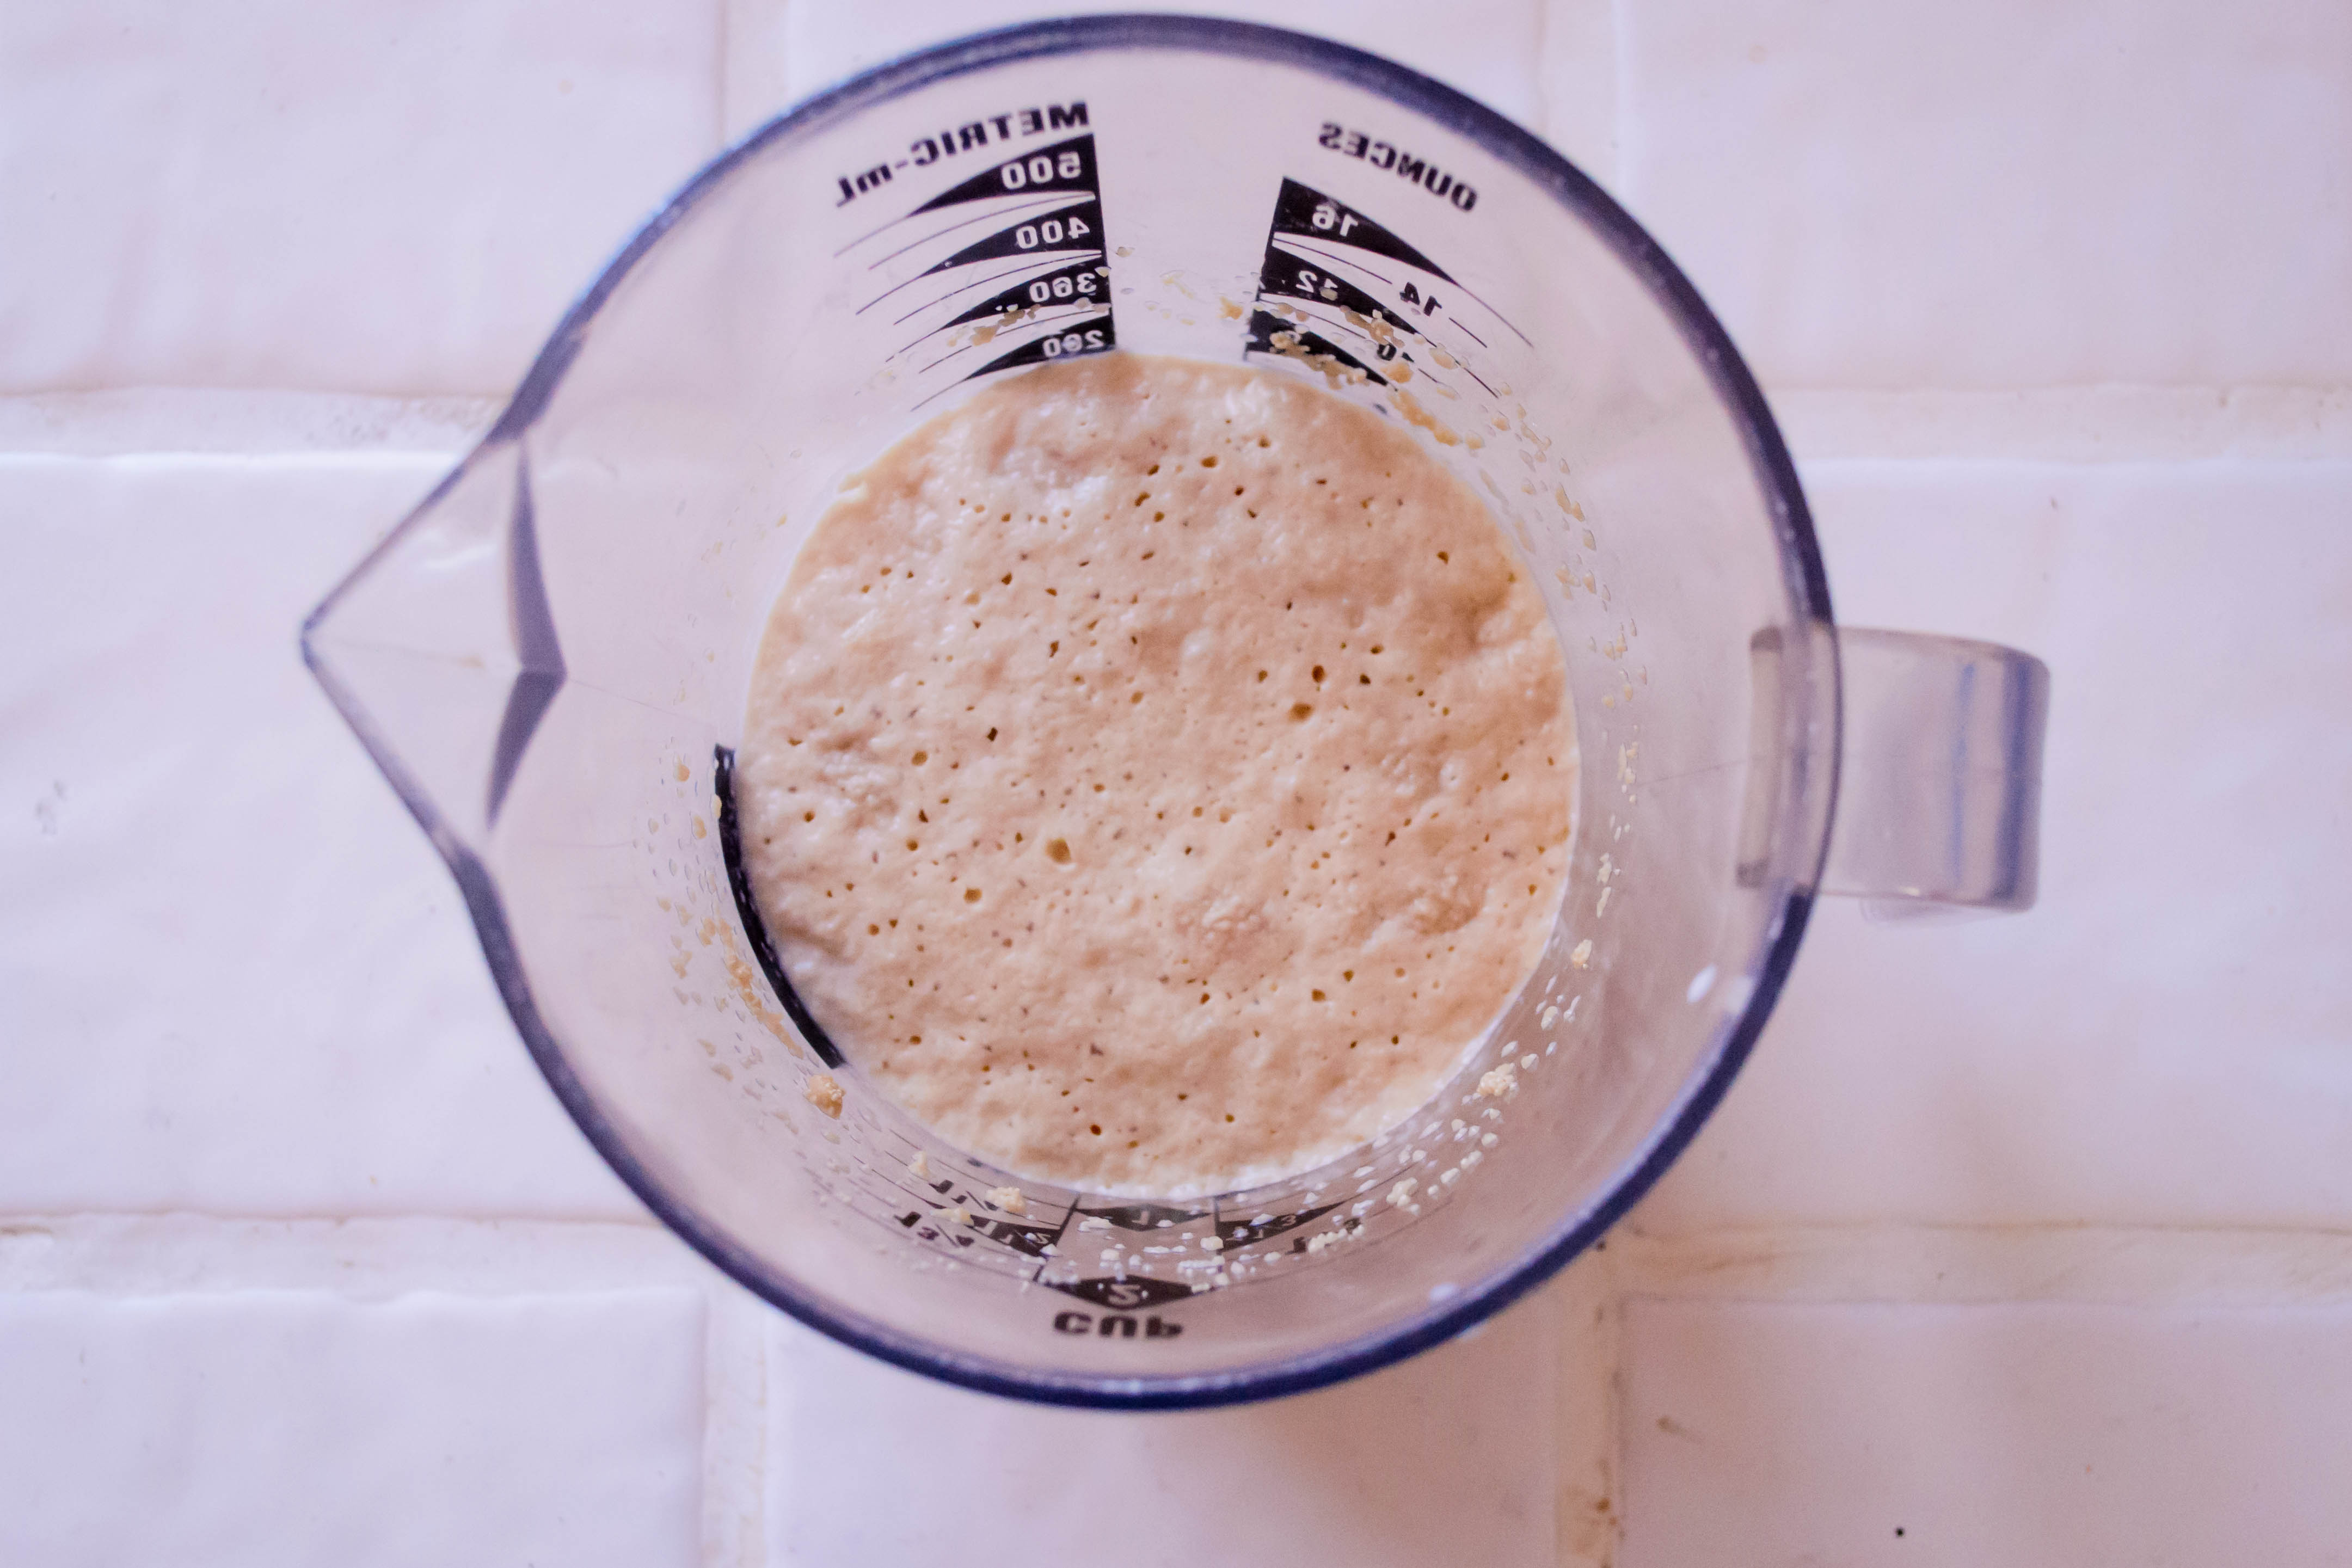
- In a bowl or a 2-cup glass measuring cup, combine the yeast, brown sugar, and lukewarm milk. Stir, then set aside for 5-10 minutes until bubbly and smelling of bread.
- In the bowl of your stand mixer, or another large bowl, stir together the egg and the yogurt (use the paddle attachment, if you are working with a stand mixer). Add in the milk and yeast mixture, stirring well, then add 2 cups of the flour, the salt, the dill, and 1 cup of the cheddar cheese. Mix until the dough comes together into a rough ball.
- Switch from the paddle attachment to the dough hook and set to medium, if you are using a stand mixer. If you are mixing by hand or with a wooden spoon, turn the dough out onto a floured board. In either case, knead into a smooth, slightly sticky ball with some elasticity. If it seems too sticky to work with, add more flour 2 tablespoons at a time. This unfortunate stickiness may increase as the cheese softens; don’t despair.
- Plop the kneaded dough in an oiled bowl (I just spray down the sides of my stand mixer bowl and flip the dough ball over a few times), cover tightly with plastic wrap, and leave it to rise for 60-90 minutes, until doubled. Punch it down by gently pressing your knuckles into the center, then let it rest for 5 minutes.
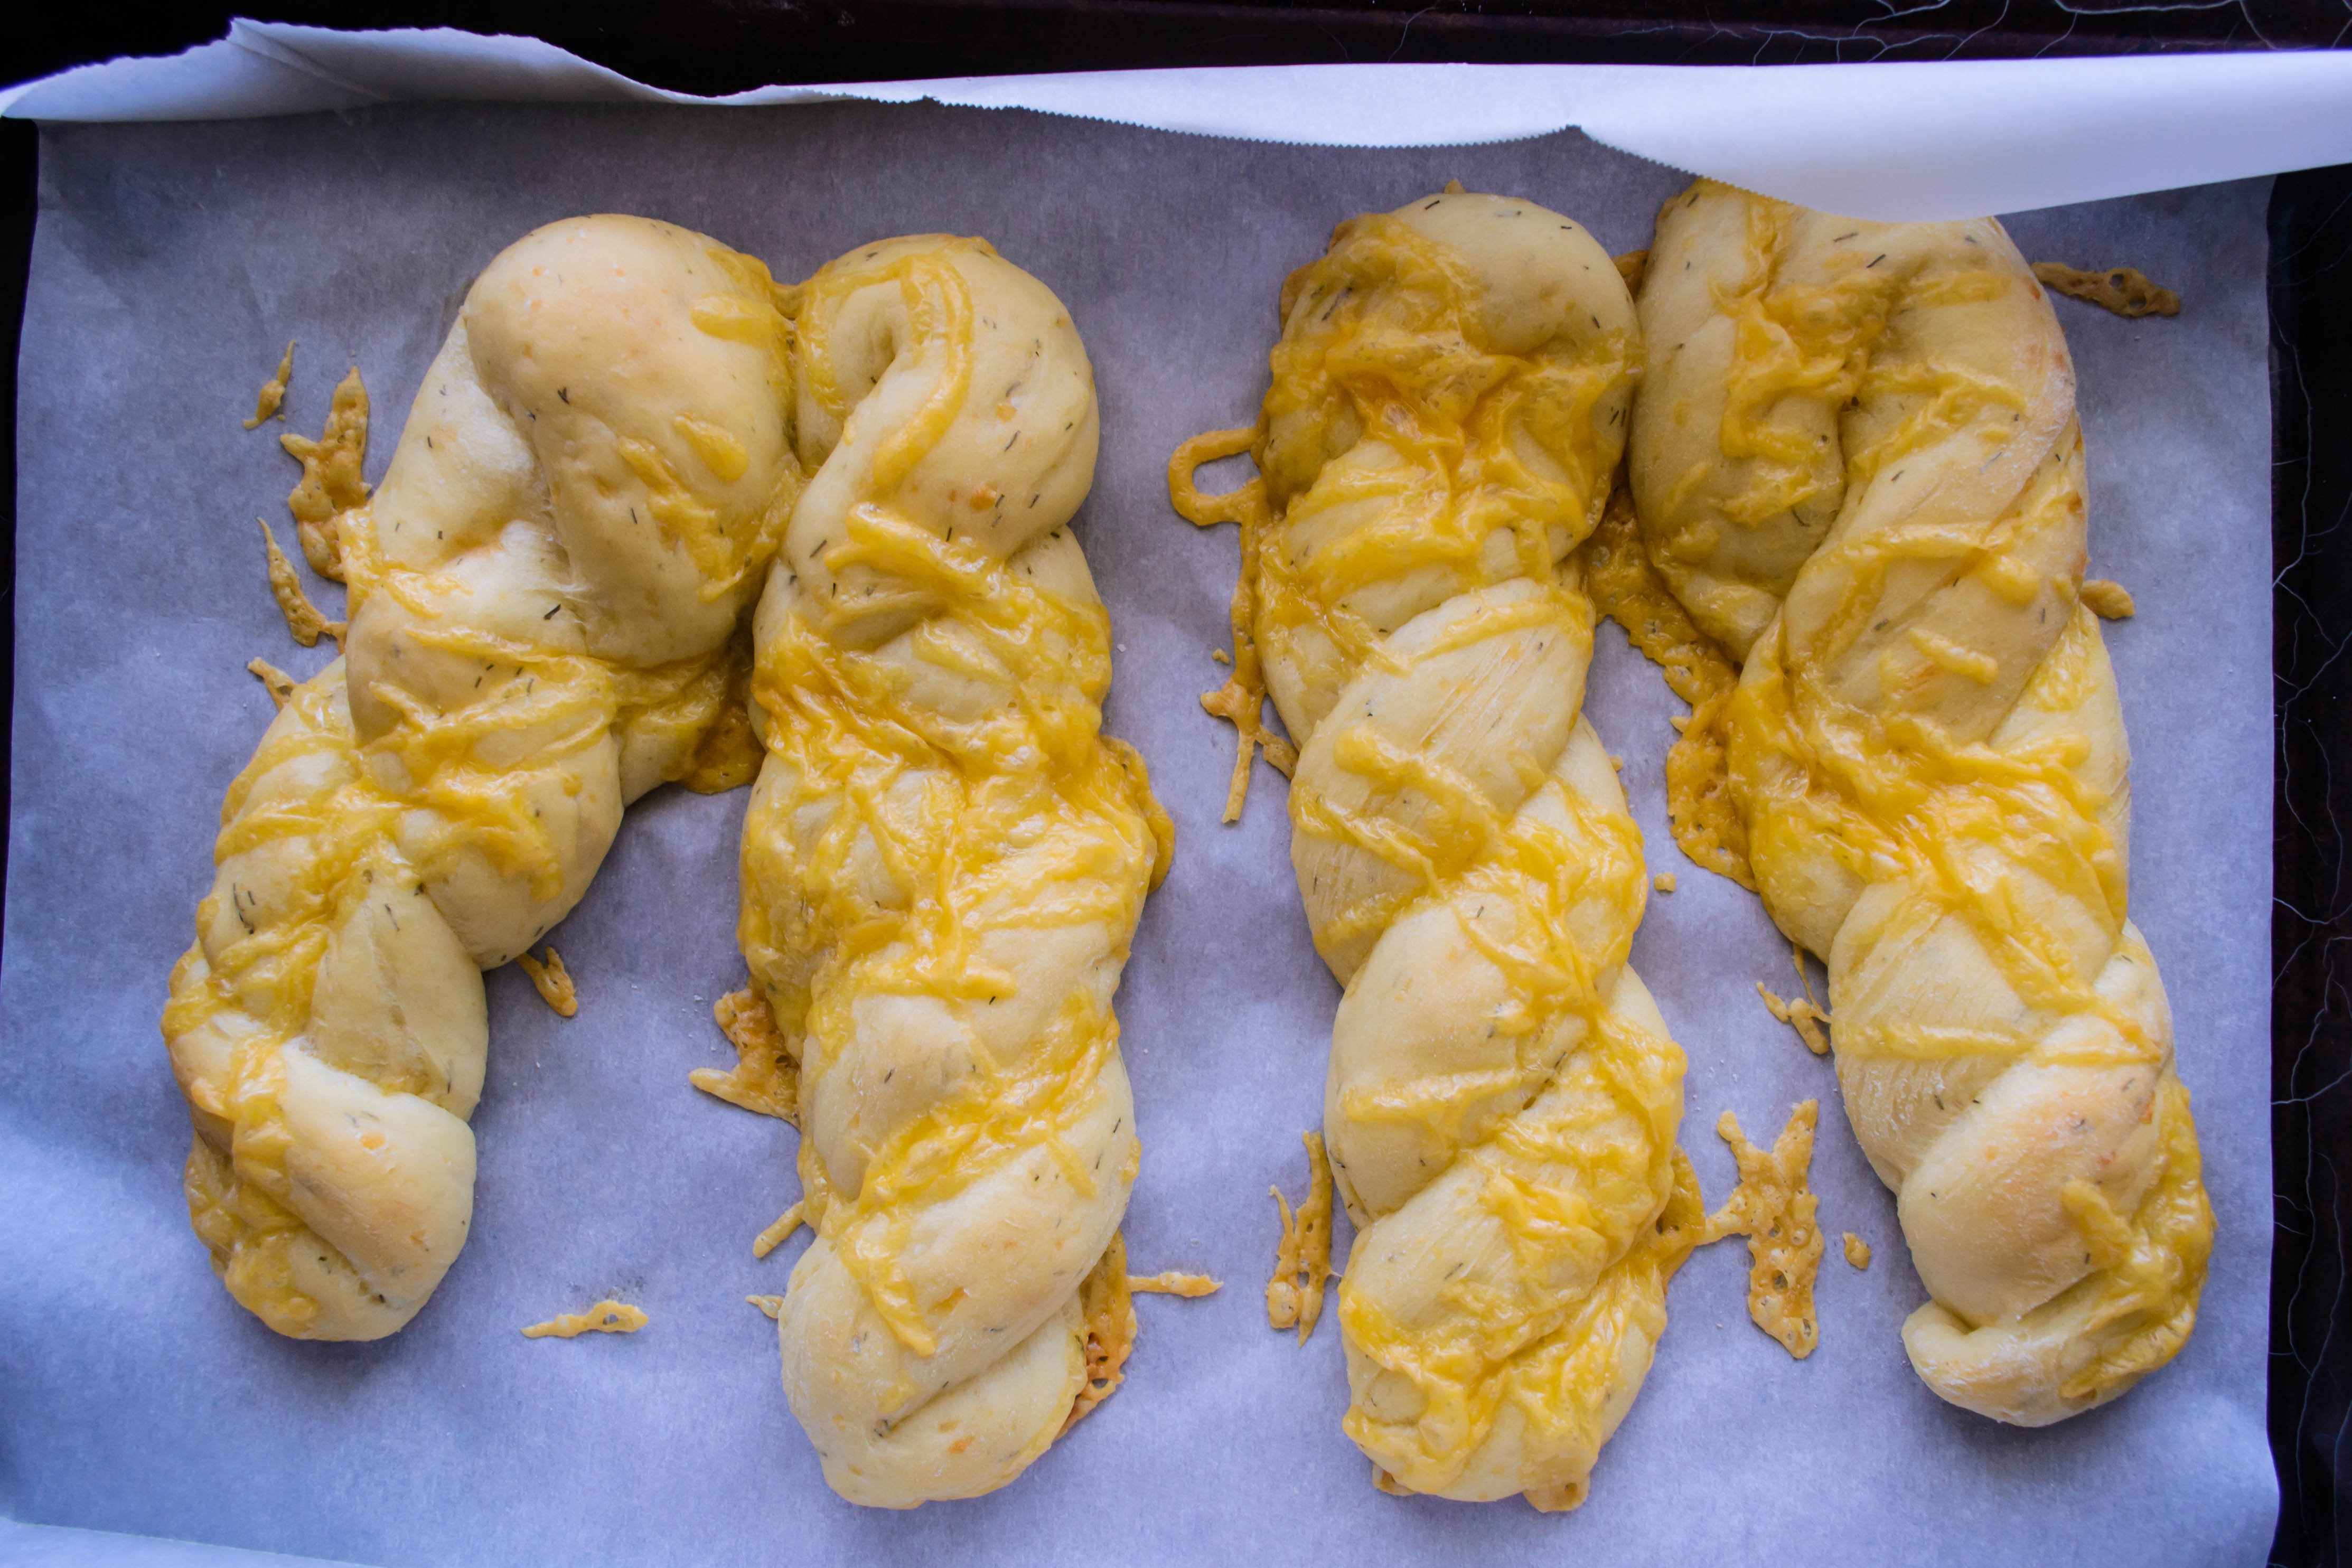
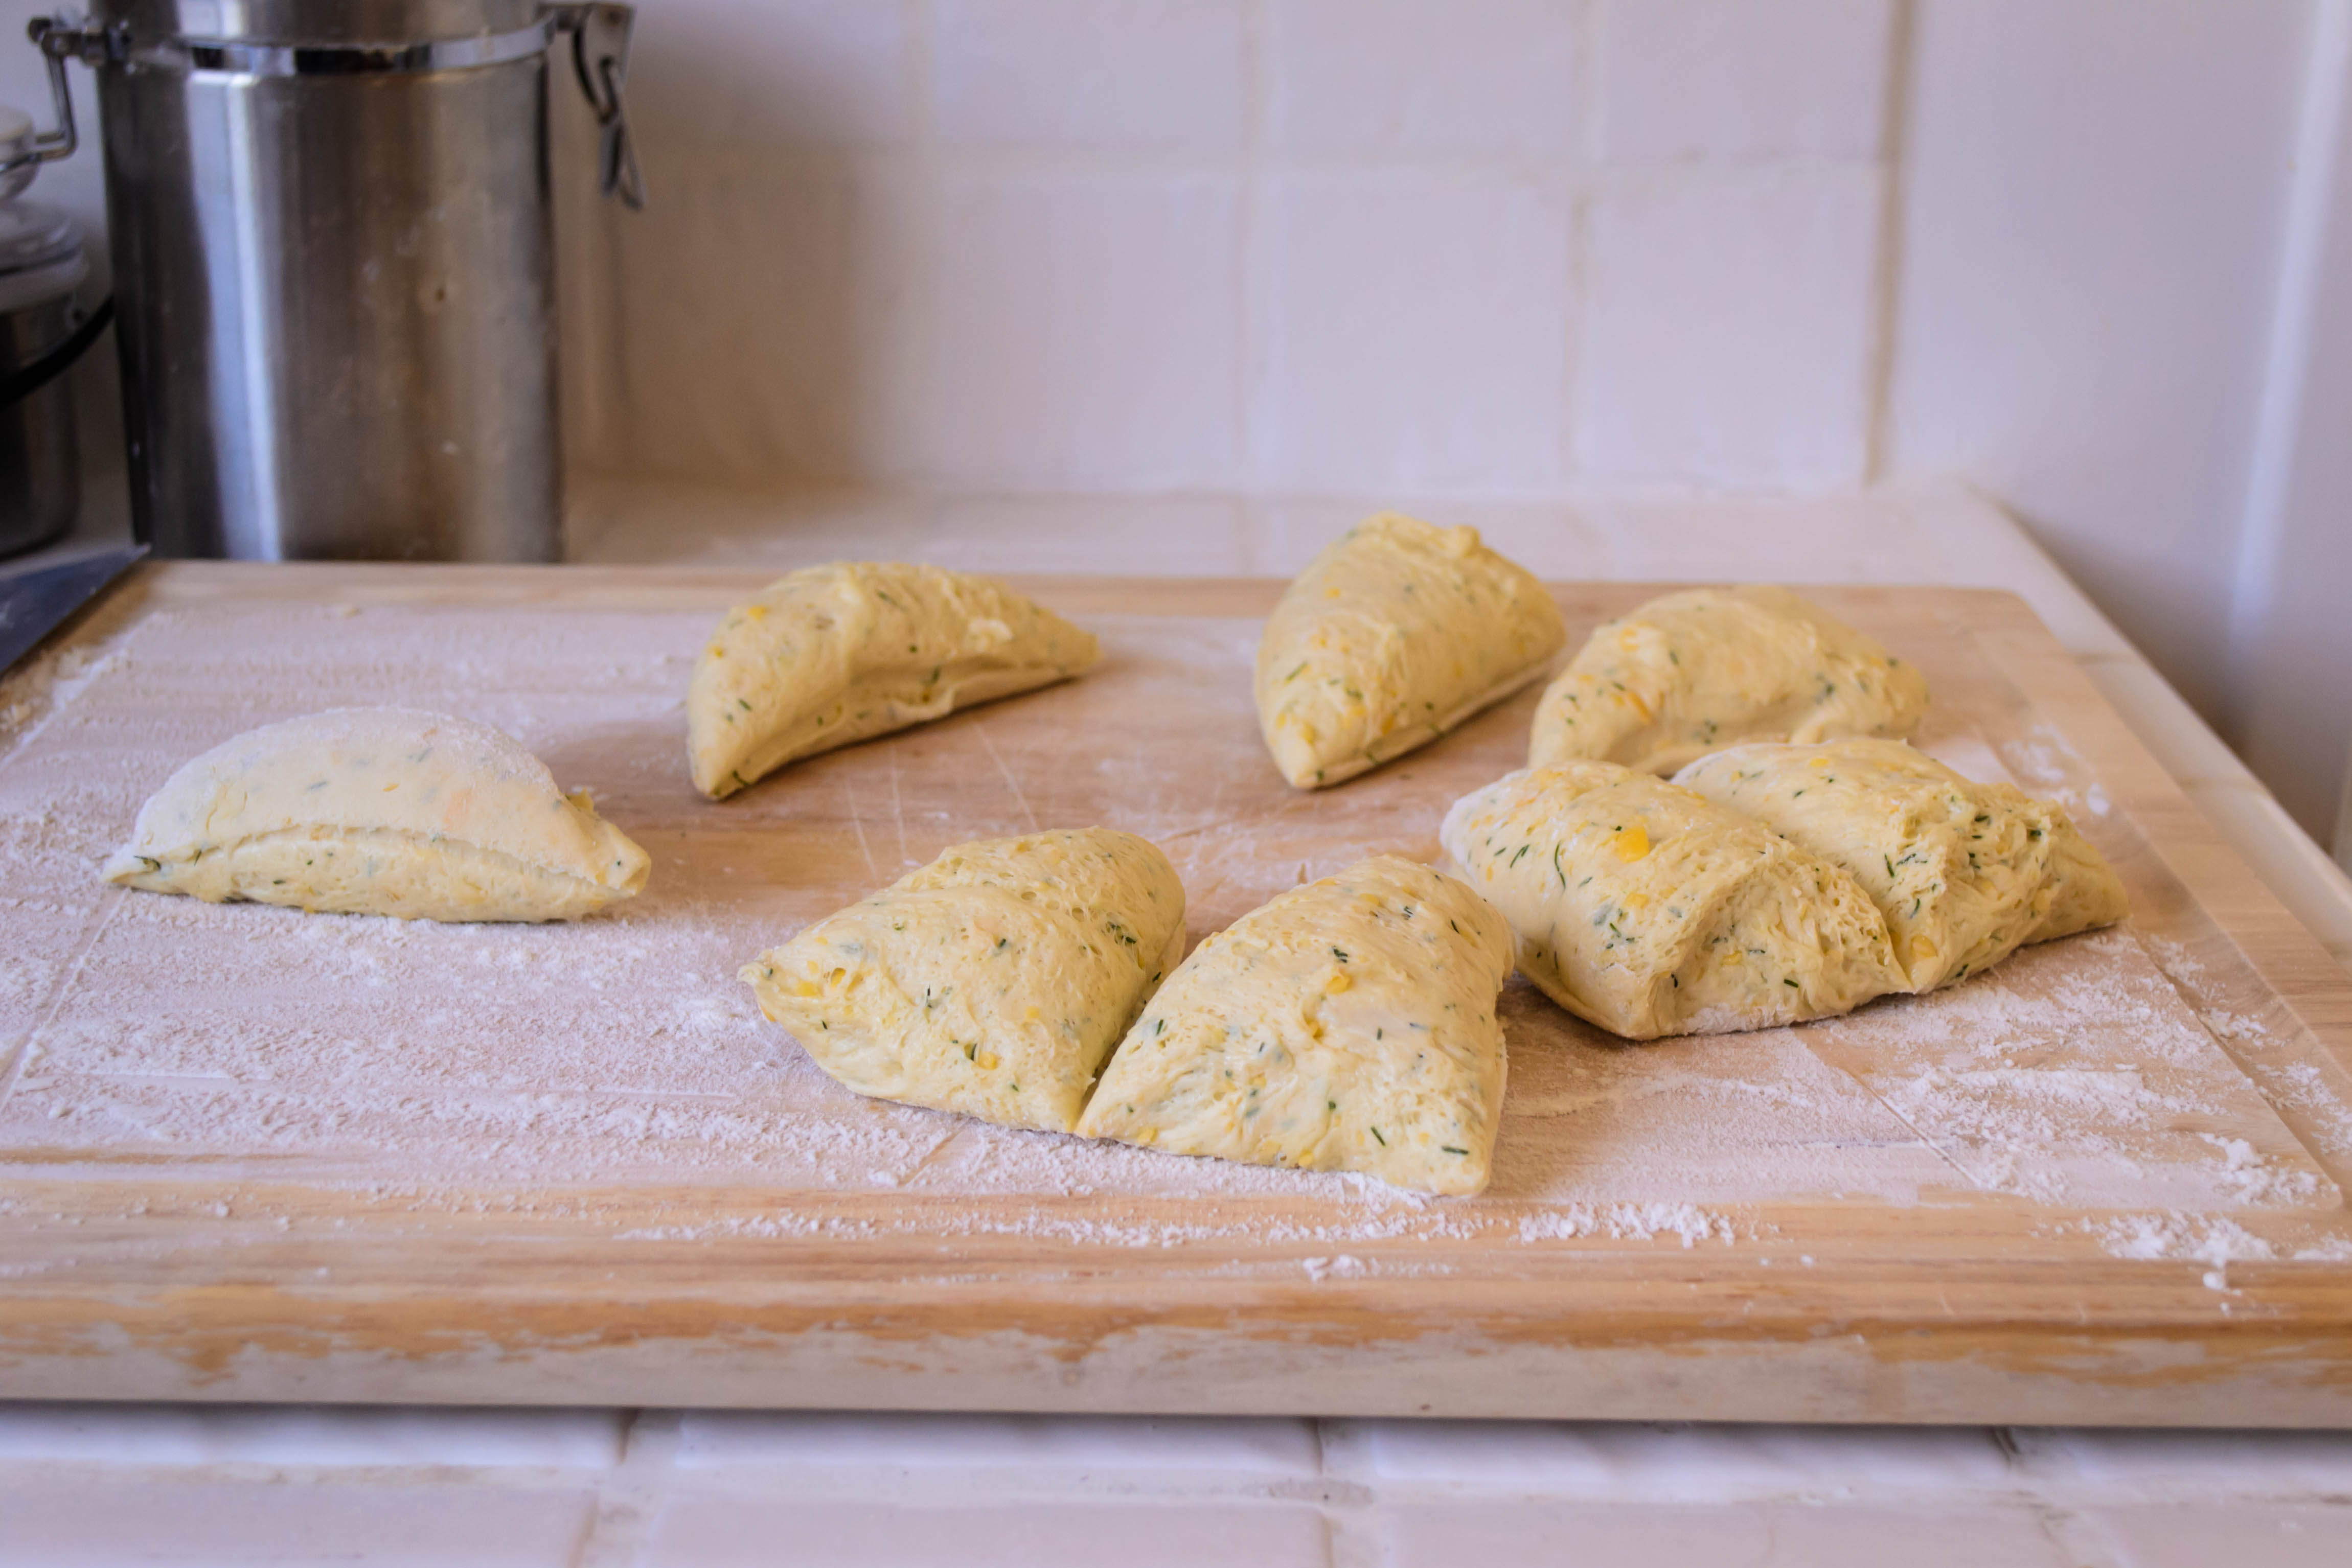
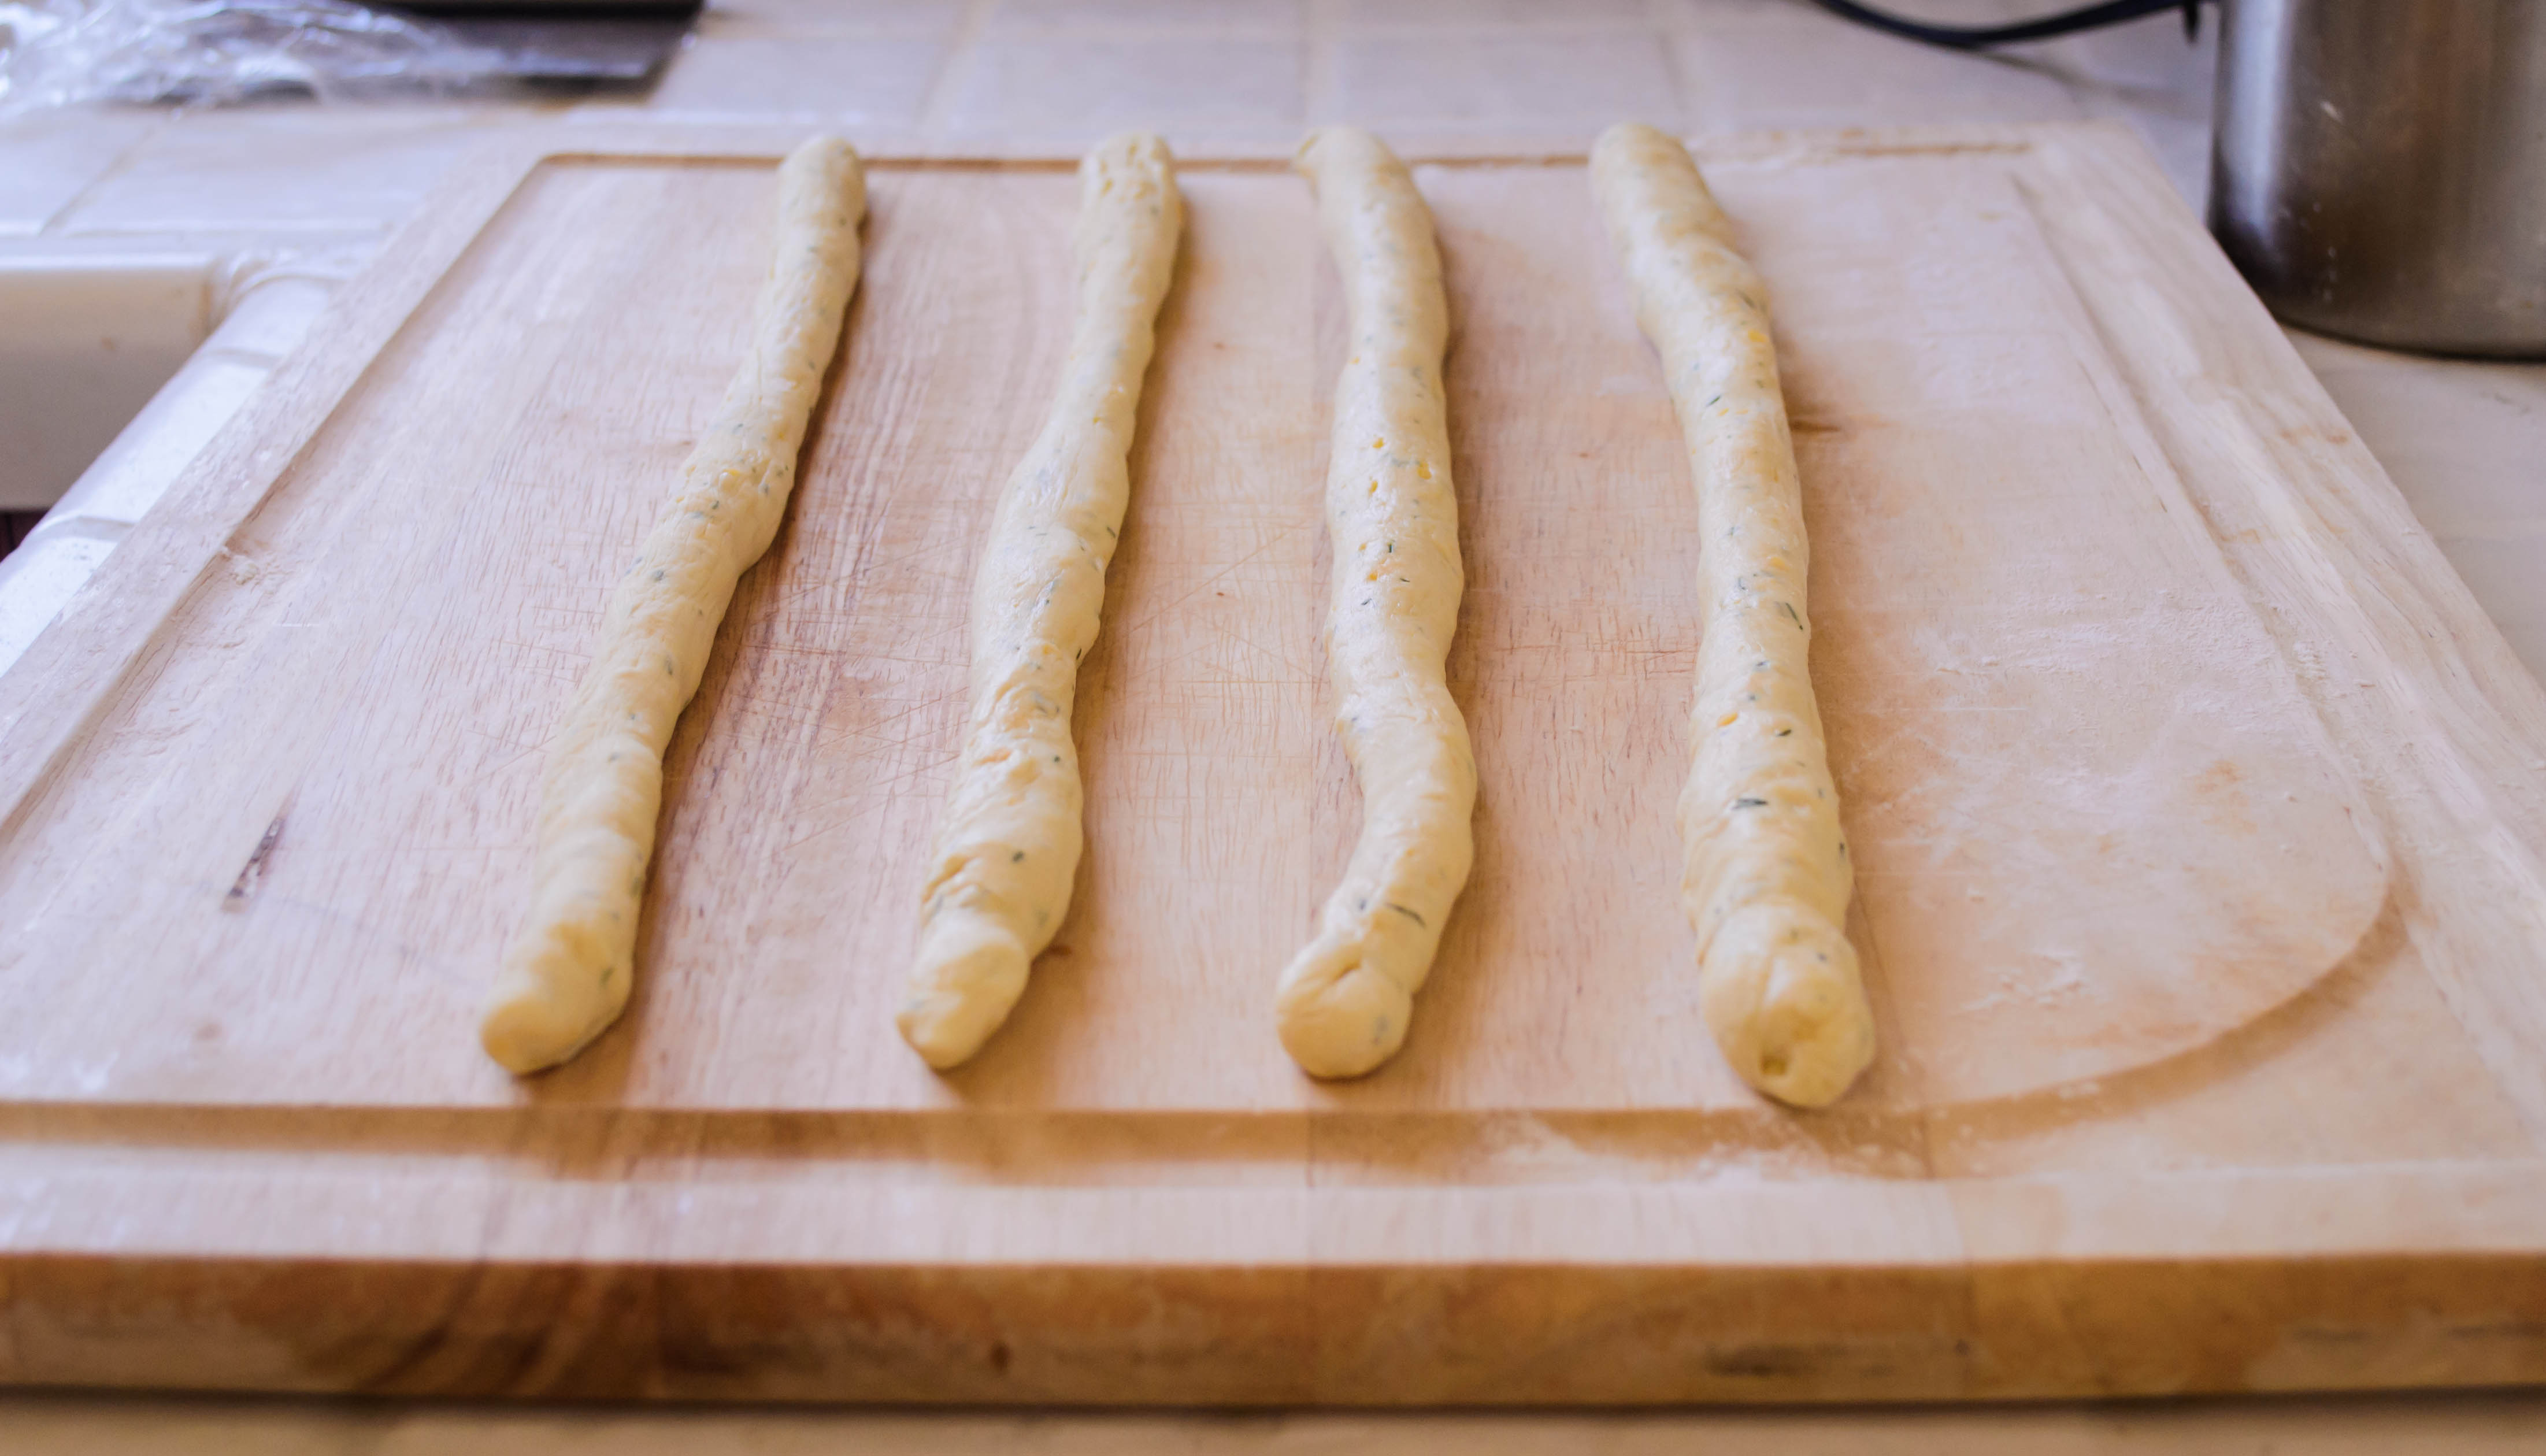
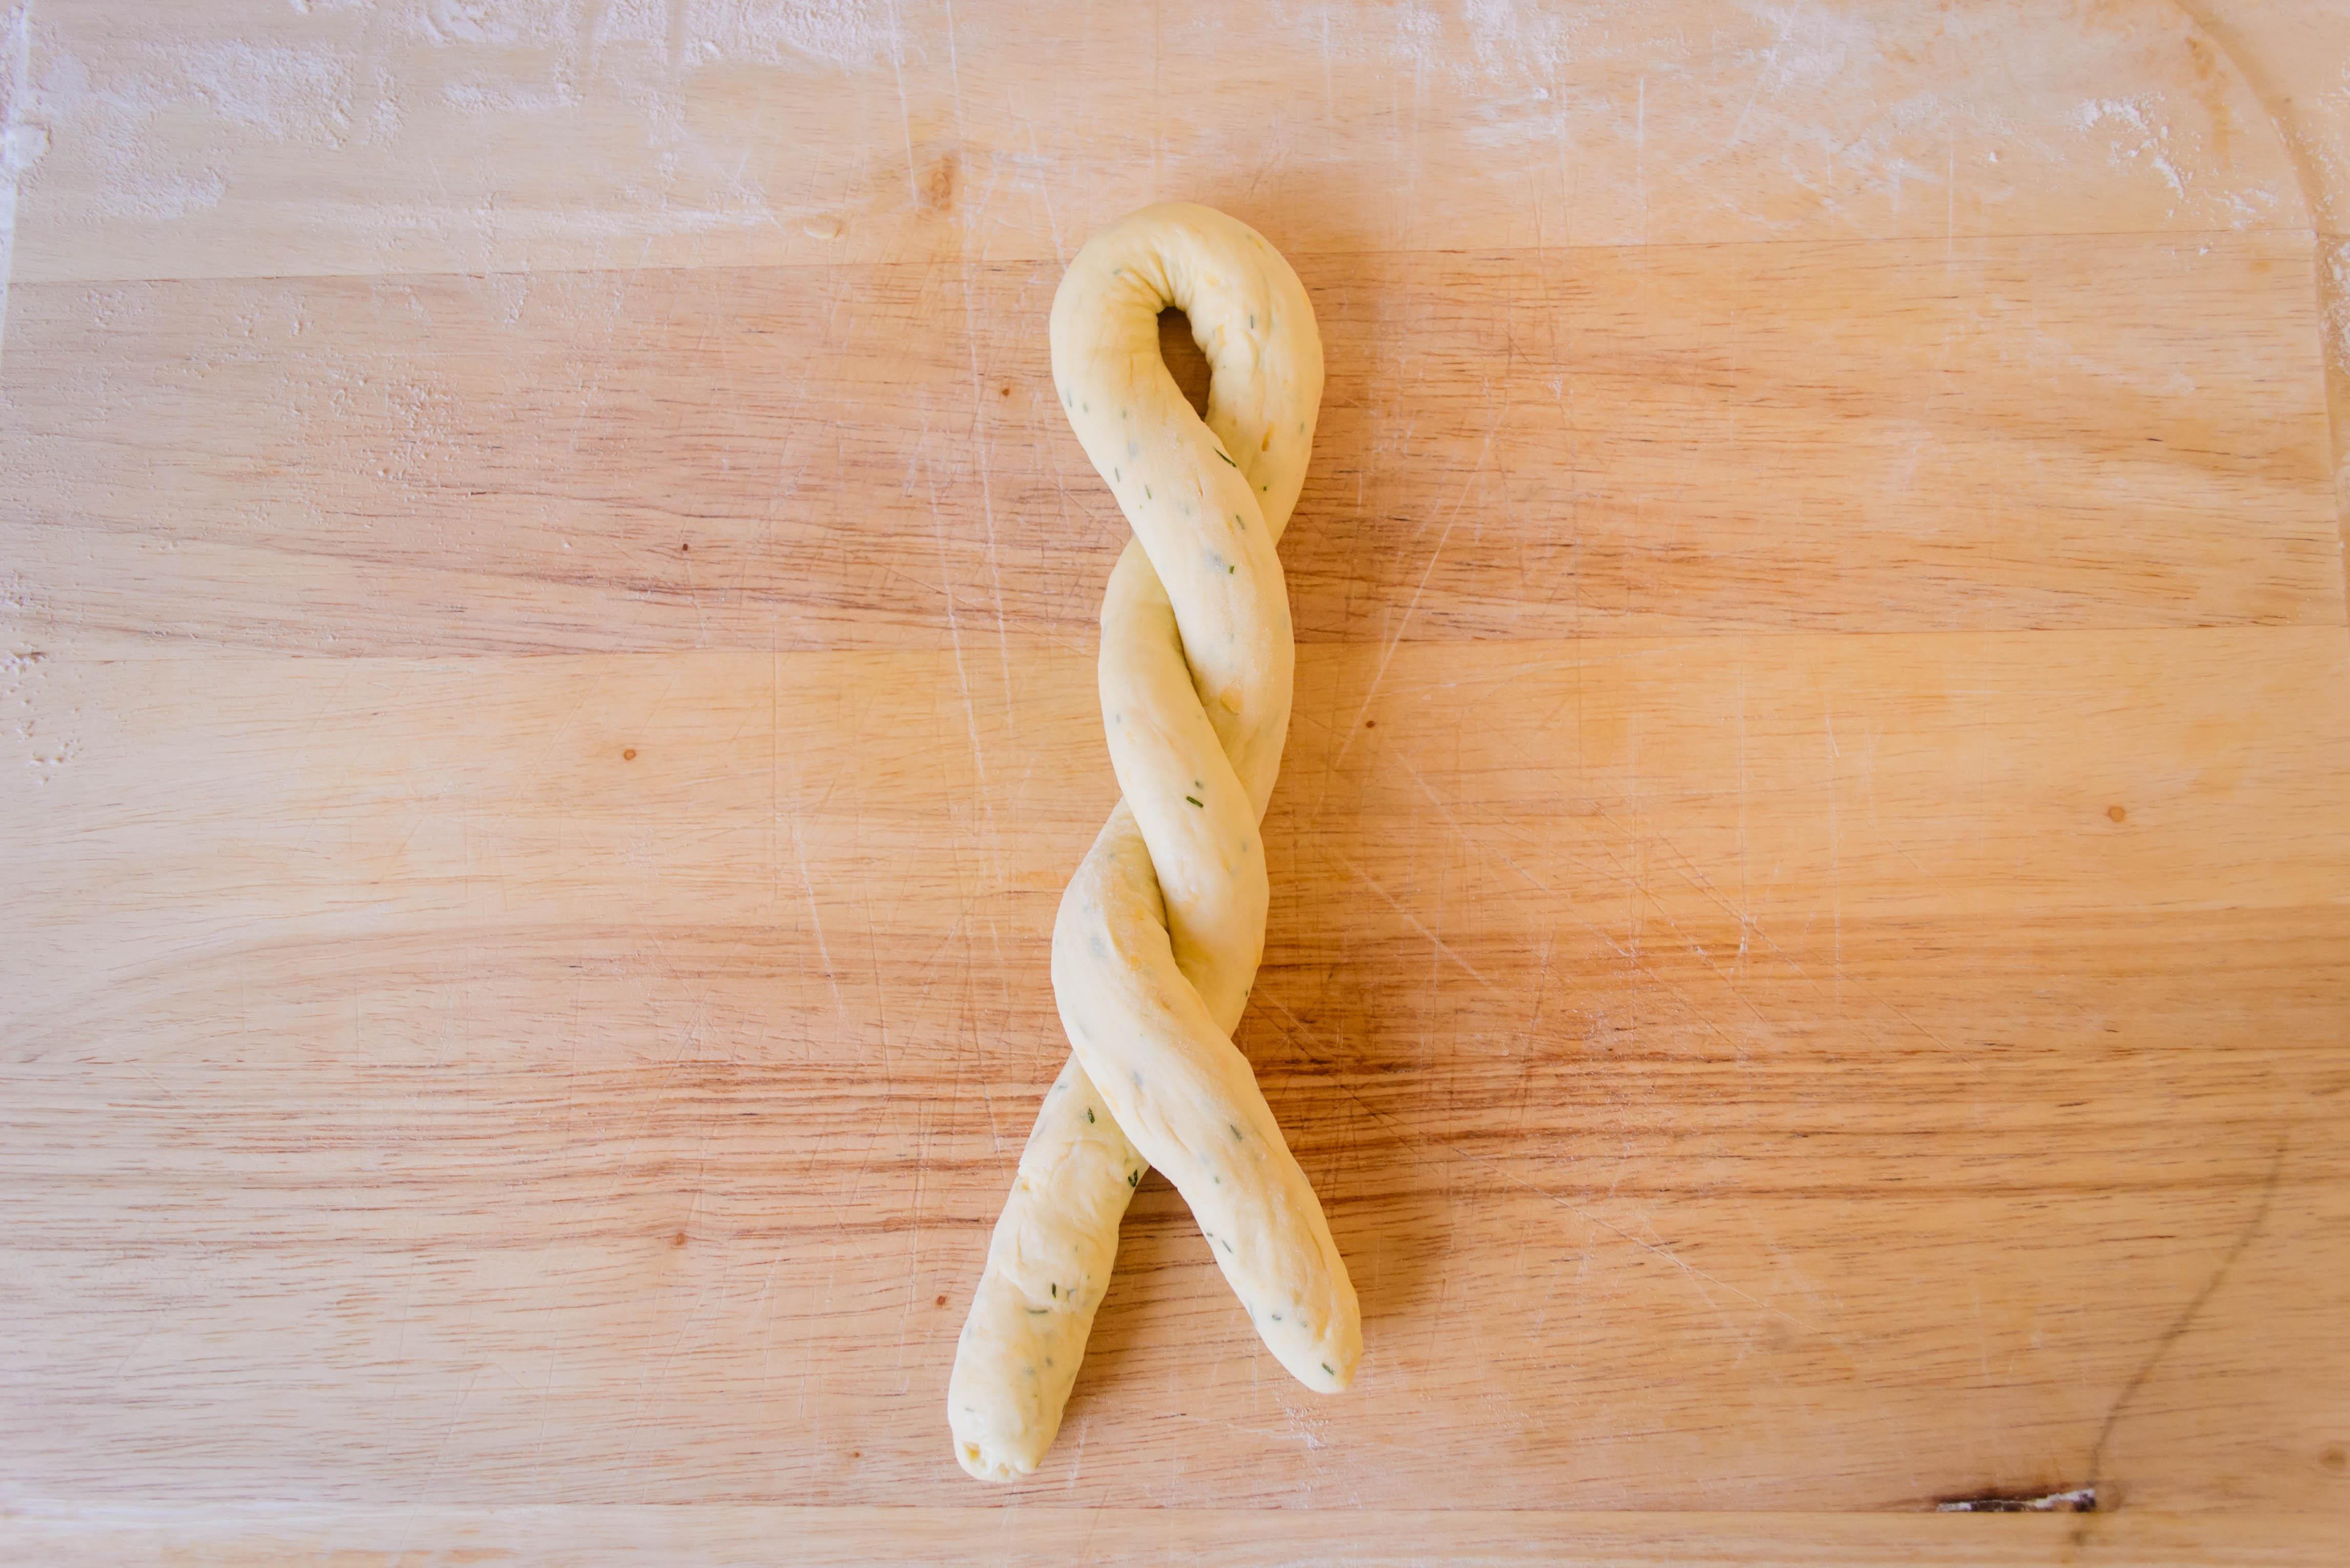
- Turn the dough out onto a lightly floured board and divide into 8 equal pieces. Using the palms of your hands, roll into 18-inch long ropes. As you roll, the middle will get thin and the ends will plump up. Prevent this by pushing outwards toward the ends of the rope (so your hands are moving slightly away from each other) as you roll.
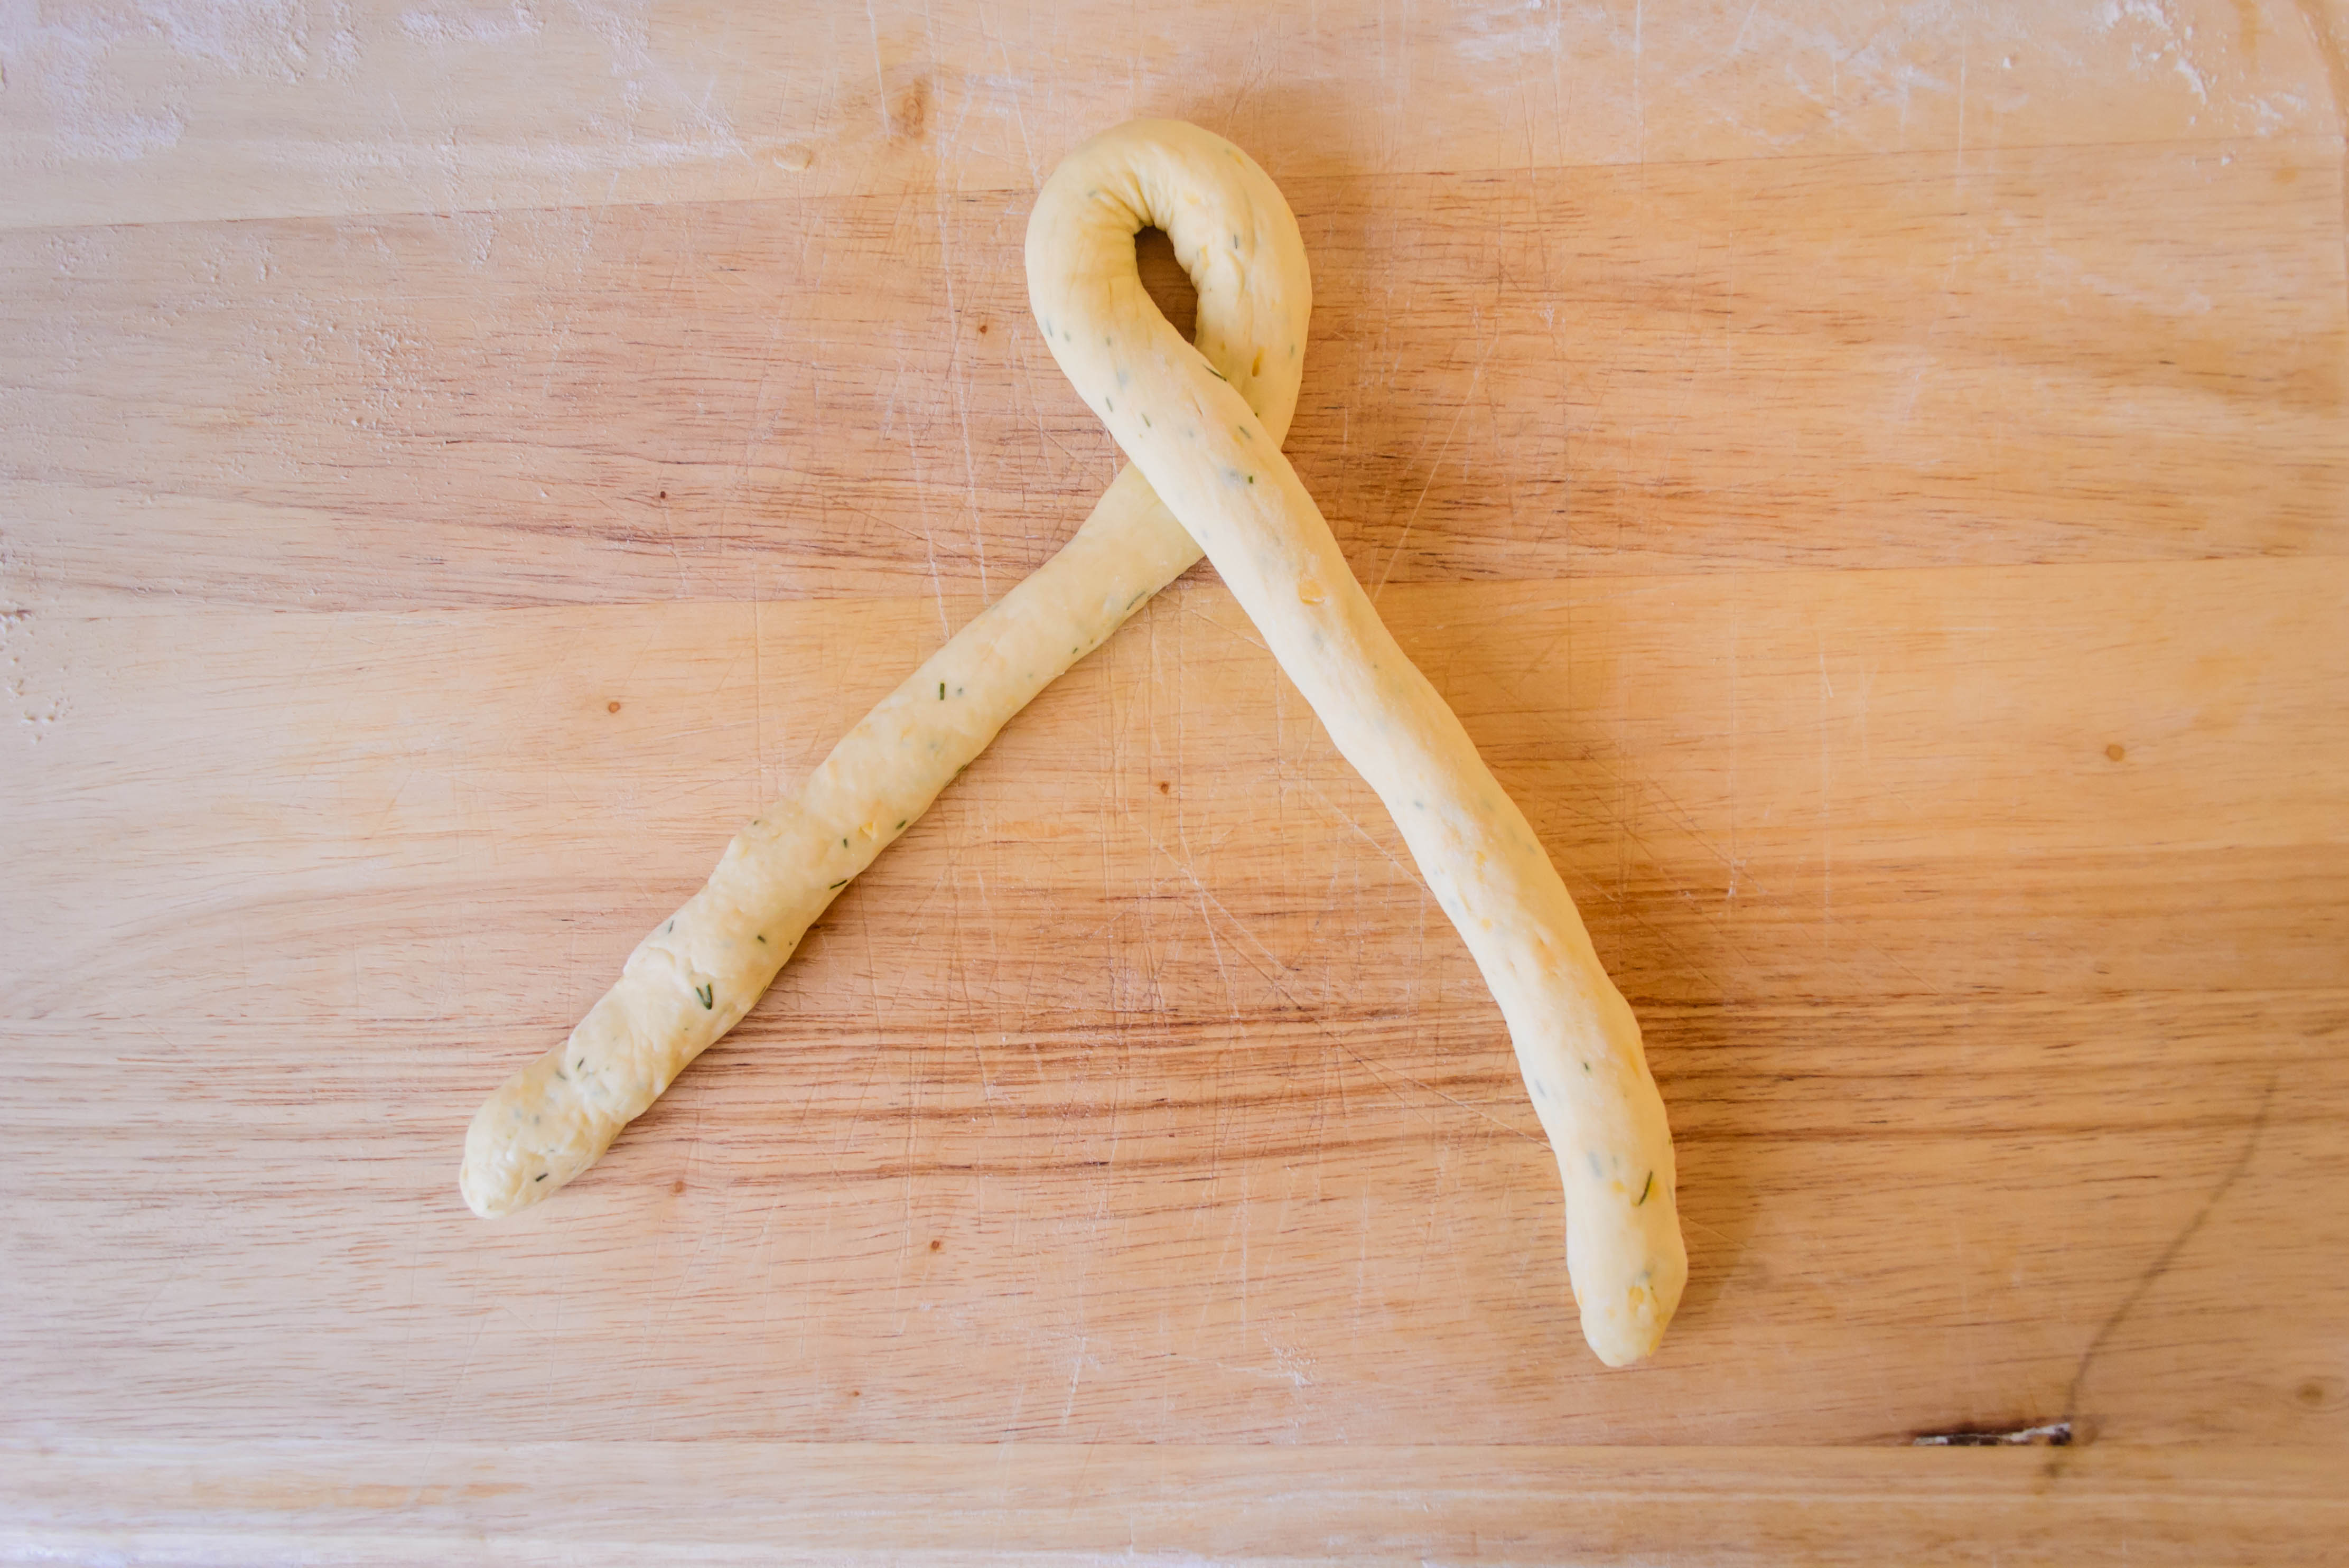
- Fold the rope over into a long horseshoe shape, then twist or “braid” it by lifting one side over the other in 3 or 4 tight twists, as in the photos above. When you reach the ends, crimp them together and tuck them under for neatness.
- Transfer each twist to a baking sheet lined with parchment paper, settling them at least 2 inches apart, and let rise again for 45-60 minutes, until noticeably plumped but not quite doubled.
- At least 30 minutes before cooking, preheat the oven to 350F.
- When you are ready to bake, if you want to top the twists with cheese, sprinkle the remaining ½ cup of cheddar in equal amounts over each – this will be about a tablespoon per twist.
- Bake at 350F for 18 minutes, until the twists are golden and the top layer of cheese is melted and slightly crisp.
- Cool for 5-10 minutes, if you can, before removing to a rack or directly to your mouth.

#TwelveLoaves is a monthly bread baking party created by Lora from Cake Duchess and runs smoothly with the help of Heather of girlichef, and the rest of our fabulous bakers.
Our host this month is Robin from A Shaggy Dough Story, and our theme is CHEESE. For more bread recipes, visit the #TwelveLoaves Pinterest board, or check out last month’s mouthwatering selection of #TwelveLoaves enter last month’s Italian Breads!
- Buttermilk Goat Cheese Biscuits from That Skinny Chick Can Bake
- Casatiello from Cake Duchess
- Cheddar Chive Bread from Karen’s Kitchen Stories
- Cheddar Dill Twists from blackberry eating in late september
- Cheese Babka from Hostess At Heart
- Cheese Soda bread from Ma che ti sei mangiato
- Cream Cheese and Cherry Buns from girlichef
- Feta & Olive Swirls from The Bread She Bakes
- Khachapuri (Georgian Cheese Bread) from A Shaggy Dough Story
- Pimento Cheese Straws from Kudos Kitchen By Renee
If you’d like to bake along with us this month, share your CHEESE bread using hashtag #TwelveLoaves!