
 Although I object to the idea of swapping all of your usual décor with pumpkins and corncobs the moment calendars proclaim it’s the first day of fall, by the time mid-October rolls around I’m both cool with the harvest theme and starting to crave richer, belly-warming food. I have such ideas about bread, and stews, and short-ribs, and roasted everything…

 Los Angeles is making this hard lately. With temperatures in the 90s during two of the past three weekends, it’s difficult to convince myself to cook anything, much less wax poetic about its warming spices and satisfying heartiness. My bedroom feels like the inside of a dryer. I might have fleeting dreams about fluffy, toasty, steaming biscuits mounded with chili, but all I can truly imagine consuming is a series of popsicles and frozen grapes.
 But I will say, if it’s cool enough where you are that the thought of using heating implements in your kitchen doesn’t throw you into depression, you should make these waffles immediately. I first made them a month or so ago when it didn’t feel like Dante might mistake our kitchen for one of the circles of Hell. They were so good – fluffy and light from their yeasted batter, crisp and burnished with crackling edges of melted cheese – that it was only a week or two before we had to make them again. Like the grilled cheese sandwiches I pushed on you last year, they pull from the classic combination of cheddar cheese and apple pie. A wedge of salivation-inducing cheese against the sweet tartness of apple desserts is a worthy experiment in many cases, and here, soft, tender apple bits and pockets of melted cheese folded into a crisp waffle drowning in maple syrup is a combination you’re going to want to make all season, if the seasons would ever straighten themselves out. And if you simply aren’t enthused by a recipe that advertises itself with a pile of apples and sharp-as-you-can-get cheddar cheese, I’m not sure we can stay friends.
 These start from my basic yeasted beer batter waffles recipe, which is adapted from King Arthur Flour. You can use milk instead of beer if you must, but between the yeast and the heat most of the alcohol is processed out, and the slightly bitter flavor of dark beer is such a welcome addition, balancing the rich cheese and tart apples. The first time I made these I was concerned about the apple pieces cooking all the way through in the short time they are enfolded in the waffle iron, but I needn’t have worried. They are in small enough pieces that they will cook. I like to leave the skins on for extra tartness, but you can peel them first if you prefer. Apples and cheese play well in both sweet and savory directions, so while I think a glug of maple syrup – we like to warm it up with a pinch of red pepper flakes for a little kick – makes these a complete meal, I could also see them providing a perfect raft for a moist thigh of roasted or fried chicken, or even piled with a fresh kale salad studded with walnuts and dried cherries.
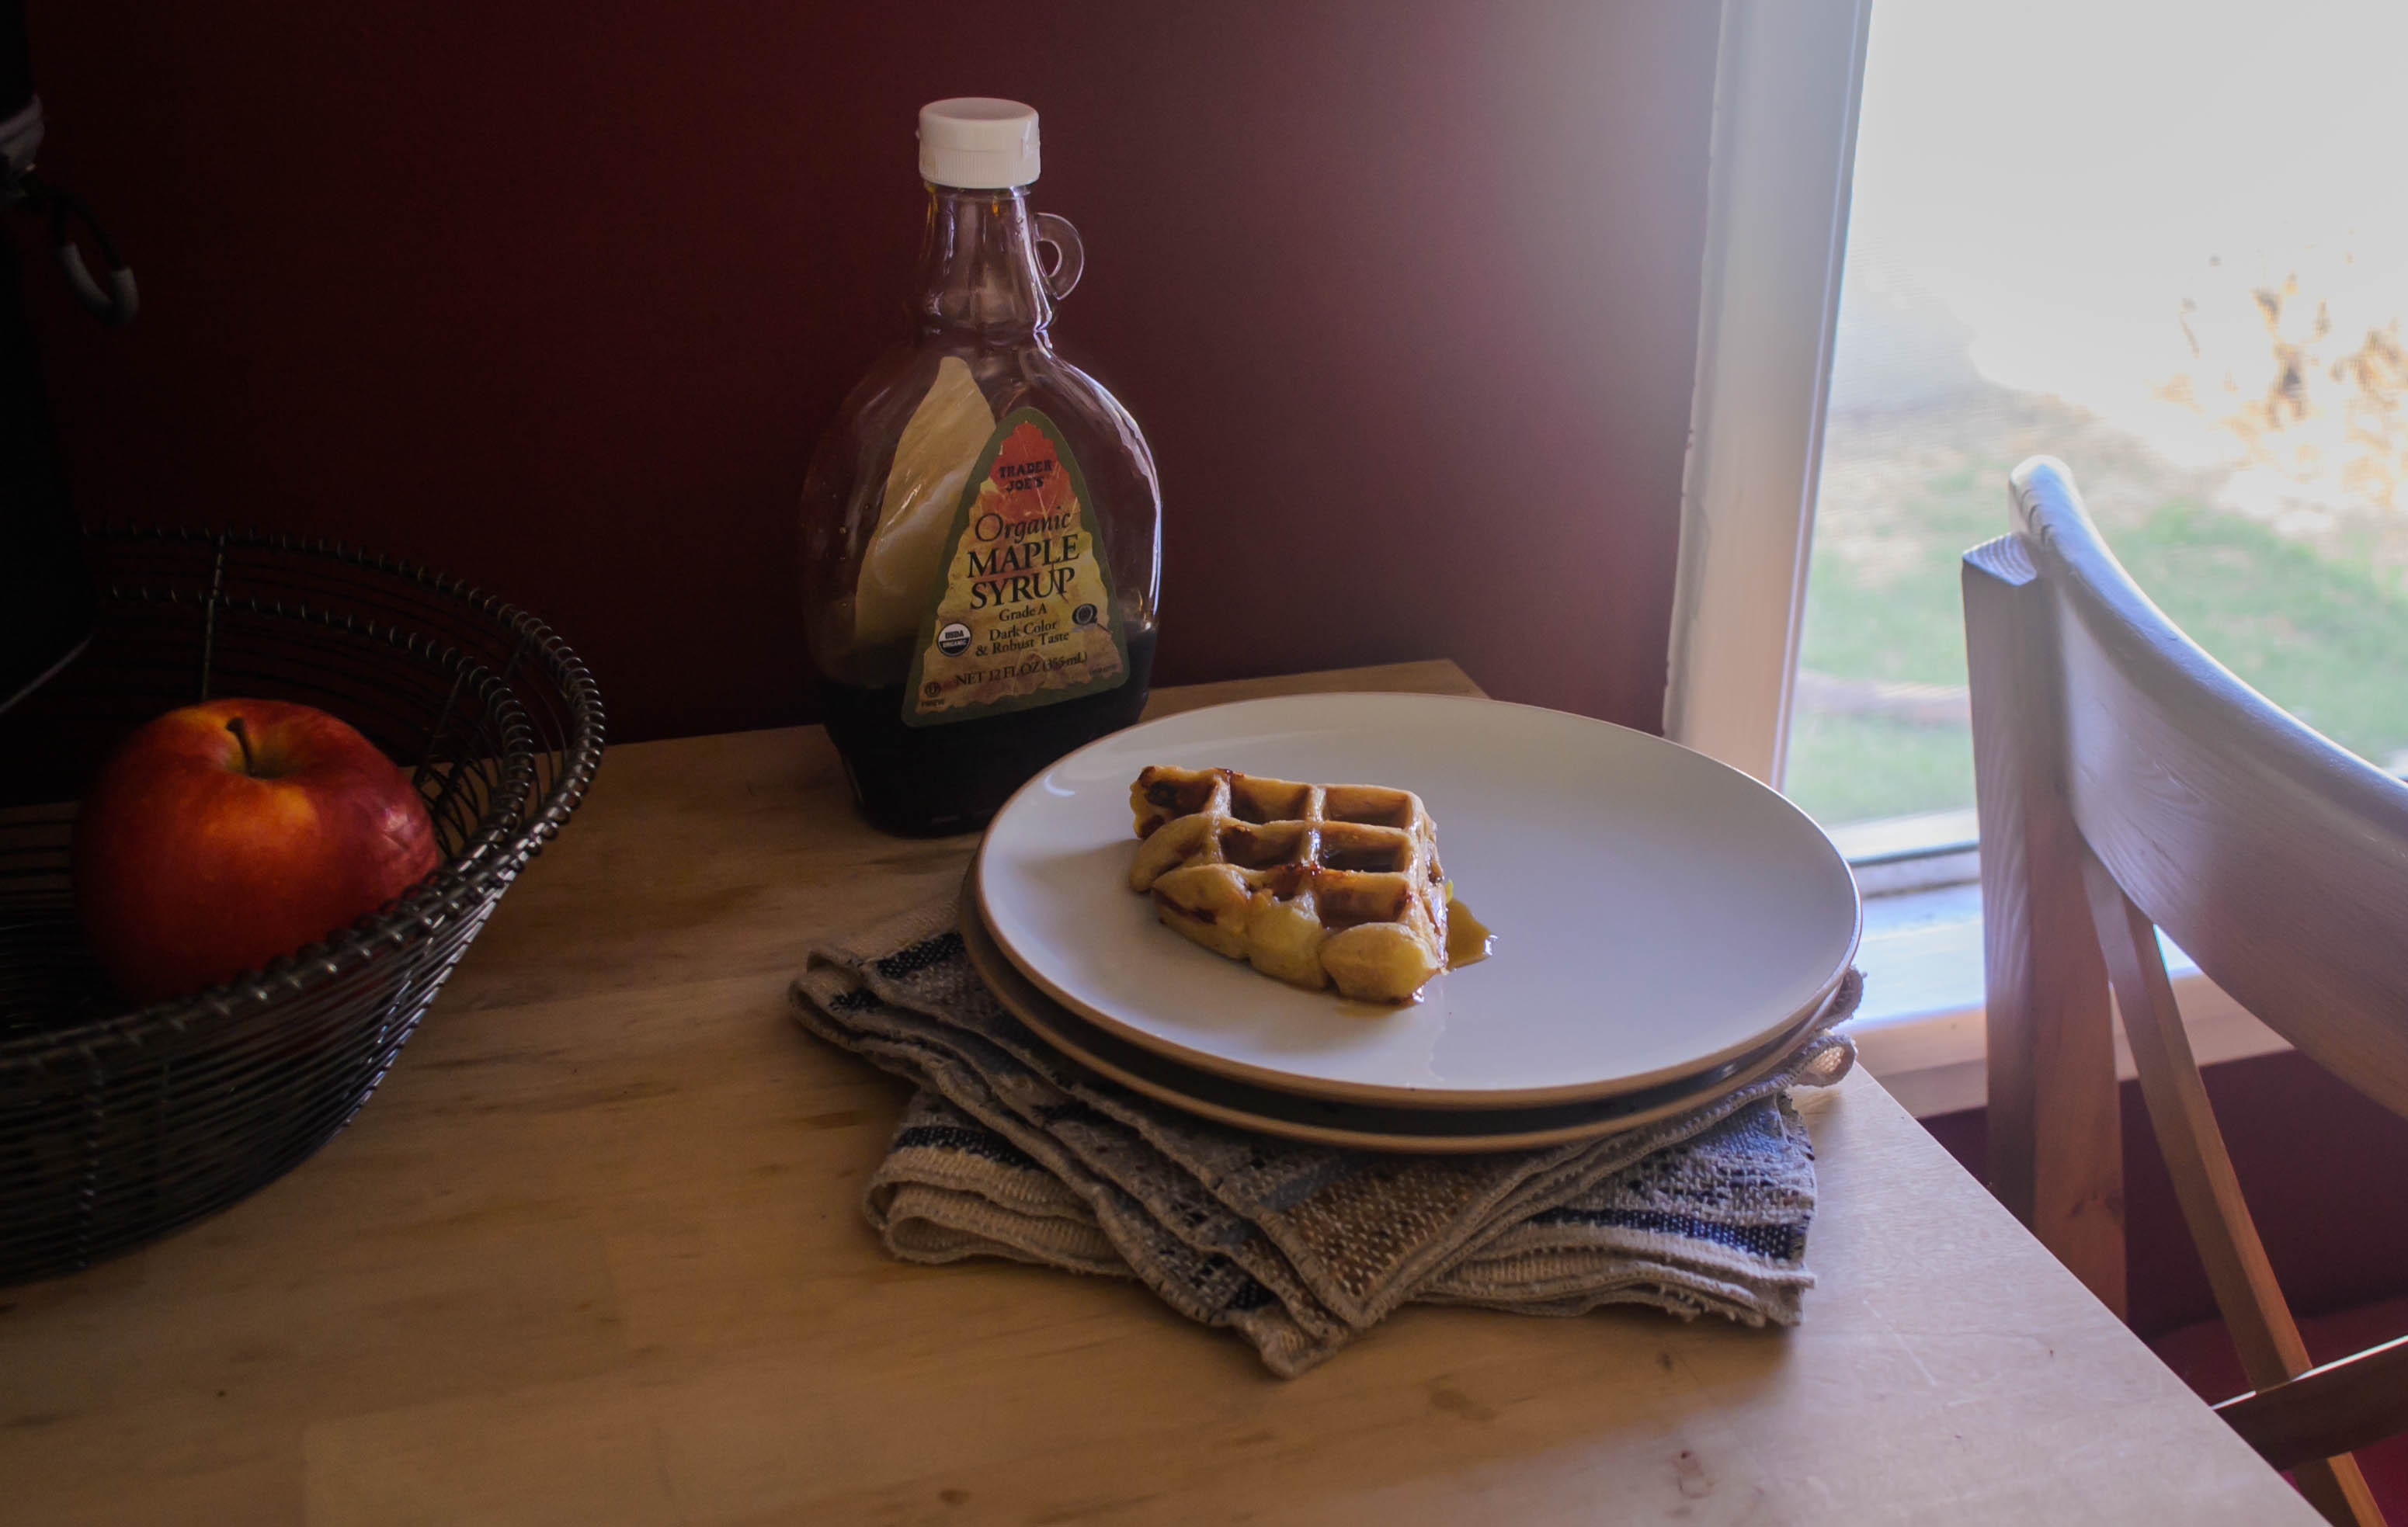
Apple Cheddar Waffles
Loosely adapted from King Arthur Flour
Makes about six 7-inch waffles
2-2½ hours (45 minutes active time)
1½ cups (12 ounces) lukewarm dark beer, such as a stout or a porter
1½ teaspoons active dry yeast
3 tablespoons maple syrup
6 tablespoons (3 ounces) melted butter, cooled
1 teaspoon salt
2 large eggs
2 cups all-purpose flour
1 green apple, diced into ¼ inch-½ inch chunks (1⅓ – 1½ cups, approximately)
1 generous cup grated sharp or extra sharp cheddar cheese
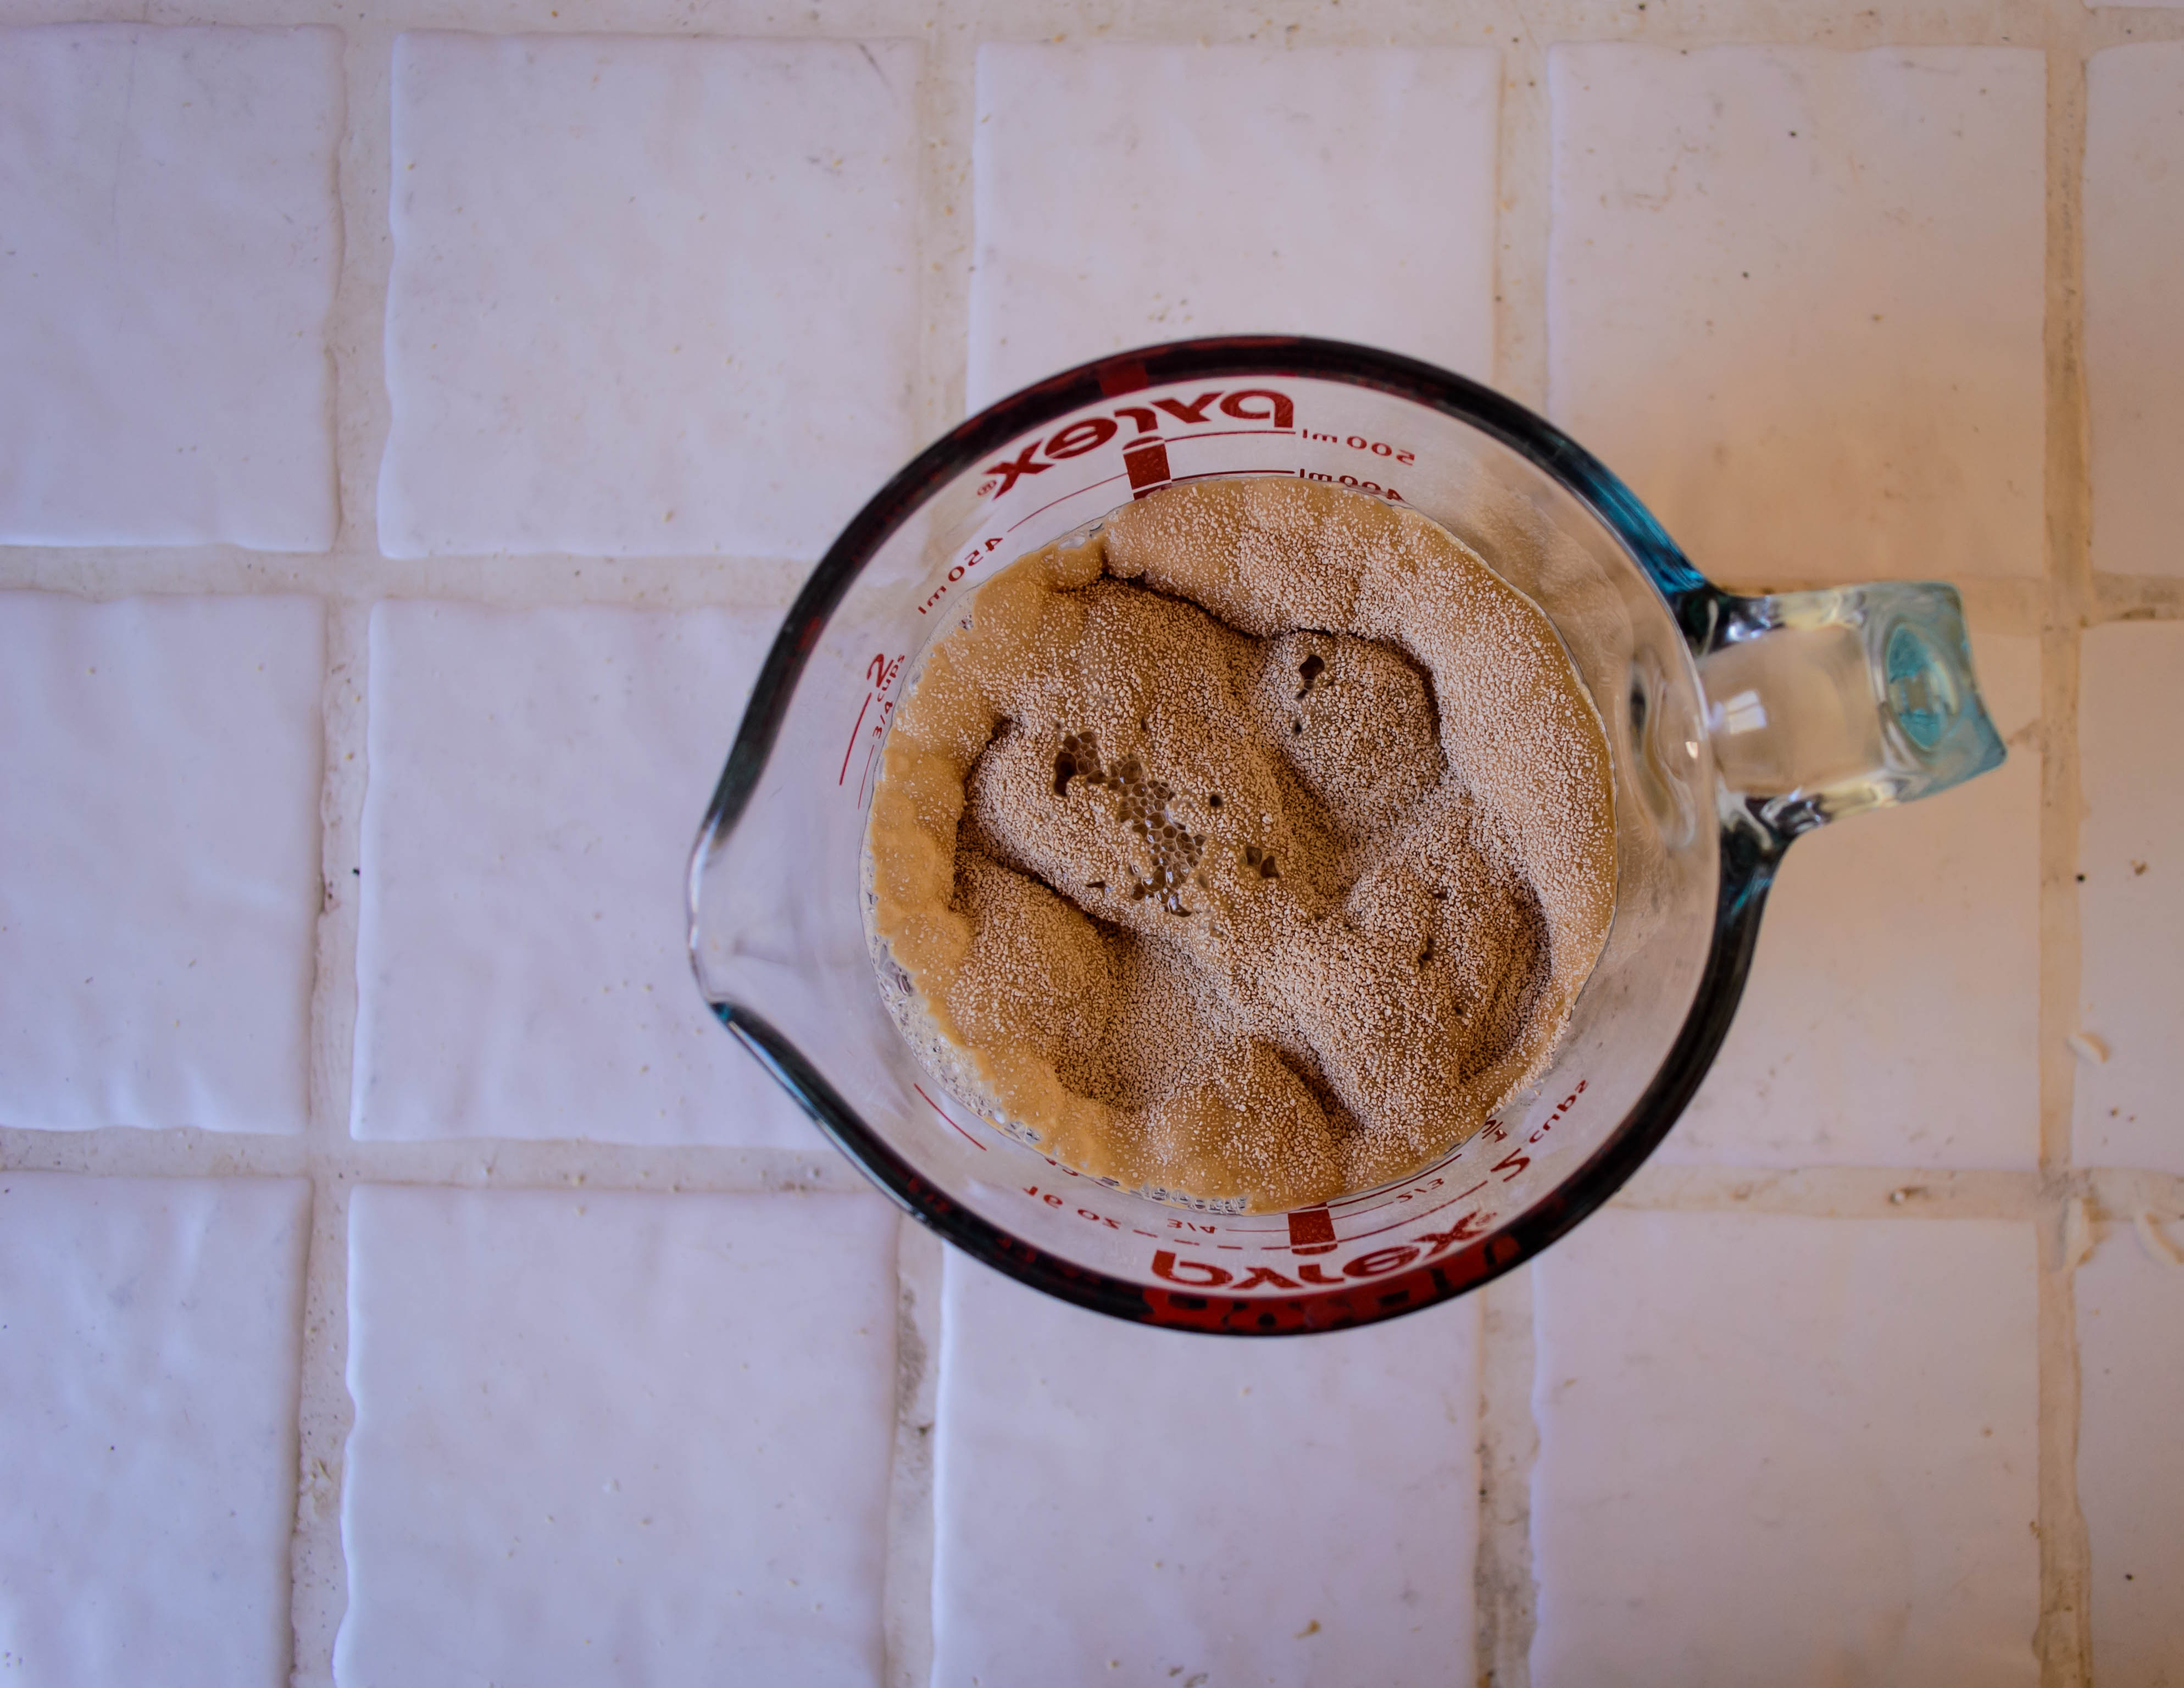
- In a 2-cup glass measuring cup, or a small microwave safe bowl, heat the beer until just warm to the touch. Add yeast and let them mingle for 5-10 minutes. The yeast will foam up considerably, thanks to the extra sugars and yeast already in the beer.
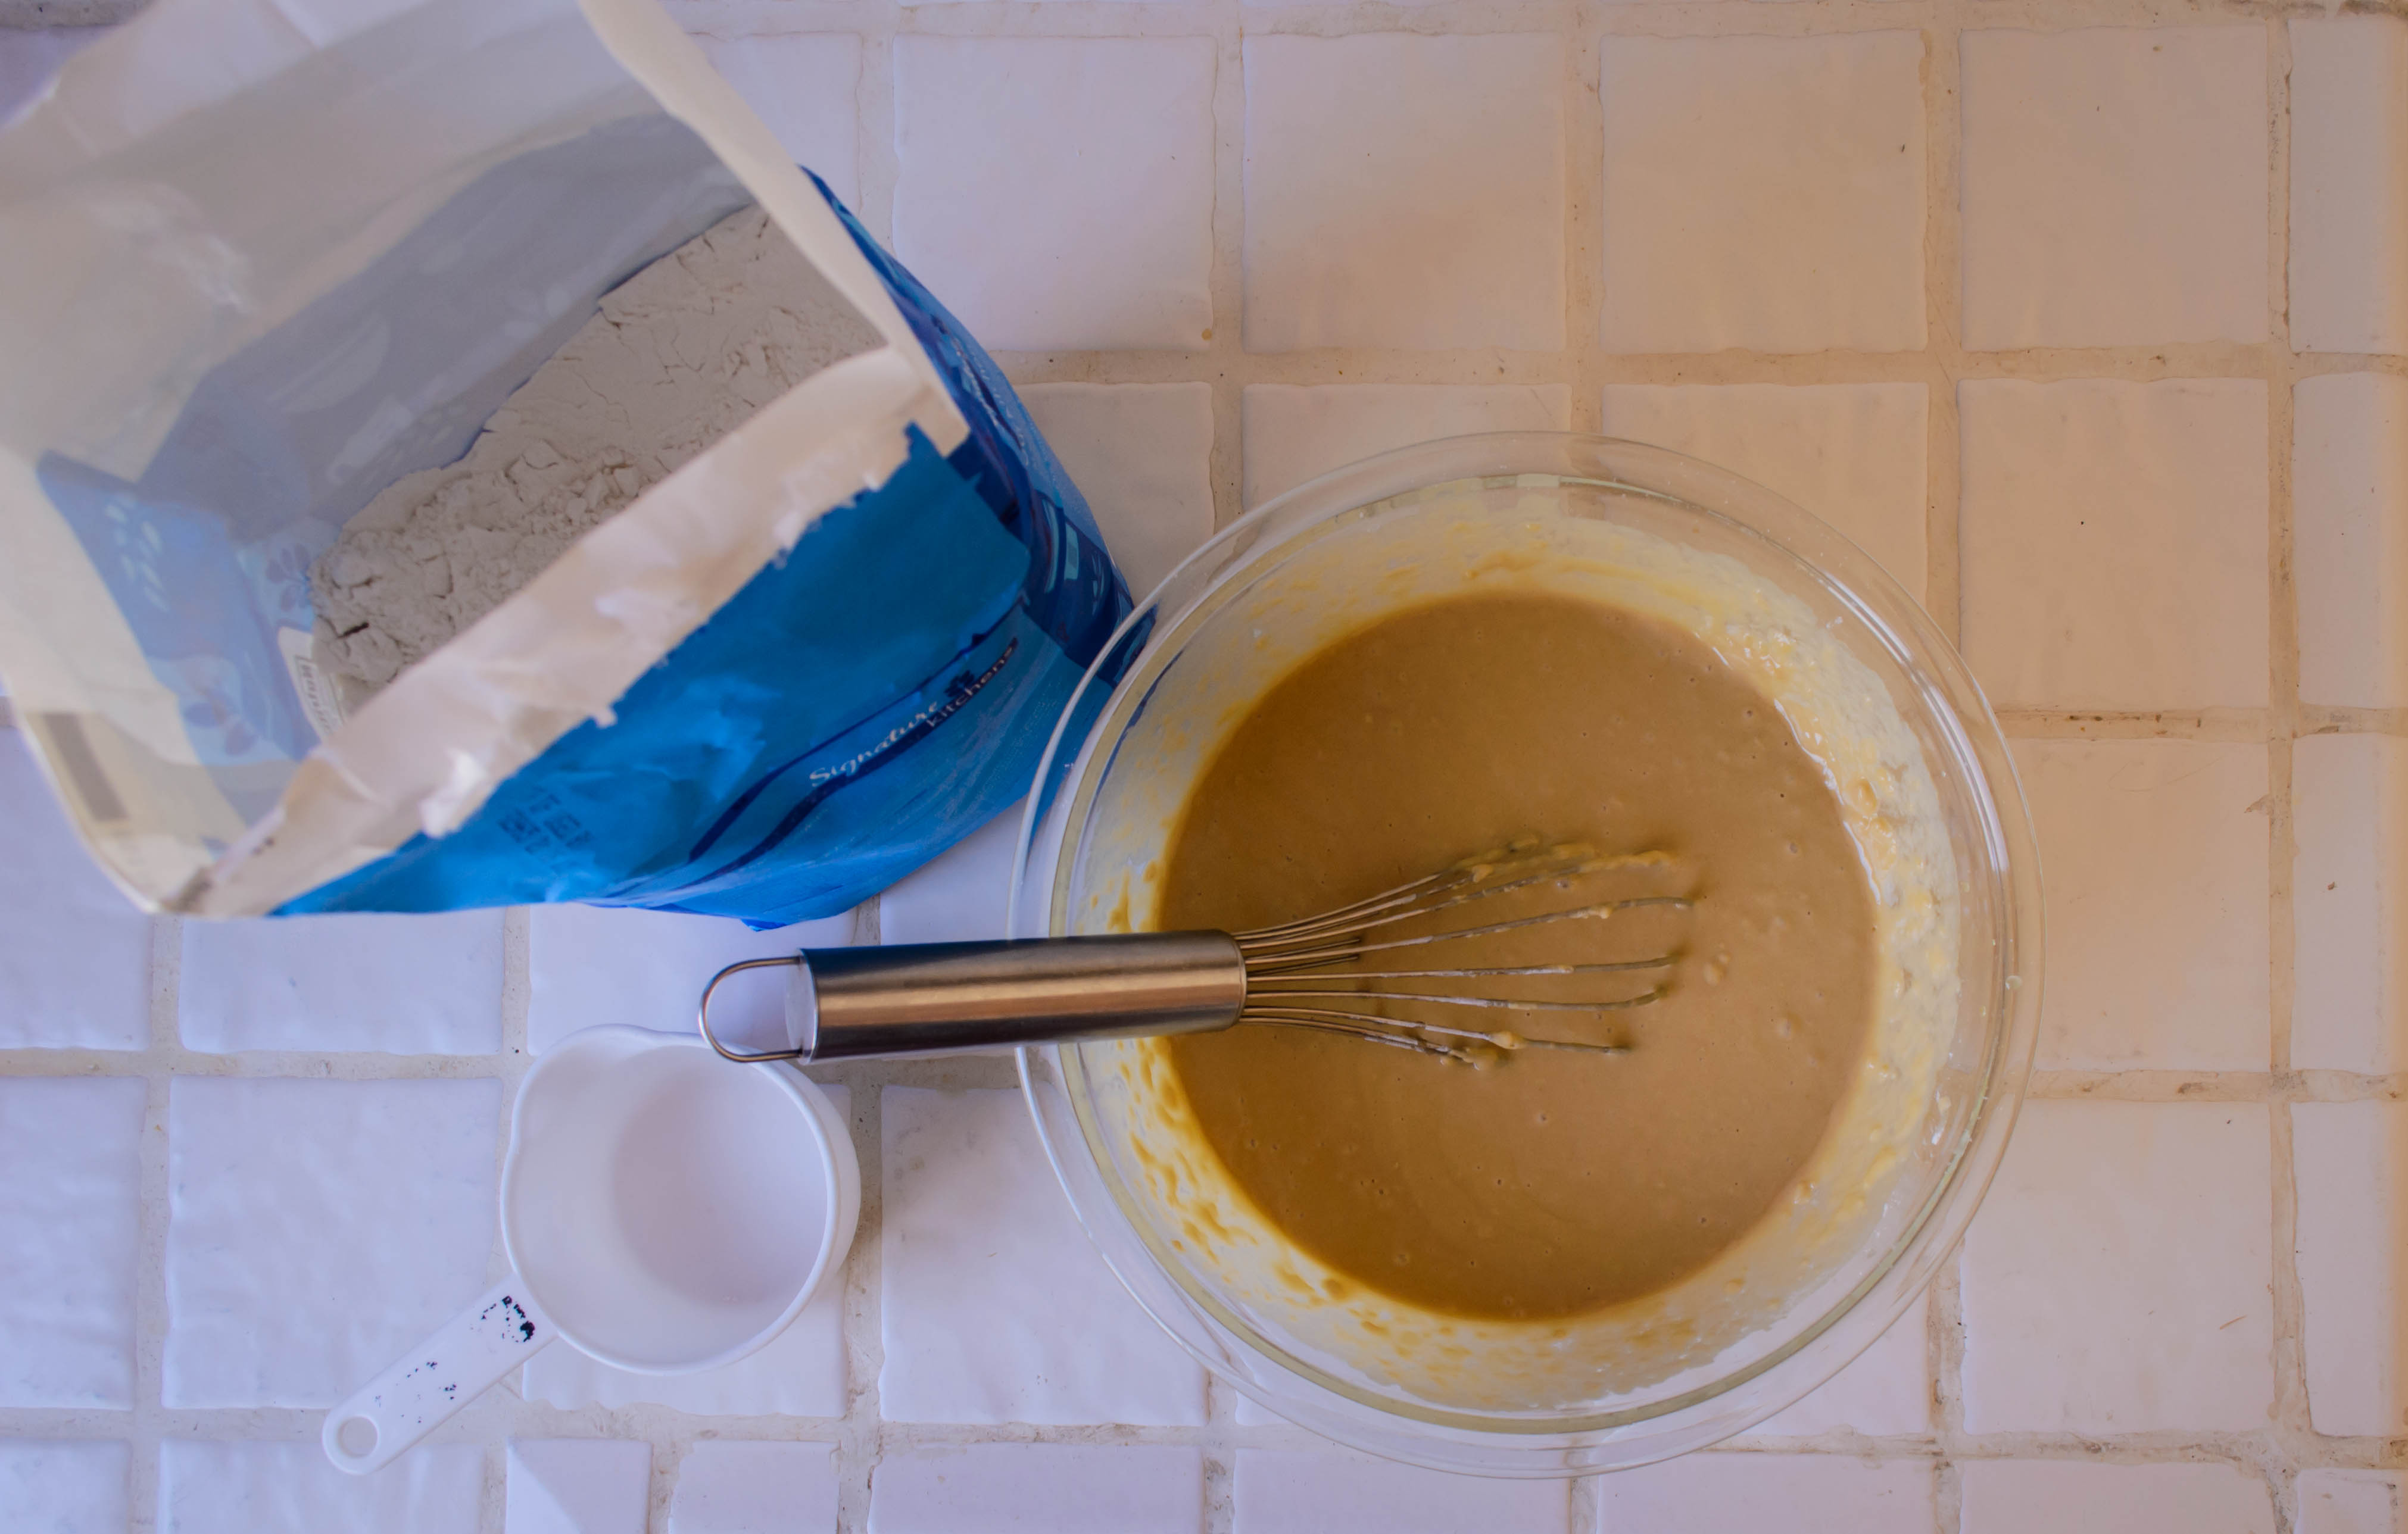
- While the yeast proofs, whisk together the cooled melted butter, the maple syrup, the salt, and the eggs in a large bowl. Be sure there’s room for the batter to expand.
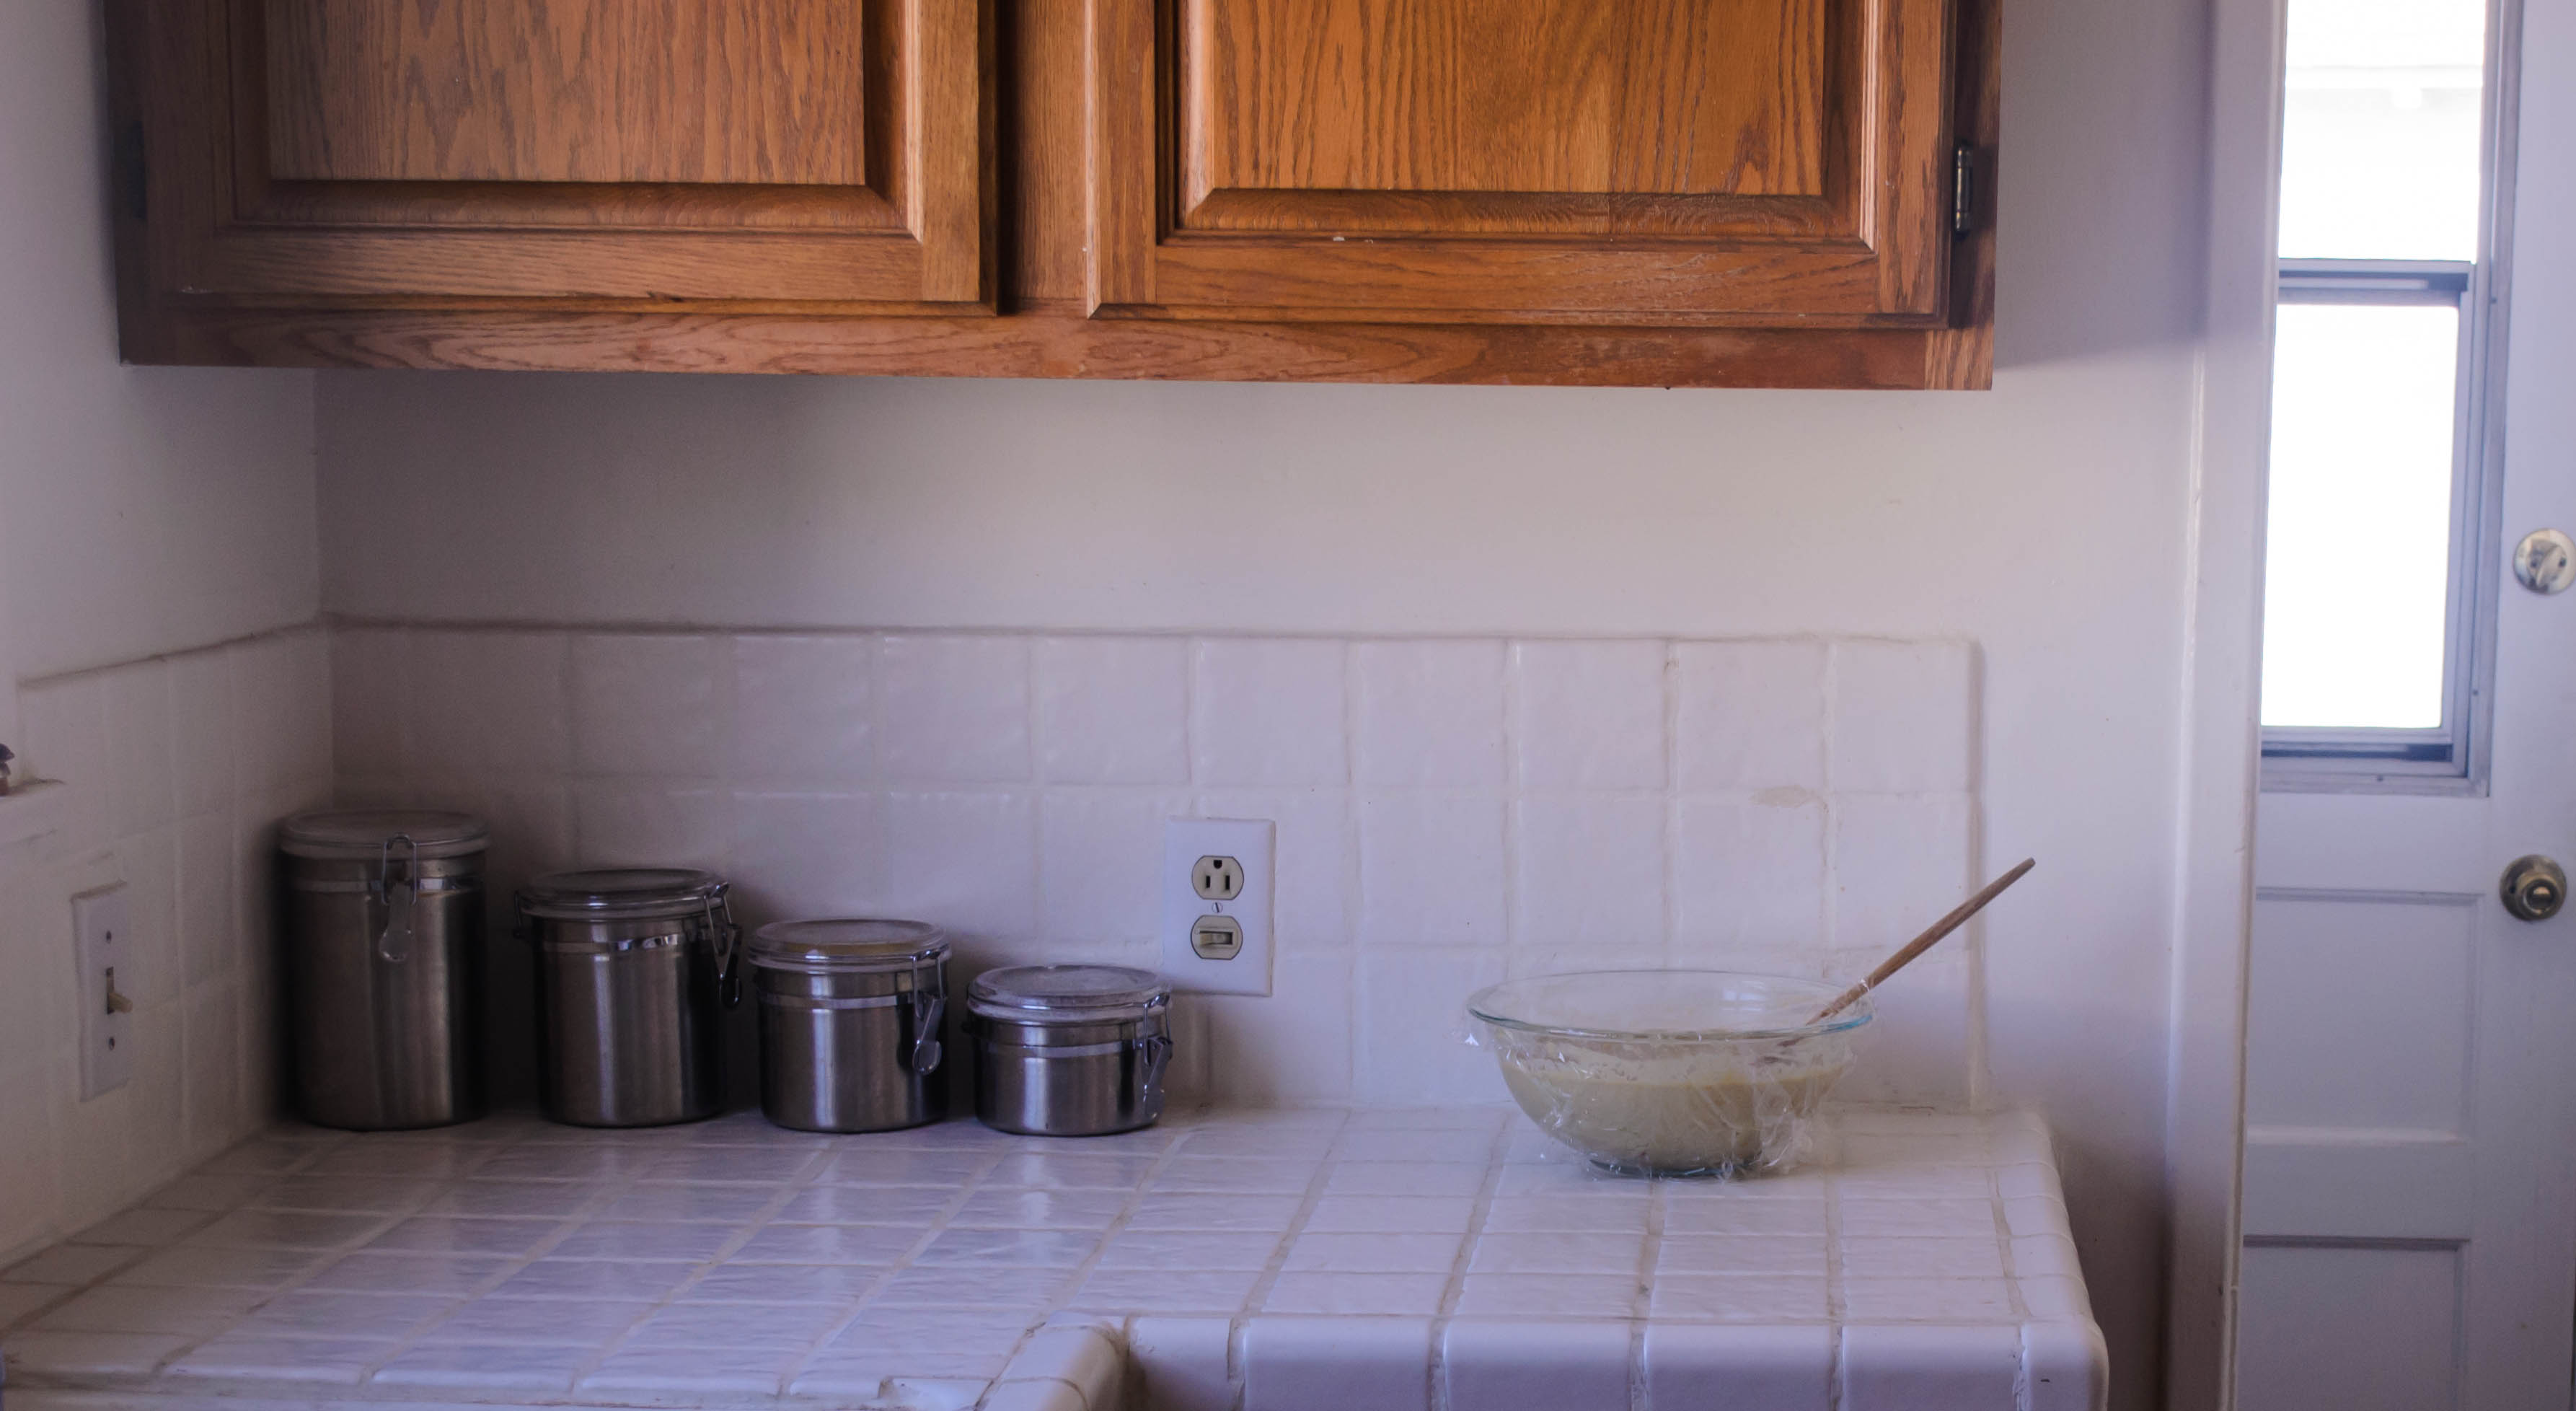
- Add the beer and yeast mixture and whisk to combine, then add the flour 1 cup at a time, whisking to combine thoroughly. Switch to a rubber spatula and fold in the apple chunks and the cheese. Stir well, as the cheese may want to stick together; we want it evenly incorporated.
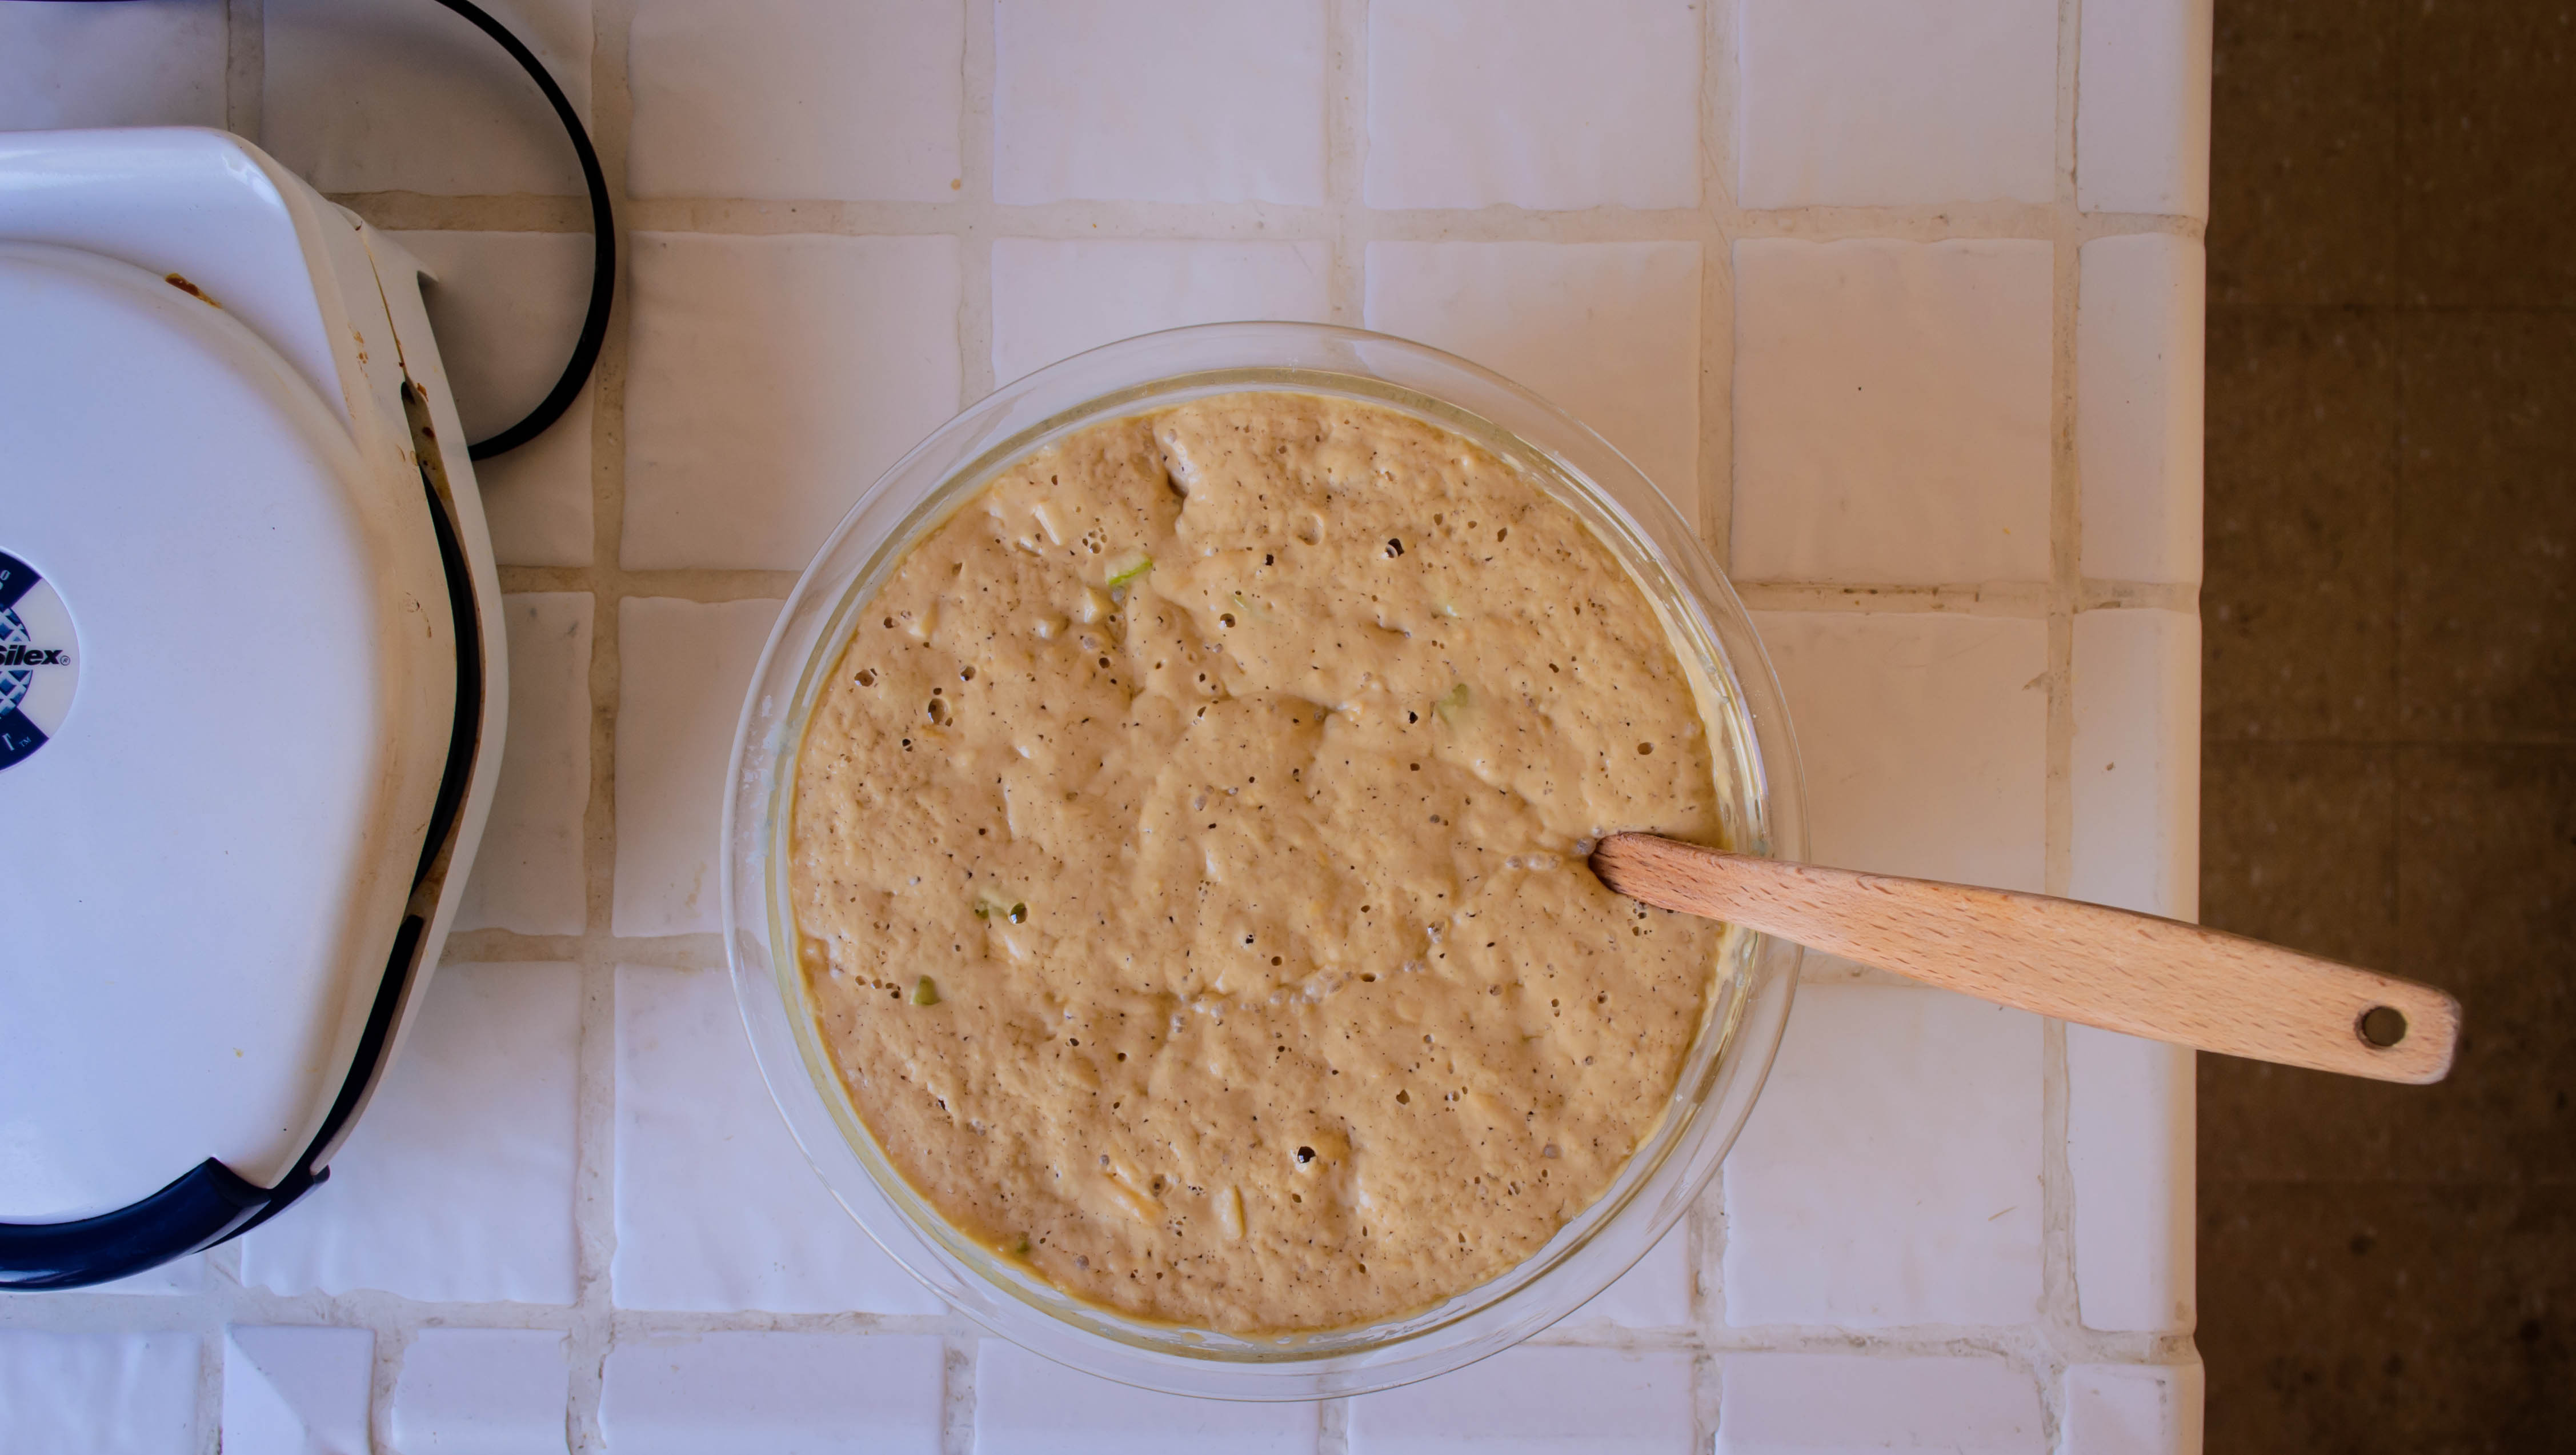
- Cover the bowl with plastic wrap and set it on the counter for 1½-2 hours (how fast it rises and bubbles will depend on how warm your kitchen is, but longer rise = deeper flavor). The mixture will develop lethargic and then more energetic bubbles, and begin to smell quite bready.
- Once it has had a chance to rise and is covered with a near-consistent layer of bubbles, either stow in the refrigerator overnight, or preheat your waffle iron!
- Drop the batter in generous ⅔ cup batches onto a preheated, greased waffle iron (or whatever capacity your iron can handle). Close the lid and cook for the recommended amount of time, or until the waffle is crisp on the outside and deeply golden, with dark crisp cheese lace protruding. Ours took about 7 minutes per waffle. (If you refrigerated your batter for a few hours or overnight, be sure to bring it back up to room temperature before cooking)
- Serve hot with your choice of sweet pourable topping. We like maple syrup warmed with a pinch of red chili flakes in it, for a little kick. If you need to keep the waffles warm, stow them on a wire rack over a baking sheet in a 250F oven until you are ready to eat.


