Feeling penitential?

Feeling penitential?
If you have leftover chocolate from the holidays (hah), or if you need something impressive for that New Year’s Eve party you didn’t expect to be invited to (double hah), but you aren’t feeling up to full-blown candy making, this is your recipe.
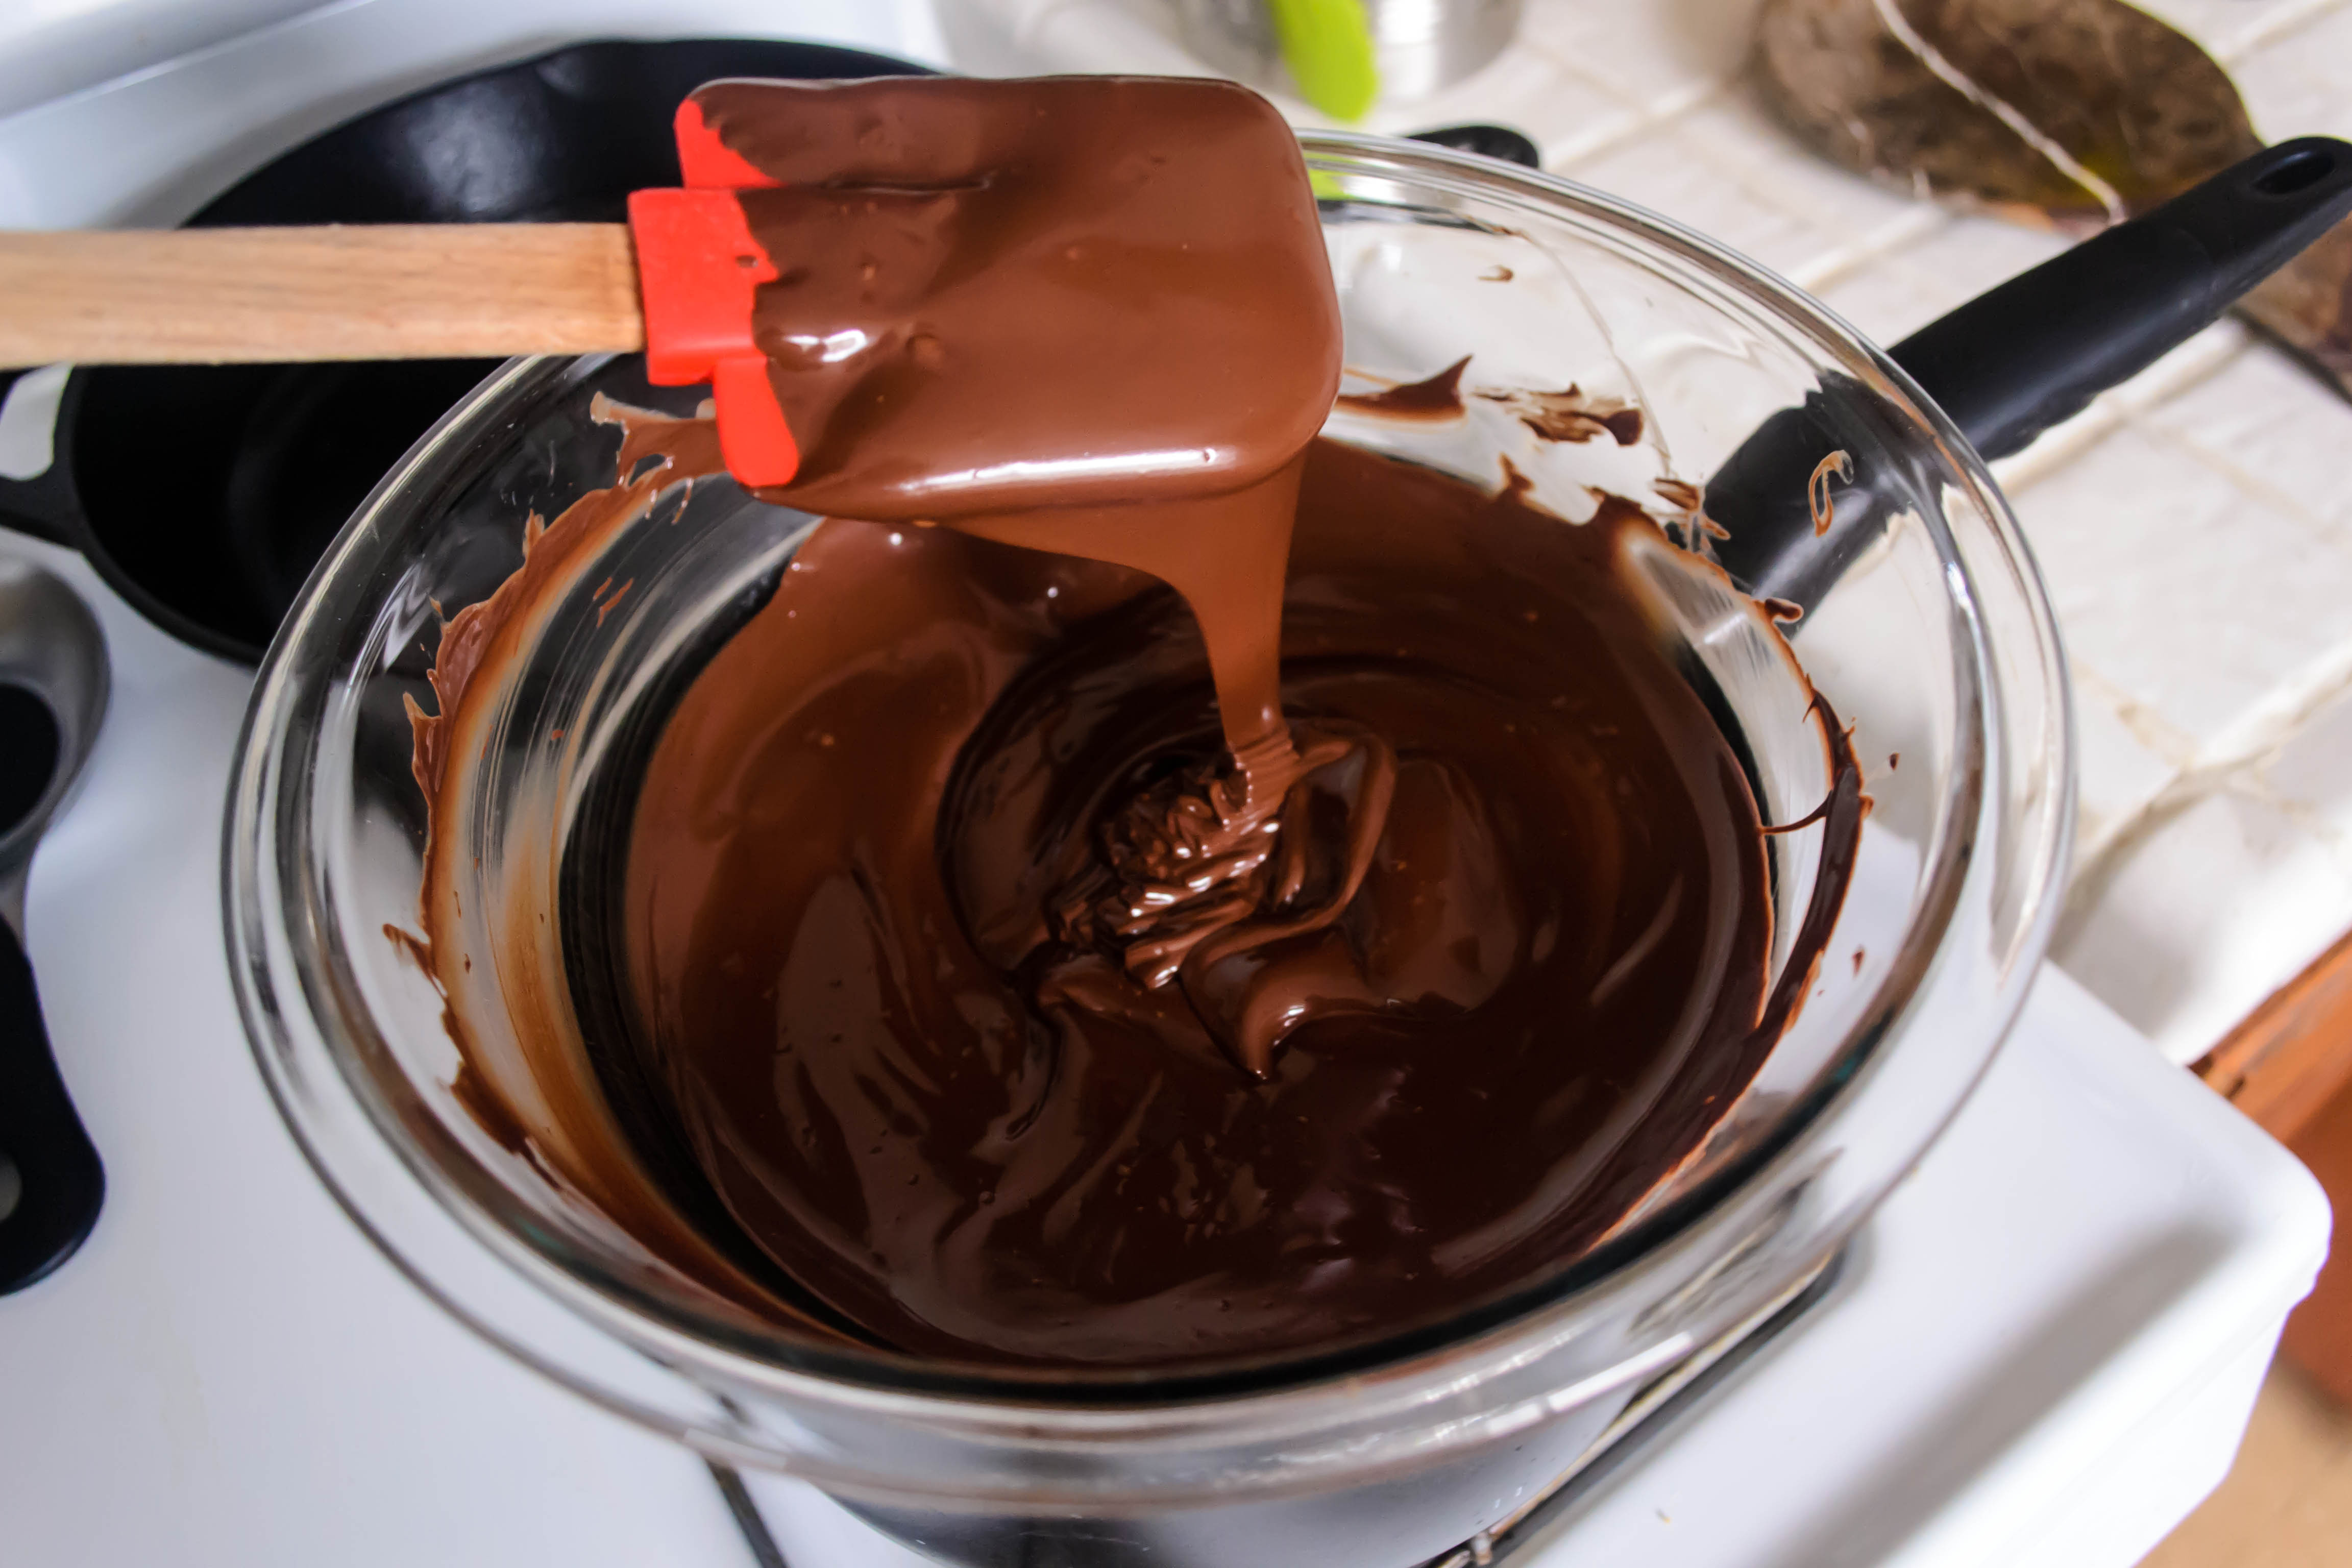 Chocolate bark is dead simple to make, totally delicious, and looks very fancy – essentially, you are producing a custom fruit and nut candy bar, but it takes only as long as the time chocolate needs to melt into a smooth, gloriously dark river of supple brown satin, and the time it takes that satiny pool to harden again. This leaves you sufficient time to shower, put on makeup, find the other earring from that pair that never stays together in the drawer, and possibly practice your dance moves, just in case.
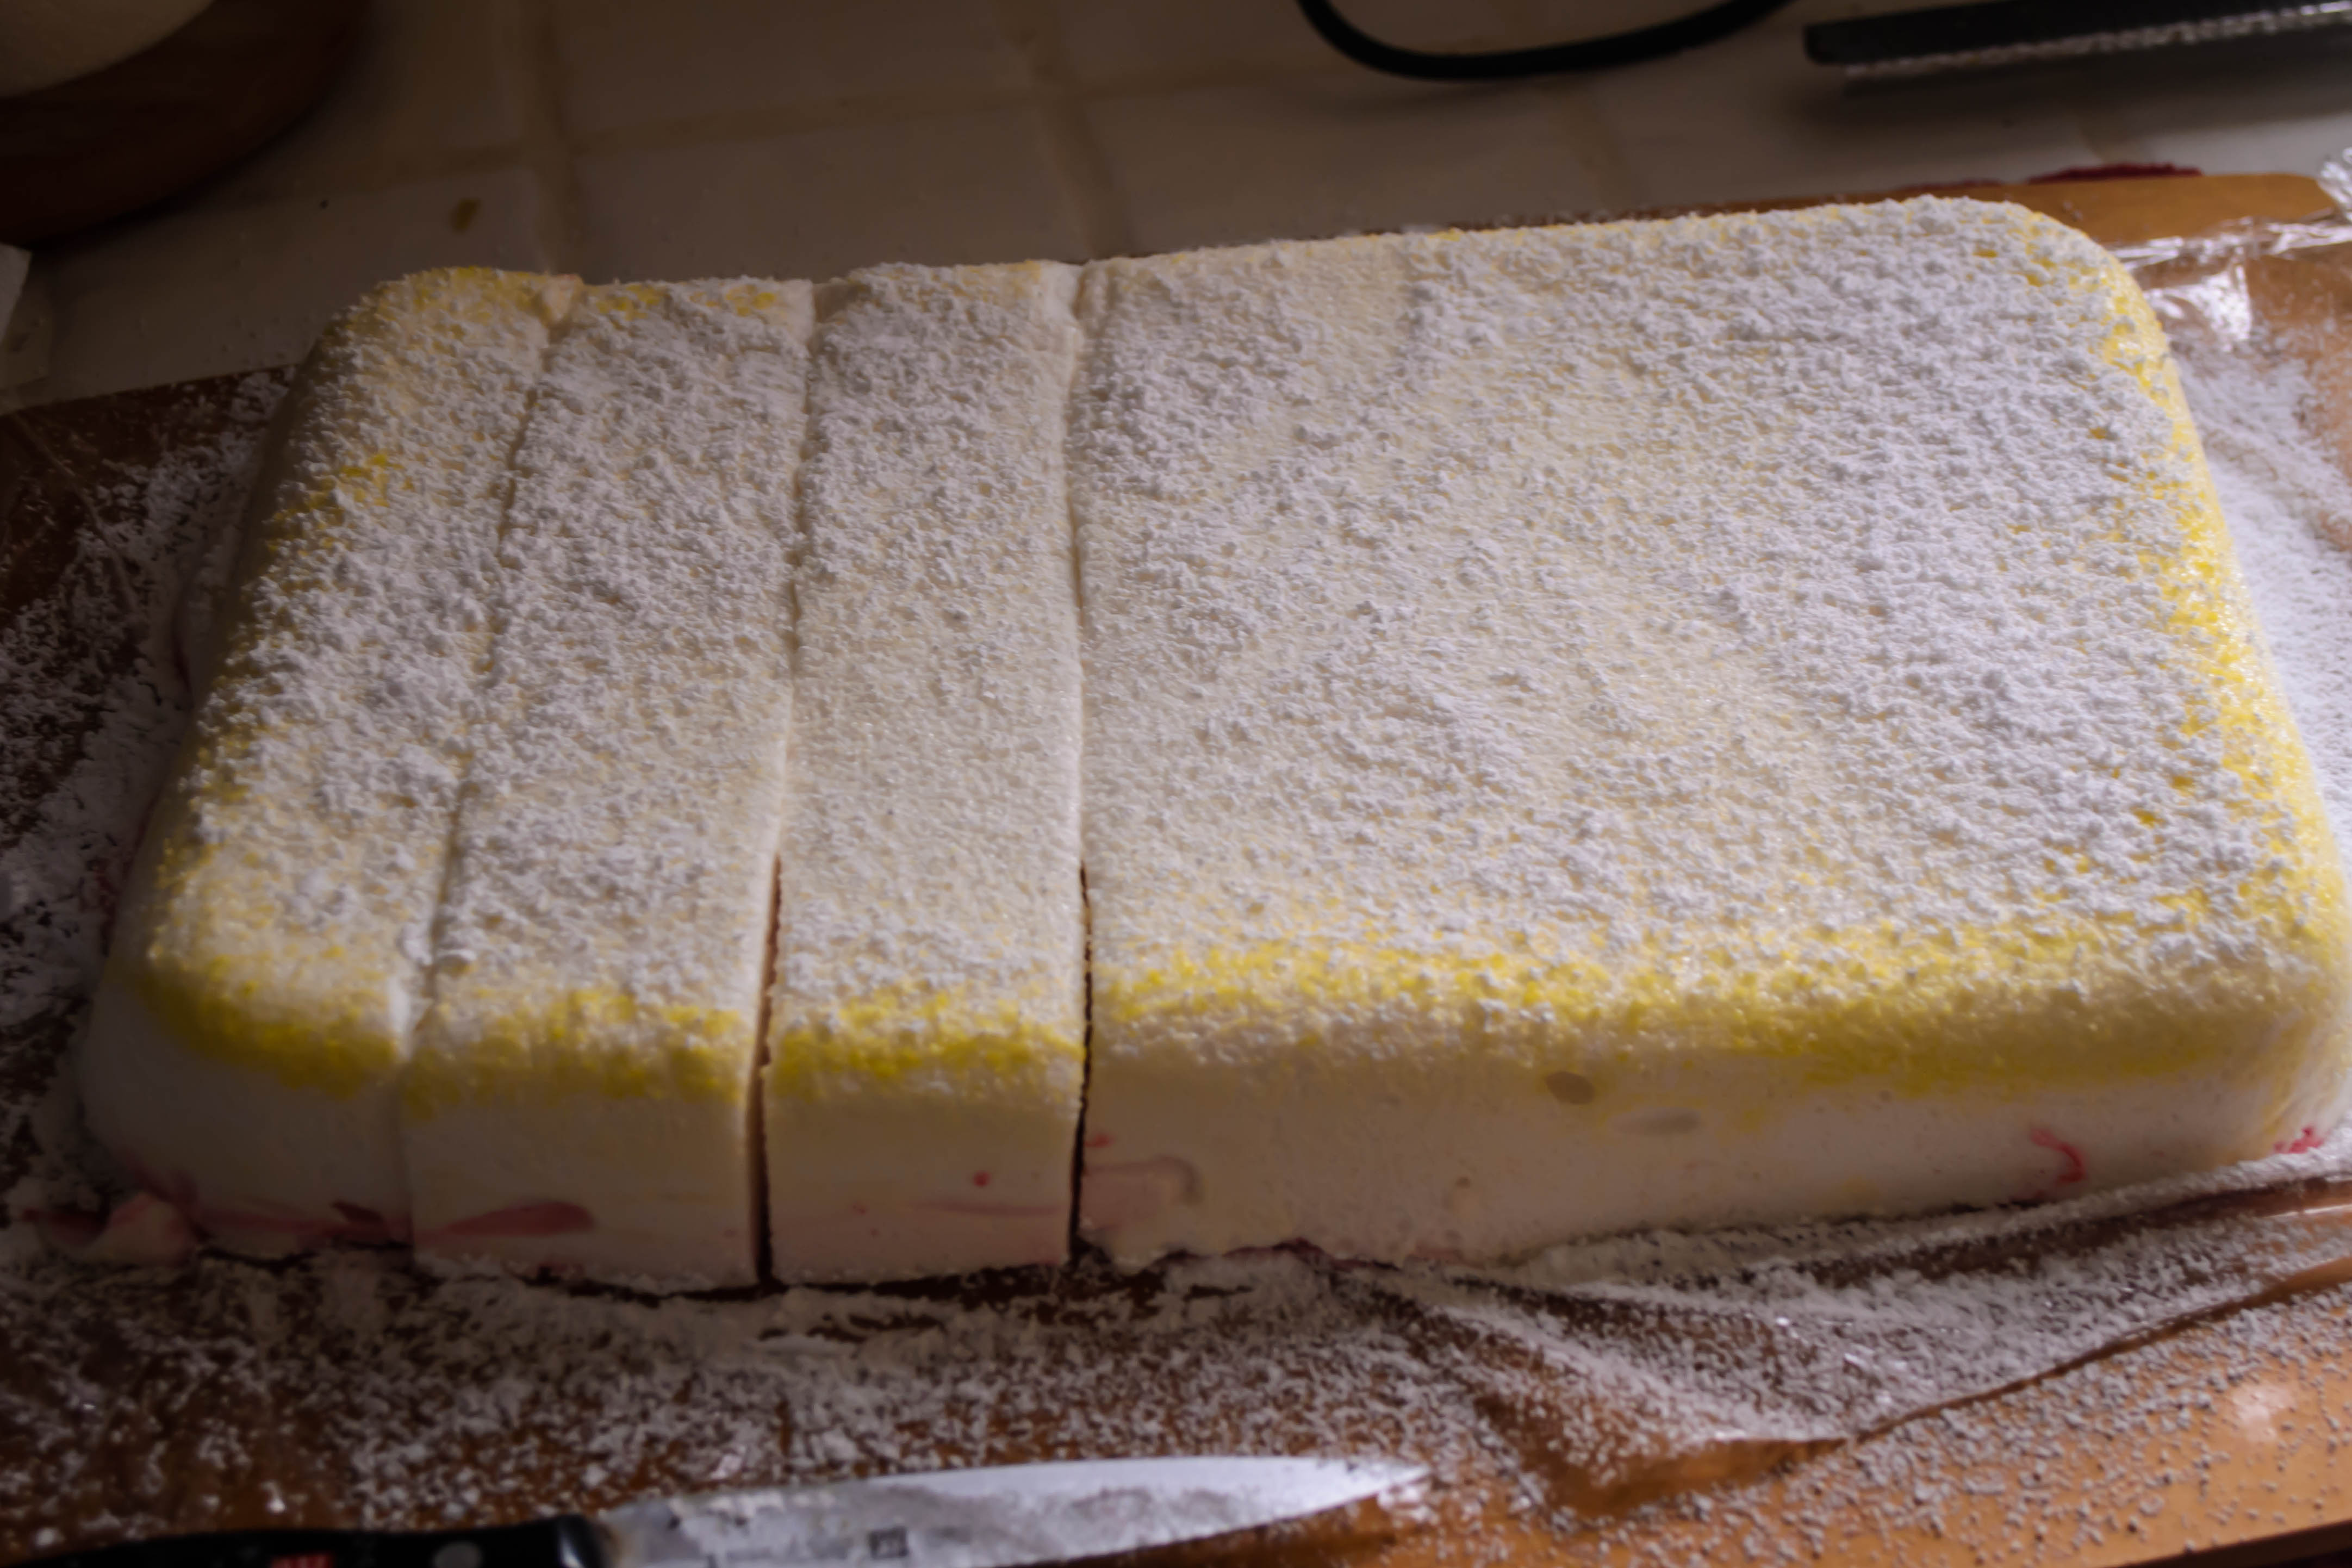
 Just before you leave for the party (or moments before your guests arrive), you can cut up the block of glorious, jewel-studded candy into neat bricks or, if you’re me, random quadrilaterals (random shapes and sizes = no one questioning your honesty when you say you made it yourself), stack it on your prettiest serving platter, and wait for it to disappear.
 Fruit and nut chocolate bark
 Related recipe to follow…
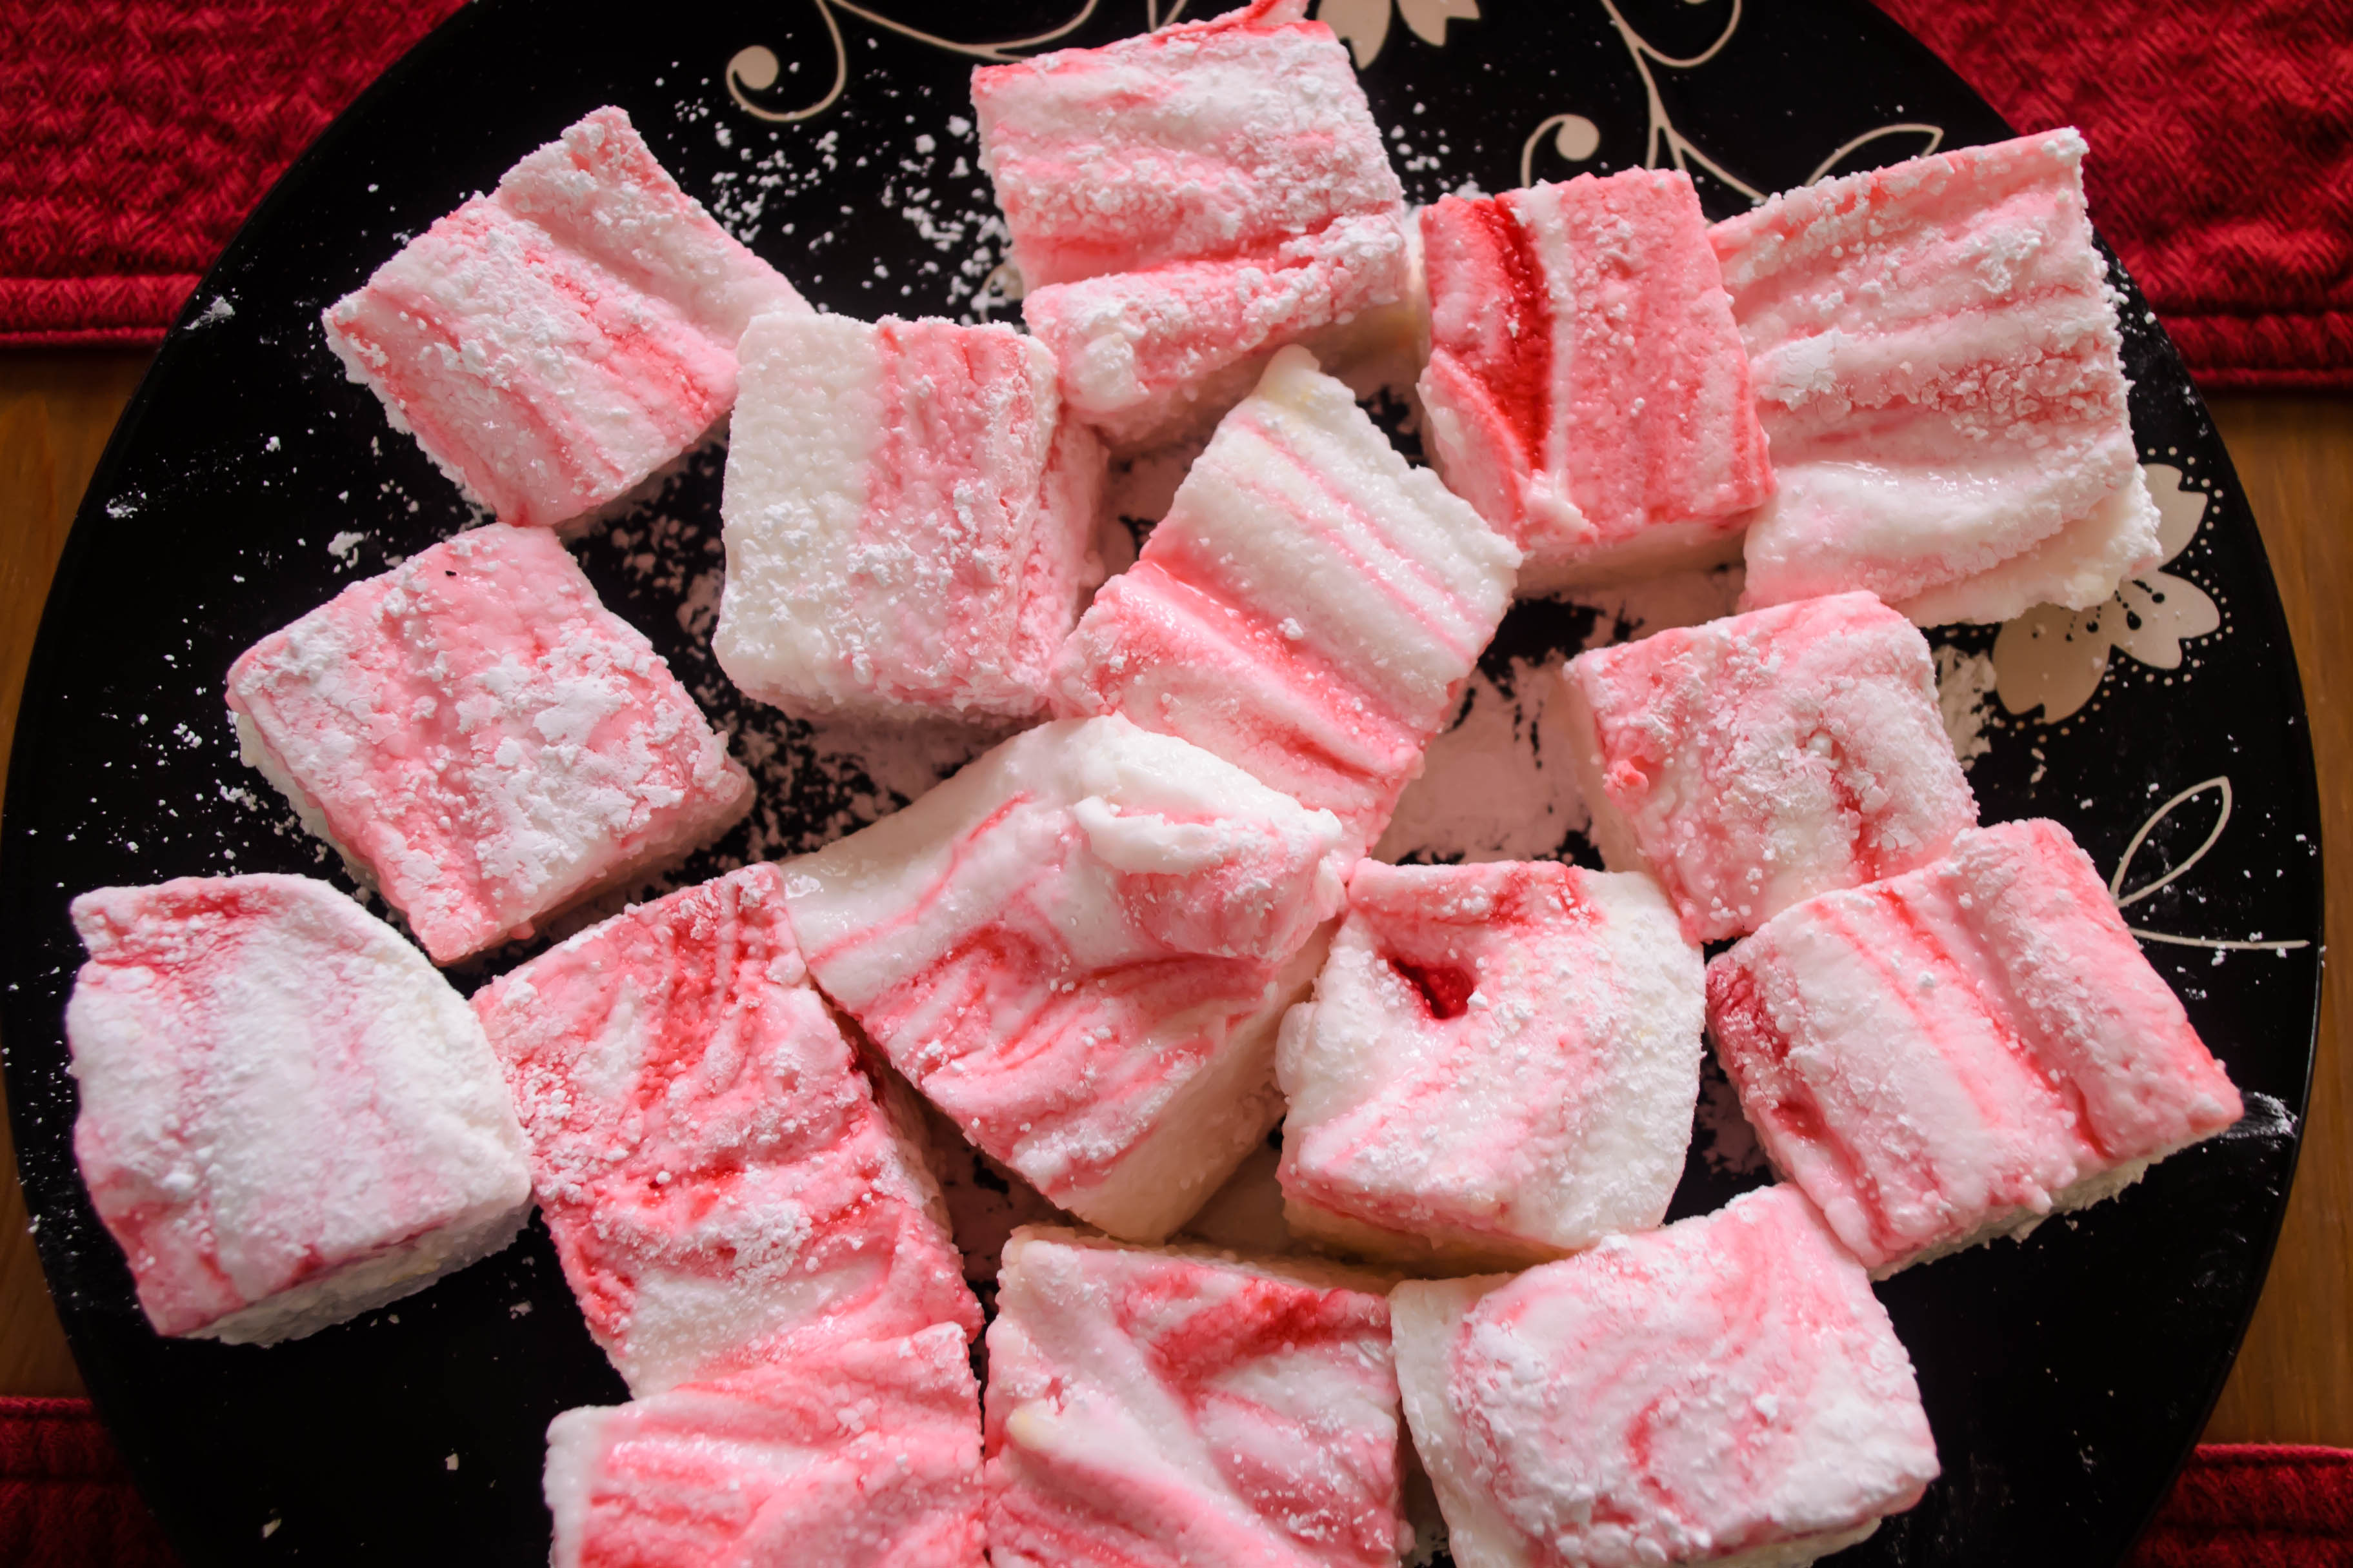
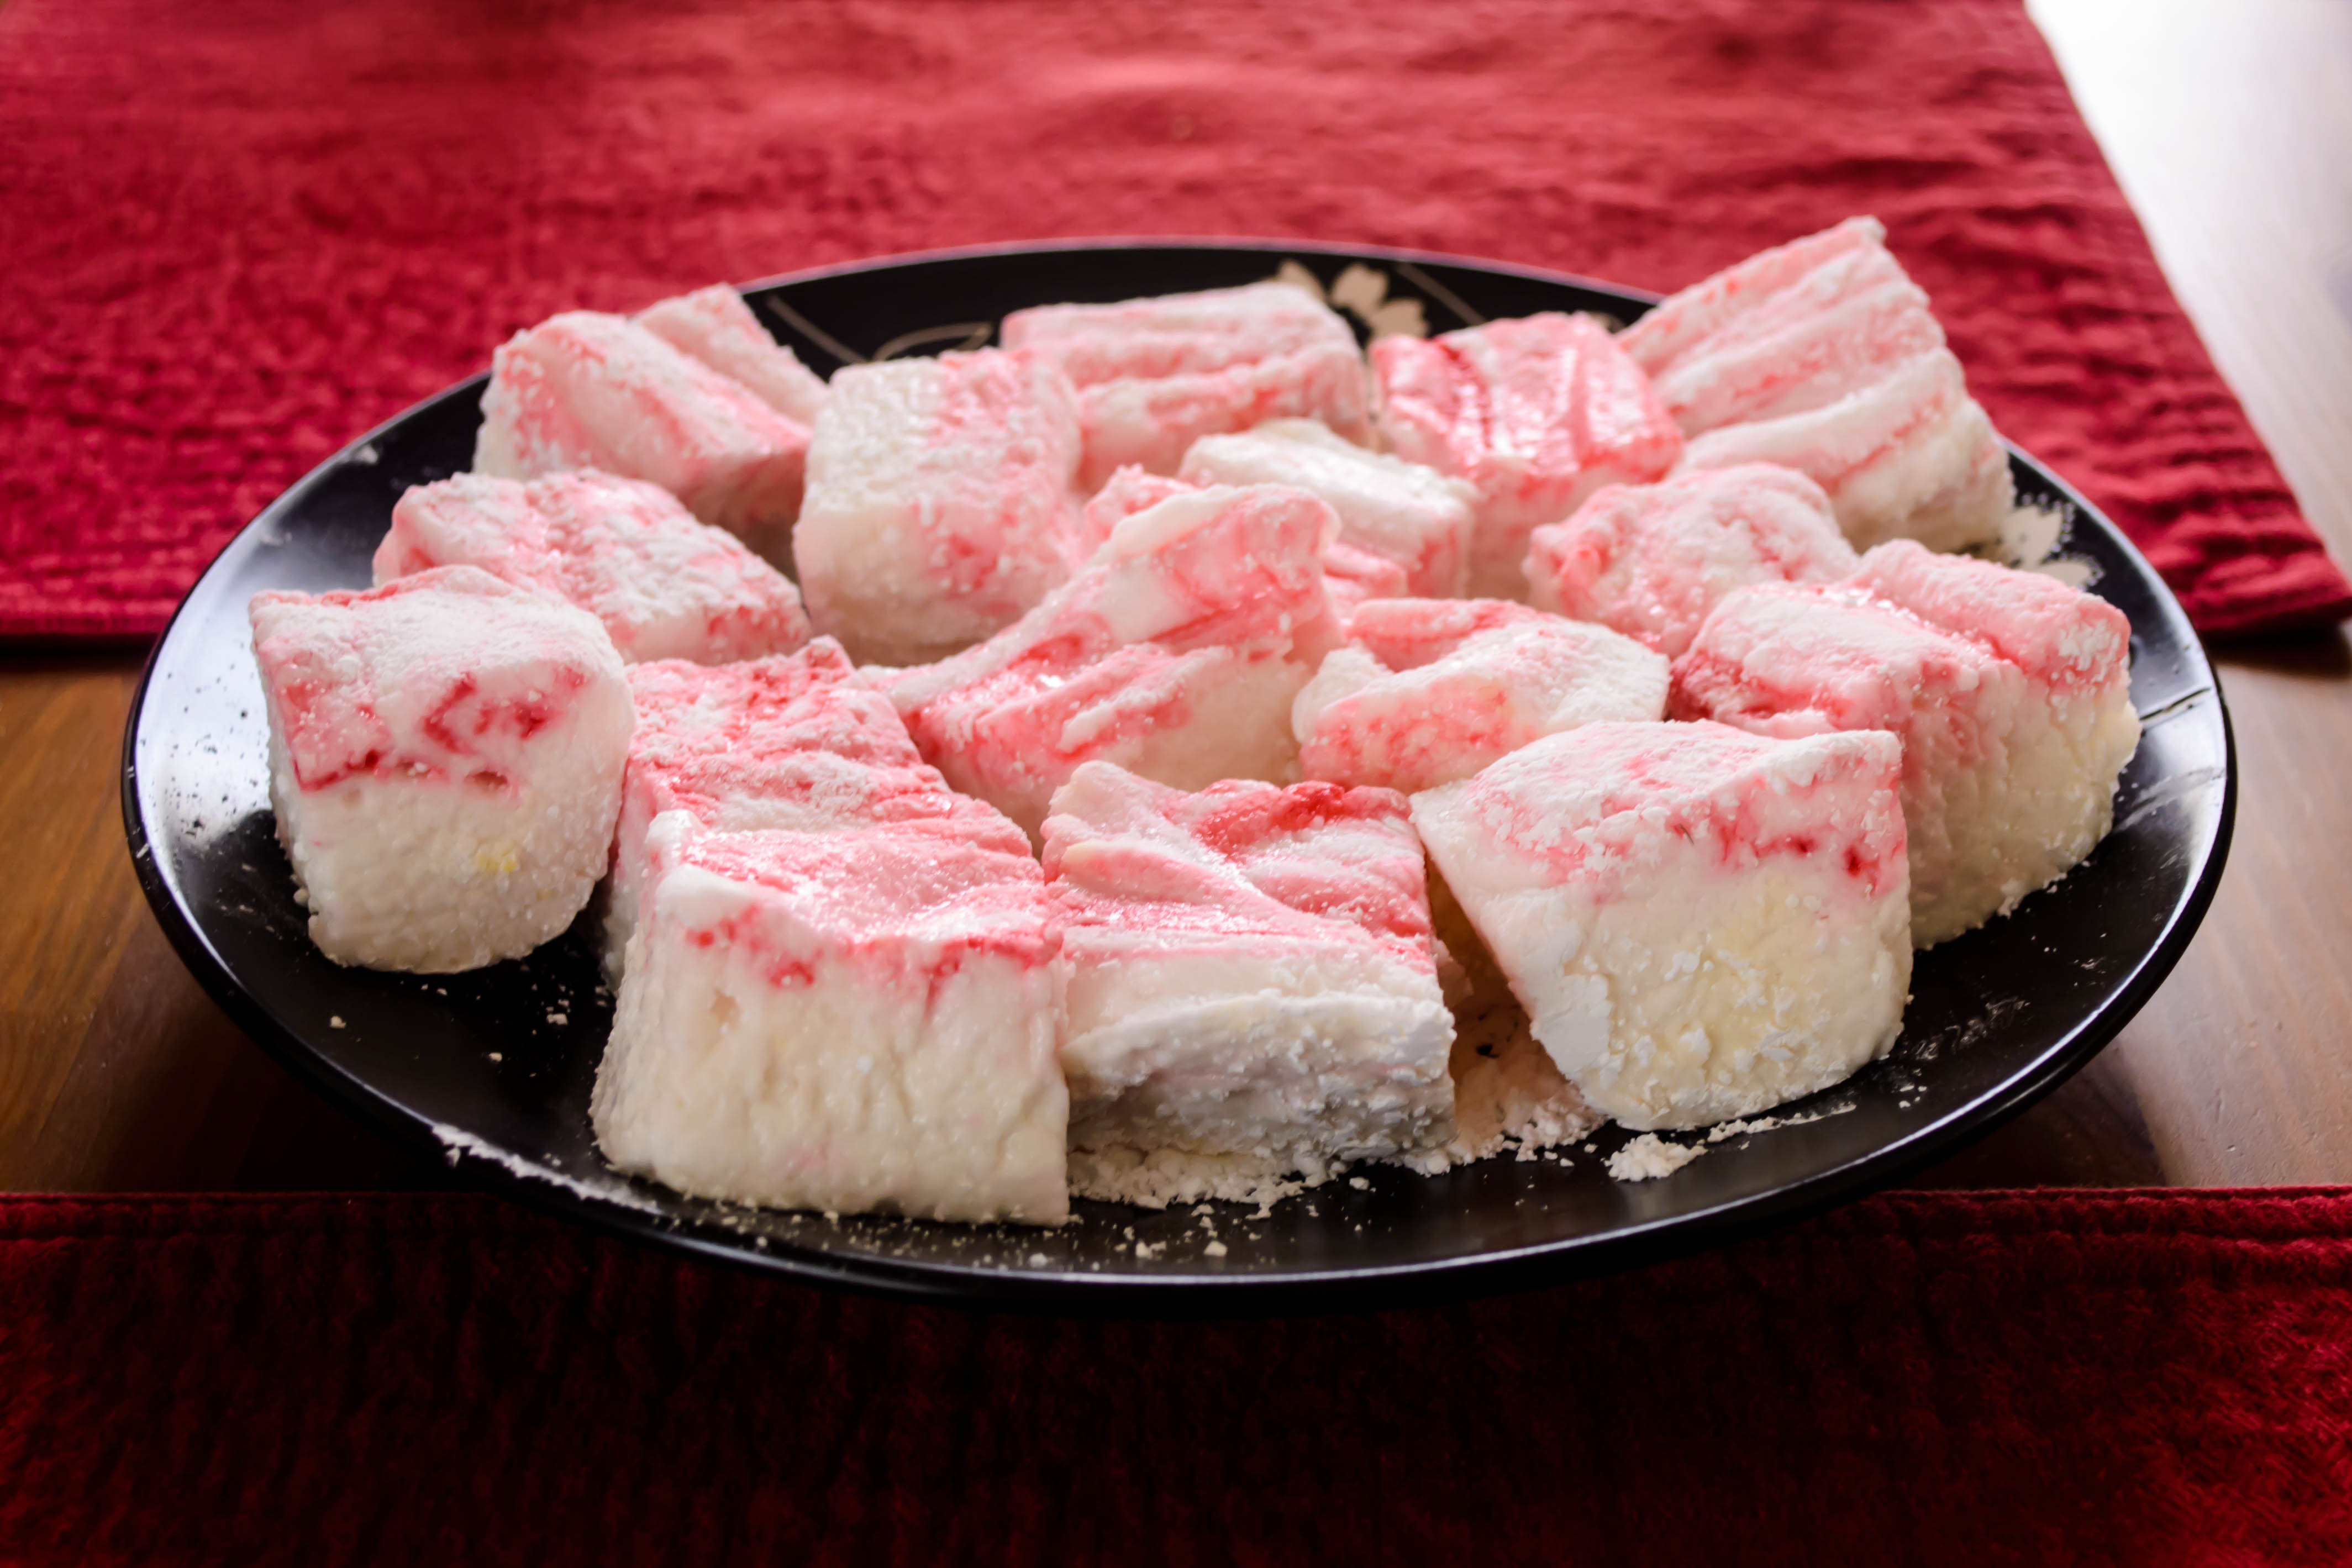
Last week I promised you something sweet and holiday inspired, but gave you very little else to go on. I didn’t know, yet, that what I would have to offer would be a beautiful red and white swirl, a puffy, gooey, perfectly melting cube of magic, like a candy cane exploded into clouds and rained powdered sugar all over my kitchen.
 Marshmallows.
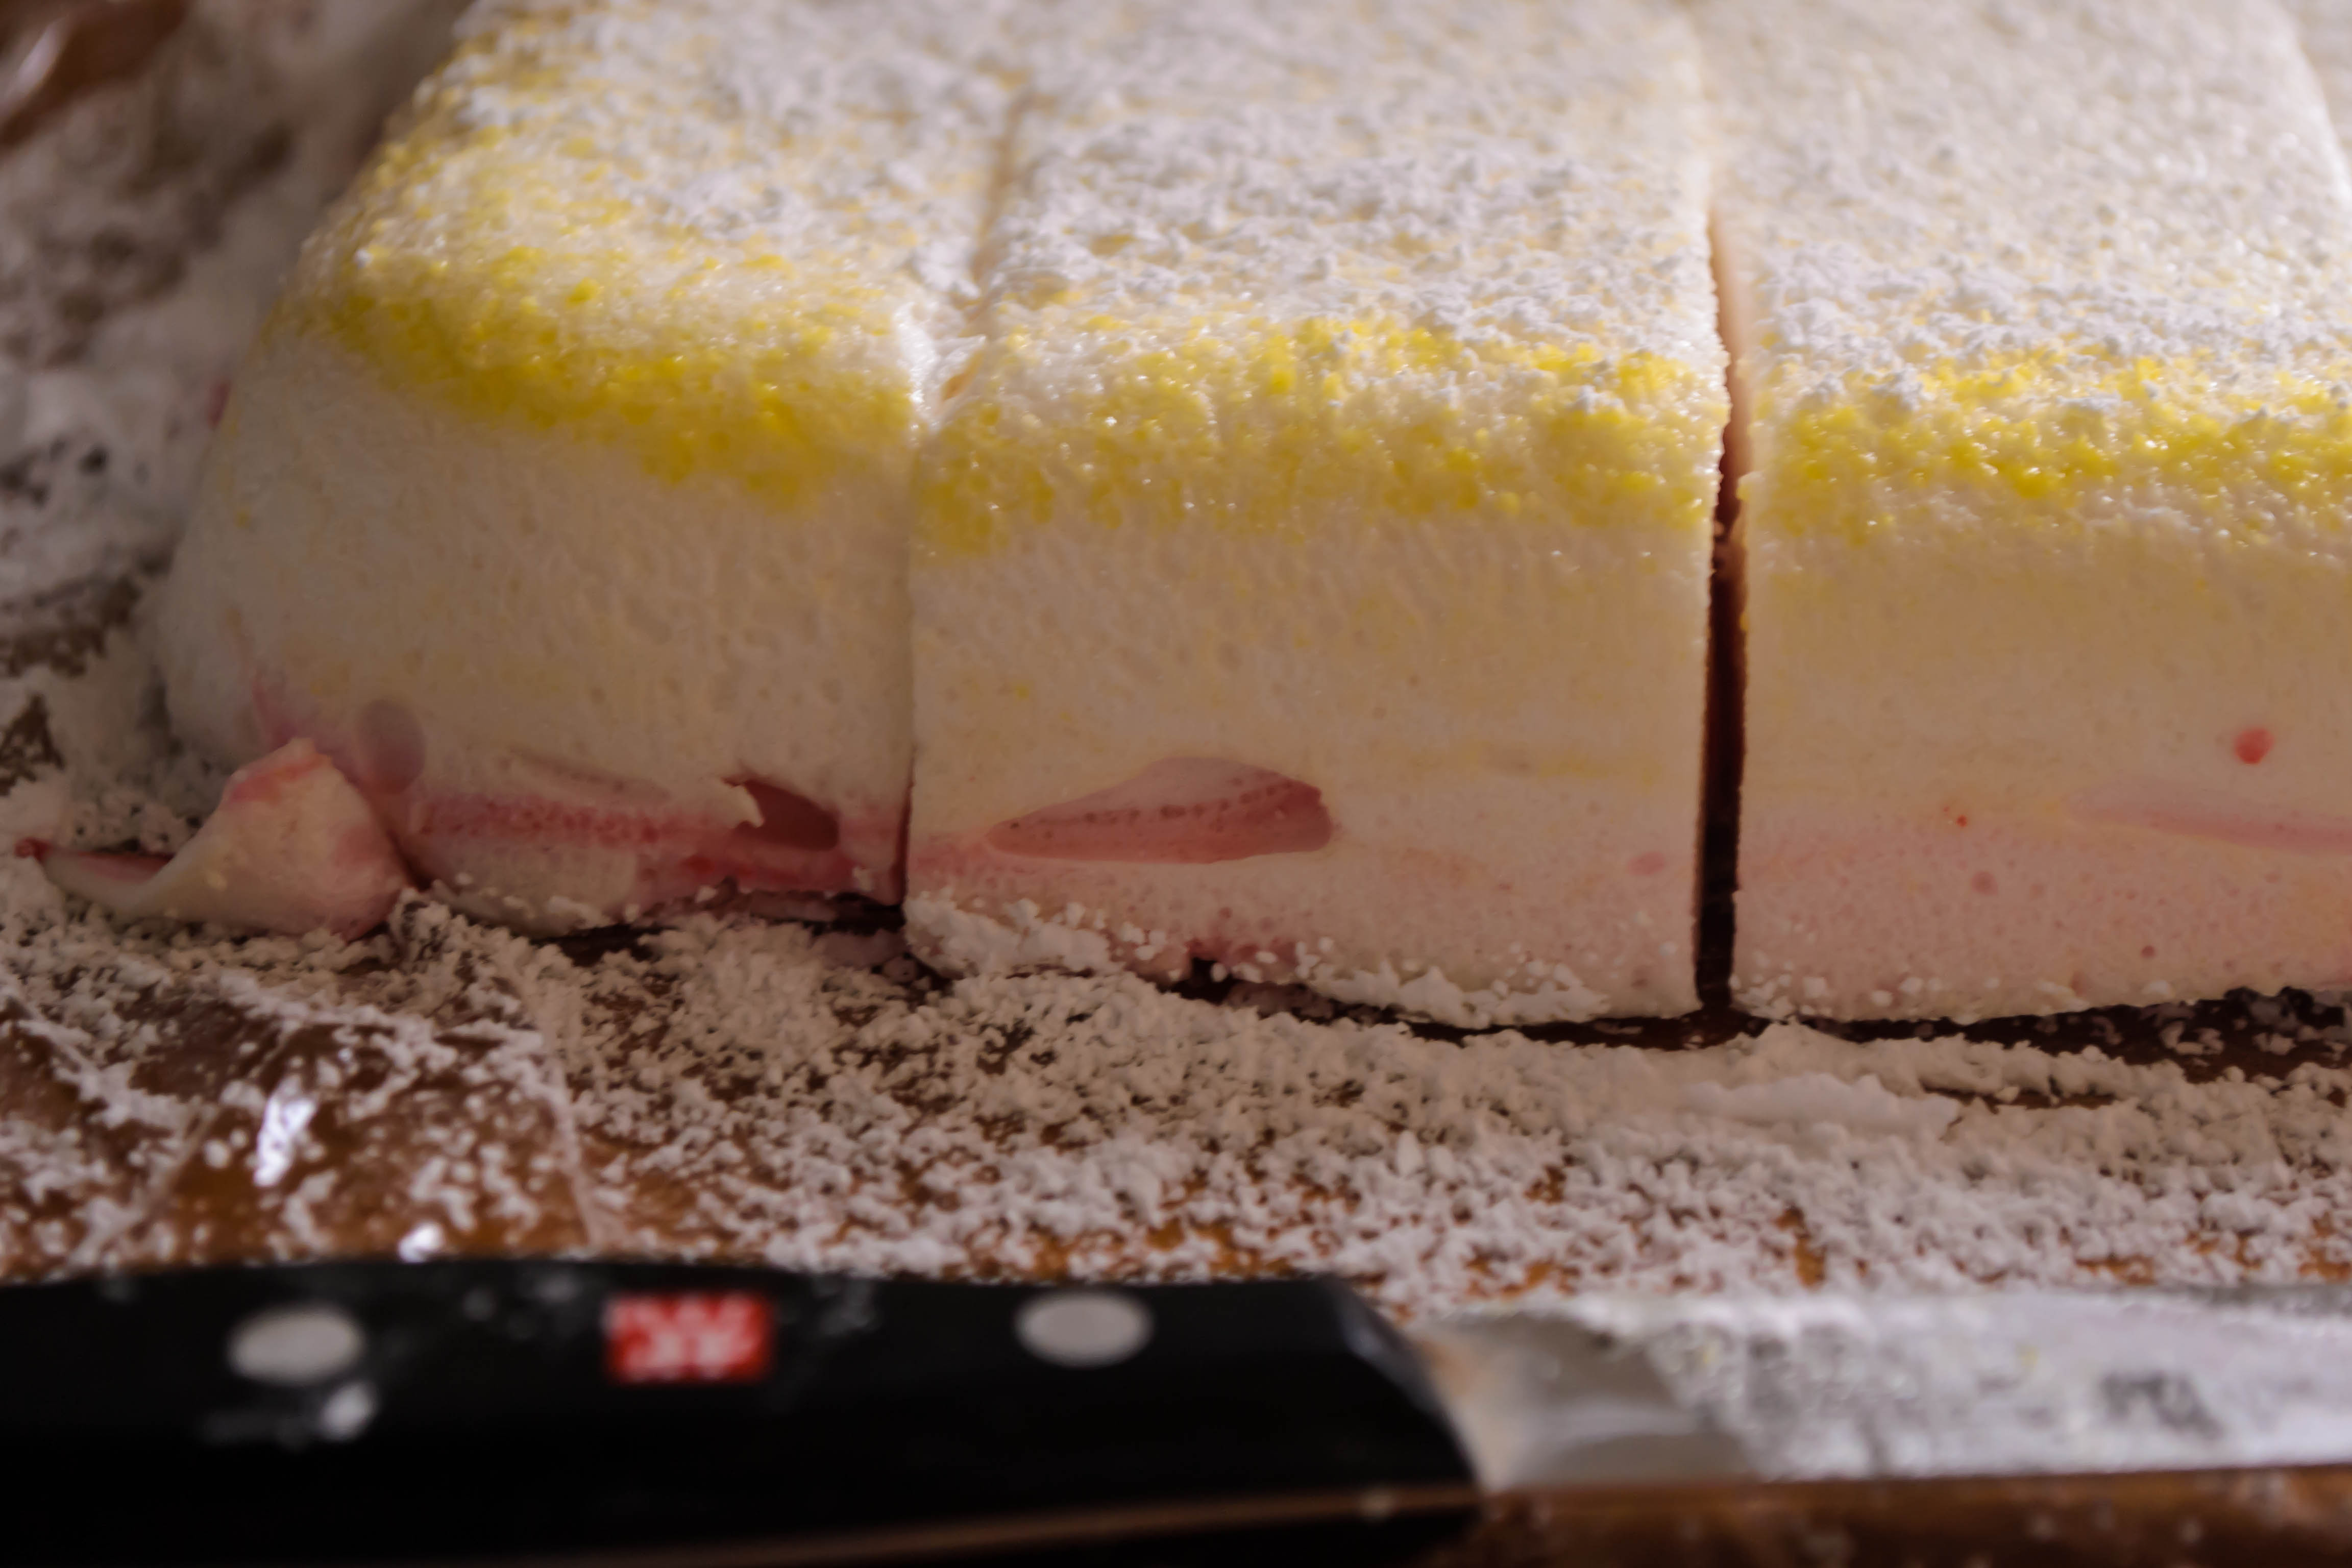
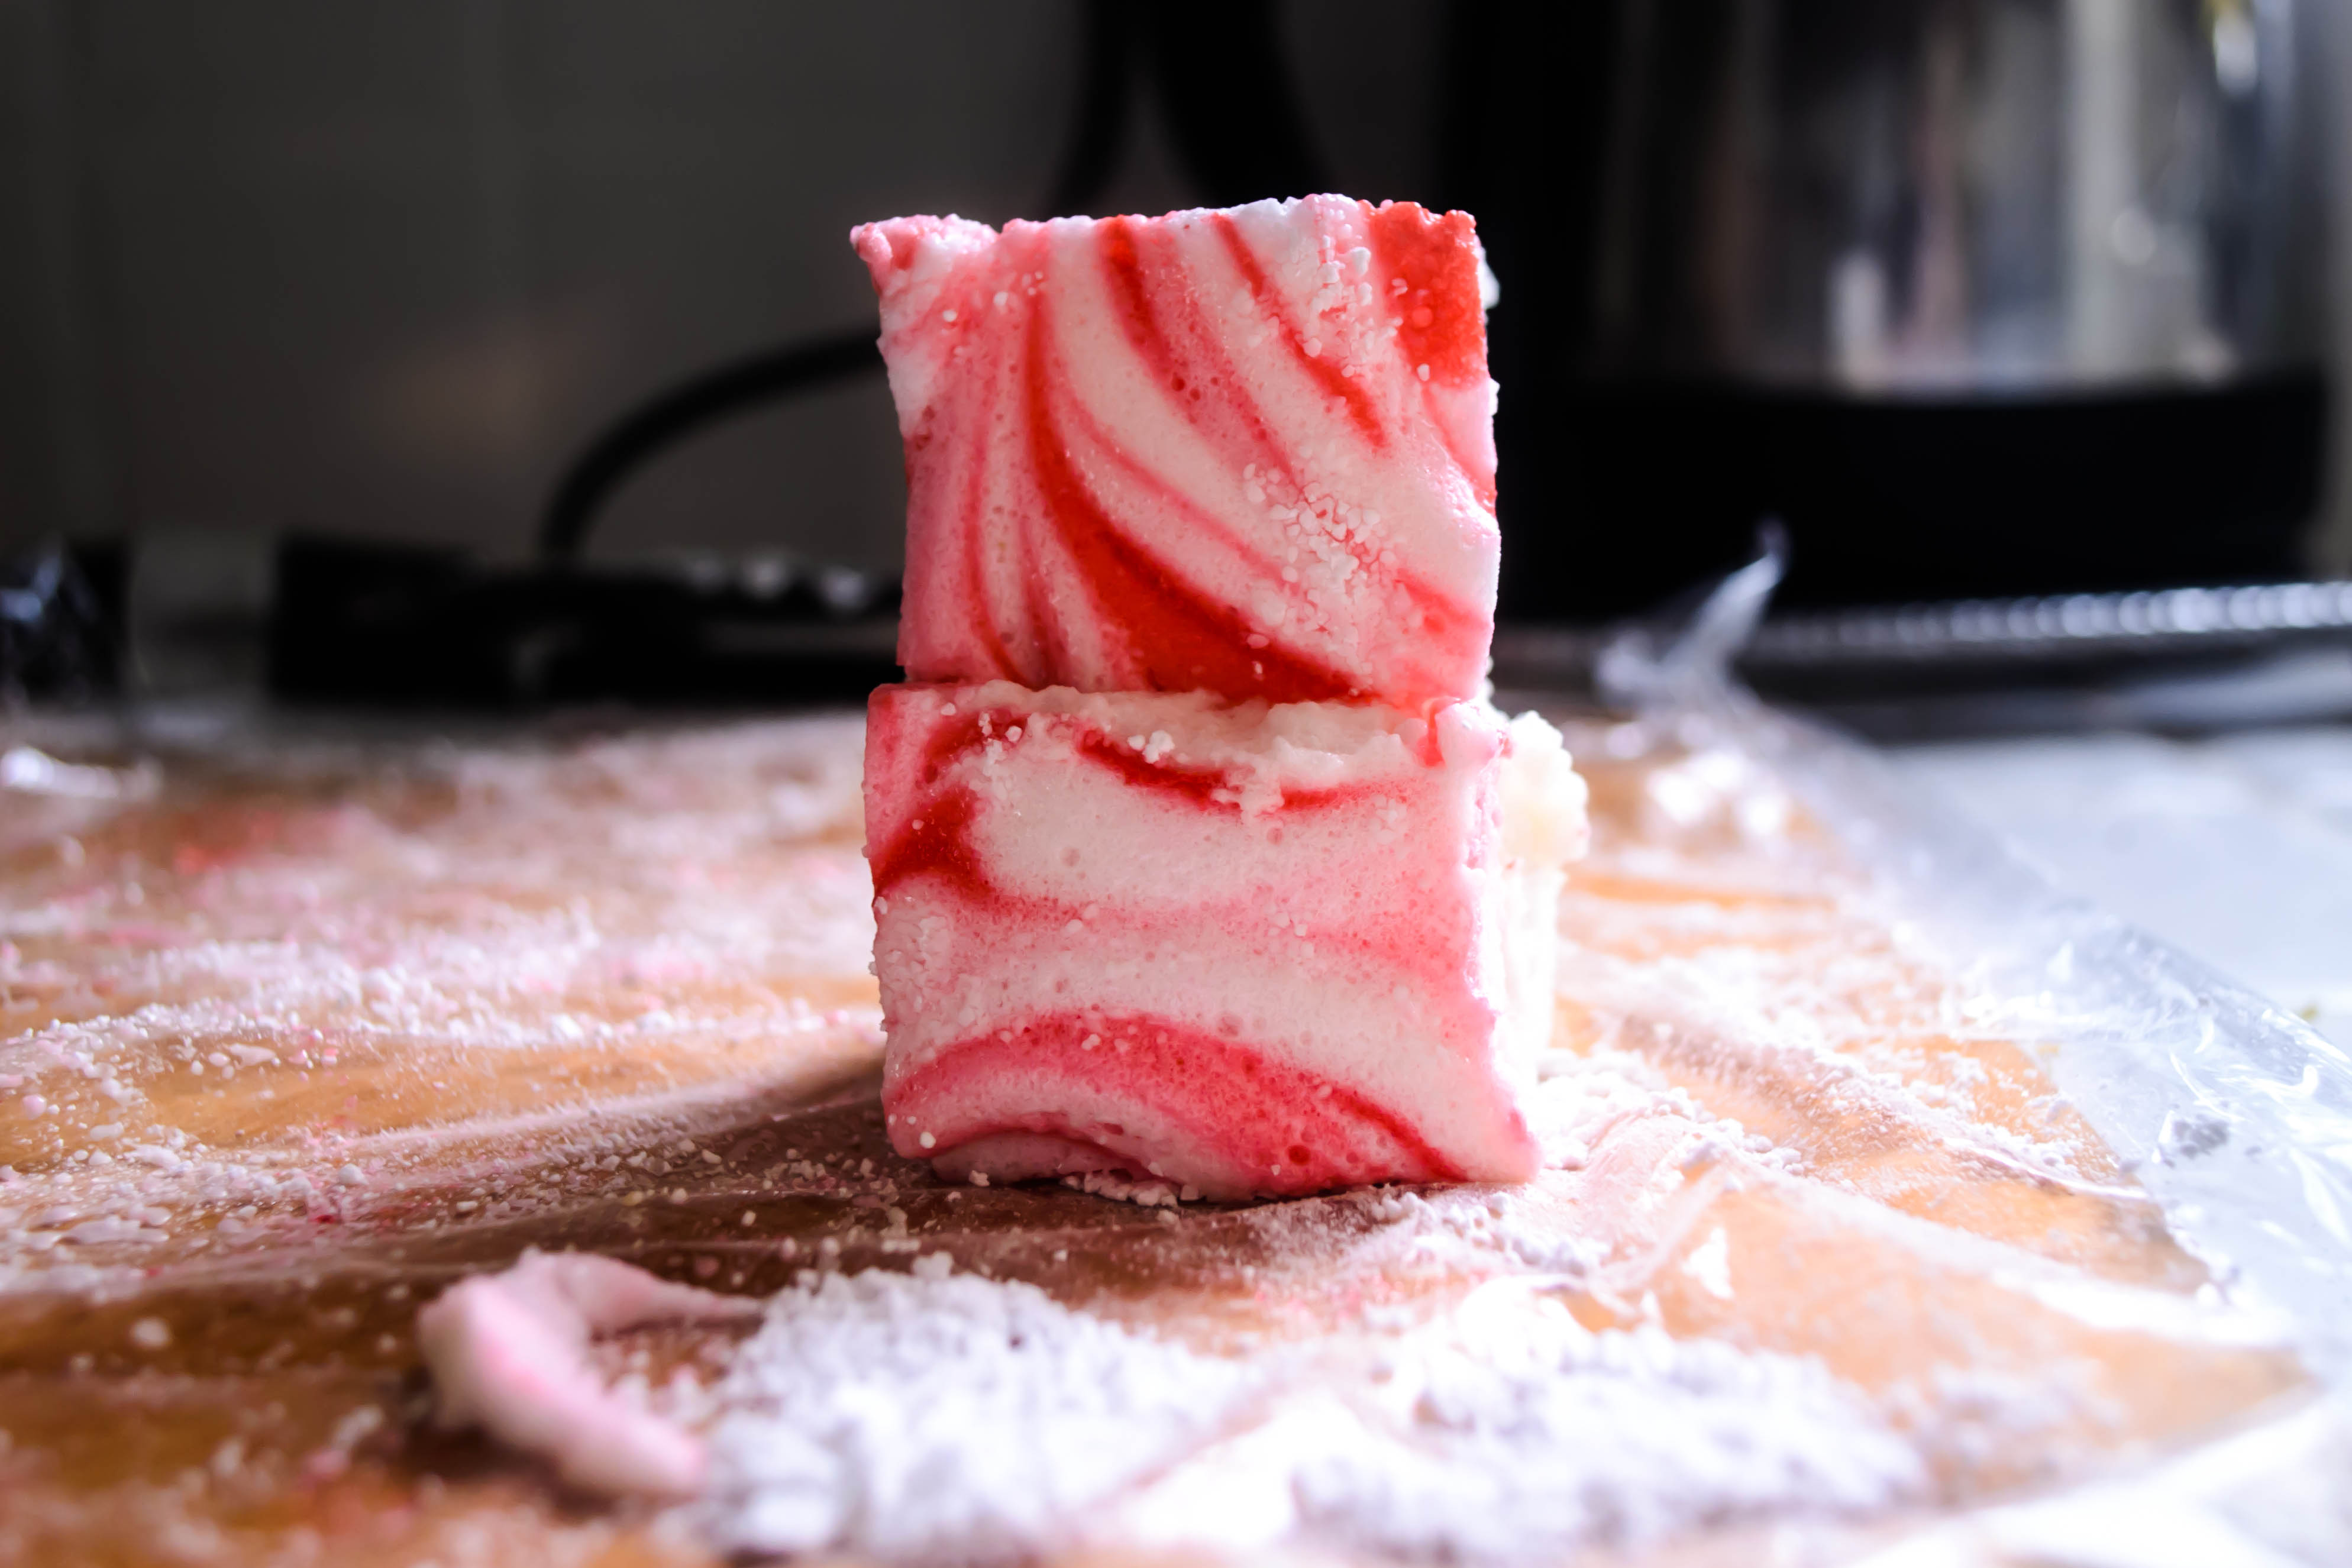 Specifically, peppermint marshmallows, flavored with mint extract and swirled with a few drops of red food coloring to emulate the striping in a candy cane.
 Marshmallows look like an ambitious cooking project, and I’ll admit they are not quite as easy as, say, your average chocolate chip cookie or gingerbread recipe. But they are so, so worth trying. When you compare store-bought marshmallows to homemade they are, as I explained yesterday, like the difference between those sheets in a discount motel, and the Egyptian cotton sheets with the sky-high thread count you dream about treating yourself to maybe that’s just me…). The homemade ones are soft and luxuriously puffy, and they linger on your taste buds without that powdery residue you get from the kind that come out of a bag. Plus, you get to play with gelatin and egg whites.


 To make mine, I looked to two of my sweets inspirations: David Lebovitz and Irvin Lin. I’ve been reading these two men’s blogs for years now, continually impressed as they churn out ambitious baking projects I never, three or two or even one year ago, would have considered attempting. Then over this summer my sister and I decided to try Irvin’s red velvet s’mores with cream cheese marshmallows, and the recipe he put together was so precise and, once I got over my fear of the boiling sugar syrup, so unthreatening that I decided homemade marshmallows should become at least a semi-regular part of my repertoire.
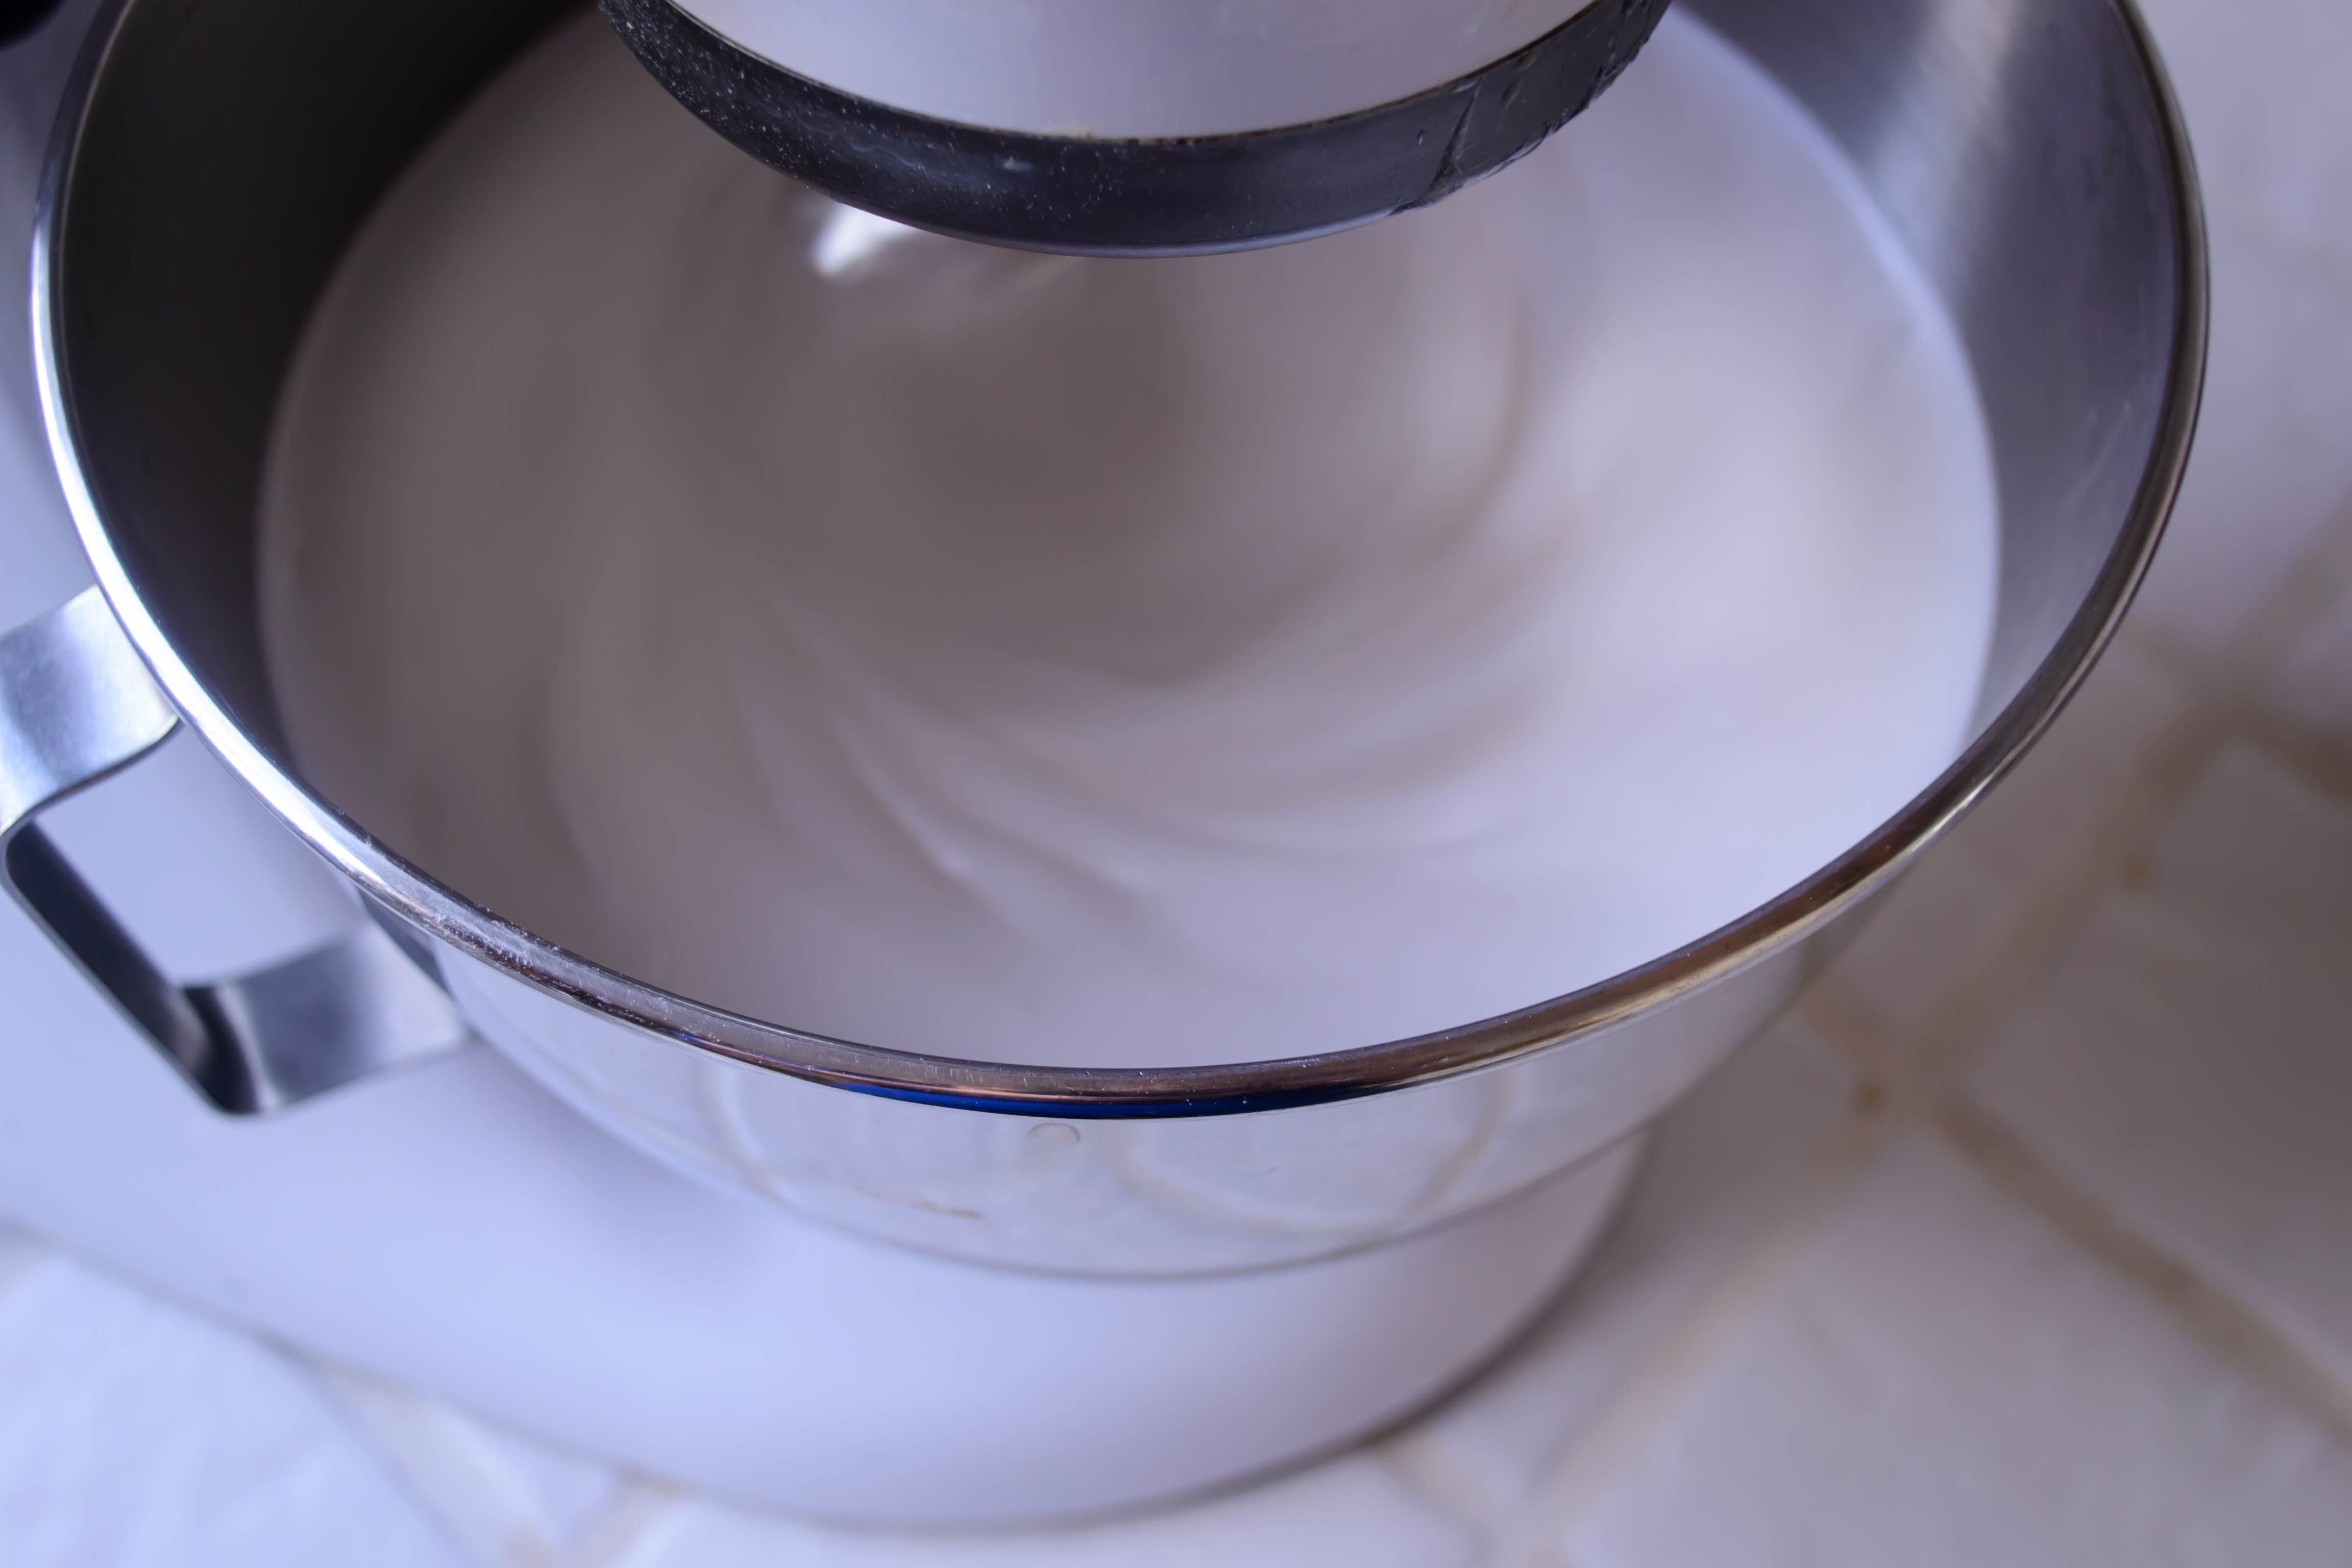
 This is essentially a three-part recipe. First, you dissolve some gelatin in cold water. While it softens and thickens and turns into a curious gooey business that resembles nothing so much as that sticky glue magazine companies use to affix perfume fold-outs and coupons to their pages (how delicious does that sound?!), you melt some sugar with corn syrup and a touch more water, making a barely golden syrup that bubbles and thickens but doesn’t hurt you, because you stir carefully and make sure you have shoes on, in case of disasters. It takes some time for the syrup to come up to the requisite 240F degrees, so while you wait, you whip some room temperature egg whites to soft peaks, helping them along the way with a pinch of cream of tartar.

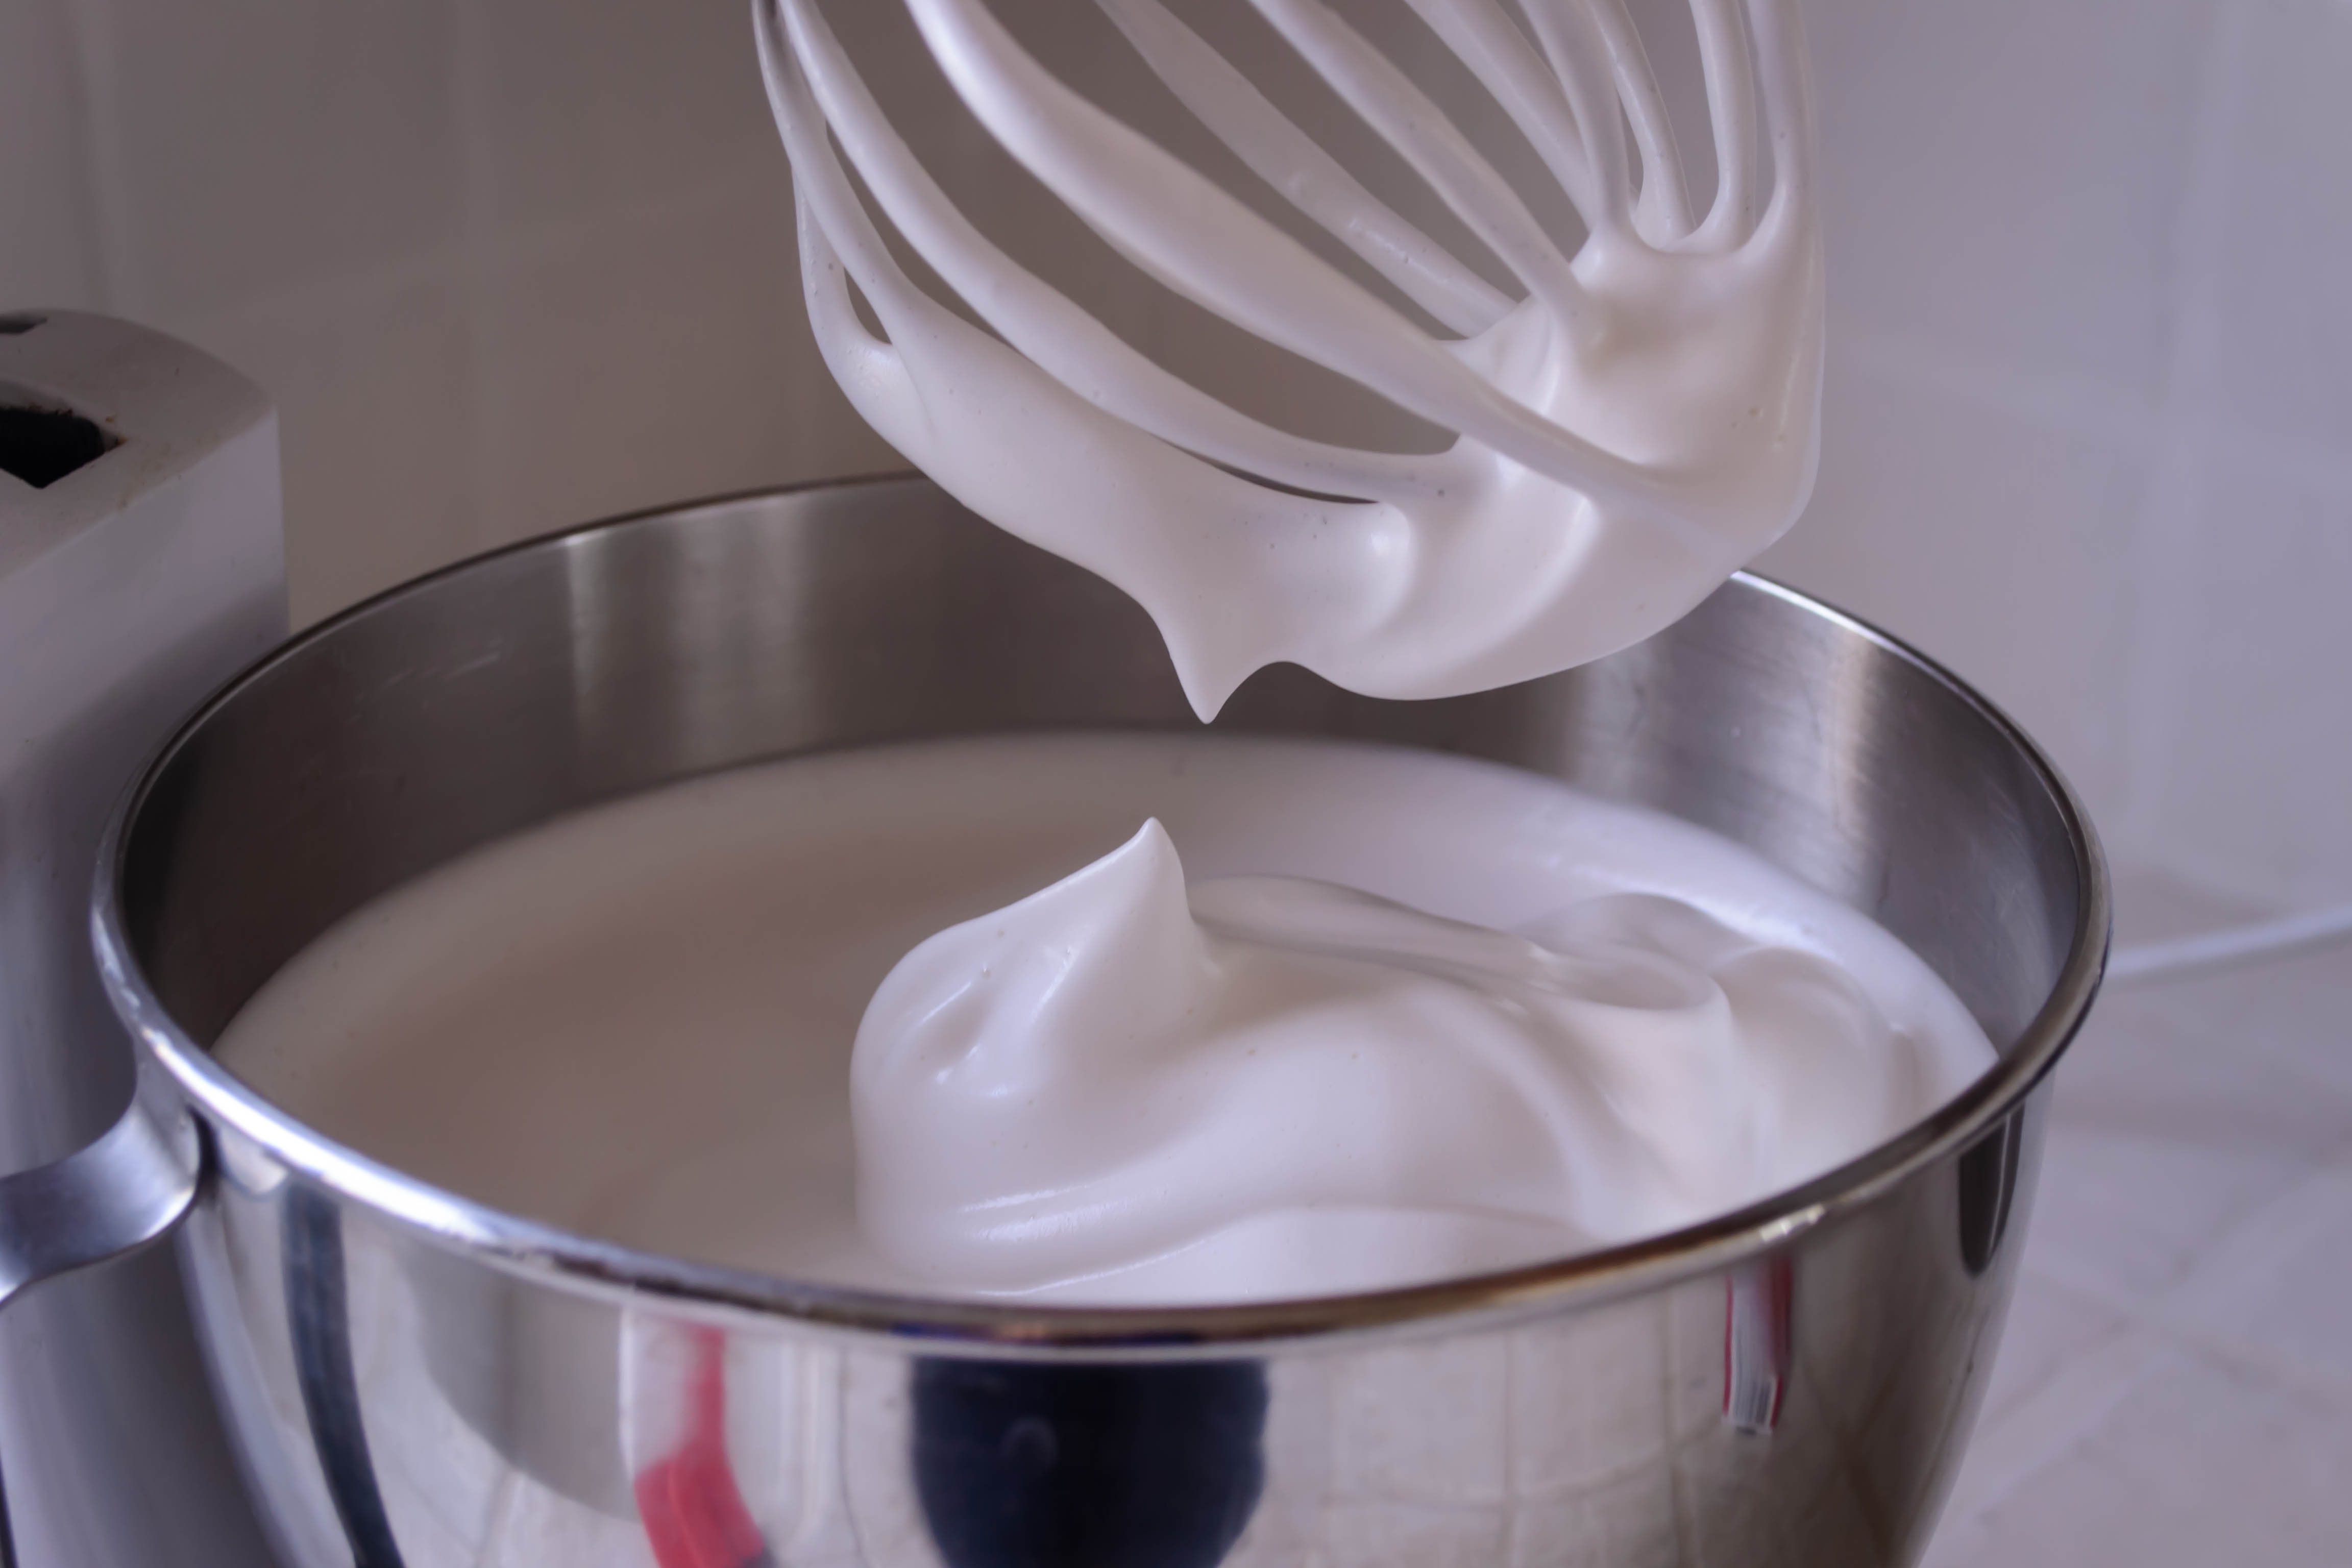
 Then all that remains is to combine. Off the heat, you scrape the gelatin, now congealed into this weird, pecan-pie-filling consistency, into the syrup, whisk to combine, and then pour the still-hot gelatinized syrup carefully into your egg whites. You whip them for a long time – ten minutes long! – and they expand triumphantly until you aren’t sure your stand mixer can hold them all. At the last minute, you add some vanilla and mint extract, and then deposit into a well-greased baking dish, swirl with some food coloring if desired, and stow in the fridge overnight to cure. The next day, you have a wide dish of marshmallow, which you can slice, toss with powdered sugar, and use for whatever purposes your heart desires.
 I found, through intense and repeated experimentation (I do these things for you…) that they melt with almost no resistance in cocoa, and would be a revelation dipped in dark chocolate. You could likely torch them just a bit to top a peppermint variation of a grasshopper or chocolate cream pie. But I find that with this peppermint flavor in particular – swirled for the holidays and almost aggressively minty – I like them best straight out of the refrigerator.
 Brie biscuits, using Ruhlman’s multi-fold biscuit method
Sometimes, there are weeks where you never stop working, but you manage to whip up a brilliant (well… passable?) new recipe, take and edit a series of deep, detailed pictures, all while lesson-planning and grading papers and researching new curriculum ideas and folding laundry the same day you did it!
 But sometimes, there are weeks like this past week, which was the last week of my semester. This year, I started a new job. I’m a full-time instructor at a local community college, which means I’m teaching four classes, on campus five days a week, and overseeing at least 110 students, all of whom wrote about 30 pages during the course of the 16 week term. I’m not complaining. This is not one of those “teachers have it rough” sagas (though as a profession, it is challenging). What I’m saying is, imagine what this means for the last week of the term! Student conferences Monday, Tuesday, and Wednesday on final papers, said papers due on Thursday and Friday, and one tiny little week before all grades, paperwork, and records are due. And then the power goes out in your office on Friday, so you have to leave. And your laptop decides after a mere 3 years of mostly-faithful service that it’s not interested in retaining battery power much anymore, so you spent a morning running around town to replace it. And you remember that you and your husband are leaving town in less than a week to visit family, which cuts that whole grading period short.
 This is all a long-winded
 excuse apology reality-check for why I don’t have a recipe for you this morning. I had dreams, of course (and still do… stay tuned…), but when the afternoon sun entered that golden, slanting phase and I still hadn’t even started the 2-day, gooey-sweet, holiday-flavored project I’d intended to share with you here today (any guesses?!), I decided that sometimes there are towels that need to be thrown. So I did. I bought ingredients, but then graded all day Saturday. And then, because it really was a rough week for many reasons, N. and I decided to reward ourselves with a visit on Sunday to the happiest place on Earth.
So, friends, no recipe today. Instead, here’s my favorite photo from the Thanksgiving holiday N. and I spent with my parents and sister in our itty-bitty house. It’s blurry. But that’s what I like about it – it captures my usual state in the kitchen: a flurry of motion from step to step, from idea to idea, from taste to taste.
 I hope this finds you hale and hearty, not to mention happy, and that your holiday planning is going well. I’ll be back in a week with a holiday sweets post and recipe, but in the meantime if you need some inspiration, I suggest truffles, or espresso molasses spice cookies, or cranberry walnut bread, or lemon ginger shortbread. Happy holiday baking!
A fabled land of farmers, farm shares, fancy (and not so fancy) restaurants, family meals, food projects and more.
cooking my way through my dissertation, one egg at a time
Fearless cooking from a tiny NYC kitchen.
food, in so many words.
Recreating the famous dishes of famous writers. Part recipe blog, part historical discussion, entirely unabashed love of books.
Epicurean Adventures from Eugene, Oregon
Celebrating the Harvest
Modern Iranian aka Persian Food & Culture Blog - Cuisine, Recipes, Stories , Photos, Pictures, DIY tutorials
Exploring Culinary Traditions of Africa, African America and the African Diaspora
food, in so many words.
food, in so many words.
food, in so many words.
Food-Stories-Recipes-Love
WordPress.com is the best place for your personal blog or business site.
