 Sometimes, a week calls for pizza. But you don’t want the delivery variety dripping with grease and lazy with a smattering of mix-n-match toppings. You want something fresher. Better. You want the feel of dough you can stretch under your hands and control over the size and shape of the pie and choice in the quality and variety of ingredients.
Homemade pizza.
N. and I have often talked about pizza memories, and how, when we were kids, pizza just wasn’t the same without a side of root beer. It had to be in one of those hard plastic molded glasses, and it had to be with a clear straw. And sometimes, you forgot you’d ordered root beer instead of Coke or Pepsi, and that first gulp with its spicy depth would be a tremendous surprise.
As we got older, the “root” part of the equation melted, and suddenly it was pizza and beer, plain and simple, one of the mother food and beverage combinations (is that a thing? Like mother sauces? It should be. After all, beer is the third most popular beverage worldwide, and variations on pizza have been around since ancient Greece).
As I thought my way through this pizza plan this week, I wondered whether they had to be separate. I mean, yeast makes bread dough and beer possible. Beer is liquid, and there seemed no logical reason why it couldn’t be substituted for the water I’d ordinarily use to make a pizza crust.
Once this idea was lodged in my head, it wouldn’t go away. This just seemed too perfect. Beer and pizza, kneaded together – a truly complete meal.
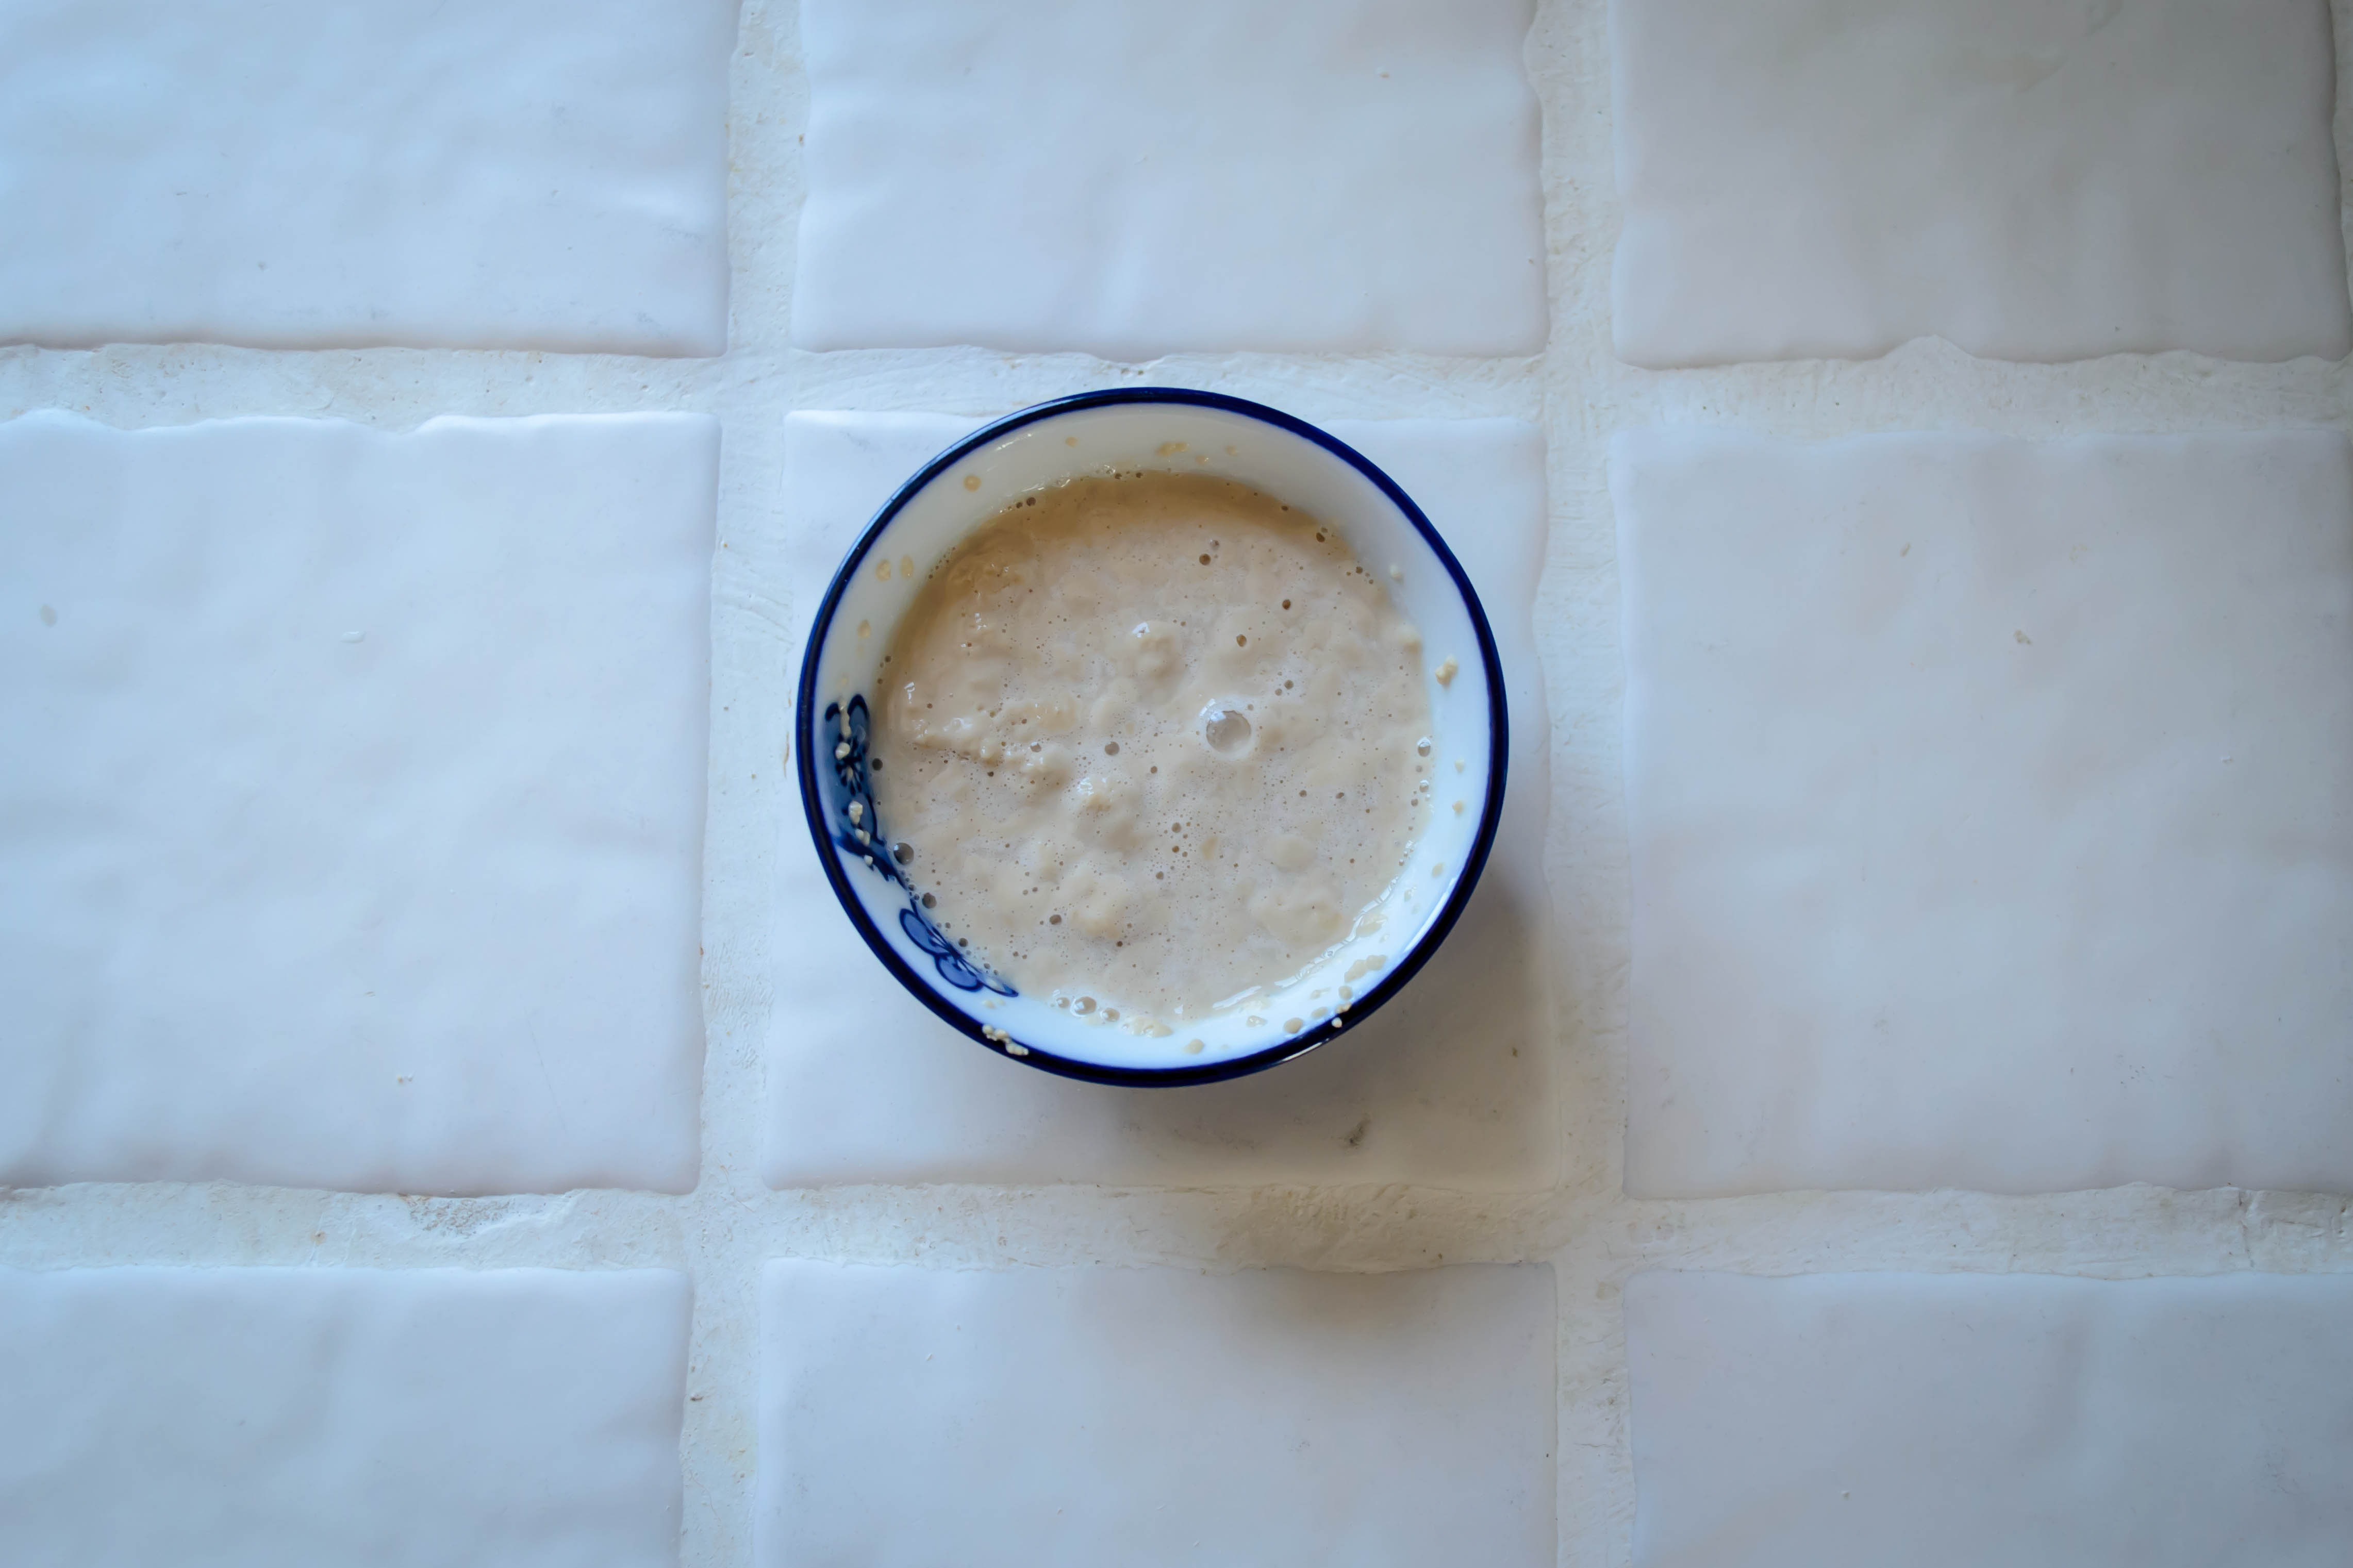
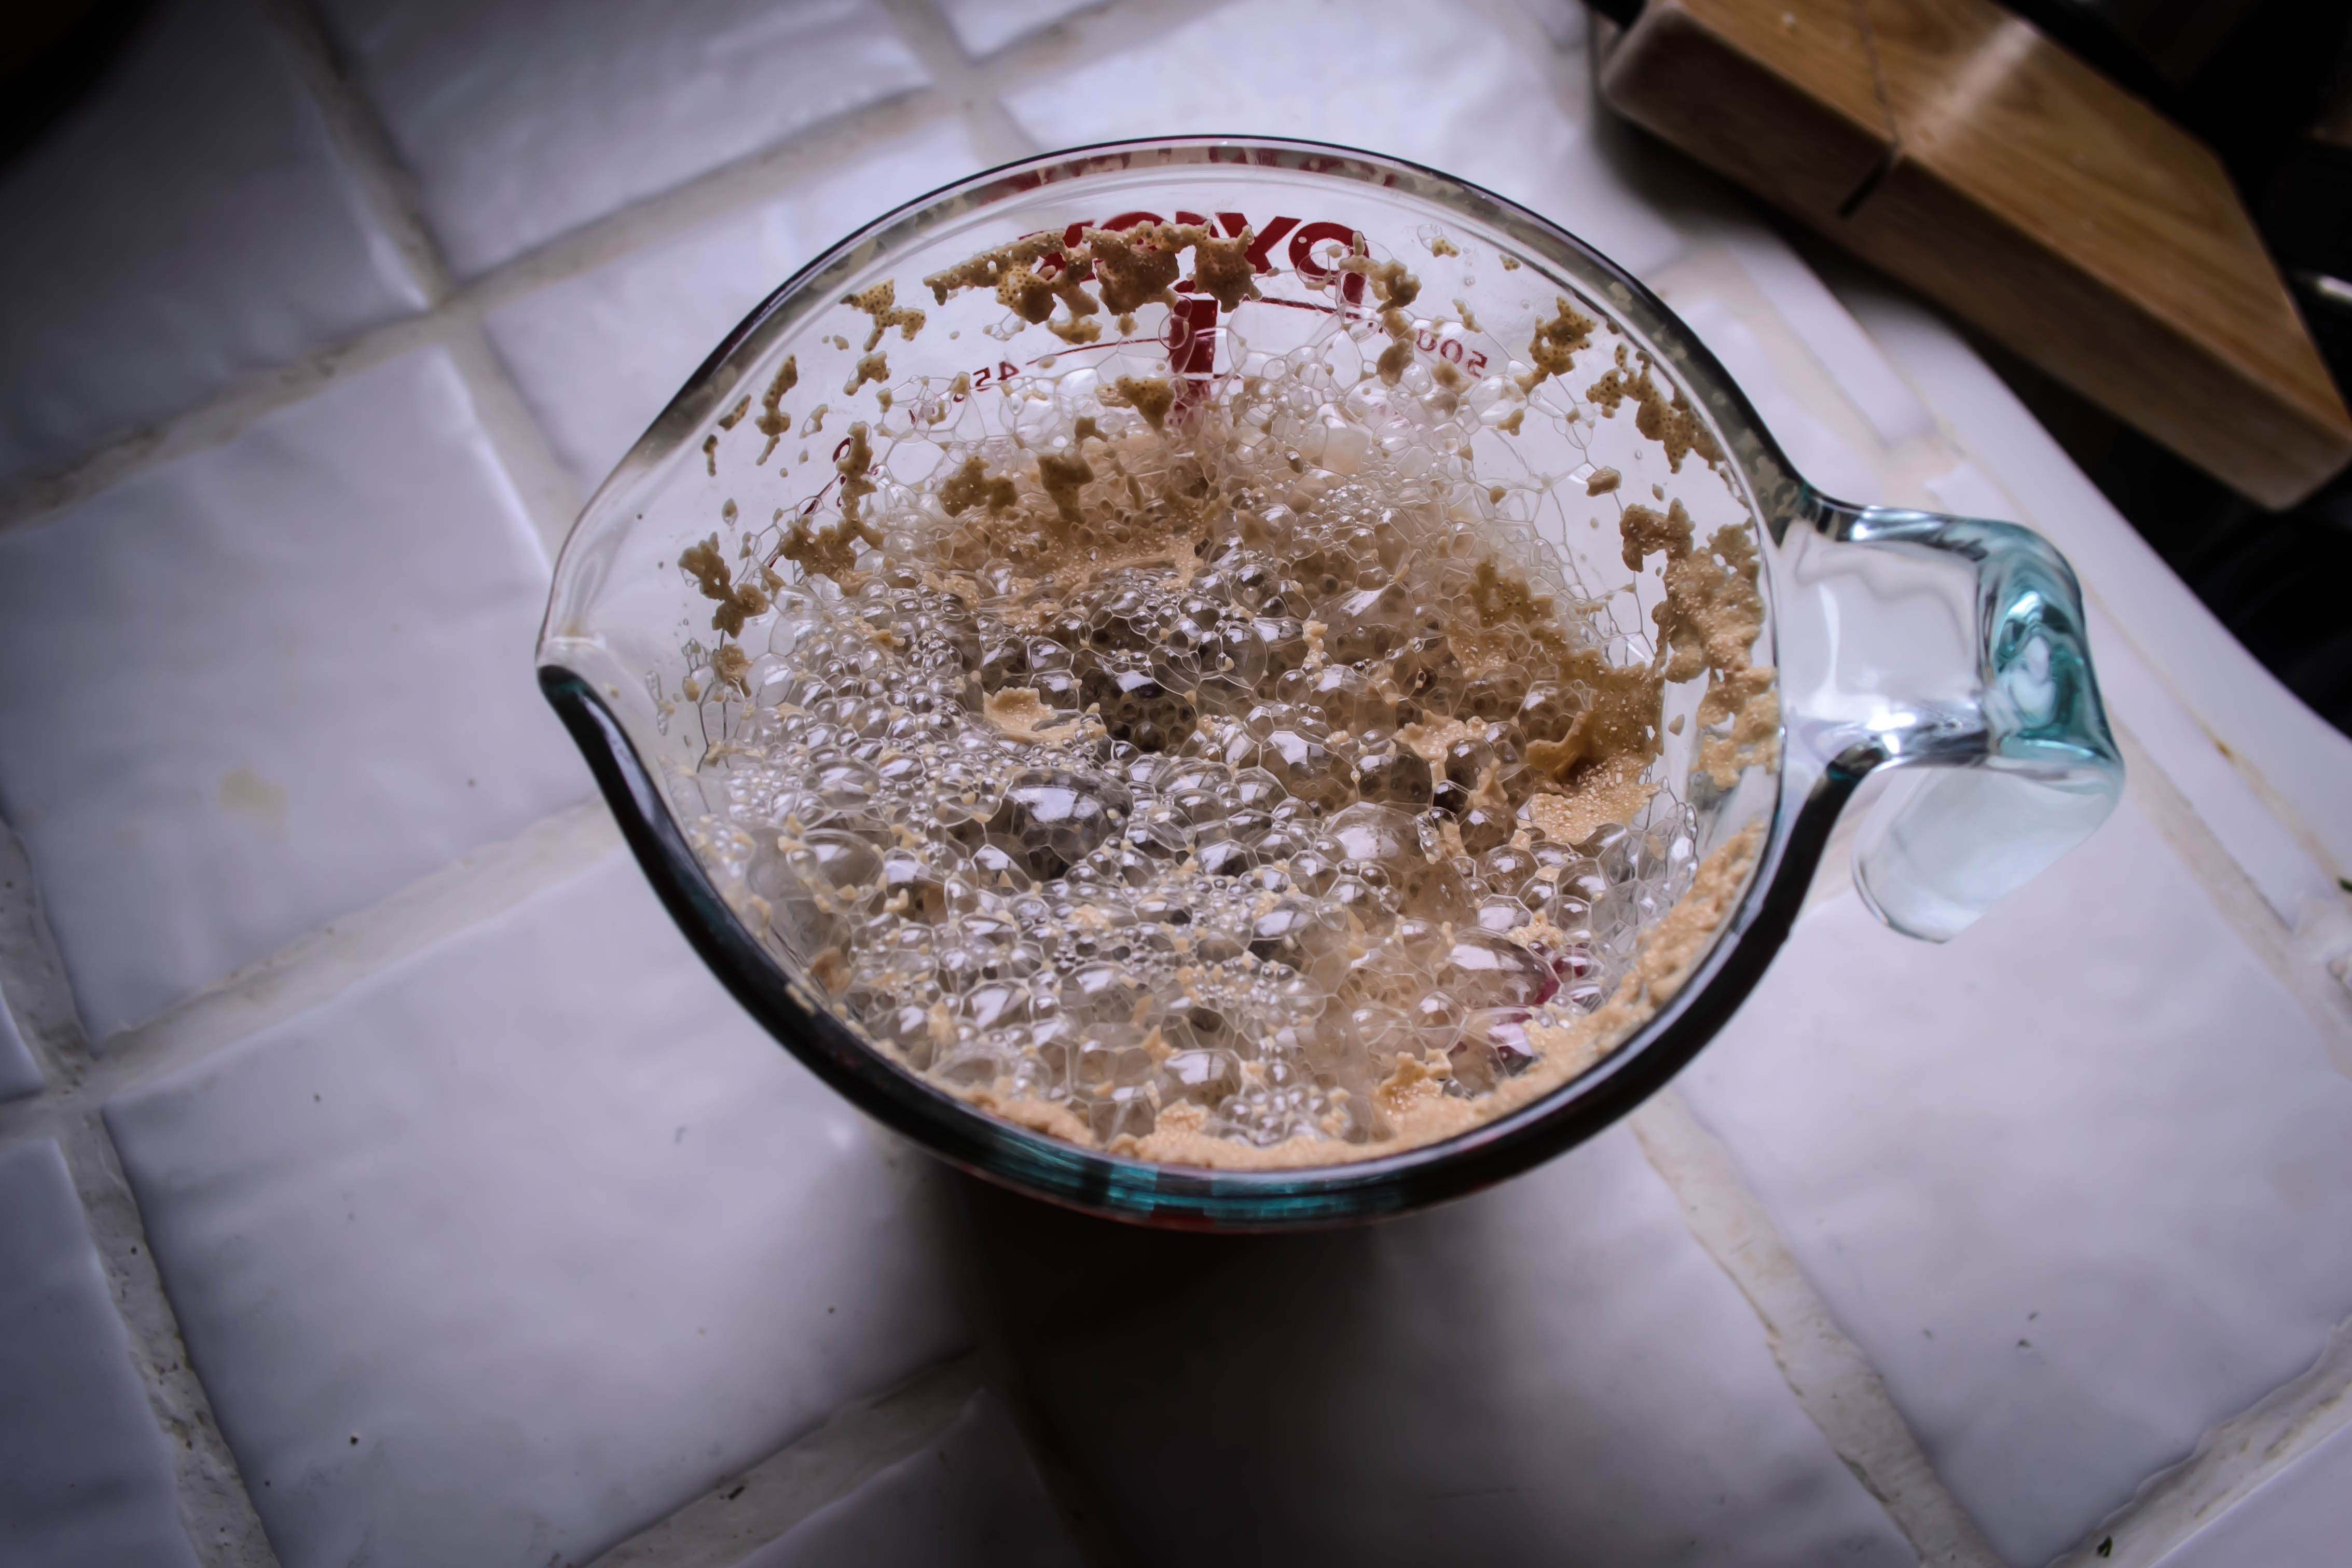
Even though beer is essentially water with yeast and flavorings, I wasn’t sure what would happen when I mixed the two. I heated a bottle of amber ale in the microwave with a couple teaspoons of honey, just until it was body temperature. When I added the yeast and engaged the lightest of stirs, the whole measuring cup erupted with bubbles and I had a head at least three inches high. This slowly collapsed, but I took it to mean the yeast was satisfied with its new spa treatment.
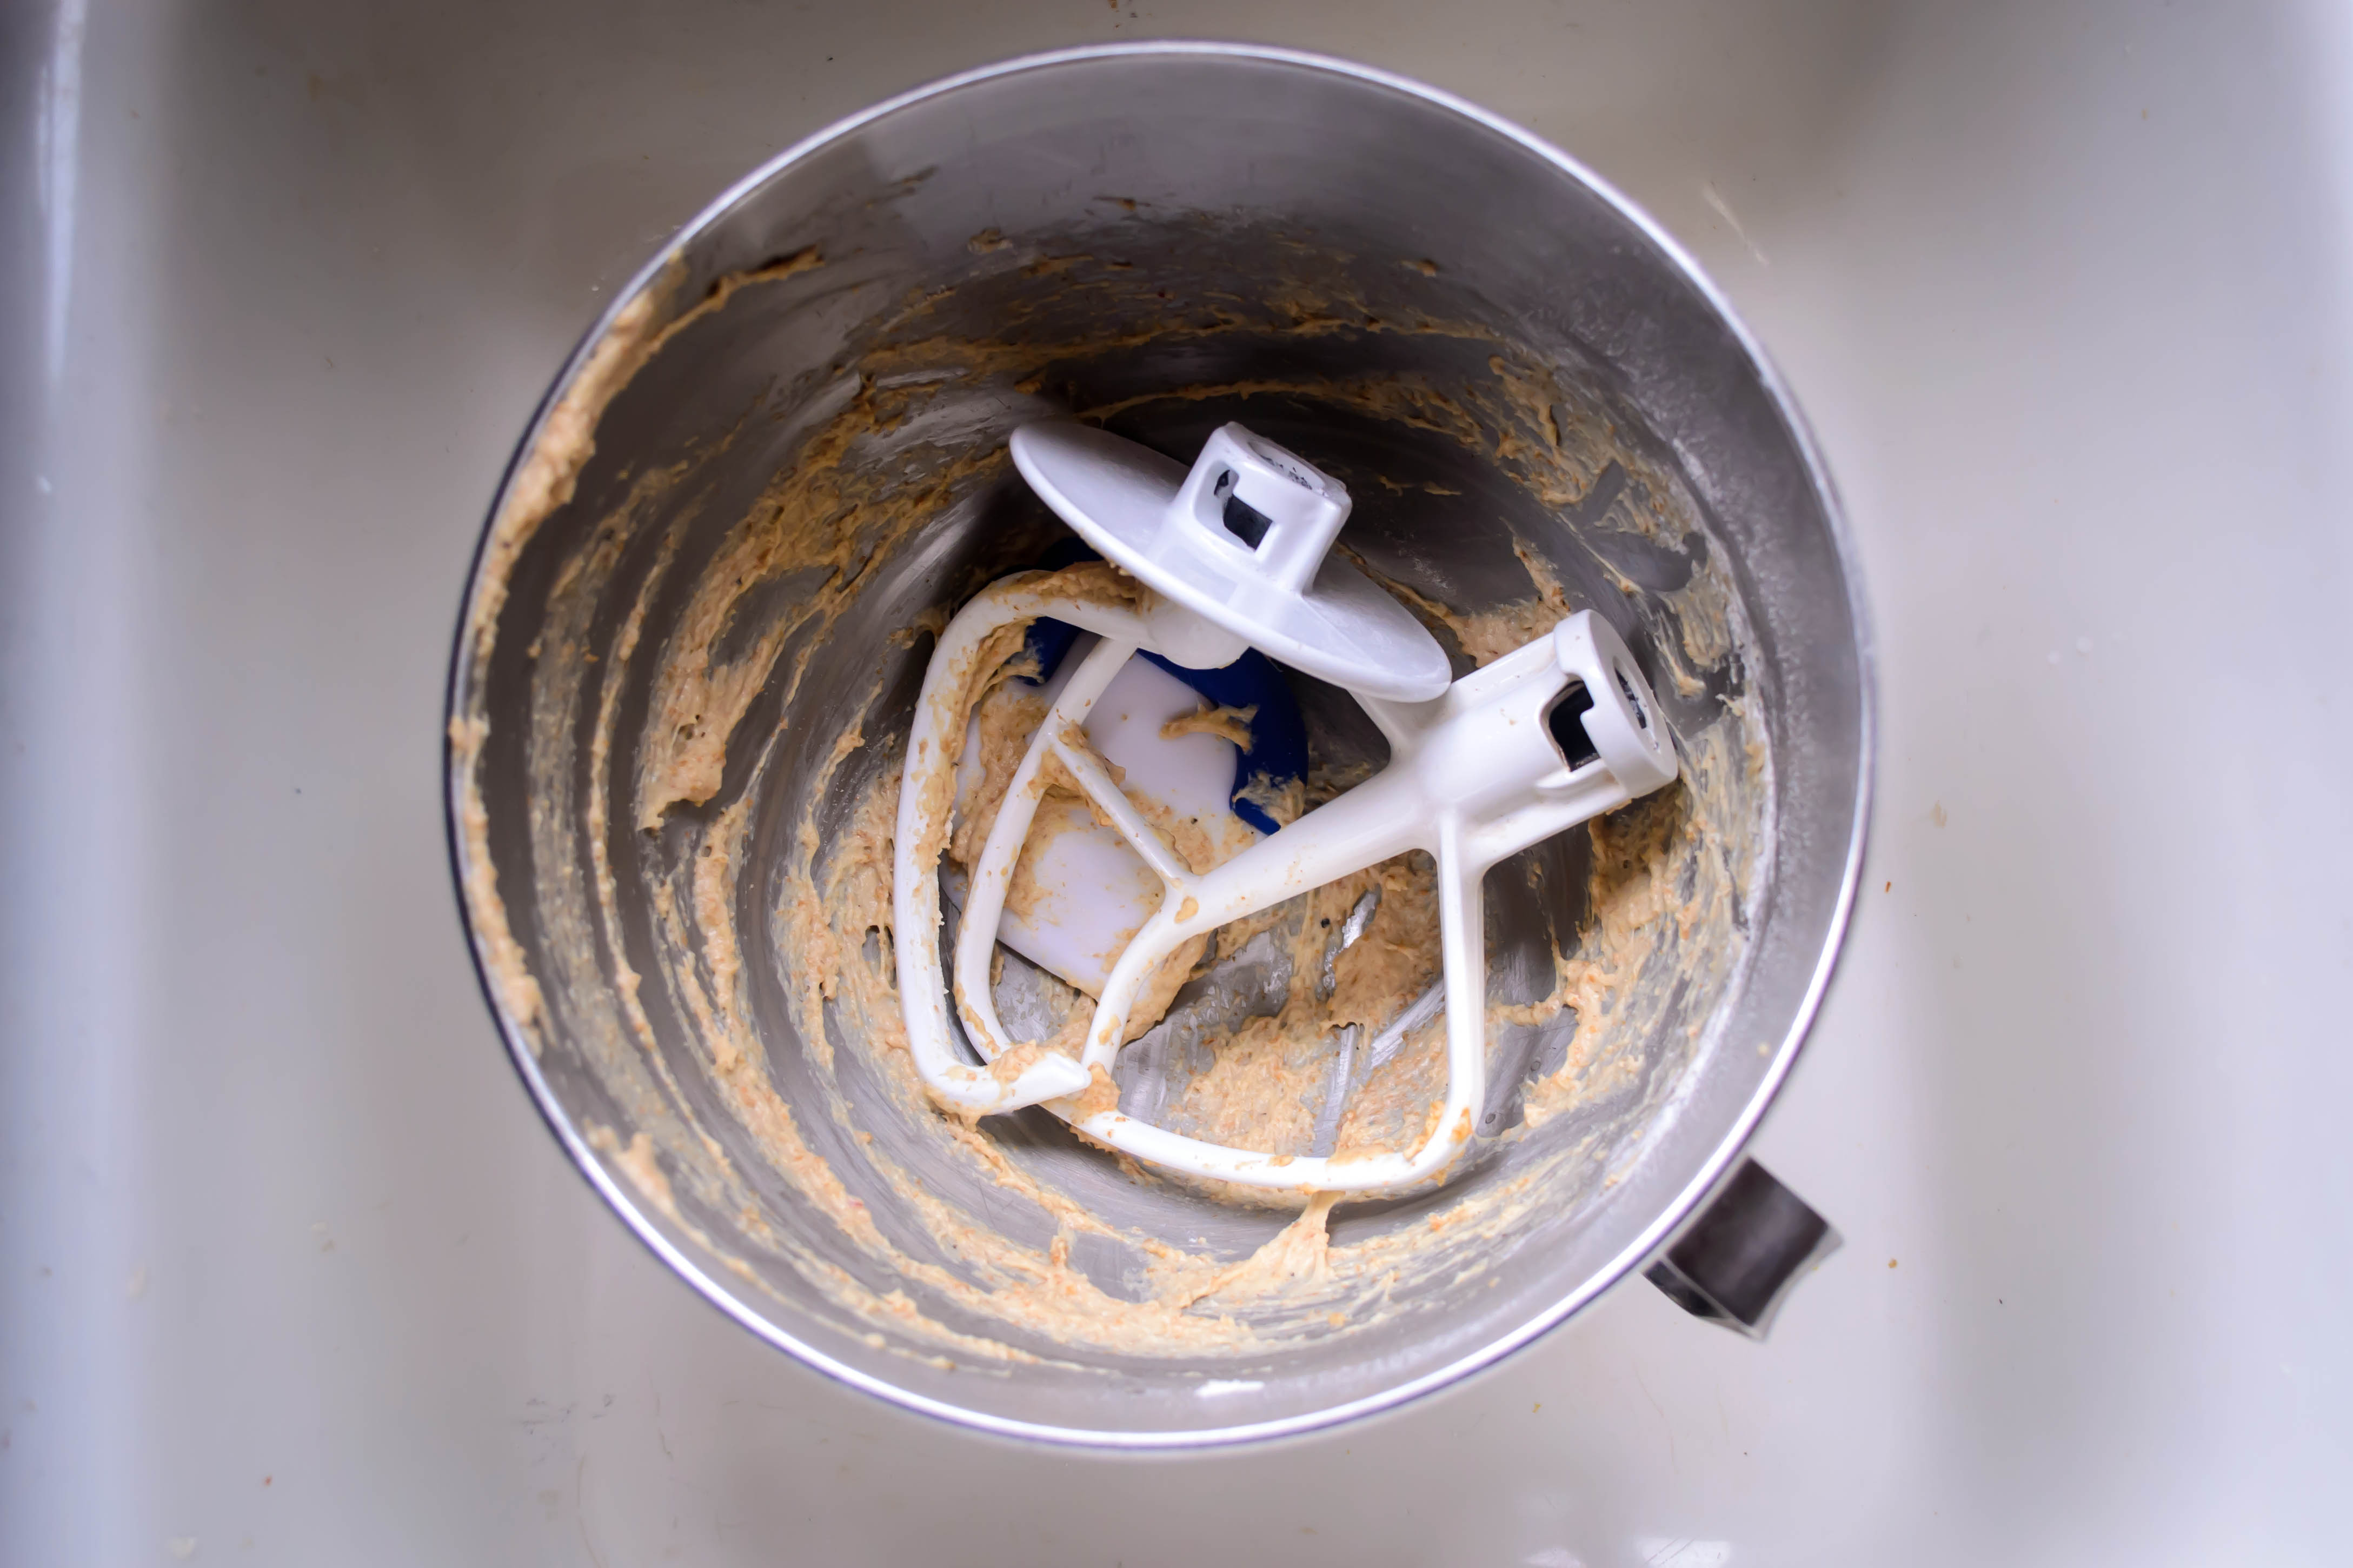
 I used a combination of bread flour and whole wheat flour, and produced a spectacularly nutty tasting dough that was also the stickiest I’ve ever worked with. It slithered and dripped off of my stand mixer’s dough hook and plopped thickly into the oiled bowl I coaxed it into, and I crossed my fingers and hoped that after its six hour chill in the fridge it turned into pizza crust.
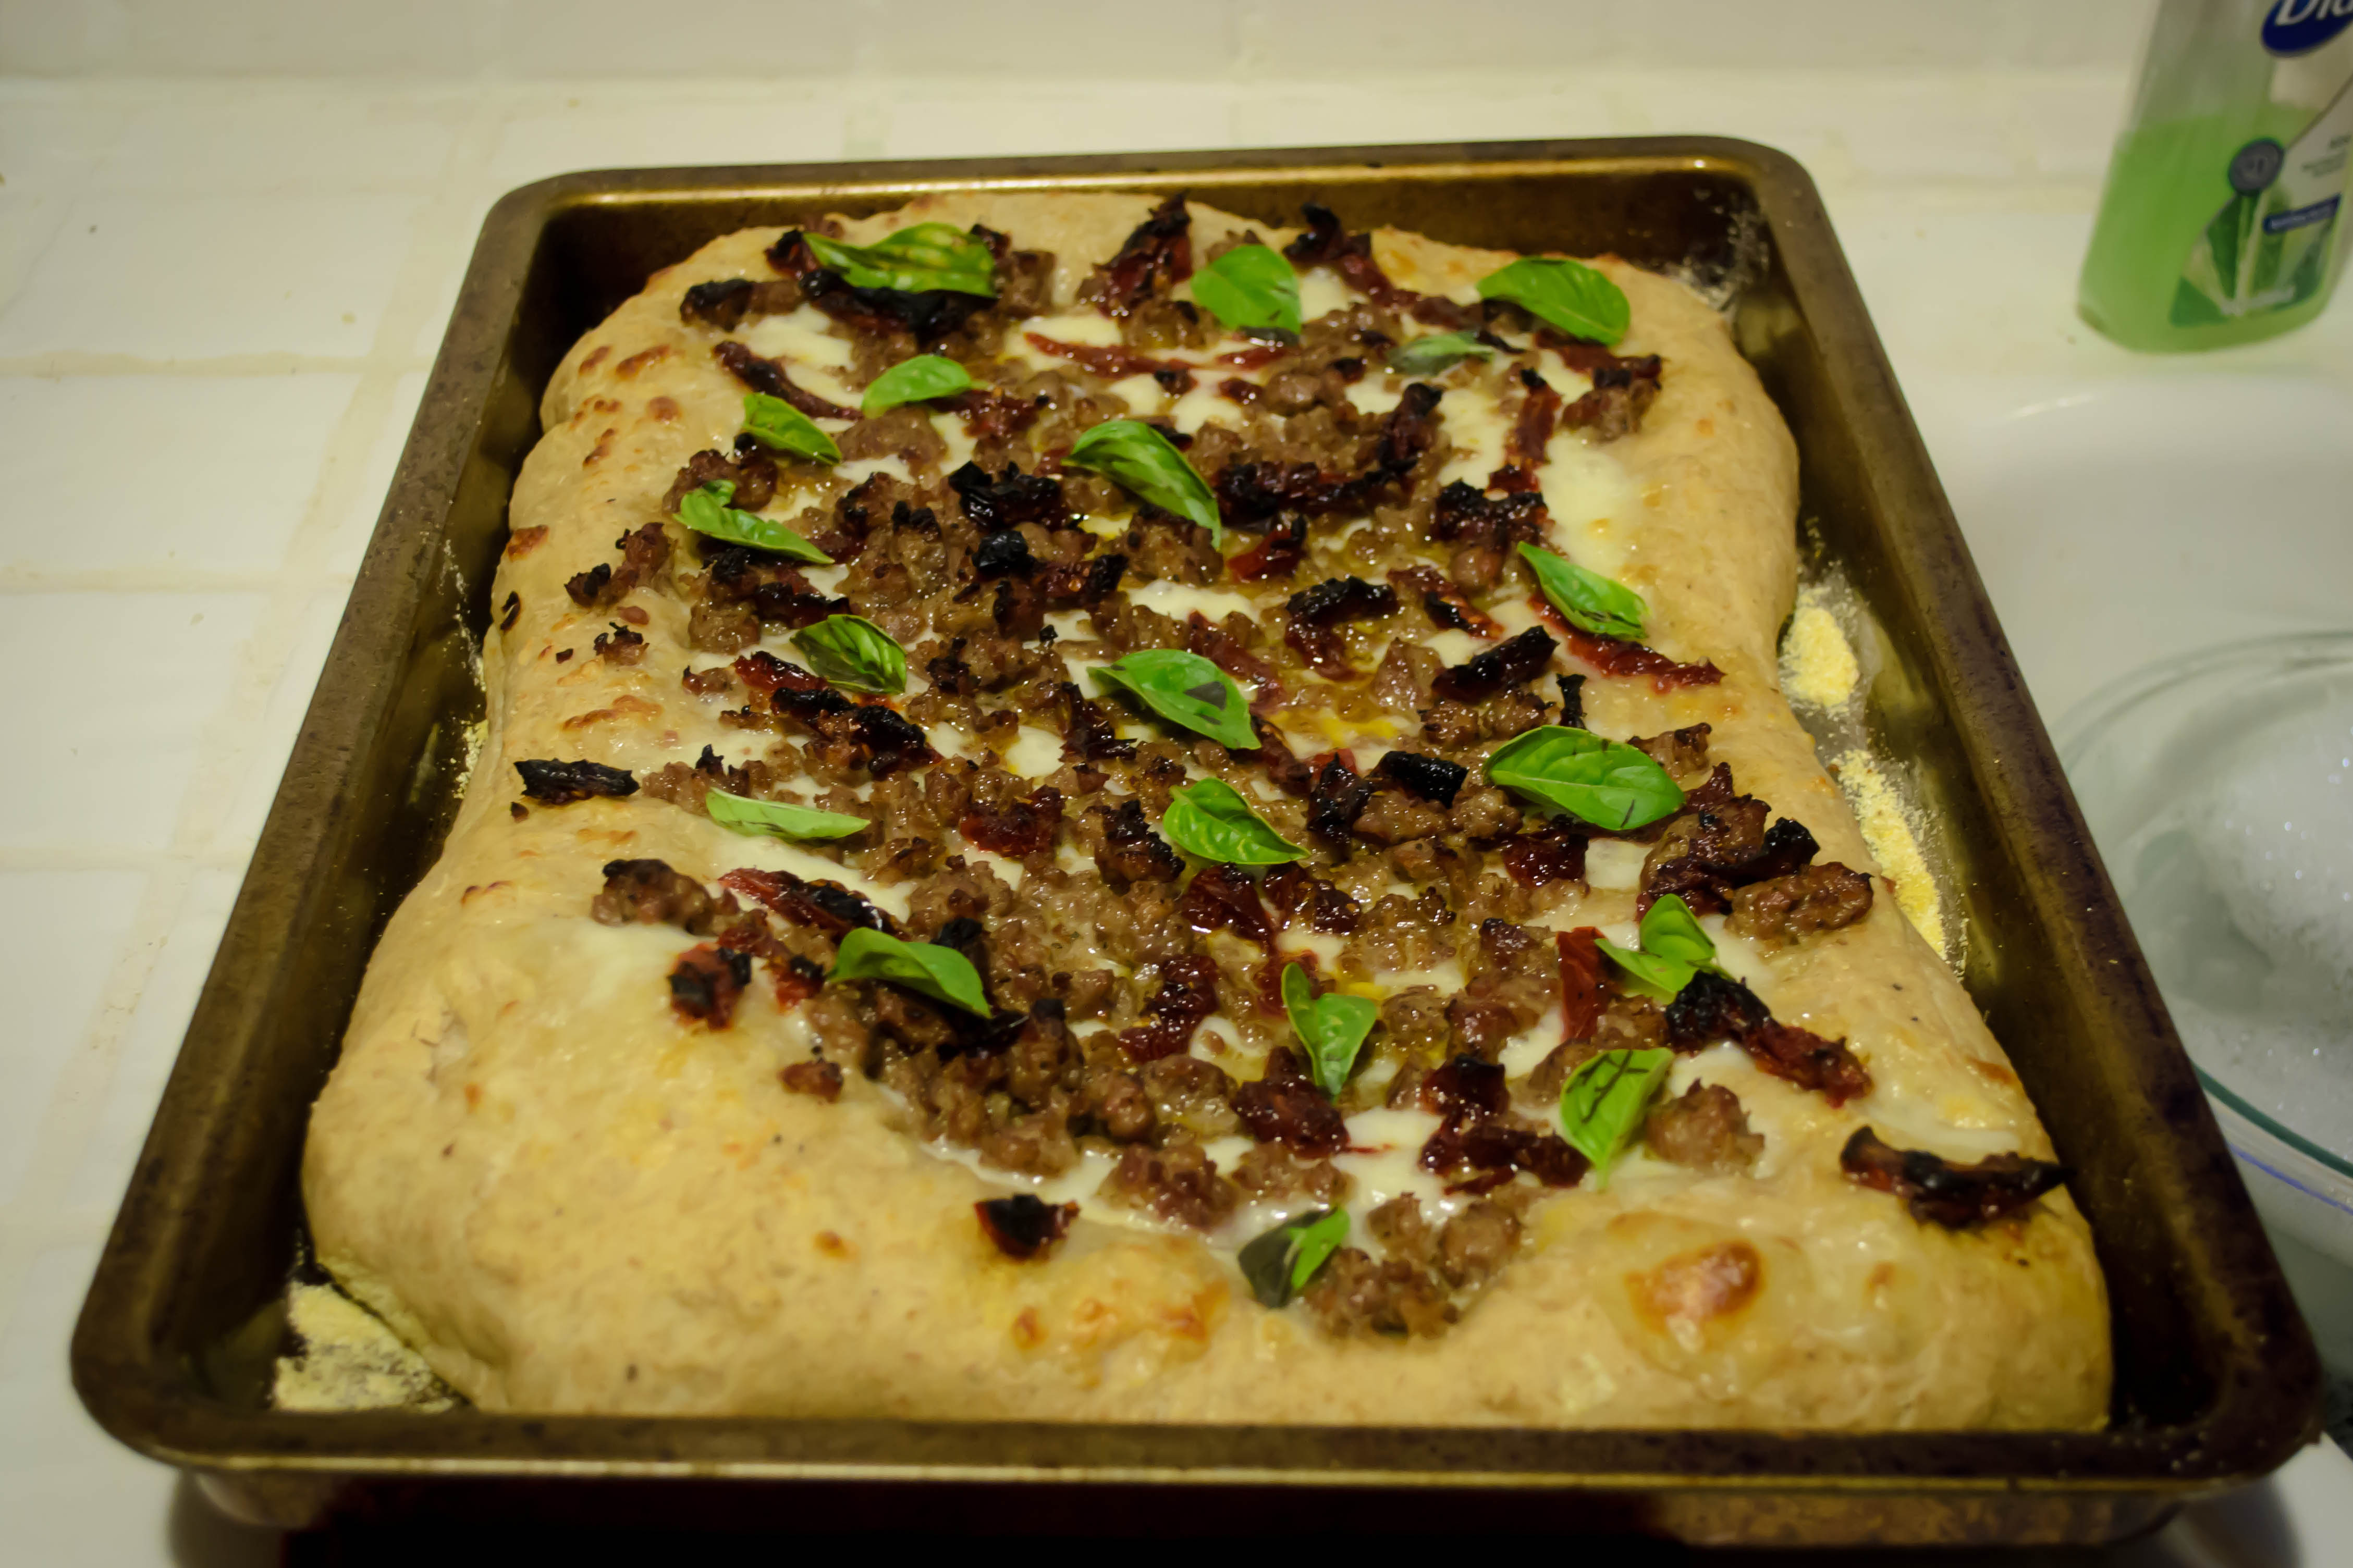
 When I liberated it and faced it again, it wasn’t the easiest dough to work with, but it did work. It wouldn’t deign to be tossed like a pizzeria pie, but I stretched and spread and pushed it across a cookie sheet liberally spread with cornmeal, and it turned into a rustic, bubbly, delicious crust. Topped with mozzarella, sausage, and sun-dried tomatoes, it baked into a glorious symphony of assertive flavors. We sprinkled on a few leaves of fresh basil while it was still steaming hot, and declared it one of my best homemade pizzas.
  This is a sticky, wet dough, but it works. I’m going to make it again and tweak the quantities of flour and olive oil, but trust me: this is worth fooling with for the flavor alone. The beer comes through right at the end of each bite as a deep yeasty earthiness. It lends the tiniest bit of bitter flavor that contrasts really well with the fatty sausage and tart sun-dried tomato. And really, why shouldn’t it? It’s beer, and this is pizza. They were made to be together.

Beer-crust pizza
12 oz. beer (I used an amber ale. I think a darker brew would be even better)
2 tsp honey
2 tsp yeast
¼ cup olive oil
2 ½ cups bread flour
1 cup whole wheat flour
2 tsp salt
¼-½ tsp black pepper 
Heat the beer and honey in the microwave (or a small saucepan) until the liquid is body temperature – you should feel only the slightest heat when you dip in a curious finger. This took about 45 seconds in the microwave for me. It will take longer if your beer has been refrigerated.
Swirl the mixture to distribute the honey, then sprinkle the yeast over the surface and set it aside for 5 minutes. If you stir the yeast in, you will get a tremendous amount of foam on the surface, so in case of overflow I think it’s better to just let it sit.
While you wait for the yeast to perk up, combine the flours, salt, and pepper in a mixing bowl or the bowl of your stand mixer.
When the yeast and beer have married to create a thick foam, stir in the olive oil, then add the liquid mixture to the dry ingredients. Using the paddle attachment (if you are using a stand mixer), combine at low speed just until ingredients come together into a rough, uneven dough. Replace the paddle attachment with the dough hook and knead on medium-low speed for 5-7 minutes.
This dough will not pass the windowpane test. It will not even stay together particularly well. It will seem like an exercise in futility and disaster, and you will be sorely tempted to add more flour. But if you resist, and plop it into an oiled bowl, and cover that bowl with plastic-wrap and leave it in the refrigerator for 6-8 hours, it will turn into something more like normal pizza dough. I promise.
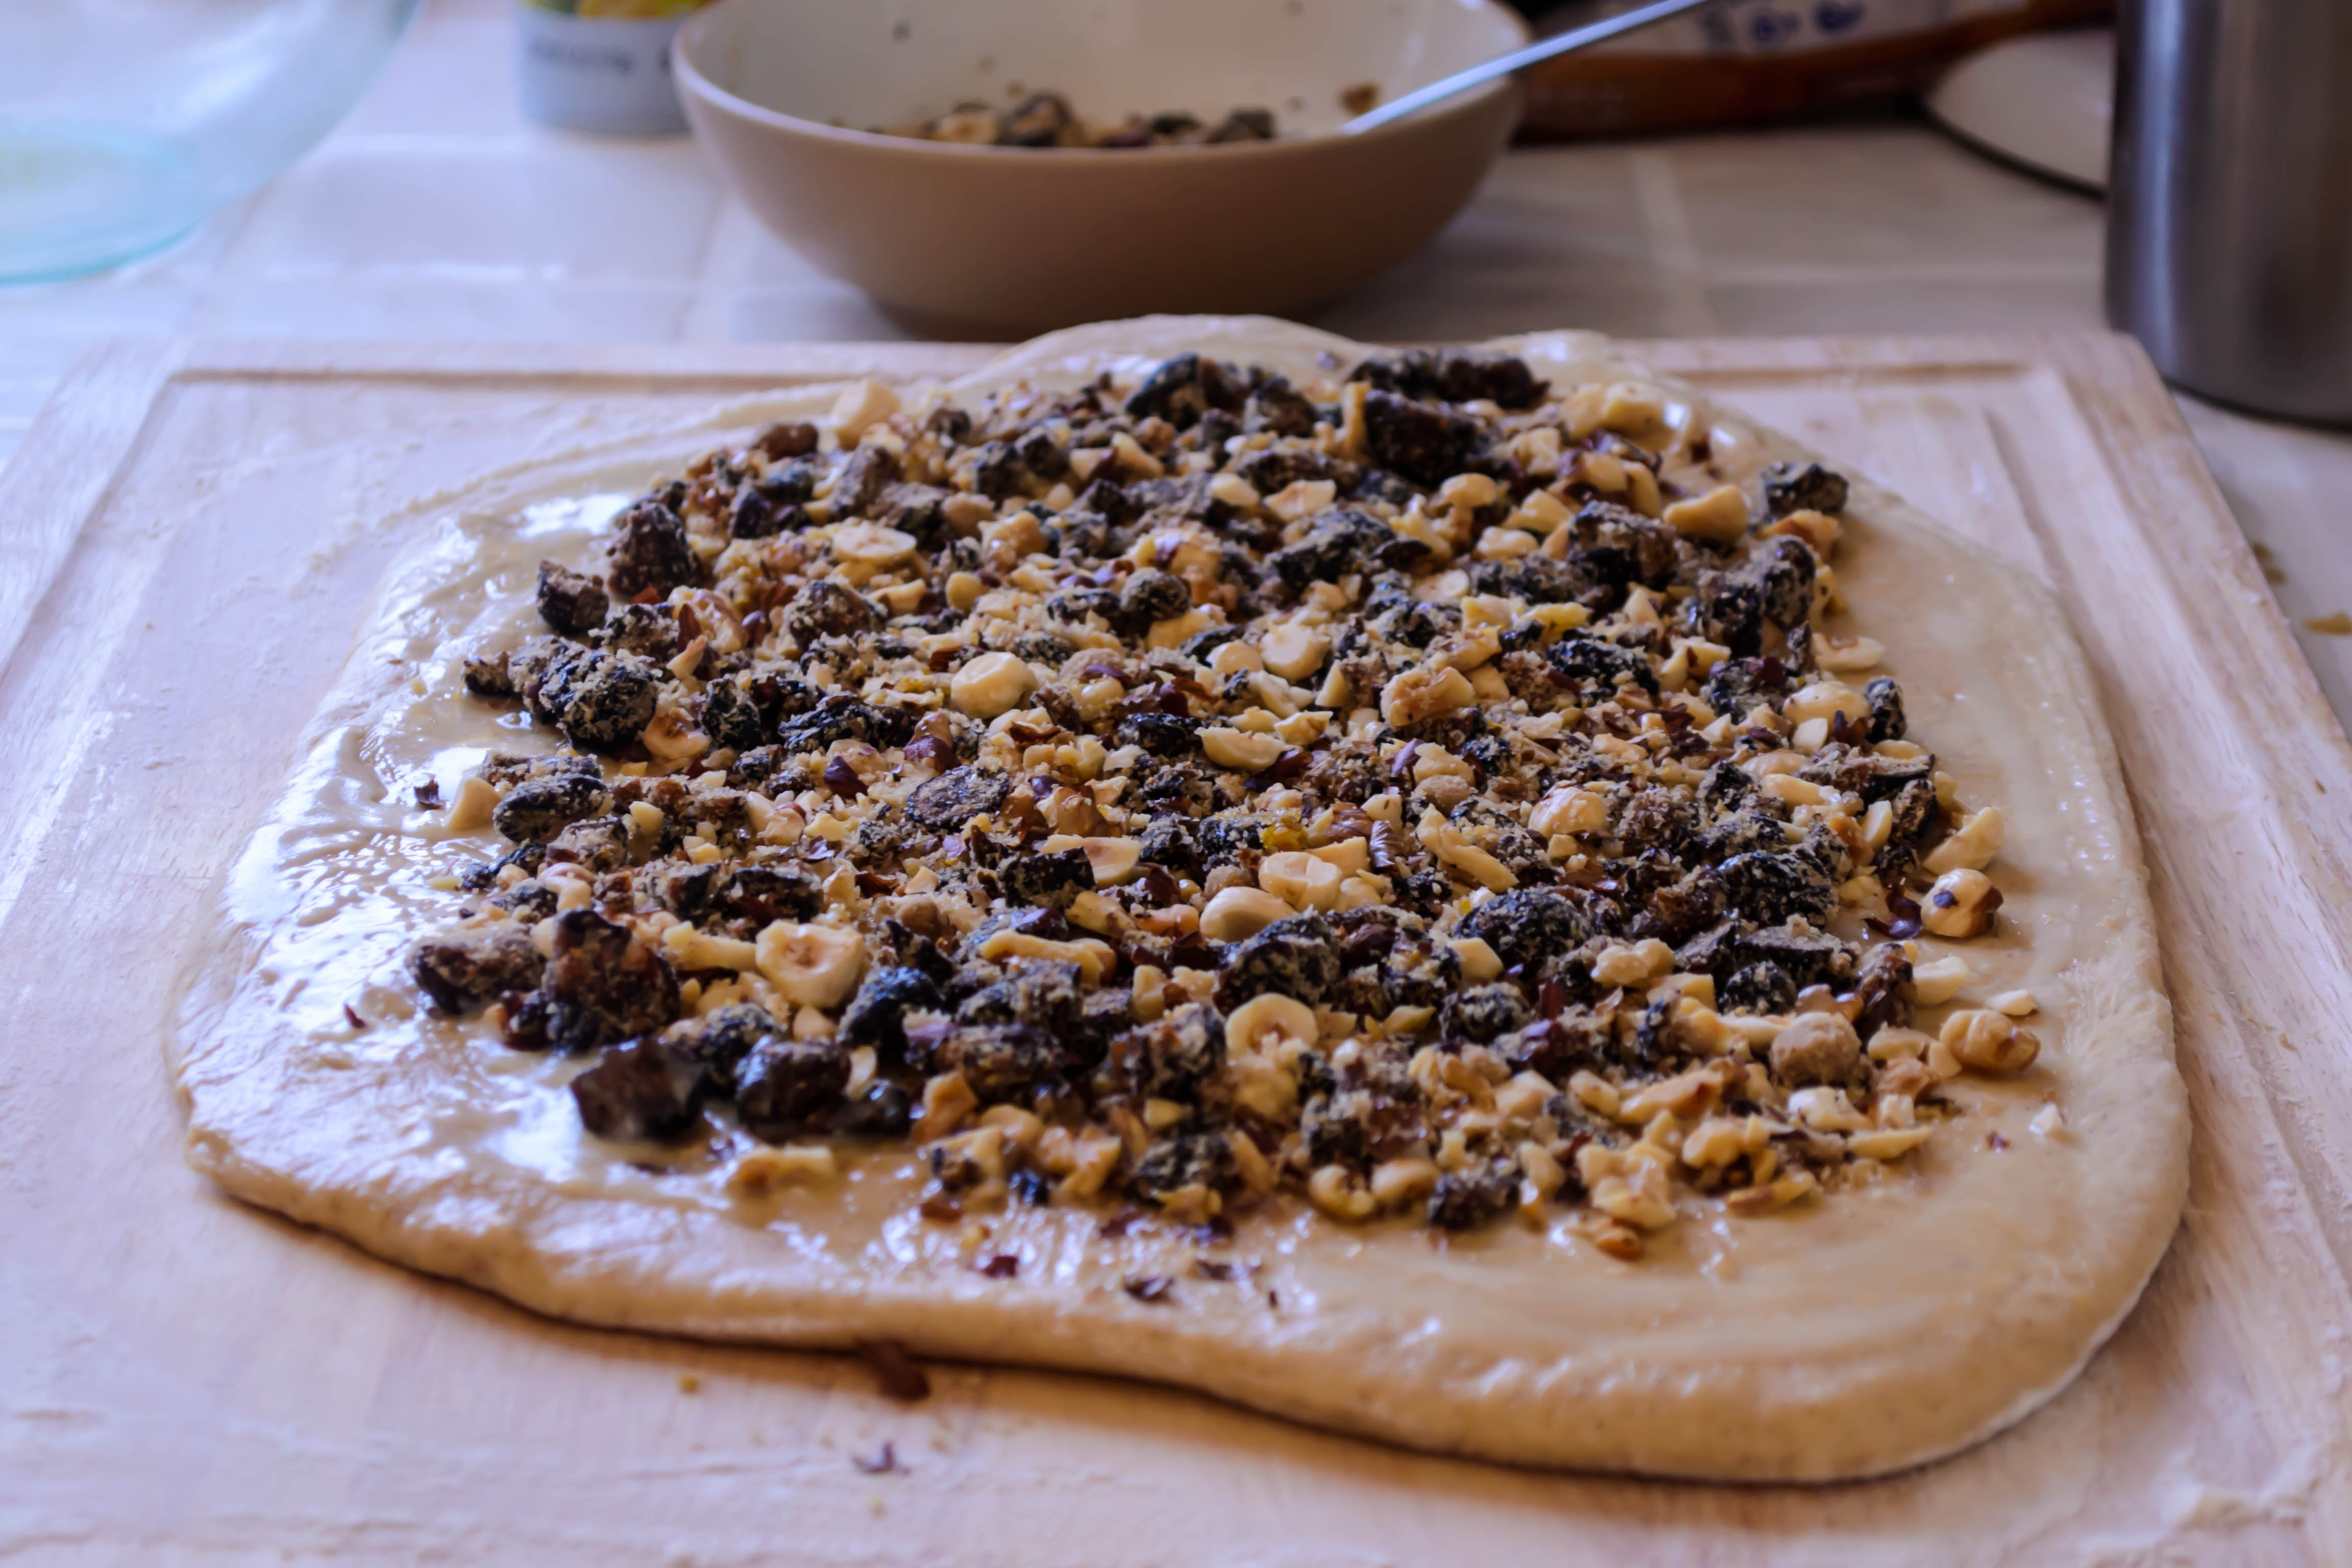
 90 minutes before you intend to bake, take the bowl of dough out of the fridge and set it on the counter to finish rising and come to room temperature. After this time has passed, and the dough is considerably increased in size (it may not quite double, unless your counter is quite warm), stretch it to your desired shape – it easily makes a thick 9×13” rectangular crust, and might be coaxed into 2 medium sized, somewhat thin round crusts – on a cornmeal or flour speckled board or tray. I just doused my cookie tray with cornmeal and pressed and pushed the dough directly on it until I was happy with the shape.


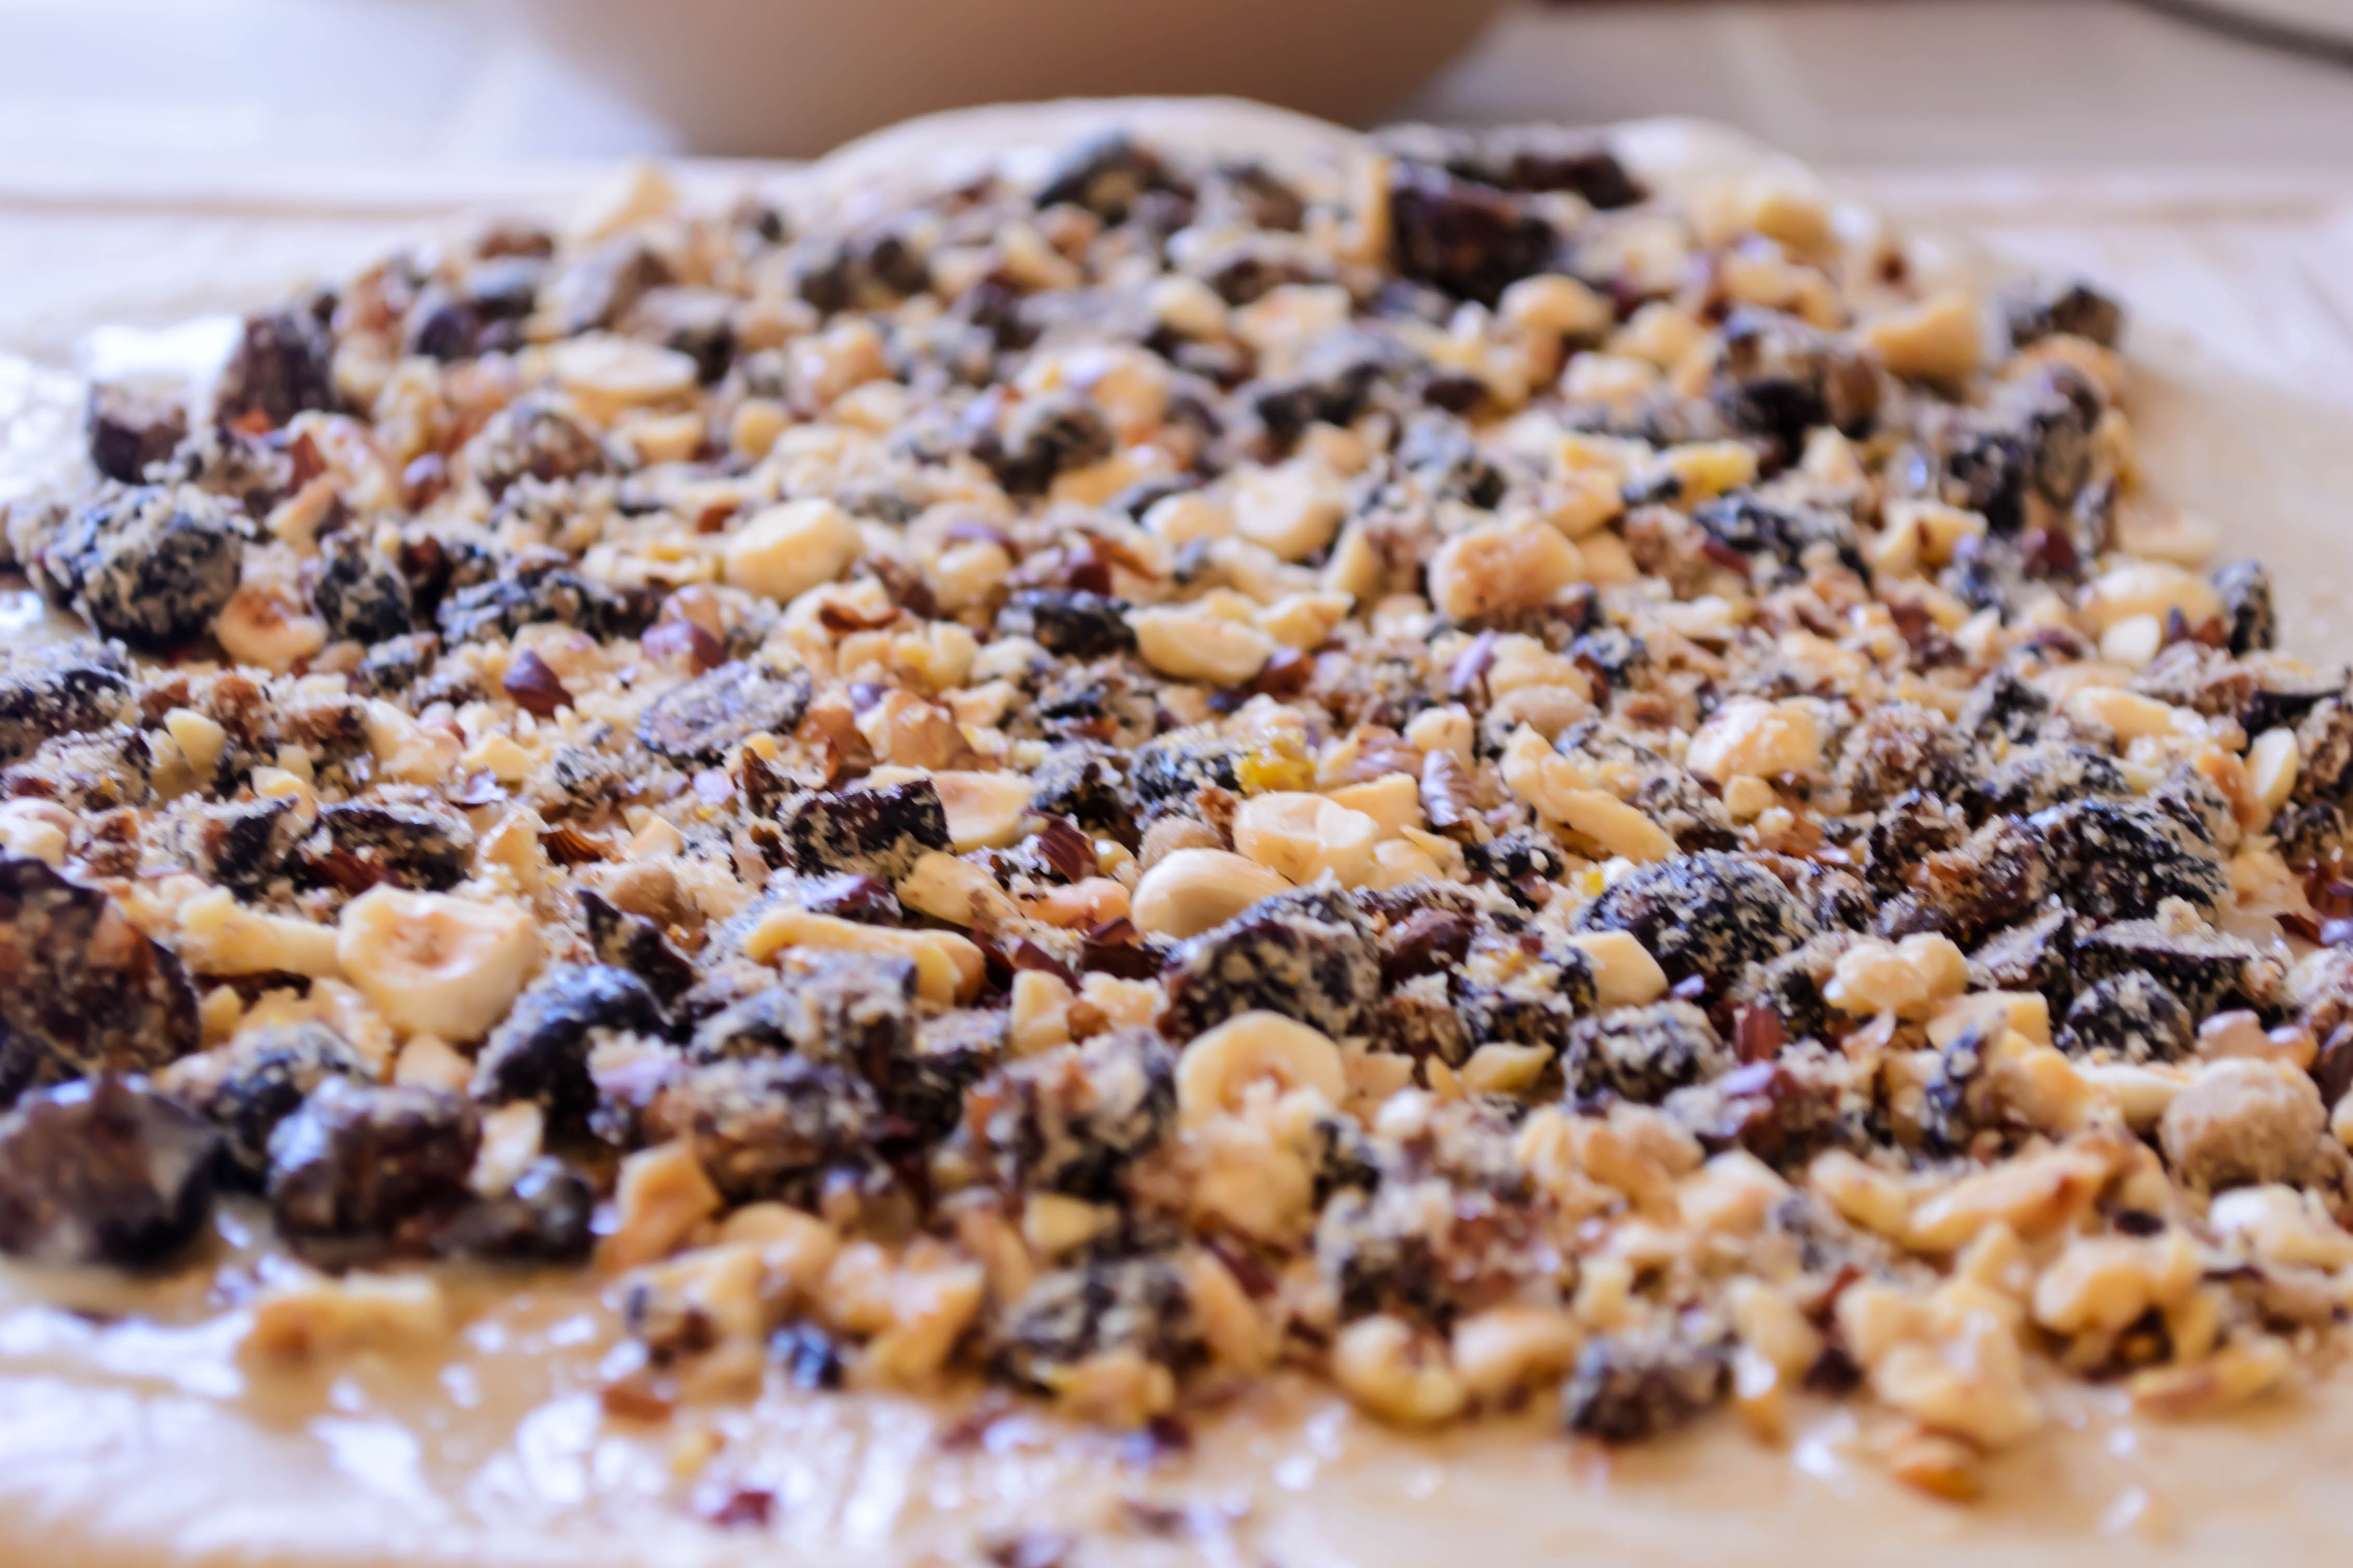
 When adequately stretched, add toppings and bake in a preheated 450F oven for 12-15 minutes, or until puffed, crisp, and golden. Wait 5 minutes before you cut it, to give the cheese time to congeal just a little.
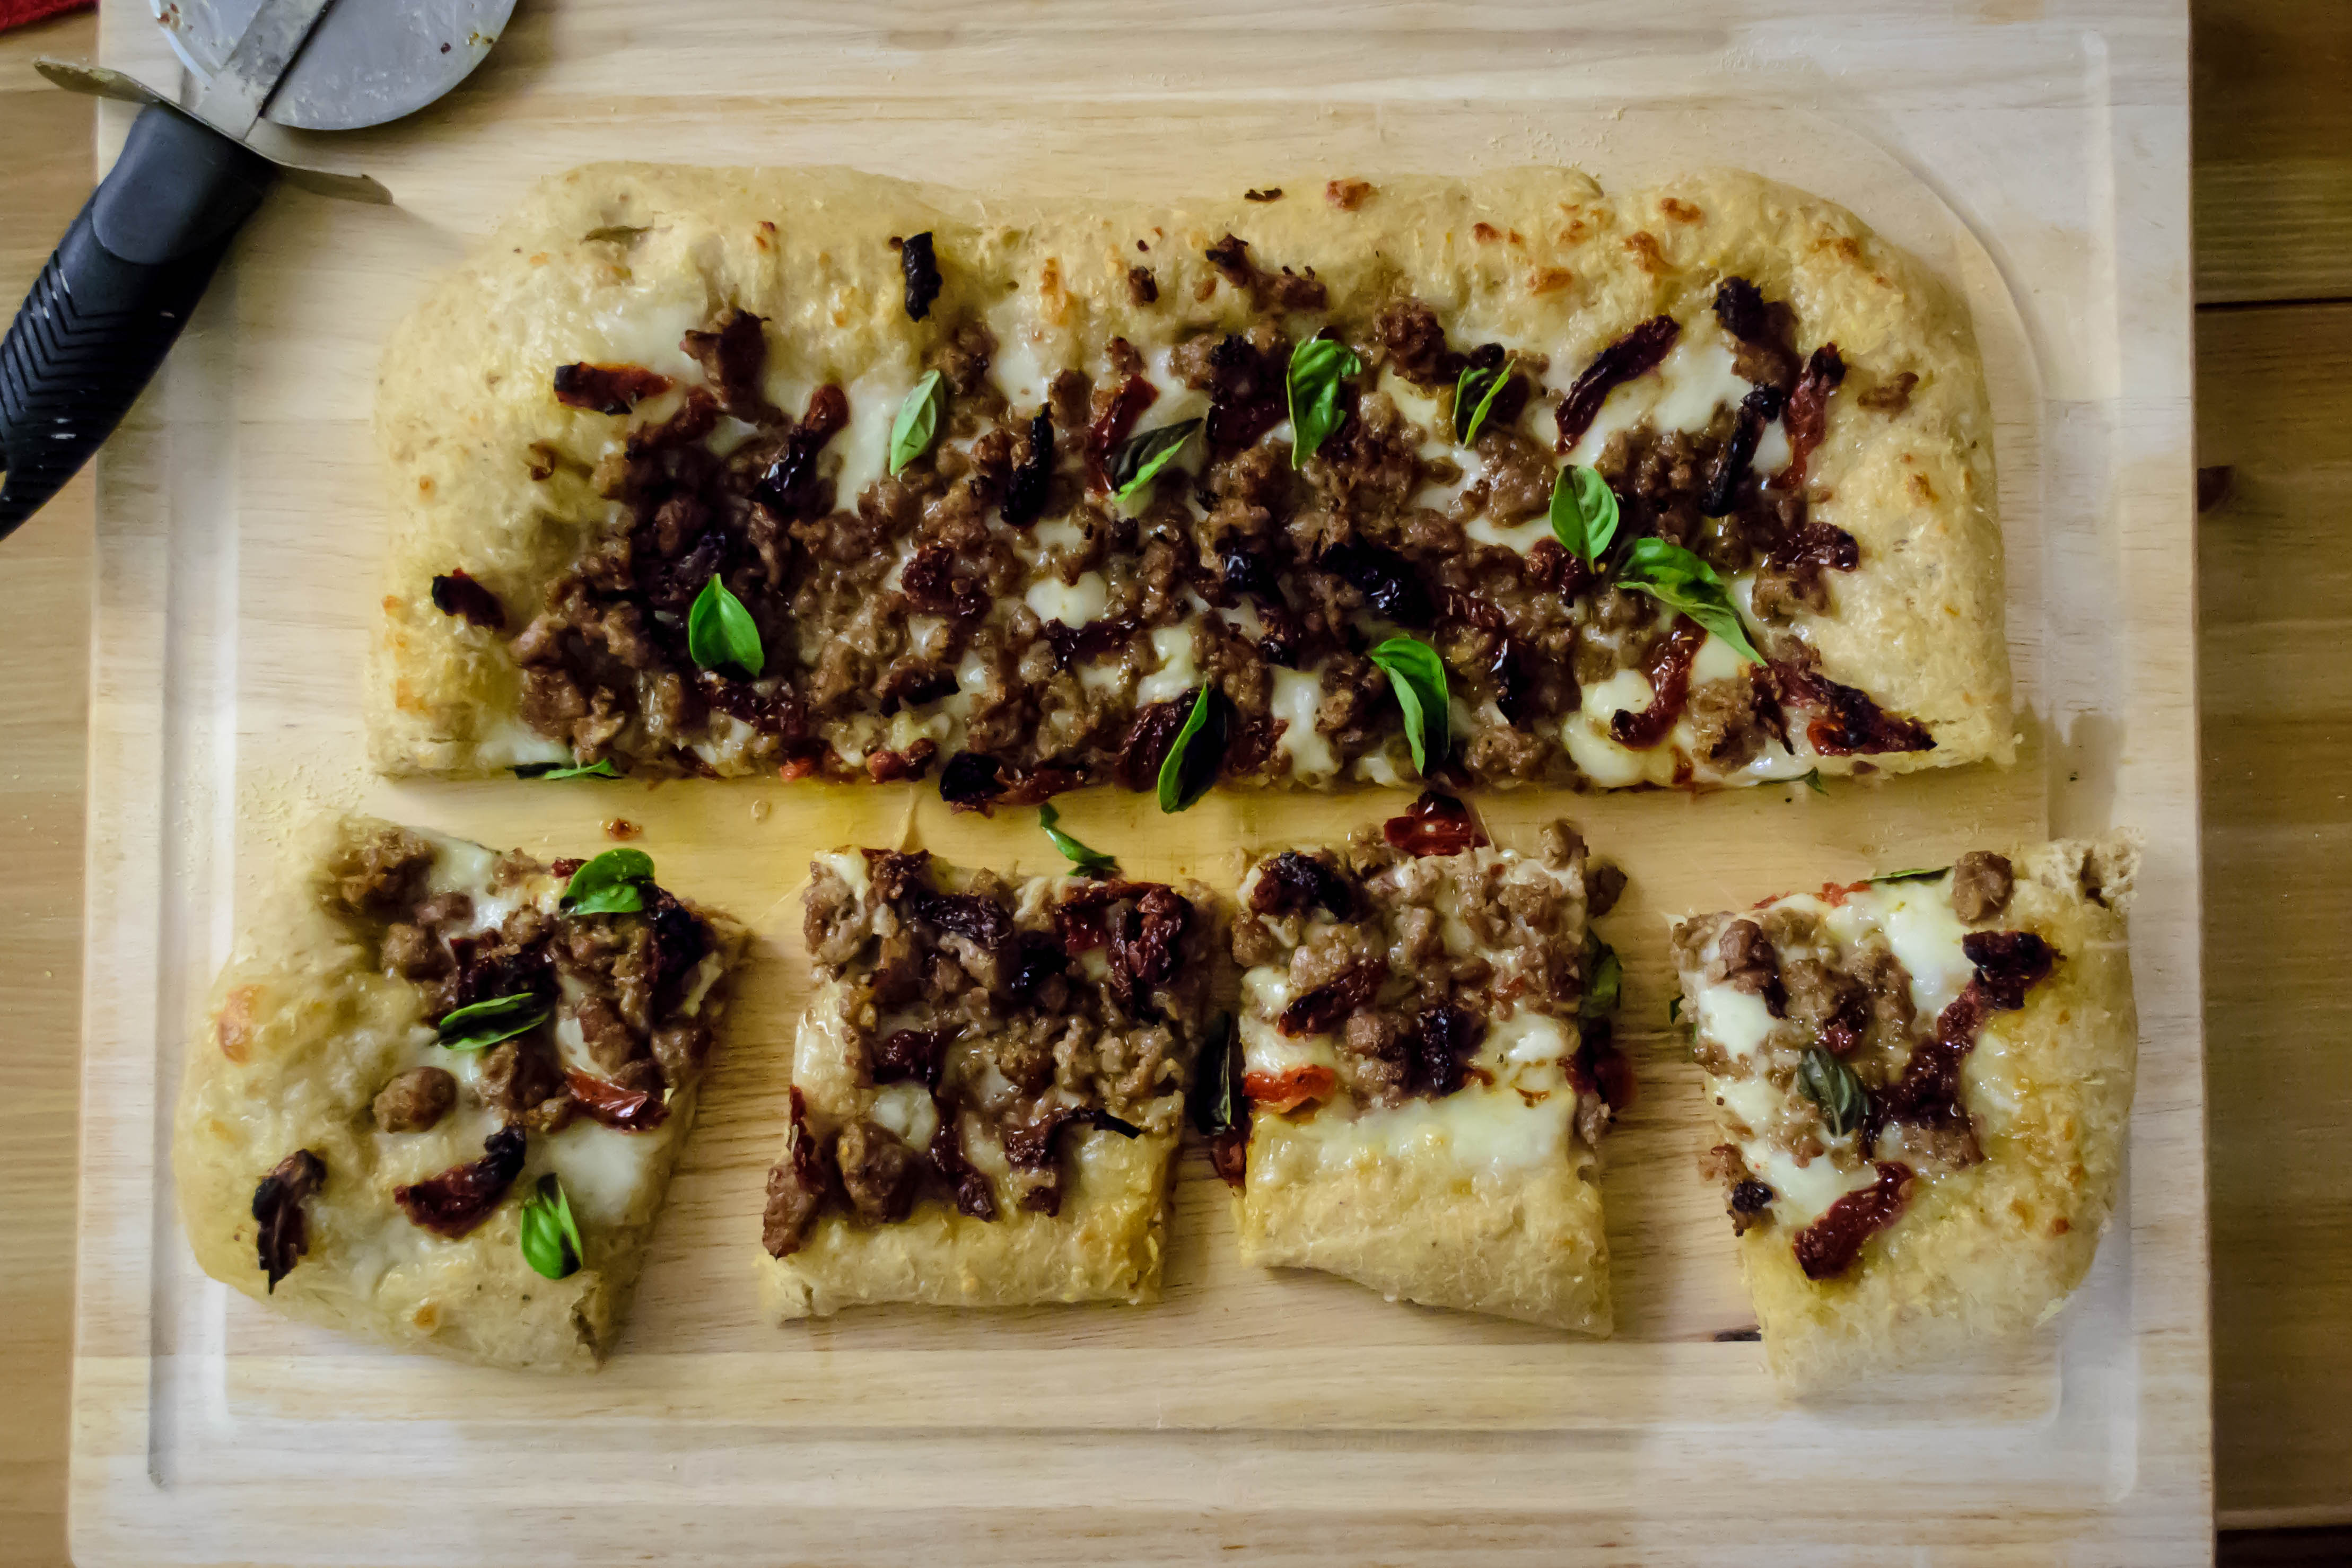
 We ate this in embarrassingly large squares and left enough in leftovers to serve as lunch the next day. Cut slightly smaller and for slightly less voracious eaters (or if you add a side salad), this would be an adequate dinner for 4.

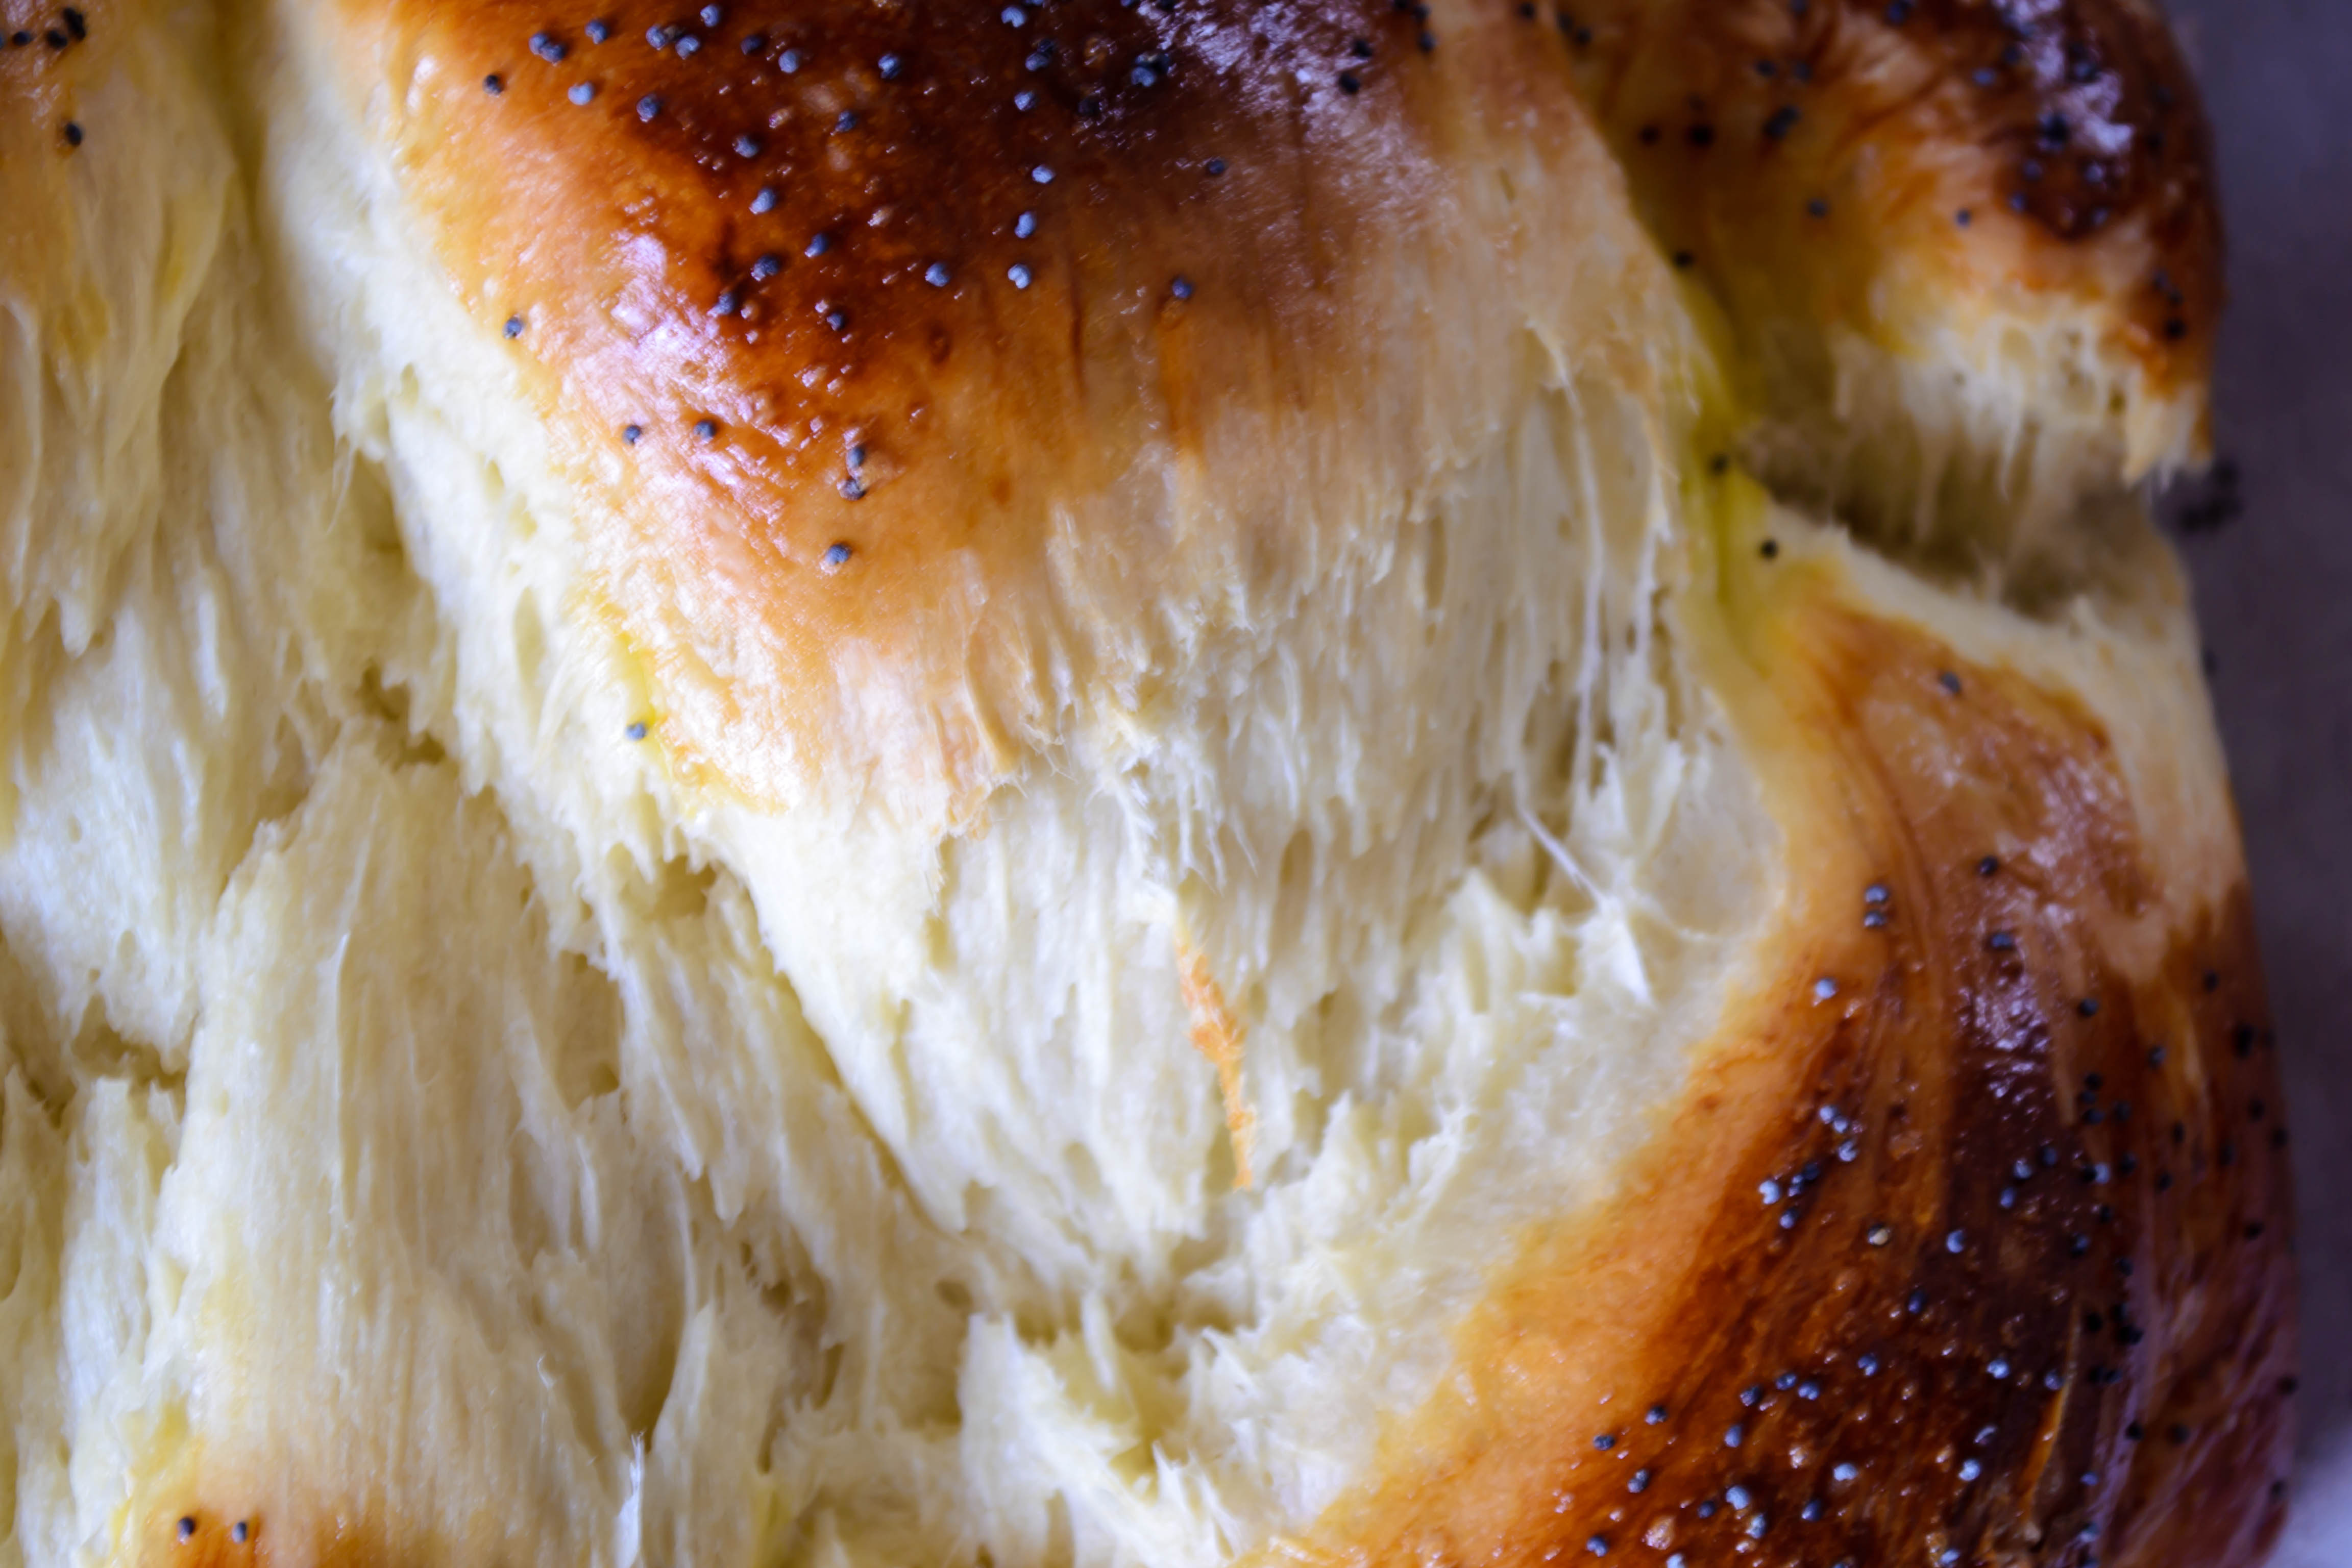
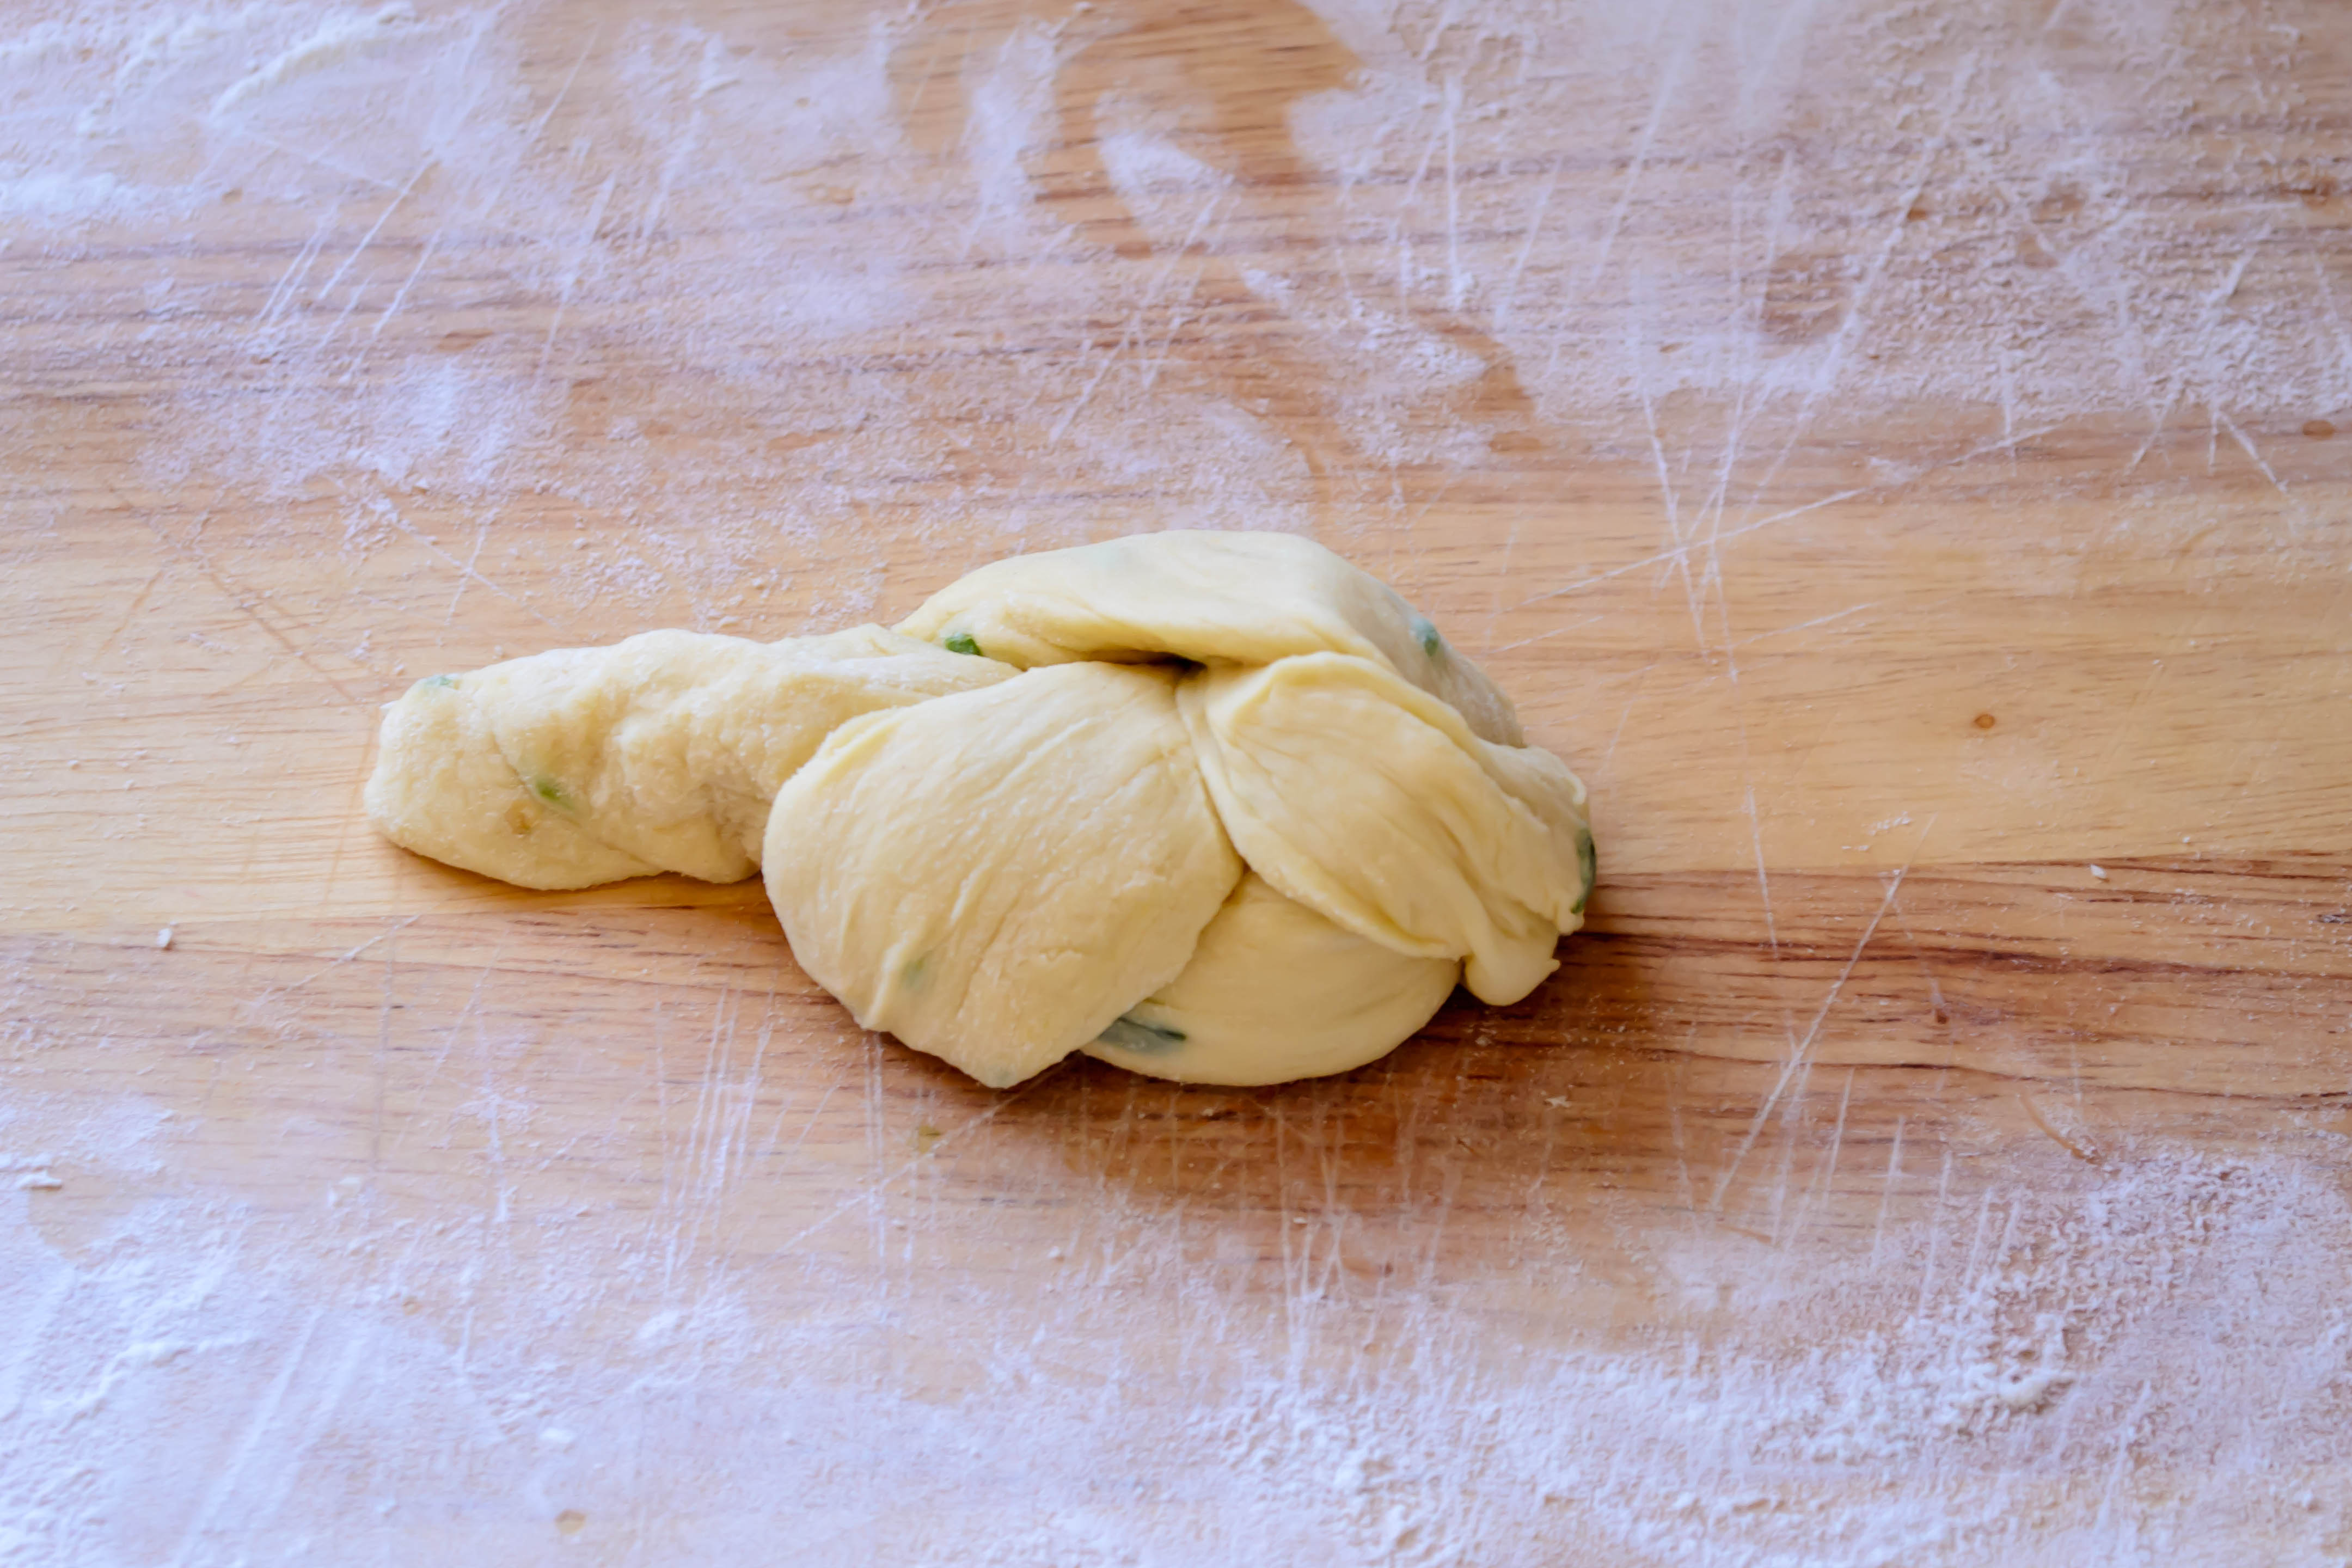
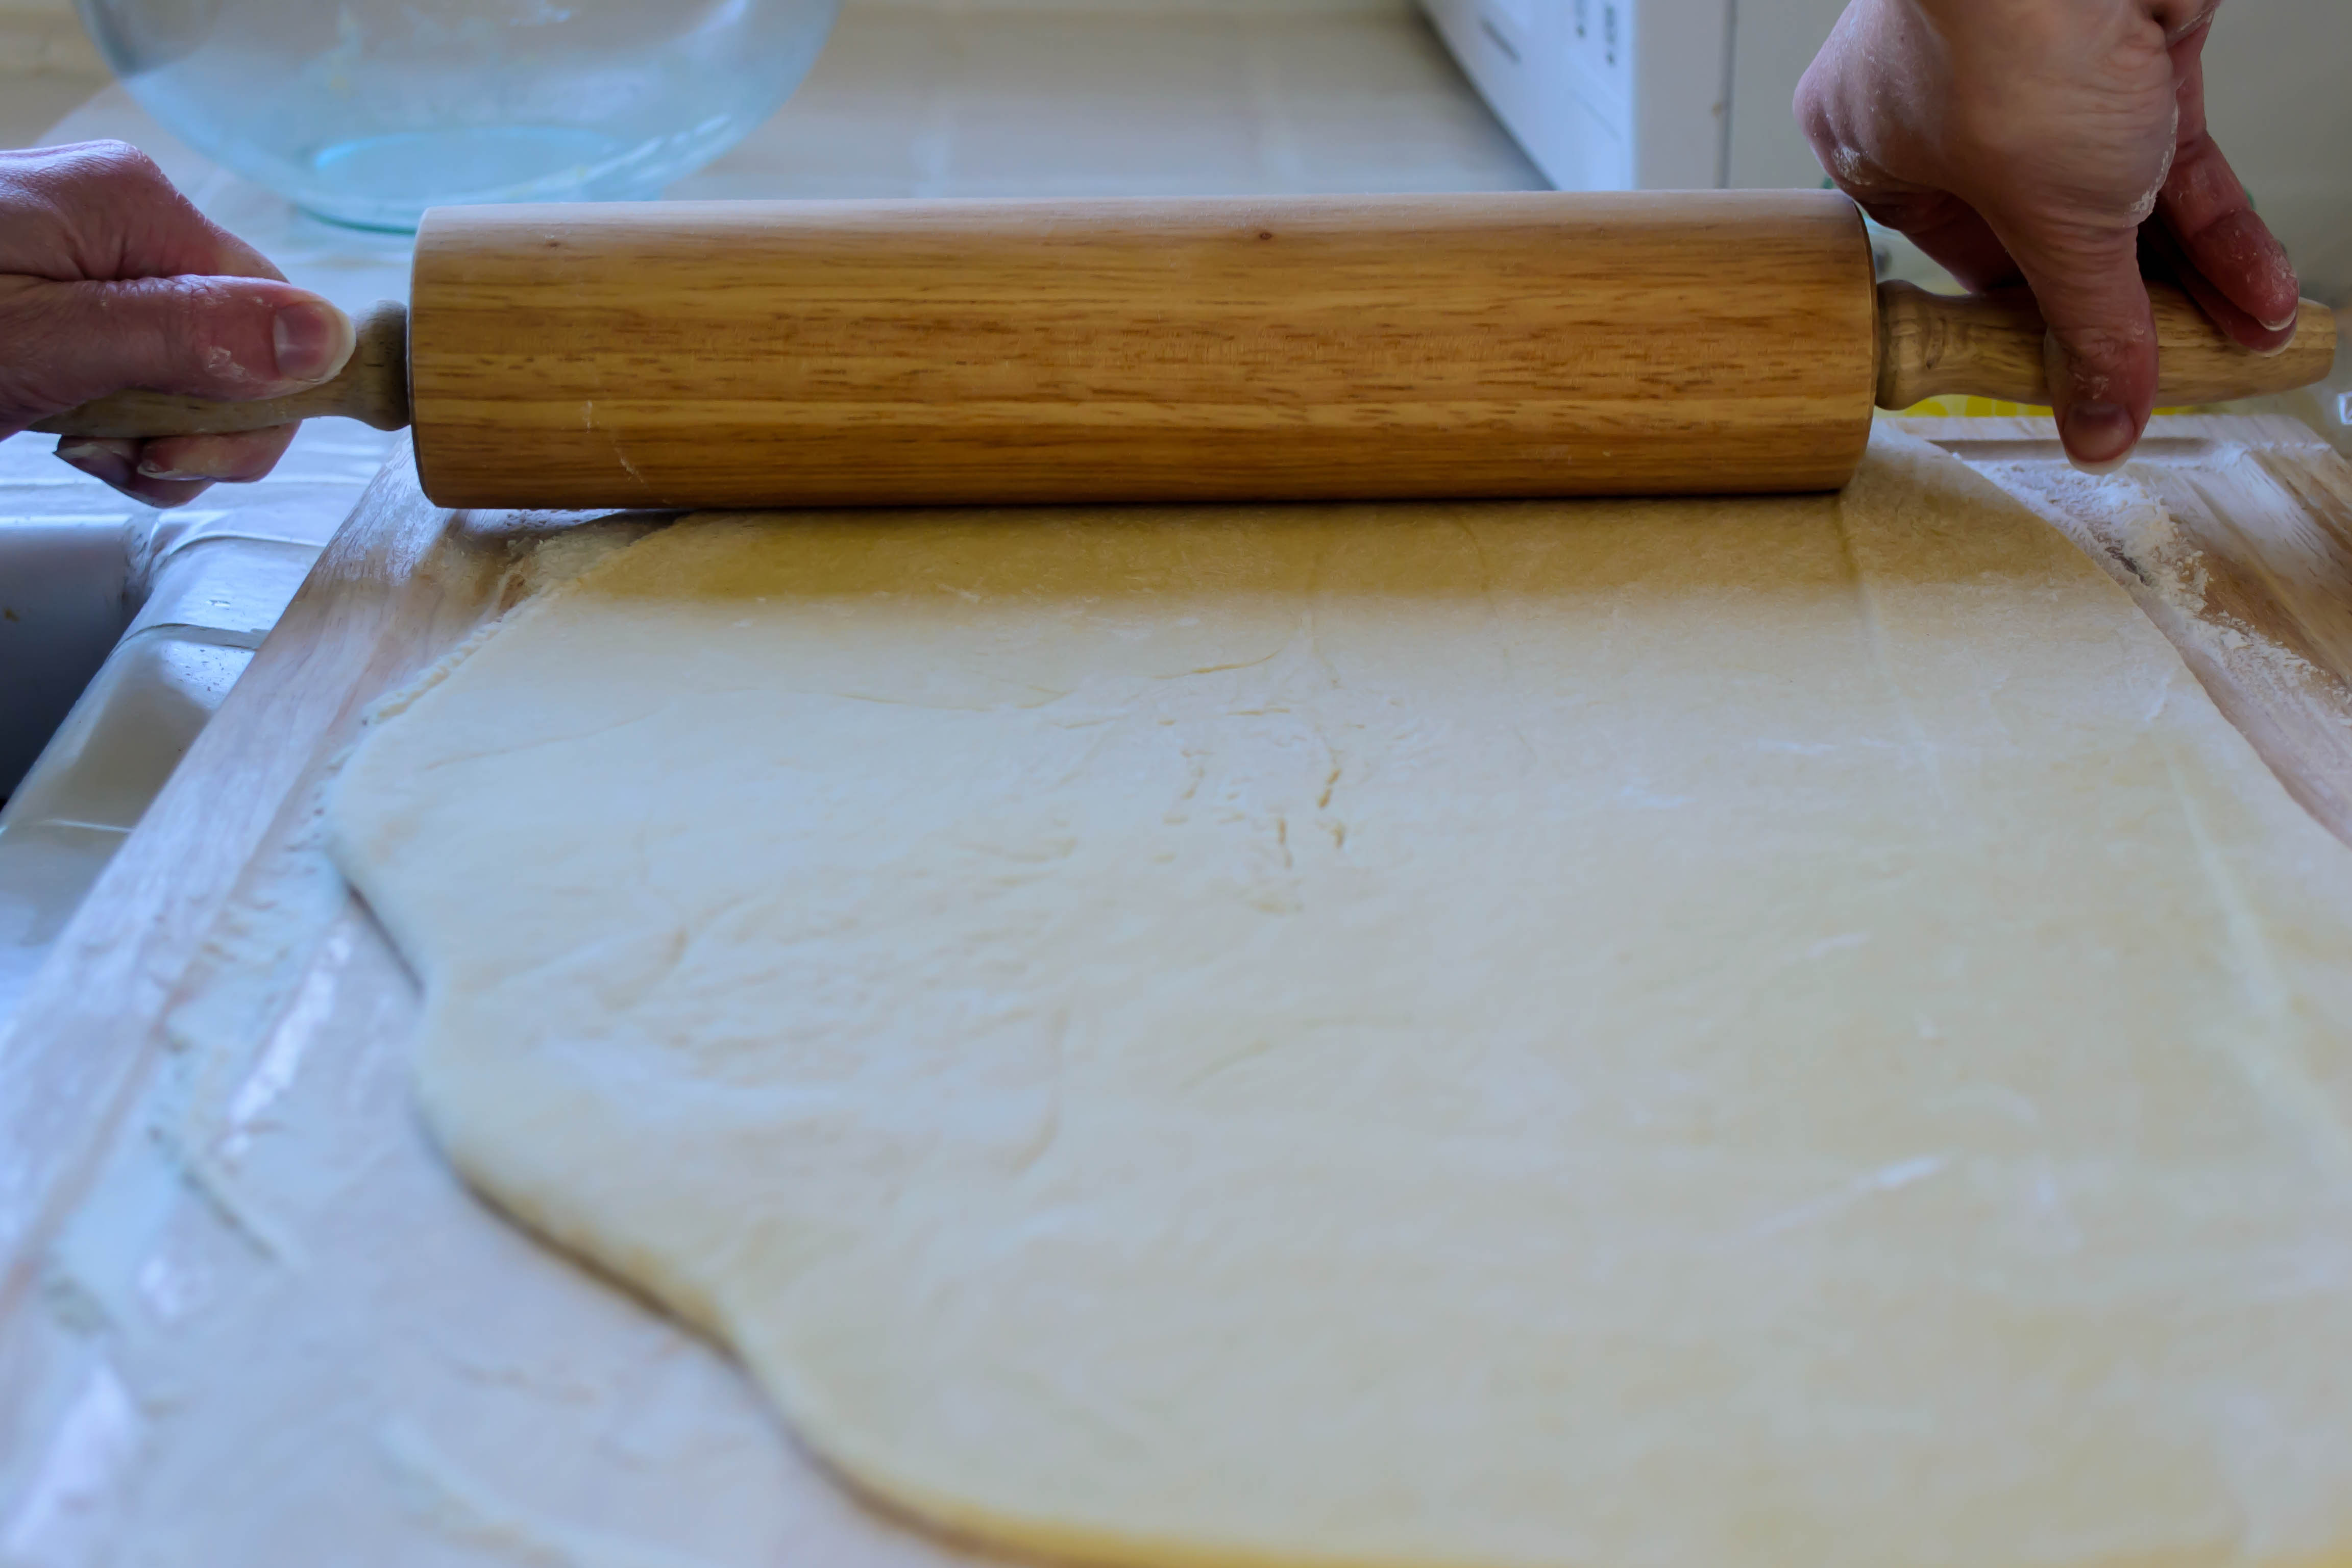
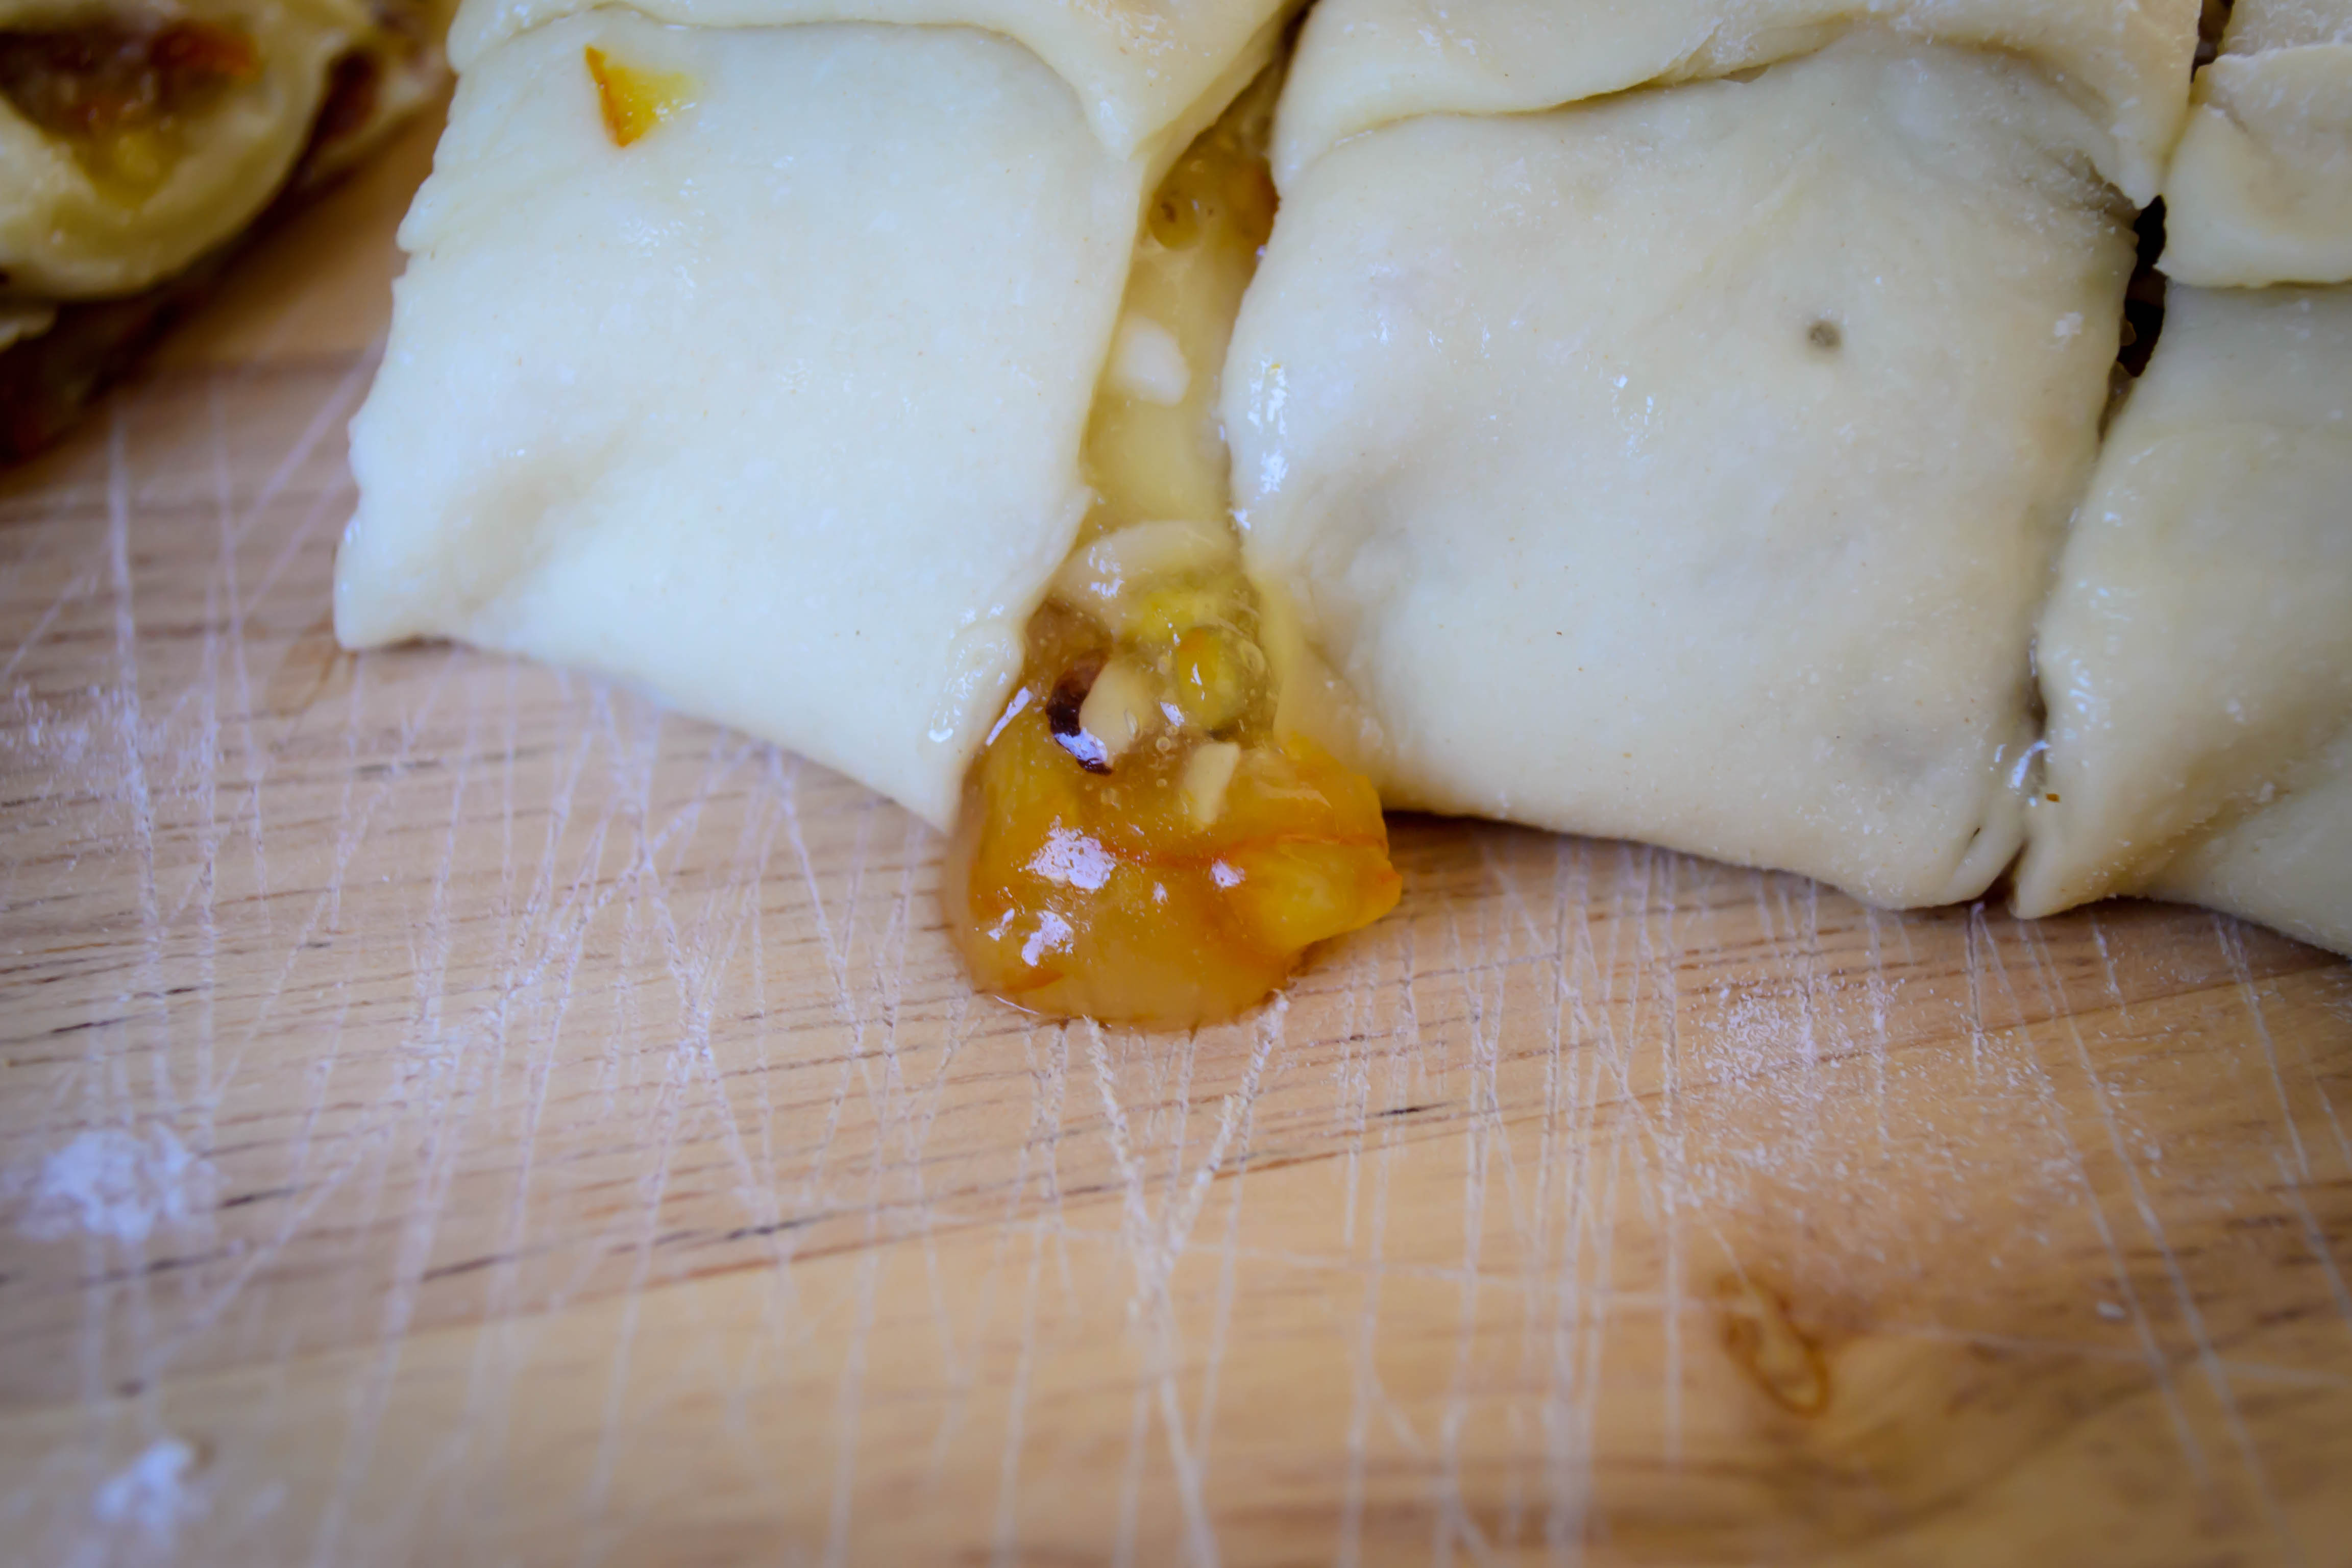
 I’m crazy about the way the dough stretched – it looks like you can see the chains of gluten! Let’s see a close-up or six…
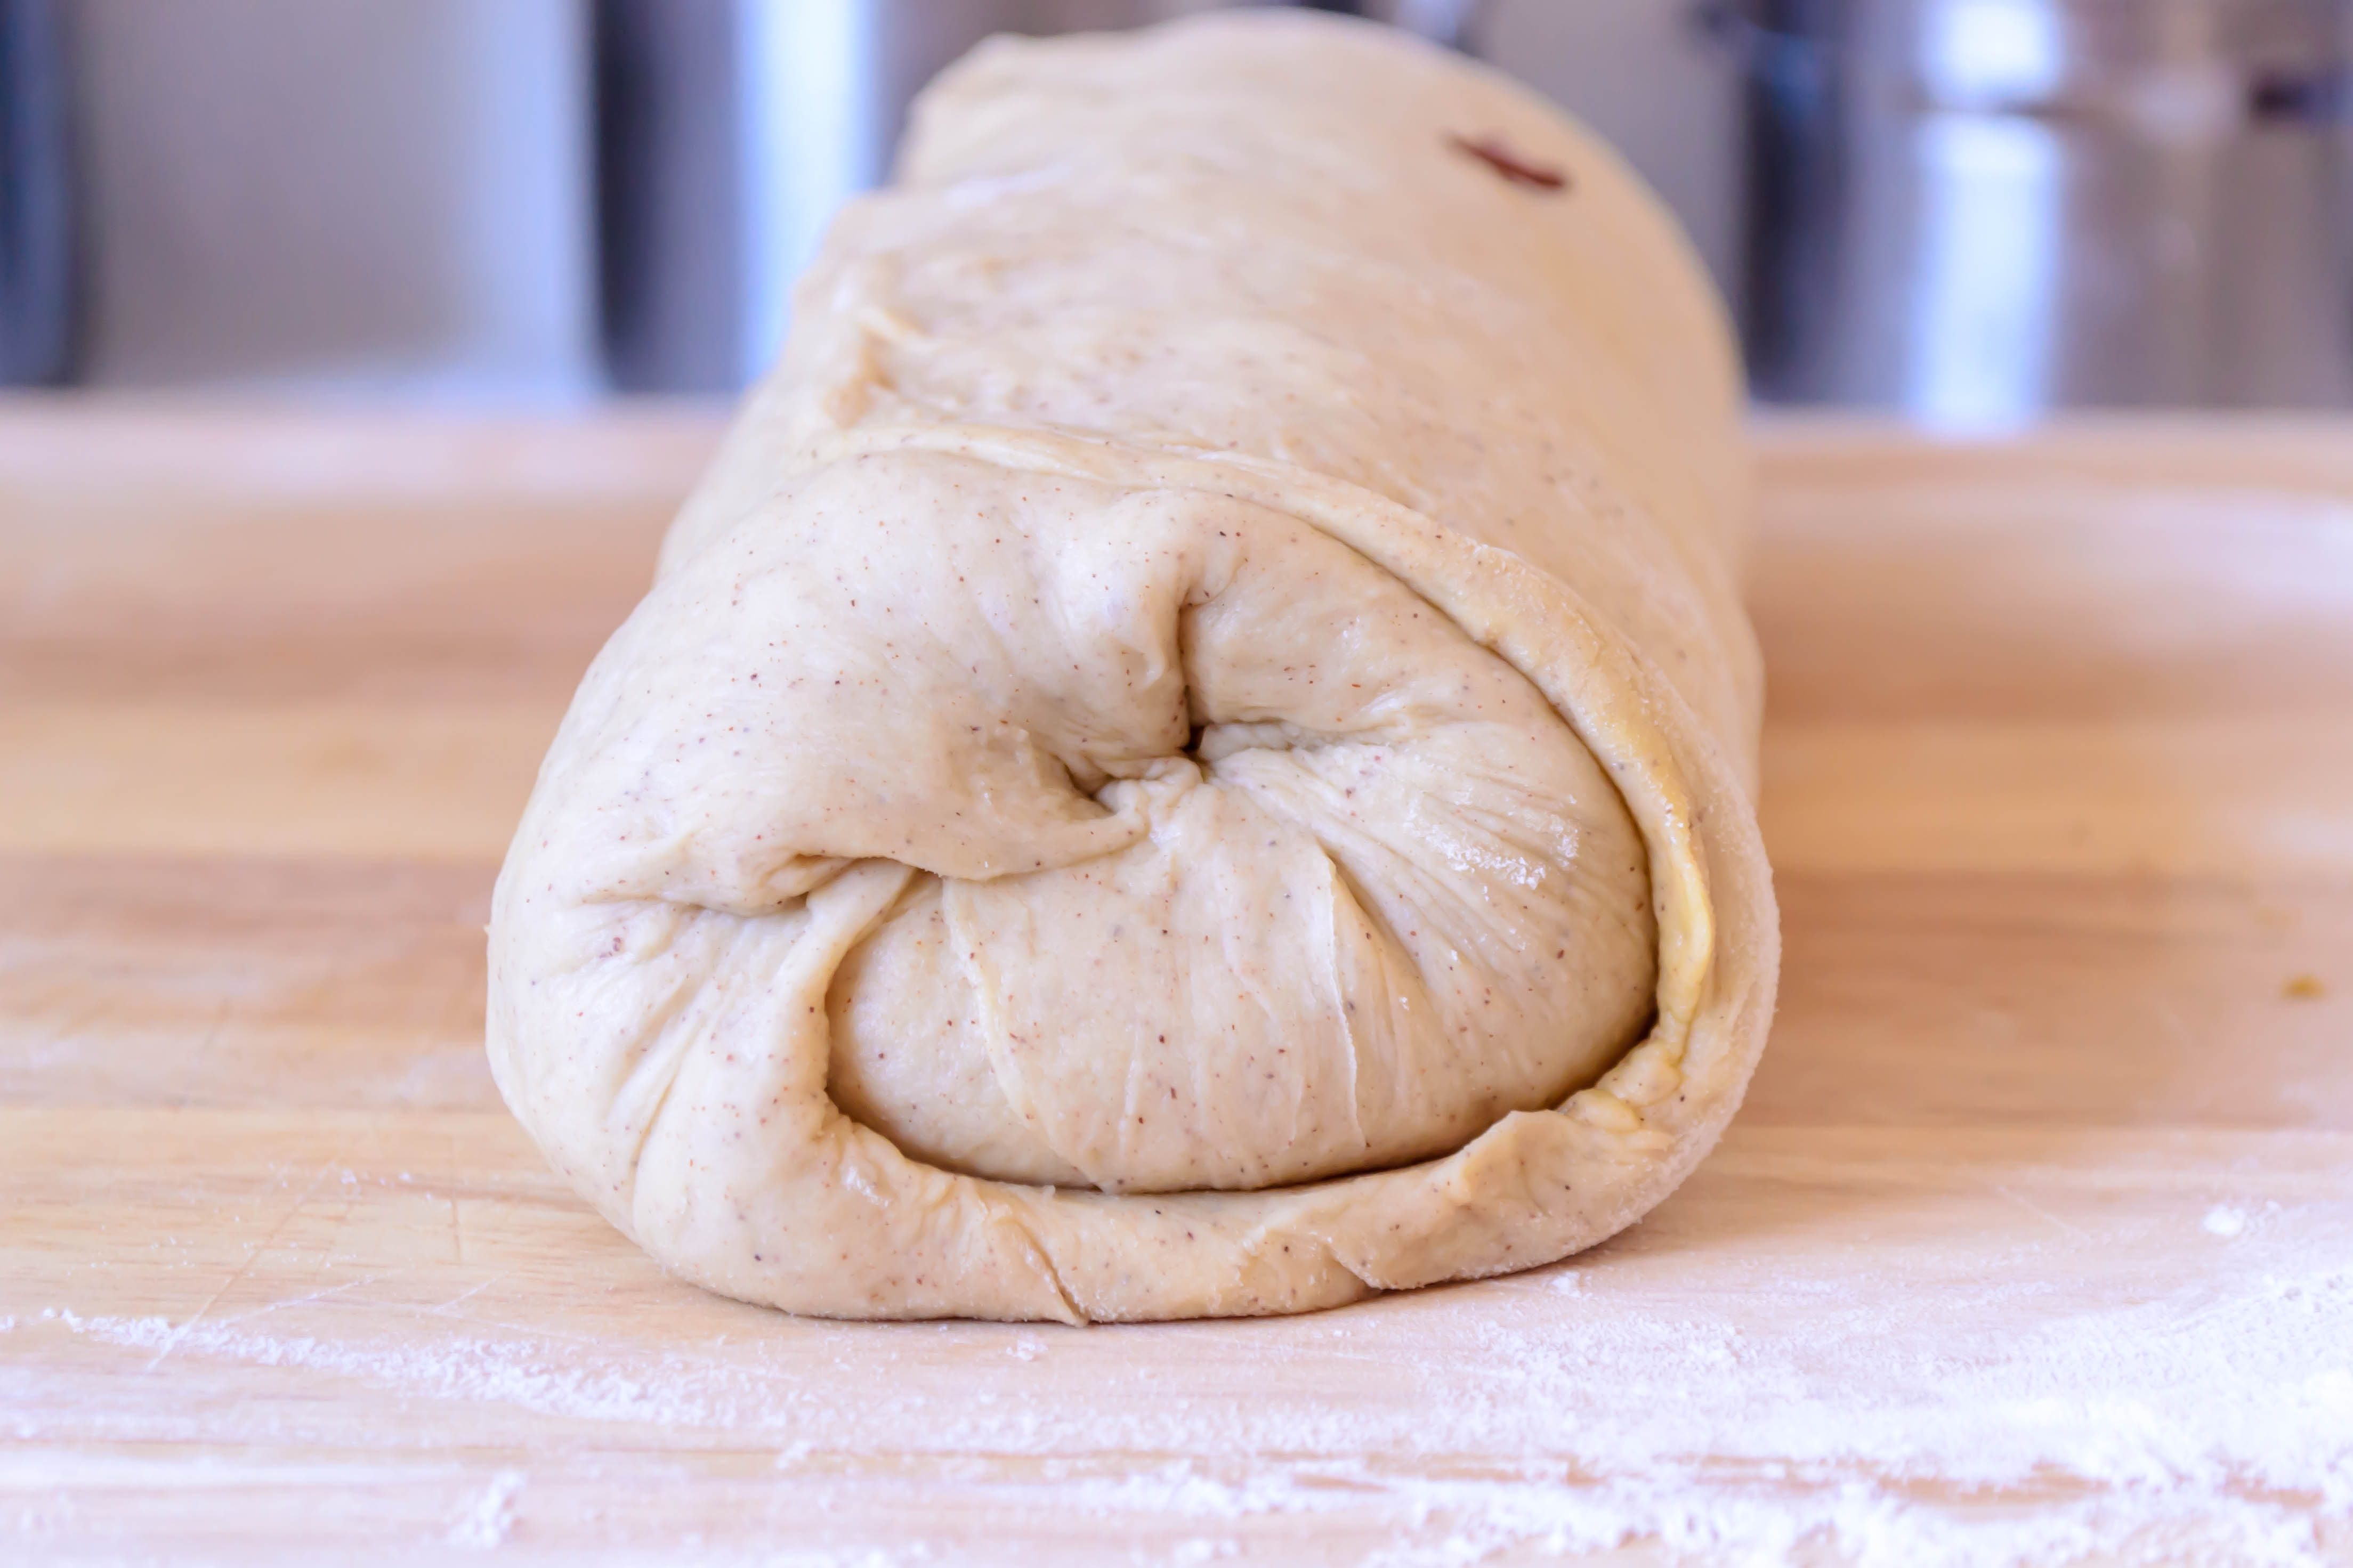
 How about from a new angle?
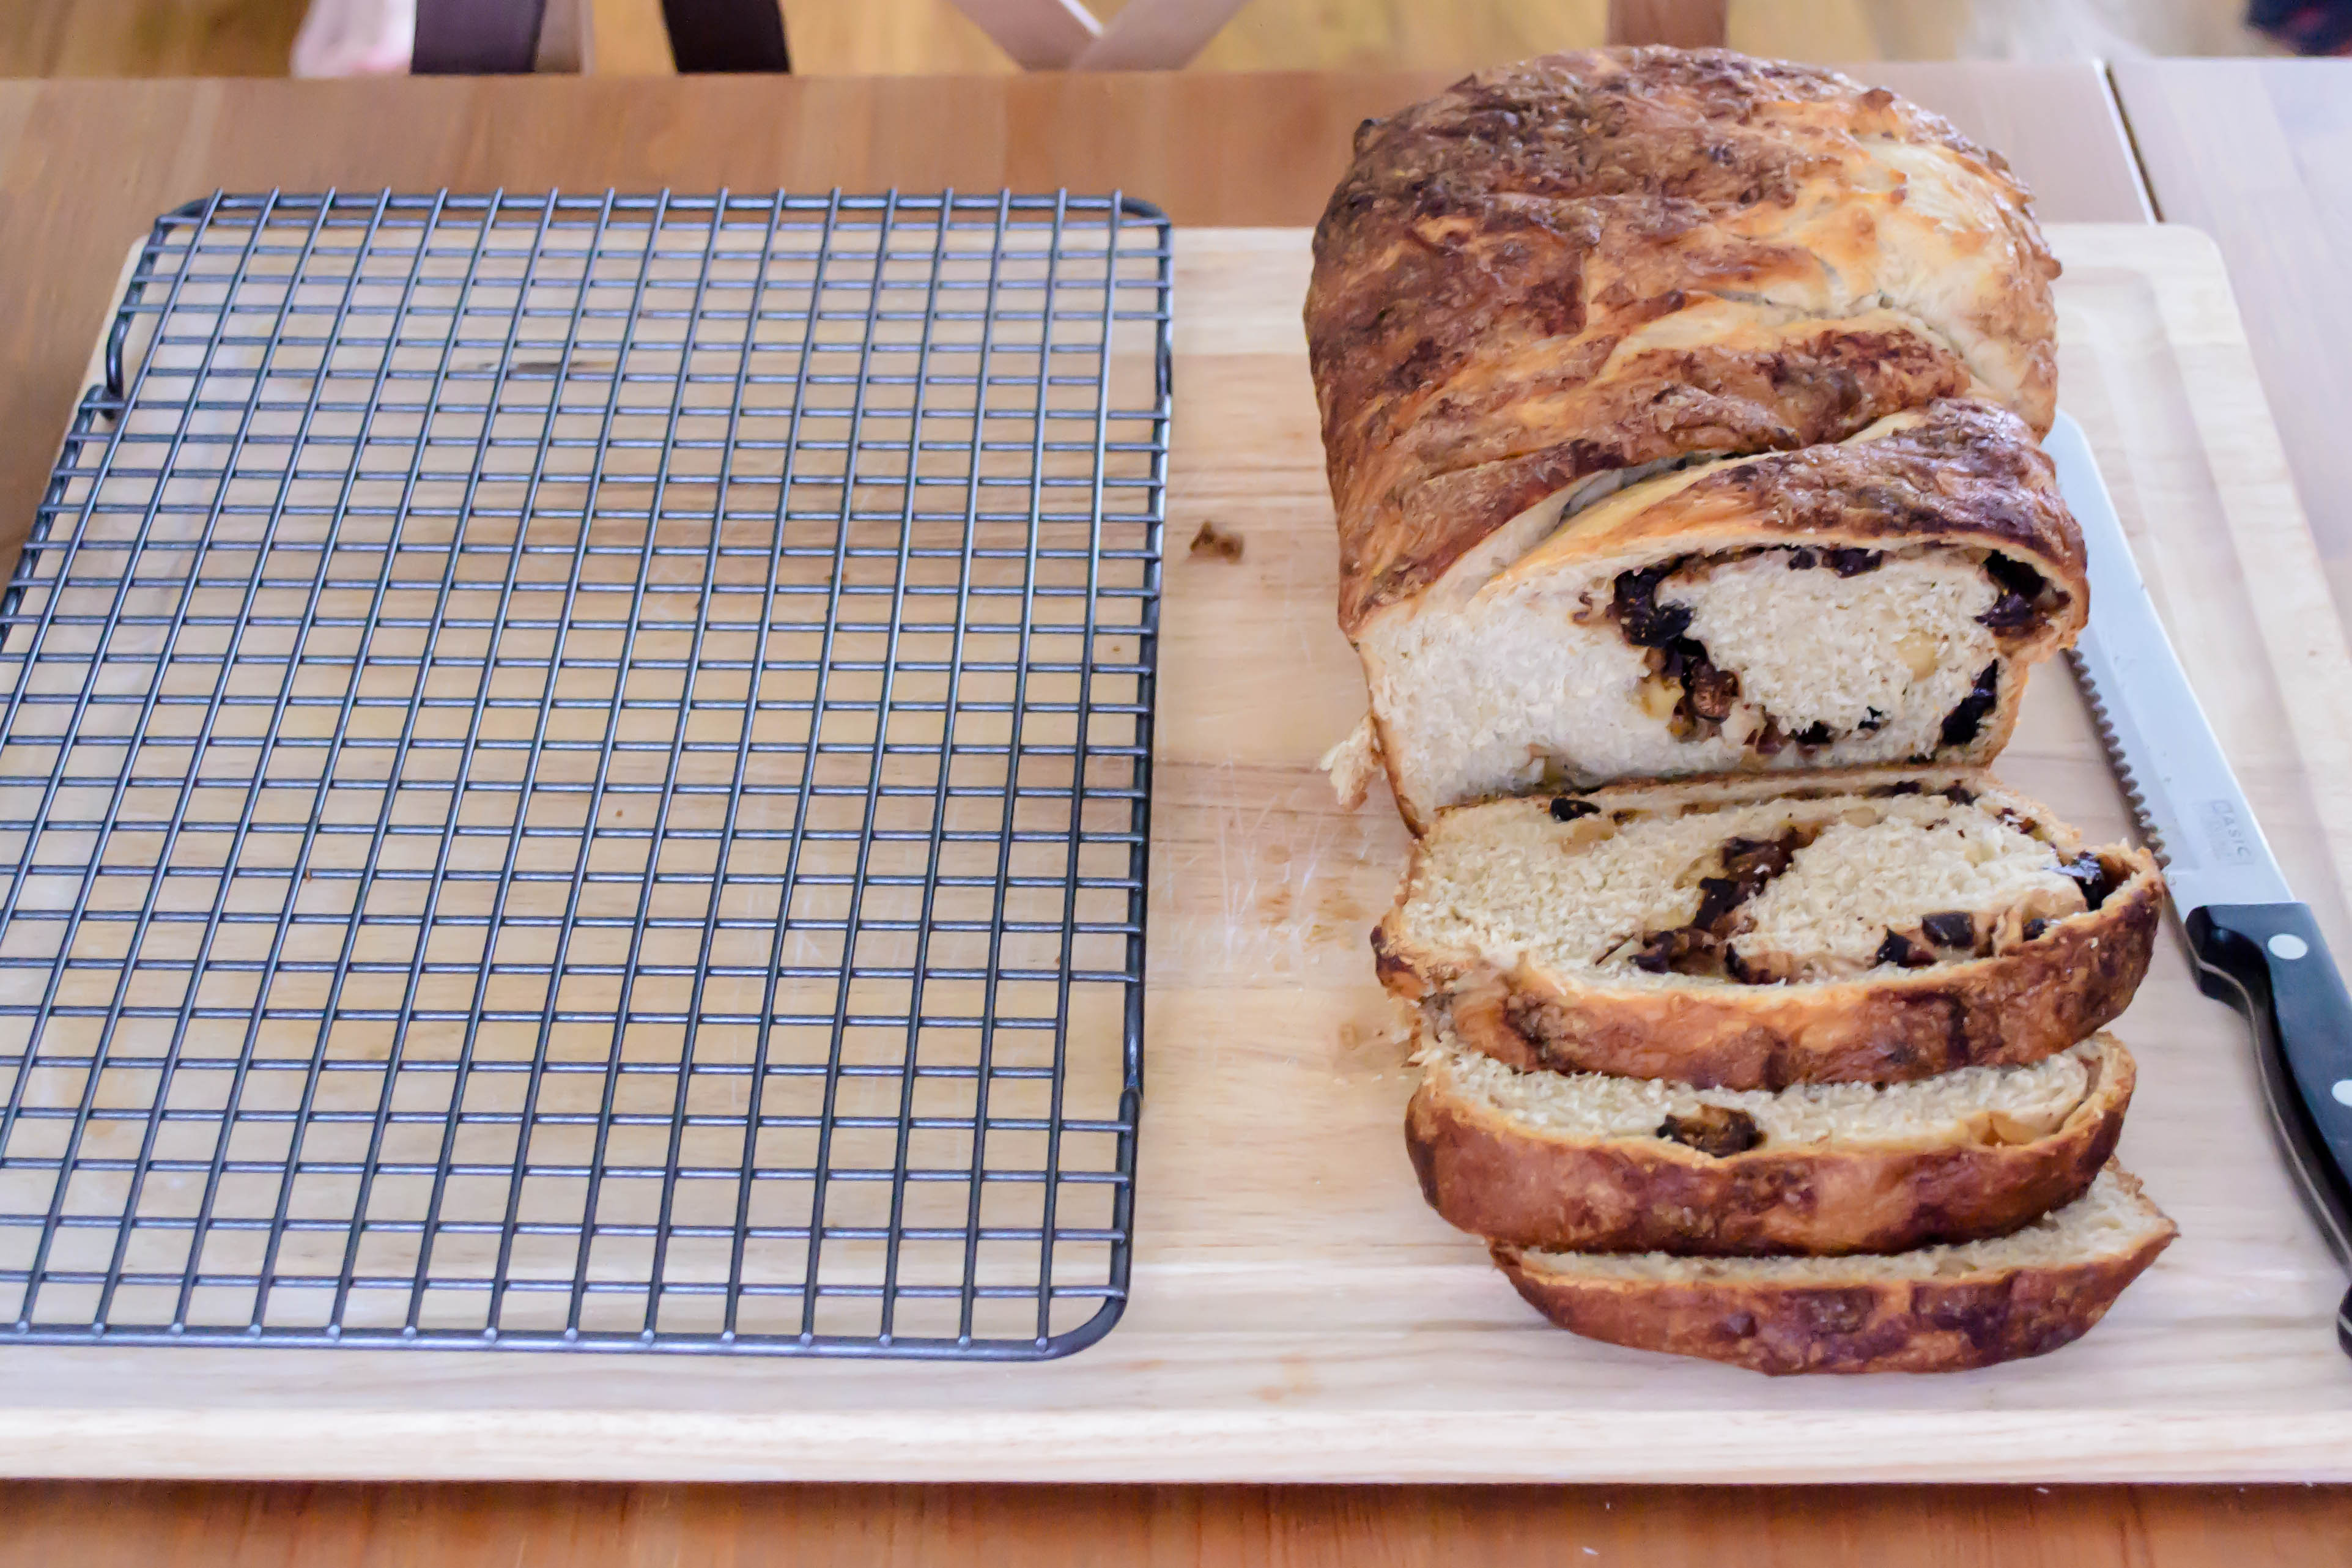
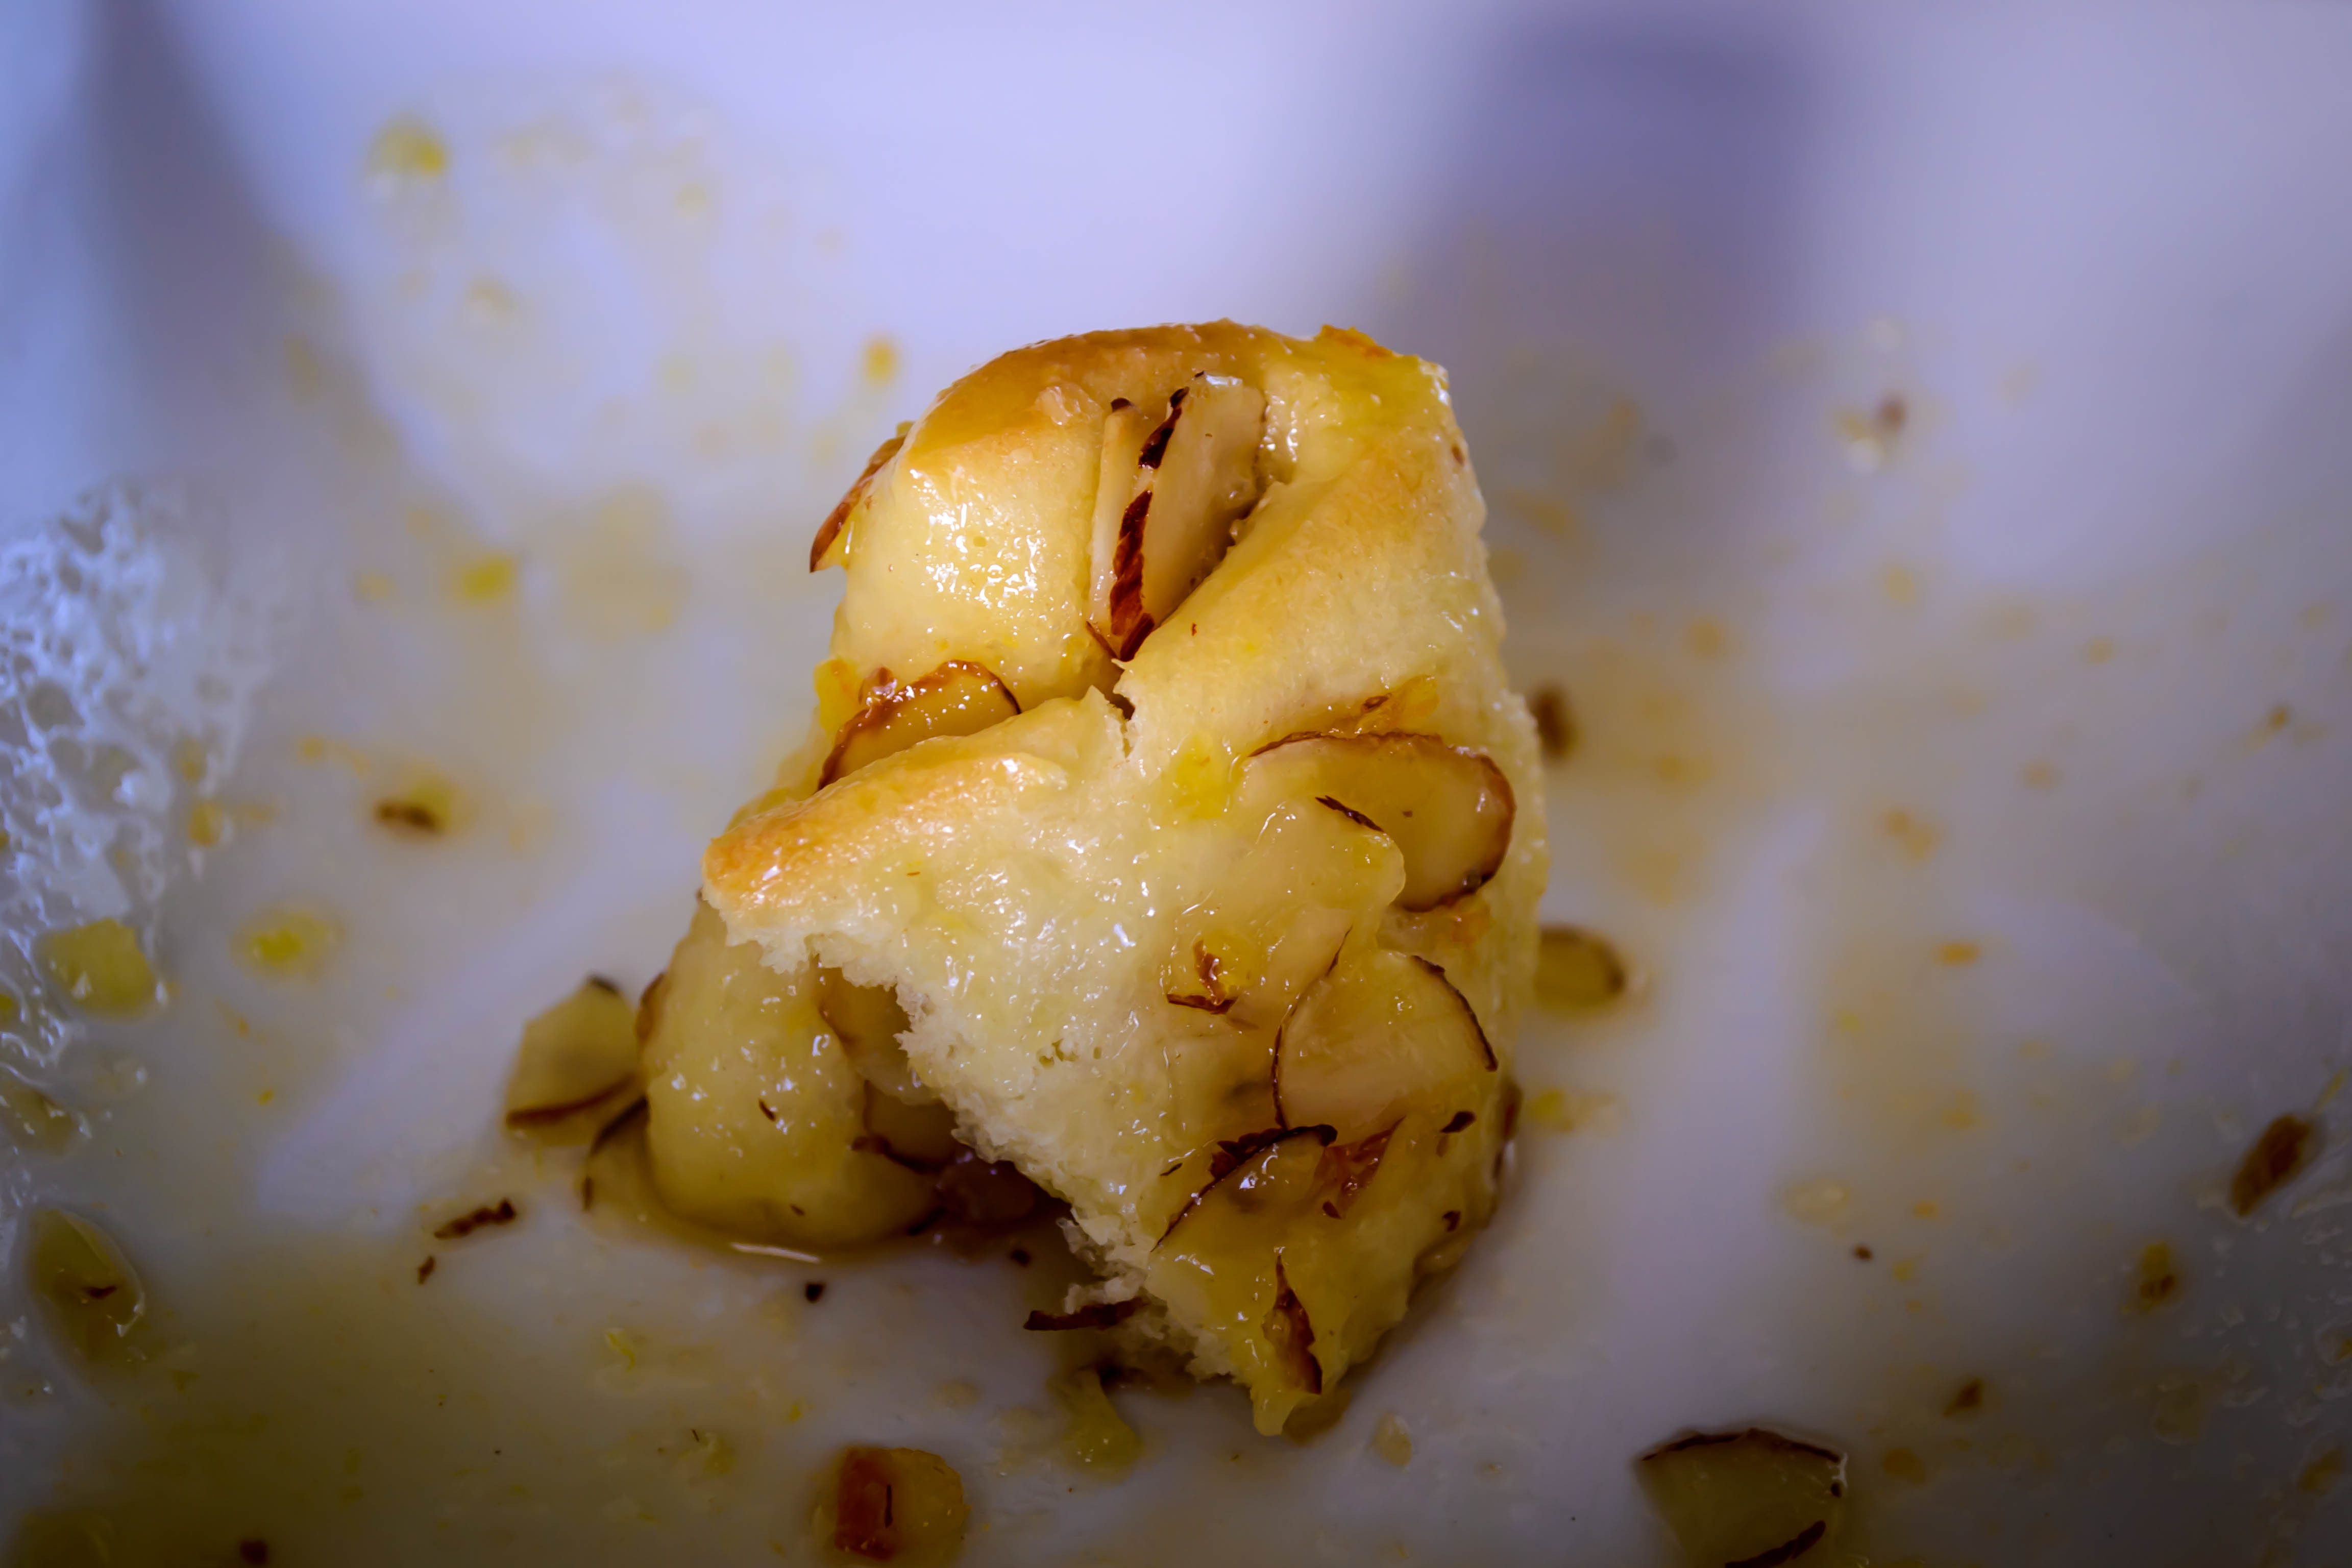
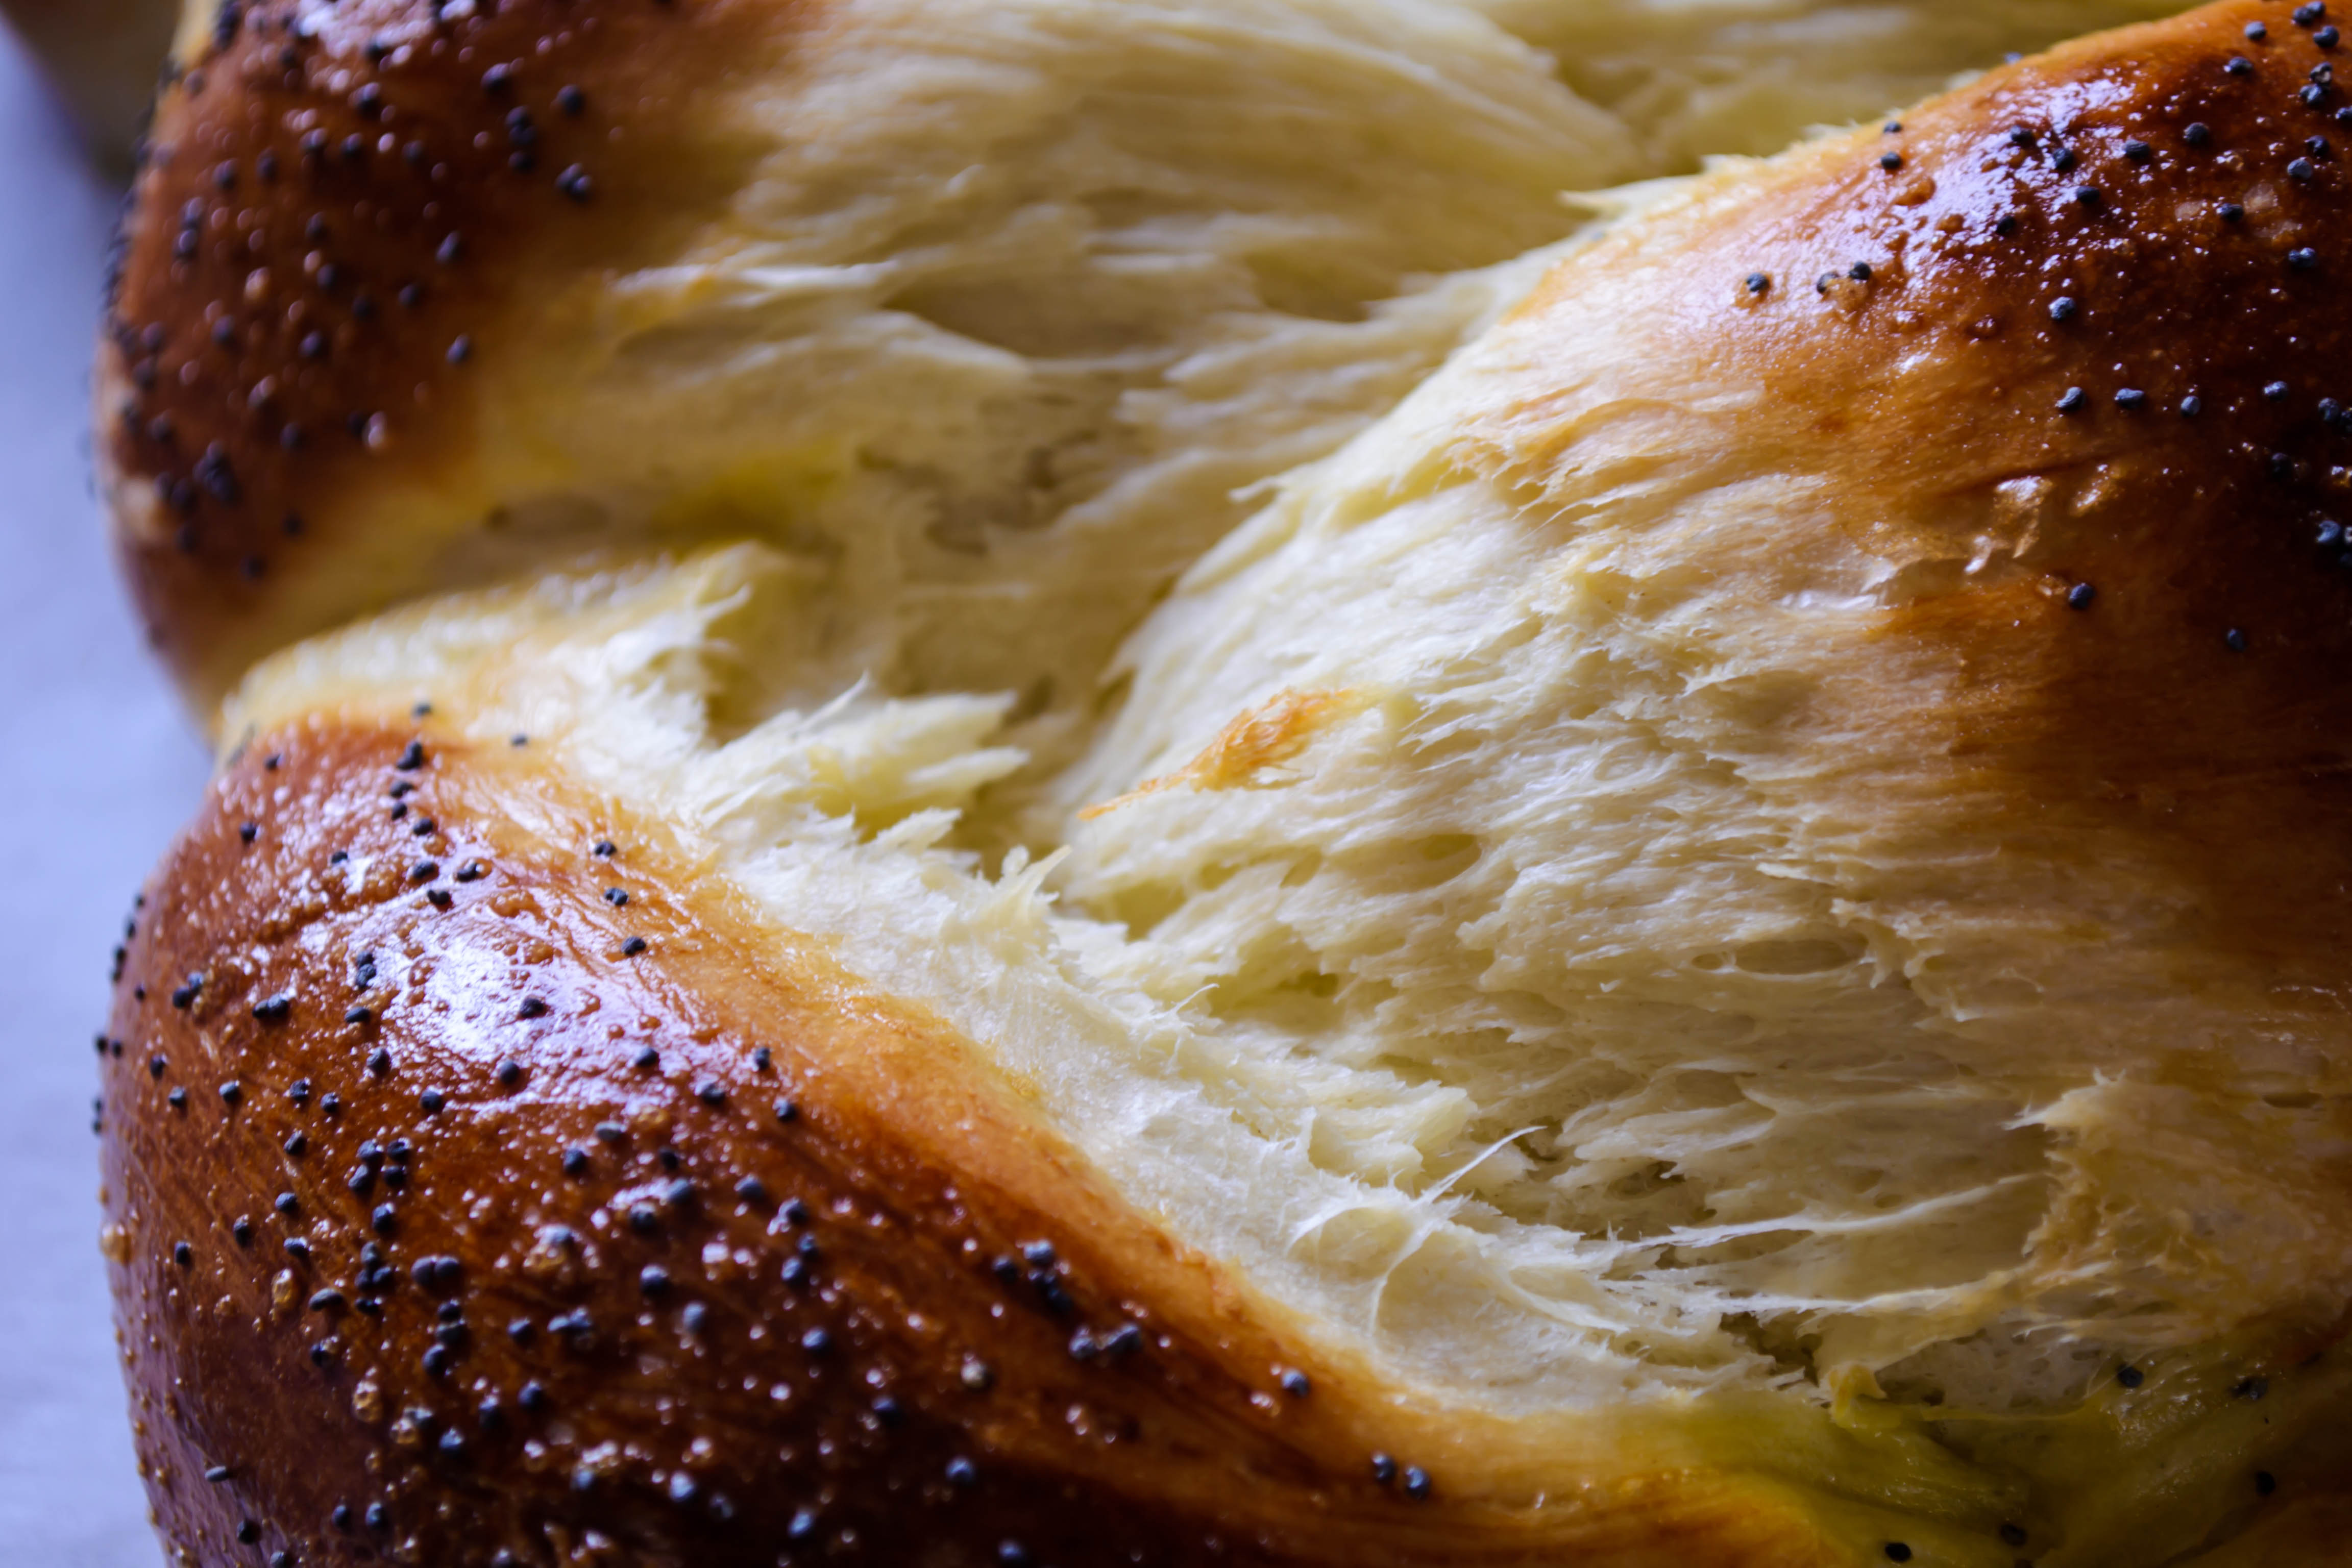 Burnished and bronze and eggy and tender… it’s almost enough to make me run back to the kitchen and make another one. You?


