Ranch Biscuits

We are still awash in boxes (and the desktop computer that I use for photo editing is still sitting in a closet, so these are straight from the camera shots) in this new house that is our house (our house! That is ours! No more landlord! I’m just a little bit excited about this…), but it is starting to feel like home. This “like home” is a different kind of “like home” feeling, though – unlike any I’ve felt thus far in my adult life. Previously, “home” meant “a place I will live for a few years.” It meant “this space I occupy but will, at some point, move on from.” While there is certainly the possibility that at some point, some day, we will dislodge ourselves from this house, it won’t be for a while. This is a place to actually do all those “maybe someday” things we’ve put off: lining drawers. Acquiring “grown-up” bookshelves (read: shelves that actually cost more than $30 or so). Planning and planting a vegetable garden. Finally framing those diplomas. And as anxious and antsy as I am to have it “finished,” we don’t have to do those things immediately, because we’re going to live in this lovely, quirky little house for a long time.

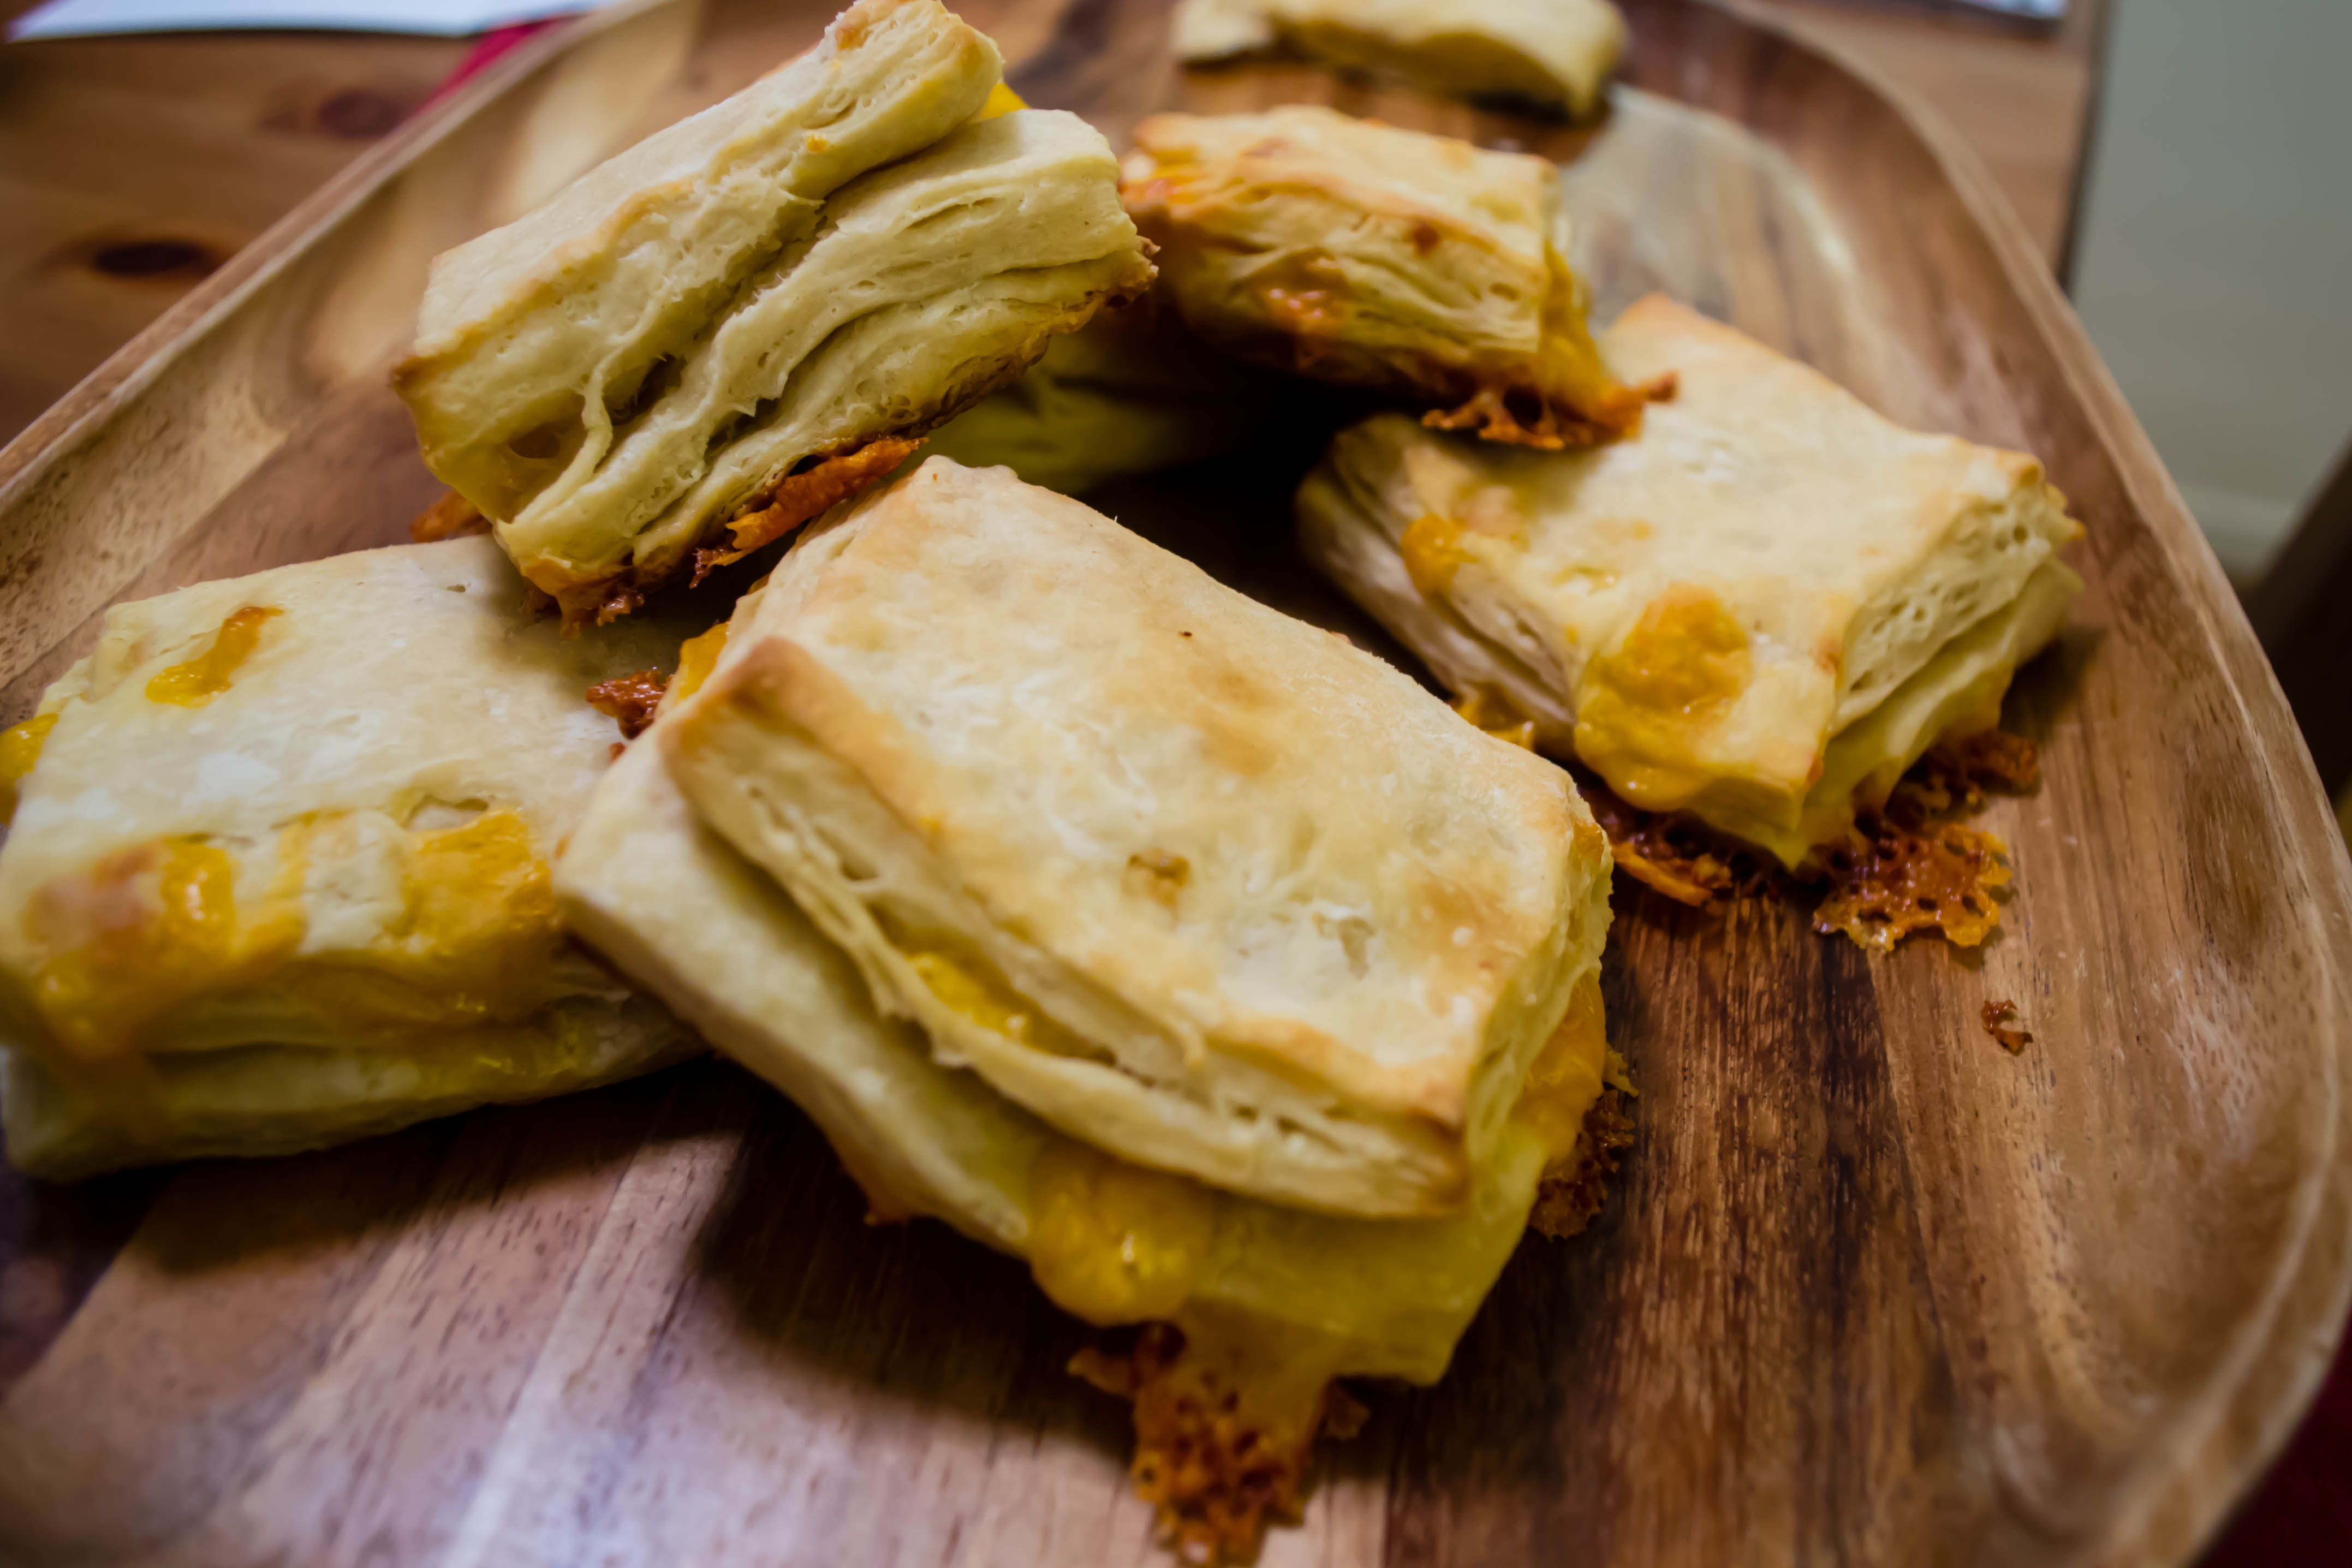
None of that is a beautiful transition into these biscuits, though don’t they look nice against that backsplash? (I promise I’ll stop talking about the backsplash soon.) They’ve been hanging out at the back of my consciousness for a while now, poking at me, and now that it’s grilling season and all I want to do is sit out back with a very cold drink and watch N. manhandle well marinated beef on the grill, I thought these would make a nice accompaniment to anything barbecue related. The flavors of ranch dressing in a sky-high biscuit make sense. I mean, they already share buttermilk in common, and herbs like dill and chives are a lovely way of perking up your average biscuit and making it more interesting. The kick of garlic, of onion powder, and of a little dry mustard could do nothing but improve the whole situation.

Aided by my adaptation of Ruhlman’s folding and turning method for biscuits with well-puffed layers, these inflated gorgeously in the oven and found their way in multiples to our plates (the first set we tore through were still so warm it was hard to discern the individual flavors). We inhaled the batch in a day and a half, and while they were delicious – herby and kicky and tangy from the buttermilk – we realized while devouring our second helping that we weren’t sure precisely how closely their flavors mimicked ranch dressing, since it had been so long since either of us had tasted that childhood standby.

So here’s my thought for you, as the fourth of July, that ultimate of grill-based holidays, approaches: if you try these, as a side for your ribs or a mop for your baked beans or an ever-so-tolerant napkin for the drips of melted butter coursing from your corn (oh, or maybe even as a sandwich base for the leftovers, with a slick of mayonnaise on both split sides to add that final missing ranch-y ingredient), will you let me know, friends, if they remind you of ranch dressing?

Ranch Biscuits
Makes 9-10 3-inch biscuits
30-40 minutes
2 cups all-purpose flour
1 teaspoon sugar (I like turbinado, but any granulated sugar will do)
1 teaspoon salt
2 tablespoons baking powder
1 teaspoon onion powder
1 teaspoon dry mustard
¼ teaspoon paprika
¼ teaspoon ground black pepper
2 tablespoons finely chopped dill
2 tablespoons finely chopped chives
2 tablespoons finely chopped parsley
2 garlic cloves, finely minced
6 tablespoons cold butter, cut into chunks
6 ounces cold buttermilk (about ¾ cup)


  • Preheat your oven to 400F and line a baking sheet with parchment paper. In a medium bowl, whisk together the flour, sugar, salt, baking powder, onion powder, dry mustard, paprika, and black pepper. Add the finely chopped herbs and the garlic and whisk well to ensure even distribution (these wetter ingredients will want to clump together).
  • Plop in the cubes of cold butter and use a pastry cutter or your fingers to work the fat into the flour mixture. You are looking for butter bits the size of small peas. Pour in the buttermilk and use a fork or your fingers to mix it through the flour and butter mixture and bring the whole thing together into a shaggy, soft ball of dough (if it seems too dry and is not coming together, just set it aside for a minute or three – this will give the flour time to absorb the buttermilk a bit more).
  • Turn the dough out onto a well floured board, sprinkle some more flour on top, and knead with your hands two or three times just to catch any loose bits. With a rolling pin or your hands, press or roll the dough into a rough rectangular shape about ½ an inch thick. Fold the dough into thirds, then roll out again. Repeat, again folding the dough into thirds and then rolling it out; this creates more flaky layers. If the dough sticks to your board, use the flat blade of a butter knife or a pastry scraper to help you lift it free.
  • After you’ve rolled and folded, rolled and folded (so you’ll have done a total of six folds), roll out once more, this time to a thickness of 1 inch, and use a 3-inch round cutter (or the lip of a glass) to punch out biscuits. Push the cutter straight down through the dough; don’t twist until you are all the way through to the board, or you’ll crush the flaky layers! Repeat, placing the biscuit rounds on your parchment lined baking sheet, until you can’t punch out any more rounds. Re-roll the dough scraps (no need to fold again unless you want to) and repeat – with a 3-inch cutter, you should be able to make 9-10 biscuits about 1 inch thick.
  • Arrange the biscuits, evenly spaced, on the parchment lined baking sheet and bake for 18-20 minutes, until they are well puffed and the tops are pale golden and slightly dry.
  • Let cool for just a minute or two, then wrap up in a basket or stack on a tray, and watch them disappear.

Uncommon Brown Sugar and Cheddar Biscuits

When it rains in Los Angeles, the whole atmosphere of the city changes.  The earth sighs acceptance and glee, and the ordinary dustiness of every other person’s front yard glimmers with emerald slickness: life!  Reprieve from the desert we pretend we haven’t built over!  The roads become jagged, glistering, tar and oil stained slip’n’slides on which people drive either too slowly – avoiding disaster through excess caution – or too quickly – rushing to get off the highways as soon as possible.  The sky is unused to gray billows here, or at least it seems that way.

Food Blog January 2013-0518

But for me, the end of this week felt like home.  It was a strange mix of homesickness and invigoration.  I am accustomed to working in this climate.  It feels natural.  Habitual.  My fingers and my brain and my skin – they fit into this overcast world.

Seeking the comfort of familiarity, I decided to leave yeast alone for this week and fall back on something I know: biscuits.  Butter.  Flour.  Buttermilk.  Salt.  Baking powder.  The blessed fundamentals.  But I know the fundamentals.  I wanted more.

Food Blog January 2013-0514

In Ratio, Ruhlman calls these Chicago biscuits because their ratio 3-1-2 is Chicago’s area code.  3 parts flour, 1 part fat, 2 parts liquid.  I’m calling them Uncommon because their pairing – brown sugar and extra sharp cheddar cheese – might not be anyone’s first inclination.  It made sense to me, though, if you reinsert the missing link of apple pie in the middle.  Cheese and apples are perfect.  Brown sugar and apples are perfect.  What would happen if you took the apples out of the equation and left the savory richness of cheese chewing against the molasses-deep hum of brown sugar?  They are also Uncommon because they take a little extra time (almost 3 hours from start to finish) and produce a slightly different product than your ordinary dinner biscuit.

Adapted, obviously, from Ruhlman’s Ratio 312 Biscuits.


Uncommon Brown Sugar Cheddar BiscuitsFood Blog January 2013-0491

scant 2 cups flour (9 oz)

1 tsp salt

2 tsp baking powder

2 TB brown sugar

6 TB butter (3 oz)

½ cup ¼-inch chunks of cheddar cheese, the sharper the better

¾ cups buttermilk (6 oz)

In a medium bowl, whisk together the flour, salt, baking powder, and brown sugar.

Using a pastry blender or your fingers, cut in the butter until it is incorporated throughout in chunks the size of small peas.

Add the cheddar cheese and buttermilk and mix to combine into a rough, sticky dough.  I find using a fork works well for this step.

Food Blog January 2013-0501

Here’s where things change up a bit.  Instead of rolling this out and cutting rounds, stretch a piece of plastic wrap across your counter and dump the dough onto it.  Using the plastic wrap, form the dough into a rectangle of approximately 4×6 inches.  Mine was bigger because I am impatient.  This didn’t seem to have dire consequences.  Once the dough is shaped, wrap it in the plastic wrap and refrigerate for at least 1 hour.

Food Blog January 2013-0502

After an hour, the butter has firmed up again and the dough has relaxed.  Pull it out and free it from the plastic, plopping it carefully onto a well floured board.  It’s a very sticky dough, so flour your rolling pin and the top of the dough itself well to avoid irritation.  Roll the dough out until it is three times its original size, maintaining the rectangular shape.  Fold it into thirds, press down well, and then roll it out again.  Fold it into thirds for a second time.  I did mine in the opposite direction of the first fold, which was probably wrong, but again, produced no discernible taste consequences.  Press down firmly, wrap up the dough in plastic wrap again, and put it back into the fridge for another hour.

Food Blog January 2013-0506

While it chills, here’s what’s happening with all this bother: you are creating something akin to one of those biscuits that comes out of the tube.  You know, the cardboard tube you anxiously peel the wrapper from to reveal a twisting seam, then judiciously smack on the edge of the counter until it pops and dough appears in great bulges?  Those biscuits are composed of dozens of flaky layers, and that’s what you are doing by folding and rolling and folding and rolling.  You are, Ruhlman notes, following a similar procedure to that used for making puff pastry, except in our case the butter is irregularly placed, which results in craggy puffs, whereas puff pastry requires a smooth, even layer of butter in between each floury fold to reach its incredible signature height.

With another hour gone, liberate the dough from fridge and plastic, return it to your well floured board, and repeat the procedure: roll out, fold in thirds, roll out, fold in thirds again.  At this point, you should also preheat the oven to 400F.

Food Blog January 2013-0509

You’ve now folded your dough a total of four times, which means you’ve made twelve layers.  Now, roll it out to ½ inch thick and cut it into 6 pieces.  You could do rounds with a biscuit cutter, but it seems easier and less wasteful to just trim up the edges (which you could roll into a homely little extra biscuit to taste on the sly) and then cut into squares.

Food Blog January 2013-0511

Pop these onto a greased baking sheet and into the oven for 20-25 minutes.  They will emerge lightly golden on top, with cheese oozing out from between the layers to form crispy lacy edges against the cookie sheet.

Food Blog January 2013-0517

We ate these as an accompaniment to a honey mustard roasted acorn squash and chicken apple sausages.  I know, I had to get the apple back in there somehow.  My assessment?  They were delightful.  The exterior was flaky and crisp, and I was impressed by how the layers really did make a difference in the texture of the biscuit: they were moist and chewy and distinct.  The cheese wasn’t as noticeable as I’d thought it would be, though the crispy edge bits were lovely – much like the lacy brulée that adorns the outside edges of a good cheese bagel.  At first I thought I couldn’t taste the brown sugar at all, but as I took my third and fourth bite, gasping around the steam, I realized that the complex lingering warmth at the end of each bite was probably the effect of the brown sugar.  It carried the depth and richness of a caramel without being sweet.

Food Blog January 2013-0516

So the verdict is: if you need biscuits to go with a weekday meal, these are probably not the ones for you.  It’s asking a bit much to devote three hours to six biscuits, when you could just roll, cut, and bake the same ingredients straight from the mixing bowl.  But if you are planning for something special, or if you were thinking of baking bread anyway and are willing to replace rise time with refrigeration time, try these instead.  The layers are really remarkable, they stay warm for some time, they are all kinds of tasty, and they would reheat – I suspect – very well in a toaster oven, though they are best on the day they are made.  But you probably won’t have any left over, so that’s an issue barely worth discussing.

Food Blog January 2013-0522

I hope you are warm and well, wherever you are.

Emptying the Fridge III: Crack(er)ing the Code

Last week I told you about my favorite new dip.  White beans, toasted almonds, the piney sharpness of rosemary, the heady perfume of orange zest… and promised to provide a vessel on which to deliver this deliciousness to your eager taste buds.  N. and I discovered shortly after my first foray into this creamy blend of balanced spice that the ideal vehicle for consumption was not in fact a spoon, but the best crackers ever: Trader Joe’s Raisin Rosemary Crisps.  In fact, these are good not just as a vehicle, but a snack in their own right.  Every time I went to the pantry to retrieve a few for dip spreading, I’d find them gone, thanks to N.’s voracious nibbling.

I wondered at one point, as I broke down yet another cracker box for recycling, how difficult they would be to make myself.  I’ve never made crackers before, but looking at the list of ingredients – sunflower seeds, millet, raisins, baking soda – it seemed doable, and further, thanks to the kind of collection that happens in established kitchens, when you don’t remember why you have something like toasted millet or roasted ground flaxseed but you just do, I had every single dry ingredient in my pantry, waiting to be used up so they didn’t have to make the move to California.  On that door dividing me from opportunity, he was pounding with a brass knocker.

So I set about experimenting, and today I can offer you not one, but two ways of making these crackers yourself.  They aren’t perfect replicas.  They will always be discernable as imitations.  But they are delicious, and they are pretty darn close.  Only a thinner knife, a bit of whole wheat flour, and patience, I suspect, separates them…

Here’s what you need:

1 ½ cups all-purpose flour

½ cup whole wheat flour (the first time I made these, I used equal parts AP and WW flour, and the result was a bit heavy.  Using 2 cups AP instead of adding the WW would probably make the crackers even lighter, and the TJ’s ingredient list doesn’t contain WW flour at all)

1 tsp baking soda

¾ tsp coarse sea salt (I used Maldon, with which I have a deep love affair)

2 TB roasted, ground flax (if you have whole flaxseeds, use them!  Just toast them in a dry pan until fragrant and beginning to darken, and whiz them in a spice grinder, or your husband’s coffee grinder, if that’s the machinery you happen to have)

1/3 cup millet

½ cup sunflower seeds, toasted or not, salted or not, just use what you can find

¼ cup brown sugar

1 TB finely chopped dried rosemary (again the spice grinder works really well for this – chopping dried rosemary with a knife is an exercise in absurdity: it flies everywhere)

½ cup craisins

¾ cup buttermilk

Whisk together all ingredients except buttermilk until seeds, nuts, and fruit are evenly distributed.

Add buttermilk and cut in with a fork or pastry blender until dough starts to lump together.  It will be roughly the consistency of biscuit or Irish soda bread dough.  At this point, switch to your hands (the best tools, really, aren’t they?) and knead the dough for three minutes or so, until it all comes together and becomes a bit less shaggy.  You can either dump the mixture onto a lightly floured board to knead it, or you can be lazy like me and knead it in the bowl.

At this point, you have a choice.  If you want flat, rectangular crackers like Ry-Krisp or Stone Ground Wheat, roll out your dough into a big thin rectangle (1/8 inch thick or even less, if you can) and cut gridlines along your dough with a pizza cutter.  Create whatever size squares, rectangles, trapezoids, or polyhedrons you desire, then place them close (but not quite touching) together on a baking sheet lined with parchment paper or sprayed with non-stick spray.  Slide them into a preheated 300F oven for 45 minutes.  You’ll end up with crunchy crackers with the slightest bit of give in the center, evenly colored with a dense crumb.  They are a little like miniature flatbreads. 

If you want slightly lighter crisps with a darker “crust” perimeter and a sprightly, Panko-like crunch, there is only one inspiration to which you can look: biscotti.  I liked the flat crackers.  I did.  They were tasty, they were good with the dip, and they were relatively quick: roll, cut, bake, done.  But they weren’t the ephemeral cracker experience I was after.

If you’re going the biscotti route, once the dough is kneaded together well, divide it in thirds.  Instead of rolling it out on a board, roll it into a long, thin “worm” of dough on some plastic wrap.  Press, squeeze, and moosh it into a log of even thickness, using the plastic wrap to help you.  Wrap up securely in the plastic, then pop it into the fridge.  Repeat with the other sections of dough, each in their own piece of plastic wrap.  Refrigerate for at least three hours (my trusty biscotti recipe from which I estimated times and temperatures says you can leave them in the fridge for up to three days). 

When you are ready to bake, take the worm/logs out of the fridge and unwrap.  Leaving them sitting on the open plastic wrap, paint them lightly with buttermilk to encourage browning.  You could probably paint them with egg wash too, but the TJ’s box doesn’t list egg as one of its ingredients… Carefully move the buttermilked logs to a baking sheet, then place in a preheated 325F oven for 30-40 minutes, or until the tops have swelled and are lightly golden.  Let them cool completely. 

You will find when you move your logs that the bottoms are browner than the tops.  I am toying with the idea of slowly rolling these logs as they bake so that each side comes in contact with the metal of the baking sheet for ten minutes or so during the baking.  This might make the finished logs a bit more rectangular (and hence capable of producing square crackers), and it might make each edge evenly brown.  Let me know if you try it out, and I’ll do likewise.

When the logs are cool, carefully cut them into thin slices with a serrated knife.  Some of mine crumbled a bit, especially when there were craisins at the edges of the log, but that just meant more sample scraps.  My ideal would be 1/8 inch thick or even thinner, if you can manage it.  But really, what you want here are crackers of the thickness you want to bite into.

Position your slices on a baking tray in a single layer (it’s fine if they touch each other, as long as they aren’t in layers) and bake in a preheated 300F oven for about 20 minutes.  The edges will bronze a bit deeper, and the centers will flush golden brown.  They won’t feel quite crunchy yet, but take them out anyway: much of the crisping happens as the crackers cool.

In an hour or so, when they are cool and crisp, I recommend you slather them with my almond white bean dip, or maybe a thick slice of rich brie, or some sharp, tangy goat cheese, and consume.  They are deep and toasty in flavor, the nuts and seeds lend appealing texture and different kinds of crunch, and they are just barely sweet from the brown sugar and the craisins.  I like the switch to cranberries as the fruit source, because they pair so nicely with the orange zest in my dip, but also because their uncompromising tartness makes these crackers interesting enough to eat all on their own.  Enjoy!