Haters Gonna Hate Pumpkin Spice Loaf: Now with photos!!

People have such vitriolic responses to the phrase “it’s pumpkin spice season” that by this point some of you have already stopped reading. I’ve heard a few interesting theories about why this is, including the idea publicized by a student at Swarthmore College a few years ago that since the drink that popularized this craze is popular among women, hating on it is another subtle way we’ve internalized sexism: pumpkin spice lattes are a girly thing, so just like other girly trends it must be devalued. Vox and various others picked up on this idea, also evaluating the pumpkin spice connection to capitalism, class, and being “basic.”

But I tend to sympathize more with the point made near the end of the article, and which I’ve seen in a few other places, which is simply: there’s enough trauma and horror and viciousness going on in that weird world we inhabit, so let’s let people find harmless joy where they can. And further, let’s face it: by and large, the mixture of warm autumnal spices that we mean when we say “pumpkin spice” are, even if you don’t want them in your coffee, frankly delicious.

So I’m on board the pumpkin spice train, and although I’m not terrifically enthused about them being swirled through my latte, a liberal dosing in pies, cookies, cakes, muffins, or breads of almost any kind is a-okay by me. And since my Trader Joe’s had a big end cap display of their pumpkin butter this week and Los Angeles is STILL resisting its usual September heat wave tendencies, I decided to take advantage of the season my calendar reports we’ve just fallen into (get it? get it?) and bake up a yeasted loaf infused with all those spices pumpkin benefits from.

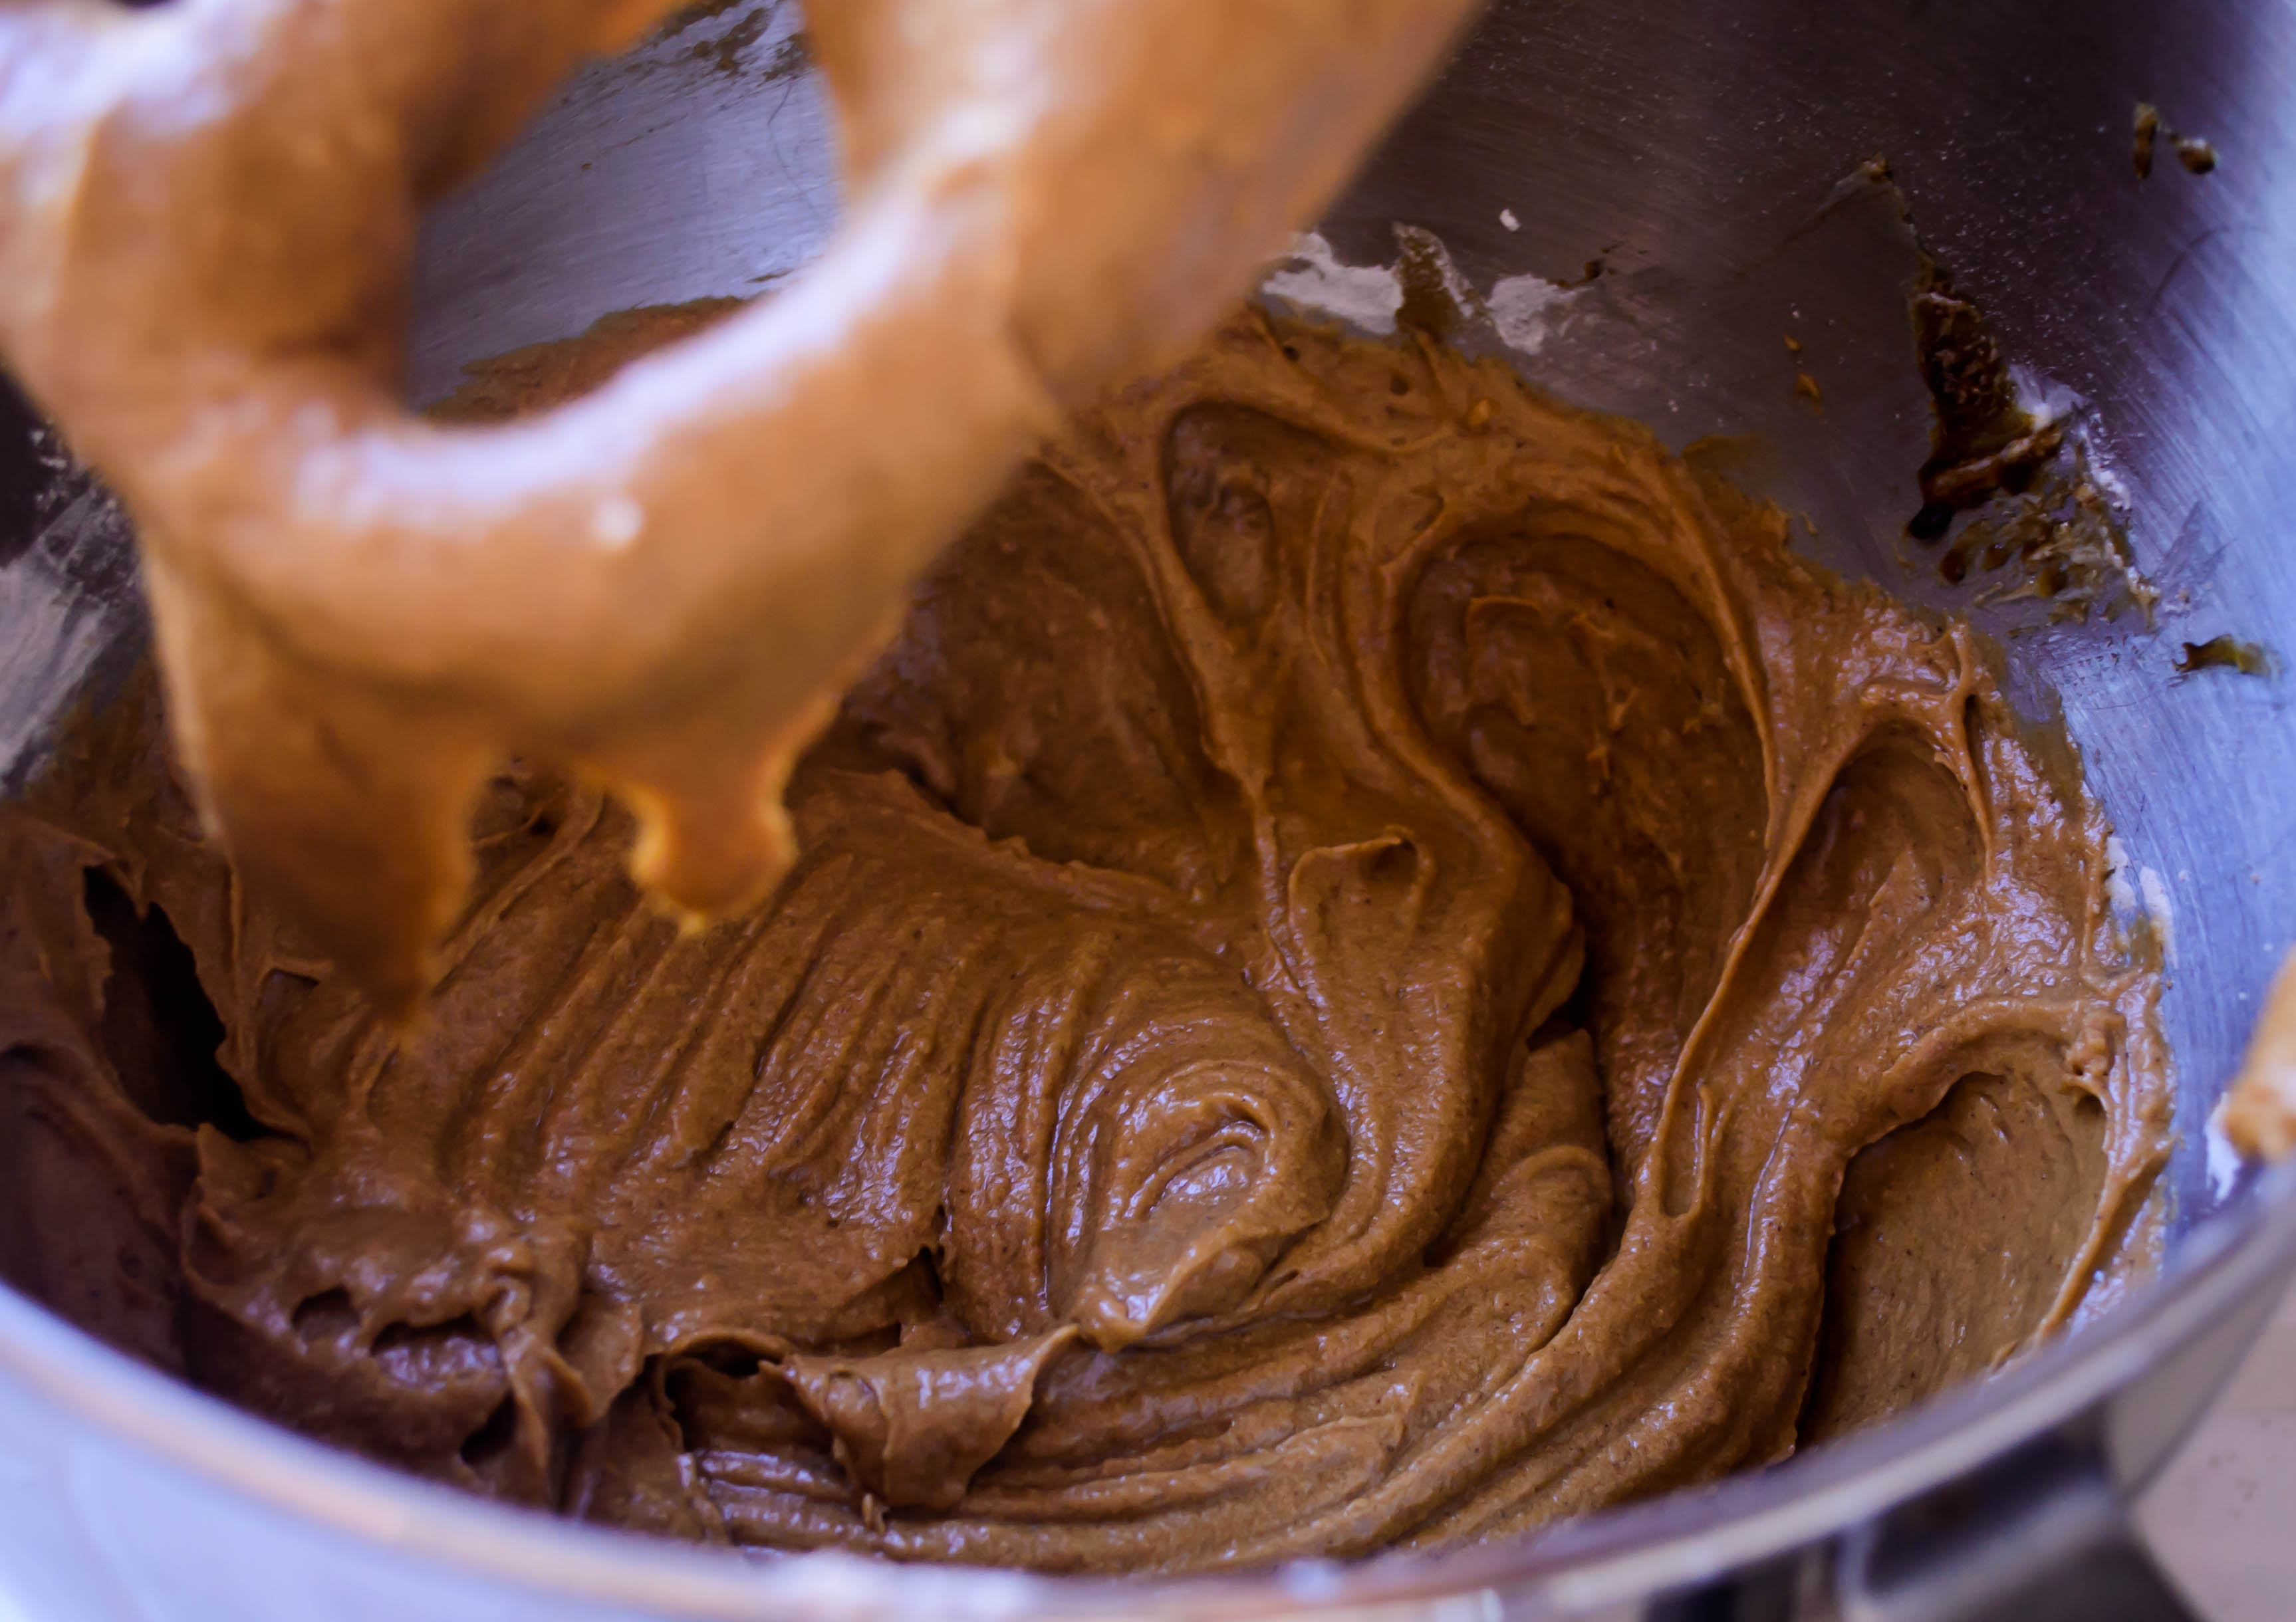
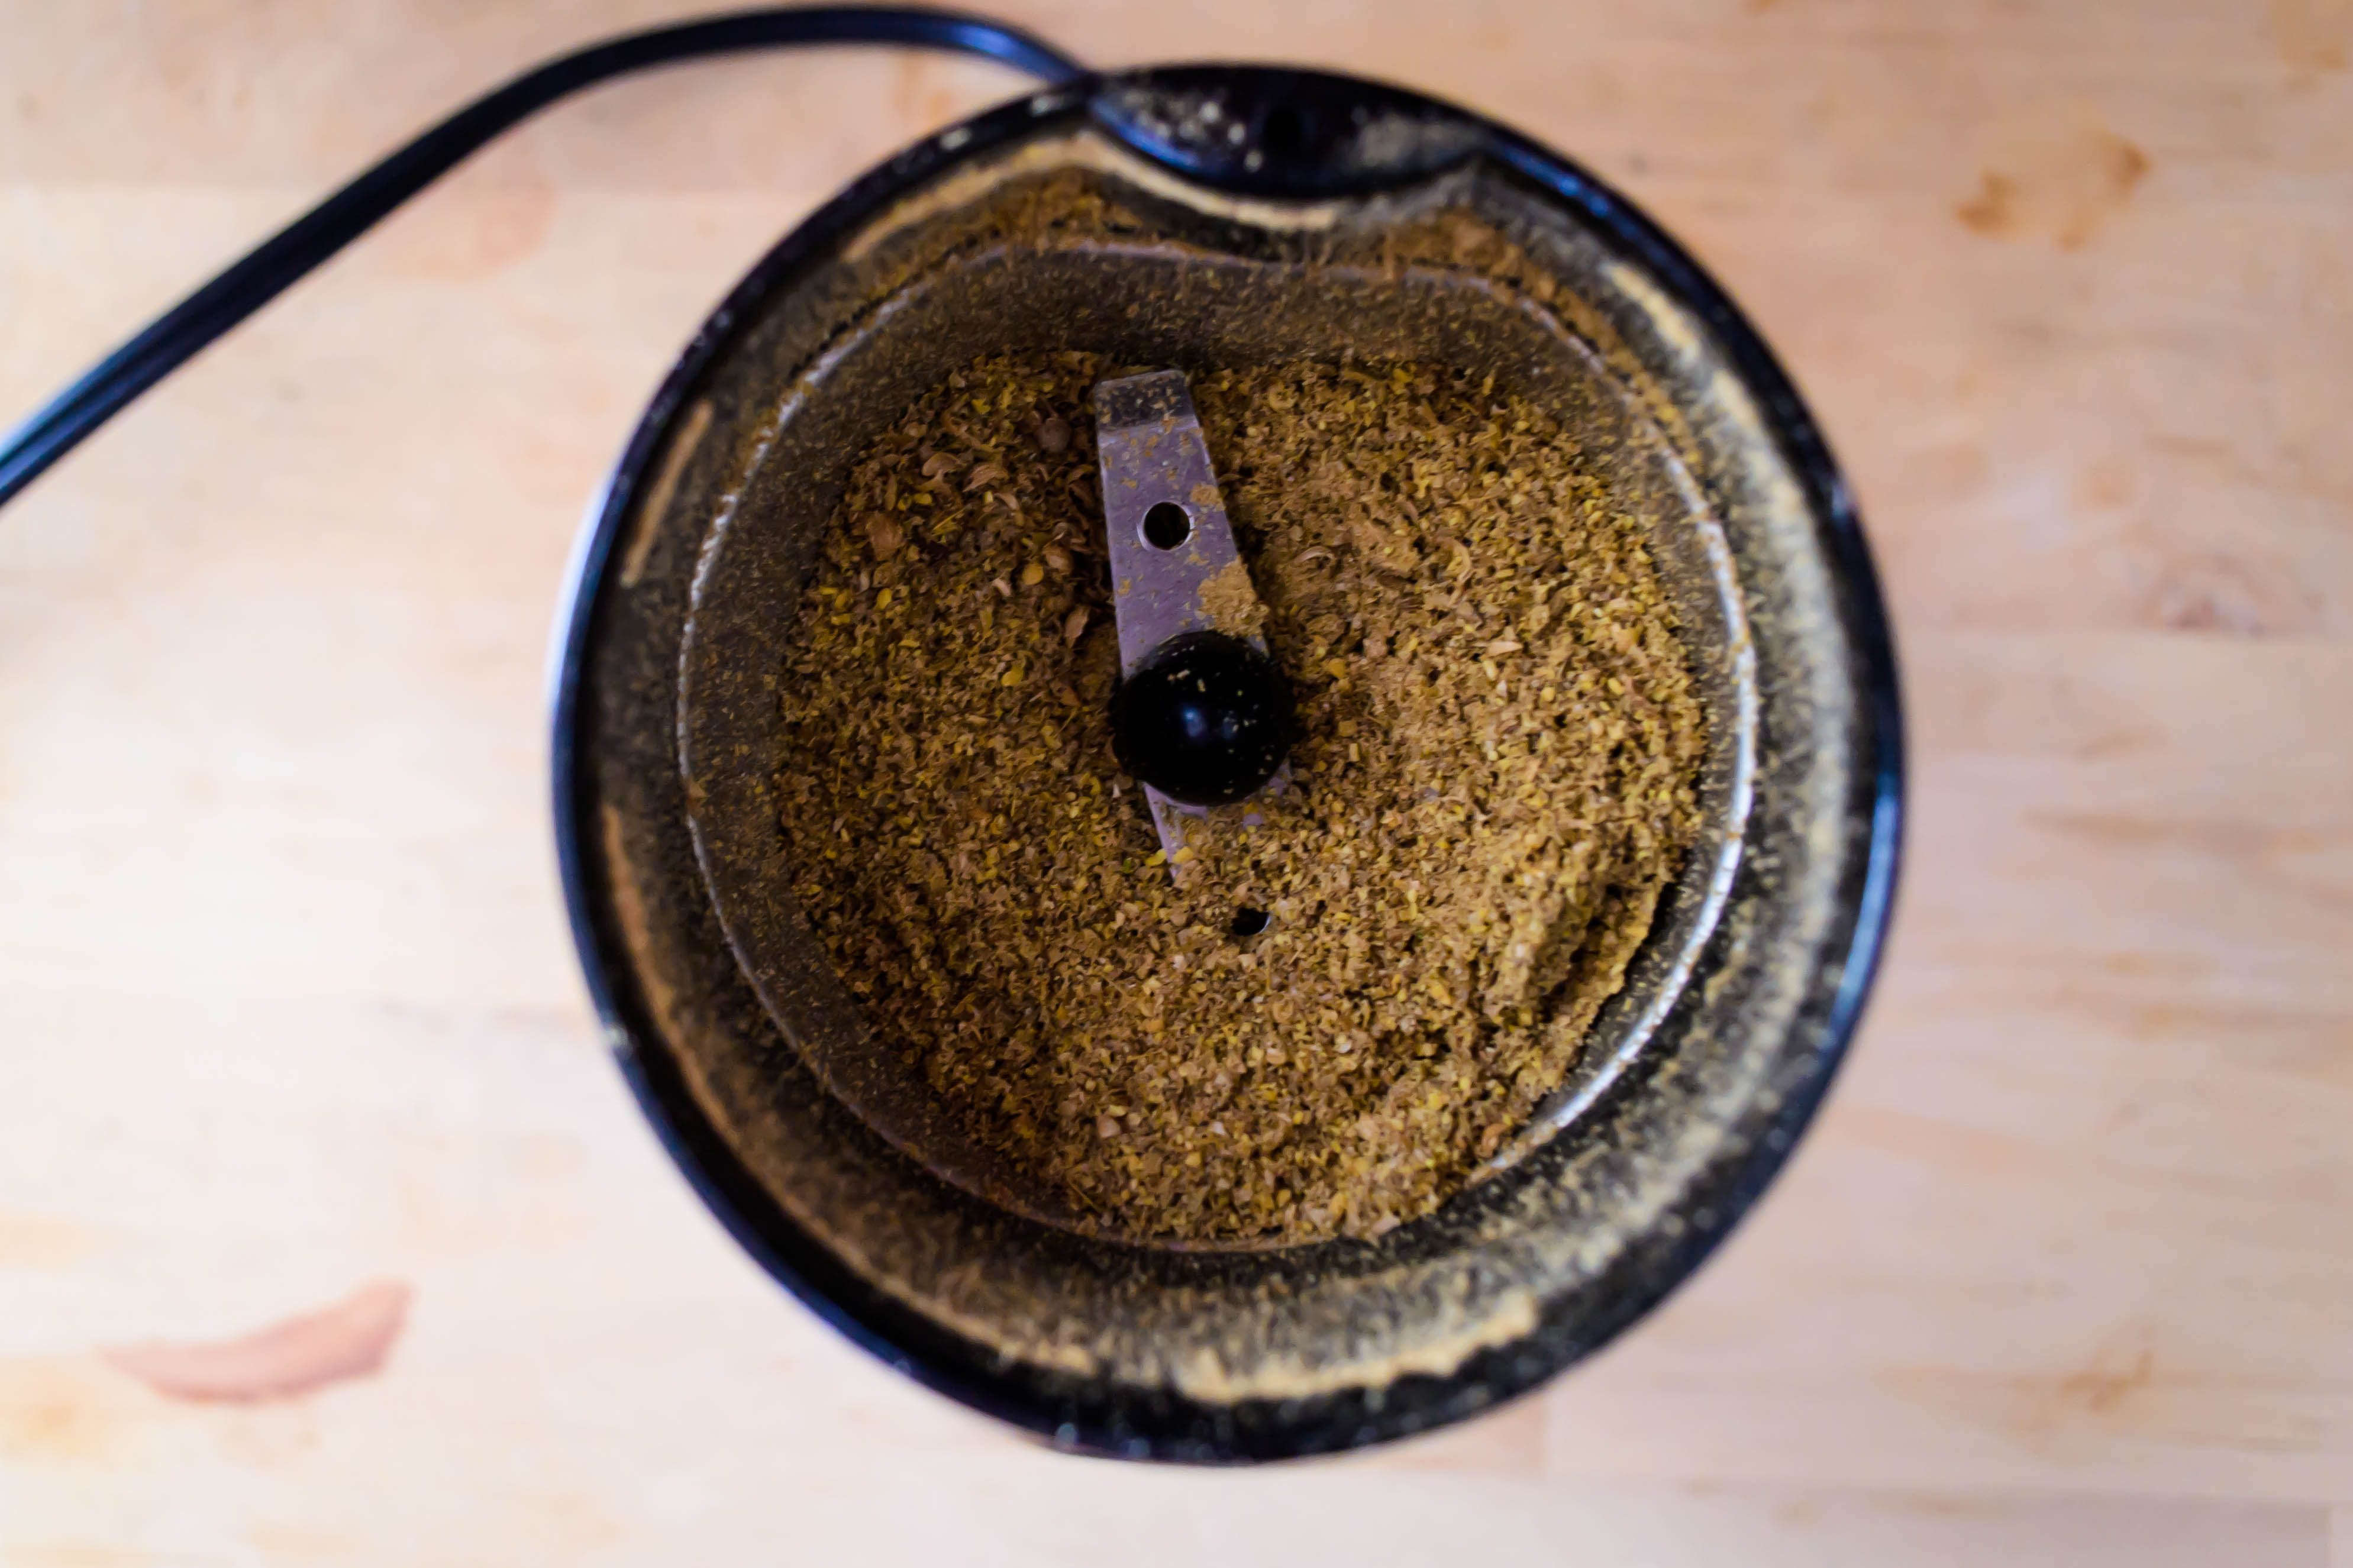
My loaf started with an old favorite I haven’t worked with in a while: my Nana’s sweet dough. It’s a firm but soft product, elastic and pliable, and though in this incarnation it’s fairly sticky from all the wet ingredients, it just sighs when you roll it out in such a lovely way. I added a full cup of pumpkin puree to Nana’s original recipe, plus the requisite cinnamon and nutmeg the pumpkin spicing requires. You could use ginger and cloves as well, but this time around I decided to complete the trifecta with cardamom; its slightly citrusy brightness feels right for “fall” in Southern California.

To get that luscious, deep, spicy sweetness of the pumpkin butter into my creation, I decided to do a swirl in the center of my loaf: once risen, I rolled out the dough into a large rectangle, smeared it with butter, added a glossy layer of the deep orange spread, and on a whim, zested on some orange rind for additional lift.

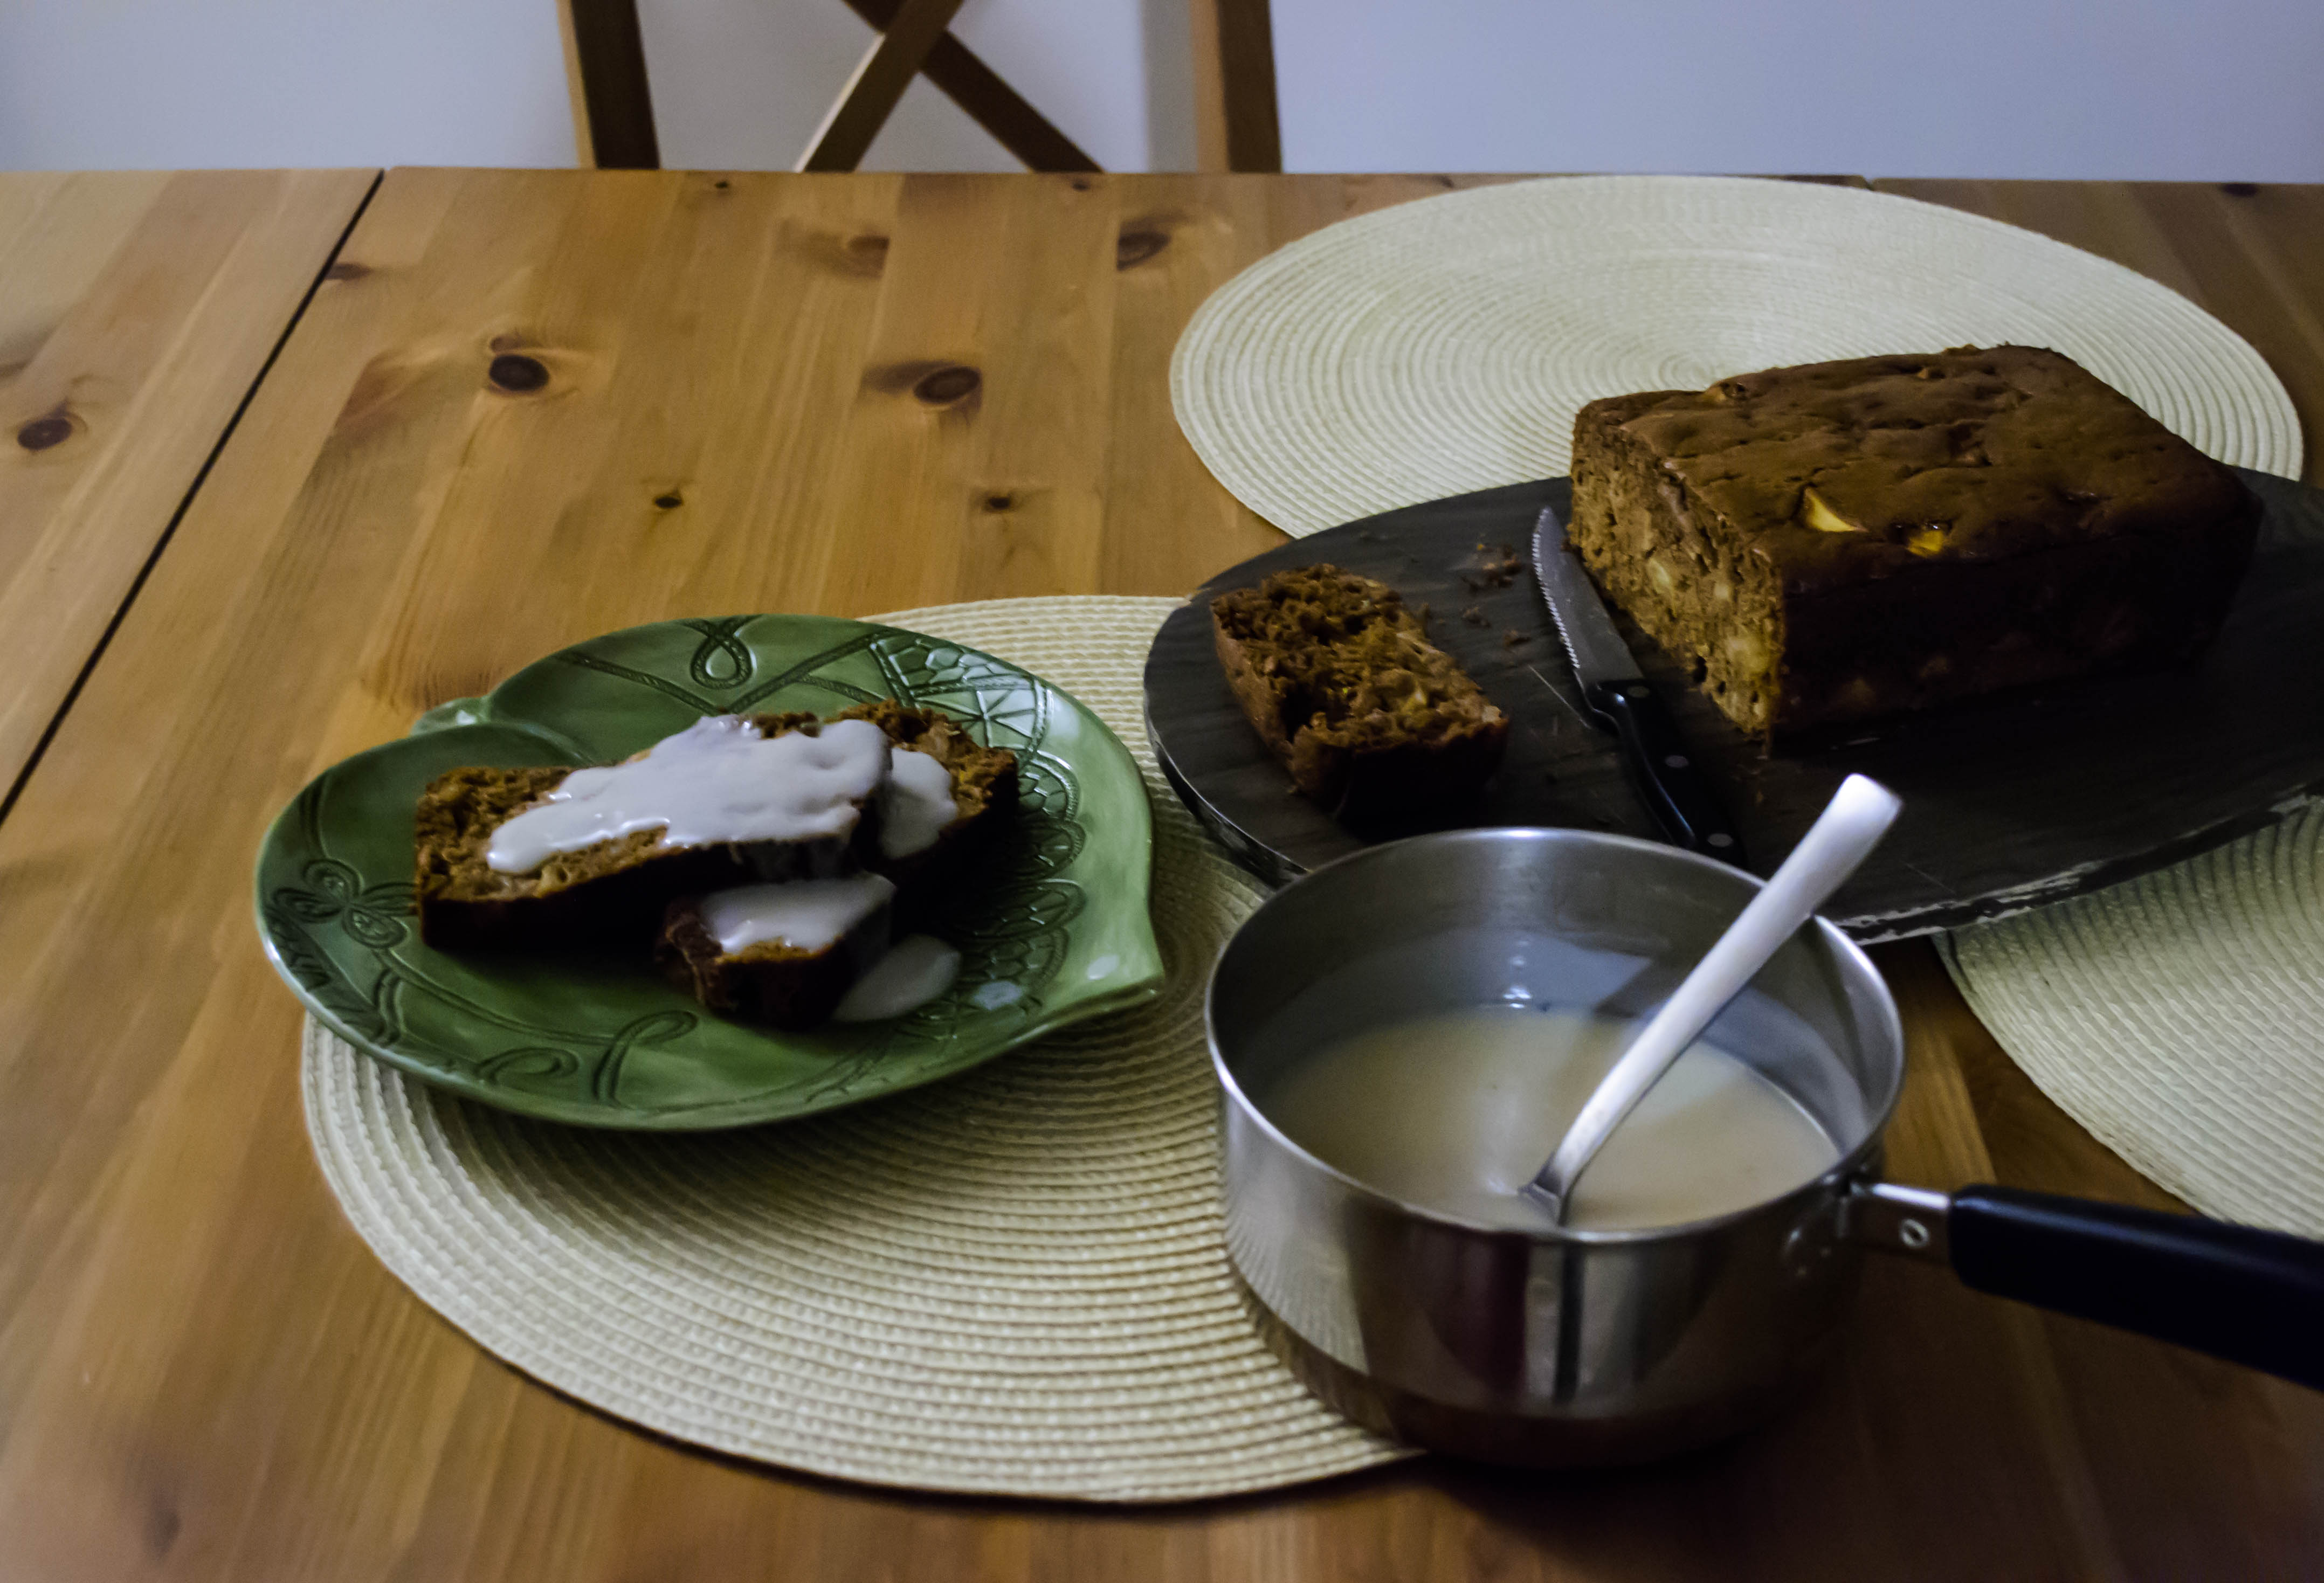
This is a monstrous loaf. I bake so often with only sourdough anymore that I forget how high and how certainly active dry yeast rises. Even though it climbed in both its first and second rise, the oven spring as the loaf actually baked was incredible; I couldn’t believe it was holding its shape as it pillowed, hugely, almost like a gigantic Yorkshire pudding, above the loaf pan, and was disappointed but not surprised when it deflated a bit as it cooled; a huge air pocket between the bulk of the loaf and the mountaineering dome was the source of much of its swollen majesty.

Never mind that aesthetic imperfection, though; the loaf itself was a delight. Not too sweet, it boasts a pillowy, soft-but-chewy texture that reminds me of my mom’s challah, but with a subtle pumpkin flavor pushed along by the warm spices, and a just-toothsome crust for a pleasant contrast. The pumpkin butter slathered into the center is sweet and rich, but there’s only a bit of it swirled through the while thing, making the addition of jam or preserves extraneous: it’s baked right in. To me, that means you can eat this at any time of day, just like its latte-based inspiration. Haters gonna hate, it’s true, but that just means another slice for you.

Pumpkin Spice Loaf
Makes 1 very large loaf
About 4 hours
Dough:
2 teaspoons active dry yeast
pinch sugar
½ cup warm whole milk
1 egg
¼ cup softened butter
1 cup pumpkin puree
1 teaspoon vanilla
¼ cup brown sugar
1 teaspoon cinnamon
1 teaspoon cardamom
½ teaspoon nutmeg
1 teaspoon salt
2-3 cups bread flour
Filling:
¼ cup softened butter
¼ – ½ cup pumpkin butter spread
zest from 1 orange


  • Stir the yeast into the warm milk with the pinch of sugar and let it sit for 5-10 minutes to allow the yeast to wake up.  It will begin to get bubbly and smell warm and bready.
  • While you wait for the yeast, add the ¼ cup softened butter, the pumpkin puree, the egg, and the vanilla into the bowl of a stand mixer (or into a large mixing bowl). Mix with the paddle attachment to combine.
  • Add the yeast and milk mixture to the combined wet ingredients and mix them together briefly using the paddle attachment (if you are not using a stand mixer, an electric handheld or some elbow grease and a whisk will do nicely here).
  • Add the brown sugar, spices, salt, and 2 cups of flour.  Using the paddle attachment (or a sturdy wooden spoon if you aren’t a stand mixer sort of person), mix just until the flour is moistened and you have created a lumpy dough. Let it sit for about 20 minutes to begin hydrating the flour.
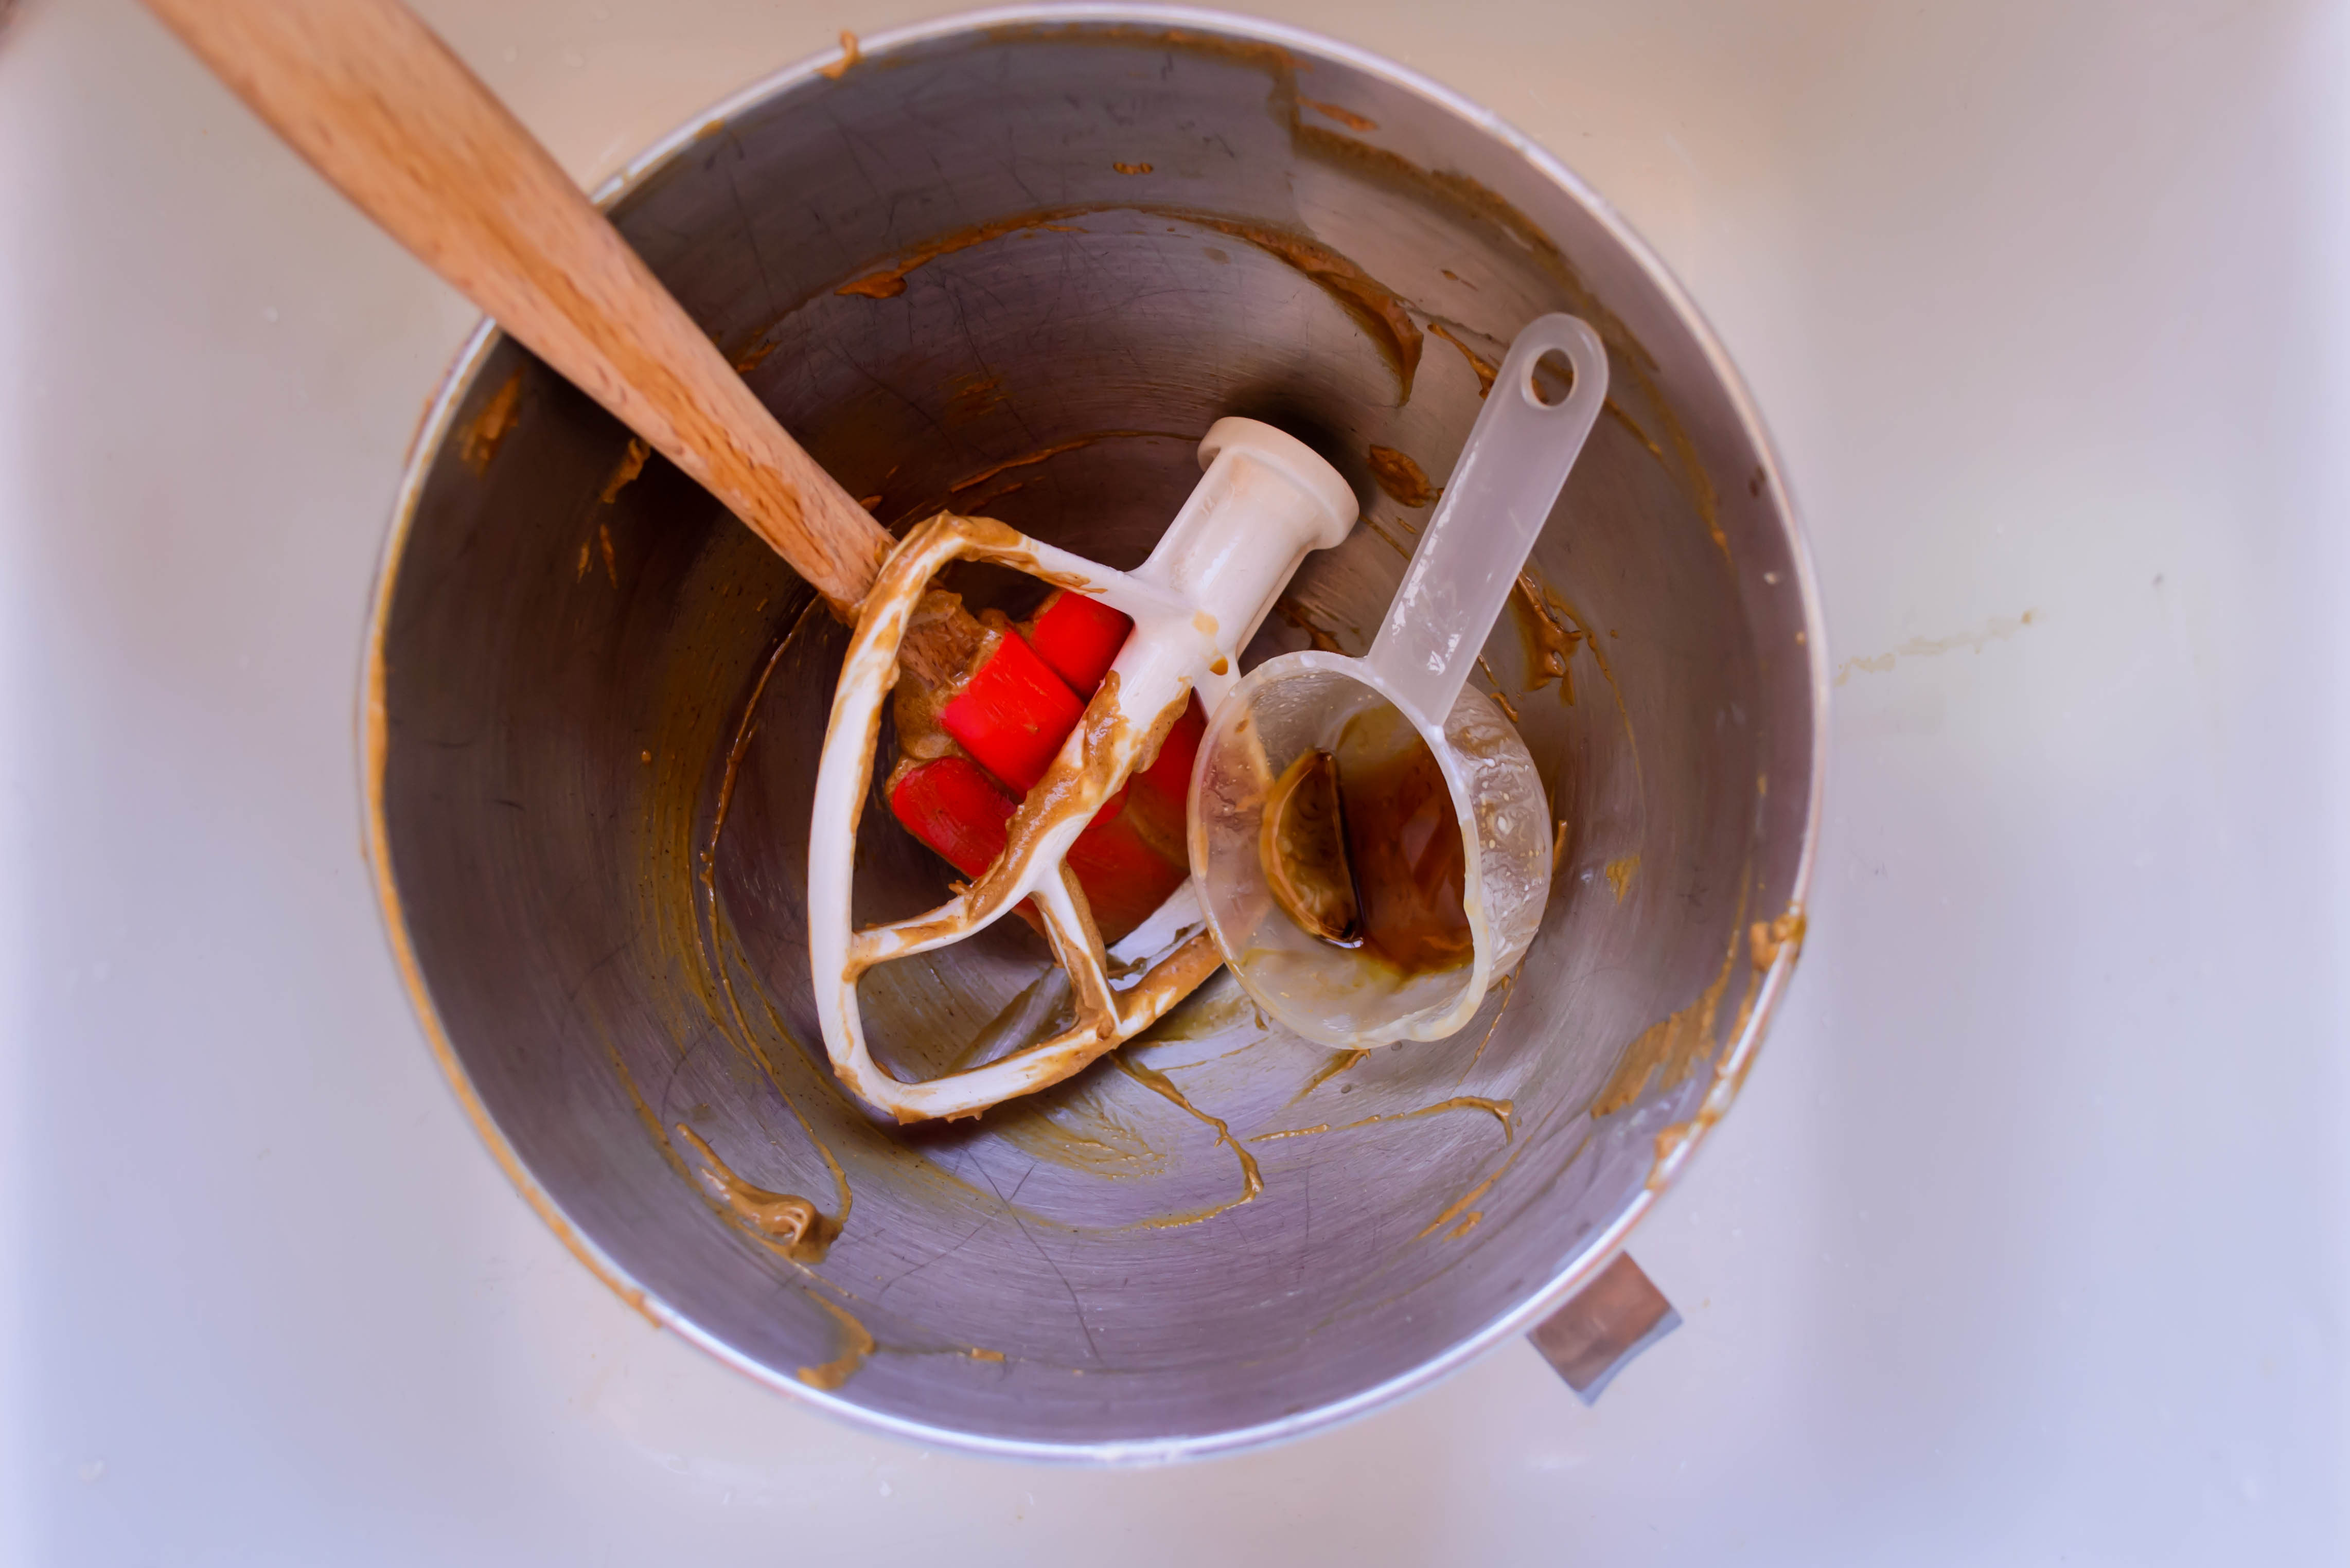
  • After the dough rests for 20 minutes, switch to the dough hook (or turn your dough out onto a well floured board) and knead for 5-8 minutes in the mixer, or 10-12 minutes by hand. The dough will be very sticky at first – we’ve added a lot of fat and a lot of moisture.  Don’t despair. Add more flour a ¼ cup at a time just until the dough cooperates (up to 3 cups of flour, though depending on the relative humidity of the day, you might not need that much).  It will still be a bit sticky, but it will become more elastic and supple and much easier to work with.
  • When your dough is smooth and stretchy and a bit springy, plop it into a greased or oiled bowl, cover it with plastic wrap, and set it aside in a warm place to rise until doubled, around 90 minutes.
  • Once doubled, punch down the dough to release trapped gas by gently deflating it with your fist. Turn it out onto a floured board and roll it into a rectangle of about 12×24 inches.
  • Smear the second ¼ cup of softened butter over the surface of the rolled out dough. Add the pumpkin butter and spread this atop the butter, leaving a half inch border at one of the long ends. Sprinkle on the orange zest, if using.
  • Begin to roll up the dough from the long side opposite the edge on which you left a border. Start with the middle and move out to the sides, as you would for a jelly roll.  Continue rolling until all the filling is enclosed, and then fold up the remaining, bare edge and pinch it firmly against the roll to create a seam.
  • Twist your log of dough a few times by gripping it and rotating your hands in opposite directions. This will ensure that a pretty swirl of filling is formed as it bakes. Fold the thinner ends underneath the fat middle and settle the whole thing into a buttered or greased loaf pan. Cover it lightly with greased plastic wrap and set it aside to rise again for 30-45 minutes minutes. Meanwhile, preheat the oven to 350F.
  • At the end of the second rise, remove the plastic wrap form the loaf and bake it for 35-40 minutes, until the bottom sounds hollow when thumped or the internal temperature is between 180-200F (the thump test is the standard way of checking for doneness on bread, but it seems sort of impossible when you are baking a big loaf in a loaf pan. I prefer to take its temperature).
  • When it tests done, using whatever is your favorite method, remove it from the oven and let it cool for at least twenty minutes in the pan.  This will allow the structure to firm up so it slices nicely, rather than collapsing and squashing into itself when you so much as approach it with a serrated knife.
  • Slice and consume. I don’t think it needs a thing to accessorize it, but especially on the second or third day, a sweep of unsalted butter or a smear of cream cheese probably wouldn’t hurt anything…

Simple Spiced Rice

What, you were expecting Italian or French food?

As I know I’ve noted before, when we come home from any kind of vacation, even though I’m often flooded with food inspiration, we tend to start out with simple dishes; it takes a week or so to reorient myself to the kitchen and be prepared to let those inspired ideas actualize. Besides, at least for this vacation, there have been so many photos to edit I haven’t had much time for the kitchen…

So this time around, I was making a simple pot of rice as a side. But you know me: I can’t just make a plain pot of white rice. So as I put the water on to boil, I added a couple of bay leaves. Then after a minute or two, I plopped in some peppercorns as well. And as we were eating the perfumed grains, lightly warmed by the peppercorns, I thought some cracked cardamom pods would make a nice addition.

There you are, then. Simple spiced rice. The bay and cardamom are quite subtle (enhanced by an overnight stay in the fridge, if you’re looking for do-ahead), and the peppercorns add warmth that is not quite spicy. It’s simple, but it’s a really nice upgrade for a pot of rice you might, say, serve with tandoori chicken or kebabs or saag paneer, as we did.

The only downside, as N. would hasten to tell you, given the chance, is that there are an awful lot of whole peppercorns in the scoop you level onto your plate, and crunching one of those between your teeth is exciting, but not necessarily in that pleasurable way. You miiiiiight want to spend a minute or two in extraction duty before you start your meal.

Simple Spiced Rice
About 20 minutes
Serves 4-6
3 cups cold water
1 tablespoon whole black peppercorns
1 bay leaves
4-6 green cardamom pods, lightly cracked
1½ cups long-grain white rice, such as basmati
optional: salt to taste, and a pat of butter to serve


  • Pour the water into a medium pot, then add the peppercorns, bay leaves, and cardamom pods. Put the lid onto the pot and bring the water to a boil.
  • When the water reaches a rolling boil, add the rice, stir to break up any clumps that form and to distribute the spices, then lower the heat until the water is just simmering.
  • Simmer over low or medium-low heat until the water is absorbed and the rice grains are just soft in the middle, around 15 minutes. At some point during the simmer, the water will likely threaten to boil over. Just take the lid off, stir gently, and replace the lid again.
  • Serve hot, with a sprinkle of salt and/or a pat of butter if desired.


Apple-ginger-bread with nutmeg “hard” sauce for #Twelve Loaves October

Food Blog October 2014-0722As soon as I saw that the October assignment for Twelve Loaves was apples, I thought of cinnamon. But then my contrary side took over. Apples and cinnamon is such a natural pairing, it’s practically expected. Why not give someone else a chance? Why not ginger? The searing spiciness of ginger against the cool sweetness of apples sounded like a worthy combination, and I was off and running with not just an answer to the Twelve Loaves assignment, but for my long postponed sauce project as well.

Food Blog October 2014-0735My mom has, on and off since I was little, made a holiday dessert of gingerbread and a warm, well-spiced, rum-spiked sauce. The gingerbread is a homely 9×9 layer, cut into unremarkable uniform squares. The sauce, almost still bubbling, gets spooned over the top, and a swirl of whipped cream inevitably slides right off the square of cake onto the plate beside it, already losing its fluff from the heat of the sauce. I love it.

Food Blog October 2014-0702But like so many desserts, Mom’s gingerbread with nutmeg sauce belongs to the winter. We only ever have it around Christmas and New Year’s. There’s something about its flavors that requires chill in the air. Contrary once again, I decided to see what could be done about that.

Food Blog October 2014-0705Food Blog October 2014-0706We call it a bread, but gingerbread is truly a dark, moist cake. It’s redolent with spices and sticky-sweet from large doses of molasses. Its crumbs cling wetly together and, though not particularly dense, it feels rich and heavy.

Food Blog October 2014-0700I poked around and shifted things a bit, landing on a slight adaptation of Laurie Colwin’s gingerbread recipe in her lovely little book Home Cooking. First of all, if I was going to pass this off as a bread, it needed to be in a loaf pan. This is suitable for dessert, of course, but it should also be acceptable as an afternoon snack. For freshness (and to meet the terms of the challenge, of course), I added the diced chunks of two apples. Two eggs and some buttermilk lighten things up. And finally, because I can’t leave well enough alone, to the already tremendous tablespoon of ground ginger I was prepared to include, I insisted on a palmful of finely chopped crystallized ginger as well.

Food Blog October 2014-0712Food Blog October 2014-0714Food Blog October 2014-0715Now, this bread on its own is a marvelous thing. The apples and the ginger are good playmates, and the spiciness of the bread elicits a harvest feel. With a cup of tea or a mug of apple cider, this bread is perfect.

Food Blog October 2014-0732But sometimes you want more than perfect. Enter Nutmeg Sauce: a silky, buttery, creamy spill dotted with grains of freshly grated nutmeg and discolored in the most wonderful way by a generous dose of dark rum. When I first nabbed this recipe from my mom, I thought this was another classic. Due to its inclusion of alcohol, I’d always thought it was a “hard sauce.” This name, however, comes not from the inebriating potential of the concoction, but the texture: a hard sauce is, well, hard. It’s a solid, buttery spread intended to be served in a cold, spoonable dollop. Nutmeg sauce, on the other hand, is served hot (it’s good cold as well, though it does get a bit clumpy). It is thickened to a pourable velvet with cornstarch, and it is the ideal addition to an already-perfect slice of gingerbread.

Food Blog October 2014-0734Food Blog October 2014-0740Here, though I was determined to serve them together, I must admit: the bread was good. The sauce was good. Together, they were friendly but not in love (still, I wouldn’t say no to yet another generously garnished slice). But I think I know how they could become so. Despite my most contrary, resistant feelings, I think replacing the nutmeg in the sauce with cinnamon, for the sake of the apples, would be the perfect pairing. Sometimes you just shouldn’t fight the classics.

Food Blog October 2014-0736

Apple-ginger-bread
Adapted from Laurie Colwin
Makes one 9×5 inch loaf
1 ½ cups flour
½ teaspoon salt
½ teaspoon baking soda
1 tablespoon ground ginger
1 teaspoon ground cinnamon
¼ teaspoon ground nutmeg
¼ teaspoon ground cloves
½ cup (8 tablespoons or 1 stick) unsalted butter, at room temperature
½ cup brown sugar
2 eggs
2 teaspoons vanilla
scant ½ cup molasses
½ cup buttermilk
2 sweet (rather than tart) apples, peeled, quartered, cored, and diced
2 tablespoons finely minced crystallized or candied ginger


  • Preheat the oven to 325F and lightly grease a 9×5 inch loaf pan.
  • In a medium bowl, whisk together the flour, the salt, and the ground spices.
  • In a large bowl (I used the bowl of my stand mixer), cream together the butter and sugar on medium speed until a light, fluffy mixture forms. Add the eggs, one at a time, mixing to combine after each. Add the vanilla and the molasses and mix well, scraping down the sides and bottom of the bowl to ensure complete integration.
  • Add about ⅓ of the flour mixture and beat to combine, then add half the buttermilk. Repeat with another ⅓ of the flour mixture, then the other half of the buttermilk, and finally the last ⅓ of the flour mixture, mixing until the batter is homogenous each time.
  • Finally, add the apples and the minced crystallized ginger and mix on low speed until just incorporated. Scrape and pour the mixture into the prepared loaf pan, and bake at 325 until a toothpick or cake tester inserted through the center emerges with only one or two damp crumbs; 70-80 minutes.
  • For the sake of structural integrity, let cool in the loaf pan for at least 30 minutes, then transfer to a wire rack and cool completely. Serve with or without nutmeg sauce.


Nutmeg “hard” sauce
Makes about 1 cup
½ cup sugar
1 tablespoon cornstarch
½ teaspoon freshly grated nutmeg (or try it with cinnamon to marry with the apples, and tell me all about it)
¼ cup butter
2 tablespoons dark rum (or 2 teaspoons vanilla)
1 cup whole milk


  • Pour the sugar, cornstarch, and nutmeg into a small pan. Set the pan over medium heat, and with a whisk, stir in the milk and the butter.
  • Cook over medium, whisking slowly but consistently, until a sluggish boil is reached. Continue whisking for another 3-4 minutes, or until the sauce thickens slightly to a texture like barely melted ice cream.
  • Remove from heat and add rum (or vanilla); serve hot.

Stir fried green beans with coconut (green bean poriyal)

Things are getting busy around here. I’m coursing toward midterms, which means piles upon piles of grading, as the students need to know where they stand at the halfway mark. Spring break approaches, and papers must be returned, research topics and methods must be interrogated, and evaluation work must be completed. There’s little time for a mellow afternoon at home, punctuated by soft cheese oozed onto crackers at an impromptu happy hour, rather than the locomotive “just-one-more, just-one-more” echoing in my head as I face thirty-five opinions about whether Beowulf’s choice to take on a dragon single-handed was admirable or foolhardy.*

Food Blog January 2014-3049So I’m thinking back to my winter break, when I cracked the spines of two new cookbooks (does that make you cringe? It makes N. just ache inside, but dammit, I want them to lie flat!) to devour their offerings. One, Yotam Ottolenghi’s Jerusalem, has convinced me our refrigerator should never be devoid of homemade hummus again. The other, Suvir Saran and Stephanie Lyness’s Indian Home Cooking, is a beautiful and fairly accessible interpretation of some classic and some entirely original Indian and Indian-inspired dishes that leave me alternately drooling and scribbling feverish grocery lists to take to my nearest Indian market.

Food Blog January 2014-3037In the vegetable section, Saran and Lyness take on green beans in several ways, almost always doctoring them with chilies and deeply toasted spices. In one, the addition of coconut stopped me in my proverbial tracks. In fact, I’ve now made this recipe three times, as though it’s not possible to turn the page anymore because this one was just too good.

Food Blog January 2014-3039Despite this overwhelmingly positive review, I had my qualms when I first approached the recipe. This dish is called a poriyal in the Tamil language, and as I understand it, this means a stir fry or sauté of vegetables. This one happens to have coconut, split peas, urad dal (black gram beans) and numerous warm, earthy spices along with some dried chilies competing together in a beguilingly spicy umami flavor bath. But the original directions in the recipe call for sautéing the beans for five minutes, then simmering them for ten, and then evaporating the water and stir-frying again for another five – twenty minutes of cook time for green beans! I was horrified by the potential for overcooked, mushy limpness.

Food Blog January 2014-3043But I tried, I really did, to follow the directions, at least as much as I could stand it. I shortened up the cooking time for the green beans a tiny bit, but otherwise left the procedure essentially the same. To my surprise, I ended up with meltingly tender, sublimely flavored beans, with none of the unappealing mushiness I’d feared. They give up any sort of dental resistance, yes, but this is ultimately not a bad thing. The toasty split peas and chewy, deeply bronzed coconut provide sufficient texture, and the beans just give a kind of unctuous, vegetal goodness.

Food Blog January 2014-3045Still, though, there’s something about green beans sautéed until just crisp-tender, and so I revisited the recipe, this time adding the beans later, simmering them a shorter time, and ending up with a just-toasted, still fresh pile of vegetables I couldn’t help but demolish. Though the ingredient list is the same, I’m giving you both sets of procedures, so you can choose how you like your beans. However you want them, though, meltingly tender or still a bit crisp, this combination is worth stopping over.

Food Blog January 2014-3074

* Not really. My students have written on a number of intriguing topics, this only one among them. But sometimes, when I look at my “to be graded” tray, it feels that way.

Food Blog January 2014-3077

Stir Fried Green Beans with Coconut
(Slightly adapted from Indian Home Cooking)
3 tablespoons neutral flavored oil, like canola or vegetable
2 tablespoons split peas (the recipe calls for yellow, but I used green because that was what I had. Both will work fine – you are toasting them thoroughly to provide crunch)
1 tablespoon black mustard seeds (here, though, don’t use yellow instead. The taste is quite different)
1 teaspoon hulled black gram beans (also called urad dal; optional – they are there for the crunch factor, like the split peas)
3 small whole dried red chilies
1 teaspoon cumin seeds
½ cup unsweetened shredded coconut, divided
¾ pound green beans, ends trimmed, cut on a bias into 1-2 inch pieces
1 teaspoon salt, or to taste (I found I liked a bit less)
1 cup water, for meltingly tender beans, or ½ cup water, for crisp-tender beans


For meltingly tender green beans:

  • Add the oil, split peas, and mustard seeds in a large skillet or wok with a lid over medium-high heat. The mustard seeds will pop and splatter, so clap a lid on quickly. Cook, stirring, until the peas turn golden-brown and the mustard seeds begin to crackle, 1-2 minutes.
  • Add the black gram beans, if using, the chilies, and the cumin and cook uncovered, stirring, for one more minute, until the chilies are well oiled and the cumin seeds smell fragrant.
  • Add ¼ cup of the coconut and cook, stirring, 30 seconds. Add the beans and salt and cook, stirring occasionally, for five minutes.
  • Add the remaining ¼ cup coconut and the water. Bring to a simmer, cover, and cook until the beans are tender, about 10 minutes (I tried, I really did, but the best I could manage was five minutes before I got worried about limpness, and the beans were still plenty tender).
  • Uncover and cook, stirring often, until all of the water has evaporated, about five more minutes. Taste for salt and serve piping hot.


For crisp-tender green beans:

  • Add the oil, split peas, and mustard seeds in a large skillet or wok with a lid over medium-high heat. The mustard seeds will pop and splatter, so clap a lid on quickly. Cook, stirring, until the peas turn golden-brown and the mustard seeds begin to crackle, 1-2 minutes.
  • Add the black gram beans, if using, the chilies, and the cumin and cook uncovered, stirring, for one more minute, until the chilies are well oiled and the cumin seeds smell fragrant.
  • Add ¼ cup of the coconut and cook, stirring, 30 seconds. Add ½ cup water, salt, beans, and remaining ¼ cup coconut. Immediately clap on the lid and leave it for at least two minutes, or until the splattering stops.
  • Uncover and cook, stirring often, until the water has evaporated and the beans are barely tender and have had a chance to toast a bit – this should take five more minutes at most. Taste for salt and serve piping hot.

Smoky Summer Spice Rub

Let’s talk about your spice cabinet.  No?  Okay, then let’s talk about mine.  I really started cooking when I moved to Oregon, and that first Christmas, coming back home to Northern California after three months of what seemed like non-stop rain, the gift I wanted more than anything else was a spice rack.  This, I was sure, would be the essential catalyst in my longed-for transition from college-graduate-experimental-cook to full-scale domestic goddess.  Mom and I went to kitchen store after kitchen store, looking for the right one.  It needed to hang, so it couldn’t be too big.  It had to have a fair number of bottles, but I wanted them empty, not filled, because I wanted to choose my own spices.  We finally found it in Cost Plus World Market, which was convenient, because it was immediately adjacent to their spice selection.  We picked out ten or twelve of the usual suspects, and then Mom said “okay, now turn around while I put it in the cart, and forget what you saw here,” which has, since the days of Santa Claus, always been our funny way of buying presents for each other in full view of the giftee.

Food Blog June 2013-1526This little spice rack worked fine, and hung proudly from a nail above my stove, until my spice requirements exceeded the twelve little bottles the shelves would hold.  Suddenly whole AND ground cumin were necessary.  Tumeric and cayenne and cream of tartar and even the dreaded pre-mixed pumpkin pie spice found their way into my kitchen and demanded homes.

So I’ve ended up with something I am going to guess looks familiar to many of you:

Food Blog June 2013-1529This is not a good system.  There, I said it.  It’s just not!  It holds the whole collection nicely, but it’s dark back there, and things fall over, and sometimes I don’t feel like digging around to see if I have any poultry seasoning, and then it’s Thanksgiving and I’m in a dark, cranky place and I think “screw this noise!” and buy a new bottle.  So then I have four.   What I really need, what I covet and dream about, is something like Aarti’s magnetic spice wall.

In the absence of space or motivation to build something that fancy, though, I stick with my system.  Every once in a while, I summon the courage and the patience to investigate the dark reaches of the cabinet, to get a sense of what’s in there, what needs replacing, and what deserves a space in my weekly menu.  The early days of summer are a good time to do this, because they offer a prime opportunity to make a smoky, spicy, aromatic rub for grilling.

Food Blog June 2013-1532Food Blog June 2013-1534I started with a recipe from Fine Cooking originally designed for beer can chicken, and then I tweaked and adjusted and adapted for what was, as you might have guessed, in my spice collection.  It’s got cumin, it’s got crushed red pepper, it’s loaded with garlic powder and mustard seeds and sea salt and just a hint of ginger for an intriguing and different kind of heat.

Food Blog June 2013-1535This is a tasty rub for grilled meat, obviously (we like it for chicken, patted on before a liberal slather of equal parts Dijon mustard and apricot jam), but I think it would also be great on slabs of pressed tofu, or buttered corn, or potato wedges (you make your steak fries on the grill in the summer, right?).  And if you were really feeling adventurous, you might even add some to a light, lemony vinaigrette to carry the flavors through your side salad.

Food Blog June 2013-1540This recipe makes enough for several applications, which means you’ll have enough to last part of the summer.  It keeps well in a sealed zip top bag.  And in between grilling, you can just store it… in… your spice cabinet.  Oh.  Well, just jam it in at the front, for easy access.  Maybe it will help you forget the mess nightmare treasure trove behind it.  Plus, it’s got so many tasty flavors in it, you surely won’t need anything else for the rest of the summer, right?  Right.

Food Blog June 2013-1542Happy grilling!


Smoky Spice Rub
Adapted from Fine Cooking Magazine
Makes about ¼ cup
2 tsp cumin seeds
1 tsp mustard seeds
1 tsp coriander seeds
1 TB coarse sea salt
2 tsp garlic powder
1 tsp crushed red pepper flakes
1 tsp freshly ground black pepper
½ tsp ground ginger


  • If you are feeling especially ambitious, toast your cumin, coriander, and mustard seeds in a small, dry pan over medium-low heat for 5 minutes, or until the cumin starts to pop a bit and look just a touch oily.  Once that has happened, turn the heat off and let cool before moving on.
  • If you are feeling lazy less ambitious, skip the toasting step and put the cumin, coriander, and mustard into a spice grinder (or your husband’s coffee grinder.  If there’s a little residual ground coffee in there, all the better!  Extra shot of flavor you didn’t have to work for!) and pulse until the seeds become a fine powder.
  • Mix together ground seeds and all remaining ingredients in a small bowl or, if you are lazy especially efficient, the zip-top bag you’ll be using to store your mix in.
  • Ta-da!  Apply liberally, patting and massaging for good coverage and adhesion, to whatever you’ll be grilling for a smoky, slightly spicy kick.

Fading light. And bourbon.

My home office – the room where grading, blogging, photo editing, and general work happens – has the most wonderful light in our house.  A huge sliding glass door lets sunlight pour in during the morning hours, and in the afternoon I get brightness mediated by the roof of the house.  Even when it’s overcast, there is still so much natural light that it makes for wonderful food shots.

But winter is a problem.  I’m discovering that if I make a dish for dinner, I’m not going to be able to photograph it from my office because it’s too dark by 5pm.  And wedded to this blog and this project as I am, there’s no way we’re having dinner at 4:30 in the afternoon just so I can get the best light in the house.  So I’m trying out new angles, and new placement, and new adjustments.  I’m learning more about artificial light: which arrangements I find glaring and which I find acceptable.  Bear with me, and look forward to the return of Daylight Savings Time!

“17. Sauté chopped onion in butter, then chunks of sweet potato and stock or water to cover. Simmer until the sweet potatoes can be pierced with a knife, then add chopped kale and cook until wilted.”

This was easy, and quick, and tasty.  I made a few additions to Bittman’s recommendations and think the soup really benefited from them.  I used:

4 TB butter Food blog 2011-0133

½ a medium onion (mine was yellow)

1 big sweet potato, peeled and cut into small chunks (the smaller the chunks, the faster they will cook, so make your decision based on how much time you have and what size is most pleasing to you)


Salt, pepper, ground nutmeg to taste

4 cups broth – vegetable or chicken, depending on your preference

6 oz. kale

1 tsp red wine vinegar

Heat the butter in a pot over medium heat.  When it has melted, add the onion and cook gently, stirring occasionally, until the onion is soft and translucent but not bronzed.

Add the sweet potatoes and seasoning, stir to combine for a minute or two, then add the broth.  The quantity of liquid you need will depend entirely upon the size of your sweet potato.  You may need more or less than the 4 cups listed here.

Let the soup simmer until the sweet potatoes are tender but not falling apart.  Mine took about 15 minutes.

Add the kale and stir to combine.  You will be bewildered by how quickly it collapses on itself, wilting from smoky green to a brighter, more vibrant hue as it is immersed in the liquid.  Cook just until it reaches the texture you like against your tongue – I let it simmer for about 5 minutes, because I like my kale to still put up some resistance and retain its bright color.

I tasted and thought this needed something.  Extra salt to heighten the flavor of the kale, certainly, but there was a kind of dullness about the whole concoction.  Remembering my soup lessons from Alton Brown, I sprinkled in just a hint of red wine vinegar, and the difference was amazing.  The whole thing was brighter, somehow, even though you couldn’t taste anything harsh or stringent.

We consumed this happily with freshly toasted, garlic-rubbed slices of pugliese.  It was good, but could have been stuffed with even more flavor: I’d consider adding garlic, ginger, maybe even rice or ramen noodles.

Food blog 2011-0137

“4. Onion jam with bacon and bourbon: Thinly slice red onions and cook in olive oil with chopped bacon until soft. Add a little bourbon and brown sugar to taste and cook until the jam thickens.”

Bourbon is new for me.  N. has been enjoying the occasional scotch for a few years now, but we recently acquired a bottle of Knob Creek and I’ve been appreciating the floral notes of it – so much less musty and boggy than its British cousin.

4 slices thick-cut bacon, halved lengthwise into long strips, then sliced into small rectangles

½ large red onion, thinly sliced

¼ cup bourbon

2 TB brown sugar

Freshly ground black pepper

1 small sprig rosemary

Food blog 2011-0144

I used about a tablespoon of olive oil to start the pan, but I don’t think you really need it.  Just toss in the bacon slices over medium heat and let them work for about 5 minutes.  You will get a shimmer of fat across the bottom of the pan that is more than enough to start the onions sizzling in.

Add the onions and cook over medium or medium-low for at least ten minutes, until the onions soften and the bacon is mostly cooked.  Stir with some frequency to ensure even cooking.

Off the heat (especially if you are using a gas stove) add the bourbon and the brown sugar.  Stir to combine, then return to medium heat and simmer slowly for about 20 minutes, to let the flavors mingle and the bourbon soak into the onions and bacon.

After a few minutes of cooking, I added pepper and rosemary for additional flavor components, and I think they were a good choice.  The rosemary’s woodsy flavor was a nice contrast to the fatty bacon and sweet onions.  Everything cooked down into a sticky, caramelized jam that I draped across some baked rounds of polenta.

Food blog 2011-0148

This was delicious, but misplaced.  The meaty, smoky bacon was intensified by the bourbon, and the brown sugar and onions had a nice note of molasses.  It didn’t belong on polenta.  It belonged, I think, on a freshly toasted piece of crostini, possibly smeared with a thick slice of brie.  The funkiness of the cheese could stand up nicely to the sweet smoky strength of this jam.

We paired our misguided polenta with green beans, lightly blanched and then seared in a hot pan and deglazed with a bit of red wine.  These, too, were delicious, but not the ideal pairing for the sweet saltiness of my jam.  Apples, maybe, or red grapes would make better pairings.  Regardless, we ate with joy and returned to the pan once or twice for a final sweet chunk of sticky, gooey jammy bacon to sweeten our palates, even though dessert was still to come.


“91. Pears in Red Wine: Simmer 2 cups red wine with ½ cup sugar, 2 cloves, a cinnamon stick and a few slices of ginger in a pot for a few minutes, then gently poach peeled and cored pears (use a spoon to hollow them from bottom), until soft. Cool or chill, and serve with a bit of the poaching liquid.”

This is supposed to be one of the most sophisticated desserts you can offer: not overly sweet, laden with mulled flavor, perfect for a gourmet adult party in celebration of autumn.  Pears, with their temperamental habits and signature grainy texture, are perhaps the same kind of acquired taste as wine or coffee or any of those other “adult” tastes.  As dessert for our onion-jam-crusted dinner, I decided to attempt these.

Food blog 2011-0140

I used 2 pears, but followed the rest of Bittman’s quantities exactly.

Food blog 2011-0142Well, one exception to note: I thought about getting fancy and adding things like citrus peel or rosemary (apparently I’m hooked on the stuff these days).  But in the end, I just splashed in a bit of bourbon to link the flavor profile back to our dinner: red wine from the beans, bourbon from the jam, and this dessert would fit right in.

After the first simmer, in which I stirred gently to let the sugar dissolve and the spices mull gently into the wine, I prepared the pears.

The issue with pears is that inside their tender skins they are slippery little beasts.  You can’t grasp them too firmly or they sigh into bruises.  You can’t hold them too delicately or they slide out of your hands and threaten to slip from the edge of the kitchen counter.

I dove into my attempt to core the pears only after peeling them.  This, and the attempt to do so with a spoon, may have been a mistake.  The spoon tore through the tender flesh of the pear but was too wide to remove only the core.  Further, I wasn’t sure how much core I was supposed to be removing, so I ended up with two pale, naked, slightly mutilated pears, which I slid into their (hopefully) healing bath of alcohol.

I let them simmer, turning them occasionally to dye all sides a lovely burgundy, for about 15 minutes.  Then I turned off the heat and let them sit a further 20 minutes until we were ready for dessert.

Surrounded by a moat of spiced wine, these were achingly tender and nicely flavored.  I would choose pears that were less ripe if I attempted this dessert again, because a bit of additional texture might have done them good.  As it was, though, much of the graininess disappeared in the poaching, and the soft floral flavor was really nice against the wine and assertive spices.  A scoop of vanilla ice cream on the side would have made this a richer endeavor, but I think the creaminess would have matched well with the fruit and the wine.   Or maybe I just need the extra comfort as we roll into December…

Food blog 2011-0150