It feels inauspicious to publish a New Year’s post almost a week after the eponymous day. It feels like I’m already behind, or like I’ve squandered the moment. But upon reflection, I suppose it might actually be a positive thing. What it means is that I didn’t spend New Year’s Day in front of the computer. In fact, I spent it at the Johnson Space Center in Houston, Texas, where N. and I were visiting my parents. I spent it thinking about stars and planets and discovery and the amazing achievements humankind has made. And then a glass of wine, and a delicious dinner, and a small, smiling toast to the fellow I’ve been with now for ten whole years.
Not a bad way to spend the first day of 2014.
But now I’m back. Back to my kitchen, back to my desk, back to my bookshelves screaming under the weight of new and old friends, bound in paper and string and glue and cardboard and leather, and some still to be added, and back to thinking about food, and how to put it into words.
I’ve discovered that I like a project. An eternal academic, I like the solidity and consistency of due dates. I like knowing that I post on Mondays. I like having a photo ready to share with you on Fridays. But I also like having a topic to work with. Set me loose in a kitchen with no plan, and I’m a bit of a mess; it’s just like going into a library and not knowing which volume you’re looking for. There are so many choices, I can’t limit myself. Give me some parameters to work with, though, and I feel ready to play. It’s a curious kind of freedom, a bit like Mrs. Whatsit’s consideration of life as a sonnet: strict rules, relentless form, but within that structure, the play of words to choose, the storm of emotions to depict or messages to send, is all your doing as the author, as the cook, as the creator.
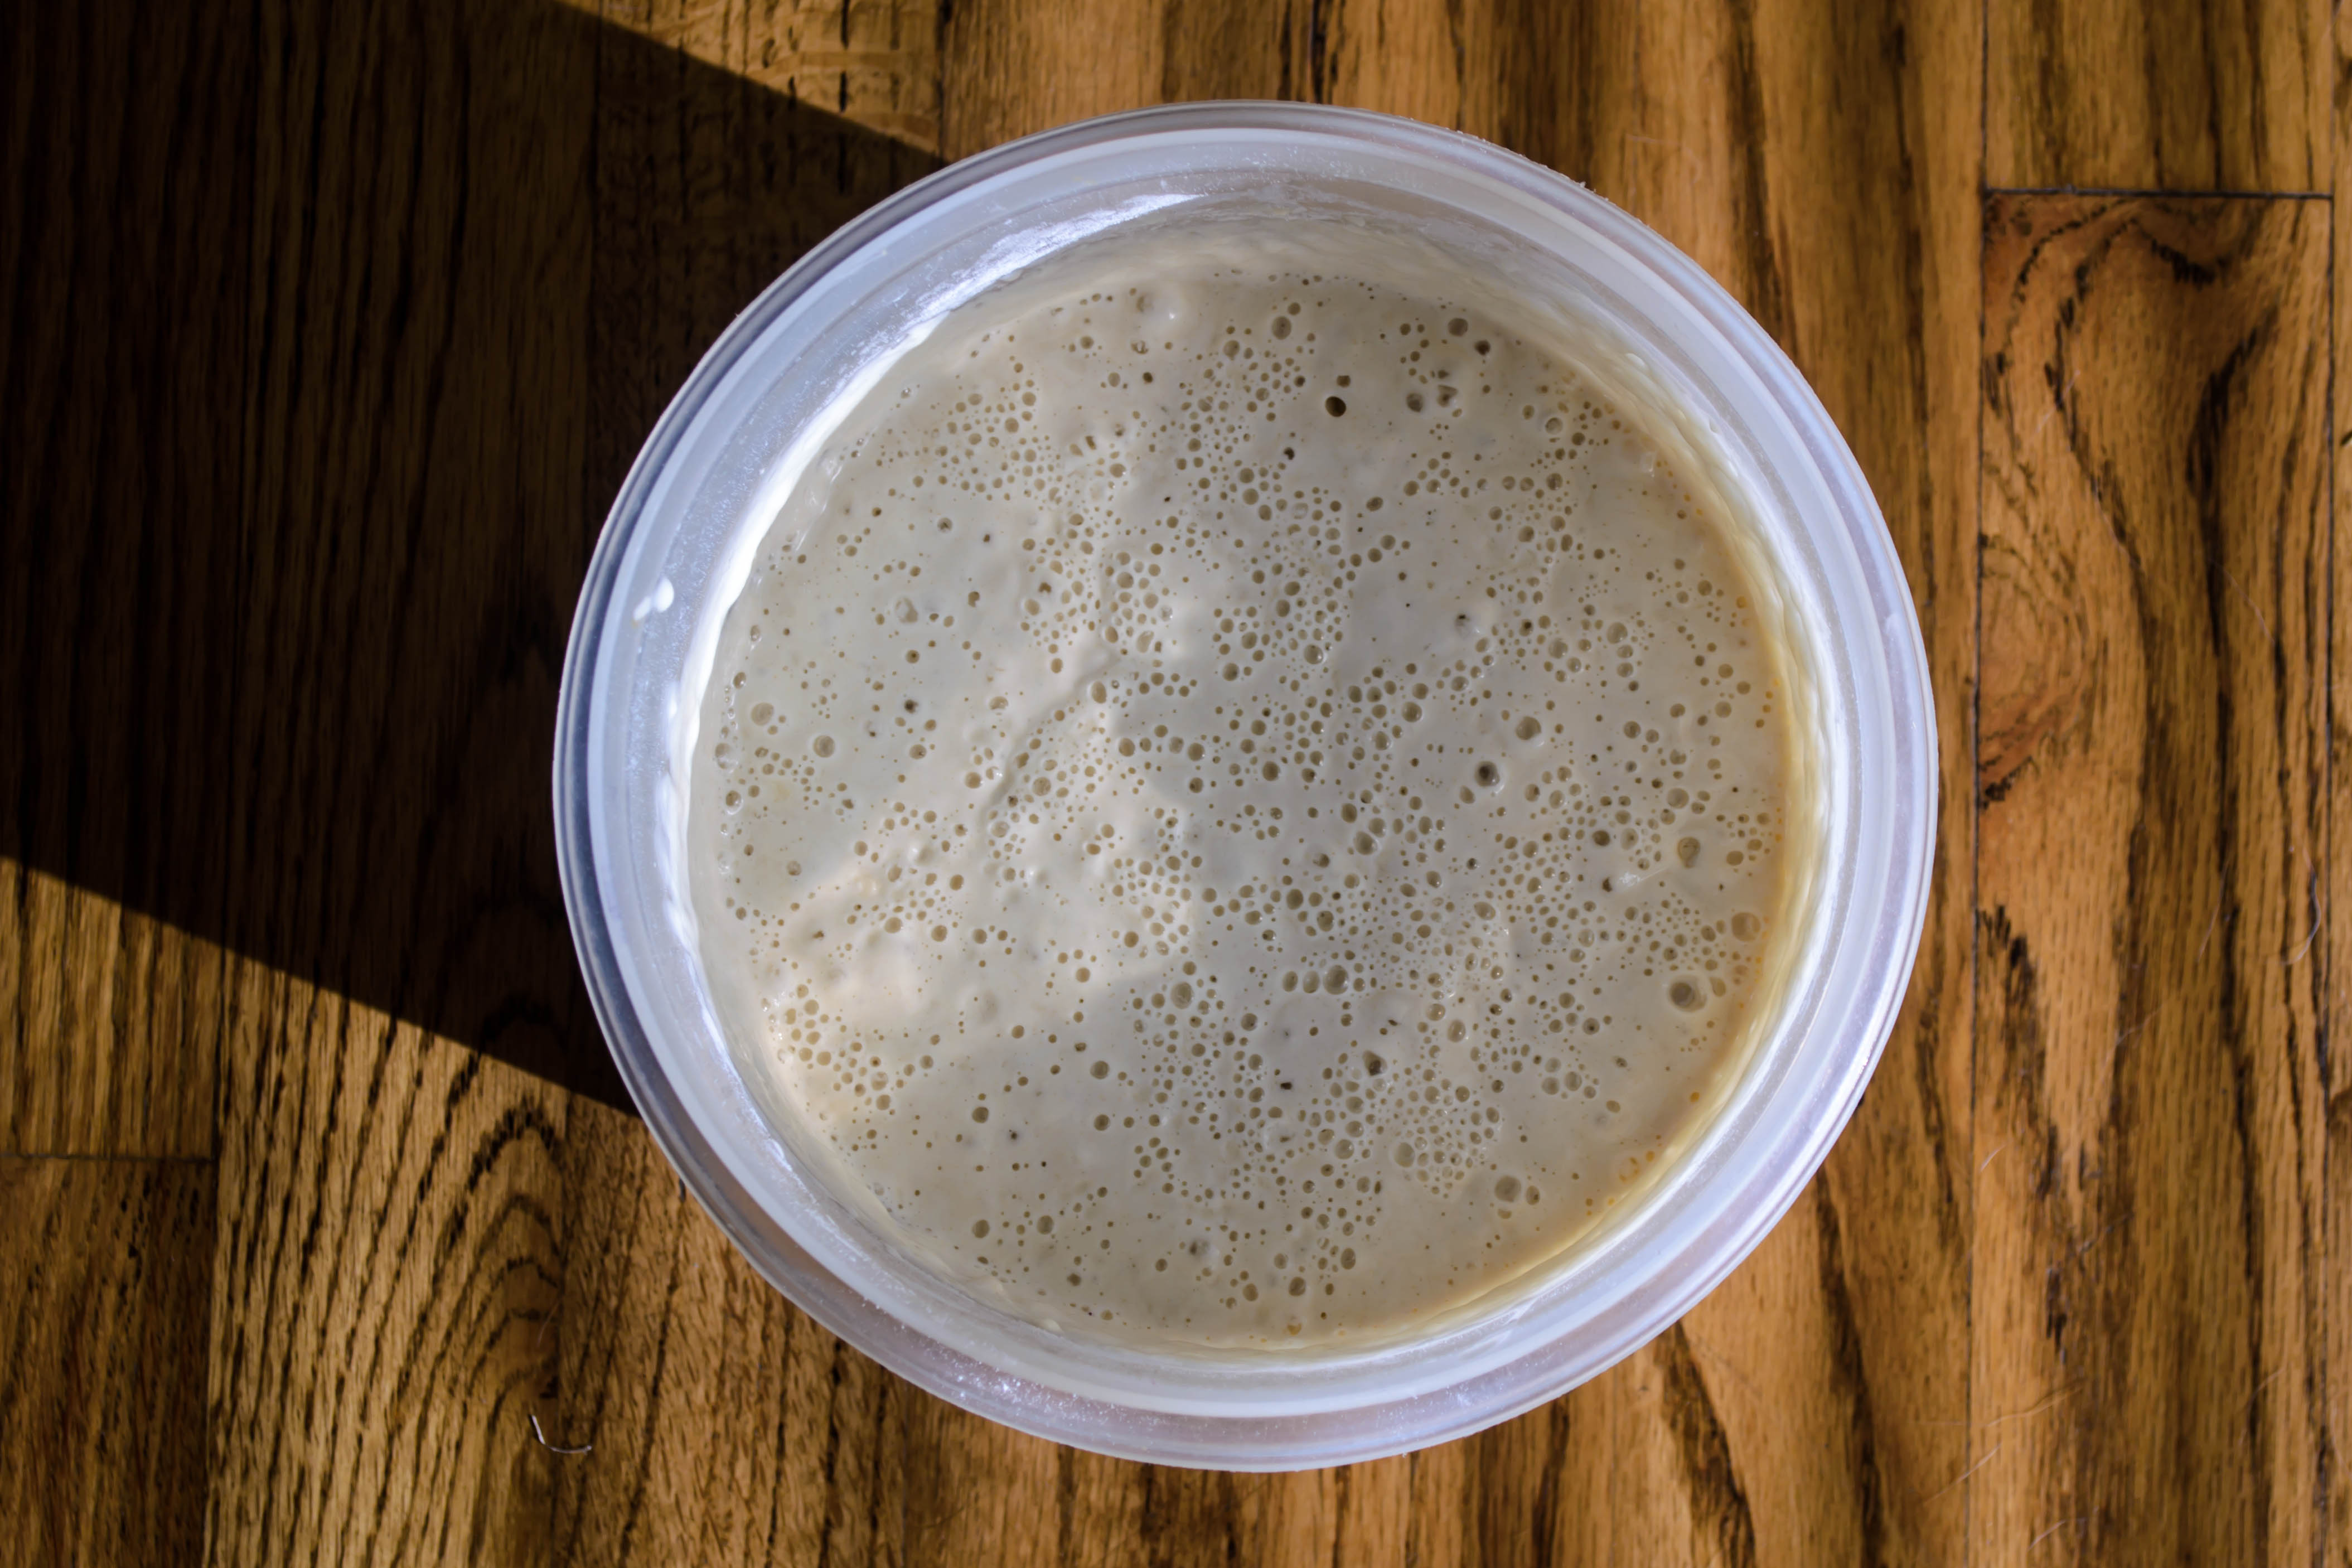
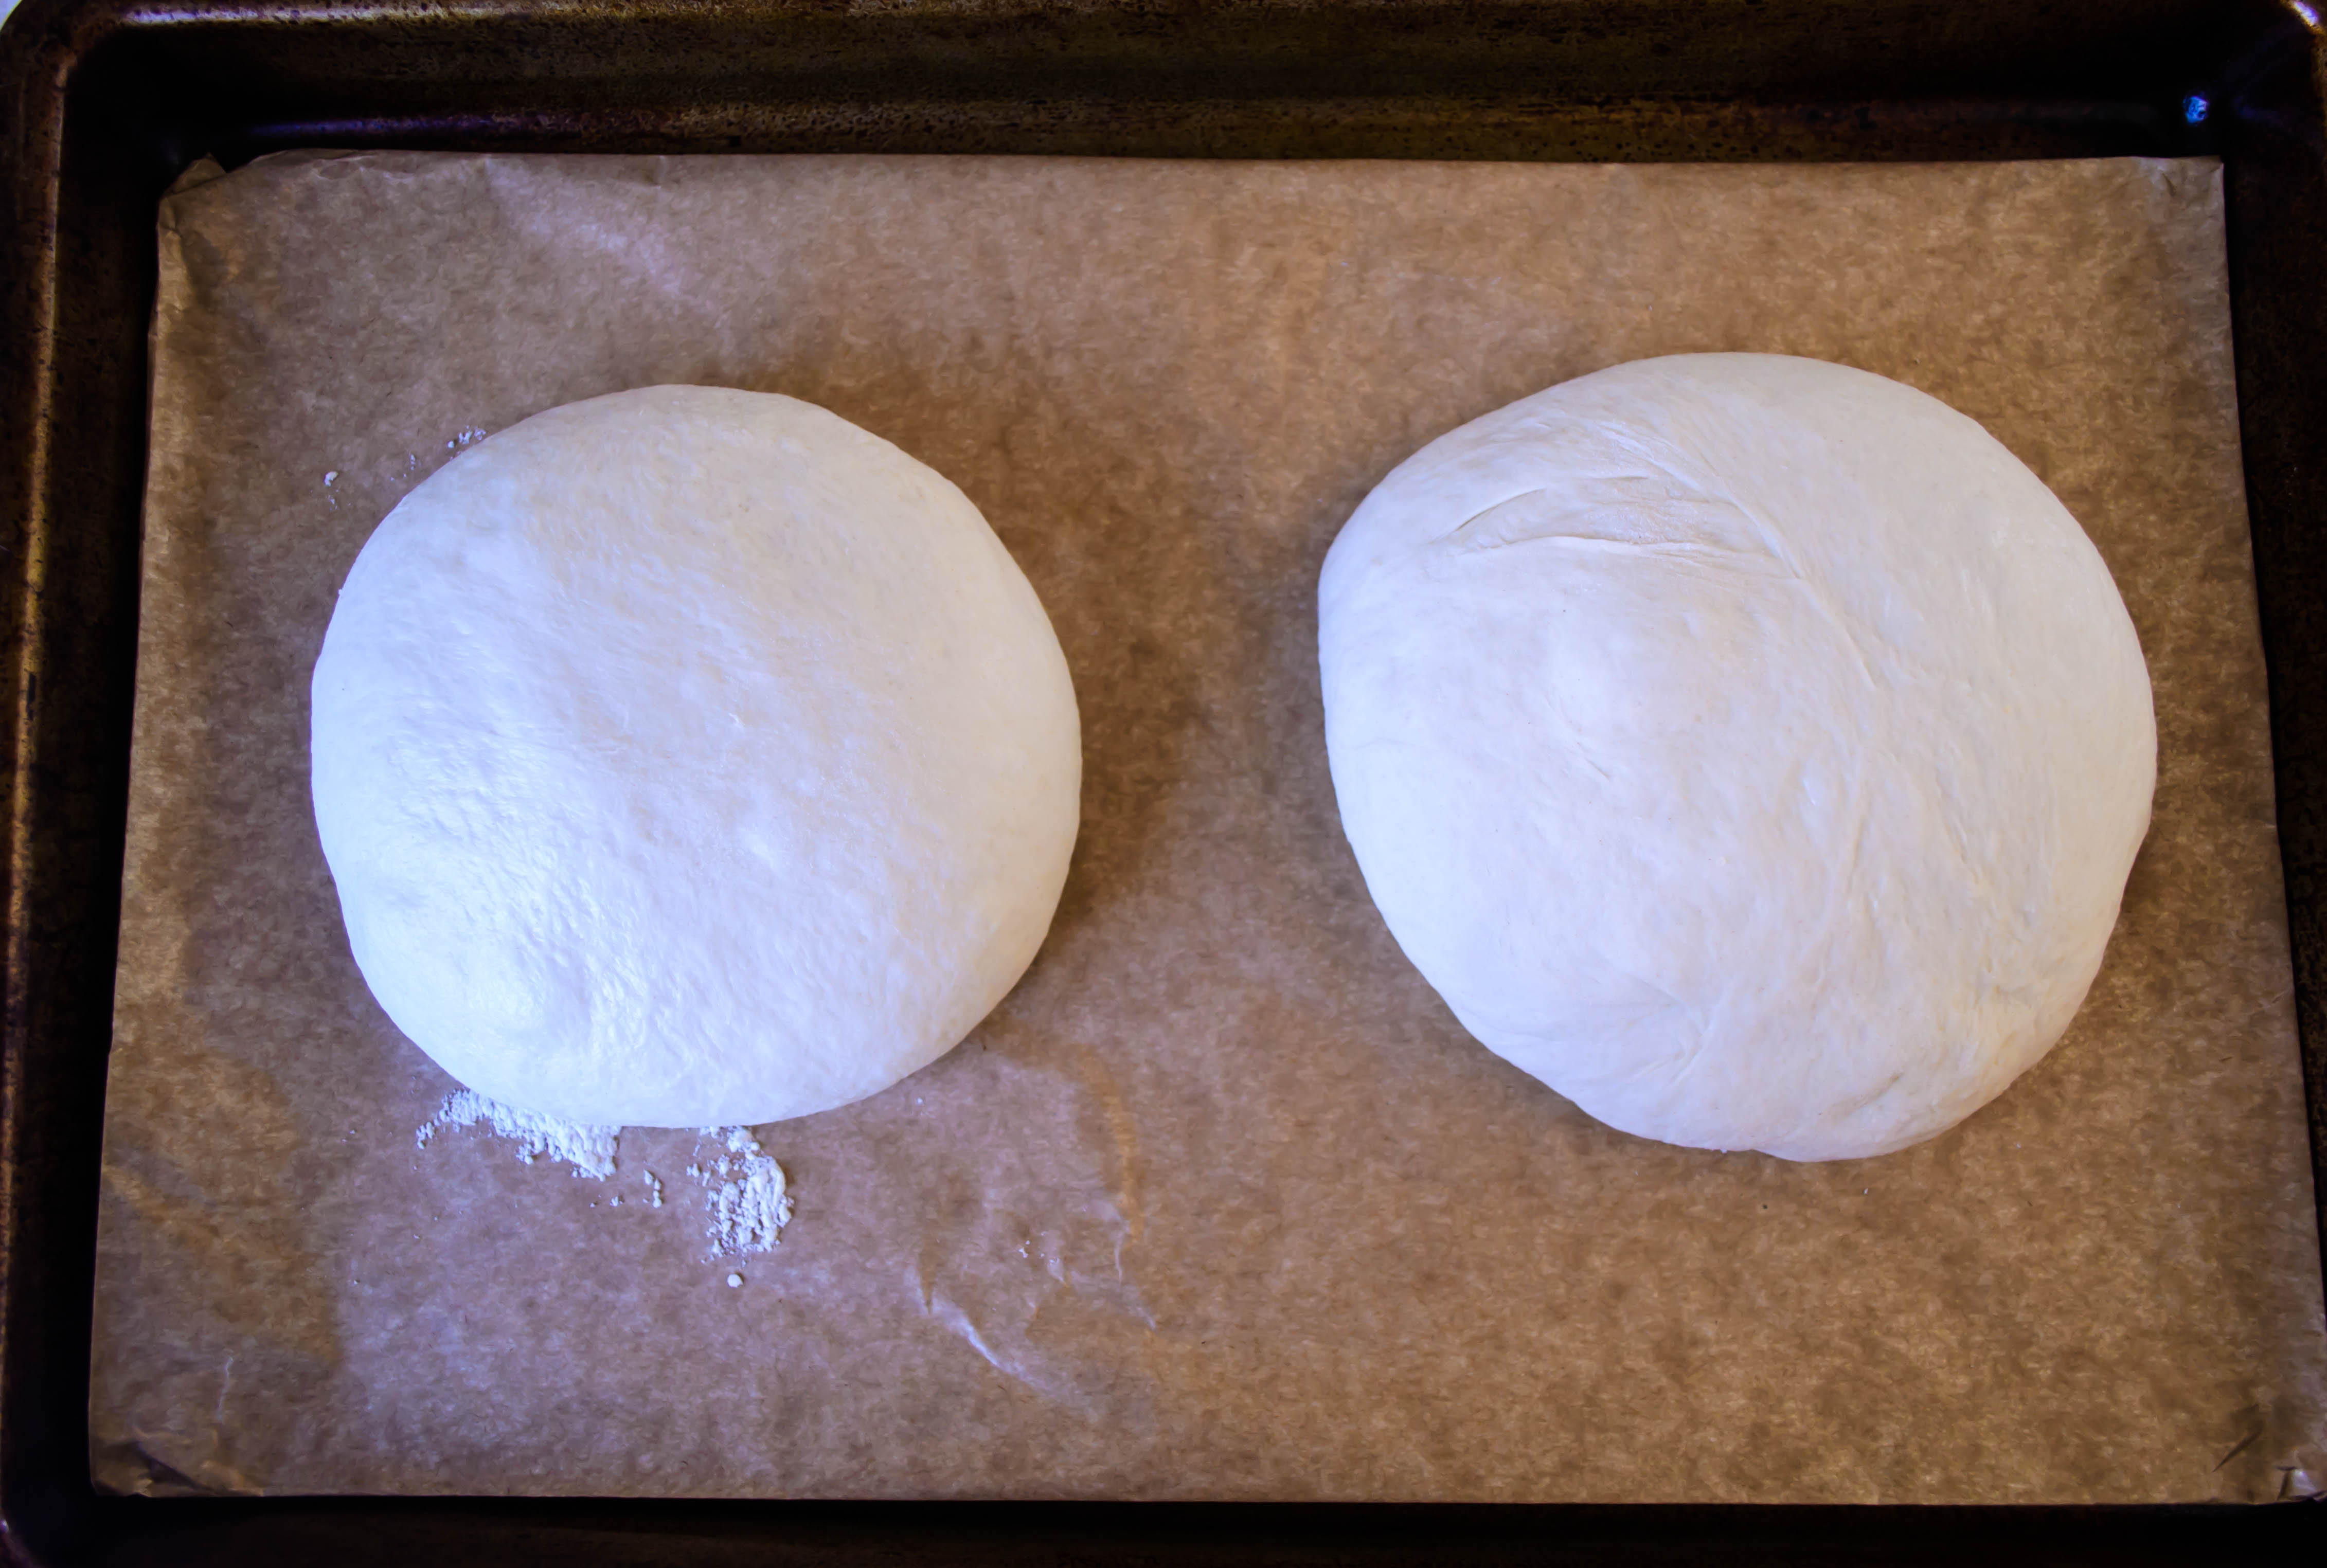
So I’ve now done three projects in this little virtual kitchen. In the summer of 2012 I made a wedding cake for some of our dearest friends. This, as you might expect, necessitated a number of trial runs (I may never make buttercream again), which I’ve collected links for here. On the very last day of 2012 I completed my Bittman Project, a multi-year attempt to cook everything almost everything most things on Mark Bittman’s 101 Thanksgiving Side Dishes collection. Last year’s resolution/project was centered around learning about dough. Though I’ll admit to still needing practice with pie crust (honestly, how can flour, butter, salt, and water be so challenging?), I have gained incredible confidence working with bread dough. The inexorable certainty that yes, yeast will rise, even if the water is a little cold, or you leave it a little long, or you forget it in the fridge overnight, is a comfort. The feeling of knowing, just knowing, when a dough has been kneaded long enough by its feel and its look, is something I didn’t expect to understand, but I do. I read about protein structures and gluten development and types of fat. I made biscuits and bagels and shortbread and sweet rolls. I teamed myself up with the Twelve Loaves project to inspire new ideas, and surprised myself with experiments I never thought would work. It was a good year.
But now I need a new project. I’ve thought about this for a while, and I want to continue my exploration of fundamentals that build good, solid dishes. Therefore I propose, once a month, here, together, let’s get sauced.
Now wait a minute, wait. I’m not talking booze here (though I suppose the occasional saucing of that sort wouldn’t hurt). I’m talking sauces. Mother sauces. French sauces. The liquid magic that pulls a dish together, whether it be laced with butter, or cream, or broth, or carefully tempered eggs. Every month, once a month, for the year of 2014, I will make and detail the procedure for a classic sauce. The plan is to show you how I made it, explain the process, and then include some ideas for how to serve it. This will entail at least one recipe in which I’ve used it, so we can all put our newly minted sauce skills to work immediately. I have a few ideas for what I will make, but I’m not up to the twelve I will need to round out the year, so I’d welcome input from you, friends out there in internet-space. What kind(s) of sauce(s) would you like to learn how to make? What kind(s) should I not leave the year without attempting? I’d love to “hear” your thoughts. Of course I always welcome comments, but you can also email me! I’m at blackberryeating@gmail.com. If you’re more of the Twitter or Facebook type, let’s do that. You can find me on Twitter at @blackberryeater, and there’s a link to the “blackberry eating in late september” Facebook page on the right of this very homepage. Come visit!
Now that we’re through with that shameless self-promotion (how embarrassing!), all that’s left is for me to give you a preview. The first sauce we tackle will be béchamel, a true classic. No, it’s perhaps not the fat-free, guilt-free representation of that most typical, most quickly broken New Year’s resolution too many of us make, but what fun would that be? Think of it instead as a food representation of that warm, comforting winter blanket you’ll still need for a month or two (unless you’re in Southern California, where apparently winter never happened).
Happy new year, and see you next week!

 Be well. I’ll be back soon.
 For the first – All-Purpose Flour – she made a beautiful wreath of sweet bread, braided and swirled with cinnamon sugar and a trio of summer berries. I determined that I would, indeed, bake this bread. I had yet to try a wreath or crown shape, and was curious about how it would come out.
 Here, I’ve replaced Joy’s berries with blood-red bing cherry halves, gushing with juice, their tartness mellowed by baking. Since I’m not crazy about cinnamon with cherries, I have substituted in cardamom, which has an intriguing deep, citrusy scent but offers a spiciness reminiscent of the zingiest flavor in your favorite chai tea blend. To bring together the flavors, I also splashed in a little vanilla.
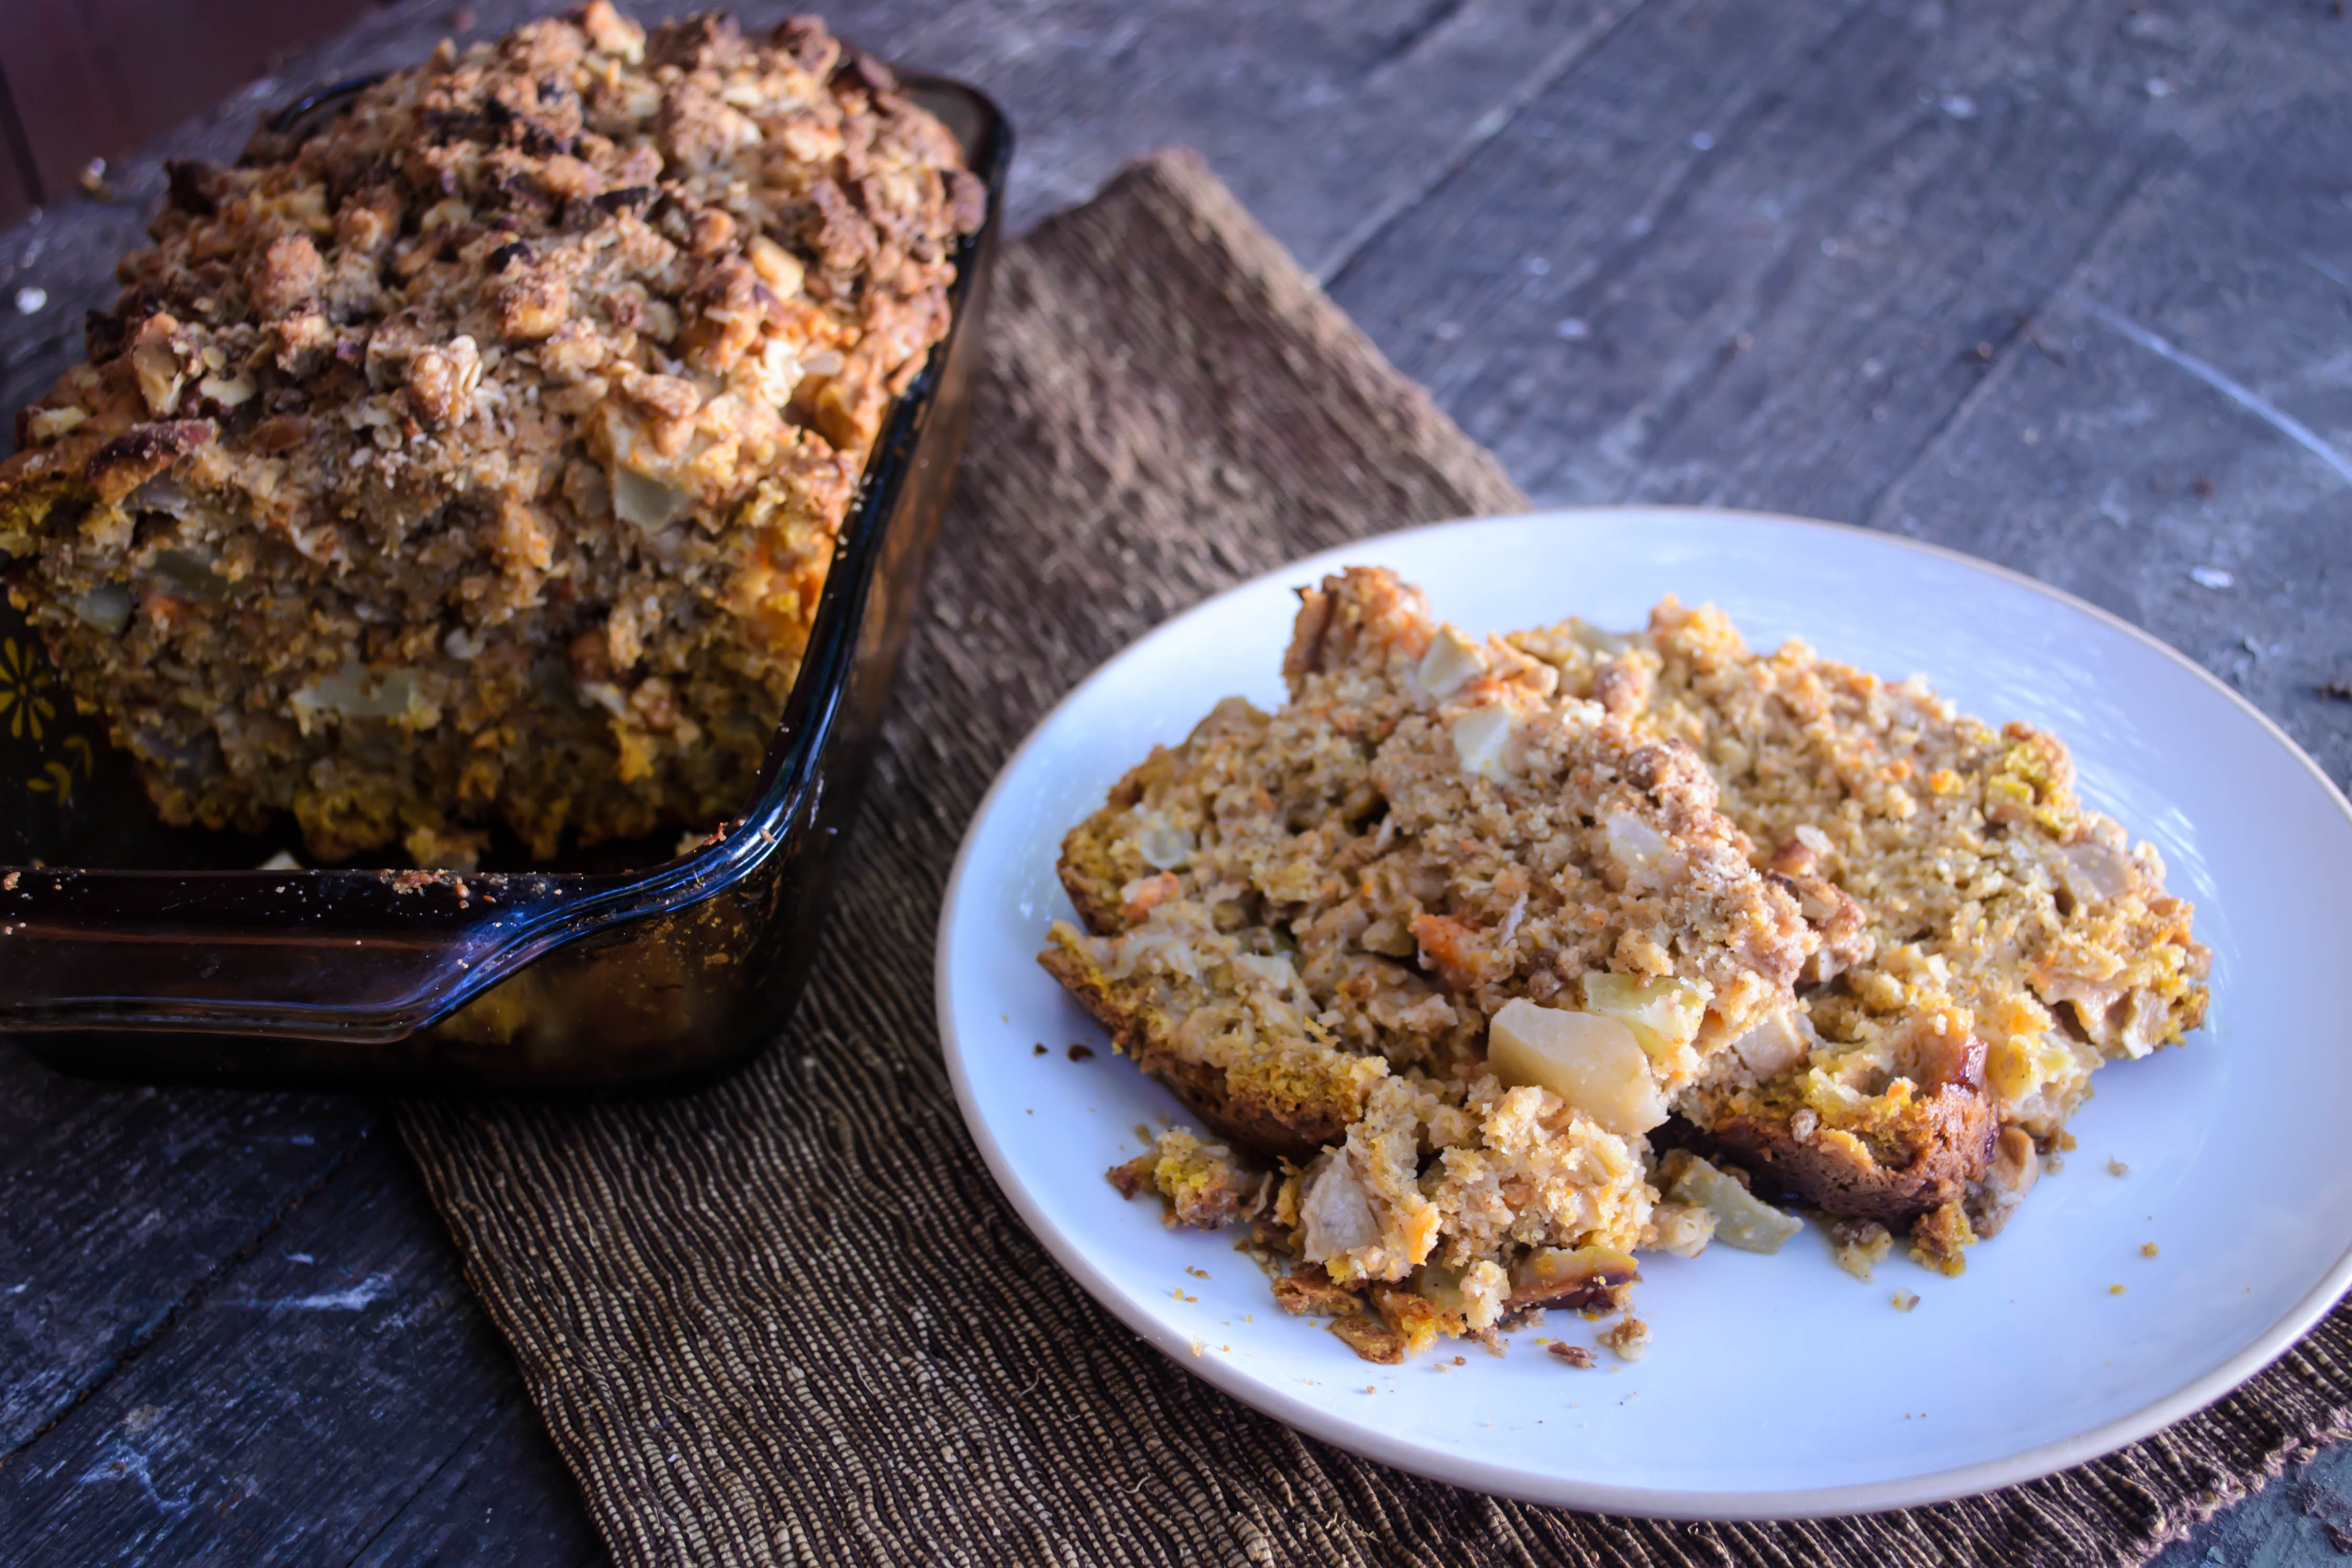
 The trickiest thing about this bread is shaping the crown. This requires flattening, spreading, stuffing, rolling, and then slicing open that roll to reveal the rebellious little rubies inside, which then all immediately threaten to spill out all over your board. You have to “braid” the bread by lifting one strand over the other down its length, all the while trying to keep the fruity guts inside from escaping. Then, once you’ve tamed it into a beautiful interlaced wreath, you somehow have to pick the whole thing up and nestle it into your baking vessel. I know. Mine collapsed a little bit, but honestly, after it rose during its baking time, it was hard to notice. And once we dug in, crunching through the lightly sugared, spicy-tart sweet layers, we didn’t care. The tartness of the cherries is pleasantly rounded by the oven’s heat, but the real star, to me, was the cardamom. Its flavor is so delightful here – brighter than cinnamon but no less flavorful – that I now want it in everything. I suppose they wouldn’t really be “cinnamon rolls” without the cinnamon, but false advertising (or blasphemy) or not, those may be my next cardamom target.
 Two tips for success when it comes to this bread, then, before we get all this out of the way and charge into the recipe.
 1.) Distribute the fruit evenly. I mean it. Don’t just dump the cherries in the middle and decide that’s good enough. Spread them out across your dough rectangle before rolling it up. Though it’s important to leave a slight border, if you have a lot more cherries in the middle of the dough log, it will be much more difficult to keep them contained while you braid it, and you will end up with a really uneven wreath – one section will be much fatter than the rest and therefore bake unevenly. Take the extra few seconds to spread them out well.