Stir fried green beans with coconut (green bean poriyal)

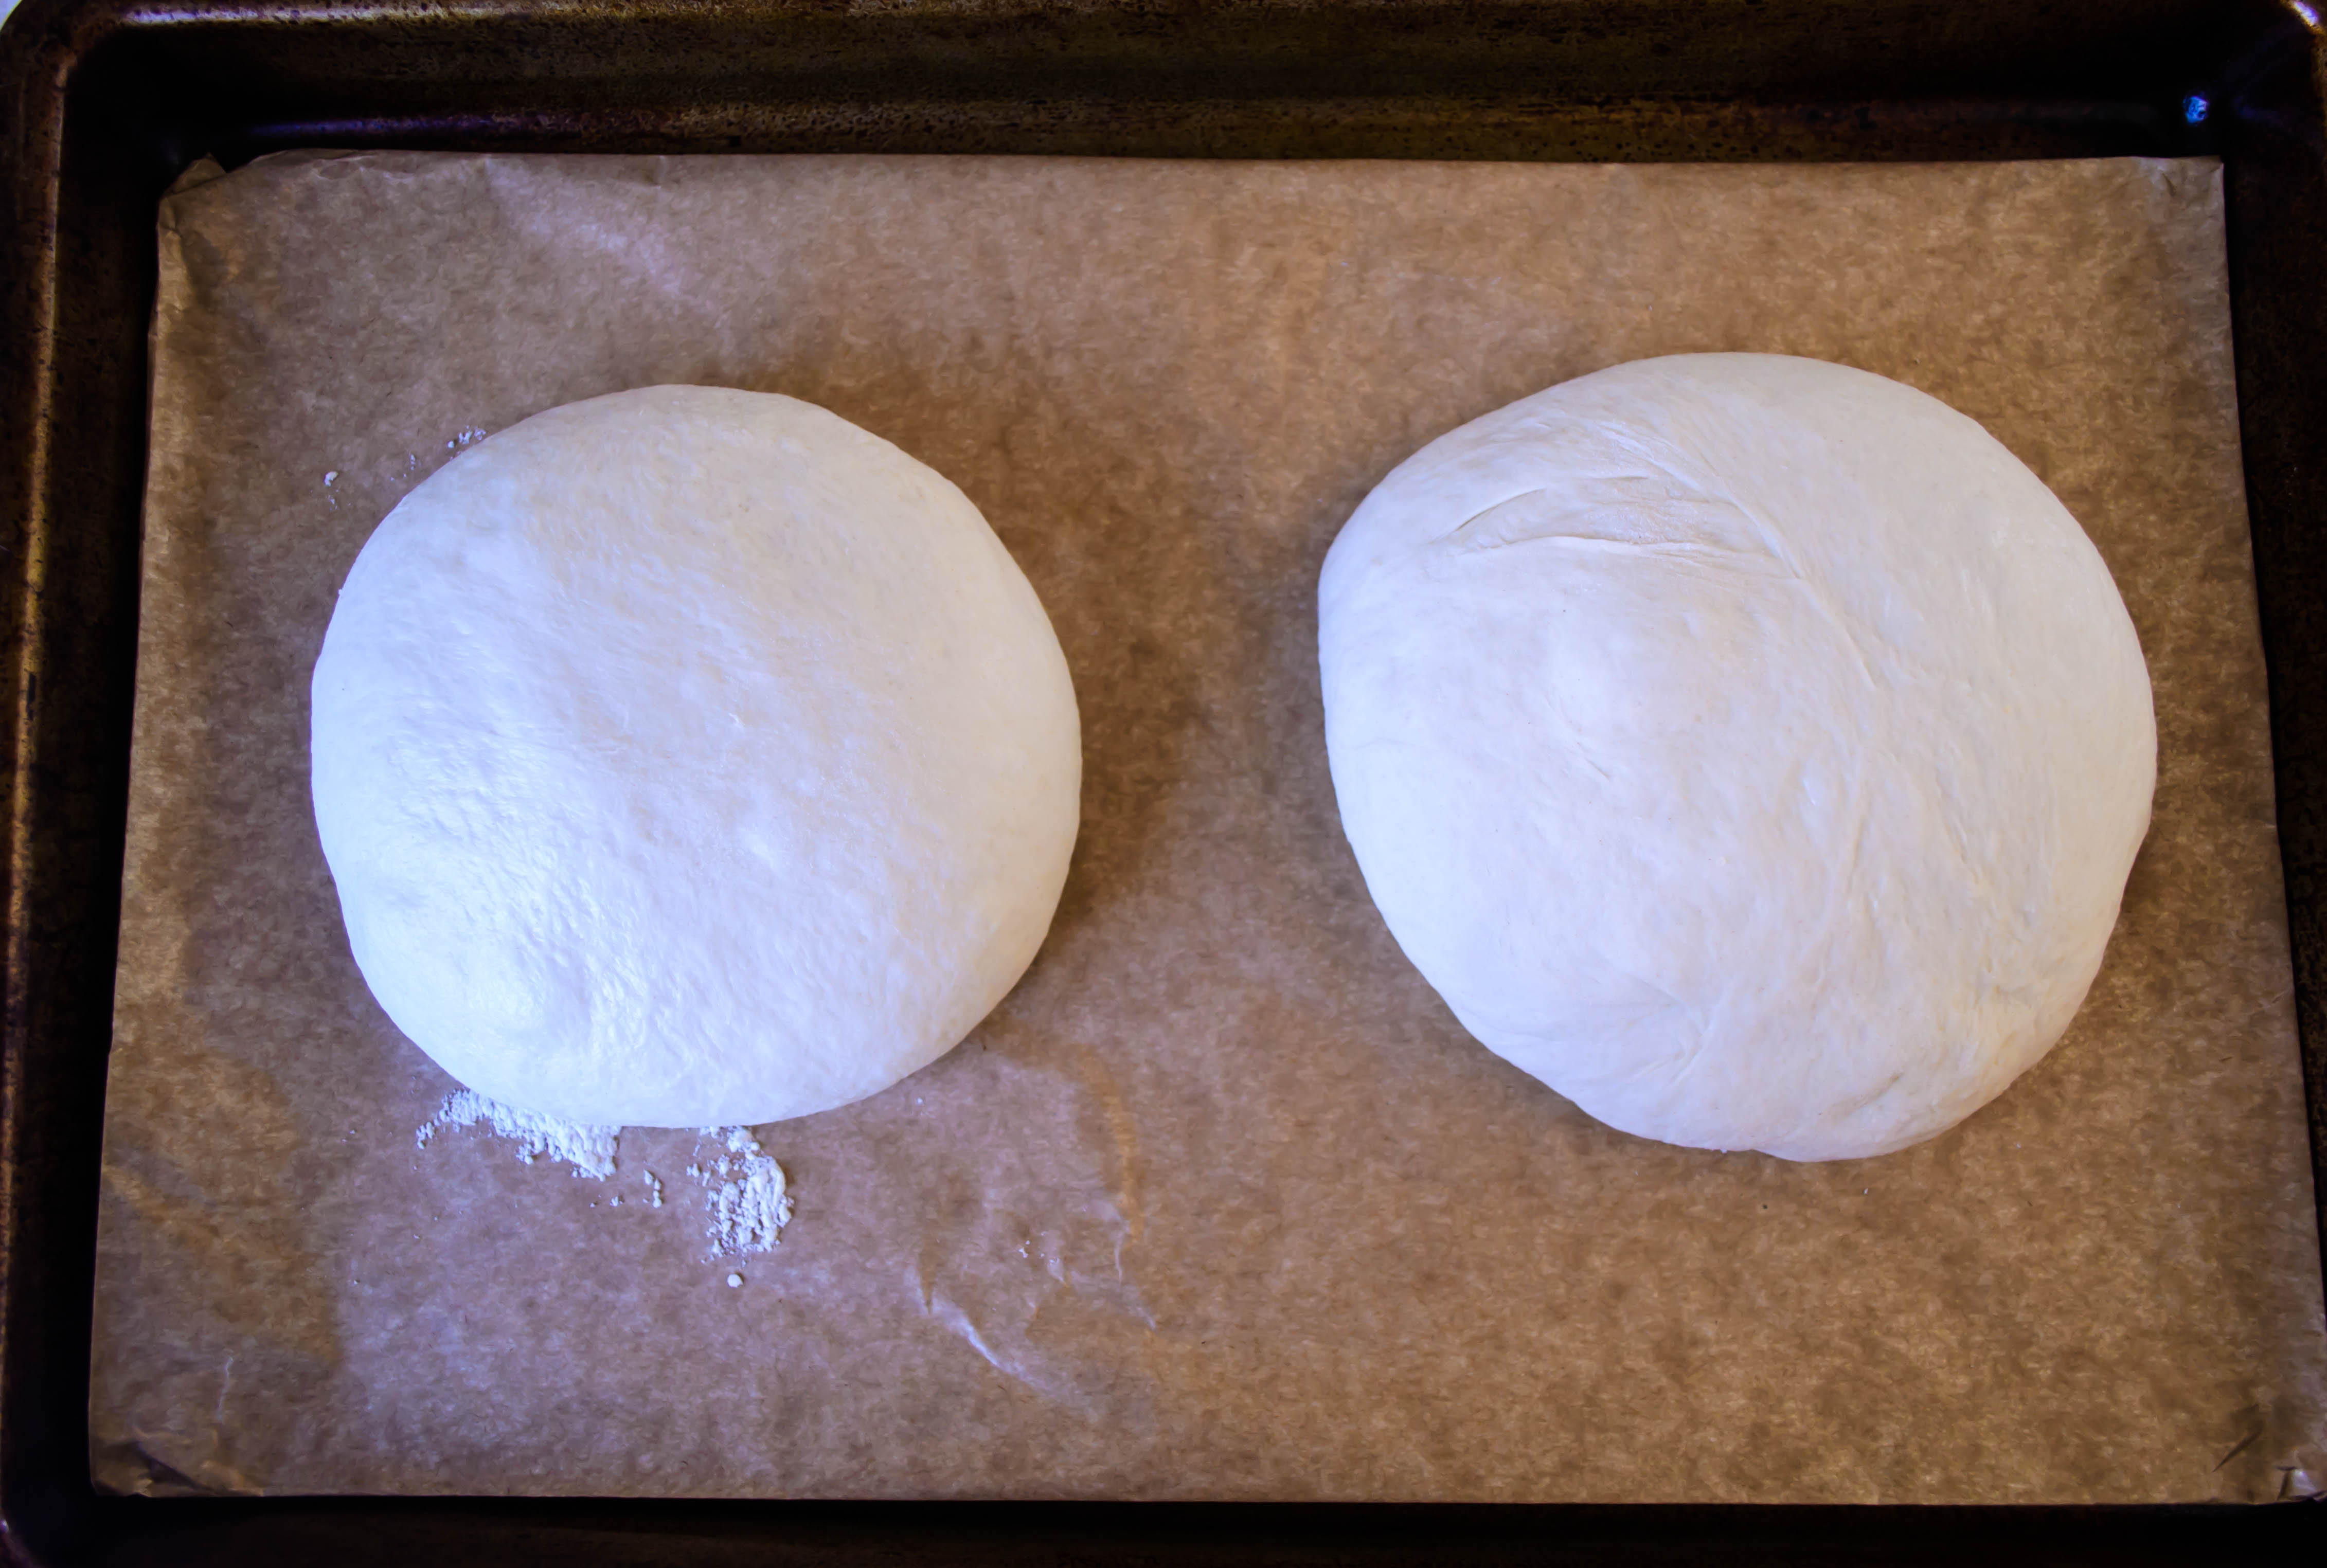
Things are getting busy around here. I’m coursing toward midterms, which means piles upon piles of grading, as the students need to know where they stand at the halfway mark. Spring break approaches, and papers must be returned, research topics and methods must be interrogated, and evaluation work must be completed. There’s little time for a mellow afternoon at home, punctuated by soft cheese oozed onto crackers at an impromptu happy hour, rather than the locomotive “just-one-more, just-one-more” echoing in my head as I face thirty-five opinions about whether Beowulf’s choice to take on a dragon single-handed was admirable or foolhardy.*

Food Blog January 2014-3049
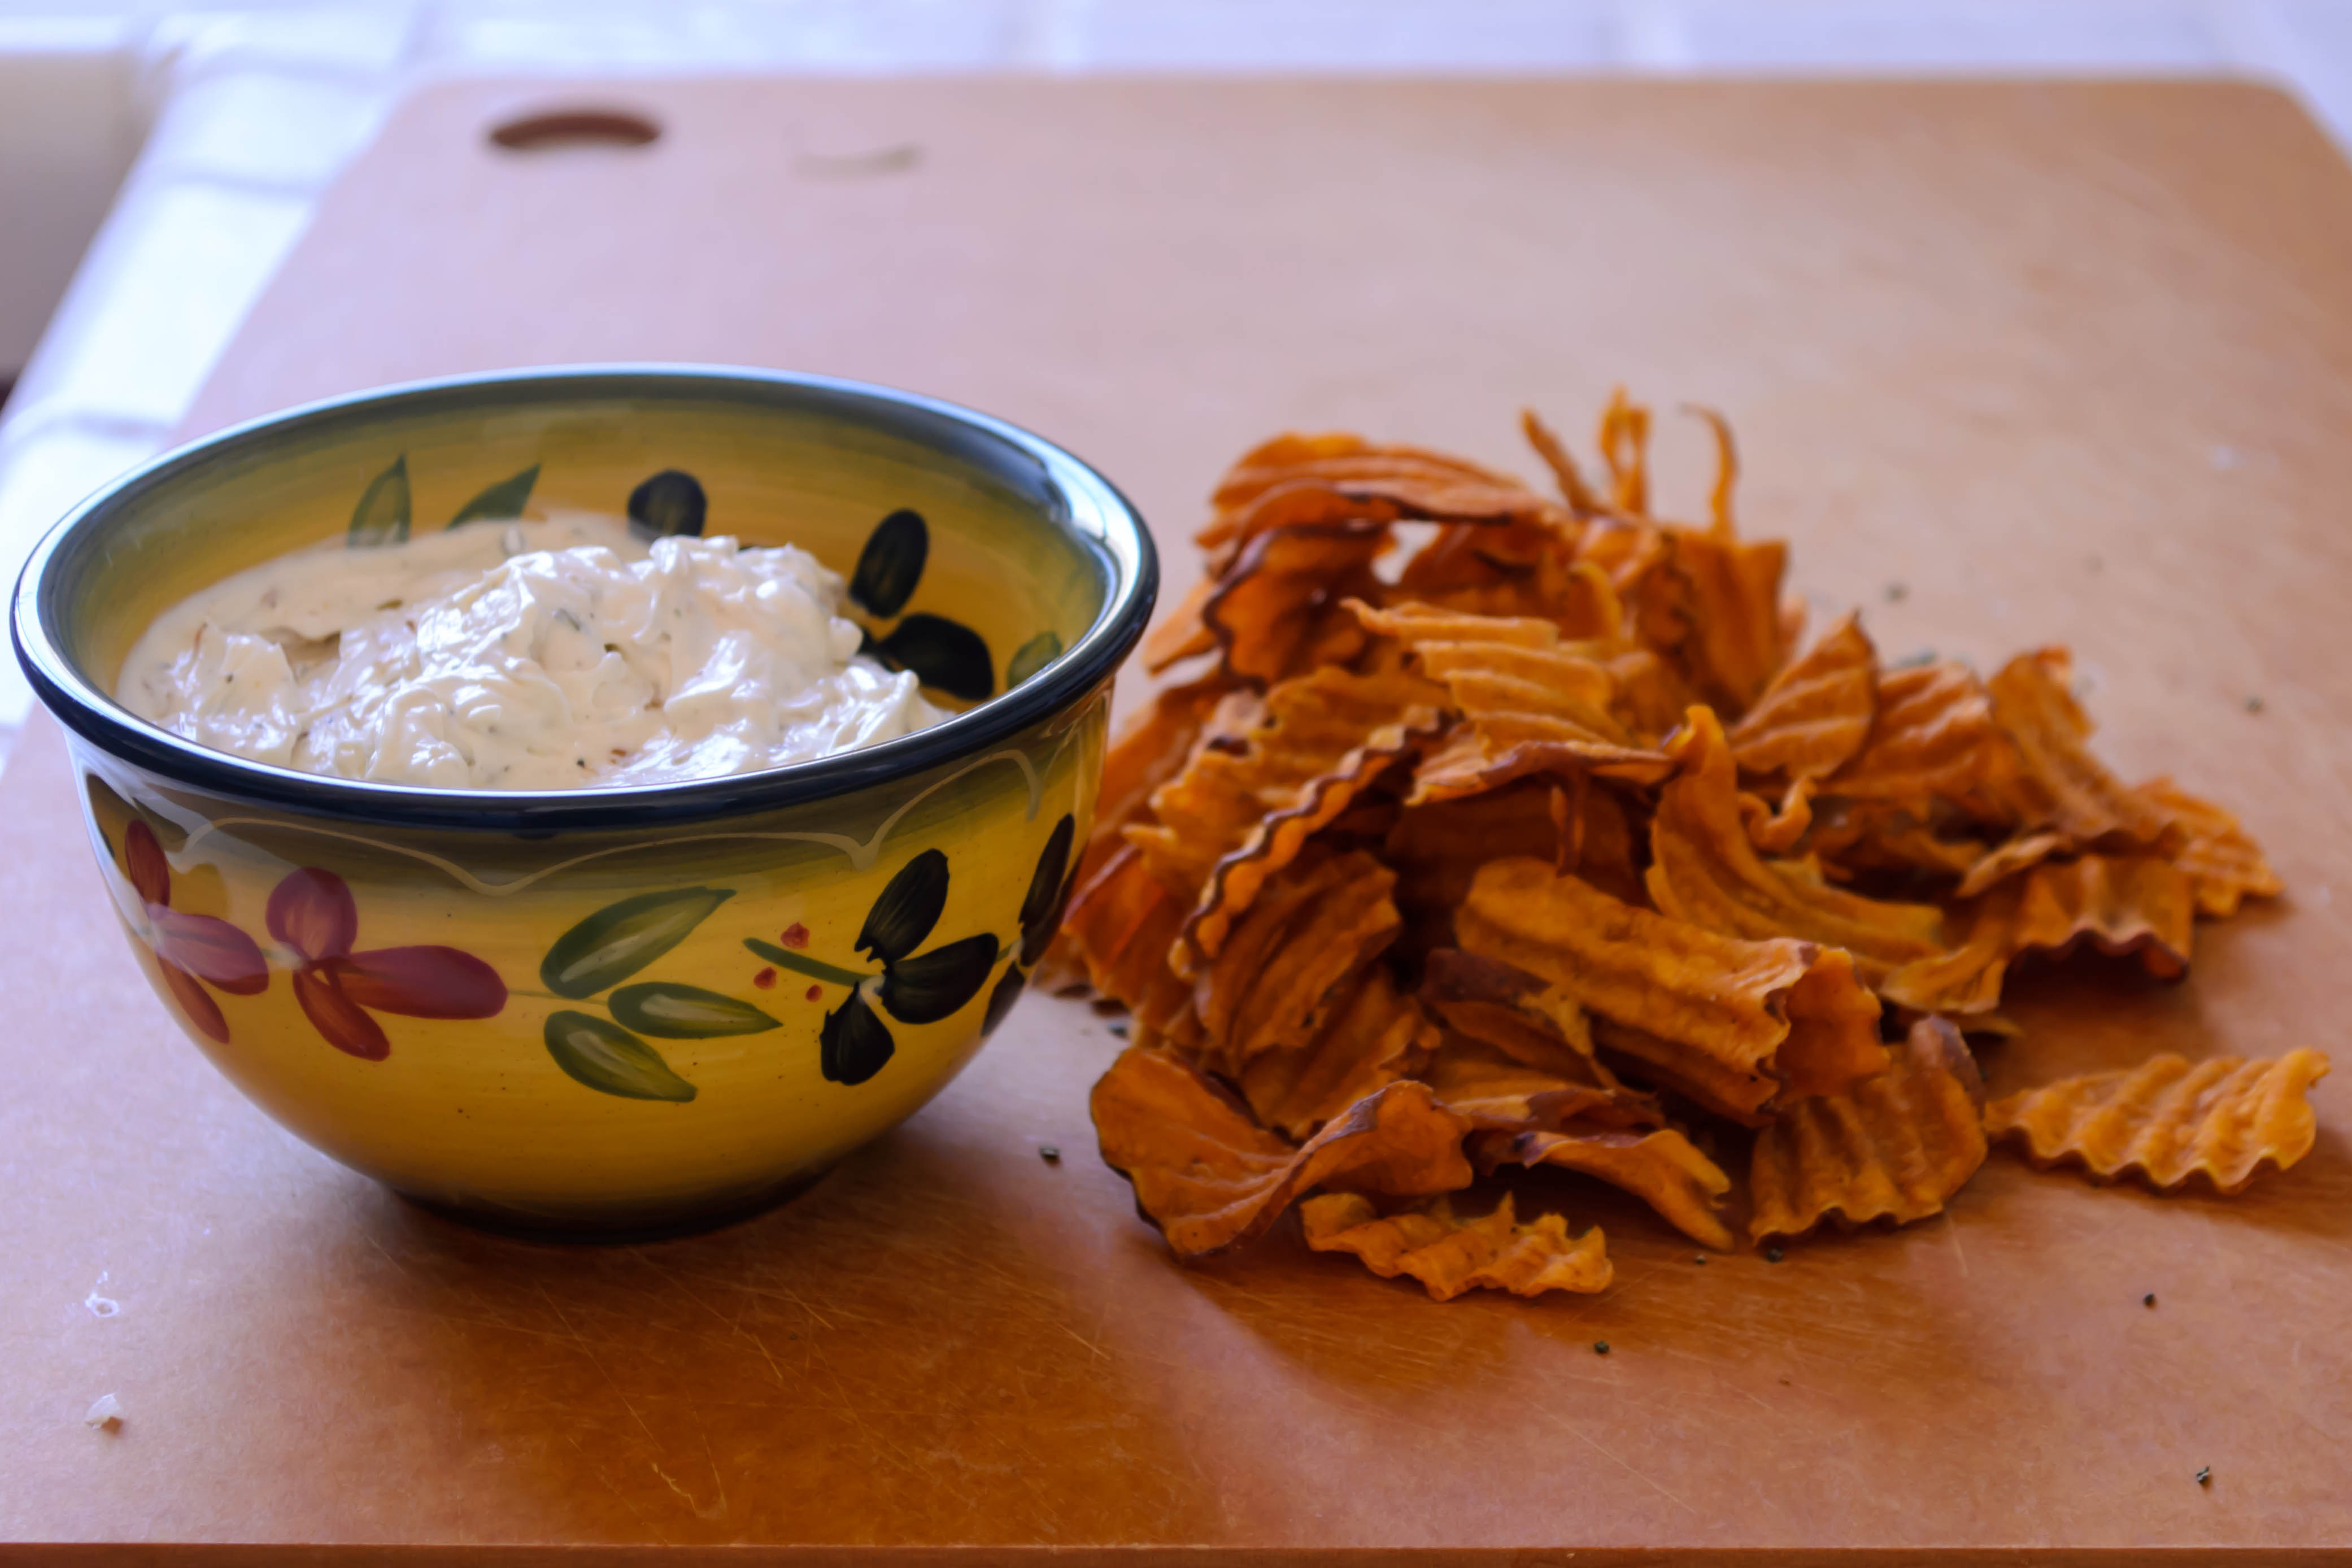
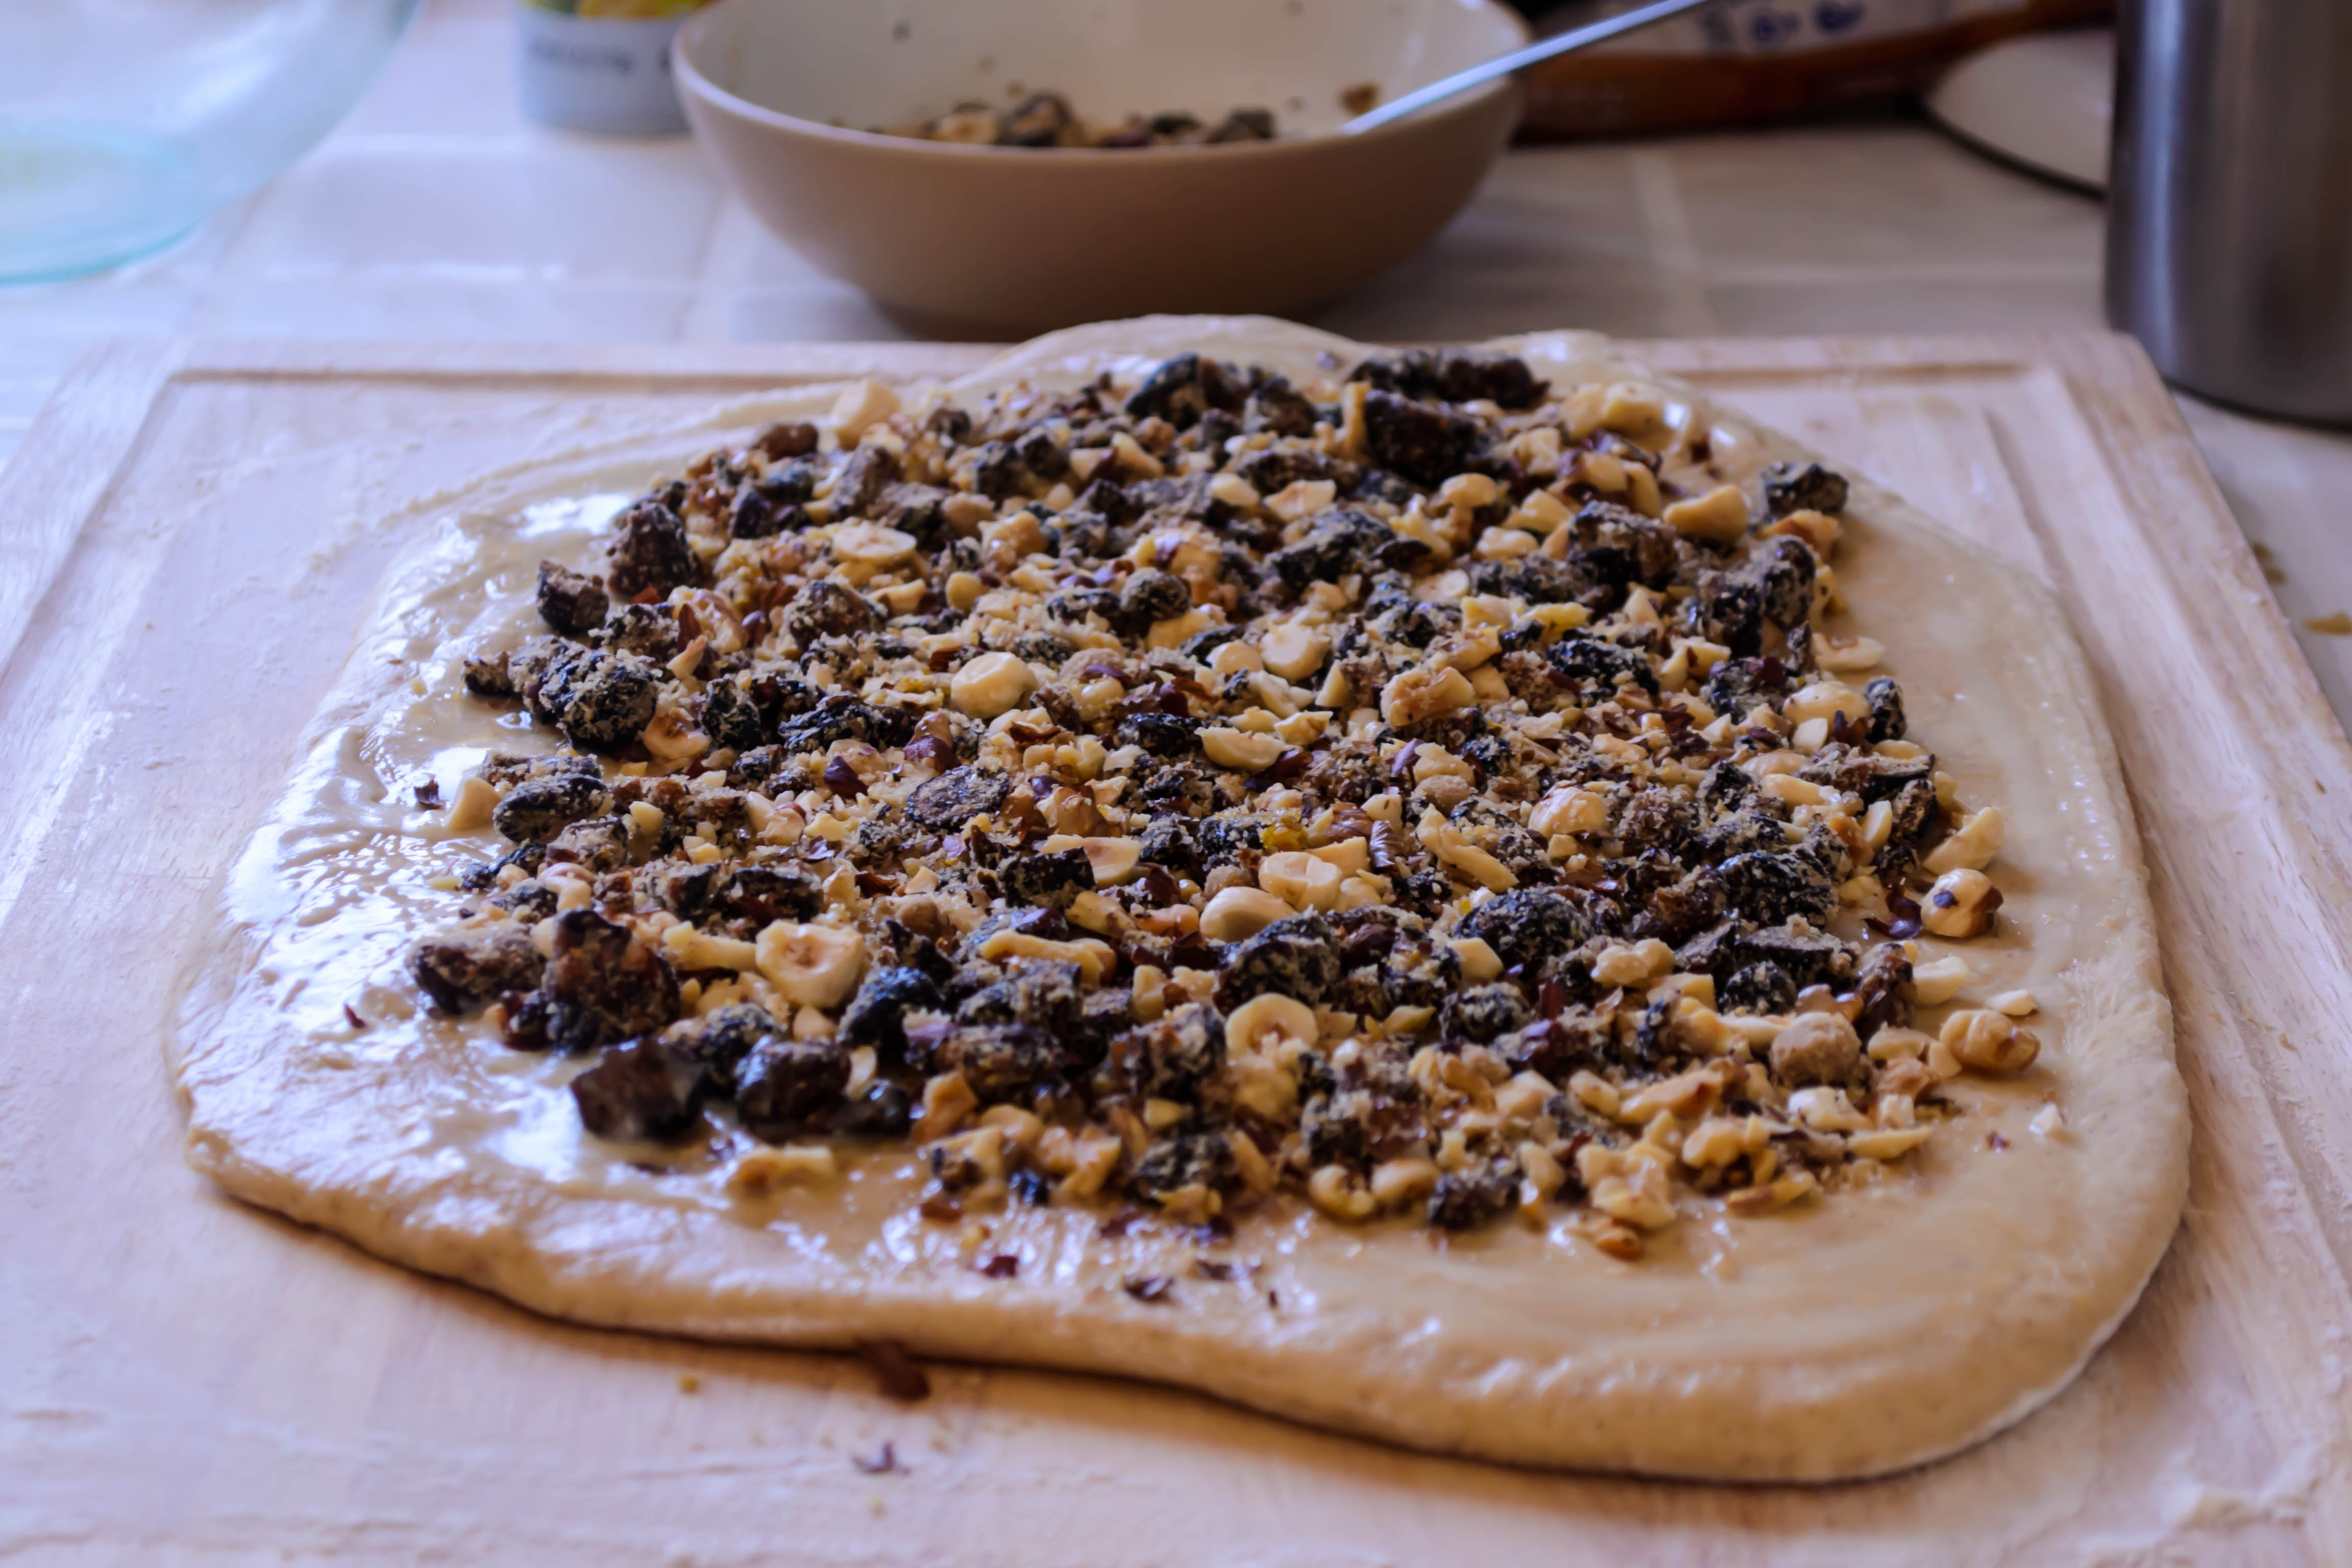
So I’m thinking back to my winter break, when I cracked the spines of two new cookbooks (does that make you cringe? It makes N. just ache inside, but dammit, I want them to lie flat!) to devour their offerings. One, Yotam Ottolenghi’s Jerusalem, has convinced me our refrigerator should never be devoid of homemade hummus again. The other, Suvir Saran and Stephanie Lyness’s Indian Home Cooking, is a beautiful and fairly accessible interpretation of some classic and some entirely original Indian and Indian-inspired dishes that leave me alternately drooling and scribbling feverish grocery lists to take to my nearest Indian market.

Food Blog January 2014-3037In the vegetable section, Saran and Lyness take on green beans in several ways, almost always doctoring them with chilies and deeply toasted spices. In one, the addition of coconut stopped me in my proverbial tracks. In fact, I’ve now made this recipe three times, as though it’s not possible to turn the page anymore because this one was just too good.

Food Blog January 2014-3039
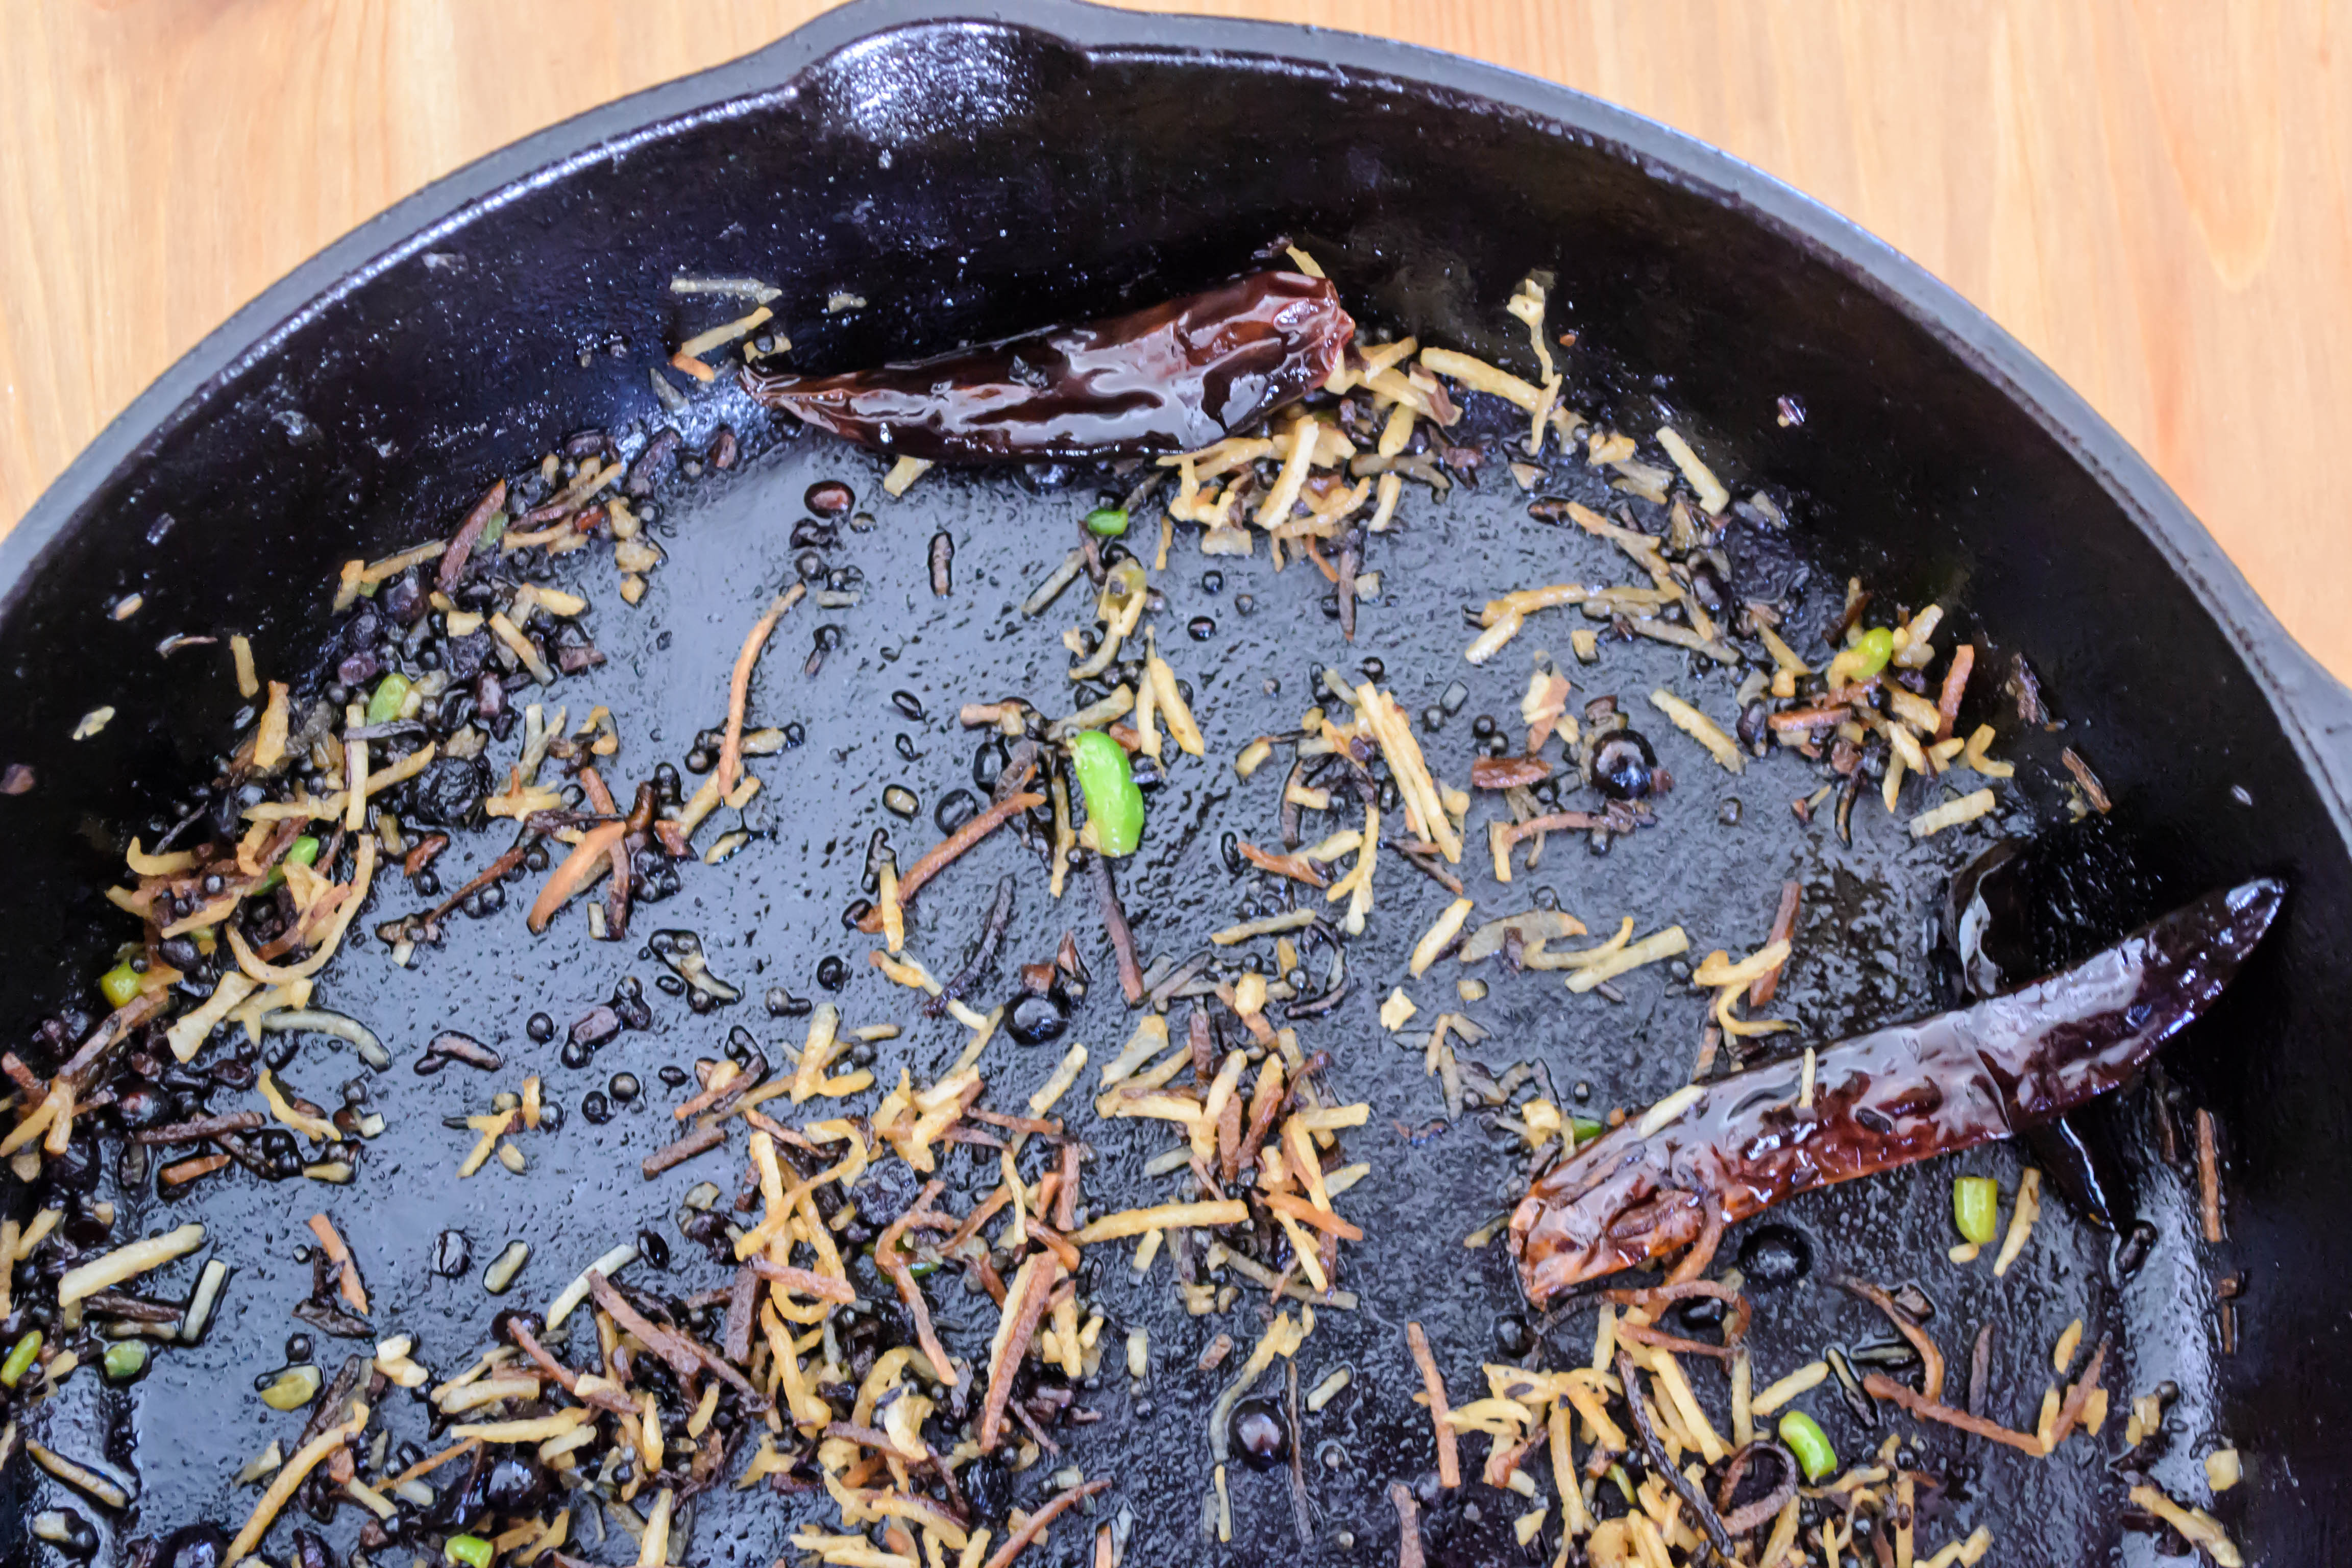
Despite this overwhelmingly positive review, I had my qualms when I first approached the recipe. This dish is called a poriyal in the Tamil language, and as I understand it, this means a stir fry or sauté of vegetables. This one happens to have coconut, split peas, urad dal (black gram beans) and numerous warm, earthy spices along with some dried chilies competing together in a beguilingly spicy umami flavor bath. But the original directions in the recipe call for sautéing the beans for five minutes, then simmering them for ten, and then evaporating the water and stir-frying again for another five – twenty minutes of cook time for green beans! I was horrified by the potential for overcooked, mushy limpness.

Food Blog January 2014-3043But I tried, I really did, to follow the directions, at least as much as I could stand it. I shortened up the cooking time for the green beans a tiny bit, but otherwise left the procedure essentially the same. To my surprise, I ended up with meltingly tender, sublimely flavored beans, with none of the unappealing mushiness I’d feared. They give up any sort of dental resistance, yes, but this is ultimately not a bad thing. The toasty split peas and chewy, deeply bronzed coconut provide sufficient texture, and the beans just give a kind of unctuous, vegetal goodness.

Food Blog January 2014-3045Still, though, there’s something about green beans sautéed until just crisp-tender, and so I revisited the recipe, this time adding the beans later, simmering them a shorter time, and ending up with a just-toasted, still fresh pile of vegetables I couldn’t help but demolish. Though the ingredient list is the same, I’m giving you both sets of procedures, so you can choose how you like your beans. However you want them, though, meltingly tender or still a bit crisp, this combination is worth stopping over.

Food Blog January 2014-3074

* Not really. My students have written on a number of intriguing topics, this only one among them. But sometimes, when I look at my “to be graded” tray, it feels that way.

Food Blog January 2014-3077

Stir Fried Green Beans with Coconut
(Slightly adapted from Indian Home Cooking)
3 tablespoons neutral flavored oil, like canola or vegetable
2 tablespoons split peas (the recipe calls for yellow, but I used green because that was what I had. Both will work fine – you are toasting them thoroughly to provide crunch)
1 tablespoon black mustard seeds (here, though, don’t use yellow instead. The taste is quite different)
1 teaspoon hulled black gram beans (also called urad dal; optional – they are there for the crunch factor, like the split peas)
3 small whole dried red chilies
1 teaspoon cumin seeds
½ cup unsweetened shredded coconut, divided
¾ pound green beans, ends trimmed, cut on a bias into 1-2 inch pieces
1 teaspoon salt, or to taste (I found I liked a bit less)
1 cup water, for meltingly tender beans, or ½ cup water, for crisp-tender beans


For meltingly tender green beans:

  • Add the oil, split peas, and mustard seeds in a large skillet or wok with a lid over medium-high heat. The mustard seeds will pop and splatter, so clap a lid on quickly. Cook, stirring, until the peas turn golden-brown and the mustard seeds begin to crackle, 1-2 minutes.
  • Add the black gram beans, if using, the chilies, and the cumin and cook uncovered, stirring, for one more minute, until the chilies are well oiled and the cumin seeds smell fragrant.
  • Add ¼ cup of the coconut and cook, stirring, 30 seconds. Add the beans and salt and cook, stirring occasionally, for five minutes.
  • Add the remaining ¼ cup coconut and the water. Bring to a simmer, cover, and cook until the beans are tender, about 10 minutes (I tried, I really did, but the best I could manage was five minutes before I got worried about limpness, and the beans were still plenty tender).
  • Uncover and cook, stirring often, until all of the water has evaporated, about five more minutes. Taste for salt and serve piping hot.


For crisp-tender green beans:

  • Add the oil, split peas, and mustard seeds in a large skillet or wok with a lid over medium-high heat. The mustard seeds will pop and splatter, so clap a lid on quickly. Cook, stirring, until the peas turn golden-brown and the mustard seeds begin to crackle, 1-2 minutes.
  • Add the black gram beans, if using, the chilies, and the cumin and cook uncovered, stirring, for one more minute, until the chilies are well oiled and the cumin seeds smell fragrant.
  • Add ¼ cup of the coconut and cook, stirring, 30 seconds. Add ½ cup water, salt, beans, and remaining ¼ cup coconut. Immediately clap on the lid and leave it for at least two minutes, or until the splattering stops.
  • Uncover and cook, stirring often, until the water has evaporated and the beans are barely tender and have had a chance to toast a bit – this should take five more minutes at most. Taste for salt and serve piping hot.

Simple Sourdough Boule, by weight #TwelveLoaves

Food Blog January 2014-3069Even though I’m getting sauced this year (is that joke already old?), I’m not abandoning my bread ambitions. I love the monthly challenge of Twelve Loaves, and I received a sourdough starter as a Christmas gift that, according to its bequeather, “needs some TLC.” Anxious to do it right, I scoured the internet for suggestions, of which there are no shortage, and in many cases, no consistency, which, delightfully and frustratingly, appears to be no problem at all! I distilled the various directions down into what felt like a successful (read: doable) routine for me. I fed it flour and water, it smells like San Francisco, and I’ve named it Bubblin’ Bertram. Is that weird? Probably.

Food Blog January 2014-3057

Bubblin’ Bertram bubblin’ away

This month’s Twelve Loaves challenge is “Keep it Simple.” As you know if you’ve spent any time on this blog, that tends to be difficult for me. I like a classic. I like a basic, fundamental recipe, but I like to twist it a little, to ask it to shimmy along with me into something fresh and bright and different. To make my predilection for complexity work with the challenge set, and to to celebrate both my new housemate (what? Yeast is alive!) and the kitchen scale Santa brought me (thanks, Mom and Dad!), I decided to face basics in a way I’ve never done before: by weight.

Food Blog January 2014-3058Baking by weight is hardly new. Shauna talks about it all the time, and it is just as true for baking with wheat flour as it is for using gluten-free flour mixes. Michael Ruhlman has written a whole book that relies on it. But it was new for me. There is something bizarrely scary about ignoring your measuring cups, though I’m not sure why, because working by ounces is admittedly so much more precise.

Food Blog January 2014-3059So I threw caution (and habit) to the wind and dove in, dipping up some of my burbling fed starter, glorying in the yeasty sour smell, and kneading it gently into flour, water, salt, and a breath each of butter and honey for a little extra flavor and moisture. It made a lovely soft dough, and I lovingly nestled it in an oiled bowl, covered it with plastic wrap, and set it aside to swell.


"Shaggy" dough

“Shaggy” dough

And then it sat. And I sat. And we sat. And I paced. And it did nothing. For hours. No rising. No bubbling. No noticeable change of any kind. I went back to the internet and searched for solace.

Food Blog January 2014-3061Three hours later, finally, my dough had almost doubled. In my warm home office, this usually takes a maximum of 90 minutes. But I had used no commercial yeast, only what was naturally in the starter. It takes those little guys a while to gulp down all the new food they’ve been handed, and to expel the gas that causes dough to puff and thicken.

Food Blog January 2014-3063Food Blog January 2014-3065Now that I knew time was the real challenge, everything else fell into place. I divided the ball of dough in two, lightly shuffled them around in some flour and shaped them into rounds, and let them rise again for an hour and a half. They didn’t puff very high, but they did expand into fat floppiness, like doll-sized beanbag chairs. But this didn’t seem to matter. Slashed artfully across the top to help gasses escape while baking, coerced into a steam-filled oven for half an hour, and we had a conjoined pair of soft, browned loaves, moist, warm, on the dense side of fluffy, and lightly but noticeably sour. Simple.

Food Blog January 2014-3066Food Blog January 2014-3067Simple Sourdough Boule, by weight
Makes 2 medium rounds
10 oz. sourdough starter, fed and bubbly (about 1 cup)
10 oz. warm water (body temperature or just above) (about 1 ¼ cups)
20 oz. bread flour (3 – 3 ½ fluffed, not packed, cups)
2 teaspoons salt
2 teaspoons honey
2 tablespoons melted butter


  • Place the bowl you’ll be combining your ingredients in onto your kitchen scale. A weight will appear on the display. Press the tare button to bring the display back to zero – you’ll do this every time you add a new ingredient, to make the additions easier to measure.
  • Add enough sourdough starter to bring the weight to 10 ounces, then press the tare button to return to zero.
  • Add enough water to bring the weight to 10 ounces, then press the tare button again: back to zero.
  • Add 20 ounces of bread flour, remembering that, depending on your scale’s settings, it might switch over to pounds when you hit 16 ounces. This caught me off guard. You’ll need, then, 1 pound, 4 ounces of flour.
  • Add the salt, the honey, and the melted butter. Since these are such small quantities, I haven’t given them in weights. Minor adjustments in one direction or the other will not hurt the bread or change the process.
  • With all your ingredients in, use the paddle attachment (for a stand mixer) or a wooden spoon (if you’re working without the machine) to combine the ingredients into a shaggy, rough dough – you’re looking just to incorporate everything. See “shaggy dough” photo above. At this point, if you’re using a stand mixer, switch from the paddle attachment to the dough hook. If you’re using a wooden spoon, now’s the time to dump the dough out onto a floured board and work with your hands.
  • Using your tool of choice, knead for about 8 minutes, or until the dough ceases to feel so sticky, and becomes elastic and smooth. Mine felt a bit lazy. I’m not sure how else to explain that – it moved sluggishly around the mixer, like a sleepy blob.
  • Lightly oil the inside of the bowl (you can use a new, clean bowl for this, but I just shimmy the blob of dough around to distribute oil underneath it), cover with plastic wrap, and set aside to rise in a warm place until doubled. For me, this took about 3 hours. Your sourdough yeasts are a bit sleepier than instant or active dry yeast, and need time to feast. It will happen eventually. You just can’t rush them.
  • When the dough has finally doubled, punch it down by pressing your knuckles into its center and letting the collected gases escape. Let it rest for 5-10 minutes to get its breath back.
  • Dump the dough out onto a floured board. Using a dough scraper, a pizza cutter, or a sharp knife, divide it in half. Shape each half into a round by holding the dough ball in your hands and stretching the top taut, tucking the excess underneath. Each time you stretch and tuck, turn the dough a quarter turn or so. You can also do this while the dough is resting on your board, turning it and tucking the excess, which will form something that looks like a balloon tie or a belly button underneath. Check out this series of photos from the kitchn for helpful illustrations.
  • Place your rounds on a baking sheet and let them rise for another 90 minutes, until they have puffed again (they won’t quite double this time, but you will see noticeable expansion).
  • About 45 minutes before you are ready to start baking, preheat your oven to 450F. Position the rack you’ll be placing the loaves on in the top third of the oven, and if you’re using a baking stone, place that on this top rack to preheat as well. Position the other rack in the bottom third of the oven and, if you have one, stick your cast iron skillet on this bottom rack, allowing it to preheat as well. You’ll see why in a moment.
  • When your bread has risen again and is ready to bake, slit the tops a few times with a razor or a very sharp knife. This helps the loaf swell and rise, since you’re breaking the taut skin you created while shaping. It also looks artful, and we like that.
  • Slide your loaves on their baking tray gently into the oven on the top rack (or, if you are using a baking stone, put the loaves directly on the stone, taking care not to jostle them too much. We worked so hard shaping them; we want to maintain that structure). Then, working quickly and carefully, fill a teacup with ice cubes and empty this into the preheated cast iron skillet you placed on the bottom oven rack. Close the oven door immediately. The purpose here is to collect steam. The ice, going immediately from solid to gas, will create a nice cloud of steam. This helps bread swell quickly and stay moist. You don’t want endless steam, because that would produce a soft crust, but a good blast right at the beginning of baking ensures a soft, nicely textured loaf of a good size, and a crisp crust, which forms as the oven dries out.
  • Bake for 30 minutes, or until the tops are pale gold and the bottoms feel hollow when thumped. These loaves will likely not brown as much as a standard loaf of bread. Here’s why: as it rises, the starches in flour are converted into sugar, which the yeasts eat. The anxious, hungry yeasts in sourdough consume these sugars much faster than standard yeast, so there is not much left to caramelize into that dark, browned surface we are accustomed to seeing on a loaf of homemade bread. No harm done, though, your loaves may just be a bit on the pale side.
  • Remove from the oven and let cool at least 10 minutes before slicing. I know, scorching-hot-just-from-the-oven bread is a glorious thing, but your loaves need a few minutes to set their internal structure. If you slice immediately, the whole loaf will crush and mash against your knife. Wait just a bit. Besides, this way you won’t burn your fingers.

Zucchini Almond Babka

This is the time of year when people who frequent food blogs are probably looking for one of two things: simple, delicious dishes to use up lots of late summer produce, or inspiration for encroaching harvest, autumn-centered meal plans.

Food Blog September 2013-2597Sorry to disappoint.

Food Blog September 2013-2578Yes, this week’s recipe uses a good pile of zucchini, shredded into a mass of green and white ribbons, and yes, it combines the warm, welcome flavors of cinnamon, nutmeg, and brown sugar that you might expect from a really good zucchini bread. But it takes those flavors and, peevishly, wraps them up in one of the more involved sorts of bread out there.

Food Blog September 2013-2585Babka is a sweet bread, raised with yeast and stuffed with butter and eggs. Most frequently, it is filled with chunks of chocolate until it is gasping under the weight, then rolled up, twisted, folded, twisted again, piled with streusel, and then baked until it is golden and crusty and melty and decadent. It tends to be a holiday treat which, considering the quantities of butter and time that go into producing a loaf, makes good sense. Though the bread itself is most likely of Eastern European origin, it probably didn’t intersect with chocolate until the mid 20th century at the hands of some, I must say, entirely sensible and clever American Jews. I mean, bread and chocolate all in one? Yes, please!

Food Blog September 2013-2586I wanted to make a lighter version (hah). I’ve been making zucchini bread for years, and I have a recipe I like, but with this year’s focus on dough, I needed something a bit more complex. I don’t remember exactly where the idea came from, but the idea of sweet, slightly vegetal zucchini flavored with the warm spices of zucchini bread and rolled up in a sweet, doughy loaf was something I had to taste. When the recipes for zucchini babka that I found used the zucchini threads in the dough itself, rather than rolling them up in the middle, I got determined.

Food Blog September 2013-2589The biggest problem here, of course, is how watery zucchini is. My great fear was that this would produce a loaf that was overcooked on the outside but still underdone in the center, as the great leaking mass of zucchini kept things too wet to bake properly. This fear was, thankfully, unfounded. A lengthy draining session followed by a firm squeezing made the zucchini, while still quite moist, apparently dry enough to use as a filling. Paired with well toasted almonds, brown sugar, and butter, it baked into a curious, almost custard-like texture. The stubby ribbons of zucchini were still in evidence, but the edges of dough around them mellowed into beautiful creaminess, like a little central vein of bread pudding.

Food Blog September 2013-2596Is this easy? Not especially. But it will use up some of your fall harvest, and it will impress whoever it is you most want to impress at this moment. Even, perhaps most importantly, you!

Food Blog September 2013-2599Food Blog September 2013-2610

Zucchini Almond Babka
Adapted from Martha Stewart
Makes one large loaf
For bread:
½ cup milk
1 ½ teaspoons yeast
¼ cup granulated sugar
1 large egg
1 egg yolk
1 teaspoon vanilla
2 cups flour
2 teaspoons cinnamon, divided
¼ tsp nutmeg
½ teaspoon salt
10 tablespoons butter (1 stick + 2 tablespoons), divided
2 medium zucchini, grated, drained, and squeezed
½ cup brown sugar
½ cup finely chopped toasted almonds
1 egg white (use the one you separated from the yolk above)
1 tablespoon milk
For streusel topping:
½ cup powdered sugar
1/3 cup flour
4 tablespoons butter
½ teaspoon cinnamon


  • First, prep your zucchini: grate it with the large holes on a box grater and set it in a colander, preferably lined with cheesecloth or a paper towel, so it can drain while you mix up the dough.
  • Heat milk in a small bowl until just warm to the touch. Sprinkle yeast over milk and let it stand until it is foamy and smells like bread; about 5 minutes.
  • In a bowl, whisk together the granulated sugar, the egg, the egg yolk, and the vanilla. Add egg mixture to the yeast and milk, whisk to combine.
  • In the bowl of an electric mixer fitted with the paddle attachment, combine the flour, 1 teaspoon of cinnamon, nutmeg, and salt. Add the egg mixture, and beat on low speed until the flour is mostly incorporated and forms a shaggy, craggy mass. This should take about 30 seconds.
  • Switch from the paddle attachment to the dough hook. Add 6 tablespoons of butter one at a time in 1-inch chunks, beating until incorporated after each addition. The dough will come together briefly, then fall apart into wet bits, and then come together again into a smooth, elastic, rich dough. This should take about 10 minutes.
  • Turn the dough out onto a lightly floured surface and knead a few times until it is smooth. It will feel moist and elastic against the heels of your hands.
  • Butter or oil your mixing bowl and place the ball of dough back into it, turning the dough to coat it with fat on all sides. Cover the bowl with plastic wrap and set it aside to rise for about 1 hour. During this time, it should double in bulk.
  • When your dough is almost done rising, squeeze your drained zucchini to eliminate as much water as possible, then combine the zucchini, brown sugar, remaining 1 teaspoon of cinnamon, and 4 tablespoons of butter in a small bowl. Stir or smoosh these together, then set the mixture back into a colander to drain again.
  • Butter or oil a 9×5 inch loaf pan and line it with parchment paper if desired. Beat the remaining egg white with milk and set it aside.
  • Gently punch down the dough by pressing your fist into the center. It will depress as the air releases. Set it on a generously floured surface and let it rest for 5 minutes.
  • Once dough has rested, roll it out into a 16-inch square; it should be about 1/8 inch thick.
  • Brush edges of the dough with the egg wash. Distribute all but about 2 tablespoons of the zucchini mixture evenly over the dough, leaving a ¼ inch border.
  • Roll the dough up tightly like a jelly roll, enclosing the zucchini mixture inside. Pinch ends together to seal. Twist 5 or 6 times.
  • Brush the top of the roll with egg wash, then carefully crumble the remaining 2 tablespoons of zucchini mixture over the left half of the roll, being careful not to let it slide off. Fold the right half of the roll over onto the coated left half. Fold ends under, and pinch to seal. Twist the roll 2 turns, and fit it into the prepared pan. This may make a bit of a mess, but be bold. It will all work out.
  • Heat your oven to 350F and prepare your streusel by combining the powdered sugar, flour, butter and cinnamon together in a small bowl. Two forks work well for this, but your fingers work better.
  • Brush the top of the loaf with egg wash, then crumble the streusel topping over it. You may have some extra, but don’t be afraid to load it up.
  • Loosely cover the loaf with plastic wrap and let it stand in a warm place for 20-30 minutes while the oven heats up and the loaf swells again.
  • Bake the loaf, rotating it halfway through if possible, until it is golden on top. This will take about 55 minutes. Lower the oven temperature to 325F and continue baking until the loaf is deep golden, 15 to 20 minutes more.
  • Remove from oven, transfer to wire rack until completely cool before you attempt to remove it from the pan and cut it into thick slices to serve. Beware: removing it from the pan and slicing too early will result in a failure in structural integrity! Be sure to let it cool.


Cream cheese and onion dip

I am a list writer.  I love lists.  I live my life by them.  I am addicted to my day-planner, where I write in even the most menial of tasks (eat lunch! unload the dishwasher!) just so I can have the satisfaction of crossing them off.  I have a three page document on my laptop of “blog post ideas” – names and concepts of dishes I’ve never even tried that I’d like to develop and perfect to share with you.

Food Blog August 2013-2444Thus it should come as no surprise that I can’t go grocery shopping without a list.  Every week I make one, and every weekend before the big trip, I hand the list over to N. so he can add his requests.  He writes funny little notes on random lines all out of order (doesn’t he know the list is arranged by where in the store the product is found?!) and tries whenever possible to convey his desires in puns or wordplay or goofy spelling.  A few weeks ago, he wrote “chip-snack” near the bottom of the list.  I knew this meant we’d be trying something new – a change-up from the standard yellow corn tortilla chips we usually have lurking about in our pantry.

Food Blog August 2013-2438We came home with thick ridge-cut sweet potato chips.  And they were… okay.  N. noted astutely that they were tasty, but after a few you felt like you’d eaten, well, a sweet potato.  And I guess that’s a sign that they are what they advertise, but maybe they aren’t our ideal snack.

Food Blog August 2013-2439As I was munching my way through a second helping one afternoon, trying to pinpoint what it was about these chips that I wasn’t crazy about (I know, I know, why would I eat more of them if I didn’t really love them?), I realized they just needed a little help.  Without as much sodium as a standard potato or tortilla chip, I was missing some of the savory oomph that you really want from a chip.  This meant they were going to need a friend to play with: a salty, creamy swirl of dip to plunge into.

Food Blog August 2013-2449What came together, as I played, was the best possible version of a sour cream and onion dip.  Whipped cream cheese with a dollop of sour cream for consistency and tang.  A pile of well-caramelized onions, sweet and soft and deeply bronze, produced through considerable patience.  Salt and pepper, of course, and I didn’t want to complicate things, but it needed something else to break up the richness.  That something else turned out to be the earthy herby punch of finely chopped rosemary.

You want this for your next chip and dip party (do people have those?  We should).  You also want, I quickly determined, at least four people at the table when you serve this, because it will disappear, and you want to prevent any guilt that would result from eating the whole cupful, along with the whole bag of chips, all by yourself.

Other suggestions: double or triple this recipe, spread it evenly into a casserole dish, and bake at 400F for 20 minutes or so, until the whole thing is luscious and bubbly and mouth-searingly hot, then serve with crostini or pita chips.  And call me.  Because I want in on that action.  Or you could roast thick slices of sweet potato with some olive oil, salt, and pepper, and pipe this on top with a piping bag in pretty little swirls.  Arranged on a big square platter, that would make gorgeous passed appetizers.

Or you can just jam crackers or bits of toast into the dregs of the mixing bowl to get every last creamy bit.  It is, after all, your party.

Food Blog August 2013-2443

Cream cheese onion dip
Yield: ¾ – 1 cup
½ cup sweet onion, finely diced
1 TB butter
½ tsp salt or to taste
¼ tsp freshly ground black pepper or to taste
1 tsp finely chopped fresh rosemary
4 oz. whipped cream cheese, at room temperature (if you can’t find whipped cream cheese, use regular, but take an electric mixer to it for a minute or two on medium speed before you start combining things – it will mix more willingly and produce a nicer texture in the final product)
2 TB sour cream (I use full fat because I think the flavor and texture is better.  It’s such a little bit.  Treat yourself.)


  • Melt the butter over low heat in a small skillet.  When it has liquified, add the onions, salt, and pepper.
  • Caramelize the onions by cooking them over low to medium-low heat for 15-20 minutes.  If they sizzle aggressively or seem to be burning, turn the heat down and agitate the pan.  You want the onions to get tender and golden slowly.  This will enhance their sweetness.
  • When the onions are evenly caramel in color and sweet to taste, turn off the heat, add the chopped rosemary, and let the mixture cool to room temperature.
  • With a spatula, combine the cream cheese, sour cream, and cooled onion mixture in a small serving bowl.  Refrigerate for 30 minutes, if you can stand it, to let the flavors meld.
  • Serve cold or at room temperature with sweet potato chips, pita chips, crudités, or crostini.


Warm lentil and kale salad

I don’t know about you, but when I get home from vacation I feel at once heavier and lighter.  Lighter, because the toil of dragging overnight bags jammed with clothes, a laptop, a camera bag, two backpacks, a cooler, a sun hat, hiking boots, a satchel bristling with electronics, a grocery sack full of road snacks, a suit bag of dress clothes for a wedding, another satchel, this one loaded with supplies spanning the randomness quotient from shampoo to a day-planner (seriously, how can we have this much stuff???), and the leash of a dog intent on smelling every single thing she’s never smelled before from parking lot to hotel room to parking lot every other night is finally over.

Food Blog August 2013-2458Heavier, because even though I didn’t cook much, I sure ate a lot.  Plus, there’s that whole emotional withdrawal from the glory of vacation, but mostly I’m just shallow enough to be talking about my waistline.

In any case, upon our return from a trip we typically plan out a few particularly virtuous meals to combat the quantity of food we consumed, and the dubious quality of some of those choices – road food is always, alas, simultaneously necessary and a bit specious (take, for example, the Milky Way I bought at a gas station in Coos Bay to help myself stay away for the remainder of the drive to Brookings, which turned out to be open on one side.  I threw it away.  And then I almost cried).  Simple rice and steamed broccoli is one of our go-to homecoming meals.  Whatever can be scraped together from the garden and eaten with a light dressing and curls of Parmesan cheese is another.

But now we have a third, which might also become a side for roast chicken, a working lunch, or a base for seared tuna or poached salmon: a warm salad of lentils, tossed with lightly blanched kale, briny kalamata olives, and the tang of feta cheese.

Food Blog August 2013-2450A few days after our return, with pantry and fridge freshly stocked, I considered my starch choices.  We eat a good bit of pasta and a fair amount of rice, but our consumption of legumes and pulses is way below par.  This had to change.  I picked out a bag of green lentils that had slowly been pushed to the back of the shelf as new and more exciting boxes were set in front of it.

Lentils are great for us.  They are packed with fiber and protein and folate, which all make them filling as well as nutritious.  But like most dried beans, on their own they just aren’t very exciting.  They call for additional flavors and textures: chilies or acid or salt, crunch or freshness.  Herby sharpness.  Crumbly cheese.  A dance of textures.  You see where this is going.

Food Blog August 2013-2453To give them as much of a fighting chance at flavor as possible, I sautéed some onions and garlic before tumbling in lentils, water, a lone bay leaf, and a bracing hit of red wine vinegar.  “And salt,” you’re surely crying, but no!  Salt should be added to lentils only near the end of cooking.  It can toughen them if you add it right away.  I’ve also read that acidic ingredients – like the red wine vinegar I used – can contribute to this toughness, but I didn’t notice any particularly virulent refusal to soften, so I wouldn’t worry too much about it.

You want your lentils to be fully cooked – that is, not crunchy – but to still retain a bit of texture.  They should soften but not fall apart into mush – taste a few to be sure they have achieved the level of tenderness you like, but be sure to do a good sampling – five or six – as isolated beans can cook at different rates.

Food Blog August 2013-2459Once done, add salt to taste, let them cool a bit, and then the magic happens, and it’s such easy magic, it’s worth doing any night of the week.  Torn pieces of blanched kale, cubes of feta, and halved kalamata olives.  A drizzle of olive oil if you think it’s on the dry side.   Faced with this combination – salty, chewy, crisp and fresh and soft – we scooped spoonful after spoonful, and ended up eating most of the pot.  So much for virtue.

Food Blog August 2013-2460

Warm lentil and kale salad with olives and feta
Serves 4-6 as a side, 2-4 as a main lunch dish
½ cup diced onion
2-4 cloves garlic, minced fine
1 TB olive oil
1 cup small green lentils, picked through and rinsed
2 ¼ cups water, vegetable, or chicken broth
2 TB red wine vinegar
1 bay leaf
1 tsp salt (or to taste)
4 packed cups chopped kale, tough stems removed
½ cup kalamata olives, halved (or to taste)
½ cup crumbled feta (or to taste)
Additional splash of olive oil (optional)
  • Heat the 1 TB olive oil in a medium pot over medium heat.  Add the onions and garlic and sweat them gently for 3-5 minutes, until the onion pieces are translucent but not vigorously browned.
  • Add the lentils, water or broth, red wine vinegar, and bay leaf, but not the salt.  Salt added at the beginning of cooking can toughen the lentils.  We’ll wait to season them until they have cooked.
  • Turn up the heat and bring the pot to a boil, then reduce the heat to simmer the mixture for 35-40 minutes.
  • After 35-40 minutes, the lentils will have sucked up most of the liquid in the pot and they will be tender but not mushy.  You want a slight bite of resistance to remain.  Add the salt, stir well, and then pour out the pot into a colander or strainer to drain off any remaining liquid.  Pick out the bay leaf so there aren’t any unwelcome surprises later.  Set the colander of lentils aside to cool.
  • Meanwhile (if you are proactive, or in the same pot you just used, if you are lazy like me), bring a pot of salted water to a boil.  Add the 4 cups of kale and cook for 1-2 minutes, until the leaves are intensely green and barely tender.  Drain the kale into the same colander as the lentils.  Cool until just warm, or completely to room temperature as desired.
  • While kale and lentils are cooling, halve your olives and crumble your feta.
  • When the lentils and kale have reached your desired temperature, add the olives and feta and toss to combine.  If the salad seems dry, add a splash of olive oil to moisten things up a bit.
  • Serve slightly warm or at room temperature.

Fig and Walnut Swirl Bread

As I continue to write this blog, I think a lot about the kind of person I am, and the kind of person I seem to be becoming.  I don’t mean this necessarily in a deep, philosophical or metaphysical way (although sometimes those things collide in the expanding corner of brain-space I use to think about food), but in a “what sort of food person am I?” kind of way.

Food Blog June 2013-1596Example: probably about five years ago, I wanted to make fried rice but didn’t have one of those seasoning packets, not even when I dug all the way to the back of my pantry (I can hear you gasping in horror that I ever had one in the first place.  What can I say?  We all have guilty secrets about one thing or another), so I tossed a few things together and ended up with a sauce we really liked.  I haven’t bought one of those seasoning packets since.  From there, I added different spices, different quantities, different ratios of garlic and ginger… and suddenly the bags of frozen stir-fry vegetables we were tossing in weren’t good enough anymore.  Fresh vegetables were now a mandate.  Fried rice used to be a quick and easy dinner!  Now it’s a totally from scratch undertaking.  And that’s the kind of (food) person I am becoming.

Food Blog June 2013-1545Example two: I used to subscribe to a number of cooking magazines.  Though I let my subscriptions run out (their cost made them an unjustifiable luxury during graduate school), I continued to use the collection I’d amassed, restricting myself to cooking recipes only from the current month’s issue: no August recipes in April.  This was an attempt to keep myself seasonal and inspired.  Well, this year it stopped working.  As each new month began, I’d eagerly flip through the appropriate month’s issue looking for something to excite me and drive me into the kitchen.  I’d close each issue with a sigh and toss it to the side.  There were many, many recipes I hadn’t tried before, but there just wasn’t anything in there that felt inspiring anymore.  Well, almost.  Once in a while, I’d find a recipe that I’d consider for a moment and then turn to N. and say something like, “this might be good, if you made it into a pasta dish instead of a sandwich and added some sundried tomatoes and herbed goat cheese.”  And I’d do it, and we’d be pleased with the result.

After a few months of this sort of thing, interspersed with a probably indecent amount of complaining about how I was bored by these recipes, N. finally turned back and said, “I think you’ve leveled up.”  Translation: your imagination has moved beyond what these magazines offer and you are now on to bigger and (we hope, for the sake of our taste buds) even better dishes.  And that’s the kind of (food) person I am becoming.

Food Blog June 2013-1552Example three: since I’ve started baking bread, I’ve been trying to plan meals around a yeasty undertaking once a week or so, to keep myself in practice and find “the best” versions of each type of baked good I undertake.  This has resulted in a development I’m not sure I’m entirely comfortable with: though I have continued to buy a weekly loaf of bread (I really like, oddly enough, the plain old sourdough loaf the bakery department at my grocery store produces) when I go shopping, I haven’t bought hamburger buns, or pie dough, or pizza dough, since beginning this little dough experiment.  Am I really the kind of person who no longer considers store-bought burger buns acceptable?  I’m not sure I’m ready for that kind of commitment, but that seems to be the kind of (food) person I am becoming.

Food Blog June 2013-1543Does that make me a snob?  Maybe.  It certainly makes me one of those “oh, I just made it by hand” kind of people you sometimes feel inclined to secretly snarl at.  But no one in the direct friendly fire of these developments is complaining, so maybe it’s not entirely a bad thing.

Food Blog June 2013-1549But it does make things more complicated, and more difficult to achieve, sometimes.  Like when I decided I really wanted cinnamon-raisin bread for breakfast, but instead of picking up a pre-packaged loaf as we shopped, I was determined to make it myself.

And then I forgot to buy raisins.

What’s a girl to do, with the plan in her head and the taste already in her brain and the soft chew of homemade bread aching in her teeth?

Food Blog June 2013-1555Well, she chops up some figs, and some well-toasted walnuts, and some hazelnuts for good measure, because she was almost out of walnuts.  She whirls together a soft, supple dough laced with brown sugar, cinnamon, and sour cream.  Nutmeg and lemon zest find their way in.  And she rolls up a crunchy crumbly sweet layer of fruit and nuts inside the dough, twists it to dispense the swirl, and lets it rise into a triumphant bulging loaf.

Food Blog June 2013-1564Food Blog June 2013-1569Food Blog June 2013-1570Food Blog June 2013-1573And what results, after it’s been rubbed with butter and cinnamon sugar for good measure and baked until golden and puffy, is something that drives standard cinnamon-raisin bread straight out of her mind.

Food Blog June 2013-1583The sour cream adds a beguiling richness to this loaf, making it almost unnecessary to add a slick of butter or cream cheese to a breakfast slice.  The figs and walnuts are a pleasingly earthy combination, and though I wasn’t crazy about the lemon zest I added at the spur of the moment, you might like the brightness it brings to the filling.

Food Blog June 2013-1594So.  Food snob?  Maybe.  But really, when you’re sitting down to breakfast with a loaf of homemade, fig-filled bread, your mouth is probably too full to complain.

Food Blog June 2013-1592Fig and Walnut Swirl Bread
makes 1 large loaf
For dough:
2 tsp yeast
½ cup warm milk
1 egg
1 tsp vanilla
¼ cup butter, very soft, or melted and cooled
¼ cup sour cream (go on and use the full-fat stuff; don’t deny yourself on such a little bit)
1 tsp salt
1 tsp cinnamon
¼ tsp nutmeg
2 – 2 ½ cups bread flour (see instructions below)
For filling:
½ cup toasted walnuts, chopped, or a mixture of walnuts and hazelnuts
(zest of 1 lemon – optional because I didn’t love it, but you might!)
¼ cup melted butter
¼ cup brown sugar
1 cup chopped dried figs (I like black mission figs, myself)
For topping:
1-2 TB butter, melted or very soft
2 TB brown sugar
1 tsp cinnamon


  • Stir the yeast into the warm milk and let it sit for 5 minutes or so to allow the yeast to wake up.  It will begin to get bubbly and smell warm and bready.
  • While you wait for the yeast, plonk the ¼ cup softened butter, the sour cream, the egg, and the vanilla into the bowl of a standing mixer (or into a large mixing bowl).
  • Add the yeast and milk mixture to the combined wet ingredients and mix them together briefly using the paddle attachment, just enough to combine things and break up the egg (if you are not using a stand mixer, an electric handheld or some elbow grease and a whisk will do nicely here).
  • Add the brown sugar, spices, salt, and 2 cups of flour.  Using the paddle attachment (or a sturdy wooden spoon if you aren’t a stand mixer sort of person), mix just until the flour is moistened and you have created a lumpy dough.
  • Switch to the dough hook (or turn your dough out onto a well floured board) and knead for 5-7 minutes.  The dough will be very sticky – we’ve added a lot of fat and a lot of moisture.  Don’t despair.  Add more flour a tablespoon or two at a time just until the dough cooperates (up to 2 ½ cups of flour, though depending on the relative humidity of the day, you might not need that much).  It will still be a bit sticky, but it will become more elastic and supple and much easier to work with.
  • Once your dough is smooth and stretchy and a bit springy, plop it into a greased or oiled bowl, cover it with plastic wrap, and set it aside in a warm place to rise for 90 minutes, or until doubled.
  • Meanwhile, prepare the filling: in a small bowl, combine toasted nuts, figs, brown sugar, and lemon zest, if using.  Melt the ¼ cup butter to prepare for glossing the dough.
  • Once doubled, punch down the dough to release trapped gas by gently deflating it with your fist.  Turn it out onto a floured board and roll it into a rectangle the width of the long edge of your loaf pan and about twice as long.
  • Now it’s time gloss the dough and add the filling.  Dribble the melted butter over your rectangle of dough and rub it all over the surface, right out to the edges.  I’m calling this “glossing” the dough because it leaves everything shiny and glossy and gleaming.  You might have a little extra butter; save it for the topping.
  • Sprinkle the dough with the fig and walnut mixture, leaving an inch or so border on all sides to prevent overflow.  You will likely have extra.  That is a most excellent thing because it goes so well with oatmeal or with Greek yogurt.  Instant snack.
  • Starting on the shorter side of your rectangle (the side that is the same length as your loaf pan), begin to roll up the dough as you would for a jelly-roll, starting with the middle and moving out to the sides.  Continue rolling until all the filling is enclosed, and then fold up the remaining, bare edge and pinch it firmly against the roll to create a seam.
  • Twist your log of dough a few times to ensure that a pretty swirl of filling is formed as it bakes, then settle it into a buttered or greased loaf pan.
  • Rub the top of the dough with soft or melted butter, then sprinkle it all over with the brown sugar and cinnamon.  Cover it lightly with greased plastic wrap and set it aside to rise again for 30 minutes.
  • During this second rise, preheat your oven to 375F.  When the dough has had half an hour to collect itself, remove the plastic wrap and bake it for 35 minutes, or until the bottom sounds hollow when thumped or the internal temperature is between 180-200F (the thump test is the standard way of checking for doneness on bread, but it seems sort of impossible when you are baking a big loaf in a loaf pan.  I prefer to take its temperature).
  • When it tests done, using whatever is your favorite method, remove it from the oven and let it cool for at least twenty minutes in the pan.  This will allow the structure to firm up so it slices nicely, rather than collapsing and squashing into itself when you so much as approach it with a serrated knife.
  • Slice and consume.  The filling can be a bit crumbly, so we ate it with forks like a slice of yeasted coffeecake.  Enjoy!