 toast, Gromit.
Photo Friday
Reply

toast, Gromit.
 The time of peace is coming. I can feel it. I need it. This is week 14 of a 16 week semester, and though I had a brief respite from grading this weekend, this week papers begin pouring in again. And this is not to say that my weekend wasn’t busy. It was crammed, jammed, packed, precariously scheduled. It was just busy with other things. But I felt, for just a moment, the peace I’m craving. I caught myself, about five minutes into dusting the living room, enjoying it.
I’ll wait while that sinks in.
I was enjoying. dusting.

 Before you think me a complete freak, let me say this is a highly irregular occurrence. I don’t enjoy dusting. In fact, within ten minutes of noticing this odd feeling of pleasure, I was tired of the activity again. But for those few minutes, there was something so calming, so reassuring, so soft and easy about running a cloth over the bookshelves and the side table and the TV stand. It was a moment that was easy to escape from. It was mentally effortless. I thought, “I need this.” I need this peace, this feeling of being brainless with no guilt.

 Fortunately, this time is approaching like a freight train (it would be nicer if it were approaching like fog, or frosting, or some other delicate F word, but we must be honest…). The commercials I try not to pay attention to when I watch television loudly broadcast how many shopping days are left until Christmas. Within my family, texts about gifts have started flying. I may or may not already know exactly what I’m wearing for my family’s Christmas dinner.


 But that’s getting ahead of things. That’s the full stop. We do get a funny little moment of pause first, which is what the dusting was for. My parents arrive on Wednesday to celebrate Thanksgiving. It will be the first year my sister doesn’t join us. This is, when I think about it, a stab of selfish sadness. But that only lasts a moment, because instead of winging her way all the way across the country to be with us for one short weekend, she’ll be with her partner and her dog, with his family. This is a joyful thing. She sent me a photo of a batch of pumpkin bread cake pops she made to take along. She said something about “impressing purposes.” She won’t need cake pops to do that.

 It does seem like pumpkin is the thing to do these days. I was unsurprised that this month’s Twelve Loaves project calls for that most celebrated of squashes. I typically try to imagine something no one else will have made for the Twelve Loaves challenge, but this month I decided to loosen up. The fact was, I wanted pumpkin sweet rolls. So no matter how many other people chose this too (two so far), I was making them. Originality be damned. Sometimes you just have to make what you’re craving.
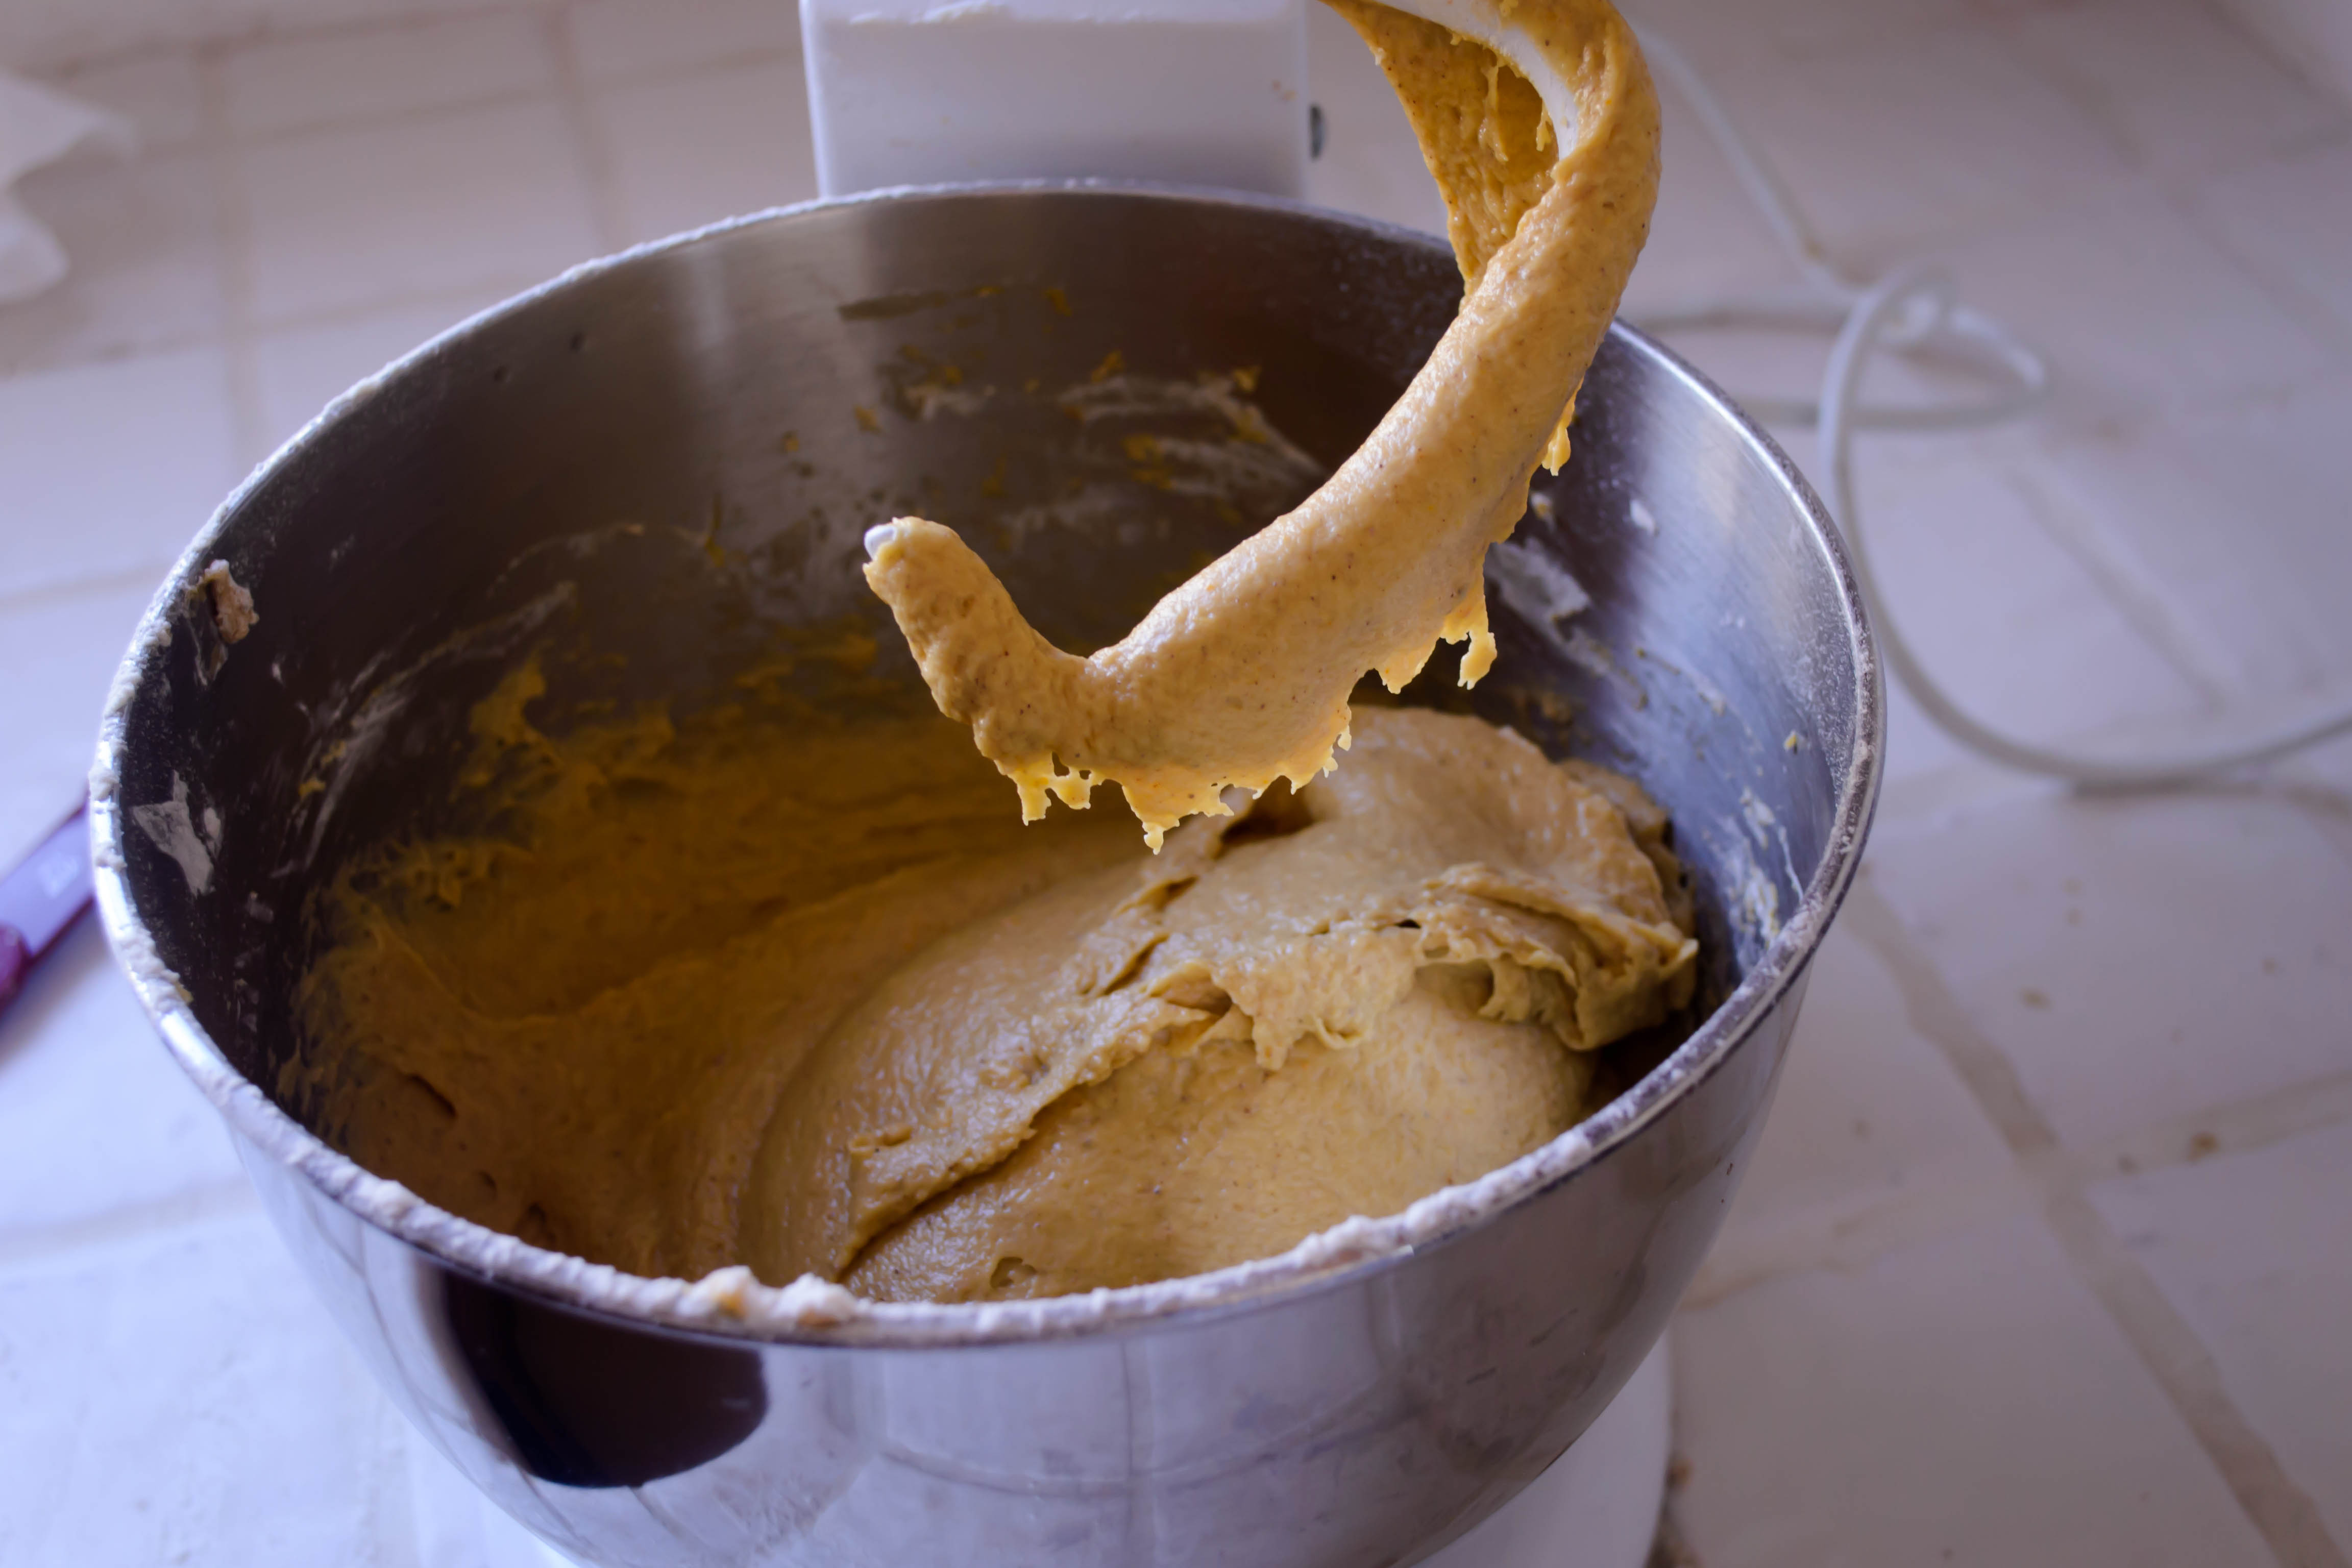
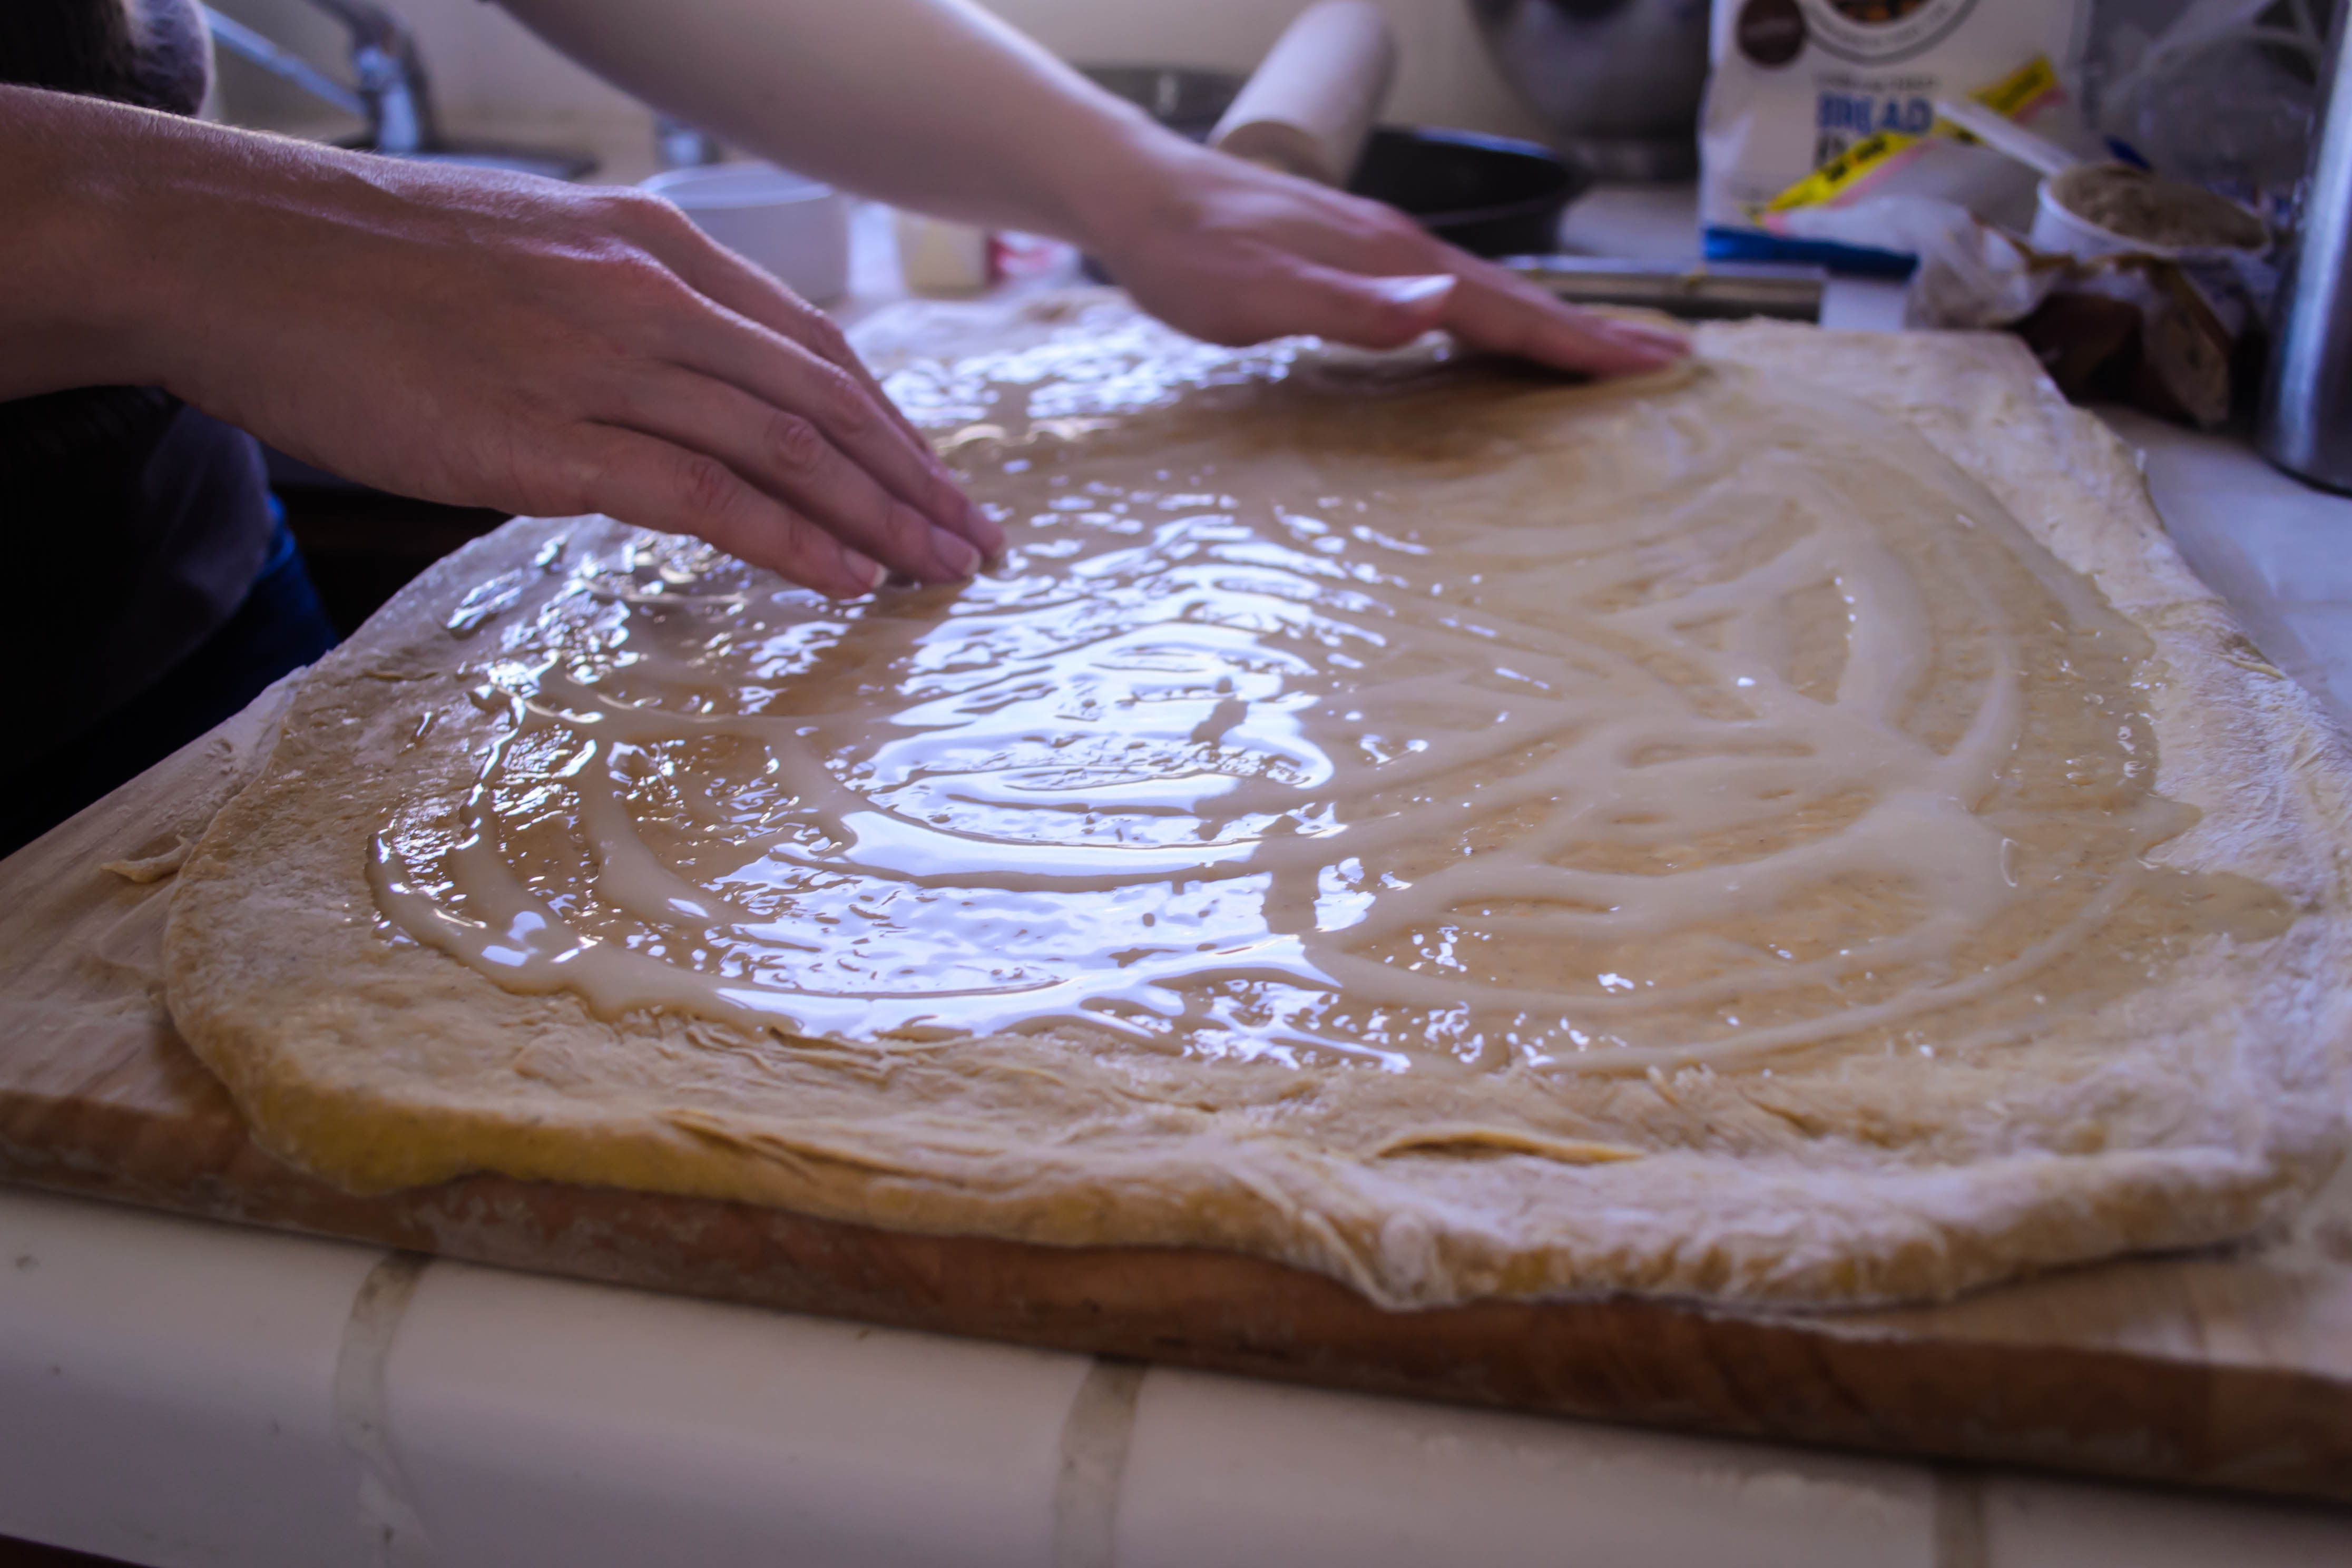
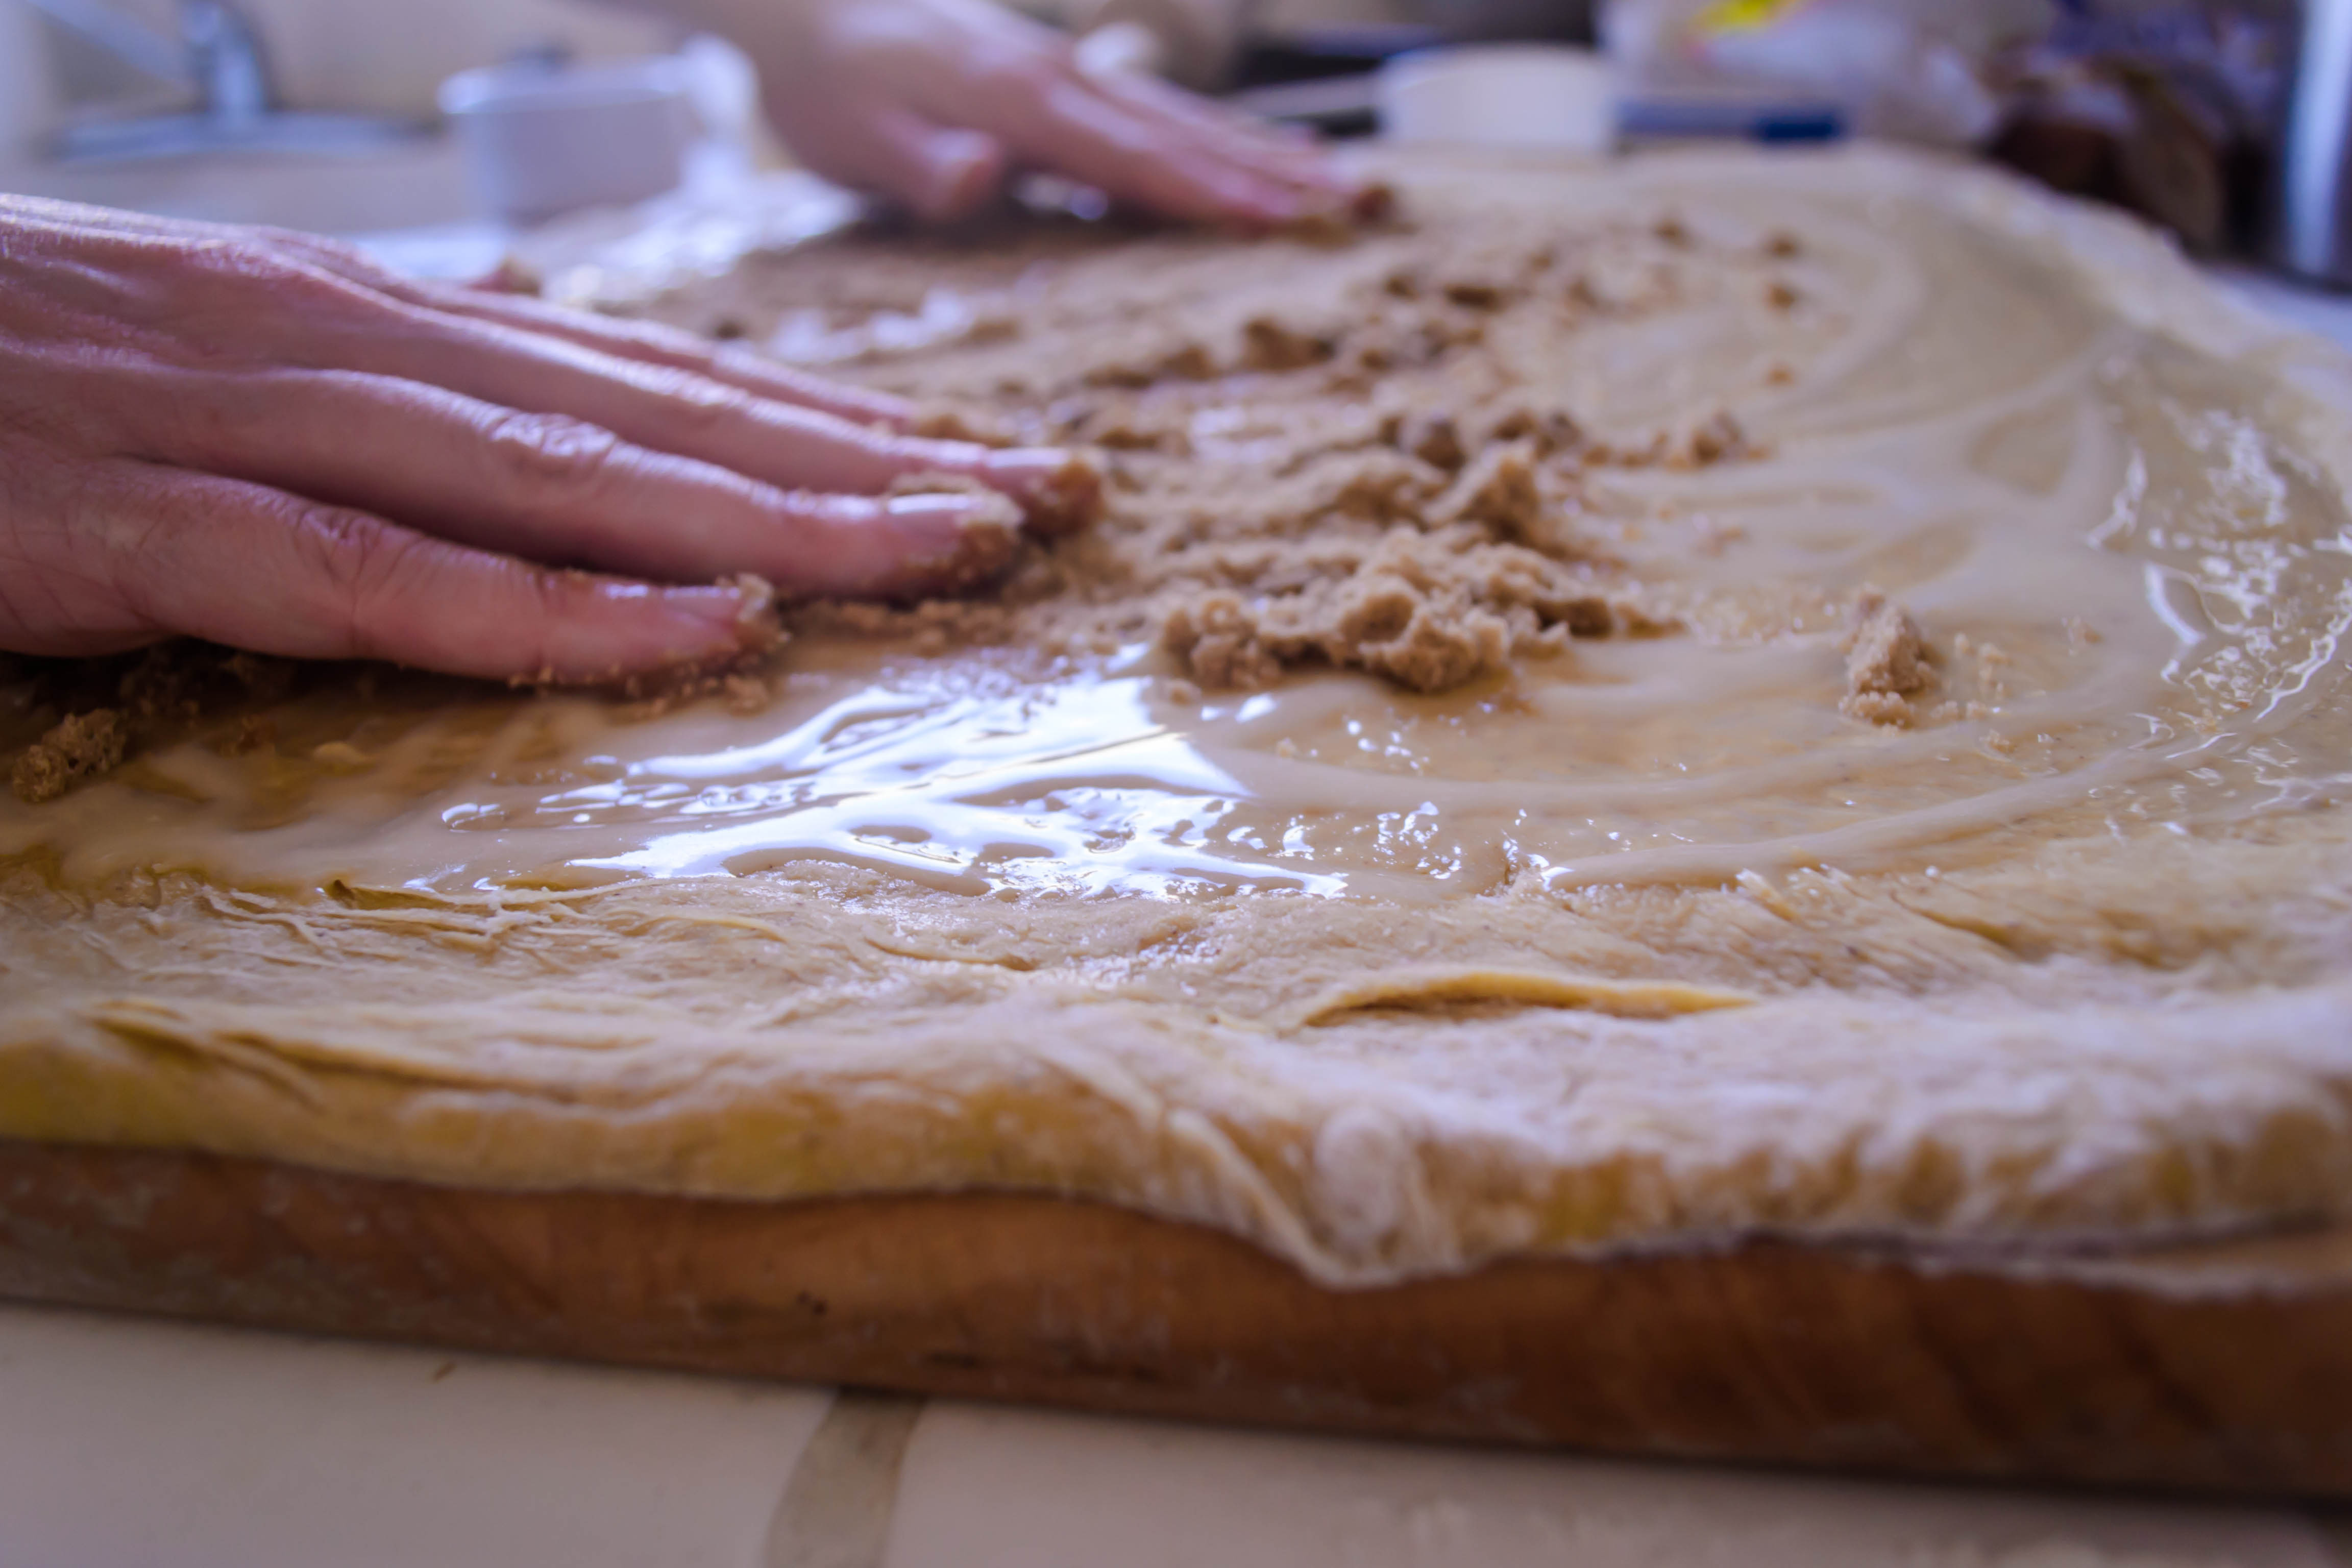
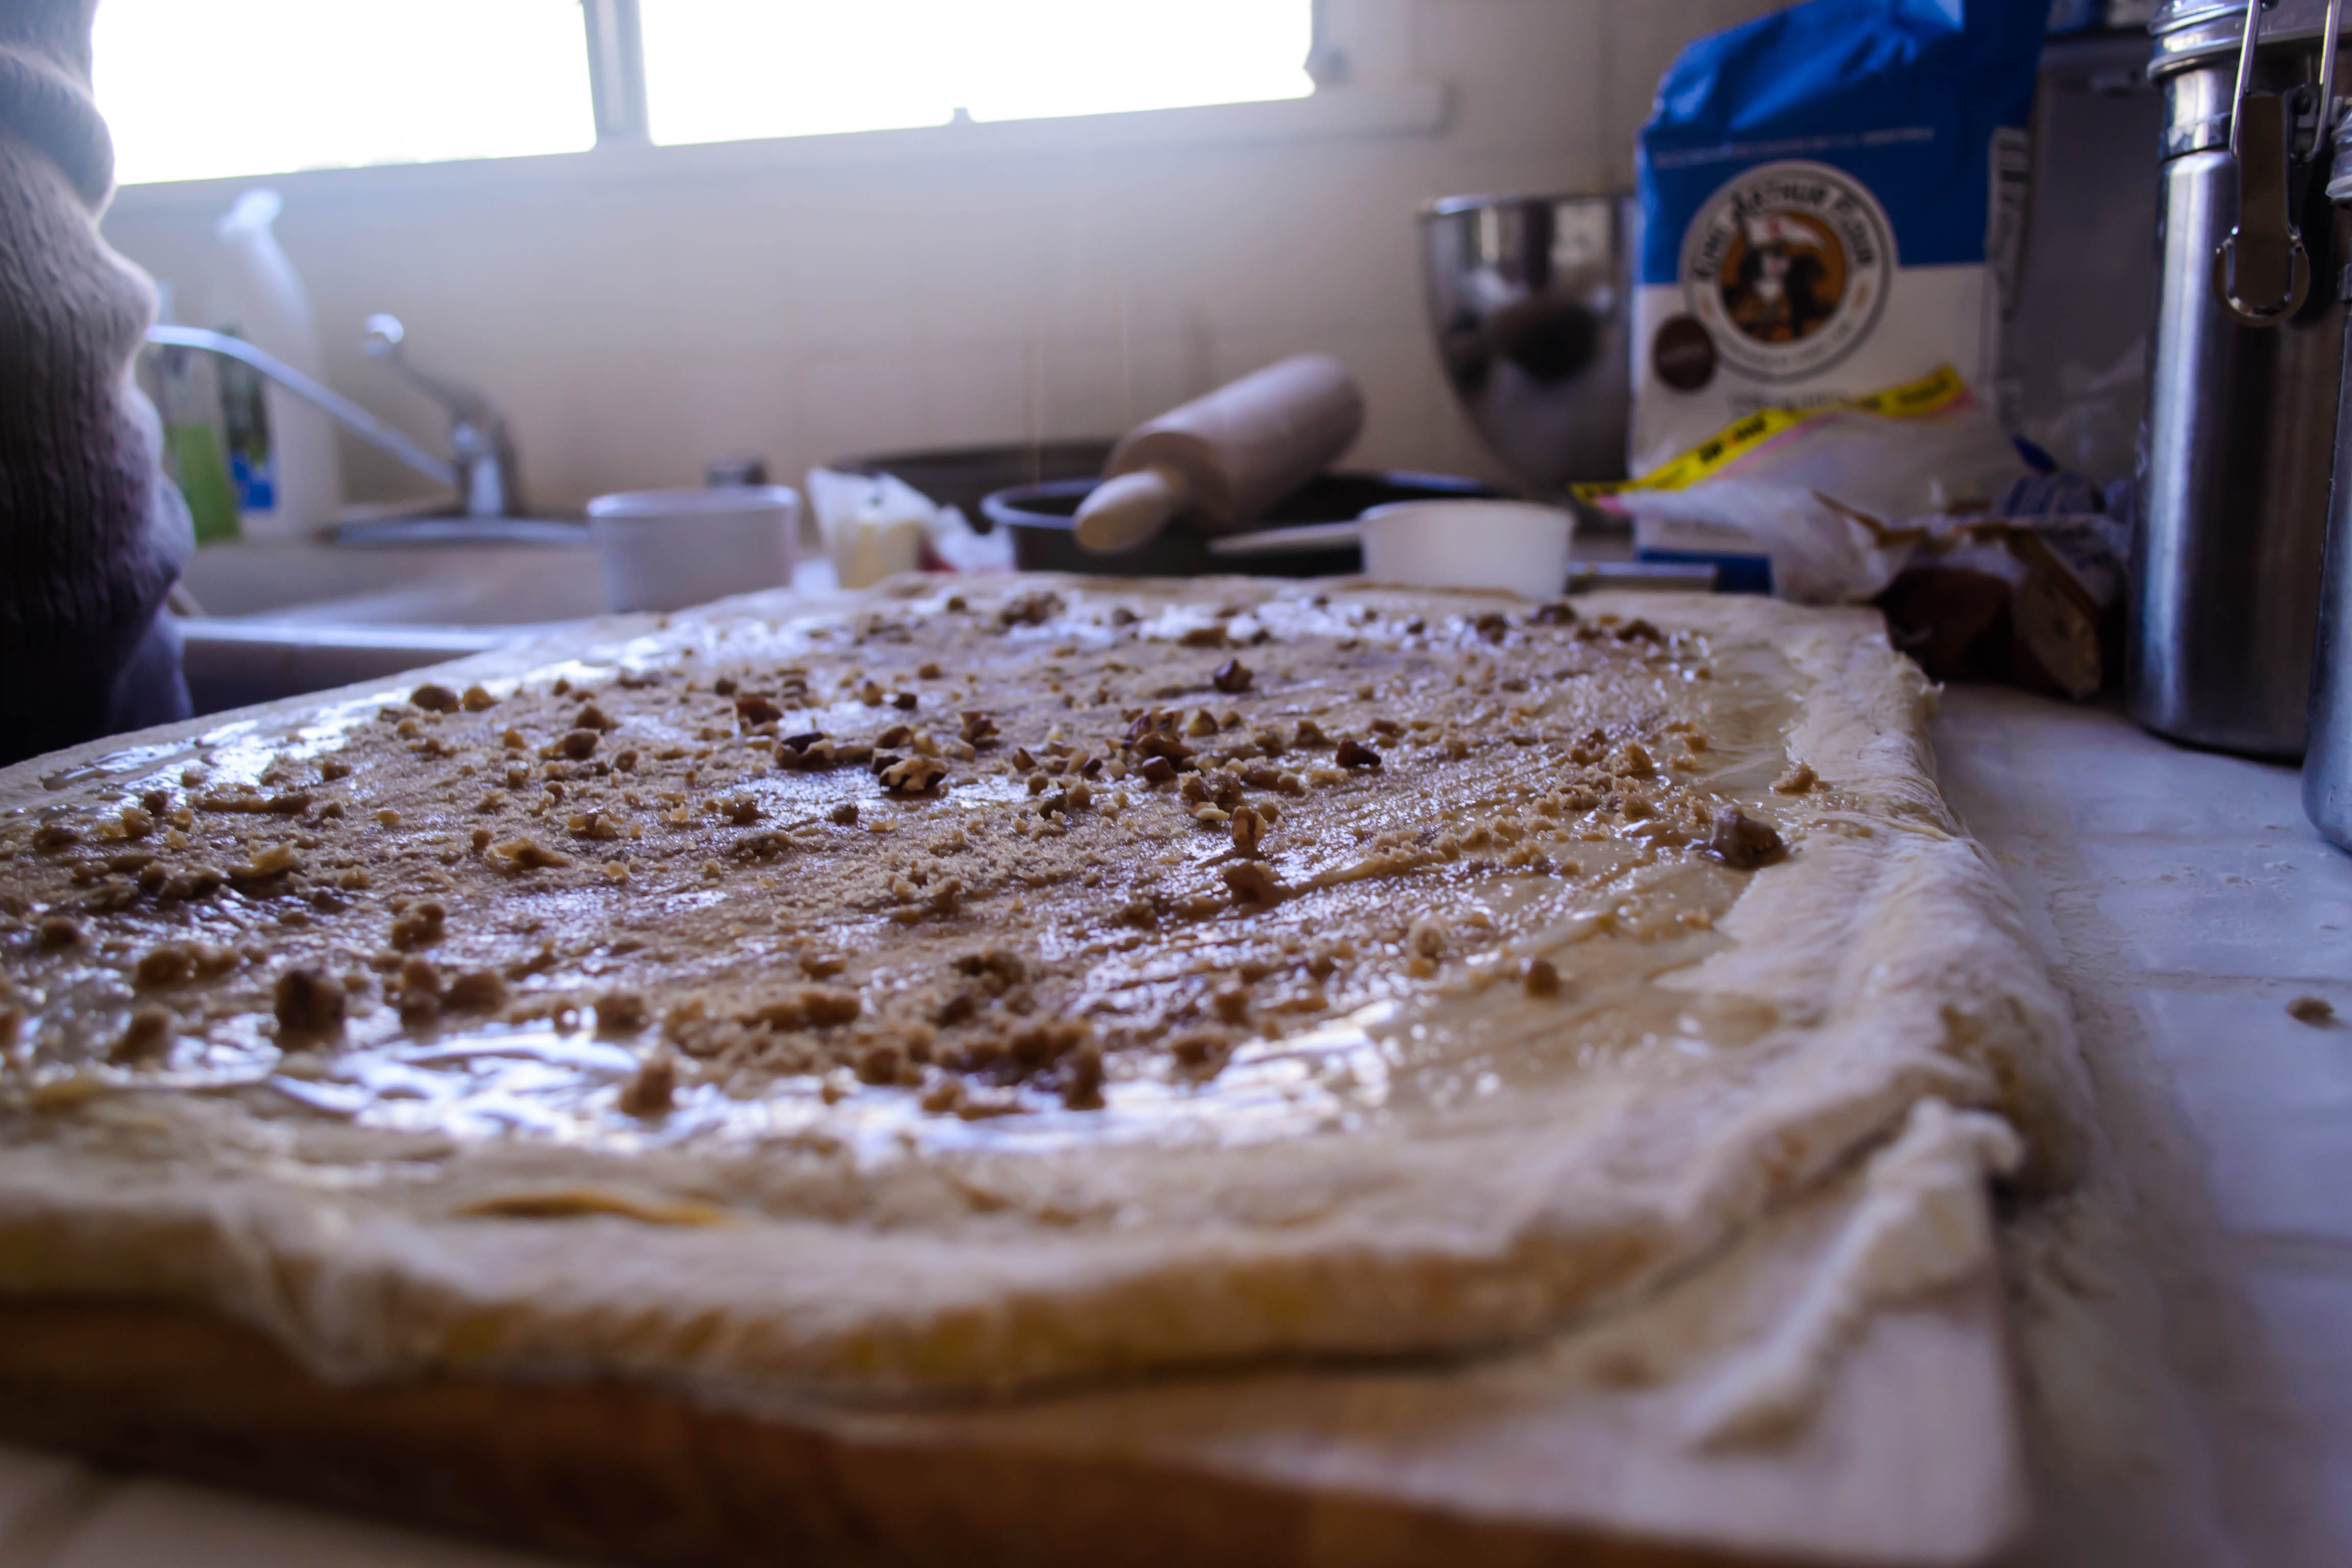
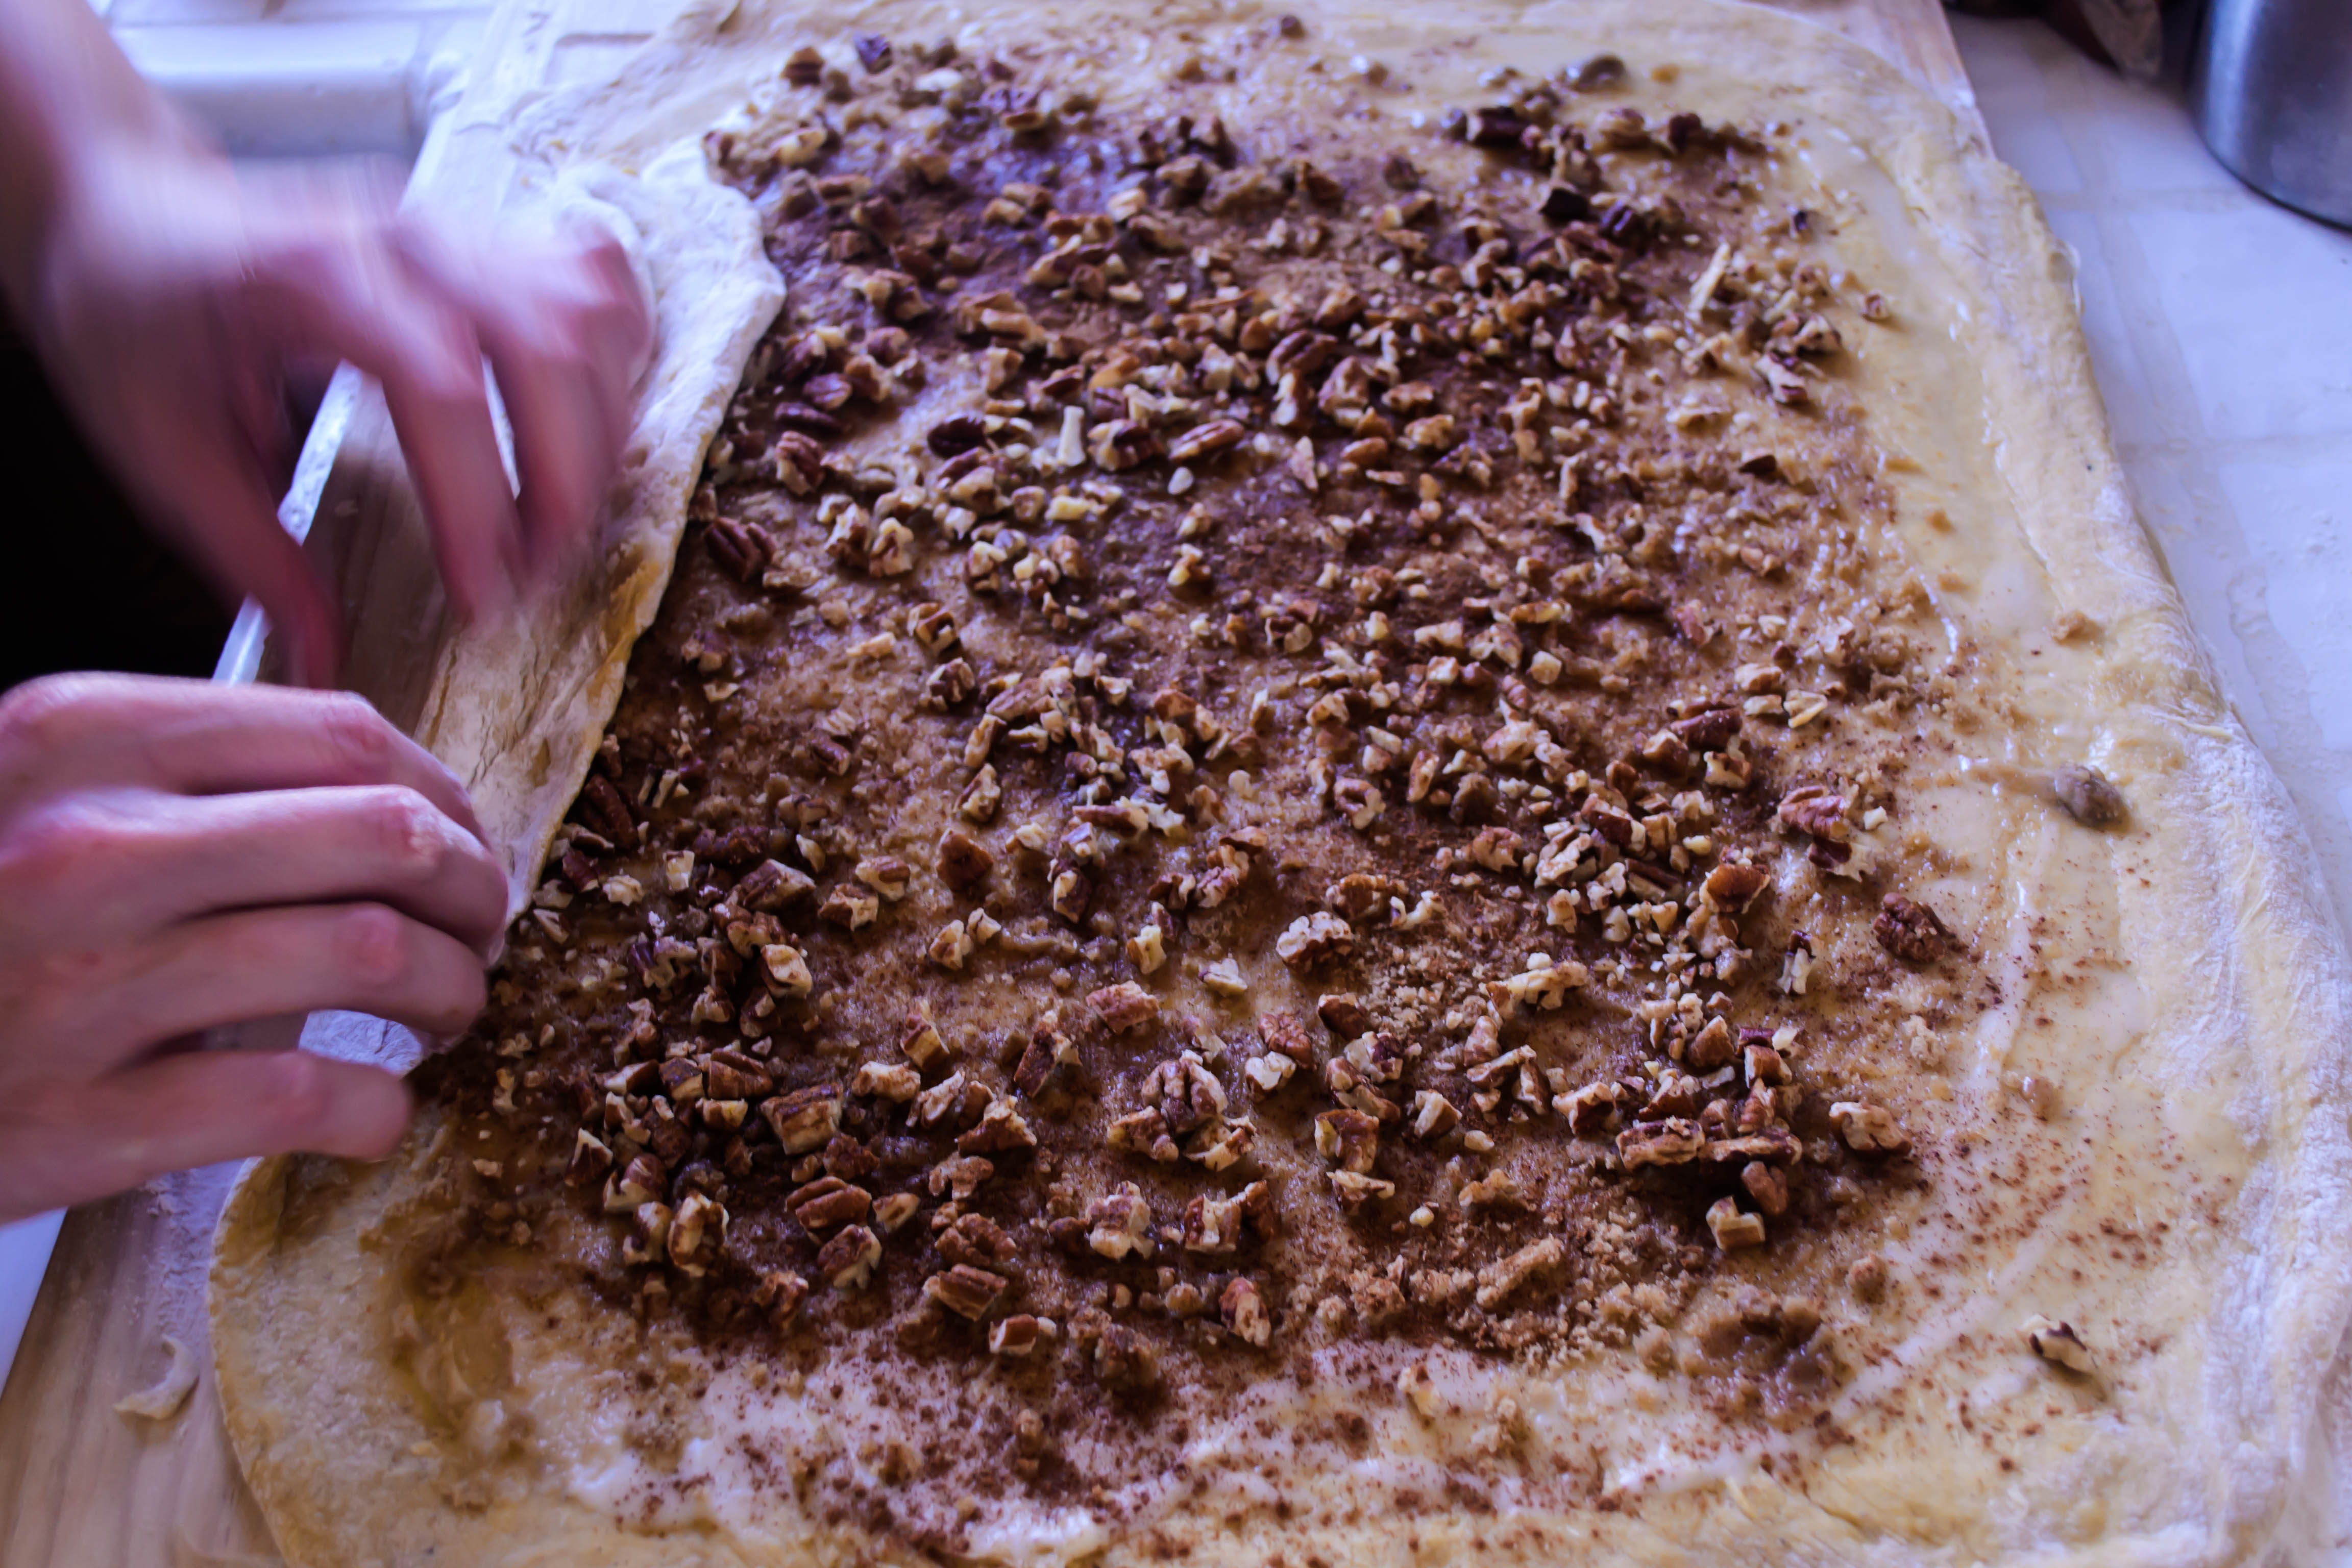
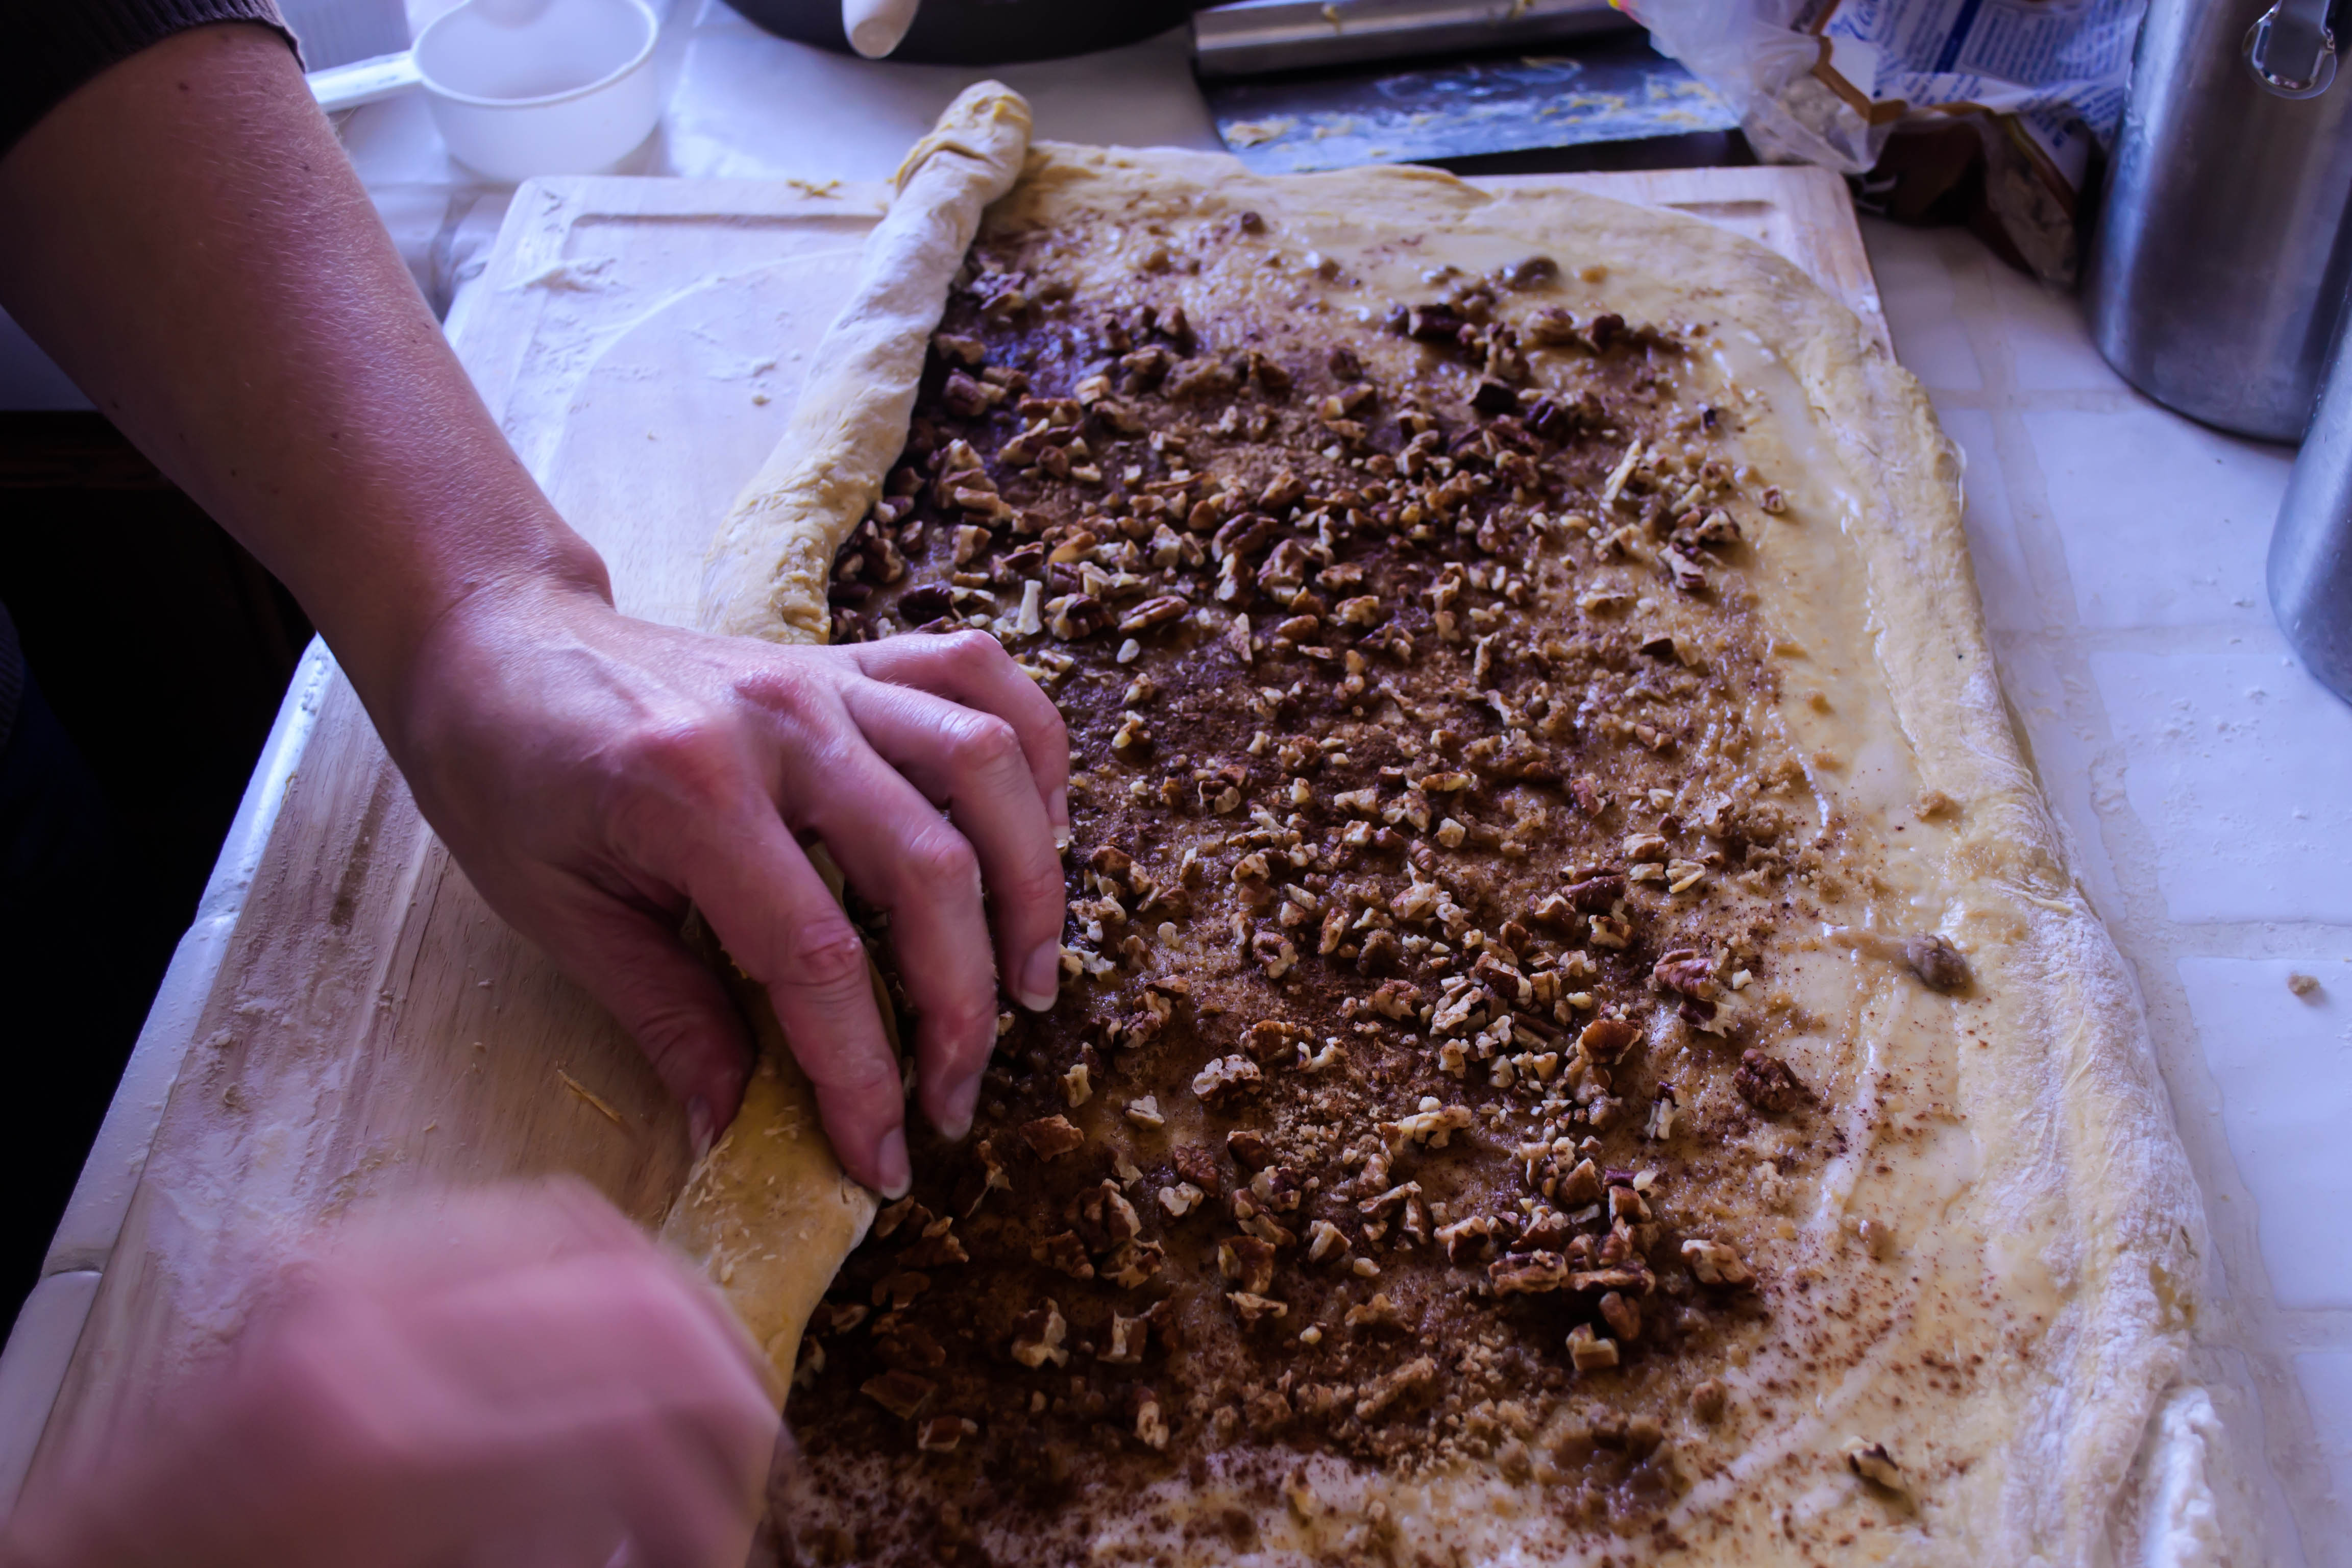
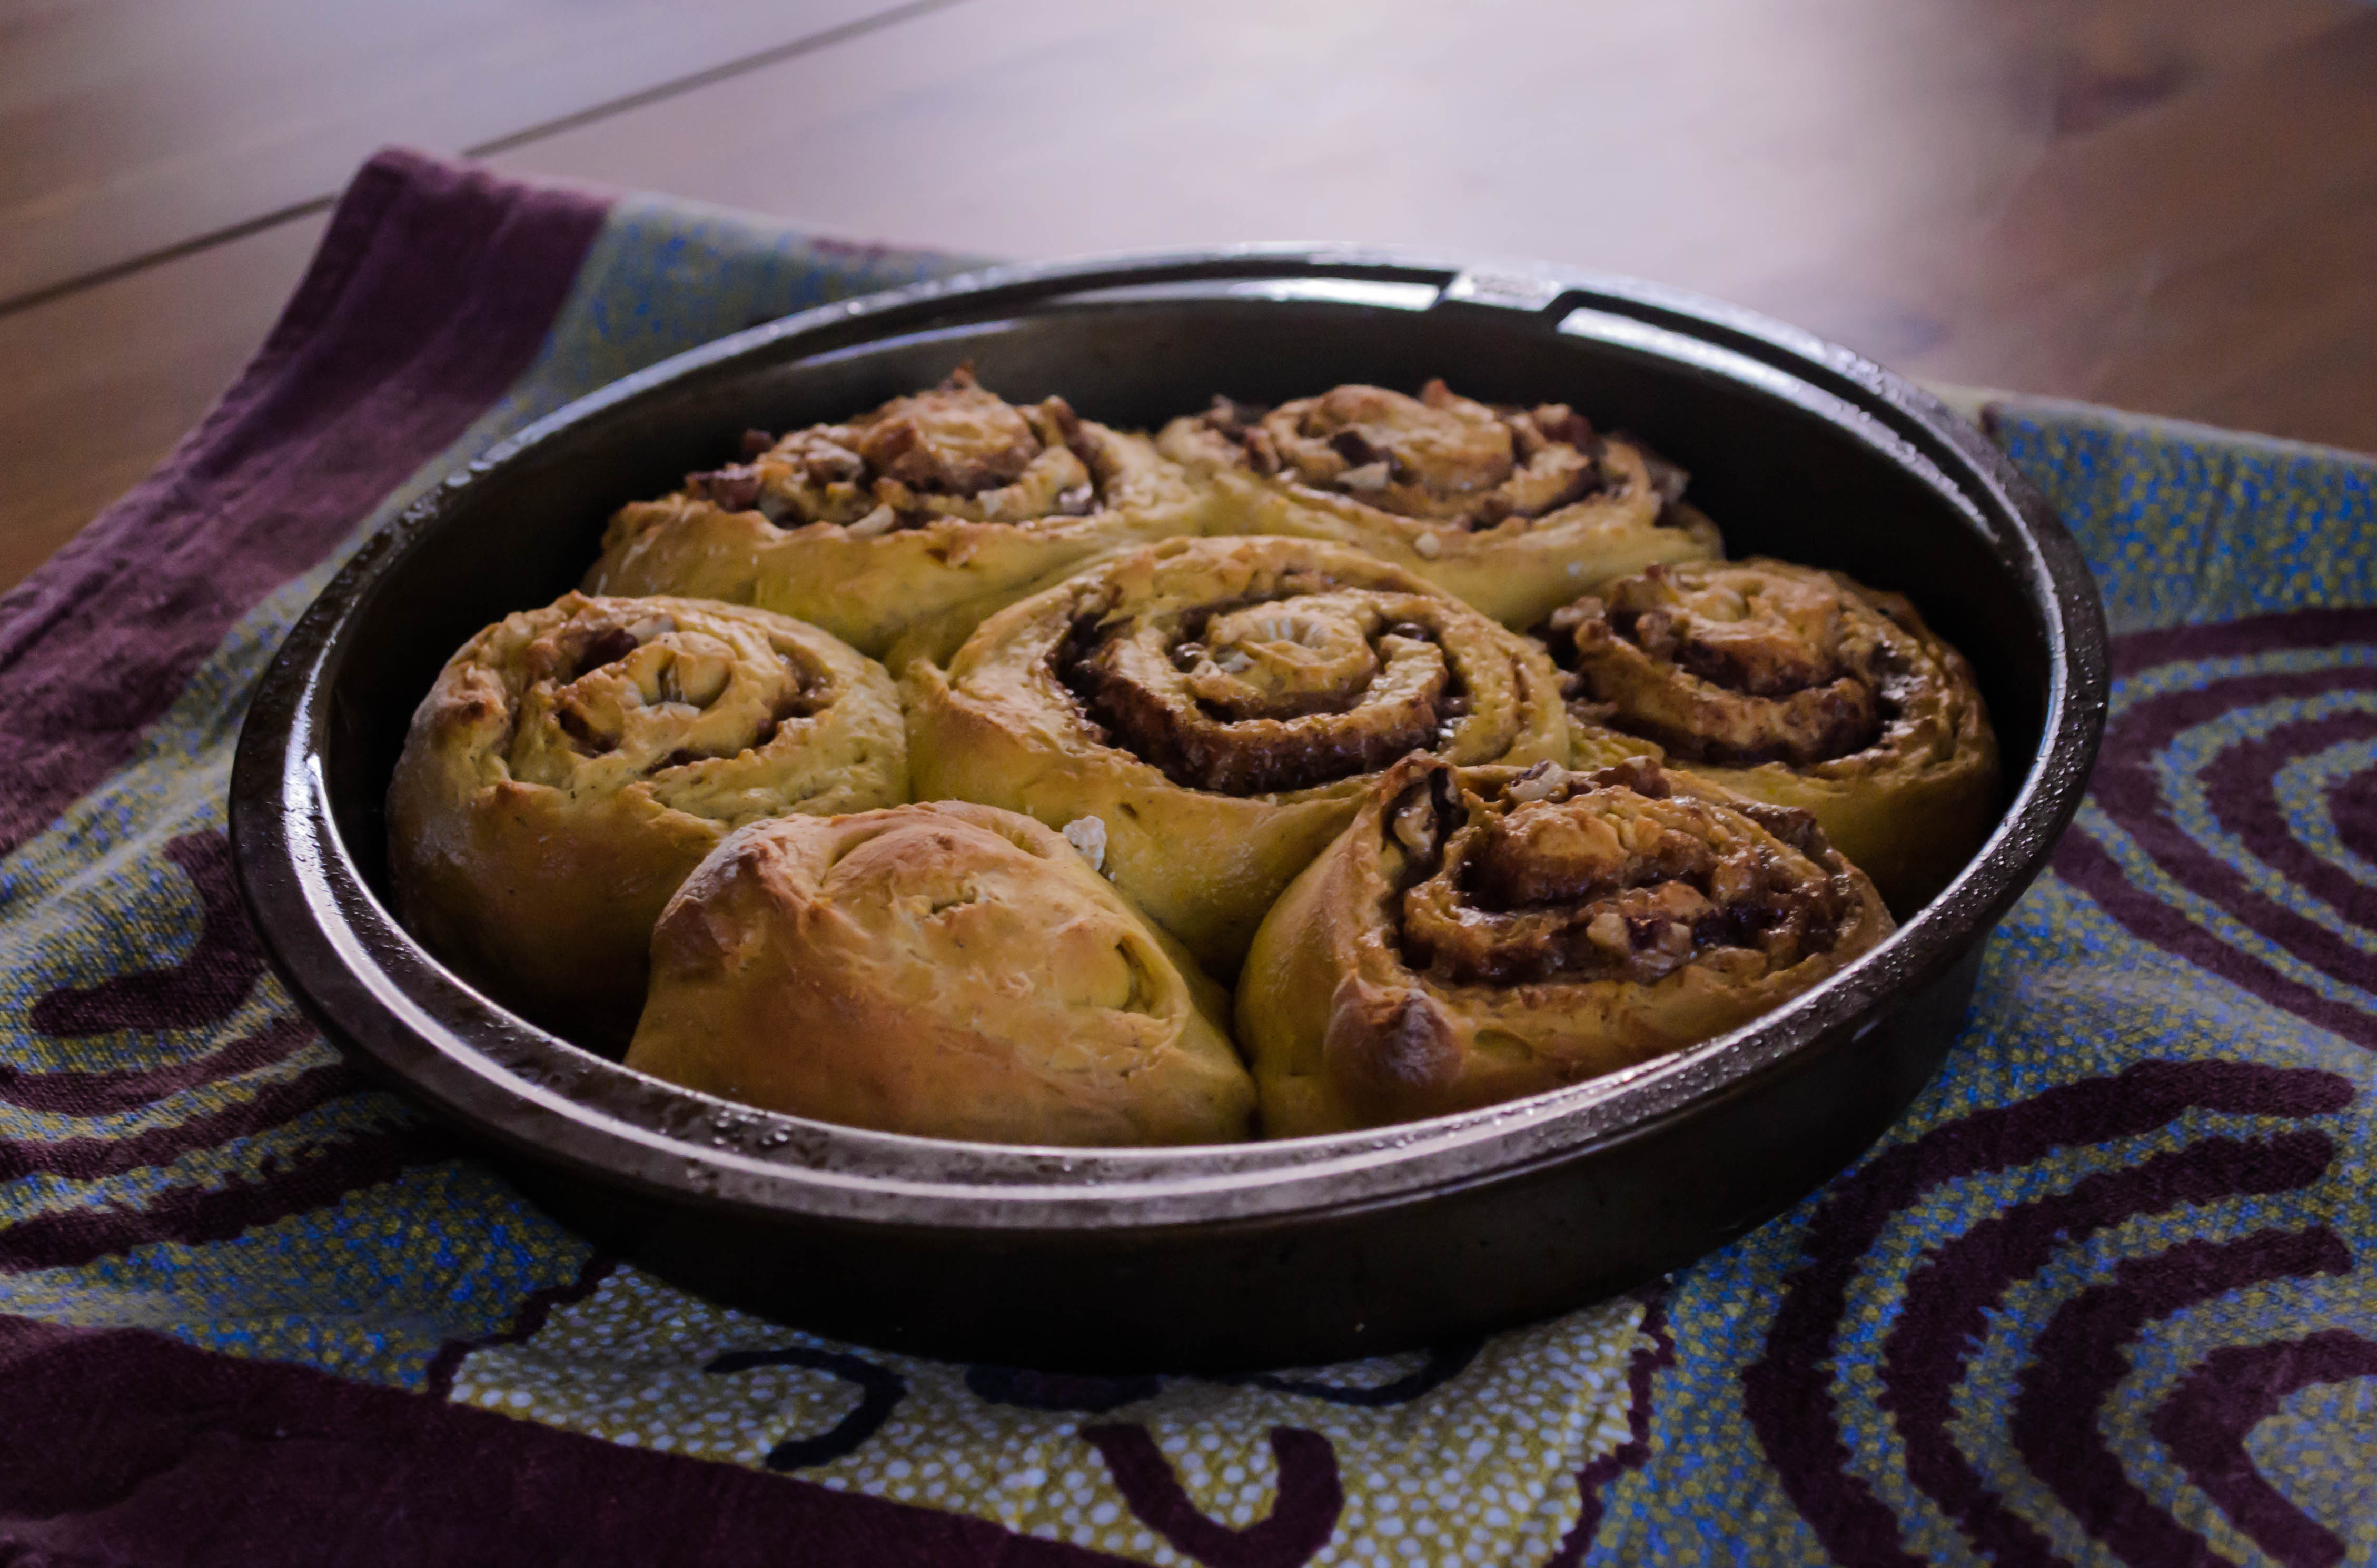
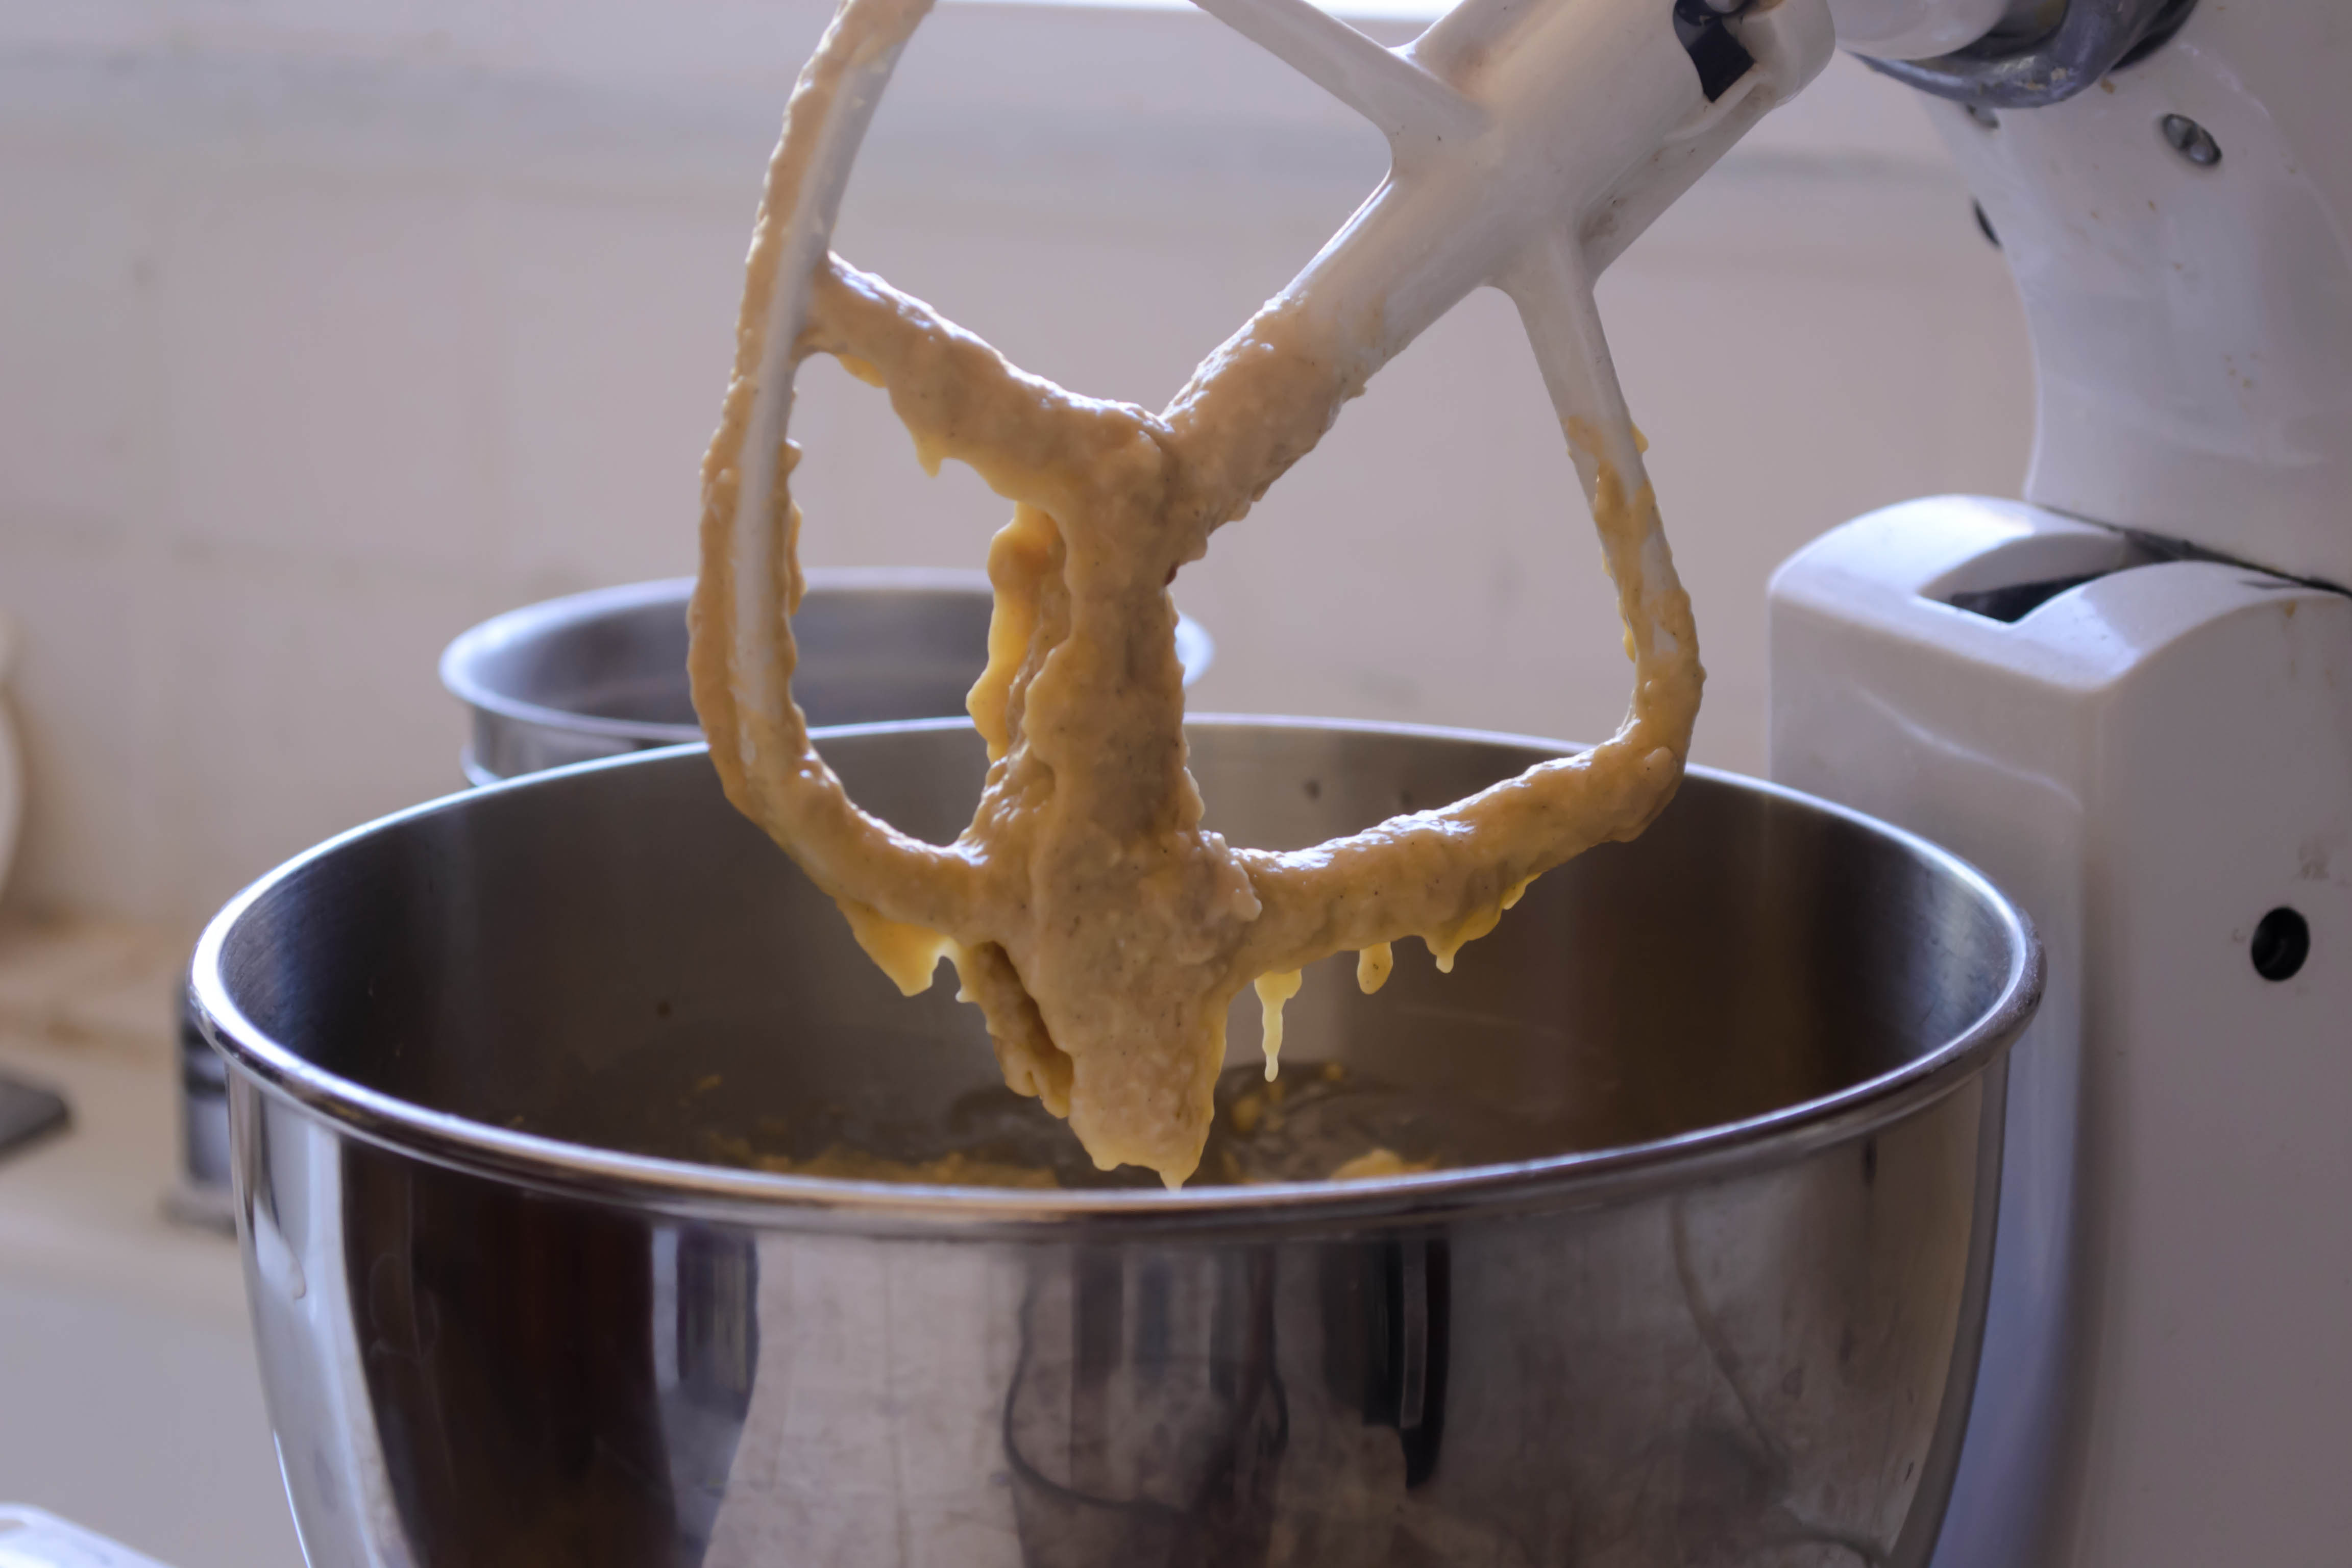
 For these rolls, I started with my Nana’s sweet roll dough, but used all whole milk instead of water for added richness. I replaced the white sugar with brown, to play with the autumnal feel of the pumpkin, and spiked the dough with all the spices that usually find their way into pumpkin pie. And then, of course, the bright orange vegetal sweetness of pumpkin puree. Once risen and rolled out, I spread it with melted butter, more brown sugar and cinnamon, and a scattering of toasted, chopped pecans. Rolled, sliced, and baked, they puffed into glorious swirls – orange gold, with dark bronze bubbling fissures twisting through them. Pulled apart just like that, they were delicious. Because I didn’t overdo it on the sugary center, they could almost pass as breakfast.
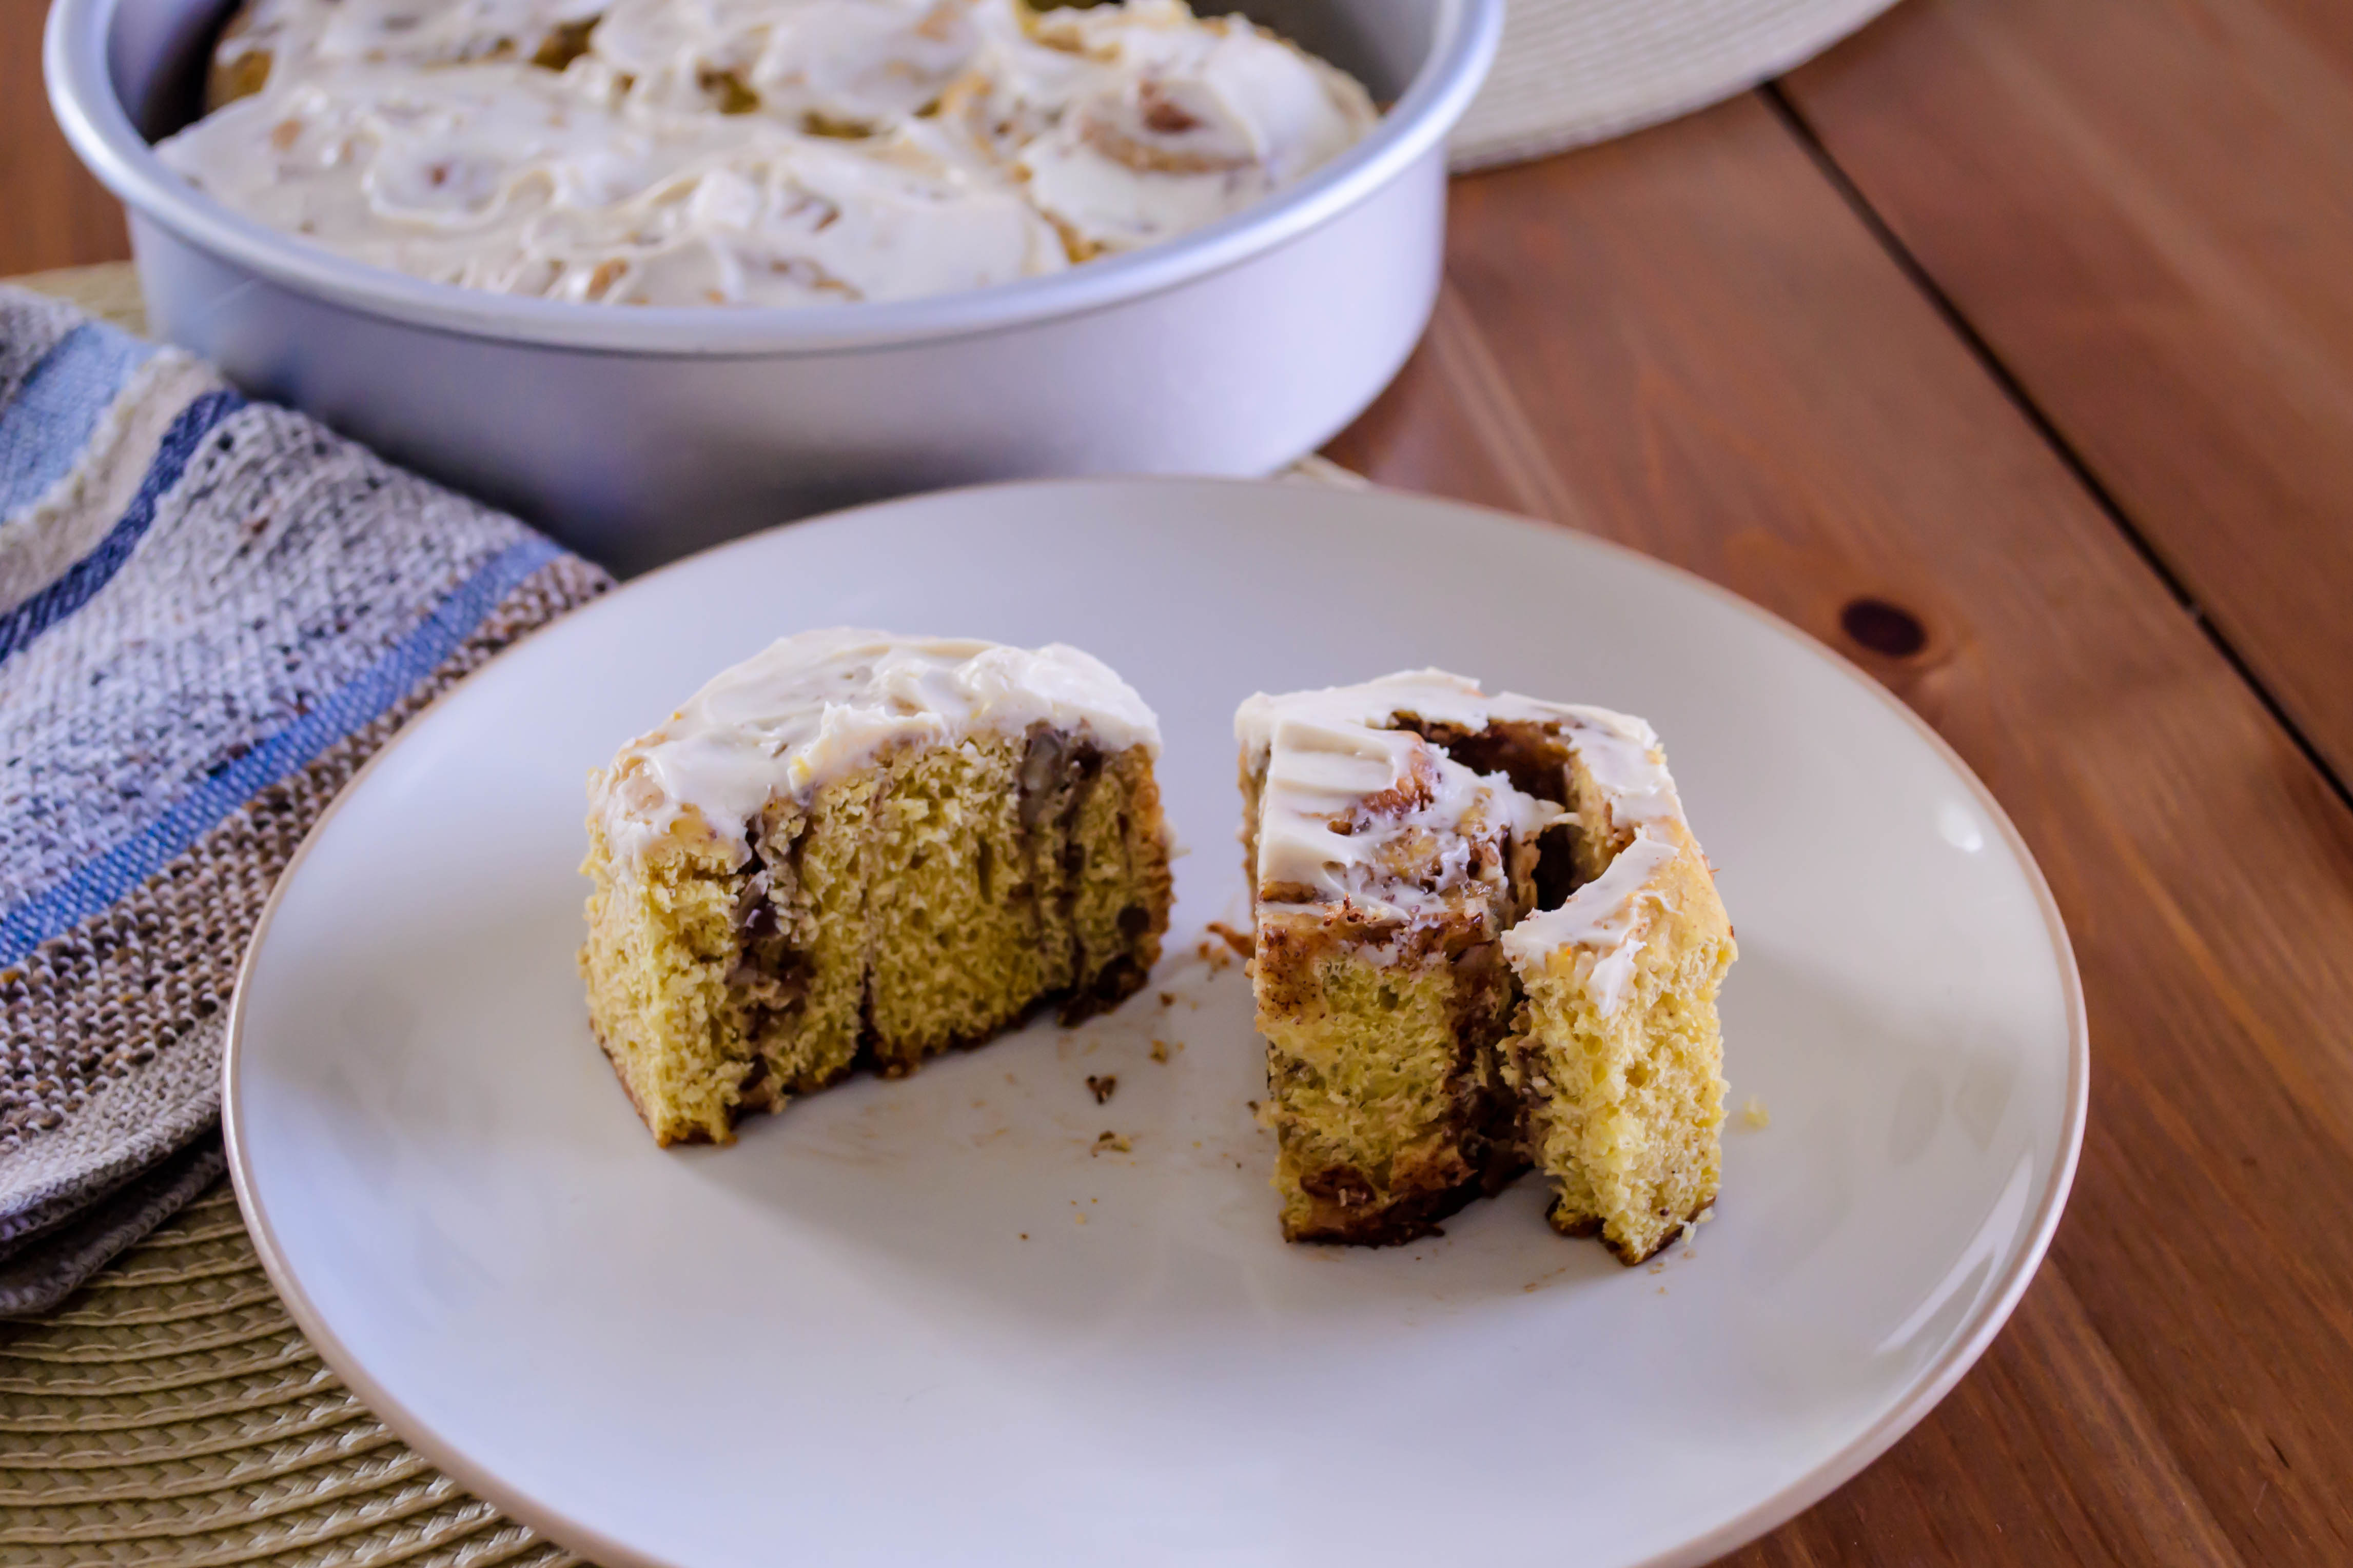
 But this is holiday food, and holiday food is so often about excess that I couldn’t help myself. A quick whip of cream cheese with a breath of powdered sugar, a splash of vanilla, and just a touch of heavy cream to loosen it up, and I had a soft, thick frosting to spread over their golden tops.
 I left two pans in the department mailroom at work. By the time I left in mid-afternoon, there weren’t even crumbs left.
 Making these rolls is an investment. They have a long ingredient list. The dough can be quite sticky. They require two rises. They demand rolling, chopping, toasting, sprinkling, whipping, spreading… but they also require pulling into shreds of sweet chewy dough, and assiduous finger licking. And meditative savoring. And here’s the thing: the holiday season often feels hectic. There is shopping to be done, and traveling to navigate, and wrapping and cooking and impressing family you rarely see, and all of that can feel like too much to squeeze in a complicated baking project.
 But I think, if you embark on such a baking project, knowing the time it requires, and sinking into its gentle rising and baking schedule, it provides its own kind of peace. Besides, these are too good not to make. So just make some. Thanksgiving breakfast, maybe. You’ll thank me later.

Pumpkin Pecan Sweet Rolls
Makes about 30
 As soon as I saw that the October assignment for Twelve Loaves was apples, I thought of cinnamon. But then my contrary side took over. Apples and cinnamon is such a natural pairing, it’s practically expected. Why not give someone else a chance? Why not ginger? The searing spiciness of ginger against the cool sweetness of apples sounded like a worthy combination, and I was off and running with not just an answer to the Twelve Loaves assignment, but for my long postponed sauce project as well.
 My mom has, on and off since I was little, made a holiday dessert of gingerbread and a warm, well-spiced, rum-spiked sauce. The gingerbread is a homely 9×9 layer, cut into unremarkable uniform squares. The sauce, almost still bubbling, gets spooned over the top, and a swirl of whipped cream inevitably slides right off the square of cake onto the plate beside it, already losing its fluff from the heat of the sauce. I love it.
 But like so many desserts, Mom’s gingerbread with nutmeg sauce belongs to the winter. We only ever have it around Christmas and New Year’s. There’s something about its flavors that requires chill in the air. Contrary once again, I decided to see what could be done about that.

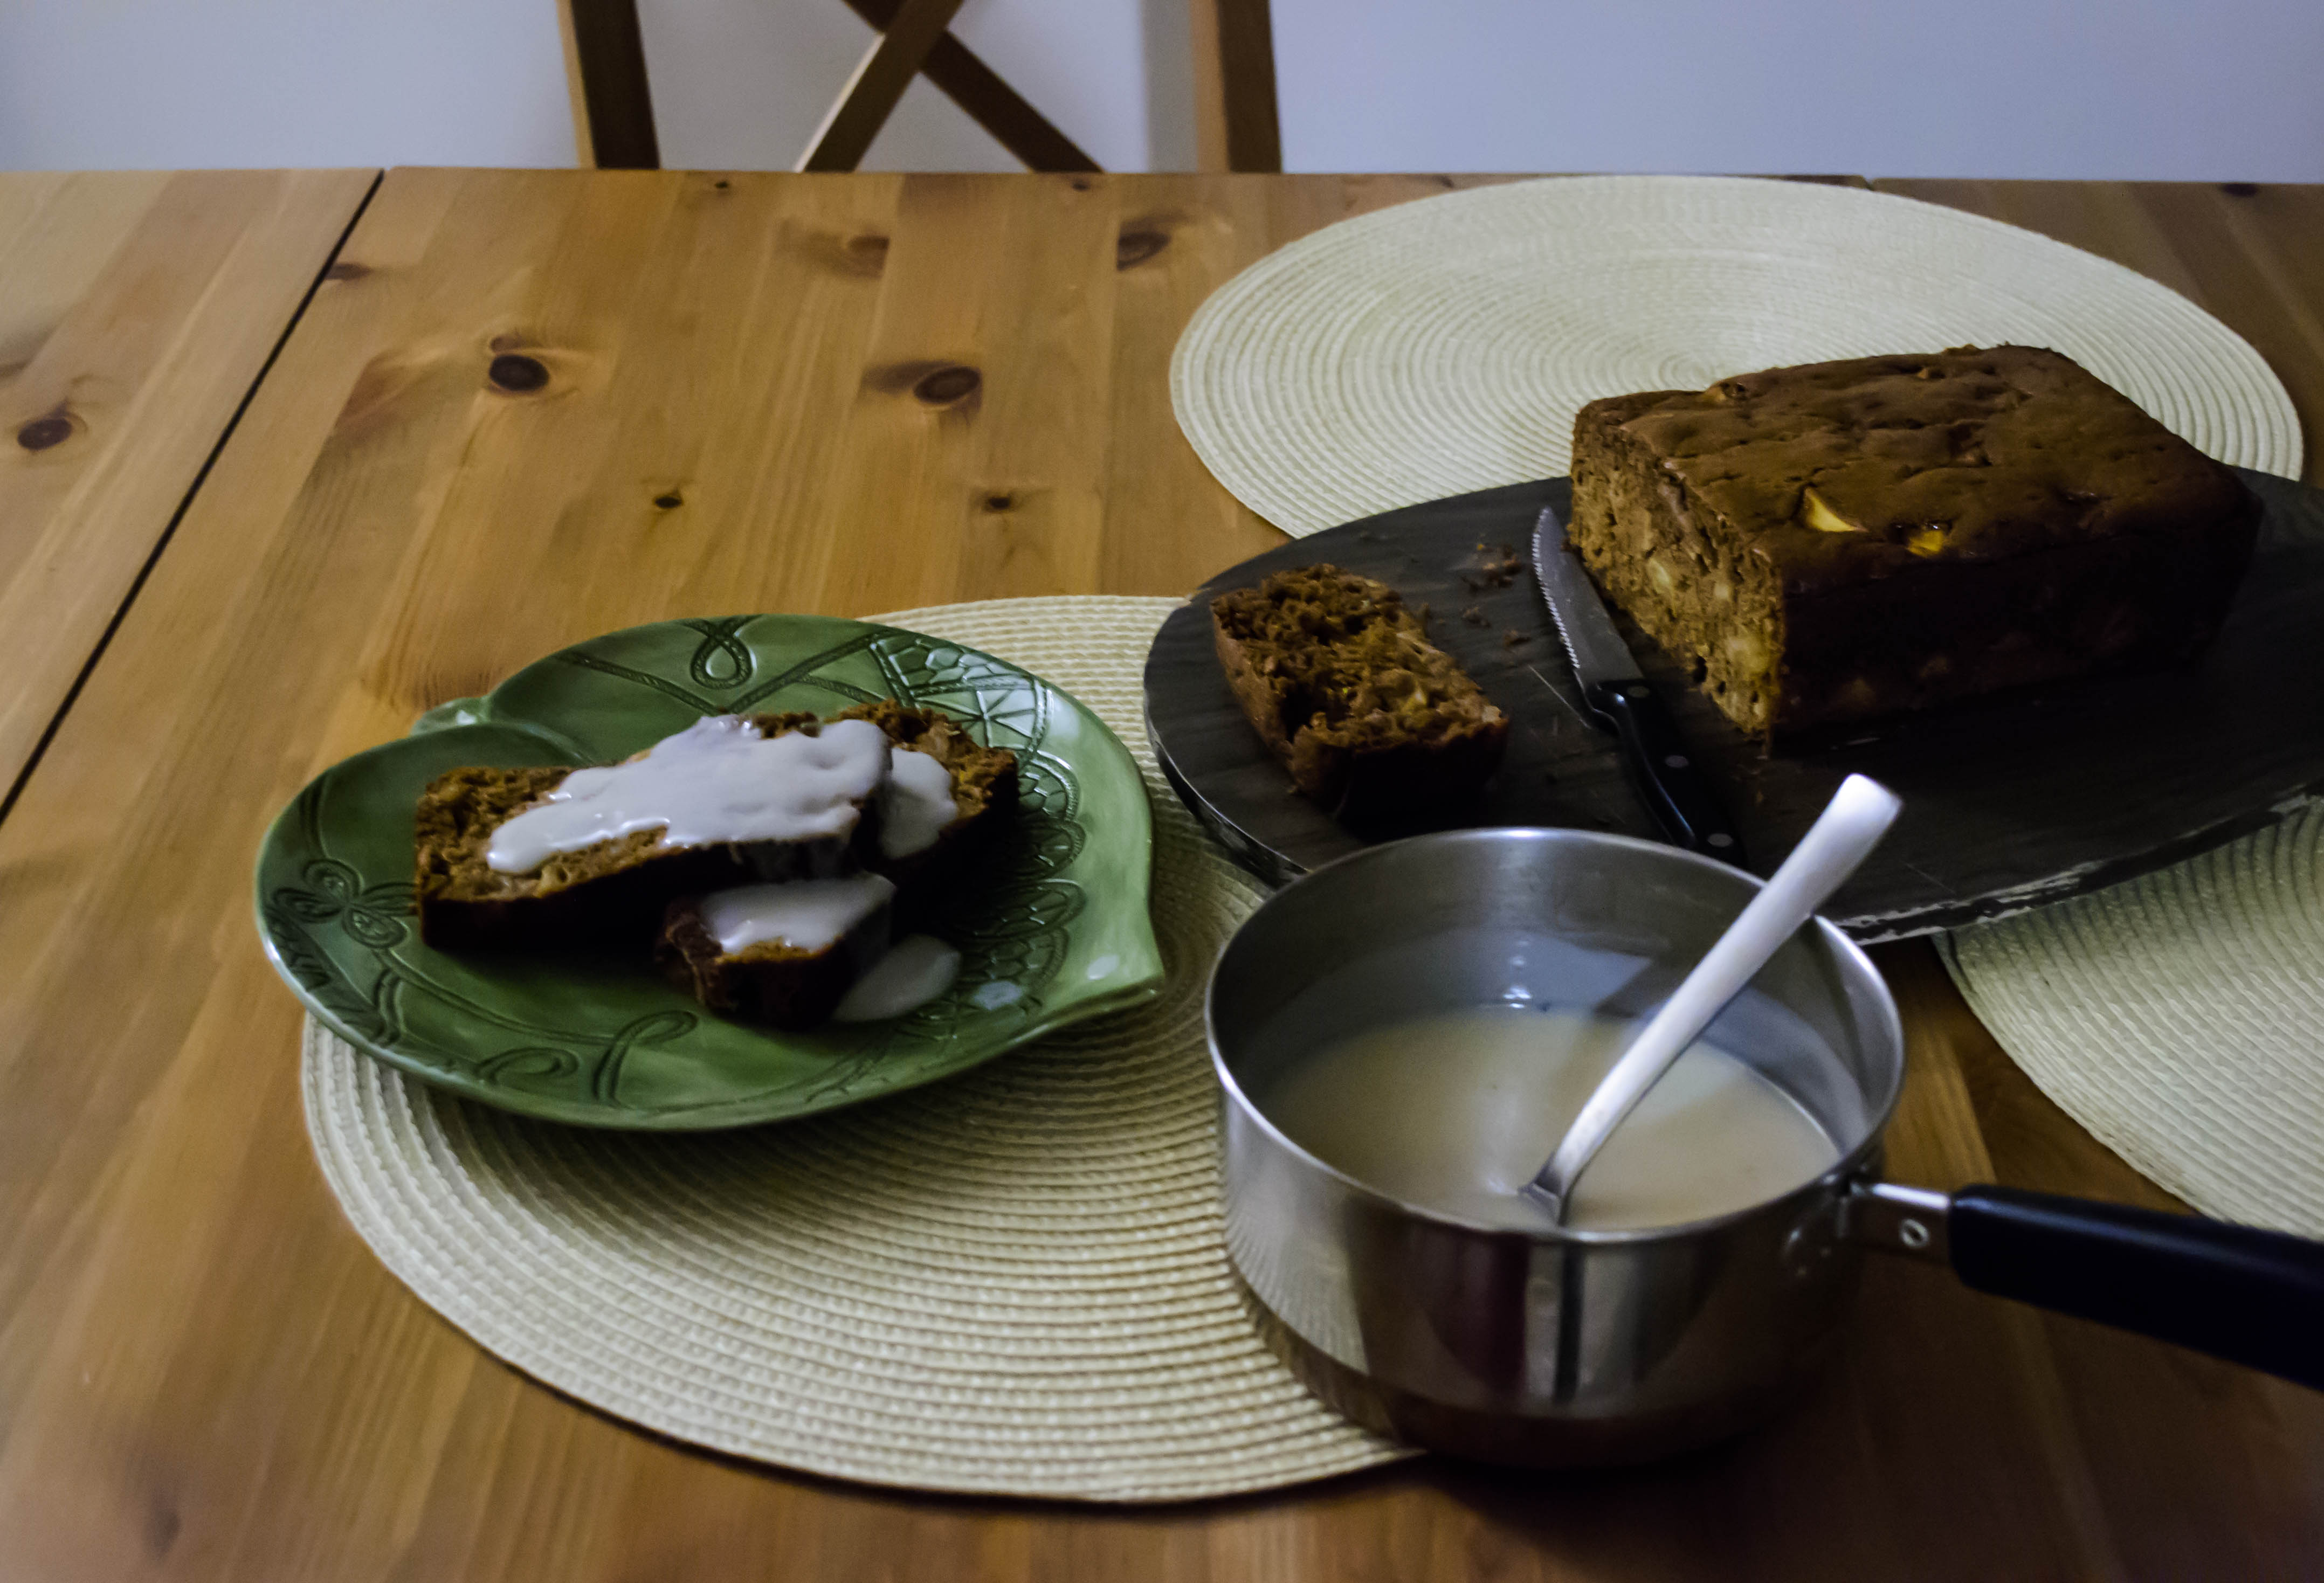
 We call it a bread, but gingerbread is truly a dark, moist cake. It’s redolent with spices and sticky-sweet from large doses of molasses. Its crumbs cling wetly together and, though not particularly dense, it feels rich and heavy.
 I poked around and shifted things a bit, landing on a slight adaptation of Laurie Colwin’s gingerbread recipe in her lovely little book Home Cooking. First of all, if I was going to pass this off as a bread, it needed to be in a loaf pan. This is suitable for dessert, of course, but it should also be acceptable as an afternoon snack. For freshness (and to meet the terms of the challenge, of course), I added the diced chunks of two apples. Two eggs and some buttermilk lighten things up. And finally, because I can’t leave well enough alone, to the already tremendous tablespoon of ground ginger I was prepared to include, I insisted on a palmful of finely chopped crystallized ginger as well.

 Now, this bread on its own is a marvelous thing. The apples and the ginger are good playmates, and the spiciness of the bread elicits a harvest feel. With a cup of tea or a mug of apple cider, this bread is perfect.
 But sometimes you want more than perfect. Enter Nutmeg Sauce: a silky, buttery, creamy spill dotted with grains of freshly grated nutmeg and discolored in the most wonderful way by a generous dose of dark rum. When I first nabbed this recipe from my mom, I thought this was another classic. Due to its inclusion of alcohol, I’d always thought it was a “hard sauce.” This name, however, comes not from the inebriating potential of the concoction, but the texture: a hard sauce is, well, hard. It’s a solid, buttery spread intended to be served in a cold, spoonable dollop. Nutmeg sauce, on the other hand, is served hot (it’s good cold as well, though it does get a bit clumpy). It is thickened to a pourable velvet with cornstarch, and it is the ideal addition to an already-perfect slice of gingerbread.

 Here, though I was determined to serve them together, I must admit: the bread was good. The sauce was good. Together, they were friendly but not in love (still, I wouldn’t say no to yet another generously garnished slice). But I think I know how they could become so. Despite my most contrary, resistant feelings, I think replacing the nutmeg in the sauce with cinnamon, for the sake of the apples, would be the perfect pairing. Sometimes you just shouldn’t fight the classics.

 When you tell people you live in Los Angeles, one of the first things they often say is something in the realm of “well you can’t beat the weather!” Well, okay, but you can get sick of it. As I drove home from work the day we had these sandwiches for dinner, one of the local radio DJs said something akin to “is it still summer? I won’t let it be fall yet.” Cue snarling and angry words from me. How could she?! I mean, I like the sun. I love summer. But here’s the thing: I miss my jeans. When I get home from work and evict myself from my teacher clothes, I miss sliding into the worn embrace of my soft, familiar denim. Not to mention spending a day without the hair plastered to the back of my neck. Appetizing, I know.

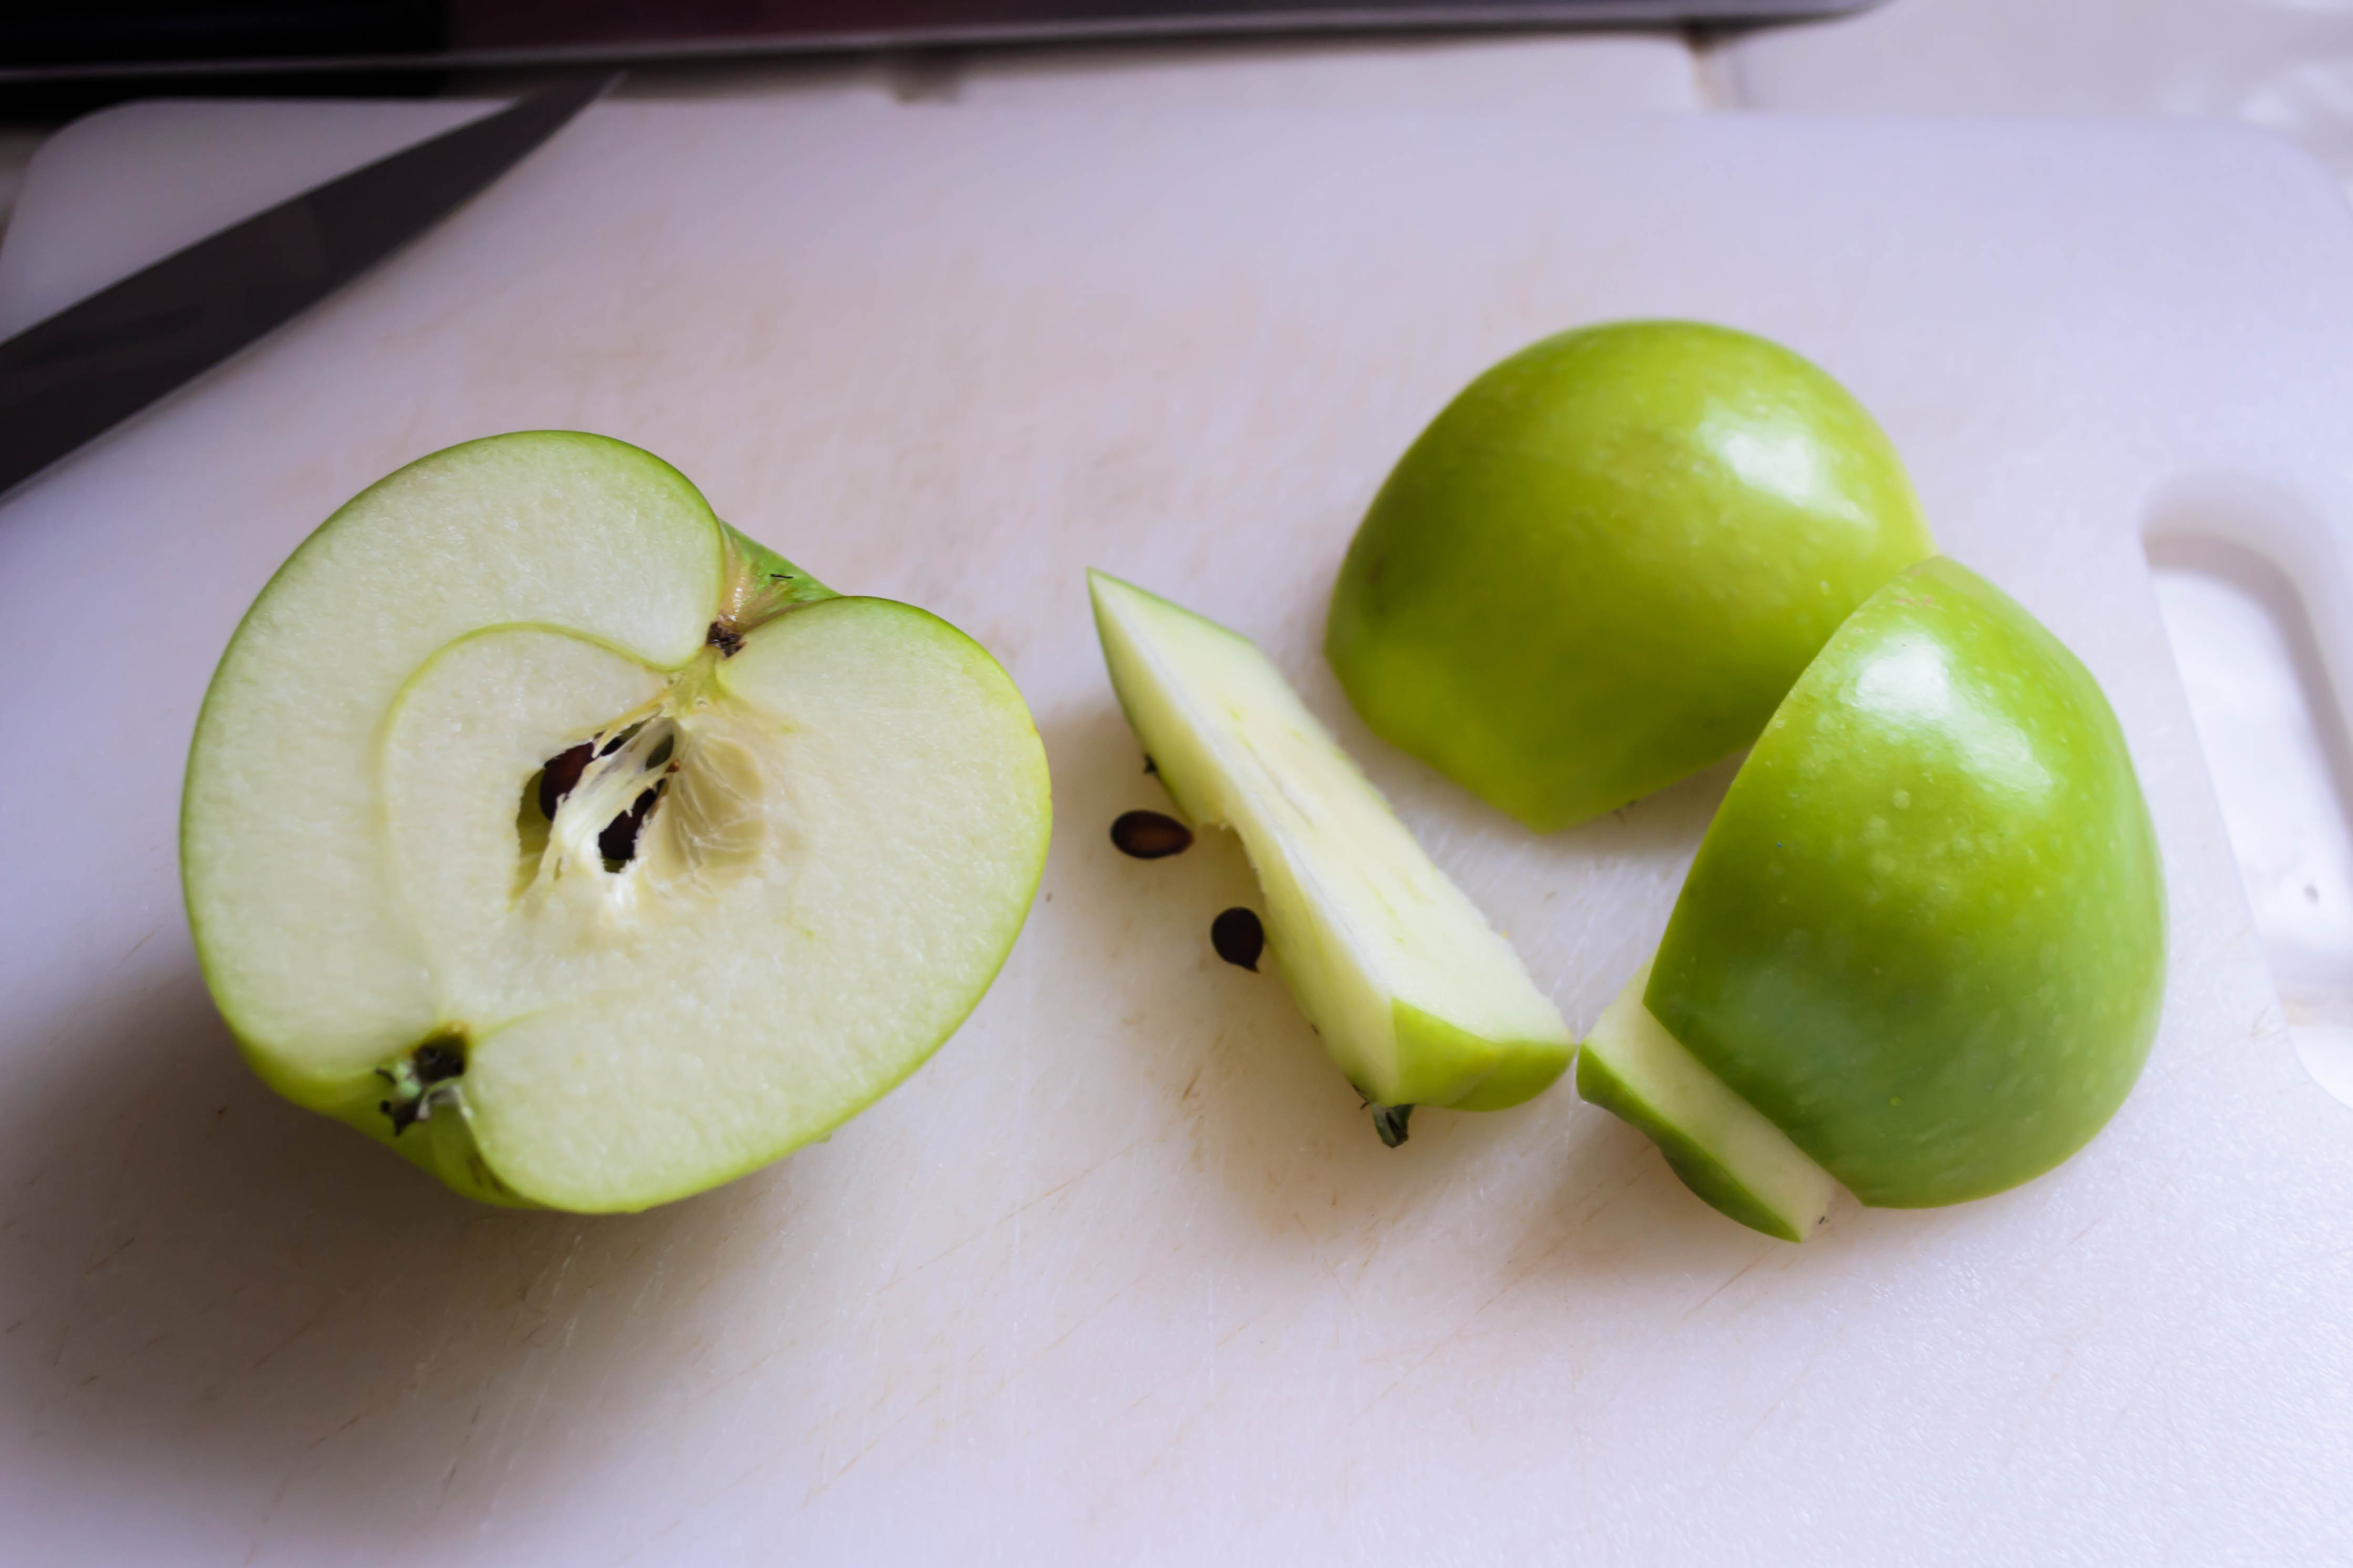
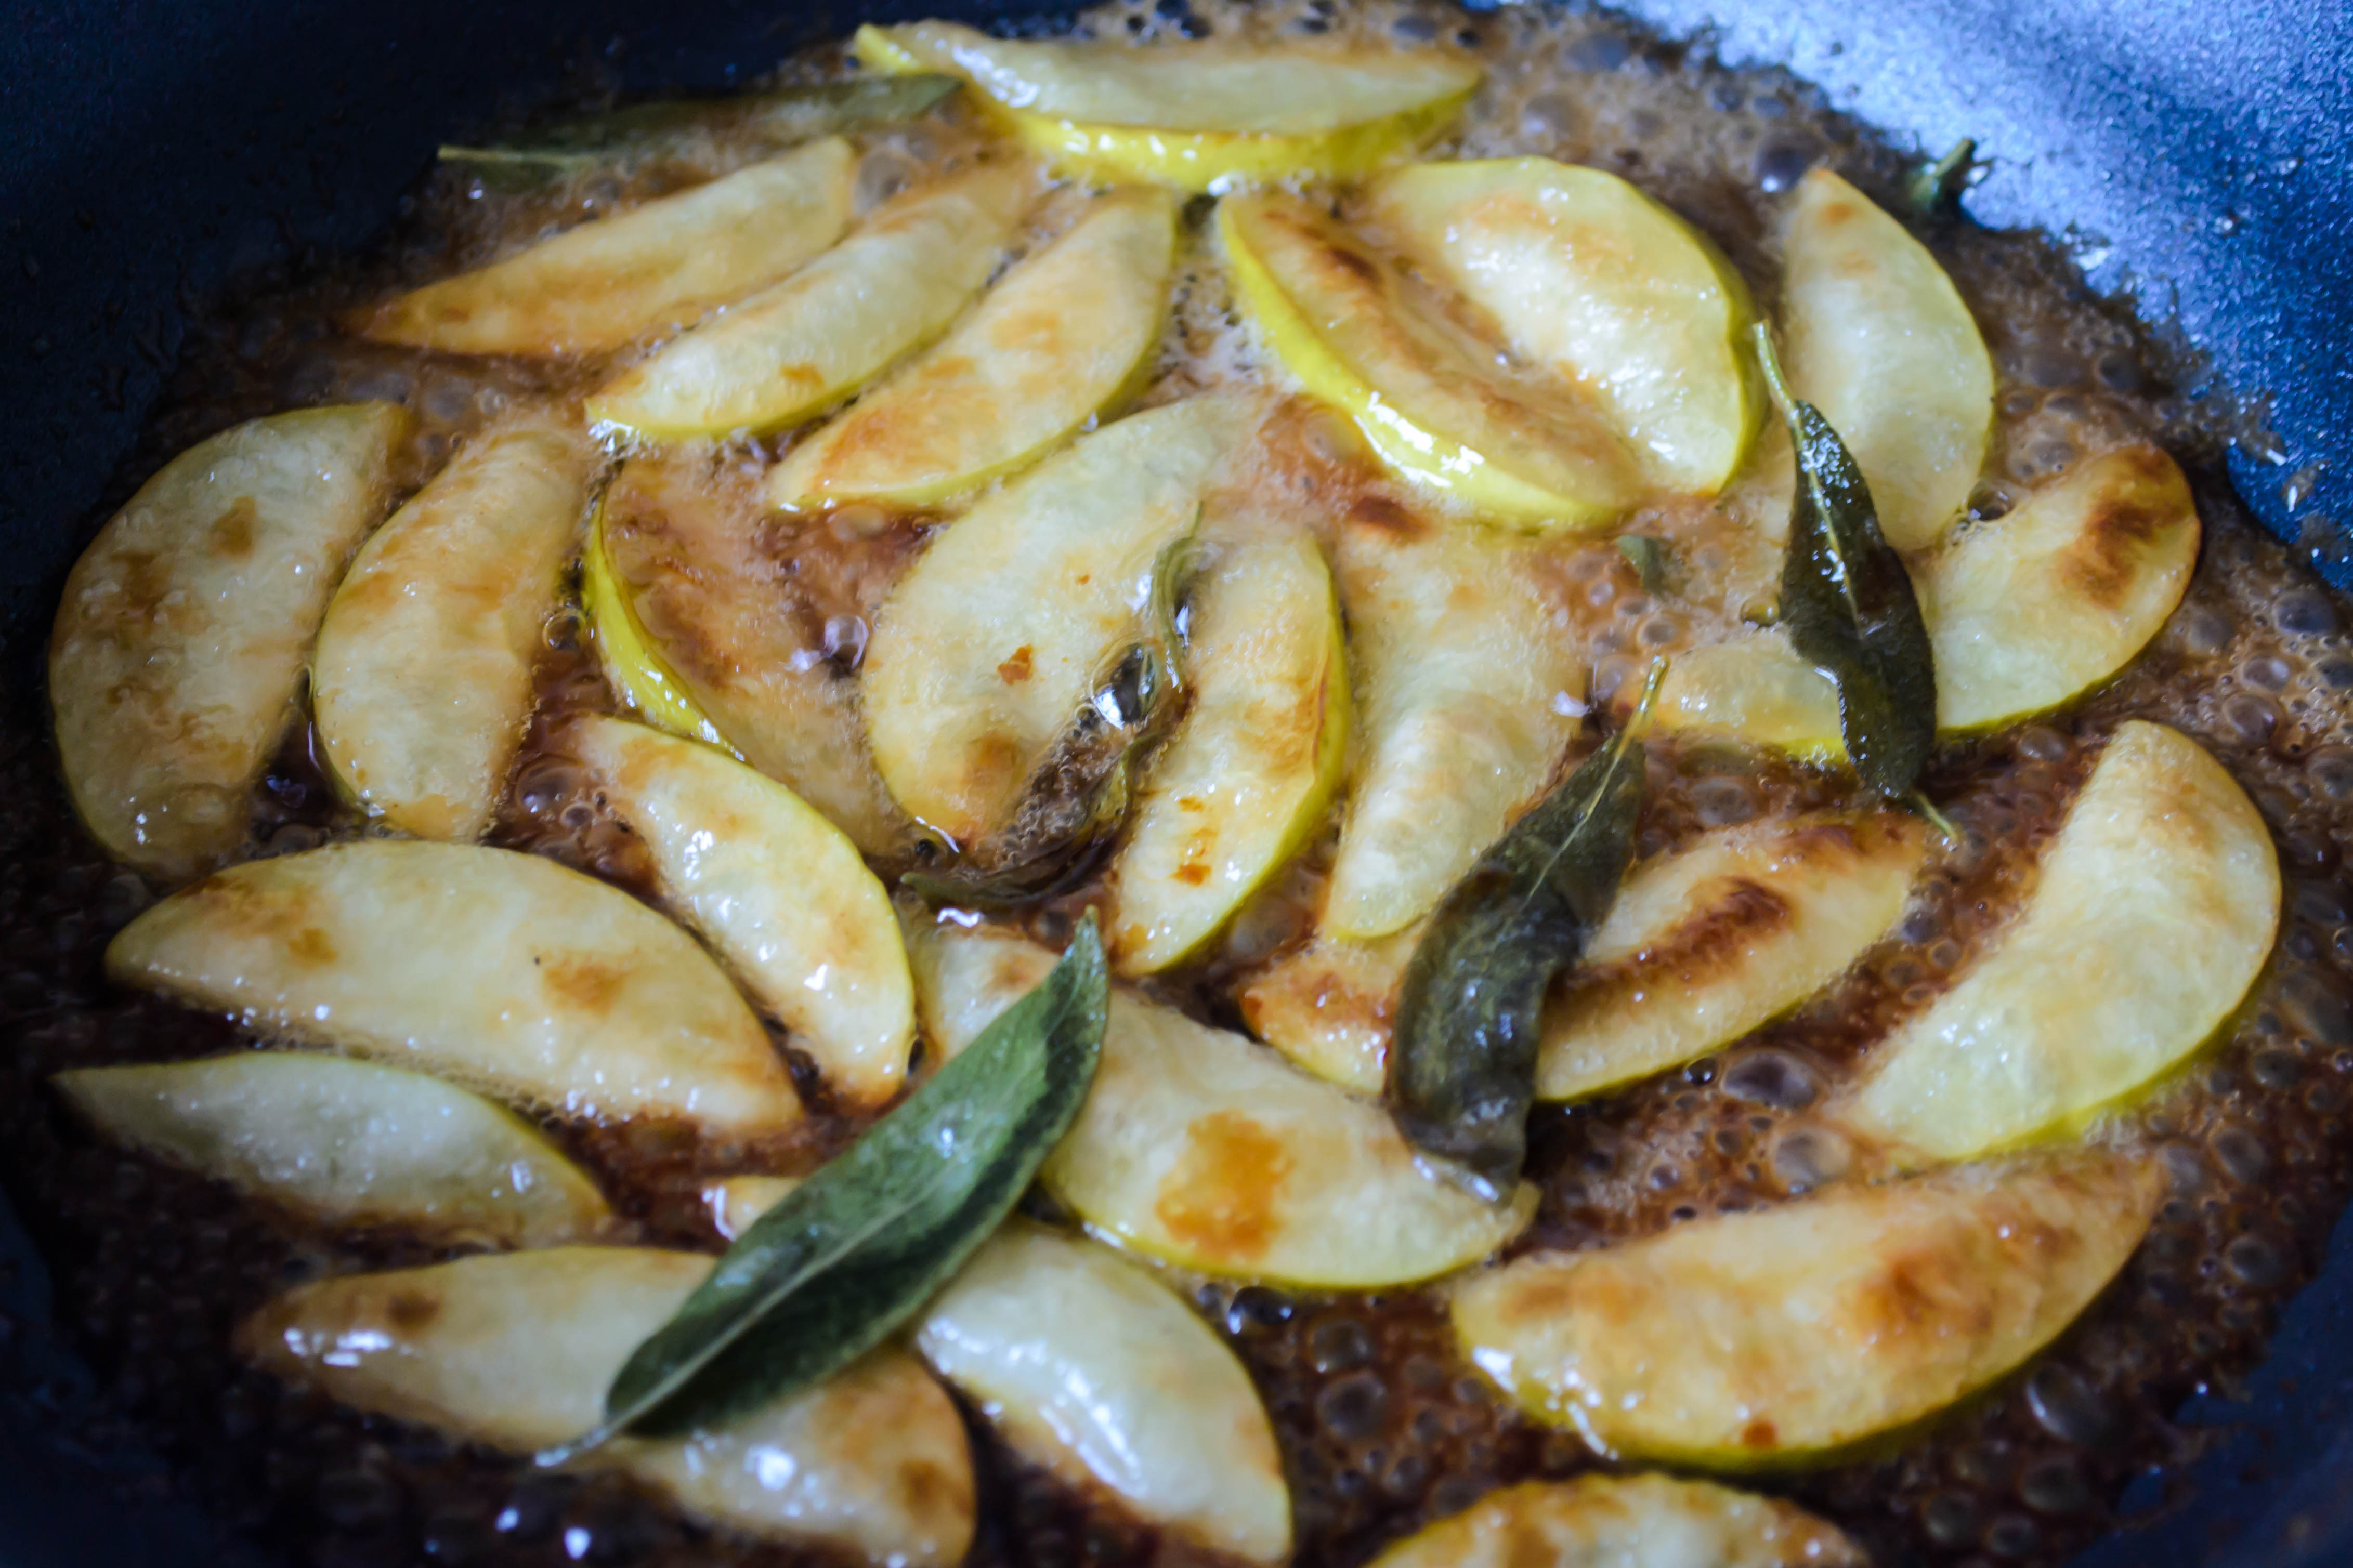
 So maybe out of resentment at the season (or lack thereof, since it just slid from mid- to late September and we spent the last two weeks ping-ponging between mid-80s and near 100 degree temperatures), I came up with a dish that screams fall at the top of its lovely, melty little lungs. Apples. Cheddar cheese, as sharp as possible. Dense, moist sourdough. Sage, that most autumnal of herbs. Maple syrup. It’s a bit of a breakfast sandwich, but since when have I ever been opposed to that sort of thing as an evening meal?
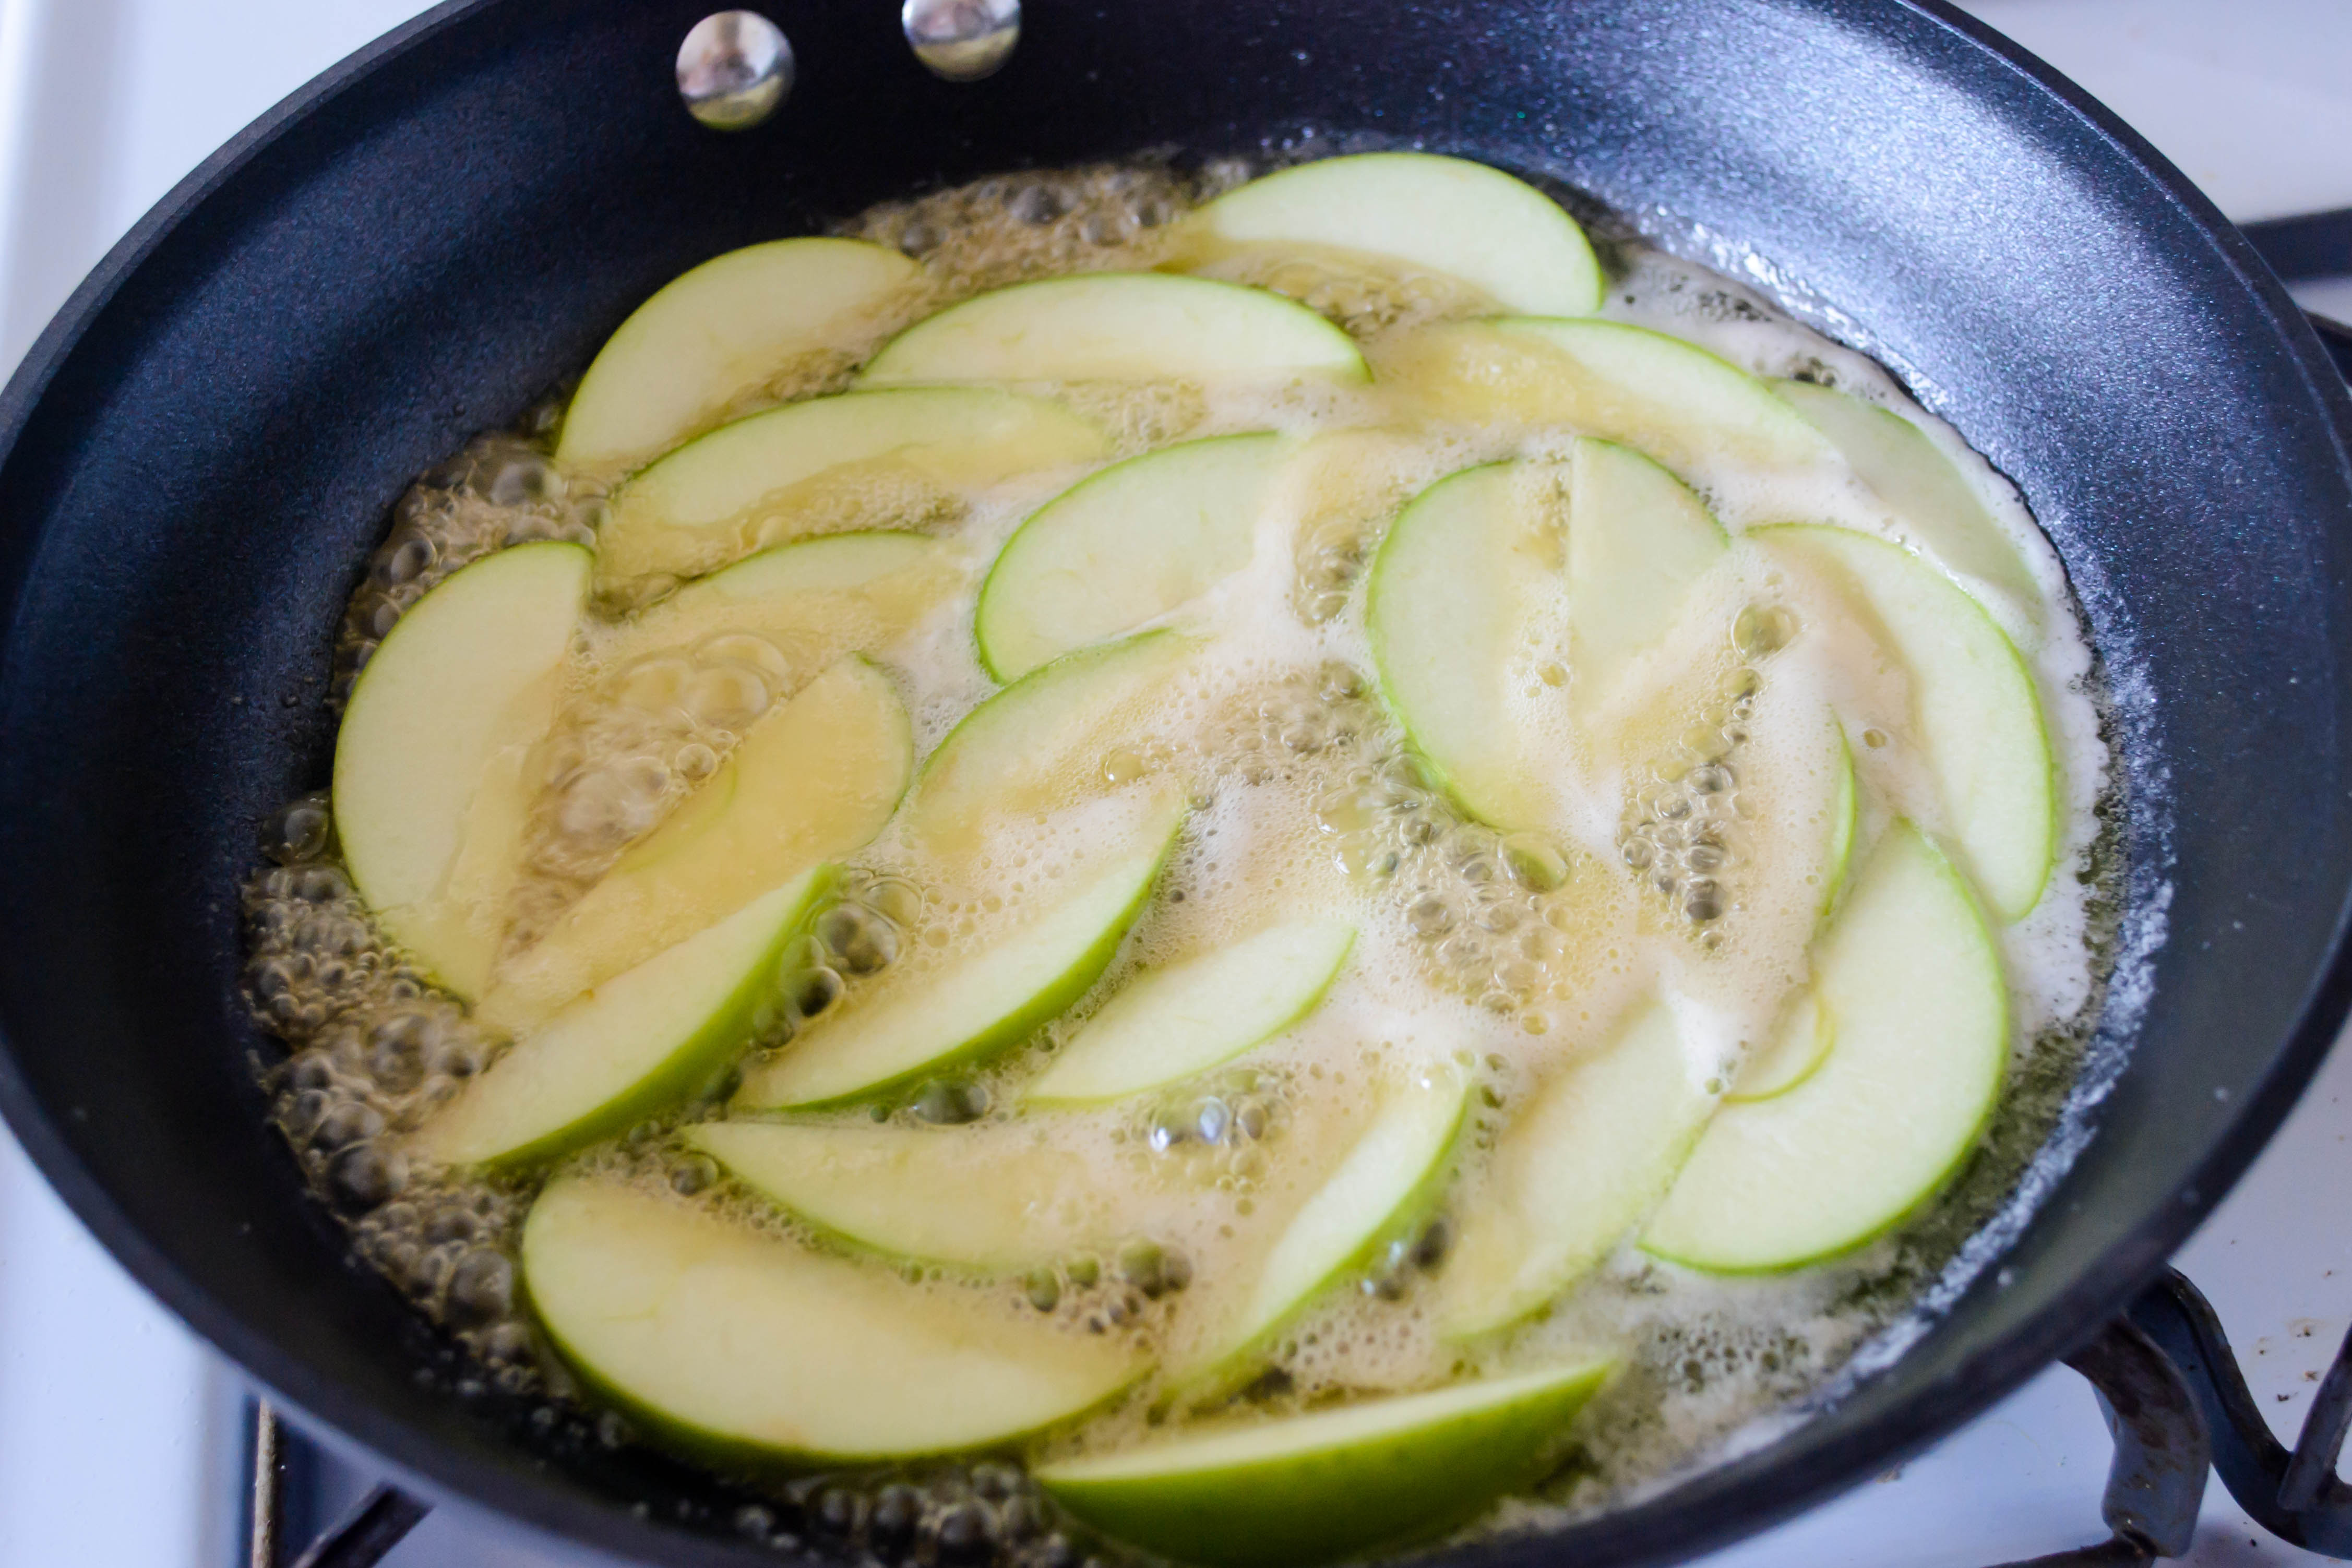
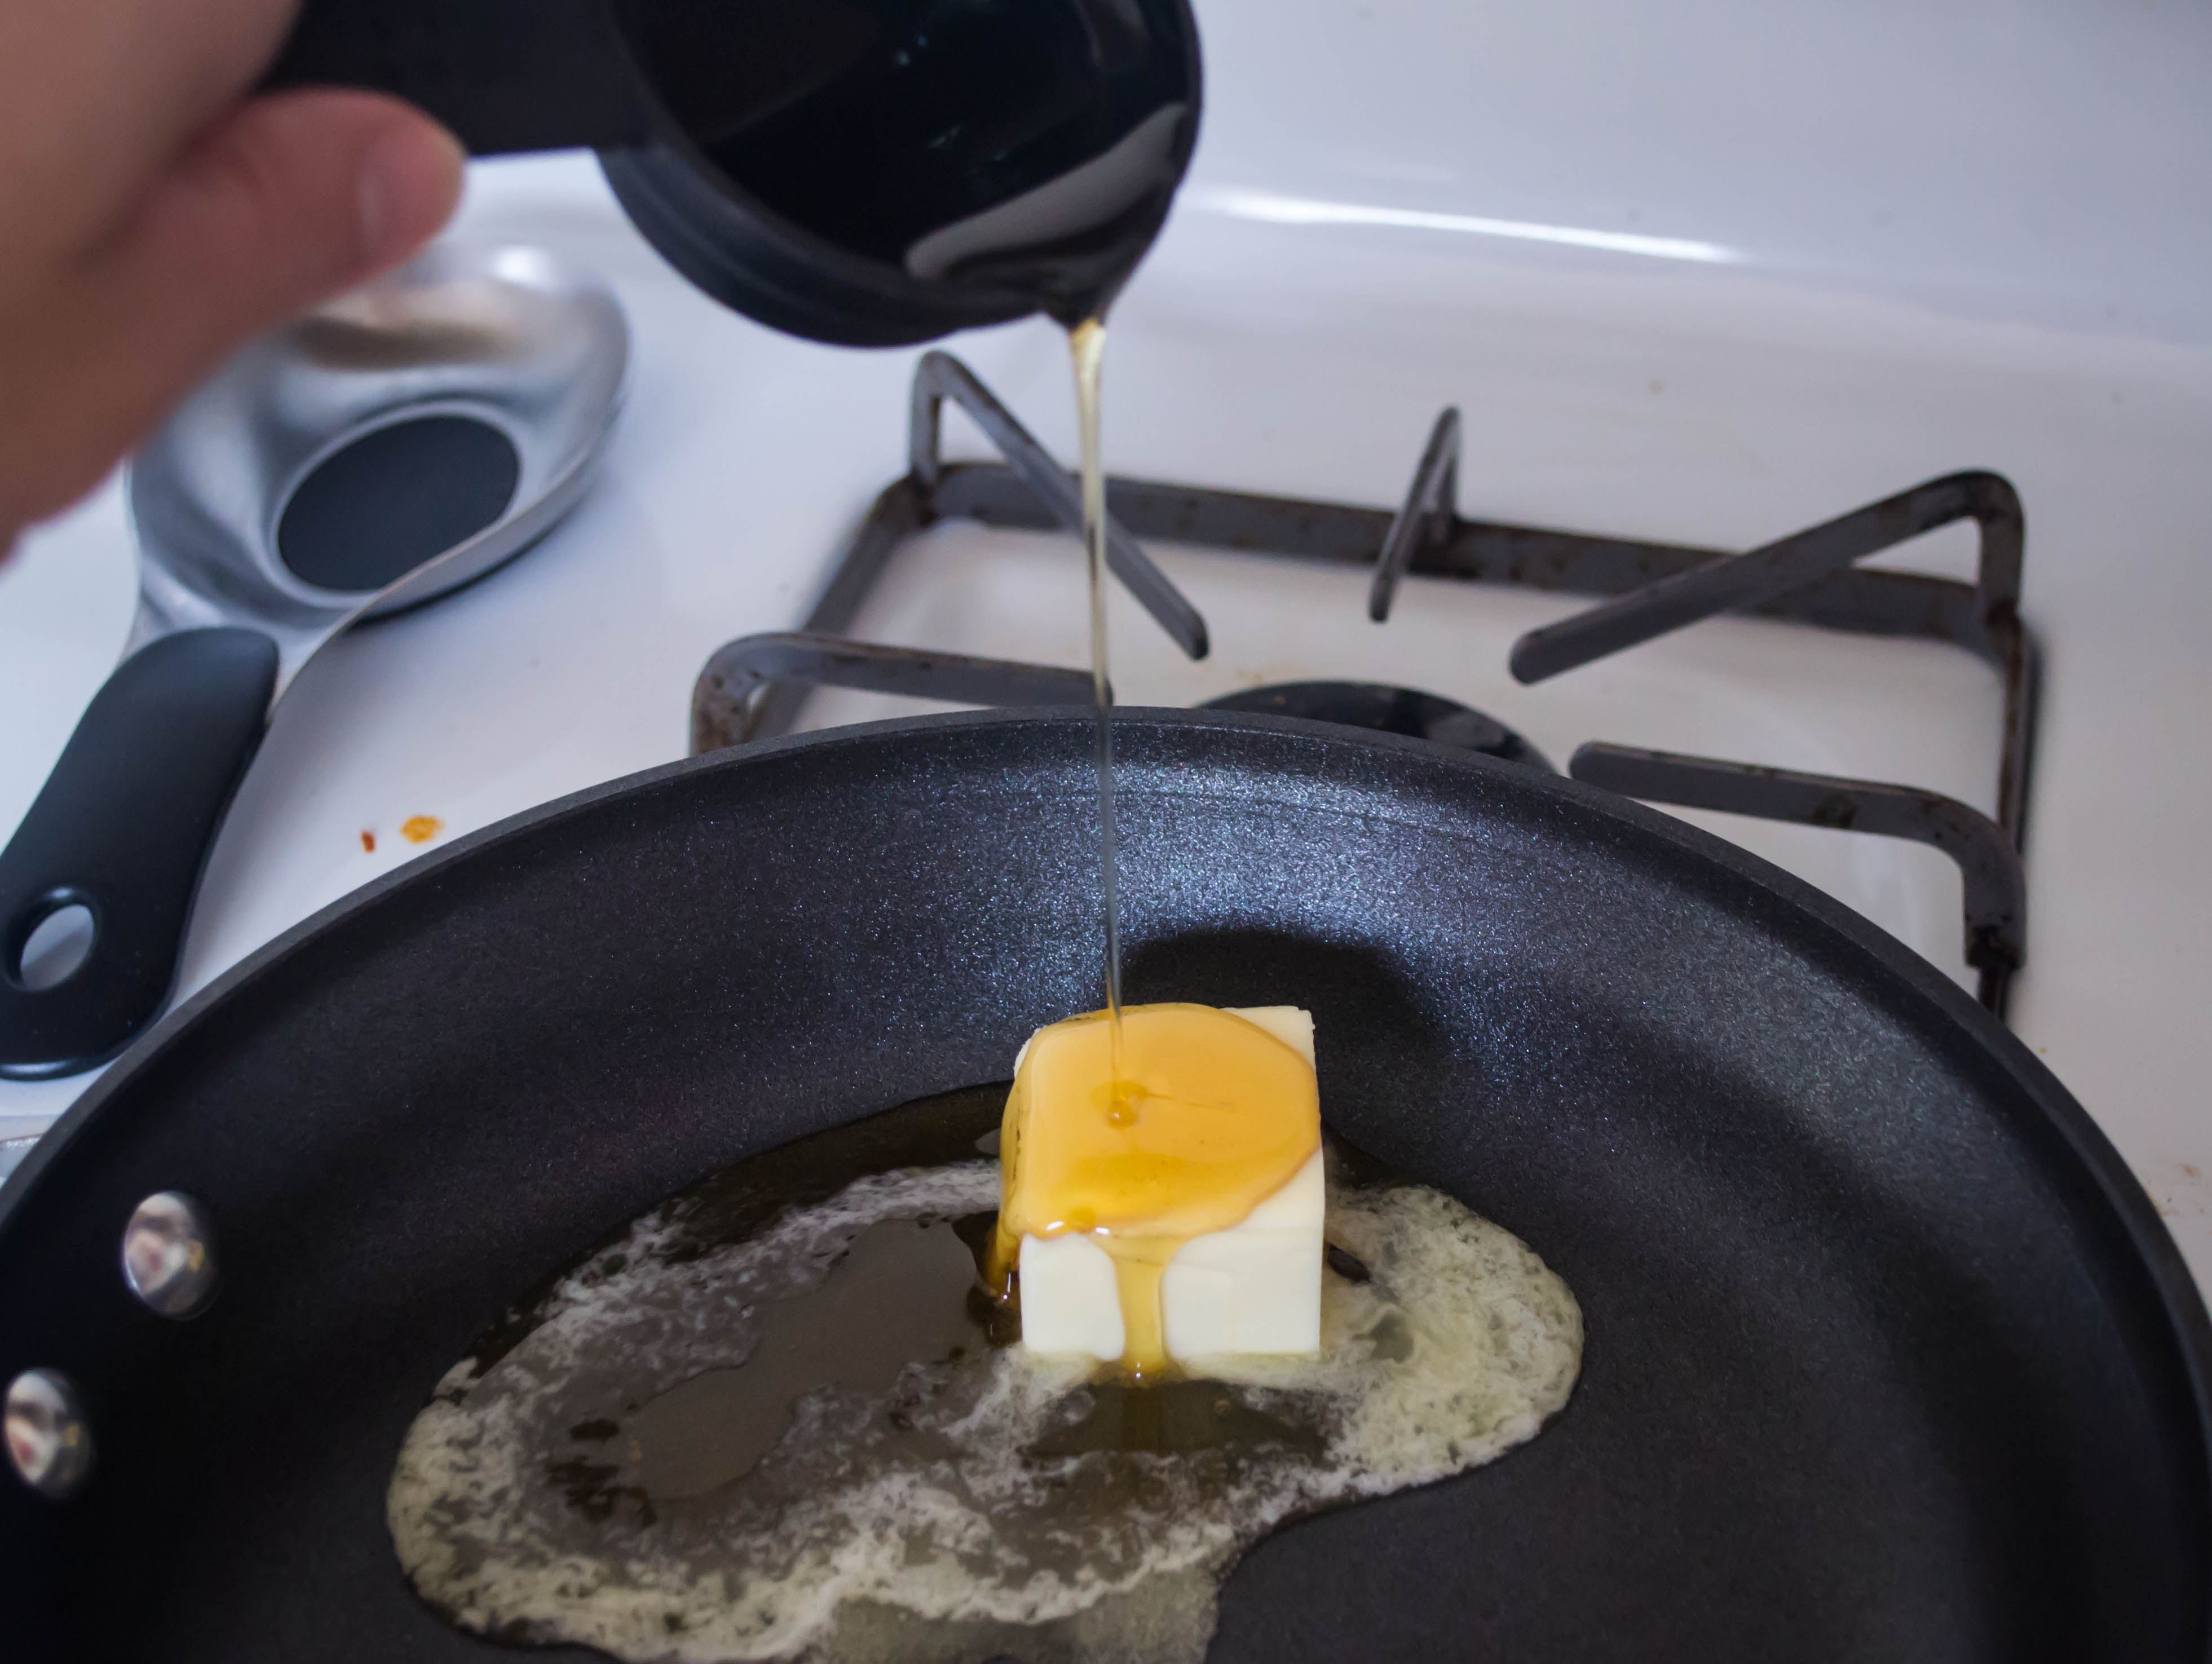
 In its preparation, this sandwich takes the Monte Cristo as its font of inspiration. Though I’m using cheddar instead of swiss, and replacing ham with apples that have been gently sautéed in brown butter with a liberal dosing of maple syrup (are you hungry yet?), the whole assembled sandwich gets dunked in an egg batter and then fried until delicately crisp on the outside and limp with melted goo on the inside.

 In an effort to be responsible diners, we ate this with a wilted kale salad-ish concoction, but it honestly didn’t need any accompaniment. In fact, the second time I made it in as many weeks, I didn’t prepare any side dish at all, and that and the relatively petite slices of bread I used made me feel completely justified in demolishing two sandwiches all by my lonesome. Well, minus the apple slice or two that I shared with Miss Lucy. It’s tough to refuse those velvet brown eyes.

 Your fingertips will get greasy as you eat this. But despite the richness of the cheese and the eggy coating and the caramelized, syrupy apples, the sage keeps the whole thing from being overwhelming. Its sharp, herbaceous note cuts through the cheese, and it somehow miraculously maintains a bit of crunch even buried between the layers of filling. For me, it’s sandwich nirvana.

 A few weeks ago, my dad sent an email to me, my mom, and his sisters: a reading recommendation replete with a link to a story from All Things Considered. This is, in itself, not unusual. Dad often sends along news items he thinks are important or interesting. What made this one unusual and, frankly, quite special, was that it was about the acute and wonderful memories food makes for us. It was a story about a baker and a request for a very special cake – an old German cake made with damson plums. The request for this cake threw her back years to her childhood and a cake – the same cake – her opera singer mother used to make. As she watches and smells it baking, she feels like her mother Helga is there too, in the oven with that cake, singing through time and death and all those plums, and she cries tears of grief and nostalgia and joy.

 Dad sent it because he thought it was a good story, but also because his mother – my Nana – used to make a coffeecake with damson plums, which made this all sound so familiar. He asked if anyone had her sweet dough recipe, and suddenly the emails were flying. He was not the only one who felt the connection here. My aunts were likewise plunged into memories. Though the cake in the NPR story was a shortbread dough topped with plums, Nana’s cake, like the one her mother made before her, used a yeast dough. It was made in a square pan and she always made two at a time so she could share one with Pap, and have one for the three kids. It had to be damson plums or it just wasn’t right. It called back memories of eating, but also of being in the kitchen with their mother. Nana was with them in that cake.
 I knew I had to make it. It had called up too many happy memories for my family to remain simple nostalgia. Besides, I have Nana’s sweet dough recipe, and with the details I collected from my aunts’ emails, I felt like I had enough data to piece it together.
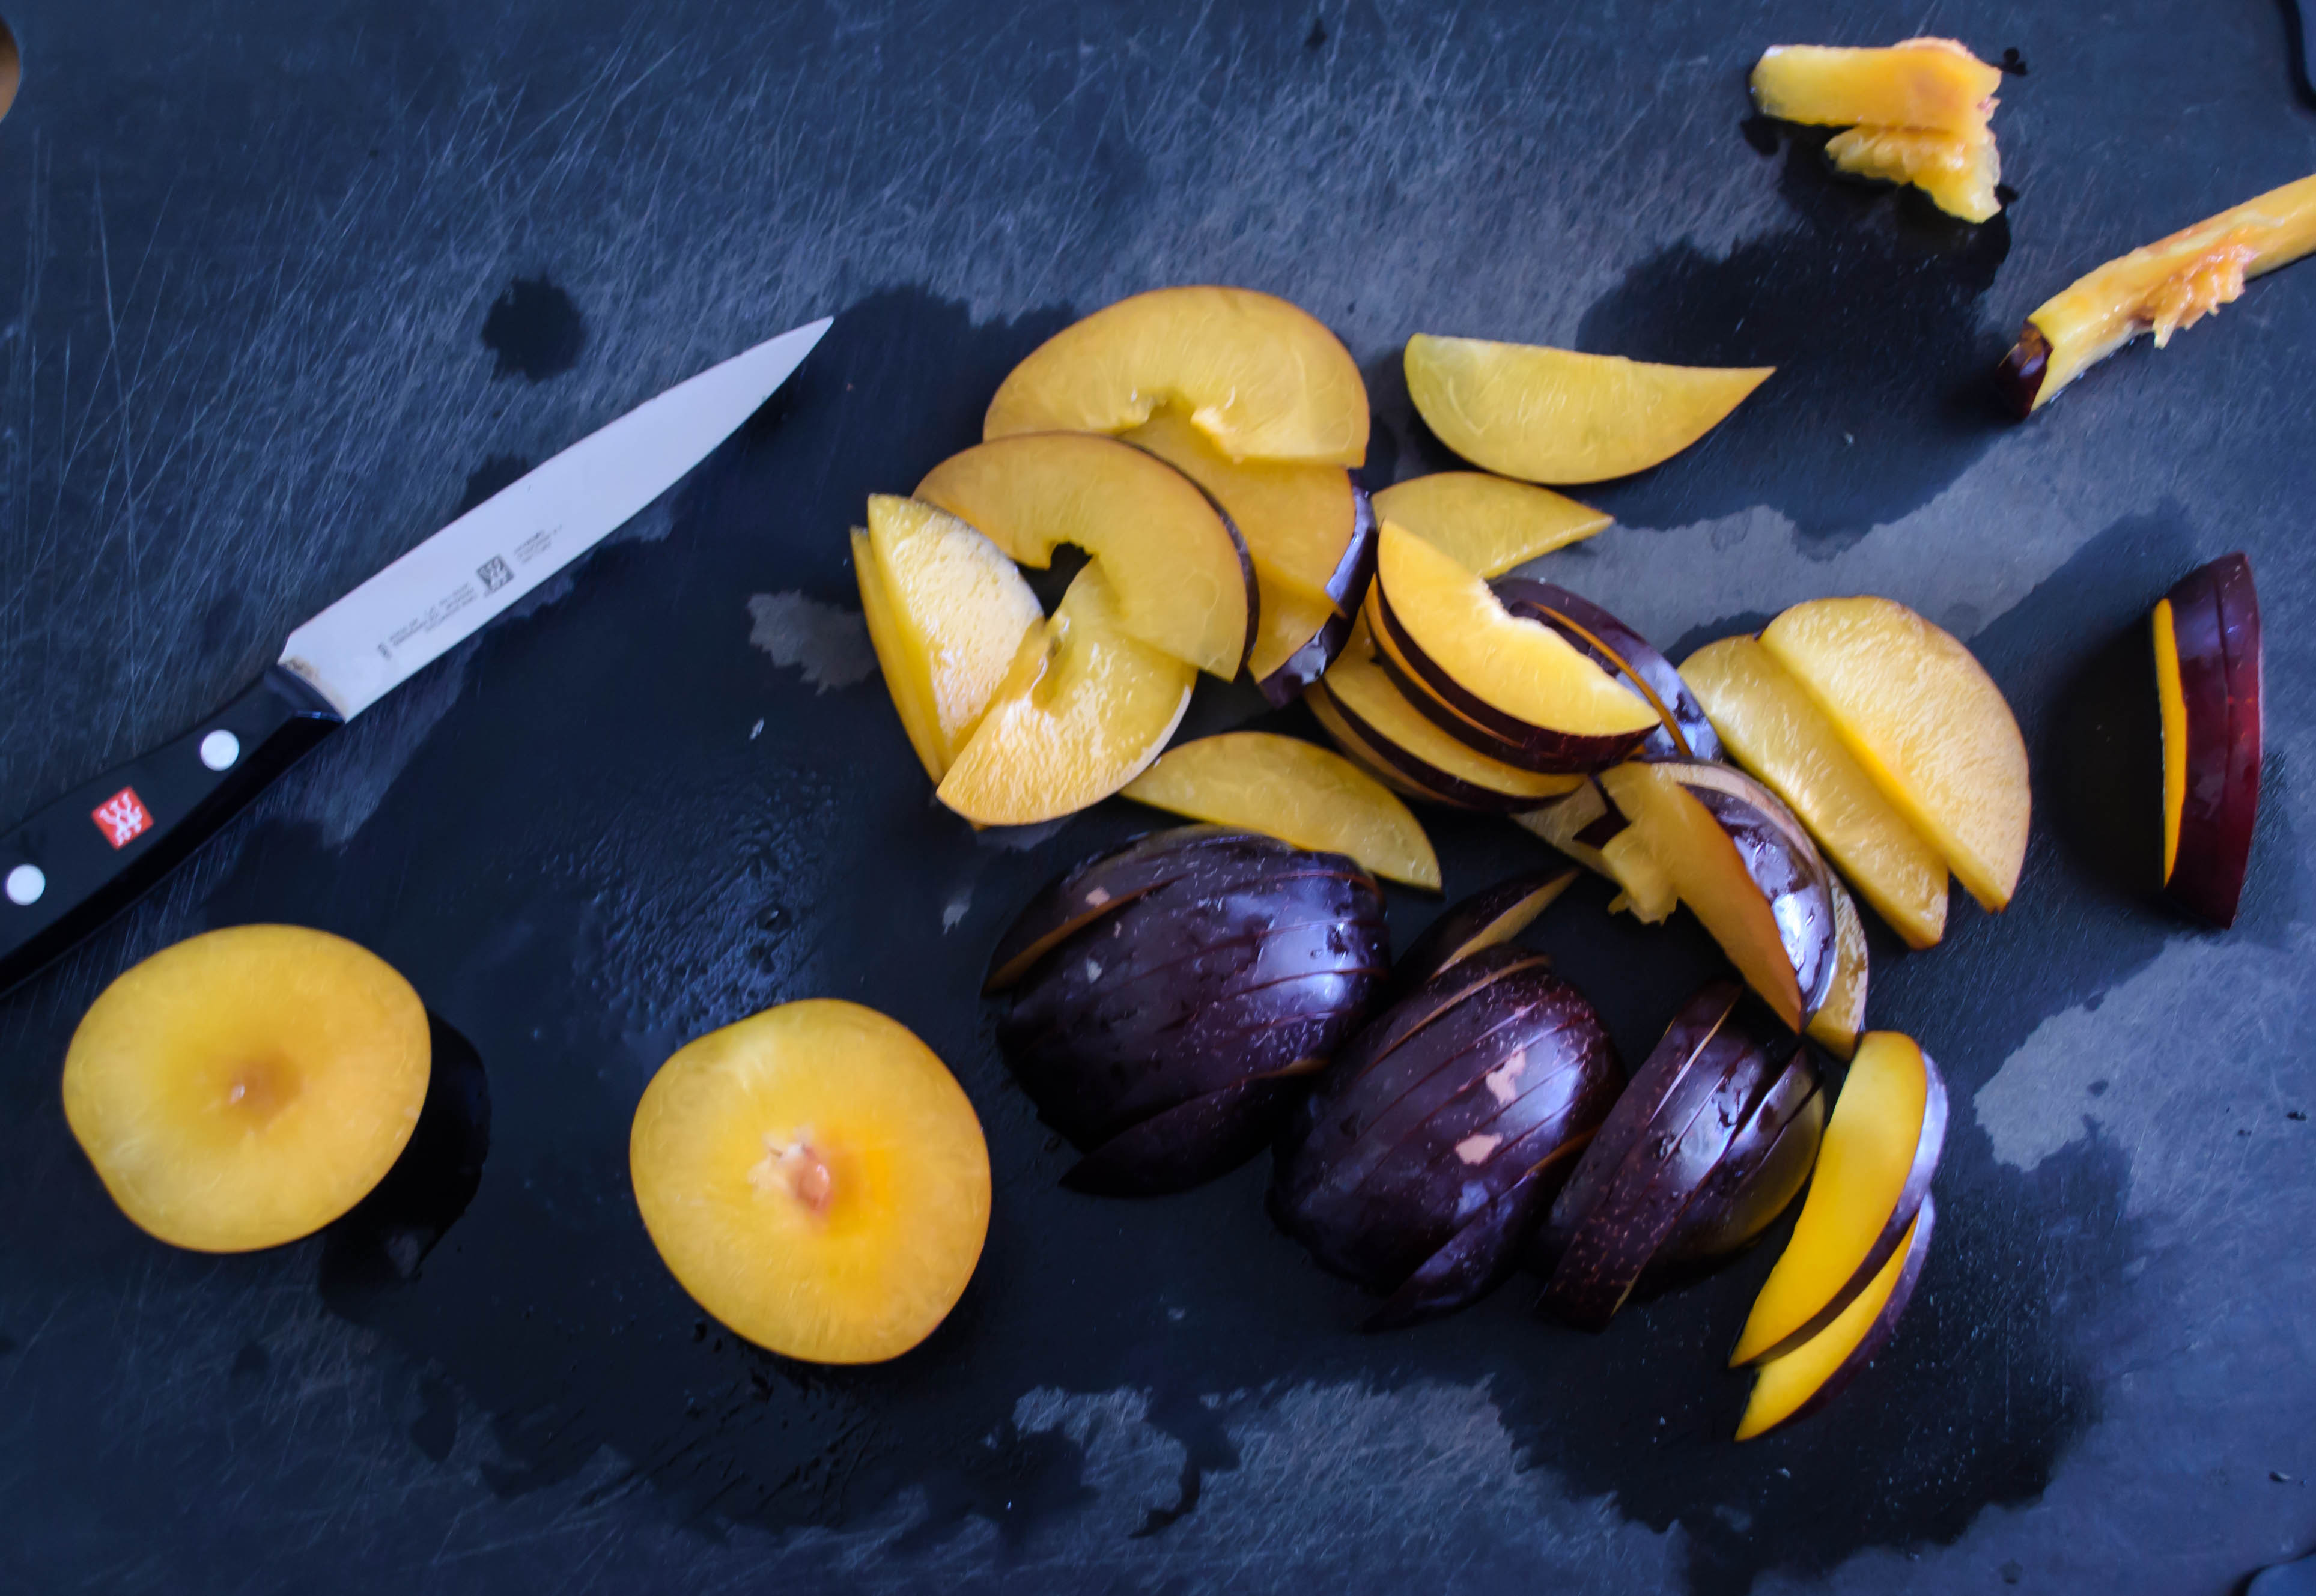
 But you know me. I fiddle. I adjust and tweak. I ruminate, and things change. So despite my pure intentions, this is not my Nana’s cake. First of all, I couldn’t find damson plums. Even at the stand at my Farmers’ Market that carries at least six different strains of plums and pluots, there was nothing labeled “damson,” and no one knew what I was talking about. A bit of internet research suggested I might try an Italian plum as a close substitute, but without ready access to those either, I settled on a deep, black-purple skinned variety with yellow flesh. The point seemed to be a plum that was not terrifically sweet, since the cake itself is snack or breakfast fare, not a sugared up dessert. From there, with the main ingredient already an adaptation, I felt freer to play a bit as I constructed the recipe.
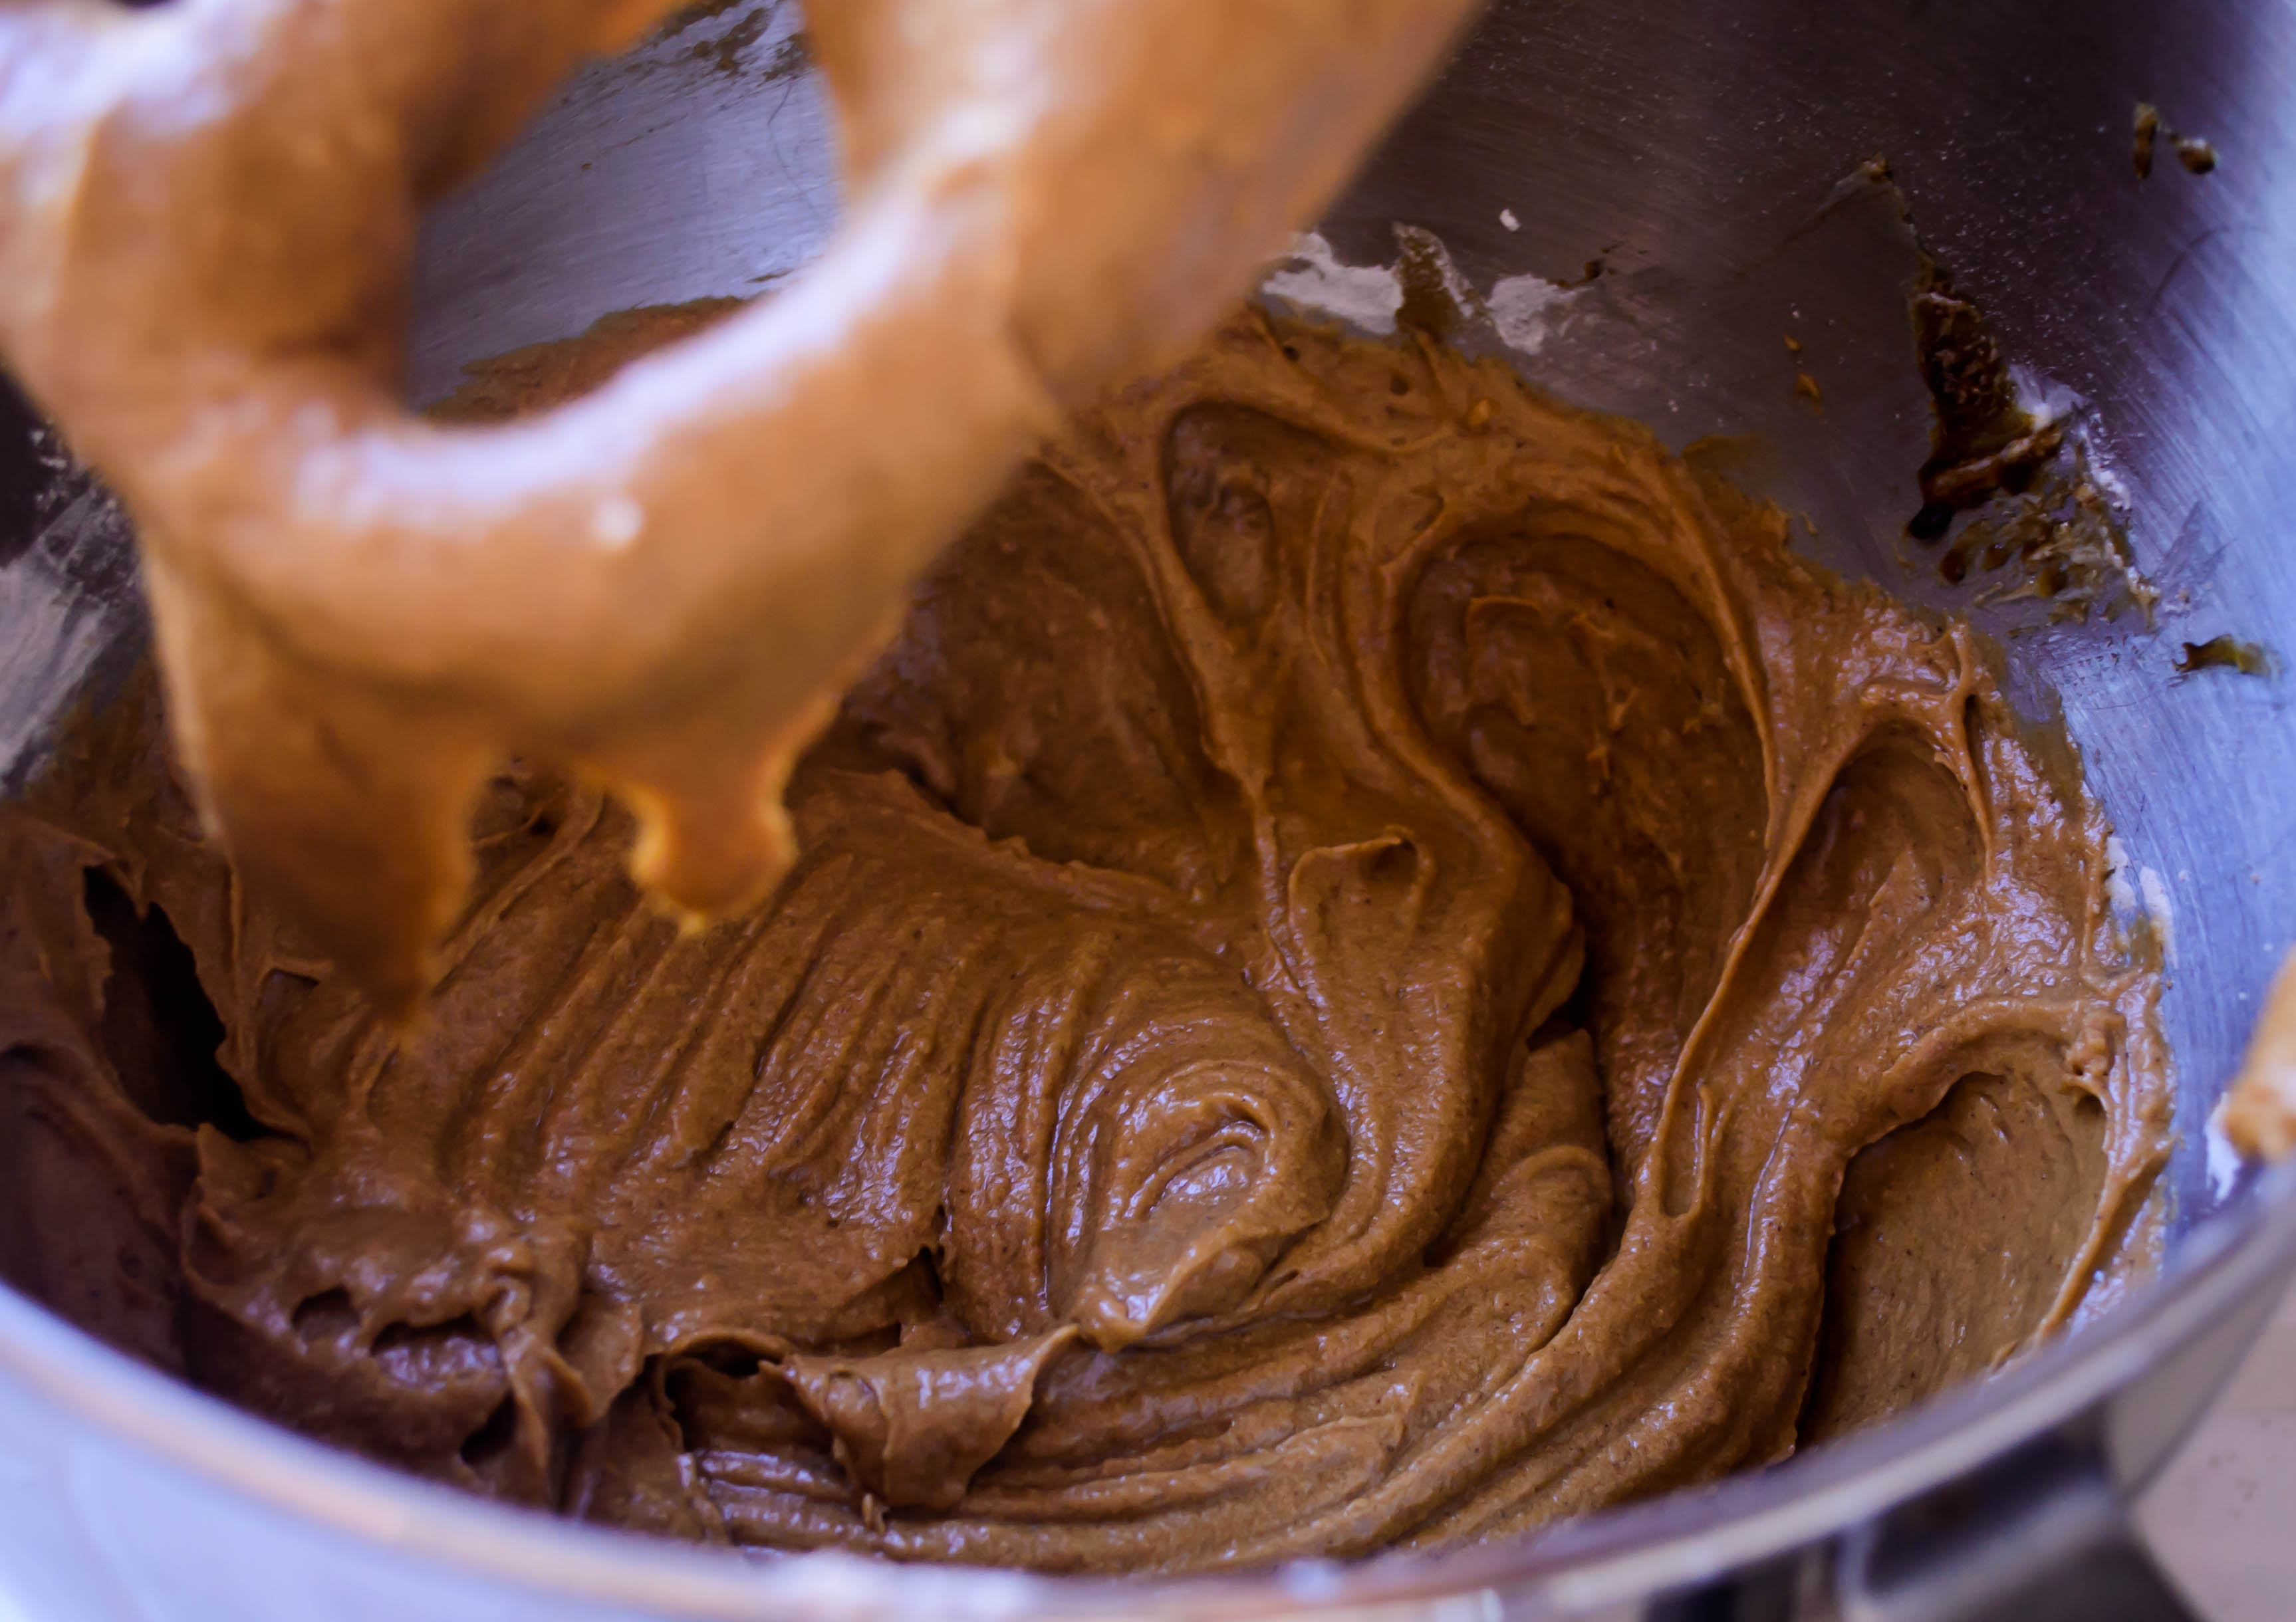
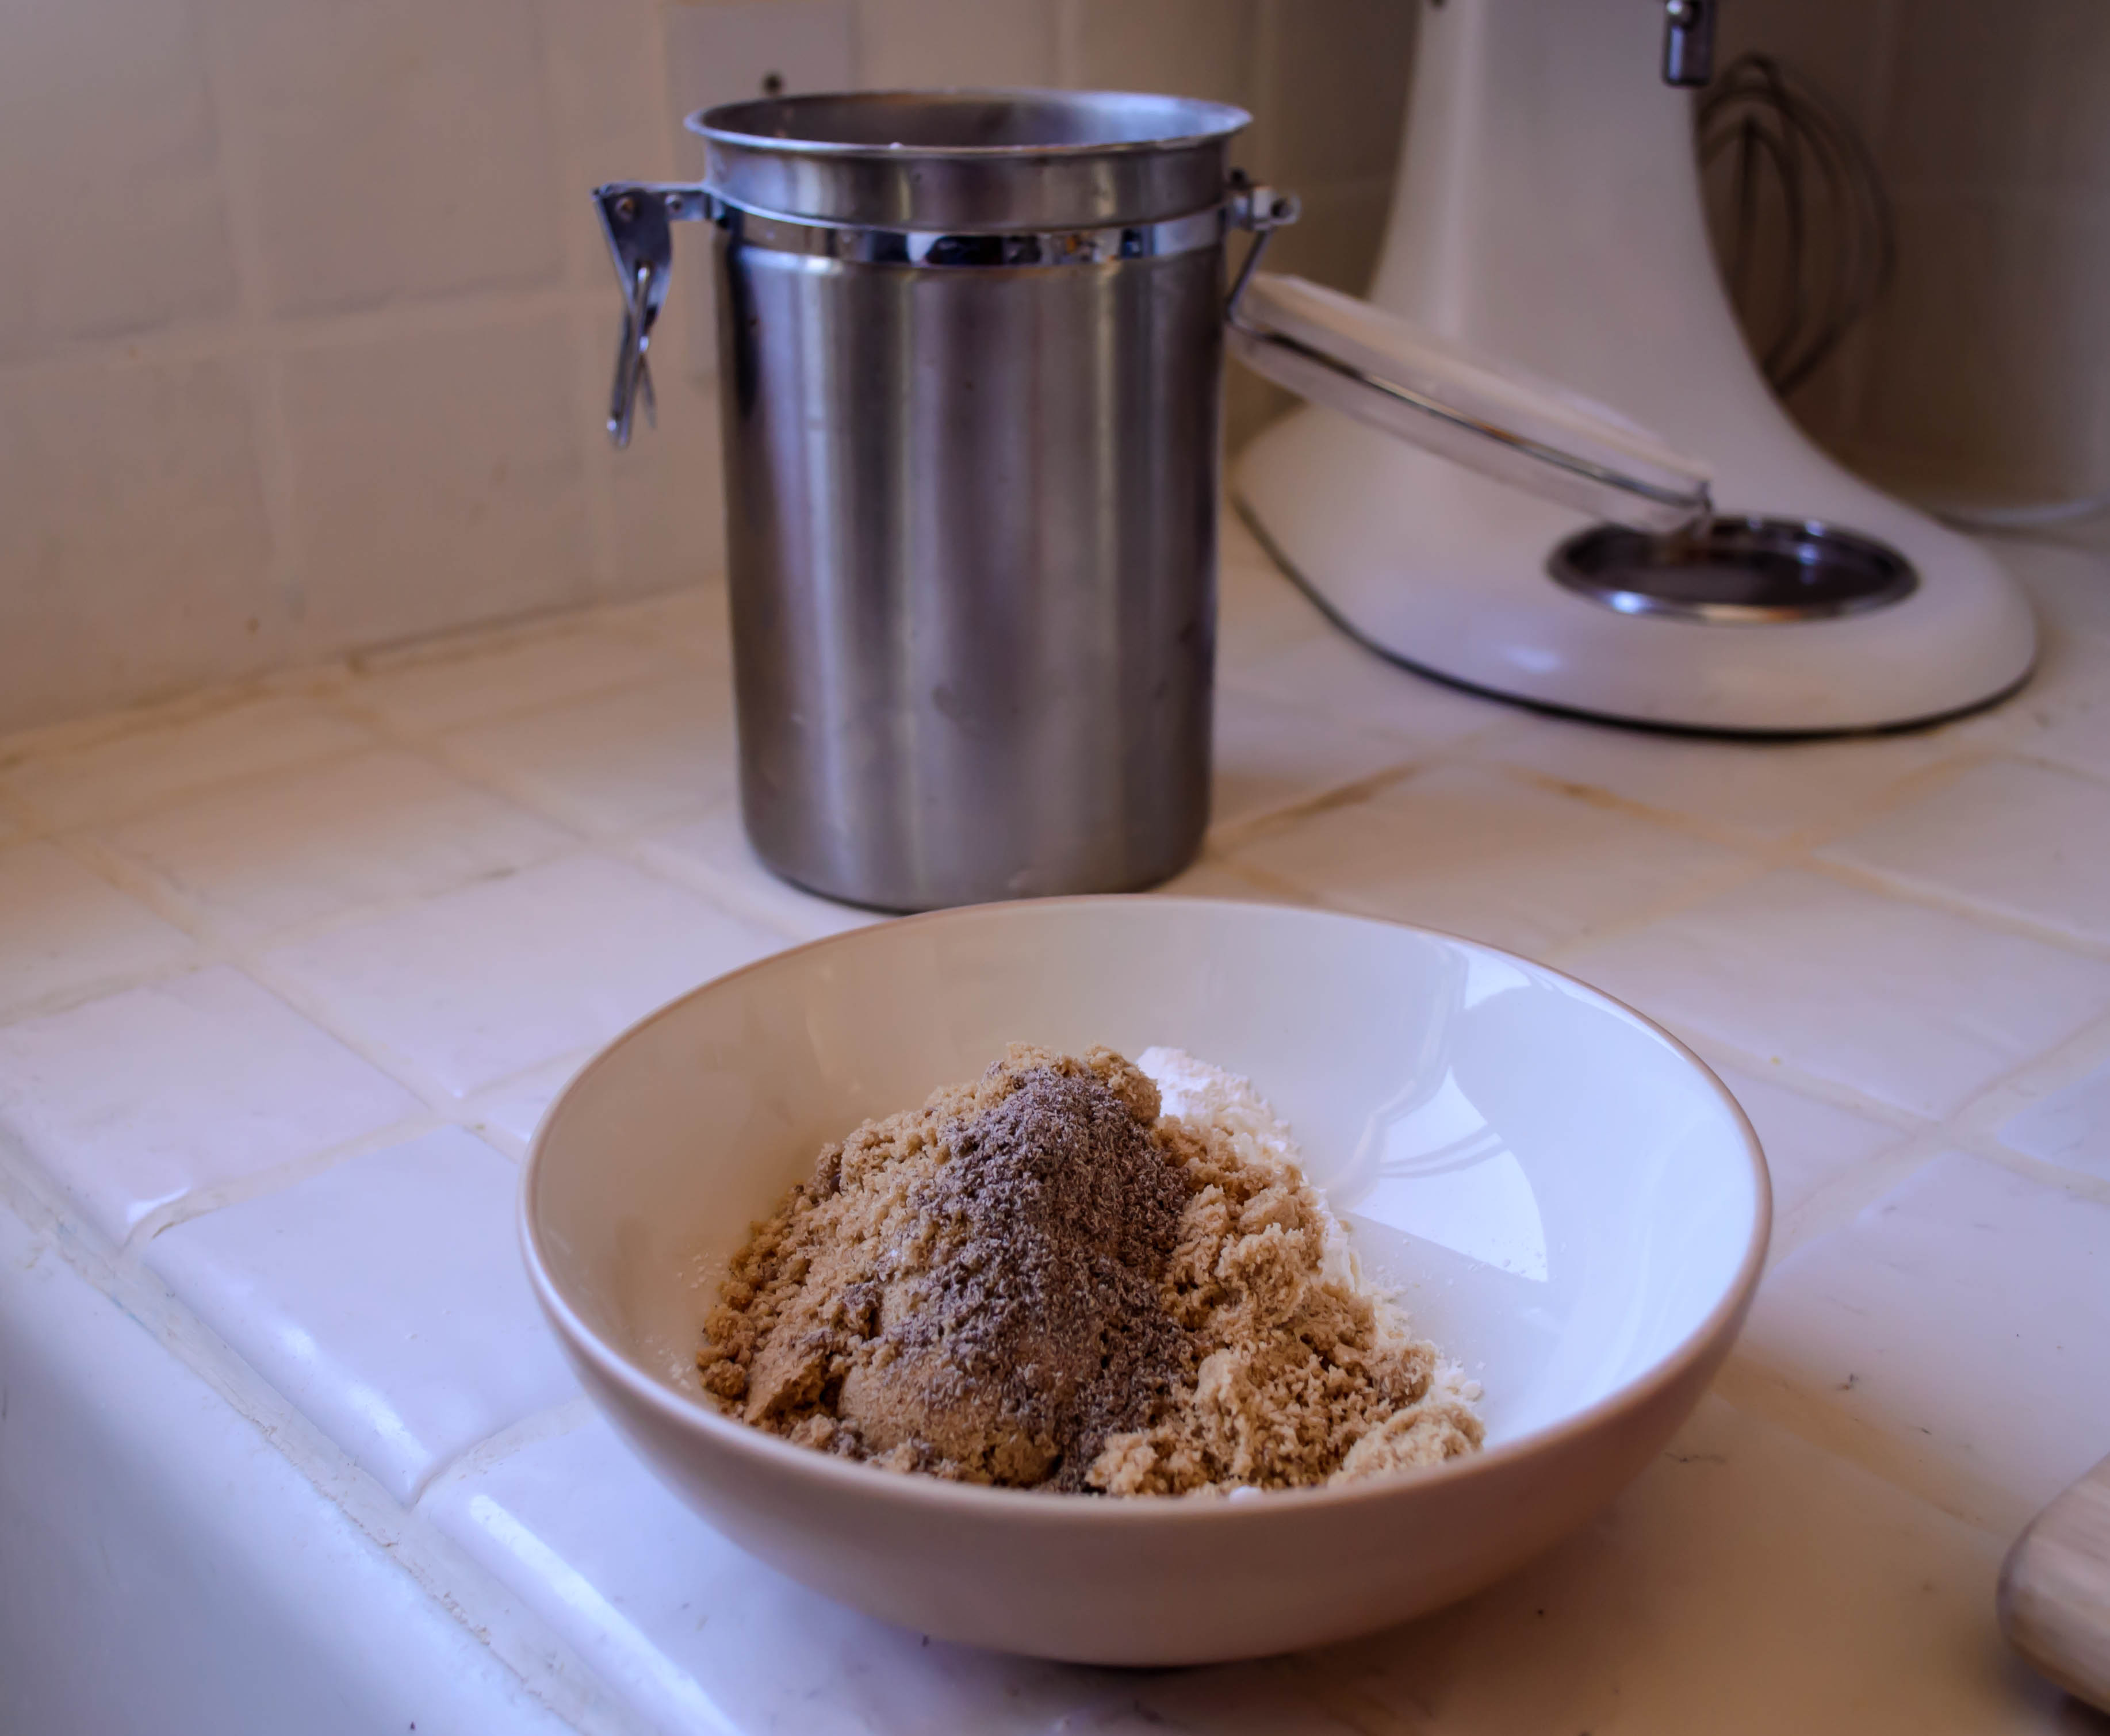
 From Nana’s original dough, I replaced water with milk, exchanged white sugar for brown, and added a healthy dose of cardamom. I suspect Nana never used cardamom in any of her baked goods, and likely never had any in her spice collection, but its pleasant citrusy aroma and warm spicy flavor go so beautifully with plums that I decided it was a necessary update. Since I was already playing quite a bit with what I imagine was Nana’s original procedure, I decided to go whole hog and add a simple streusel to the top just before baking. This was the right thing to do. A little extra spice, a little extra sweetness, turned crumbly in some places and melted into the plums in others, adding caramel loveliness to the whole thing.
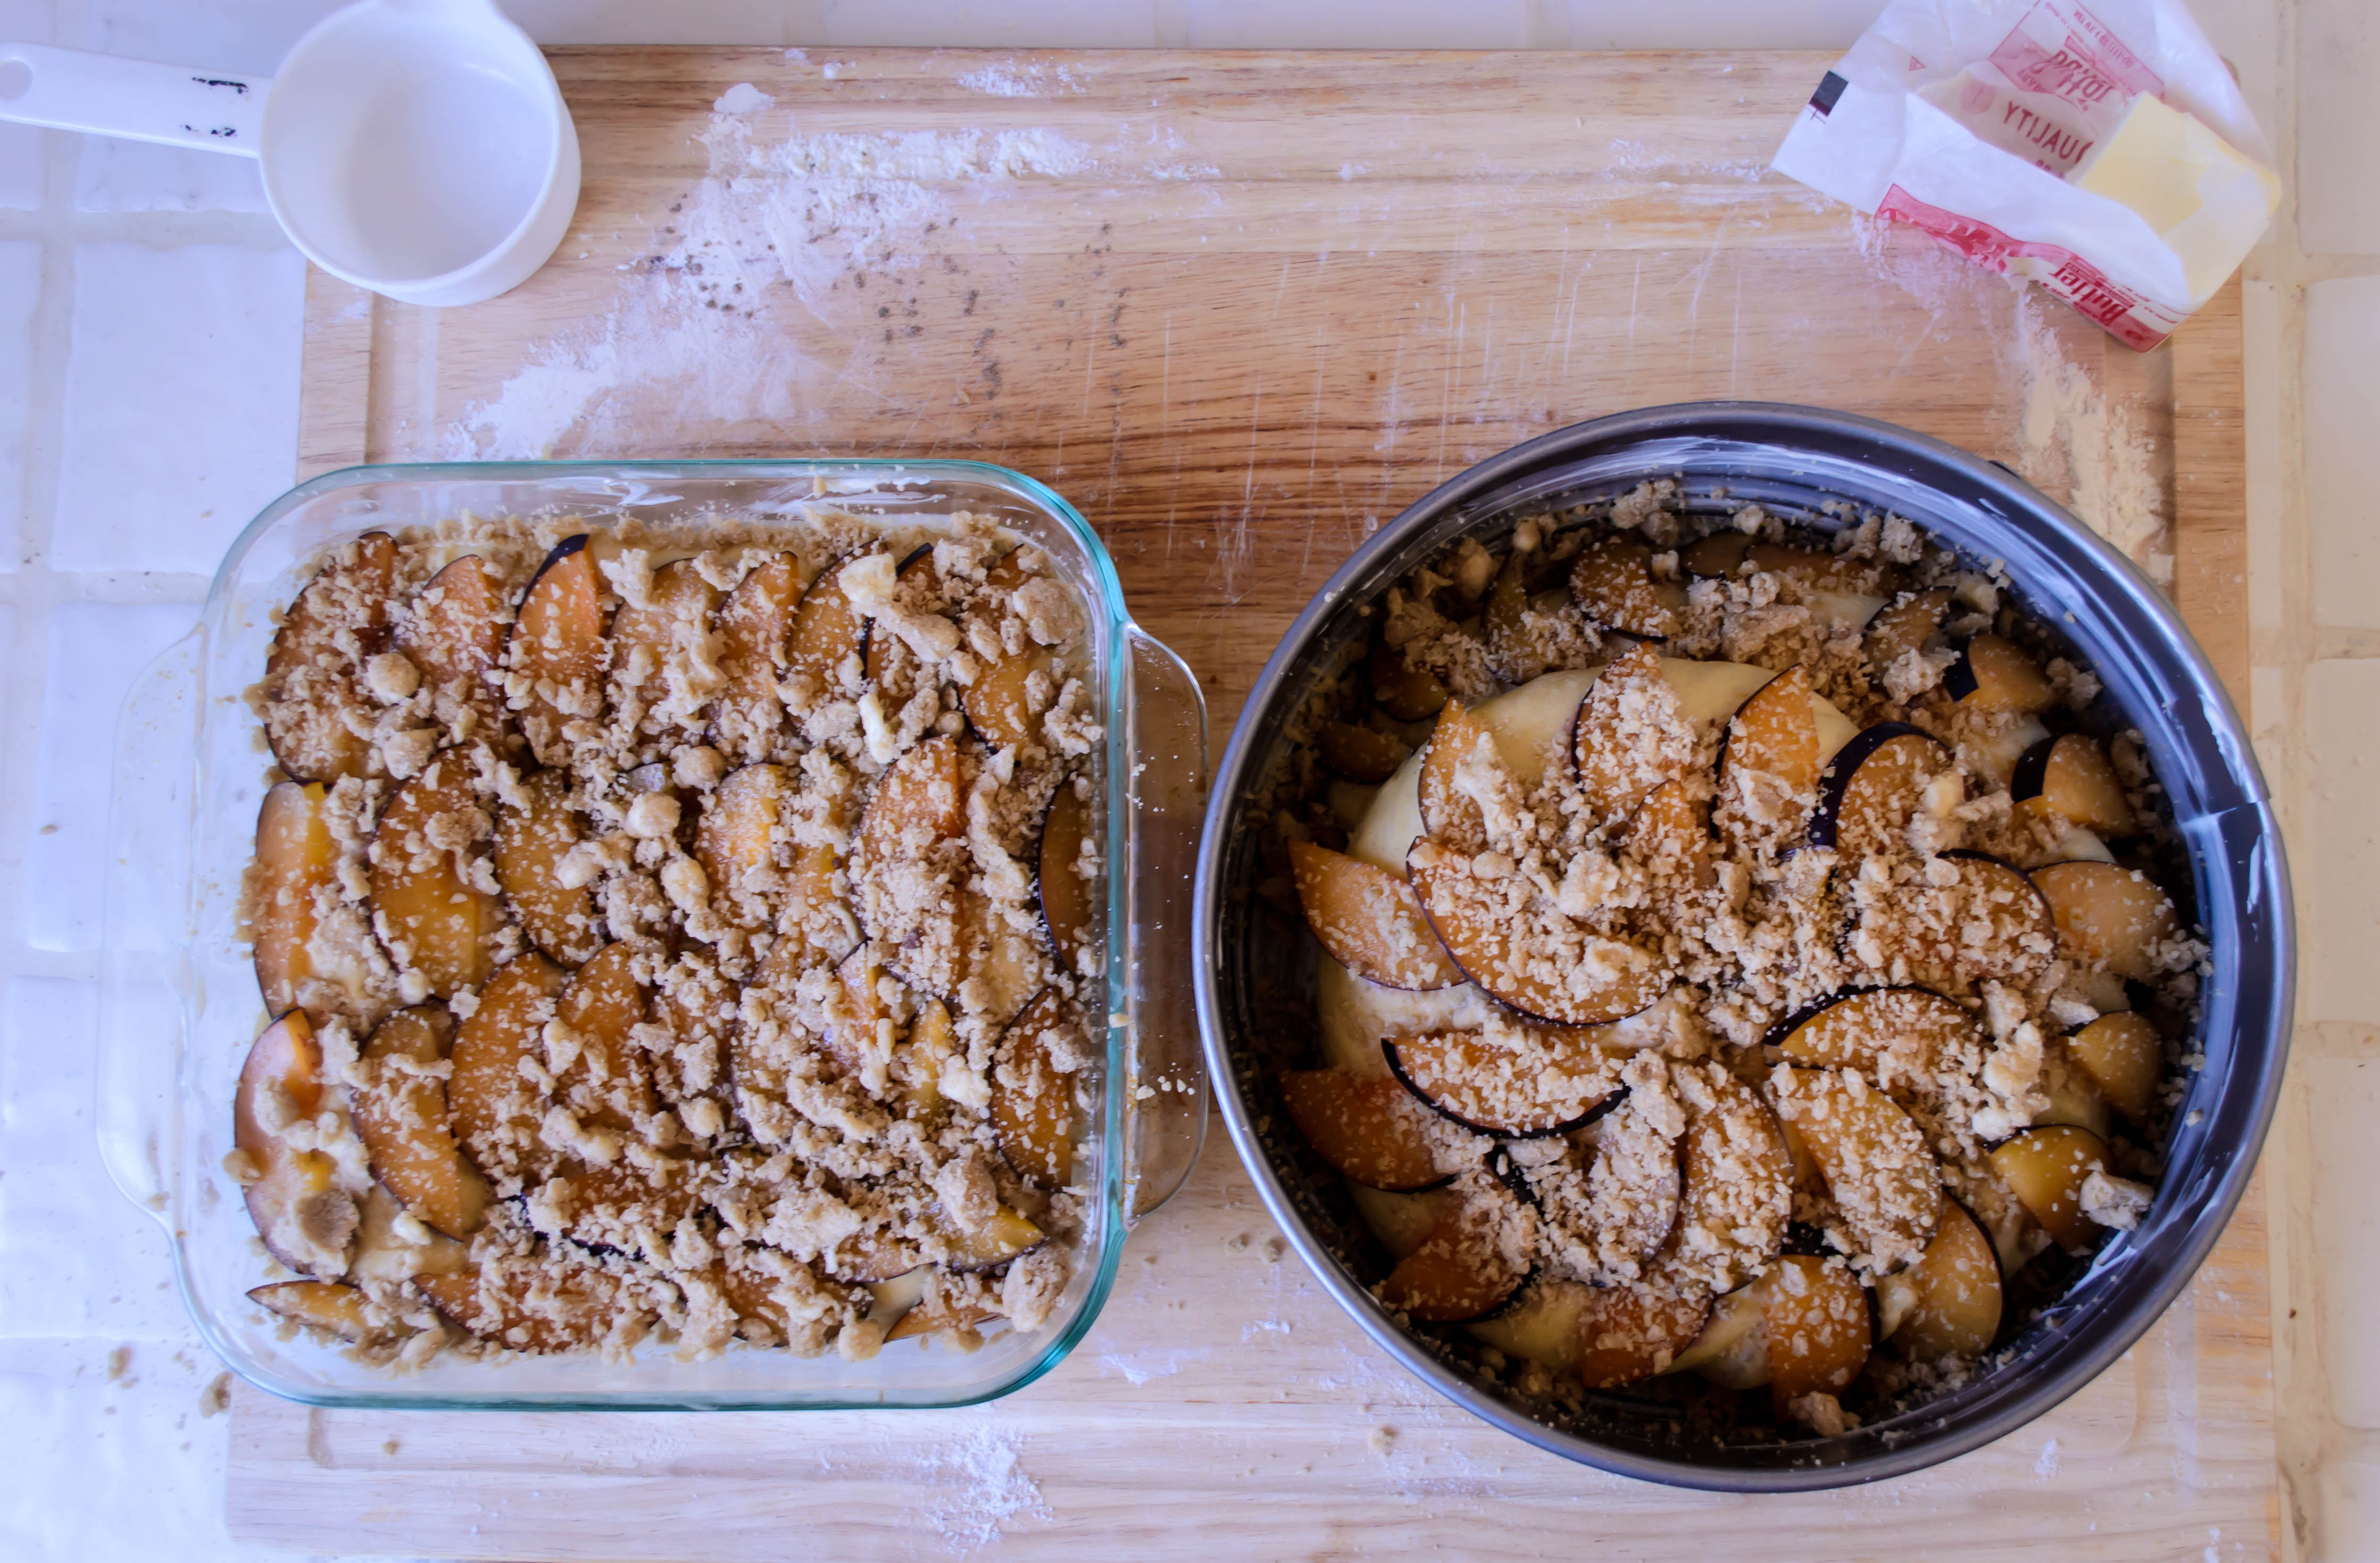
 Like Nana used to, I made enough dough for two cakes. Obeying the mandates of memory, I did one in a square pan. I wasn’t sure how it was going to turn out – just a hunk of dough flopped and poked into a pan – so for the other I tried for a twisted coil, laying the flat snail-shell of dough in a springform pan to rise. Interestingly enough, while adding streusel to the top was a successful adaptation, the pan and shape change was not so ideal. The square shape turned out better because it made for a more even distribution of plums. The coil, while it baked into a beautiful puffy spiral, was smaller to start with, which meant I couldn’t load on as many plum slices. When it expanded, both on the counter and in the oven, the plum distribution ended up a bit sparse (though the outcome was still delicious). The square shaped cake, which had nowhere to expand but straight up, retained its fruit coverage for a final product that can only be termed plummier. That, then, was the one I brought to work with me to share. By the time I left campus in mid-afternoon, only a tiny, plum-less corner remained.

 Nana, this is a good cake. I’m glad you made it, and I’m glad it was remembered. I don’t know whether you would have liked my version, and I know you wouldn’t have liked the mess I made in the kitchen while I worked on it. I do think, though, that you’d have liked the fact that I was happy while baking and that I made enough to share. And I think you would have liked that it made us all think about you so fondly.

 I’ve put off writing this post. I wasn’t sure how to begin. Every time I sit down to think about it, I end up surfing the net, scrolling through Facebook, seeing more and more headlines, reading more and more articles about the terrible things our world has been going through recently. As one of my friends and former colleagues put it recently, “the entire internet needs a trigger warning.”
 I don’t often offer political or moral commentary on this site. That’s not its job. And I don’t often try to convince you that seeing things my way is the way you should see. My truths are mine, and yours are yours. But when terrible things happen, and when death and tragedy are instigated and framed through questionable motives – sometimes on both sides of the event – I question my own job here.
 I’m not going to espouse to you what I think. Not today, and probably not ever, unless it’s something frivolous and food-related. I’m just going to say, with caution, that unless you have cut off access to emotions, to moral codes, or to the internet itself (I know, gasp!), over the past week or two – certainly over the past month – the world has been pretty depressing.
 So that makes a food blogger wonder where she stands. When people are suffering, when people are angry and dying and struggling, for me, there is uncertainty: is it disrespectful or willfully unaware to coo over the cuteness of a cupcake or speckle my posts with just the right adjectives to describe the lusciousness of a sauce? I’ve considered this before, written about it before, and I always come back to the same conclusion: no. Food is important. Food means things, not just about nurturing our bellies but nurturing our hearts and our minds and, depending on what you believe, our souls. I talked to N. about this the other day, thinking again of how to write this post, and he said “we have to have some things to be happy about.” Food seems like one of those things.
 Finally, what helped me figure out what to write so as to be aware of, respectful of, but not overwhelmed by these events I’ve found troubling, was the introduction to Yotam Ottolenghi and Sami Tamimi’s cookbook Jerusalem. Looking back through this lovely book, I was struck by a short section they have titled “A comment about ownership.” In a place – whether that is a city, or a nation, or the world itself – where we feel a need for the power that ownership and control bring us, it is hard to share. We pull ourselves apart from one another in an effort to feel safe, or right, or justified. Ottolenghi and Tamimi argue that searching out the true “owner” of a dish through its national or personal origin is not only difficult, but futile. Either it has been made before, or there exists another, or three, or a dozen, similar dishes claiming different origins: a “variation on a theme” (16).
 Though Ottolenghi and Tamimi are commenting on dish origination – which makes sense, as they like to provide a little background about the meals they offer – what struck me was not just where a dish comes from, but where it goes. For a long, long time, sitting down at a table, or a fire, or a bowl, has meant something more than filling your stomach. It means trust, or love, or a forging of bonds. You eat together and you end up sharing more than a meal. I’m not sure that’s still true, but I think it should be.
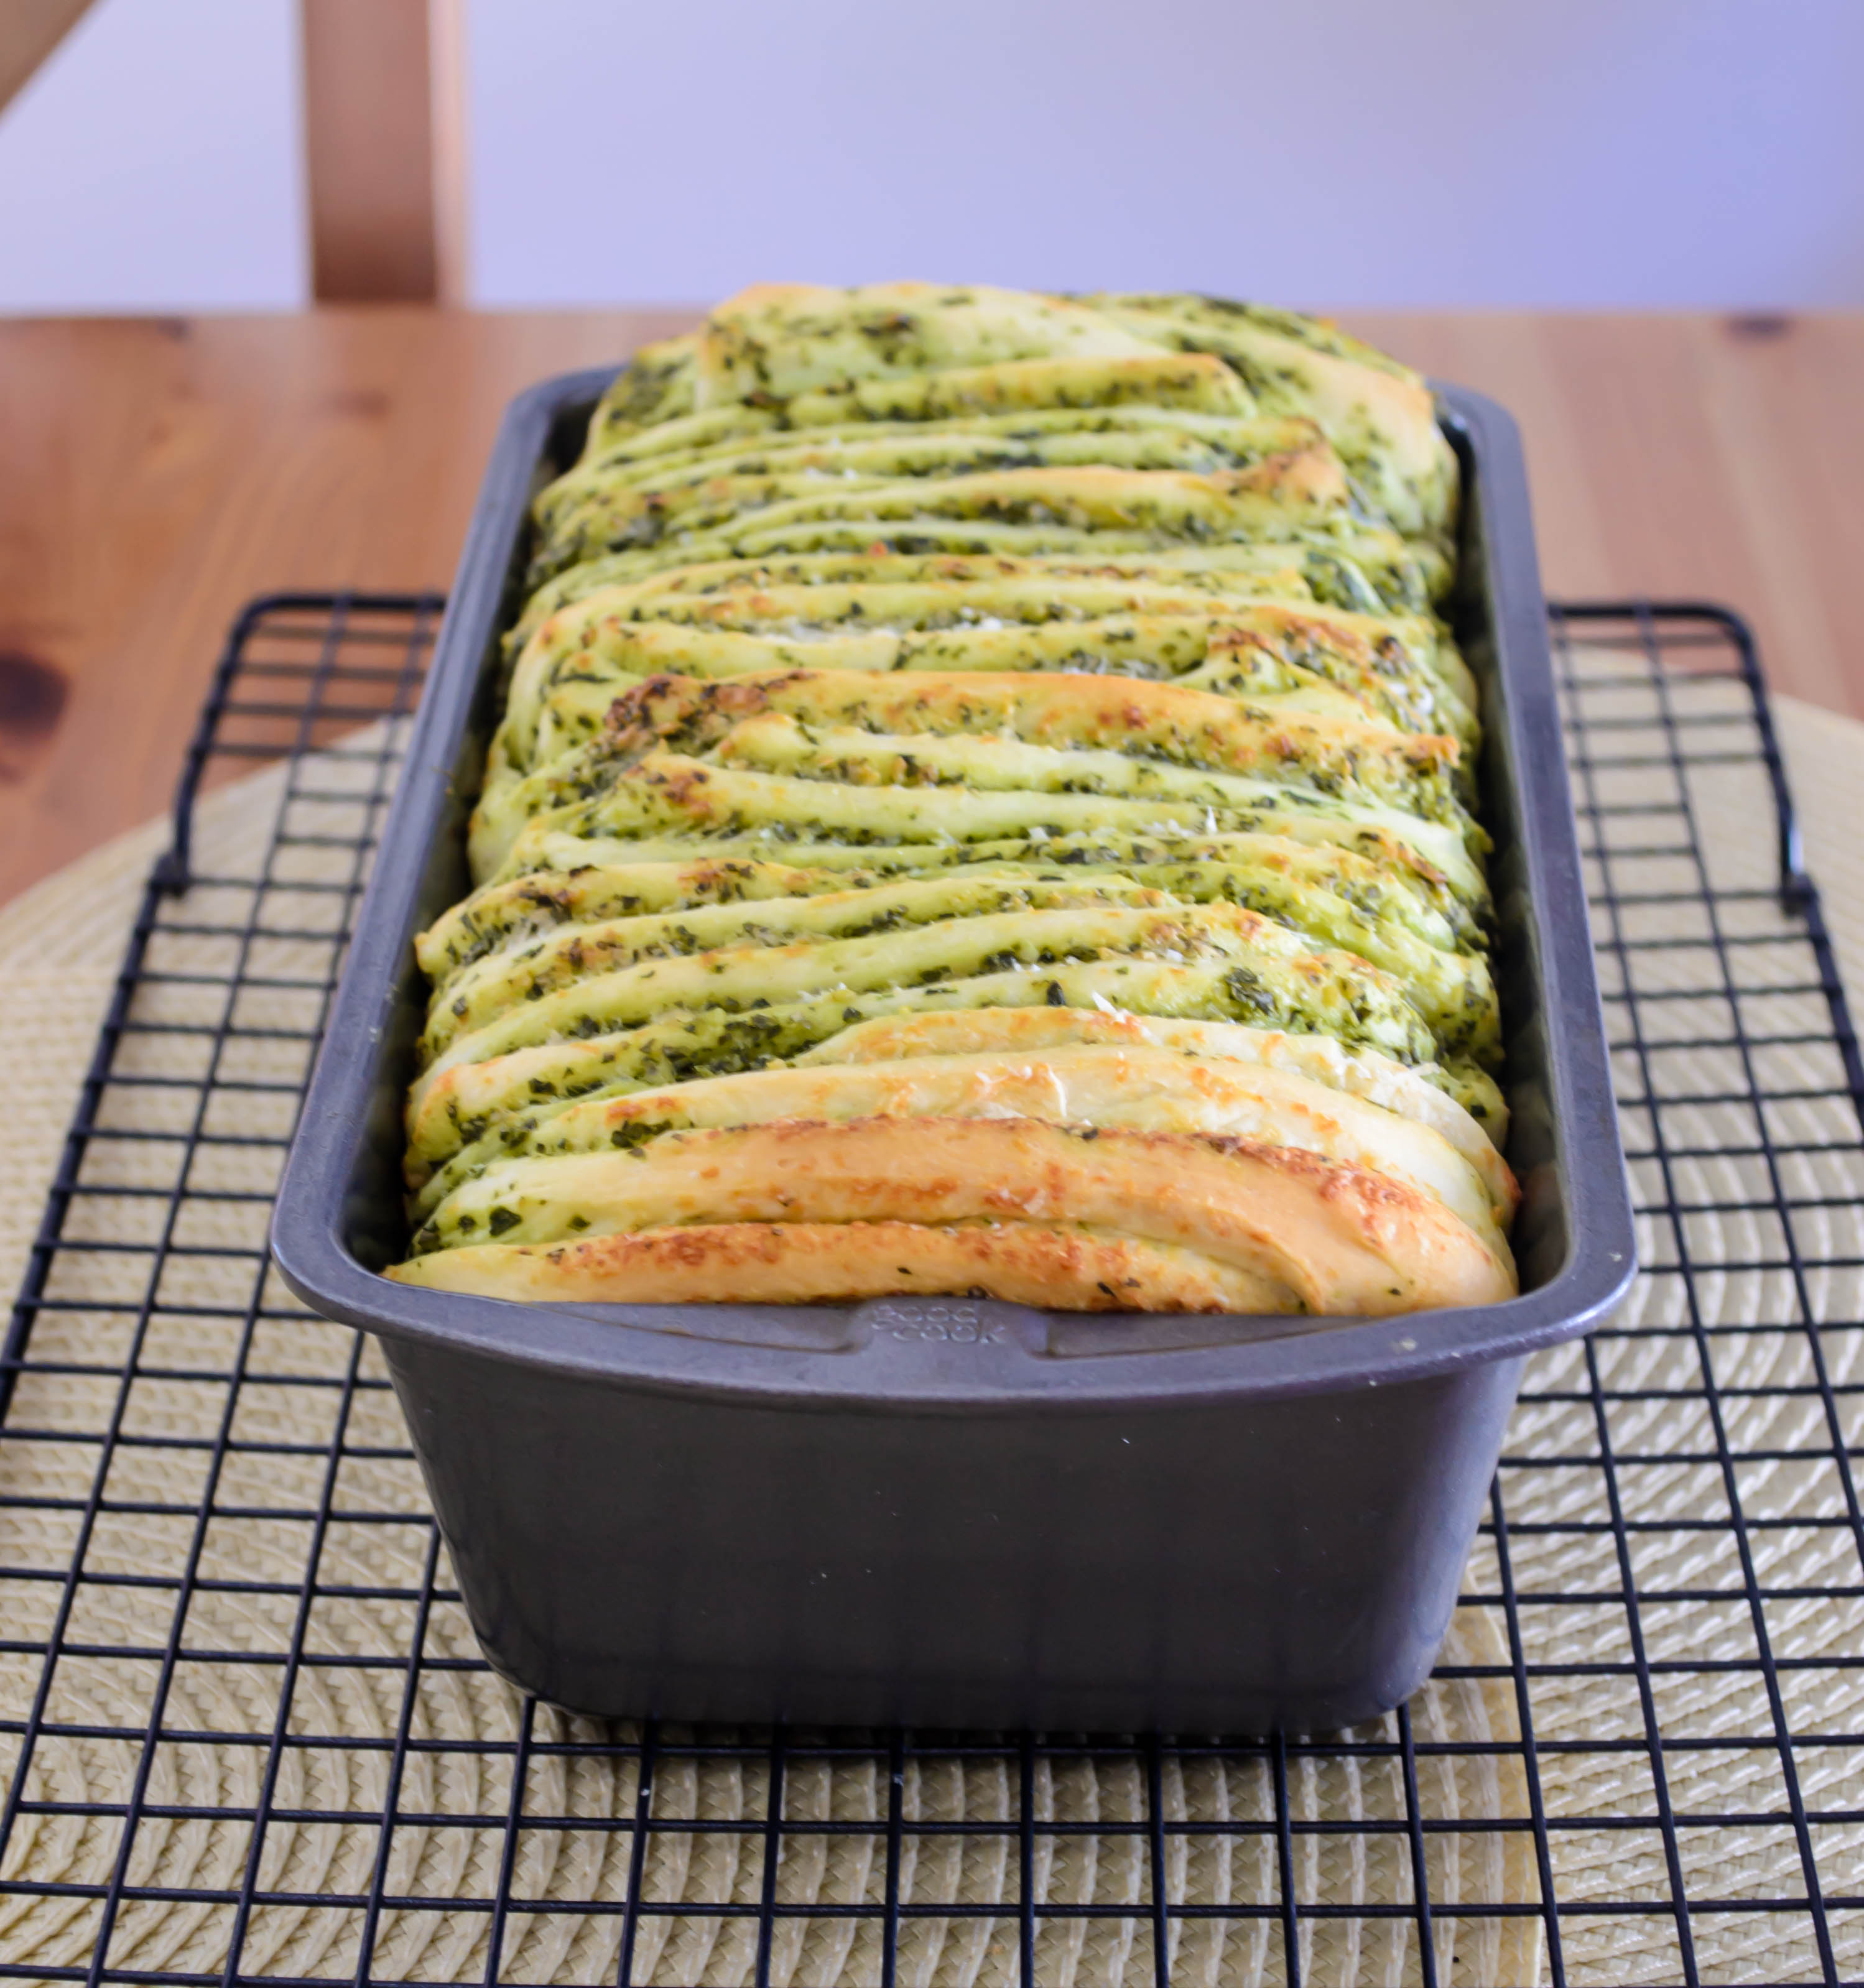
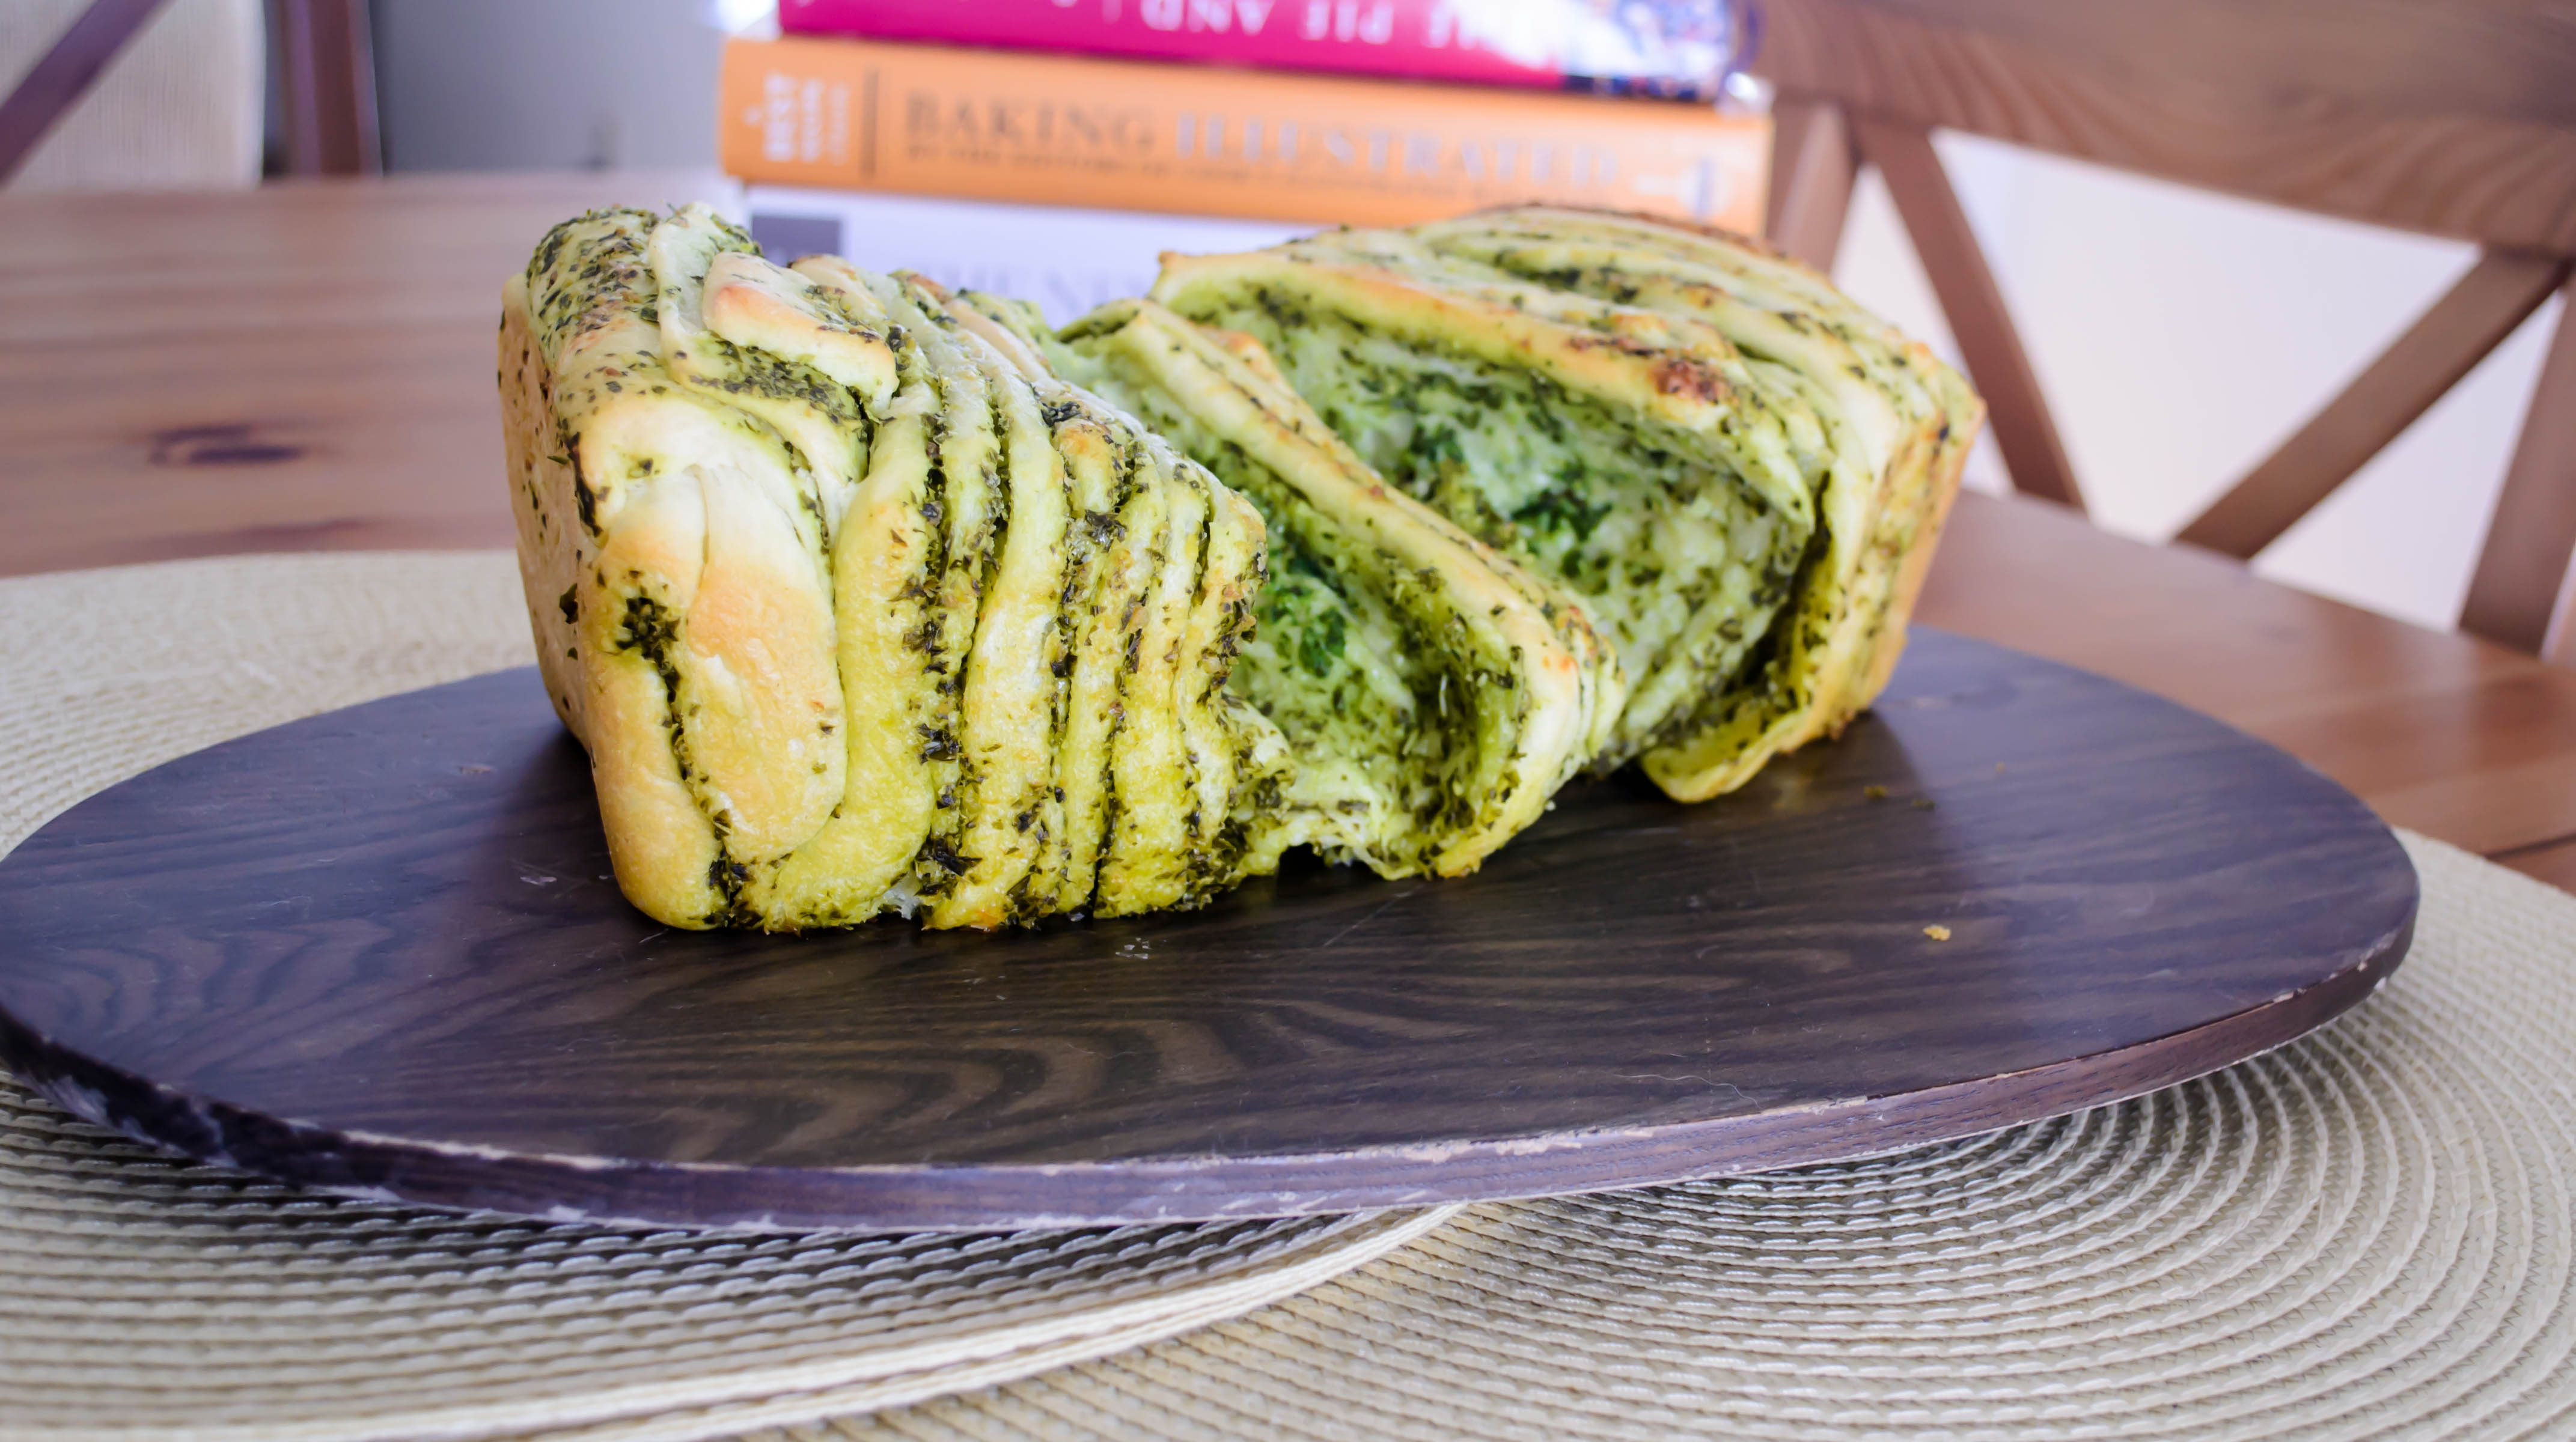
 So weirdly, when it came time to sample this month’s loaf for the Twelve Loaves project, I had chosen something divisive in its very name: pull-apart bread. When you tear into it, this loaf peels into separate bits, as I see happening so often in our world. Yet its richness, its docile tendency to give up layers and hunks and edges, suggests it is meant to be shared. We pull it into soft fragrant pieces, but we’re doing that together, and the act of sharing brings us comfort and happiness.
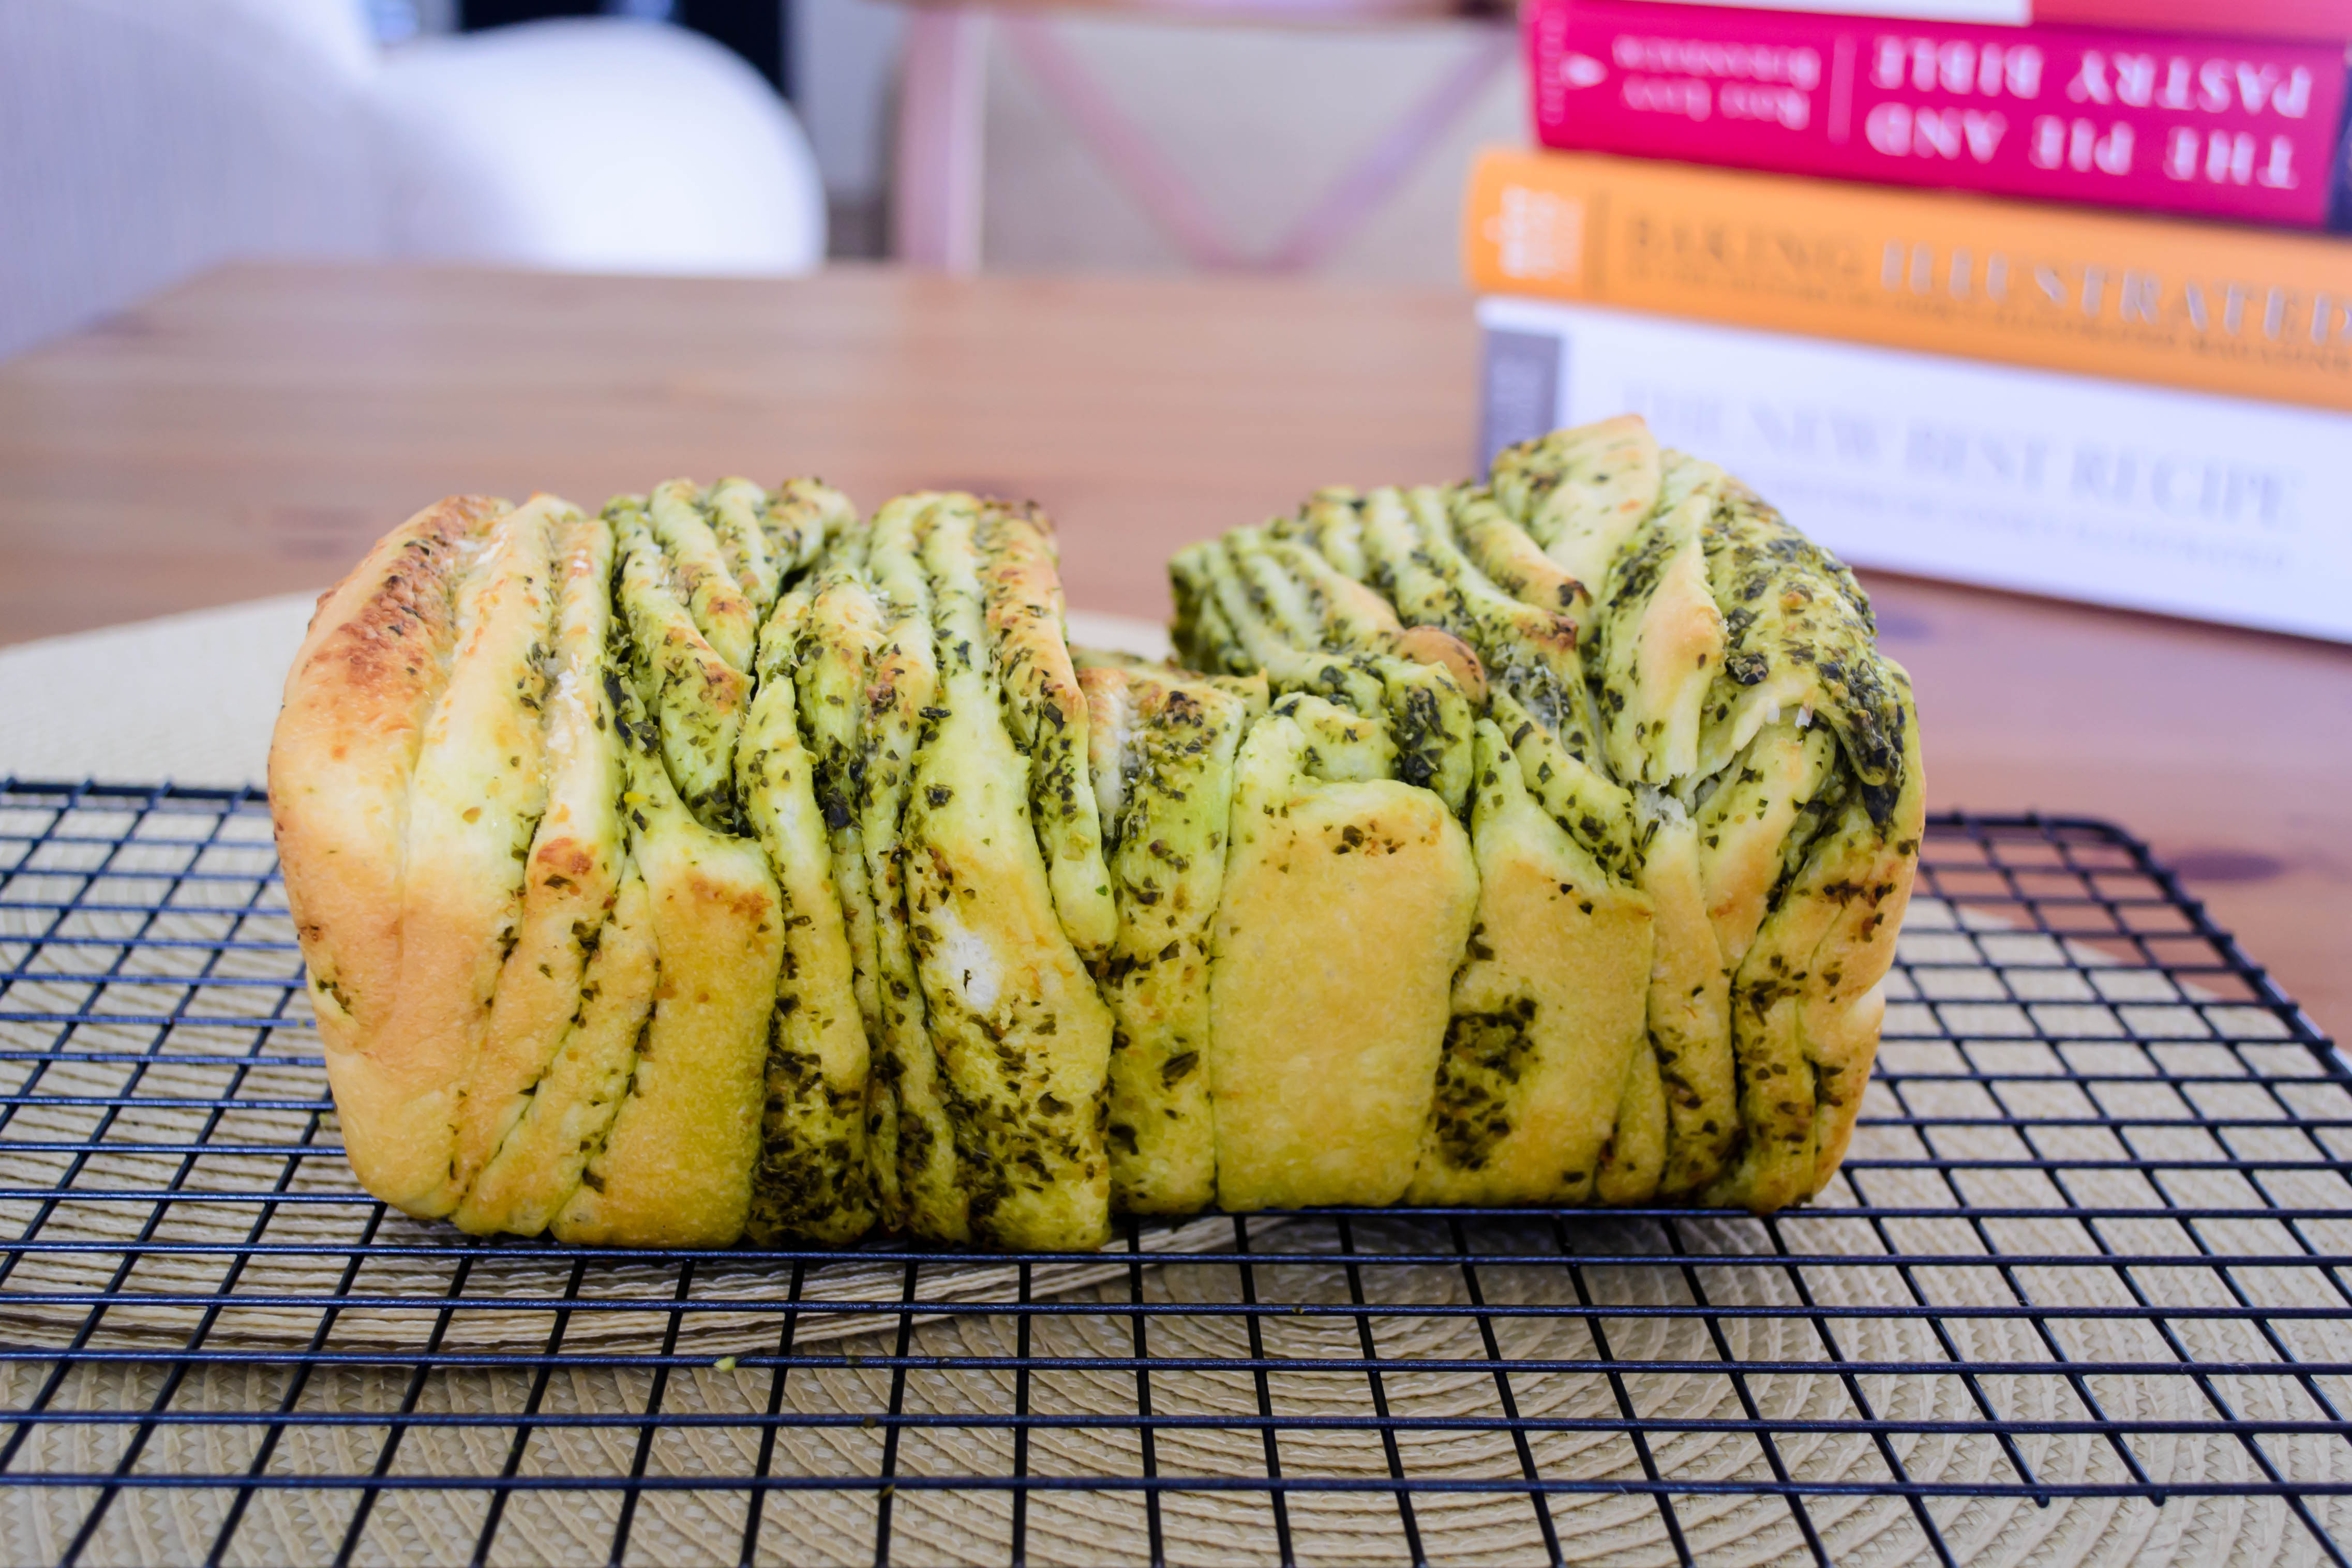
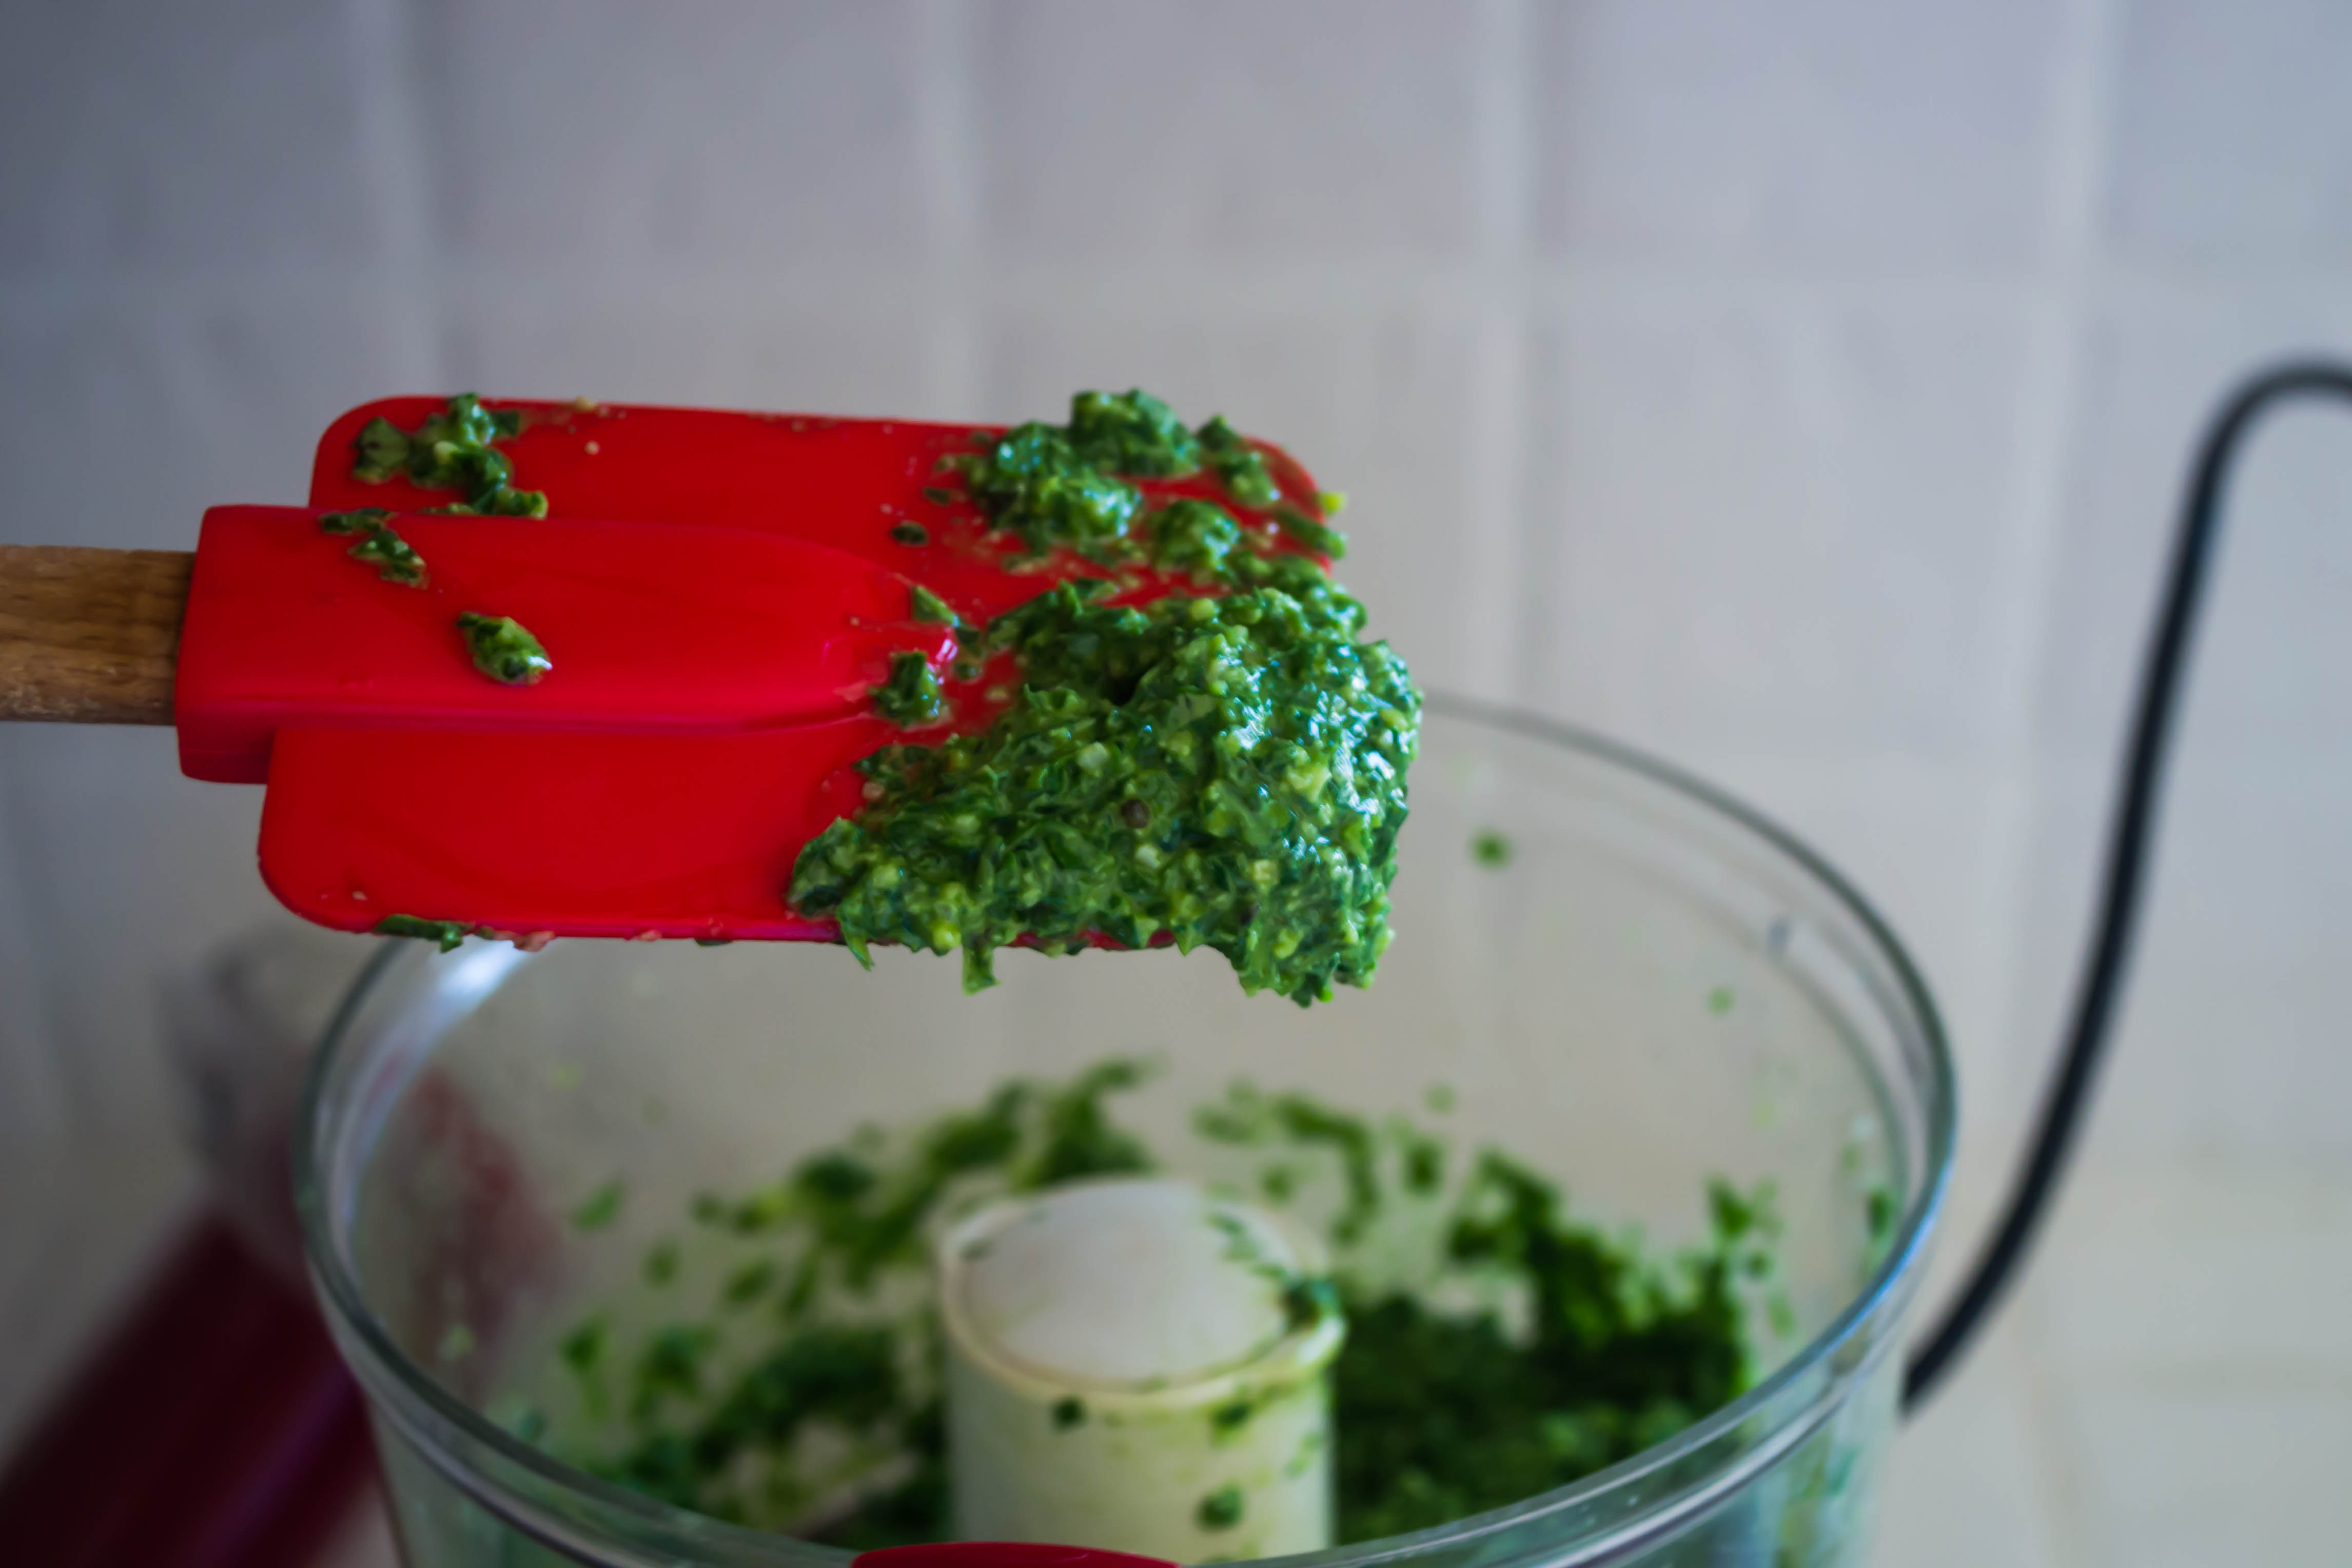
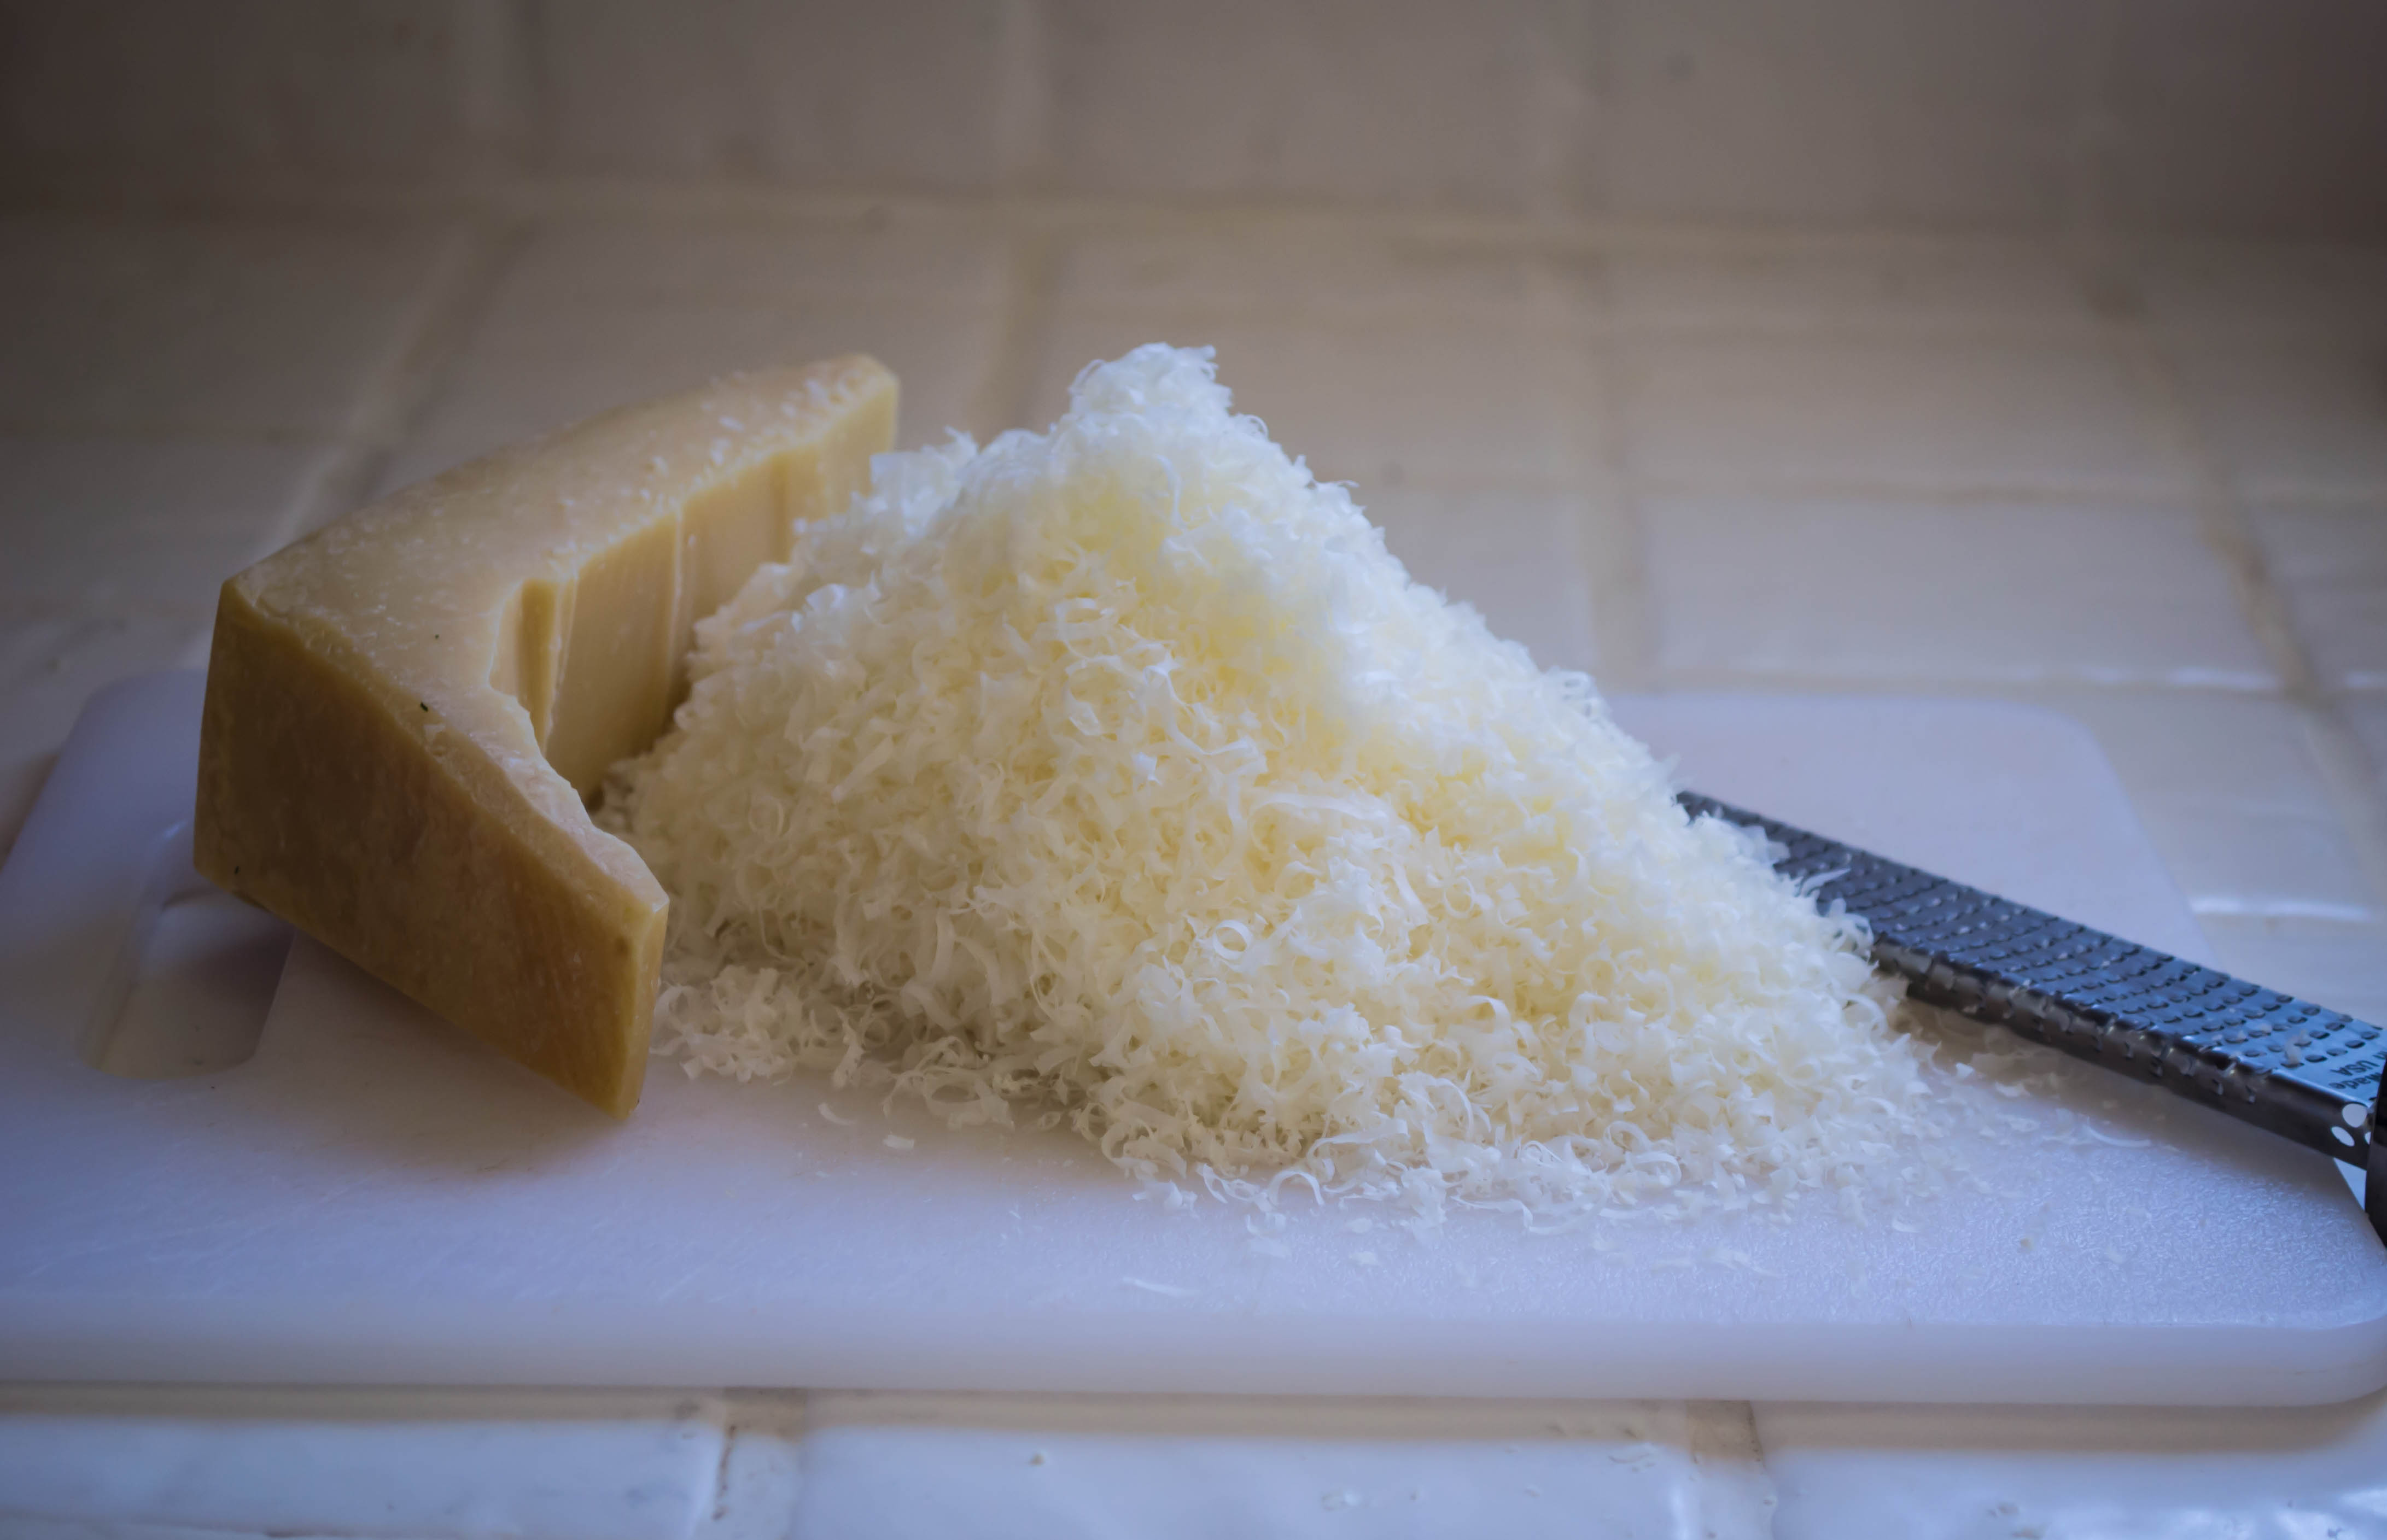
 I’ve wanted to try a pull-apart bread for a long time, particularly after seeing Deb’s nod to Welsh Rarebit on Smitten Kitchen. To answer the call of summer herbs for Twelve Loaves, I settled on pesto, blending the sharp-sweet, fresh licorice scent of basil with the usual garlic, pine nuts, and lemon juice. I amped up the parmesan quotient and included it not in the spread itself, but as a separate layer to melt and cling.
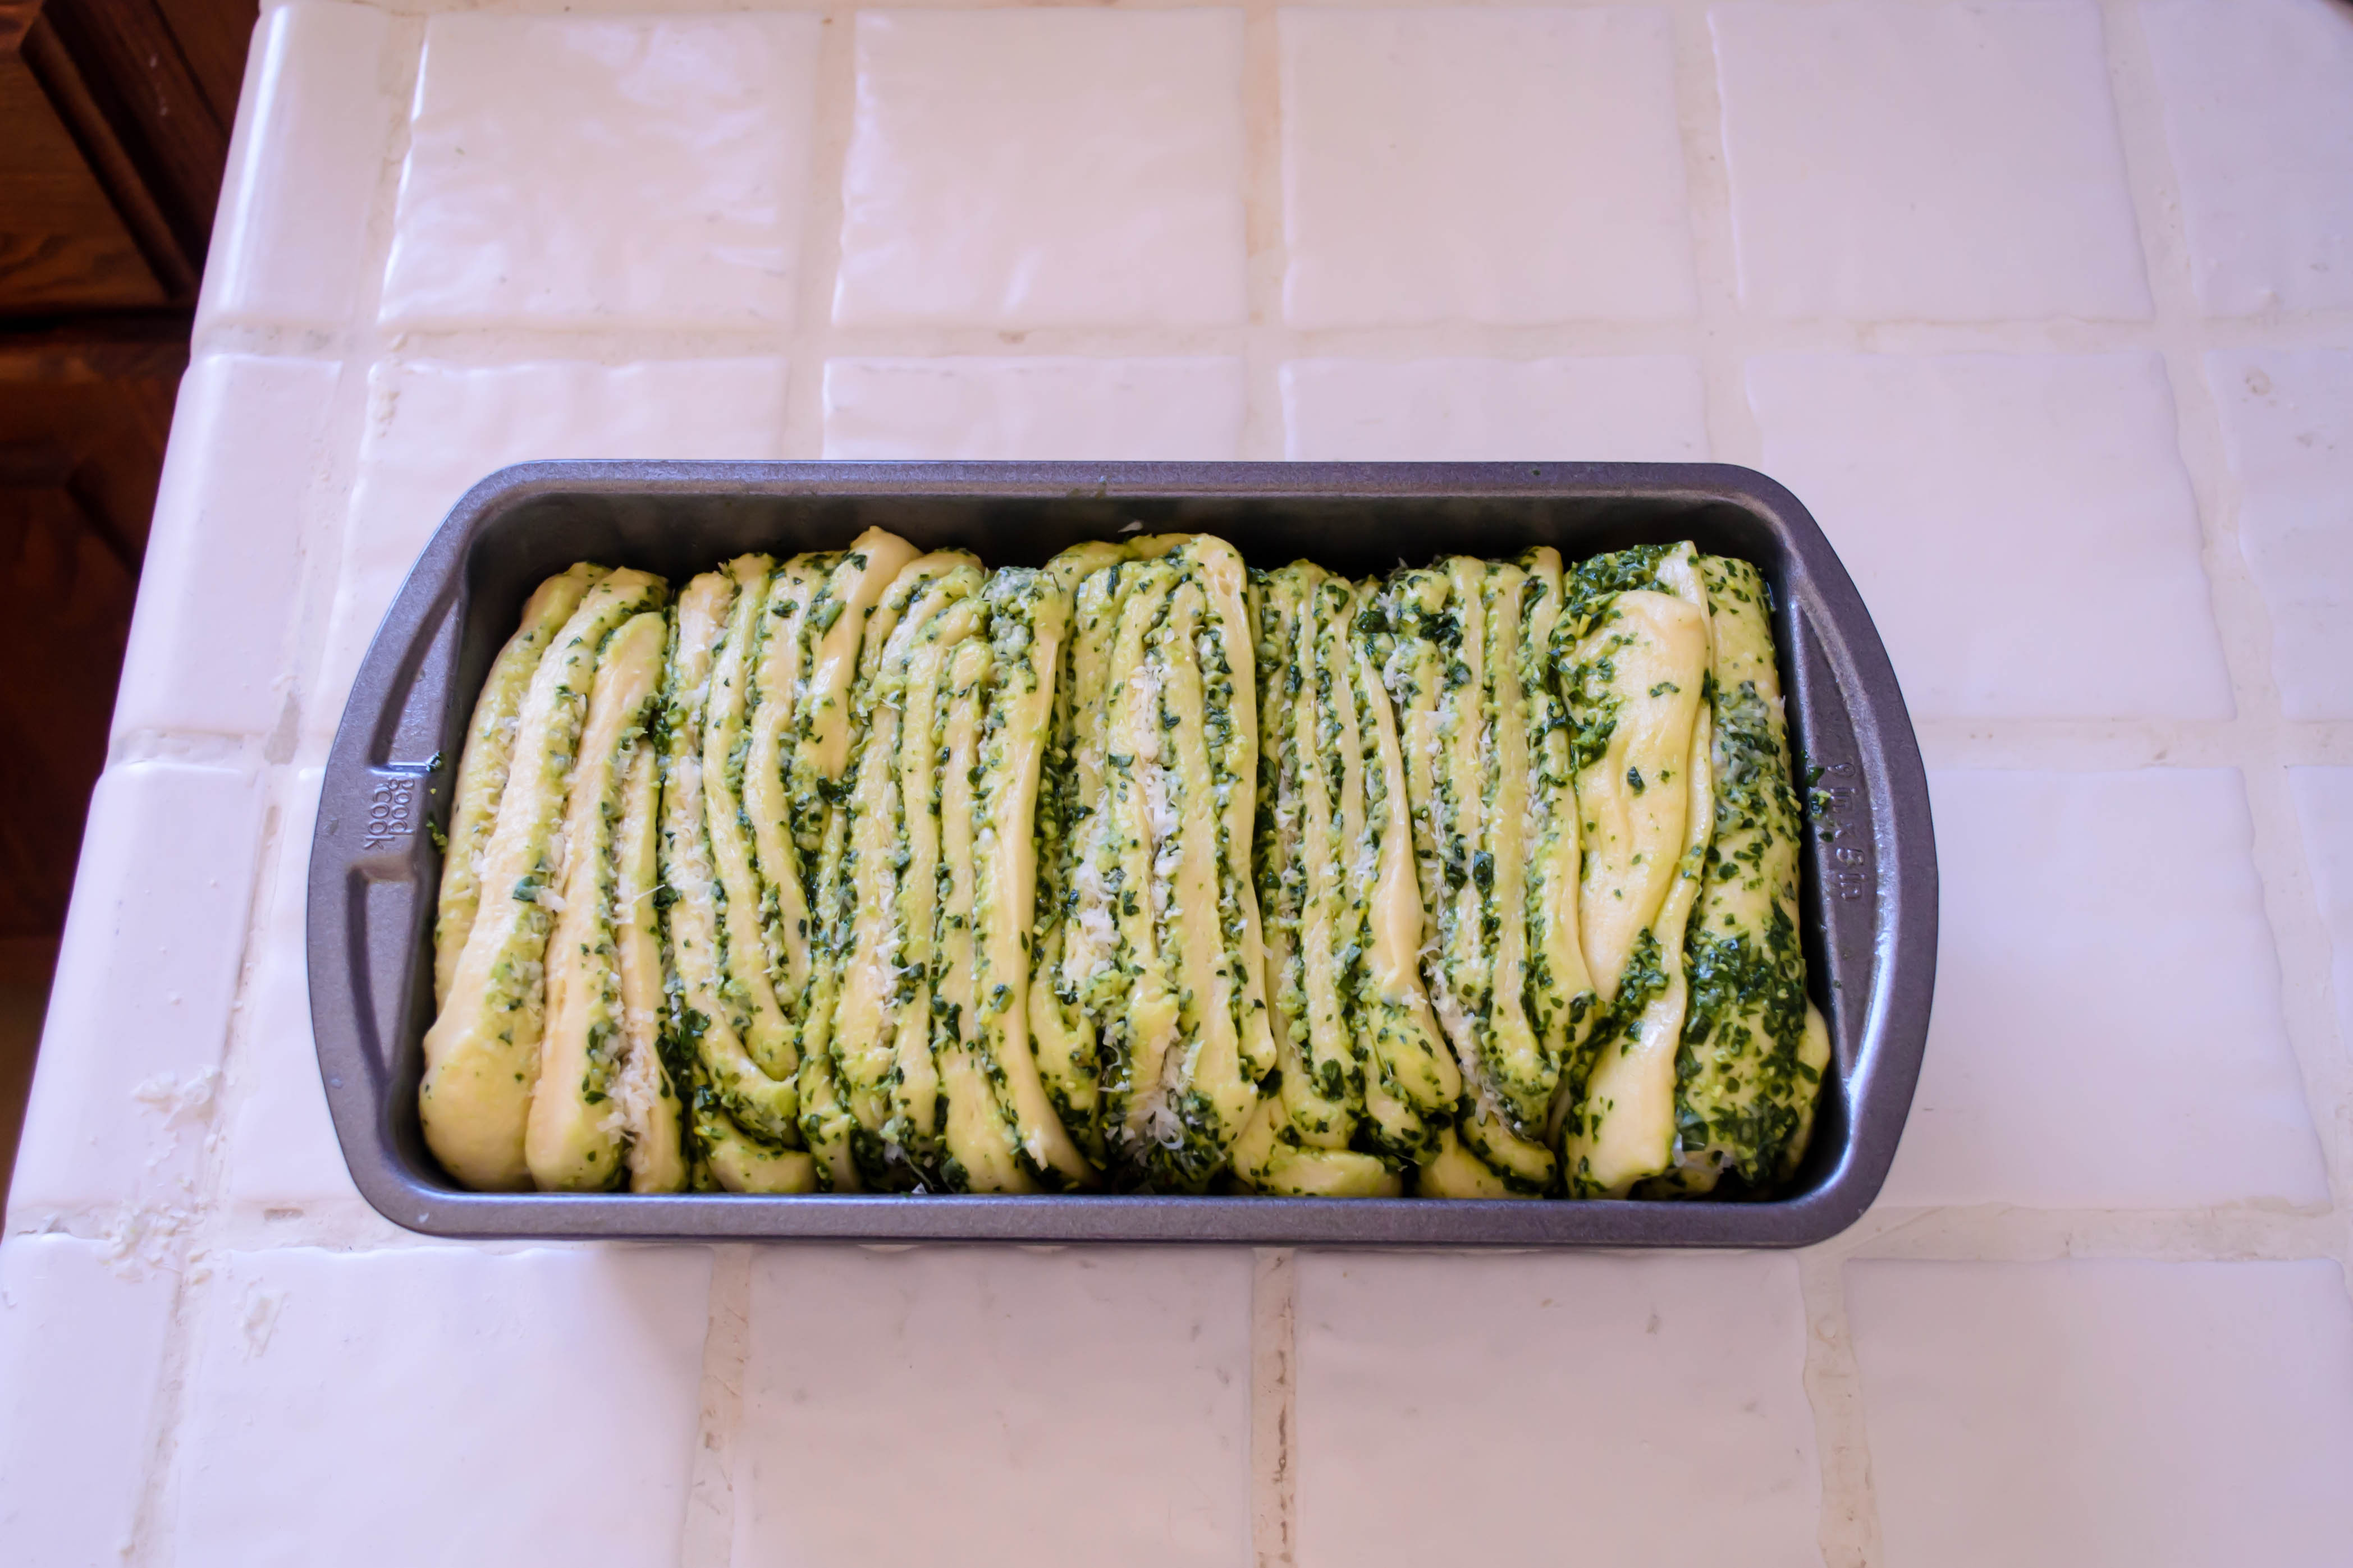 There seem to be two schools on pull-apart bread. One involves rolling little spheres of dough and jamming them into a pan together, so when they cook they swell into one another and form tenuous ties. This is also commonly called Monkey Bread, especially when it is sweet. The other, which I haven’t seen as frequently but which I chose to work with after seeing Deb’s offering, results in something more like a Pillsbury Grands biscuit or puff pastry stood on end. It involves rolling the dough thin, slicing it in long strips, layering those strips and slicing them into squares, then levering those stacked squares – like servings of lasagna or birthday cake – sideways into a loaf pan like a deck of cards to rise into one another and smash together during baking. As you peel the warm layers apart, you get the bite of pesto and the salty richness of parmesan.
 I want you to make this. It’s a bit of a project, but it’s so, so delicious. And when you make it, I want you to share it. Pull it apart, by all means. But let that action by extension pull you together.
A fabled land of farmers, farm shares, fancy (and not so fancy) restaurants, family meals, food projects and more.
cooking my way through my dissertation, one egg at a time
Fearless cooking from a tiny NYC kitchen.
food, in so many words.
Recreating the famous dishes of famous writers. Part recipe blog, part historical discussion, entirely unabashed love of books.
Epicurean Adventures from Eugene, Oregon
Celebrating the Harvest
Modern Iranian aka Persian Food & Culture Blog - Cuisine, Recipes, Stories , Photos, Pictures, DIY tutorials
Exploring Culinary Traditions of Africa, African America and the African Diaspora
food, in so many words.
food, in so many words.
food, in so many words.
Food-Stories-Recipes-Love
WordPress.com is the best place for your personal blog or business site.
