Fried zucchini and eggplant sandwiches

2016 Food Blog August-0626What is it about summer and fried food? It doesn’t make sense. Why would we want, on the hottest of afternoons, foods at nuclear temperatures encased inside hot, thick, sometimes greasy breading that, should we make them ourselves, require rivulets of sweat and a pot of shimmering, toe-endangering oil? Is it the hazy memory of a thousand state and county fairs of collective childhood, studded with corn dogs and funnel cake and battered oreos? Is it the only kind of seafood we would eat for lunch as kids, and thus required for a beach day? Is it just that green tomatoes are only really worth eating when they are lovingly smothered by a cornmeal crust?

2016 Food Blog August-05902016 Food Blog August-0606I’ve done this height-of-summer-frying thing before, and here I am again, dunking breaded vegetables in hot oil to create a sandwich inspired by Disneyland and babaganoush (there’s an unexpected pairing, eh?), that ticks all the flavor marks including that deep, primal urge for crisp coated, meltingly soft centered fried food, on a sun-streaming, fan-screaming kind of week.

2016 Food Blog August--22016 Food Blog August-0613I said Disneyland and babaganoush, and that truly is how the sandwich was imagined. A few months ago on a trip to that happiest of places, I ordered a fried green tomato sandwich. It was good – the tomatoes were tangy and sharp, and the sandwich format made creamy, fatty remoulade a requirement – but I thought it could be more. Instead of just the green tomatoes, there could be zucchini. There could be eggplant. There could be, rather than a mayonnaise based sauce, something with yogurt, with herbs, with lemon. There could be tahini.

2016 Food Blog August-With the addition of that idea of sesame, I was suddenly in babaganoush territory, that lovely roasted eggplant dip, soft and pulpy and aromatic.* From there, all links to green tomatoes were cleanly severed, and I was daydreaming Mediterranean and Middle Eastern flavor combinations.

2016 Food Blog August-0616
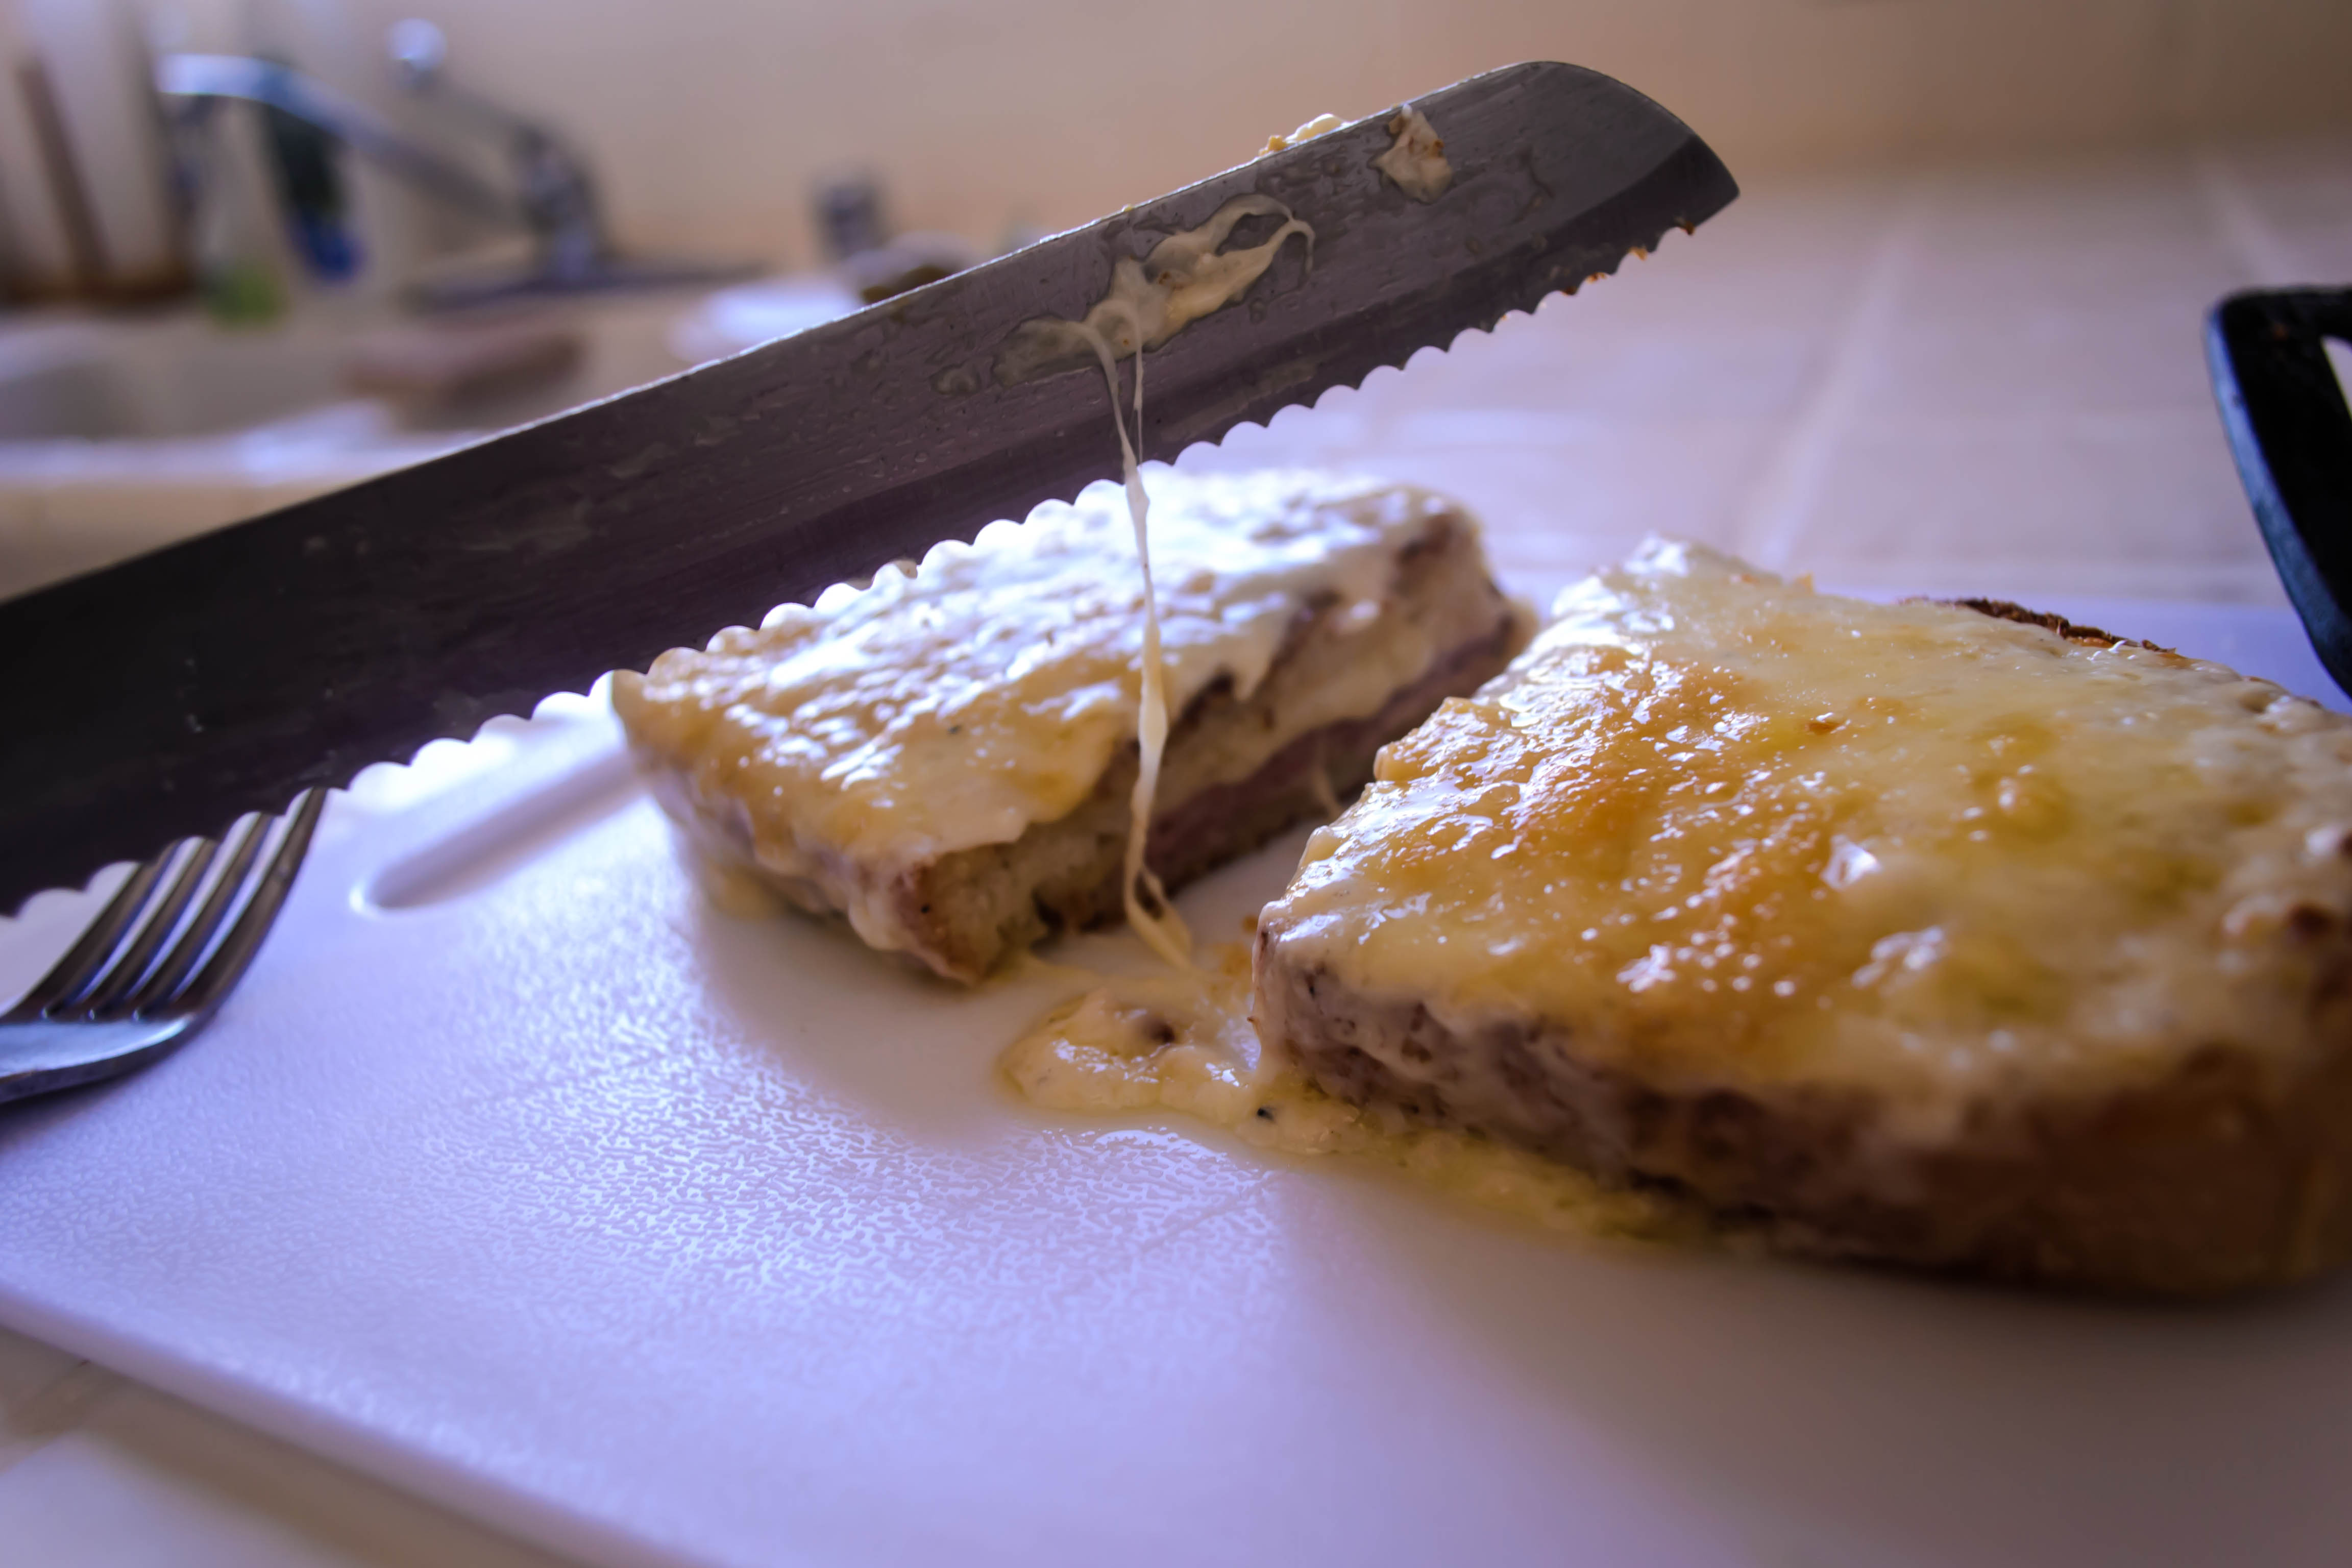
The sandwich we ended up with – the one that ticks every box (or perhaps every taste bud) – has the crunch-into-barely-resistant-softness of panko-coated fried vegetables, a tangy, rich spread of yogurt and tahini lightened with lemon and a mixture of herbs, and a shower of tangy crumbled goat cheese. It has pickled onions for a sour astringency, and the sticky sweet coup de grace of a drizzle of pomegranate molasses. You don’t want too much of it, but this wouldn’t be the same sandwich if you left it off. The bread is lightly toasted, and the breading for the vegetables carries a light dusting of cayenne pepper for a suggestion of heat. What’s more, you can eat the leftovers – if there are any – without the sandwich: stacked up kindling style and sprinkled and drizzled with the extras, the vegetables shine even more brightly. I had them for lunch this way the day after our sandwiches, and I’m kicking myself for not taking a photo or two before I plunged in.

2016 Food Blog August-0617
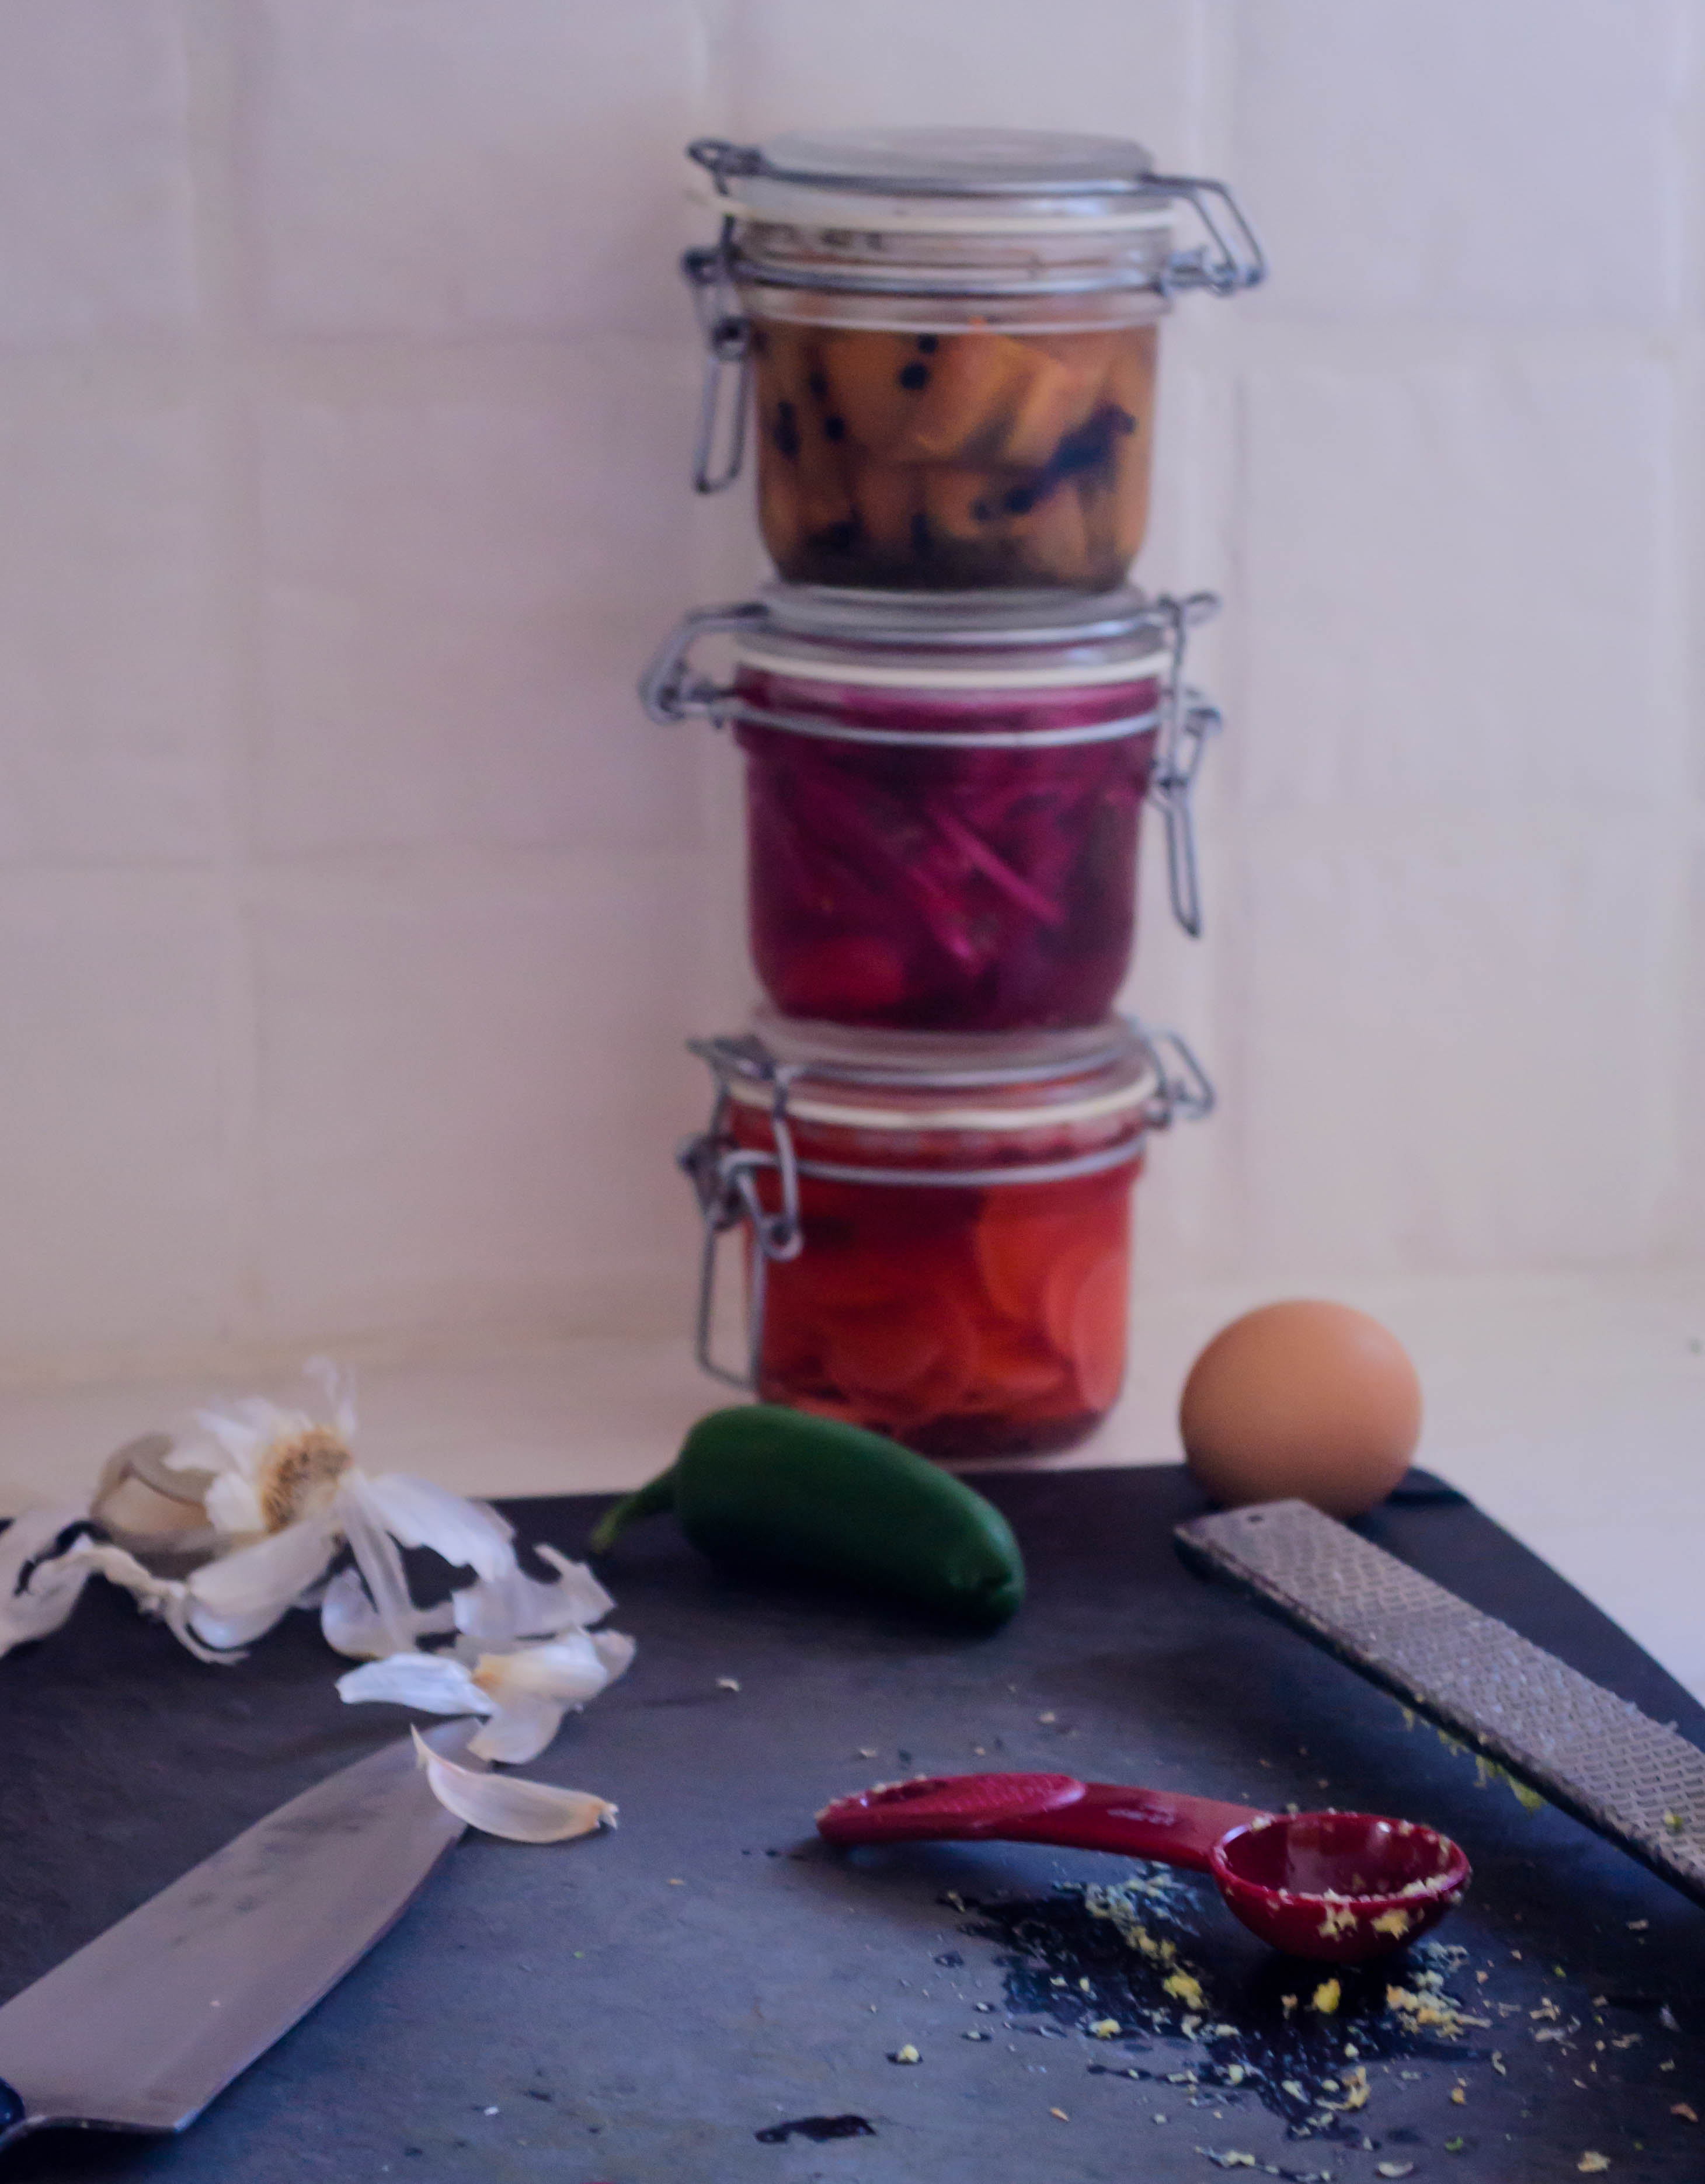
A few notes: the pomegranate molasses can certainly be purchased if you don’t want to make it yourself – look for a Middle Eastern grocery store – but it’s pretty easy (and much cheaper) to make if you don’t mind taking the time. You will probably wind up with extra, which could be drizzled over everything from salad to grilled poultry to ice cream. Because it takes a while, to speed up the dinner prep you could make the molasses the day before, and store it in a glass jar in the fridge, where it will thicken considerably overnight. A minute or two before you are ready to assemble the sandwiches, immerse your jar of pomegranate molasses in a bowl of very hot water. It will warm and liquefy enough to be pourable again. As for the bread, we ended up with ciabatta rolls, but I think something seeded might also be nice for these sandwiches – perhaps these shaped like hot dog buns instead of full loaves. In any case if you use a roll or a bun instead of sliced bread, you’ll want to dig out the soft center so there’s room in the middle to stack up plenty of the vegetable slices.

2016 Food Blog August-06202016 Food Blog August-0622* I realize not all babaganoush contains tahini, but the ones I’ve liked do, along with lemon, and some herbs, and a shower of pomegranate seeds.

2016 Food Blog August-0628

Fried Zucchini and Eggplant Sandwiches
Quantities listed are for two sandwiches, but are easily doubled
About 45 minutes
Pomegranate molasses:
1 cup pomegranate juice (I like the POM brand)
Tahini yogurt spread:
2 tablespoons tahini paste
4 tablespoons (¼ cup) greek yogurt
1-2 teaspoons lemon zest (about 1 lemon)
1 tablespoon lemon juice
1 tablespoon finely chopped fresh chives
2 tablespoons finely chopped fresh parsley
1 tablespoon finely chopped fresh mint
¼ – ½ teaspoon salt, to taste
Sandwich:
1 cup vegetable oil
2 zucchini, cut into long planks
1 Chinese or Japanese eggplant, cut into long planks
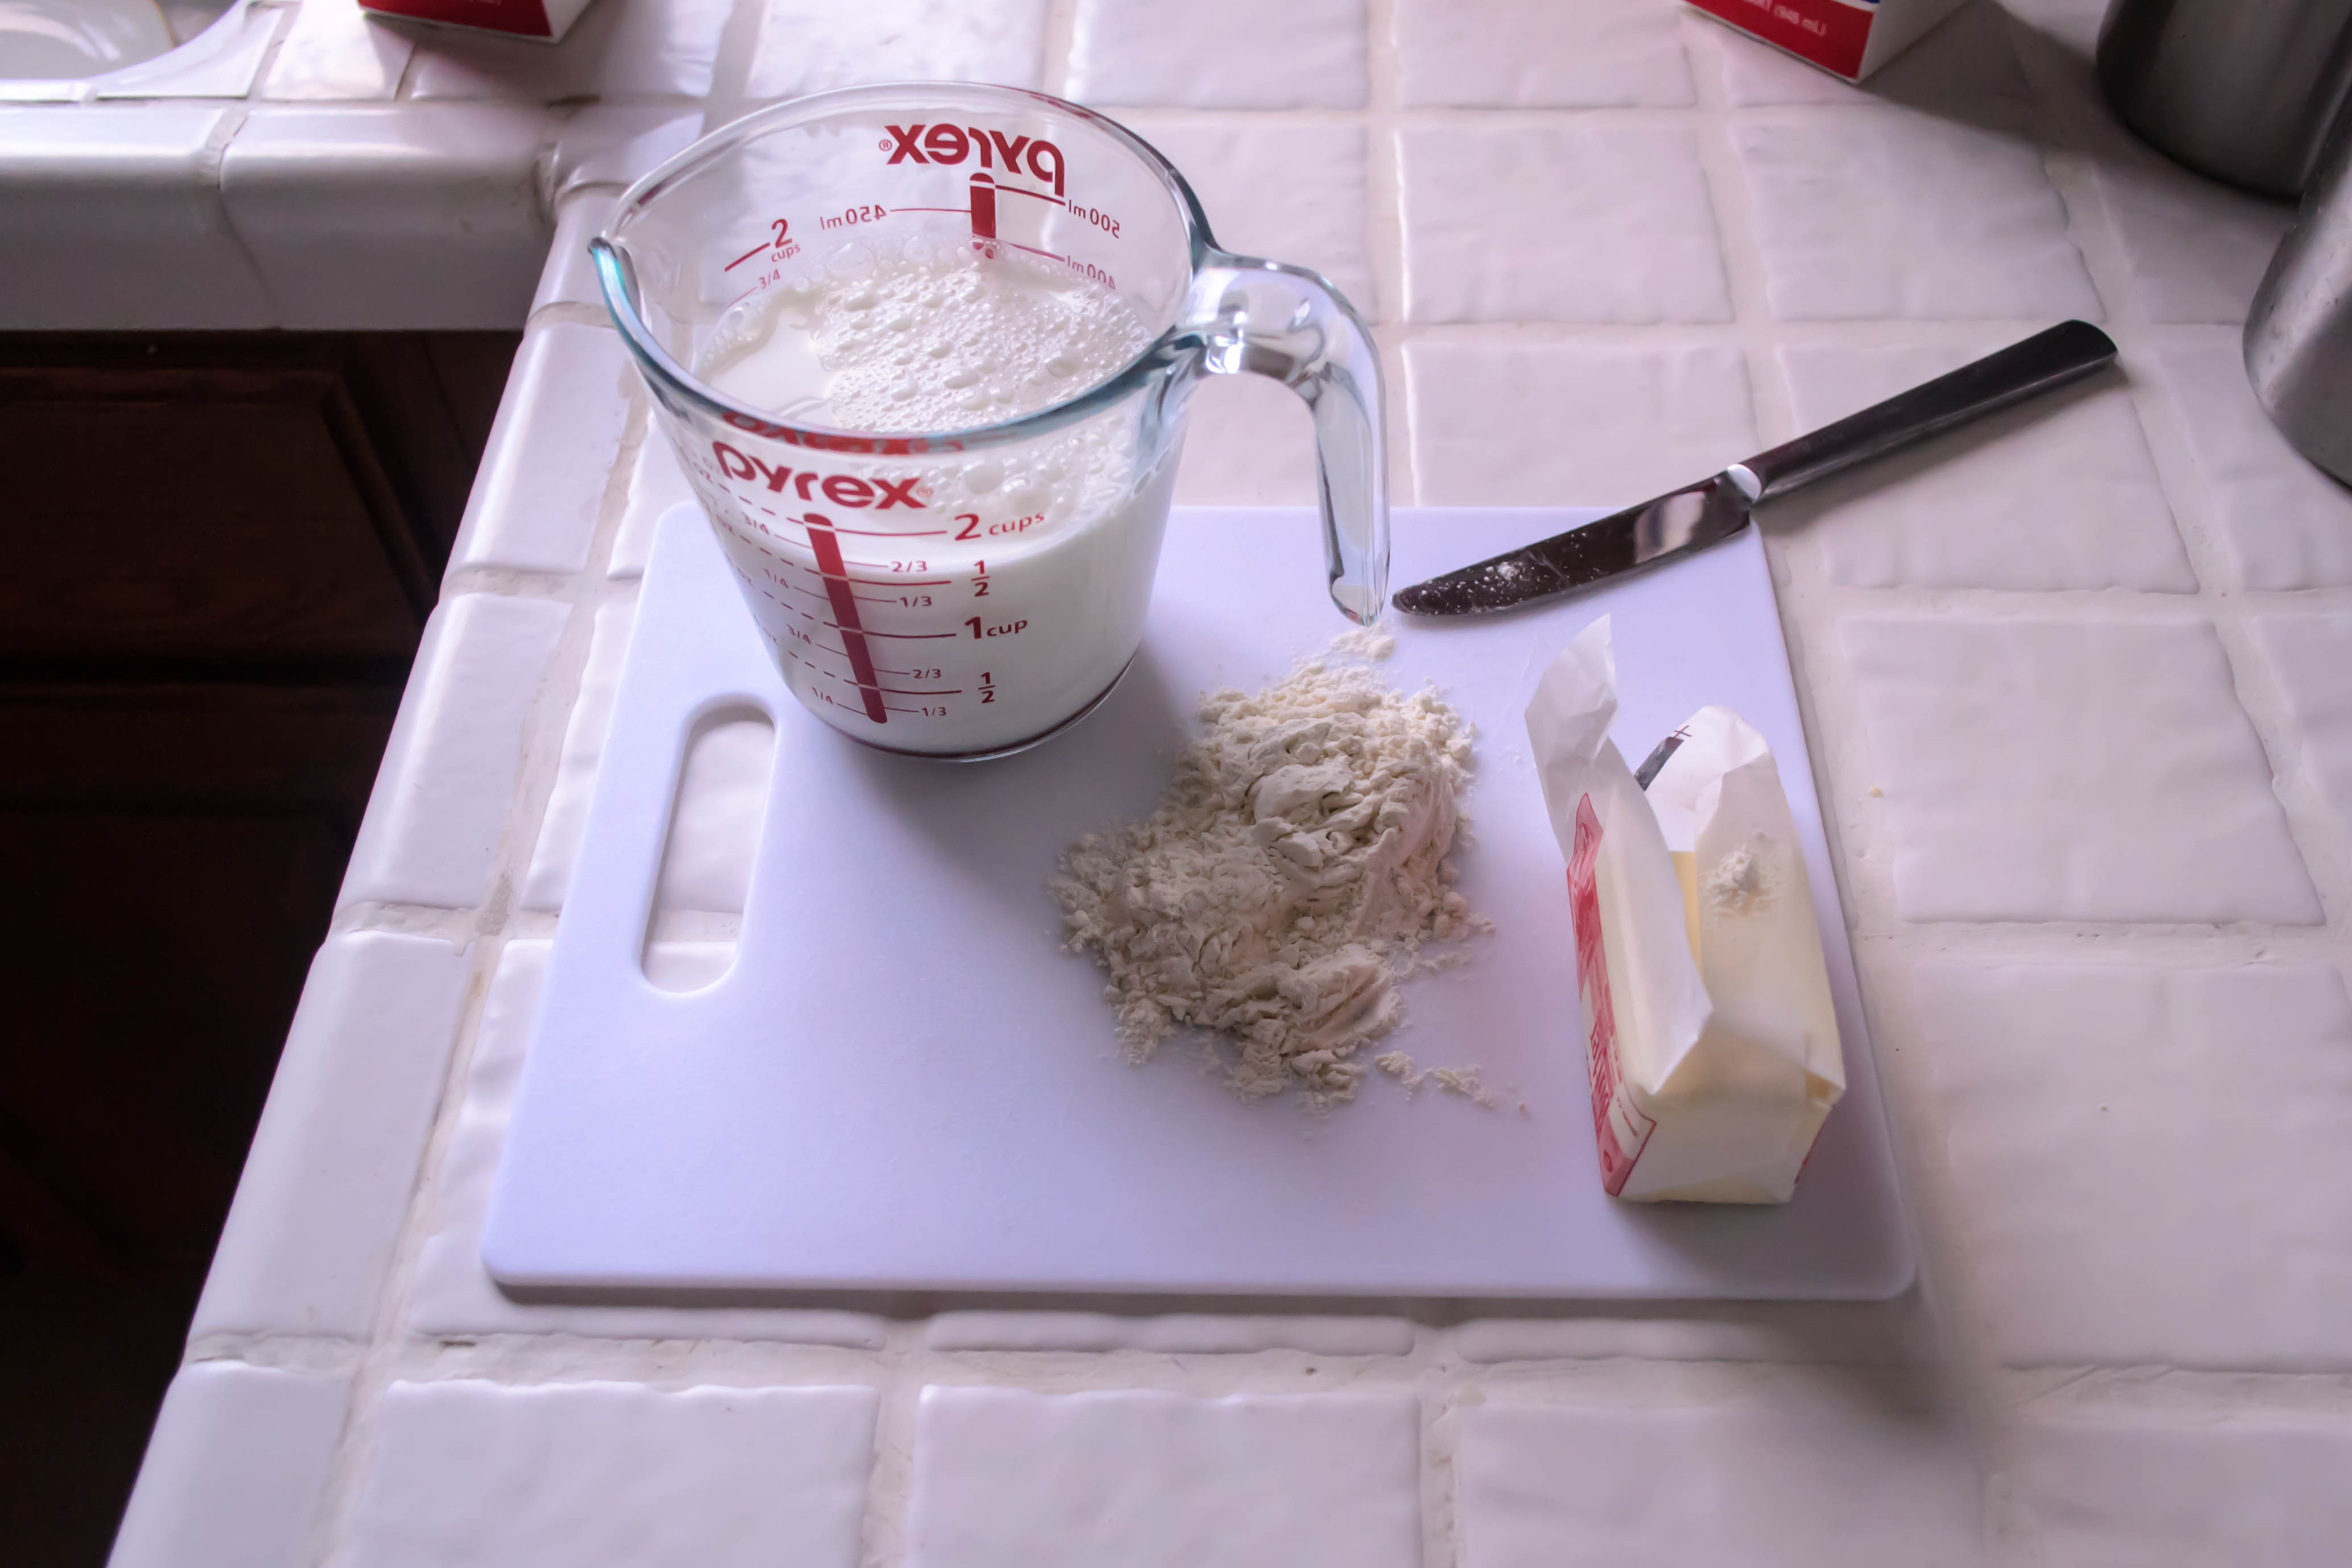
¾ cups all-purpose flour
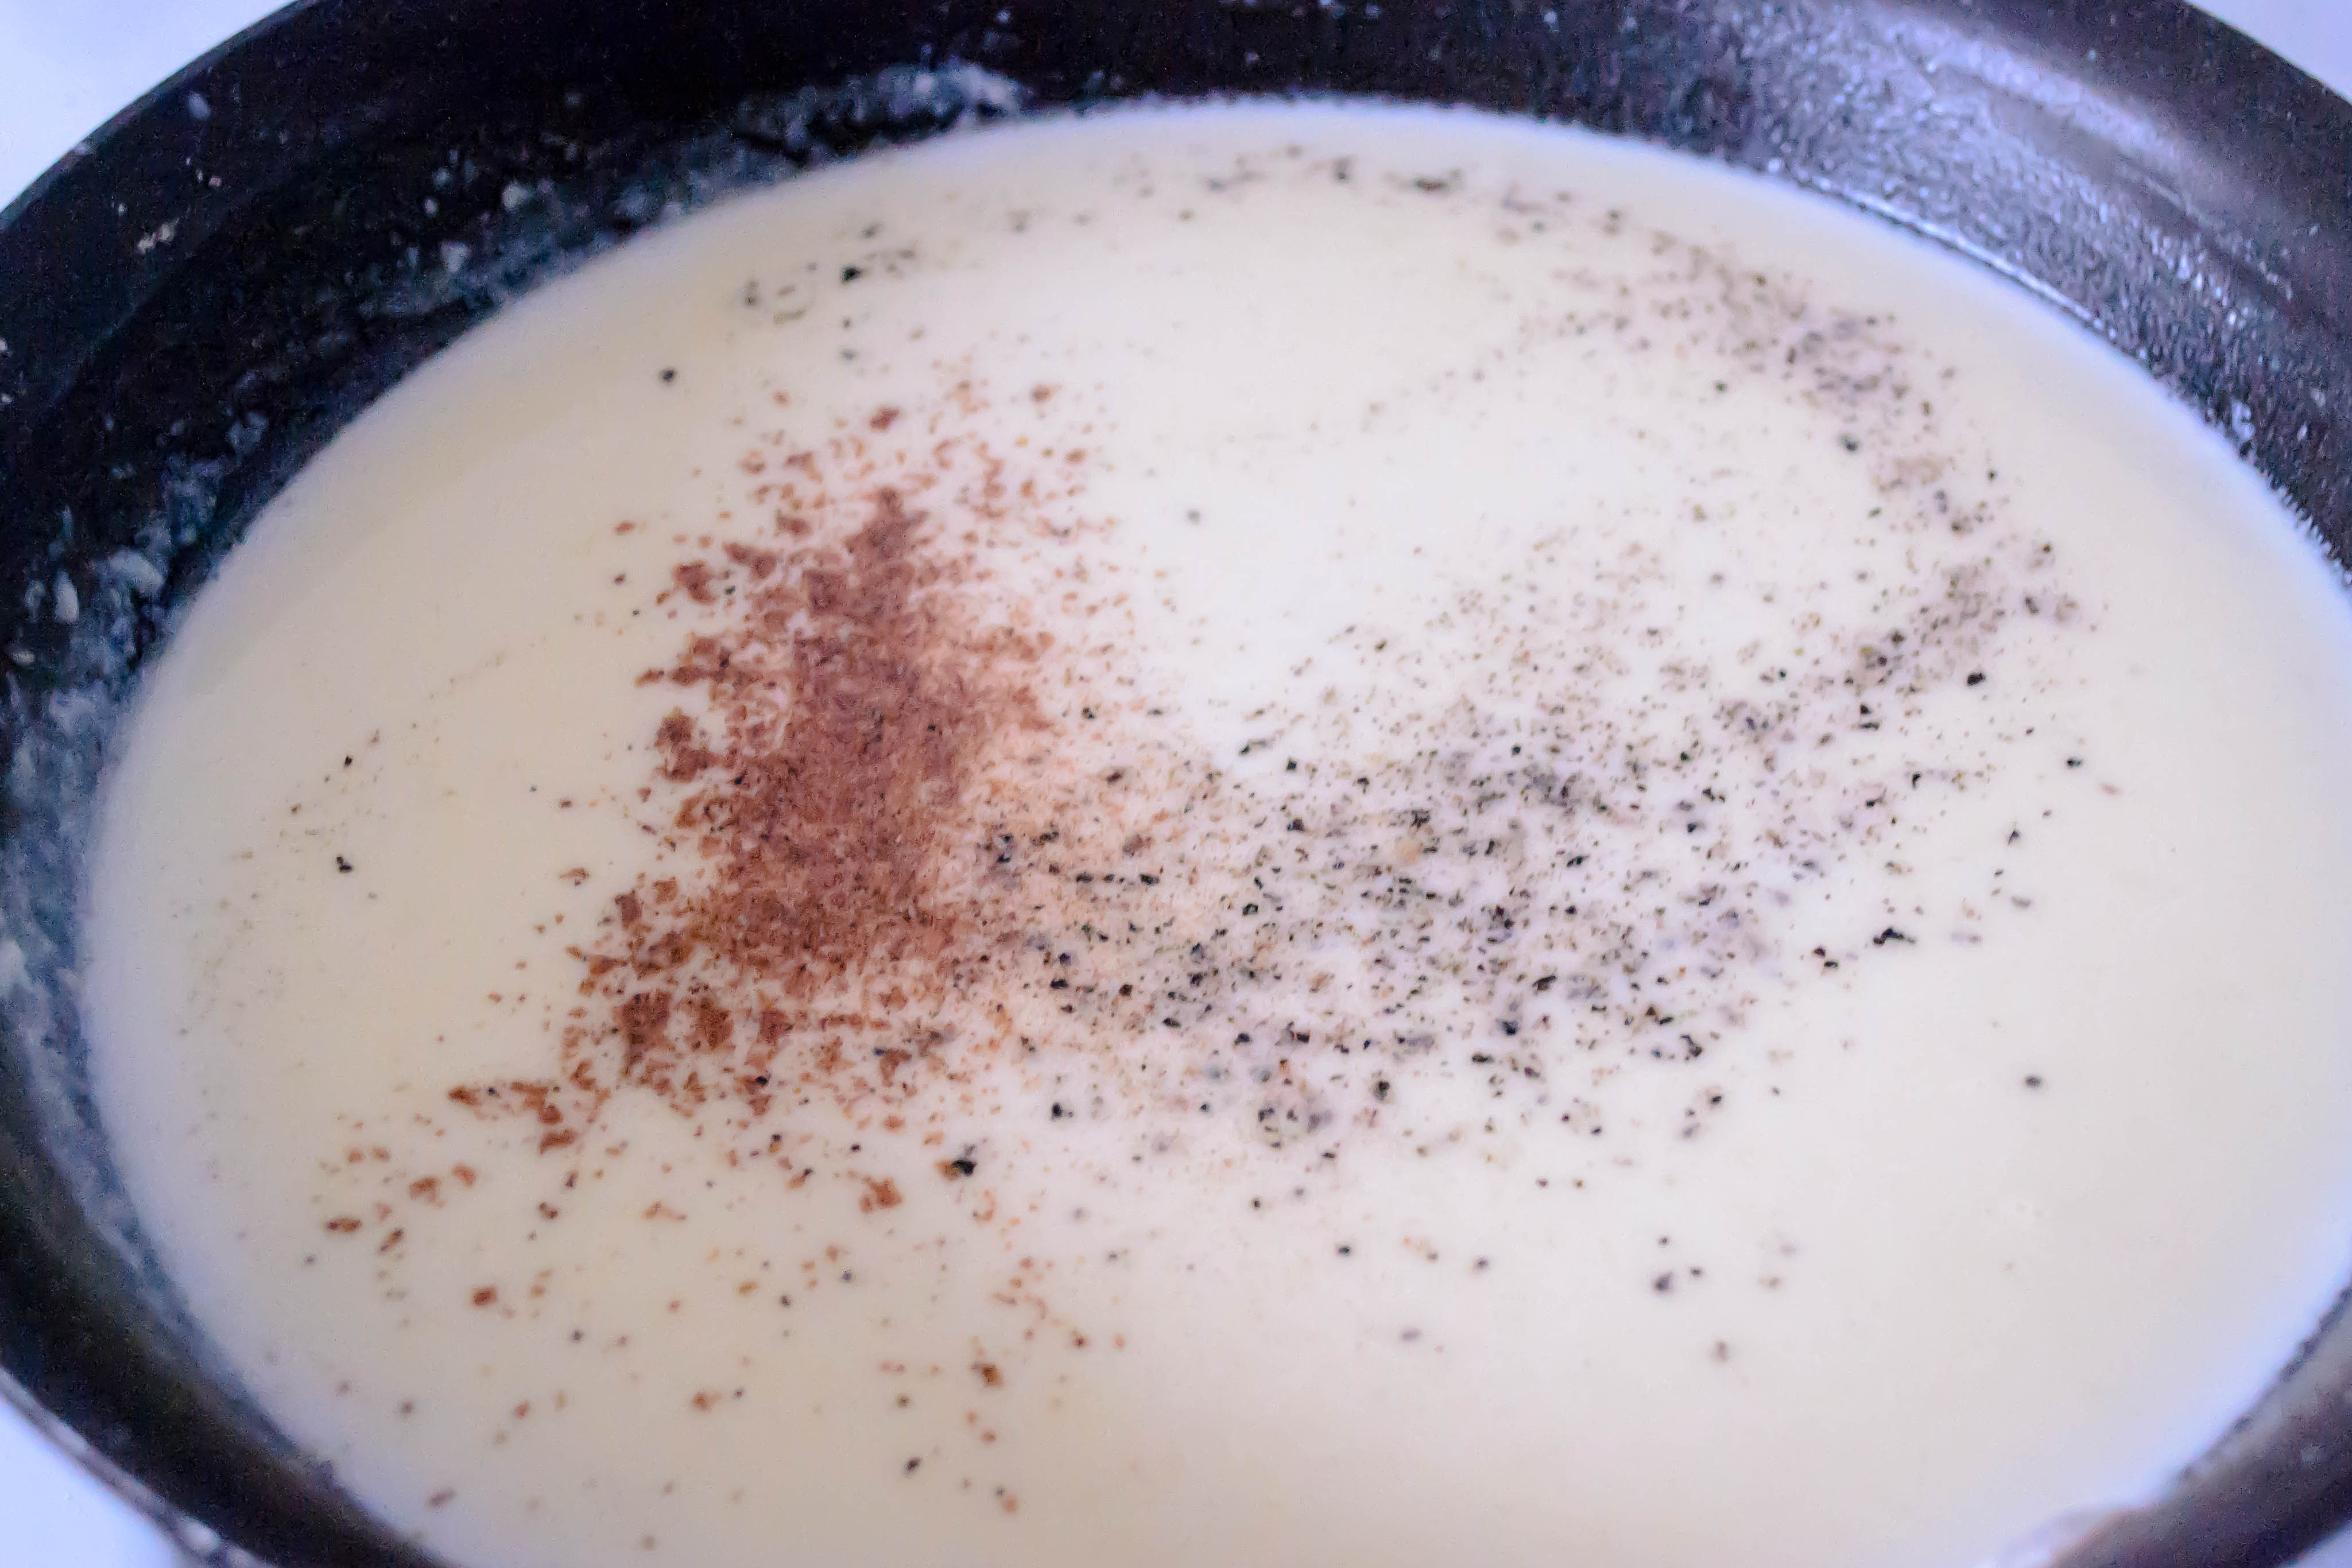
1 teaspoon salt + more for post-frying sprinkling
½ teaspoon cayenne pepper
2 eggs, beaten
2 cups panko breadcrumbs
¼ cup crumbled goat cheese
2 tablespoons pickled onions or to taste
2 sandwich rolls of your choice about 6-8 inches in length; we used ciabatta


  • Begin with the pomegranate molasses, as this takes the longest: pour the pomegranate juice into a small pot and boil over medium heat until you have only about 2 tablespoons left; 20-25 minutes. The juice will have a slightly thicker viscosity, and you’ll know it’s seconds from being done when the whole thing seems to be a frantic stack of bubbles. Set it aside to cool – it will thicken into a syrup. (You can also refrigerate overnight – see note above.)
  • While the pomegranate juice reduces, make the tahini yogurt spread. In a small bowl, whisk together the tahini and yogurt with the lemon zest and juice. Add the herbs and the salt, whisk again to thoroughly combine, and taste for seasoning. Adjust quantities of salt and lemon juice as desired. Set aside.
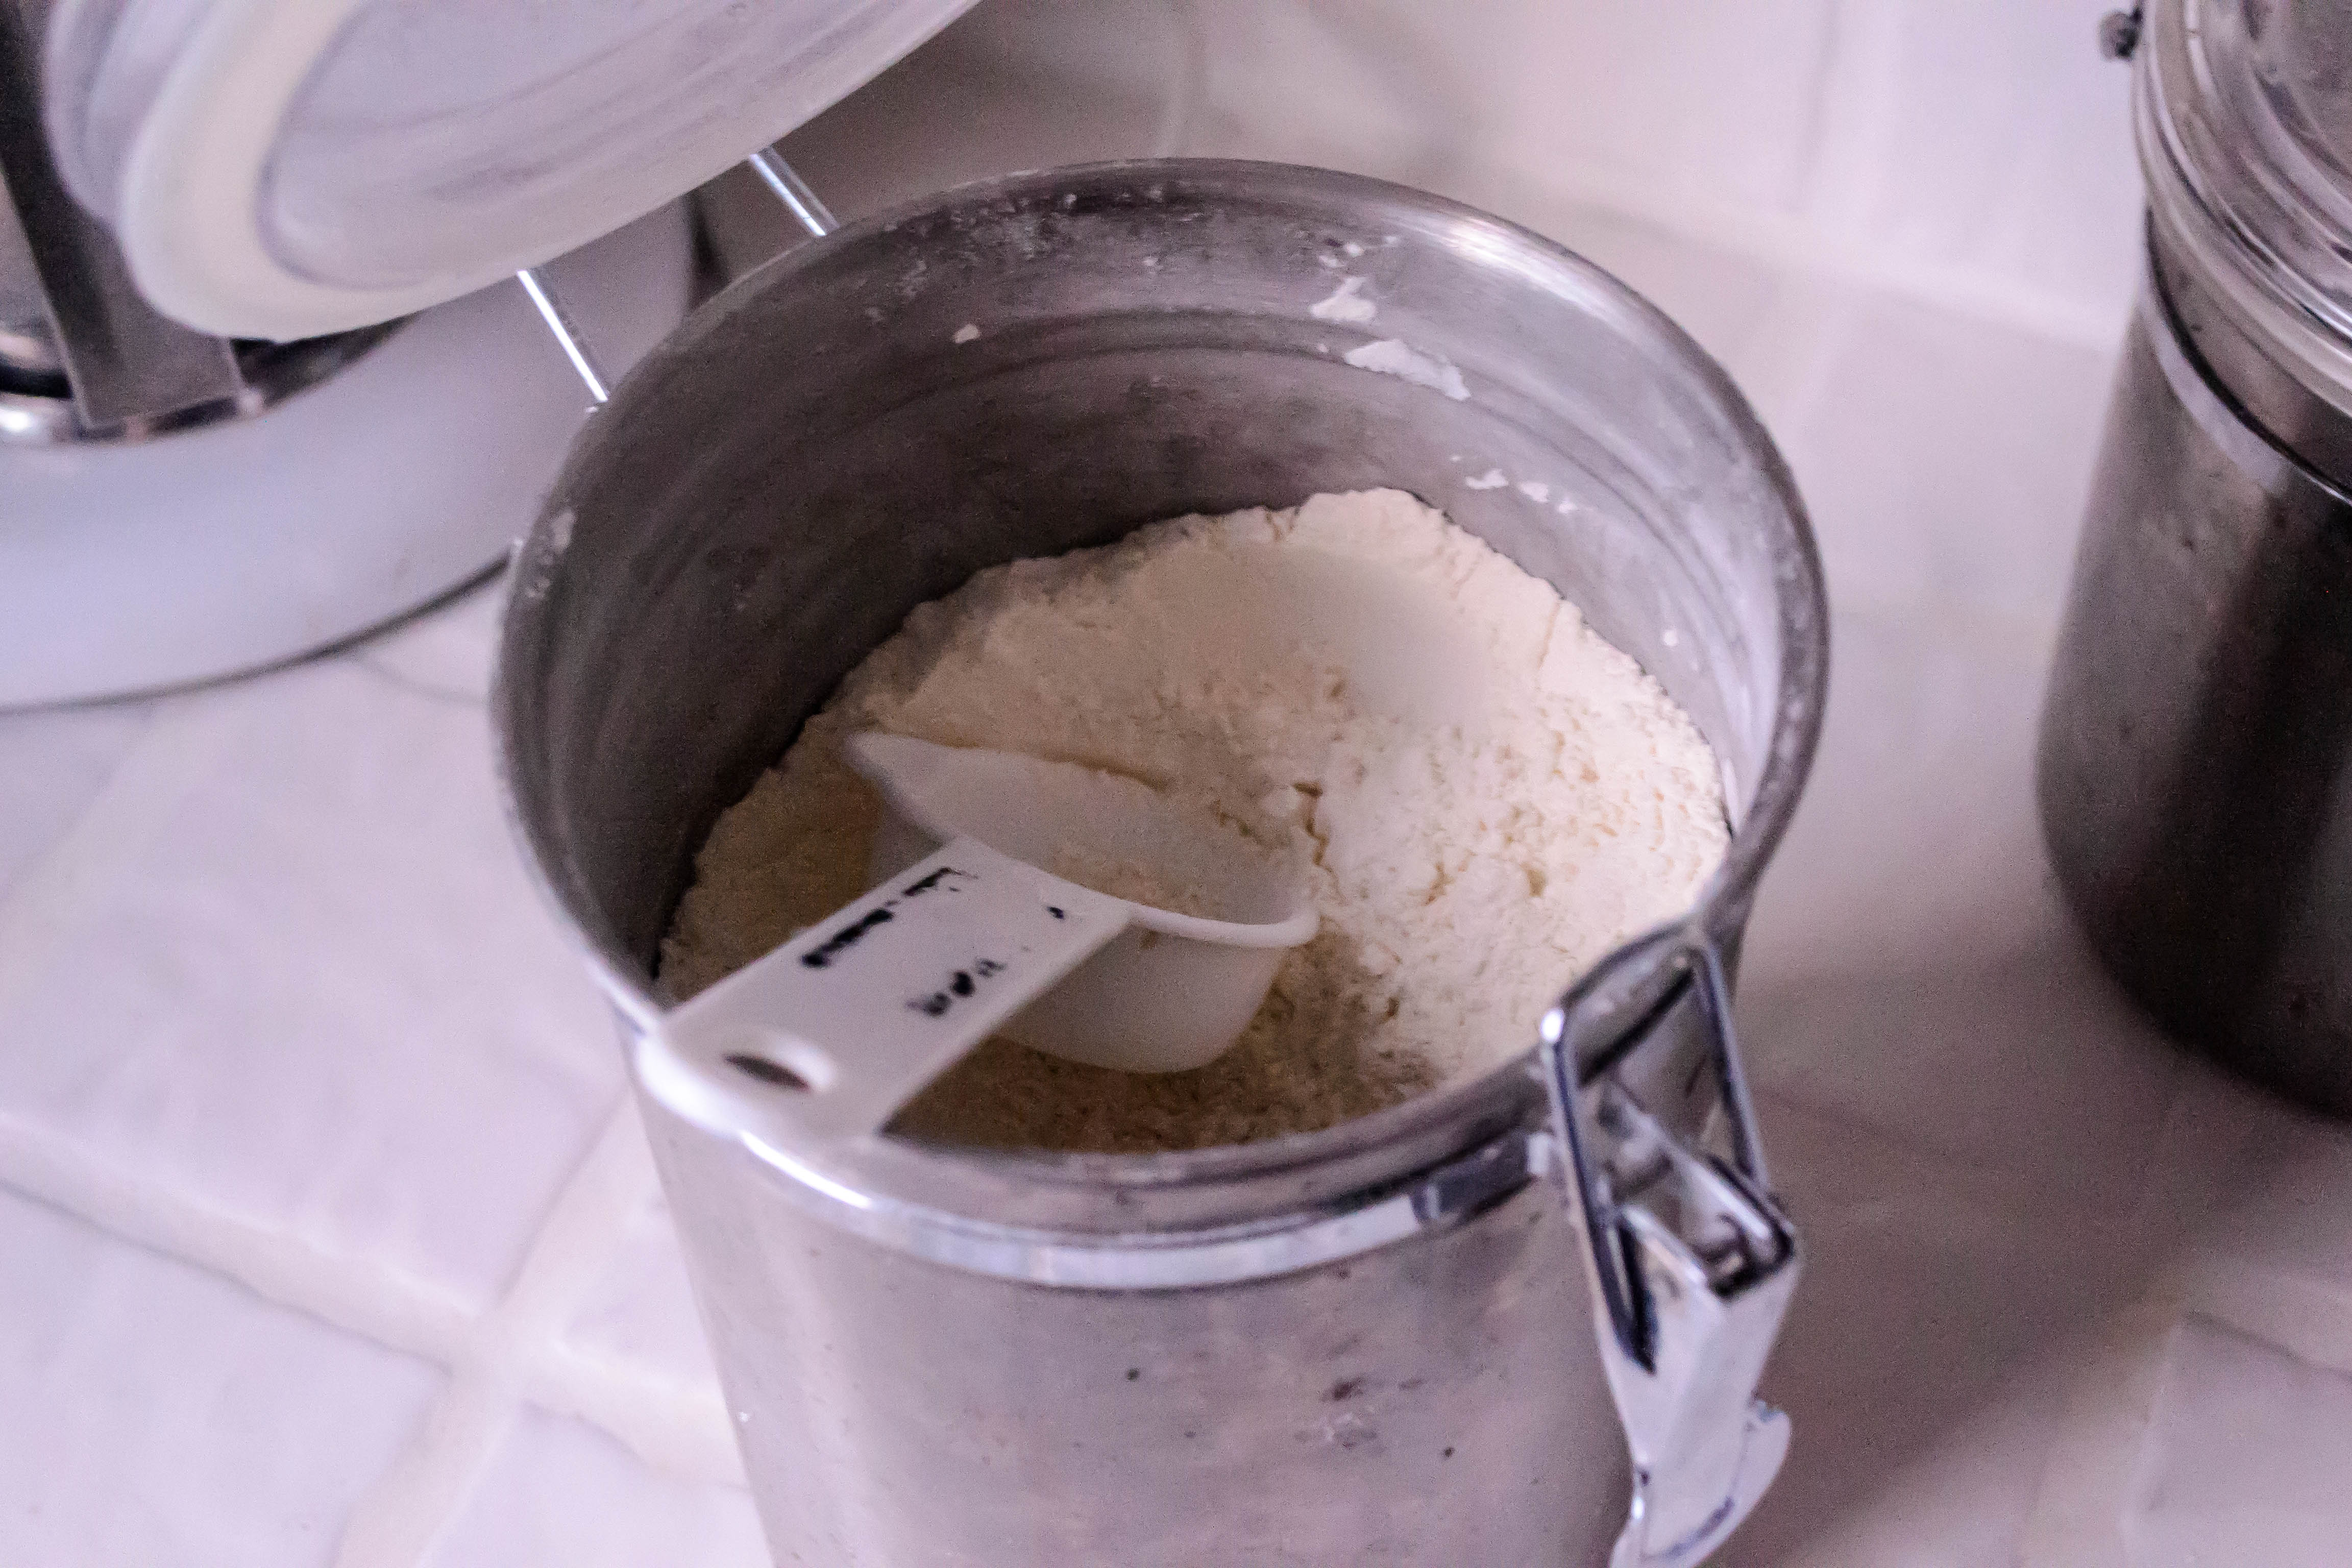
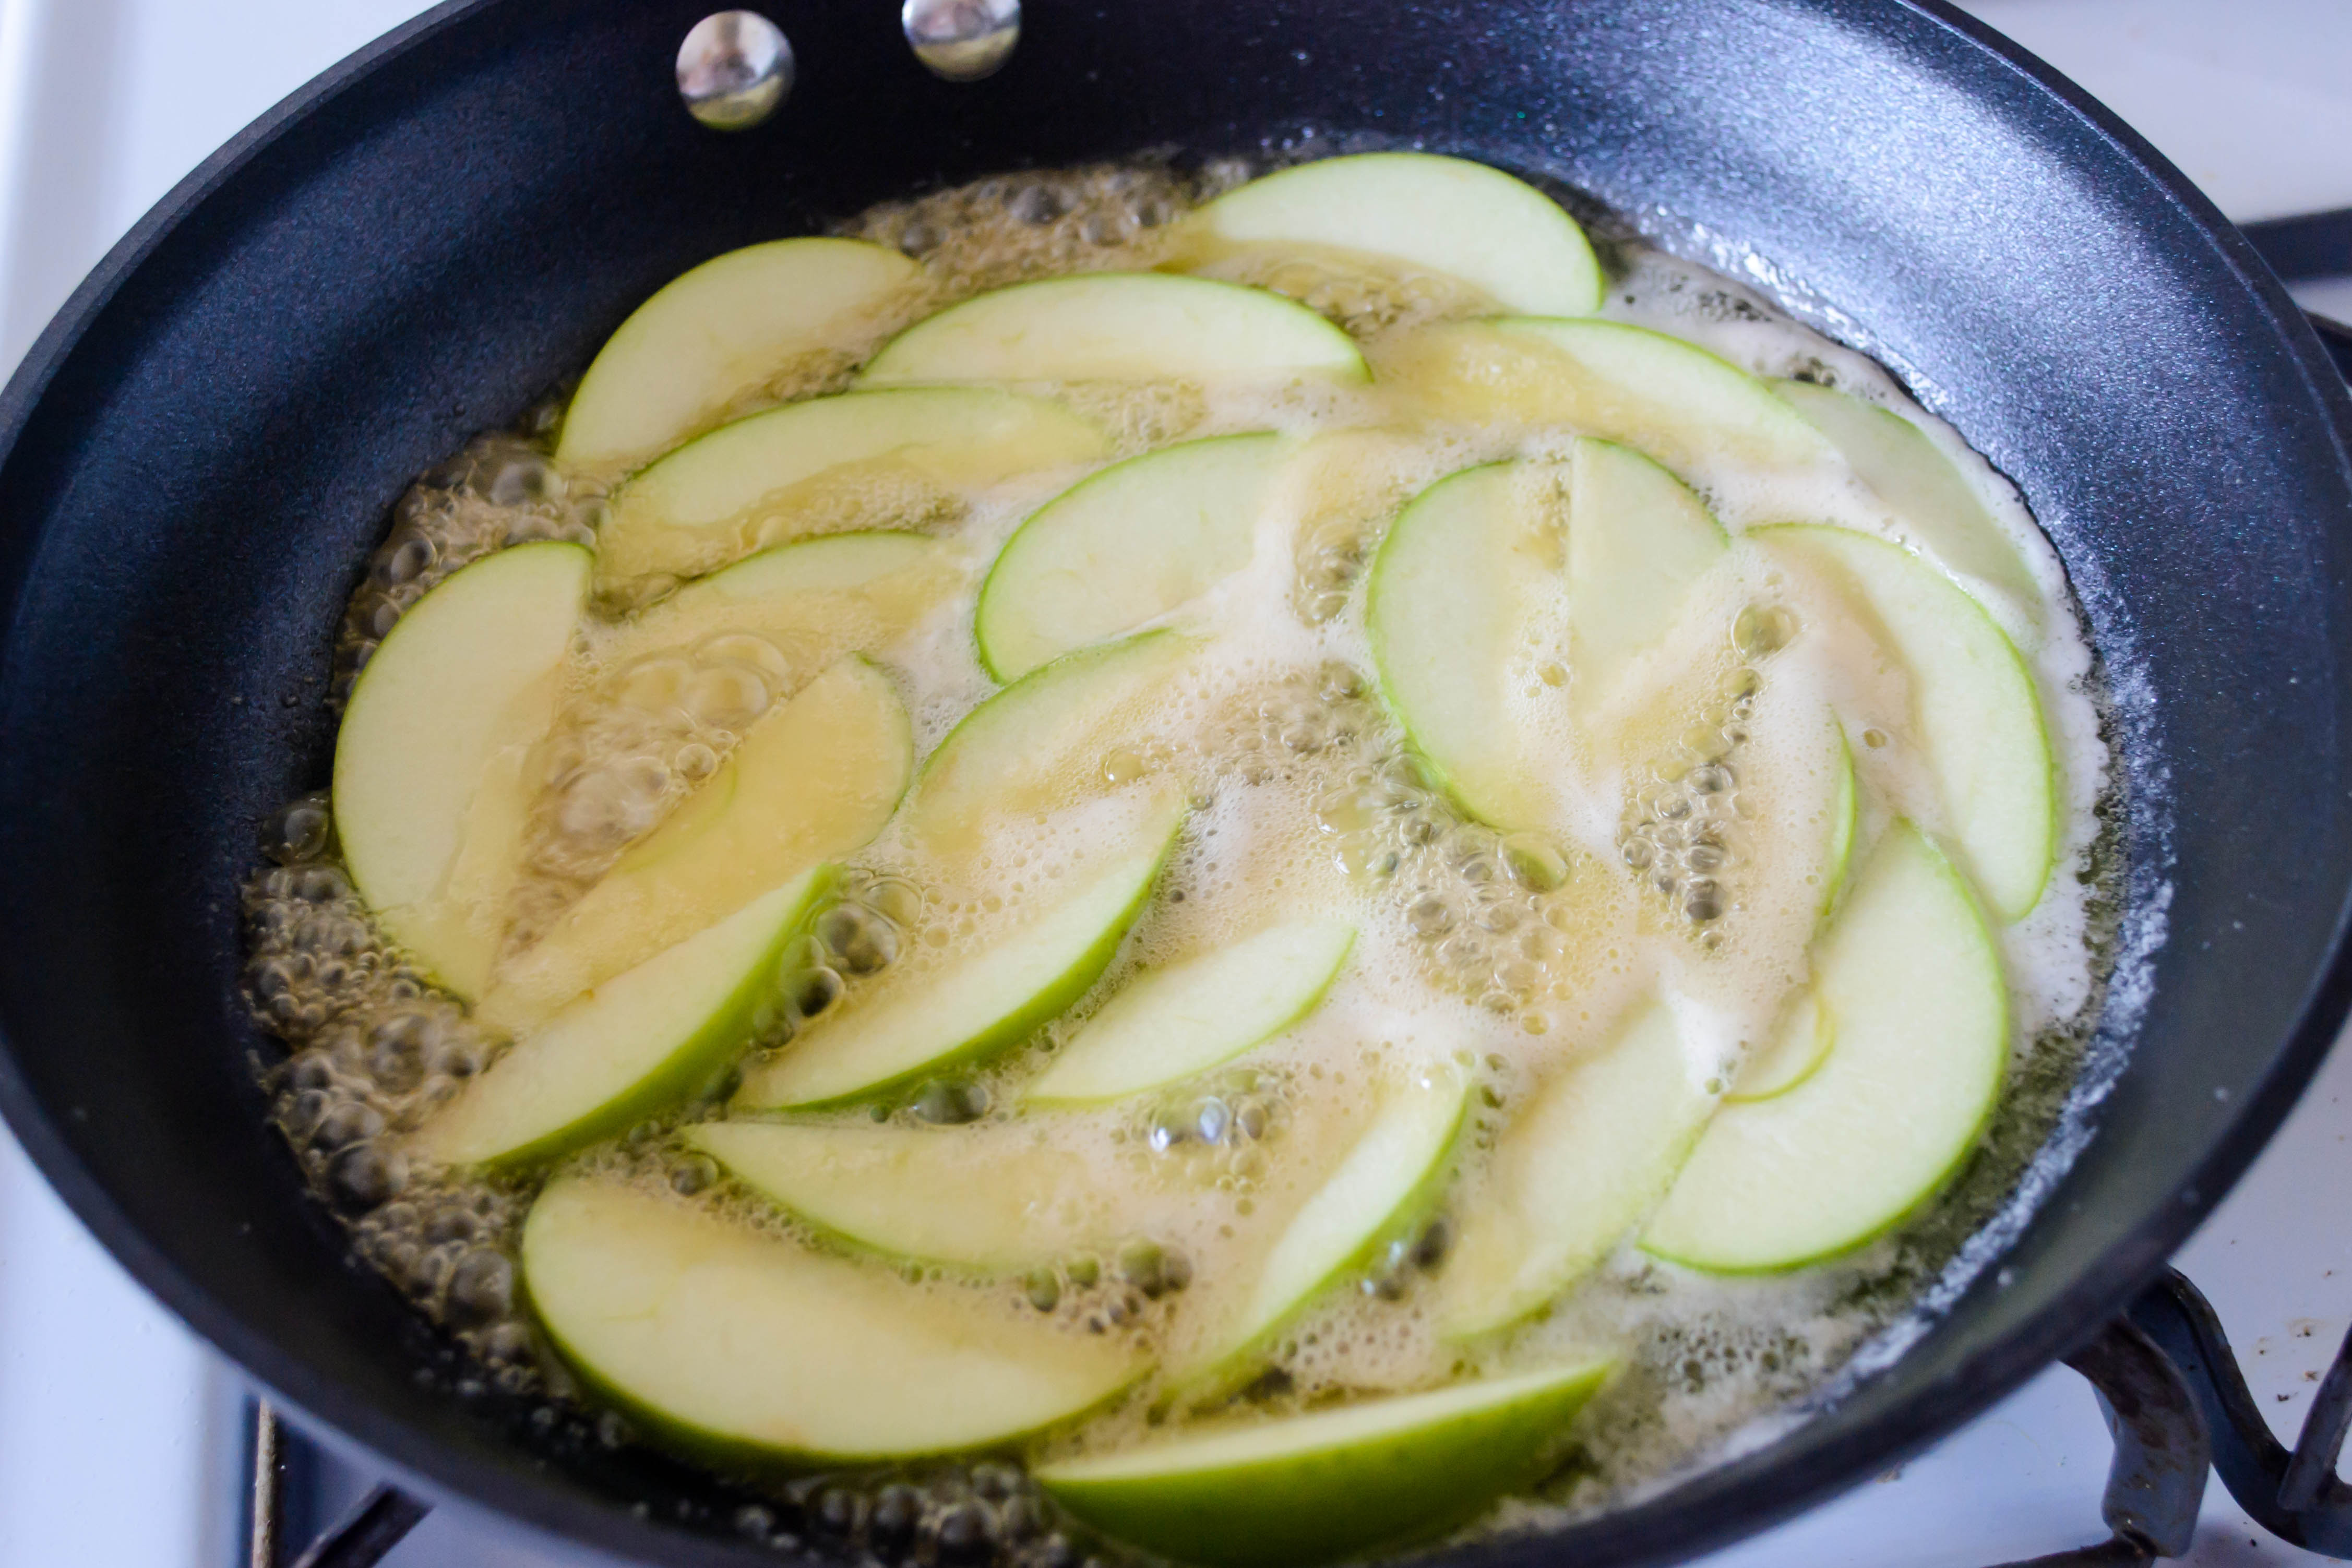
  • For the sandwich filling, set up a three-part breading station: you will need three plates or shallow bowls. Pie plates work very well. On the first plate/bowl, combine the flour with the salt and cayenne, mixing well with a fork or a small whisk. Spread out the flour mixture in an even layer across the plate. In the second plate/bowl, crack the eggs and beat well to combine. In the third plate/bowl, dump 2 cups of the panko and spread out in an even layer.
  • In a large, deep skillet with straight sides, heat the oil to about 350F. While it warms up, bread the vegetables. First coat each slice of eggplant and zucchini in a light layer of flour. Then transfer to the egg and coat again, being sure all dry flour is covered. Finally, press lightly into the panko on both sides. Set each slice on a separate plate or a wire cooling rack until the oil is ready. Set another wire rack over a baking tray and place in an oven set for 300F. This is to keep the finished slices warm and crisp while the rest are frying.
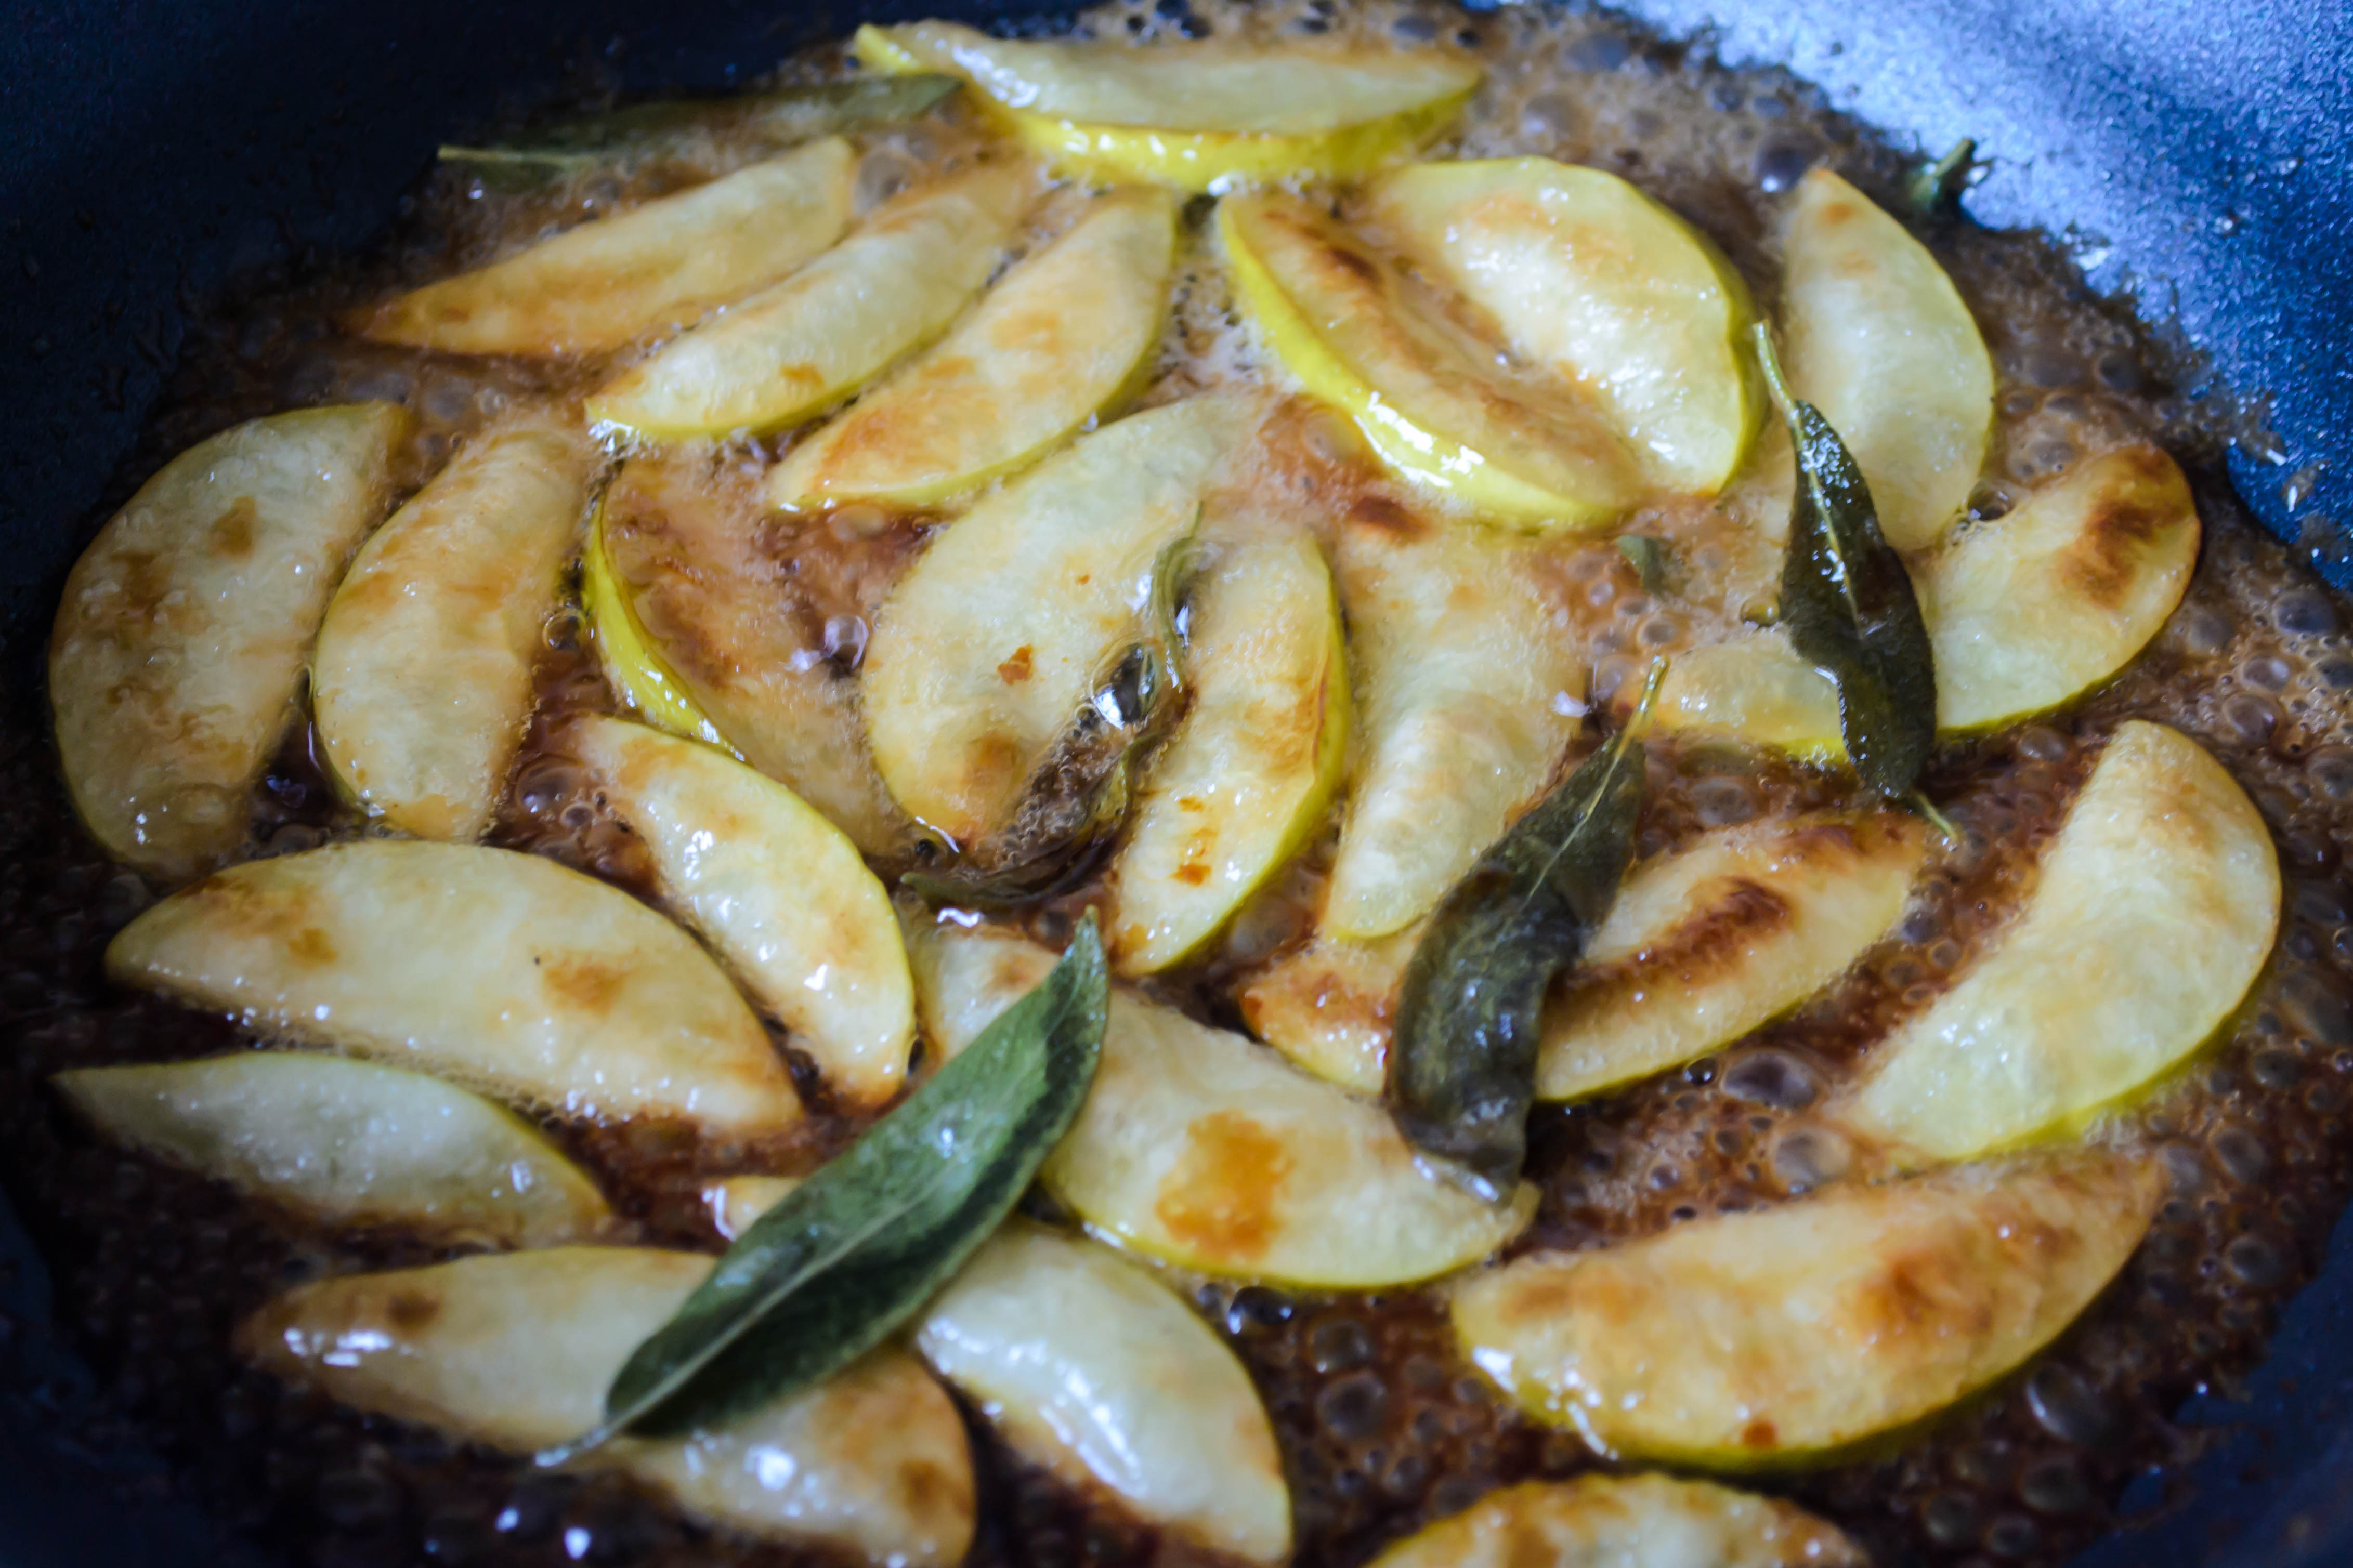
  • When the oil hits 350F, begin adding the vegetable slices. Carefully place them into the oil individually, only adding four or five at a time to avoid crowding the skillet – the more you put in there, the lower the oil temperature gets, which can lead to a greasy end product. Fry over medium to medium-high heat until the panko coating is nicely browned and crisp, about 3 minutes per side. As the slices are finished frying, sprinkle them lightly with salt and add them to the wire rack set-up in the warm oven until you are ready to assemble and serve. Repeat until all slices are fried.
  • Split the sandwich rolls lengthwise and dig out most of the interior, leaving a thin layer of crust on all sides (you can keep the hunks you dug out for bread crumbs). Lightly toast the remaining crust in the oven with your fried vegetables or in a toaster oven, just until it is warm and slightly crisp on the outside.
  • To assemble, smear a tablespoon or two of tahini yogurt spread on each side of the sandwich rolls. Stack a few slices of vegetables onto the bottom of the roll, being sure you have both zucchini and eggplant on your sandwich. Strew on a few slices of pickled onion, about 2 tablespoons of crumbled goat cheese, and drizzle over about a tablespoon of pomegranate molasses. Clamp on the top of the roll, cut the sandwich in half with a serrated knife for easier eating, and serve immediately.


Reuben Meatballs

When I wax on about some deeply held, sentimental food memory, it’s usually in reference to one of the women in my family. My mom and my aunts are great cooks, my Nana was a powerhouse in the kitchen, and my sister is always my sounding board for dish ideas and inspiration.

2015 Blog August-0349But this one really originates from my dad. Dad doesn’t cook much. He is a master of coconut French toast, and he mans the grill for our family, but he isn’t often stirring a pot over the stove or pushing something into the oven. One of his specialties, though, is the reuben. He builds the sandwich, packs four of them tightly into my parents’ ancient, stained electric skillet, and somehow manages to flip each one perfectly.

2015 Blog August-0320When I was little, I though Dad had invented this sandwich. I mean, if you stop and think about it, it’s a strange collection of ingredients: corned beef and swiss cheese are reasonably normal, yes, but then you add a layer of sauerkraut and douse it with Russian or Thousand Island dressing straight out of the bottle? And dark rye is such a dad-bread, isn’t it? Only a dad would make you a school sandwich on rye bread. These reuben things must have been one of my dad’s concoctions – his own weird, elevated version of a grilled cheese sandwich.

2015 Blog August-03302015 Blog August-0336Imagine my astonishment, then, when I started seeing reubens on restaurant menus. This was a real thing! This wasn’t just a weird Dad-dish! I already liked reubens, as odd as I thought they were, but as an adult it’s hard for me to pass one up when it appears on a sandwich menu. One of our favorite haunts in Eugene had a tempeh version I’m working on recreating. I love a grilled sandwich, and the savory, meaty, melty business, along with the sagging pickle of the sauerkraut and the tangy sweetness of the dressing makes this worth the 5-6 napkins it usually requires.

2015 Blog August-0338It’s no great surprise, then, that reubens became an inspiration for a meatball. Here, I’ve borrowed and shifted a bit, but tried to capture the essential elements of the classic sandwich in these compact packages. Ground beef is lightly mixed with finely diced pastrami, a bit of ketchup and mayonnaise to echo the dressing, some roughly chopped capers or diced pickle, chopped dill, and, if you like (I don’t), a minimal sprinkle of caraway seeds as a nod to the traditional rye bread of the original sandwich.

2015 Blog August-03392015 Blog August-0343Though I originally thought of just jamming all the essentials into the meatball itself, I couldn’t imagine presenting this meatball in any other format than a sandwich. Thus, the cabbage, here lightly pickled rather than deeply brined (which, if you’re keeping track, needs to sit for a few hours before you make the sandwich), and the cheese, remain outside the meatball itself. As for the dressing, I spice up the original by adding sriracha and grated garlic to the standard ketchup and mayonnaise blend, and throw in some minced capers instead of the dill pickles. And I know, this is an affront to authenticity, but I couldn’t picture a quartet of meatballs sitting easily between two slices of rye bread, so I exchanged, keeping the depth of color but not the precise flavor, and went with a pretzel roll.

And if a regular pretzel roll isn’t enough for you, I found these at my Whole Foods:

2015 Blog August-0326That’s right, mini pretzel rolls. Pretzel roll meatball sliders. I know. But I couldn’t help myself.

2015 Blog August-0358Our assessment? These are some goooood meatballs. The bits of pastrami mixed in with the beef makes them incredibly flavorful, and you can definitely taste the dill and the mild pickled essence of the capers in the final product. I love the crispness of the cabbage – it’s not as strongly briny as sauerkraut, but it is bright with flavor and retains some texture, which is a nice addition. As we finished our sandwiches, N. turned to me and declared that these were his favorite meatball thus far. I asked him why, and he said “they’re just so… so savory!” So there you are. A most savory meatball, for my own twist on the ultimate dad-sandwich.

2015 Blog August-0355

Reuben Meatball Sandwiches
Makes 4 sandwiches or 16 sliders
For cabbage:
2 cups finely sliced or shredded red or green cabbage
1 teaspoon kosher salt
1 teaspoon sugar
½ teaspoon celery seeds (optional)
1 teaspoon apple cider vinegar
2 teaspoons olive oil
For meatballs:
¼ cup minced red onion
1 pound ground beef (I recommend at least 85% lean, 15% fat. Less fat could result in a dry meatball)
¼ pound pastrami or corned beef, finely diced
2 tablespoons capers or dill pickles, coarsely chopped
1 tablespoon finely chopped fresh dill
2 tablespoons mayonnaise
2 tablespoons ketchup
1 teaspoon caraway seeds, optional
¼ teaspoon salt
¼ teaspoon pepper
3-4 tablespoons olive oil
2-3 cups beef or chicken broth
For sandwich:
4 pretzel rolls or rye rolls of about 8 inches in length, or 16 slider buns
¼ cup mayonnaise
¼ cup ketchup
1 tablespoon sriracha, or to taste
2 cloves garlic, finely minced and then crushed into paste with the flat of a knife
2-3 tablespoons minced capers
black pepper to taste
sliced or grated swiss cheese (as much as desired for each sandwich)


  • In a medium bowl, toss the cabbage with the other slaw ingredients: the salt, the sugar, the celery seeds, the vinegar, and then the olive oil. Let sit at room temperature for at least two hours, tossing occasionally, or refrigerate overnight.
  • For the meatballs, heat 1 tablespoon of olive oil in a large skillet and add the onions. Cook over medium-low heat until the onions are quite tender and just starting to take on some color – about 15 minutes. Set aside to cool.
  • Combine remaining meatball ingredients in a large bowl and mix lightly with your fingertips to combine evenly. The pastrami will want to stick together, so be sure to mix attentively so it integrates well. Add the onions last, once they’ve had time to cool.
  • Heat up 1-2 teaspoons of the olive oil in a large skillet over medium-high heat. When it shimmers and spreads easily, drop in a teaspoon of the meatball mixture, flatten it out, and fry about a minute on each side, or until cooked through. Taste for seasoning, and adjust salt and pepper accordingly for the rest of the mix.
  • Wet your hands for less sticking, and roll the meat mixture into 16 meatballs of equal size – they will be somewhere between a walnut and a golf ball in diameter.
  • In the same large skillet in which you fried the tester, heat the remaining olive oil over medium-high heat. When it is shimmering and spreads easily in the pan, add the meatballs in a single layer, not touching one another (you will likely need to fry in two batches). Brown on all sides (about 2 minutes on each surface), then remove to a clean plate and repeat with the remaining meatballs.
  • You will likely have a lot of residual fat in your skillet. Wipe it out (no need to wash – a paper towel will do) and then return it to the heat. Add the broth and bring it to a simmer, then carefully relocate the meatballs back into the skillet. You want enough broth to come about halfway up the meatballs. Clamp on the lid, turn the heat down to medium or medium-low, and simmer for 15 minutes, turning each meatball once about halfway through.
  • While the meatballs simmer, start your sandwich construction. Split the rolls you’ll be using and scrape out some of the fluffy interior – we need to make room for the meatballs to nestle. Set the open rolls on a baking sheet and preheat your broiler.
  • In a small bowl, combine the ¼ cup mayonnaise, ¼ cup ketchup, the sriracha if desired, the pasted garlic and the finely minced capers. Add black pepper to taste. Spread about a tablespoon on each side of your sandwich rolls (or about a teaspoon, if you are using slider buns).
  • Pour off any liquid your lightly pickled cabbage may have exuded, then add a few tablespoons of the cabbage to one side of your sandwich roll, right on top of the sauce. Top the cabbage layer with a thin layer of swiss cheese.
  • When the meatballs are done, wedge four per sandwich (or 1 per slider) into the space you made by scraping out some of the roll’s interior. Top them with a thin layer of cheese as well, then carefully insert the baking tray of sandwiches into the broiler and cook, watching carefully, just until the cheese is nicely melted.
  • Squash the sandwich closed and serve immediately, ideally with a good, dark beer.

Banh Mi-tballs

Food blog April 2015-0634When it comes to creating music, it seems to me there are two basic schools. One begins with the melody, considering sound, instrumentation, rhythm, process. Words and story – if there is one – get added to fit the beat and the harmonics and the feel. The other starts with the words: weaving a story, shouting a chorus, infusing rhyme and connotation and syllabic play. Filtering in notes and melodies that fit the narrative.

Guess which one I favor.

Food blog April 2015-0599I have the same issue with food. Seriously, when it comes to creating a recipe, I should probably start with the fundamentals: ingredients. Taste. Familiarity. Procedure and execution and fitting flavors together.

More often than not, though, the singer-songwriter I’ve never been pops to the forefront and I’m instead thinking of names and paragraphs and ways of representing the food I haven’t even made yet.

Food blog April 2015-0600That’s what happened with this experiment. In fact, this is in many ways the inspiration for the whole meatball project. Not because I’ve had a dish just like it that needed to be recreated. Not because I’m obsessed with or particularly fond of meatballs. No. Because I thought the name “banh mi-tball” was too good to pass up.

Food blog April 2015-0603As I noted previously, there is a lot of controversy surrounding the authenticity and exactness of such a sandwich. Ratios of meat to vegetable, the types of vegetables, the texture and flour types in the bread, form the bases of entries on numerous discussion forums that range from curious to intensely heated. Names are called. Gluten is flung.

Food blog April 2015-0604Here’s the thing, though. Now that I’m invested, I just wanted to make a sandwich good enough to be called banh mi-tball. I mean, you can’t back up a heart-wrenching narrative woven in clever rhyme with a tinny little toy guitar and an out-of-tune keyboard. But by the same token, I don’t think you have to be Jimi Hendricks or Eric Clapton to support the story in a satisfying way.

Food blog April 2015-0606What I’m trying to say here, is that I’m not all that interested in authenticity. I didn’t seek out every banh mi shop in Los Angeles and sample and compare and pester their chefs for trade secrets. Even when I’m not losing my mind grading papers during the semester, I don’t have that kind of time or motivation. The point was, I decided, to strive not for exactness or tradition, but to craft a damn good sandwich. So that’s what I’m going for.

Bread, vegetables (pickled and non), meat, spread. These are the necessary components. There should be a crisp crust, there should be a representation of sourness, spiciness, and umami, there should be a vegetal crunch. For this incarnation, I added strips of fresh Persian cucumbers to my pickles, along with sprigs of cilantro and wedges of lime. I spread my slightly-less-than-crisp “baguettes” with a curiously beautiful coral-hued spread of mayonnaise, sriracha, fish sauce, and lime juice, and I stood back and let my fellow sandwich-diners have their way with the pan full of meatballs on the stove.

Food blog April 2015-0611Since banh mi sandwiches so often feature pork, a pork meatball was the way to go. It would need to echo some of the flavors found in the sandwich itself, which means this is one of those recipes with a tablespoon of this and a teaspoon of that and an ingredient list long enough that you might at first be put off. You shouldn’t be, though. Like so many good Asian recipes, especially sauces, every single individual component has a part to play, and none are particularly exotic. Ginger and garlic for their aromatic spice. Jalapeños and cilantro for freshness and heat. A few tendrils of pickled onion  and a squeeze of lime for sourness. Soy sauce and brown sugar to balance that sourness. Fish sauce and red miso paste for that earthy umami funk. Capitalizing on my previous meatball experiments, a pinch of baking powder for lightness and an egg to bind everything together.

Food blog April 2015-0612Despite the lengthy ingredient list, the actual production of the meatballs is easy. Remembering my satisfying results with Swedish meatballs, I dumped everything in the food processor and let it whir. Pâté is a frequent protein option for banh mi sandwiches, so the smooth, bouncy texture I knew I could achieve with mechanized mixing seemed to fit the bill. After a mix, a quick roll with moistened hands, and a shallow fry in vegetable and sesame oil, all that remains is a twenty minute simmer in flavorful liquid. I opted for chicken broth with a bit of miso paste and a bit of brown sugar swirled in, which resulted in a poaching liquid so tasty I debated serving small bowls of it on the side.

Food blog April 2015-0625Once you have all the components, sandwich construction is easy. Because people tend to like crafting their own, this actually makes remarkably good party food. Just lay out your pickles, your vegetables, your bread, set down a jar of spread and a bowl of meatballs and watch your guests go to town. Load up your own baguette with enough fillings to stretch the corners of your mouth as you attempt that first bite. Then hide the leftovers. Because you’re going to want this again, and you might not want to share it.
Food blog April 2015-0628

Banh Mi-tballs
Makes 22-24 tablespoon-sized meatballs
For the meatballs:
2 cloves garlic, skins removed
2 teaspoons grated ginger
1-2 tablespoons jalapeño slices
¼ cup cilantro
1 pound ground pork
1 tablespoon red miso paste
½ tablespoon soy sauce
½ tablespoon fish sauce
½ tablespoon brown sugar
½ tablespoon lime juice
¼ teaspoon black pepper
2 tablespoons chopped pickled onions
1 teaspoon baking powder
1 egg
¼ cup vegetable oil
1 tablespoon sesame oil
For the sauce:
1-2 cups low sodium chicken broth
1 tablespoon red miso paste
1 teaspoon brown sugar


  • Add the garlic, ginger, jalapeños, and cilantro to the bowl of a food processor and pulse until almost paste-like. This will ensure easier integration and no large chunks of garlic.
  • Add the pork and all other meatball ingredients through the 1 egg (that is, everything except the vegetable and sesame oil), then clamp on the lid and pulse to combine until the vegetable bits are well integrated and the pork itself is smooth and slightly gluey in texture.
  • Working with moistened hands to avoid too much stickiness, roll the mixture into tablespoon sized balls. When all are rolled, heat the vegetable oil and sesame oil in a large skillet over medium heat until the oil shimmers, then carefully add the meatballs in a single layer.
  • Fry over medium heat until browned on all sides; 5-8 minutes. Remove to a clean plate.
  • In the skillet, whisk together the chicken broth, the 1 tablespoon of red miso, and the 1 teaspoon of brown sugar, and bring to a simmer over medium heat. Carefully place the meatballs into the simmering broth, again in a single layer, cover, and reduce heat to medium-low.
  • Simmer meatballs for ten minutes, then flip each one over and simmer for 10 minutes more. Serve hot, warm, or room temperature on a sandwich with pickles, vegetables, and spread (recipe follows).


Sriracha and lime mayonnaise
makes a generous ⅓ cup; enough for about 4 sandwiches
⅓ cup mayonnaise
zest of one lime
1 teaspoon lime juice
½ tablespoon sriracha or to taste
1 teaspoon fish sauce (go easy; it’s strong)


  • Combine all ingredients in a small bowl and mix well to combine.
  • To assemble the sandwiches, split baguettes lengthwise, spread generously with sriracha and lime mayonnaise, then layer on meatballs, pickled vegetables of your choice, cucumber, sliced jalapeños, cilantro sprigs, and if desired, a squeeze of lime juice.

Apple Cheddar Monte Cristo Sandwiches

Food Blog September 2014-0599When you tell people you live in Los Angeles, one of the first things they often say is something in the realm of “well you can’t beat the weather!” Well, okay, but you can get sick of it. As I drove home from work the day we had these sandwiches for dinner, one of the local radio DJs said something akin to “is it still summer? I won’t let it be fall yet.” Cue snarling and angry words from me. How could she?! I mean, I like the sun. I love summer. But here’s the thing: I miss my jeans. When I get home from work and evict myself from my teacher clothes, I miss sliding into the worn embrace of my soft, familiar denim. Not to mention spending a day without the hair plastered to the back of my neck. Appetizing, I know.

Food Blog September 2014-0584Food Blog September 2014-0586Food Blog September 2014-0590So maybe out of resentment at the season (or lack thereof, since it just slid from mid- to late September and we spent the last two weeks ping-ponging between mid-80s and near 100 degree temperatures), I came up with a dish that screams fall at the top of its lovely, melty little lungs. Apples. Cheddar cheese, as sharp as possible. Dense, moist sourdough. Sage, that most autumnal of herbs. Maple syrup. It’s a bit of a breakfast sandwich, but since when have I ever been opposed to that sort of thing as an evening meal?

Food Blog September 2014-0591Food Blog September 2014-0594In its preparation, this sandwich takes the Monte Cristo as its font of inspiration. Though I’m using cheddar instead of swiss, and replacing ham with apples that have been gently sautéed in brown butter with a liberal dosing of maple syrup (are you hungry yet?), the whole assembled sandwich gets dunked in an egg batter and then fried until delicately crisp on the outside and limp with melted goo on the inside.

Food Blog September 2014-0597Food Blog September 2014-0598In an effort to be responsible diners, we ate this with a wilted kale salad-ish concoction, but it honestly didn’t need any accompaniment. In fact, the second time I made it in as many weeks, I didn’t prepare any side dish at all, and that and the relatively petite slices of bread I used made me feel completely justified in demolishing two sandwiches all by my lonesome. Well, minus the apple slice or two that I shared with Miss Lucy. It’s tough to refuse those velvet brown eyes.

Food Blog September 2014-0587Food Blog September 2014-0588Your fingertips will get greasy as you eat this. But despite the richness of the cheese and the eggy coating and the caramelized, syrupy apples, the sage keeps the whole thing from being overwhelming. Its sharp, herbaceous note cuts through the cheese, and it somehow miraculously maintains a bit of crunch even buried between the layers of filling. For me, it’s sandwich nirvana.

Food Blog September 2014-0600

Apple Cheddar Monte Cristo sandwiches
Quantities for 2 sandwiches
1 tart apple, quartered, cored, and cut into thin slices – I like granny smith
6 tablespoons butter, divided
3-4 tablespoons maple syrup
¼ teaspoon salt
8 whole sage leaves
4 slices sourdough sandwich bread
⅔ cups extra sharp cheddar cheese
1 egg, lightly beaten
½ cup milk
2 tablespoons flour


  • Heat 4 tablespoons of the butter, the maple syrup, and the salt over medium heat in a 10-12 inch skillet. When the butter has melted and is bubbling with the syrup, add the apple slices in a single layer, and scatter the sage leaves on top.
  • Cook on medium heat until the underside of the apples is brown, about 5 minutes. Flip the slices over, and cook again to brown the other side, about 2-3 minutes more. Try to keep the sage leaves on top of the apples so they get crisp from the heat but don’t burn. The apples will show that they are almost ready by puffing up and looking swollen just before they begin to get golden, and the butter and maple syrup mixture will get deep, deep toffee colored and become a thick caramel.
  • Remove the pan from the heat and cool while you ready the other ingredients.
  • Shred the cheddar cheese and set it aside.
  • In a shallow bowl, combine the egg, milk, and flour, mixing well to eradicate flour lumps. The addition of the flour will help the exterior of the sandwiches stay crisp – I use the same trick with French toast.
  • To assemble the sandwiches, layer cheese, then half the apples and half the sage, then a bit more cheese onto one slice of bread. You should aim to use ⅓ cup of cheese per sandwich, but we want to have some on both sides of the apple slices to hold the whole thing together better. Top with the second slice of bread, and repeat for the second sandwich.
  • In a skillet, heat the remaining 2 tablespoons butter over medium-low heat. While it melts, set the first sandwich into the egg and milk mixture and leave it for 30 seconds or so to allow some of the batter to penetrate the bread. Then flip it over and let it sit another 30 seconds or so. Repeat with the second sandwich.
  • To cook, raise the heat on the skillet to medium and carefully add the sandwich (or sandwiches, if your skillet is large enough to accommodate both). Cook over medium heat, flipping halfway through, until both sides are golden and crisp and the cheese is melted. This should take about 5 minutes per side.
  • Slice as desired, and consume hot.

Chicken Salad on Smashed Avocado Toast

I do a lot of complicated, multi-step recipes here. There are reasons for this, of course. One is that I want to keep things interesting. I mean, there are millions – possibly billions – of “easy” recipes out there, boasting 5 ingredients or less, 10 minutes or less, all pantry or store-bought items, one-pot, you name it. But I figure, how many 5-ingredient-chicken-and-veggie-casseroles does the internet need? If I’m going to cook for you, I want it to be fresh and intriguing. Sometimes that means embracing complexity.

Food Blog June 2014-3758The other, more important reason, is that I want to challenge myself. It’s all very well to master a dish, and I like that. But after a while, I get bored. I need something new, to keep my taste buds and my fingers and my mind nimble. I chose to become a professor, which means I work to teach. But I couldn’t have embarked on this career without being a bit of an eternal student, which means I want to learn. That’s why I do these annual projects here – exploring dough, whisking away at a sauce a month. To keep myself enthralled and improving, I have to tackle new challenges.

Food Blog June 2014-3731These challenges find their way to you, most of the time, after some finagling and practicing. Usually I get an idea, fiddle with it, add and subtract and mess and annotate, and out comes a recipe that I post here. It’s not often that I throw together some depth-of-the-fridge ingredients and produce something I consider blogworthy.

Food Blog June 2014-3734But “not often” isn’t the same as never. A few weeks ago, as a heat wave rendered Los Angeles practically immobile (or maybe that was just my un-air-conditioned living room), I dragged myself to the kitchen to (I hoped) find something reasonably delicious to throw together for dinner that didn’t involve the oven or the stove. Great expectations, no?

Food Blog June 2014-3741
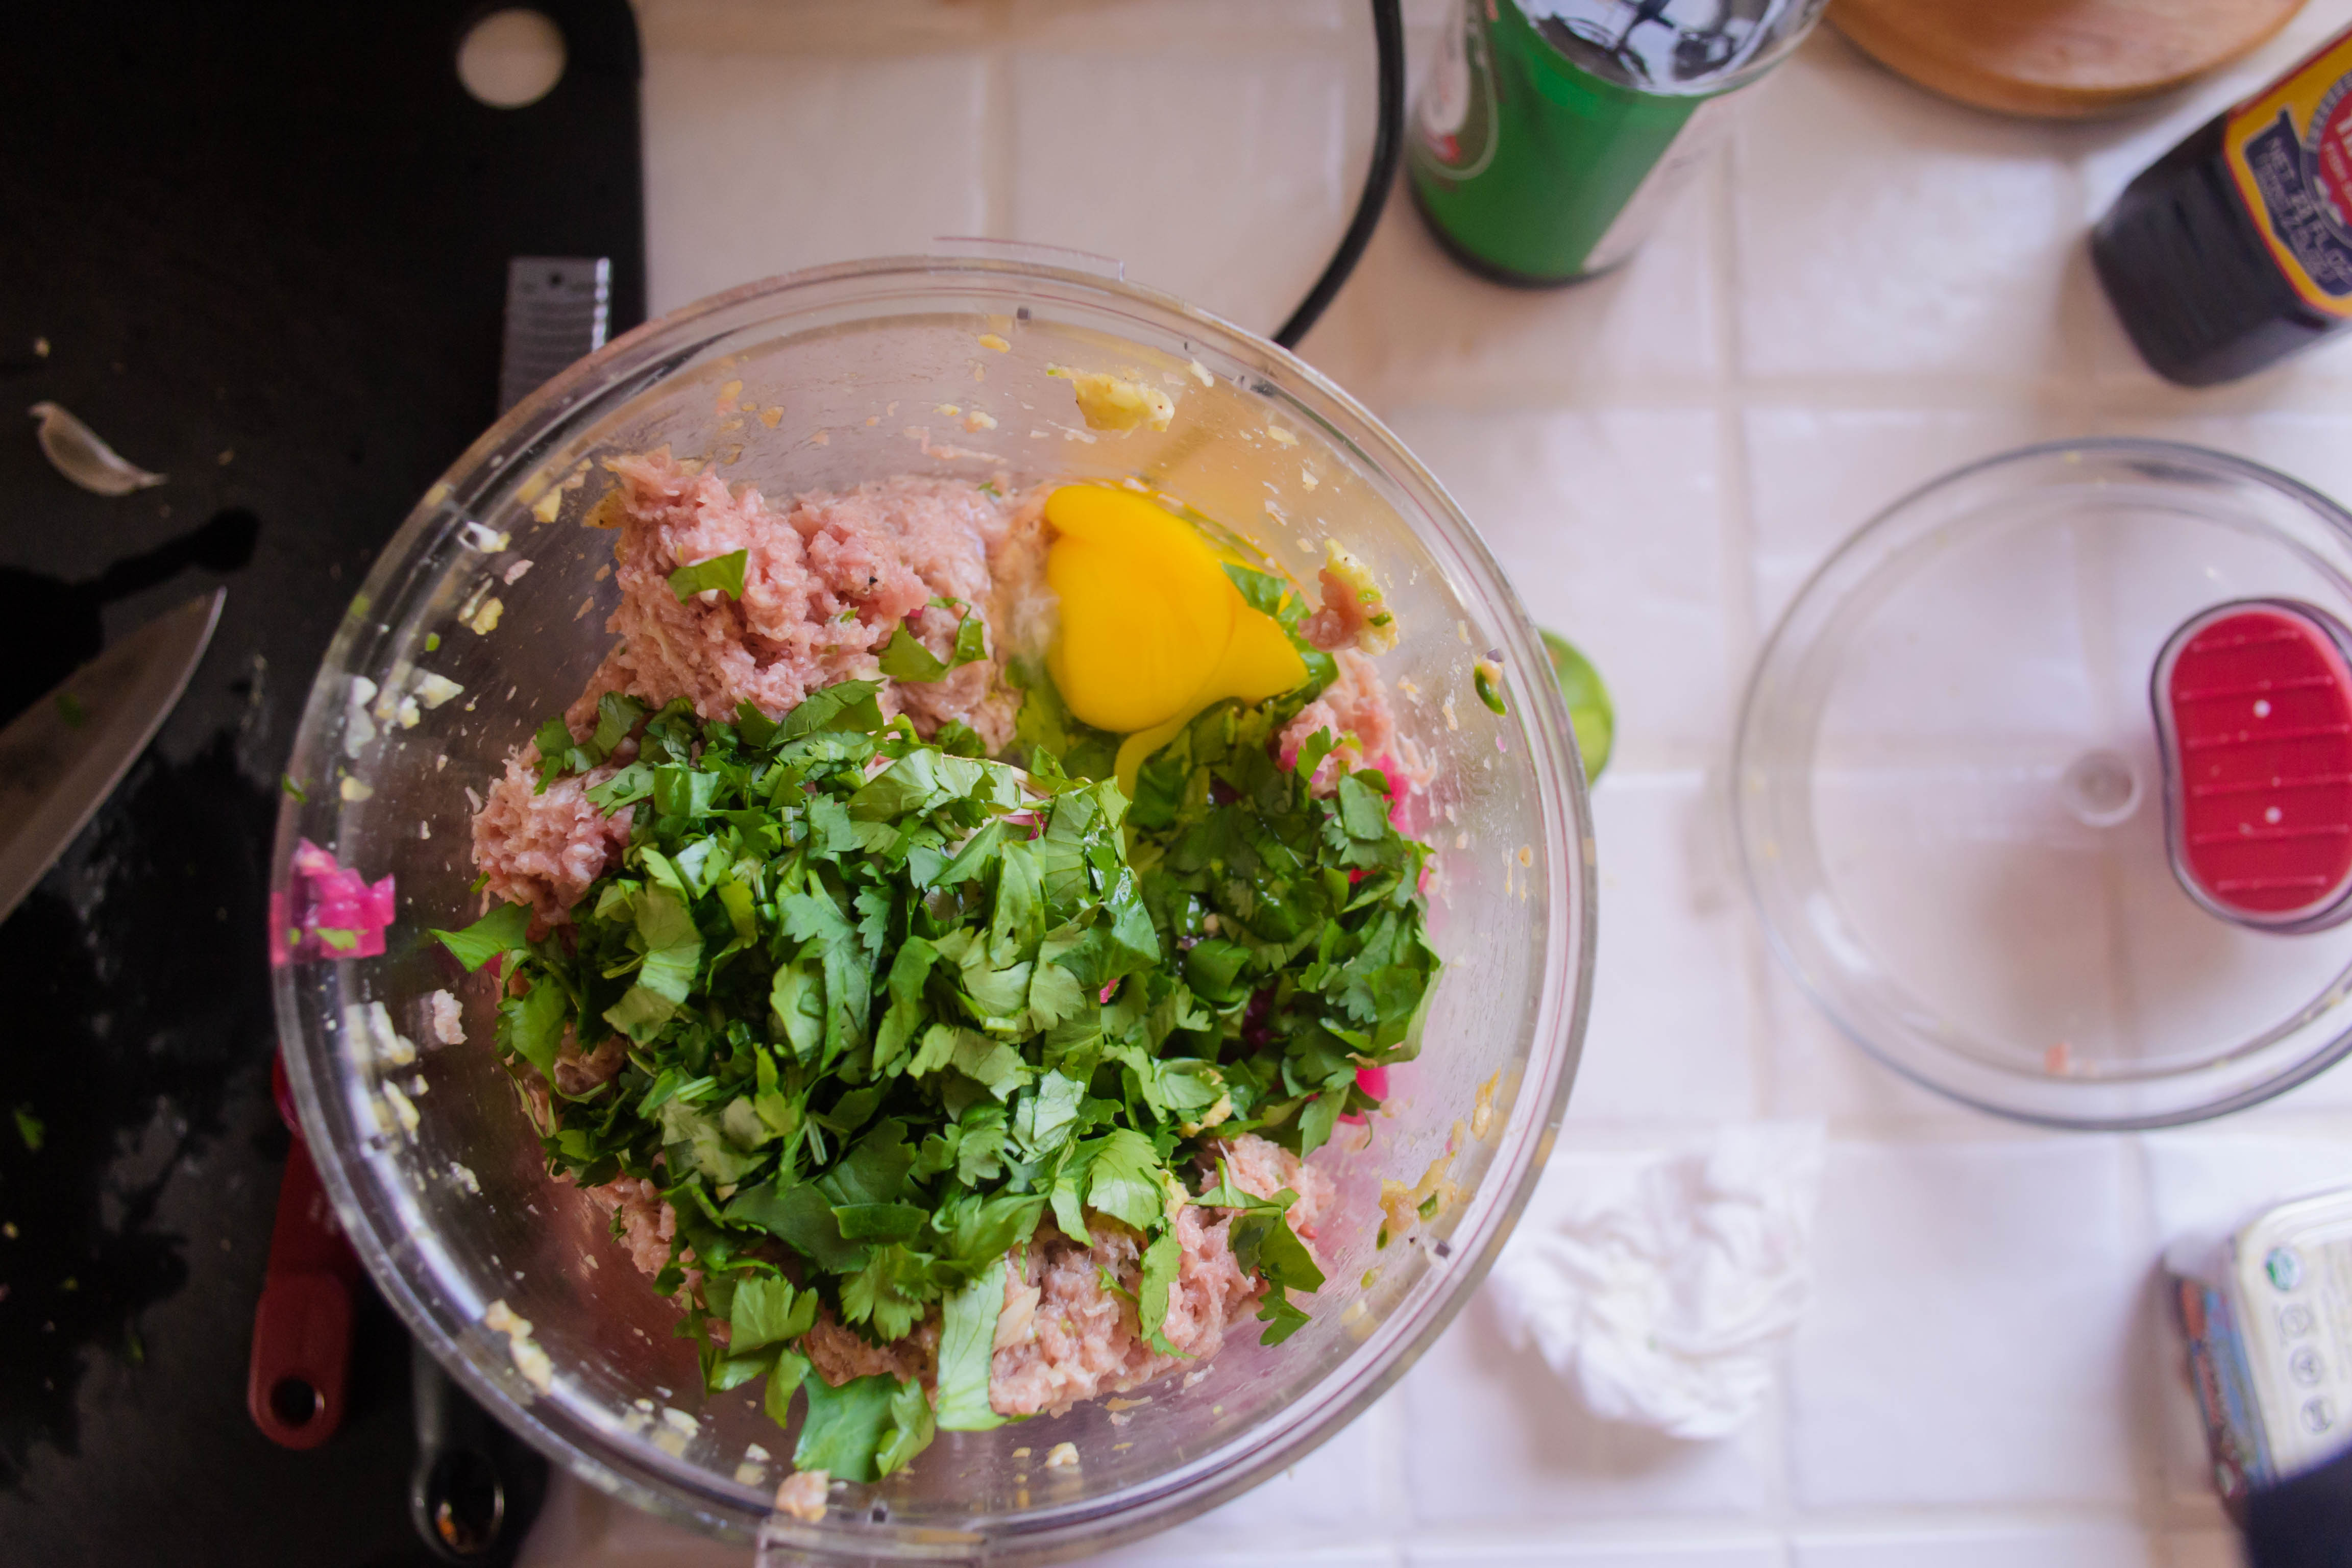
What we ended up with was a dinner that made our eyebrows climb, and almost immediately we were thinking about when we would have it again. And as sometimes happens, it was just what I had, layered together into something great. Chicken salad. Toast. Avocado smashed with extravagant quantities of lemon juice and raw garlic. Layered and mounded into an open-faced sandwich as at home on a picnic blanket as on your dining room table. So bright and fresh! Satisfying but so light and summery! And, if you have had the presence of mind to make your chicken salad the day before (or, if you’ve got a deli you love, bought some), assembly requires all of five minutes with minimal application of heat. Oh, and if you find yourself in need of a way to use up some homemade mayonnaise, this is your salad.

Food Blog June 2014-3743This is a summer dinner you need to make. And then make again. Because really, complexity is fun, but sometimes simple is just right.

Food Blog June 2014-3750A few extra thoughts: the lemon and garlic smashed avocado is currently my food crush. It’s great with the chicken salad, but it would also be spectacular (and really quite aesthetically lovely too) underneath thin slices of hard boiled egg or smoked salmon. Or, you know, just plain on toast. Or to dip chips into. Or a spoon.

Food Blog June 2014-3747I’m also thinking you could quarter your toast slices, or even cut them into long, skinny toast soldiers, before loading them up, to make sweet tea sandwiches or easy hors d’oeuvres for a bridal or baby shower.

Food Blog June 2014-3753
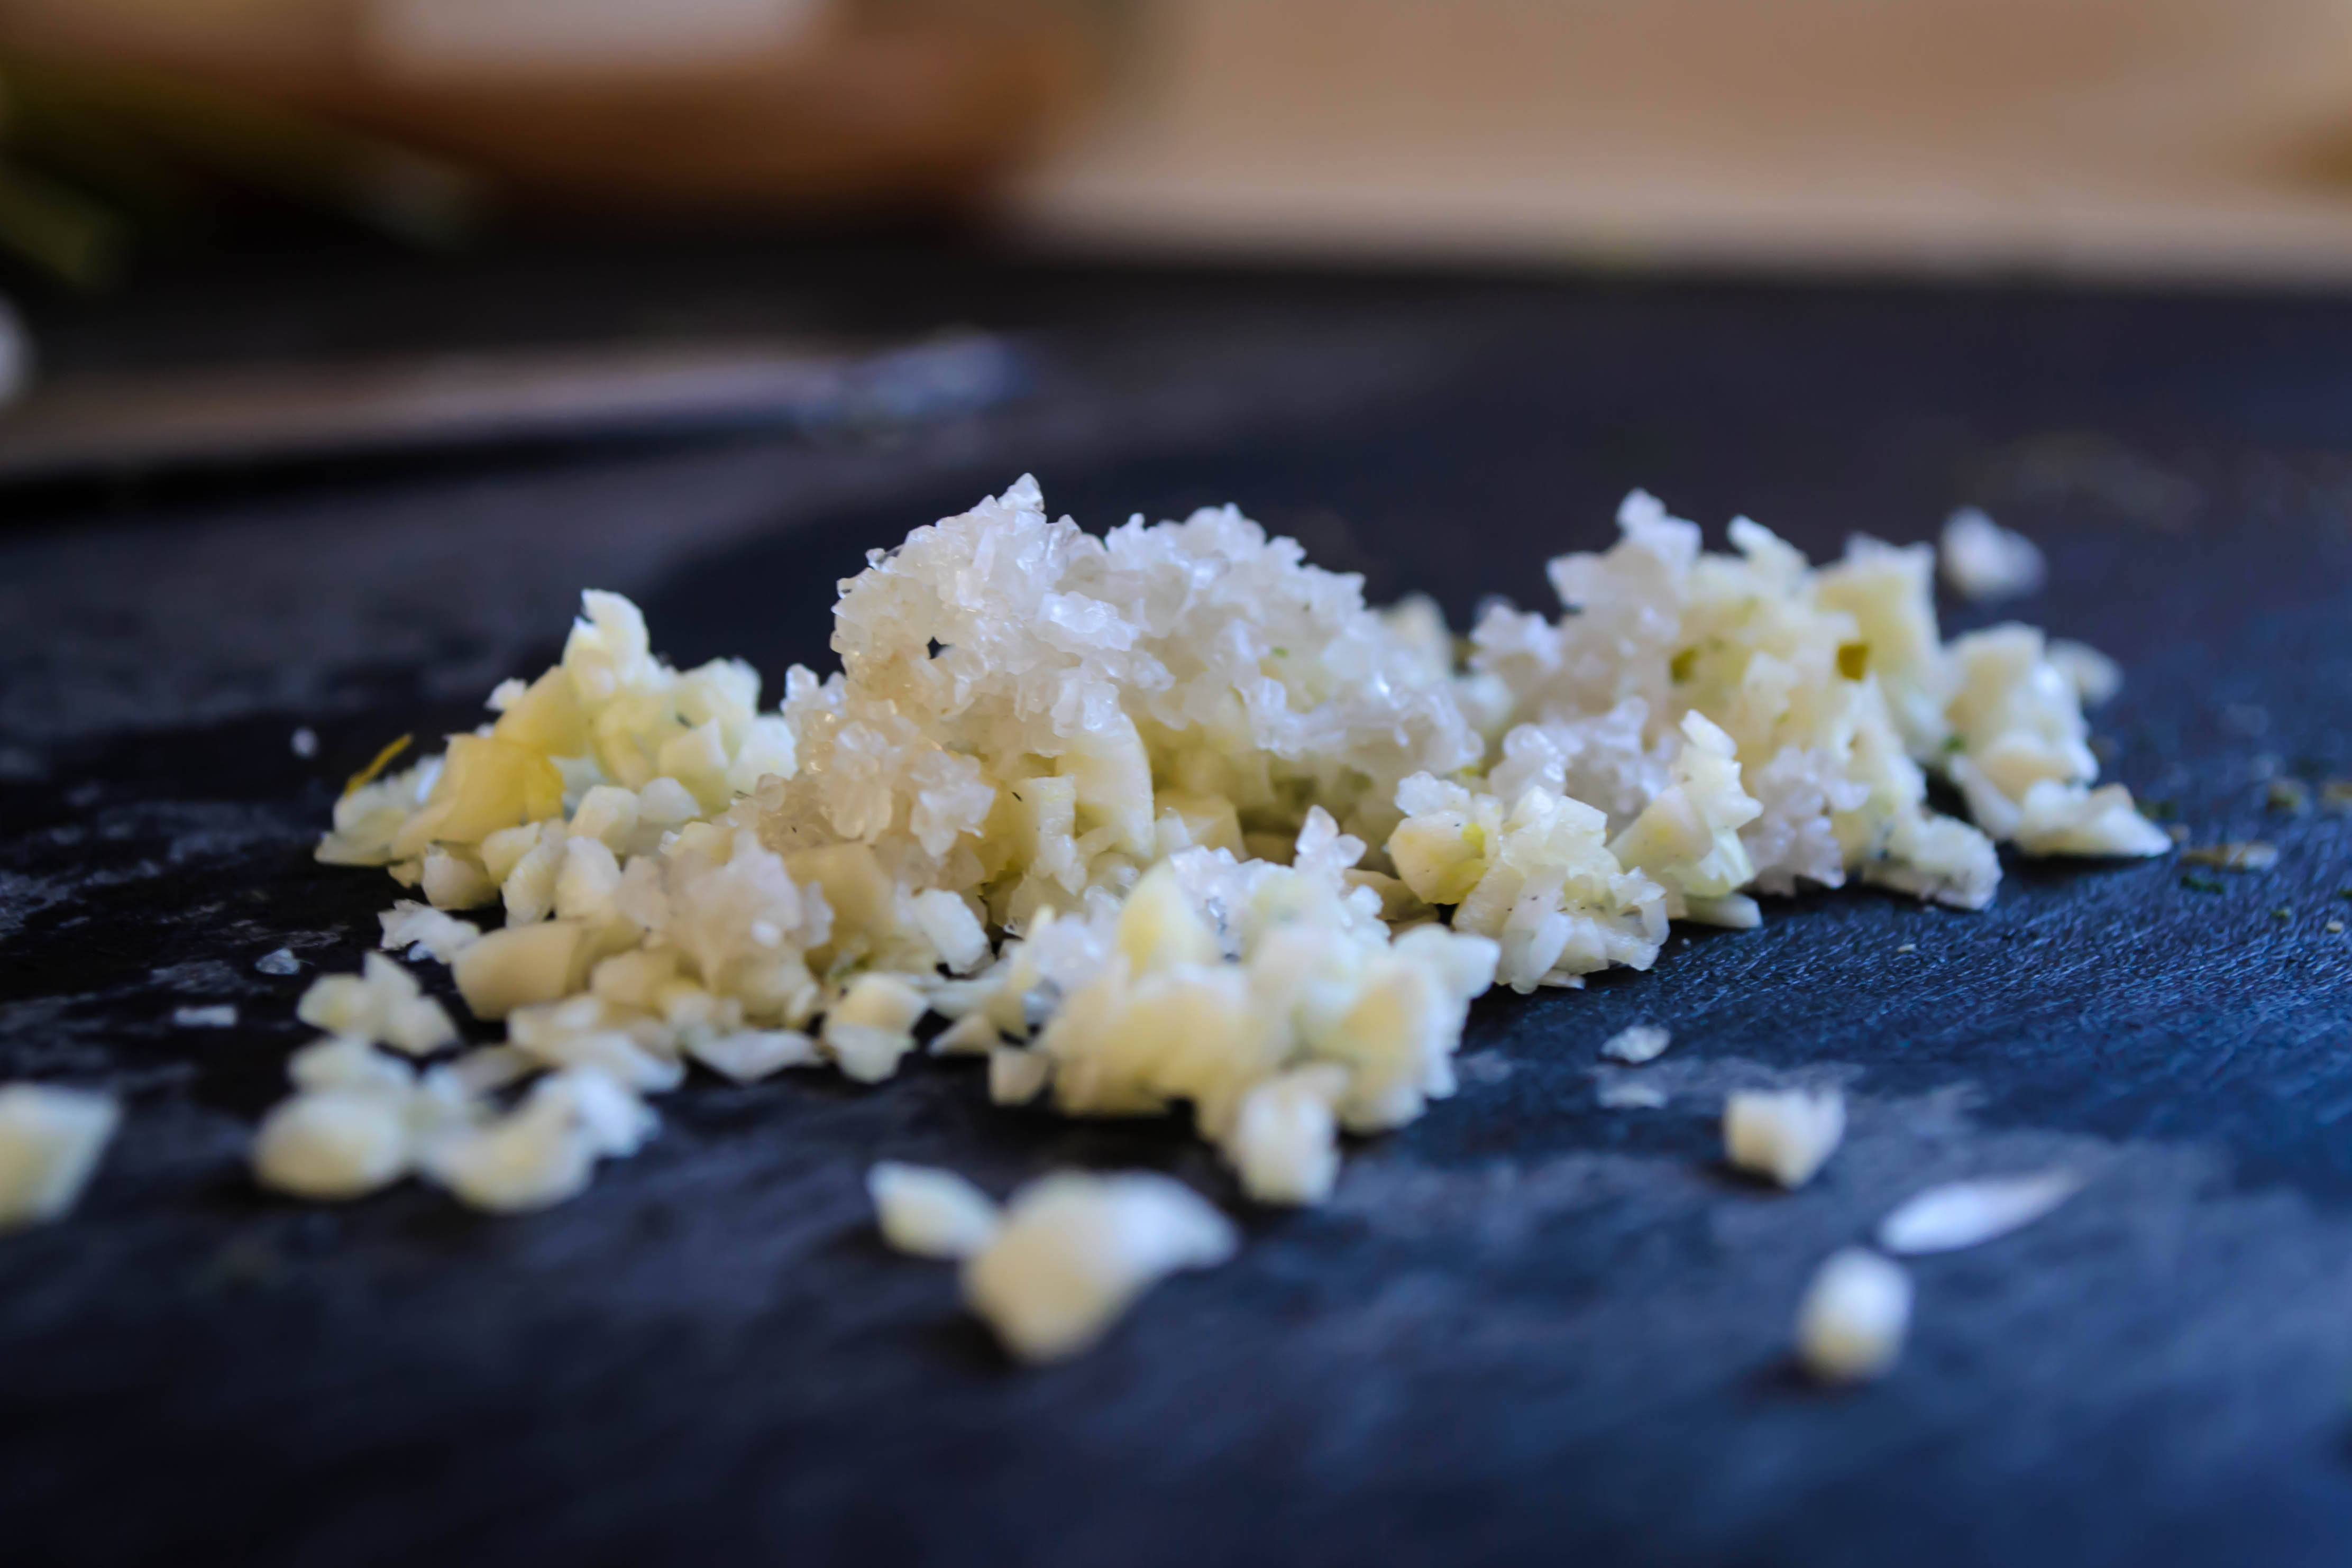
Finally, and this is not about chicken salad or avocado, if you have an iPhone, you should ask Siri “What does the Fox say?” Then you should ask her again. It could well be that I’m the last person on the planet to know about this, but still. You’re welcome.

Food Blog June 2014-3763

Chicken Salad and Smashed Avocado toasts
Serves 4
Much about this recipe is to your liking. More or less mayonnaise, more or less salt, a few extra grinds of pepper, a squeeze or two less lemon juice – use your taste buds and find out what you like best. These are suggested quantities that we found we liked enough to want to tell you about it almost immediately.
For the chicken salad:
4 boneless skinless chicken breasts, patted dry
2 tablespoons olive oil, divided
1 teaspoon salt
½ teaspoon pepper
⅓ cup finely sliced green onions (from 3-4 green onions)
⅓ cup celery, stalks halved or quartered lengthwise, then finely sliced (from 1-2 stalks)
2 tablespoons finely chopped fresh dill
2 teaspoons lemon zest
2 teaspoons Dijon or whole grain mustard
2 tablespoons roughly chopped capers
¼ cup mayonnaise, or to taste (for us, 6 tablespoons, or ¼ cup plus 2 tablespoon, ended up being perfect)


  • Preheat the oven to 350F.
  • Use 1 tablespoon of the olive oil to grease a 9×9 inch square baking dish.
  • Sprinkle the chicken breasts with the salt and pepper on both sides, then nestle them into the pan in a single layer. Drizzle the remaining tablespoon of olive oil over the chicken.
  • Bake for 45-60 minutes or until juices run clear and flesh reaches an internal temperature of 165F. You know, fully cooked chicken. Remove from oven and cool completely.
  • While the chicken cools, assemble and prep the other ingredients. Place the green onions, celery, dill, lemon zest, mustard, and capers in a large bowl and toss together with a fork.
  • When the chicken is cool, shred or cube it. I prefer my chicken salad shredded. To do this, place one chicken breast on a cutting board or a plate. Stab two forks, backs facing each other, into the chicken and pull them away from each other to shred it. Or, if you prefer, stab the chicken with one fork and hold it stationary, while you drag the other fork through the meat to create shreds. See photos above.
  • Add the cooled, shredded (or cubed) meat to the bowl with your other ingredients.
  • Add the mayonnaise and toss with the chicken and vegetables to combine thoroughly. Taste for seasoning, and adjust as desired. Be careful, though: the smashed avocado gets salt of its own, so don’t overdo it on the sodium here unless you are a salt fiend.


For the toasts:
8 slices sourdough bread (2 slices per person; thick sliced would be lovely)
2 whole avocados
2 tablespoons lemon juice
¼ teaspoon black pepper
4 cloves garlic
½ teaspoon coarse salt
Handful of arugula or spinach leaves, optional


  • Toast your bread in a toaster or under the broiler until nicely golden. While it toasts, halve your avocados, remove the pits, and put the flesh in a small bowl. Add the lemon juice and pepper.
  • Peel and finely chop your garlic cloves. When they are well minced, sprinkle them with the ¼ teaspoon coarse salt. Using the flat of your knife, drag it across the garlic and salt, applying firm pressure. The idea here is that the salt will act as an abrasive, breaking down the garlic into a paste to make it less aggressive (biting into a chunk of raw garlic is an adventure, but not always a fun one), and to help it integrate more easily into the avocado. Repeat until the garlic becomes a pulpy, juicy paste.
  • Scrape the salted garlic paste into the avocado bowl, and smash the ingredients together with a fork into a chunky green mass. Delicious. Taste for seasoning and adjust to your liking, remembering that the acidity will be cut a bit when you add the toast and chicken salad components.
  • To build these open-face sandwiches, for each slice of toast, spread a few tablespoons of smashed avocado all the way out to the edges, scatter a few fresh arugula or spinach leaves over it, if desired, and then spoon ¼ – ½ cup chicken salad on top in an even layer.
  • That’s it! Serve up. Enjoy.

Project Sauce: Bechamel

I think it’s a good idea to start with the basics. I don’t rush my students straight into composing multi-source research papers; starting a new project here seemed to hold to the same strictures. I’m not racing right into hollandaise. I’m not drenching your January palates with demi-glace, homemade mayonnaise, or even beurre blanc (though these are coming, have no fear). No, we’re going to start with something foundational, and at least for me, something familiar: bechamel.

Food Blog January 2014-3092Here’s the thing, though. As I’ve dipped my toe tentatively into the field of culinary history (side note: one of my new secret pretend-careers is culinary historian – fascinating!), what stands out more and more brightly to me is how rarely familiar actually is. Bechamel is an excellent example. It’s a white sauce. It’s one of the classic mother sauces. It forms a base for numerous other sauces: the luscious cheddar and beer laced concoction you drape over toast to make Welsh rarebit. The silky, creamy mess redolent of parmesan that becomes alfredo. Even the simple melting glory you toss with elbow noodles to make macaroni and cheese (can you tell we’ll be delving into cheese sauces?!). But its history is not without contradictions. Even the Medici family figure into it! According to some Catherine de Medici brought a retinue of Italian chefs with her into France when she married Henri, Duke of Orleans, and bechamel sauce flowed straight from their kitchens out into the rest of France. There are stories that it was invented by (though more likely named for) a steward called the Marquis Louise de Bechameil. The tradition of reducing cream sauces probably began in 18th century France, but the “mother sauces,” of which bechamel is one, were created in the 17th century. And boiling or simmering food items in milk, as some bechamels do, goes back to medieval cuisine.

Food Blog January 2014-3086National and temporal origins aside, there are even disputes about what goes into it. I’ve always made a bechamel sauce from three main ingredients: butter, flour, and milk. But there are thoughts about what kind of dairy should be used, and which flavoring agents are permissible, and some traditional recipes even call for sticking an onion with cloves and letting this flavor the milk as it heats.

Food Blog January 2014-3090Lest we get confused right out of the gate, however, I’m going to stick with what feels familiar and comfortable. Butter, flour, milk. A pinch of salt. A grind or two of pepper. French traditionalists would have me use white pepper, since it won’t disrupt the homogenous ivory color of the sauce, but I like seeing those little specks of flavor. Not to mention, I didn’t have any white pepper in my kitchen. A sauce made of butter, flour, and milk can only taste like so much, so I’ve also adopted the Italian addition of some nutmeg, freshly ground, to amp up the flavor. Now we have a lightly speckled pool of creaminess, like the slight freckles on a fresh egg.

Food Blog January 2014-3087Here’s how a bechamel works: you melt butter, add an equal portion of flour, and cook for a minute or two to allow the flour to dissolve and distribute. This combination – equal parts butter and flour – is called a roux, and it is the classic thickening agent. Everything from gumbo to cream gravy is thickened with roux.

Food Blog January 2014-3088To transform the roux into a sauce, then, you have to add liquid. For bechamel, that’s milk. So we add a quantity of milk, preferably warm, a little at a time, whisking and whisking until a velvet smooth sauce forms. The quantity of milk added depends on the desired thickness of the final end product. Being sure the milk is warm, and adding it slowly, guards against lumps. This sauce is about luscious smoothness and creamy thickness. Lumps won’t do.

Food Blog January 2014-3117The magic of bechamel is that you won’t know how thick it is going to be until it starts to simmer. It takes a bit of time for the flour granules to hydrate, and only once they are fully incorporated and warm enough to bubble will the true viscosity of the sauce reveal itself. The one we are going to produce here gets just a touch thicker than a pool of melted ice cream. It’s easily pourable, but it will also coat the back of a spoon, clinging in a smooth layer until you, say, run a finger through it to have a taste.

Food Blog January 2014-3119You can do a lot with a bechamel. As I noted earlier, it is the foundational component of a good cheese sauce. It’s also the classic white sauce component in a traditional lasagna. It can be draped over steamed vegetables, or make the base for a chowder or other cream soup, or even rest gently over a pounded, breaded, pan-fried chicken cutlet. But since I am working with classic and simple here, I wanted to go with a dish that really lets you experience the creamy loveliness of a bechamel: croque monsieur.

Food Blog January 2014-3122Now you’re raising your eyebrows. I know; croque monsieur is essentially a grilled ham and cheese sandwich. Ham and swiss, to be specific. It’s a name taken from the French verb croquer, which means “to crunch” or “to munch.” Thus the sandwich is, if I dare, a Mister Crunch. N. loved this. He’s been calling the sauce in question a “bleckmel” to make me laugh; he knows full well how to pronounce it (he did take French, after all), and he was so delighted by the literal translation of our dinner that he started to call it a “Crunchy Human” sandwich, eliminating the gendered title: a sandwich for everyone! (I should note, however, that there is a “female” version of this sandwich: a croque madame is the same grilled ham and swiss, with the addition of a gently fried egg on top.)

Food Blog January 2014-3127So let’s do this. A perfectly crunchy sandwich, laden with melting swiss and a thin layer of smoky, salty ham, topped with spoonfuls of perfectly creamy bechamel, sprinkled with more cheese, and broiled until golden bubbles swell on the surface. It’s a fork-and-knife sandwich, and it’s far from a light lunch, but it is, I think, a good way to start.

Food Blog January 2014-3130

Bechamel
Makes approximately 1 ½ cups
2 tablespoons unsalted butter
2 tablespoons all purpose flour
1 ½ cups whole milk, warmed slightly in a saucepan or in the microwave
a pinch each salt, pepper (white is traditional, but I used black), and nutmeg (freshly ground is preferable)
  • In a medium pan, melt the butter over medium to medium-low heat.
  • Add the flour, sprinkling it in around the pan rather than dumping it all in one spot; this will help it incorporate easily and quickly. Stir it around with a whisk, letting it mix with the butter to form golden clumps, which will slowly collapse into a pale yellow, lightly bubbling mass. This will take 1-2 minutes.
  • Once the flour and butter have cooked together for 1-2 minutes, begin adding the milk. Pour in only about ¼ cup at a time, whisking constantly during and after each addition. The butter and flour mixture will get quite thick and pasty with the first few additions of milk. That’s fine – just keep whisking, fully incorporating before each additional pour of liquid.
  • After a few additions, the mixture will begin to resemble a sauce, thinning out and liquifying. Keep whisking. Inattendance will result in unincorporated hunks of flour, and thus a lumpy sauce.
  • Once you have added all of the milk, you won’t have to whisk as vigorously. Just keep turning your whisk through the sauce in lazy figure eights, dreaming about your weekend or the tropics or the lecture you are planning on Anglo-Saxon England (that might be just me), as it heats through.
  • When your sauce is slightly thickened, approaching the texture of melted ice cream, add the salt, pepper, and nutmeg. You want just a nice little sprinkle of each, to add subtle flavor.
  • Continue your lazy whisking until the sauce barely begins to bubble. It will be just a touch thicker than melted ice cream now – something like a thick royal icing or even a powdered sugar glaze.
  • Lower or turn off the heat until you are ready to apply the sauce.
  • Bechamel behaves best when warm. As it cools, it clumps and forms a skin like you’d find on a pudding. It can be stored in the refrigerator, covered tightly, and reheated in a pan if needed, but will be best on the day it is made.
Croque Monsieur
Quantities are per sandwich. Make as many as you wish!
1 teaspoon dijon mustard
2 slices of bread (a french loaf would be traditional; I used sourdough, because I’m not)
2-3 thin slices of good ham
½ cup grated swiss cheese, divided (I like Gruyere. Emmantaler would also be lovely)
1 tablespoon unsalted butter
2 tablespoons grated parmesan cheese
2-3 tablespoons bechamel sauce
  • Spread the inside of each slice of bread with dijon mustard. You might want more than a teaspoon, but I tend to prefer my sandwiches light on the mustard.
  • On top of the mustard, mound all but 2 tablespoons of the grated swiss cheese, then spread it carefully and gently over the bread to form an even layer.
  • Add the slices of ham on top of the cheese, folding or manipulating their shape where necessary so they aren’t hanging over the sides. Top with the remaining piece of bread.
  • Spread the outsides of both pieces of bread with the butter. I like to do this by placing the sandwich in the cold skillet I’ll be toasting it in. That way, when I flip the sandwich over to butter the other side, I won’t make a mess or lose any of the butter – it will just be resting against the cooking surface.
  • With the sandwich in the skillet, heat it over medium heat. Don’t go any hotter than this! You’ll be tempted to crank the heat up. But it takes a while for the cheese to melt, and we don’t want the bread to burn in the meantime. Slow and steady.
  • Toast the sandwich until the bread is golden and crisp, and the cheese inside is well melted: 4-5 minutes per side over medium or even medium-low heat. Meanwhile, preheat your broiler.
  • When the sandwich is nicely toasted, turn off the stove. Spoon 2-3 tablespoons of warm bechamel over the top slice of bread. Use the back of the spoon to spread it out – you want an even layer, completely covering the slice. Corners and edges poking out will get too dark under the intense heat of the broiler.
  • Once you have an even layer of bechamel, sprinkle the remaining swiss cheese and all of the grated parmesan right over the top, again trying to create an even, complete layer.
  • Carefully place the skillet into your broiler (if you have handles on the skillet made of anything but metal, be sure to wrap them in aluminum foil first) and broil for 3-5 minutes, until the sauce and cheese on top melt, bubble, and attain a slightly crunchy bronzed layer on top.
  • Remove from the broiler (be careful – the handle of your skillet is now incredibly hot. Don’t ask me how I know this), plate, and serve bubbling hot! You can cut the sandwich in half if you like, but since you are probably going to be eating it with a fork and knife, pre-slicing might not be necessary.