I must have been this busy last year. I just don’t remember. When I get to work, I sit down at a desk on which the stacks of papers have been rearranged so many times they might as well be dancing. When I get home, I sit down at a table slowly succumbing to a pile of opened and unopened mail, notes and lesson plans, and yes, more papers. I am freest when standing, and when I am standing I am either stalking the classroom (a practice that, though necessary, regrettably and inevitably produces yet MORE papers), walking my sweet dog-daughter, or leaning over the stove to smell or to stir or to taste.


 It’s mid-October. It is at once much later in the year, and much earlier, than I’d hoped it would be. Recently my parents phoned to confirm a flight time for Thanksgiving; could N. or I pick them up from the airport if they arrived at x time? My brain flew ahead, thinking of food, thinking of games, thinking of the family closeness of the winter holidays and longing, longing, for that to be now, now, right-now-thank-you-very-much. But at the same time, there are so many things I wanted to accomplish, as always, that remain undone.

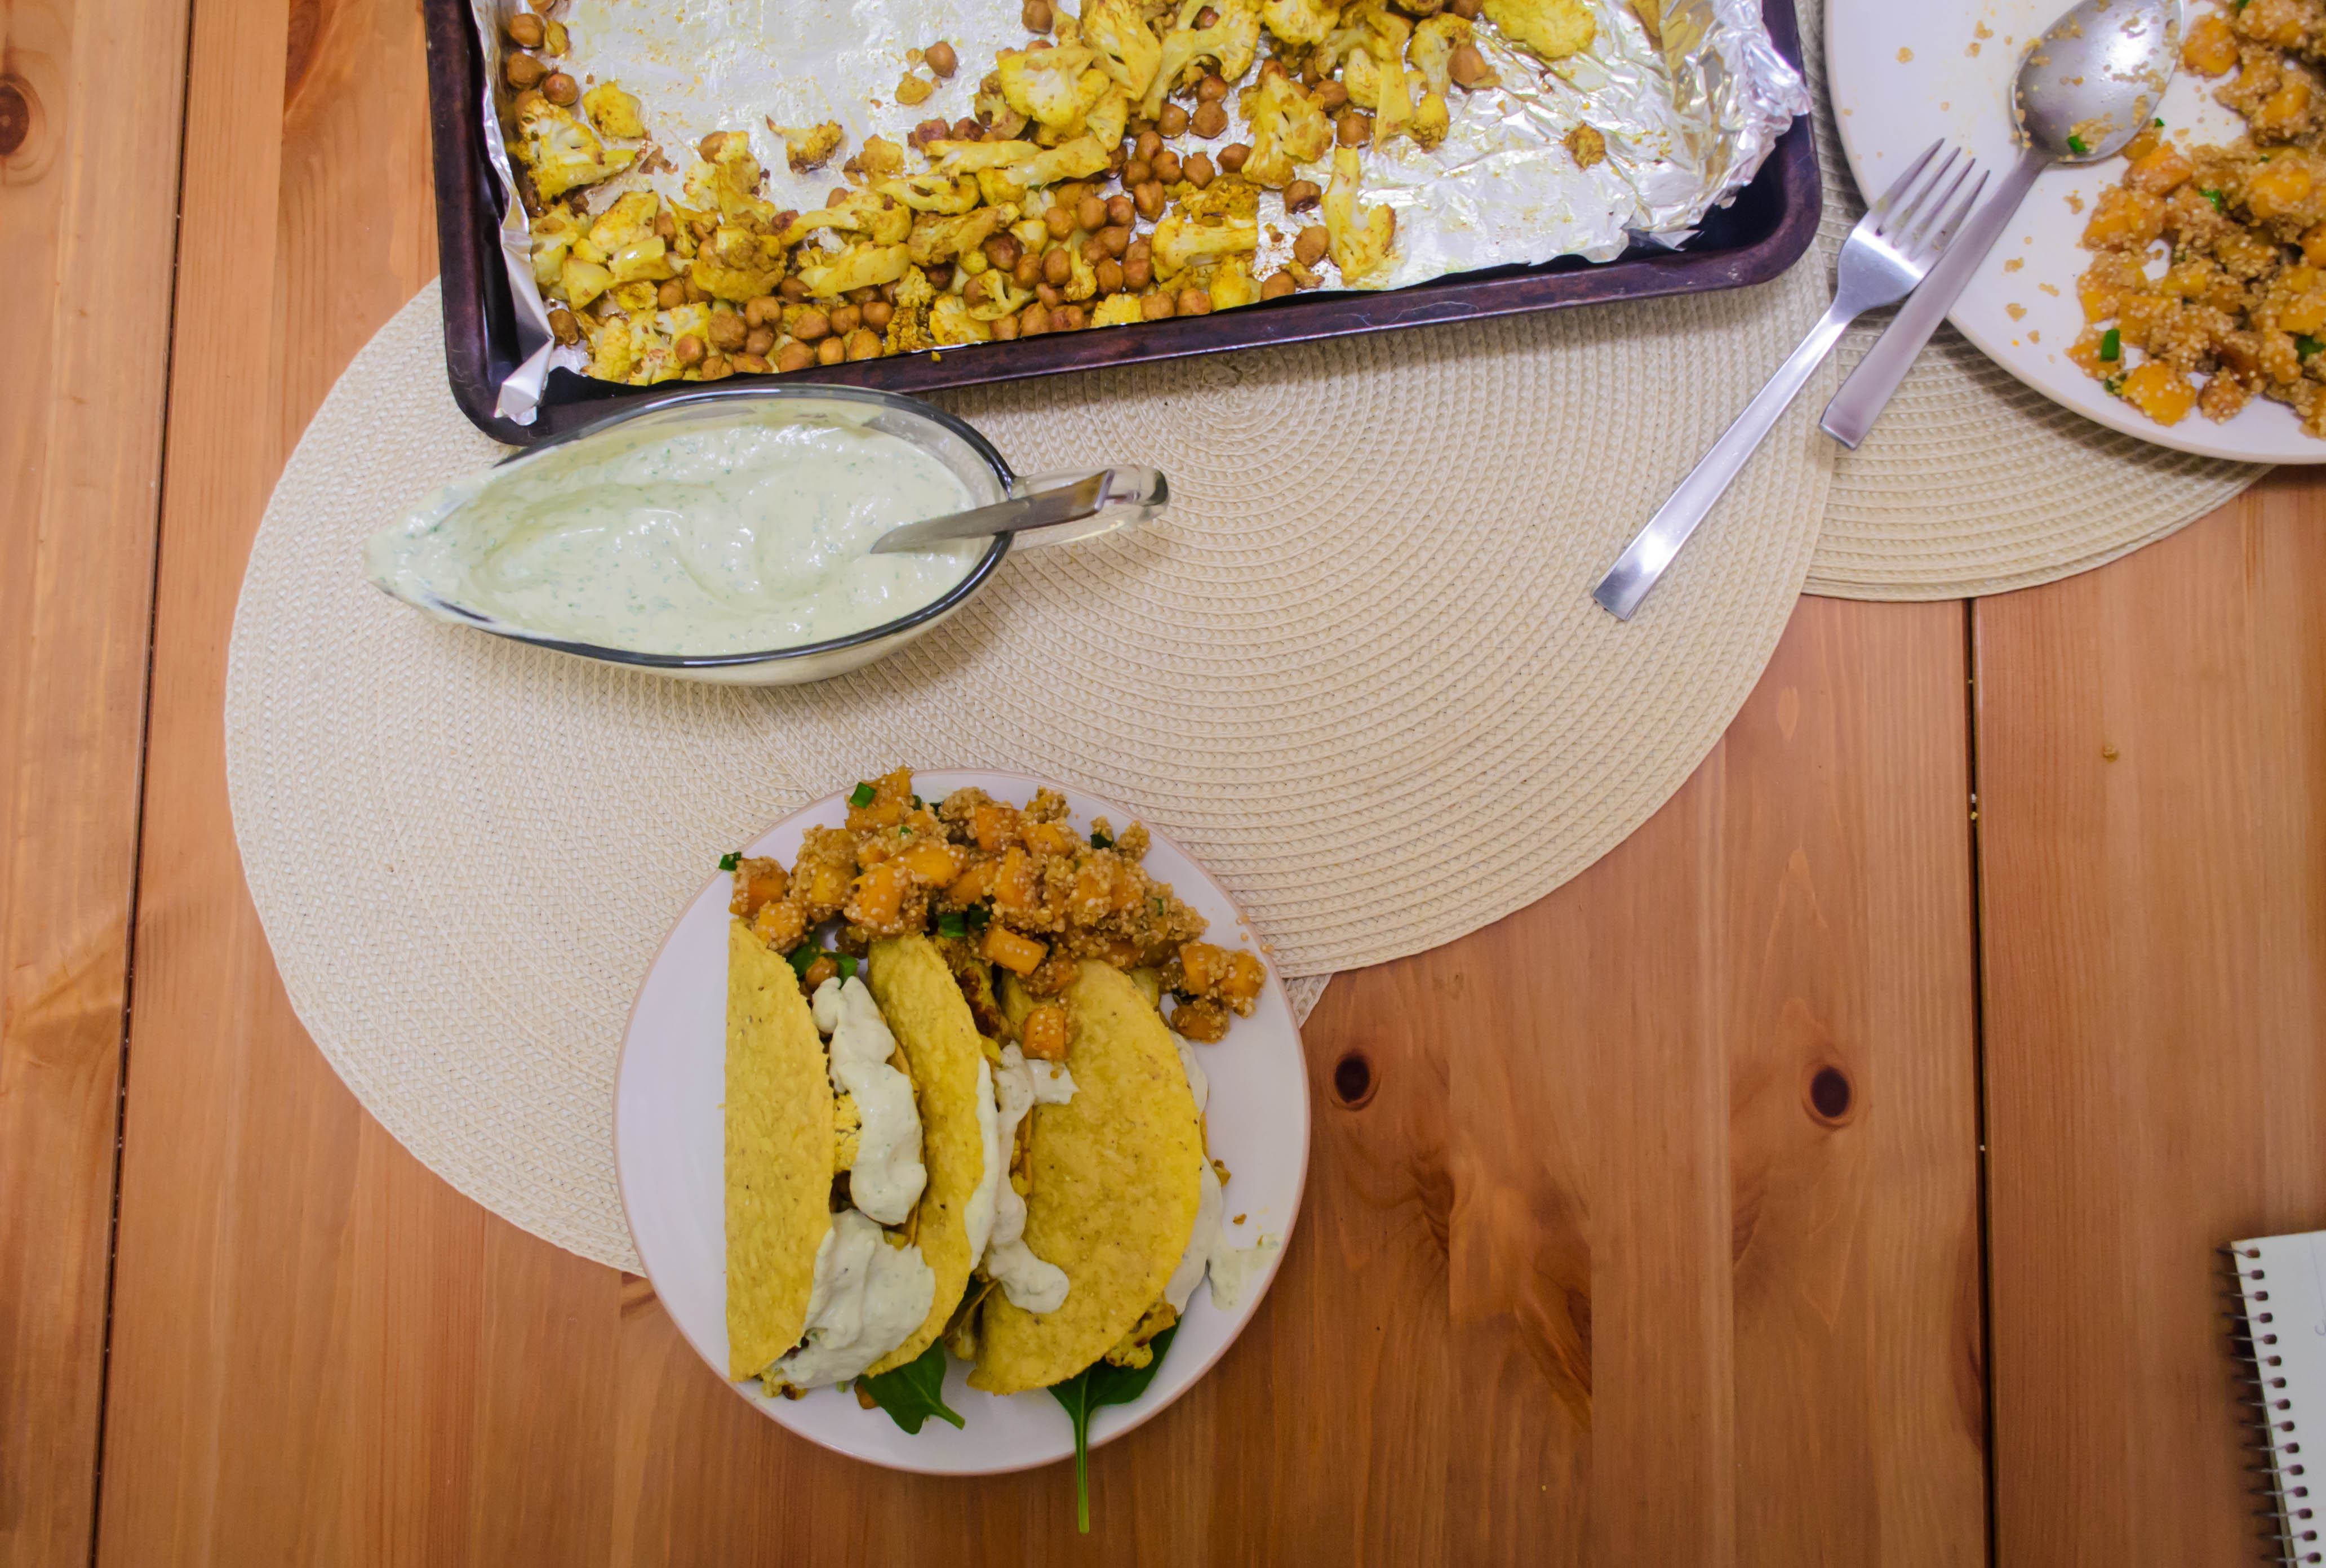
 All I can do is what I have. And what I have for you this week is, as promised, a pair of dishes that fit together so well I can’t, in retrospect, imagine presenting them here separately.
 These dishes, a bean and cheese stuffed poblano and a take on the sort of rice you find shaped in a mound or a scoop on your enchilada plate at a certain type of Mexican restaurant, came into being for me during one of our dinners this past summer with our closest graduate school colleagues. Dinner was made by T., previously featured here as a salt expert, and she presented us a casserole dish approximately the temperature of hot magma, laden with fragrant peppers piled with beans and cheese. Beside them, she wedged a heavy dutch oven filled to the brim with “red rice,” a medley of tomato-laced long-grain rice shot through with aromatics and spice. It was one of those dinners where everyone ate without speaking.
 I had to have it again, and I knew it would take some tinkering. T.’s rice was fluffy and almost dry, whereas recipes I’d tried for this style of rice produced something wet and floppy – a Mexican risotto, if we’re trying for politeness – and that wasn’t my aim. I wanted something toastier, more like a pilaf. Inspiration and guidance came, as it so often does, from Deb at Smitten Kitchen, in a simple, hearty little feast she calls “Stuck Pot Rice and Lentils.” Inspired by Middle Eastern rice dishes that praise the tahdig, a crispy layer on the bottom of the pot, this rice gets parboiled vigorously, then mixed with other ingredients and cooked slowly, with very little additional liquid, until it adheres into a massive round cake you can, with some care and bravery, flip out onto a plate in a large, crunchy-topped wheel.

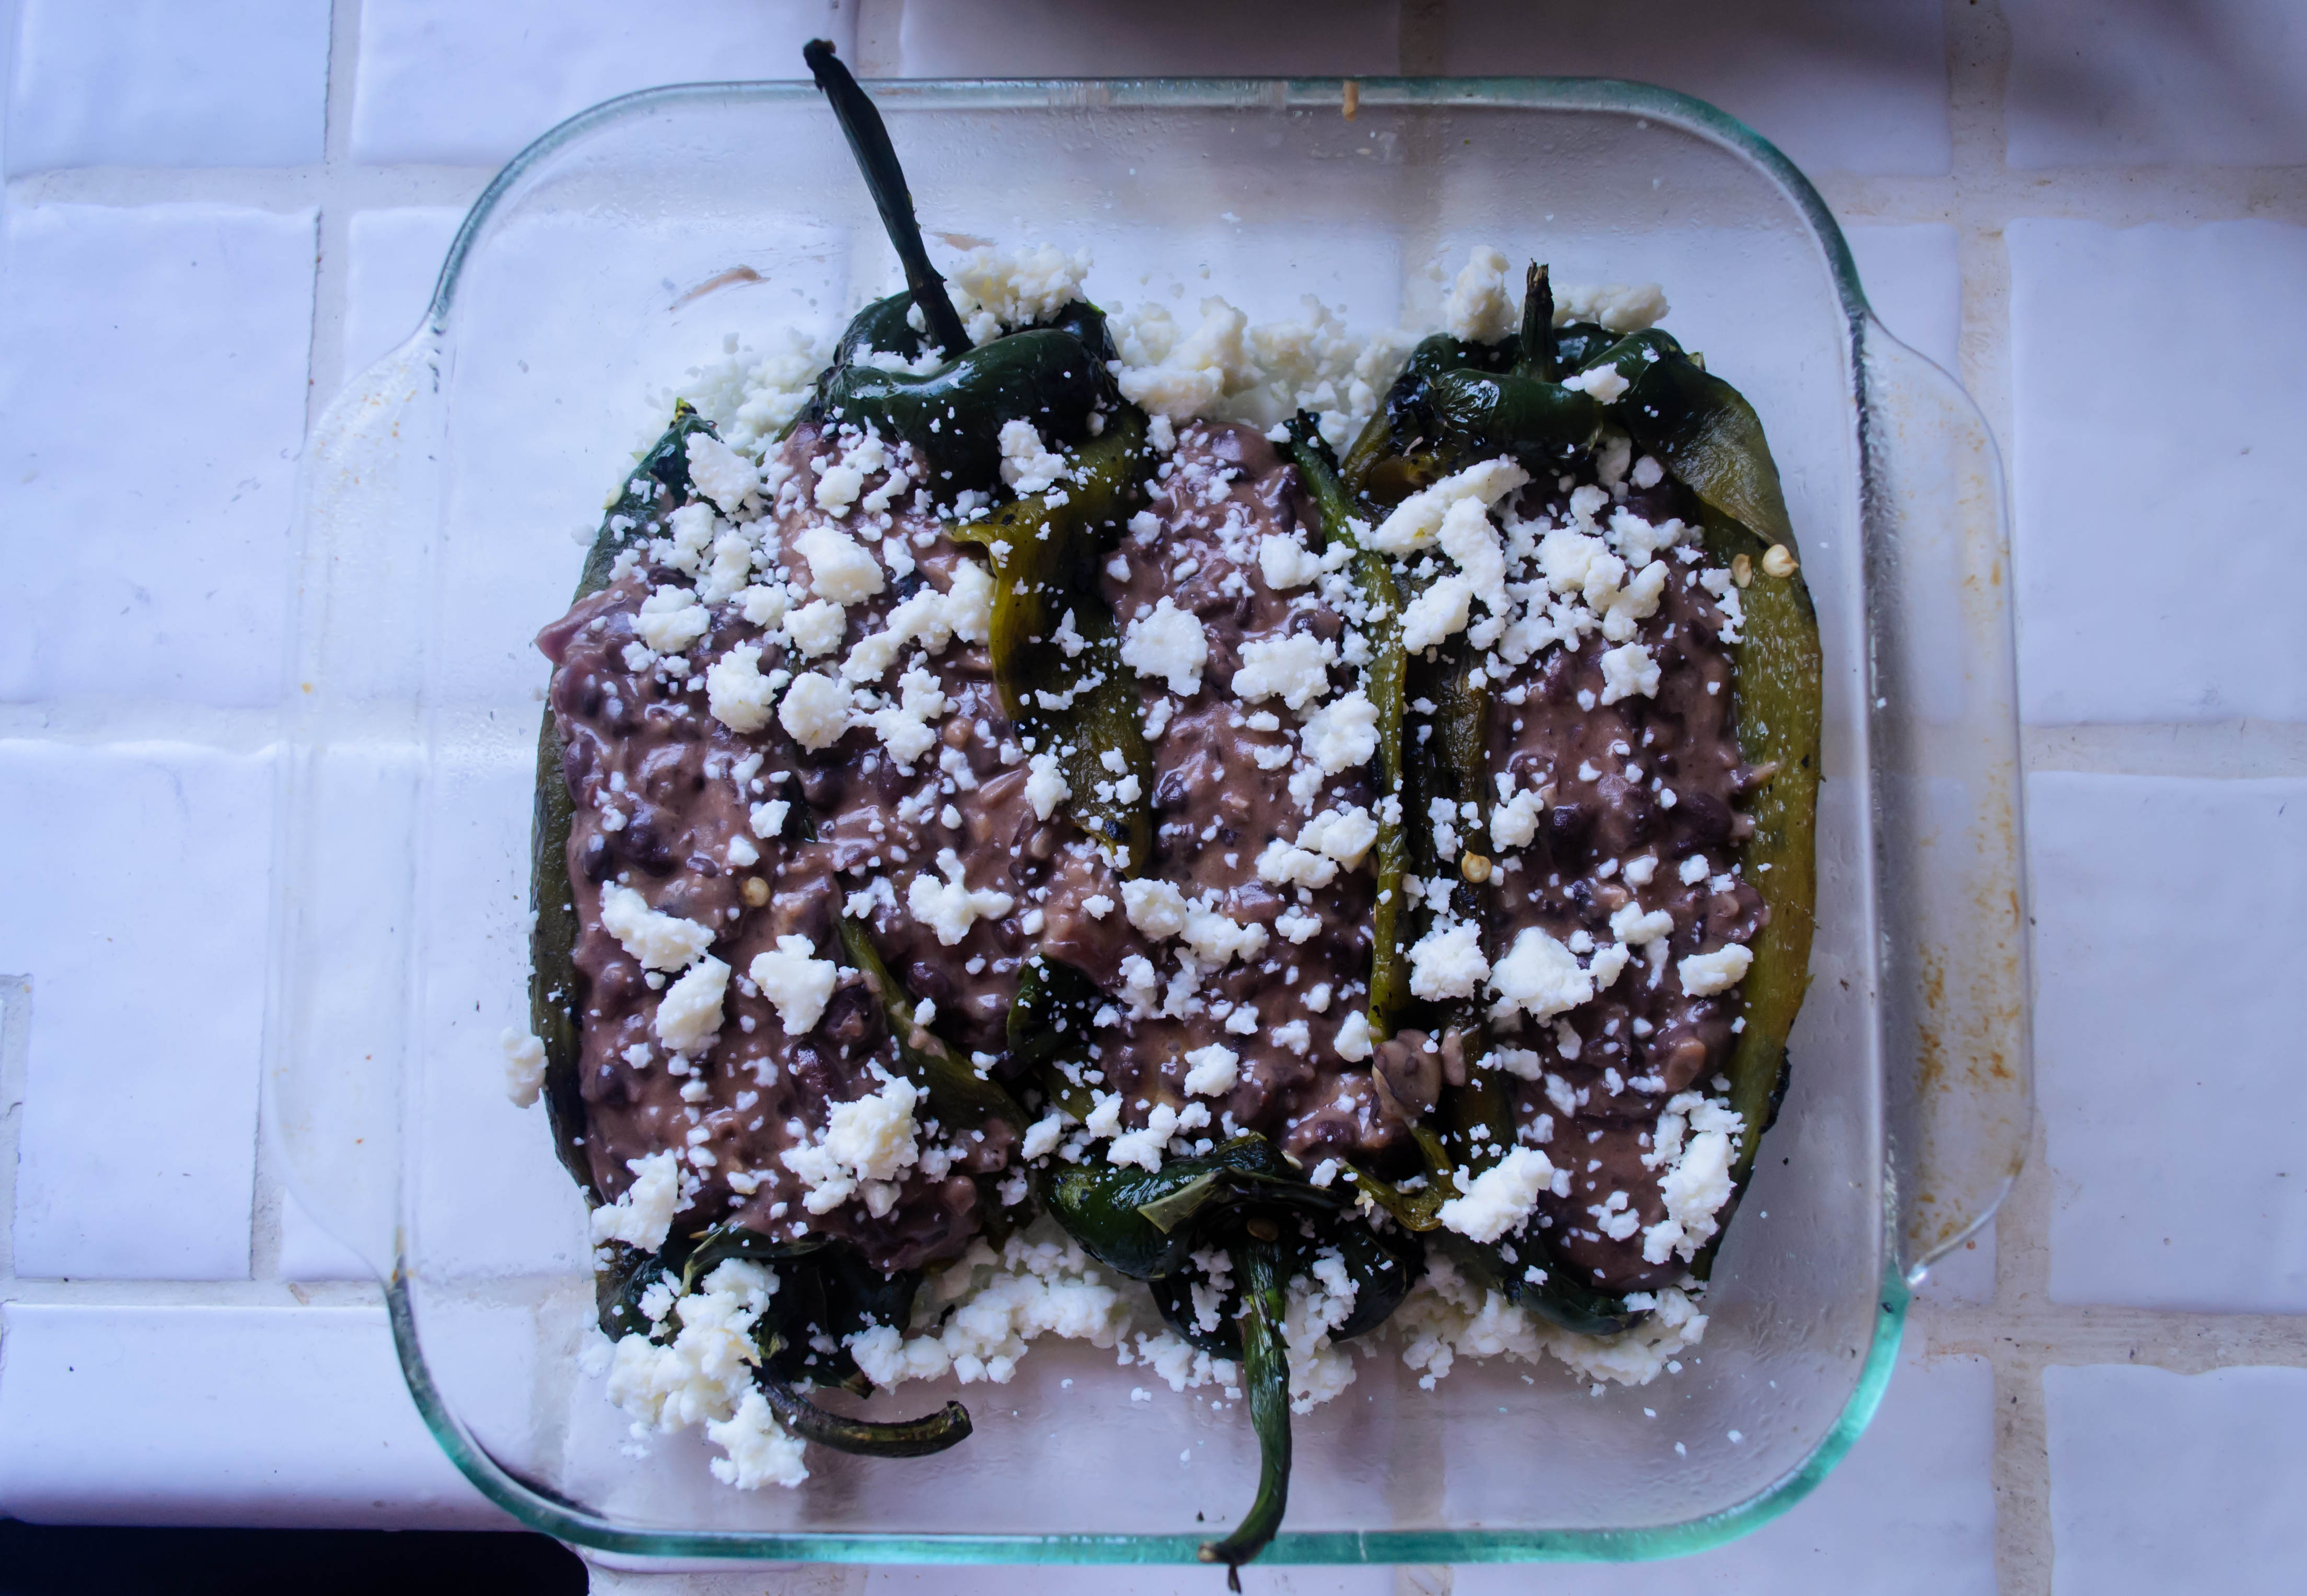
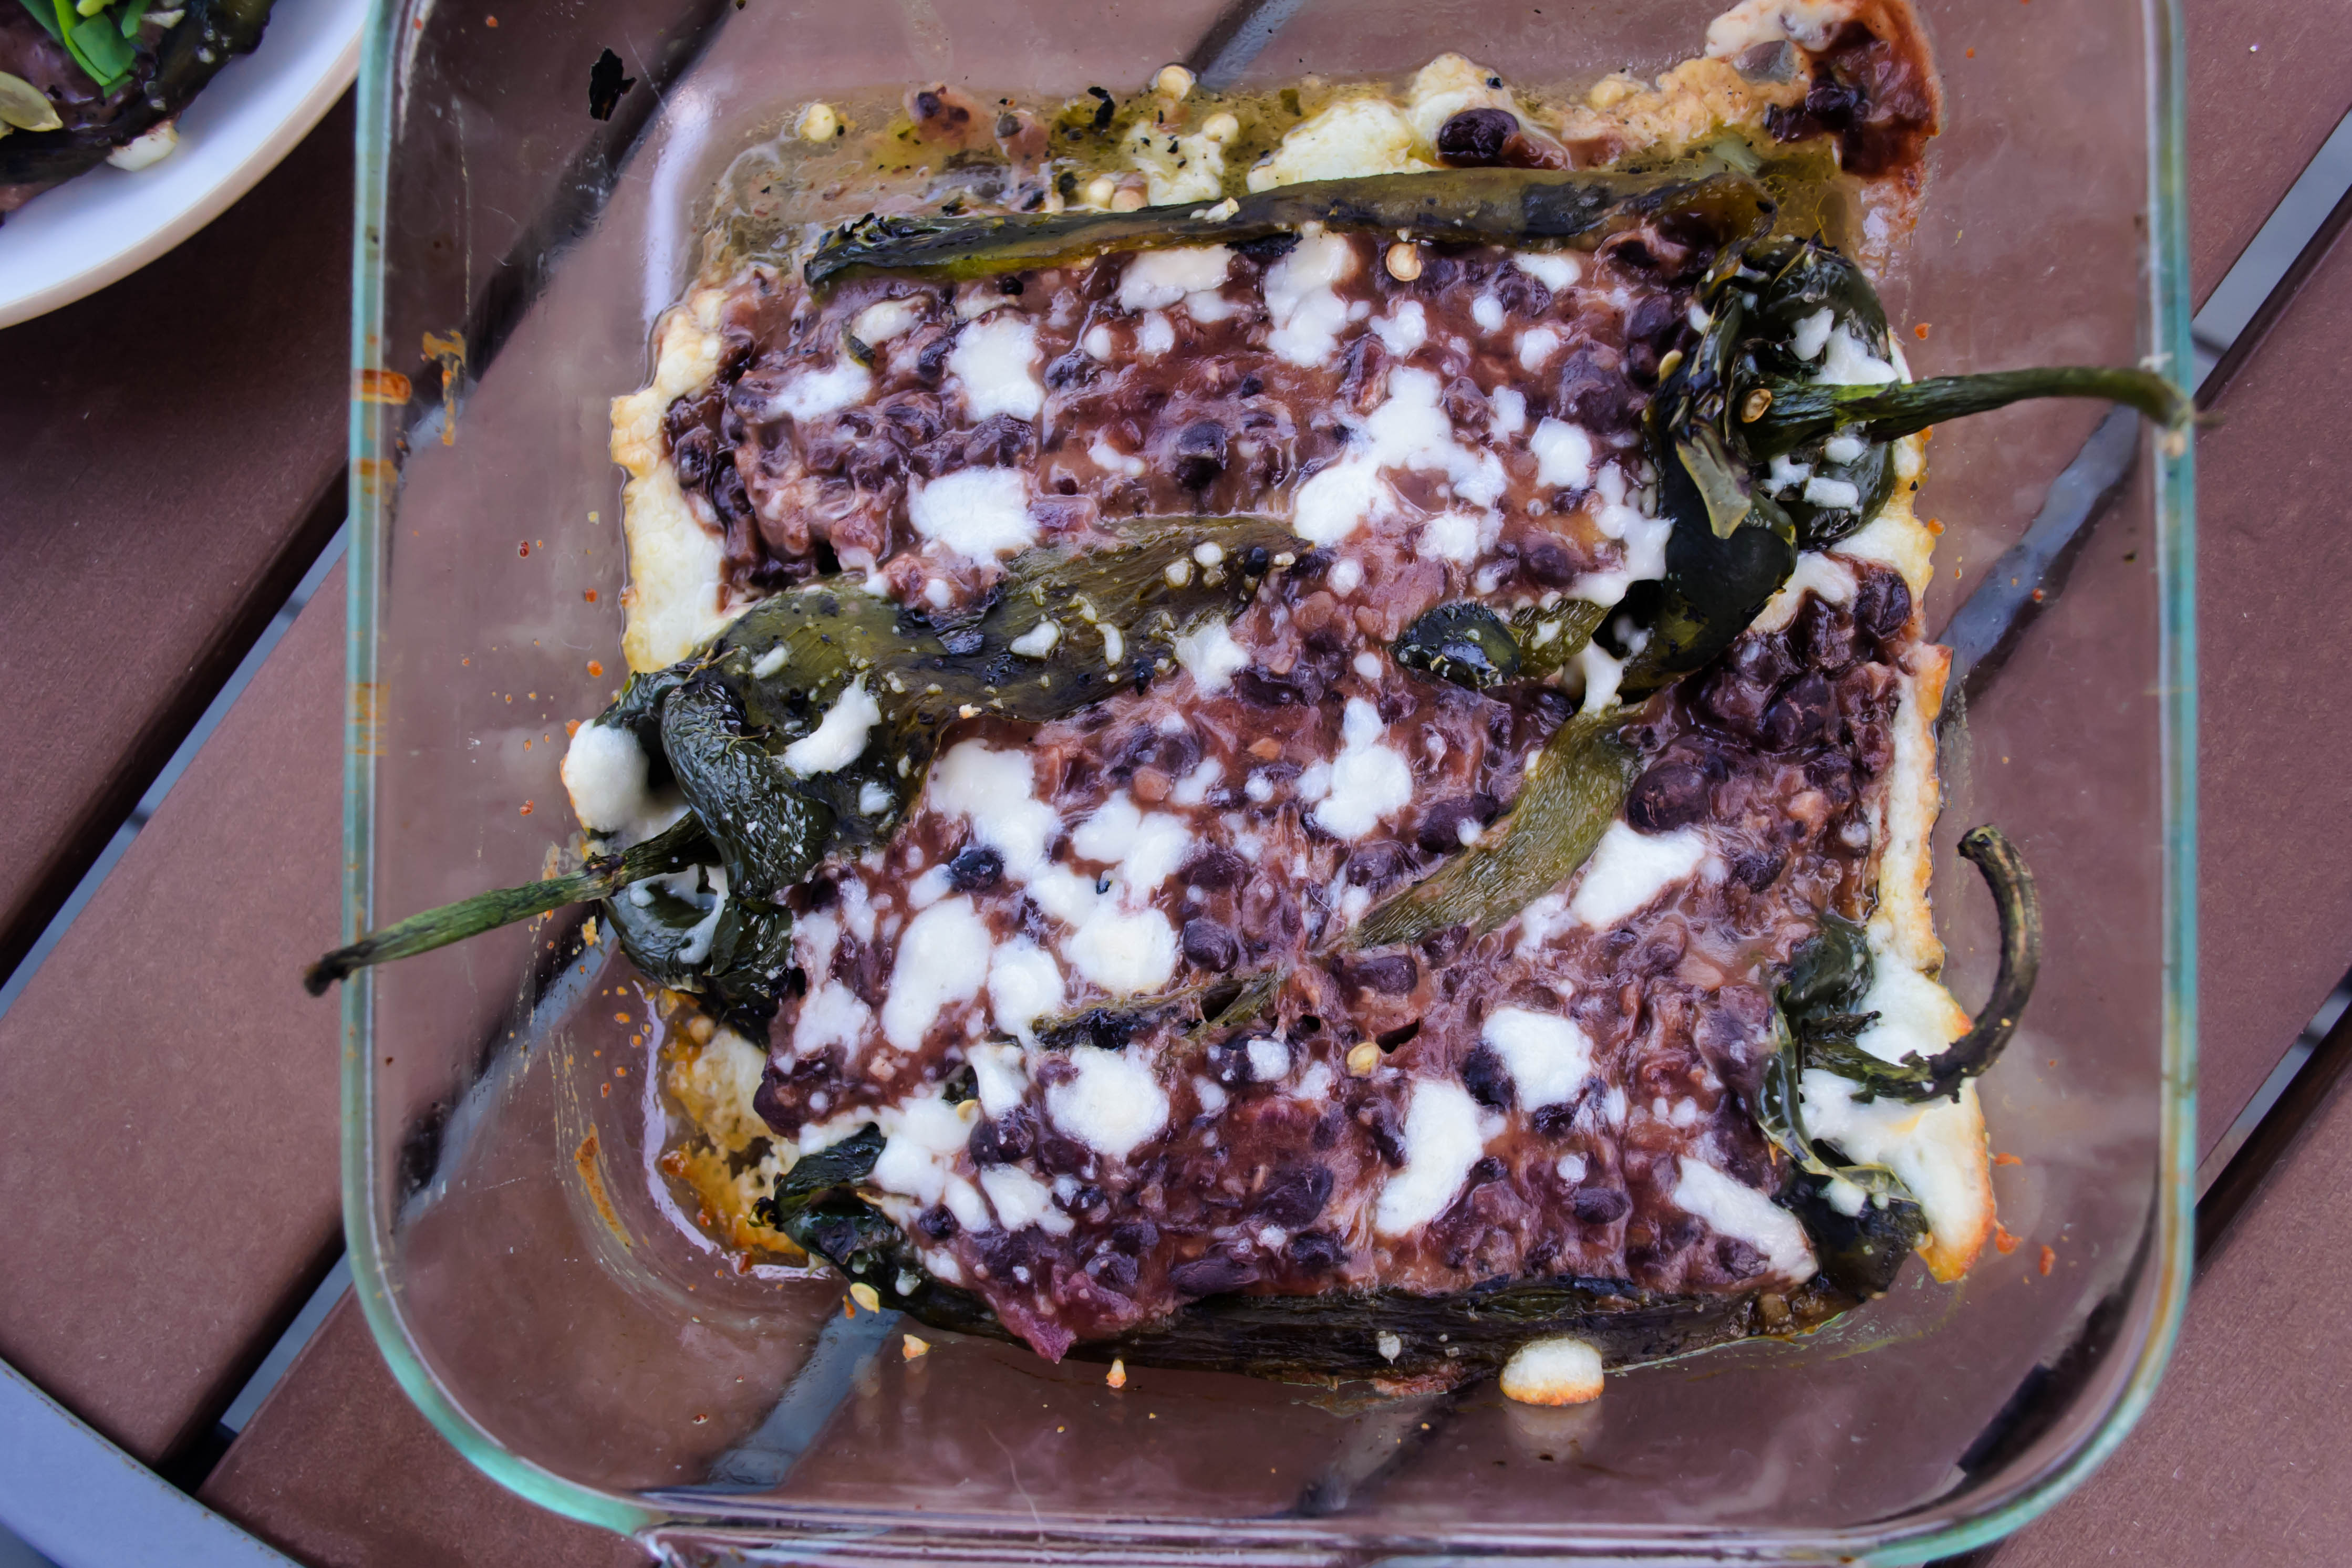
 Are you hungry yet? There’s more. The peppers, which get roasted over a gas flame until their skins split and peel away and their flesh hangs like wet velvet (you could likely also do this in the oven at high heat or under the broiler, but I haven’t tried it – if you do and it works out, leave your procedure in the comments!), get delicately split and seeded, and then gently loaded with a mixture of smashed black beans and cheddar cheese before being baked for a half hour to bring everything together. Upon emergence from the oven, as if all this weren’t enough, they are subjected to a shower of crumbled queso fresco cheese, cubes of avocado, toasted pumpkin seeds and (if you’re the sort who appreciates this sort of thing) a sprinkling of cilantro and a squeeze of lime juice.
 This is a play of heat. The pepper is a gamble – some poblanos (they may be labeled pasillas in your grocery store) are moderately spicy, while others are barely hot enough to tickle the back of the throat. The beans keep even the spicier peppers from overwhelming the palate, and if you are steaming, the cool avocados and a big forkful of the starchy rice relieve the sting. If you really want to tease your taste buds, you could add some diced jalapeño to the rice along with the other vegetables. I resisted, since the poblanos we used were aggressive enough.
 This is, I must admit, not a quick weeknight dinner. The peppers must be addressed in several stages, the beans are seasoned and cooked separately, and the rice collectively takes the better part of an hour to complete. But it’s worth it, especially as temperatures cool. At this point in the season, I’d rather be warmed from within by a well-seasoned pepper than I would by the relentless sun (did you hear that, Southern California?!). It’s a warmth that almost, almost, chases away the busyness.
 *** I’ve presented these recipes with the peppers first, since they require a bit more advanced planning. But I’ll inject spots in the procedure for each where you can switch between dishes to get both on the table at roughly the same time.

Bean and Cheese Stuffed Poblanos
serves 6
6 large, shiny, firm-fleshed poblano peppers (they may be called “pasilla” peppers at your market)
2 cans (14 ounces each) black beans, one drained, one with liquid reserved
8 ounces cheddar cheese, as sharp as you like it
½ a red onion, diced
4 cloves garlic, finely minced
1 teaspoon cumin
(you may find you want salt for this, you may not. It will depend on your taste and how salty your black beans are. Taste first, add second)
¼ cup crumbled queso fresco
¼ cup toasted pumpkin seeds
1 whole avocado, cut into small chunks
2 tablespoons cilantro
squeeze of lime juice
- If you have a gas stove, turn the burners on to medium-high heat and set the whole poblanos over the flame, charring them on all sides. Turn as needed until the skins are uniformly black and crackly and the flesh feels soft; for me this took 10-15 minutes. As they finish roasting, pop them into a large bowl and cover tightly with plastic wrap. Leave them to steam (this helps the skins peel off) until they are just warm to the touch (I, um, forgot about mine while I did some other chores; they were quite certainly ready half an hour later…).
- If you don’t have a gas stove, I suggest using your broiler. Since I haven’t tried this I can’t give indication of times, but put them close to the heat, watch them carefully and turn as needed.
- When the peppers are cool, use your fingers, a paper towel, or the edge of a knife blade to scrape and peel the skins off. A few black specks here and there is okay, but the skins are a bit bitter, so the more you remove, the better.
- (While you wait for the peppers to cool, you can turn your attention to prepping ingredients for the rice)
- As you relieve each pepper of its skin, carefully cut a slit through just one side of the pepper and excavate the seeds and ribs inside. You want an empty, in-tact pouch, and this takes some delicacy. The flesh is quite tender at this point. Wedge the skinless, empty peppers into a greased 9×13 inch baking dish.
- Saute the onions and garlic with a pinch of salt and pepper in 1 tablespoon of olive oil over medium heat until they are starting to shade gold, but are not burned. For me, this took 5-10 minutes with frequent agitating.
- When the aromatics are toasty and golden, add the beans – one can that has been drained, one complete with the liquid. Add the cumin and stir to combine. Then, use a potato masher to smash about ¾ of the beans into a thick paste. A few whole or half stragglers are okay – they break up the texture nicely. Cook over medium heat until most of the liquid has evaporated: 15-20 minutes.
- This is a good moment to preheat your oven to 350F.
- (While the beans cook, you can shift your focus to the rice for a bit. Just don’t forget to give the beans an occasional stir to ensure they are not cementing themselves to the bottom of the pan.)
- When the liquid in the beans has mostly disappeared, turn off the heat and add the 8 ounces of shredded cheddar cheese. Stir to combine.
- To assemble, load up each empty pepper pouch with about ½ cup of the bean and cheese mixture. This takes a bit of finagling – get the mixture in there, but don’t tear up the peppers too much. Use the sides of the neighboring peppers to help everyone stand up straight and hold in their own filling.
- If you wish, you may sprinkle on the ¼ cup queso fresco at this point. I found I preferred it as a post-baking addition, but it’s also nice baked on.
- Bake in your preheated 350F oven for 25-30 minutes.
- (While the peppers bake, carry on with your rice – if you are setting it over a low flame as you put the peppers in the oven, both will be ready at the same time)
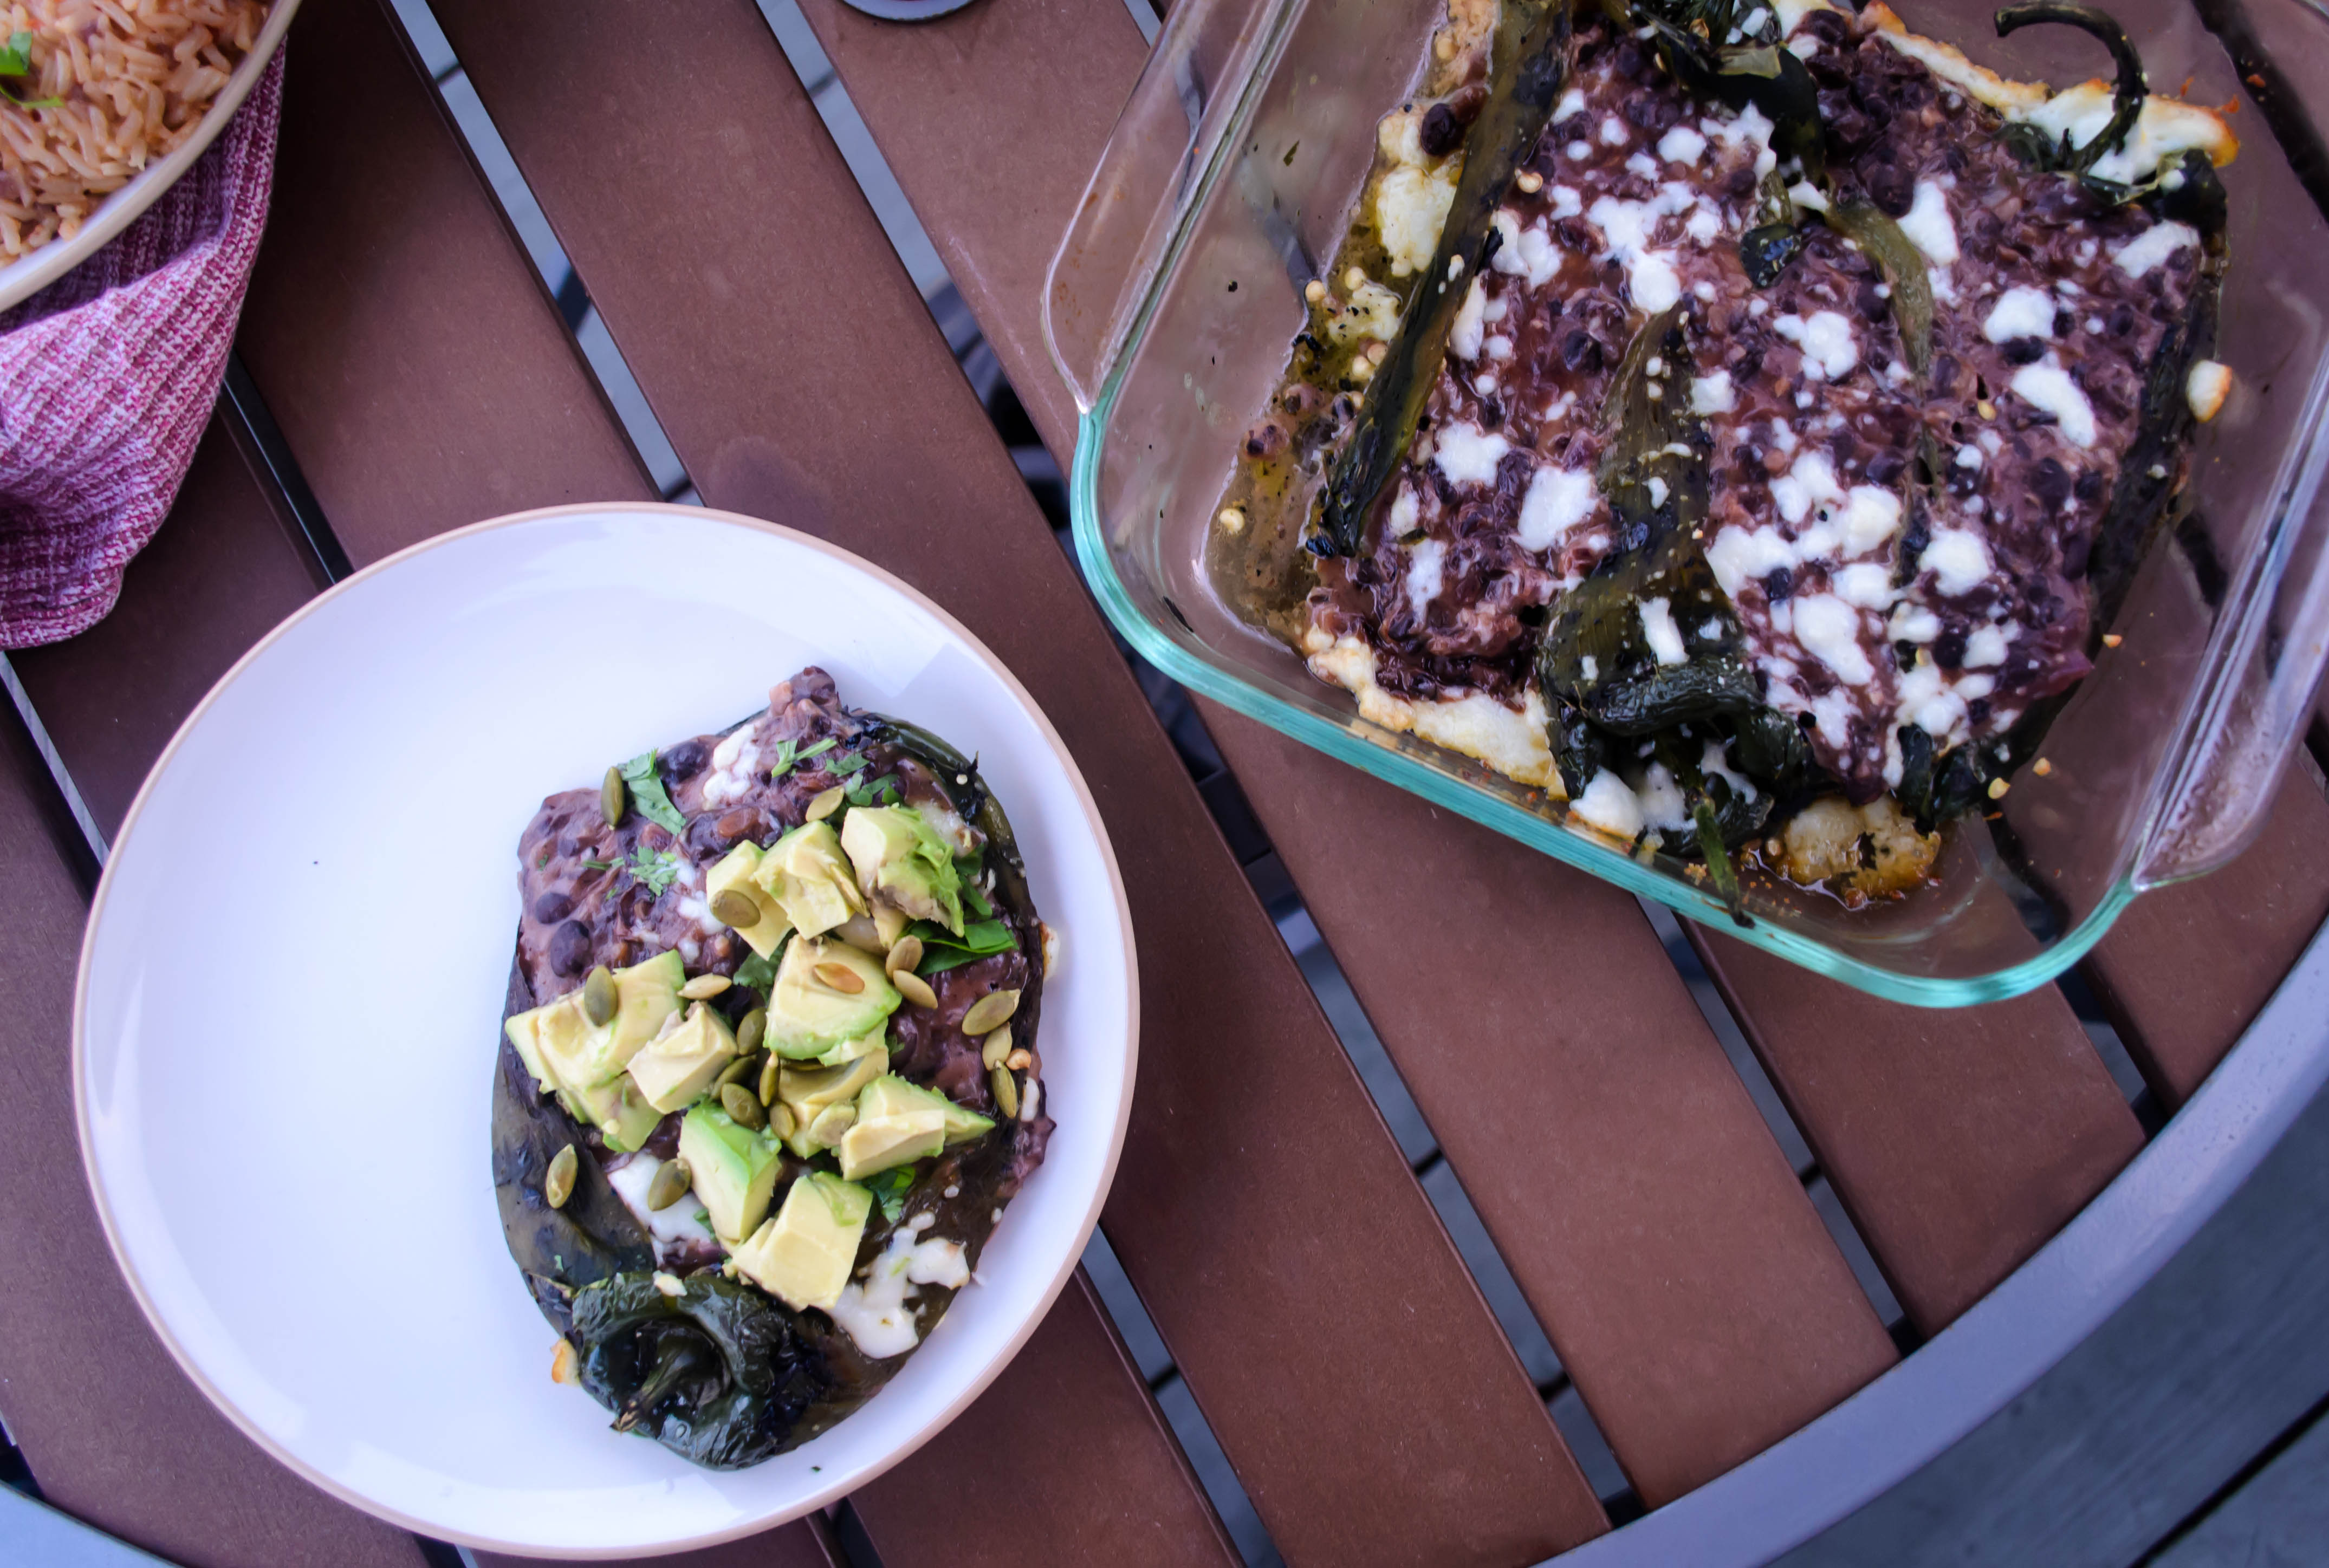
- When the peppers emerge from the oven, set them aside for 5 minutes. Then, serve, sprinkling as desired with queso fresco, avocado chunks, toasted pumpkin seeds, and cilantro. At the last possible moment, squeeze a bit of lime juice over the top.
Stuck-pot red rice
Serves 6-8
1-½ cups long grain white rice
¼ cup olive oil, divided
½ a large onion, diced (the other half of the one you used for the peppers is convenient)
4 cloves garlic, finely minced
part or all of 1 jalapeno, ribs and seeds removed, finely diced (optional)
½ cup fresh or defrosted frozen corn
juice of 1 lime
14.5 ounce can diced tomatoes, drained, juice reserved
Water as needed (see procedure)
2 teaspoons cumin
1 teaspoon coriander
1 teaspoon salt
fresh cilantro to serve, if desired
queso fresco to serve, if desired
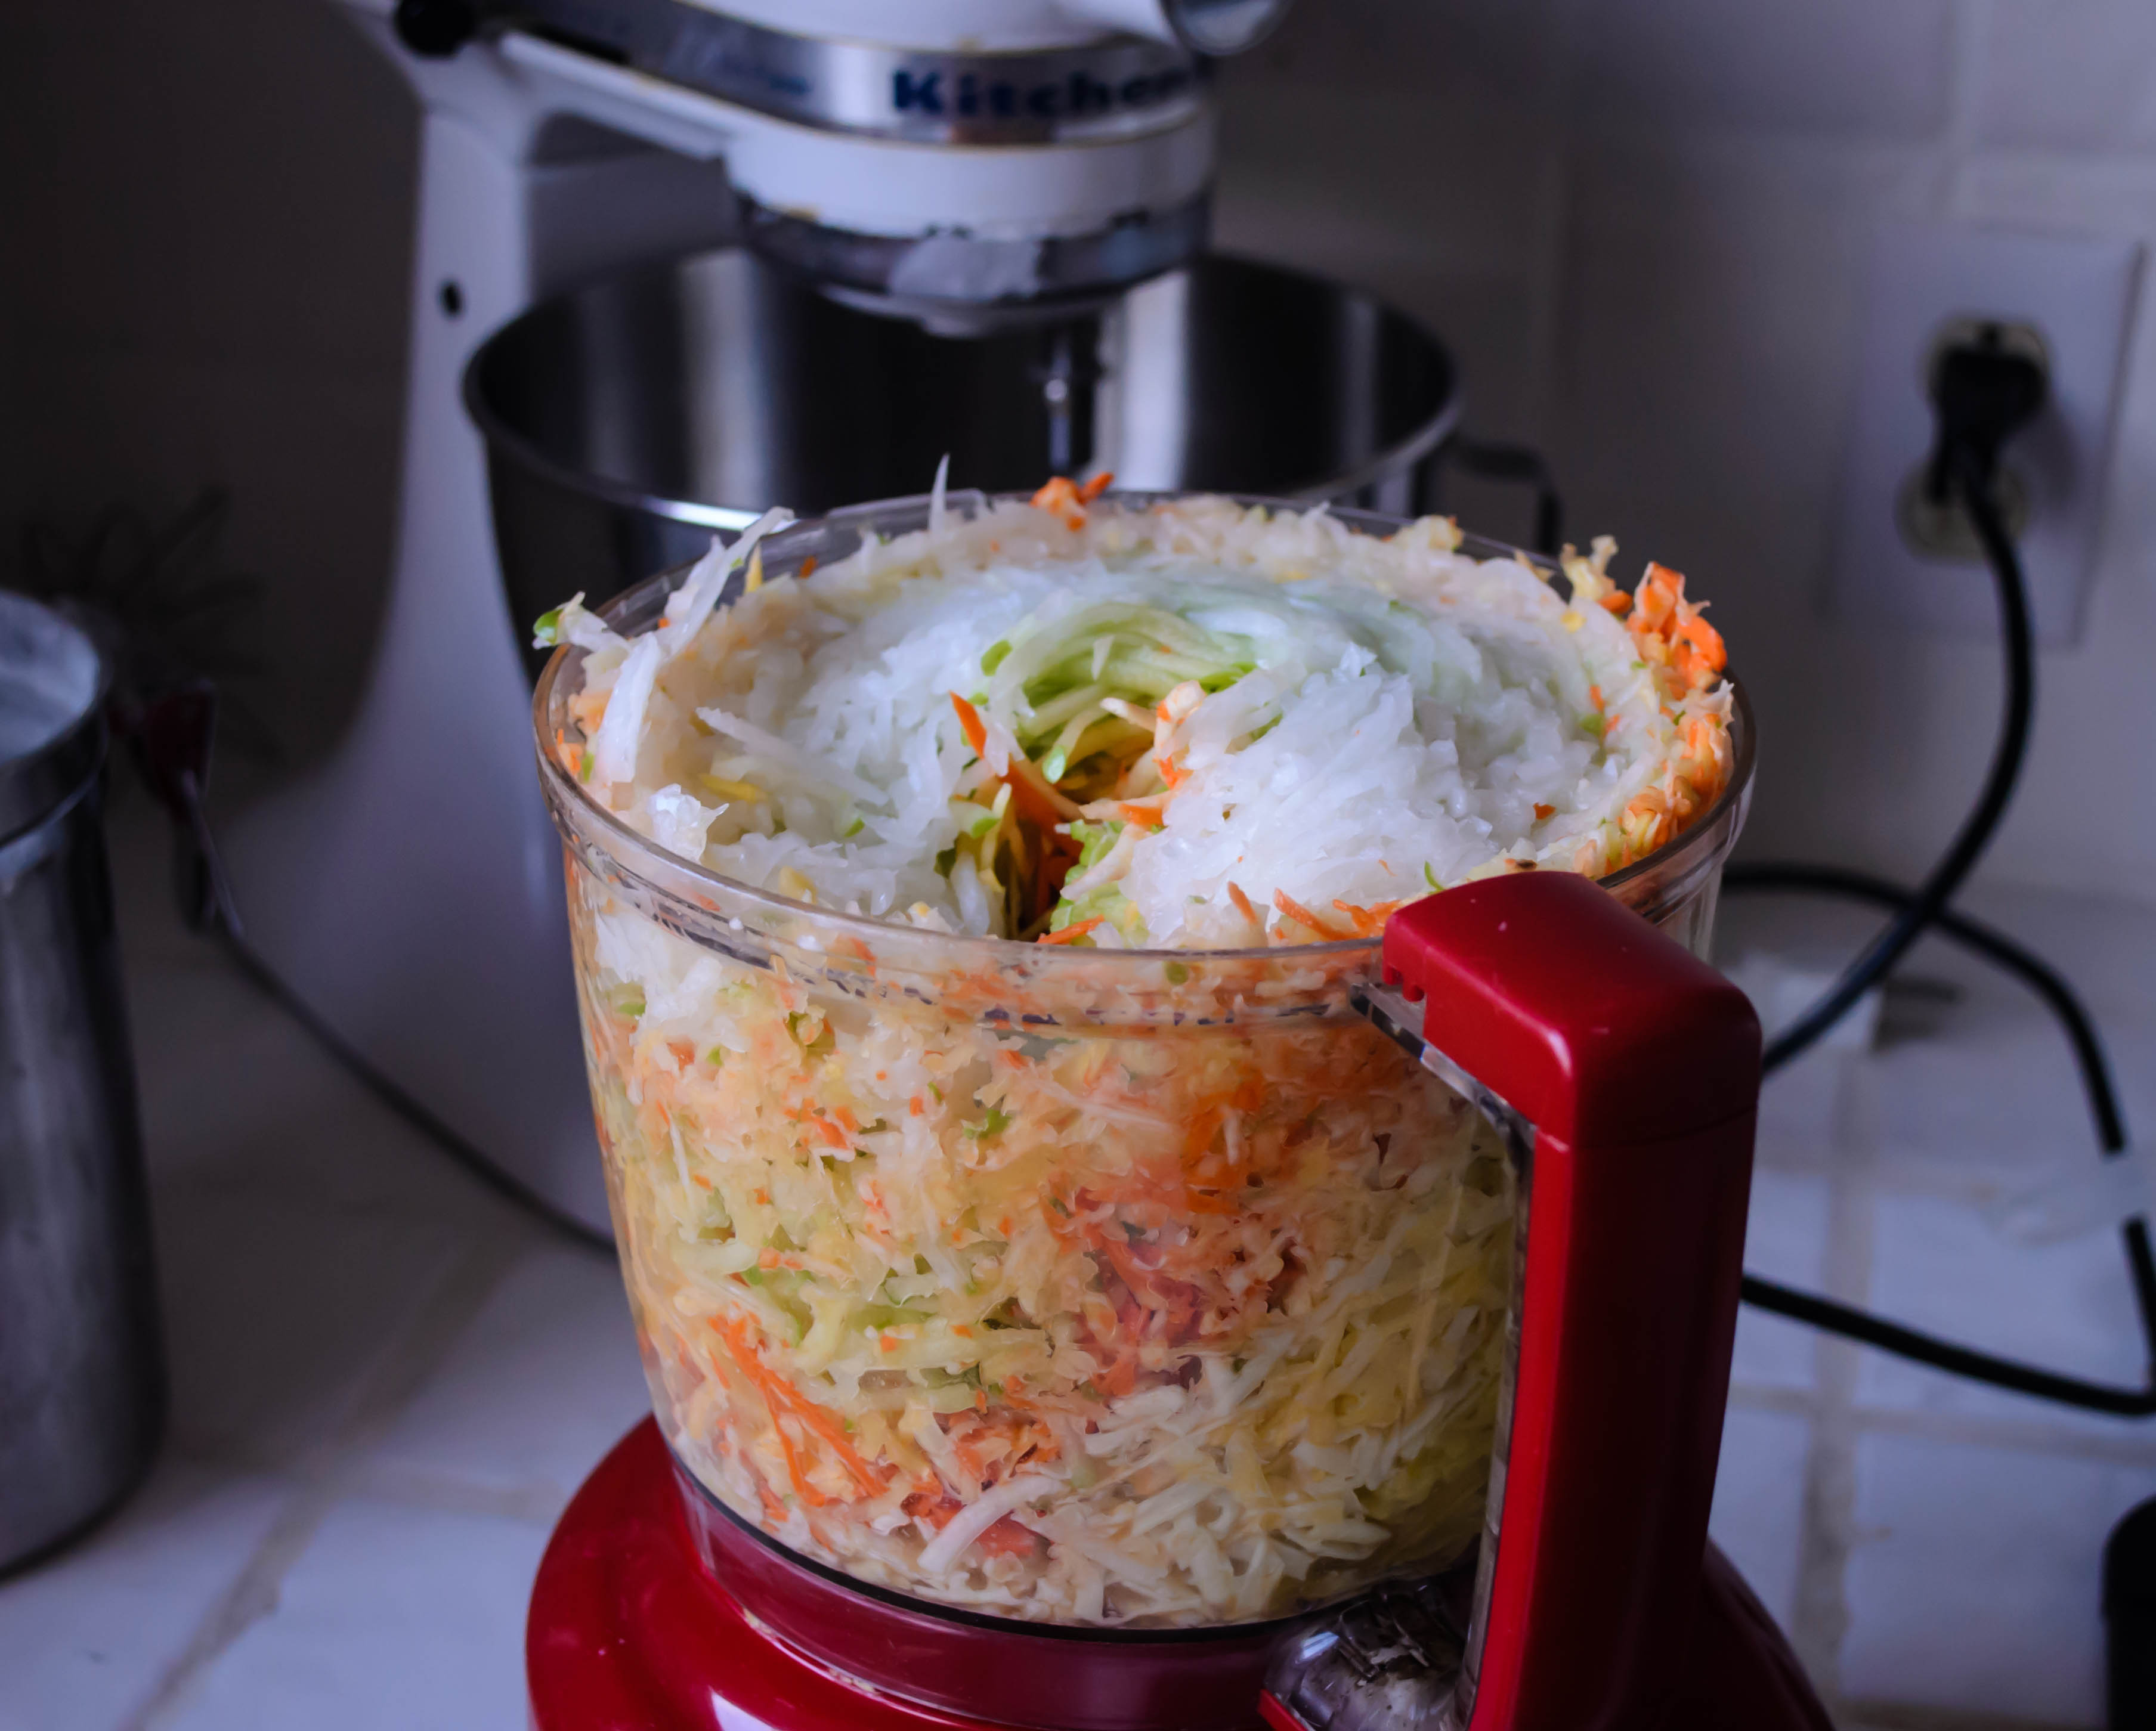
- Bring a large pot of salted water to a rolling boil. Add the rice all at once, clamp on the lid, and cook undisturbed for 5 minutes. Drain and set rice aside in a large bowl.
- In the same large pot, heat 2 tablespoons of the olive oil over medium heat. When it is shimmering, add the onion, garlic, corn, and jalapeno, if using. Stir in a pinch of salt, then put the lid back on and cook 10-15 minutes, or until the vegetables are browning nicely. Be sure your corn is defrosted before adding, or it will take longer to cook off the water it emits.
- While vegetables cook, drain the canned tomatoes, reserving their juice. Add enough water to the tomato juice to reach ⅓ cup, then add an additional 2 tablespoons.
- When the vegetables are nicely browned, add them to the rice and mix well to distribute evenly. Add the canned tomatoes, the cumin and coriander, the salt, the lime juice, and the mixture of tomato juice and water as well, stirring to combine.
- (The mixture can sit for a bit at this point if you need to go back and pay attention to your beans and peppers)
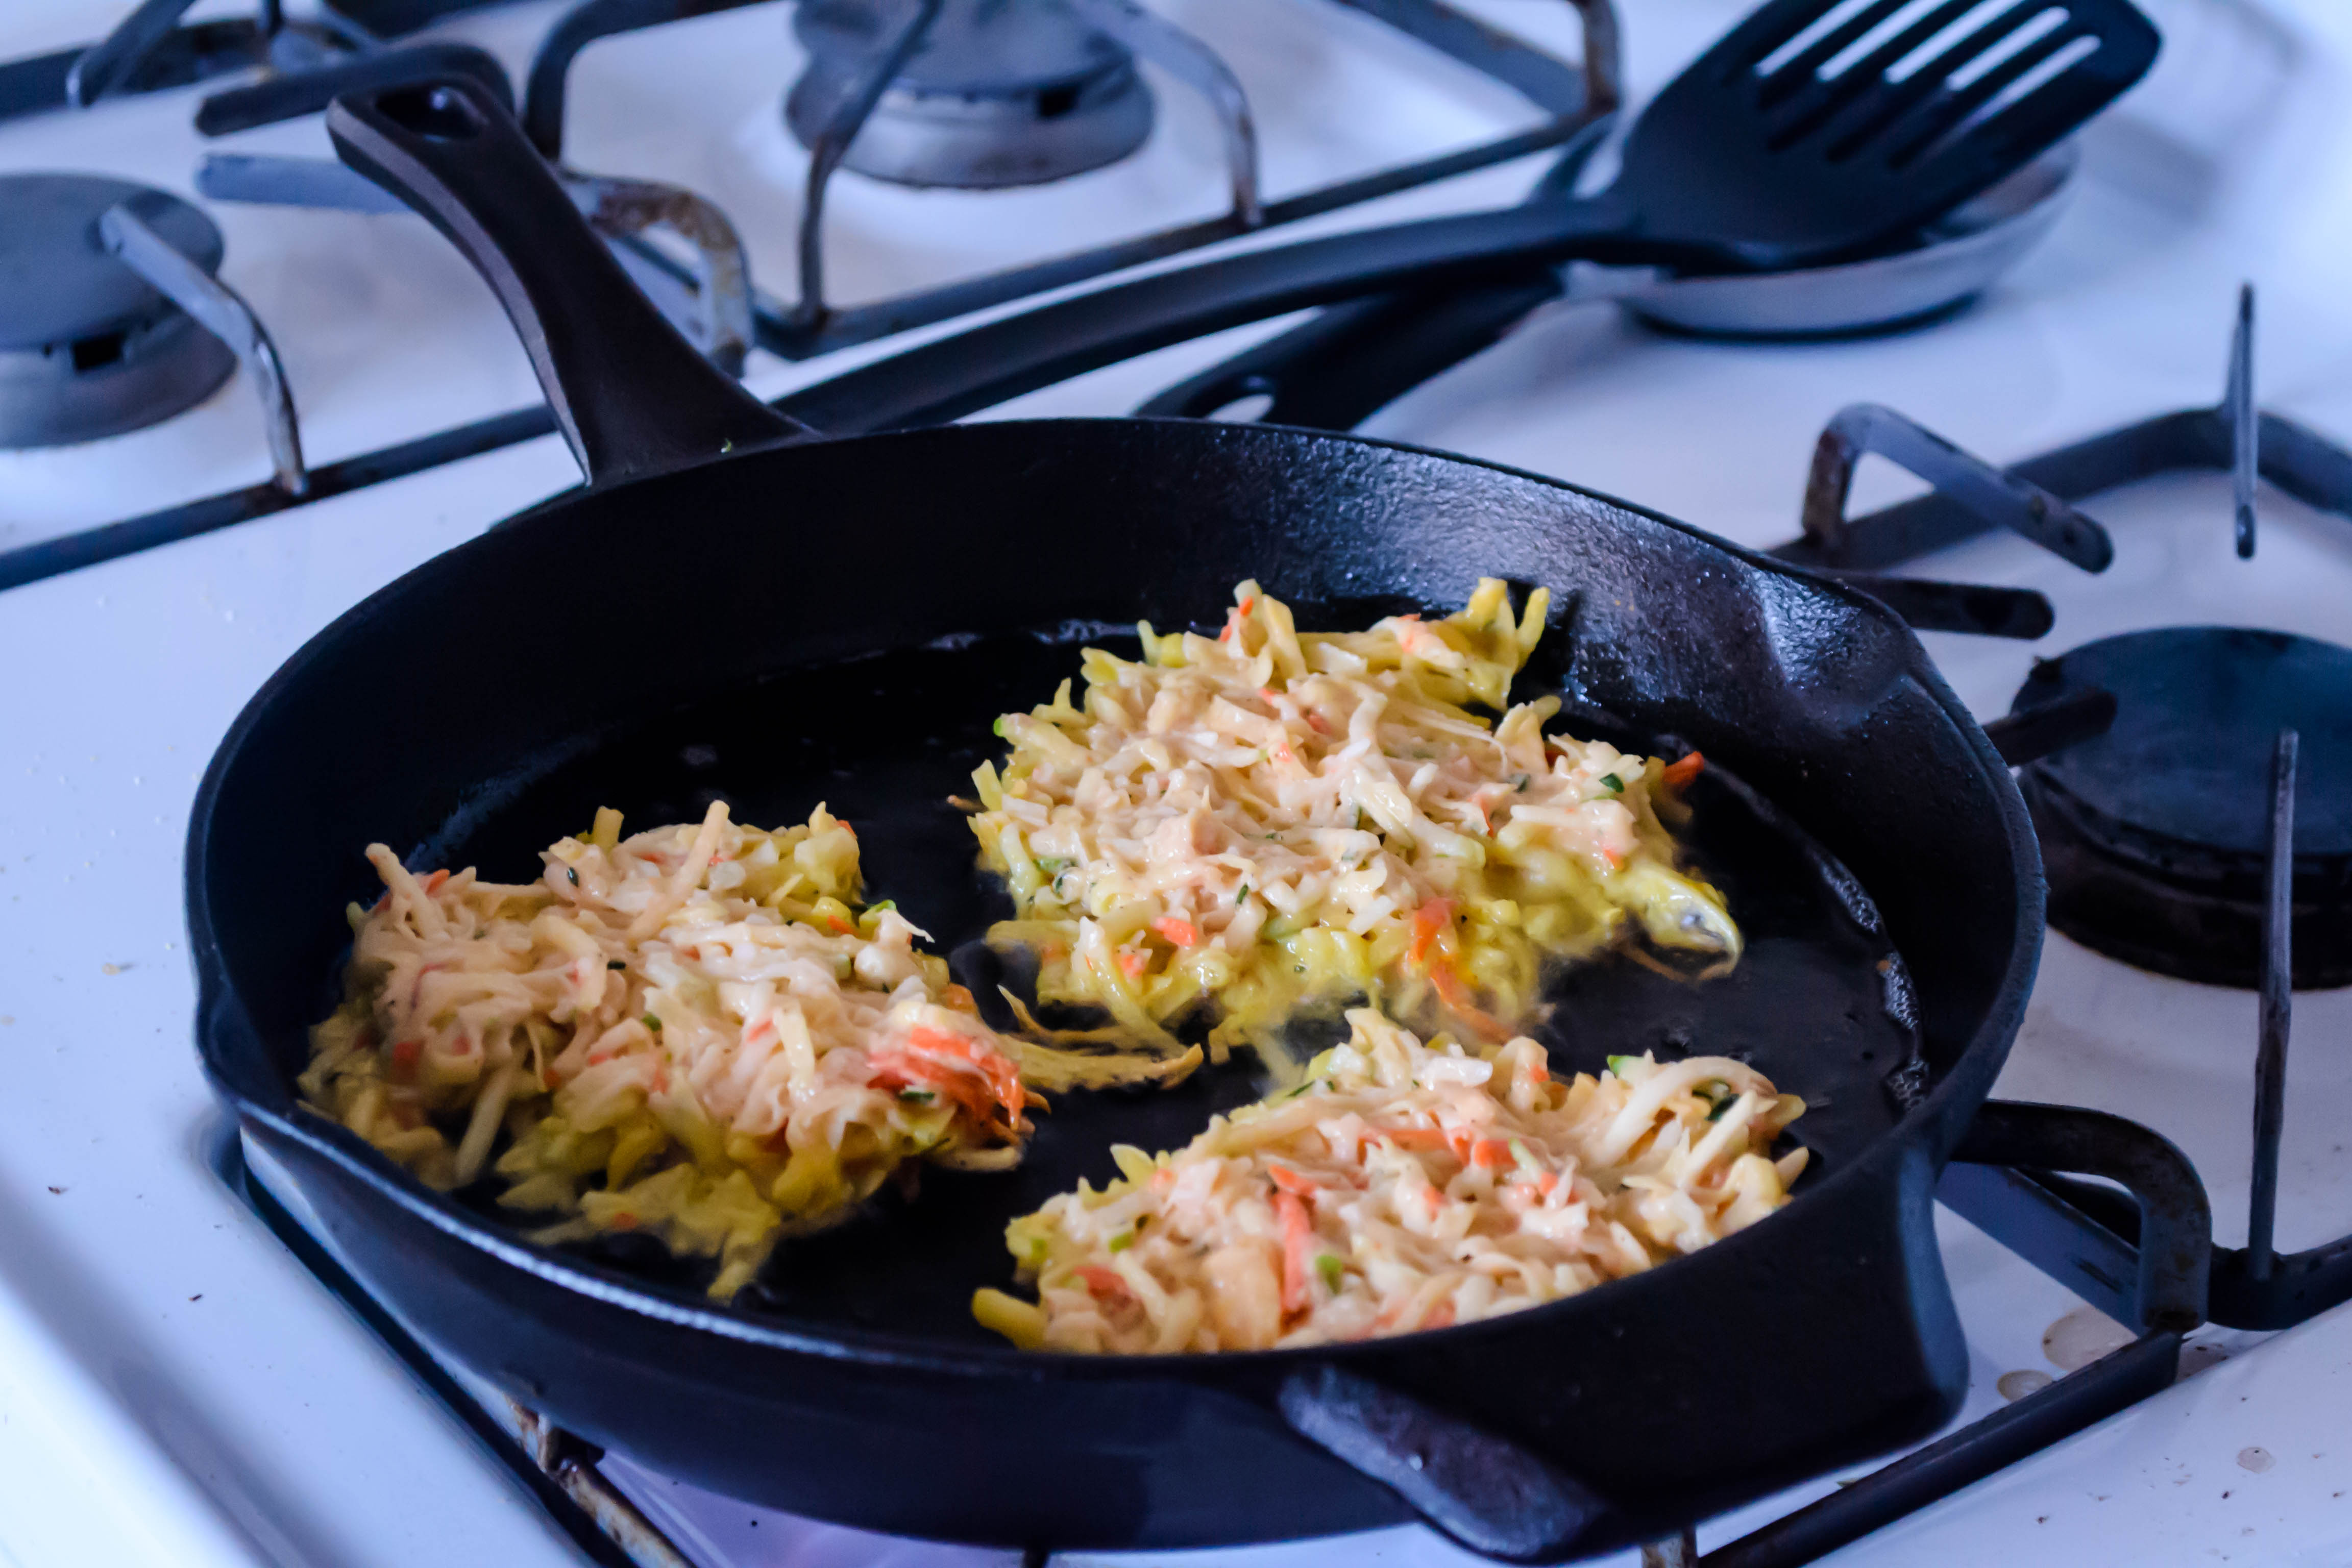
- In the same pot you used to boil the rice and cook the vegetables, heat the remaining 2 tablespoons olive oil over medium heat until shimmering. Quickly and carefully, add all of the rice mixture and use a spatula to smooth it down into an even layer.
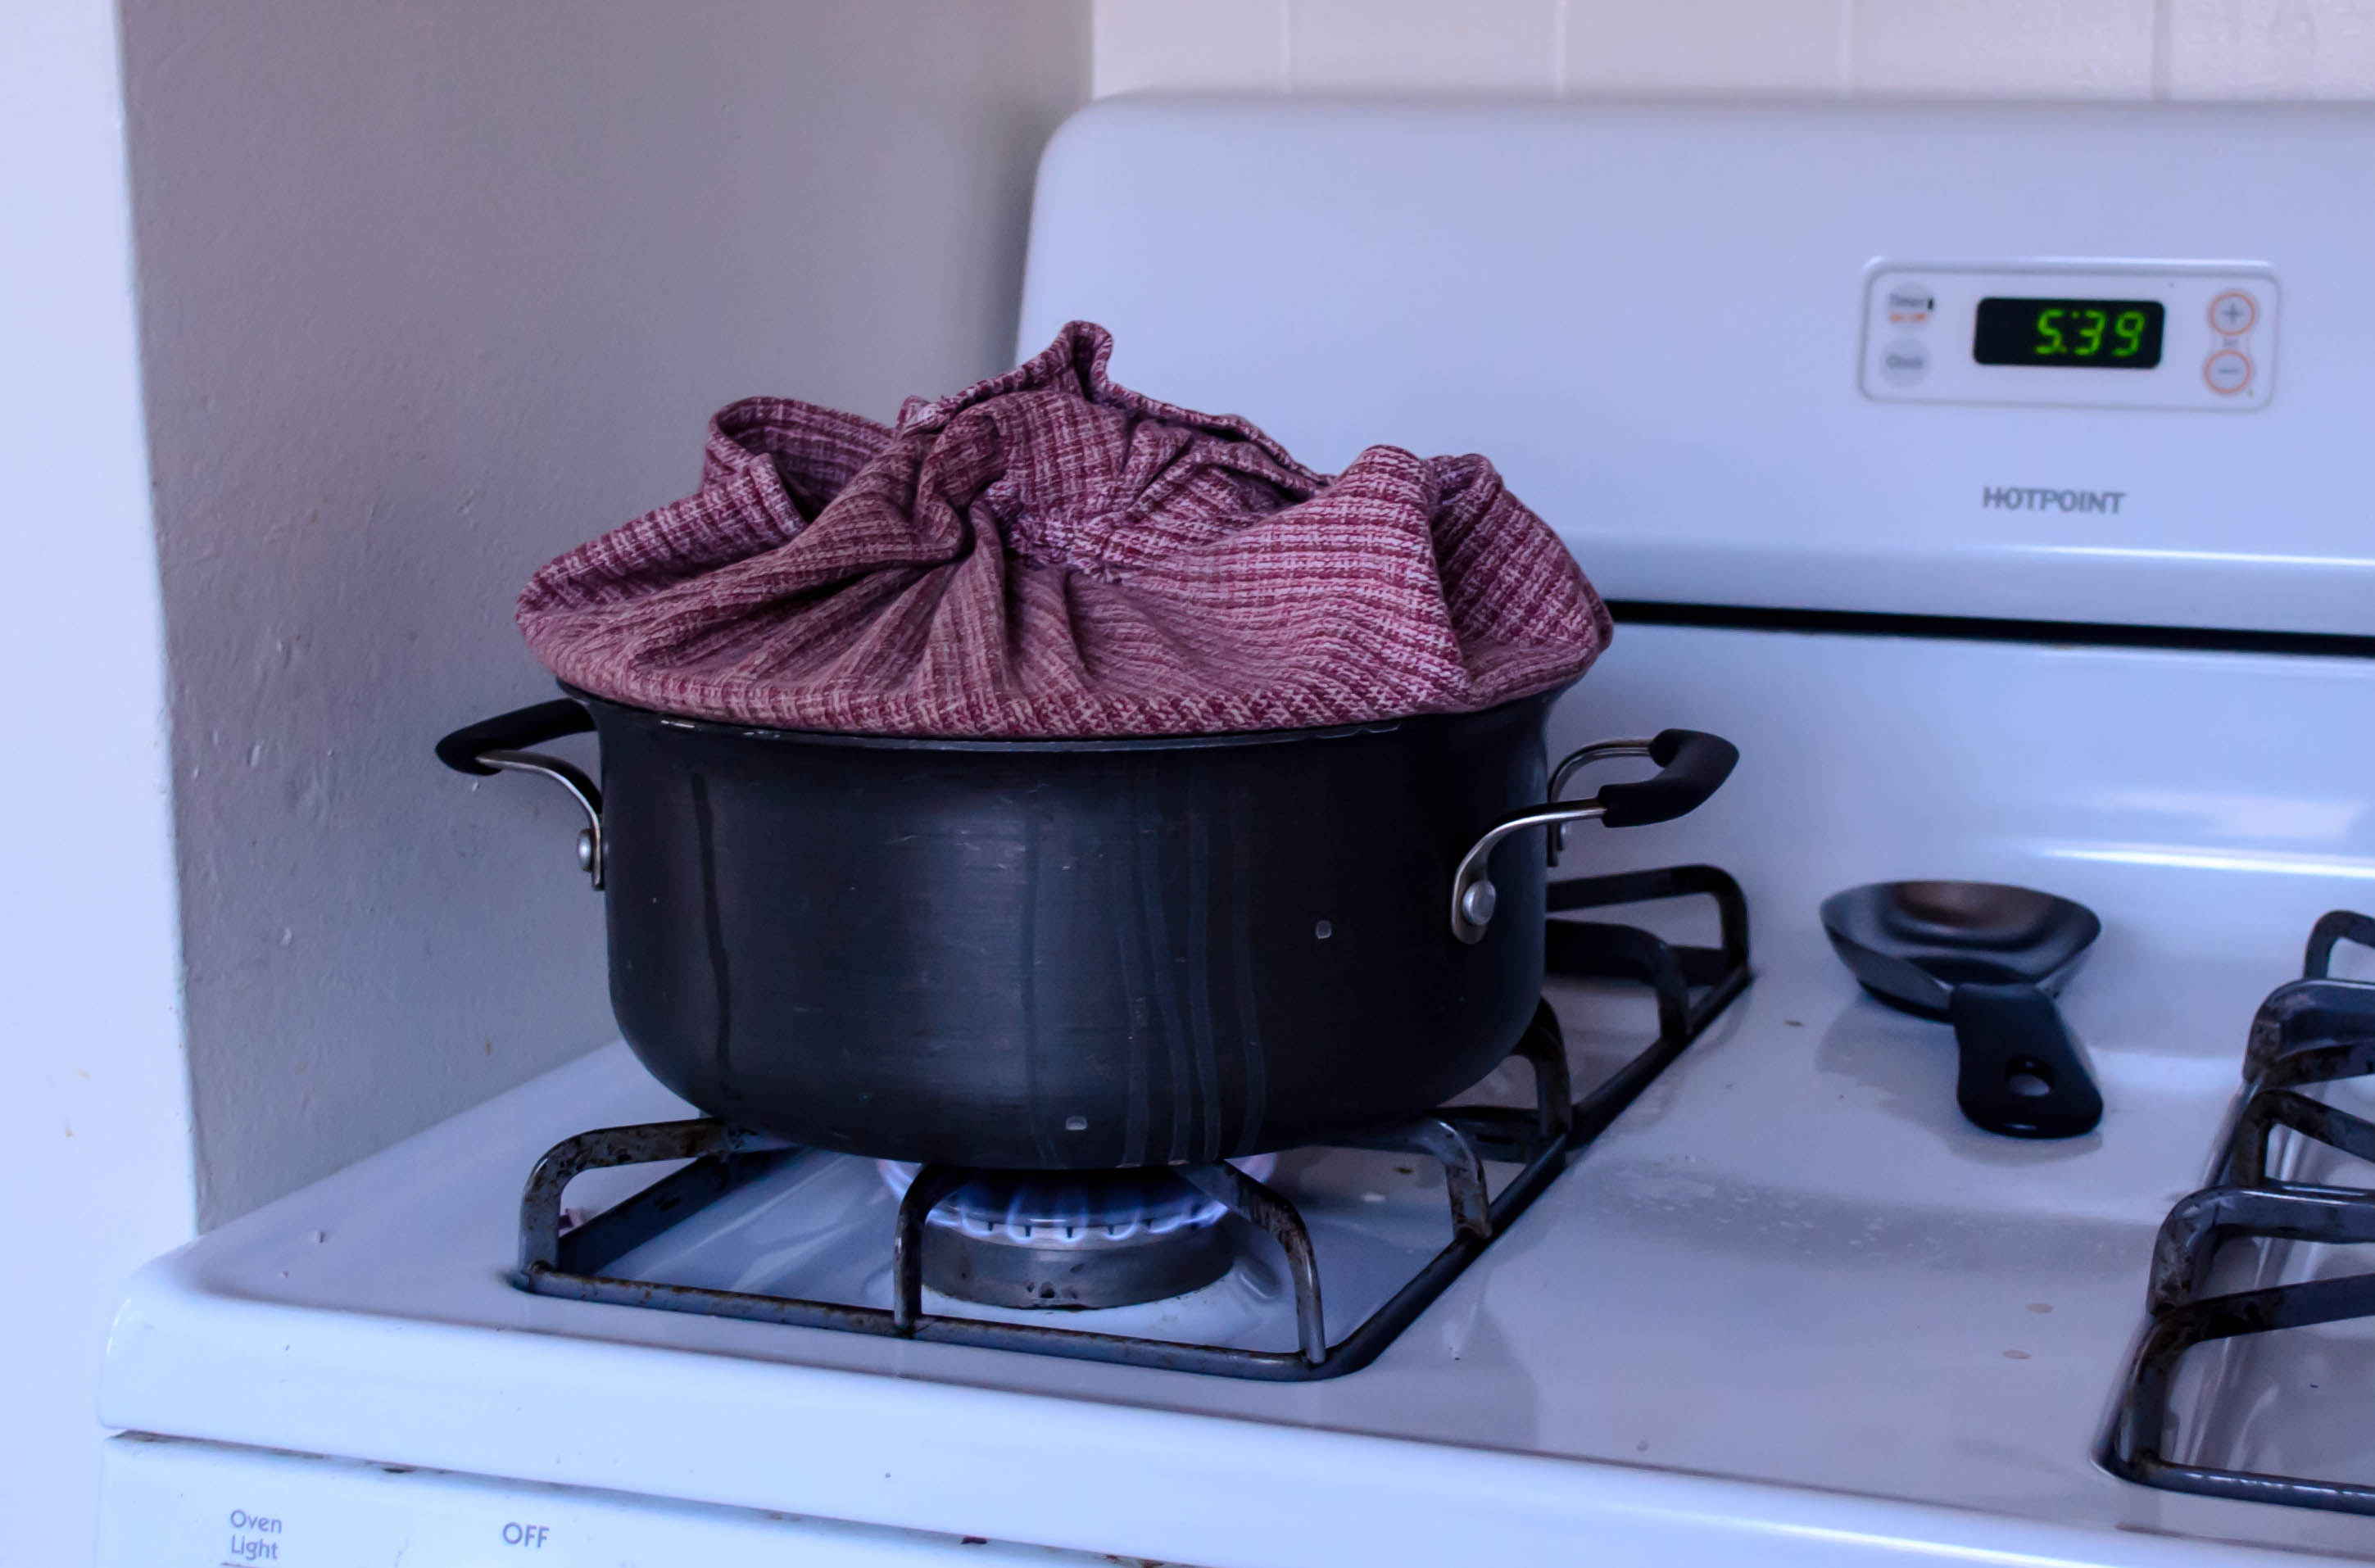
- Now, being sure to keep edges away from the burner, place a clean kitchen towel over the open top of the pot, clamp on the lid, and securely wrap the edges of the towel around the handle of the pot lid. This creates a tighter seal and prevents extra water from dripping from the lid back onto the rice.
- Once your towel and lid are securely situated, lower the heat to medium-low or low and cook, undisturbed, for 30 minutes. After about fifteen minutes you should start to smell a lovely toasty rice-y smell. If it smells closer to burning, turn the heat down a bit but don’t remove the pot from the heat. Check Deb’s post (linked above) for more on the procedure, if you like.
- When 30 minutes has passed, turn the heat off and let the pot sit for 5 minutes to allow the rice to firm up. Then, using pot holders or a thick towel, carefully position a large plate or round platter over the top of the pot and, over a counter, invert the pot onto the plate and set it down. The rice should plop down onto the plate or platter; if you’re lucky, it will do so in a single round wheel.
- Scatter it with cilantro and crumbled queso fresco, if desired, and serve.
- If you don’t want all that fuss, just scoop the rice into a bowl, scatter on the optional garnishes, and be done with it.

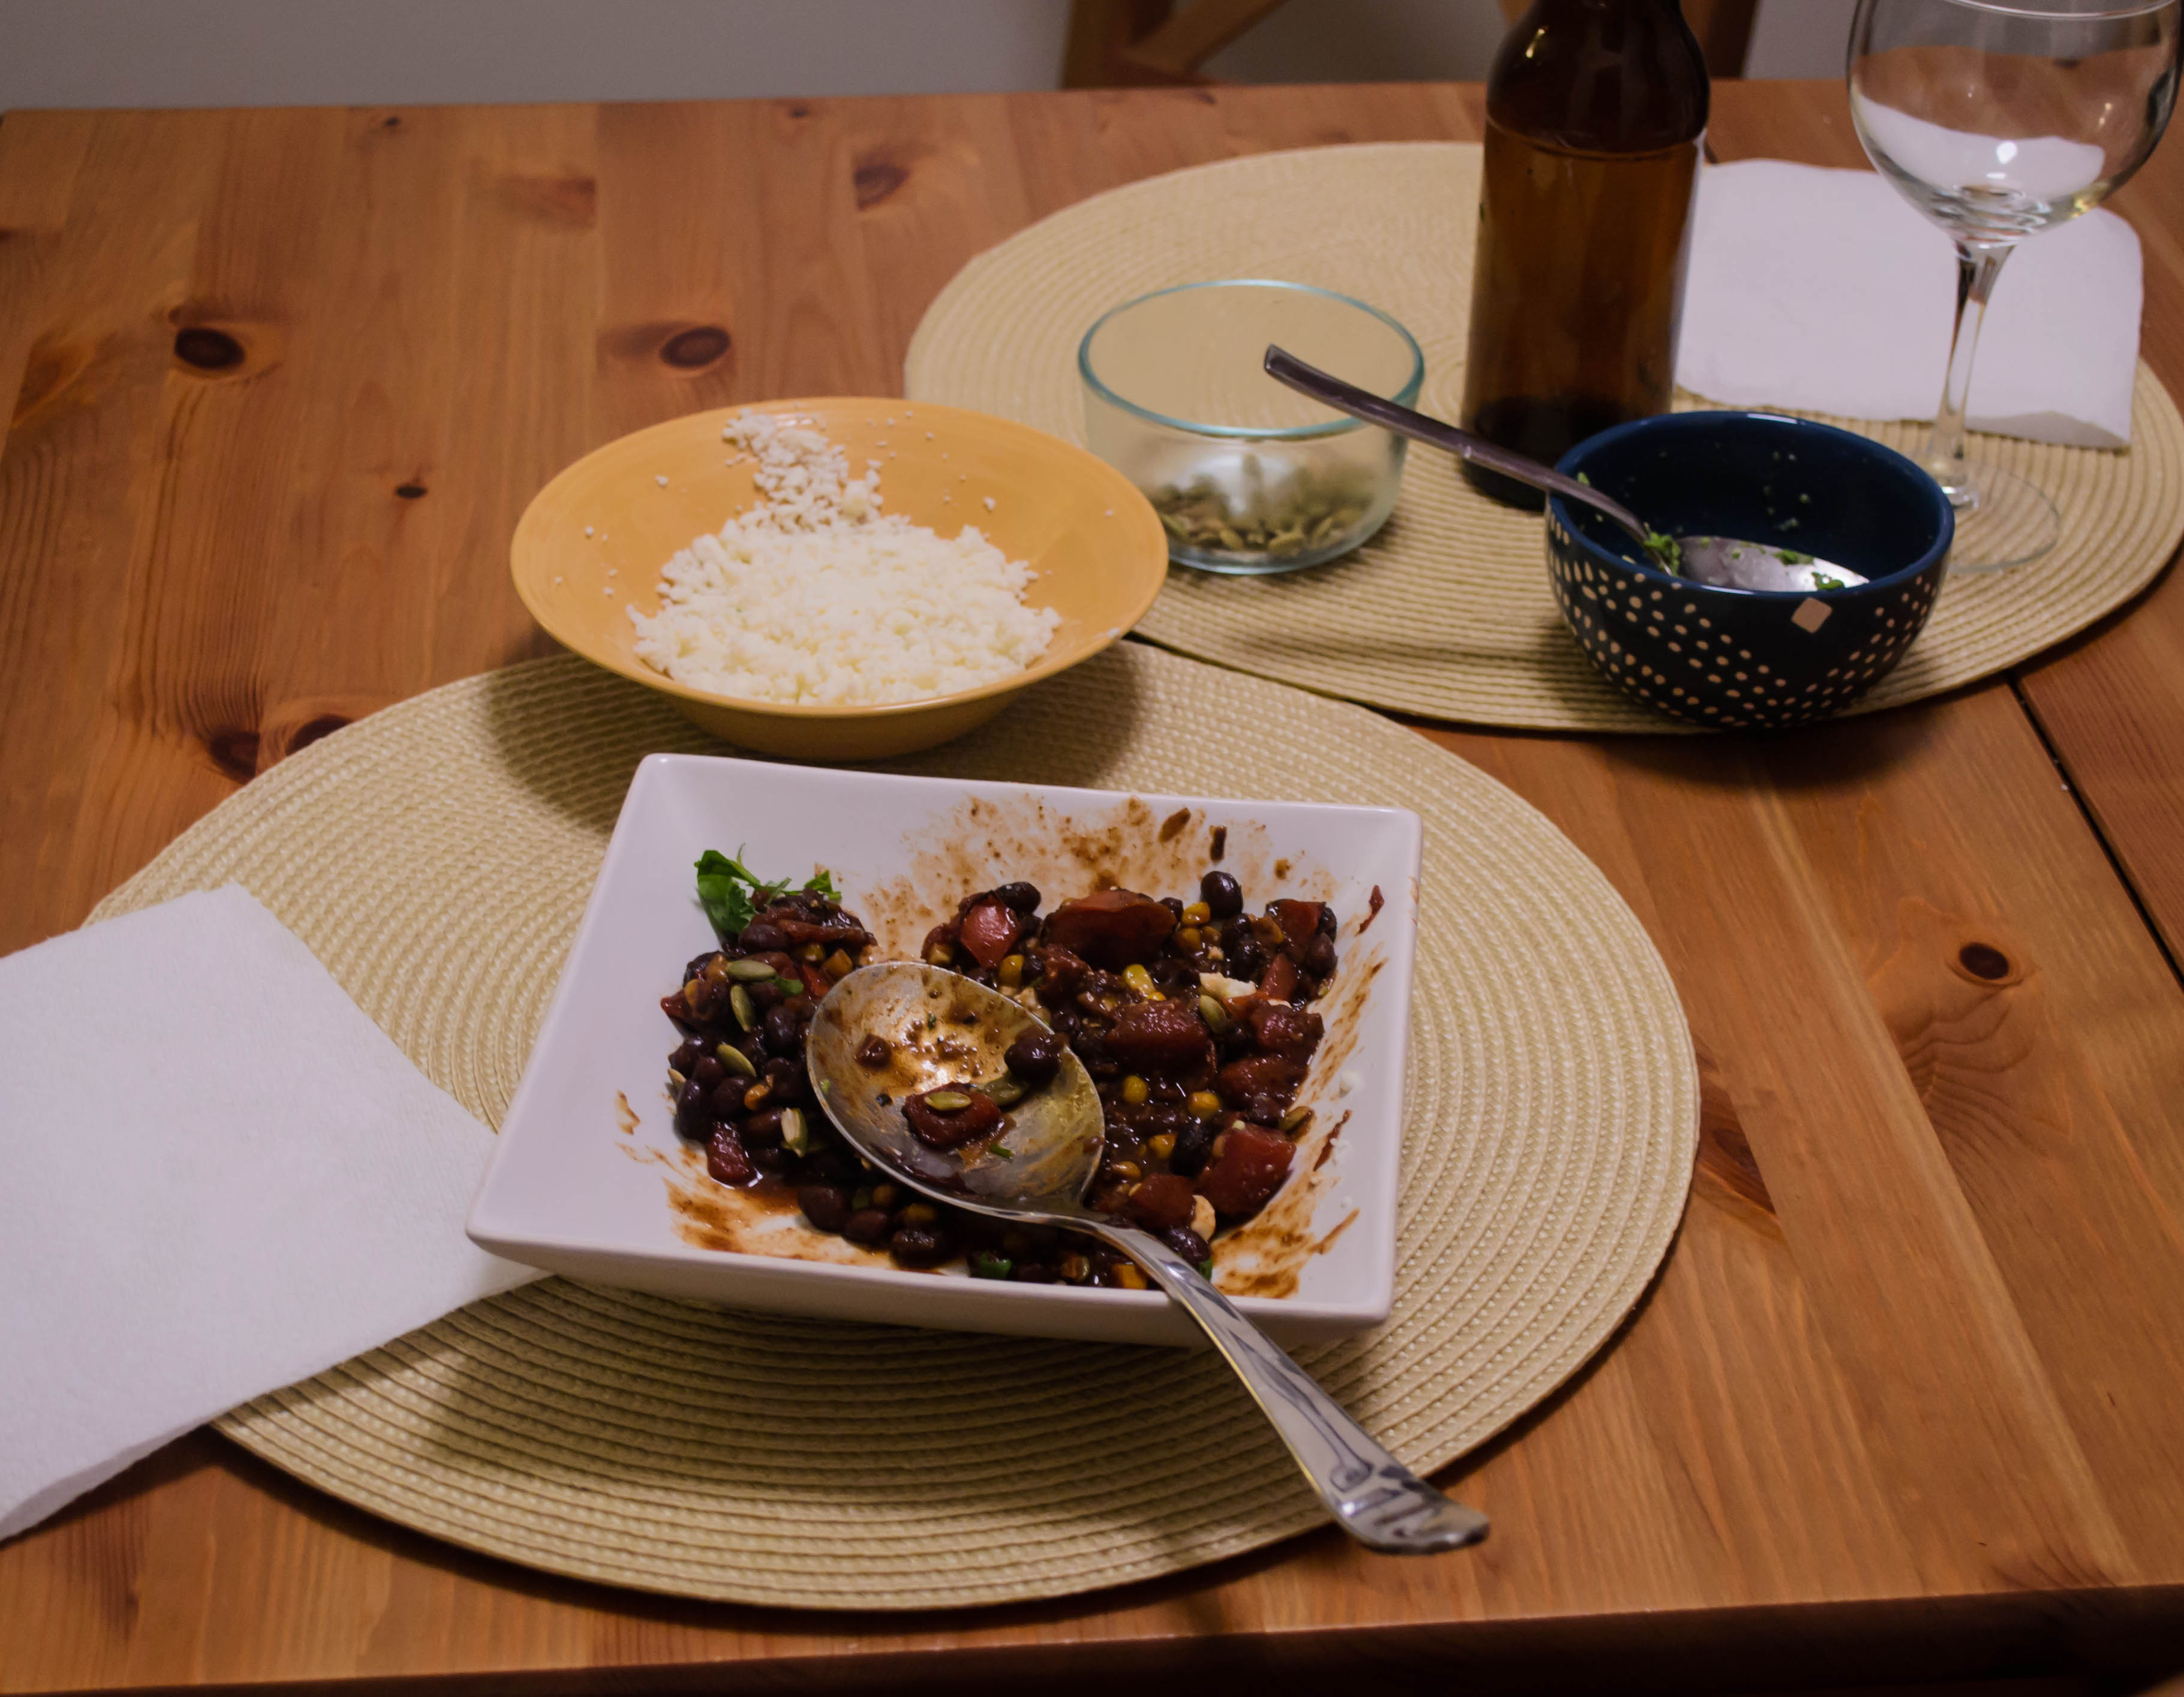
 There is little glamour in a pot of beans. Beans are humble, simple food. They are inexpensive, they fill you up, and most often they serve as a neutral backdrop for flashier plate-mates: pork, beef, cheese… When it comes to aesthetics, things don’t get much more exciting. Photographing a pot of beans is not particularly rewarding. The overwhelming, well, brownness of the whole deal makes any tremendous infusion of flavors discernible in descriptors only. In short, I suppose, beans are not Pinterest food.
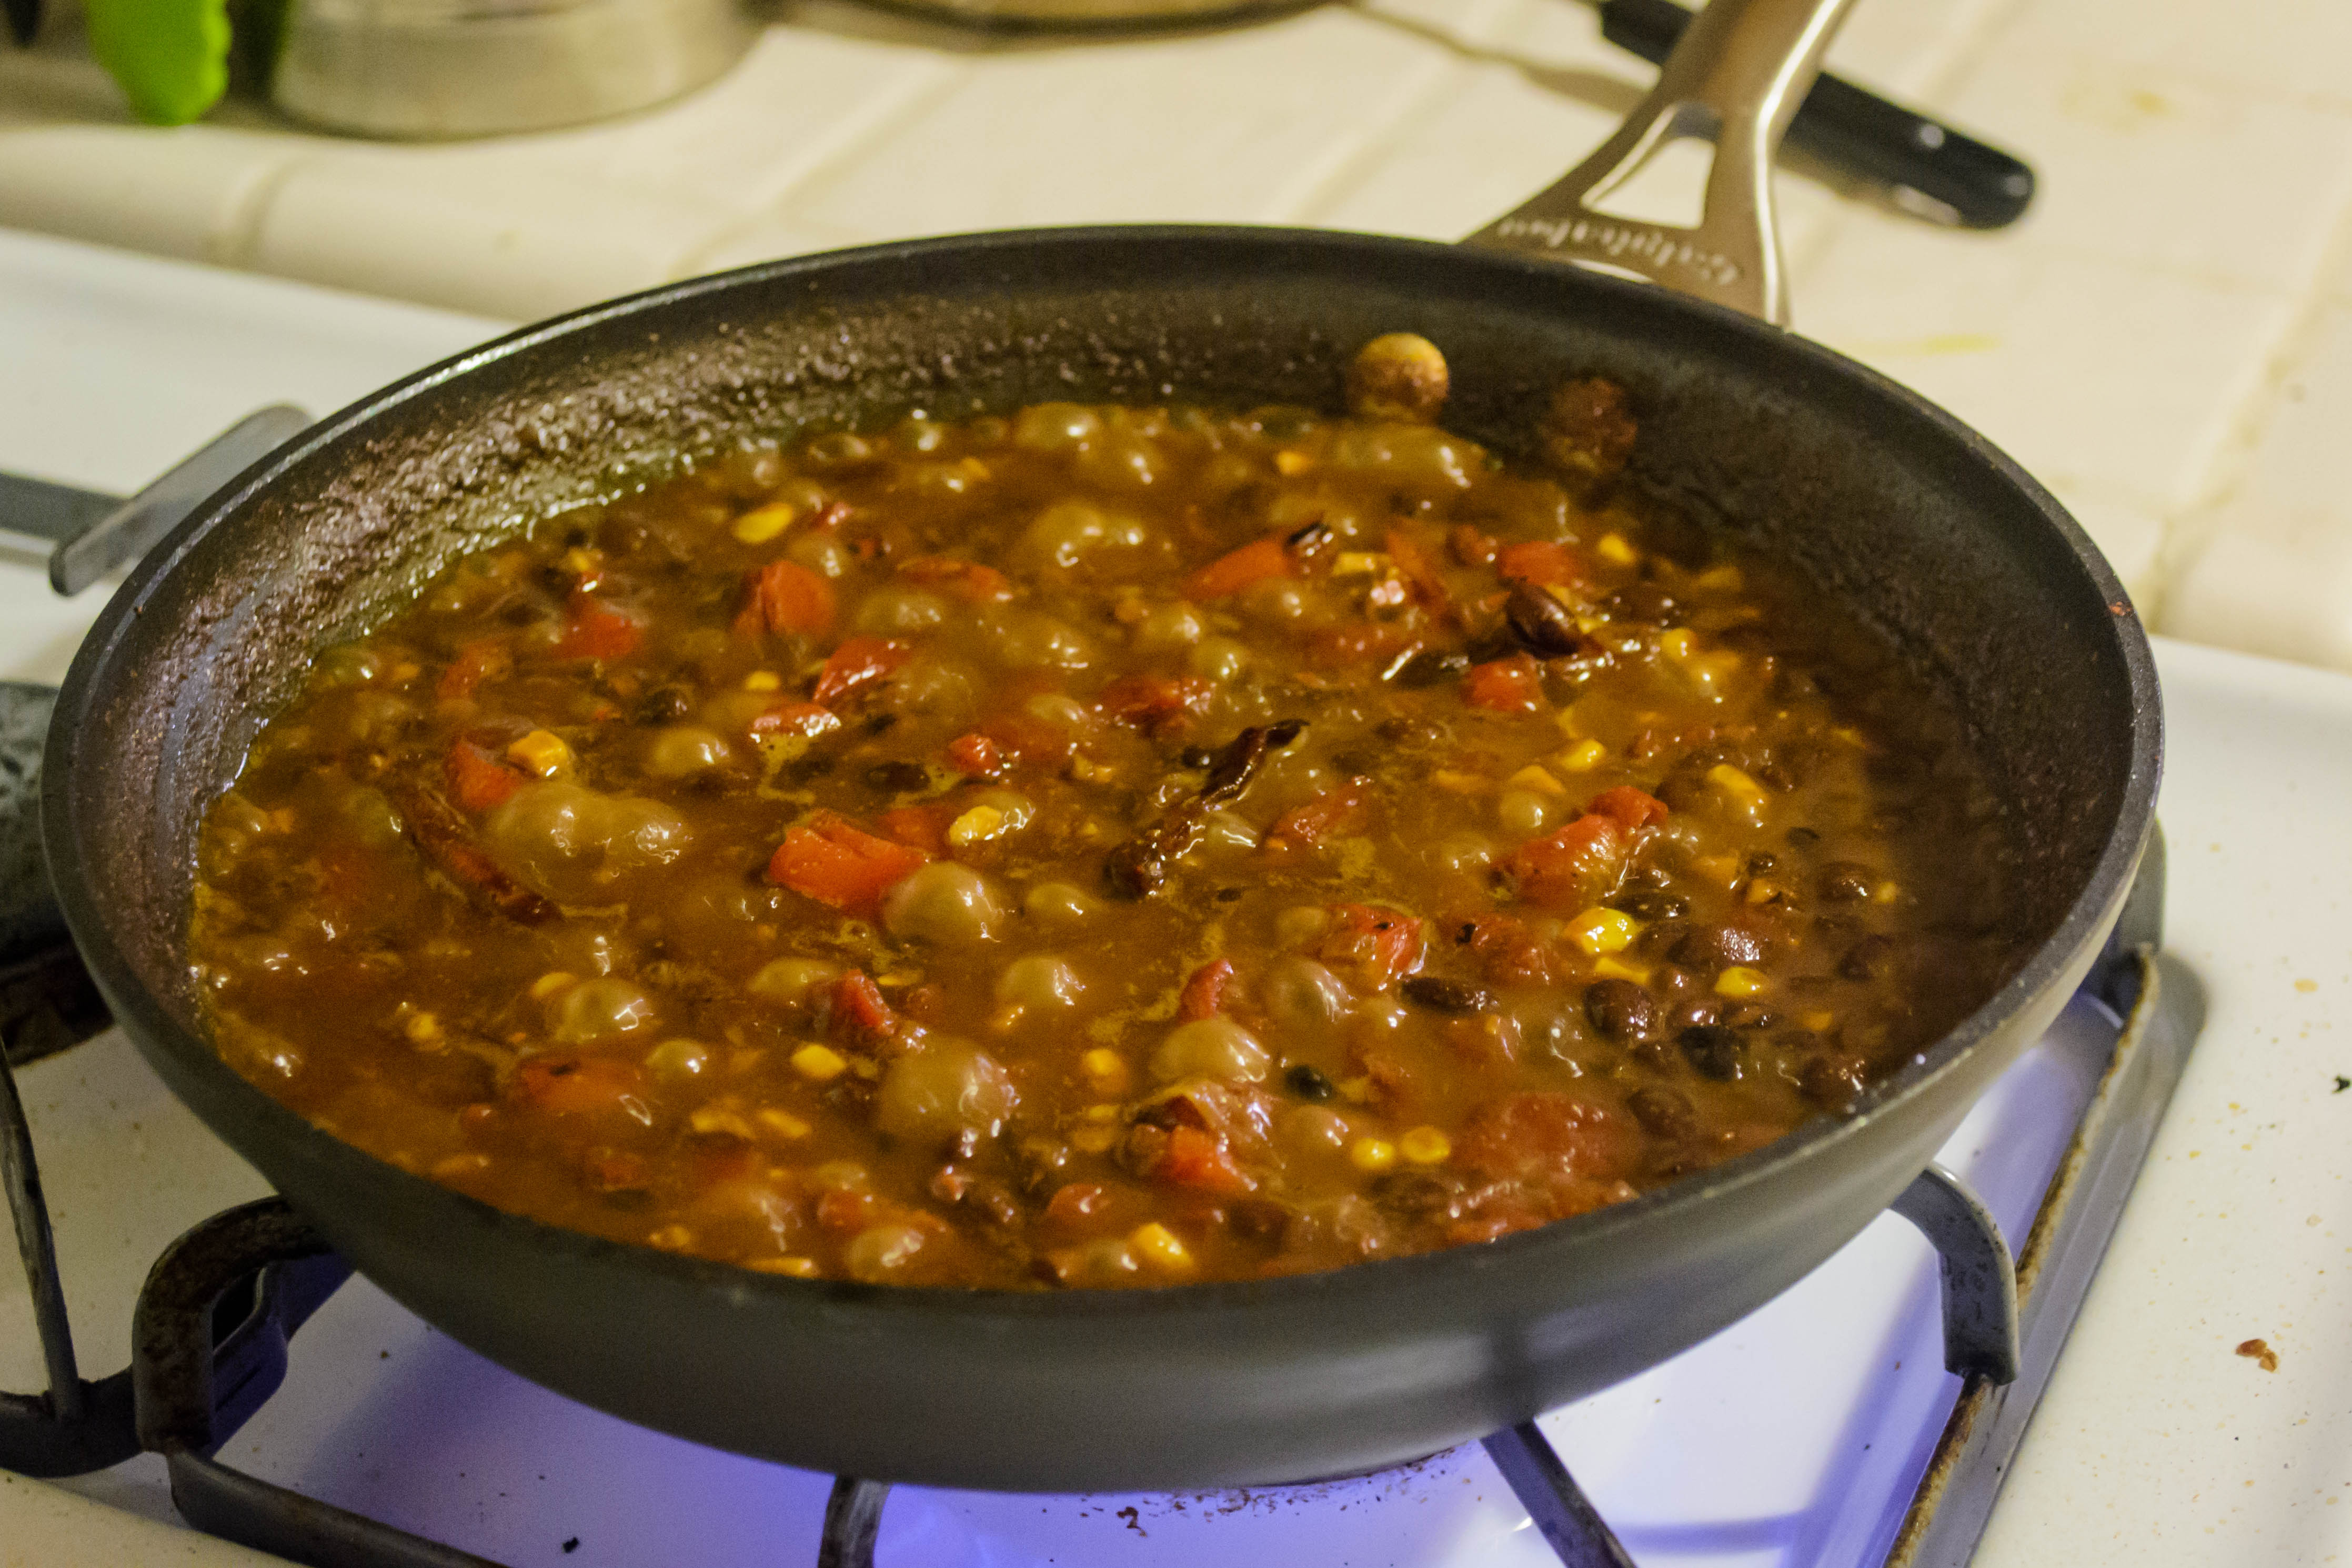 More and more, though, I’m appreciating beans – not as an excuse to shovel away great spoonfuls of bacon and brown sugar (though really, that sounds far from terrible), but for their savory value. Beans are a vehicle for flavor. They are, as a friend once remarked while I was preparing dinner, “Nature’s little sponges.” Aside from the fact, as I pointed out, that sponges are in fact Nature’s little sponges, this tends to be quite true. Beans learn by osmosis.
 Typically I take advantage of this tendency to suck up flavors in Latin American directions: cumin, garlic, various chiles. A few months ago, though, needing another few minutes before dinner and not wanting the beans that had been simmering away on the stove for who-know-how-long to dry up, I cast about the kitchen and emptied a bottle of beer into the pot. I’m not going to say angels sang or the clouds lifted (because let’s be honest; this weekend’s welcome rain aside, this is Southern California. What clouds?), but the revelation was substantial in its own way. Beans already have an earthiness that separates them from the rest of the fruit and vegetable kingdom. Theirs is not the leafy greenness or plump juice of their compatriots, but a creamy, grounded neutrality. Brown. Earth. How odd that they grow on bushes and vines rather than beneath the surface, like potatoes.
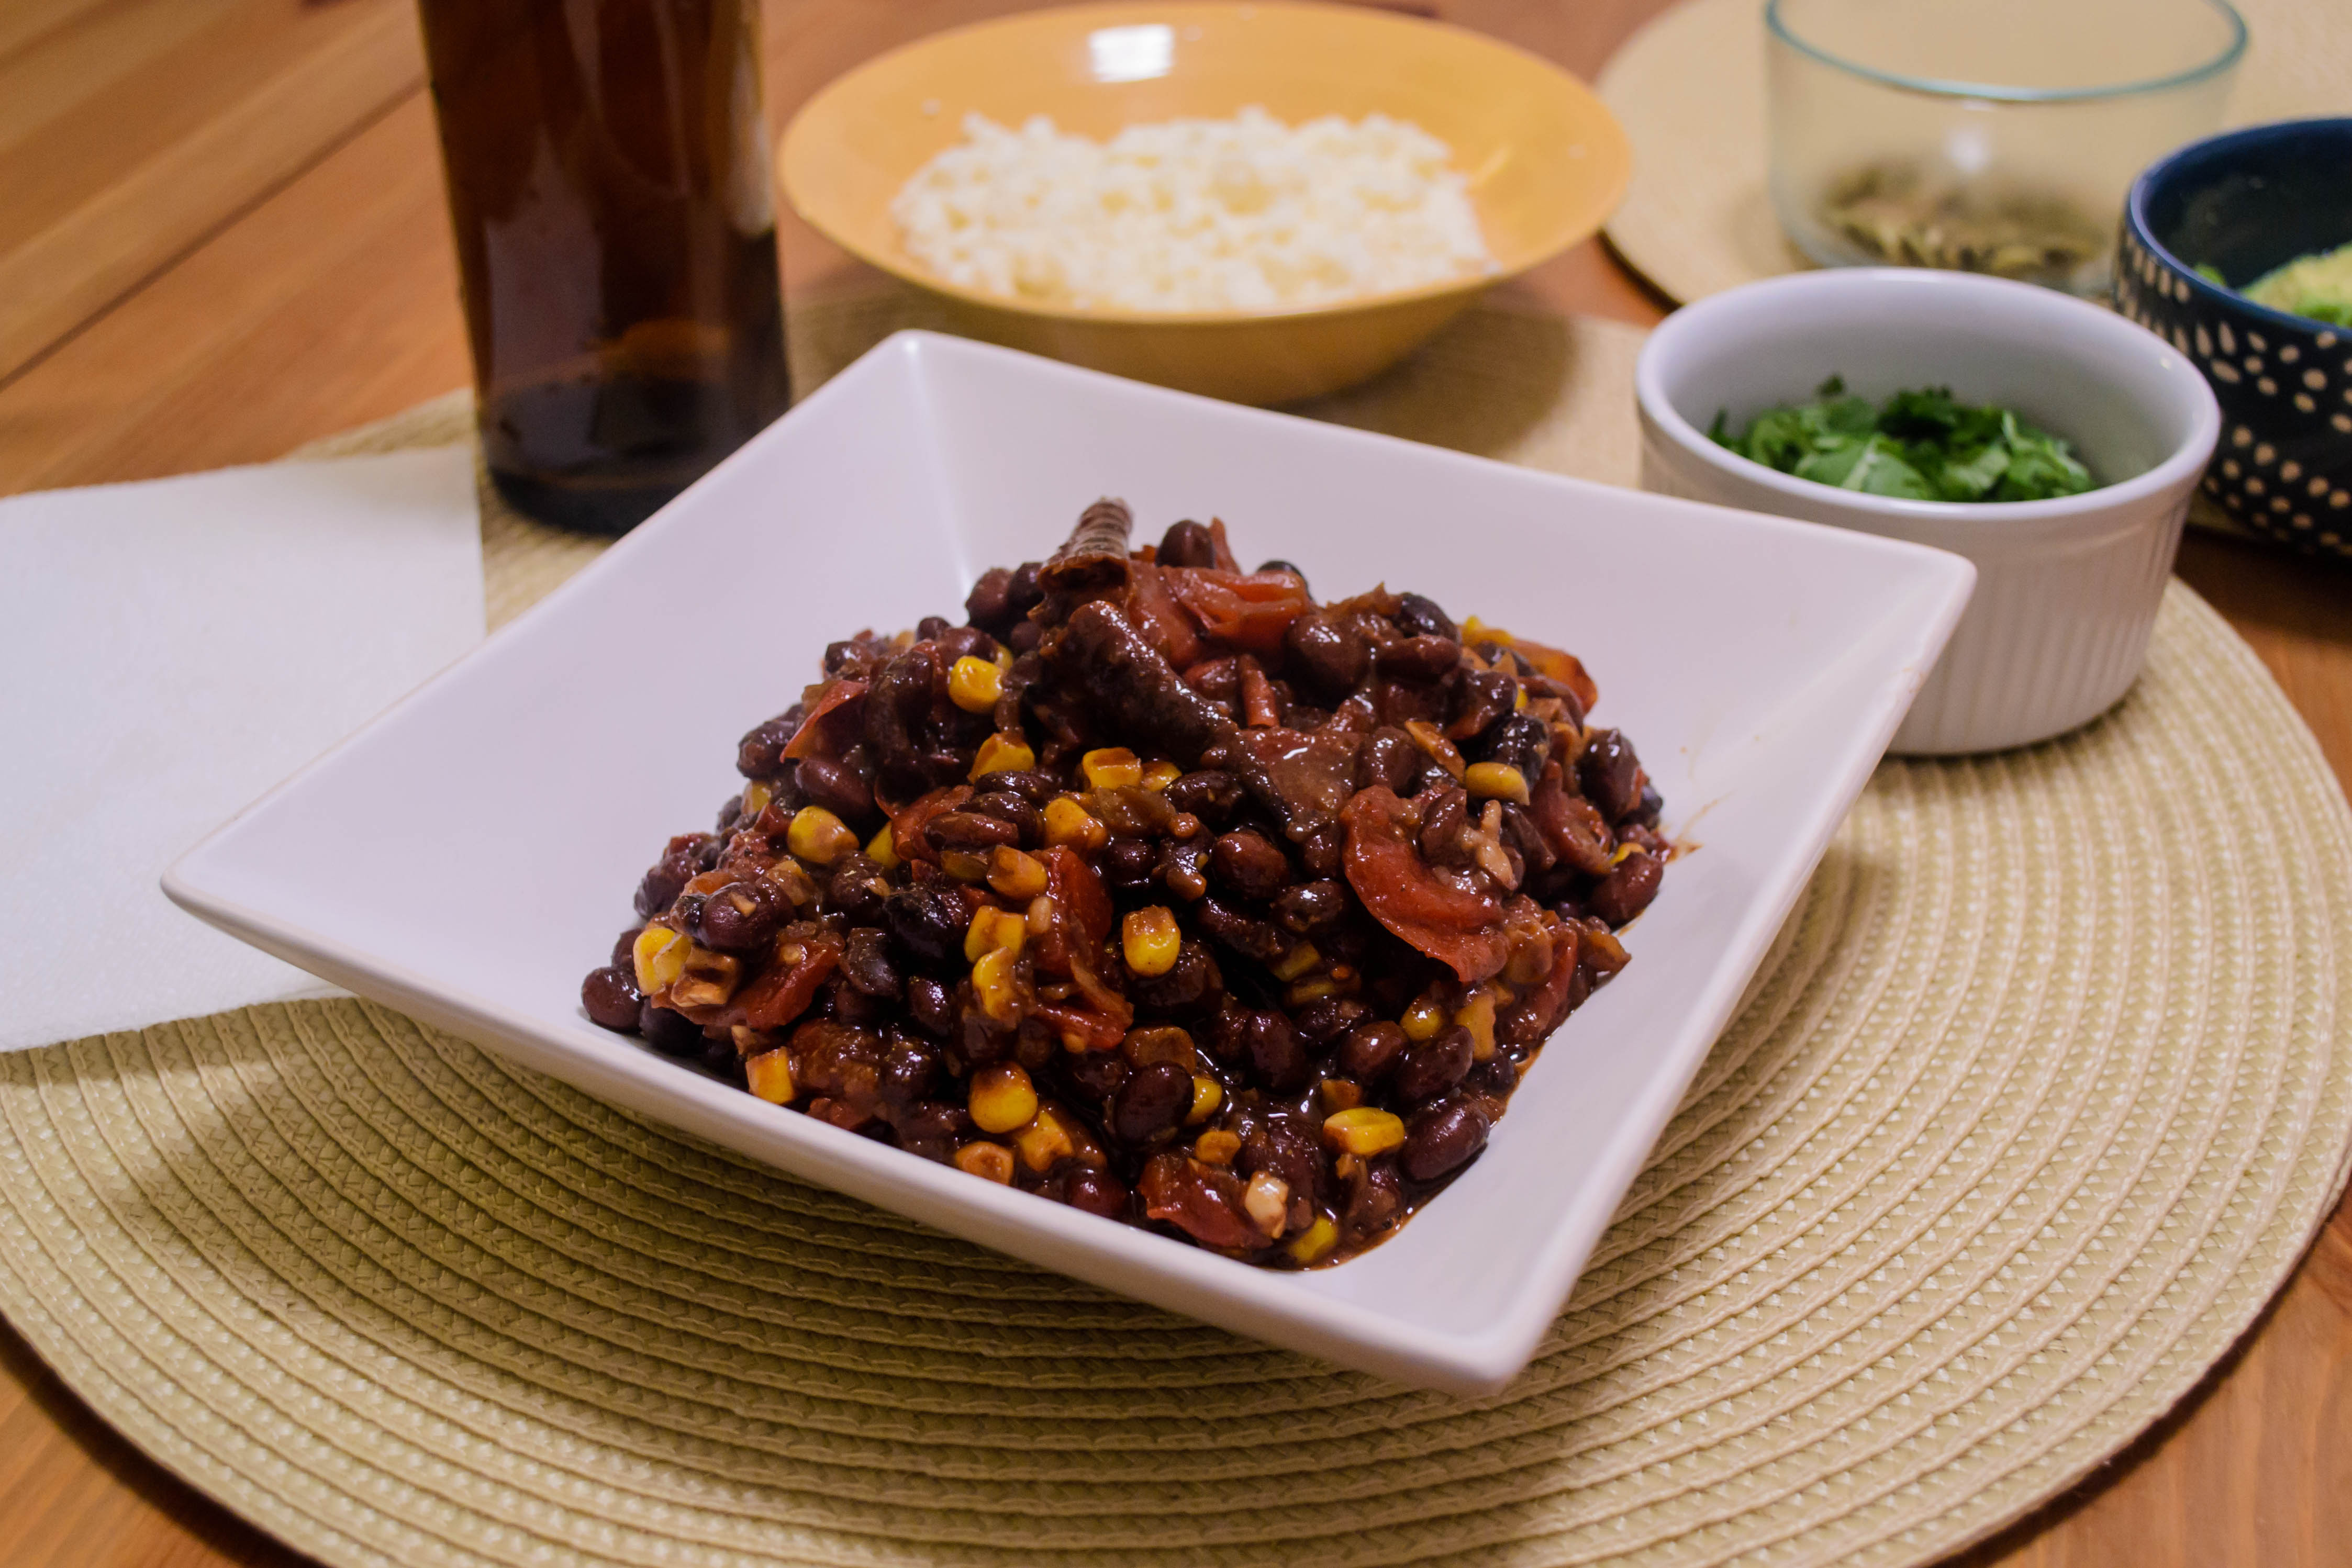 Beer, I found, enhances this earthiness perfectly, especially a dark beer like a porter or a stout. The bitterness of an ale or even a lager is tempered in a darker brew, giving way to toasted, bready flavors that mingle well with the earthy pleasantness of beans. Since this discovery, we’ve charged through a number of bean-and-beer concoctions, including a chile that also contained hunks of slow cooked bison stew meat and a barrage of spices – a triumph. But the one I want to come back to for you is the original, simple combination. Beer and beans. A few flavor enhancers by way of garlic, onion, some almost-burned corn kernels, and a scoop of fire-roasted tomatoes, and you’re looking at a side dish that I’d push away the mains for.
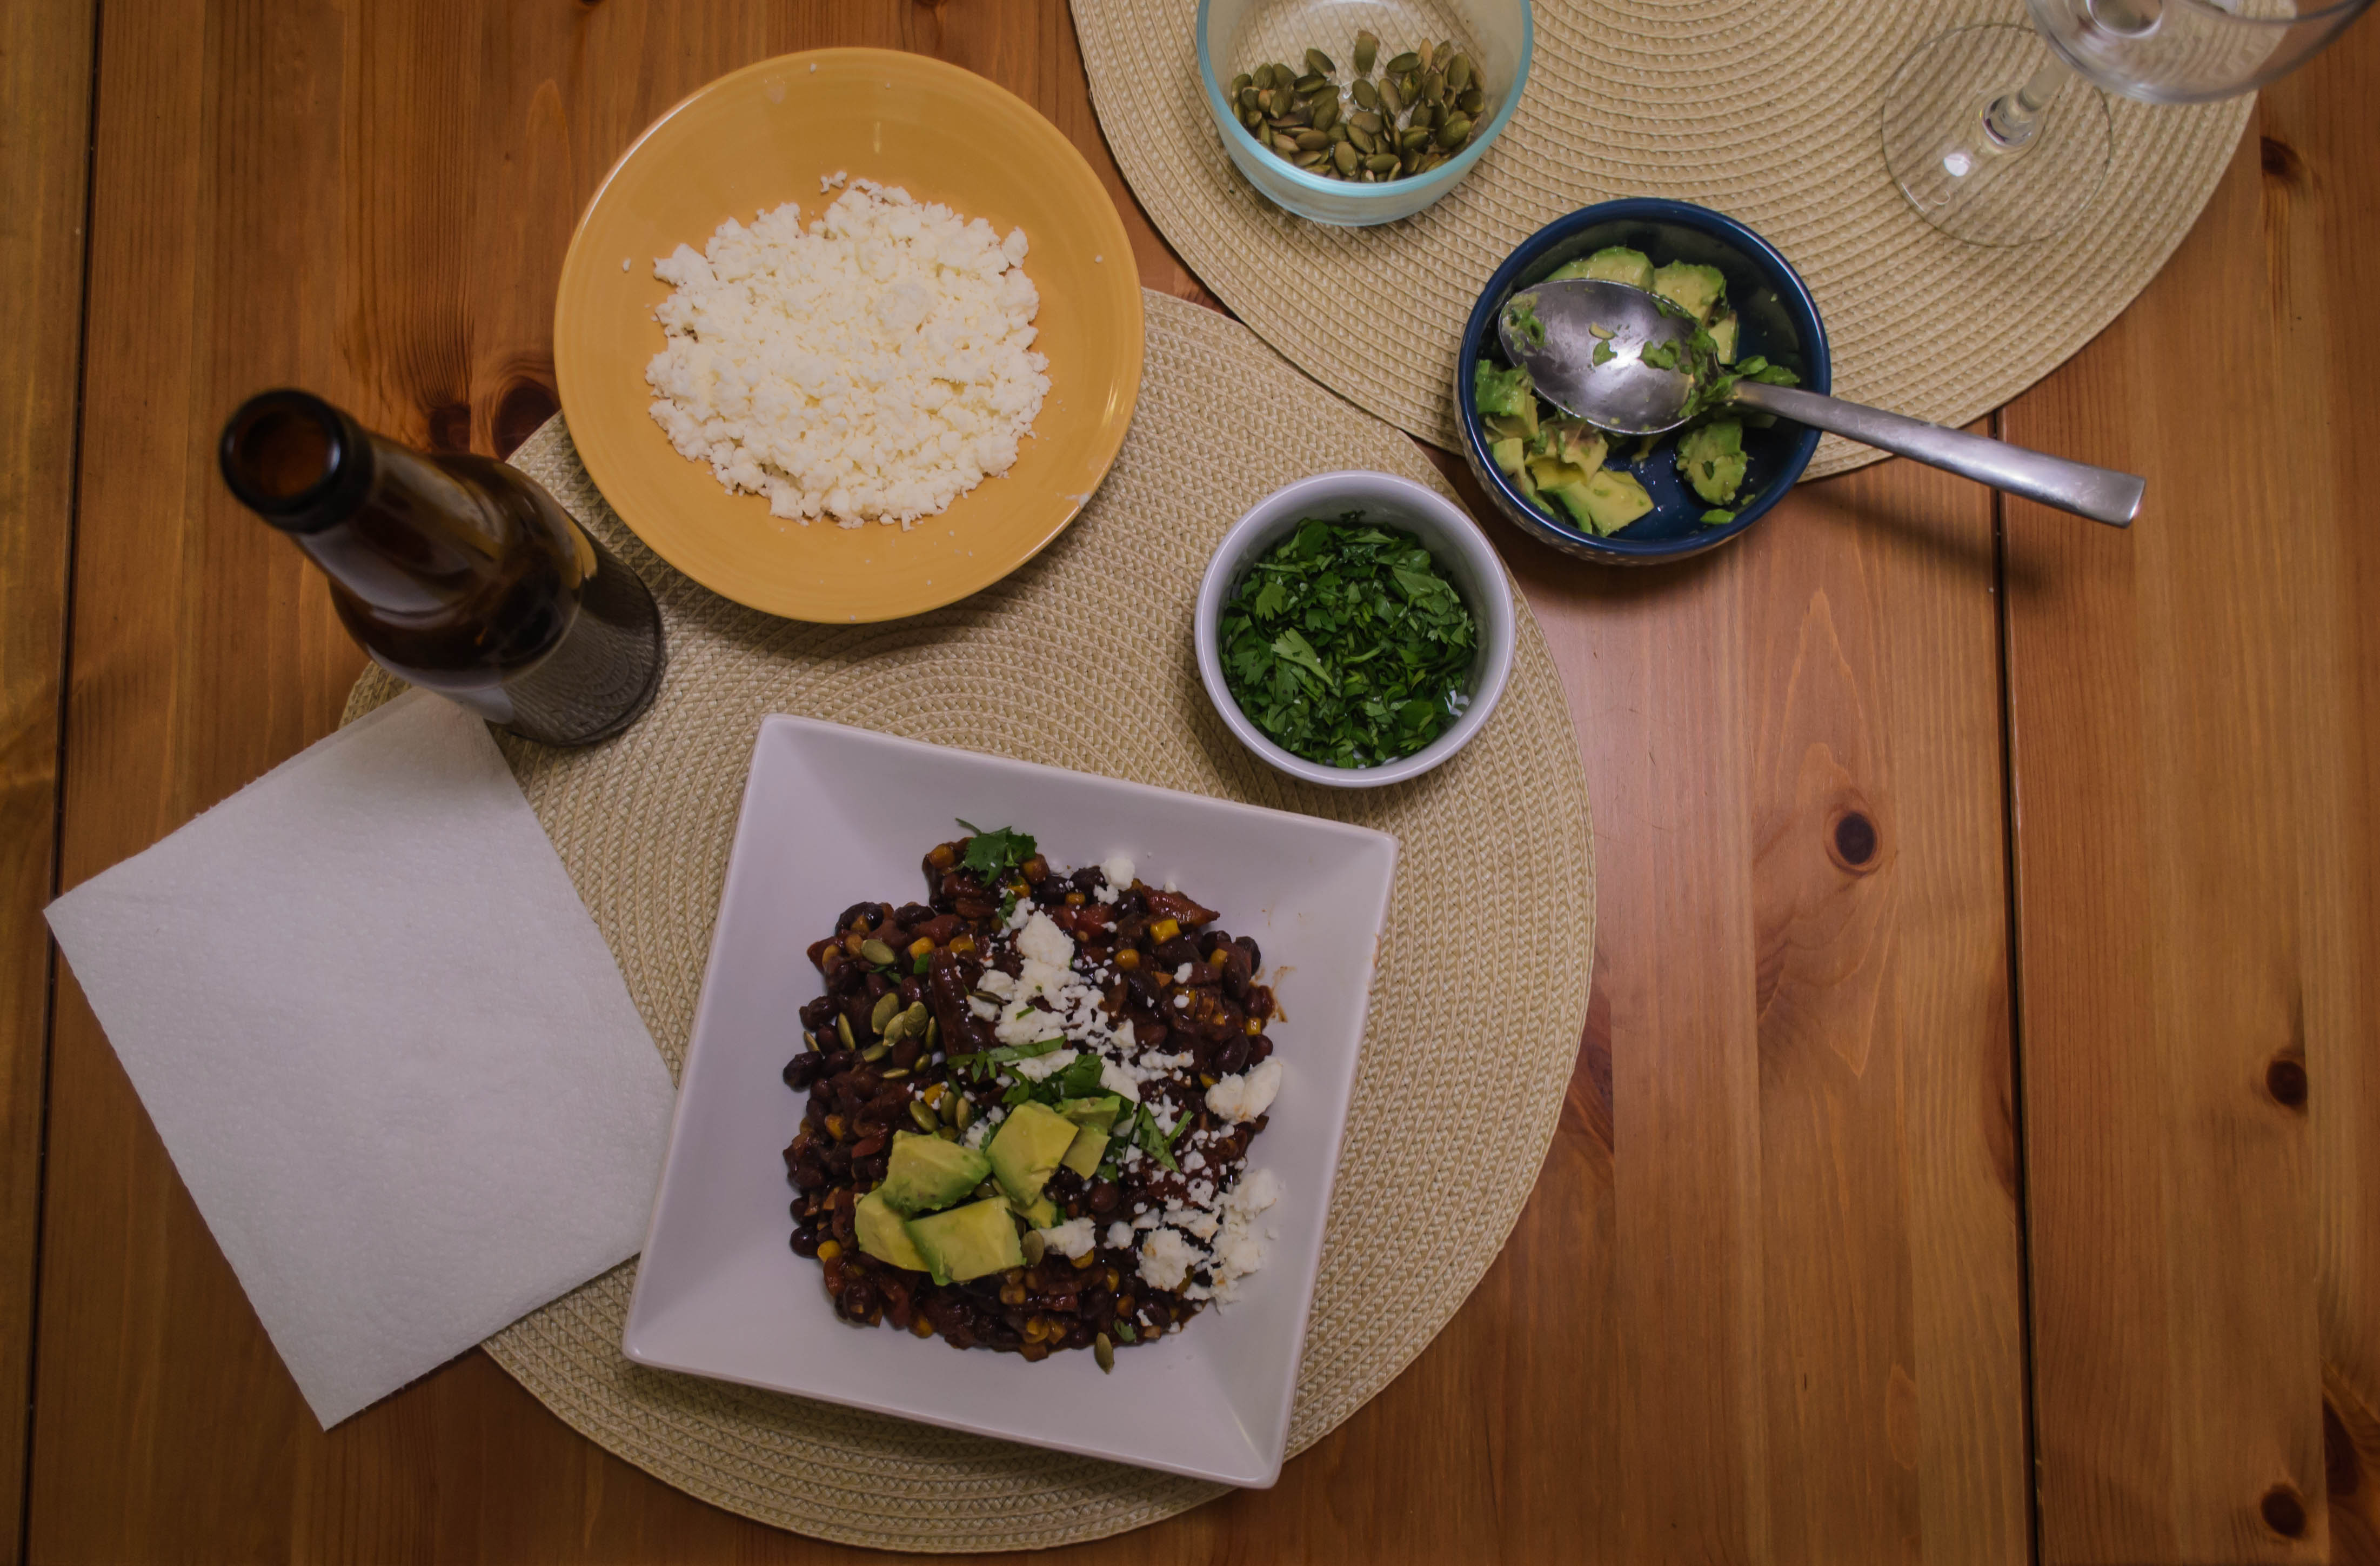
 If you like a good garnish, I recommend the standards: crumbled queso fresco, cilantro, toasted pumpkin seeds, generous chunks of avocado, perhaps a dollop of sour cream or a few snippings of chives. But really, these beans don’t require much beyond a bowl, a spoon, and a belly in need of warming.