Potato Crusted Salmon with Pea and Arugula Puree

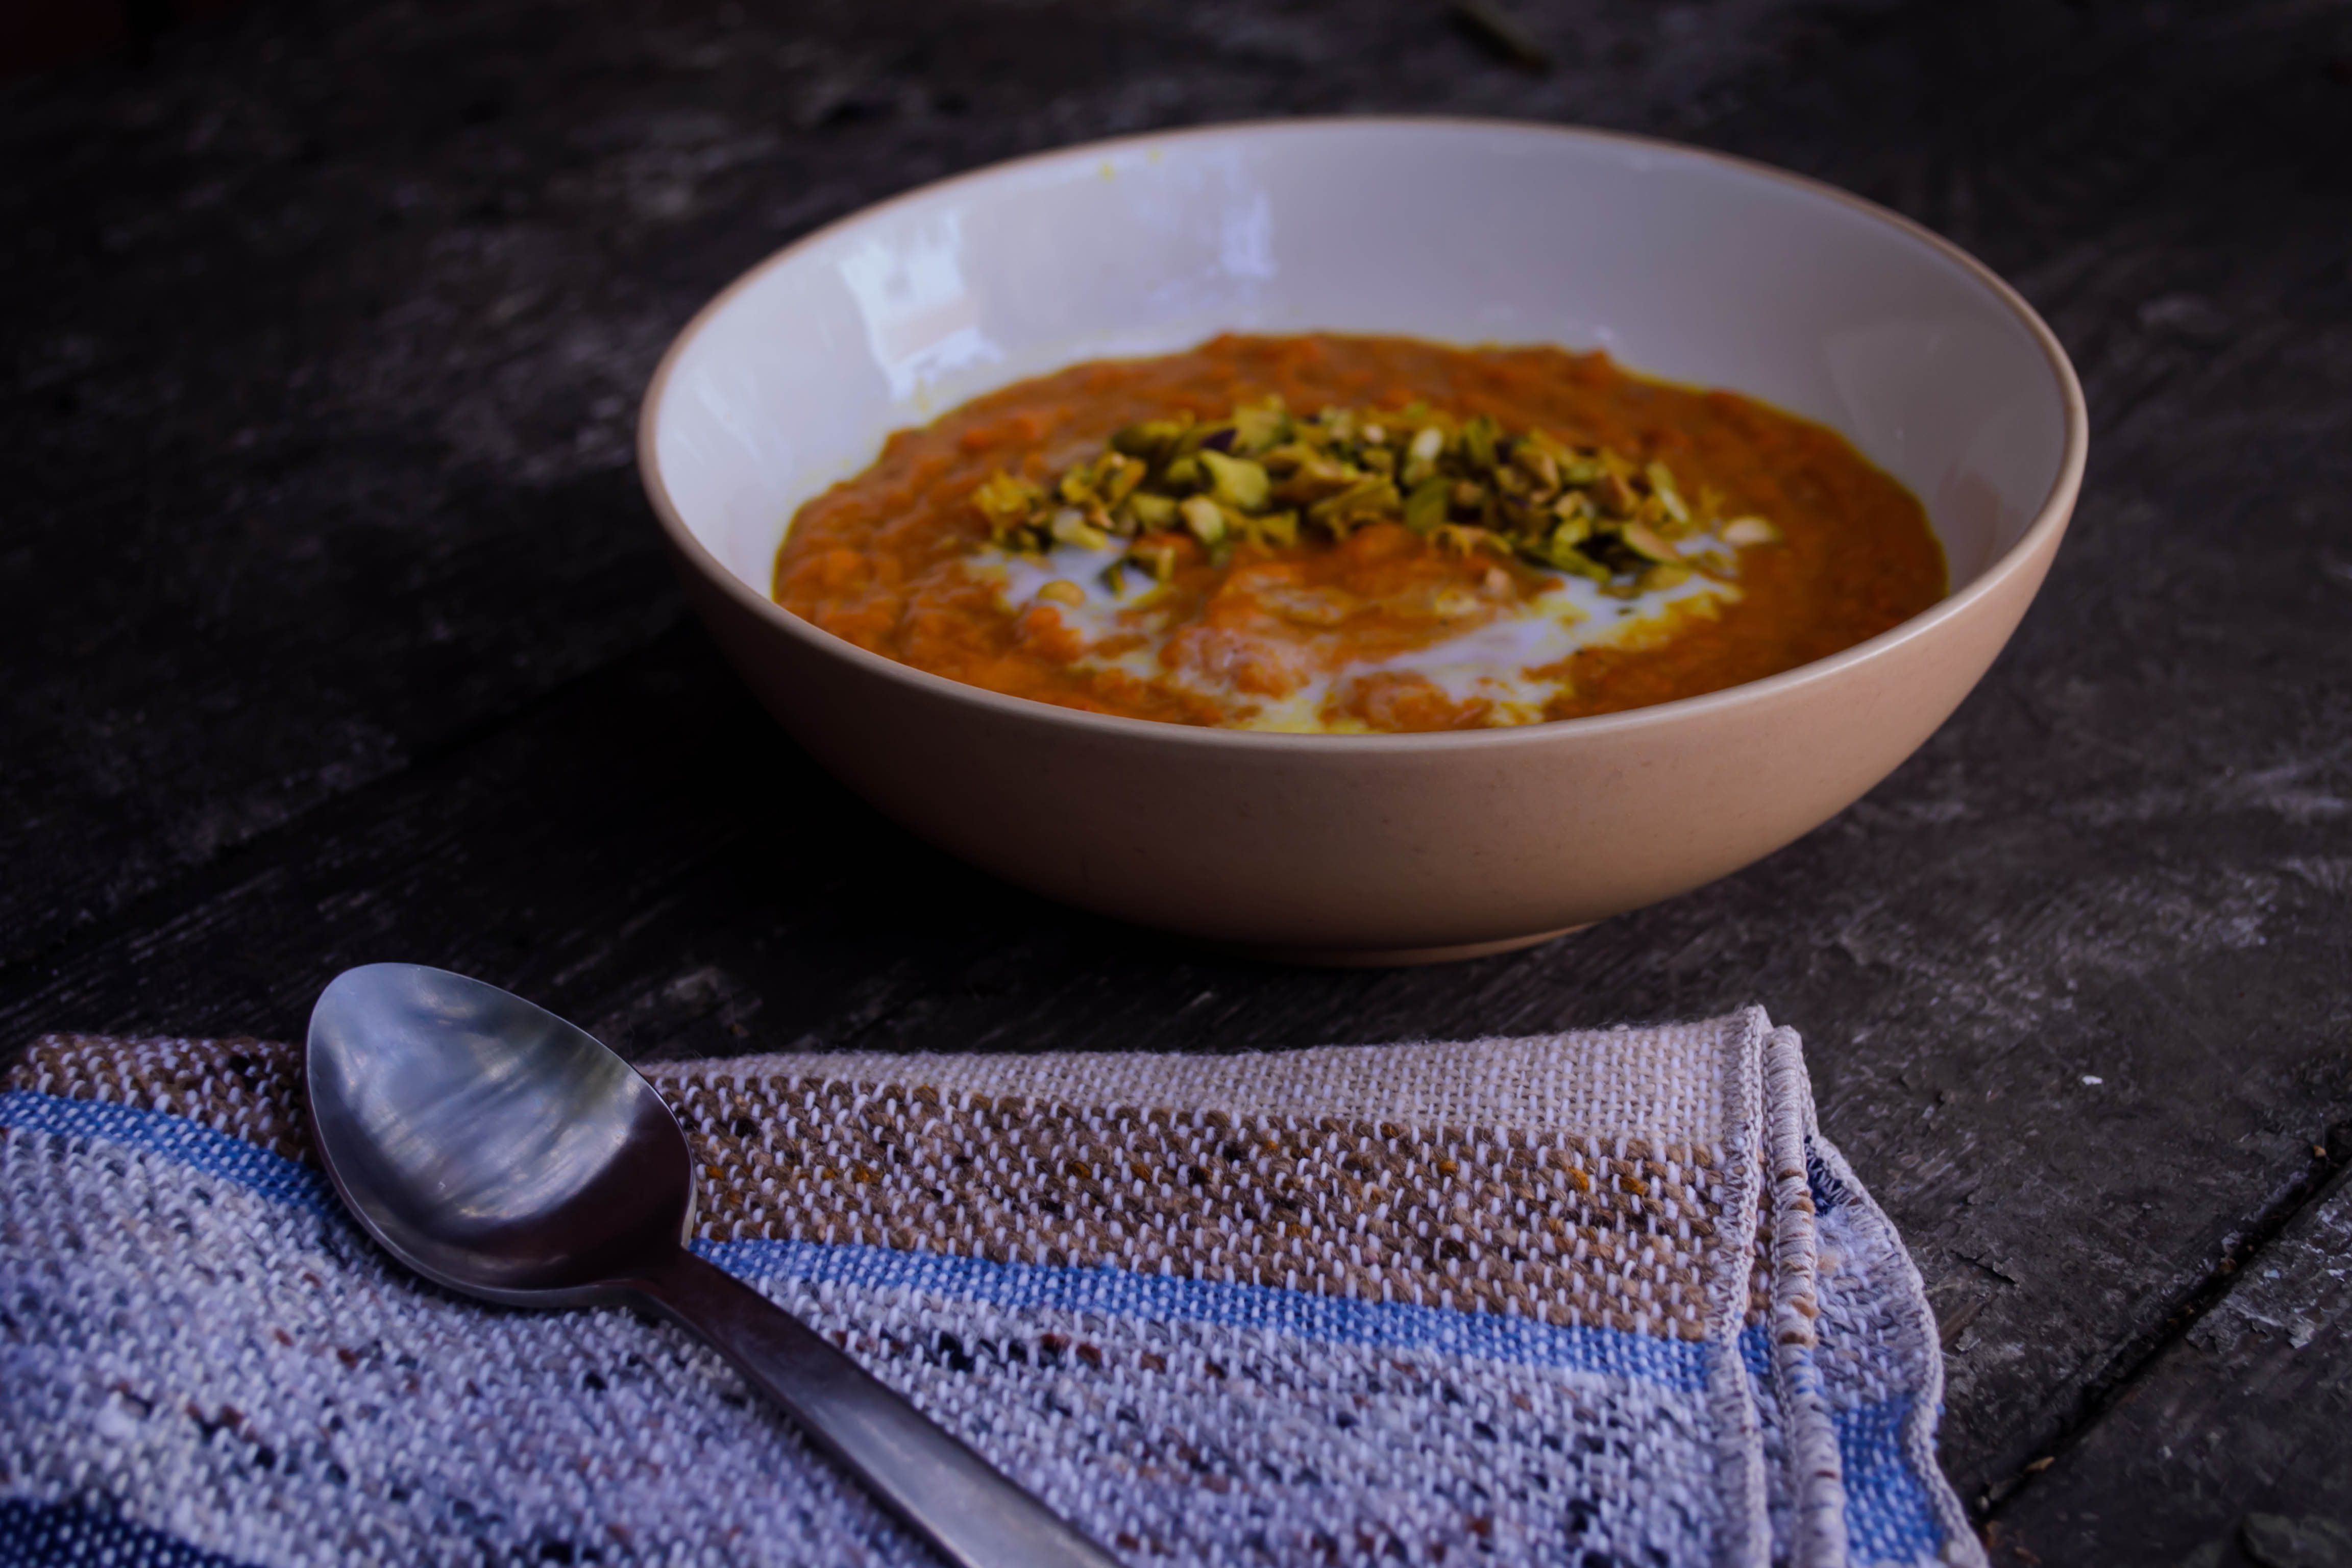
There’s not much of a story here, only an observation my sister made that it seems like I’m into fancy food lately. I attribute this to spring break, when I made the dishes in my last three posts, because I had some time on my hands and I wanted to play. This recipe, and the deviled eggs crostini from last month, came from a list I keep on my laptop of food ideas, which oddly enough doesn’t often get used – I write down delicious-sounding concepts, and then I forget about them.

Not so with this one anymore. Very loosely imagined after a dish N. had years and years ago on the Oregon coast that just wasn’t as good as it should have been, I decided to top salmon filets with an herby crab salad, then wrap the whole thing in wafer-thin slices of potato and serve it over a velvety smooth puree of peas and arugula. Very spring.

The finished dish was good, and the flavor was delicious. It was not, however, as perfectly beautiful as it could have been, largely because I think to make this dish as gorgeous as it deserves to be, you really need a mandolin or a v-slicer, which is equipment I don’t have (largely because my kitchen storage situation leaves a bit to be desired). I made do with a potato peeler, as can you, in a pinch, but the results were only passable, not stellar.

Notes below about crab and puree options: jumbo lump is, of course, the premium choice, but lately I’ve found a mixture of jumbo or regular lump and claw meat is just fine. As for the puree, as I note below, you can choose your texture to please your palate (and your partner’s); I went with something pesto-like, but processing or blending further would offer a smoother sauce, and passing through a strainer, though somewhat time consuming, would produce a silky bright green sauce. Proceed as desired.

Potato Crusted Salmon with Pea and Arugula Puree
About 45 minutes
Serves 2 (with leftover crab salad)
For the crab salad:
Zest of one lime
Zest of one lemon
3 TB finely minced dill + a few extra sprigs to garnish if desired
1 TB finely minced chives
2 TB finely minced celery and/or radish
10 ounces crab meat, carefully picked through for cartilage pieces
about 3 TB mayonnaise
salt and pepper to taste
For the salmon:
2 6 ounce boneless, skinless salmon filets
3-4 medium Yukon gold potatoes
salt and pepper to taste
1 TB butter
1 TB olive oil
For the pea and arugula puree:
4 ounces defrosted frozen peas
2 TB butter
2 ounces baby arugula
1 TB lemon juice or to taste
salt and pepper to taste
Optional: blanched pencil asparagus


  • First, make the crab salad: combine all ingredients in a medium bowl. You can use whatever sort of crab you want; I like a mixture of lump, for the sweetness, and regular or crab and claw meat, for the affordability. Start with the recommended 3 TB mayonnaise, but you can add more if desired. You are looking for just enough that the mixture starts to hold together. Set the finished crab salad aside until it is time to assemble.
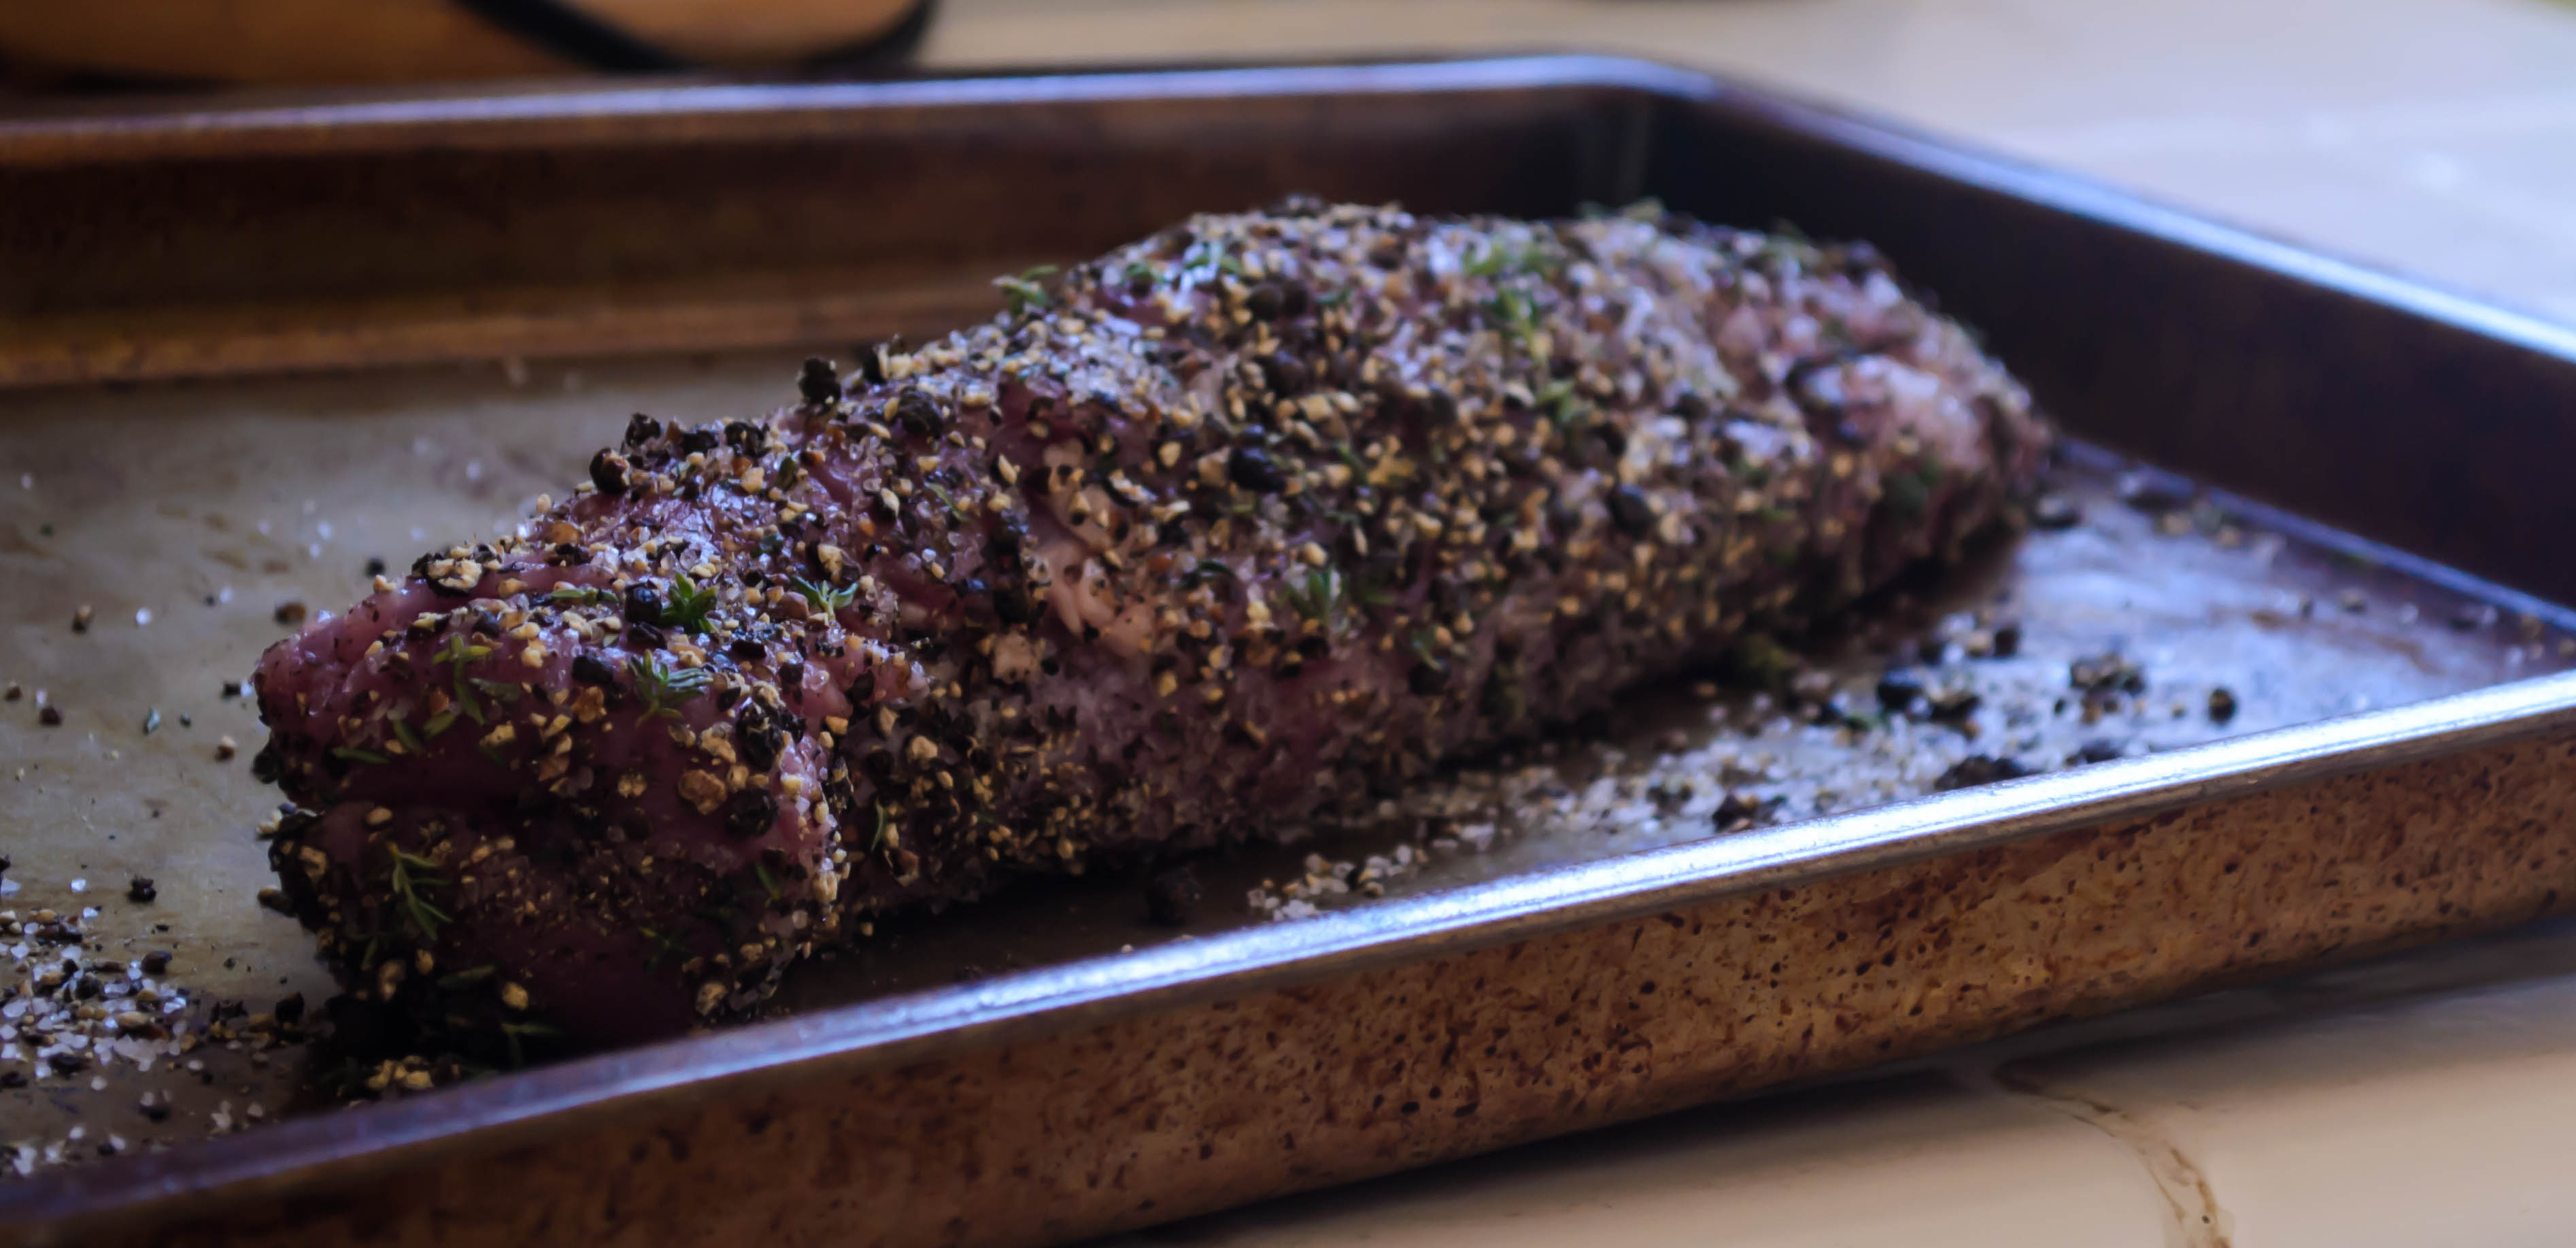
  • For the salmon, preheat the oven to 375F. Do a quick but thorough check of the filets to ensure there are no bones. Salt and pepper the fish on both sides, then set aside until the potatoes are ready.
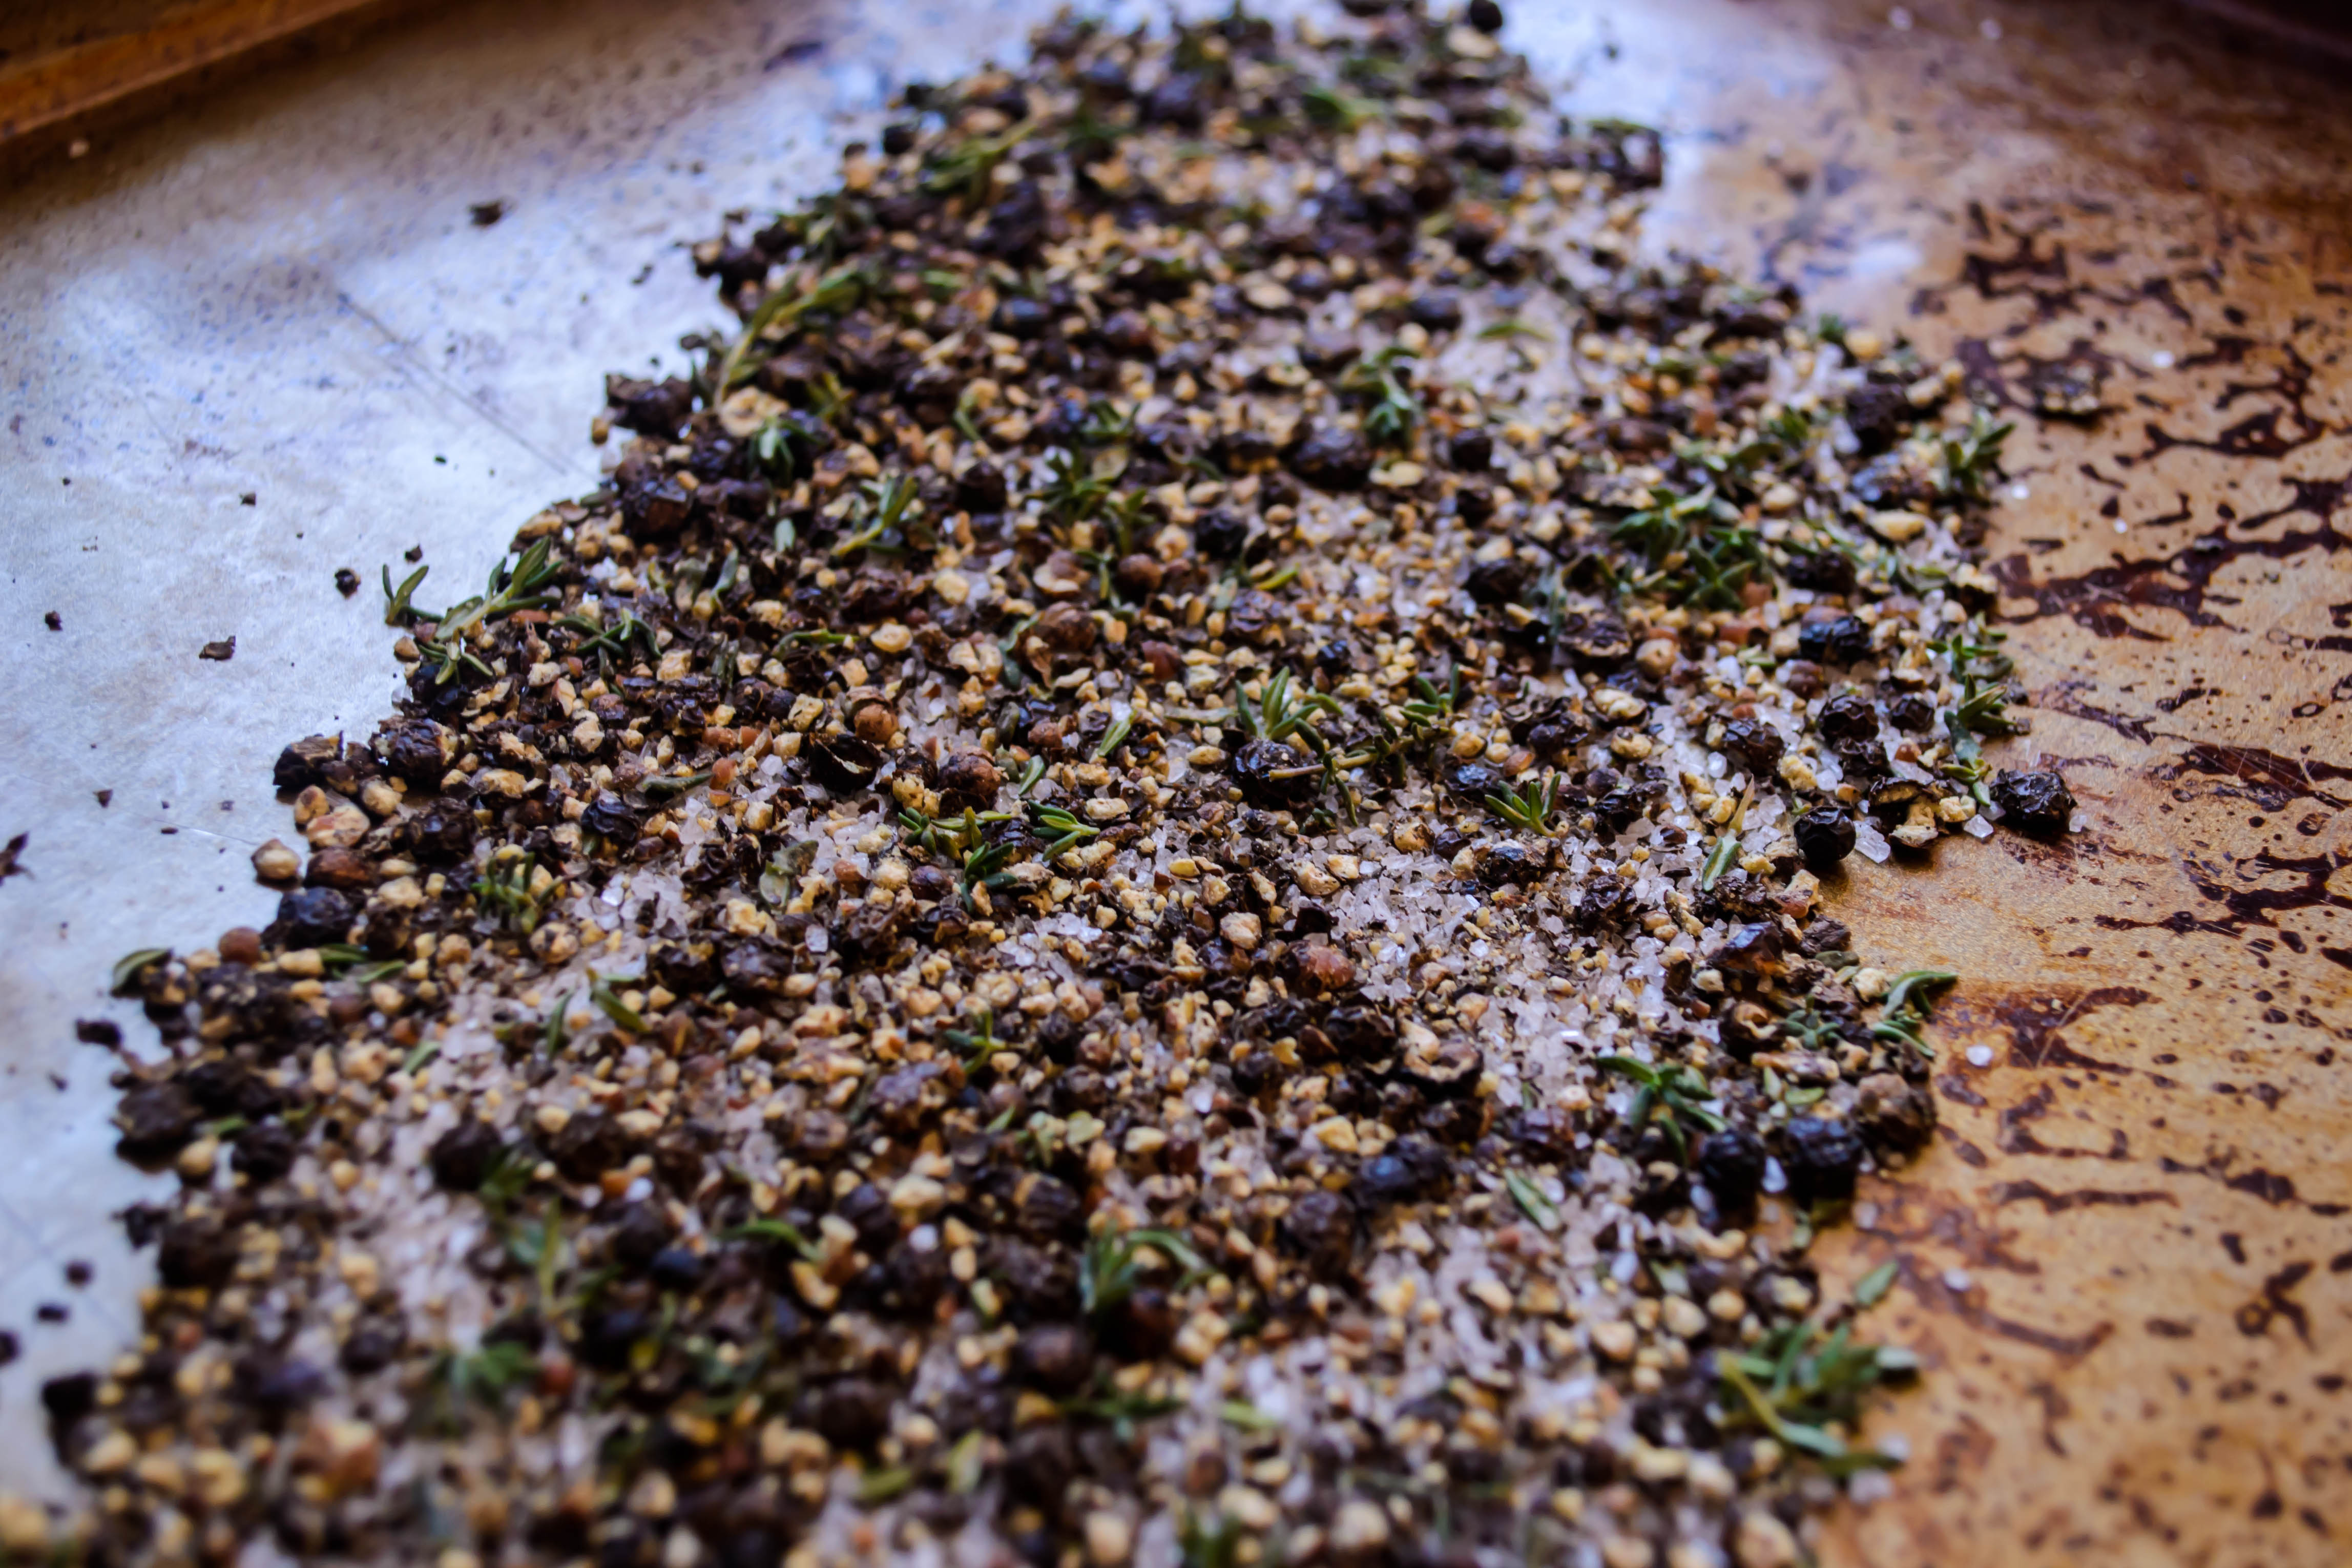
  • The easiest way to proceed is to make very thin vertical slices of the potatoes on the wider side using a mandolin slicer, so you end up with long, wide strips. If you are using a mandolin, you will probably only need 2 potatoes worth of wide strips. Use the third potato to make round slices, like potato chips, by cutting horizontally across the small ends. If you don’t have a mandolin, you can do a passable job with a y-shaped potato peeler. Again, try for the longest, widest slices you can manage. You’ll probably need all 4 potatoes if you are using a peeler, because at a certain point you won’t be able to carve out clean slices anymore. Use 3 of the potatoes to make the long, wide strips, then use the fourth one to make the round, potato chip shaped slices.
  • To assemble, on a cutting board, lay out a row of long, wide potato strips, slightly overlapping, about an inch longer on each side than the filet. Add a second row just above it, again overlapping, so you have a kind of carpet of potato slices, as in the photo below.
  • Set the filet in the center of the potato slices, flesh side up (that is, the side where the skin used to be should rest on the potato layer). Using a spoon, top the filet with a few tablespoons of the crab salad, spreading it evenly across the surface.
  • Now the hard part: working quickly, begin wrapping the potato slices around the salmon. As you bring the overlapping layers up to the top, shingle on a layer of the round slices to hold the long pieces up and together. Check out the photo below to see what I mean.
  • Okay, now the other hard part: heat the butter and olive oil together in a medium skillet over medium high heat. When the fat is quite hot, use a spatula and your hand to carefully but quickly add the wrapped filets to the skillet, trying to get the shingled top side into the butter and oil mixture first. Sear without disturbing for 4 minutes, then carefully flip and place the whole skillet into your preheated 375F oven for 10 minutes.
  • While the fish is in the oven, make the pea and arugula pesto: in a small pot, cook the peas with the 2 TB butter just until they are hot. Add them to a food processor with the arugula, the lemon zest, and a pinch each of salt and pepper. Process until fairly smooth, then taste for seasoning and adjust as needed.
  • If you want to be fancy, you can strain the puree until a thin, smooth sauce. I decided to leave it more like a pesto texture, though, for ease.
  • If you are making the asparagus, now is a good time to blanch it and toss it with a tiny bit of butter, lemon, and salt.
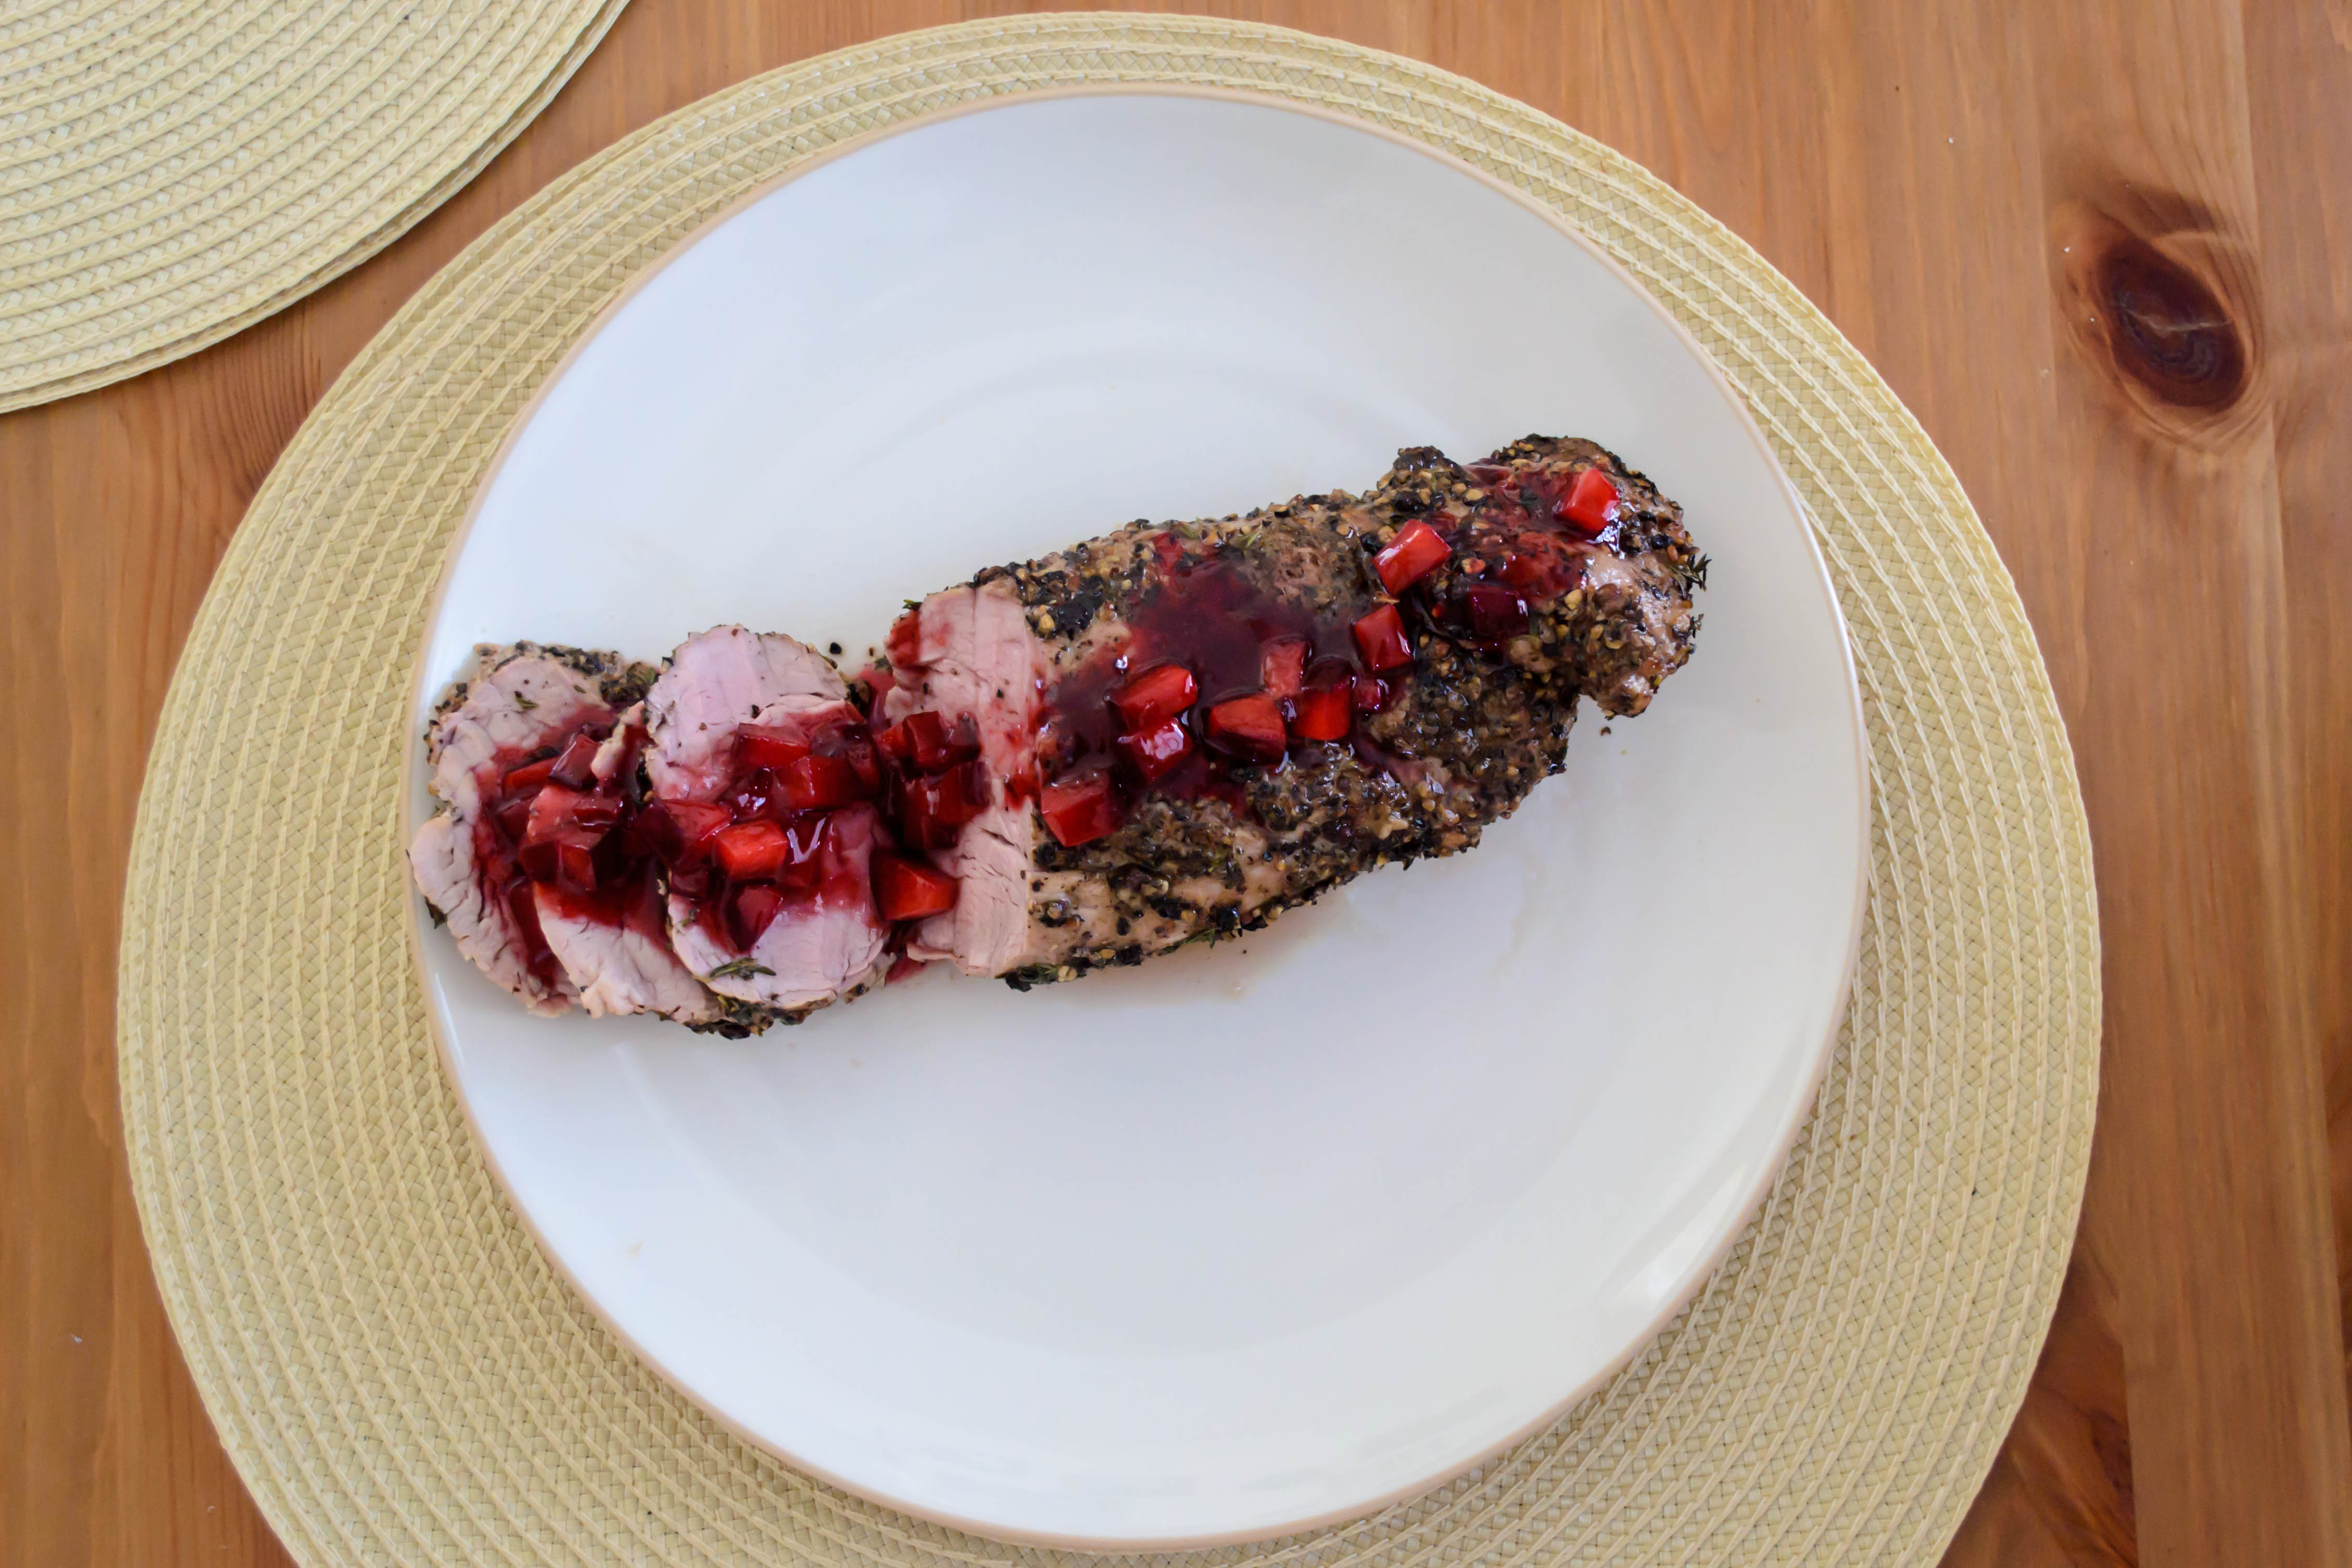
  • To serve, place a scoop of the puree in the center of a plate or a shallow bowl. Use the back of a spoon to spread it into a circle. Alternatively, if you strained the mixture into a sauce, just pour some into the bottom of the vessel you’ve chosen. Place the potato-wrapped fish carefully just to the side of the center, so you can see some of the bright green circle underneath. If you made the pencil asparagus, you can nestle this between the fish and the edge of your plate or bowl, as in the photo earlier in the post.

Melinda’s Perfect Oven Poached Cold Salmon

A few weeks ago I attended a retirement luncheon for a now-former colleague (there are a lot of now-formers here lately, aren’t there?) at the home of one of her friends (and one of her now-former colleagues!). Our hostess made, among other perfect, not-too-heavy dishes for quite a warm day, a cold side of salmon so buttery and moist and perfectly cooked that a day or two later I had to email her to find out how she had done it.

Imagine my delight when, rather than a quick overview or an inexact “oh I just…” response, she sent me a page long, detailed explanation of both how she’d prepared the massive six pound piece of fish for that day, but how she does so when she’s only making a portion or two. Every step was well explained and justified, and she also told me where she gets her fish (a bit pricey for me at the moment, but maybe someday).

Because salmon is delicious cold, and because the actual cooking phase for this dish only takes about half an hour including the time spent preheating the oven, it’s a perfect dish for summer, when you don’t want to be cooking anyway (well, unless you’re me), and you can take care of the house-heating portion in the morning and stow the flaky, fatty main course in the fridge for the rest of the day.

My hostess explained that she disguised a few cracks that formed during cooking with cucumber “scales,” and this struck me for two reasons: one, wouldn’t it be gorgeous to plate more of the filet with vegetable scales of different colors – green from cucumbers, florescent pink and white from radishes, maybe even yellow from baby golden beets – and serve a fish still enrobed in imitation of its original form? (Answer: yes, and a Google image search puts my meager shingling skills to shame.) Second, the idea of vegetables atop the fish made it seem only a step or two away from a salad. To complement the “scales” and disguise any possibility of dryness caused by potential overcooking, could you add a brisk, herby lemon vinaigrette right at the last minute, drizzling over fish and vegetables alike, and thus layer on one more fatty component to ensure moistness?

I decided to find out. Following my foolhardy practice of testing out new recipe ideas on guests, I determined to showcase M.’s fish – with a few of my adjustments – for some friends joining us for a weekend dinner.

If you like salmon at all, you have to try this one. The pan, lined with aluminum foil for ease of fish manipulation and clean-up, preheats with the oven. Wine, garlic, lemon slices, thyme, and a few cubes of butter make the fragrant bath this cooks in, and though they lend subtle flavors, the star remains the salmon. The high heat of the oven does the job quickly, but the liquid bath means the method of cooking here is somewhere between steaming and poaching, which keeps the flesh of the fish tender and – not to overuse that word my former college roommate castigated as “too descriptive” – moist throughout. Slapping the fish straight onto the hot pan before adding the liquid and aromatics means the skin sticks to the hot surface, and when you remove the fish later you can peel the flabby skin right off along with its foil lining with little trouble.

What you are left with under all that, once it has cooled and you’ve meticulously shingled on some bright, thin vegetable slices (or not – up to you!) and then drizzled the whole thing with a bright, herby lemon vinaigrette, is a filet that is just cooked through, so the fish doesn’t so much flake as it does sigh into tender, buttery layers. Cold, you can taste the richness of the fish but the whole thing still feels light, and if you’ve been wise enough to plan out the rest of your dinner with make-ahead options, you only have to leave your guests for five minutes while you sweep into the kitchen and emerge with a gleaming, laden platter they will exclaim over (and, if you’re anything like me, immediately try to recreate!)

And if all that’s not enough for you, should there be any leftovers, stacked onto some soft, fresh slices of French bread that you’ve liberally spread with mayonnaise, or salted butter, or some whipped cream cheese, they produce a perfect lunch the next day that gives you enough strength to face the sink full of dishes that is the worthwhile consequence of every dinner party.

Melinda’s Perfect Oven Poached Cold Salmon
Serves 4-6
Prep and cooking time: about 30 minutes before, then another 15 after chilling, to decorate
Chilling time: 2-6 hours
For the salmon:
1½ pound filet of salmon, skin on
1 cup dry white wine
6 cloves garlic, lightly smashed
4 sprigs fresh thyme
1 small lemon, thinly sliced
2 tablespoons butter, cut into small chunks
½ teaspoon salt
¼ teaspoon pepper
For the “scales” and vinaigrette:
About ½ a cucumber, skin on, cut into very thin slices
2-3 radishes, cut into very thin slices
zest of 1 lemon
1 tablespoon minced chives
1 tablespoon minced dill
1 tablespoon minced parsley
2 tablespoons lemon juice
¼ cup olive oil
salt and pepper, to taste
additional dill, to serve (optional)
lemon wedges, to serve (optional)


  • Preheat the oven to 425F with a foil-lined cookie sheet inside. As soon as you turn on the oven, take the salmon and wine out of the refrigerator to warm up a bit for more even cooking.
  • When the oven is preheated, remove the pan and carefully place the fish skin-side down on the hot foil. Pour the wine over the fish, then scatter the garlic, lemon slices, thyme sprigs, and butter on and around the fish. Sprinkle salt and pepper onto the fish, then carefully slide the whole pan back into the oven.
  • Cook in the 425F oven for 12 minutes, or until the fish reaches and internal temperature of 120-125F. It will be pale pink with some white splotches, and look slightly fatty on top. Remove the whole pan carefully from the oven and set on a wire cooling rack. Immediately, using a large spoon, baste the salmon with the cooking liquid, then let the whole thing sit for 10 minutes.
  • After 10 minutes, baste again, then drain off the liquid. Lay a cooling rack top-side-down over the top of the salmon, then, holding both cooling rack and cookie sheet, carefully flip the whole cookie sheet over (it’s a good idea to do this over the sink). The salmon will now be top-side-down on the cooling rack. Remove the cookie sheet and peel back the foil a little at a time – the salmon skin should stick to the foil and come off cleanly (mine stuck in one place and necessitated a little cajoling).
  • When the skin and foil are removed, place your serving platter serving side down over the top of the salmon (so the bottom of the salmon is on the part of the plate that will be facing up). Carefully, holding both serving vessel and cooling rack, invert so the salmon and the serving plate are now right-side up. Remove cooling rack.
  • Cover the platter, salmon and all, with aluminum foil and refrigerate until cold.
  • 30-45 minutes before you intend to serve, remove the salmon from the refrigerator. We want it cold, but not chilly. While you wait for it to climb a few degrees in temperature, prep the cucumber and radish slices and make the vinaigrette: in a small measuring cup, combine the lemon zest, minced chives, dill, and parsley. Squeeze in the 2 tablespoons lemon juice, then whisk in the ¼ cup olive oil. Season to taste with salt and pepper and set aside until needed.
  • To decorate, shingle the sliced cucumbers and radishes over some or all of the fish in a pattern you like – you can see what I did above, and the internet has, as always, many gorgeous alternatives. If you wish, arrange some bushy dill sprigs in the corner of your platter and pile some lemon slices on them for diners to choose at their whim.
  • Just before serving, drizzle the fish and its vegetable “scales” with the lemon vinaigrette, using a whisk or a fork, if needed, to distribute the herbs evenly (they may come out in little clumps). Serve with a large fork or a wooden spatula.

Save

Carrot Ginger Soup with Coconut and Turmeric

I threw away my bathroom scale today. Before you applaud me, this isn’t some kind of new-year-new-me-self-acceptance resolution. No, it’s because unless we have had a 46 pound ghost living in our bathroom for the last month, the scale has stopped working. No amount of fiddling with the dial on the bottom has had any effect, aside from bulking up our imaginary squatter to 77 pounds.

Food Blog January 2015-0205Though I realize there are probably many videos, tutorials, and step-by-step Pinterest boards devoted to fixing this problem (how to evict your imaginary scale-ghost!), I decided it was easier to just throw it away. Then I went out and had chicken and waffles for lunch.

Food Blog January 2015-0210All that being said, it is the time of year when, if we’re invested in this sort of thing, we tend to pay a lot of attention to what our bodies look like and what we put into them. Usually that involves eating less and eating lighter, which is ironic and unfortunate, because so many places in the country this January are having such a harsh winter. We need comfort, we need warmth, we need rich food to sustain us through snow and low temperatures (well, perhaps not in Los Angeles).

Food Blog January 2015-0199The answer to both of these problems seems, to me, to be vegetable soup. I don’t mean a minestrone type concoction, with chunks of various veggies floating in broth, but a pureed soup, featuring a single vegetable star, with minimal back-up supporters and just a bit of spice to keep things interesting. After a recent episode of Top Chef on which one of the contestants made a deep, sunset inspired roasted carrot soup, I knew what my star would be.

Food Blog January 2015-0201Carrots work well with many flavors, but ginger is a particularly nice pairing; carrots are sweet and hearty, and ginger is a warm, spicy kick that keeps it bright. Rather than chicken stock, which I find can muddy flavors a bit, I opted for water as my liquid, with a generous splash of coconut milk to add some richness. Then, on a whim I’m pleased I followed, I sprinkled in a good teaspoon or two of turmeric, which bolstered both the orange glow of the carrots and their earthy flavor.

Food Blog January 2015-0213As I watched my pureed mixture burble in a pot, I started thinking about texture. I’d stopped short of pureeing the carrots to total velvet smoothness, but I still wanted something crunchy to break up the potential monotony of my soup. During the pumpkin madness of autumn, I experimented with some yet-to-be-perfected turmeric-spiced pumpkin bars that featured a pistachio and walnut crumble topping. Pistachios seemed like a good choice again here, and to play with the hint of citrus flavor they carry, as well as add a slight sourness the soup might benefit from, I tossed the nuts with lemon zest before sprinkling them over my vivid orange lunch.

Food Blog January 2015-0209Despite our less-than-wintery weather, this was a comforting, warming bowl. Roasting the carrots brings out their sweetness and concentrates their flavor, but the spices keep it dancing between decadent richness and brightly refreshing. I used some leftover naan to mop up the edges of my bowl, but a crusty piece of baguette or hot pita would, as you might expect, be just as nice.

Food Blog January 2015-0214This is a thick soup – almost passable as a vegetable puree, and you can play with it as you please. Add more or less liquid, replace the pistachio and lemon topping with another toasted nut, or lime zest rather than lemon, or maybe even fried sage and crumbled gingersnaps, to play with the fresh ginger in the soup. My quantities here produce an assertively gingery mix – reduce to just a teaspoon or two for a milder spice.

Food Blog January 2015-0207

Carrot Ginger Soup with Coconut and Turmeric
Serves 2-3
1 pound carrots, tips and tops removed, peeled if desired (I usually don’t – just scrub them off)
1 tablespoon olive oil
½ teaspoon salt
½ teaspoon pepper
1 tablespoon grated ginger (or less, to your taste)
2 teaspoons turmeric
1 cup light coconut milk
1 cup water
2 teaspoons sugar
additional salt and pepper to taste
¼ cup roughly chopped, toasted pistachios
2 teaspoons lemon zest


  • Preheat the oven to 425F while you prep your carrots. Remove their tops and tips, then split down the center for two long half cylinders. On an aluminum foil lined baking sheet, toss the carrot halves with the olive oil and the ½ teaspoon salt and ½ teaspoon pepper for a gleaming, even coat. Roast in the 425F oven for 40 minutes, until nicely browned and quite tender. Set aside to cool slightly.
  • For a standard blender: add the roasted carrots, coconut milk, water, grated ginger, and turmeric to a blender and blend until the mixture reaches your desired consistency. As noted above, I chose to leave mine with a little texture, but you can blend until completely smooth if desired. Pour the mixture into a medium pot.
  • For an immersion blender: add the roasted carrots, coconut milk, water, grated ginger, and turmeric to a medium pot with high sides (otherwise the soup spatters a bit during blending) and blend with an immersion blender until the mixture reaches your desired consistency. As noted above, I chose to leave mine with a little texture, but you can blend until completely smooth if desired.
  • For both methods: once the soup is your desired consistency in the medium pot, place it over medium-low heat until it is heated through. Be careful – because this mixture is thick, if it comes to a boil it will spit.
  • Season to taste with salt and pepper and serve topped with a scattering of chopped pistachios and lemon zest.

Project Sauce: Peppercorn Crusted Pork Tenderloin with Plum Gastrique

Today’s entry rounds out my eighth month of this sauce project. I’ve learned a number of things thus far, but the one that remains the most challenging is this: sauce is a component, not a complete product. That means you must not only execute the sauce itself, but you also have to decide what to drizzle, spoon, scoop, pour, or dab it over!

Food Blog August 2014-0442Sometimes this is quite simple. Hollandaise, for example, is such a classic that eggs benedict spring immediately to mind. A few weeks ago, my meunière sauce had a similar effect, demanding as it does a particular fish to moisten and flavor. And in fact, once I figured out what the next entry in my little project would be, I had no trouble dreaming up how I would serve it. It would be a gastrique – a French sauce that melts sugar and vinegar together into a thick, sweet-sour glaze. Mine, since it’s the height of summer and every week I can’t help but fill a bag with stone fruit at our local Farmers’ Market, would be dressed up a touch with the addition of plums. As soon as I knew this, I knew I wanted to serve it over moist lovely slices of pork tenderloin. Easy. Done.

Food Blog August 2014-0440Except.

Let’s straighten out an unfortunate item of business here, friends. N. doesn’t like pork. Oh he loves bacon. Sausage, especially breakfast sausage, is a treat. He’ll eat various smoked and cured pig-based items: prosciutto and pancetta are consumed with gusto and exotics like guanciale or chorizo are just fine. He’ll even tolerate ham, though it wouldn’t be his first choice. But pork itself, not treated with smoke or salt or brine, elicits a sneer. He would never order pork tenderloin in a restaurant. Ribs are more trouble than they’re worth. Even pulled pork had better be swimming in a pretty flavorful sauce to keep him interested. I have to get my pork chop fix when I visit my parents without him. It doesn’t seem to matter if it’s breaded and fried, grilled up, or seared and roasted. He’ll have the chicken, thanks.

Food Blog August 2014-0426This, as you can imagine, was a considerable wrench aimed at my little plan. But the idea of silky, tangy, liquid plum dribbling over a thick slice of tenderloin sounded too good. I decided he would just have to deal. So I rolled the tenderloin in a blend of crushed peppercorns, coarse salt, and thyme leaves. I seared it, I roasted it, I let it rest. I cut it in thick, moist slices and served him a few with a coating of ruby sauce.

Food Blog August 2014-0428He went back for seconds. Later, I caught him in the refrigerator tasting just one more slice. He considered piling the leftovers onto some sourdough for a lunch sandwich the next day. Um, pork.

Food Blog August 2014-0432I can only figure one of two answers here. One, it could be that the heat from the crushed peppercorns was so powerful that it disguised the porcine flavor he’s so tepid about. Two, and this is the option I choose to believe: the pairing was so perfect, and the gastrique so sublimely flavored, that he couldn’t help himself but to fall hard for the combination.

Food Blog August 2014-0434Whichever it was, and however you feel about pork, this sauce is definitely worth trying. No butter this time; this sauce contains no dairy, no eggs, and no flour. It’s completely different from every other sauce I’ve approached thus far, with one exception: it must be simmered to thicken. Here, though, rather than emulsifying butter or letting flour granules soak up liquid or gently cooking egg yolks to coax out their protein strands, we’re contending with melting sugar and evaporating water content. In my version, the sugar and vinegar required to make this a gastrique are joined by gloriously ripe red plums, cooked down into a jammy pulp (helped out with the determined application of a potato masher), strained, and then returned to the pan just to help a few bits of diced raw plum heat through, for some texture. And all of this happens while the pork is cooking, so everything is ready to go at roughly the same time.

Food Blog August 2014-0437Food Blog August 2014-0438If you’re not a pork tenderloin fan, I think this would also work really well with salmon, or with various varieties of poultry. It would also provide the perfect wilt as the dressing in a warm salad of dark leafy greens; I’d opt for spinach. And save the skins and pulp after you’ve strained out the glorious velvet sauce. Warm or cool, perhaps with an additional sprinkle of sugar, they make a fantastic tart spread for toast.

Food Blog August 2014-0441

Peppercorn crusted pork tenderloin with plum gastrique
Gastrique recipe adapted from The Tomato Tart
Serves 4
 
For the pork:
1 lb. boneless pork tenderloin
1-2 tablespoons whole black peppercorns, crushed (we used 2 tablespoons, which was aggressively peppery. If you are concerned about spice, try 1 tablespoon)
1 tablespoon fresh thyme leaves
1 tablespoon coarse salt
2 tablespoons olive oil, for searing
 
For the gastrique:
4 ripe plums, divided (the riper they are, the faster they will cook down)
½ cup red wine vinegar
3 tablespoons sugar
Pinch of salt


  • Preheat the oven to 350F. While it warms, combine crushed peppercorns, thyme, and salt on a large plate or a sheet tray, and roll the pork through it, coating it on all sides.
  • Heat the olive oil over medium-high in a large skillet. When it is rippling but not quite smoking, add the pork and sear it until golden-brown on all sides. This should take 2-3 minutes per side. As each side sears, leave it alone. You won’t get a lovely golden crust if you shake the pan and move the pork around too much.
  • When the outside of the pork is a uniform golden-brown (though of course quite raw on the inside still), relocate it to a rack on a roasting pan (I just placed a rack over the sheet tray I’d used earlier) and roast in your 350F oven for 35-45 minutes, or until the interior tests 150F. Then remove it from the oven, wrap tightly with aluminum foil and leave it for 10 minutes. During this time the temperature will rise to 160F, which is perfect.
  • Slice and serve with warm plum gastrique. A few slices, nicely sauced, over a bed of goat cheese polenta is quite nice.


  • While the pork is roasting, make the plum gastrique. Pit and quarter three of the plums. Pit the fourth plum, cut it into a small dice, and set aside.
  • Add the three quartered plums, the vinegar, and the sugar to a saucepan and cook over medium heat until simmering.
  • Turn the heat down, maintaining the simmer, and cook for 5 minutes. Then, using a potato masher (or, if they are really ripe, just the back of a spoon), mash up the plums, skins and all, into a pulpy mess.
  • Cook, stirring often, until the mixture gets syrupy – about 15 minutes.
  • Pour and/or smash the mixture through a strainer to separate the pulp and skins. You can do this into a bowl, or right back into the saucepan. Either way, once the mixture is strained, pour the sauce portion back into the pan, add the diced plumps and a pinch of salt, and cook over low heat for 5 minutes just to heat everything through.
  • Serve warm.

Strawberry Lemonade Jam

If you’re like me, you’ve already been totally seduced by the complex sweet perfume of summer strawberries, lying there all innocent-like in their little baskets and boxes… maybe even twice. Okay three times. Seriously, that smell! I take home pints, pounds, flats. But here’s the embarrassing thing: once those little red gems have enticed me into slapping down dollars to take them home, I eat a few, nibbling around the hull, I cut up a handful and stir them through yogurt, I may even sprinkle on some sugar and dollop on some lightly sweetened whipped cream.

Food blog June 2014-3929But the remaining berries languish. They flirt with me, teasing me with that gorgeous aroma, but once they are safely home and in the fridge (fruit molds FAST in my Southern California kitchen), the affair is half over already. I – how could I ever? – forget about them. And when they are weak and softening and reluctant to be sliced without collapsing, I try frantically to think of ways to use them so I won’t waste their summery tartness.

Well then, let’s jam. Strawberry lemonade jam. It’s an easy prospect. It’s a perfect non-adventure for a lazy day when pajamas are the right wardrobe choice, that novel you’ve been longing to finish finds its way into your hand, and you aren’t ready for breakfast until almost afternoon. And if that breakfast is toast with still-warm jam, well, carry on.

Food Blog Photo Friday 2014-3357
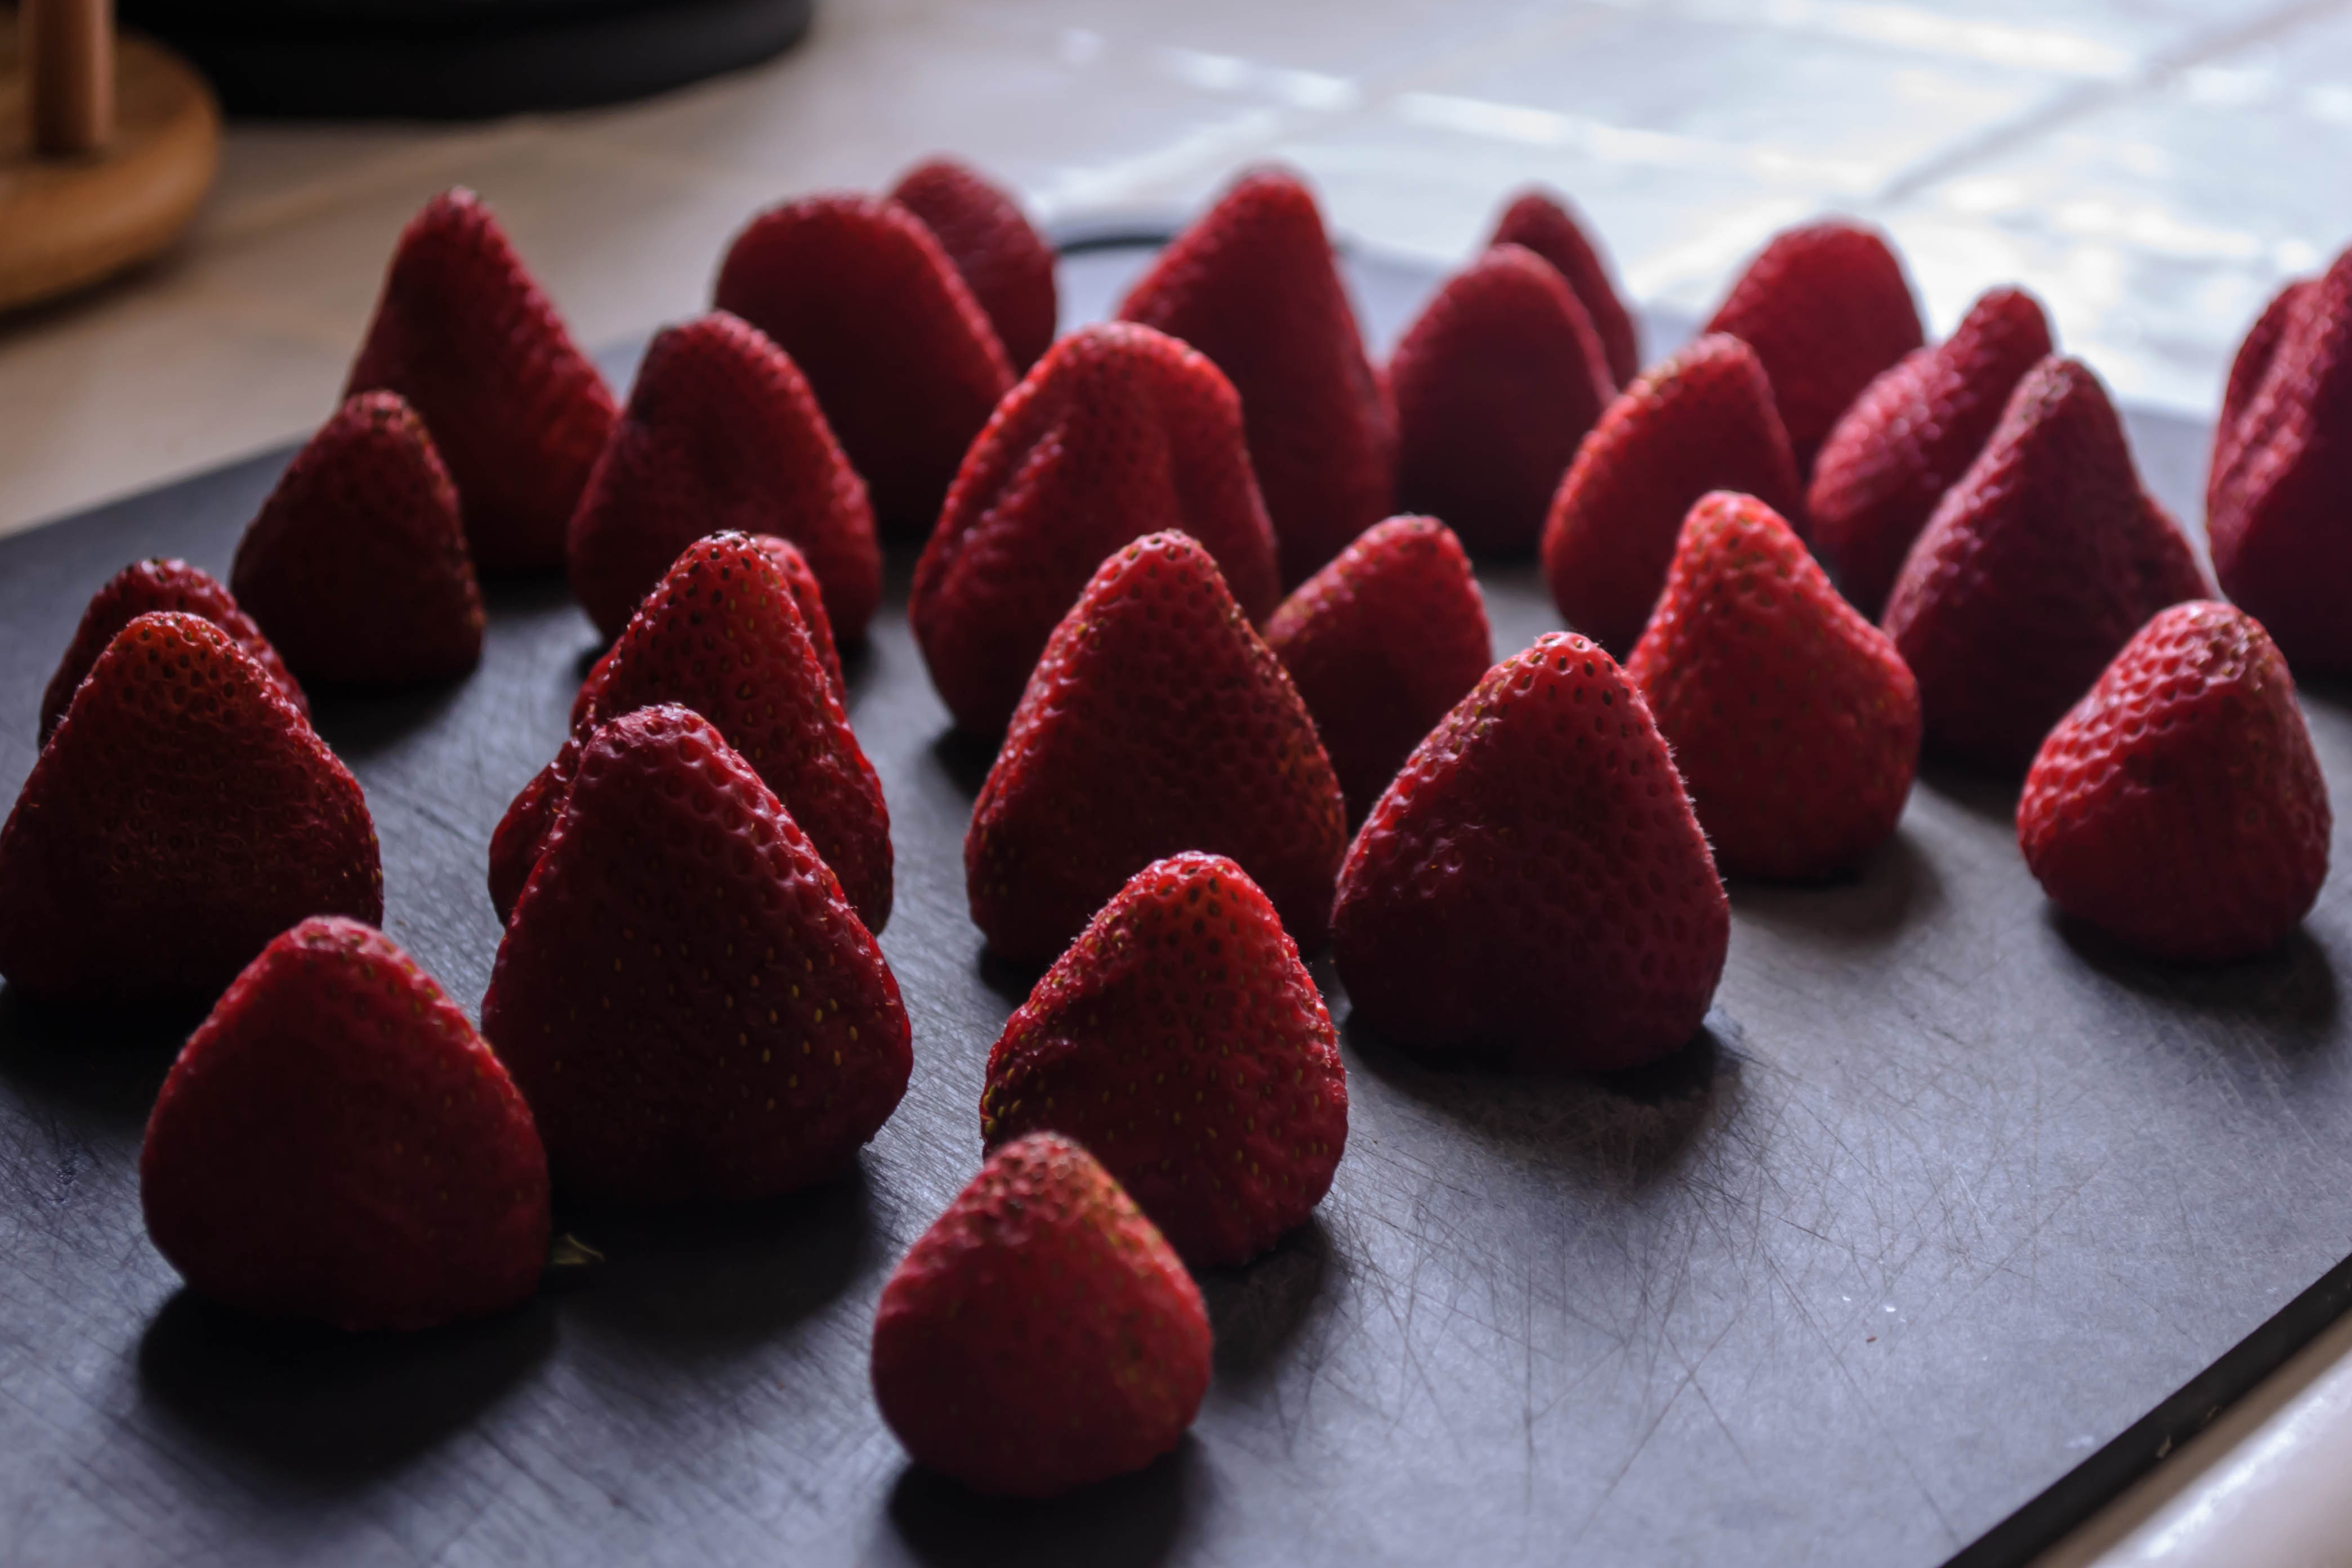
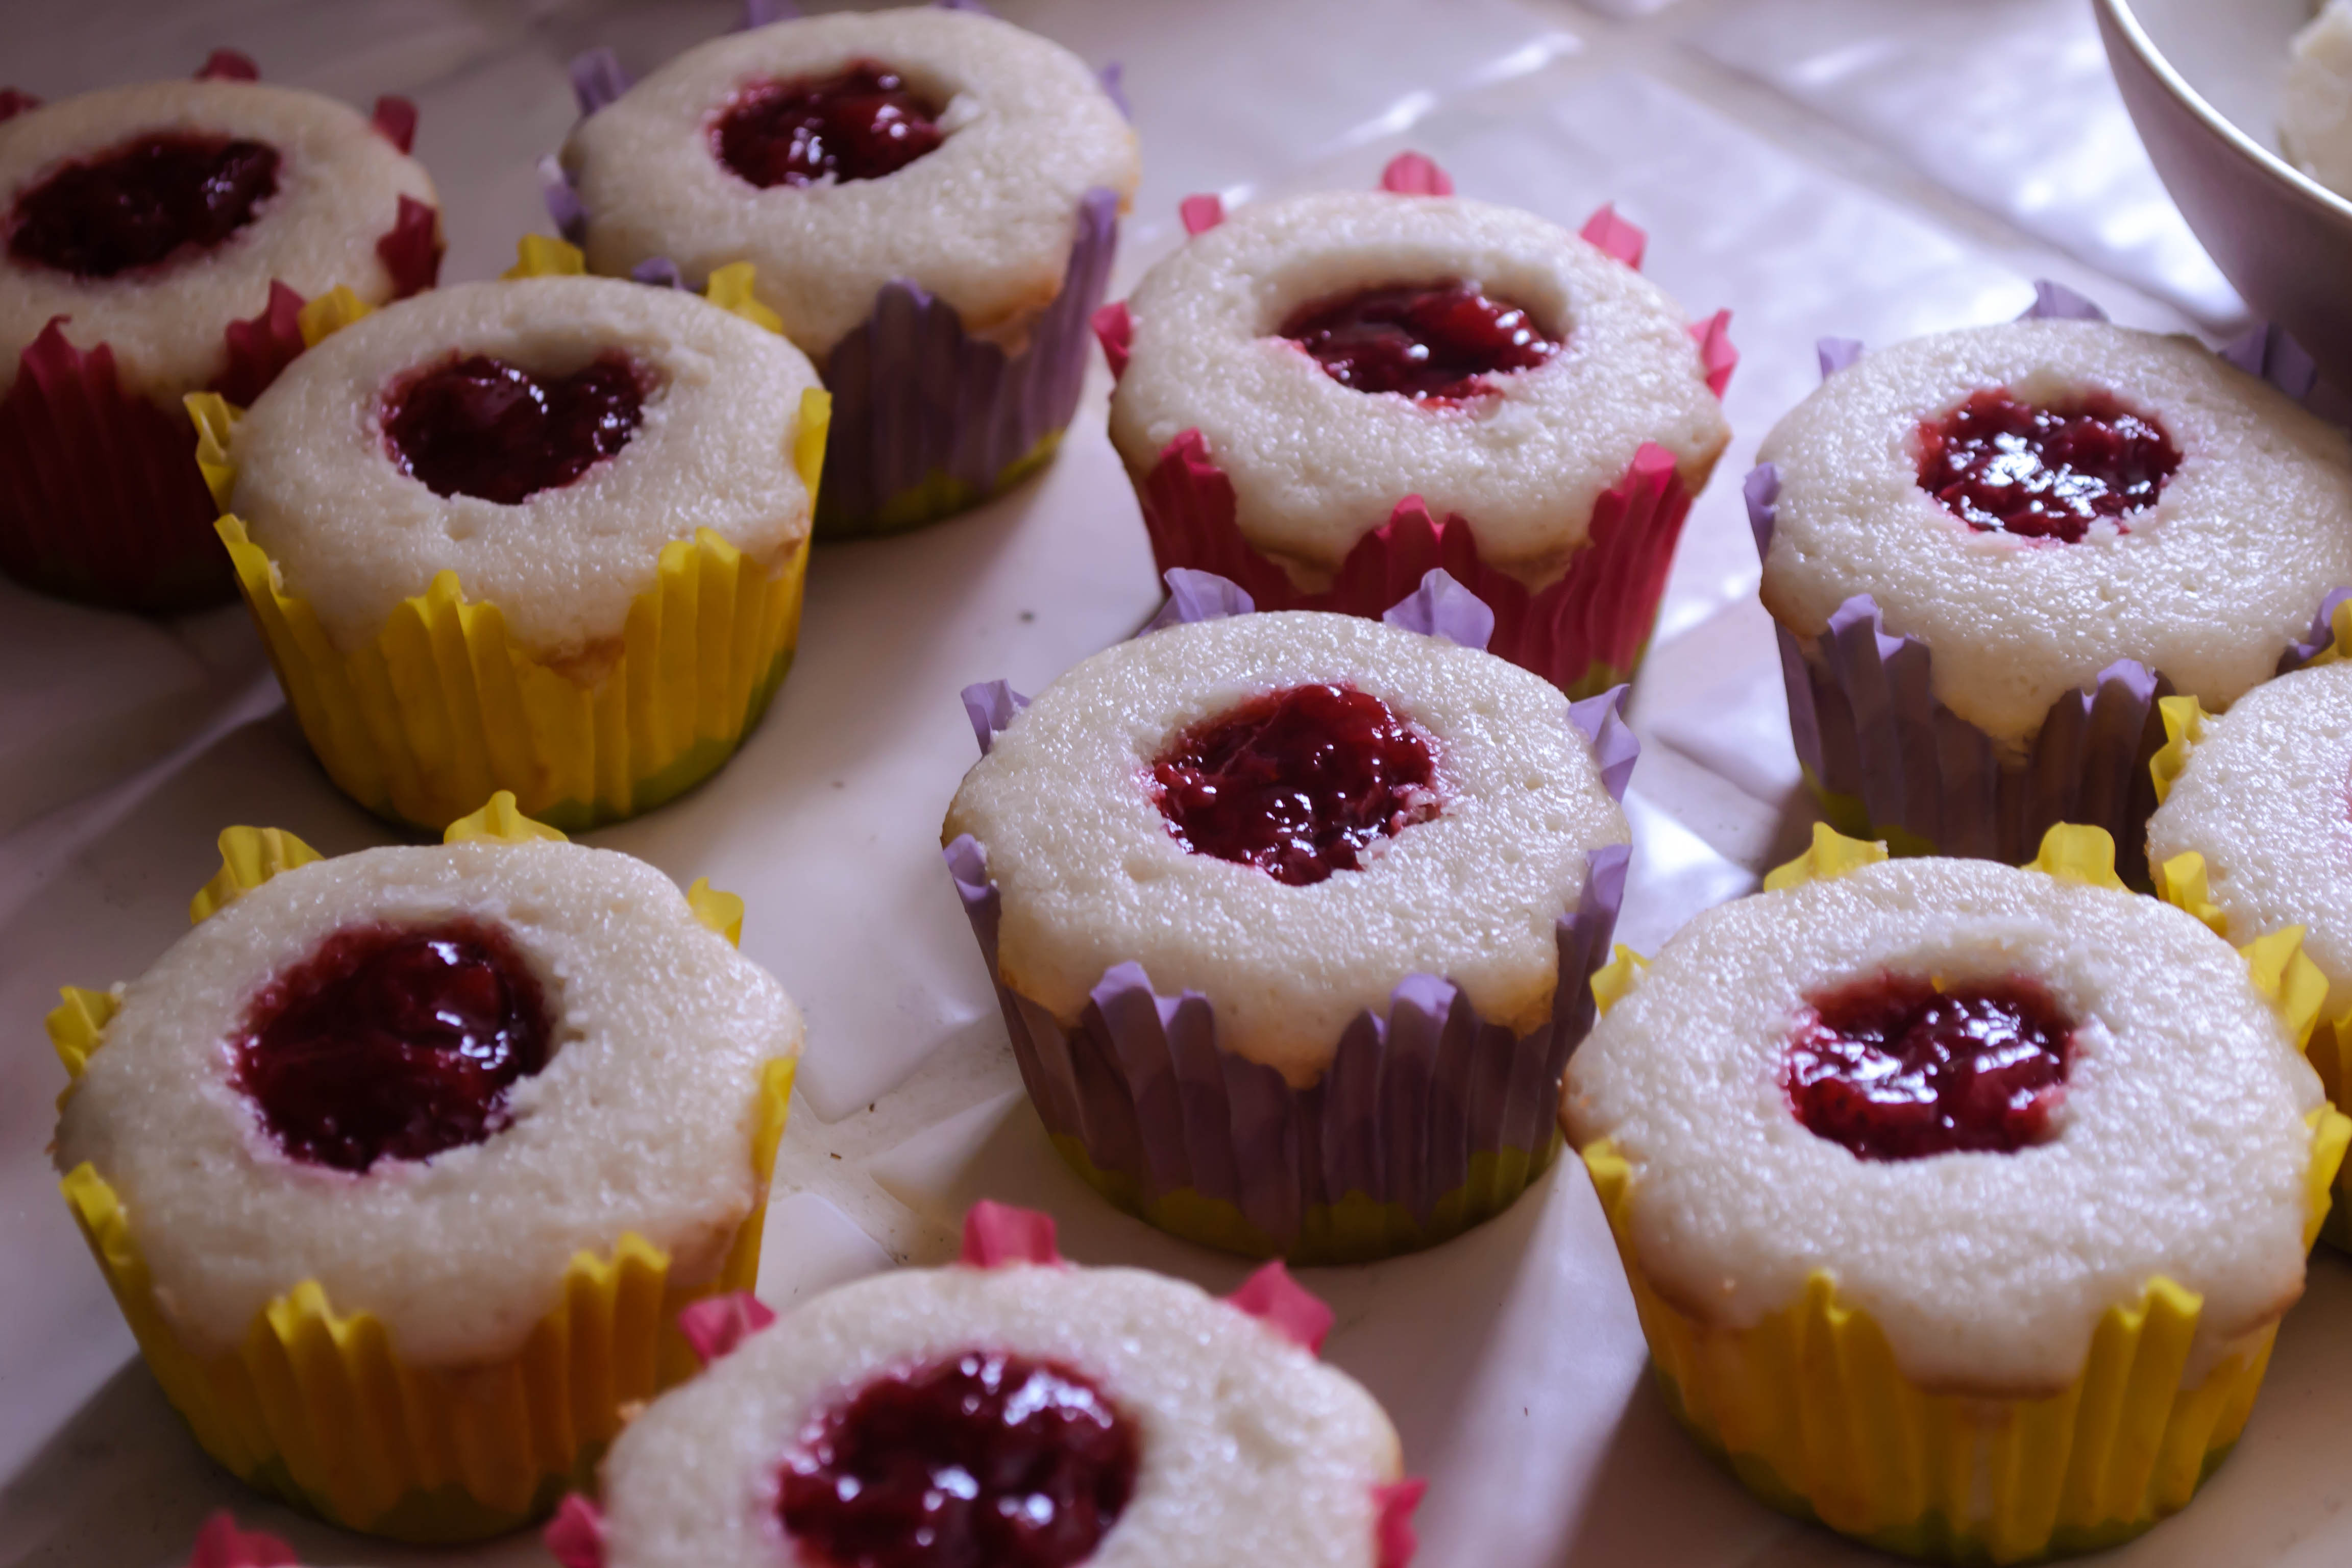
Strawberries, a few flurries of sugar, a generous squeeze of lemon (freshly squeezed, please), a pinch of salt for its indescribable magic (you won’t taste it, but it will heighten the flavors of the other ingredients), and if you’re feeling sassy, a drizzle of framboise or chambord for extra depth and tingle. I’m nearly always feeling sassy. Then a long, slow simmer, almost an hour, until the fruit breaks down and the bubbles get thick and sluggish. Strawberries don’t have huge quantities of pectin, so this isn’t a tremendously thick jam, but who needs that, in the summer?

Food blog June 2014-3934There’s little else to say, because really, a perfect summer beverage in jam form doesn’t need much advertisement, but I suppose we can linger over serving suggestions for a moment. A languid spoonful oozed over toast, or pancakes, or dribbled into the holes of a waffle, is perfectly acceptable. If the day has, as they say, “gotten away from you” in its summery glory, a soft ladle over vanilla ice cream could never be a bad thing. If you’re more of the cocktail type, a drizzle of jam topped with gin and soda would cool and sweeten a sweltering afternoon.

Food blog June 2014-3944I went as far as using this for the filling in a batch of cupcakes I took to a baby shower last month. A quick slather between layers of cake would do nicely as well. But really, since I’m a bit of a purist, I think my favorite application was slathered across the slightly over-toasted surface of an unapologetically thick slice of homemade sourdough bread.

Let’s do summer. Let’s jam.

Food blog June 2014-3943

Strawberry Lemonade Jam
Makes…. well, it was a summer afternoon… and I forgot to measure… but it certainly made enough to play with for several days.
1 ½ pounds strawberries, hulled and roughly chopped
⅔ cups granulated sugar
½ cup freshly squeezed lemon juice (I needed two lemons for this. You may need more or less depending on how juicy yours are)
pinch of salt
2 teaspoons fruity liqueur such as framboise or chambord, optional.
  • Dump all ingredients into a pot. Set your stove to medium heat and stir gently to combine and begin dissolving the sugar. Continue to stir occasionally as things heat up.
  • After ten minutes, the strawberries and sugar will be foaming up bright pink bubbles. Stir and reduce the heat to medium-low. We do want to evaporate some of the liquid the strawberries are exuding, but not burn the sugar.
  • Simmer for another 30-45 minutes for a loose but still spreadable jam. It will still look quite thin when you take it off the heat, but will thicken as it cools. If you are unsure about thickness, put a tablespoon or two on a plate and stick it in the freezer for five or ten minutes to see how thick the finished product will be.
  • Because strawberries don’t have a tremendous amount of pectin, this all-fruit concoction will never be as thick as a commercial jam. If that is what you are looking for, you will have to add thickener.
  • Serve warm or cool, in or on, or even under, your favorite bread product, or see serving suggestions above.