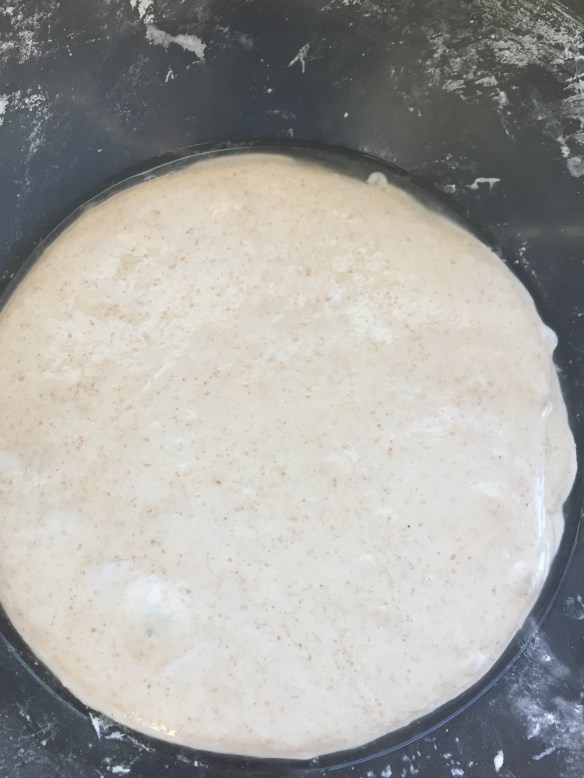
 This last week has been a lot. A new president, an elderly dog with suddenly severe mobility challenges, a new president, a state that seemed to offer a pointed meteorological response, particularly on inauguration day (and then clear, sun-swept skies for the women’s march the next morning – what up, universe!), oh, and that whole new president thing. I opted, as is my usual practice, to respond in part by shuffling into the kitchen. Cooking doesn’t do a great deal on a large scale, but it makes me feel safe and in control, and it is with those feelings that I gain a foundation of strength and confidence to undertake other, more consequential actions. So let’s talk foundations. The foundation – the basis – of soup is liquid. That’s not always the part you add first, and it often doesn’t feel like the most interesting part,* but it’s what separates soup from puree, or pasta, or pile-of-diced-vegetables-with-some-beans-and-meat-or-maybe-potatoes.

 Obviously you have a lot of choice when it comes to choosing this liquid. You could, of course, work with plain old water, and per some rational arguments this does work, but most soups advocate for a stock or broth of some sort – usually the variety that most closely matches the “star ingredient” in the finished dish. I’d wager a guess that chicken and vegetable are the most common, with beef coming in a wavering third. There are many good options in the aisle at the store for all of these varieties – when I go with store-bought I opt for low-sodium – but what fun would it be if I told you to go out and buy the base of our project for the whole year? Nope. Doesn’t sound like me. We need a strong foundation. We’re going to make it ourselves.

 The first hurdle to surmount is the question of broth vs. stock. These terms get used pretty interchangeably, but there is a difference. Harold McGee offers mostly an etymological distinction, citing the latter as deriving from “an old Germanic root meaning ‘tree trunk’” and the former as “more specific and ancient,” going back to the turn of the first millennium with the root bru, which means “to prepare by boiling” – quite similar to our word “brew” (599). Alan Davidson agrees, adding that though broth or bru at its inception just meant the liquid and its contents, in recent centuries the word has implied the presence of meat. A broth could be the resulting liquid of brewing down these ingredients, or a finished product in itself, like the broth of a soup. Stocks, on the other hand, Davidson positions as less finished, component parts of a dish-to-be (108).
 More recently, though, at least in American cooking parlance, stock vs. broth tends to be a question of bones vs. meat. A broth is a liquid made from meat that has been simmering, usually along with vegetables and herbs for flavor. Stocks are made from bones as well as connective tissue, along with vegetables and aromatics for flavor, and the collagen extracted from the bones during the simmer results in a product with more body – a heft or thickness absent from broth. As Alton Brown notes, it is hard to remove all meat from bones when you are making a stock, which means that many homemade stocks are actually a hybrid between the two bases; that may be in part why we tend to use the words interchangeably. At least, that’s the answer I’m going for.

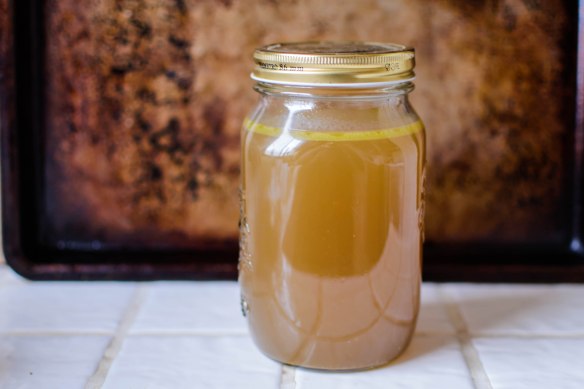
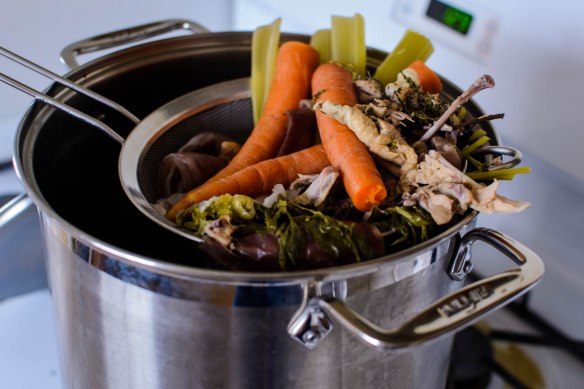 According to these defining principles, then, what we’re going to make here is one broth (no bones; all vegetables), and one stock (well, broth-stock. Brock? Stoth?). The ingredient lists are similar and the procedure is easy, if a little time-consuming: roast some veg or a chicken, pop the roasted veg or bones in a big pot, add flavoring agents, cover with water, simmer long enough to produce a bronzed, aromatic liquid. Strain, cool, and store. That’s it. Yes, it’s an additional step or two on your quest for soup, but it makes plenty, and then you’re set for a few months, depending on the frequency of your broth needs. Call it a project for a rainy day, which we seem to be having plenty of lately.

 I particularly like making the effort just after Thanksgiving, when the bones and trimmings of that turkey carcass make enough meaty, strengthening, belly-consoling stock to service my soup, stew, risotto, couscous, and arroz con pollo needs for at least a quarter of the year.**

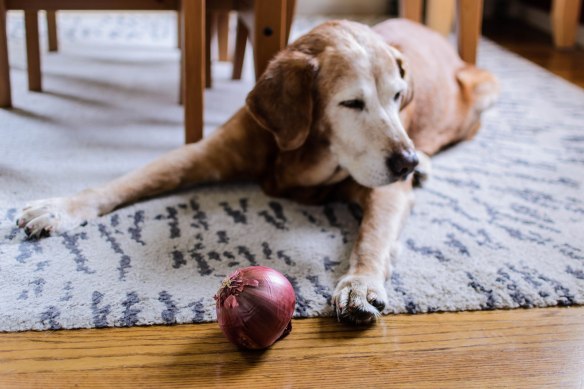
 * it’s also not the most interesting or sexy thing to take photos of, so I hope you appreciate Lucy’s willingness to help out by posing with various vegetables (she couldn’t be bothered with the celery, so we stuck with onion and carrots).
 ** with the Thanksgiving turkey carcass, I increase the amount of water in the mix, but tend to leave the other ingredient quantities about the same.
Roasted Vegetable Broth
Makes 10-11 cups, depending on how much evaporation takes place
About 2 hours, if you are organized
The mushrooms and soy sauce here produce a final product that is darker in color than the broths you might be used to, but I like including them because they contribute such deep, earthy flavors. Don’t worry about the saltiness of the soy sauce – it’s only a few tablespoons in a tremendous three quarts of water. This leaves the finished broth slightly under-seasoned, so you can reduce it down into a sauce without worries, or add salt to taste as you use it for other dishes.
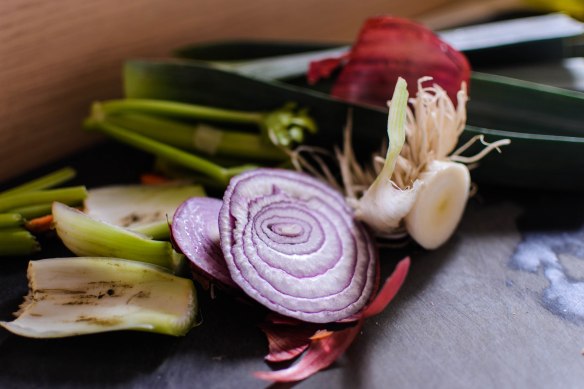
1 onion, stem end and root stub removed, papery skins still on, quartered
1 leek, dark green leaves removed, roots lopped off, halved and rinsed well between the layers
3 thick carrots, stems lopped off, cut in thirds
3 celery stalks, top and bottom tips removed, rinsed free of dirt, cut in thirds
2 tablespoons olive oil
1 teaspoon salt
8-10 garlic cloves, skins on
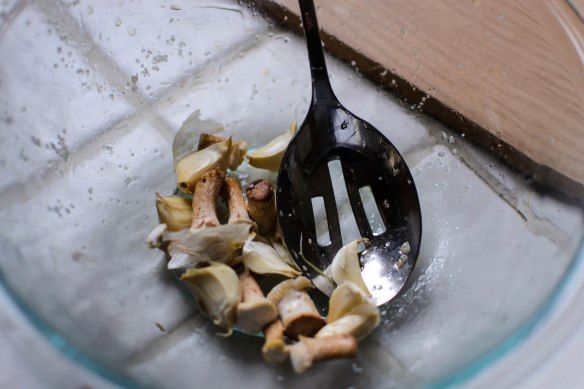
8-10 shiitake mushroom stems or 4-5 whole shiitake mushrooms (you could use crimini instead, if you prefer, but I had shiitakes. Just go for a dark, flavor-rich mushroom that you like.)
¼ – ½ bunch of parsley, stems and leaves
2-3 big sprigs of thyme (2-3 inches each)
1 tablespoon whole black peppercorns
2 bay leaves
3 tablespoons soy sauce
12 cups (3 quarts) cold water
- Preheat the oven to 375F while you prep the vegetables. In a large bowl, toss the onions, leeks, carrots, and celery with the 2 tablespoons olive oil and 1 teaspoon salt. Line a large cookie sheet with aluminum foil and scoop the vegetables onto it using a slotted spoon. Roast at 375F for 30 minutes. Meanwhile, add the garlic cloves and the mushrooms or mushroom stems to the bowl and toss around a bit to coat them with the remaining olive oil and salt.
- After half an hour, remove the cookie sheet from the oven, toss the vegetables around a bit to prevent sticking and encourage even browning, and add the mushroom stems or whole mushrooms and the garlic. Put the cookie sheet back into the oven and roast another 20 minutes, until the edges of the onions and leeks are deeply browned and a bit crisp.
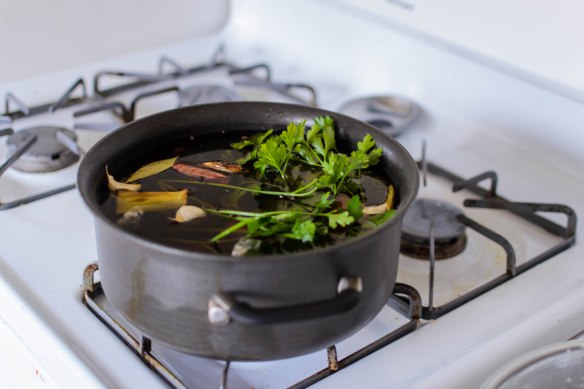
- Put the roasted vegetables into a large stock pot or dutch oven (if you’re careful, you can just lift the whole sheet of aluminum foil and dump them straight in). Add the parsley, the thyme, the peppercorns, the bay leaves, and the soy sauce. Dump in the water, turn the heat on high, and clamp on the lid.
- When the liquid in the pot reaches a boil, turn the heat down to medium low or low and keep it at just a simmer for 60 minutes.
- After an hour, turn off the heat and use a strainer or fine mesh sieve to scoop out the vegetables and peppercorns. Let the remaining liquid cool, then strain into your chosen storage containers. I like to use clean large yogurt containers – I portion out about 3 cups per container.
- Roasted vegetable broth can be stored in the refrigerator for one week, or frozen for several months. Use as needed for soups, stews, deglazing vegetables; anything that needs a rich, earthy liquid as a base.
“Everyday” Chicken Stock
Makes 14-15 cups, depending on how much evaporation takes place
About 2 hours (not counting the time required to roast and pick the chicken)
Here we leave the vegetables in bigger pieces since we will simmer for a bit longer – that way they won’t break down entirely as the hot water extracts the necessary flavor and collagen from the bones. I use skin as well in the mix, because I like the extra flavor and seasoning it contributes. You can leave it out if you wish. I’m calling this “everyday” because though I realize you won’t make it every day, it is nice to have access to on a daily basis, which is why always having a few quarts stashed in the freezer is one of my kitchen goals.
Carcass (and remaining skin, if desired) from a 4½-5½ pound chicken, picked reasonably clean of meat (save for chicken tacos, or pot pie, or sandwiches, etc.)
3-4 whole carrots, stem ends lopped off
3-4 stalks celery, leaves and all (rinse or brush off any dirt at the root end if needed)
1 onion, stem and root ends removed, quartered (you can use or discard the papery skin; I’ve done both and there isn’t much difference to the resulting product)
10-12 cloves garlic, papery skins still on
½ bunch parsley, stems and all
3 thyme sprigs (2-3 inches each)
3 sage sprigs (2-3 inches each)
3 rosemary sprigs (2-3 inches each)
1 tablespoon whole black peppercorns
2 tablespoons coarse sea salt
2-3 bay leaves
16 cups (4 quarts) cold water. We want to cover the ingredients by an inch or two (though some of the vegetables will float), but not add so much water that the final product is diluted – the bones can only give up so much flavor.
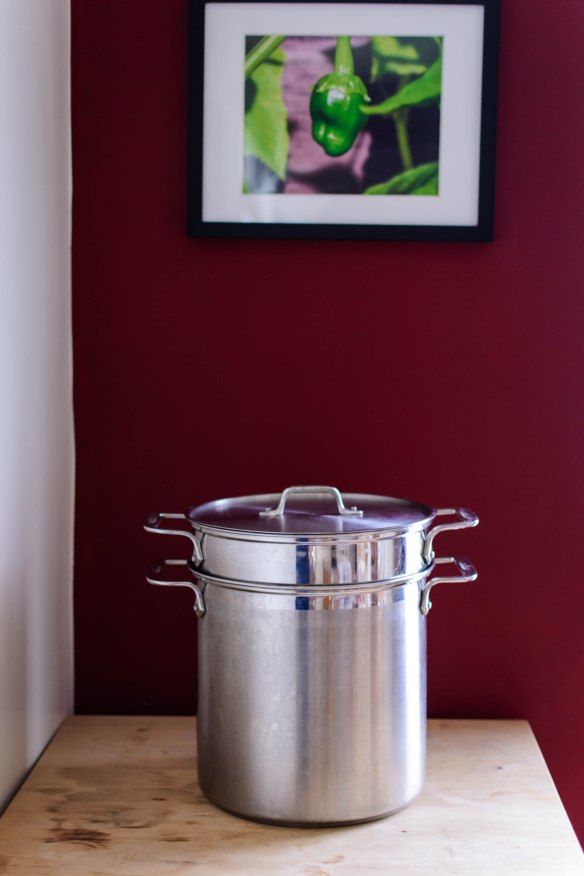
- Place all ingredients together in a large pot. I like to use a big pasta pot with the removable strainer insert. You could, I suppose, make use of the strainer insert, but some of the smaller pieces (i.e. the peppercorns) are going to fall through, so I just use the empty pot. Saves at least one dish to wash later.
- Cover the pot and bring the liquid to a boil over high heat, then reduce to low or medium-low and simmer for 1½-2 hours, until the liquid is golden and aromatic, and the vegetables are extremely tender but not yet falling apart.
- Use a fine mesh sieve or strainer to remove and discard the bones, vegetables, and peppercorns. Let the remaining liquid cool, then strain into a large pitcher and store in the refrigerator overnight. Excess fat in the stock will float to the top and solidify; scoop it off and discard it the next day.
- Once the fat is discarded, strain the stock into your chosen storage containers. I like to use clean large yogurt containers – I portion out about 3 cups per container.
- Homemade chicken stock can be stored in the refrigerator for one week, or frozen for several months. Use as needed for soups, stews, risottos; anything that needs a fragrant, golden, poultry-flavored liquid as a base.

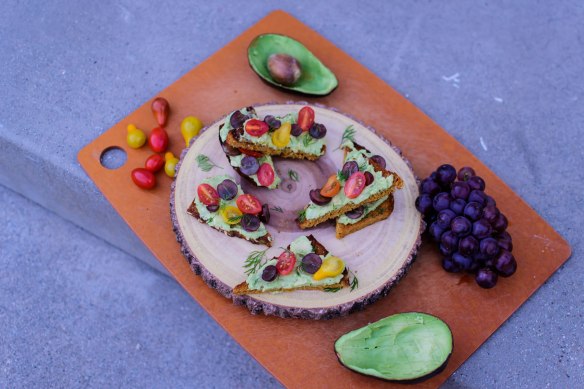
 This one is a restaurant recreation from a spot we like in Culver City. These guys appreciate the lux/simplicity combo that is avocado toast; in fact, they are also the inspiration for my last foray into this ever-so-trendy meal base.
 Cherry tomatoes and grapes seemed like a strange combination, and I was dubious about how well grapes would play with avocado, but it all works. The tomatoes are bright and acidic, and the grapes are tart enough that, with a squeeze of lemon and flake or two of salt on top, they toe the savory/sweet line successfully.