Arugula Herb Soup

You know I don’t usually do this – usually I report on something delicious, sharing the recipe so you can make it too – but I owe you a soup for May, and there’s absolutely zero chance of a recipe next week, since the moving truck comes on Friday(!!!!), so here we go (and besides, the photos came out so nicely). This one was… weird. It wasn’t bad, but it also wasn’t remotely our favorite. If you’re into an herby, grassy taste, you should go for it.

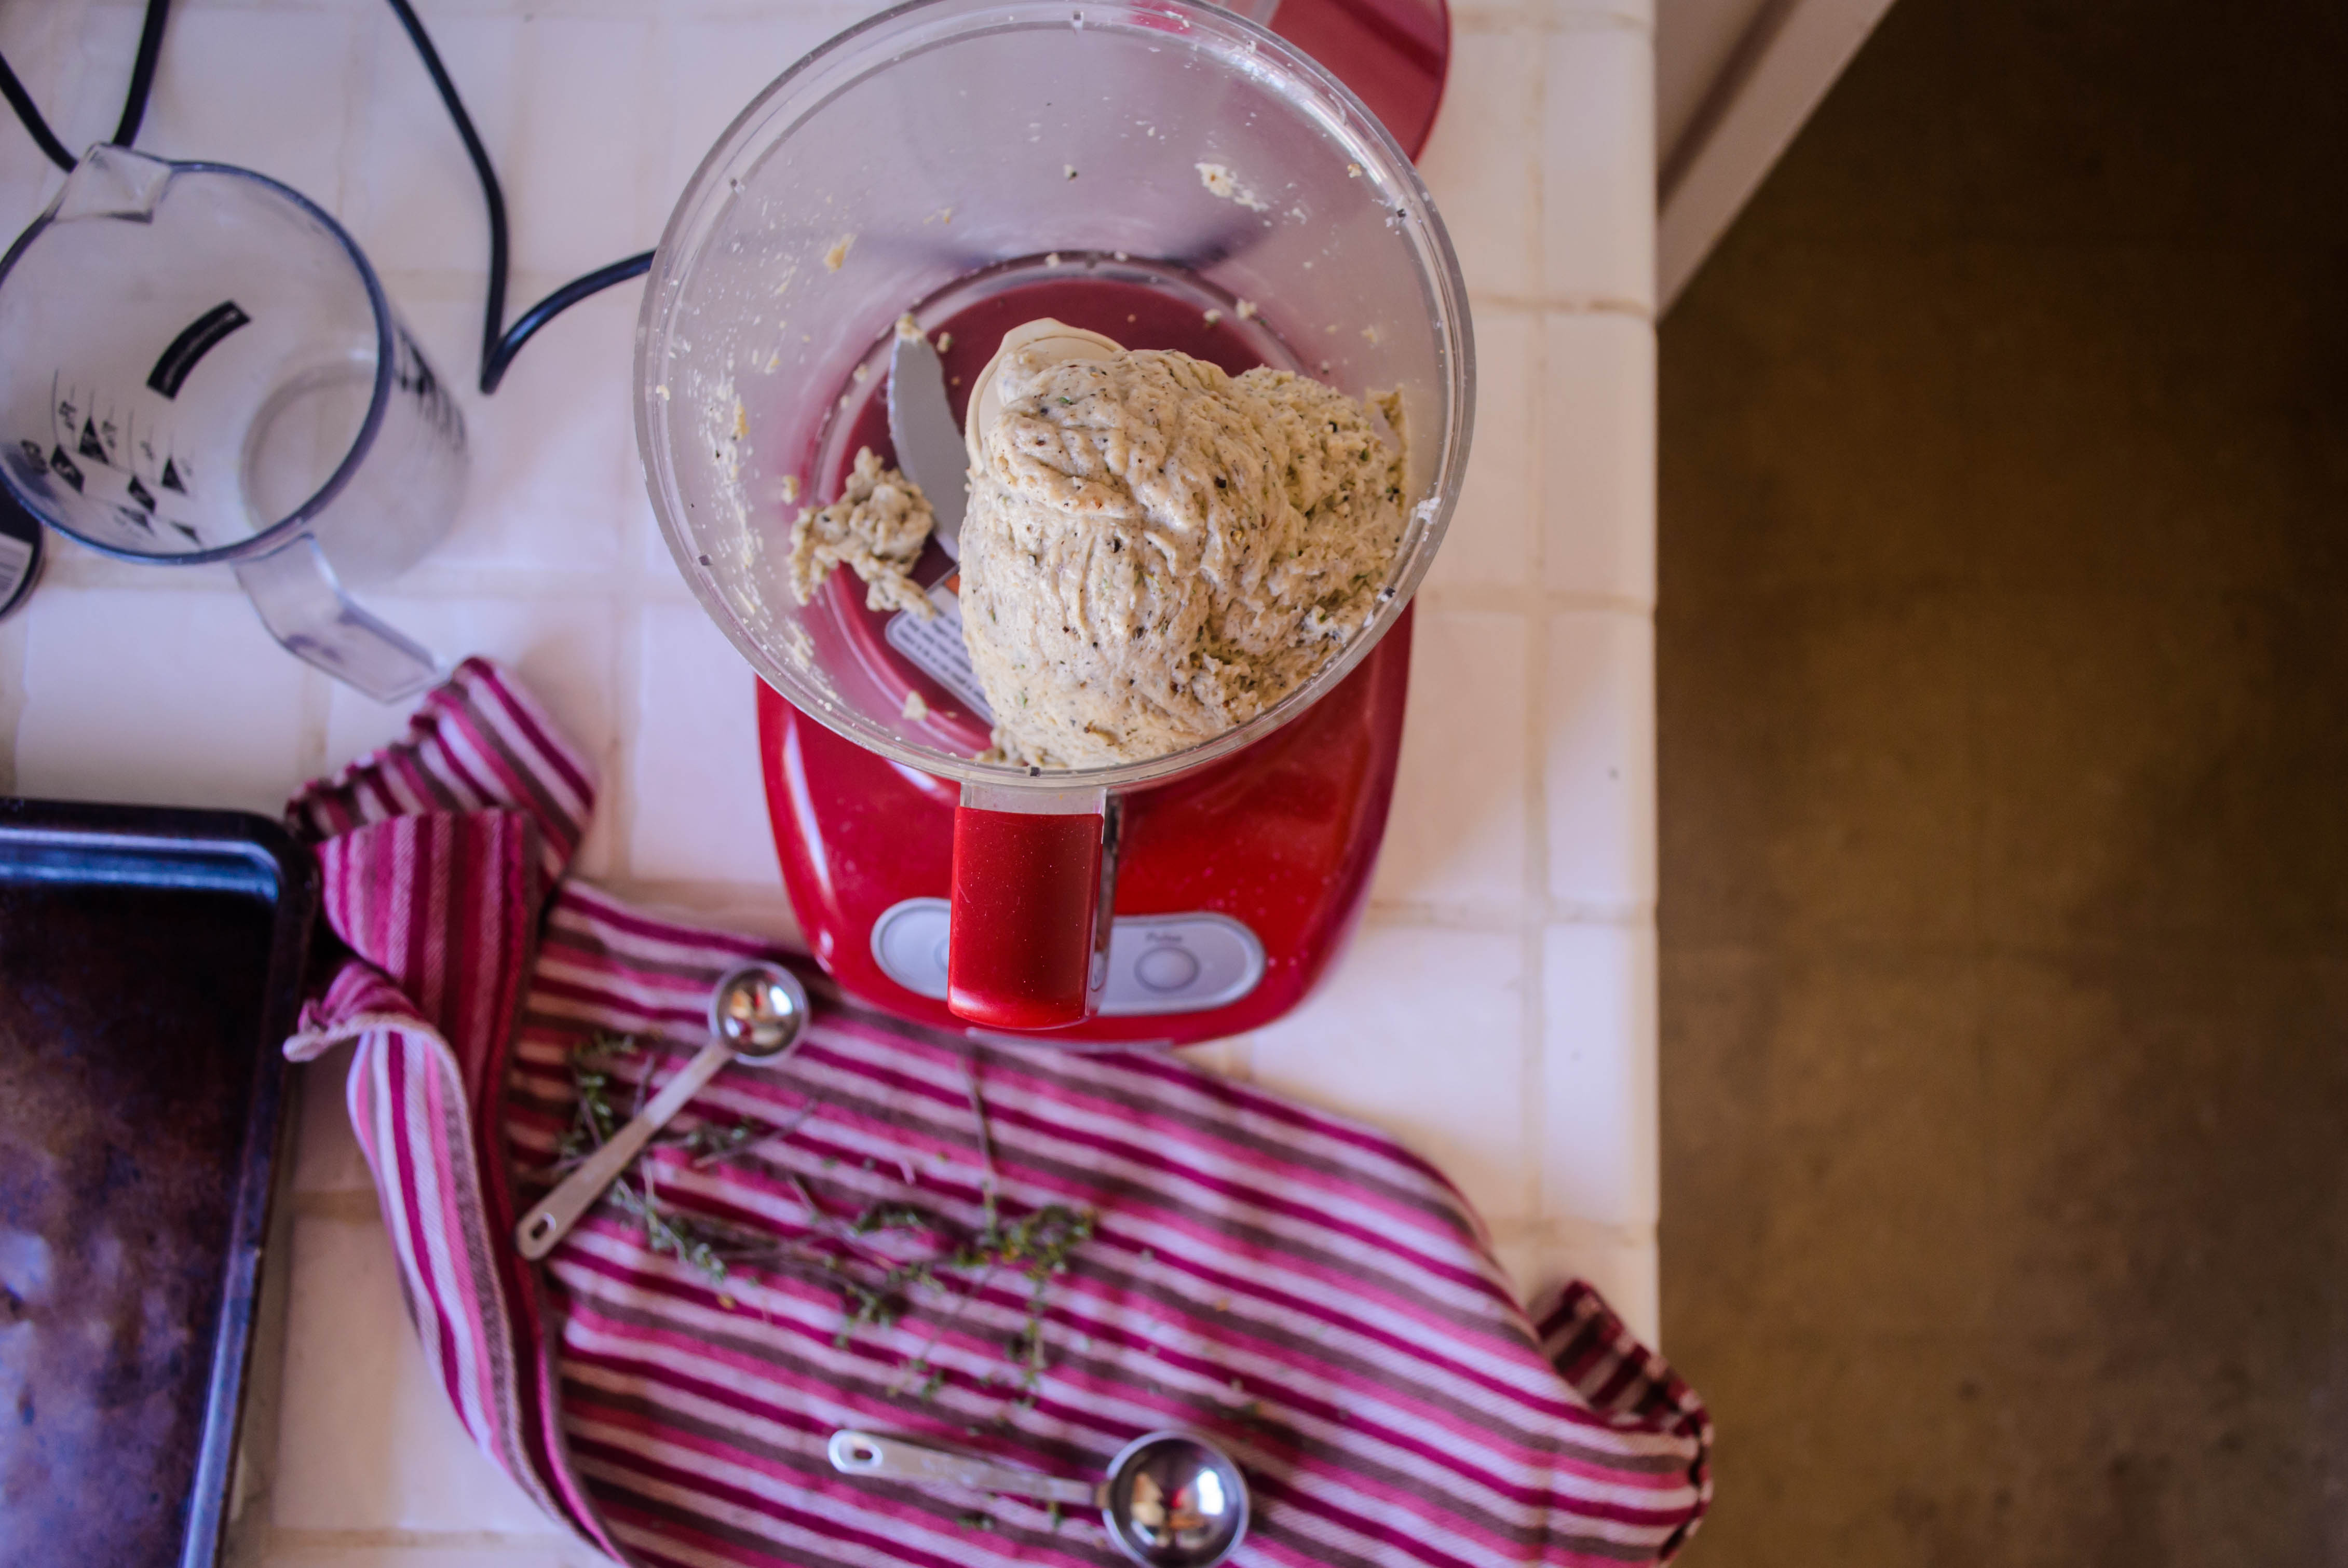
The base here is a soup recipe from Ottolenghi that blends spinach, parsley, cilantro, and mint with a base of onions and garlic and broth. I added arugula to mine as well as some mustard seeds, and ended up with a murky green concoction that, I have to admit, was reminiscent of high quality lawn clippings. N. called it “pesto soup,” and despite the absence of basil, I tended to agree – thickened up a bit and tossed with pasta, it would have been delightful.

Ever the glutton, I decided what this soup needed to add interest and richness was a poached egg, that darling of chefs everywhere (seriously, I think adding an egg is the culinary equivalent of “put a bird on it.”), and I was right. Broken into the soup, the yolk cut through some of the earthiness of the greens that got even better with the addition of a crunchy slice of garlic rubbed toast. So, in other words, the soup was improved by adding other things to the soup.

Perhaps it was the heavy dose of arugula, which contributed a peppery earthiness the soup didn’t need. Perhaps it was just upped quantities of the greens – I do have a tendency to go heavy on the flavoring agents and light on the liquid. Perhaps it was just a soup the likes of which we’ve never had before.

I’ll be spending next weekend arranging my new kitchen, so I’ll see you when I can. Be well!

Arugula Herb Soup with Poached Eggs
Adapted from Ottolenghi’s column in The Guardian
Serves 4-6 as a starter
3 tablespoons olive oil, divided
1 yellow or white onion, diced
2 garlic cloves, minced
1 teaspoon turmeric
1 teaspoon black mustard seeds
½ teaspoon nutmeg
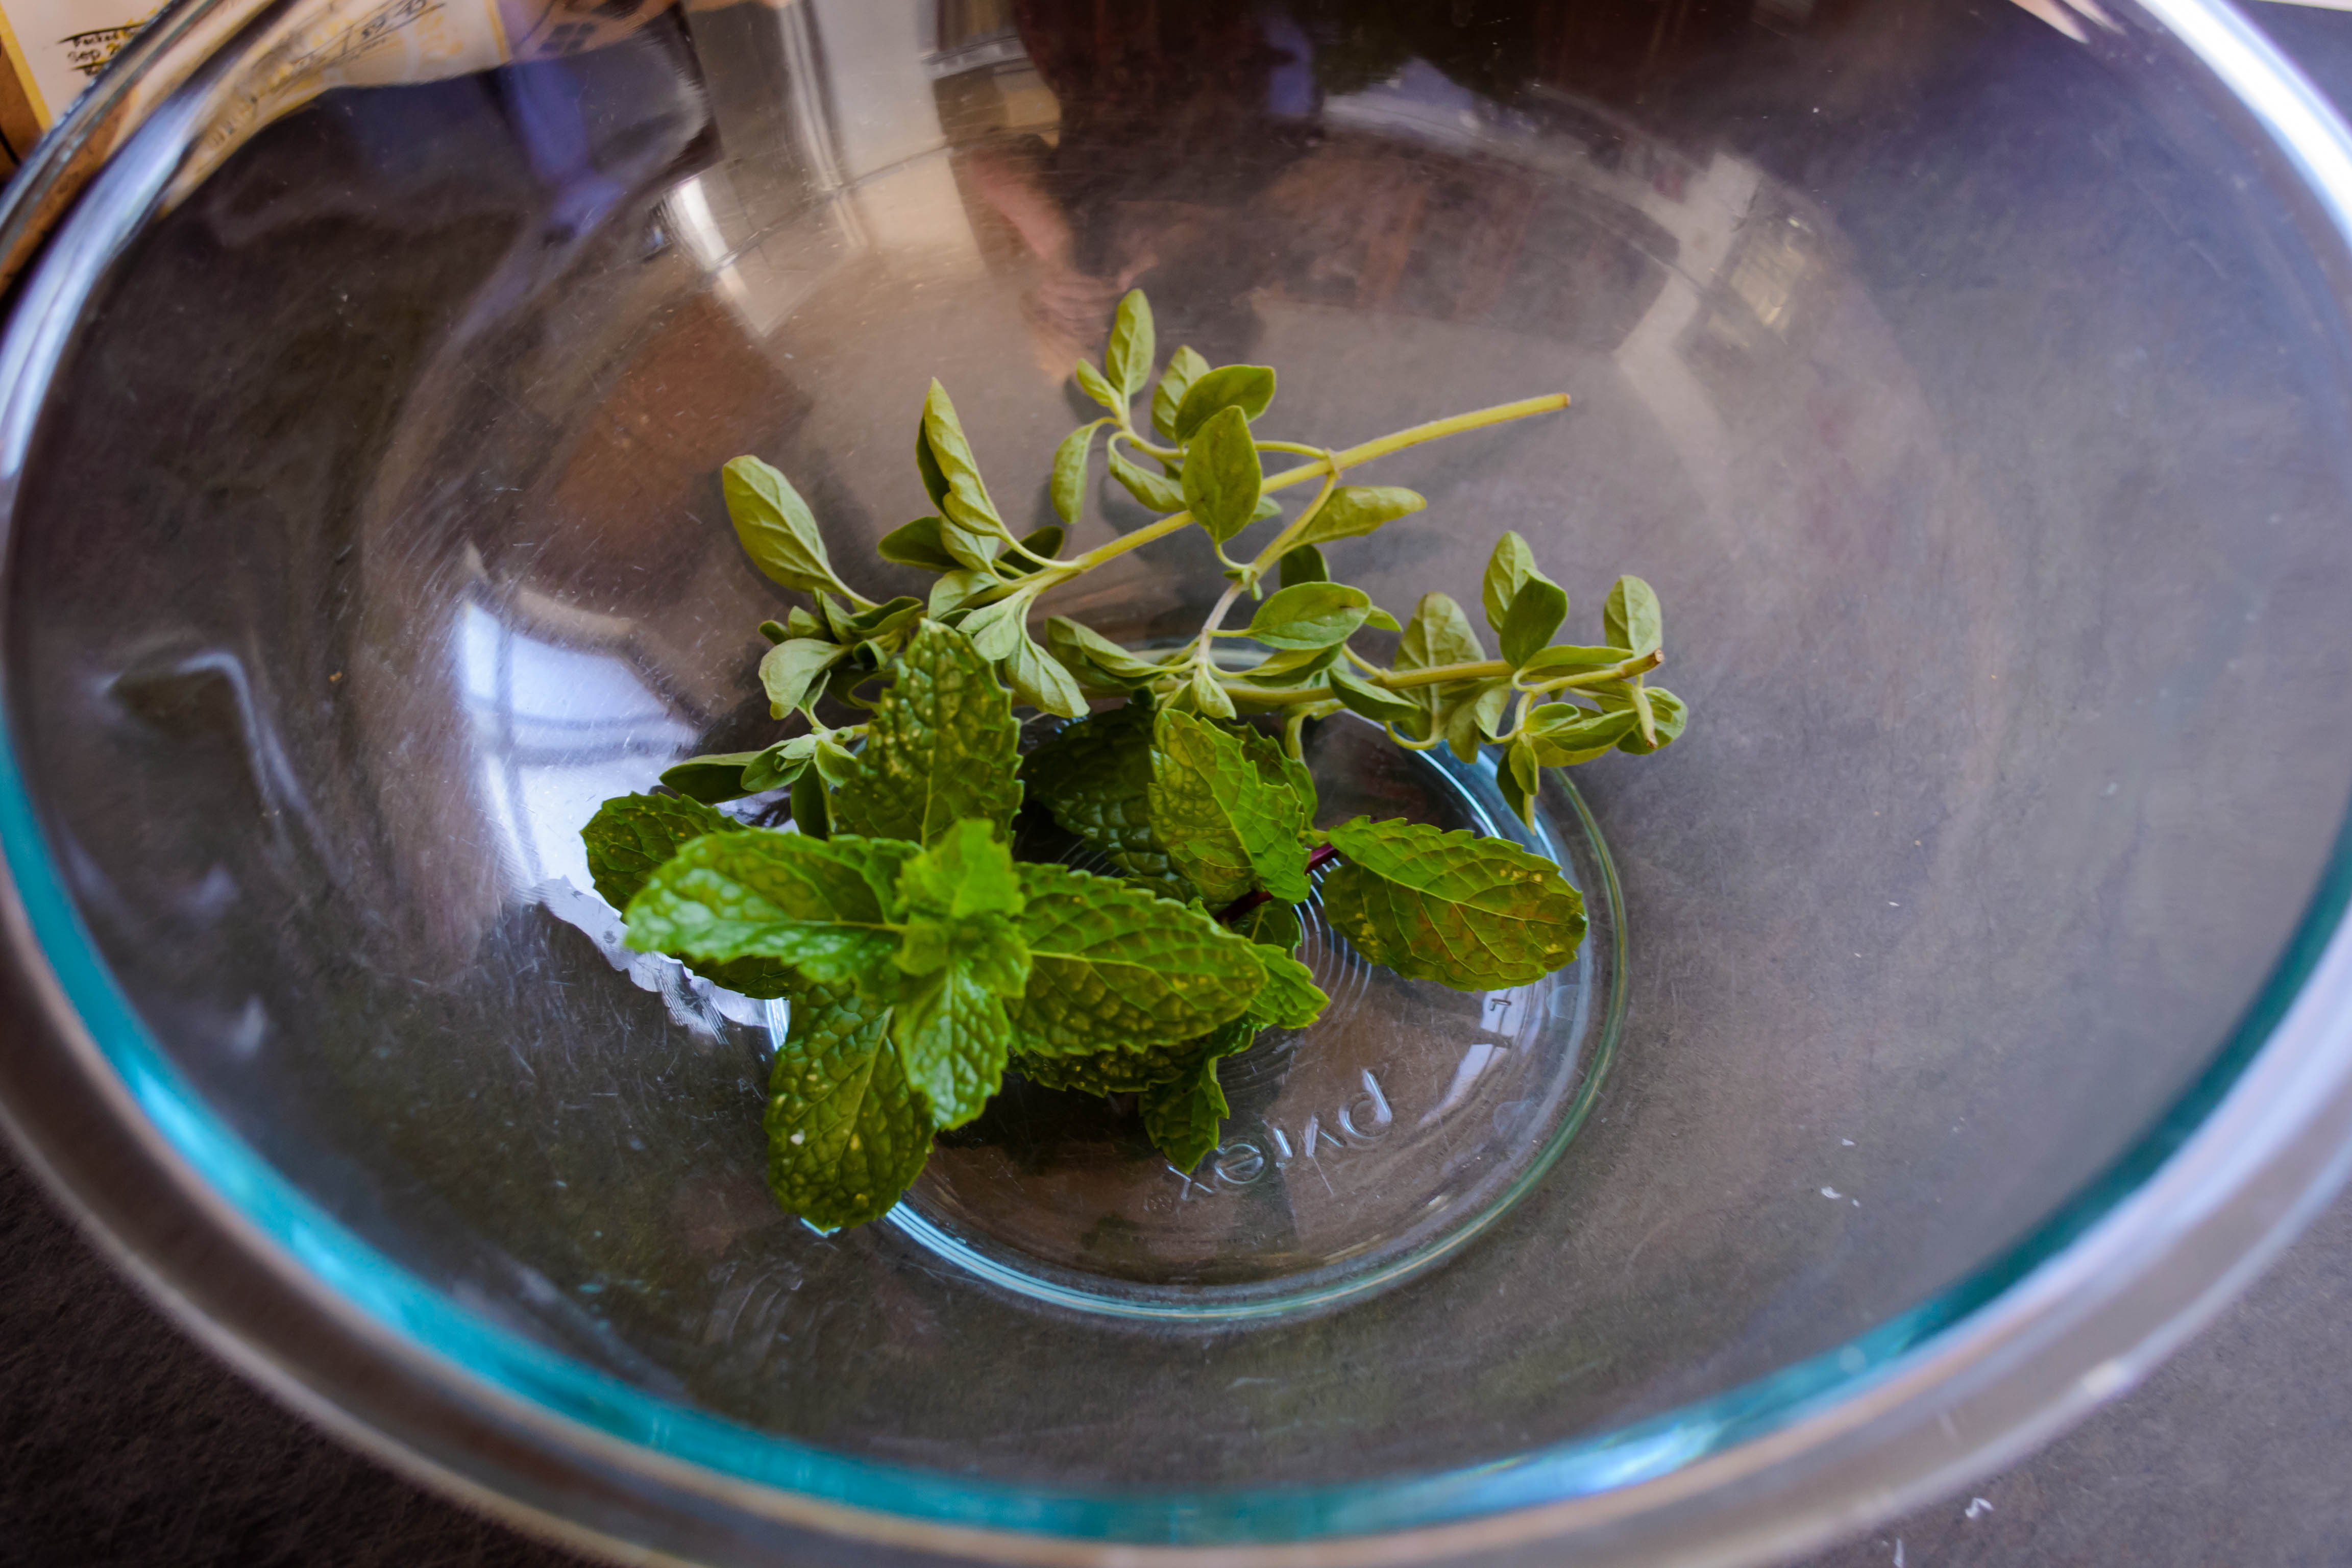
½ cup chopped parsley, leaves and stems, + ⅛ cup for garnish
½ cup chopped cilantro, leaves and stems, + ¼ cup for garnish
¼ cup chopped mint leaves
1 cup each baby spinach and baby arugula leaves, or 2 cups baby spinach (Ottolenghi gives his quantities in grams, and I admit I should have weighed mine, but the food scale is packed, so I estimated)
3 cups vegetable stock
salt and pepper to taste
5 ounces greek yogurt
1-2 ounces sour cream
squeeze of lemon juice to taste, if desired
3 ounces feta cheese, crumbled
Eggs – 1 per diner
Garlic toast, if desired, to accompany
  • Heat 2 tablespoons of the olive oil over medium low heat and sweat the onions and garlic until softened and translucent: 5-10 minutes. Stir in the turmeric, nutmeg, and mustard seeds, then raise the heat to medium and sauté 1-2 minutes. The mustard seeds may start to pop.
  • Add the parsley, cilantro, mint, spinach, arugula, if using, and vegetable stock. Stir together and bring to a simmer; cook for 10 minutes.
  • While the soup is simmering, poach the eggs: heat a pot of water to a bare simmer, then add about a tablespoon of vinegar. Stir the water ferociously just before adding eggs, creating a vortex. The spinning water and the vinegar will help the whites cling around the yolks when you break in the eggs. Break eggs directly into the water one at a time, or, if you’re nervous about that, break eggs into small bowls or ramekins, then tip one at a time into the water. Keep just below a simmer for 3-4 minutes, gently coaxing the eggs away from one another and from sticking to the bottom of the pot after 1-2 minutes. After 3-4 minutes, use a slotted spoon to remove each egg from the pot, and set them aside to rest in a bowl of warm water until you are ready to serve.
  • After the soup has simmered 10 minutes, season with salt and pepper to taste, then remove from heat and use a handheld or regular blender to blend until velvety smooth.
  • Return the soup to the heat and bring to just below a simmer. Whisk together the yogurt and sour cream in a small bowl, then add a ladle or two of hot soup to the dairy mixture and whisk in. Repeat 2-3 times – you are carefully raising the temperature of the dairy so when it is added to the soup it won’t curdle and split. Pour the diluted soup and yogurt mixture carefully into the rest of the soup and whisk through.
  • Stir in the remaining ⅛ cup parsley and ¼ cup cilantro, and crumble in the feta, reserving a small pile to garnish. Adjust seasoning to taste.
  • Ladle some soup into a bowl, sprinkle on the reserved feta, and top with one poached egg per diner. Drizzle over the remaining olive oil and serve with garlic toast.

Save

Grape and Cherry (Tomato) Avocado Toast

food-blog-january-2017-0152This one is a restaurant recreation from a spot we like in Culver City. These guys appreciate the lux/simplicity combo that is avocado toast; in fact, they are also the inspiration for my last foray into this ever-so-trendy meal base.

food-blog-january-2017-0136Cherry tomatoes and grapes seemed like a strange combination, and I was dubious about how well grapes would play with avocado, but it all works. The tomatoes are bright and acidic, and the grapes are tart enough that, with a squeeze of lemon and flake or two of salt on top, they toe the savory/sweet line successfully.

food-blog-january-2017-0157

I hope all is well in your world.


Grape and Cherry (Tomato) Avocado Toast
Serves 2 as an appetizer; 1 as a light lunch
About 15 minutes
4 thin slices sourdough or French bread (you can remove the crusts if you want more uniform toasts)
Olive oil spray, or 1-2 teaspoons olive oil
1 teaspoon coarse sea salt, divided
1 ripe avocado
1 tablespoon lemon juice, divided
freshly ground black pepper to taste
12 cherry tomatoes, halved (I like a mix of colors)
12 red grapes, halved
1 teaspoon fresh dill sprigs
1 teaspoon finely chopped chives
  • Preheat your broiler to high and prep the bread by spraying or brushing it with the olive oil on both sides. Sprinkle ¼ – ½ teaspoon coarse salt evenly over both sides of all four slices (that is, ¼ – ½ teaspoon for all four, not ¼ – ½ teaspoon per slice). Set the slices on a broiler tray or a wire oven rack set over a cookie sheet and broil on high, flipping each slice over once, until nicely browned and quite crisp on both sides. Don’t step away or try to prep other ingredients while you broil; the bread can burn very quickly. Once you have crisp, golden toast, set it aside to cool slightly.
  • In a small bowl, smash up the avocado with 1-2 teaspoons of the lemon juice. Add black pepper to taste, and slightly underseason with salt (we’ll be adding more to finish). You can go with a perfectly smooth mixture if you want, but I like to leave a few small chunks of avocado for extra texture.
  • Smear ¼ of the avocado mixture in an even layer onto each piece of toast. Then cut each slice on the diagonal and arrange it on a plate or serving platter. Arrange the halved grapes and tomatoes on each piece – aim for even distribution. Scatter the chives and dill sprigs over the top, then squeeze on the remaining 1 teaspoon lemon juice and a very light sprinkle of coarse sea salt. That way we get a crunch and salty kick with each piece.
  • Serve immediately – underneath the weight of the avocado, the toast will soften very quickly.

Save

Summer Vegetable Tzatziki

2016 Food Blog August-0683Sometimes the most difficult thing about these posts is deciding what to call them. Cucumber yogurt dip sounds good, but because there is the same amount of tomatoes here as there is cucumber, such a title feels like a lie of omission. “Cucumber tomato yogurt dip” starts to sound clunky, and it excises the radishes that provide such a good peppery crunch to the whole thing. And really, if your title includes everything in the finished product, it’s not a title at all – it’s an ingredient list. I tell my students that titles are hard. A title is the summary of all summaries. It should catch the audience’s interest and encompass the topic at hand and suggest the writer’s stance on it. But then, you don’t want to fall into the trap of emotive language: “Delicious Cucumber Yogurt Dip” makes up your mind for you before you have a chance to taste the thing yourself. And while that may be a fine thing for something like a food blog, in writing as a larger practice, it can be a problem. Your evidence should make the argument for you, not your manipulation of alluring language (can you tell the fall semester is imminent?!). Besides, that’s a pretty bold promise!

2016 Food Blog August--4But we’re moving away from the issue: a late summer dip flush with vegetables, crammed with texture, bound by the creamy thickness of good greek yogurt. As I continued to dither over titles, I remembered another suggestion I give my students: play with your audience’s existing knowledge. In my intro level composition class, I structure our readings around the theme of “the journey,” and once ended up with a student paper entitled “Don’t Stop Believing.” Genius. Well then. Crisp vegetables, cool yogurt, herbs, just enough salt to pull the flavors together; let’s go with tzatziki.*

2016 Food Blog August-0657This is not the most pinterest-worthy pretty dish, because once you enrobe vegetables in a coating of yogurt, the whole thing takes on a blurred creaminess that I was concerned to see reminded me of those yogurt-based fruit salads of my youth that someone always insisted on adding banana to. But be consoled! Though this is, I suppose, technically a fruit salad in that the starring ingredients are only masquerading as vegetables, it is savory and crisp and cleanly refreshing, and there are no mushy browning slices of banana hidden amidst the bright flavors you were expecting.

2016 Food Blog August-0664Of course this is perfect with chips of all kinds, and would probably make a nice accompaniment to falafel or skewered meat. But since I was roasting a chicken for dinner, I wanted to avoid heat sources of any kind earlier in the day, so I had mine on well salted pita chips and, in spite of earlier vacillation over titles, ended up with this simplest of solutions: just call it lunch.

2016 Food Blog August-0665Note: alas, for all its merits, this tzatziki does not keep well, nor is it a promising “make ahead” option. The tomatoes and cucumbers begin to give off juice almost immediately, and though the yogurt is quite thick, it does get watered down within the hour. It is best, then, for those moments when you need something fresh and bright and cool and easy, and you need it NOW-thank-you-very-much.

2016 Food Blog August--2-2* I considered raita as well, but while cucumbers and yogurt are pretty standard for a tzatziki, raitas can have all sorts of vegetables in them, are often a bit thinner, and sometimes carry a hit of spice so that even as you are cooling off, you are heating up again. Tzatziki, with its dominant ingredients and its chunky reputation, seemed to fit better here.

2016 Food Blog August-0683

Summer Vegetable Tzatziki
Serves 2-4
10-15 minutes, depending on your chopping speed
1 cup greek yogurt (don’t sub regular yogurt; you need the thick texture to stand up to the wetness of the vegetables)
1 cup chopped cucumber, seeded if you wish
1 cup quartered cherry tomatoes
3 radishes, sliced, julienned, then cubed (directions below)
1 tablespoon your choice of finely chopped soft-stemmed herbs (I went with chives. Cilantro, parsley, basil, or dill are other possibilities)
½ teaspoon salt, or to taste
⅛ teaspoon black pepper, or to taste


  • This is laughably easy, guys. Combine all ingredients in a large bowl and stir to combine, then taste for seasonings and adjust accordingly. But I said I’d explain about the radishes, so here goes: remove the tops and tails, then cut into thin slices. Pile up a stack of the slices and cut straight down into skinny little matchsticks – this is a julienne cut. Then, if you want the pieces even smaller, cut up those matchsticks into tiny cubes. This ensures even distribution of radish pieces, and ensures you aren’t biting down onto a giant chunk, which is nice if your radishes are particularly peppery.
  • If desired, use a rubber spatula to pour and scrape the tzatziki into a pretty serving bowl, and serve with your choice of dippables.

Save

Thyme and Black Pepper Crackers

2015 Blog September-0498Over the past few years, N. and I have made it our business to conclude the week with a happy hour – we load some cheeses and crackers on a plate, sometimes some sliced cured meat, sometimes a few dried figs – and pour something cold and alcoholic into a frosty glass. Through this process, I’ve learned that N. loves black pepper. We bought a wedge of cheese crusted in black pepper once as an experiment, and I think since then it has been on every shopping list, every week, for about the last two years. More recently, we started picking up variety packs of crackers – the crushed wheat rounds, the chalky water crackers, the rectangles spiked with vegetable bits – and in one variety-pack, a black pepper water cracker. This sleeve always, always disappears first. N. doubles up on the pepper – peppered cheese on peppered cracker. And should there be peppered salami? The kid is in paradise.

2015 Blog September-04712015 Blog September-0475Because we always run out of the black pepper cracker first, I knew when I saw this month’s Twelve Loaves theme of crackers, crisps, or flatbreads that I wanted to recreate them. I poked around and considered, decided to add some fresh thyme for a little more interest, and ended up with these. At first I called them water crackers, but decided to amend for the sake of accuracy. A real water cracker, traditionally speaking, contains only flour and water (and sometimes some salt or leavening agent). No fat. Yet fat is what, so often, imparts flavor. Here, a few glugs of oil result in a cracker that crackles in thin, flaked layers, almost like a very crisp pastry crust.

2015 Blog September-04762015 Blog September-04782015 Blog September-04792015 Blog September-0482A few notes: first, these are not for the weak-of-tongue. The black pepper flavor is quite aggressive, and though a smear of creamy cheese will certainly cool things down, it can’t disguise the sharp spice of the bits of cracked pepper. Second, as with most crackers, the greatest trick here is getting them thin enough. I’ve recommended ⅛ inch at the thickest, but even thinner than that is better. They swell up only slightly as they bake, and a thick cracker is, alas, a decidedly not-crisp cracker. Those that I didn’t get quite thin enough tasted stale already barely cooled from the oven, simply because they didn’t snap and crumble adequately between the teeth. For us, the thinnest, most golden specimens stayed crisp and fresh tasting for a mere two days afterward, even stored in a firmly flattened zip-top bag. That means, unless you have a pepper fiend around your house, you are best served by making these for a gathering (the spice suggests a Halloween party might be a good venue), or throwing together a half recipe, or maybe even freezing half the dough until you need another batch. I haven’t tried that with this particular cracker, but I have done so with great success with Joy the Baker’s Sharp Cheddar Cheese Crackers, so I have every confidence these will be equally suited for the deep freeze.

2015 Blog September-0488Serving recommendations: topped with any sort of cheese, of course. But they would be equally good with cured meat of some sort, or a scoop of egg salad, or maybe even some hummus. While they were hot, I found myself compulsively snatching one and then another from the cooling rack, suggesting they are even acceptable bare. I do think, though, that a glass of something sparkling to wash them down is not to be discounted.

2015 Blog September-0497

Thyme and Black Pepper Crackers
Adapted from Chowhound
Makes 4-5 dozen 2½ inch crackers
Time needed: about an hour
2 cups all-purpose flour
1 teaspoon baking powder
½ teaspoon salt
1 tablespoon black peppercorns
1 tablespoon fresh thyme leaves
⅔ cup warm water
⅓ cup olive oil


  • Preheat the oven to 400F and line two cookie sheets with parchment paper.
  • In a food processor, pulse the flour, baking powder, salt, and thyme until combined. Use a spice grinder or similar small bladed tool to crush up the peppercorns until some are coarsely chopped and some are a fine powder. Add this pebbly pepper dust into the food processor and run until the pepper is evenly distributed through the flour mixture.
  • Measure out the warm water and the oil into the same vessel. With the food processor still on, drizzle in the water and oil and let the machine run until the ingredients form a smooth, slightly sticky dough. First small hunks will clump together, then quite suddenly a mass will form and run in circles around the belly of the processor.
  • Lightly flour a board and a rolling pin, and turn out half the dough. Sprinkle a little flour atop the dough as well. Roll out until very thin – at maximum ⅛ inch, but 1/16 inch is better for crisp crackers. Be sure to get the edges as thin as the middle. If you fear the dough is getting sticky, flip it over and turn it 180 degrees, then sprinkle with a little flour and roll again.
  • Cut the thin, even layer of dough into shapes of your choosing. We like rounds, and I used a glass with a diameter of 2½ inches. Prick rounds with a fork three or four times, then transport dough rounds to the prepared cookie sheets. Place them in a single layer, but they can sit very close together because they will not spread out. I easily fit 2 dozen on a single cookie sheet. Repeat for the remaining half of the dough.
  • Bake 12-14 minutes, until golden on top and quite dry. Cool completely before topping with cheese, salami, hummus, or whatever’s your favorite.
  • These can be stored in an airtight container or zip-top bag for a few days, but because they are freshly made and contain no preservatives, they will get stale faster than the average boxed cracker.


#TwelveLoaves is a monthly bread baking party created by Lora from Cake Duchess and runs smoothly with the help of Heather of All Roads Lead to the Kitchen, and the rest of our fabulous bakers.

Our host this month is Camilla from Culinary Aventures with Camilla, and our theme is Crackers, Crisps, and Flatbreads. For more bread recipes, visit the #TwelveLoaves Pinterest board, or check out last month’s mouthwatering selection of #TwelveLoaves enter last month’s #TwelveLoaves Seeded Breads!

If you’d like to bake along with us this month, share your Crackers, Crisps, and Flatbreads using hashtag #TwelveLoaves!

Lamb meatballs with basmati pilaf and pomegranate drizzle

2015 Blog September-0440I don’t remember the first time I had lamb. I suspect it was a special occasion – probably Easter – and I suspect I had it in the company of a generous scoop of that emerald green mint jelly that still, in my memory, is the perfect accompaniment for the slight gaminess of a well-seared chop or slim carved slice.

2015 Blog September-0423To bring lamb into the meatball fold (too much? I couldn’t resist), I went back to the mint pairing with a few fresh sprigs, but decided to dress up the seasonings a bit more, pushing these meatballs in a Mediterranean direction. Oregano joined the mint, along with green onions, pine nuts, a small handful of coarsely chopped golden raisins, a tiny touch of cayenne pepper to keep things interesting. Fresh breadcrumbs soaked in cream keep the meat mixture springy and moist, and after a sear and a simmer in beef broth, they are fragrant and herbaceous, tugging toward both the savory and the sweet.

2015 Blog September-0426In dreaming these up, I knew I wanted to play with the sweetness of the traditional mint jelly, but push it in a more grown-up direction. Lamb and chutneys are also a common pairing, since lamb goes so nicely with fruit, and in searching for that agradolce flavor – the Italian sweet/tart/sour answer to a gastrique, I hit upon a thick, puckering drizzle of pomegranate juice and balsamic vinegar, reduced down into a glossy syrup, that would be as delectable over vanilla ice cream as it is here over meat. To finish, according to my notes, all is needed is lemon zest and a “sparing crumble of feta.”

2015 Blog September-04332015 Blog September-0435Just like this – a meatball drizzled in syrup, sprinkled with briny cheese and a touch of bitter citrus rind, these make perfect appetizers. They require only a toothpick, and since they are even better at room temperature than they are steaming from the pan (time to cool gives the herbs a chance to assert their flavors), they are ideal for a party. If you’re looking for an entrée application, though, I also opted for a basmati pilaf, all nutty and fluffy and toasted, spiked with currants and nuts and a little fresh parsley to finish, that these meatballs can be happily snuggled into.

2015 Blog September-04312015 Blog September-0437These are, without question, my favorites of the meatball project thus far. When it’s done right, the play of savory and sweet is one of my favorite taste combinations. And I must, for the sake of your stomachs, eschew modesty and admit: here, it is done right.

2015 Blog September-0444

Lamb meatballs with basmati pilaf and pomegranate balsamic drizzle
Serves 4-5 (with 18-20 1-½ tablespoon meatballs)
45 minutes if you’re quite efficient, 60-90 minutes if you’re not
For drizzle:
¼ cup balsamic vinegar
1 cup unsweetened pomegranate juice
For meatballs:
1 cup fresh breadcrumbs
½ cup milk or cream
1 lb. ground lamb
¼ cup finely sliced green onions, dark and light green parts only (save the bulbs for another night)
1 tablespoon minced fresh oregano
2 tablespoons minced fresh mint
¼ cup roughly chopped golden raisins
¼ cup pine nuts
½ teaspoon salt
⅛ teaspoon cayenne pepper
3 tablespoons olive oil
1-2 cups beef broth
For pilaf:
3 tablespoons butter
3 tablespoons roughly chopped pistachios
3 tablespoons sliced almonds
¼ cup minced red onion
¾ cup basmati or other long-grain rice
¼ cup orzo (small rice-shaped pasta)
1 bay leaf
3 tablespoons currants
¾ teaspoon black pepper
½ teaspoon salt (but taste your chicken broth first – you may need more or less salt)
2 cups low-sodium chicken broth
¼ cup roughly chopped parsley, to finish
To serve:
½ cup finely crumbled feta cheese
zest from one lemon


  • Combine the balsamic vinegar and pomegranate juice in a small pot and set it over medium heat. Bring to a boil, then reduce to just simmering and let it go for 30-40 minutes, stirring occasionally, until it has become a thick, glossy syrup the consistency of molasses. When that happens, remove from heat immediately and set aside.
  • In a glass measuring cup or small bowl, combine the fresh breadcrumbs and the milk or cream and let sit for about 10 minutes to soak. While they suck up the moisture, chop and prep your remaining meatball ingredients (and the pilaf ingredients, if you have time).
  • Add the ground lamb, the green onions, the oregano, the mint, the golden raisins, the pine nuts, the ½ teaspoon of salt, and ⅛ teaspoon cayenne pepper to a medium mixing bowl. Using a fork or your fingers, lift the bread crumbs out of the milk or cream, let any excess liquid drip off briefly, and add them to the other meatball ingredients. Use your fingertips to combine the meatball ingredients, mixing lightly but thoroughly to distribute the wet bread and the sticky meat evenly.
  • In a large skillet, heat the 3 tablespoons of olive oil over medium heat. Add about a teaspoon of the meat mixture and fry for about a minute on each side until cooked through. Taste for seasoning and adjust salt and cayenne pepper quantities as desired. It’s okay to leave them slightly undersalted, though, as the feta you’ll crumble over at the end is so salty.
  • With moistened hands, scoop up 1-½ tablespoon quantities of the meat mixture and roll them into spheres. This should net you 18-20 meatballs. Place as many meatballs as will fit in a single layer without touching one another in the preheated skillet, and brown on all sides over medium heat – about 2 minutes per side. Remove to a clean plate. Repeat until all meatballs are browned on the outsides.
  • Wipe out the meatball skillet with a paper towel to remove the excess fat, then add the 1-2 cups beef broth and bring to a simmer. When it is bubbling, carefully add the meatballs back into the skillet – you want enough liquid that it comes approximately halfway up the sides of the meatballs. Cover with a tight-fitting lid and let simmer 15-20 minutes, turning all meatballs once.
  • The moment the meatballs hit their simmer, make the rice. Heat the 3 tablespoons butter in a medium pot over medium heat. Add the pistachios and almonds and toast, stirring frequently, until lightly browned. Add the ¼ cup minced red onion and sauté until onion is translucent and tender – 3-5 minutes. Stir frequently to ensure the nuts do not burn.
  • Add the rice and the orzo to the onion and nuts and stir to coat evenly with the melted butter. Toast over medium heat for 1-2 minutes, just until the rice gains some opacity. Add the black pepper, the salt, the bay leaf, the currents, and the chicken broth. Stir well and cover with a tight-fitting lid.
  • Bring the rice mixture to a boil, stir once more, and reduce heat to a simmer. Simmer 15 minutes, or until rice is tender and has absorbed all the broth. Stir in the parsley and fluff with a fork before serving.
  • To serve, nestle 4-5 meatballs per diner on a bed of the fluffy pilaf. Drizzle a few teaspoons of the thick, glossy pomegranate syrup over the meatballs, crumble on some feta and lemon zest, and serve warm or at room temperature.
  • Alternatively, for appetizers, make a decorative drizzle of the pomegranate glaze on an attractive platter (I prefer white, for the contrast), spear the meatballs and place them atop the glaze layer, and then dust the whole thing lightly with feta and lemon zest. Serve the rice alongside, or not at all.

Spicy Carrot and Radish Herb Salad

Food blog June 2015-1064It’s dangerously easy to throw some greens into a bowl and crunch through them, but I think this is the kind of preparation that makes people think about salads as boring to make and to eat. With summer in gear and a series of weddings and reunions to attend within the next month or two, I find myself brainstorming salads creative and intriguing enough to hold my interest, so I can more easily convince myself to make choices that keep me responsible healthy fitting into my summer wardrobe. The easiest way of making a salad more exciting, it seems to me (besides just loading it up with cheese and some crisped pork product), is to take ingredients not usually used in a salad and jamming them in there anyway, lettuce be damned. For me, this generally takes the form of whatever dish I’ve been craving, transformed into something you can add an acidic vinaigrette and maybe a few crumbles of cheese to, toasting up a hunk of bread, and calling it dinner.

Food blog June 2015-1028This particular salad has two geneses. Lately I’ve been craving banh mi, with all its freshness and brightness, but I haven’t wanted to go through the whole production of making all the ingredients myself (which I’d insist upon, because I’m such a responsible foodie stubborn). Rather, I convinced myself, I wanted a salad inspired by a banh mi sandwich. What this meant was a collection of fresh and pickled vegetables, with some brightness from soft green herbs and some heat from jalapeño slices. I dithered over the pickled part, reluctant to devote multiple days to preparing for a simple salad, until I remembered a grain salad my friend S. exalted about a few years ago featuring lightly pickled carrot slices, along with some jalapeño and mint. Wheels turned.

Food blog June 2015-1033What we have here, then, is a salad that announces its summery freshness through bright, grassy herbs and crunchy cucumber, but still clings to the mild crispness of spring with ribbons of carrots and impossibly thin discs of radish. I find herb salads can get almost medicinal on the tongue, so a handful or two of baby greens tempers the sharpness of the herbs and the pucker of the vegetables after a 2 hour lemon juice bath, and brings this closer to what we usually think of as a salad. You could use any combination of greenery, but lately I’ve been obsessing over the “power to the greens” package from Trader Joe’s – baby chard, kale, and spinach, all tender enough that no stem removal is necessary. Add jalapeños, which I’ve put through the pickling process but you can certainly leave fresh, and you have a salad that pairs happily with almost anything.

Food blog June 2015-1048Serving suggestions: I can see this making a perfect base for grilled steak or salmon, with or without the addition of some tangy crumbles of goat cheese. I risked all to have it as a side for last week’s crab and shrimp balls, and though there’s a certain digestive peril to the fried + spicy pairing, hey, that’s what alka-seltzer is for. You could even force this back to its banh mi inspiration roots and stuff it inside a baguette or maybe a pita, with or without a protein accompaniment. In all cases, I’d recommend something sparkling to drink alongside – maybe a crisp prosecco or a hefeweizen with a thick wedge of citrus, or, if you prefer to go alcohol-free, a frosted glass of ginger beer with lime, for an intriguing contrasting spice.

Food blog June 2015-1062

Spicy Carrot and Radish Herb Salad
Serves 2-3 as a side salad
1 cup carrot ribbons (from 3-4 small carrots)
1 cup thinly sliced radish discs (from 5-6 radishes)
8-10 thin slices of jalapeño cut on the bias
3-6 tablespoons lemon juice (see options below)
2-4 tablespoons olive oil (see options below)
salt and pepper to taste
1 tablespoon capers
⅓ – ½ cup thin slices of seedless cucumber, cut on the bias
¼ cup cilantro leaves plucked from their stems
¼ cup mint leaves, torn if large, plucked from their stems
¼ cup parsley leaves plucked from their stems
2 tablespoons tender, pale green celery leaves, plucked from their stems, optional
1 cup mixed baby greens


  • Prepare carrots, radishes, and jalapeño. To make the carrot ribbons, peel carrots, then continue shaving off long pieces with your peeler from one side only. When the carrot gets concave and it’s difficult to make complete ribbons, flip it over and begin the shaving process again. Slice the radishes and jalapeños as thinly as you can or, if you are fancy, use a mandolin slicer (watch your fingers!).
  • For a quite spicy salad: In a large bowl, whisk together 3 tablespoons of lemon juice with 2 tablespoons of olive oil. Add salt and pepper to taste. Add the carrots, radishes, and jalapeños, toss gently to distribute, and allow them to marinate for about 2 hours. They will soften, pickle slightly, and the vegetables and dressing will take on the spice of the jalapeños.
  • After 2 hours and just before serving, add the capers, cucumbers, herb leaves, celery leaves (if using), and mixed baby greens to the bowl and toss lightly to combine. Lift out with clean fingers or tongs, let excess dressing drip off a bit, and position on serving plates.
  • For a moderately spicy salad: In a large bowl, whisk together 3 tablespoons of lemon juice with 2 tablespoons of olive oil. Add salt and pepper to taste. Add the carrots, radishes, and jalapeños and allow them to marinate for about 2 hours. They will soften, pickle slightly, and the vegetables and dressing will take on the spice of the jalapeños.
  • After 2 hours and just before serving, lift the lightly pickled carrots, radishes, and jalapeños out of the bowl and set them aside for a moment on a paper towel. Discard the remaining liquid in the bowl and wipe clean.
  • In the clean bowl, whisk together the remaining 3 tablespoons lemon juice and 2 tablespoons olive oil. Season to taste with salt and pepper. Add the vegetables back in, then gently toss with the capers, cucumbers, herb leaves, celery leaves (if using), and mixed baby greens. Lift out with clean fingers or tongs, let excess dressing drip off a bit, and position on serving plates.
  • For a mildly spicy salad: In a large bowl, whisk together 3 tablespoons of lemon juice with 2 tablespoon of olive oil. Add salt and pepper to taste. Add the carrots and radishes and toss gently to distribute. In another, smaller bowl, combine the jalapeño slices with 1 tablespoon lemon juice and a bit of salt and pepper. Allow all vegetables to marinate for about 2 hours. They will soften and pickle slightly, but the spice will not infiltrate the carrots and radishes as in the above preparations.
  • After 2 hours and just before serving, add the capers, cucumbers, herb leaves, celery leaves (if using), and mixed baby greens to the bowl with the carrots and radishes and toss lightly to combine. Drain the lightly pickled jalapeños from their lemon juice bath and add them to the salad as well, tossing gently again to combine. Lift out with clean fingers or tongs, let excess dressing drip off a bit, and position on serving plates.
  • Serve immediately – salad left in its dressing wilts quickly and loses its crisp appeal.