Salt

Sometimes, when you are on a two-and-a-half-week-vacation-road-trip, you don’t cook anything.  Go figure.  And then when you get home, and you want to get something up onto your own little space on the internet for your own little community of new friends and virtual friends and “hey, I even know some of you in real life!” friends, you don’t have a new recipe to share with them.  So because I bummed around the Pacific Northwest last week, digging my toes in the beach and trying not to sob with joy at the most beautiful wedding I’ve ever attended and gorging myself on everything I’ve missed from the restaurants and bars I used to frequent during graduate school, I considered what food might sum up my vacation activities, and hit upon salt.  The Pacific and the Puget Sound, my brimming tears, savory car snacks, and a visit with one of my most devoted salt fiend friends (more on that in a few…), and plain old sodium seems like the right choice to talk about today.

Food Blog June 2013-1521That’s right; I’m going to talk about salt.  This might seem like the plainest of the plain, the ever so banal, and maybe it is.  But aside from being a perfect food item to represent my vacation, salt is really important.  Before refrigeration, salt was one of the surest bets for preserving food.  Salt, vinegar, and sugar could keep your food from spoiling for some time, and though sugar is a recent and expensive addition to this preservation party, salt and vinegar are ancient methods, often used together, as we see in the case of pickles and sauerkraut, among others.  Salt has been used as a burial offering, it has been taxed, it has been smuggled and ground and flaked and sprinkled and immortalized in verse.  Its history is interwoven with crime and slavery and back-breaking work and colonization and maybe even heart disease.  It has killed, it can kill, but it also keeps us alive.  Michael Ruhlman has written a much more impassioned defense of this funny little crystal than I could, but just trust me when I say that we really shouldn’t, and even couldn’t, do without it.

(And, on a much less serious note: if you get home from a party… like, say, a moving and beautiful wedding during which you danced so hard you might have destroyed your shoes, and smiled so much your face hurt for two days afterwards, and you realize that you might have drunk enough that you’re going to be sorry about it in the morning, take a teaspoon or so of salt with a glass or two of water and a couple of Ibuprofen, and you’re all but guaranteed to feel pretty dandy the next morning.  My friend A. calls it the Salt Lick, and it totally works.)

But as essential as salt is, and as ubiquitous, it’s far from singular.  As it turns out, I have four different kinds of salt in my kitchen right now.  And unlike the depths of the poultry seasoning collection, I use them all.

Food Blog June 2013-1523
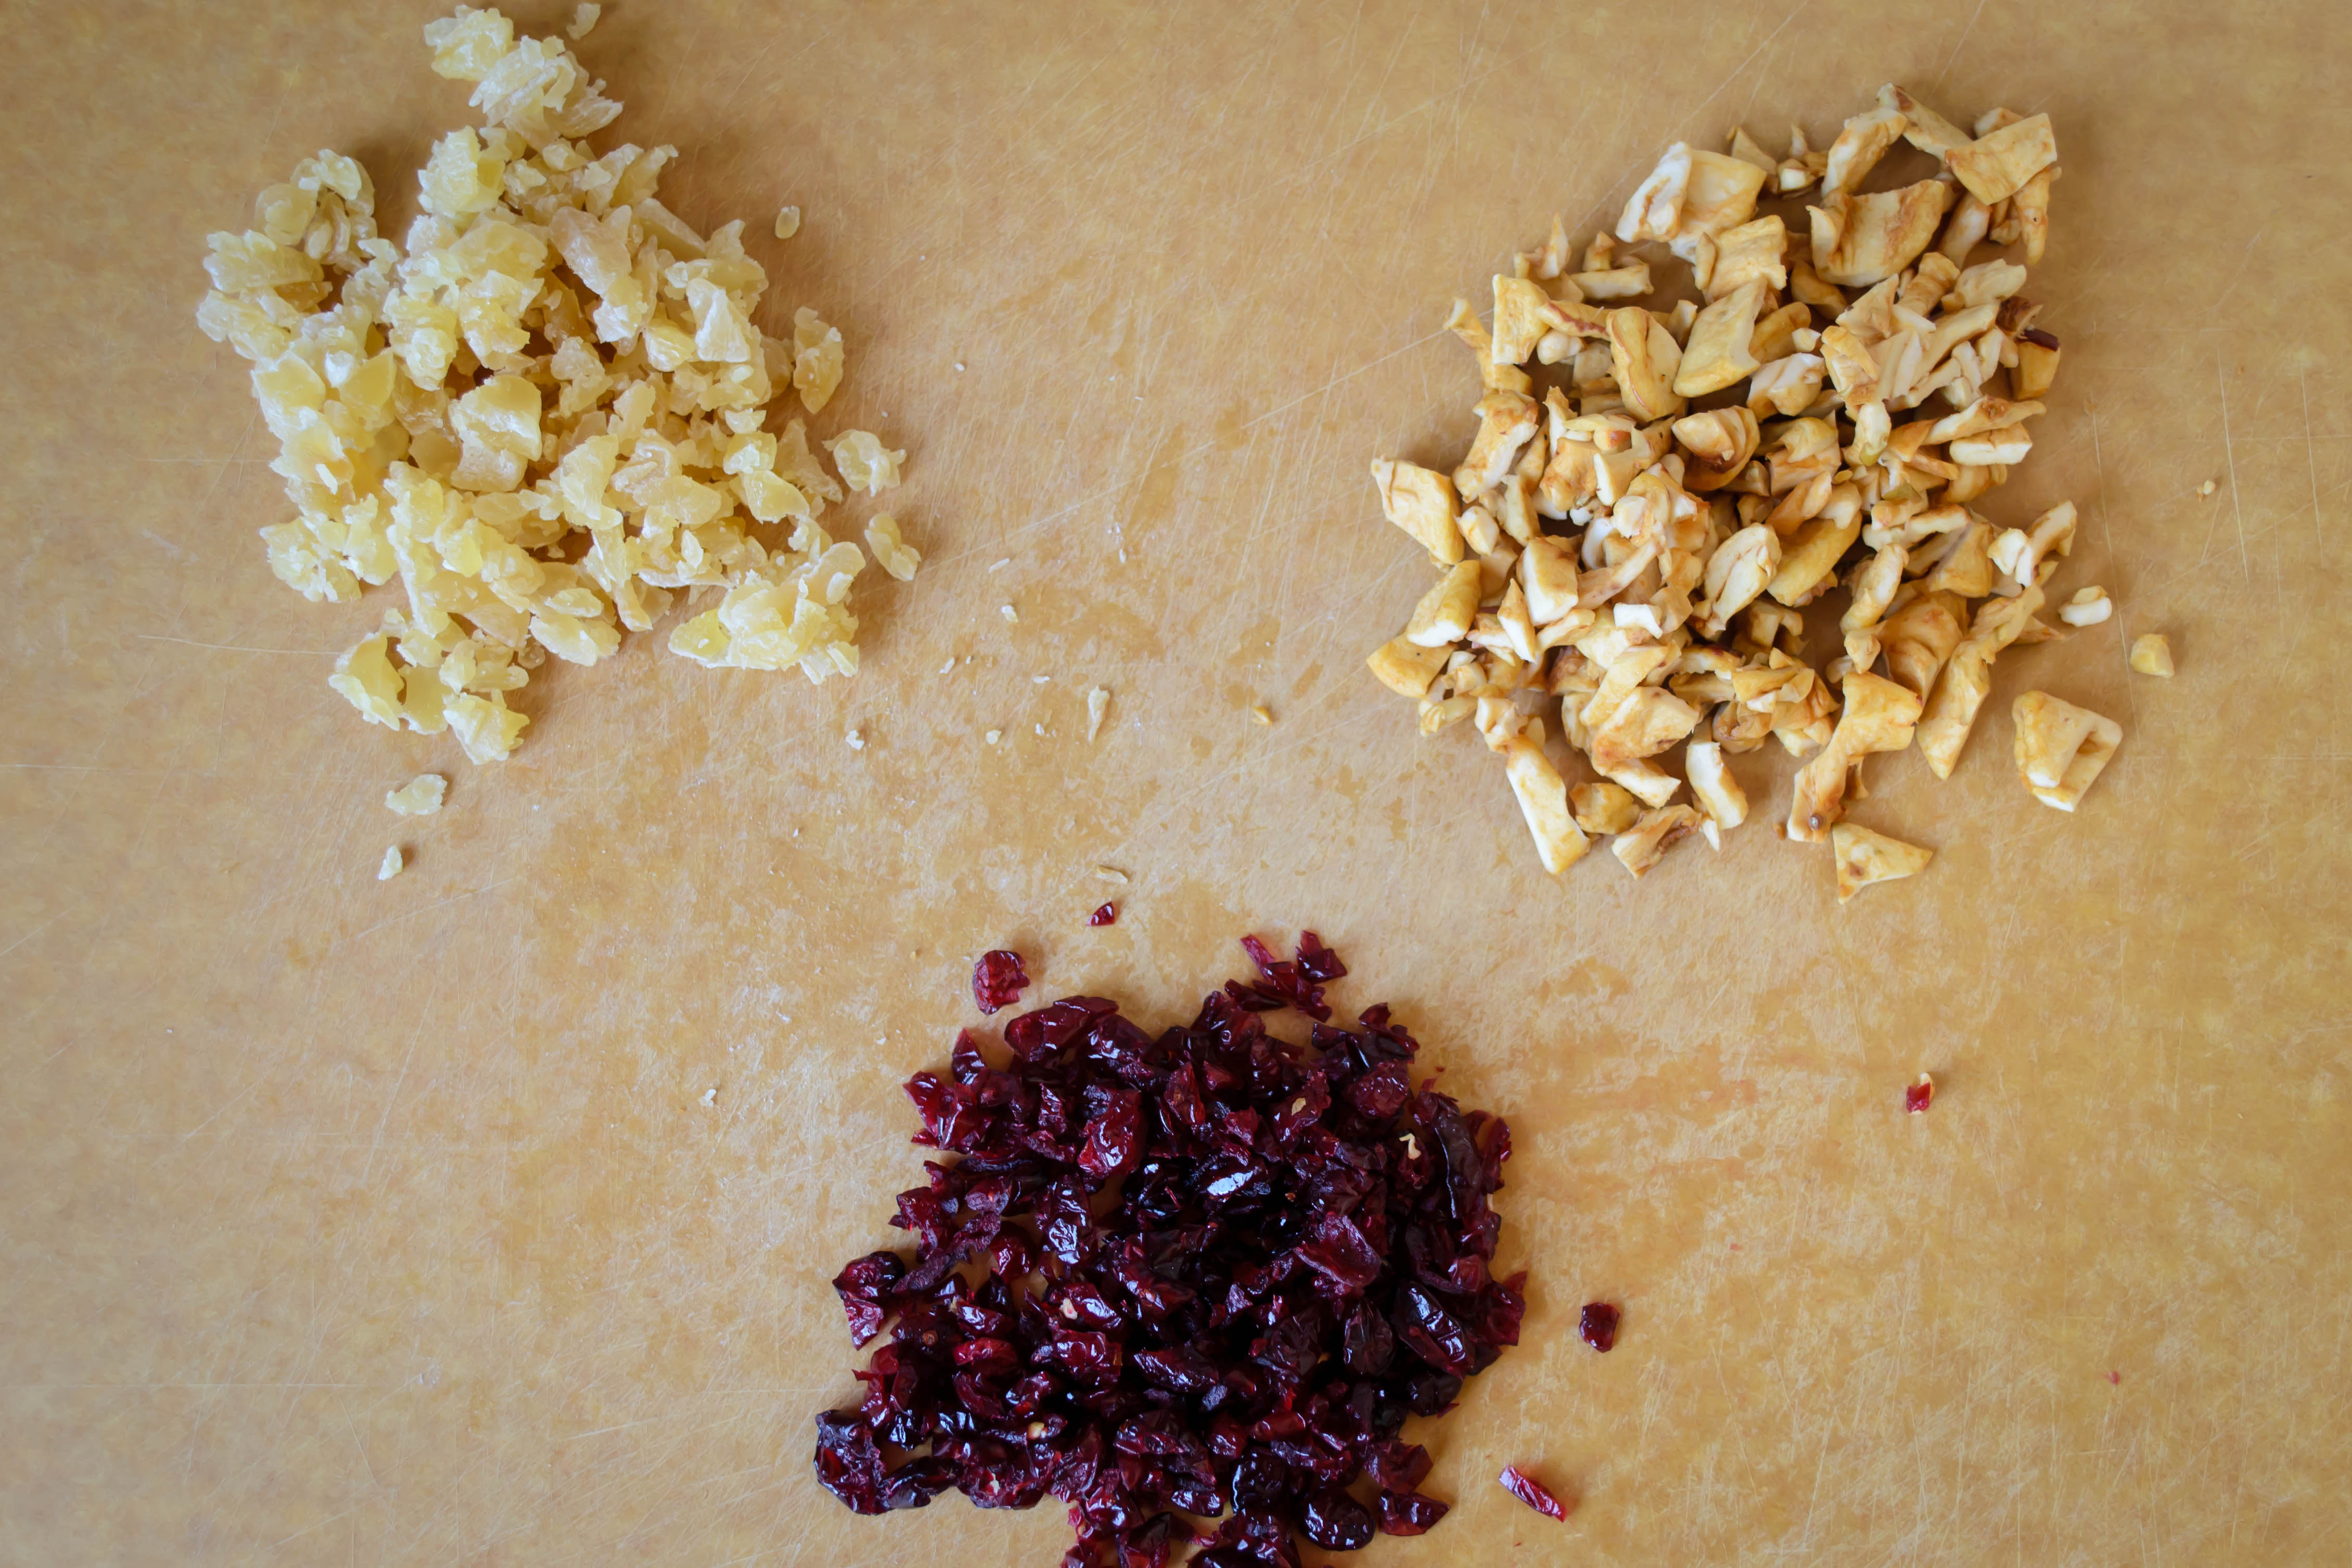
First, let’s talk Maldon sea salt, my favorite finishing salt of all time.  That’s the top right corner, if you’re following along with the visual.  It’s flaky and crunchy and crusty, and tastes like the ocean dried on your lips.  It is beautiful with caramel, or on top of biscuits, or sprinkled over a still warm chocolate chip cookie (this might sound weird, if you’re not a sweet-and-salty devotee, but just try it.  You’ll be glad you did).

Top left is coarse sea salt, which I mainly funnel sloppily into my salt grinder, to use when a dish needs some last minute seasoning, or when we have guests and I want to look all fancy by putting salt and pepper on the table.

Of course I’ve got good old table salt, in that pile in the bottom left.  You know, with the little metal spout that squeals when you open and close it?  I use this mainly when I’m following recipes.  Since salt comes it a lot of different sized crystals, measurements actually will be different depending on what kind you are using.  Most call for the simple, relatively fine grind of table salt.

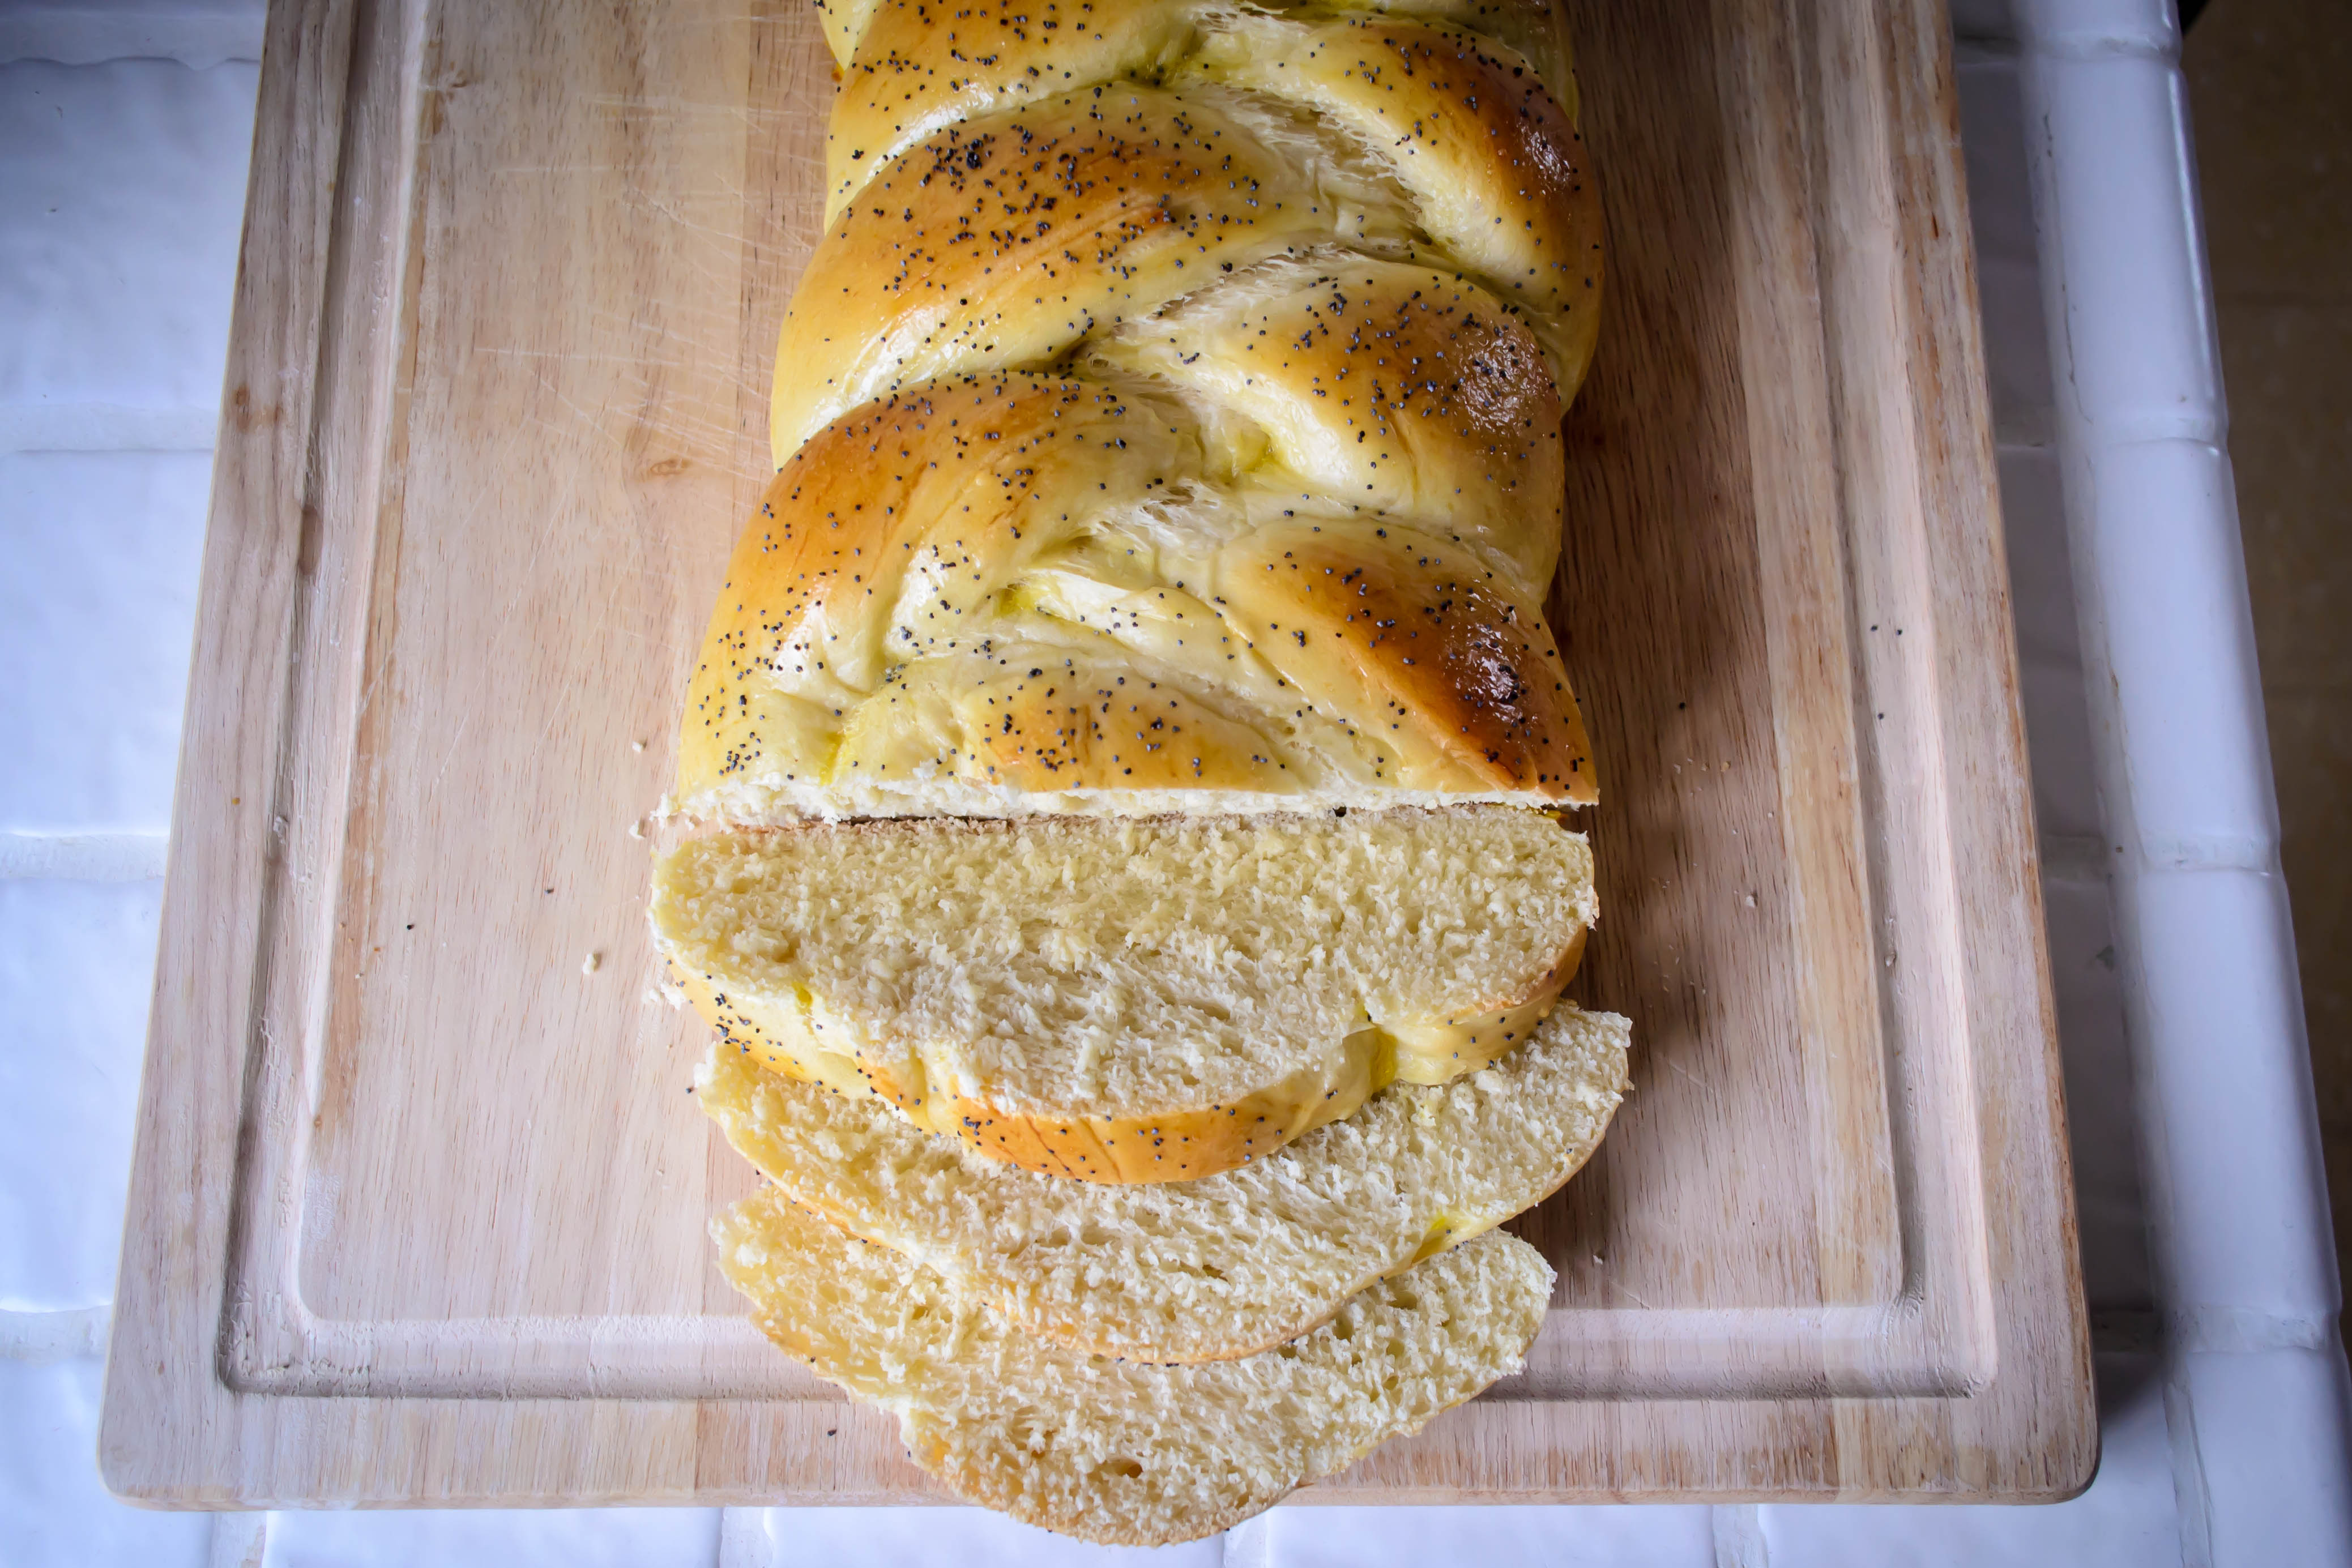
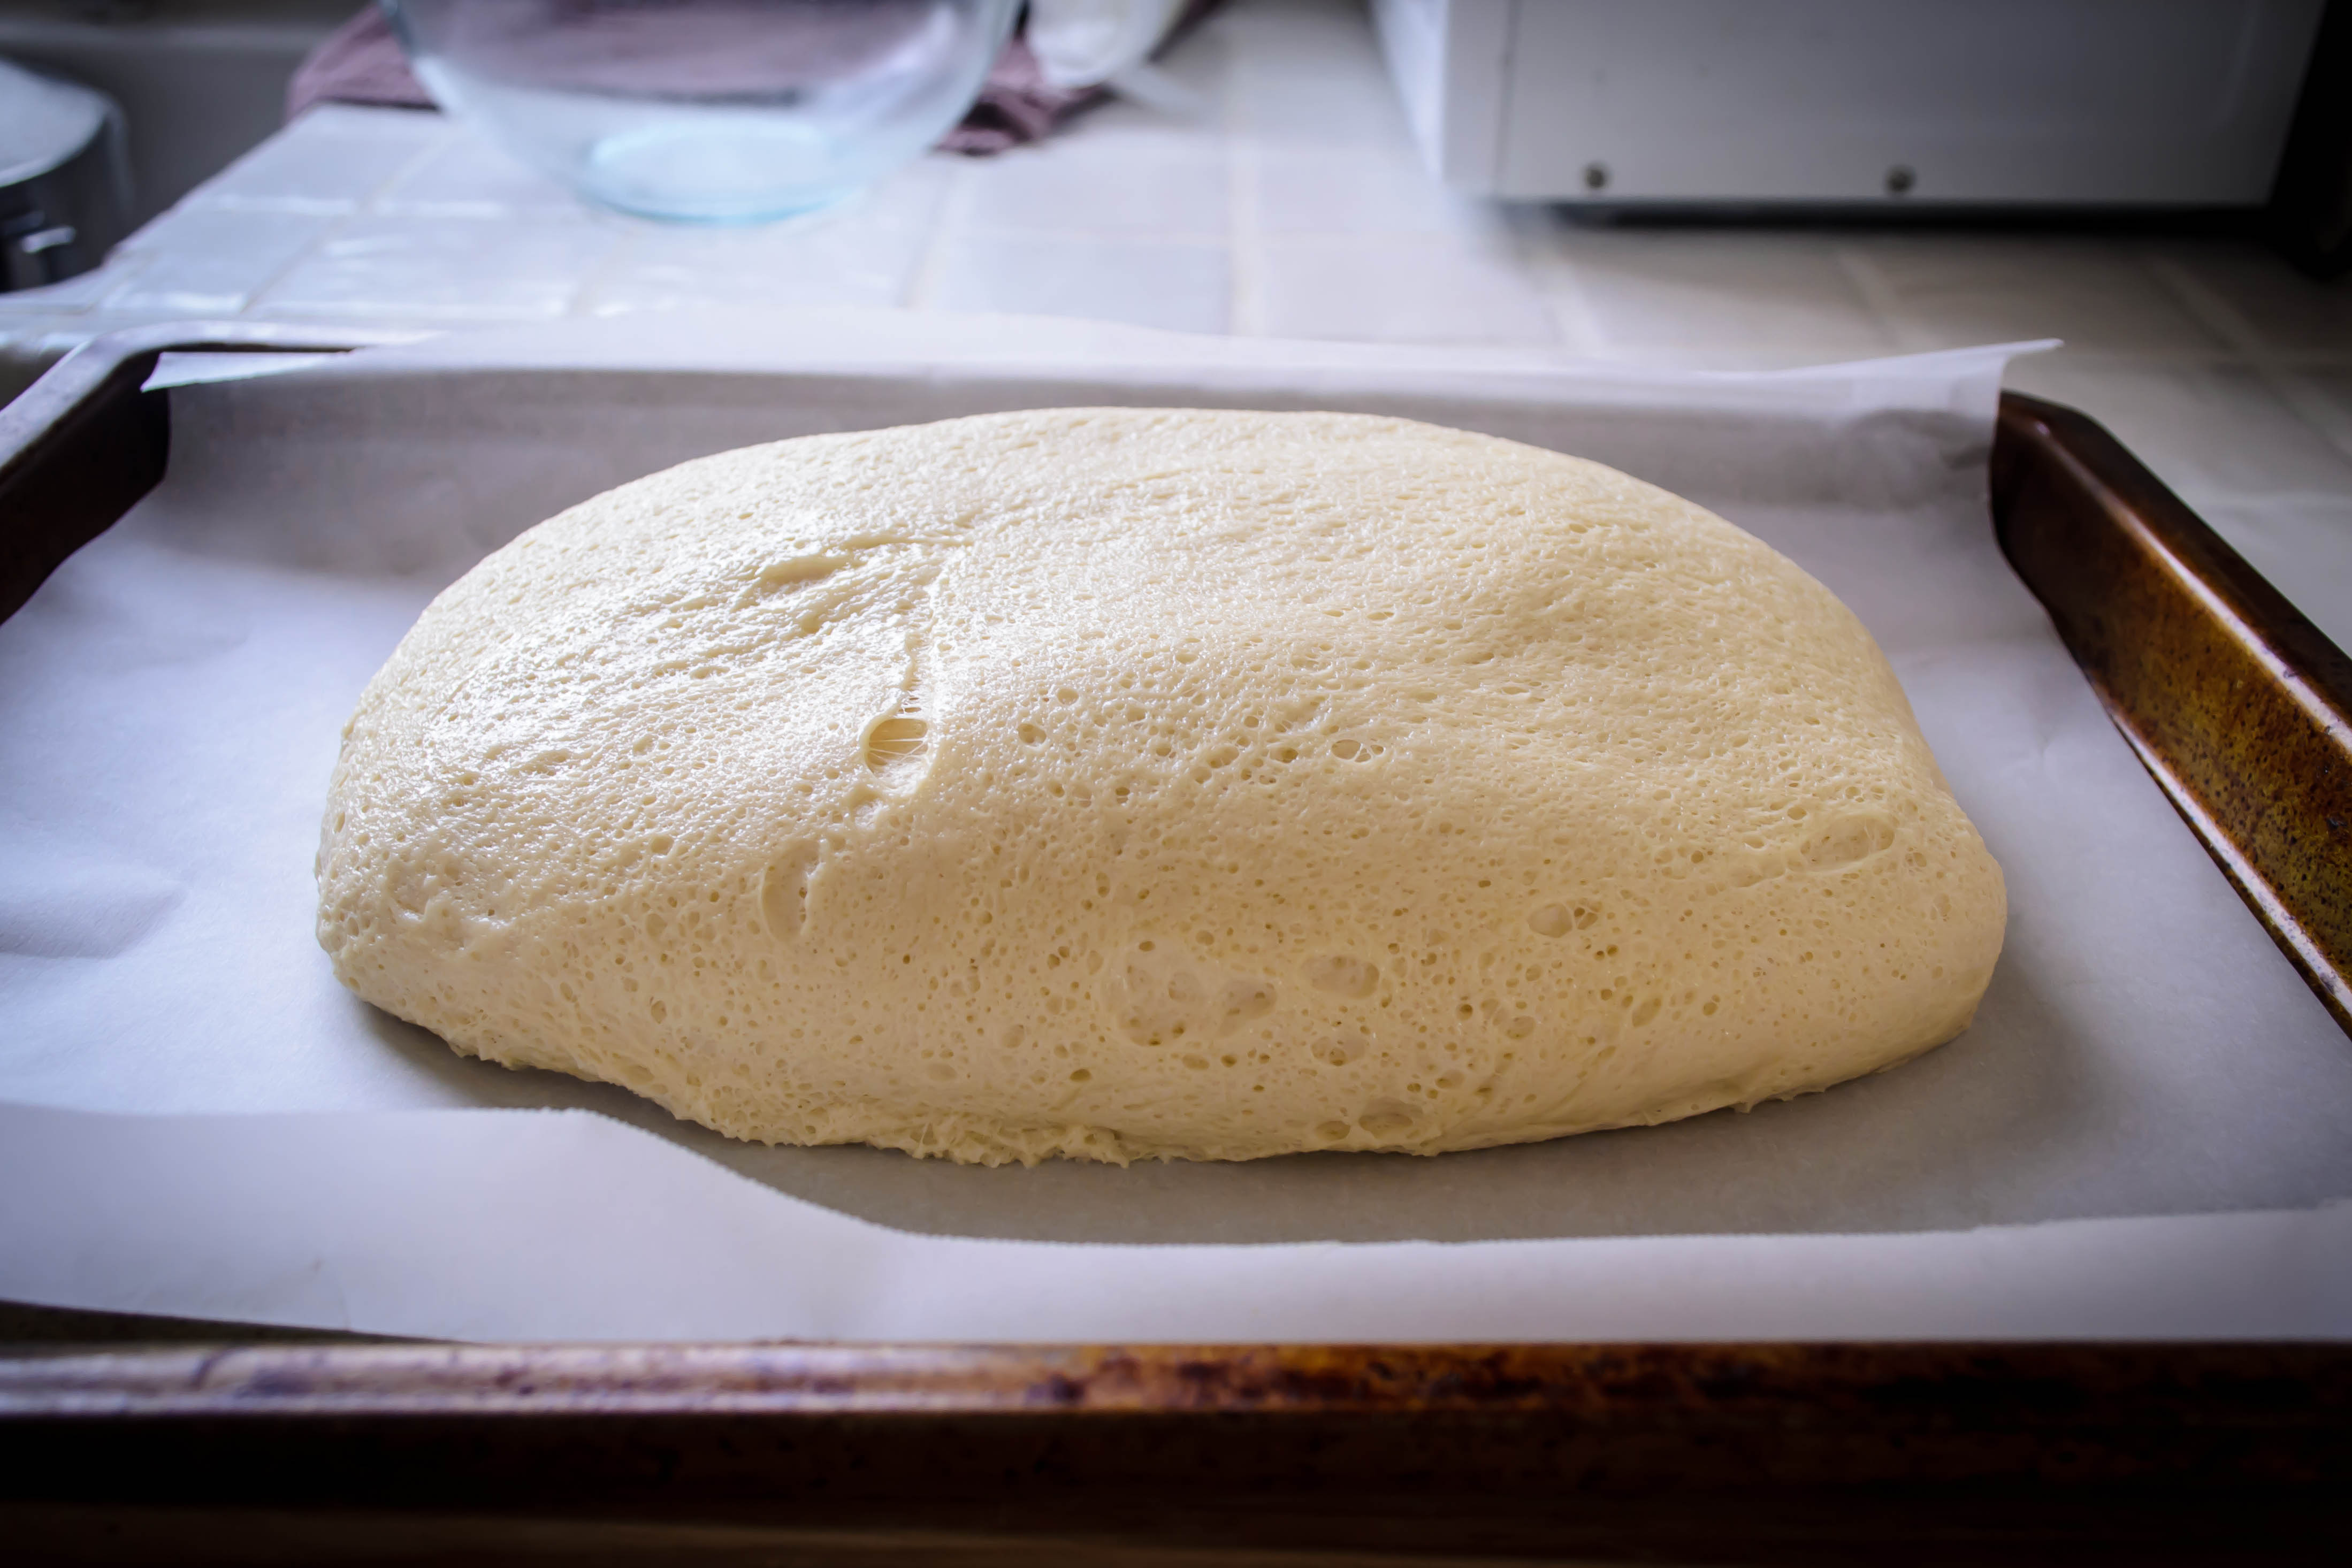
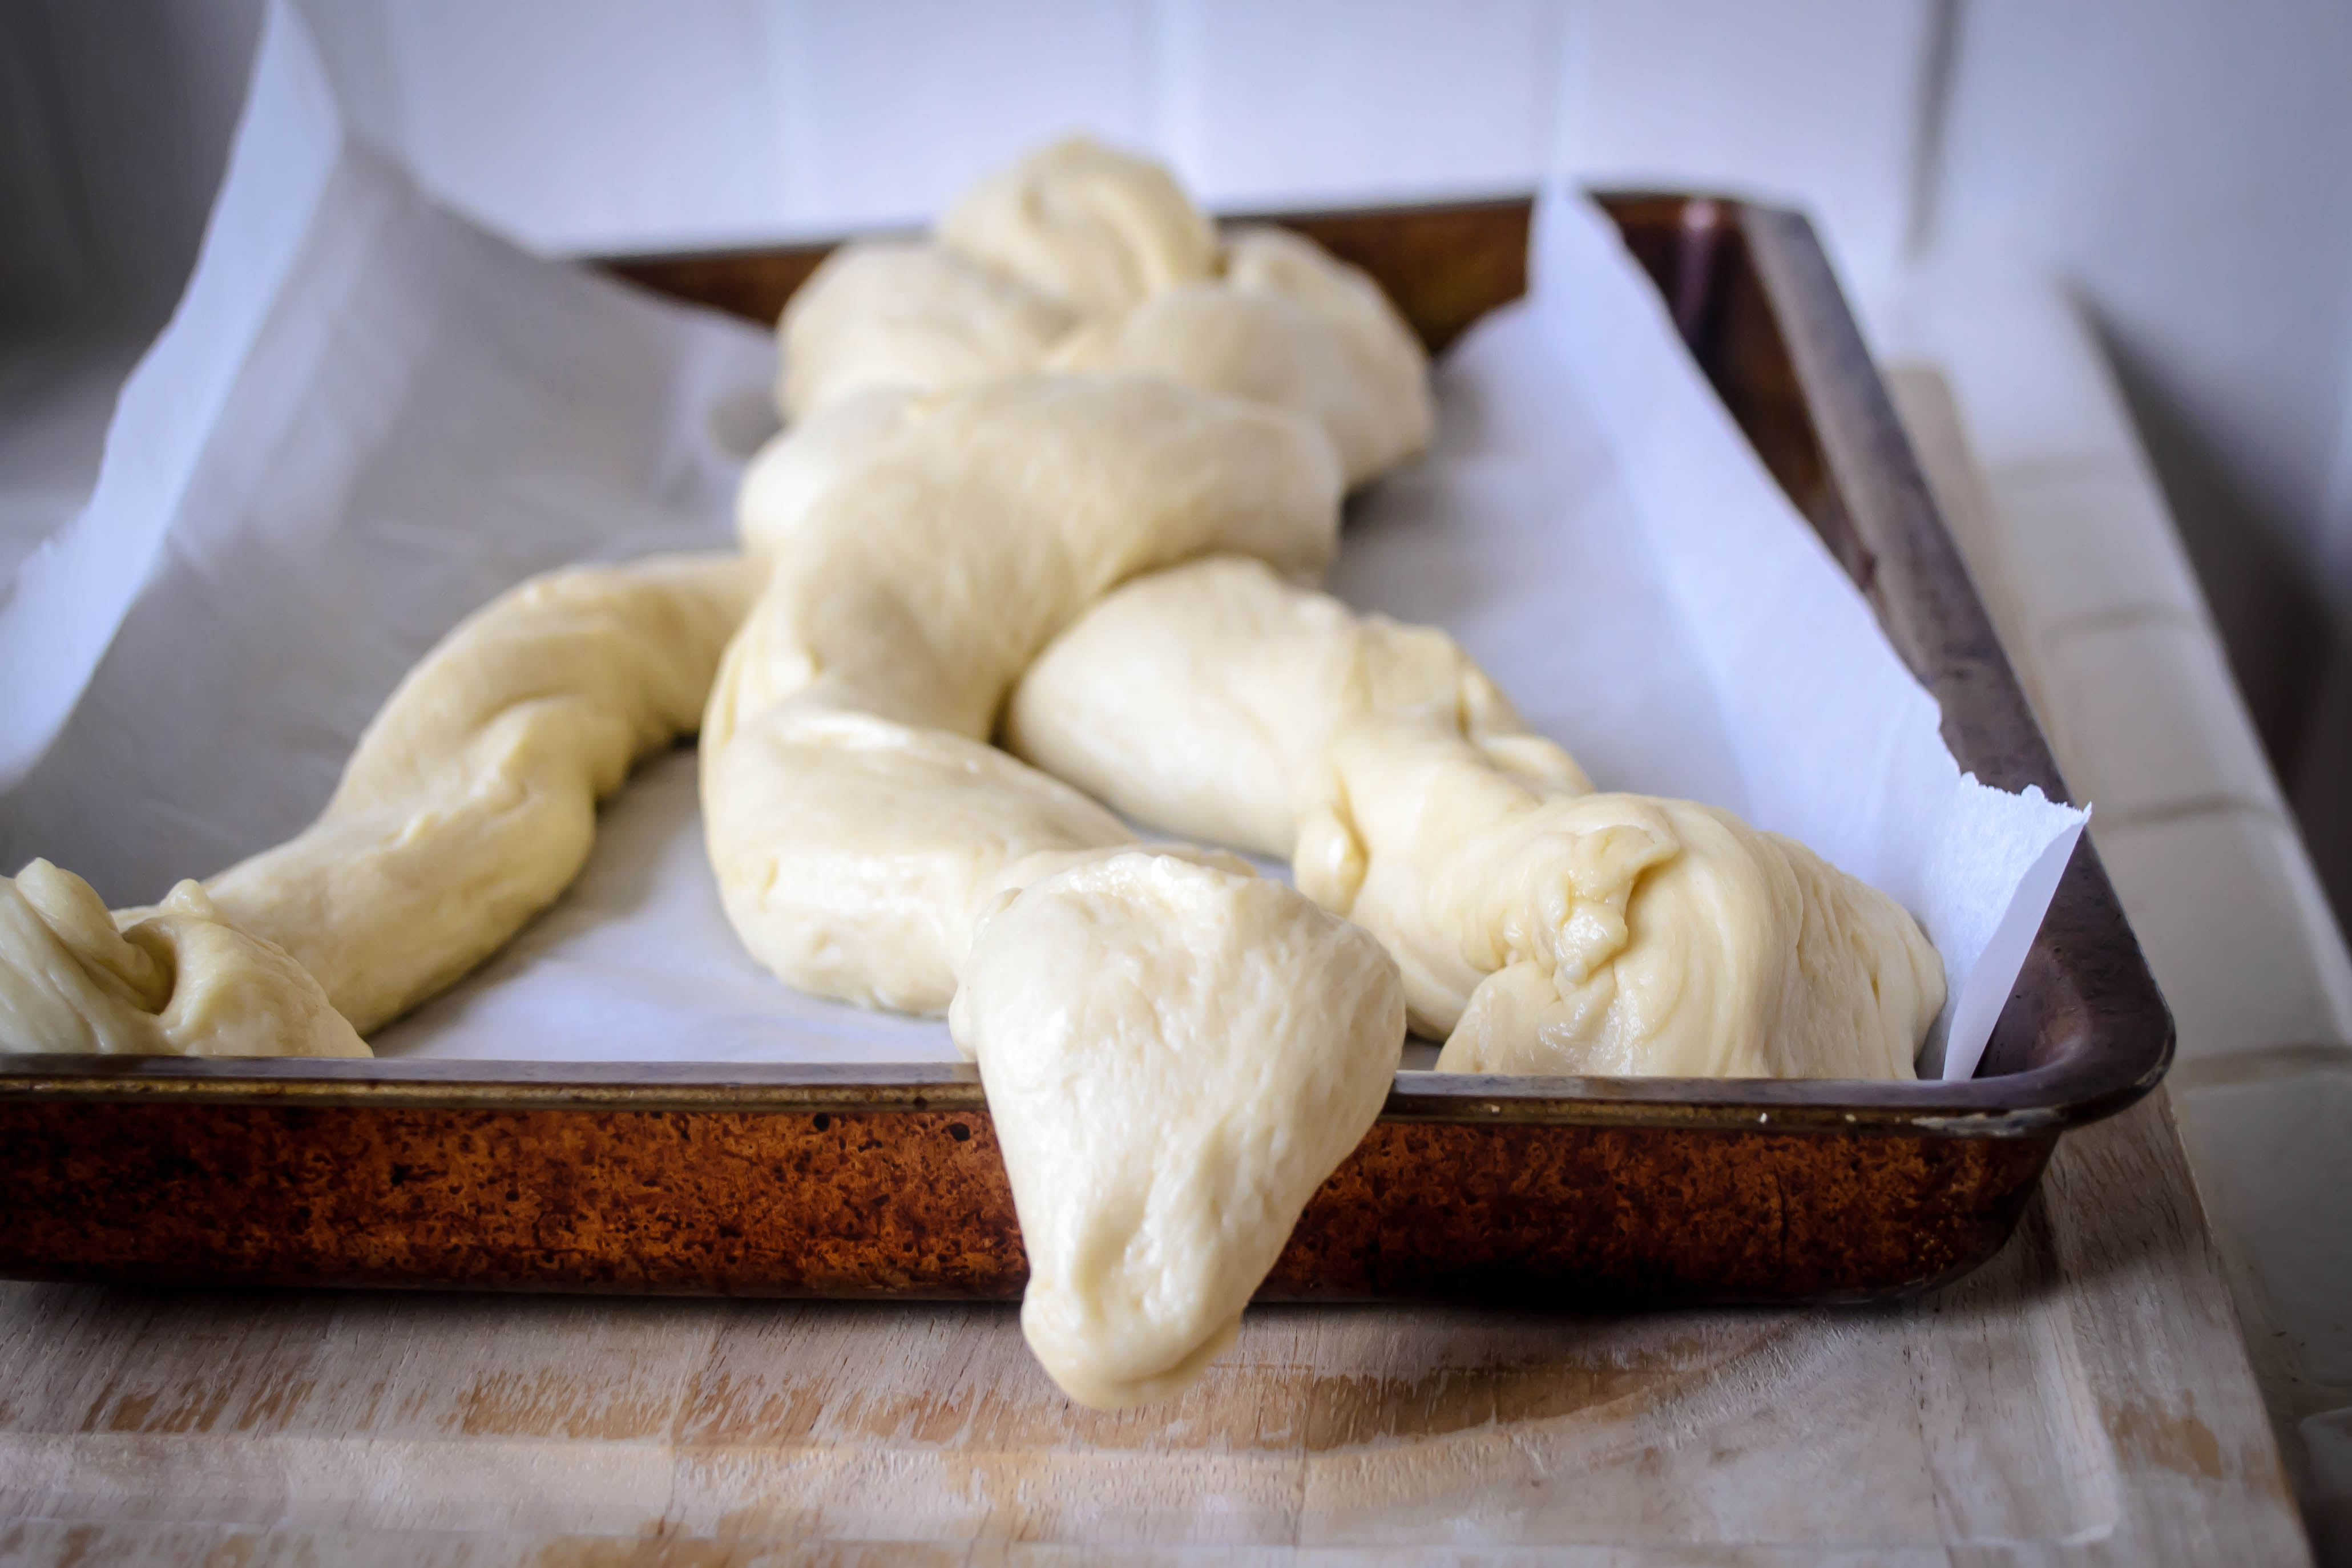
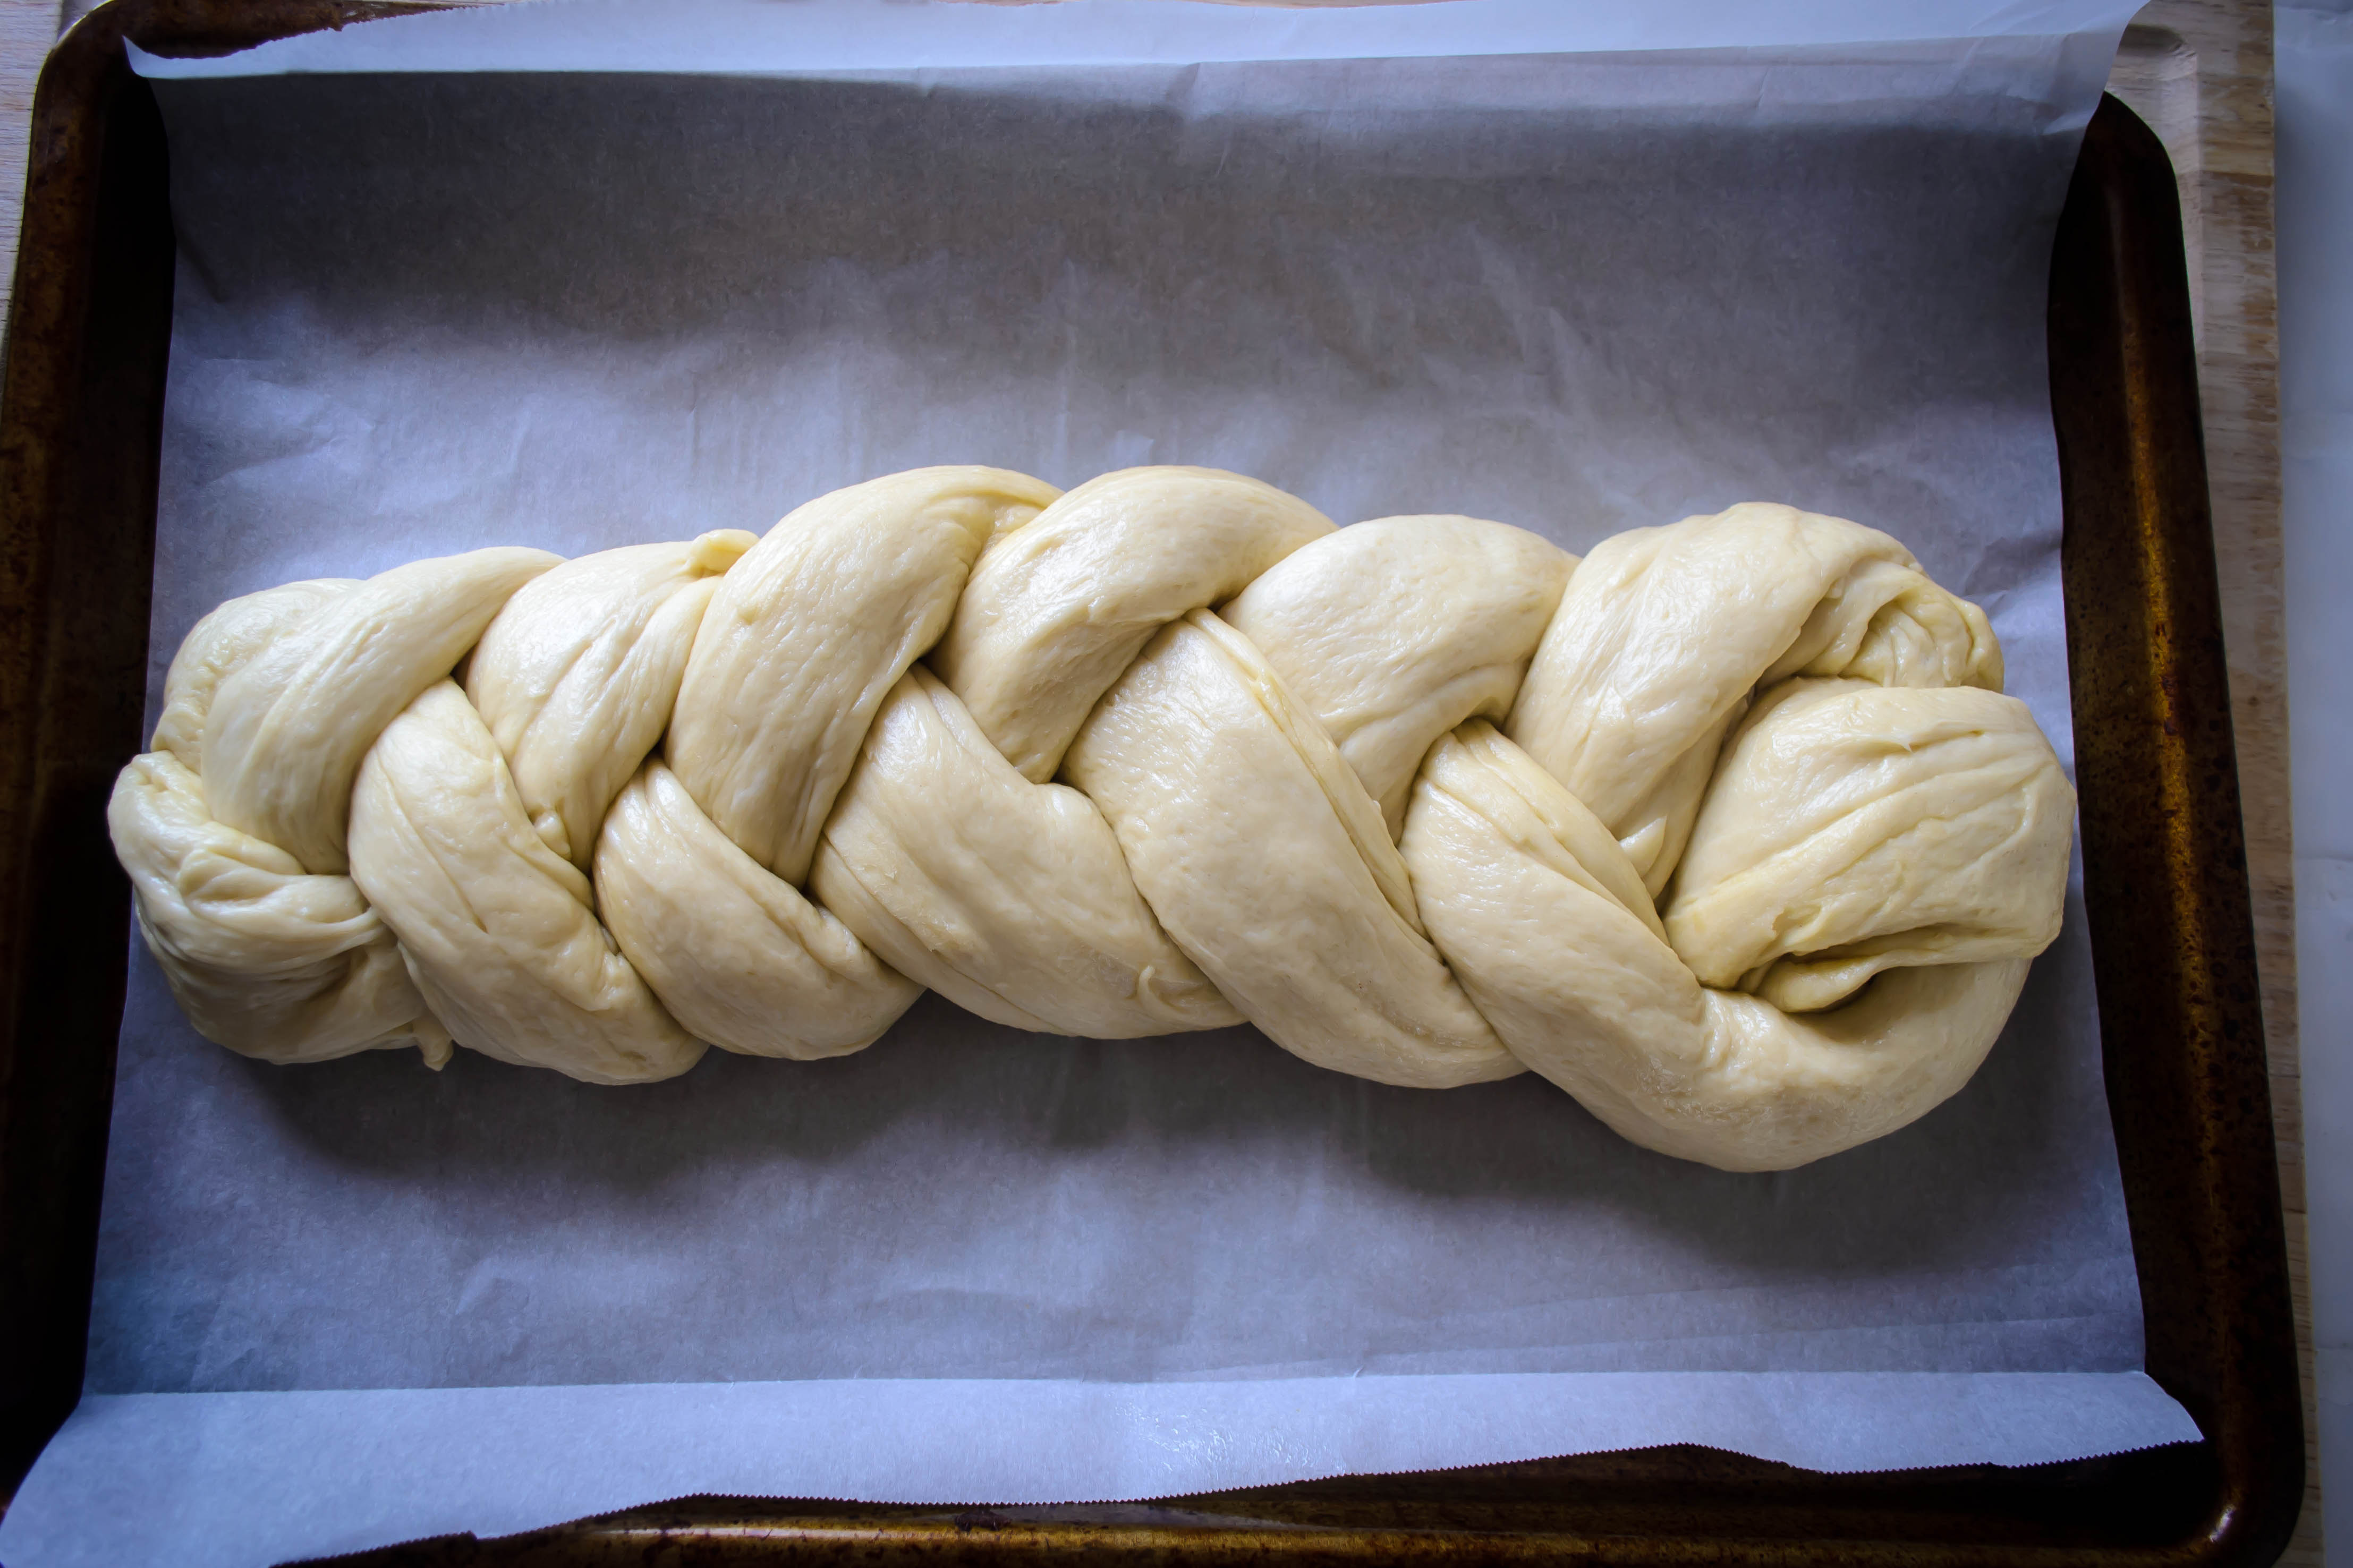
Finally, there’s my newest love, here in the bottom right: gray sea salt.  This is in larger, chunkier crystals than the Maldon, and is a harder crunch because it’s less flaky.  It clings together almost like damp sand, which I like because it reminds me of the ocean it came from.  The gray color is from mineral content, which I like because it makes me feel like it’s somehow really good for me.  I use this in bread dough and pizza dough – it seems less salty than regular table salt (it’s not, though – they are just unrefined crystals that, when processed a bit, become plain old Morton), and though most of it breaks down during the rising and cooking, some tenacious crystals do hold up, which means the occasional treat of a crunchy, salty bite.

Food Blog June 2013-1525There are many more that I don’t stock or have never even tried – pink Himalayan salt, black lava salt, rock salt, good old Kosher salt, the strange and possibly blasphemous popcorn and butter flavored salts, the odd herbed salts, garlic salt and celery salt and smoked salt.  And in lieu of a real recipe, I’d like to offer you a little bit of awesome that you will be hardpressed to believe is really a coincidence.

Food Blog August 2013-2428Let me explain.  When we arrived in Seaside, OR, the final leg of our massive road trip, I already had this post drafted.  Promise.  I had known for almost a week that I was going to talk about salt.  I even had a bit of something in lieu of a recipe to present.  But upon our arrival, our friend Taylor (the aforementioned salt fiend, who is also a guest contributor on the smart, feminist media and pop culture blog Girls Like Giants and co-writer of a Project Runway review column on Simply Showbiz, masquerading under the pseudonym Andy Others) blew all that out of the water when she presented us with a little hostess gift: a jar of garlic herb salt.  What could be more perfect?  So I asked her to do a little guest post here to share how she made this sweet little jar that smells at once like the ocean and the best garlic bread you’ve ever tasted.

Food Blog August 2013-2429“I was driving home from grocery shopping and listening to the ever-genteel ‘Splendid Table‘ on the car radio. Lynn was talking to a woman named Sally Schneider, and together they told me that I have been wasting my money for years. You see, I am a sucker for flavored salts. Truffle salt and tomato salt are my all-time favorites, but anyone can make me happy by giving me salt combined with something, especially if part of that something is garlic. But Lynn and Sally showed me the truth! You don’t have to spend your own money on this. Salt is actually so amazing that it does the work for you. Let me say that again: the salt does the work for you. Salt! Is there nothing it cannot improve?

A mini-vacation with old friends was fast approaching, so I thought, what better way to welcome and thank them than with a homemade salt of my own? Plus I could show off how competently I grow herbs, which is always a bonus. I love appearing competent.

Food Blog August 2013-2432Sally Schneider told Lynn about the simple pleasure of making this salt by hand, but I chose to let competence merge with laziness instead. It could not have been easier. I peeled about 8 cloves of garlic (more than the recipe called for, but garlic is one of my great loves). I put them in the belly of my food processor with about 2 tablespoons of kosher salt. I pulsed until the garlic was mostly chopped. Then I added a tablespoon of culinary lavender flowers, about a cup of sage leaves, and about a cup of rosemary, stripped from its stem. (I thought about adding lemon zest, but I decided not to overdose on too many flavors… this time.) I pulsed and pulsed until the mixture became a coarse, slightly damp sand. Next I dumped that “sand” onto a baking sheet and mixed it up with about another ¾ cup of salt. I measured by color more than by quantity; I know how much herb I like in an herb salt, so I aimed for an even green distribution. Finally, I set the baking sheet on the filing cabinet by my kitchen window and just let it sit for two days. The salt dehydrates the garlic and herbs for you, while filling your kitchen with the smell of totally effortless deliciousness. Some people think it will be good on roast chicken; I say popcorn. Now what will people get me for my birthday?”

To good friends!  To vacation!  To salt.

Peanut Butter and Jelly Bread #TwelveLoaves May

When it comes to cooking, I don’t mind a little complexity.  You can call it fuss if you want.  I’m not put off by a picky technique or an extra step.  Separate the eggs?  Okay.  Toast the nuts first?  Sure thing.  If it adds to the flavor of the finished dish, I’m on board.  But when it comes to eating, I like things simple.  I love appetizers because your gratification arrives in a single bite.  I dig pizza because the toppings all come at you together.  A drumette of roasted chicken sitting precariously atop a mound of braised greens in a puddle of puree?  I’m sure it’s delicious, but it’s a little fancy for me.  At the point that it comes off the heat, I’m ready to put it in my mouth, plating-be-damned (obligatory self-deprecating note: it’s clear, given this, why I haven’t yet managed to squirm my way onto Tastespotting or Foodgawker).

Food Blog May 2013-1298So this week, faced with this month’s Twelve Loaves challenge of baking a loaf of my choosing, I started thinking about the humble sandwich.  Now, I know, a sandwich isn’t exactly challenging to put together.  But I’m a little anal-retentive about some things, and one of them is the old classic pb&j.  Here’s the issue: I like my peanut butter on both sides.  That means you have to put it on first.  But then, you can’t just dunk that peanut-buttery knife into your jam jar!  Cross-contamination!  So you have to decide: do I get a different knife?  Or do I take an extra few seconds and rinse off the peanut butter knife (and peanut butter doesn’t just rinse off like that, you know)?  I know, this is a silly non-problem to have.  But it led to a delicious idea: what if the bread itself were already infused with peanut butter and jelly, making spreading, smearing, and layering all unnecessary?

Food Blog May 2013-1293

Food Blog May 2013-1297What arose from this self-indulgent, first-world-problems sort of pondering was a moist, deeply tawny loaf, dense in the best kind of way, with a mild but definite peanut flavor.  I flattened it into a rectangle and spread it thickly with jam before rolling it up and twisting it to create a swirl: a thick artery of gloppy, sticky strawberry so pervasive it cracked the crust and oozed forth into barest caramelization.  The borders of the jam swirl maintained just a little doughiness from the extra moisture, echoing the effect the jam would have on the bread after sitting in your lunchbox all morning, and at these doughy, almost under-baked pockets, the peanut butter taste was most pronounced.  With butter, peanut butter, an egg, and milk in the dough, this is a rich bread, though not as indulgent as brioche.  It’s a perfect mid-morning or mid-afternoon snack, and the best news of all is: it’s instant gratification – a sandwich in one step!  No spreading required; all you have to do is cut a slice.

Note: I do not like, nor have I ever liked, crunchy peanut butter.  I don’t even really care for peanuts in their original form (I know, the fact that I like peanut butter despite this makes me a bit odd.  On the flip side, I could go the rest of my life without tomato sauce but I can’t wait for the first big brandywine or sweet Cherokee purple heirloom of the summer.  Go figure).  However, if you wanted to ramp up the peanut flavor in this bread, I’d advise you to do one of two things: 1.) instead of smearing the top of the loaf with butter just before baking, smear it with chunky peanut butter you’ve heated in the microwave for a few seconds (heating it will help it spread better).  2.) if the idea of smearing melty, sticky peanut butter doesn’t appeal to you, use regular butter, but drizzle on a few tablespoons of finely chopped peanuts.  This will give you a crunchy peanut-y hit every time you take a bite of crust.  Food Blog May 2013-1262

Food Blog May 2013-1266Peanut Butter and Jelly bread

¼ cup warm water

2 tsp yeast

2 tsp sugar

¼ cup scalded milk, cooled (microwave or heat on the stovetop until the barest simmer, then cool.)

½ cup very soft butter, divided

¼ cup smooth peanut butter

¼ cup sugar

1 egg

2 tsp vanilla, divided

1 tsp salt

2-2¼ cups bread flour

1 cup strawberry preserves, or your favorite flavor

Food Blog May 2013-1270

  • In the bowl of your stand mixer (or a large bowl), combine the yeast, 2 tsp sugar, and warm water.  Let stand 5 minutes or so until the yeast becomes bubbly.
  • Meanwhile, scald the milk, then let it cool.  I like to add the peanut butter and a ¼ cup of the butter to it and stir – this helps incorporate them into the dough more easily AND it cools the milk down faster.  Double duty is always good!
  • When the milk has cooled to just above room temperature and the yeast is bubbly and smells like baking bread, add the milk, peanut butter, ¼ cup of the butter, egg, remaining sugar, and 1 tsp vanilla to the yeast and mix with the paddle attachment or a sturdy whisk until incorporated but still lumpy.
  • Add the salt and about 1½ cups of the flour and mix again, still using the paddle attachment, until the flour is evenly damp.  If you are using a stand mixer, switch to a dough hook and begin kneading on medium-low speed.  If you are not using a stand mixer, dump the dough out onto a well-floured board, sprinkle it with a bit more flour, and begin kneading by hand.  If the dough is too sticky to knead productively, add flour ¼ cup at a time until it is workable.  I ended up using a total of 2 cups of flour.

Food Blog May 2013-1271

  • Knead for 8-10 minutes, or until the dough becomes smooth, shiny, and elastic.  At this point, relocate it to a lightly oiled bowl and cover it with a taut layer of plastic wrap.  Let rise in a warm place for 2 hours.  It will double or almost double in size in this time.
  • When the dough has risen and is close to double the size of the original ball, deflate it gently with your fist and then let it sit for 10 minutes.  While it gets its breath back, place the jam or preserves you’ll be using in a small bowl and heat it just until it loosens up a bit – this will make it easier to spread.  Add the remaining 1 tsp vanilla to the warm jam and combine with a fork.

Food Blog May 2013-1274

Food Blog May 2013-1276Food Blog May 2013-1277

  • Once the dough has rested, turn it out onto a floured board and roll it into a rectangle of about 12×18 inches.  Spread this rectangle with the jam mixture, leaving a border of at least ½ an inch on all sides.  This will prevent the filling from leaking out as you roll it up.
  • Starting on the shorter edge in the middle (so you’ll end up with a log about 12 inches long), begin rolling up the dough into a tube, moving back and forth between middle and ends to create an even log.  When you get to the end, seal the long edge by pinching the dough together with your fingertips.  This will keep the loaf together as it bakes.

Food Blog May 2013-1279

  • Twist the whole log six or seven times.  This distributes the jam through the center of the dough, so that your baked loaf will have a beautiful sweet swirl throughout.

Food Blog May 2013-1280Food Blog May 2013-1282Food Blog May 2013-1283

  • Smear a 9×5 inch loaf pan with about 1 TB of the remaining butter, then snuggle the log of dough into it.  Scrunch it up a bit – that’s okay, it will fill out the pan when it bakes – and set it aside to rise again for 30 minutes.

Food Blog May 2013-1284

  • While the dough rises, preheat your oven to 350F.

Food Blog May 2013-1288

  • When the dough has risen, rub the top with the remaining 3 TB butter (or chunky peanut butter, if you wish), and bake for 30-45 minutes.

Food Blog May 2013-1294

Note: this bread’s doneness is difficult to test.  Because the jam is interspersed throughout, the finished loaf can seem a bit doughy.  If you have an instant read thermometer, try to insert it in an area that is just bread, not jam.  (I had some difficulty doing this, as you can see from the small holes on the top of the loaf in some of the photos above.)  You are aiming for a temperature of between 190-200F.  I must admit, though, I don’t mind this loaf a bit underdone – I think it captures the softness and almost-soggy glory of a simple pb&j from childhood.  And really, that’s what this bread should be about.

Food Blog May 2013-1300

Stay tuned…

Happy Mother’s Day, all!  I’m a bit behind this week, so though I have something delicious and jammy and lovely to share with you, it won’t appear here until tomorrow… please check back!

Family Dinner

This week, on this day, Shauna from Gluten-Free Girl and the Chef is hosting a dinner party.  She, and the Chef himself, and their dancing daughter, are celebrating their new book: Gluten-Free Girl Every Day, and have asked folks to talk about family dinner, and what it means to them.

Remains of biscottiI grew up in an almost ridiculously normal (whatever that means) American household.  One mom, one dad, one sister, one dog, northern European ancestry, middle class.  That meant 3-part plates at dinner time: meat, starch, veg almost every night.  Sometimes the meat was grilled, sometimes baked, rarely fried.  The vegetables and starches were wide in variety and the casseroles, while present, were an occasional item.  We weren’t from the Midwest – in fact, of all the places I’ve lived in my life I’ve never had a home in that wide, grain-covered middle expanse of the United States – but we certainly could have been.

Looking back on them now, I love those family dinners, but I’m not sure I did then.  The food my mom cooked was good, but I wasn’t ready to notice it yet.  Dinner was dinner.  My sister and I always drank milk – sometimes white and foamy and cold, sometimes overdosed with chocolate syrup, sometimes with straws – until we both developed lactose intolerance.  Milk was replaced with juice, or water, or, as we got older, a glass of wine.  What grownups we felt like, sipping wine at the dinner table with Mom and Dad!

Dinner was, when I was young, a time to be together as a family.  Each of us took a turn spoke about the events of the day.  I found this part of the routine boring.  I loved my parents, but the meetings and conferences they described were not my cup of tea, and not what I was interested in hearing about.  Neither, much to my mom’s dismay, was I particularly invested in sharing my own daily experience.  I remember vividly her attempts to eke out details about my day at school: “what was your favorite part?”  My answer was usually a single word, or even a single syllable.  “Lunch.”  School just wasn’t thrilling enough to talk about.

frame it?When I was a senior, my dad was transferred to another part of the state.  My parents, bless them, didn’t want to tear me away from my last year of high school, so my dad rented a room in a suburb near his new office and came home every other weekend.  My mom was an elementary school teacher, and to lighten her load a bit, cooking dinner once a week became one of my tasks.  It turned out I much preferred this to my other chores, which included mowing the lawn and taking the trash bins down to the curb on garbage day.

My early attempts at dinner were, as you might expect, far from gourmet.  My Nana sent me a cookbook – The Complete Guide to Country Cooking – and a subscription to Taste of Home magazine, and I stubbornly stuck to these sources when it was my turn to invade the kitchen.  Why I wasn’t willing to defer to Mom’s collection of cookbooks I can’t begin to imagine.  Teenager-itis, I suppose, and maybe a feeling of needing to define “my” cooking against hers – Country Cooking was my repertoire.  This led to somewhat disjointed meals: I remember making something called “Peachy Ham Slice” and, minutes before the dish was ready to serve, realizing that I should probably include a few side dishes.

When I return “home” to my parents’ house, a house I didn’t grow up in, dinner is like a party.  Mom and I plan a menu with at least one fancy item.  It might be seared ahi, dressed with a mango and avocado salsa.  It might be couscous spiked with coconut flakes and toasted almonds.  It might even be the dessert, which as kids usually meant a small container of fruit flavored yogurt, but now could range from chocolate cake smothered in ganache to crisp, toasty biscotti.  We break out the tablecloth.  We set the dining room table with cloth napkins and balloon-bulbed wine glasses.  Dinner is an occasion.

IMG_5429But when it’s every day, when it’s in my own home, with my own little family (just N. and Lucy and me), dinner is different.  We are tired.  N.’s job is demanding.  On a regular weeknight, dinner means curling on the couch with lap-desks, plates positioned just so, and turning our brains off for a while as we watch an episode of Top Gear (the BBC version only, please), or Arrested Development, or even, perversely, Kitchen Nightmares.  Our forks work mechanically until our bellies sigh with contentment.  This isn’t fancy dinner, but it’s home, and it’s comfort, and it’s now.  If our family ever gets bigger, I want our child or children to have the same dinner experience I had with my parents and my sister: talking around the table, music in the background, together.  But that’s for someday.

Holidays 2012-0127That act of gathering around the table, though, or munching away on the couch, that’s not all dinner is.  At least not for me.  For me, dinner starts in my brain.  Dishes, flavors, raw ingredients that could be combined jostle around, shouting for attention, telling me their stories.  What if I used hash browns instead of tortillas to make a quesadilla?  What would that be like?  What if, for extra texture, I folded kale chips into the hash at the last minute instead of serving them on the side?  What if, oooh, I roasted the mushrooms for stroganoff instead of just sautéing them in a pan?  It’s like the scene in Disney’s The Sword in the Stone where Merlin packs up his traveling bag, except instead of dishes and furniture waltzing through the room, it’s ingredients.  When they seem particularly promising, I jot them down on a legal pad I keep just for the kitchen.  They become pizza and roasted vegetables and frittatas and pastas.  They bake into seed-sprinkled loaves and butter-drenched biscuits, and, at least last week, overly browned sweet potato fries.  They are rarely 3-part plates anymore – six years of meager graduate school stipends forced much of the meat out of our diets – but combine spices and heat in ways I never thought about when I was a teenager struggling to put meals together. DSC_0791

In my kitchen now, as I prepare to start dinner, all of the stress and concerns and aches I’ve had throughout the day get pushed to the sidelines by the creative bubble in my brain expanding out down my arms and into my fingers: time to cook!  My vegetable board comes down from its hook, I hone my knife a few times, just to keep the edge nice, and I’m chopping garlic and mincing ginger and grating lemon zest.  I’m whisking white wine vinegar with mustard and honey to start a salad dressing.  I’m loading a pan with florets of broccoli to roast.

Food Blog February 2013-0682Then Lucy arrives (yes, my “daughter” is a Lucy too!).  Friendly eyes, hopeful wag, up for anything, she stands in the doorway, letting her nose suss out the situation.  I give her a carrot or the thick, stubby stem end of a head of broccoli (her favorite), or once, memorably, a whole Brussels sprouts stalk she was determined to annihilate (I took this away from her fairly quickly).  She hangs around hoping until I light up the stove.  She doesn’t like the gas, so she heads back to the living room where she can’t see the tiny blue flame.

DSC_0986DSC_0985DSC_0984When things start to smell good, N. does a pass through.  He peeks into skillets, examines the counters for ingredients, snags a clump of cheese or a piece of marinating tofu.  Sometimes he’ll watch for a minute as I flip an omelet or deglaze a pan.

Food Blog March 2013-0373That’s how we come together, at dinnertime in my family.  We may not talk much during the meal (though Lucy and her velvet brown eyes have plenty to say about the smells she’s not tasting), but the magic of the kitchen itself pulls us all in.  We serve ourselves, pan to plate, and retreat to the living room, but inevitably find ourselves back at the stove, sneaking seconds.  Lu makes a round of the floor as N. and I eat, just to be sure nothing has fallen from the countertops.  And sometimes, later, as we pack up the leftovers for another night, N. tells me it was the best pizza I’ve made so far, or that I can roast carrots like that again anytime, or that he was really craving comfort food, and those breakfast burritos were exactly what he needed.  And that spurs the ingredient dance to start again, and it reminds me that dinner is maybe my favorite time of day.

IMG_5878

Dried Fruit and Ginger Scones

Food Blog April 2013-1194

This month’s archive makes it look like I’m harboring a bit of a sweet tooth.  Nothing wrong with that, necessarily, but I should tell you this week’s entry is actually at N.’s (indirect) request.  A month or two ago, my beloved aunt sent me some specialty King Arthur flour, and along with the packages of semolina and European style AP blend came a catalog.  Naturally, this has become my bedtime reading (what, you don’t read cookbooks and kitchen magazines in bed?), and on Monday night as I dawdled longingly over a blurb about Double Devon Cream, N. surfaced from internet-land and glanced at the facing page.  “That,” he said, and pointed at a photograph of some cranberry orange scones.  “You want scones?”  A silly question, apparently.  “That.”  So here they are.

Food Blog April 2013-1189

I did some research (i.e. food blogs and recipe comparisons from the other cookbooks stacked on my nightstand) and found, as usual, that Deb has all the answers.  Seriously, is there anything the woman hasn’t made?  I adore you, Deb, but really – a person can only repress the green-eyed monster for so long…   This adapts her recipe for “Creamy, Dreamy Scones,” which she got from the America’s Test Kitchen Cookbook.  I’ve used a combination of cake flour and all purpose flour for a lighter texture, allowed turbinado sugar to stand in for the regular sugar, and replaced some (okay, most) of the cream with whole milk, because I lost my mind this week and, forgetting the intended use of that little container, dumped most of it into an unholy-but-oh-so-heavenly conglomeration of chard, bacon, and bourbon.

These scones take advantage of the bags and bags of dried fruit that inevitably collect in my pantry.  You could probably add other flavors as well, but I thought apples and cranberries, and the candied ginger I’ve been obsessed with for at least a year now, would play well together.  Apricots would probably be beautiful too (unless you are, like one of my family members who shall remain nameless to protect familial harmony, freaked out by dried apricots because they apparently bear an uncomfortable resemblance to mouse ears).

Food Blog April 2013-1170

Scones come together much like biscuits: whisk the dry ingredients, cut in the butter, stir the milk/cream/buttermilk and flavor additions in with a fork.  But then, and this is where things can go awry, you have to pat it into a circle and either punch out rounds with a biscuit cutter, or slice the whole thing into triangles.  I chose the latter.

Food Blog April 2013-1177Food Blog April 2013-1182

This dough is, if we’re honest with each other, an almost unmanageably sticky mess.  Resist the temptation to mix more flour into the dough, because the more flour you add, the less tender the finished scones will be.  But do be prepared to sprinkle flour over everything it will come in contact with.  I used a floured pizza cutter to slice it into eight pieces, which tore up edges and corners even while the dough clung fiercely to the board below.

Food Blog April 2013-1178

Food Blog April 2013-1180

Food Blog April 2013-1185

A bench scraper tool is really helpful for transferring your scones to their cooking vessel – a parchment lined baking sheet would be fine, but I used my brand new enameled pizza stone because I’m so jazzed about it.  This, because I preheated it along with the oven, made the scones sizzle as I levered each one onto its surface, and rather than sticking (which I was dreading, since I realized only after they’d been in the oven for five minutes that I hadn’t greased or floured the cooking surface AT ALL), produced a crisp bottom crust.

Food Blog April 2013-1190

I left my offering on the pizza stone to cool while I took the dog for a walk, and returned to find it had been accepted.

Food Blog April 2013-1191

An hour or so later, it had been accepted again.

Food Blog April 2013-1192

These are best on the first day, but will keep acceptably for two or three days if they are well wrapped in aluminum foil and stored at room temperature.  Chances are – if your family is anything like mine – this short storage period won’t be an issue.  Still warm, these make perfect hand-held afternoon pick-me-ups (the ginger really zings you out of the 3 o’clock slump), but if you want to go the extra mile, I recommend slicing them in half so you have two triangles, stuffing them with Greek yogurt and a decadent ooze of local honey, and attacking with a fork for breakfast.

Food Blog April 2013-1197

Apple Cranberry Ginger Scones

Adapted from Smitten Kitchen, who used America’s Test Kitchen Cookbook. 

1 cup all-purpose flour

1 cup cake flour

1 TB baking powder

4 TB coarse sugar, divided (I used turbinado because that’s what was in my baking cupboard)

½ tsp salt

5 TB butter, cut into cubes

¼ each chopped dried apples, chopped dried cranberries, and chopped candied ginger

¼ cup heavy cream

¾ cup whole milk

  • Position a rack in the middle of your oven and preheat to 425F.  If you will be baking on a pizza stone, put it in the oven to preheat as well.  If you will be using a cookie sheet, line it with parchment paper and set it aside.
  • Whisk together the flours, baking powder, 3 TB of the sugar, and salt in a medium bowl.
  • Cut in the butter using a pastry blender, two knives, or your fingers, until the largest chunks of butter are the size of small peas (sidenote: “peas” seems the universal size for butter chunks – why is that?  Is there no other pea-sized object so regular and recognizable in size that we could call upon?  Ball-bearings?  Corn kernels?  Canine teeth?).
  • Pour in the cream and milk (or just use all cream, if you have it) and mix it around with a fork until an evenly hydrated, extremely sticky dough forms.
  • Add the fruits and mix again until evenly distributed (you may have to work a bit to break up the ginger pieces).
  • Dump the sticky mass out onto a well-floured board.  Sprinkle a little flour on top as well, then pat the dough out into a circle about 1-inch thick.  Try not to add too much flour, lest they become dense and tough.
  • Dip a pizza cutter or other thin, sharp knife into flour, then cut the circle into 8 equal sized pieces.  You may need to scrape off and re-flour your slicing instrument between slices.
  • Using a bench scraper, a thin spatula, or (if you are brave) your hands, relocate your 8 scones to your prepared baking vessel, spacing them a half inch or so apart (they will puff and rise a little bit, but not tremendously).  Sprinkle the tops with the remaining 1 TB of sugar.
  • Bake for 13-15 minutes, or until lightly golden on top and cooked through.
  • Cool at least 10 minutes before removing to a wire rack.  Eat warm or cool.

Mom’s Challah

Friends, this is the motherlode.  Or, if you’ll forgive the terrible pun, the Mother loaf.*  In that same red binder of recipes I received as a wedding gift that contains my Nana’s sweet roll dough recipe, my mom included her “secret” recipe for challah (in my recipe collection, Mom promises that she’s only given this challah recipe to one other person.  This, as it turns out, has become a lie.  Both my Aunt Nancy and my cousin Julie have this recipe.  Who knows how many other people do too, by now!).  When she was much younger (read: before two children kept her waking hours a blur of busy), Mom baked bread a lot.  I don’t know where she got this recipe for challah, that wonderful, doughy, braided loaf of egg bread traditionally prepared for Jewish holidays and the sabbath, but even in our gentile household it became a holiday essential for us.
Food Blog March 2013-0971
For the past few years, my sister has taken up the challah mantle and has been preparing it, with Mom’s help, on Christmas Eve so we could slather it with apple butter or cinnamon sugar or honey to enjoy on Christmas morning.  It’s not an easy bread (are any of them, really?).  With an incredibly sticky dough, not one or two, but three rises, and a tendency to overbake, it has always intimidated me.  At any phase of the process, something could go wrong!  If I could master challah, I thought privately, I would really have a handle on this bread thing.
So, a number of loaves under my belt, with Easter coming up, and this month’s Twelve Loaves challenge of holiday breads, it seemed like the right time.  Friday morning, after quizzing my mom on a few details, I pushed my sleeves up, swallowed the disparaging warnings of that little gargoyle of doubt who often sits on my shoulder, and dove into Mom’s recipe.
Food Blog March 2013-0920Food Blog March 2013-0930Food Blog March 2013-0932
This is, as I mentioned above, a sticky dough.  After kneading it becomes elastic and smooth, but there is still a tackiness about it that leaves your bowl streaked with gummy strands and your hands, if not well floured, stringy with delicious remnants.  It takes a long time – with three rises averaging over an hour each, you aren’t starting this loaf in mid afternoon and expecting it to be ready for dinner.
Food Blog March 2013-0933Food Blog March 2013-0935
I’ve seen plenty of recipes suggesting overnight refrigeration time – Michael Ruhlman’s blog, in fact, has a guest post on challah by Marlene Newell that begins the night before it is baked – but Mom has never done it that way.  If you’ve scheduled a lazy day at home, or perhaps a day punctuated by laundry, tidying up, and the odd brief errand carefully placed during a rise, this could just become your best friend.  It’s soft, it’s rich and tasty, it looks impressive (even if, like me, you only do a three strand braid instead of the more traditional six strand), and it keeps fairly well, provided you wrap it well in aluminum foil.  I find plastic storage gives the crust an unpleasing texture.  Of course, it’s so tasty that I can’t imagine it needing to keep well – it will be gone within a day or two.  On that topic, I’ve never understood the comments that it makes wonderful french toast.  In our house, the full loaf has dwindled to half by lunch time, and as the afternoon wears on slice after slice seemingly evaporate, until the bread board contains only a lonely half heel and a small pile of crumbs.  This is the first time I can remember, with only N. and me indulging (Lucy asked with pleading eyes of liquid velvet, but it’s too good to share), that the loaf has made it to day three of existence.
DSC_0910
Despite my lingering doubt, I had only a few moments of anxiety as I put together this loaf.  The stickiness of the dough stressed me out a little – even after adding the full amount of flour in the recipe (as I will note again below, you only incorporate part of the flour at first, adding in additional ¼ cups at a time as needed to work the dough), thick gobbets clung to the sides of my mixing bowl, my dough hook, and my fingers.  One rise down, however, and the stickiness diminished.
Food Blog March 2013-0937Food Blog March 2013-0940Food Blog March 2013-0943
Faced with three thick strands of dough, I forgot how to braid for a moment.  Heavy, stretchy worms of raw dough are a far cry from pigtails or Barbie hair, my braid targets in a past life.  But braid made and ends tucked under, I had something that actually looked like my mom’s longed for loaf.
Food Blog March 2013-0944Food Blog March 2013-0949
A quick glaze of egg wash and a generous sprinkle of poppy seeds, and I started getting excited.  A quick, almost half hour in the oven later (the loaf goes from moist and springy to overbaked in what feels like an instant), and I was staring at a near perfect replica of Mom’s bread.
Food Blog March 2013-0958
It’s hard to wait the requisite 15-20 minutes to let the bread cool and the internal structure solidify, but you should.  It makes slicing much more successful.  And once you have waited, you should cut thick slices, and garnish them with butter or jam or just your own teeth and tongue.  Happy Sunday, whatever you might be celebrating.
Food Blog March 2013-0966
Mom’s Challah
1 tsp + 1/4 cup sugar, divided
½ cup warm water
2 tsp active dry yeast (or 1 package, which contains 2 ¼ tsp)
½ cup vegetable oil
½ cup warm water (again)
2 tsp salt
2 eggs, lightly beaten
3 ¾ – 4 cups flour (I used bread flour, but Mom has always used all-purpose)
Poppy seeds or sesame seeds for sprinkling
1 egg yolk beaten with 1 TB water


  • Dissolve the sugar in the first ½ cup warm water in a large bowl (or the bowl of your stand mixer, if you are using one).  Sprinkle yeast on top and let it stand to burble and breathe for about 10 minutes.
  • When your yeast has woken, and smells like bread and beer, use your paddle attachment (if you are using a stand mixer) to incorporate the oil, second ½ cup of warm water, sugar, salt, and beaten eggs.
Food Blog March 2013-0928
  • Add 3 cups of the flour and beat well.  The dough will be very sticky, but as Mom says, that’s okay.  Cover the sticky mass with a cloth and let it rest for 10-20 minutes.
  • If you are using a stand mixer, exchange your paddle attachment for the dough hook and begin kneading at low to medium speed.  As needed, add the additional flour by ¼ cups at a time.  Knead for 8-10 minutes or until the dough passes the windowpane test.  When I asked Mom about this, she looked at me like I was speaking a different language, then said “I always use the baby’s bottom test,” which got the same look back from me.  She was talking about smoothness and texture, but considering she often gives the dough a little smack when she’s done kneading it, I wondered about the ethics of this measuring device…
  • If you are kneading by hand, turn the sticky mass out onto a well floured board.  With equally well-floured hands, knead for 10 minutes, incorporating more flour as needed, until the dough is smooth and has a shiny surface (and feels, apparently, like a baby’s bottom).
  • In either case, now is the time to place the ball of dough into a lightly oiled bowl and stow it in a warm place to rise for 1-2 hours.  I like to use my oven, letting it heat for 5 minutes and then turning it off for 5 minutes before putting the dough inside.
  • After the dough has risen to double in size, punch it down (Mom notes “this is fun!”), cover it with a clean cloth, and let it rise again until doubled again – about 45 minutes.
  • Divide the dough into three equal parts.  Shape each third into a long rope, place on a greased or parchment lined baking sheet and braid together loosely, pinching the ends firmly and tucking them under on each side.  Cover with a cloth or kitchen towel and, once again, let it rise for 45 minutes to an hour.  See why you need all day for this loaf?
Food Blog March 2013-0947
  • When the braid has swollen again, preheat the oven to 350F.  While you wait, beat an egg yolk with about a tablespoon of water to make an egg wash.  Brush the top and sides of the braid with your egg wash, then sprinkle with poppy or sesame seeds (we prefer poppy, in our house).
Food Blog March 2013-0951
  • Bake in your preheated oven for 30 minutes, or until the internal temperature of the bread is 180-190F.  The top will be golden brown and the bottom will feel delicately hollow when thumped.  Hot ovens tend to overbake this bread, so be sure to check at 30 minutes, or even just before.
  • When the bread tests done, take it out of the oven and let it cool on its baking sheet for 15-20 minutes, to allow the delicate internal crumb structure to firm up a bit.  This will make for easier slicing.
 Food Blog March 2013-0965
Thanks, Mom!

DSC_9042

* still not as bad as N.’s pun: he keeps saying “holla for challah!” and even though he admits this is neither in good taste nor particularly funny, finds he can’t stop doing it…