Guest post later today! Check back…
Stay tuned…
Reply

Guest post later today! Check back…
 I’ve felt pressed since summer, when it comes to posting – I’ve been, all too often, a negligent blogger. There are many reasons for this, especially in the past few weeks, but I realized part of the reason lately, and that reason is the absence of a group. I liked the challenge of a monthly bread assignment, and between the dissolution of the Twelve Loaves baking party, heat, and busyness, I haven’t been doing as much experimental bread baking as I used to. I looked back, for another cooking project a week or two ago, at the notes I’d made about Suzanne’s site in my Five Seed Loaves post, and was reminded of the idea for a bread – inspired by hers – that incorporated rye flour, and canned pumpkin, and maybe some rolled oats for heft. With a long weekend looming and the season of pumpkin upon us, it seemed like the right thing to do.

 The problem with canned pumpkin, as anyone knows who has grown frustrated by repeated testing of that pumpkin chocolate chip bread that just will not finish baking, is its incredible water content. It keeps baked goods amazingly moist, but it also is a sopping, wet, hard-to-deal-with mess if you aren’t careful, especially in dough.

 Irvin helped me solve this problem, with the ingenious tip he discovered of cooking down your canned pumpkin first, to eliminate some of that pesky moisture and concentrate the flavor. A quick, hot fifteen minutes of near-constant stirring and folding results in a thick, deeply sunset orange pan of something the texture of thick frosting that adds flavor and richness, but won’t bog down your mixture. I foresee many pumpkin-centric baking projects in the future, now that I know this helpful little extra step.
 As with most breads, this one involves a substantial knead, a long first rise, a punch and a shape and – after a roll in some pumpkin seeds and rolled oats for texture and indication of predominant ingredients – a second rise before baking for a little over half an hour. These loaves incorporate some molasses for sweetness and color, and milk rather than water.
 I must admit, the rye flavor doesn’t come through overly much here, though I suspect it added to the substance and of course to the lovely toasty color of the finished loaf. The pumpkin is mild as well, but you can taste it despite the absence of the telltale wintry spices that usually accompany this big squash. It’s satisfyingly orange inside (which makes photo editing tricky, by the way!), and it is a rich autumnal flavor I already want to taste again. The oats all but disappear into the dough as it bakes, and they contribute to the pleasant, spongy density of the thick slices you’ll be carving off to slather with cream cheese.

 I’m not sure whether it’s a blessing or a curse that, as the semester picks up, this recipe happens to fill both of my current projects for the month of March: the Twelve Loaves assignment, and my own search term theme. It’s a blessing, in that it’s only one loaf that needs to be baked, which is certainly all I can handle in one weekend. It’s a curse, in that it means I have to come up with something else to make this month, since combining these two leaves an extra week out in the open.
 Still, though, it’s fortuitous in an utterly delicious way that these work together. The Twelve Loaves theme for the month is “Irish Breads,” and last year someone found my little site searching for “Irish bread with plums.” Aside from soda bread, the standard go-to Irish loaf, I knew nothing about Irish breads at all. Well, I suppose I knew about scones, but those are really British Isles in general to me, and not as specific to Ireland as I wanted to get.
 After a little research, I hit upon barmbrack, or barm braec. In Gaelic, “braec” means speckled, and so this lovely rich bread is threaded through with dried fruit. Usually the speckles are raisins and sultanas (or golden raisins, as we somewhat unimaginatively call them in the U.S.). This seemed, though, like a perfect place to add the requisite plums from the search. They would need to be dried, both because it’s not stone fruit season yet and because the moisture levels of fresh plums would make the bread too wet. Still, though, chopped prunes along with the traditional raisin component seemed promising. I love prunes, with their rich, concentrated flavor and their dense, almost meaty texture, but they don’t often find their way into baked goods, which I think is a shame.*
 Barmbrack can be made both as a yeasted loaf and as a simple round raised with baking soda. I decided on yeast, since sometimes I find soda breads a bit too dense for my taste. Since this was already going to be weighed down by the fruit, I wanted to give it a good bit of lift. In either case, it’s usually a holiday bread celebrating the harvest season, and there are sometimes small treasures like rings or coins baked into it as part of a fortune-telling game (I must admit I skipped this part).
 I surveyed a number of recipes, and finally combined two with features I liked. Interestingly, this bread is often made with tea: the dried fruits, and sometimes candied or fresh citrus zest, are soaked in strong black tea for a few hours, or even overnight, before being kneaded into the spiced, slightly enriched dough. I didn’t have any Irish Breakfast Tea, so I gritted my teeth and chose between Earl Grey and English Breakfast. In the end, I went with the Earl Grey. I realize the reference to British politics and aristocracy might ruffle some feathers, but at least it didn’t outright have the word “English” in the name. In any case, do forgive me, and use proper Irish tea for your loaf.
 Because there is a lot of moisture from the fruit in this loaf, you can expect a quite sticky dough. Don’t be afraid of it, though; just add some more flour to your board and knead away. You’ll be rewarded, after two rises and the better part of an hour in a hot oven, with a deeply browned loaf studded with a rubble of raisins and prune pieces, moist and richly chewy, but with a firm and almost crackly crust. Because it is baked in a round cake pan, it rises with a glorious even dome, and just around the edge where the loaf leaves the pan, there’s a curiously lovely pale golden stretch mark encircling the bread.
 The Saveur recipe I borrowed from suggests, as the end of the baking time nears, brushing the top of the loaf with warm honey and then baking for an additional two minutes. I did not do this, in both an effort avoid too much sweetness and to maintain its lovely crusty exterior. If you should want to, though, they recommend ⅓ cup.
 Despite wolfing down a thick slice the day I baked it, N. has since forgotten about this homely little loaf, and I haven’t bothered to remind him, because that means more for me. Even after a few days wrapped in aluminum foil, the interior remains moist and rich but not too dense, and the outside stays perfectly crusty – a rugged, deeply browned layer that I’ve tried all week to think of ways to describe. “Imagine if a brown paper bag were a crust,” I said to N. at one point, but we agreed that didn’t sound particularly delicious. “Perfectly crusty” remains the best thing I can come up with, and you’ll have to believe me that it’s part of what makes the loaf worth hoarding. Perfect still warm from the oven, great at room temperature, and glorious toasted, this is good plain but revelatory with a thick pat of salted butter and, obviously, a cup of tea.
 * if you aren’t a prune fan, you can stick with the traditional raisins and sultanas, or test out other dried fruit options: currants would be great here, and dried cranberries or dried cherries might also be good. Dried apricots also sound promising to me along with the sultanas, provided they were quite finely chopped. Perhaps a dollop of clotted cream or even mascarpone cheese over the top of the slice wouldn’t go amiss.
#TwelveLoaves is a monthly bread baking party created by Lora from Cake Duchess and runs smoothly with the help of Heather of All Roads Lead to the Kitchen, and the rest of our fabulous bakers.
This month we are baking Irish Breads. For more bread recipes, visit the #TwelveLoaves Pinterest board, or check out last month’s inspiring selection of #TwelveLoaves RED Breads!
If you’d like to bake along with us this month, share your Irish Breads using hashtag #TwelveLoaves!
 N. and I first discovered Panera when we were living in Eugene. This seems a bit counterintuitive, since Eugene doesn’t have any Paneras. But on a visit or two with my parents, and N.’s parents, it became an easy place to pick up lunch, or a dinner for a sunset hike, and I was quickly sold on their vegetarian sandwich, not just because it came layered with pickled red peppers and fresh greens and spicy spread and crumbled feta, but because the bread it used – a fluffy tomato and basil flavored loaf with an intriguing, slightly sweet streusel across the top crust – was addicting. When we could, N. and I started buying a whole loaf of the bread on our last day in California, to take home to Eugene with us.
 Now that we are in Los Angeles, there are Paneras everywhere (in fact, I just checked: there are at least five within a 5 mile radius of our house). Despite that proximity, though, we don’t go there very often. There are several reasons for this, but mostly, if I’m going to spend my money on restaurant fare, I’m going to explore what Los Angeles has to offer rather than a national chain. Regardless, the tomato basil bread, with that intriguing streusel, remains a favorite of mine, and when “red” was declared as February’s Twelve Loaves theme, I decided this was the right time to try a little re-creation attempt.
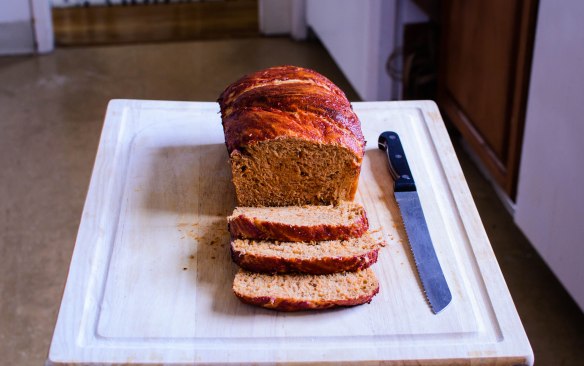
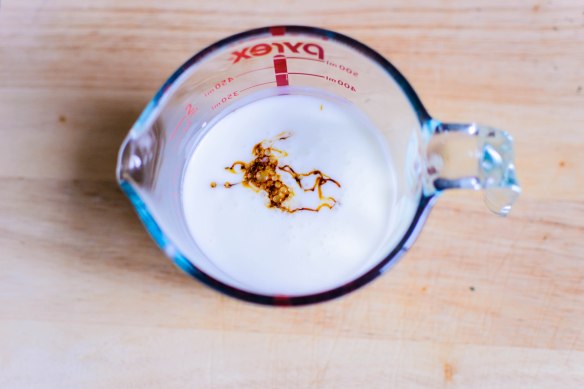
 My bread combines lush, densely flavored scarlet tomato paste with a generous dusting of dried basil. The loaf itself is moistened and sweetened with buttermilk and molasses, and though it does bake up more orange than red, it makes perfect sandwich slices for cucumber and mozzarella, or pesto chicken, or just well-buttered toast.
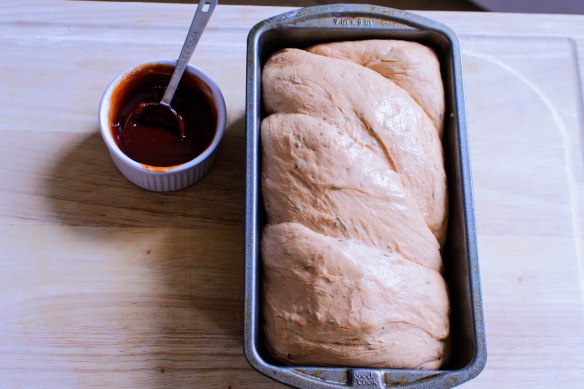
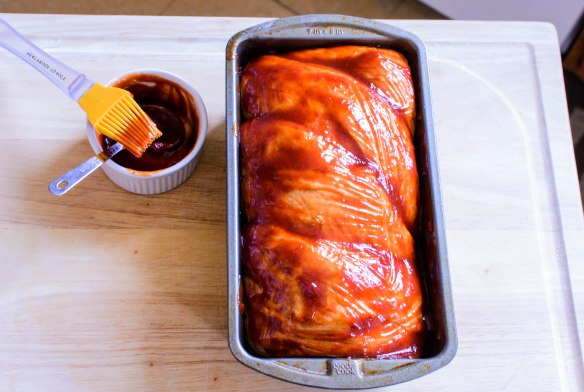
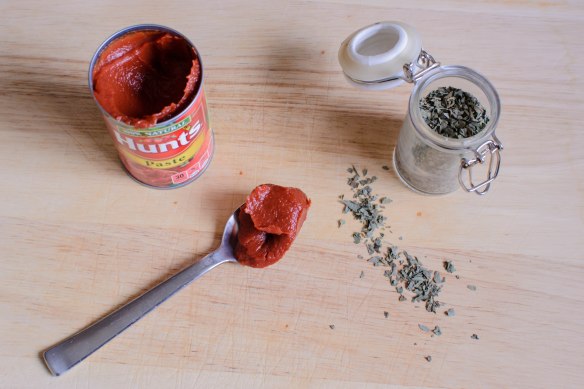 The challenge here was the streusel. There are a number of “copycat” recipes out there for Panera’s loaf, but few of them make any attempt at the dark, sweet, sticky crumble adorning the top crust. I finally found a suggestion for a glaze made from tomato paste and brown sugar, thinned with a little water, and brushed over the top of the loaf. Since my first attempt was a little heavy on the tomato paste in the dough itself, reserving some for the top seemed like a smart adjustment. It did look a bit distressingly like a meatloaf with the traditional ketchup coating when I first applied the glaze, but the flavor of the finished product was strikingly similar to my inspiration.

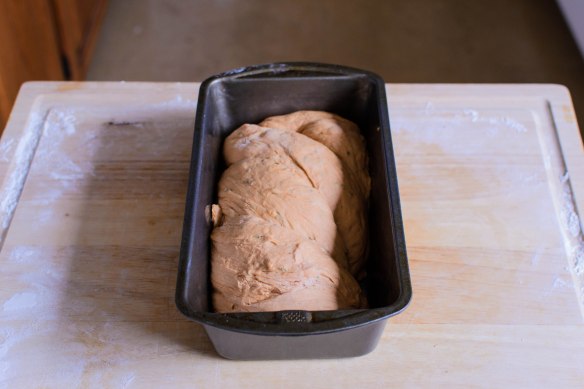 Panera’s loaf is scored straight down the center so that the top crust puffs and pulls away from itself in two fat rounds, leaving the top of a slice looking almost heart shaped. I decided I wanted to try something new, so I went for a twist instead, separating my dough into two sluggish, sticky logs and wrapping them around each other before depositing into a loaf pan.
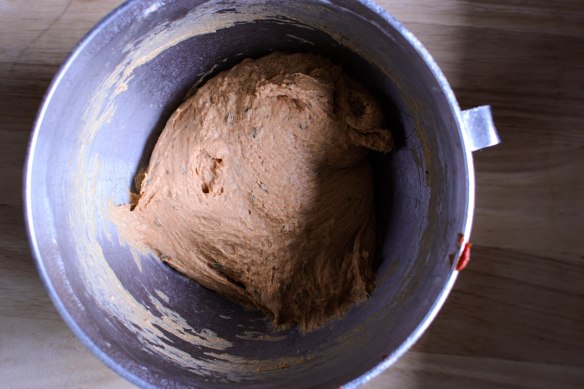
 A second rise, a glaze, and a quick 40 minutes in the oven, and I was rewarded with a loaf that, despite not being truly red, may be as close to the original as I’ll ever get. The interior is tender and chewy and springy, and the glaze hardened into gleaming sticky shellac (though it loses its crustiness as it sits). The tomato and basil flavor are both easily discernible, and the combination of tomato paste and brown sugar burnishing the top crust is just the right toasty sweetness, since despite the molasses, the bread itself is fairly savory.
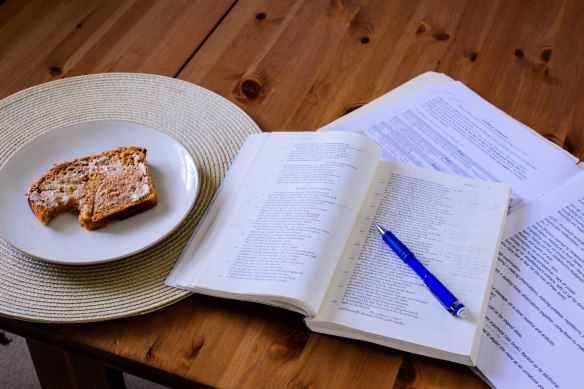
 Because the dough is pretty sticky, the loaf is moist and tender, which also means it’s a bit delicate. Take care when slicing into it, and be sure to give it at least half an hour to cool before attempting a slice at all. Conveniently, we found we liked the flavor better once the bread had cooled completely. As noted above, the glaze resorts to stickiness after a few hours, but it is still quite tasty, and will “crisp” up again just slightly after a trip through the toaster. Slicked with salted butter, it makes a perfect accompaniment to lesson-planning on a blustery afternoon.
#TwelveLoaves is a monthly bread baking party created by Lora from Cake Duchess and run with the help of Heather of All Roads Lead to the Kitchen, which runs smoothly with the help of our bakers.
This month we’ll be baking breads with a RED theme in honor of National Heart Month, Valentine’s Day, and the Oscars (red carpet) – any red ingredient goes! For more bread recipes, visit the #TwelveLoaves Pinterest board, or check out last month’s mouthwatering selection of #TwelveLoaves enter last month’s breads featuring a “new to you” type of flour!
If you’d like to bake along with us this month, share your “RED” themed bread using hashtag #TwelveLoaves!
 Last week the Twelve Loaves bakers turned out an impressive collection of holiday breads. I had my plan in place, but as I noted on last week’s cheat entry, holiday weekends ironically don’t always allow for baking projects. Now that I’ve had an extra week to get myself in order, I can show you what I intended to contribute: tiny sweet rolls, one to two bites for easier consumption, threaded through not with the classic pairing of cinnamon and brown sugar, but a more complex combination of spices drawn from the wonderful, warming blend that is masala chai, or chai tea. It’s not a traditional holiday bread, but the layering of slightly spicy flavors in chai has always reminded me of gingerbread. By the power of association, then, here we are.
 Like many spice mixtures, chai does not have a set blend – many warm notes are added to the black tea leaves to produce the complex, slightly spicy flavor. Cardamom plays a dominant role, and cinnamon, ginger, and black peppercorns are usually present as well. Star anise contributes a subtle licorice note, and cloves and fennel also sometimes make an appearance.

 For mine, since I used standard aniseed instead of the more traditional star anise (sometimes the grocery store is out and you’re too
 lazy busy to walk down to the Indian market), I omitted the fennel – a breath of licorice flavor is more than enough for me. Balancing these strong spices can be a tricky task – I wanted my blend to lead with the sweeter cardamom and cinnamon, and be backed up by the depth of the cloves and aniseed. The black pepper and ginger should be subtle – a warming heat rather than aggressive spiciness.

 I used my Nana’s sweet dough recipe for the base here, amping up the butter a bit and adding an extra egg, but I substituted honey for the sugar the original recipe calls for, since my favorite chai blend incorporates it. The floral notes of the honey make for a slightly more flavorful dough. A splash of vanilla, too, plays well with the spices and the honey.
 Many cinnamon rolls are dripping with melted brown sugar and pack a sugar-overload punch that can get you through an entire crowded mall and its parking lot at Christmastime before you come down from your high. These tiptoe a bit more subtly into the holiday air. They are sweet, yes, but tempered. The spices come through, but you can still taste the honey and vanilla in the dough.
 These would be perfectly fine on their own – in fact, N. and I bull-dozed through three of them quite unadorned when we did our quality control test, but I can’t help feeling, since they are inspired by a call for holiday breads, that a little excess is needed. A cream cheese frosting, then, lightly sweetened with honey and vanilla, seemed appropriate to smear over the top. And lest it begin to feel too heavy, a scattering of finely chopped crystallized ginger or orange zest brightens them up so you can almost – almost – get away with calling them breakfast.

 Growing up, my sister and I ate a lot of reasonably healthy food. Mom wasn’t the “crunchy granola type,” especially not by the time my sister showed up, but her waffle recipe involved wheat germ, and my lunchtime sandwich bread always had a measure of whole wheat in it. When I got a little older, it seemed like the more seeds and nuts a loaf contained, the more likely my mom was to buy it. Nine grains? Hearty nuts and seeds? R. and I wouldn’t always eat it, but it was probably in our freezer.
 Thus I felt a certain fondness when I started to consider this month’s Twelve Loaves assignment of seed breads. I knew I wanted multiple seeds, and I knew I wanted them on the inside and outside of my loaves. A bit of internet research led me to Suzanne’s lovely little site Flour Arrangements, and even if she hadn’t had a great seeded loaf recipe to work with and adapt, I would have been enticed by her blog’s clever title (not the mention how many great sounding loaves she’s made – I can’t wait to adapt her multigrain pumpkinseed loaf as the weather cools – I’m thinking of adding some pumpkin puree and rye flour, and maybe some oatmeal).
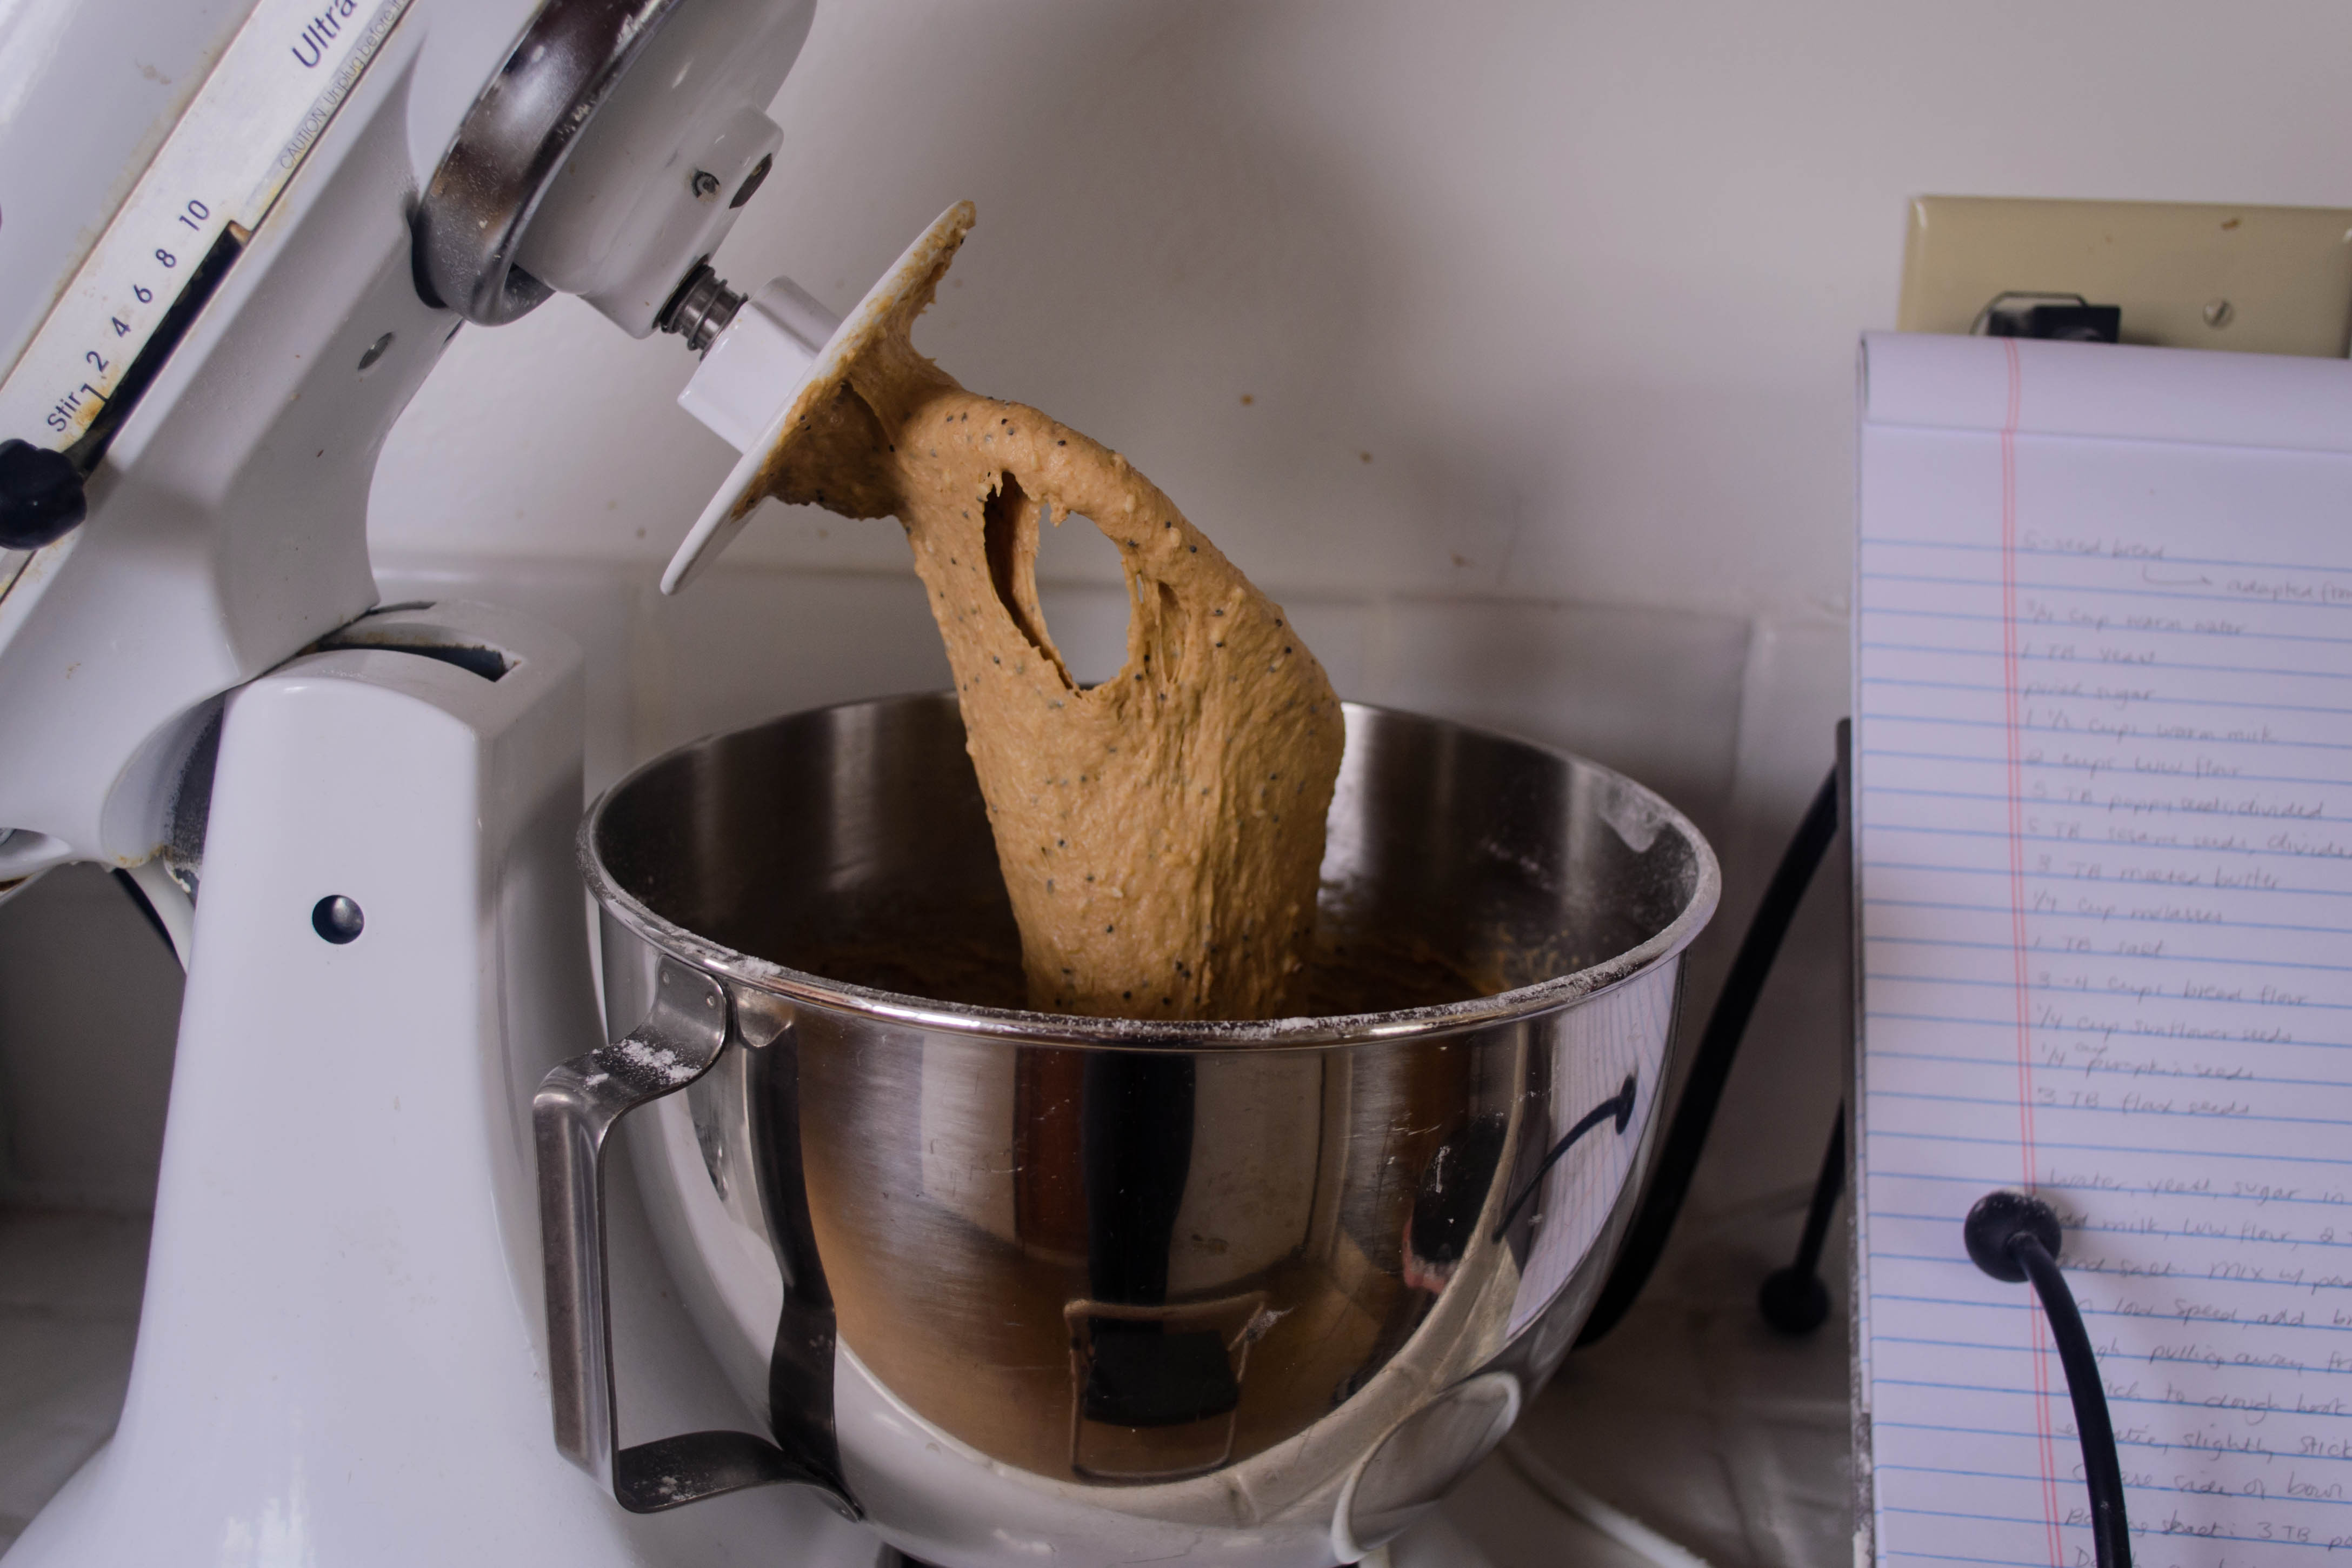
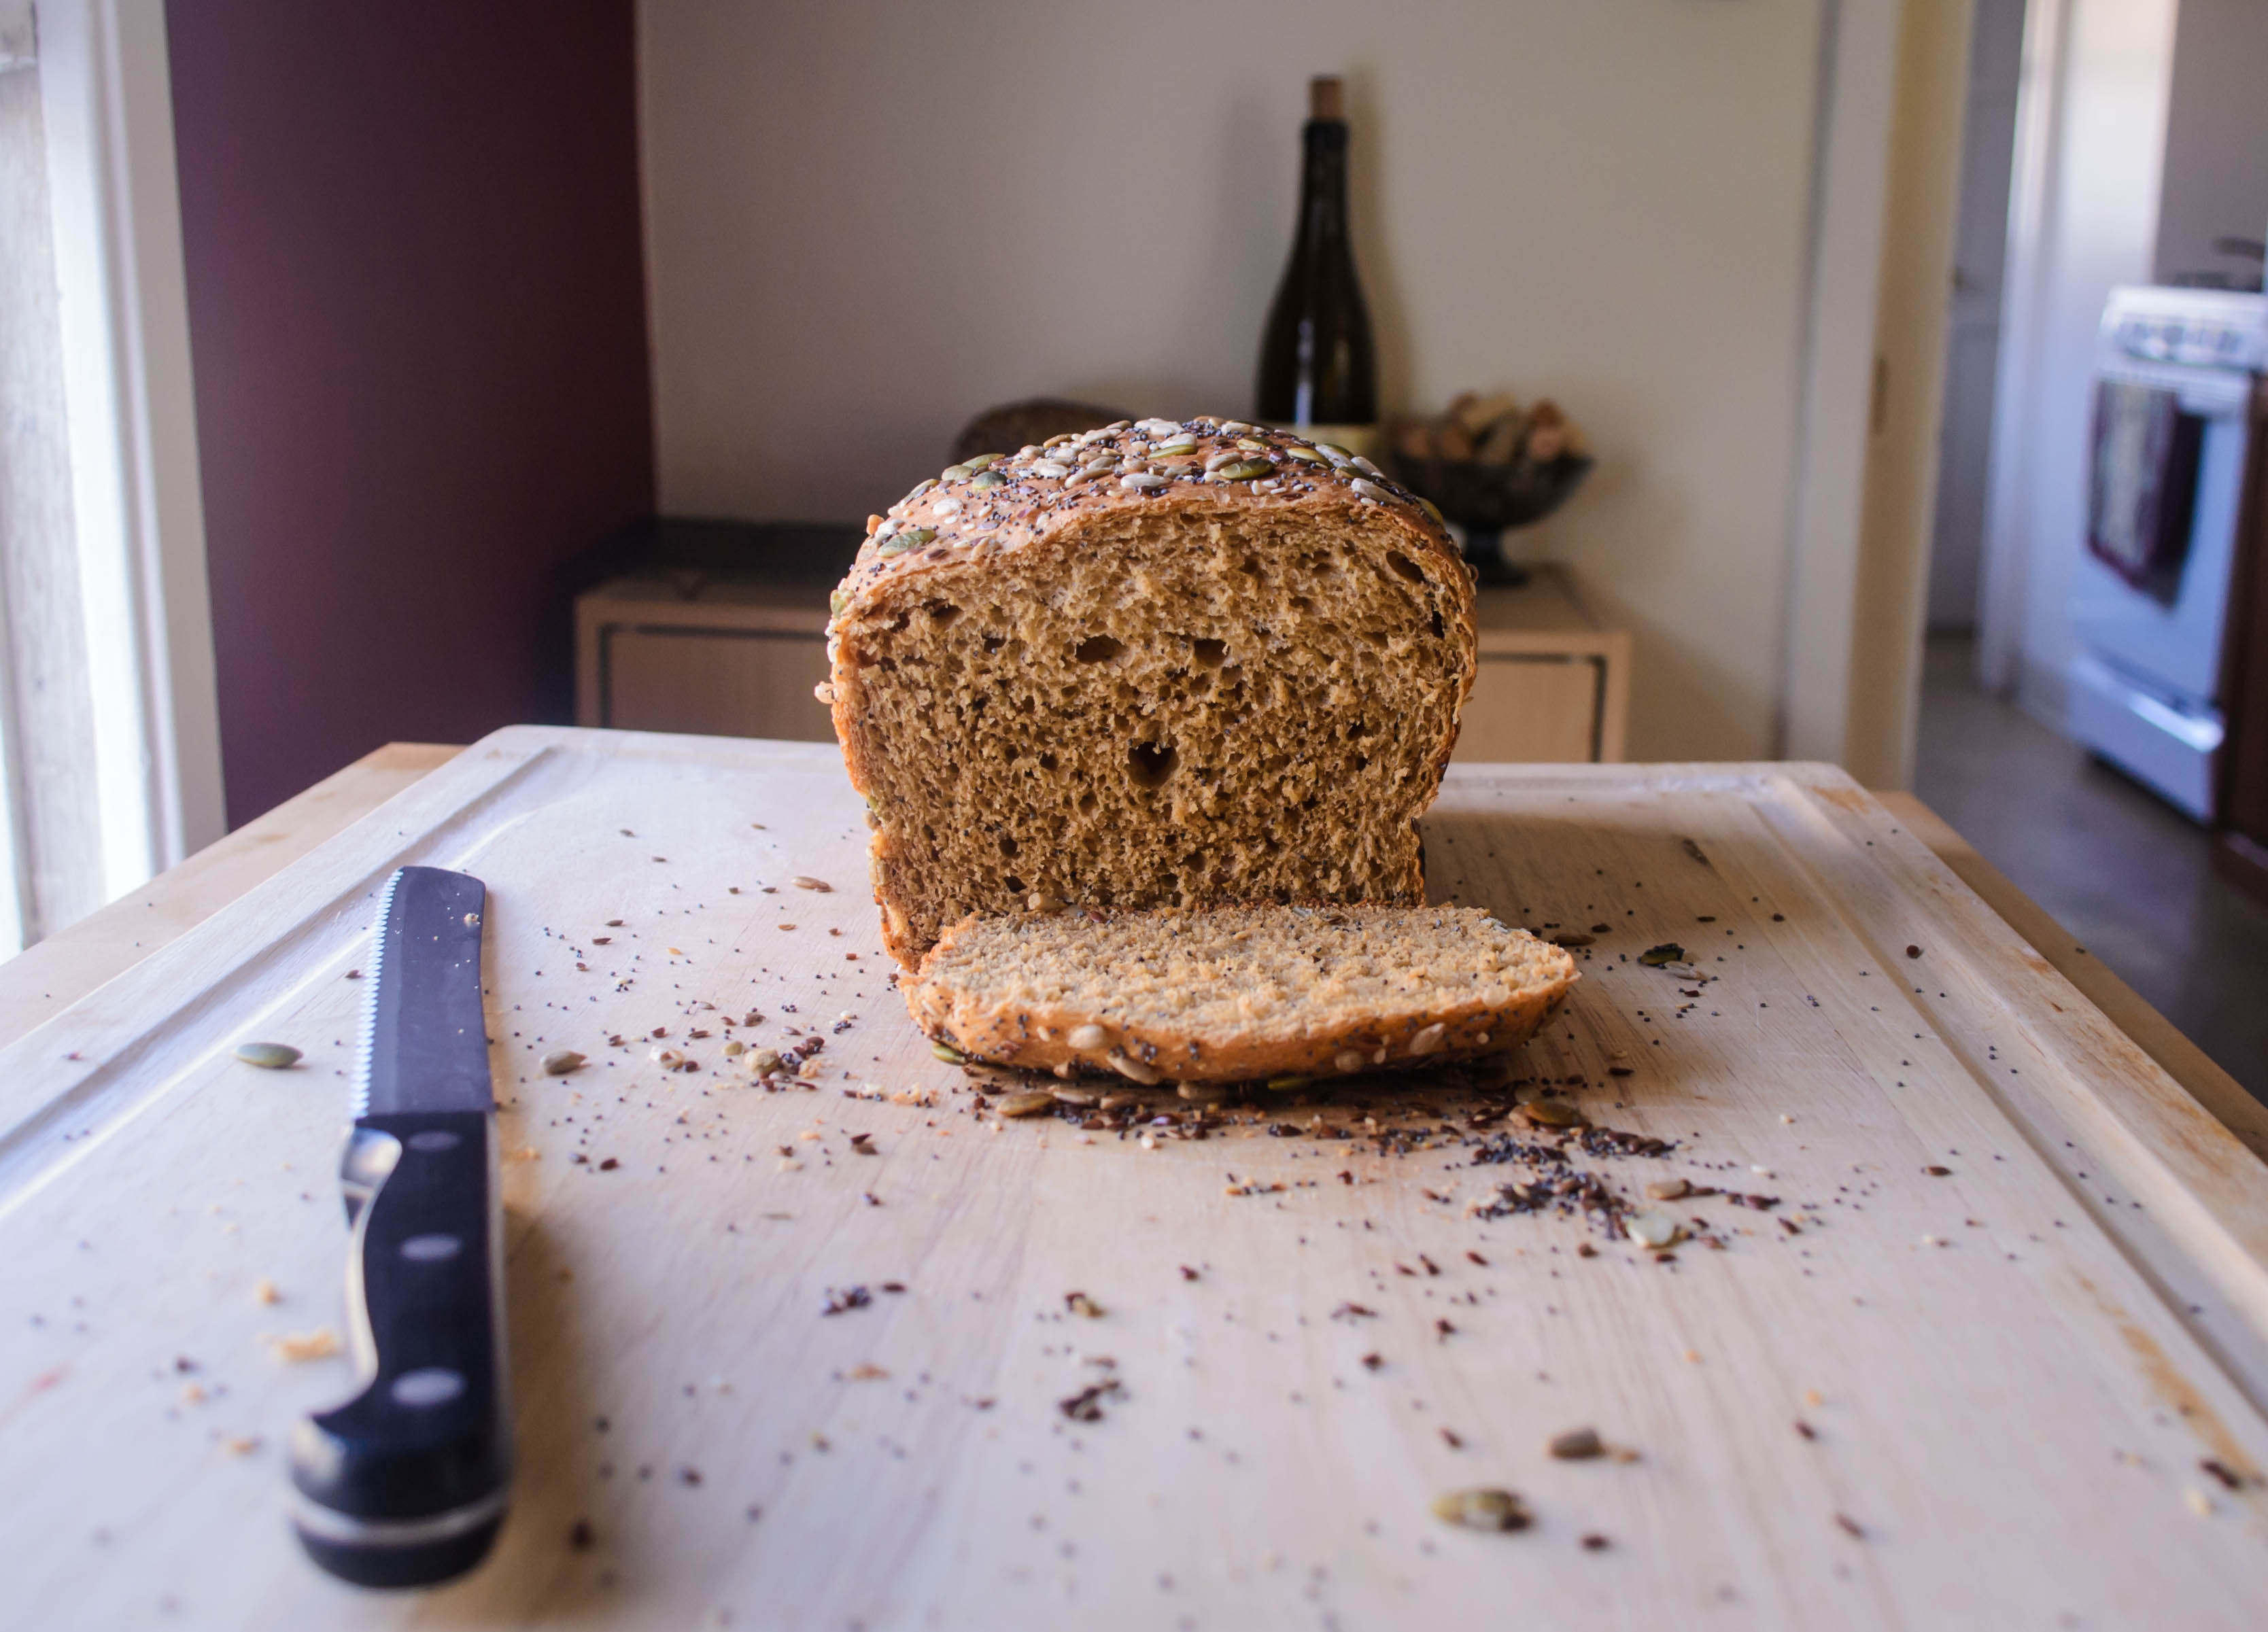
 I kept her recipe mostly the same, only replacing oil with butter and adding a few additional seeds for a total of five: sesame, poppy, sunflower, pumpkin, and flax.

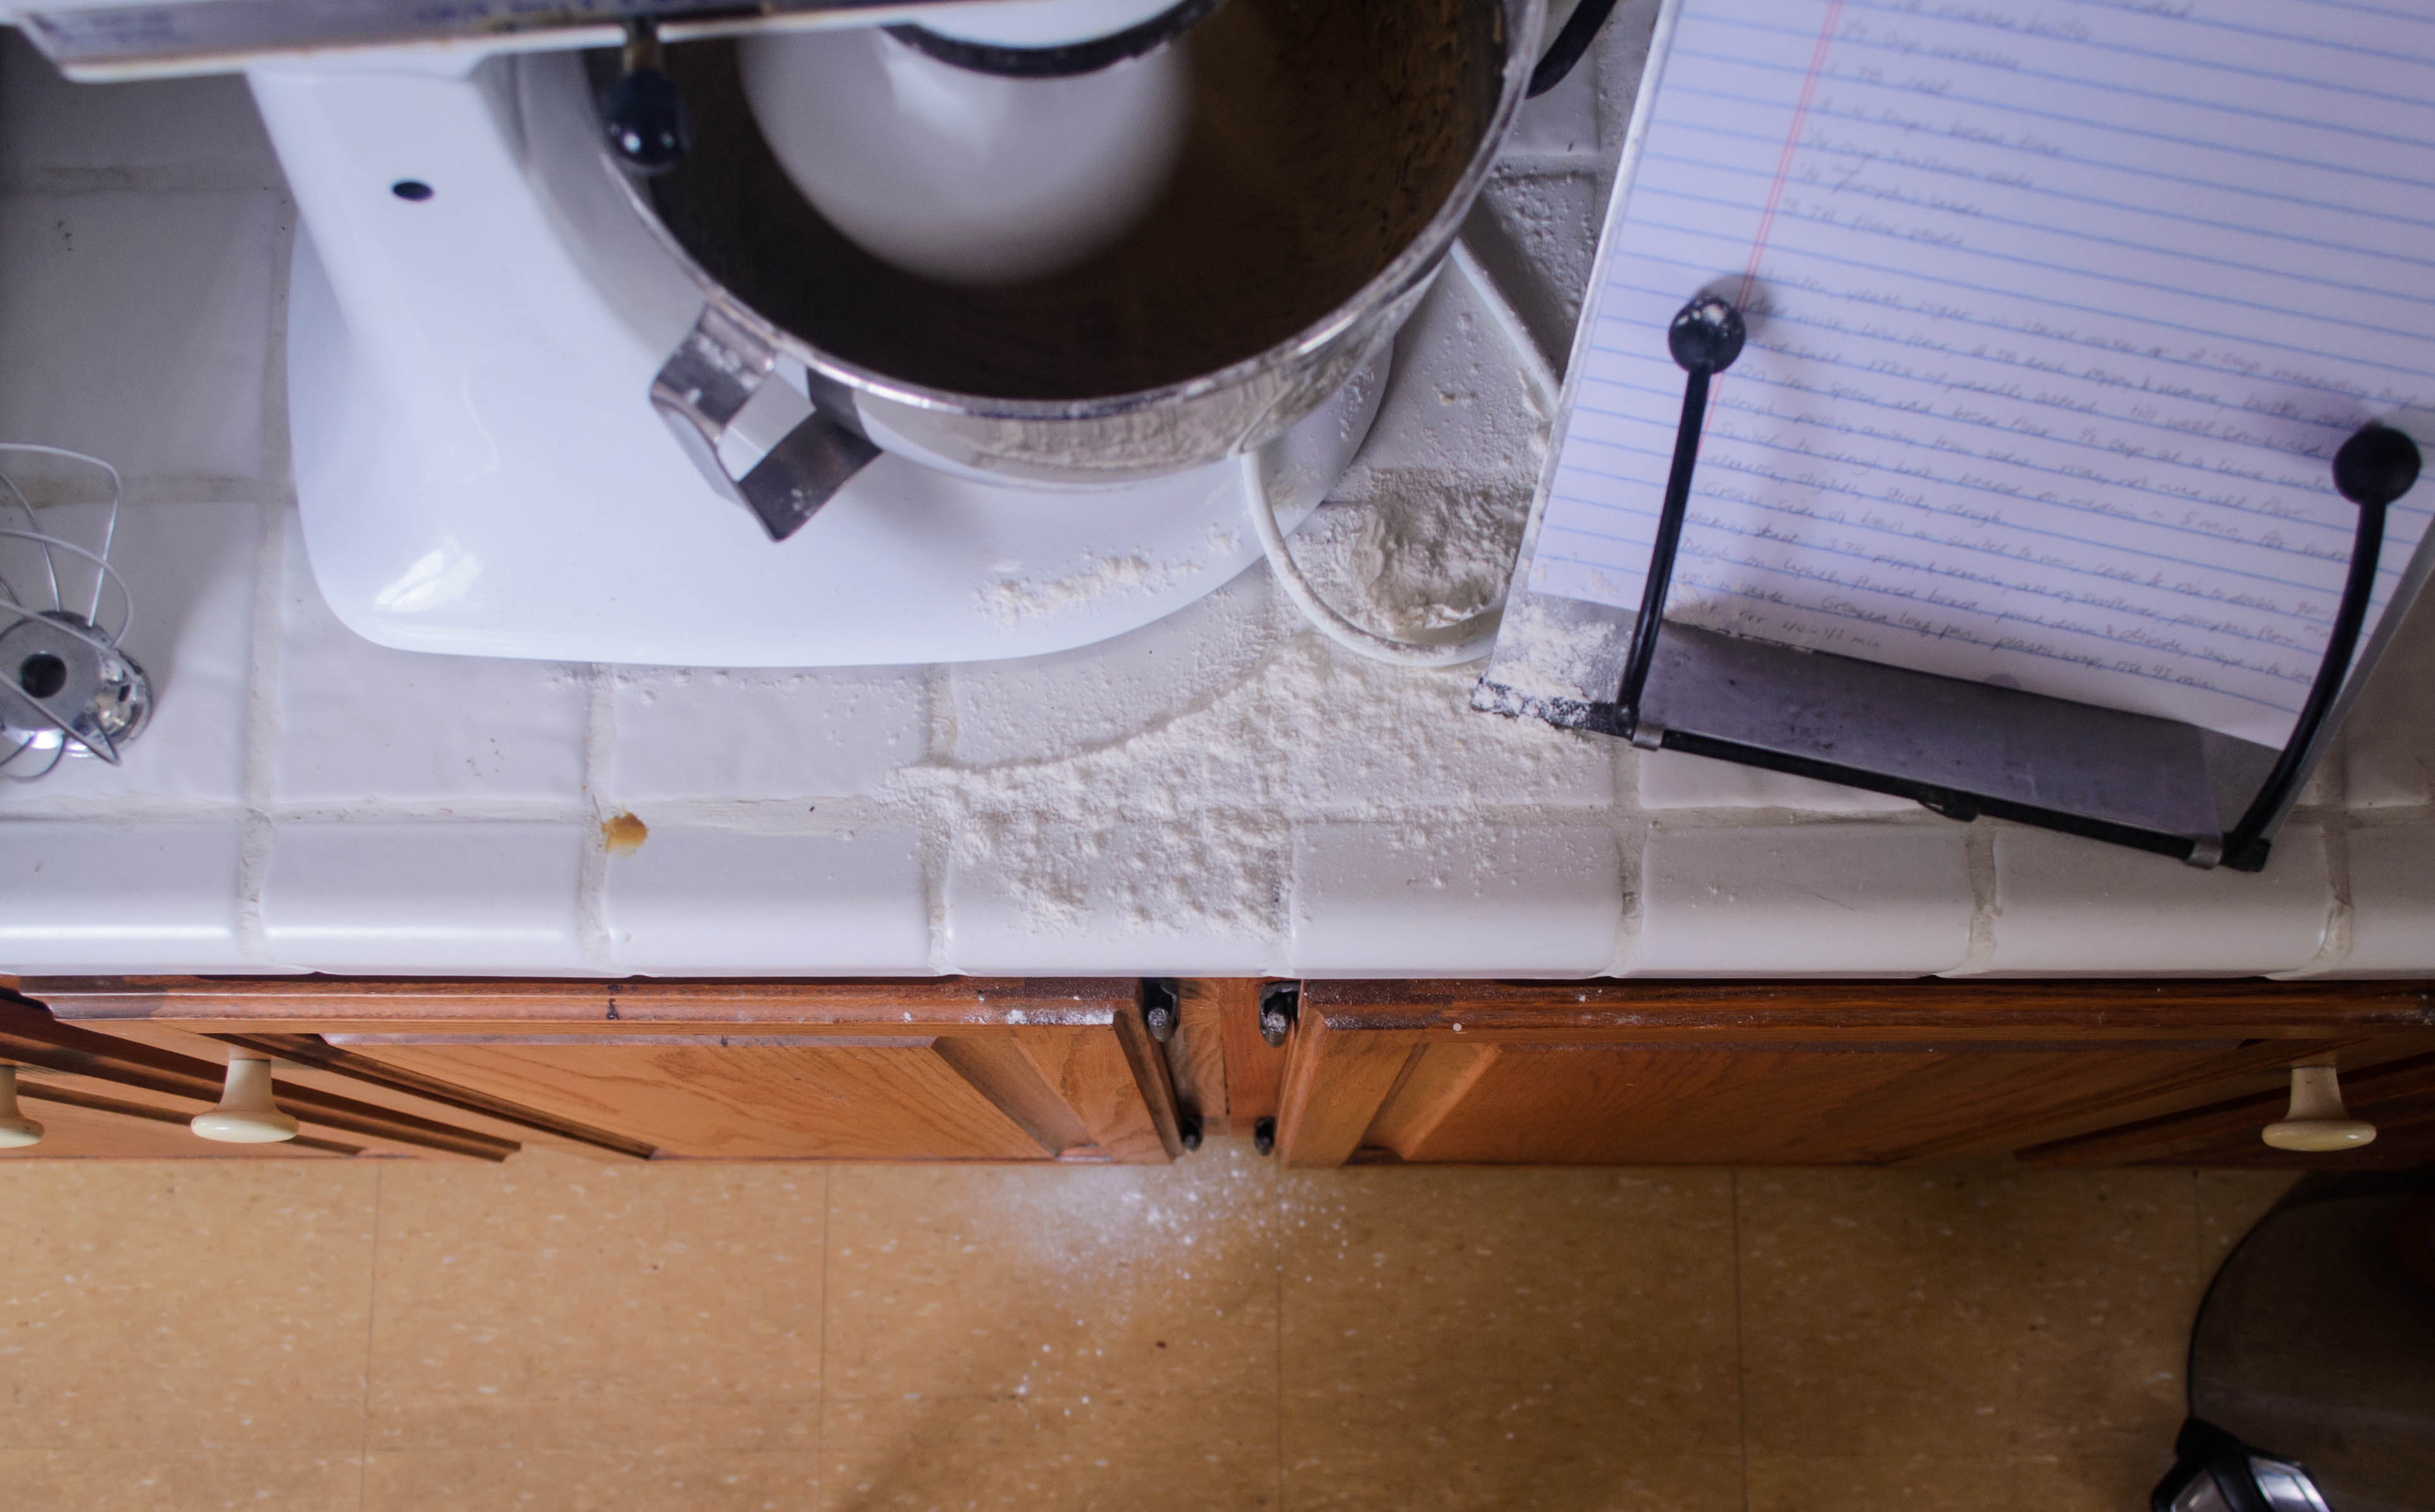
 I’ve been baking mainly sourdough loaves lately, trying different ratios of starter and flour, comparing notes with S. about various stirring or folding techniques instead of kneading the dough, tipping in just enough whole wheat flour to make a nutty loaf that isn’t too dense, and getting used to long, slow rise times and overnight rests in the refrigerator to develop a tangier sour flavor. Imagine my delight, then, when my bowl of dough, bolstered by its full tablespoon(!) of yeast, agreeably puffed enough to press against its plastic wrap lid in a little over an hour. Not only that, but after carefully pressing and rolling the lovely tight loaves I’d formed through a jumble of seeds, they swelled again in their pans to triumphant heights. Sourdough is delicious and tends to be my go-to for everyday toast, but it is an exercise in patience and in long-term benefits. These loaves, though they do require two rises, expand so eagerly it feels like a reward for a job well done.
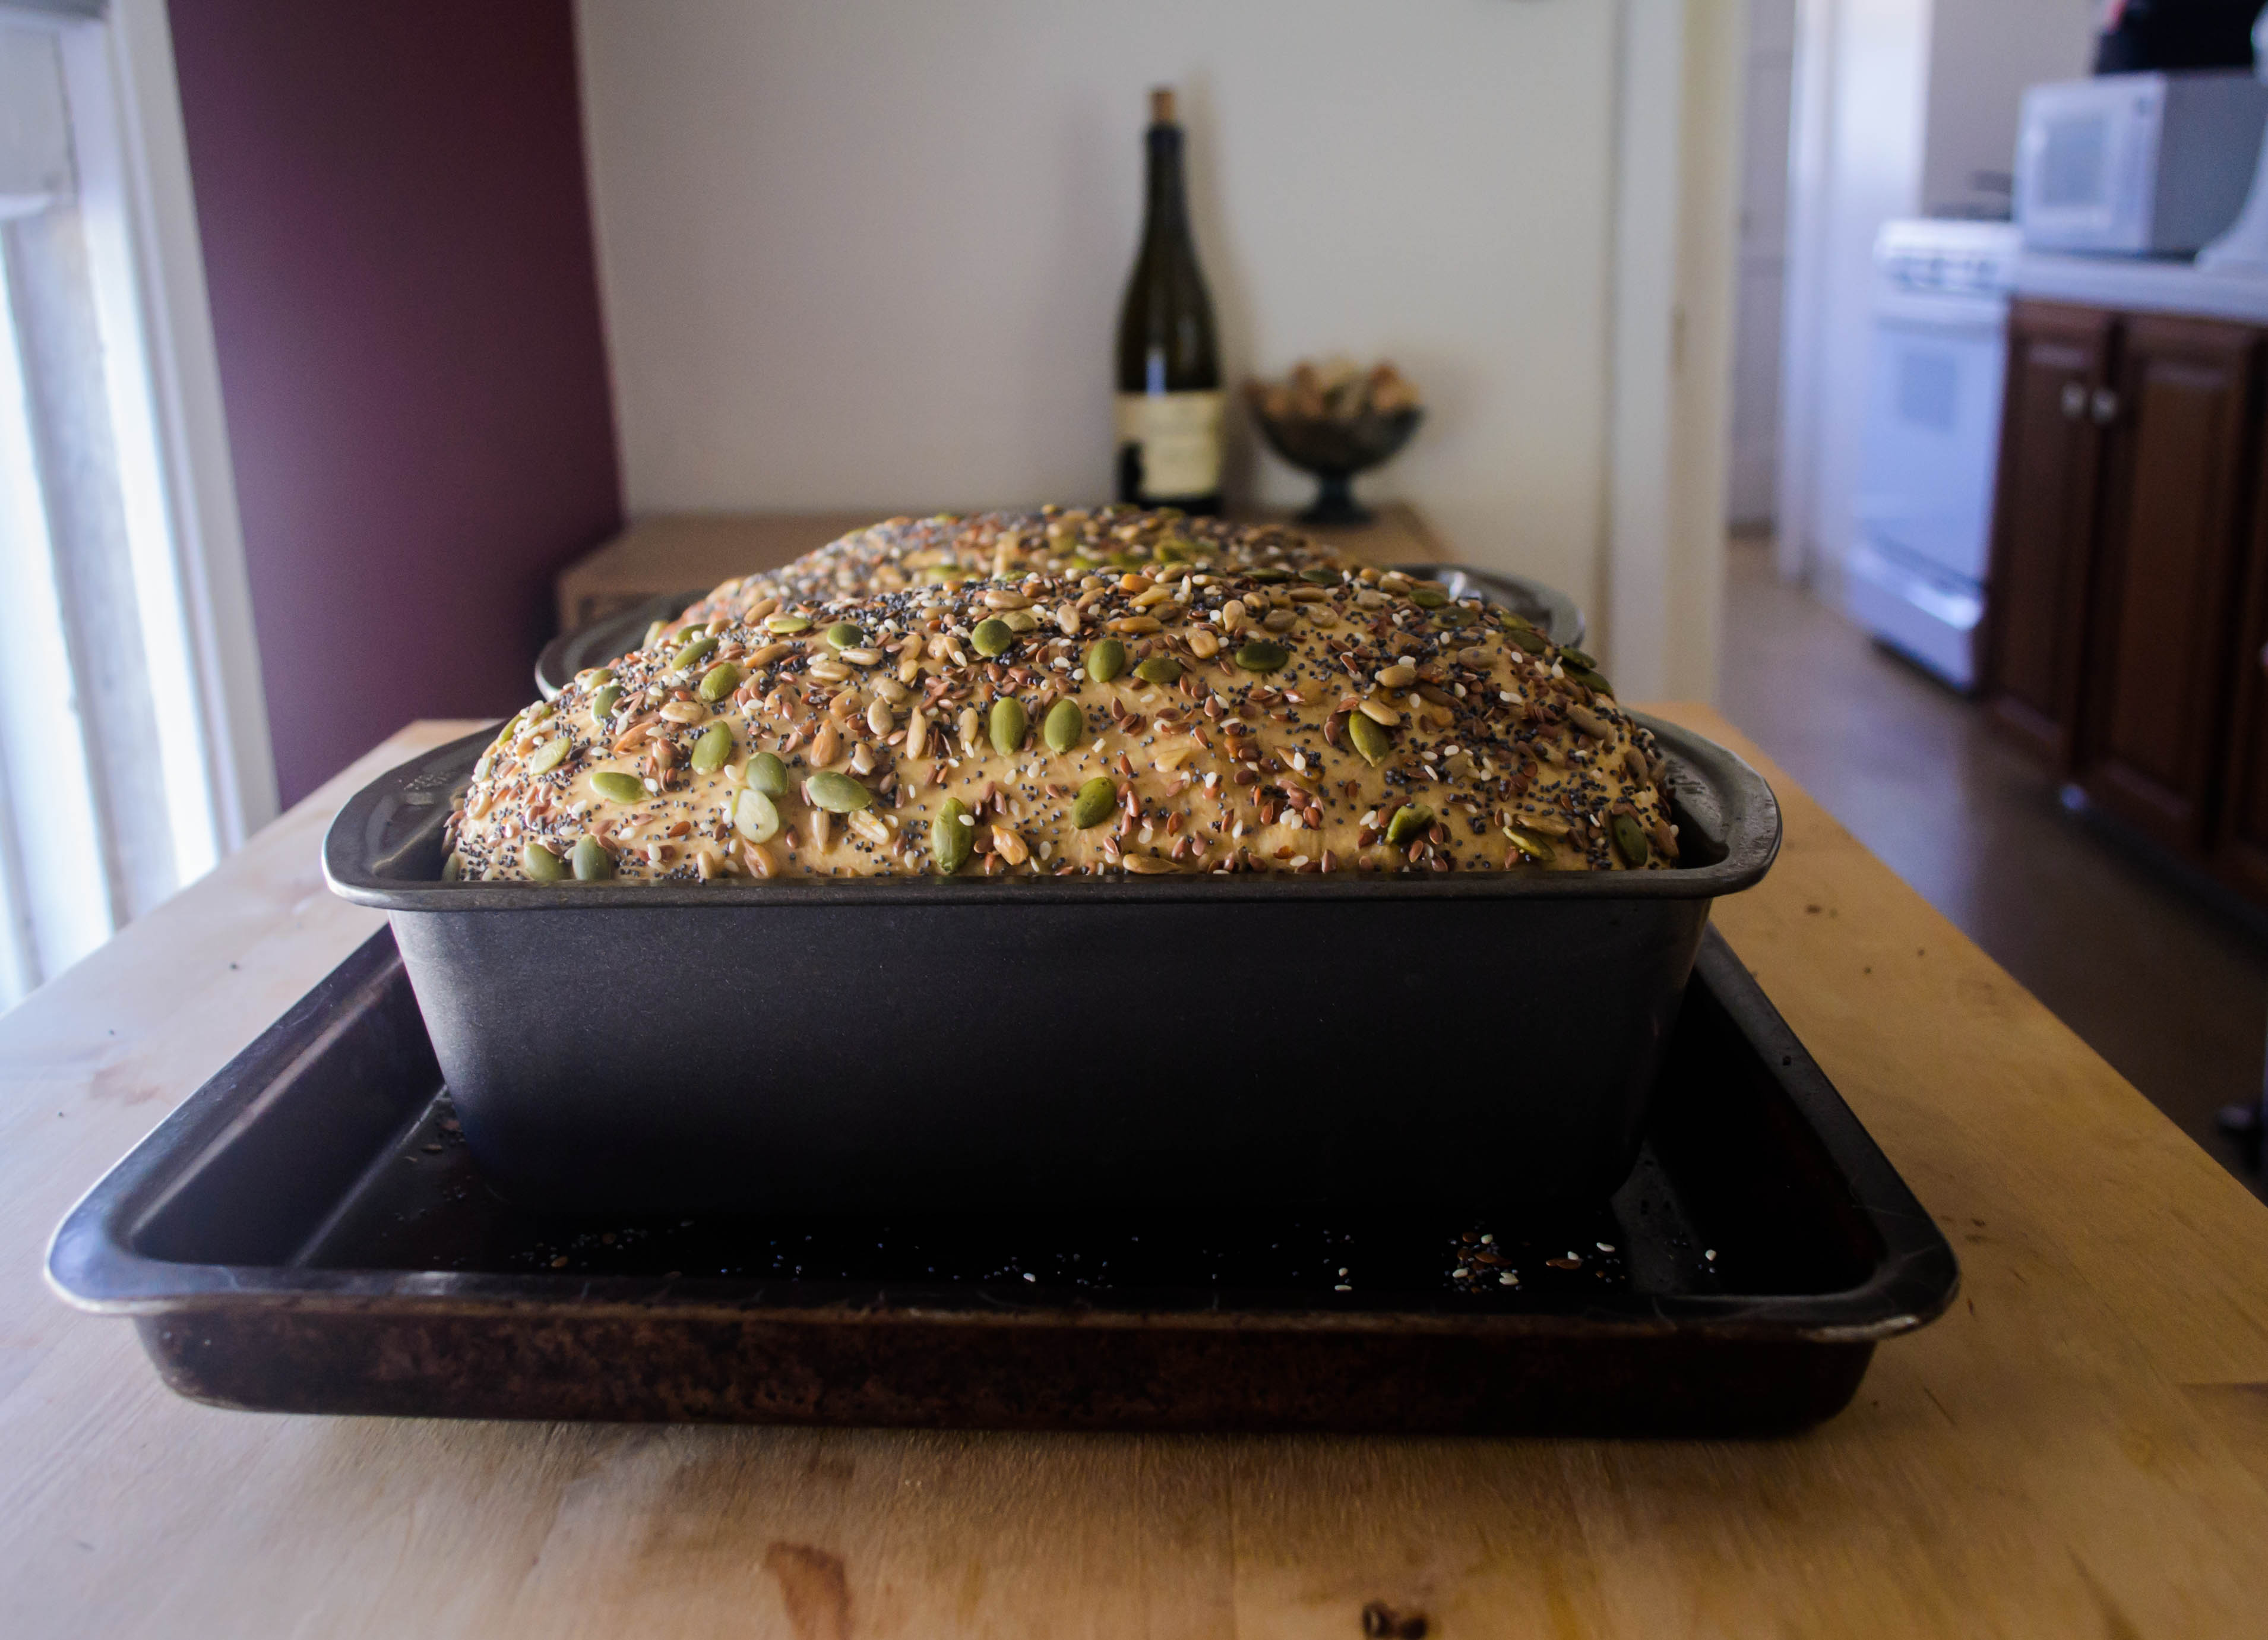
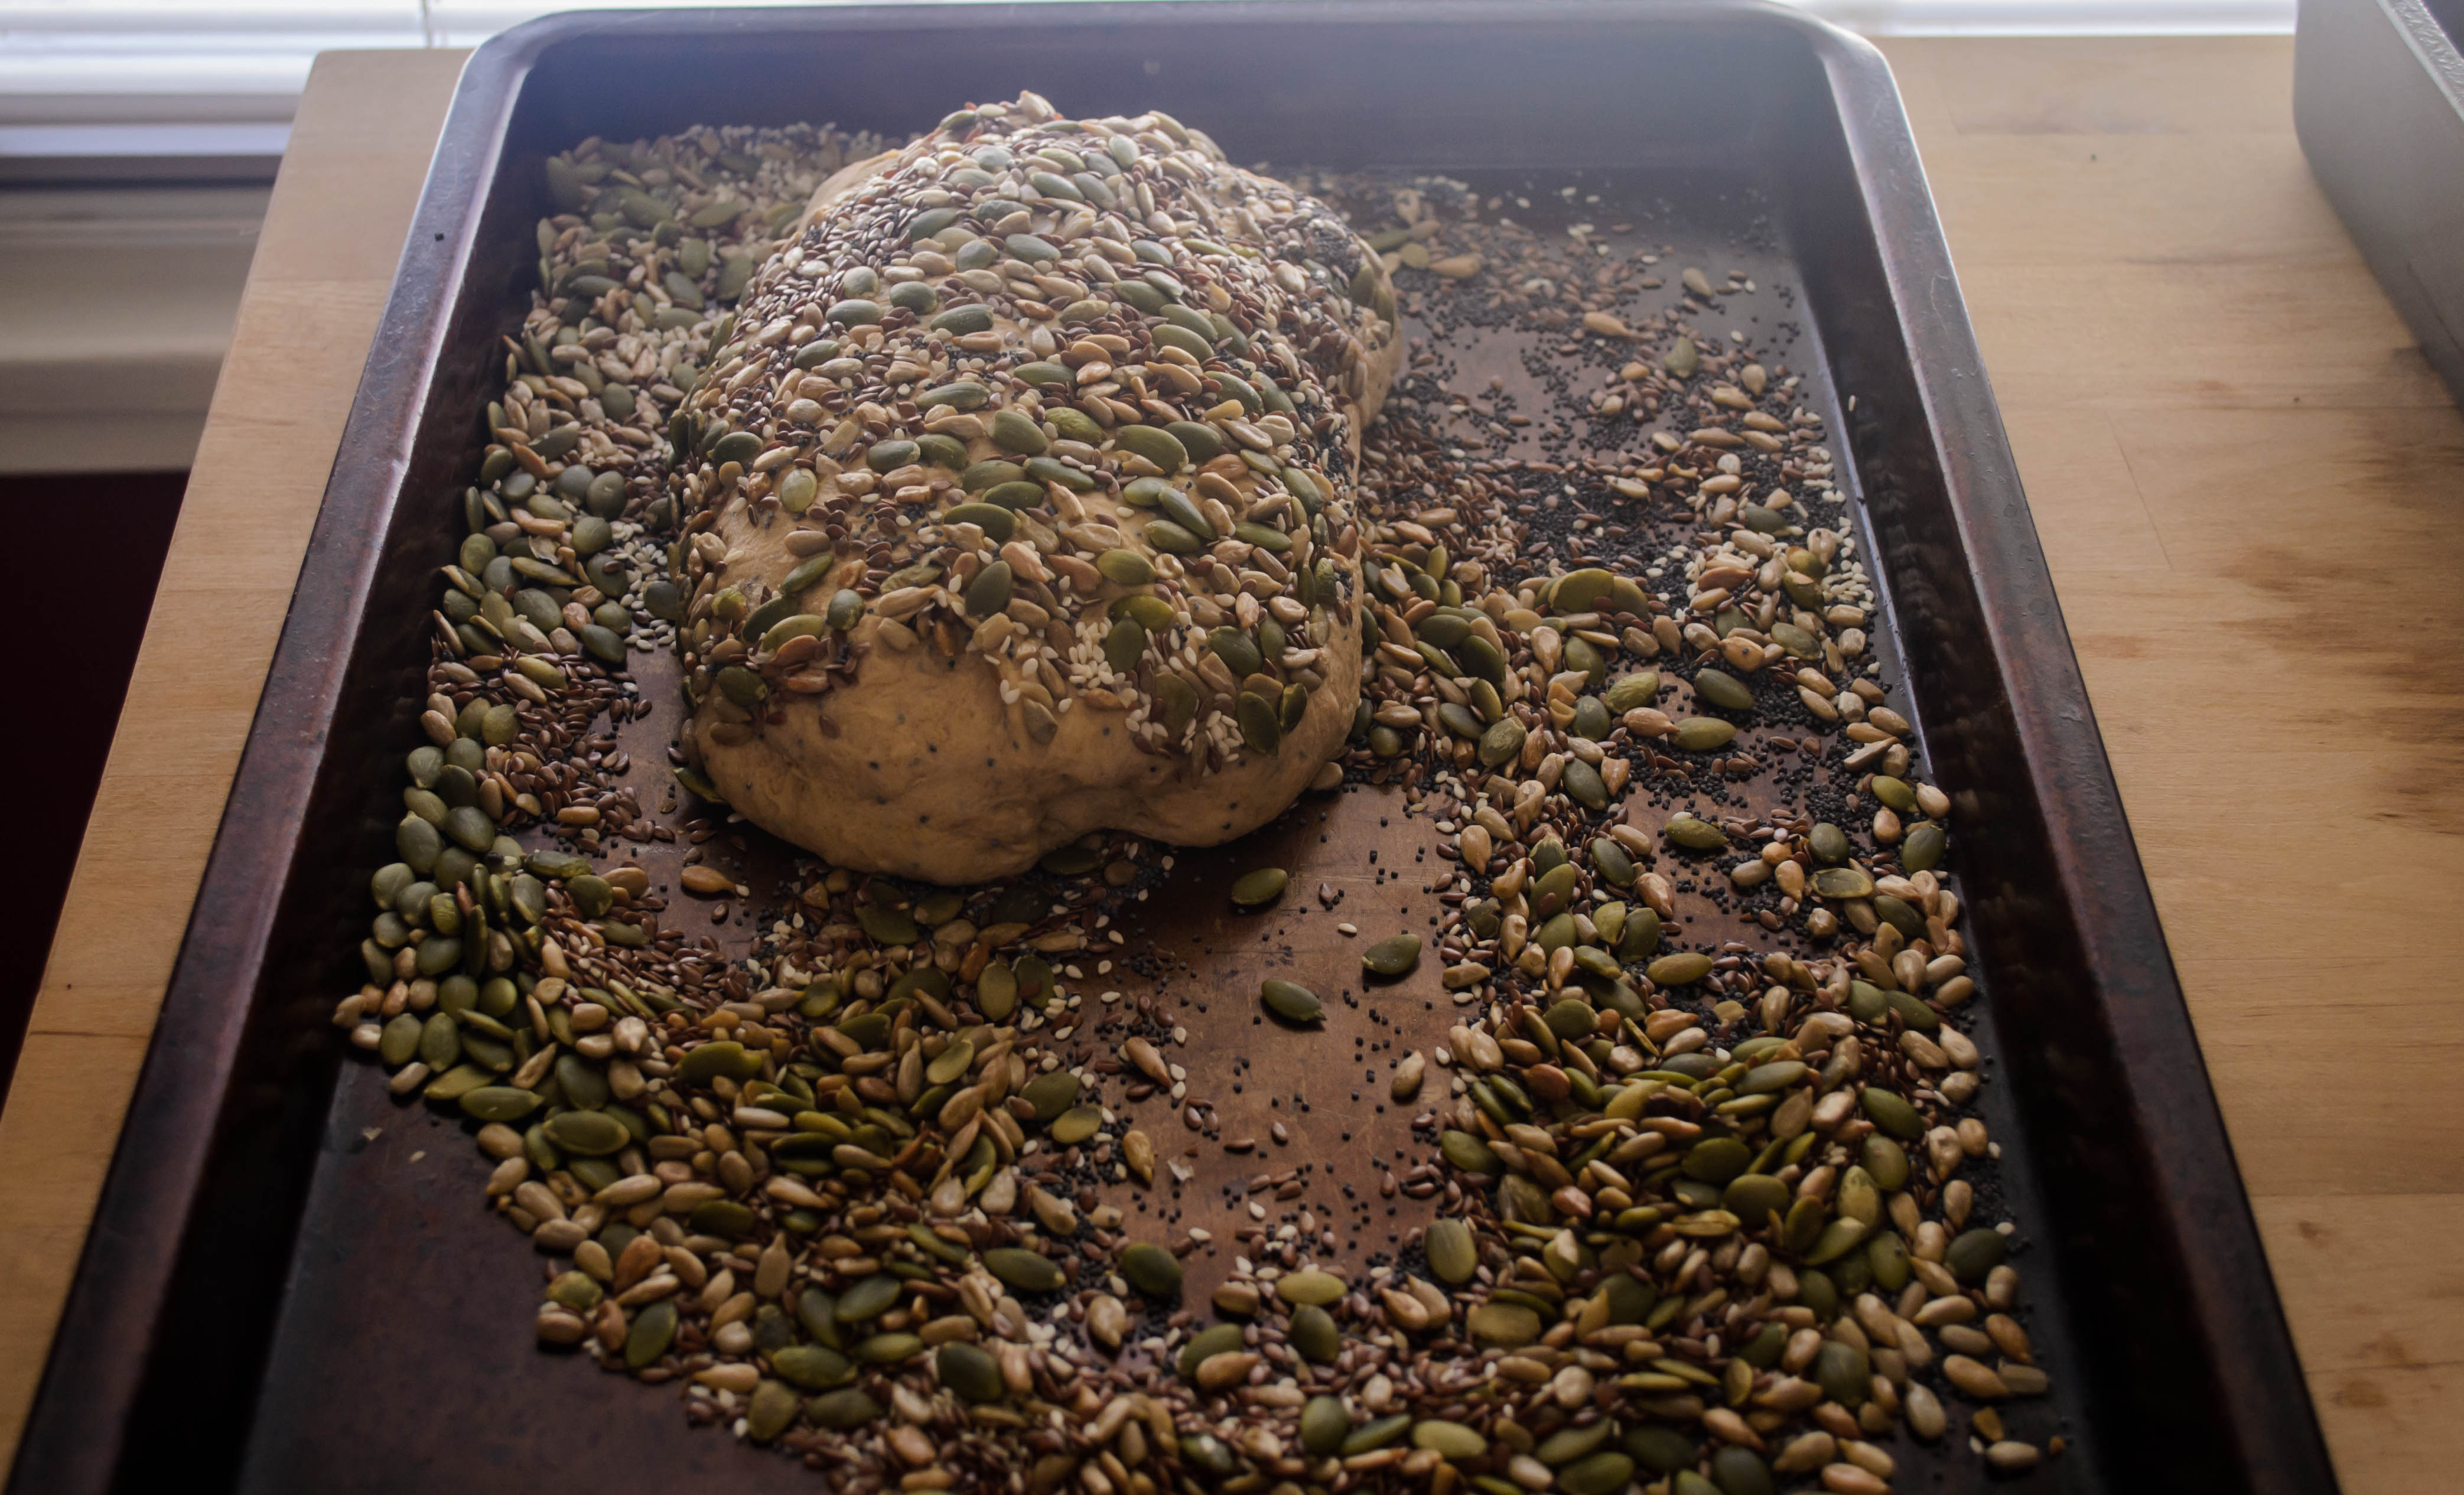 And really, these are a reward. Yes, the seeds you’ve so carefully pressed into the surface of the dough go everywhere – when you turn the baked loaves out of the pans, when you slice into them, when you bag and store them – but those that stay affixed offer a really nice set of flavors and textures. The heat and time in the oven toasts and crisps them lightly, and the flax seeds in particular take on a roasted taste and a slippery crunch I find incredibly appealing. And that’s just the surface. Inside, the crumb is tender and light and barely sweet, as soft as a commercially made pre-sliced loaf, but with the hearty, toasty, wholesome feel and flavor that comes with homemade.
 You could certainly trade out the seeds here if you wanted – caraway would give a stronger anise-y feel, tiny nigella or black onion seeds would make for a more savory flavor, maybe good for meat or tomato based sandwiches. But I am devoted to sweet breakfast toast, and this bread, toasted or not, welcomes salted butter and cinnamon sugar so nicely I must admit I never explored beyond that combination.
Check out what our other awesome Twelve Loaves bakers made this month, below:

#TwelveLoaves is a monthly bread baking party created by Lora from Cake Duchess and runs smoothly with the help of Heather of girlichef, and the rest of our fabulous bakers.
Our host this month is Lora from Cake Duchess and our theme is Seeds. For more bread recipes, visit the #TwelveLoaves Pinterest board, or check out last month’s selection of #TwelveLoaves Malt Breads!
For more bread recipes, visit the #TwelveLoaves Pinterest board, or check out last month’s selection of #TwelveLoaves Malt Breads!
If you’d like to bake along with us this month, share your Seed Bread using the hashtag #TwelveLoaves!
A fabled land of farmers, farm shares, fancy (and not so fancy) restaurants, family meals, food projects and more.
cooking my way through my dissertation, one egg at a time
Fearless cooking from a tiny NYC kitchen.
food, in so many words.
Recreating the famous dishes of famous writers. Part recipe blog, part historical discussion, entirely unabashed love of books.
Epicurean Adventures from Eugene, Oregon
Celebrating the Harvest
Modern Iranian aka Persian Food & Culture Blog - Cuisine, Recipes, Stories , Photos, Pictures, DIY tutorials
Exploring Culinary Traditions of Africa, African America and the African Diaspora
food, in so many words.
food, in so many words.
food, in so many words.
Food-Stories-Recipes-Love
WordPress.com is the best place for your personal blog or business site.
