Strawberry Lemonade Jam

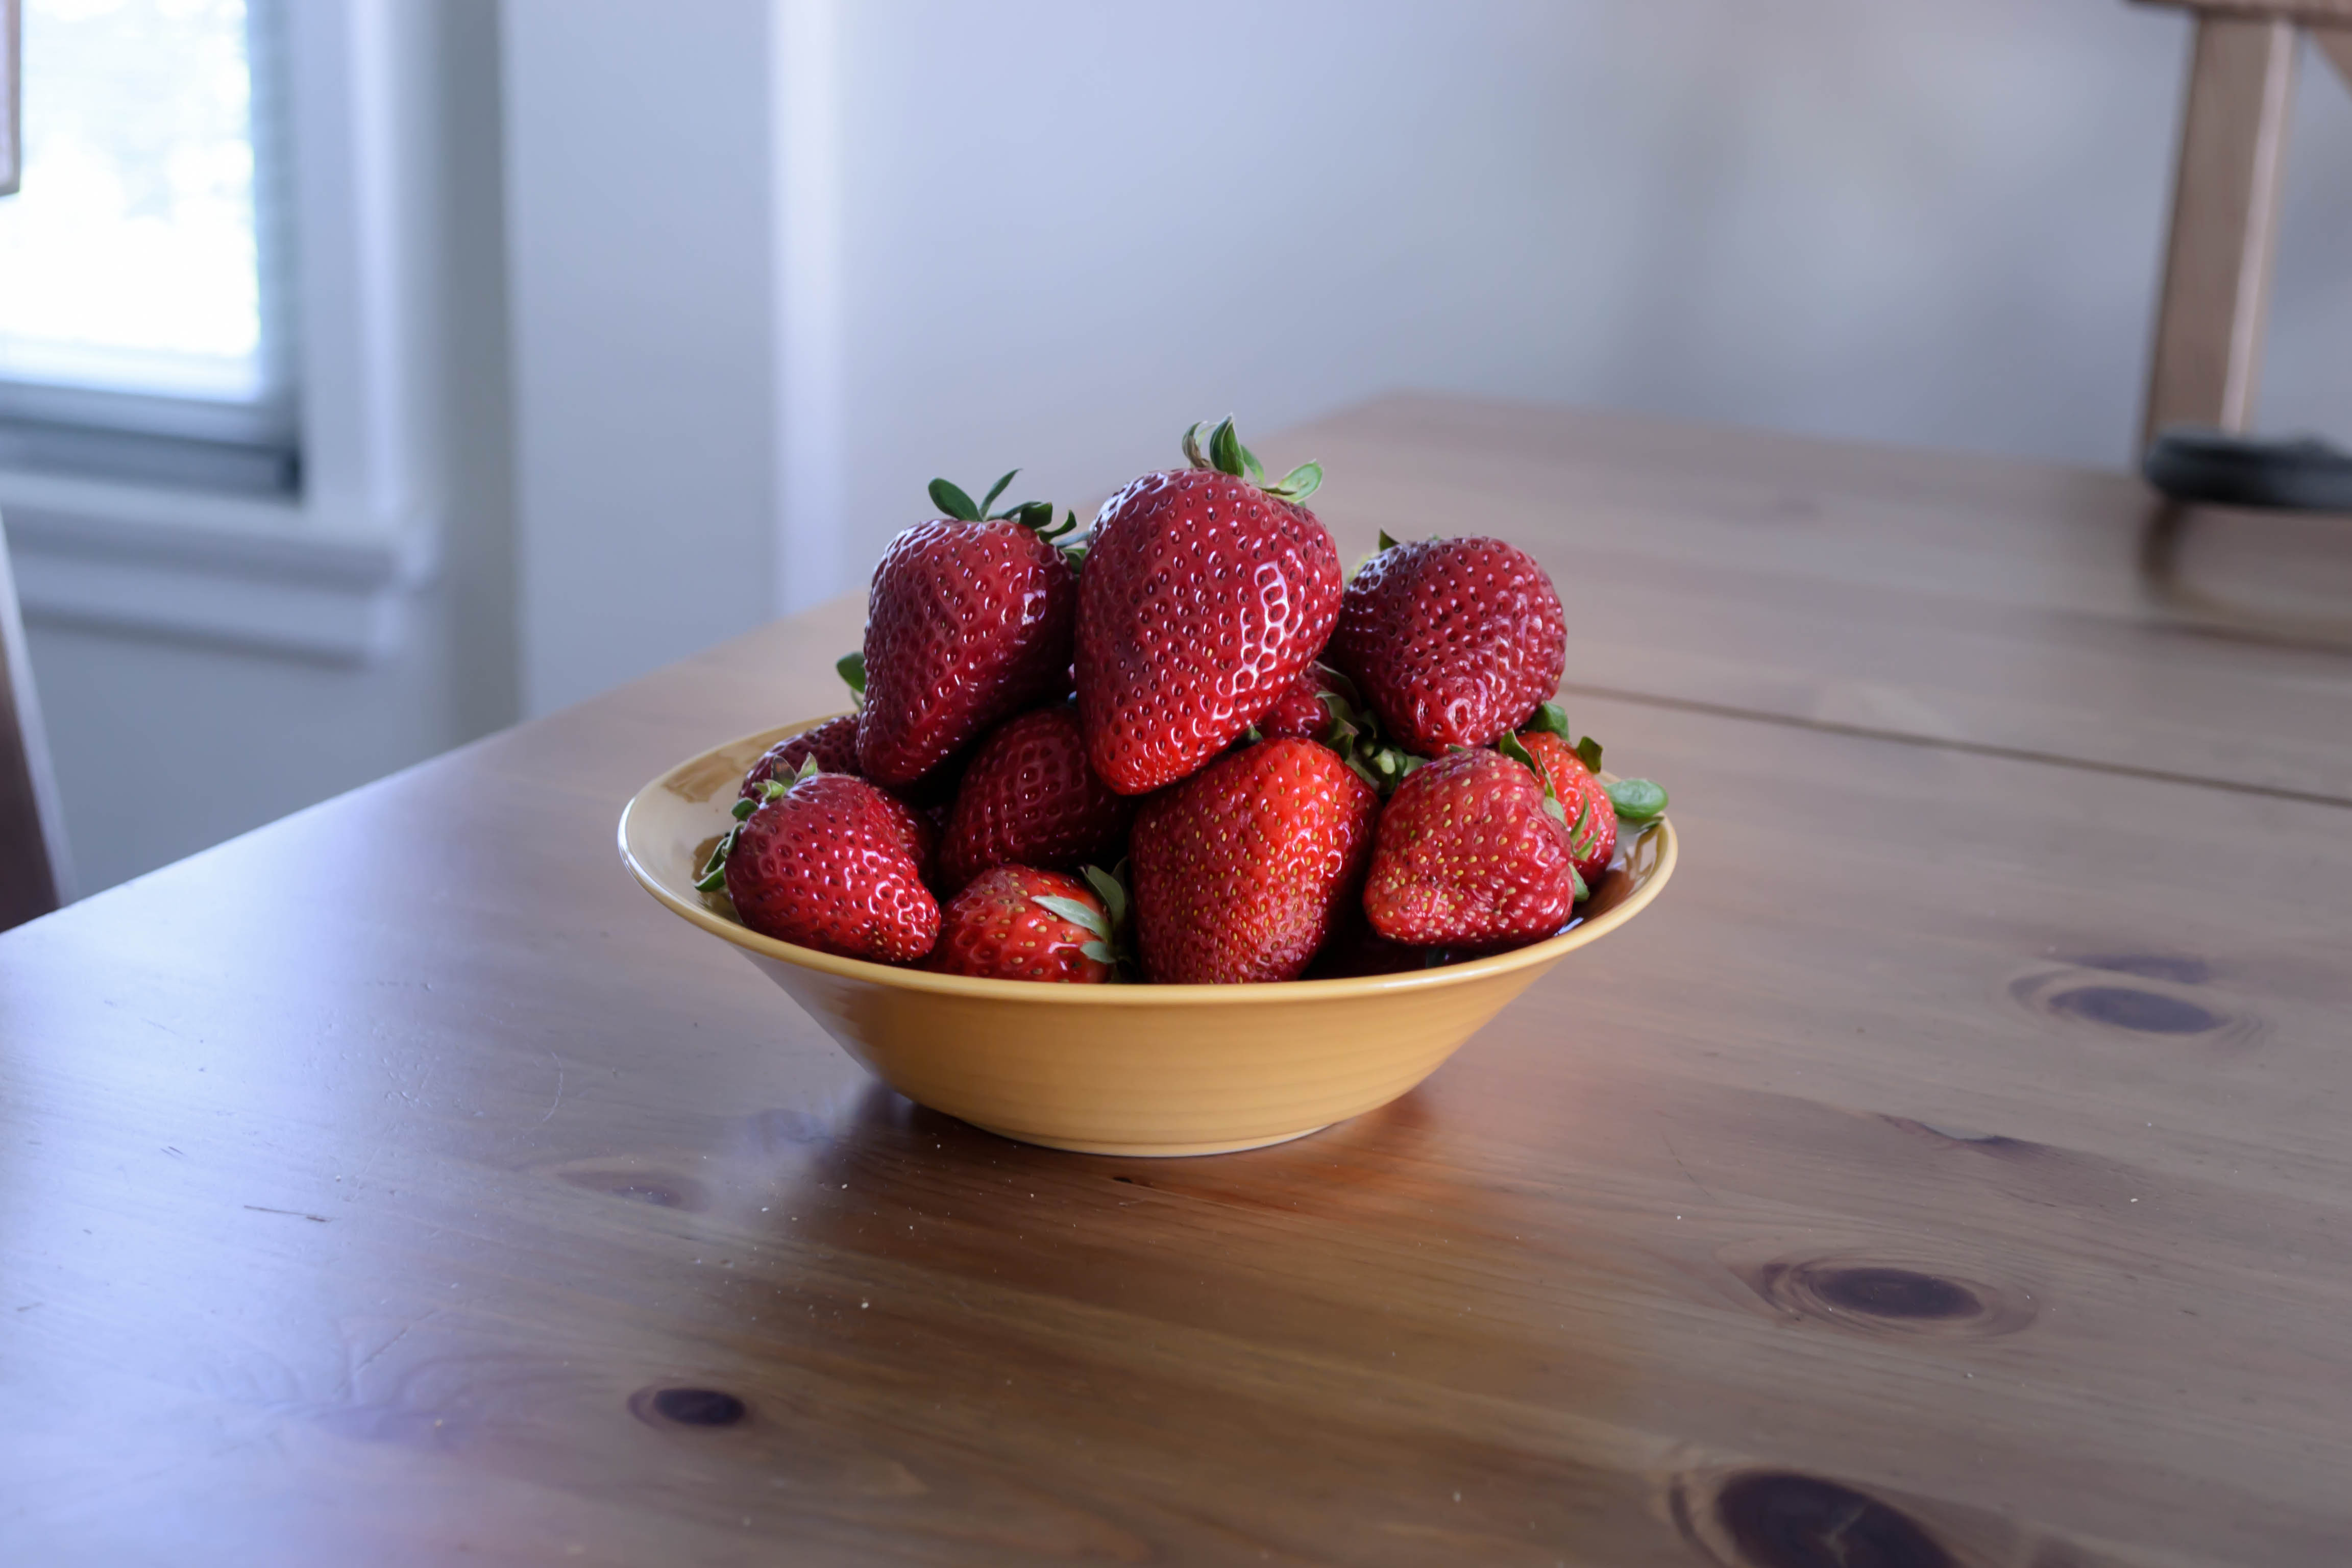
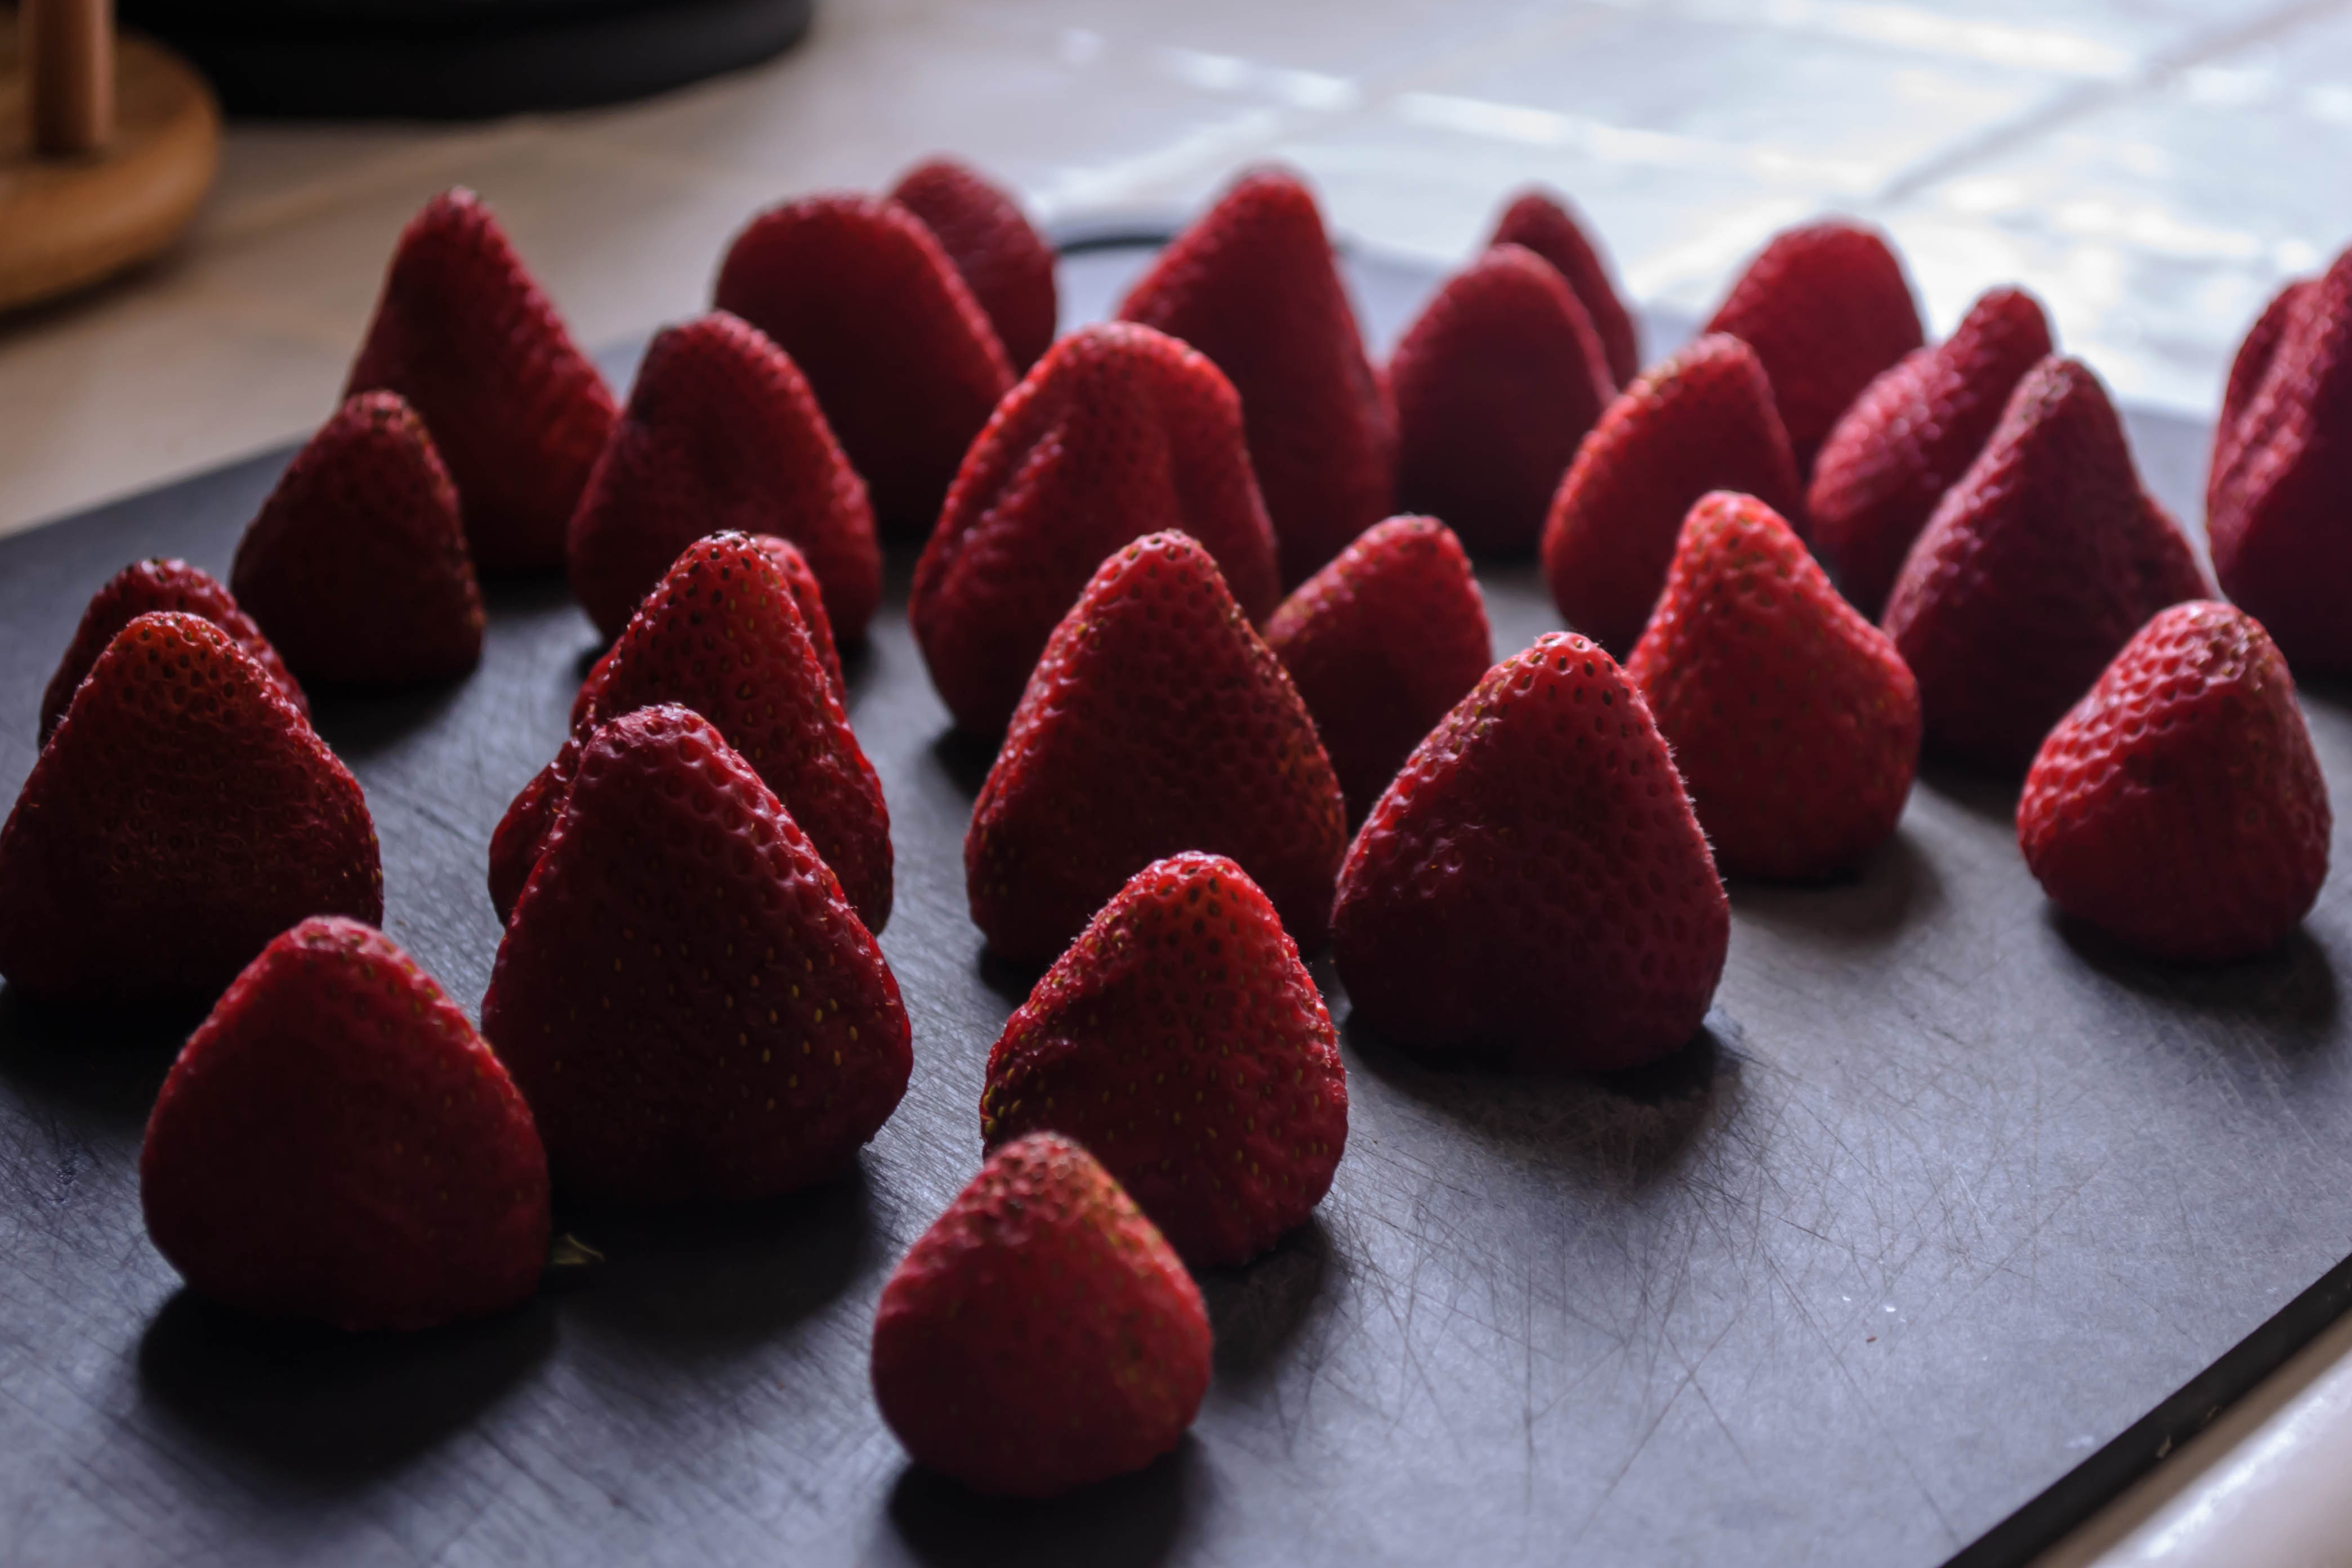
If you’re like me, you’ve already been totally seduced by the complex sweet perfume of summer strawberries, lying there all innocent-like in their little baskets and boxes… maybe even twice. Okay three times. Seriously, that smell! I take home pints, pounds, flats. But here’s the embarrassing thing: once those little red gems have enticed me into slapping down dollars to take them home, I eat a few, nibbling around the hull, I cut up a handful and stir them through yogurt, I may even sprinkle on some sugar and dollop on some lightly sweetened whipped cream.

Food blog June 2014-3929But the remaining berries languish. They flirt with me, teasing me with that gorgeous aroma, but once they are safely home and in the fridge (fruit molds FAST in my Southern California kitchen), the affair is half over already. I – how could I ever? – forget about them. And when they are weak and softening and reluctant to be sliced without collapsing, I try frantically to think of ways to use them so I won’t waste their summery tartness.

Well then, let’s jam. Strawberry lemonade jam. It’s an easy prospect. It’s a perfect non-adventure for a lazy day when pajamas are the right wardrobe choice, that novel you’ve been longing to finish finds its way into your hand, and you aren’t ready for breakfast until almost afternoon. And if that breakfast is toast with still-warm jam, well, carry on.

Food Blog Photo Friday 2014-3357Strawberries, a few flurries of sugar, a generous squeeze of lemon (freshly squeezed, please), a pinch of salt for its indescribable magic (you won’t taste it, but it will heighten the flavors of the other ingredients), and if you’re feeling sassy, a drizzle of framboise or chambord for extra depth and tingle. I’m nearly always feeling sassy. Then a long, slow simmer, almost an hour, until the fruit breaks down and the bubbles get thick and sluggish. Strawberries don’t have huge quantities of pectin, so this isn’t a tremendously thick jam, but who needs that, in the summer?

Food blog June 2014-3934
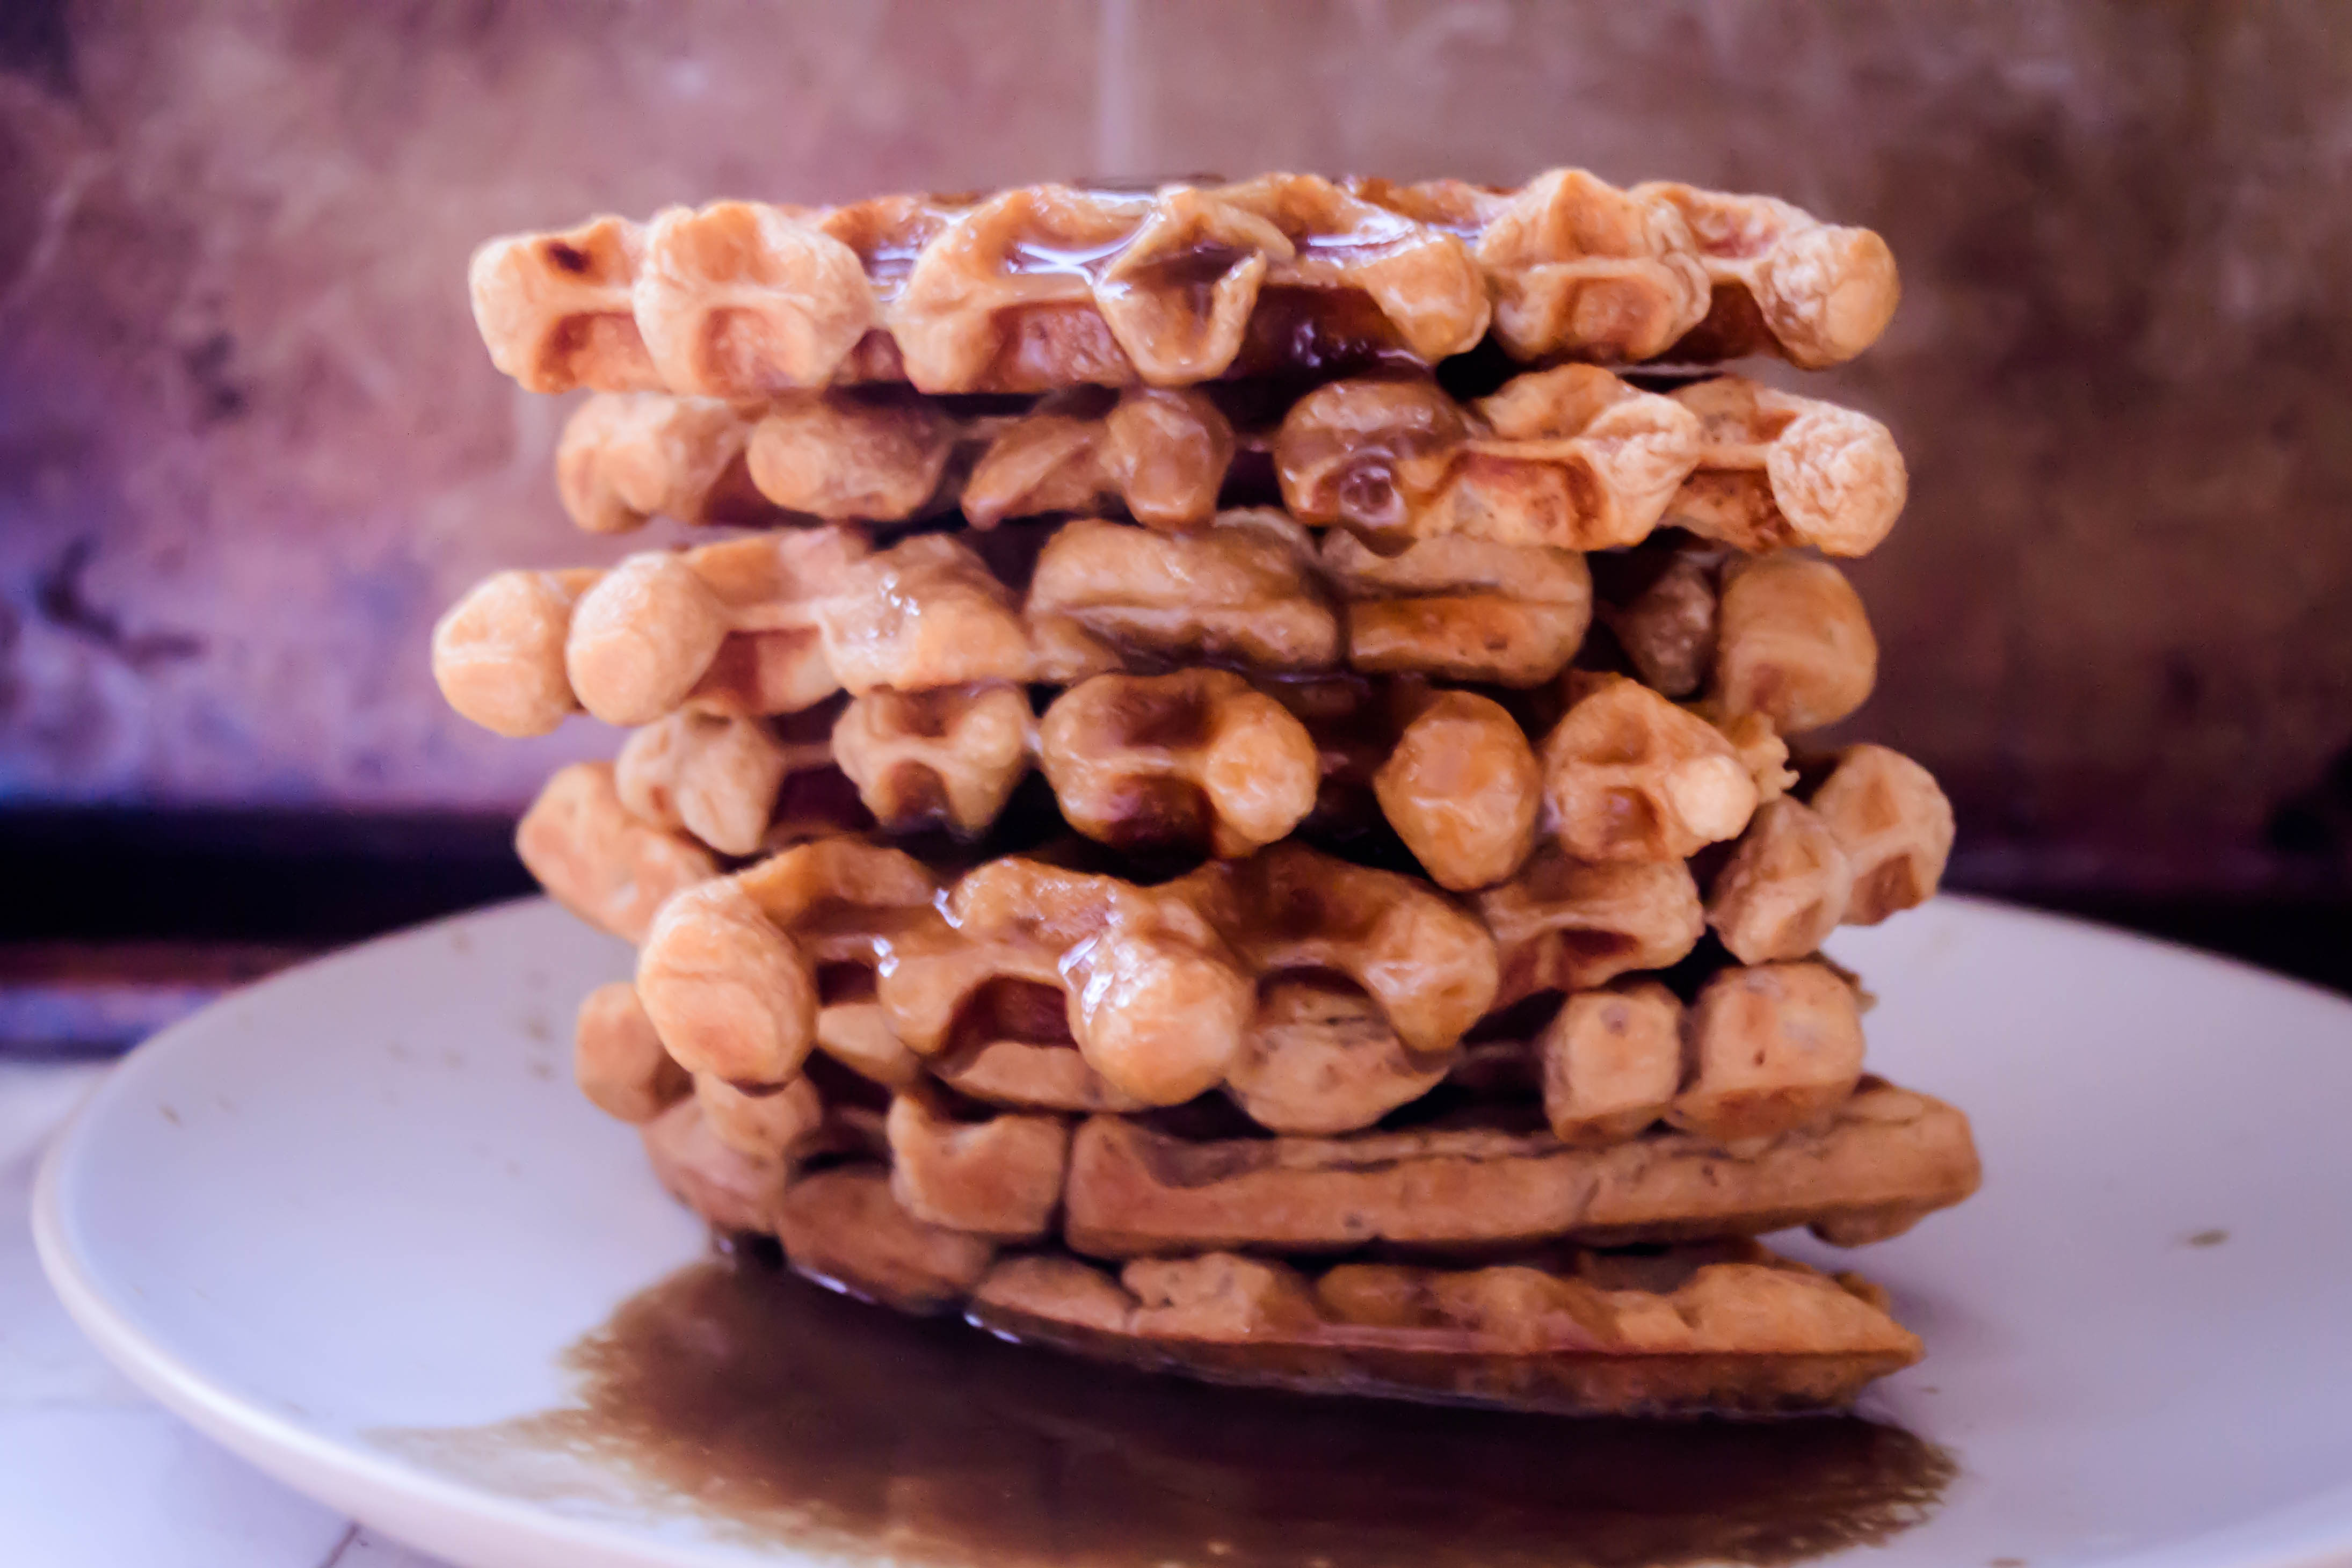
There’s little else to say, because really, a perfect summer beverage in jam form doesn’t need much advertisement, but I suppose we can linger over serving suggestions for a moment. A languid spoonful oozed over toast, or pancakes, or dribbled into the holes of a waffle, is perfectly acceptable. If the day has, as they say, “gotten away from you” in its summery glory, a soft ladle over vanilla ice cream could never be a bad thing. If you’re more of the cocktail type, a drizzle of jam topped with gin and soda would cool and sweeten a sweltering afternoon.

Food blog June 2014-3944
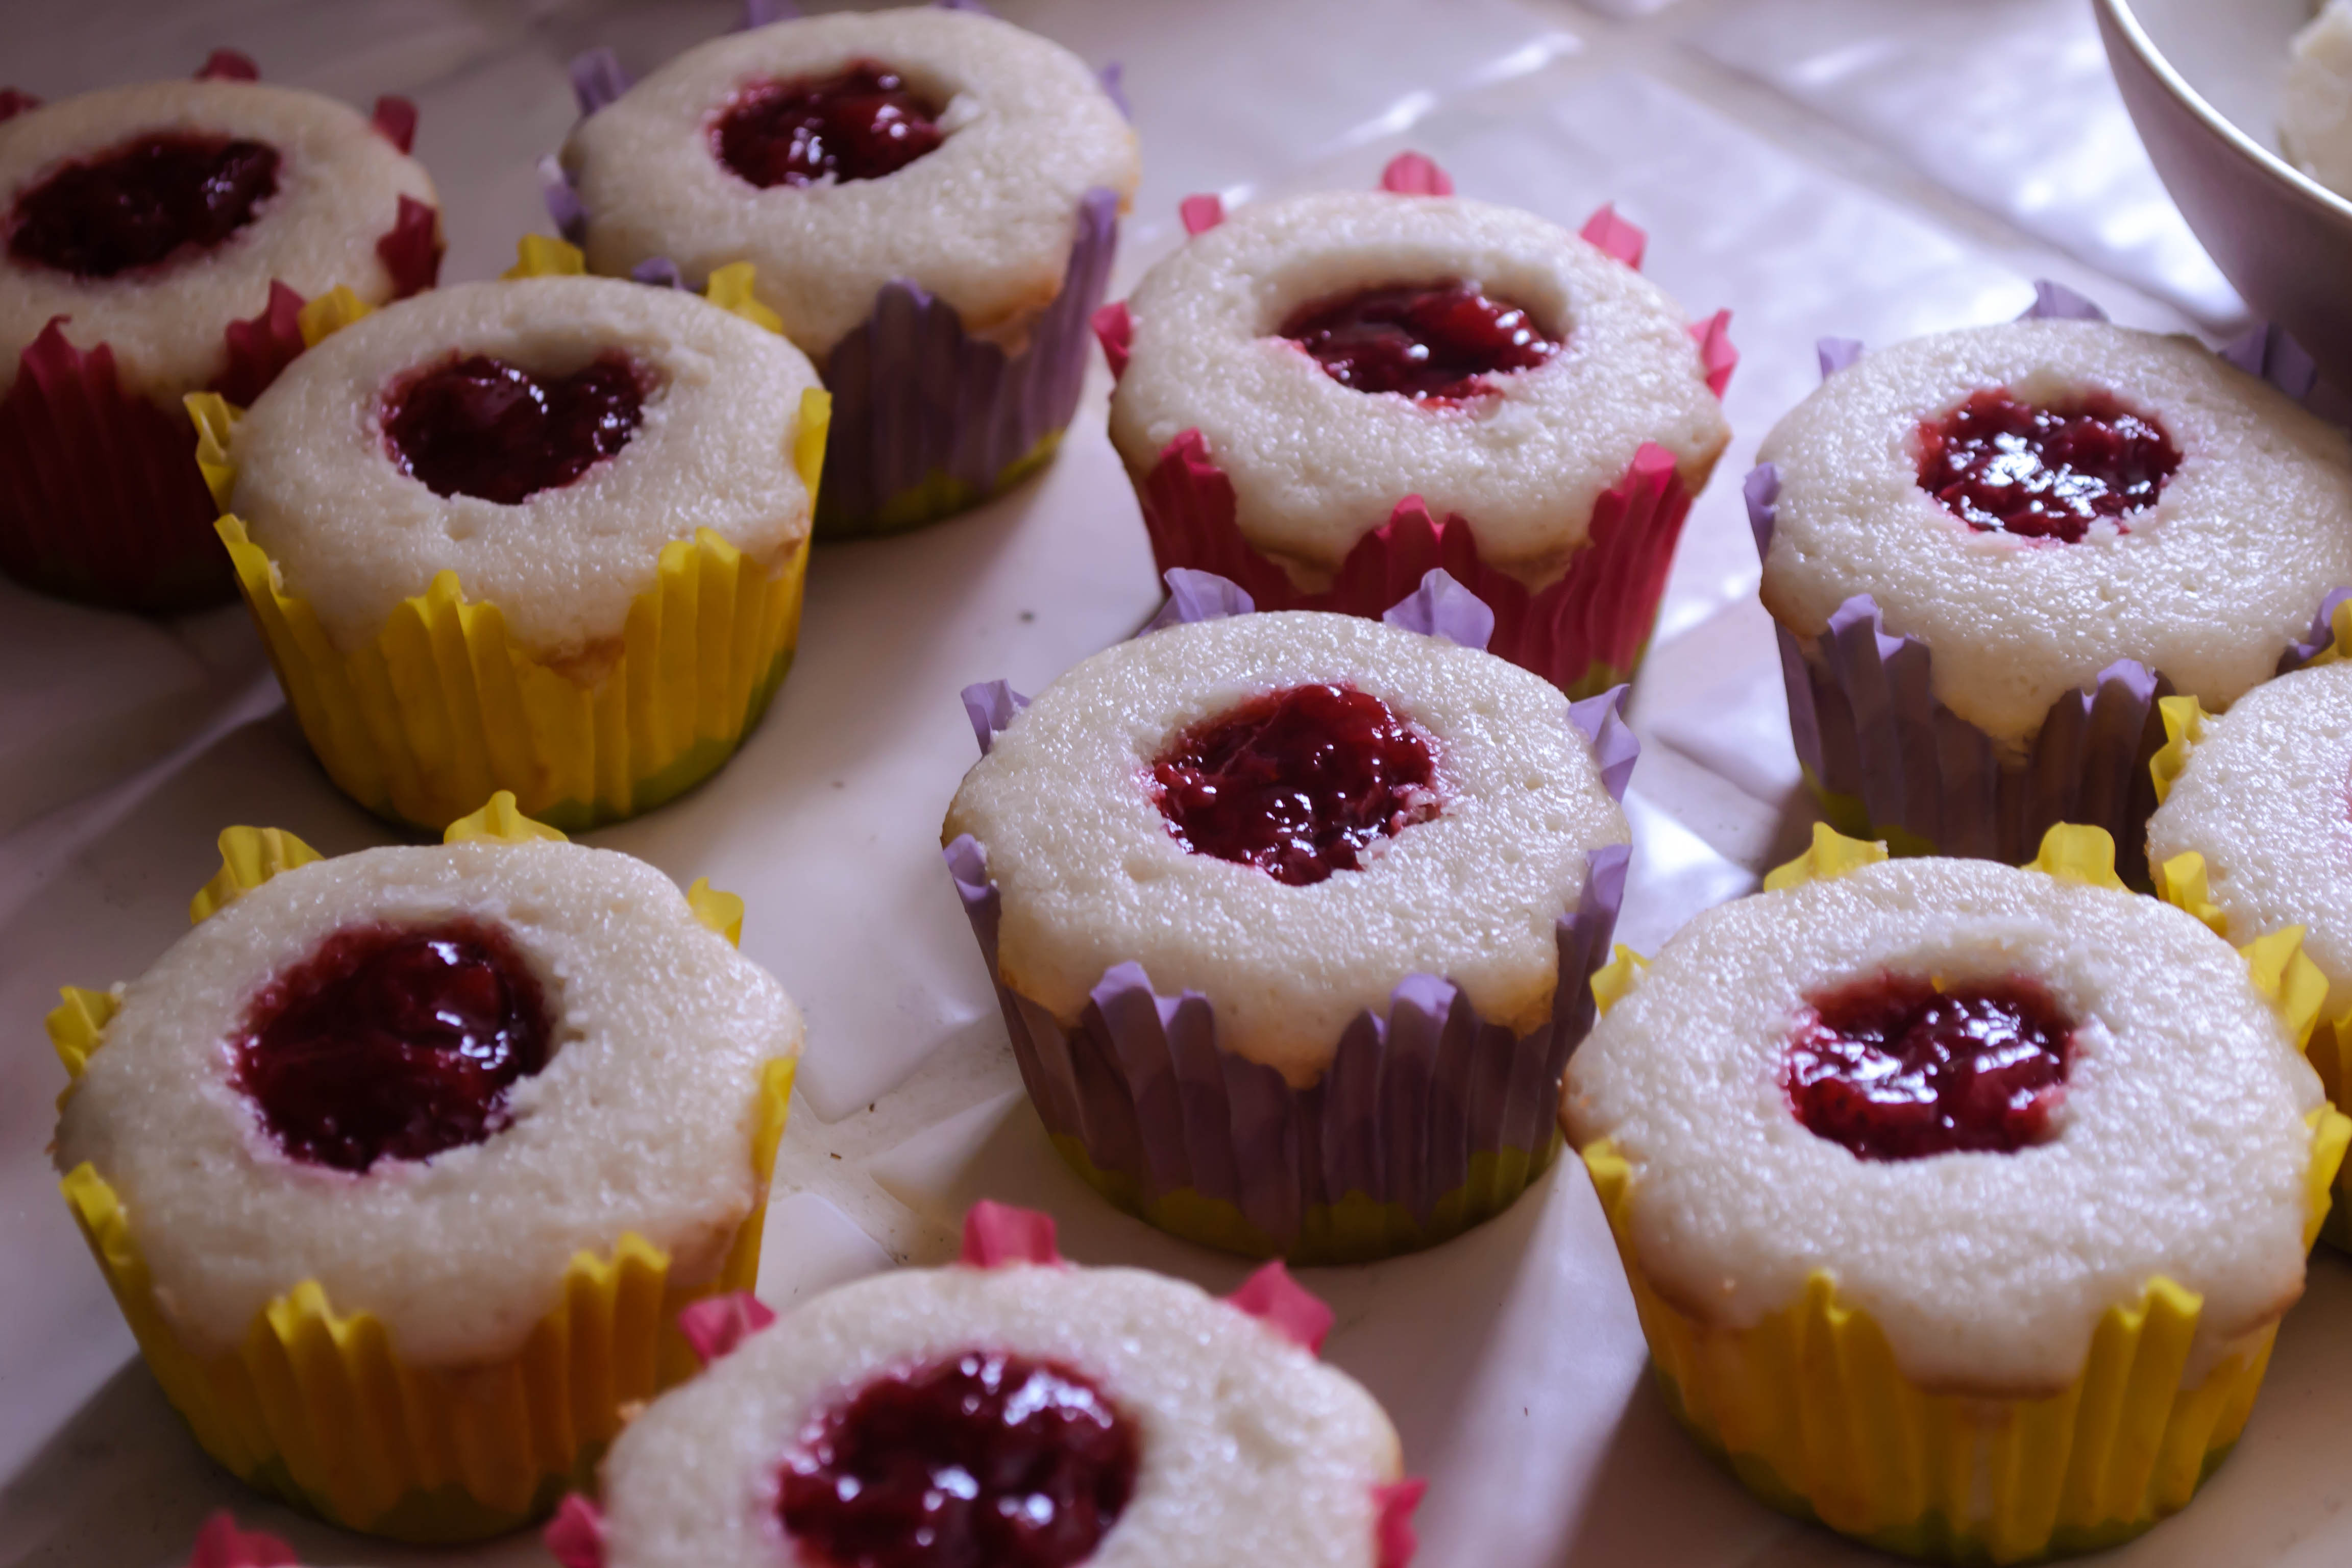
I went as far as using this for the filling in a batch of cupcakes I took to a baby shower last month. A quick slather between layers of cake would do nicely as well. But really, since I’m a bit of a purist, I think my favorite application was slathered across the slightly over-toasted surface of an unapologetically thick slice of homemade sourdough bread.

Let’s do summer. Let’s jam.

Food blog June 2014-3943

Strawberry Lemonade Jam
Makes…. well, it was a summer afternoon… and I forgot to measure… but it certainly made enough to play with for several days.
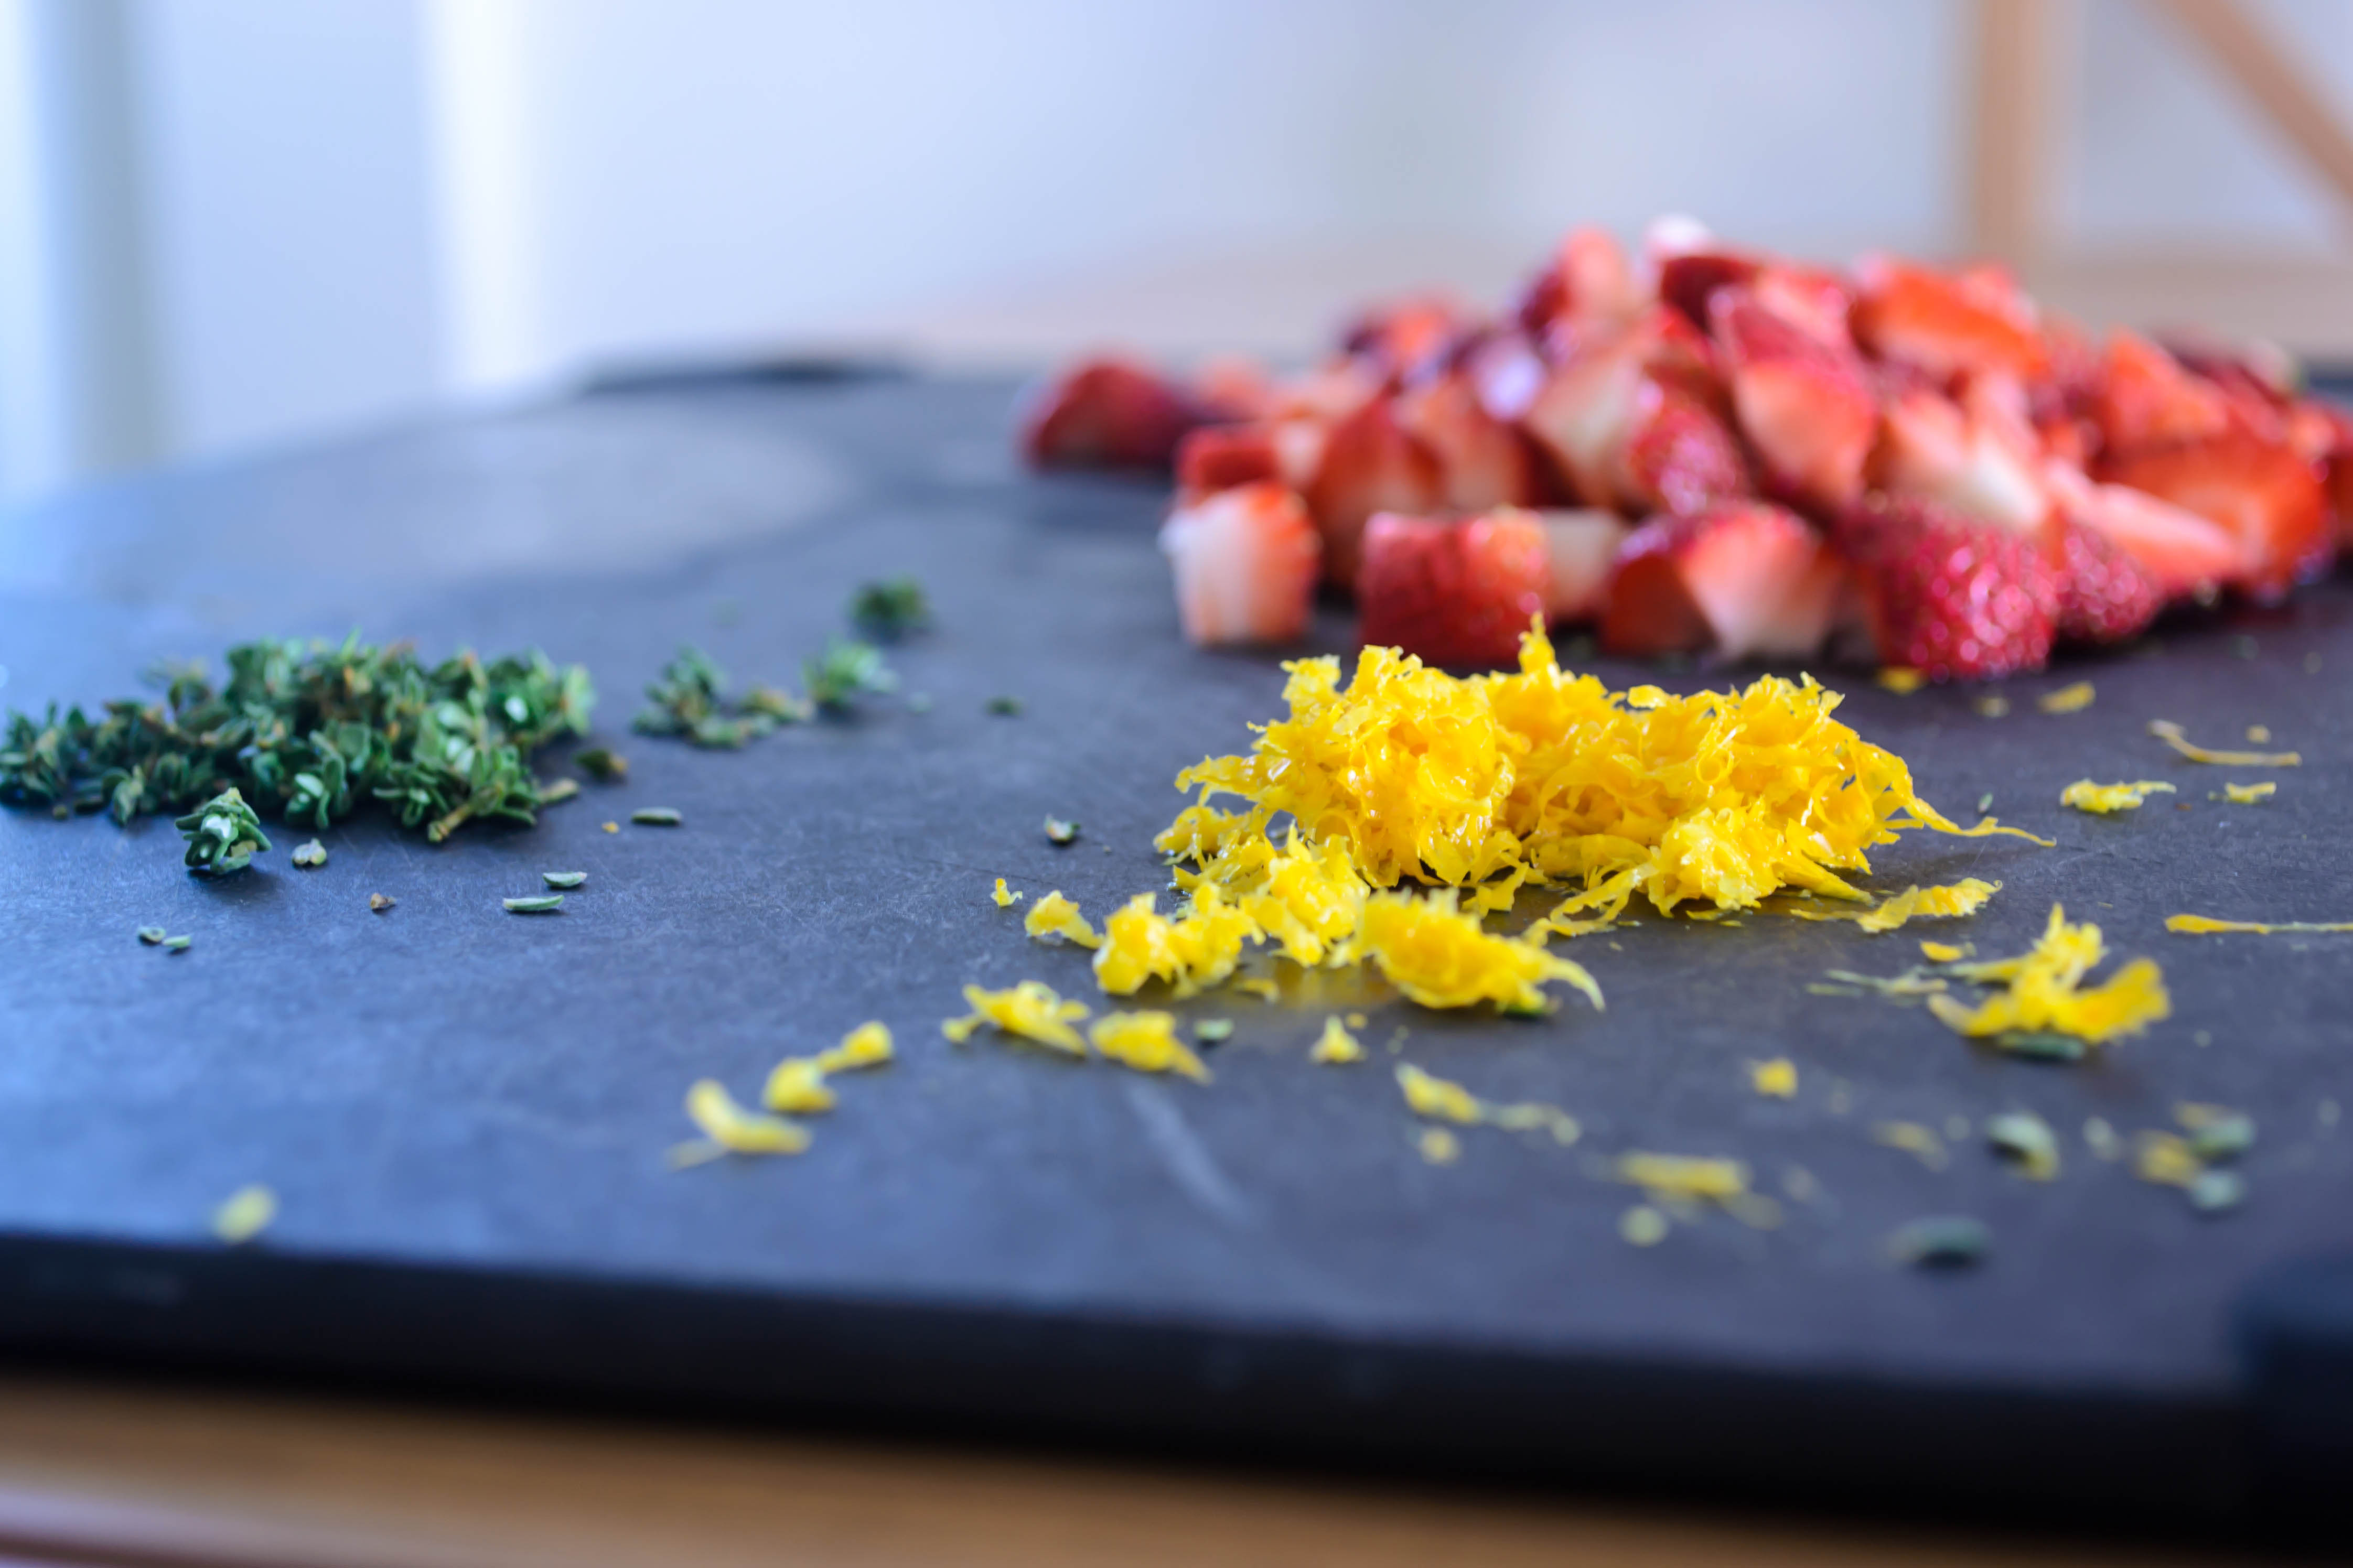
1 ½ pounds strawberries, hulled and roughly chopped
⅔ cups granulated sugar
½ cup freshly squeezed lemon juice (I needed two lemons for this. You may need more or less depending on how juicy yours are)
pinch of salt
2 teaspoons fruity liqueur such as framboise or chambord, optional.
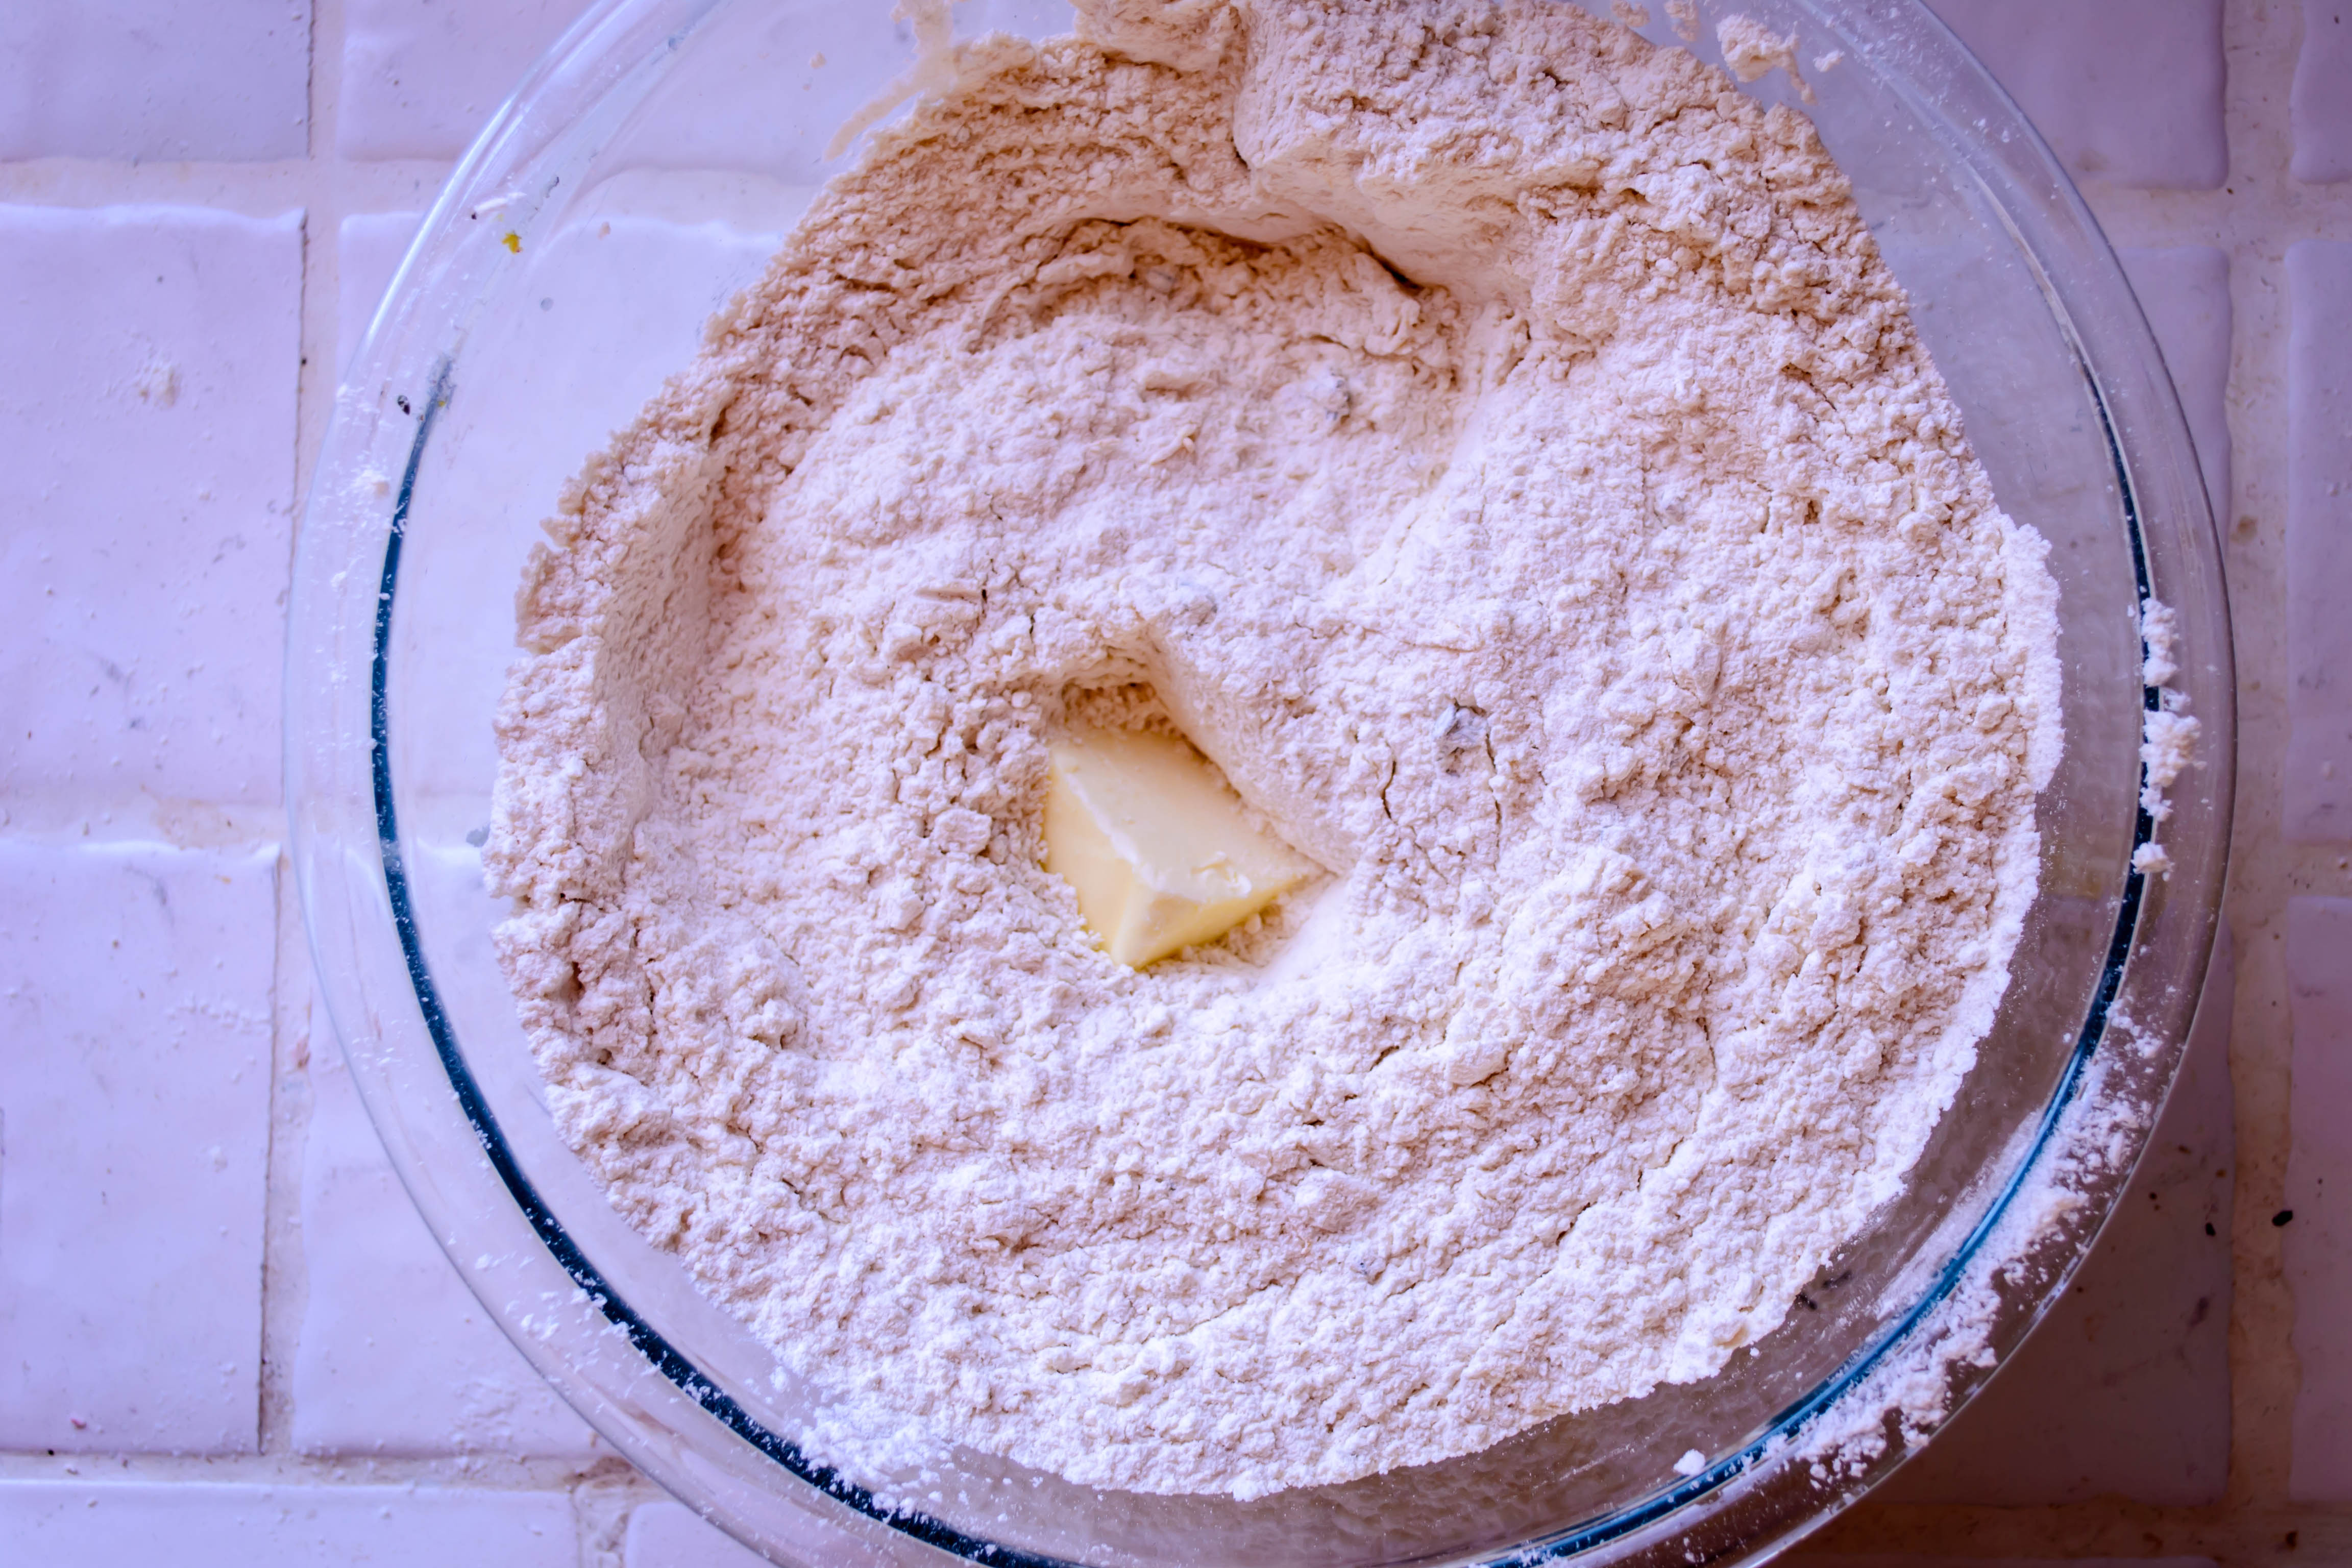
  • Dump all ingredients into a pot. Set your stove to medium heat and stir gently to combine and begin dissolving the sugar. Continue to stir occasionally as things heat up.
  • After ten minutes, the strawberries and sugar will be foaming up bright pink bubbles. Stir and reduce the heat to medium-low. We do want to evaporate some of the liquid the strawberries are exuding, but not burn the sugar.
  • Simmer for another 30-45 minutes for a loose but still spreadable jam. It will still look quite thin when you take it off the heat, but will thicken as it cools. If you are unsure about thickness, put a tablespoon or two on a plate and stick it in the freezer for five or ten minutes to see how thick the finished product will be.
  • Because strawberries don’t have a tremendous amount of pectin, this all-fruit concoction will never be as thick as a commercial jam. If that is what you are looking for, you will have to add thickener.
  • Serve warm or cool, in or on, or even under, your favorite bread product, or see serving suggestions above.

Strawberry Irish Soda Bread for #TwelveLoaves March

Though I am reasonably certain I have some Irish blood somewhere in my Northern European mongrel veins, the luck of the Irish has never been particularly strong for me. I didn’t end up at the schools I’d crossed my fingers for, my job, while great, wasn’t my initial choice, and my thumbs are, at the best of times, a sickly pea soup color, not truly green. The bare, arid stalks of mandevilla I need to dig out of that pot on my porch speak wonders. I’m not destitute, and I’m far from unfortunate. Yes, things work out, but they mostly work out through just that: work.

Food Blog March 2014-3476This week was no exception. Bound and determined to make something spectacular, I embarked on this month’s Twelve Loaves challenge with plans to produce a tray of flaky, delicate biscuits, tangy with goat cheese and loaded with strawberries, folded and rolled and folded and rolled in the Ruhlman method to produce at least a dozen fluffy, puffy layers. I was going to call them “puff biscuits.” I’d already started writing a post.

Food Blog March 2014-3359But demanding that a full pint of strawberries get jammed into a biscuit dough containing a mere 9 ounces of flour (a scant two cups, if you’re counting) is apparently a recipe for disaster. The berries, juicy and tart, immediately dampened the dough. Every time I chilled, then folded, then rolled the dough, more juice, more moisture, more sticky sodden mess. And when I baked them, even after correcting my mistake of setting the oven temperature too low, they just didn’t rise. I mean, they rose a little, pushing up a half inch or so, but it wasn’t the sky-high triumph I was looking for. No puff. Maybe “button biscuits” would be more appropriate. An investment of over three hours produced a bowl full of terrifically flavored, flat-as-a-pancake discs I deemed, with dough packed under my fingernails and flour streaked in my hair (it was an emotional moment), a complete waste of time.

Food Blog March 2014-3451Except that they were delicious. It took me the rest of the evening, and part of this morning, to decide what had happened, and whether to post about it. In the long run, as I’ve noted, though I want this blog to be about delicious and beautiful food, I also want it to be about learning. In sampling piece after piece (of biscuit after biscuit – honesty is important, people), I was reminded of several puff pastry tarts I’ve made that didn’t cooperate either, and my conclusion is that this is a weight problem. Strawberries, even cut into small pieces, are heavy. Leaking juice and packing the dough, they prevented any kind of substantial rise from taking place, even though, as their flaky surroundings indicated, the baking powder and chunks of butter were doing their work. Additionally, the excessive smears of goat cheese I layered in probably didn’t help matters, overwhelming the dry ingredients with more fat than they could handle. Button-busting biscuits, perhaps.

Food Blog March 2014-3449 Food Blog March 2014-3454 Food Blog March 2014-3456Food Blog March 2014-3460So today, I’m trying my luck in another application that embraces both the strawberry theme and the cultural occasion: Irish soda bread, studded with strawberries, perked up with the added interest of lemon zest and fresh thyme leaves. It’s lousy with springtime.

Food Blog March 2014-3464This soda bread cooks in a pot, rather than on a cookie sheet, a technique I learned a year ago and haven’t gone back on since. Baking in a lidded pot retains the kind of moisture bread likes – the kind that commercial ovens pump in that home cooks have trouble emulating. The final few minutes of baking with the lid off sets a crisp crust, but the dribble of melted butter you brush over the loaf when it emerges from the oven ensures that this crust is tender and flavorful.

Food Blog March 2014-3465When baked like this, strawberries become at once sweeter and tarter (really? tarter? I’d prefer “more tart” but my grammar checker admonished me). Their tartness is enhanced by the lemon zest perfuming this loaf, and the herby note of the thyme makes sure it is not too sweet.

Food Blog March 2014-3467This in-betweennness is, I think, what I like so much about Irish soda bread. It feels eggy and rich, but in fact it has no eggs and only a few tablespoons of butter to it. It feels like a breakfast bread you could spread with jam or honey, but it could just as easily sit beside a thick beef stew (well, maybe minus the strawberries). And you could probably administer a few globs of chocolate hazelnut spread to its tender and willing embrace with no complaints.

Food Blog March 2014-3468In any case, the important thing is that it worked, and it was zingy and springy and delicious. Depending on the juiciness of your strawberries, this loaf may look slightly underdone when you pull it out of the oven. Give it an extra ten minutes, if you must, but once it is between 180-200F it should be fully cooked. The berries may create some doughy-looking pockets here and there, but this is nothing that a quick slick of butter and a toast under a broiler or toaster oven won’t fix.

Food Blog March 2014-3480

Strawberry Irish Soda Bread
Makes one 8-9 inch loaf
3 cups all-purpose flour
1 cup cake flour
2 tablespoons brown sugar
1 ½ teaspoons baking soda
1 ½ teaspoons cream of tartar
1 teaspoon salt
2 teaspoons fresh thyme leaves
Zest from 1 lemon (about 1 tablespoon)
5 tablespoons butter, divided
1 ½ cups buttermilk
1 pint strawberries, roughly chopped
1-2 teaspoons raw sugar, optional


  • Position a rack in the top third of your oven and preheat to 400F.
  • In a large bowl, whisk the dry ingredients, including the sugar, lemon zest, and thyme leaves.
  • Using a pastry blender, a fork, or your fingers, cut in or rub in 2 tablespoons of the butter until it is evenly dispersed in pebbly little bits through the flours.
  • Add the buttermilk and bring the dough together with a fork. It should be damp but a bit crumbly. When there is almost no dry flour remaining, add the strawberries and combine gently.
  • Dump out your dough onto a floured board and knead gently, pressing the dough together into a ball with the heels of your hands. We are looking just to bring this together into a rough, sticky ball, not to knead it firmly. Think of scones, not of yeasted bread dough.
  • Once you are able to form the dough into a ball of about 6 inches in diameter, score the top with a very sharp knife – an x shape is most traditional.
  • Using 2 of the remaining tablespoons of butter, grease the inside of a dutch oven or similar large, oven-safe, lidded pot.
  • Carefully place the loaf in the pot, clamp on the lid, and bake in your preheated 400F oven for 30 minutes.
  • Remove the lid and bake an additional 10 minutes, until the loaf is golden and lightly crisp, and an oven thermometer registers between 180-200F. If it still looks doughy when you peer at the score marks, give it an additional 5-10 minutes in the oven with the lid off. Meanwhile, melt the remaining tablespoon of butter.
  • Immediately upon removing from the oven, brush with the melted butter and, if you wish, sprinkle with the 1-2 teaspoons of raw sugar for a sweet crunch.
  • Let cool in the pot for at least thirty minutes before removing to a wire rack or straight to a bread board for slicing.

Tropical Banana Bread for the Hawaiian Vacation we should all be on

Food Blog March 2014-3354As I type this, I am one week – count it! – one lousy week from Spring Break. That doesn’t sound like much, but as I’m sure any of my students would agree if you asked them, in lived reality it is an eternity. On top of that, the sudden influx of warm weather draping itself all over Southern California this past weekend has enchanted misled my poor little vacation-focused brain into thinking the upcoming break might actually be the onset of summer break. It’s going to be so disappointed.

Food Blog March 2014-3327Because I’m foolishly thinking of summer, it’s finding its way into my cooking. N. and I have promised ourselves a Hawaiian vacation this year, in celebration of various job and life related things, and so I’m feeling a bit tropical in some of my undertakings.

Food Blog March 2014-3330In light of my recent declaration that what I do here inelegantly boils down to messing with classics, I’m bringing you banana bread. Now, my banana bread recipe – the one I’ve used so many times the page in the cookbook is torn and spattered and hard to read – is pretty sacred. I’ve been using it since high school, and it produces a loaf that is thick and moist and golden and just barely crusty on top, and when N. heard that I was going to change it, I am fairly certain he let out a legitimate whimper. Apparently there are some things you just don’t mess with.

Food Blog March 2014-3326But I did it anyway, jamming the moist, fragrant batter with indecent quantities of chopped candied pineapple and crystallized ginger.

To make it even more of a celebration, I finally decided to replace the old, mismatched, stained and eternally sticky-handled (they aren’t dirty, the stickiness just doesn’t wash off anymore) glass bread pans I bought from a thrift store while I was in college with actual 9×5 inch standard loaf pans. Non-stick, too. What a luxury! Unfortunately, the stickers advertising how amazing these pans are had been adhered to the insides with gigantic globs of something that can only be described as superglue derived from elephant snot. When not even liberal doses of rubbing alcohol failed to remove all of the adhesive, I got so angry I actually started hiccuping.

Food Blog March 2014-3335Good thing the resulting bread was so delicious. Truly, with all my recent quasi-failures, this one is a real triumph. It is moist, studded with fruit that softens over the long, low bake. These bits of fruit, especially the ones that sink to the bottom of the loaf, take on an appealing kind of gumminess, and some even attain a whisper of the kind of caramelization you’d find in the fruit of a tarte tatin. Sliced thick, it is rich but not too sweet, making it a perfect companion for morning coffee or mid-afternoon chai (the basic boxed mix combined with vanilla coconut milk is my current favorite, and all the more appropriate for the whole Hawaiian vacation thing). It’s the kind of bread you want to eat barefoot, lightly clothed, on a lanai looking out over the ocean, perhaps after you’ve just enjoyed some –ahem– morning activities that left you wanting a snack. The pineapple and ginger mingle well with the already slightly tropical feel of the banana, and the ginger adds a welcome warmth without being spicy (I used a lot, and the flavor is quite pronounced – see my quantity suggestion below if you are unsure about this).

Food Blog March 2014-3333We should all be on a Hawaiian vacation. We probably all deserve one. But if it’s not possible for you, and if you are still in a part of the country that refuses to let Spring over the threshold, may I humbly recommend this bread? At least your taste buds can hop a quick flight… Food Blog March 2014-3338

Tropical Banana Bread
Makes one 9×5 inch loaf
Adapted from Country Cooking
3 medium overripe bananas
½ cup vegetable or other neutral tasting oil
2 eggs
¼ cup + 1 tablespoon buttermilk (if you don’t have buttermilk, use ¼ cup regular milk + 1 tablespoon white vinegar, stir to combine, and let sit for 2-3 minutes)
1 teaspoon vanilla
1 ¾ cups flour
1 cup sugar
1 teaspoon baking soda
½ teaspoon salt
1 cup roughly chopped candied or crystallized pineapple
½ cup finely chopped crystallized ginger (this results in a strong ginger flavor. If you aren’t sure about this or you’re not overly fond of ginger, reduce to ¼ cup)


  • Preheat the oven to 325F and prepare a 9×5 inch loaf pan. I usually just coat the bottom and sides with non-stick spray, but this time I lined the inside with parchment paper to protect against any lingering elephant snot glue (see above).
  • In a large bowl, or the bowl of your stand mixer, mash the bananas into a pulpy mess. Add the oil, the eggs, the buttermilk, and the vanilla and combine thoroughly.
  • Add the sugar and mix well.
  • Add the flour, baking soda, and salt, and mix just until combined. Be sure to scrape the bottom – sometimes streaks of flour wind up hiding out down there.
  • Add the pieces of pineapple and ginger and combine thoroughly; you want even distribution of the fruit through the batter.
  • Carefully pour and scrape the batter into your prepared loaf pan. Beware: if your pan is smaller than 9×5 inches, you may want to make a few muffins as well, or at least place a cookie sheet under the pan in the oven in case of overflow.
  • Bake at 325F for 80-90 minutes, or until a tester comes out with just a few moist crumbs clinging to it. Check at 80 minutes, but don’t be surprised if it is still a bit raw in the middle. This is quite a large loaf, and depending on the size of your bananas it may take even longer than 90 minutes to bake.
  • Let cool completely (or at least twenty minutes) before removing from the pan and slicing.
  • Keeps wrapped well in foil for at least three days, but I doubt you’ll have that problem.

Photo Friday

Holiday breakfast, a sequence.

Food Blog Photo Fridays 2013-6278Food Blog Photo Fridays 2013-6279Food Blog Photo Fridays 2013-6282Food Blog Photo Fridays 2013-6280* Note: my mom called this dish palacsinta; it’s essentially a pile of crepes, with sugar, butter, lemon juice, and pulverized hazelnuts in between each layer, baked until the edges are crispy, and served as a cake. In doing a bit of internet research, however, I’ve determined that palacsinta are Hungarian crepes, and that the layering is just one way of serving them.

** Note 2: as I was on vacation over the holiday, I took these shots with my smaller, more portable camera – a Canon PowerShot SD770 IS. I’m underwhelmed by the photo quality, but the stratigraphy of the dish was so pleasing I decided to share it anyway.

Beer Batter Waffles with Bourbon Caramel Sauce

It’s getting dark.

I told N., as he stood over the sink sampling a triangle of hot waffle and I finagled my plate of stacked waffle pieces around the counter searching for more light, any light, that I’m going to have to start making blog-worthy meals as weekend lunches. He shrugged, swallowed, and reached for another piece of waffle. I don’t think he’s averse to this idea.

Food Blog November 2013-2756The cat-like, dozy, quilt-loving part of me worships autumn’s time change day. An extra hour of sleep, waking to find it light out but there’s still plenty of time for grading chores whatever (but if we’re honest, probably grading), and the following few blissful weekdays when getting up at 6am doesn’t feel like masochism. But the blogger in me dreads its coming. Most of what I post here – the savory stuff, anyway – is planned and eaten as our evening meal. Amidst getting home from work, walking the dog, and catching up with each other, by the time I start cooking I’m chasing daylight. When we turn back the clocks and darkness creeps ever earlier, the little amateur photographer in me wails with despair. The light! Where is the light?! It’s a cruel trick, made crueler by the enjoyment the non-blog-obsessed part of me reaps from it.

Food Blog November 2013-2740Speaking of tricks, let’s talk Halloween. What did you do? Who (or what) did you dress as? We did not have a single trick-or-treater, which devastated me, but delighted my students, who received the candy I didn’t give out (or eat myself, but who’s counting?). To fill my costume yen, I had to turn to Facebook stalking, and my easy favorite was a former colleague’s daughter, who dressed as a jellyfish. They fitted a clear plastic umbrella with a jumble of LED lights, and she wore a frilly tutu and held the umbrella over her head to emulate those weird, beautiful, alien creatures. Genius.

Food Blog November 2013-2736On the treats front, aside from the Almond Joys I compulsively scarfed as the afternoon went on (reminding myself they were “fun size” totally assuages my guilt), I decided Halloween dinner should be special. A few months ago we gorged ourselves on beer batter waffles during an unexpected brunch at a little cerveteca in Venice and were delighted by the incredible yeasty flavor. I decided this was the night to do some recreating.

Food Blog November 2013-2743I started with a recipe for maple bacon yeast waffles in a King Arthur Flour catalog, trimmed down the ingredient list, and replaced the called-for milk with beer and the maple syrup with barley malt syrup to emphasize the malty flavor even more. The batter is a floppy, burpy, smelly sourdough sponge sort of concoction, which burbles sullenly for an hour or two before you ladle it by half-cups or so into a waffle iron and sizzle it into solidity. It’s easy, for a yeast-laden item, and as long as you think about the rising time before you suddenly decide you’re starving and dinner needs to happen NOW, it’s doable for a weeknight.

Food Blog November 2013-2745The thing about a recipe like this, though, is that the rising time gives you time to think. If you’re a normal person, you might use this blessed extra hour to catch up on housework or relax and watch television. If you’re me, you start thinking about sauces. I like maple syrup, but I get tired of it. These waffles, with their yeasty aroma and almost savory flavor, needed something special. As a salute to Halloween, I decided to make a quick bourbon caramel drizzle to top them. I mean, why not? It was a holiday, after all.  Butter, brown sugar, bourbon, and salt, bubbles stacking up on themselves in a tiny pot, and a swig of milk (or cream) to thicken and mellow and relax everyone.

Food Blog November 2013-2749So back to the darkness problem. Usually, when I arrange a plate of dinner to photograph it, N. waits until I’m done to serve himself and head in to the table to eat. On Halloween, as I angled and shimmied and adjusted, trying to catch the last glimmers of fading light and listening to my shutter speed get slower and slower, he stacked waffles onto his plate, drenched them with the caramel sauce, and disappeared around the corner to start his dinner. That, to me, proves its deliciousness beyond all doubt.

Total treat. No tricks. Food Blog November 2013-2755

Beer Batter Waffles
Adapted from King Arthur Flour
Makes about six 7-inch waffles
1½ cups (12 ounces) lukewarm beer (I used a nice roasty porter, heated in the microwave about 30 seconds)
1½ teaspoons active dry yeast
3 tablespoons barley malt syrup (you could likely replace this with maple syrup or honey, but I haven’t tried it. If you do, let me know!)
6 tablespoons (3 ounces) melted butter, cooled
1 teaspoon salt
2 large eggs
2 cups all-purpose flour
  • In a 2 cup glass measuring cup, or a small microwave safe bowl, heat the beer until just warm to the touch. Add yeast and the barley malt syrup (or whatever sort of sweetener you are using) and let them mingle for 5-10 minutes. The yeast will foam up considerably, thanks to the extra sugars and yeast already in the beer.
  • While the yeast proofs, whisk together the cooled melted butter, the salt, and the eggs in a large bowl. Be sure there’s room for the batter to expand.
  • Add the beer and yeast mixture and whisk to combine, then add the flour 1 cup at a time, whisking to combine thoroughly.
  • When the flour is fully incorporated and no lumps remain, cover the bowl with plastic wrap and set it on the counter for 1-2 hours.  The mixture will slowly develop lethargic bubbles and begin to smell quite bready.
  • Once it has had a chance to rise for an hour or two, either stow in the refrigerator overnight, or preheat your waffle iron!
  • Drop the batter in generous ½ cup batches (or more, if your waffle iron can take it) onto a preheated, greased waffle iron. Close the lid and cook for the recommended amount of time, or until the waffle is crisp on the outside and deeply golden.
  • Serve hot with bourbon caramel syrup. If you need to keep the waffles warm, stow them on a wire rack over a baking sheet in a 250F oven until you are ready to eat.


Bourbon caramel sauce
Makes about ¾ cup
2 tablespoons butter
½ cup packed brown sugar
½ cup bourbon (I like Knob Creek myself)
1 teaspoon salt
¼ cup whole milk or cream (cream will make for a thicker, more luscious end product)
  • Combine the butter, brown sugar, bourbon, and salt in a small saucepan over medium-low heat. Stir to combine as the butter and sugar melt.
  • Continue to stir frequently as the mixture comes to a simmer. Bubbles will begin stacking up on themselves, and you want to prevent both the sugar from burning and the bubbles from climbing too far up the sides.
  • Let the mixture reduce a bit – it will thicken and some of the alcohol will burn off.
  • Just before you are ready to serve, add the milk or cream and stand back, as the caramel may bubble up furiously.  Stir to combine and keep over low heat just to warm the mixture through. Drizzle generously and enjoy.

Sweet Potato Apple Oatmeal Bread

I seem to be increasingly fond of dishes with long titles. There’s nothing particularly extravagant about this quickbread (though I must admit, the prep work involved makes it not all that quick), but the title is lengthy because it does have a lot going on.  Harvest color from a baked, mashed sweet potato, juicy chunks of apple, a hearty, wholesome boost from the oats, plus a hefty dose of brown butter, buttermilk, cinnamon, and a streusel topping crammed with walnuts and dried apple rings. But I didn’t want to overload you, so sweet potato apple oatmeal bread it is.

Food Blog October 2013-2708This bread turned out to be a lovely little response to October’s Twelve Loaves theme: root vegetables. Upon first reading this mandate, I was a little concerned. I’ve already done loaded potato biscuits. Carrot cake is, eponymously, not bread. Beets and rutabegas and parsnips and all those other decidedly savory tubers I’d welcome in a roasting pan or in a latke just don’t seem like a good fit in bread, yeasted or otherwise.

Food Blog October 2013-2701Los Angeles has recently decided that, since it’s almost the middle of October now, Fall might be okay. It might be acceptable to hover below 80 degrees during the day,* and nights could, possibly, occasionally, fall to the chilly (hah!) mid-50s. This has put me in mind of all the harvest flavors I love which, predictably, takes me to Thanksgiving. Once there, it’s only a tiny hop to the humble sweet potato.

Food Blog October 2013-2687Sweet potatoes are true root vegetables. Unlike taro or ginger, which are technically modified stems, or even the grand old potato itself, which is a tuber but not a “true” root (I know, I was shocked too!), sweet potatoes are the root of the plant.

Food Blog October 2013-2680Food Blog October 2013-2685Food Blog October 2013-2682Thankfully, they are also delicious. I love their mellow, starchy sweetness in savory and sweet applications, but I’d never tried incorporating them into bread before. I knew almost immediately I wanted a quickbread rather than a yeasted loaf, and from there it only remained to pair a few flavors. Apples seemed like a nice match for sweet potato: big, fresh Honeycrisps have been showing up at our Farmers’ Market lately, and their juicy tartness would be a good foil for the dependable mellow of my main player. Oatmeal would bulk up the bread a little, giving it strength to support the onslaught of apple and sweet potato I had in mind. I found an oatmeal quickbread recipe that sounded promising on Flour Child, but things really cemented when I read Irvin’s post on Spiced Brown Butter Apple Walnut bread on his blog Eat the Love.

Food Blog October 2013-2688So, sweet potato, baked rather than steamed or boiled to cut down on moisture, an excessive mound of apples, left in sizable chunks that, when you start to mix them in will seem like far too many, rolled oats to bake into a breakfast-worthy slice, and the usual players – brown sugar and cinnamon and just enough salt – get topped off by a streusel you will want to eat not just on this bread, but on everything.  Walnut pieces, more oats, cinnamon for flavor and flour for texture, enough butter to hold things together, and the crowning touch: roughly chopped dried apples that, when baked, dehydrate even more into crispy, gloriously tart-sweet candy. I’m already imagining it on oatmeal, or pancakes, or baked on its own into a take on granola.

Food Blog October 2013-2699This is a moist loaf, and hearty, but not particularly dense. It can’t quite support its own weight, which means slices collapse easily on themselves because they are groaning under the quantity and size of the apples. It is also not terrifically sweet. I was aiming for a breakfast or a mid-morning snack kind of loaf. If you want something more dessert-like, or if you just have a determined sweet-tooth, try increasing the quantity of brown sugar by a few tablespoons.


* This morning’s meteorological news, however, may have made a liar out of me.

Food Blog October 2013-2707

Sweet potato apple oatmeal bread
Adapted from Flour Child and Eat the Love
makes one large loaf
For bread:
1 ½ cups flour
1 cup old-fashioned rolled oats
1 teaspoon baking powder
½ teaspoon baking soda
½ teaspoon salt
1 teaspoon cinnamon
½ cup butter (8 tablespoons or 1 stick)
½ cup buttermilk
2 large eggs
½ cup brown sugar
1 cup baked, mashed sweet potato (from one medium)
2 apples, peeled, cored, and cut into generous ½ inch pieces (I used Granny Smiths)
For streusel:
2 tablespoons oats
2 tablespoons flour
2 tablespoons brown sugar
½ teaspoon cinnamon
¼ cup roughly chopped walnuts
¼ cup roughly chopped dried apple rings
2 tablespoons softened or melted butter


  • If you have not already baked your sweet potato, preheat your oven to 400F, pierce the flesh of the sweet potato a few times with a knife or the tines of a fork, and bake until the potato is evenly soft – anywhere from 35-60 minutes, depending on the size of the root.  When done, remove from the oven and cool completely before halving lengthwise and mashing the flesh. Discard the skin (or just eat it – it’s sweet and soft and good for you!).
  • Turn the oven down to 350F (or, if you haven’t just baked a sweet potato, preheat it to 350F) and butter, grease, or spray a loaf pan.  Set aside.
  • Begin by browning the butter. Melt your ½ cup of butter in a small pot over medium-low heat. As it melts, it will foam and sizzle a bit and some scummy stuff will appear on the surface. That’s okay. Water is evaporating and leaving us with a more concentrated product. After a while, little brown bits will begin to form on the bottom. This is what we want, but watch carefully – it takes a matter of seconds for butter to go from perfectly brown to burned. When the brown bits are nice and toasty, turn off the heat and set aside to cool.
  • While the butter cools, it’s a good time to make your streusel so you’re prepared later. In a small bowl, combine all streusel ingredients except the butter and whisk lightly together with a fork. Add butter and toss with the fork again or with your fingers until the mixture begins to stick together in clumps. Set aside.
  • Now, back to the bread. In a medium bowl, combine the flour, oats, baking powder, baking soda, salt, and cinnamon. I like to use a whisk for this – it aerates the flour and evenly disperses the leavening agents.
  • In a large bowl (or the bowl of your standing mixer), combine the buttermilk, eggs, brown sugar, and mashed sweet potato. Add the brown butter and beat until a soupy, homogenous mixture is formed.
  • Add the dry ingredients to this wet mixture in two batches, beating just enough to combine after each. Once the flour mixture is incorporated and you have a thick, stiff batter, fold in the apples using a stiff spatula. It will seem like there are too many for the quantity of batter, but don’t worry. It will all work out.
  • Scrape the batter, which might seem more like just battered apple cubes, into the loaf pan.  Tap it once or twice on the counter to release air bubbles and help it settle a bit.
  • Pack on the streusel.
  • Bake in a preheated 350F oven for 1 hour and 30 minutes, or until the topping is deeply bronzed and a toothpick or knife inserted in the center of the bread comes out with just a few moist crumbs. Since the size and juiciness of your apple chunks may vary, check for doneness the first time after an hour, so you can gauge how much more time you might need.
  • If your bread is not done yet but outlier edges of dried apple or walnut threaten to burn, treat this like you’d treat a pie crust: tent the offending areas loosely with aluminum foil to keep them from getting too dark.
  • Cool completely before attempting to slice or remove from loaf pan.  Trust me.