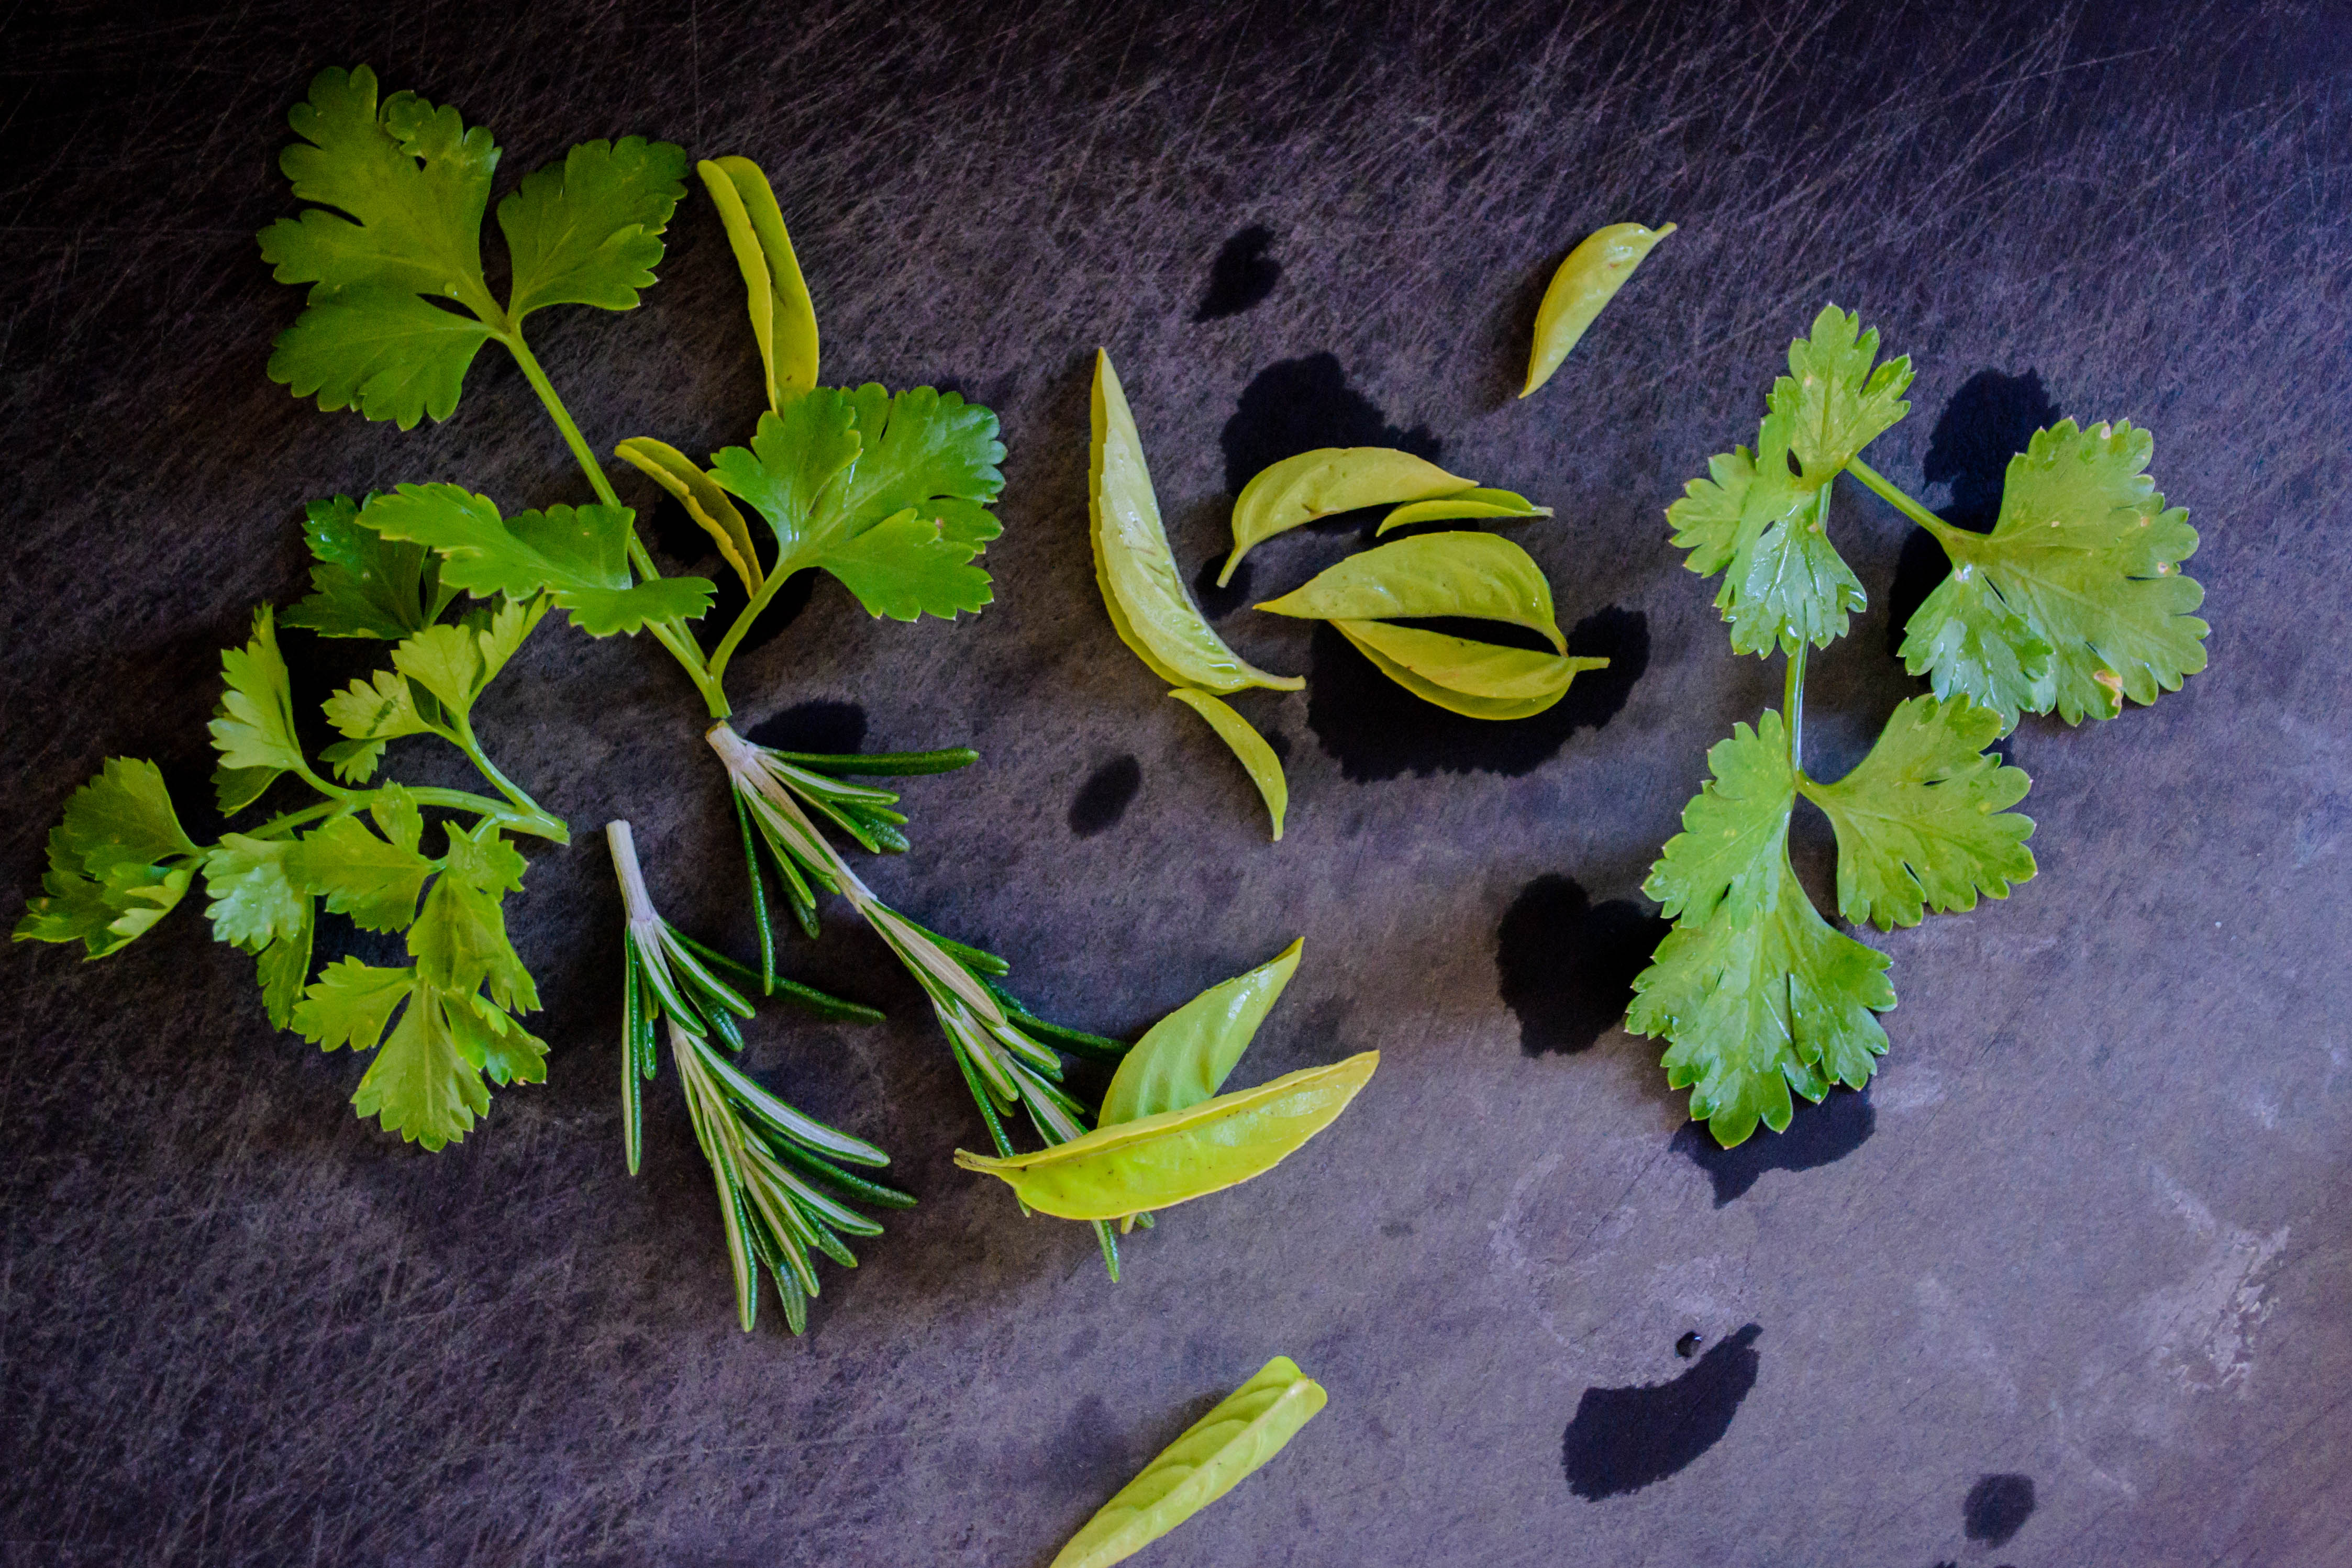
Mixed herbs.

Mixed herbs.
 chive blossoms
 It seems fitting that I should do my first post along with the Twelve Loaves bakers during a month that celebrates cheese. On any given day, you can find between three and six different kinds of cheese in the tiny drawer in my refrigerator. My last two posts have featured it as a key ingredient, and in both I’ve waxed eloquent about using not just some, but MOAR. I seriously love cheese. It’s the primary reason I could never go completely vegan. I could give up meat with very little trouble (though I would miss bacon, I must admit). I could wave a cheerful goodbye to fish, to beef, to chicken, and stock my cupboards with vegetable broth and my freezer with coconut based ice cream. I already use soy rather than regular milk on my cereal and in my weekend chai. But I would have serious problems bidding farewell to cheese.


 Even though I know this isn’t true – they had their ingredient chosen long before I came into the picture – it feels almost like the Twelve Loaves baking group planned this month’s post just for me. Bake with cheese. Yes. I. Will. Cooking with cheese is exciting because the ingredient offers such variety. Do you want something mild, or so sharp it makes your mouth water? Do you want a familiar flavor, or something tart or funky or stinky like last month’s socks? And then there’s texture. Cheese already runs the gamut from so soft it seems already melted to the firmness of parmesan that requires a knife point to dismantle. Add to that the different reactions it has to heat: some cheeses sigh into liquid. Some pull into foot-long strings. Some – and this is one of my favorite results – some flatten and solidify and transform into crunchy little cheese crisps suitable for nothing fancier than jamming into your mouth as quickly as you can.
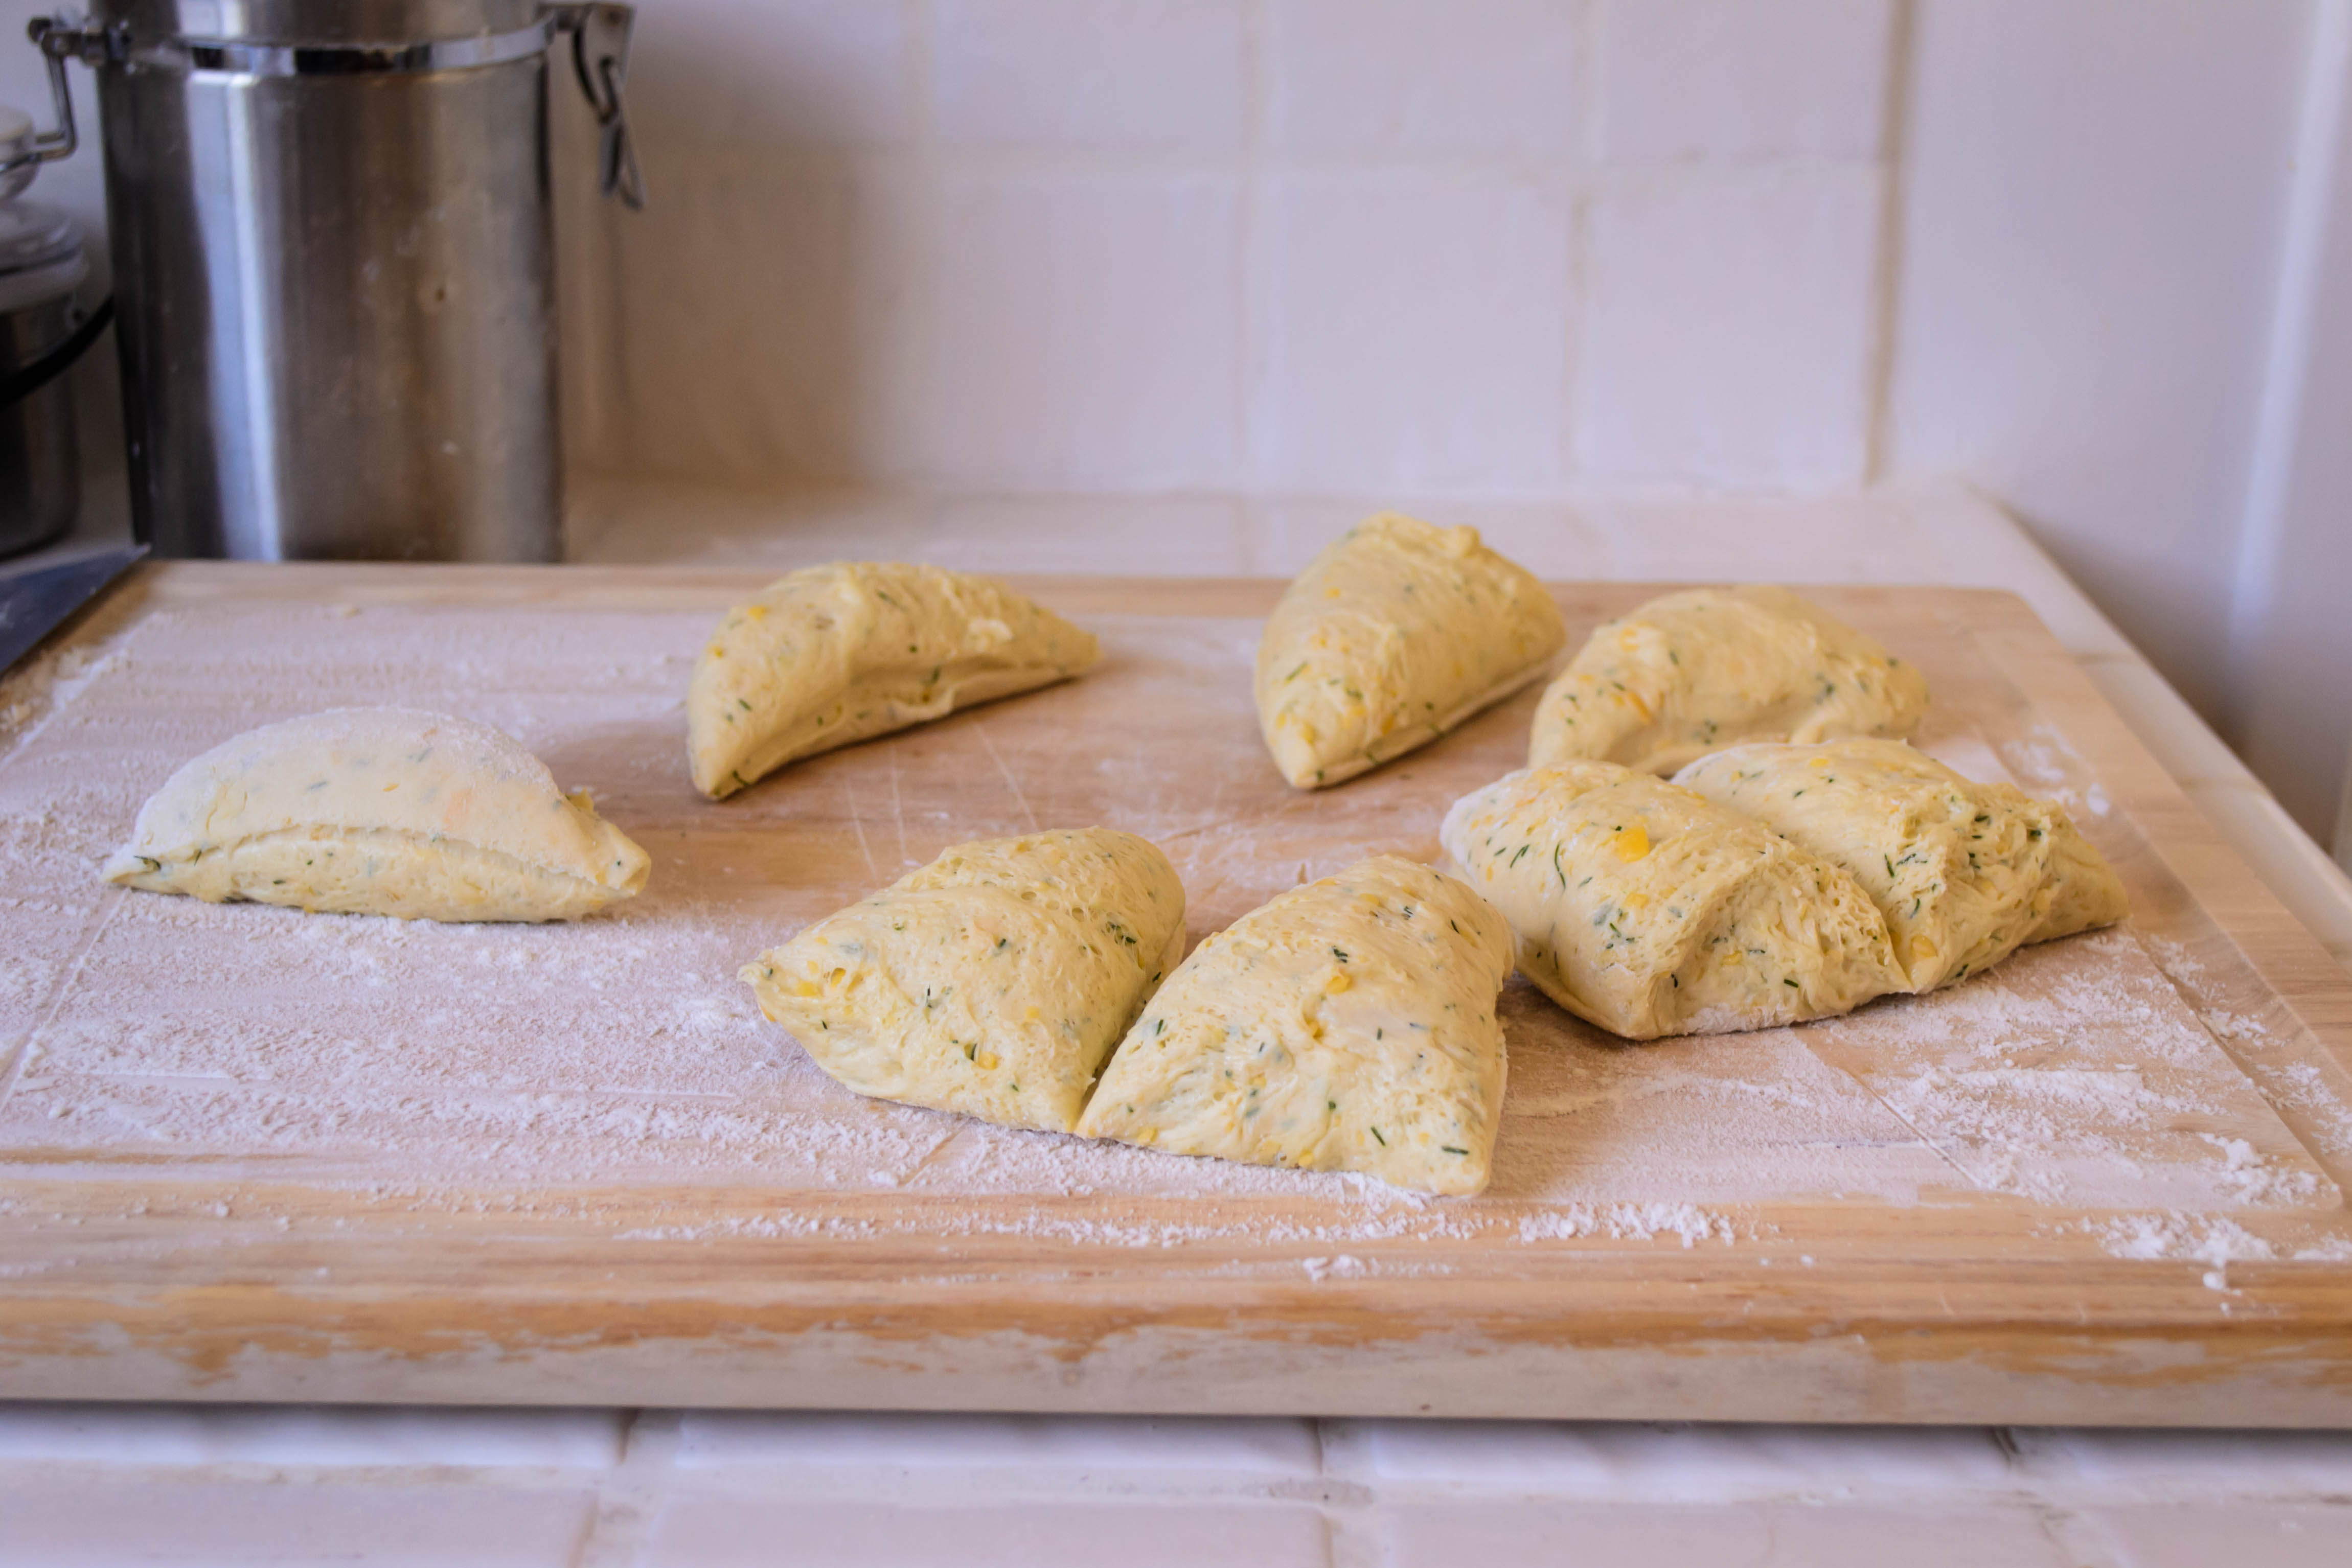
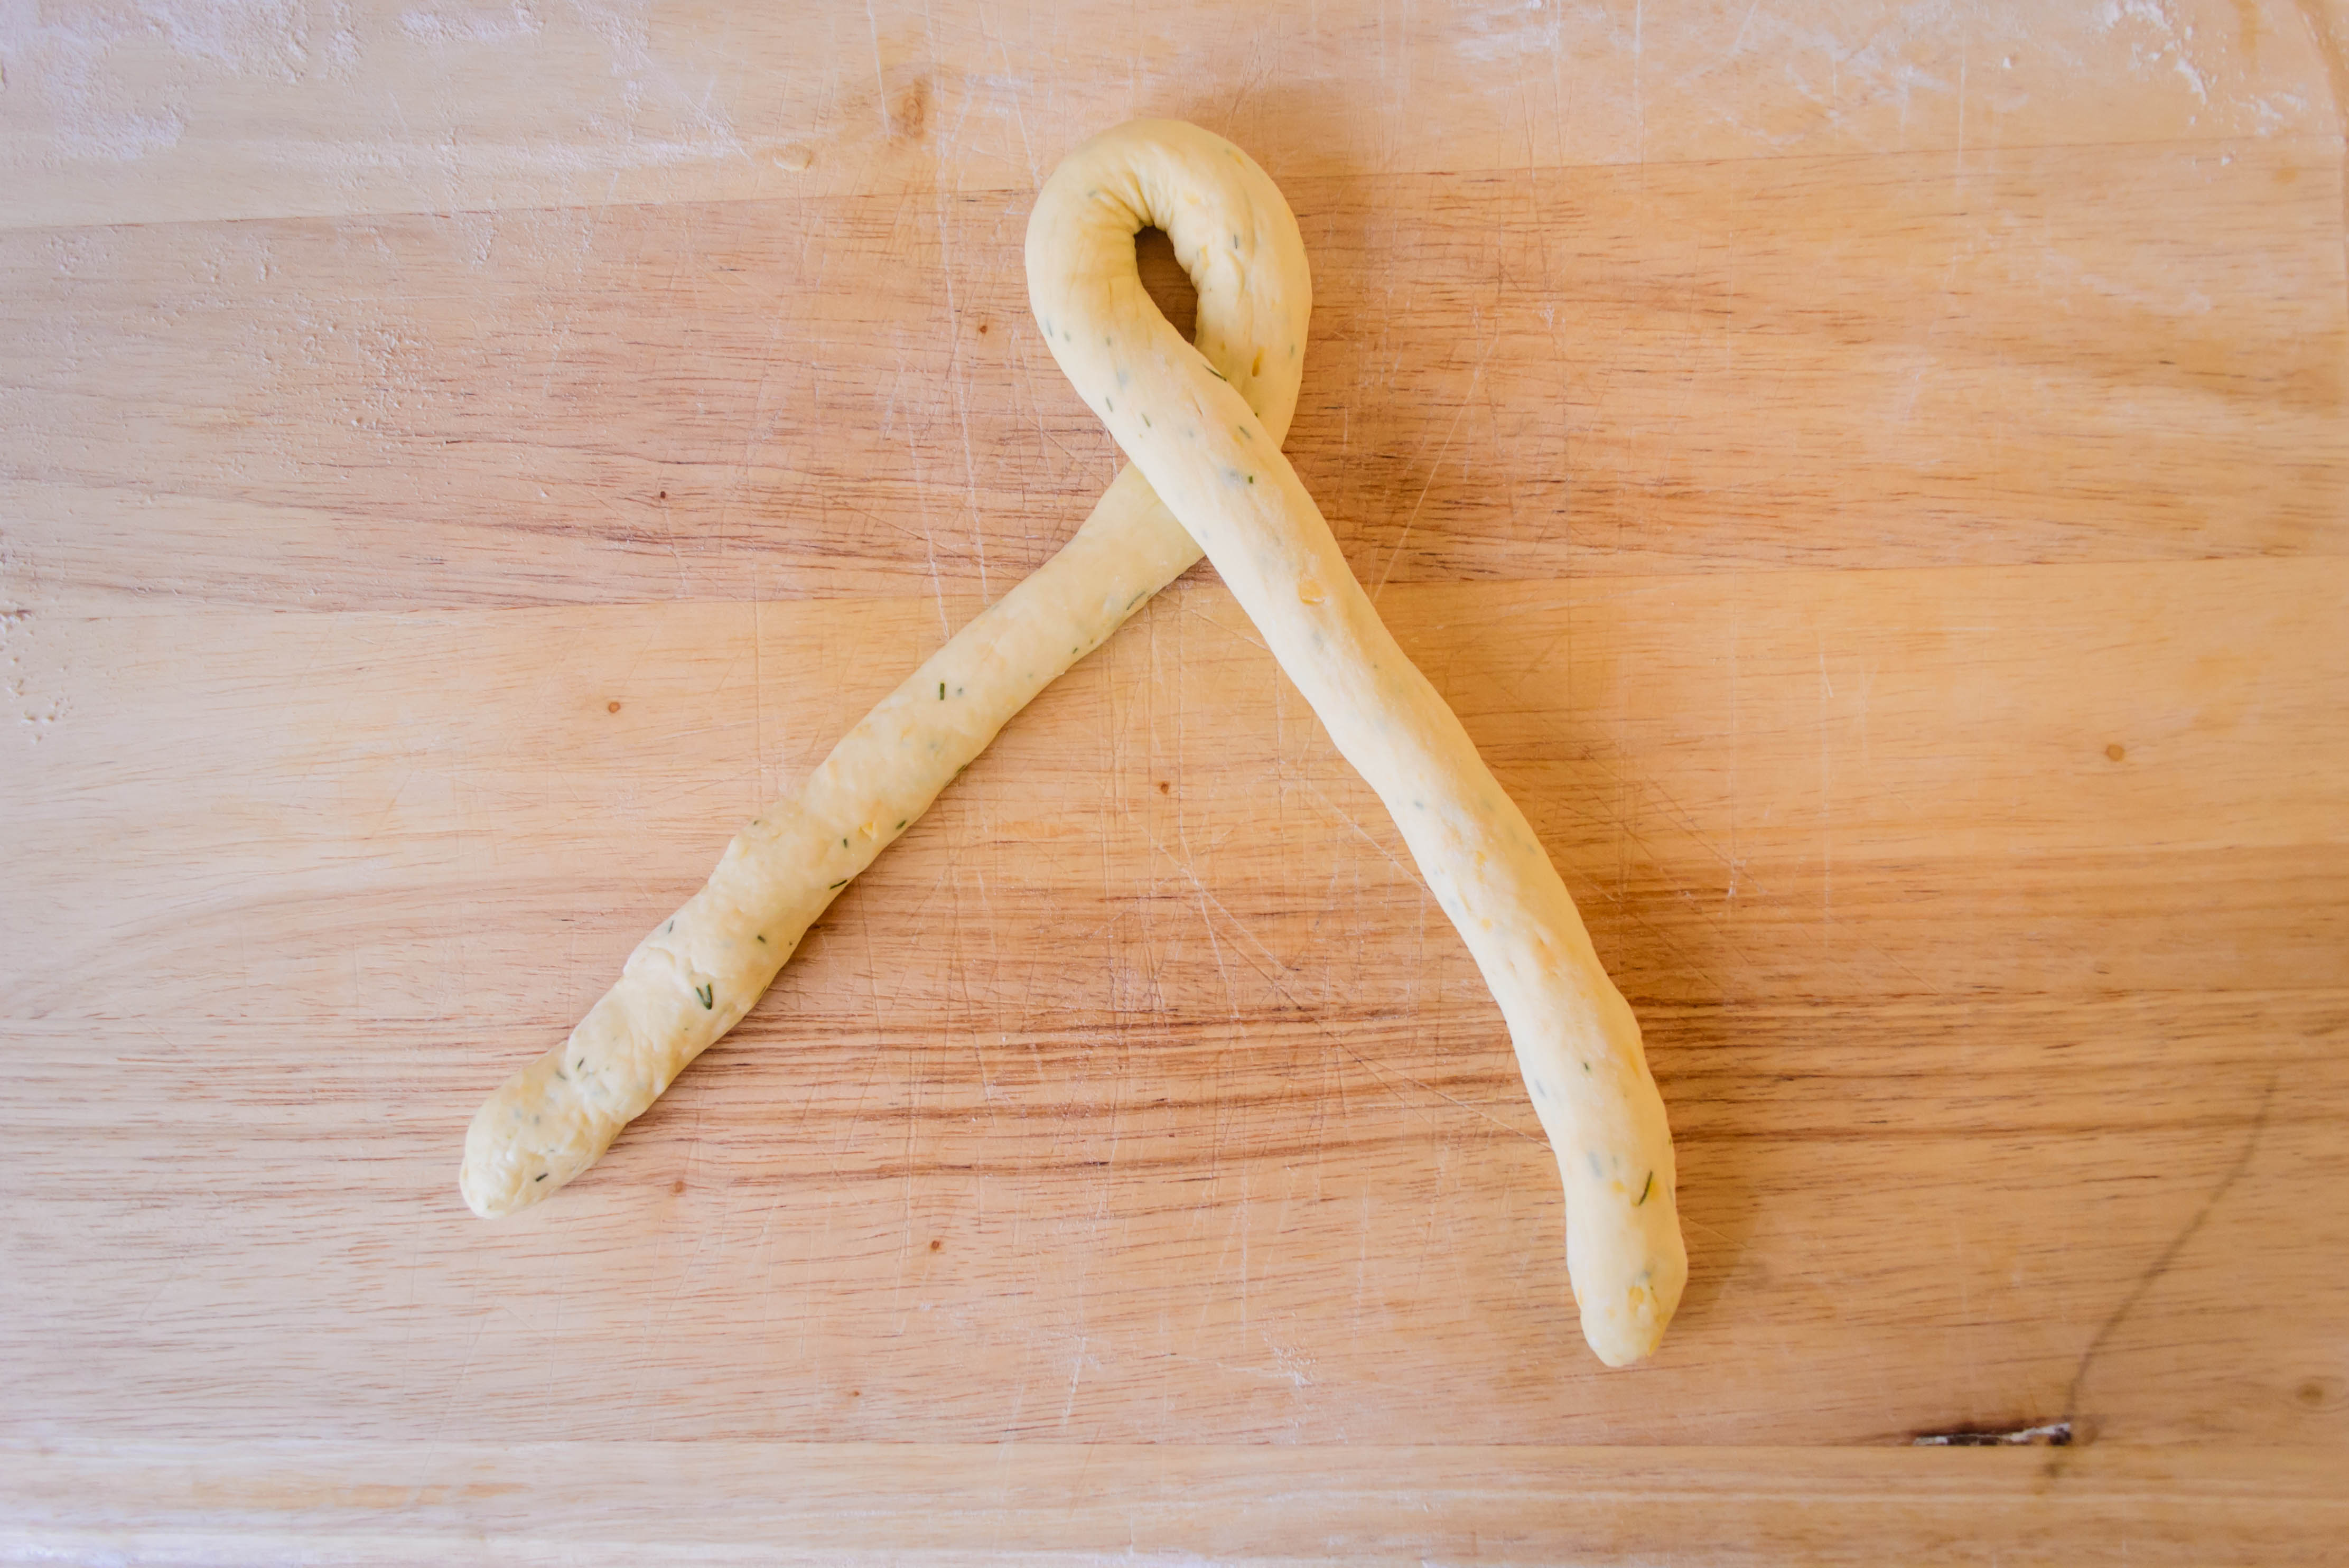
 With all of these options to work with, I was surprised by how quickly I landed on a choice. I’ve been playing around with a pairing of dill and cheddar, and this seemed like the perfect opportunity to showcase it. Dill goes really well with yogurt, so for a different source of fat and moisture, I decided to use some thick, tangy Greek yogurt instead of butter in my dough. The tartness of the yogurt would be nice with the rich sharpness of the cheddar. And since I like to be fancy, I decided to make little twists, rather than a standard loaf.


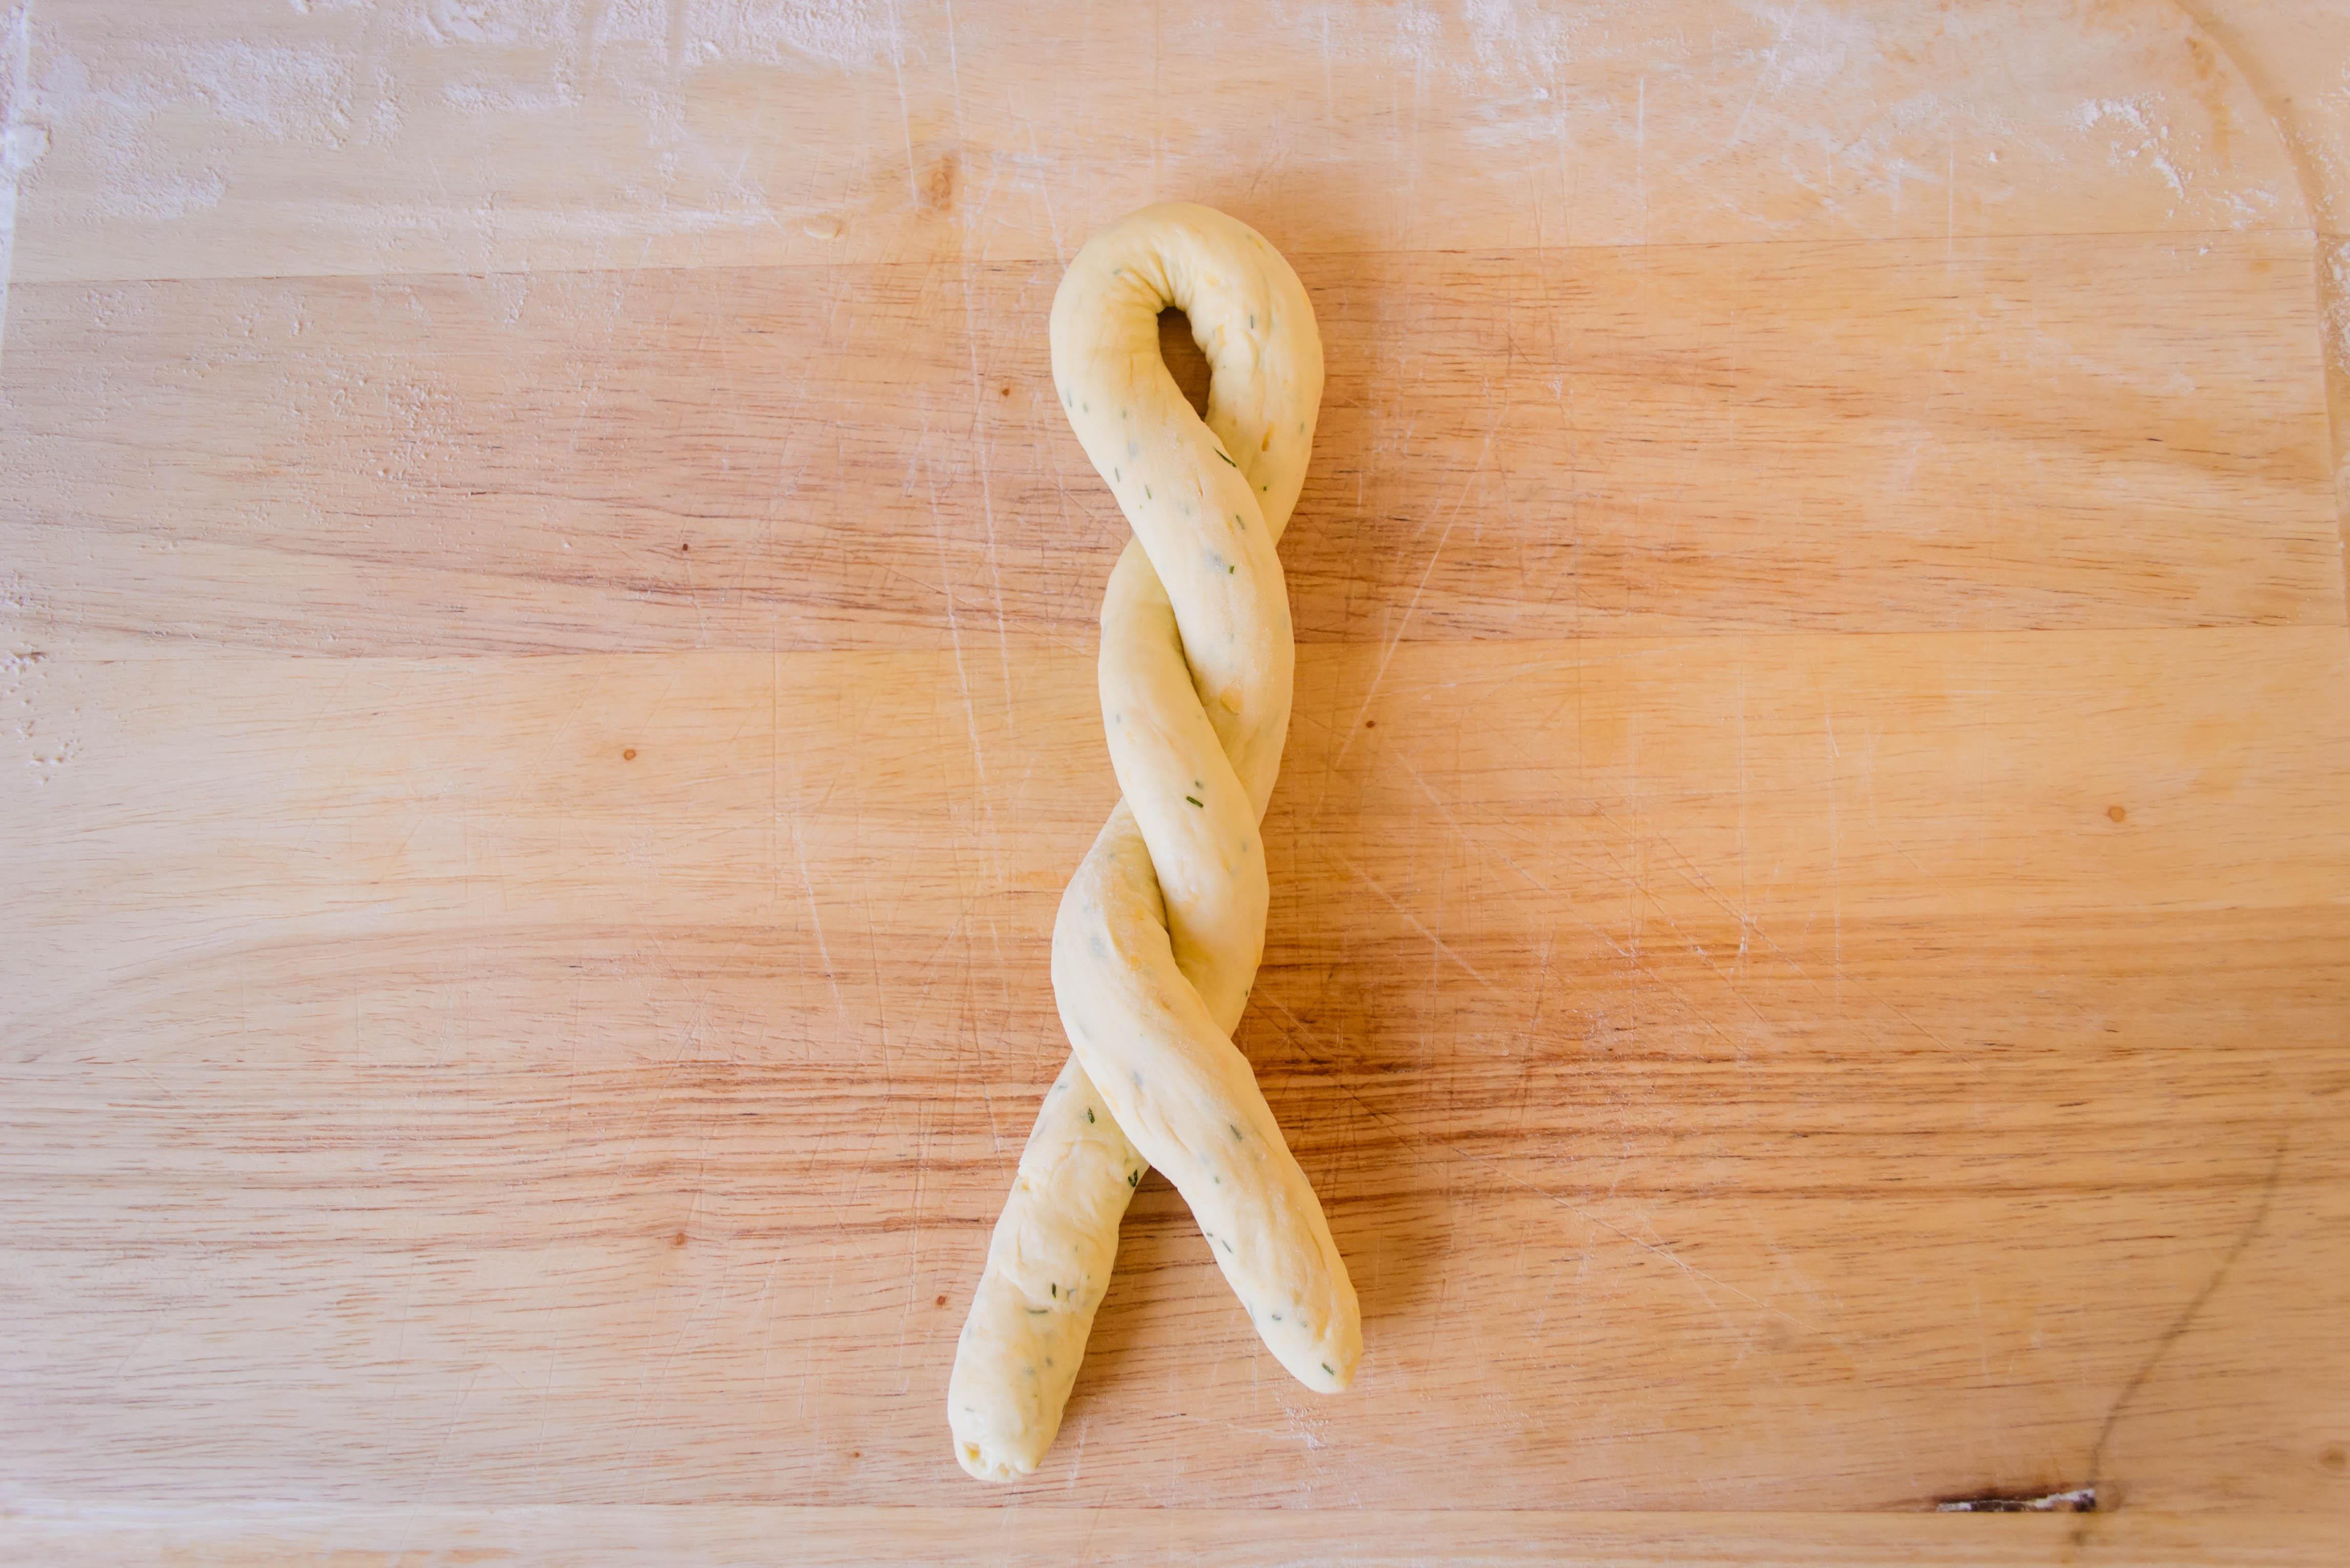
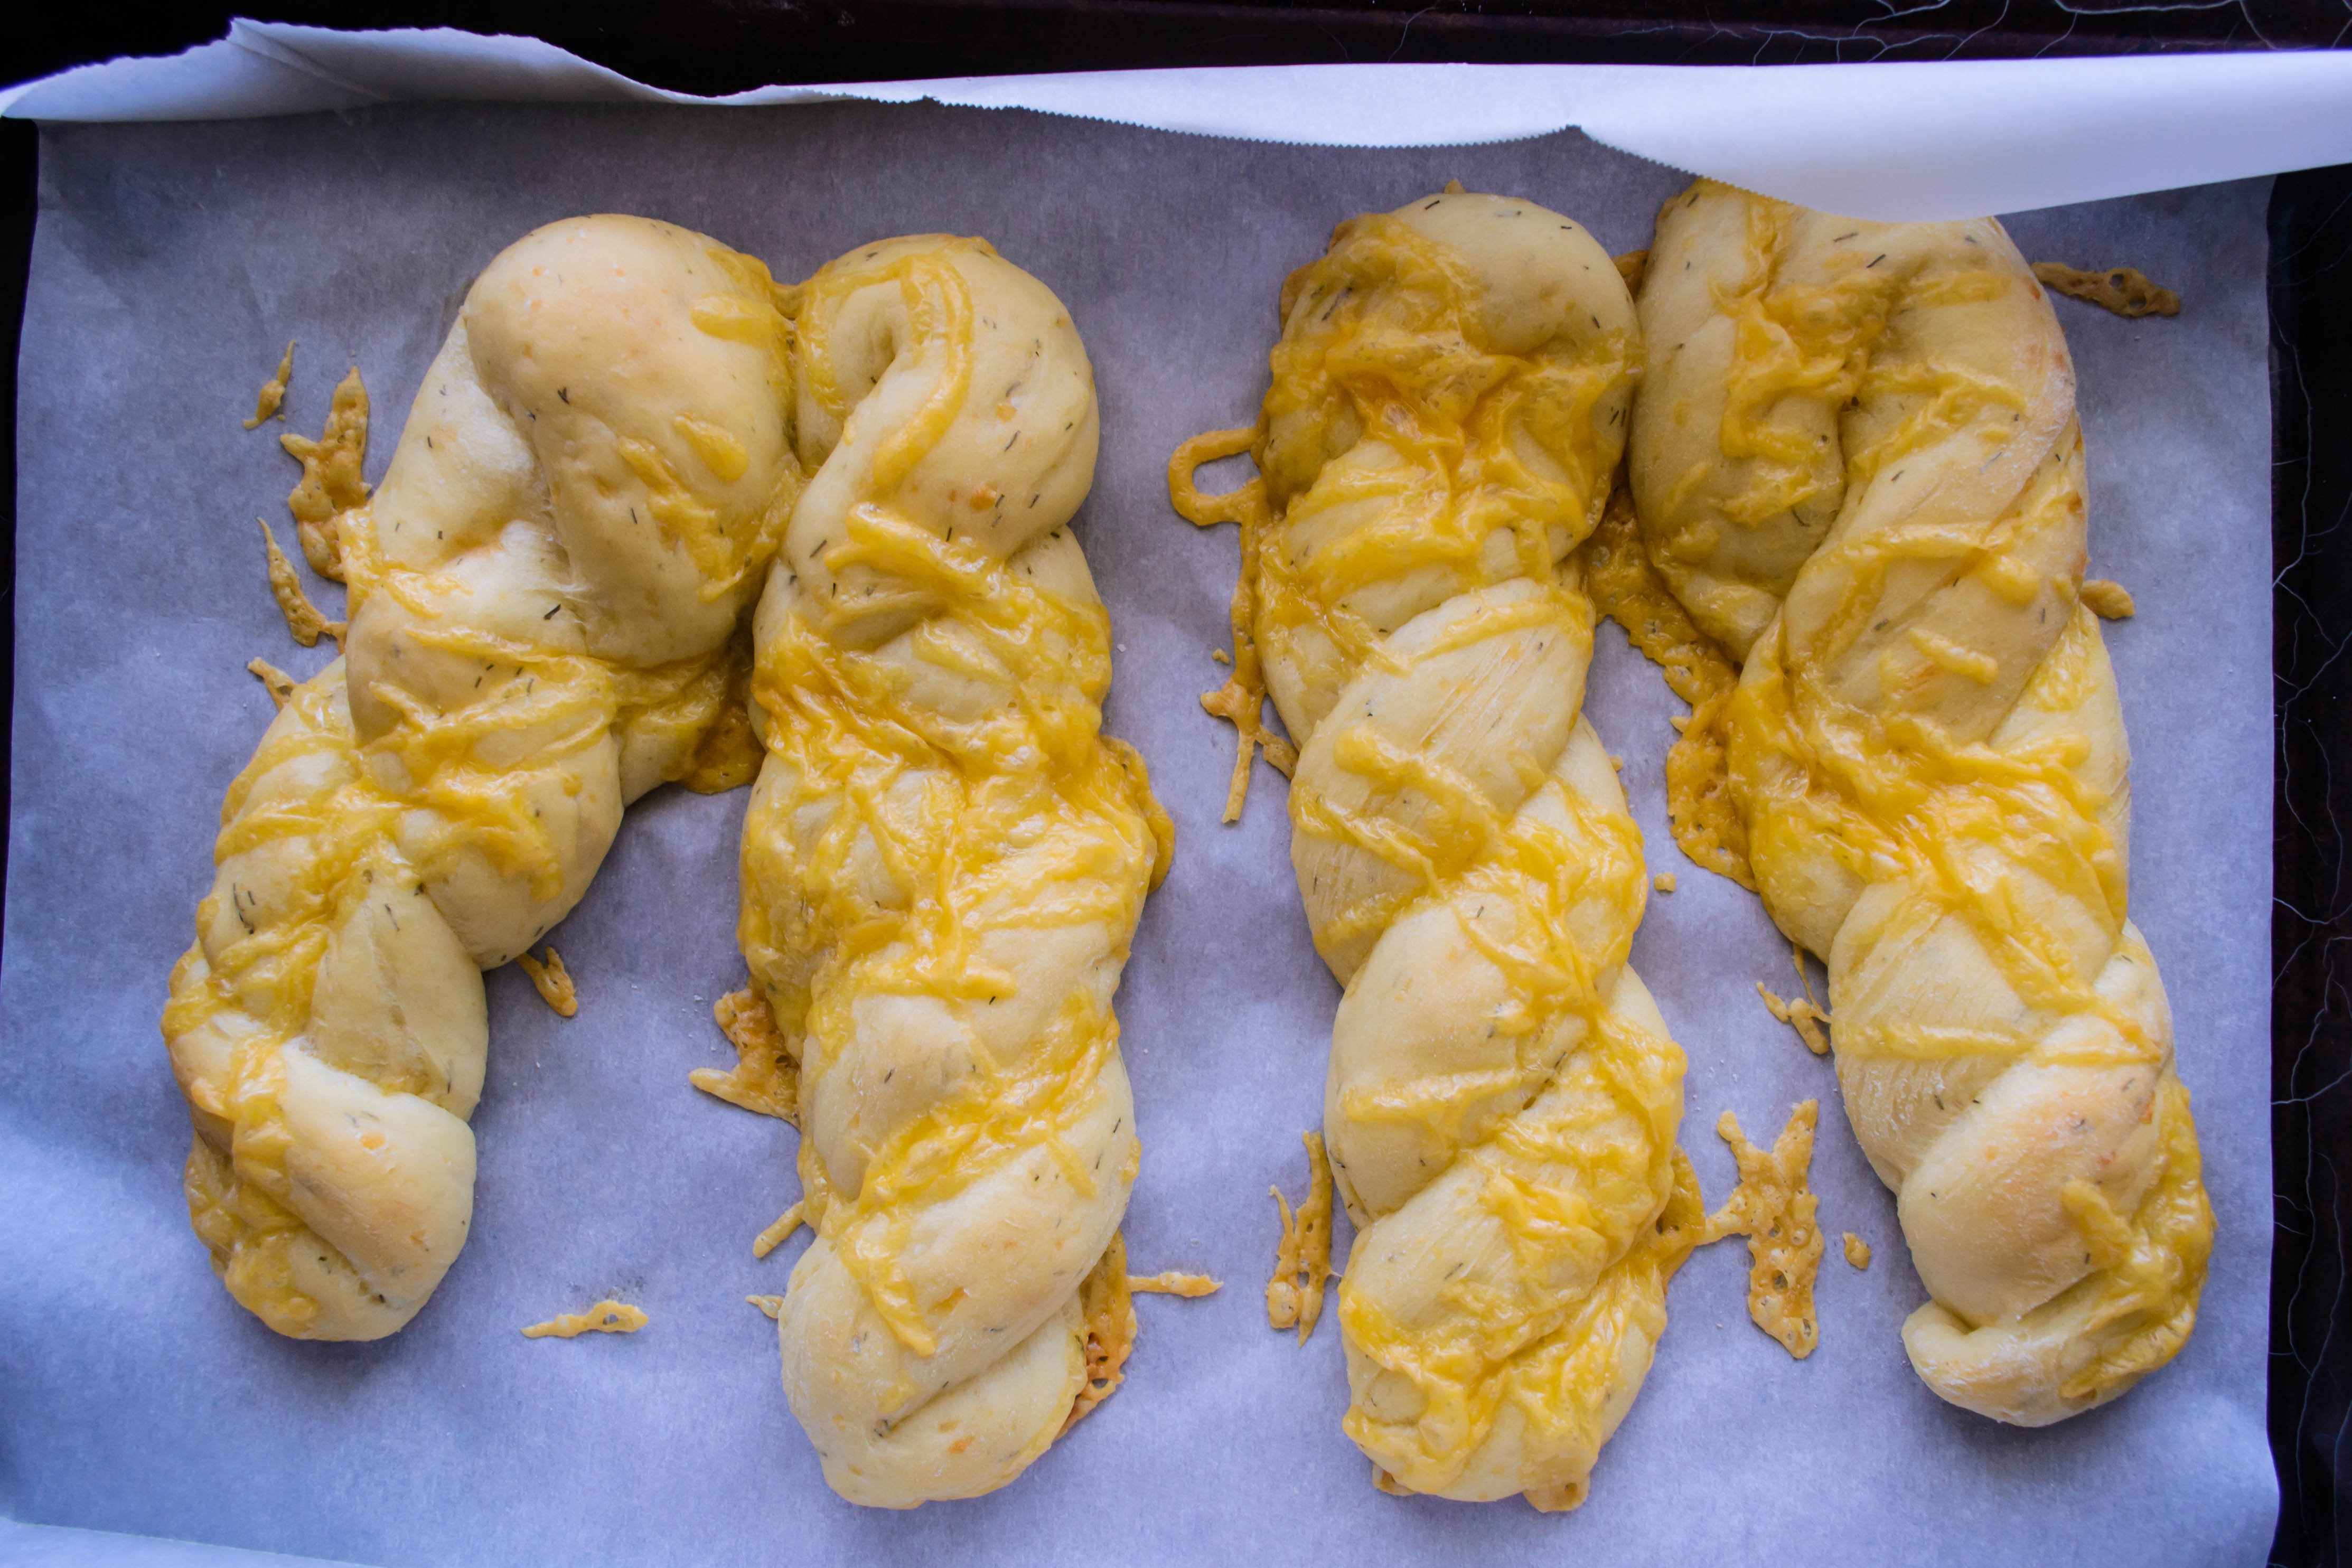
 Guys, these are definitely the right thing to do. The dill-cheddar-yogurt trio is a chamber group on a good night. They bounce off each other in such a lovely way. But it can’t be denied that the star here is the cheese. It melts into little orange pockets while the dough turns into bread, and the smell of it while cooking makes a better homecoming than much else I can think of. I made one tray of twists with cheese sprinkled on top and one without, just to see which was better. As you might expect, more cheese won the day. It drips over the edges into crisp little crackered pieces you can snap off and crunch through before you dive into the main event.

 I had the idea that these would make fantastic extra-large tea sandwiches: halve them into long pieces, toast lightly, slather with cream cheese, then layer with long strips of cucumber. Cheese on cheese is rarely a bad thing, and the cucumber would nod to the dill and provide a crisp freshness and a lightness for the perfect spring lunch. Alas, when I reached into the fridge drawer jammed with vegetables, not cheese, my cucumbers were past their prime. So I had to settle for cream cheese alone, with a side of Caesar salad. I can’t say I ended up disappointed.
 Serving suggestion: these are perfect all on their own straight out of the oven. But they do make a nice, roll-sized vehicle for anything sausage shaped, and I can’t see many people objecting to using this as the base for a good solid cheesesteak sandwich. If you really wanted to get decadent, the twists could be split lengthwise, spread with a garlic butter, and broiled into a dreamy take on garlic bread.
To capitalize on the tea sandwiches idea, you could make them even smaller, dividing into 16 or even 24 pieces, and creating miniature twists to serve as part of an appetizer spread with the requisite cream cheese and cucumber filling. I haven’t tested this smaller size so I can’t be sure how much to reduce the baking time – start with 12 minutes and go from there.


#TwelveLoaves is a monthly bread baking party created by Lora from Cake Duchess and runs smoothly with the help of Heather of girlichef, and the rest of our fabulous bakers.
Our host this month is Robin from A Shaggy Dough Story, and our theme is CHEESE. For more bread recipes, visit the #TwelveLoaves Pinterest board, or check out last month’s mouthwatering selection of #TwelveLoaves enter last month’s Italian Breads!
If you’d like to bake along with us this month, share your CHEESE bread using hashtag #TwelveLoaves!
As the culminating entry in this sauce project, where else could we end up but drowning in butter? I realize it’s after Christmas, which means you might balk at this, but it’s not January just yet, which I think means it’s safe to endure one more indulgence before we resign ourselves to a month or three of crisp winter salads, pickled vegetables, and herb soups (actually, all of that sounds pretty good… maybe I’m just hungry).
 But before we get to all that, reflections are in order. As the Parson in Geoffrey Chaucer’s Canterbury Tales promises in introducing his sermon, it is time to “knit up all this feast and make an end.” This is a meal of endings. The month is almost over, and the year is fast on its way out after that. Even my camera battery decided to go with the theme, running out of juice mere moments after I snapped the top photo.
 I chose sauce as the subject for this year’s project because I knew only basics about it. It struck me as mysterious – puddled round or gently but surely emulsified over various restaurant and food-TV displayed dishes, deeply flavored and succulent, providing a link between the otherwise fractured components on the plate. I was acquainted with some – the kind of softly thickened, creamy concoctions resulting from a roux – but terrified of others – hollandaise and mayonnaise and this final entry, béarnaise, seemed outside the arsenal of an ordinary home kitchen. Why else would eggs benedict always cost so much on a brunch menu? Yet they weren’t as frightening as I’d expected. In fact, despite being prepared to make multiple versions of each and frantically fix broken or greasy sauces, I had little trouble. And as I wound my way through the project, some lessons became clear:
1.) Butter is king. Though there are some recipes that rely on simple reduction as their method for producing thick, glossy pours, most require fat to add shine and to help emulsify, and because so many of these classic sauces are French in origin, there is no other fat even under consideration besides butter. It makes sense, too. Bringing a sauce together frequently requires emulsification, which means suspending together insoluble droplets together to thicken the liquid. Whole butter is a combination of fat and water, which means as it sits there all innocent and golden in that paper-wrapped stick, it is already an emulsion all on its own. If you’re going to work with sauces, be prepared to go through a lot of butter. Just remember you’re usually making enough sauce for a crowd, so it’s not quite like you’re chowing down on that whole stick all by yourself…
 2.) There are three main methods of thickening: eggs, flour or starch, or reducing. The eggs help thicken the sauce because they cook, transforming from a viscous goop into supernatural, temperamental velvet. The flour and starch work by expanding as they heat in the liquid you whisk them fervently into – they swell and absorb and, if you’re assiduous in your stirring, result in an evenly thickened mixture, not a soup full of doughy clumps. Saving these, however, the simplest method of thickening is reducing. Since in most cases a sauce is a pot of liquid suspended over heat, enough simmering is going to result in loss of water, and the more water evaporates from the pot, the less there is left in the sauce. Evaporation, though, takes time, which leads me to lesson three.
3.) Don’t rush. While these sauces are not particularly difficult to make, they do take time. Bringing a pot full of liquid even to a light simmer takes a while, and if you want a thick, glossy reduction in less than five minutes, you’re going to be disappointed. Much of the rich savoriness achieved by something like a veloute or a barbecue sauce comes from simmering away the water in your mixture to concentrate the flavors. As for the egg-based incarnations, mayonnaise just doesn’t come together in an instant. Be prepared for the long haul before you can spread it on that sandwich.
 4.) Get ready to stir. While we’re considering the long haul, it’s not enough to just throw a pot of sauce on the stove and walk away for a while. In almost every case, a successful sauce is the result of determined and consistent whisking for long minutes at a time. Eggs scramble, flour lumps, and milk curdles if left unattended. Since the objective of sauce is a smooth texture, be prepared for the stirring this requires. Relatedly, this also means having your ingredients pretty much prepped before starting the process – there’s just not time to finely mince a shallot at the same time you’re vigorously stirring a pot of slowly expanding egg yolks.
5.) Carnivore-friendly. Vinaigrettes and dessert offerings excepted, most of these sauces to seem to be intended for consumption with flesh of some sort, whether that be fowl, fish, or four-footed. Some are based around meat broths or stocks, while others just classically pair with specific cuts. This month’s offering, for example, is a classic steak-house luxury. I suppose this is reflective of an era in which meat is the focal point of a meal. But we found that, far from a necessity, many of these sauces are just as enjoyable puddled over a pile of lightly steamed vegetables or roasty starches. Because really, a thick emulsion of butter and egg yolks should be poured over almost anything, as far as I’m concerned.
So let’s get to that whole butter and egg yolks thing, shall we? As sauces go, béarnaise is not so different from last month’s beurre blanc. In fact, as restaurant legend goes, beurre blanc was an accident, created by a chef who was intending to make béarnaise, but forgot to add the egg yolks. That tells you much of what you need to know about this fluffy, decadent concoction. Reduced wine and vinegar, some aromatics, egg yolks tenderly and assiduously whisked like a hollandaise, and then an embarrassing amount of melted butter carefully dribbled in. It emulsifies into a pale, almost foamy lemon-colored sauce that is a bit strong on its own, but utterly lovely enrobing everything from red meat to barely blanched green beans.
 I wasn’t sure I would love béarnaise sauce at first, because in order to be a classic béarnaise, it has to be flavored with a hefty note of tarragon, an herb with lush, pointed leaves redolent of that most repulsive of flavors: black licorice. The anise-y taste it imparts in its dried form exiles it from my spice cabinet, and I was worried that stirring a whopping three tablespoons of it into my sauce would render it inedible. Surprisingly though, despite the strong aroma, the final flavor is delicate and inoffensive. It’s noticeable, yes, but in the final product it’s just an herby freshness not so different from basil.
Because this was sort of an occasion, being the final sauce and all that, we decided to make it celebratory and eat béarnaise with its classic pairing. In addition to the crisp-tender green beans and smashed potatoes, we inhaled thick slices of seared chateaubriand, a thick cut from the tenderloin similar to filet mignon. Over this, the béarnaise dribbles and foams and mixes, and the richness is decadent and heroic, and we didn’t lay our forks down until every molecule of food was gone from those plates.
I hope you are enjoying the holiday season. Project Sauce may be over, but with New Year’s Eve just around the corner, there is one more sort of sauce I think you should consider. And in this case, you don’t even have to make it. You just have to hit it. And then let someone else take you home and tuck you in. Happy New Year, friends. I can’t wait to tell you about the project for 2015.
 A few months ago, my sister and her boyfriend engaged in a Whole 30 food challenge to help them feel healthier and more in control of their diets before the holiday season. As part of the challenge, and to silence naysayers convinced this would mean a barrage of boring, bland food, my sister took photos of almost every meal they ate. Some of these looked so good I was ready to hop on the bandwagon myself (though, as she admitted, going without cheese for that long was a hardship. First world problems, I know).
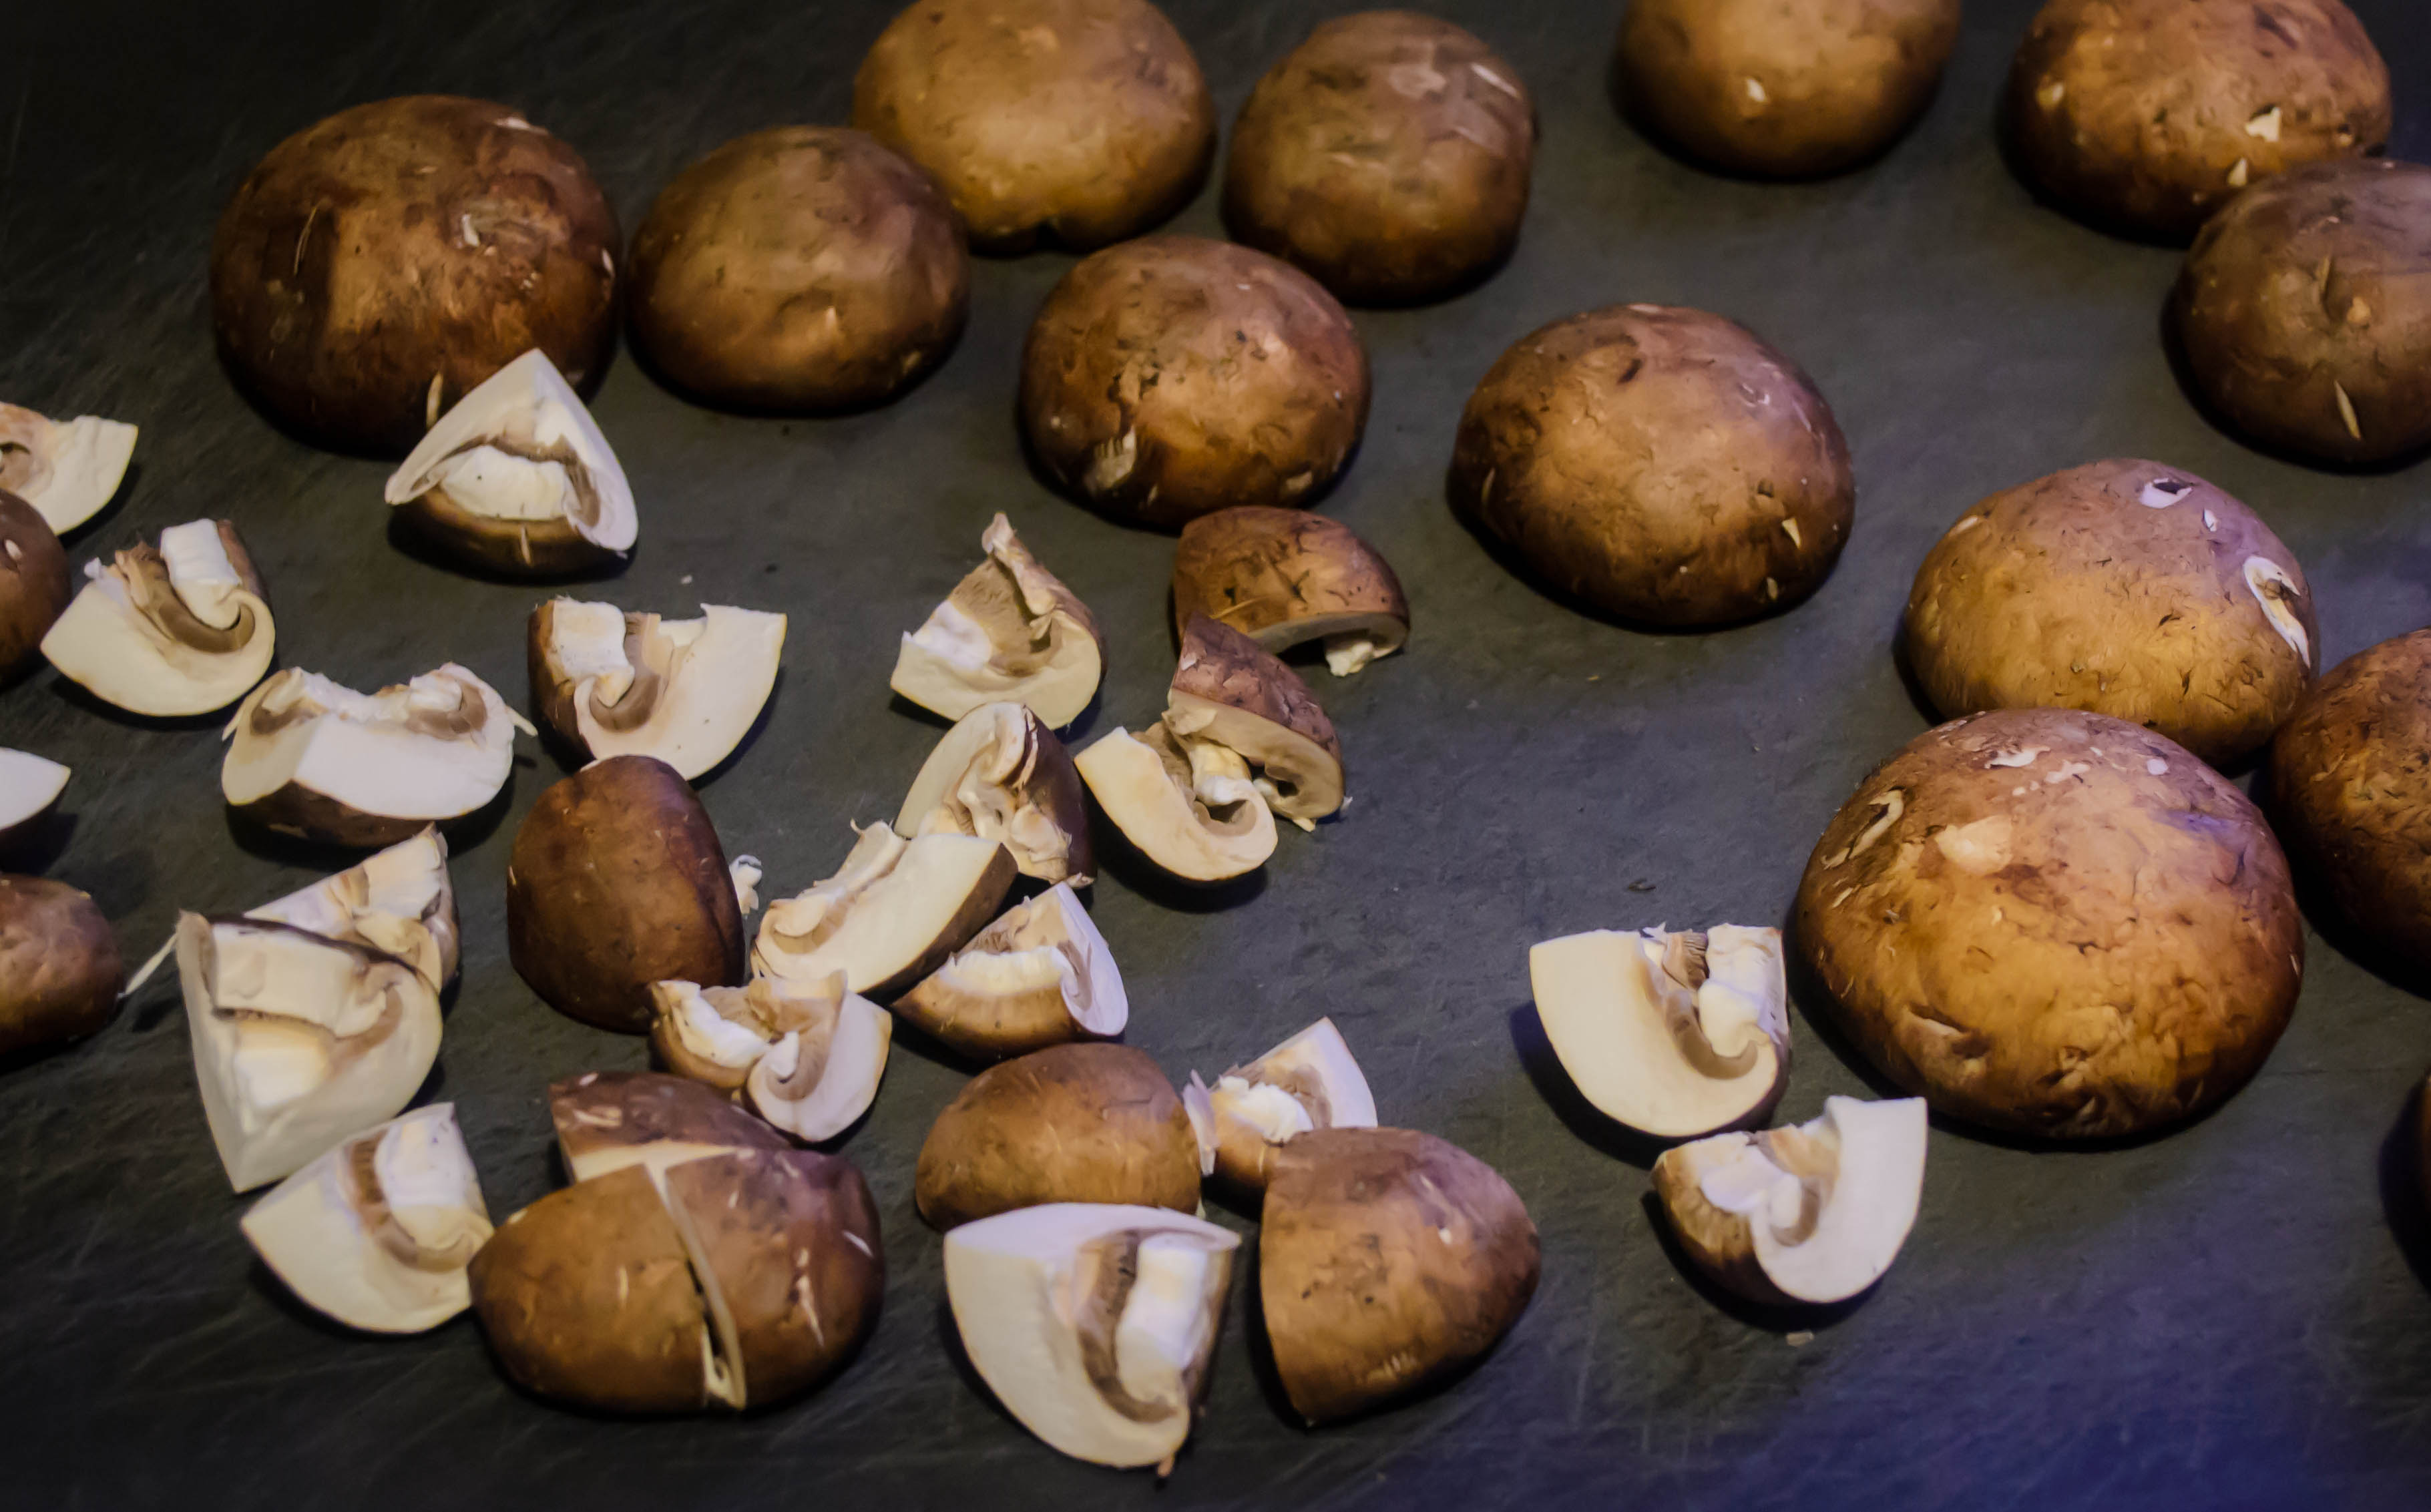 One dish in particular caught and held my imagination. R. called it “hazelnutted mushrooms.” The combination of two much beloved, earthy, woodsy ingredients made me think of Oregon and long for its damp autumnal glory as Los Angeles cycled through week after week of 80 degree days.
 As the idea simmered in my mind, I kept thinking of other ingredients that would pair well with hazelnuts and mushrooms. Sage, certainly, with its dusty sharpness. Whiskey, to deglaze with that sear of burning honey. Maybe even chestnuts, with their curious texture and meaty sweetness.
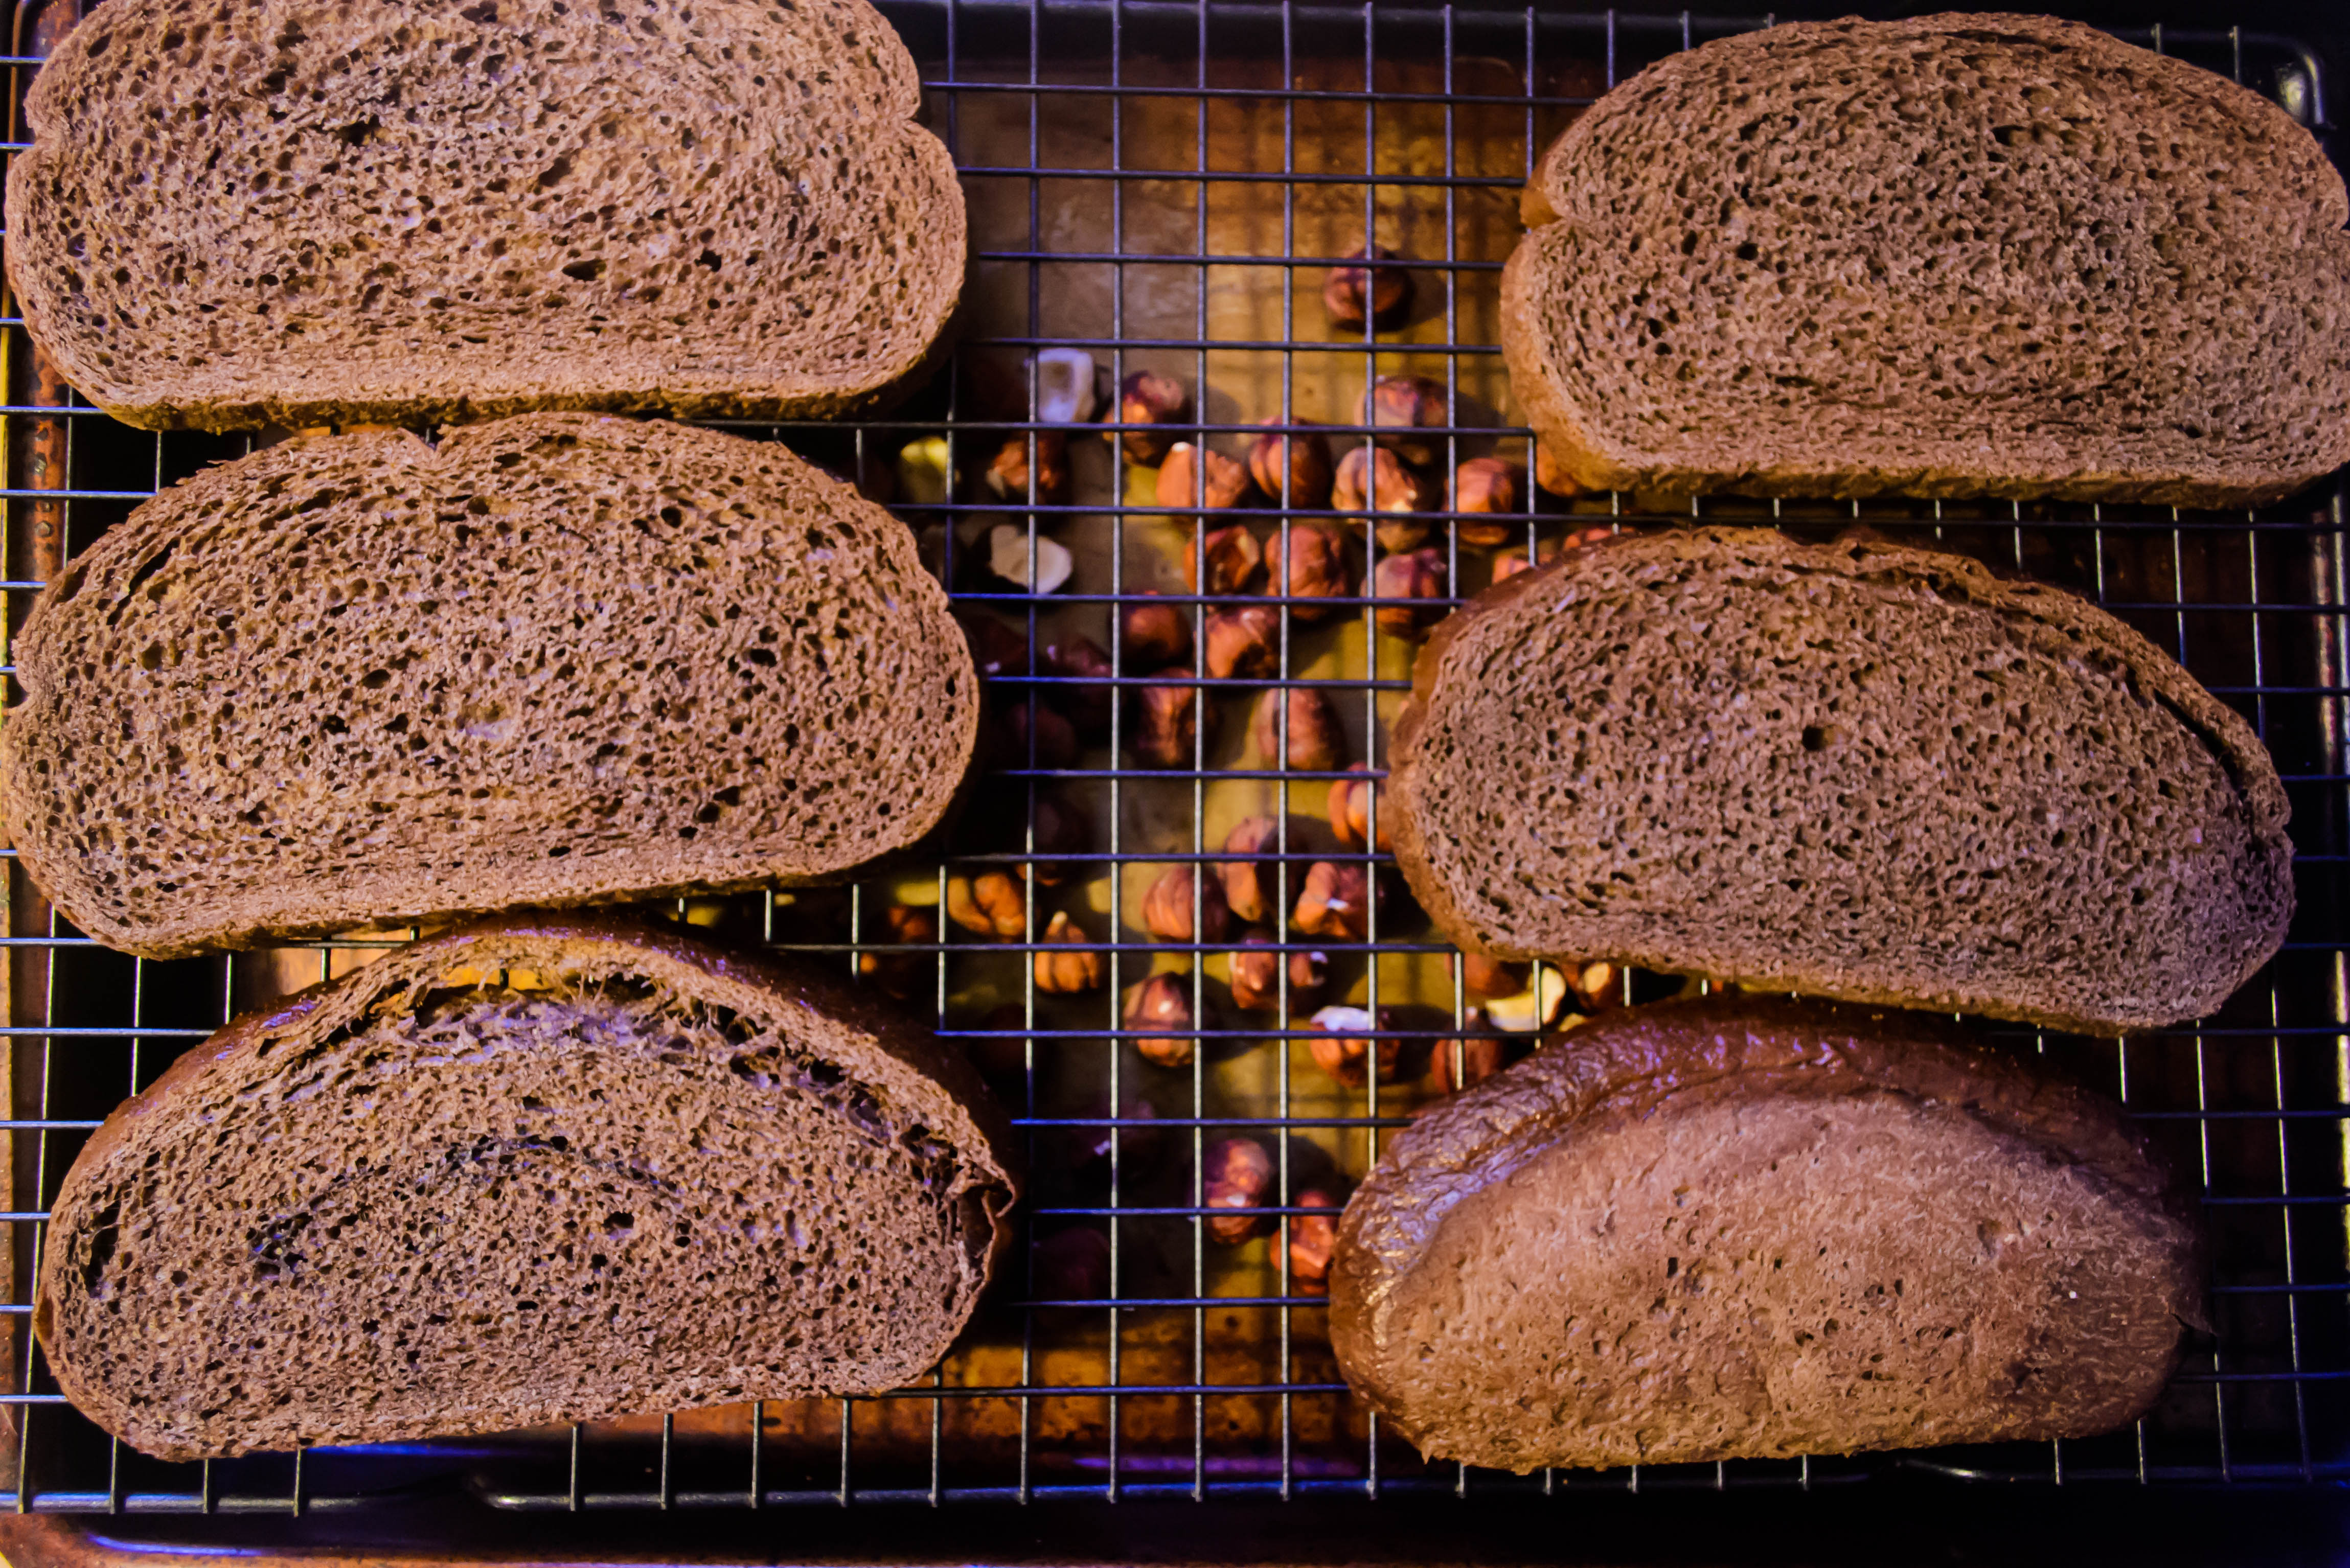
 Once chestnuts entered the picture, there was no doubt this was destined to become a stuffing. With half a loaf of dark pumpernickel rye bread in the fridge longing for an application, I took action. Butter, onions, celery, deeply caramelized mushrooms, and the crunch and odd sweetness of chestnuts bolstering the broth-moistened bread and toasted hazelnut bits. The whiskey adds just a gentle flavor and a great smell to the stuffing that backs up the flavor of the chestnuts and somehow makes them make more sense as an ingredient – I wouldn’t do without it, but you can if you wish.
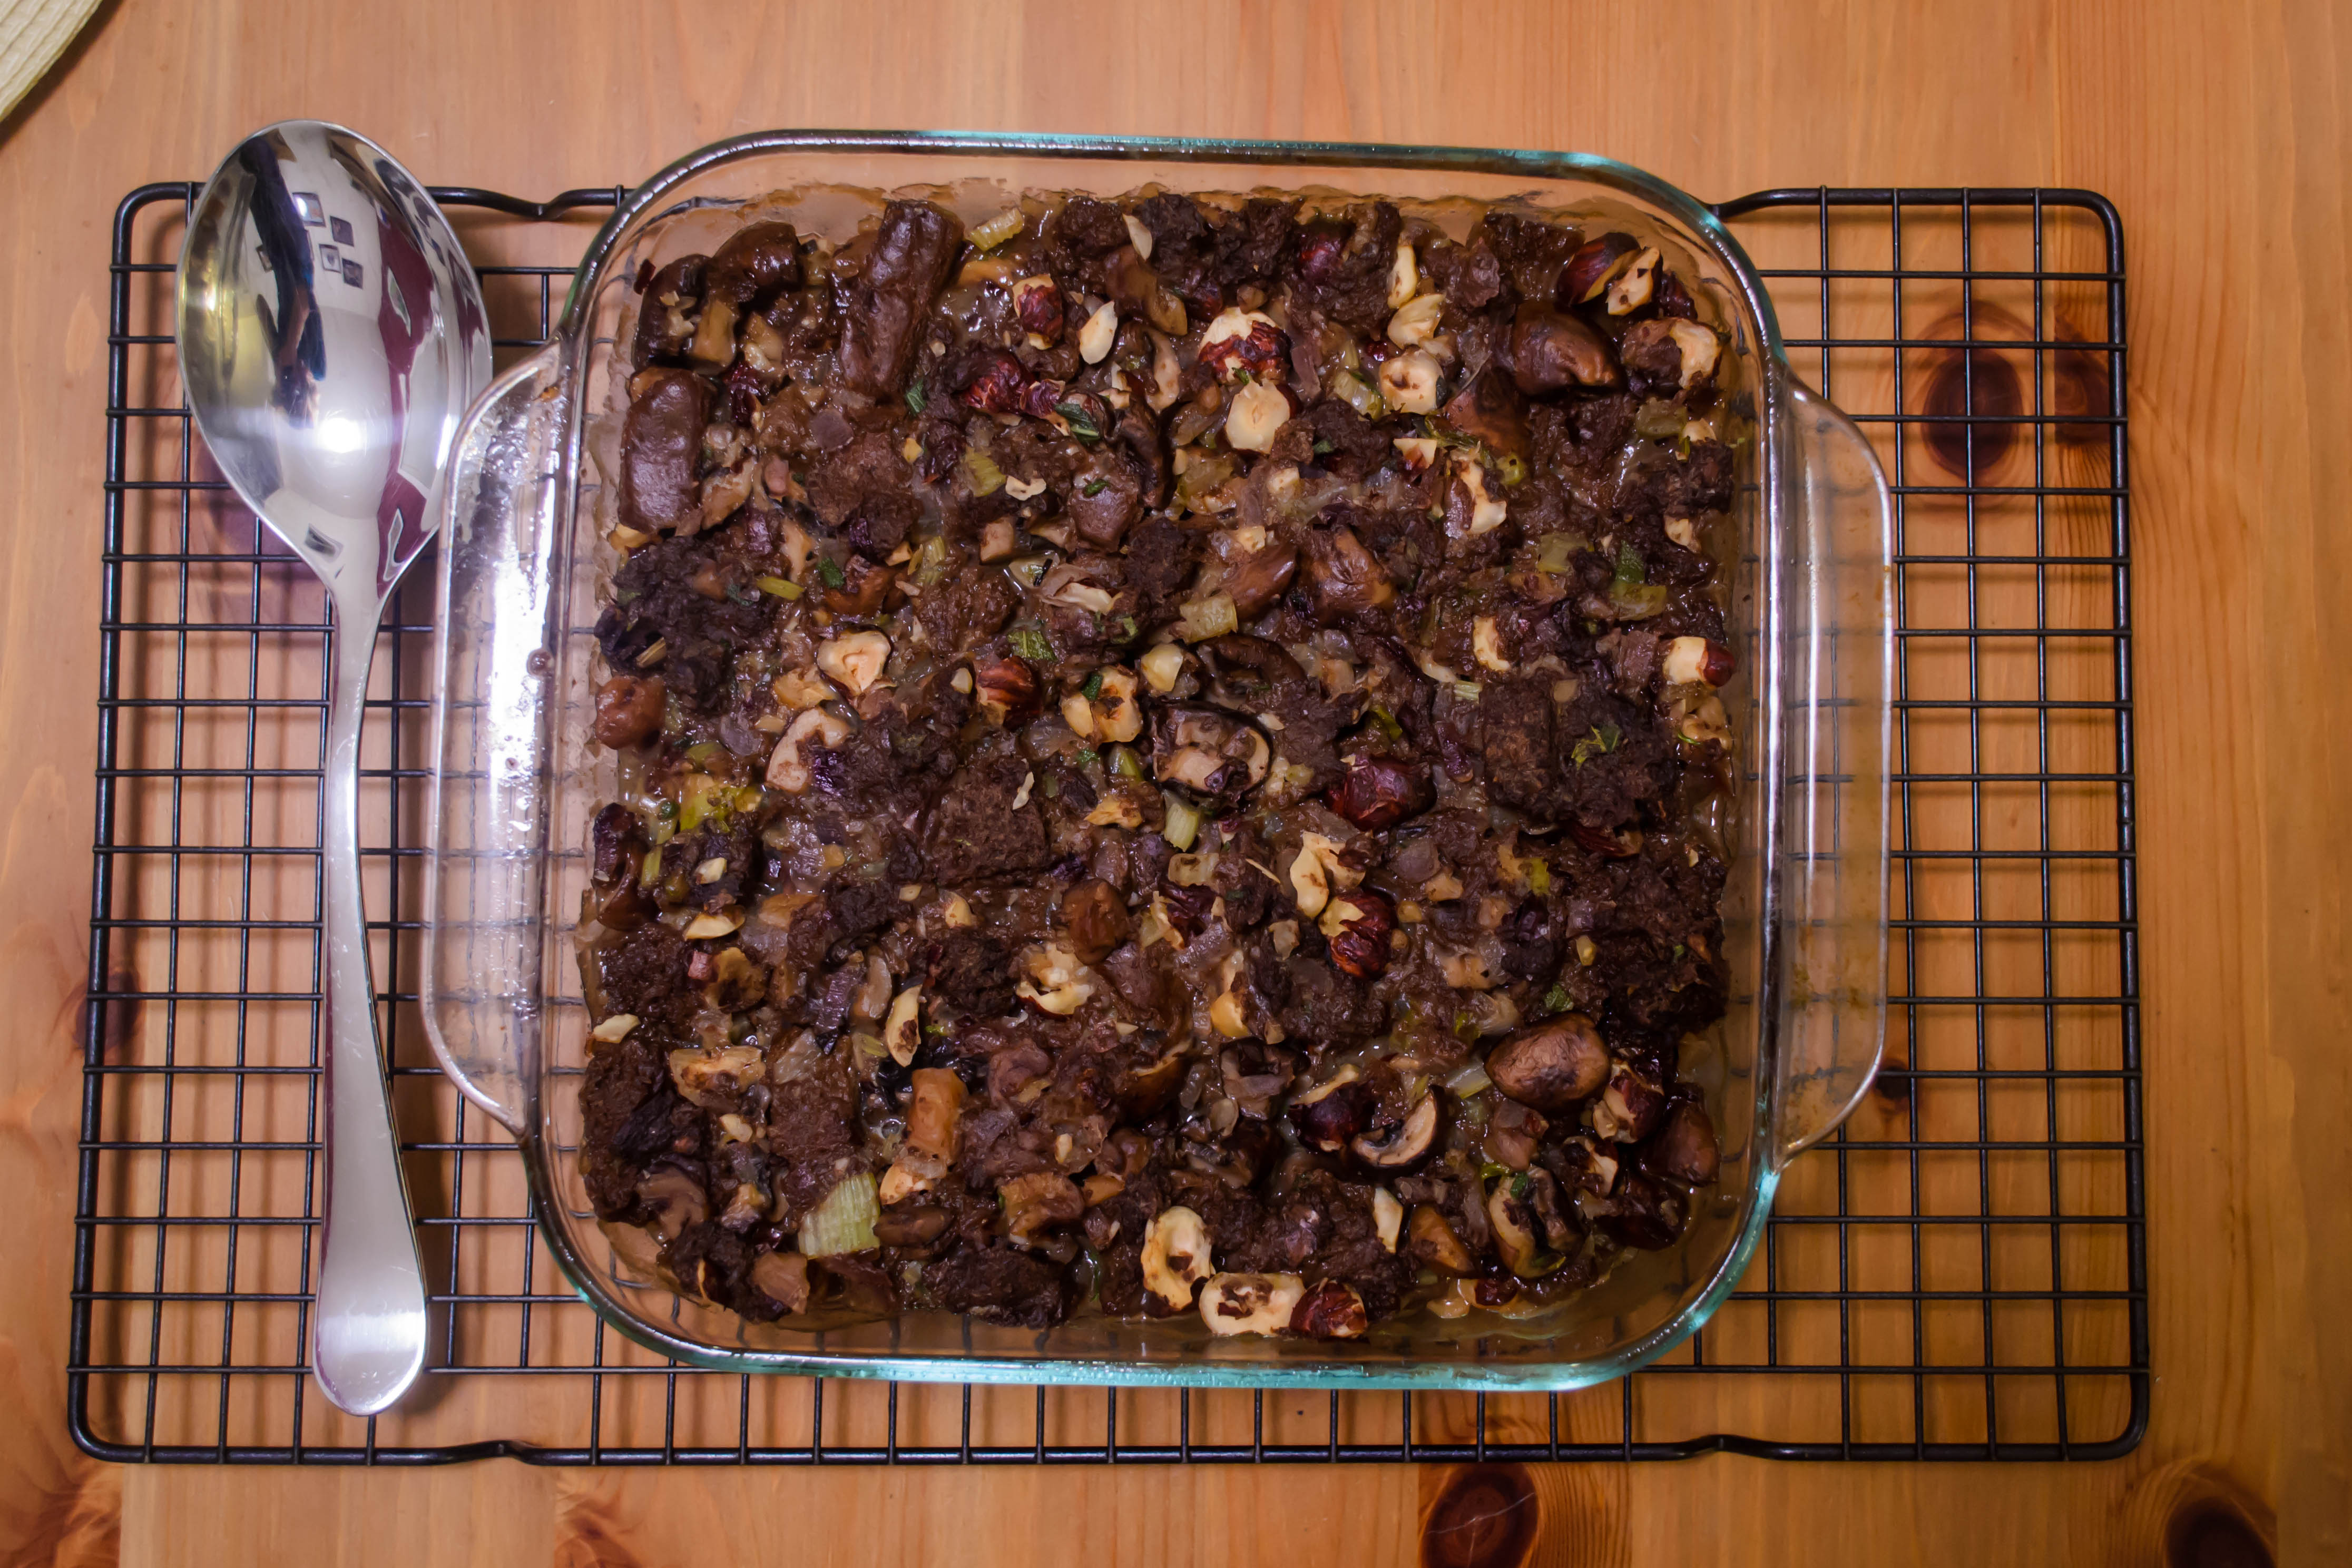 You’ve likely noticed there are fewer photos here than usual – it turns out that though “brown food tastes goooood” as Anne Burrell is apt to note in her throaty growl, it doesn’t always produce the most flattering or interesting photograph. Regardless, this brown food is indeed good, and deserves your attention. Though we weren’t willing to put this on the Thanksgiving menu (we are
 boring sticklers, and this big a shift in the sides might cause turmoil), it has considerable promise as a winter companion to roasted meats at other cold-weather holidays, especially if you tend to go with pork or beef. I think stuffed pork chops would be a particularly nice application. We kept it simple, though, and went (almost) vegetarian, pairing moist, heaping spoonfuls with mashed sweet potatoes and salty, crispy roasted brussels sprouts.
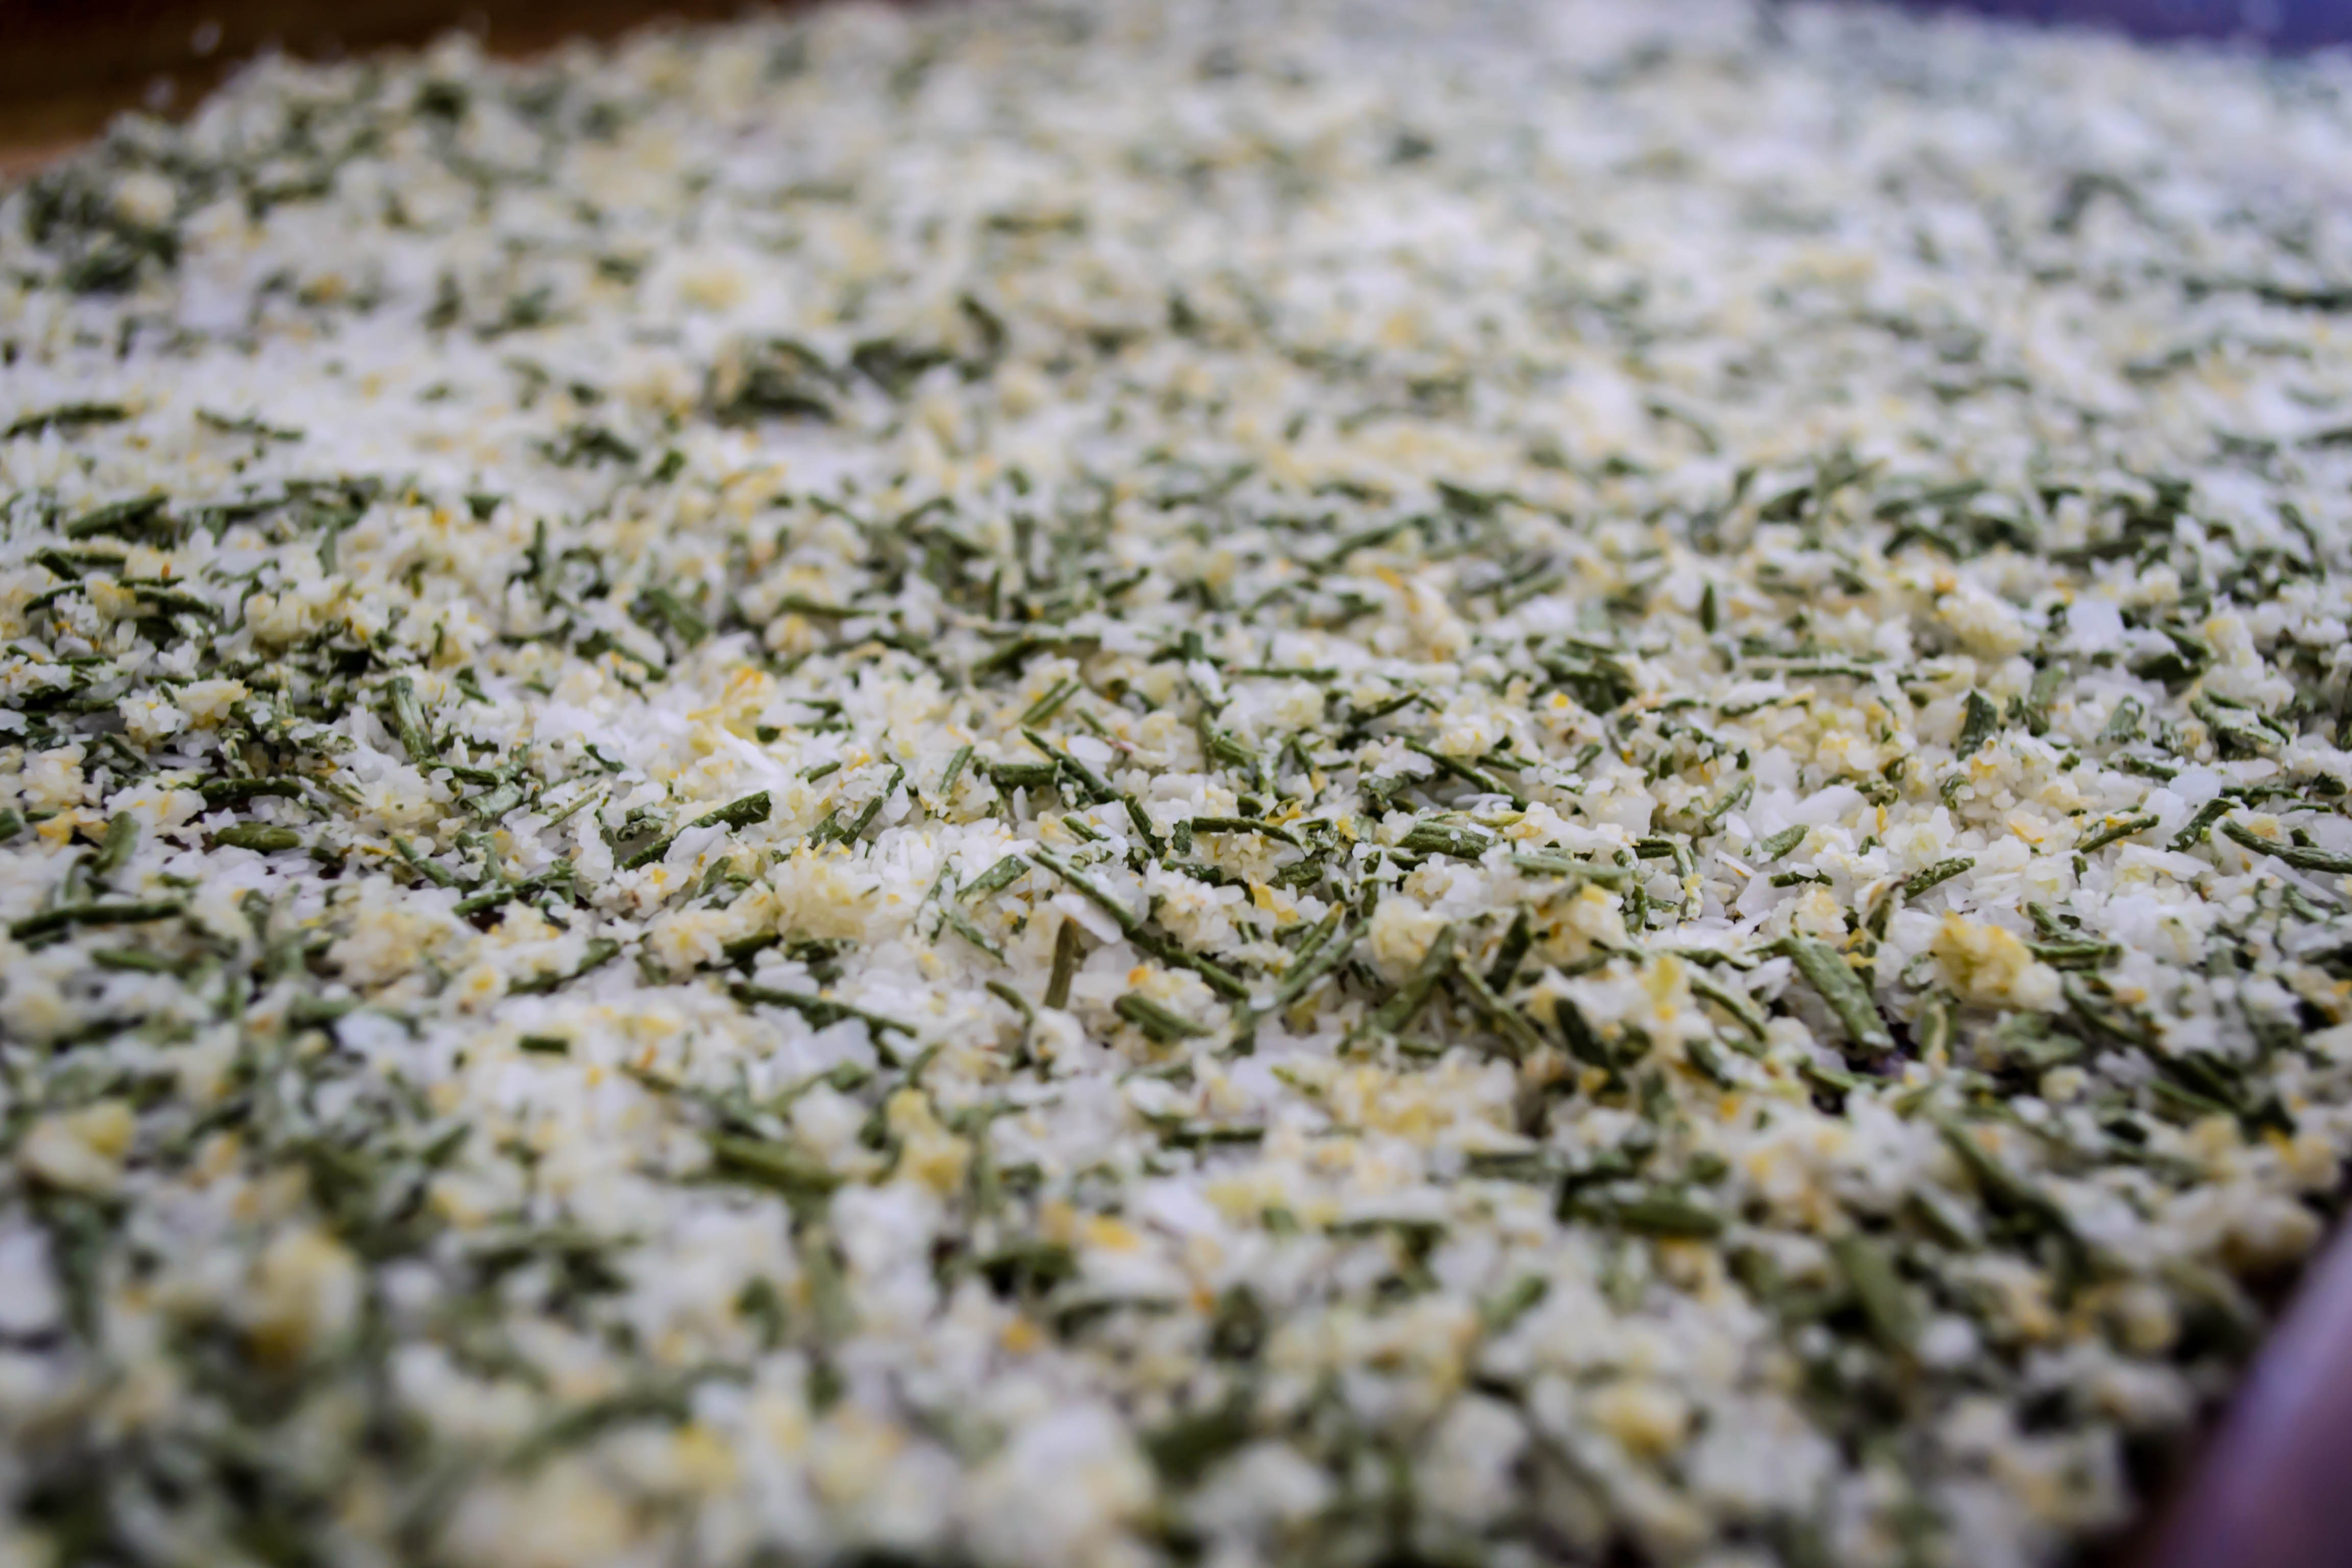
Garlic herb salt, drying on the counter: the greatest air freshener you could ask for.
A fabled land of farmers, farm shares, fancy (and not so fancy) restaurants, family meals, food projects and more.
cooking my way through my dissertation, one egg at a time
Fearless cooking from a tiny NYC kitchen.
food, in so many words.
Recreating the famous dishes of famous writers. Part recipe blog, part historical discussion, entirely unabashed love of books.
Epicurean Adventures from Eugene, Oregon
Celebrating the Harvest
Modern Iranian aka Persian Food & Culture Blog - Cuisine, Recipes, Stories , Photos, Pictures, DIY tutorials
Exploring Culinary Traditions of Africa, African America and the African Diaspora
food, in so many words.
food, in so many words.
food, in so many words.
Food-Stories-Recipes-Love
WordPress.com is the best place for your personal blog or business site.
