they looked to me like two little drowning suns.

they looked to me like two little drowning suns.
 As buried in pages as I am, it’s difficult to believe that I’m only one week away from “summer.” Well, four days of class and about 120 mixed papers and exams. This is difficult to bear – something about this semester has been more burdensome than usual. It’s hard to know how to feel when there is so little time but so much work between me and those glorious two and a half months of no work but also no paycheck.
 As if matching my own cloudy-with-a-chance-of-vacation feeling, our weather lately has taken turns back and forth between what looks like summer and what, for here, passes as wintry. Typically June mornings in Southern California are overcast such that they even have their own nickname: June gloom. We’ve hit this a trifle early, it would seem, with the last week sporting what my officemate helpfully titled “May gray,” and temperatures barely grazing 70F. This is, it would seem, an uncertain entree to summer.
 Speaking of entrees, let’s talk food. Specifically, let’s talk potato salad. It’s not summer just yet, so it’s a little soon to dive into a platter of mayonnaise-robed spuds shot through with crisp cubes of onion and pickle. But because I surely am not the only one longing for everything a good potato salad represents, this adaptation from The Bon Appétit Cookbook is a perfect compromise. Here, roasted potatoes provide warmth and comfort, all caramelized edges and creamy softness, but a sharp, tangy mustard vinaigrette and crisp-tender green beans push the dish salad-ward.
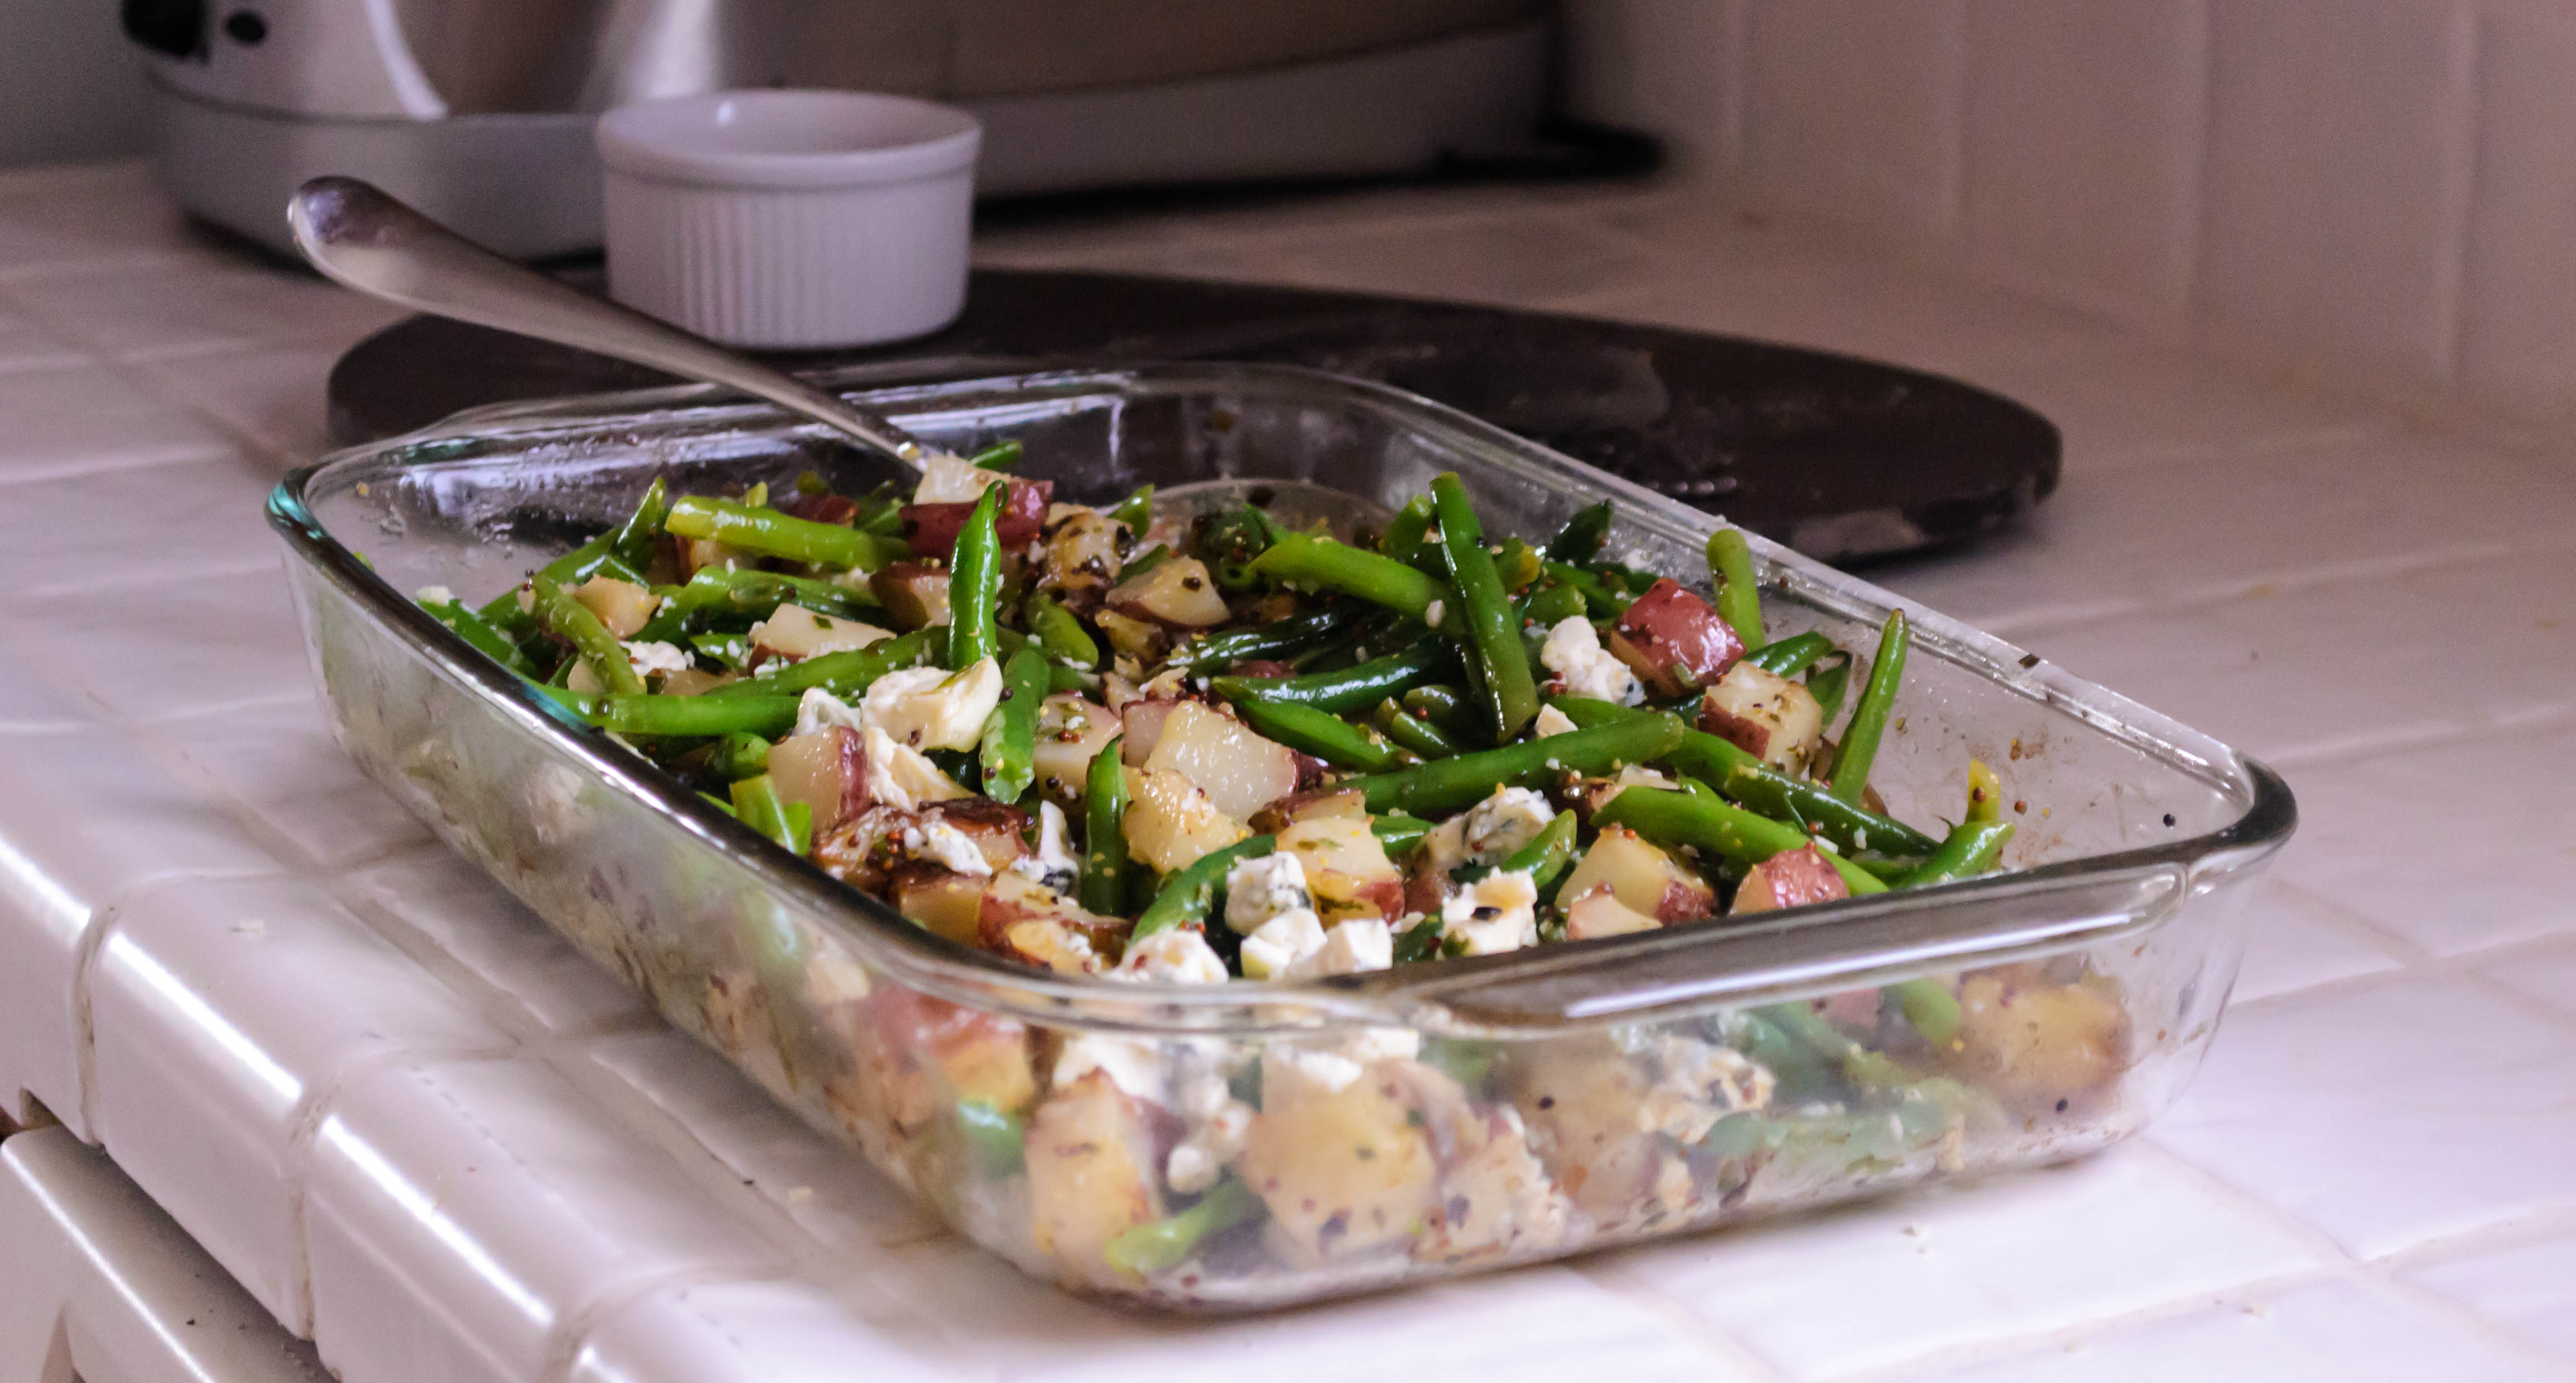
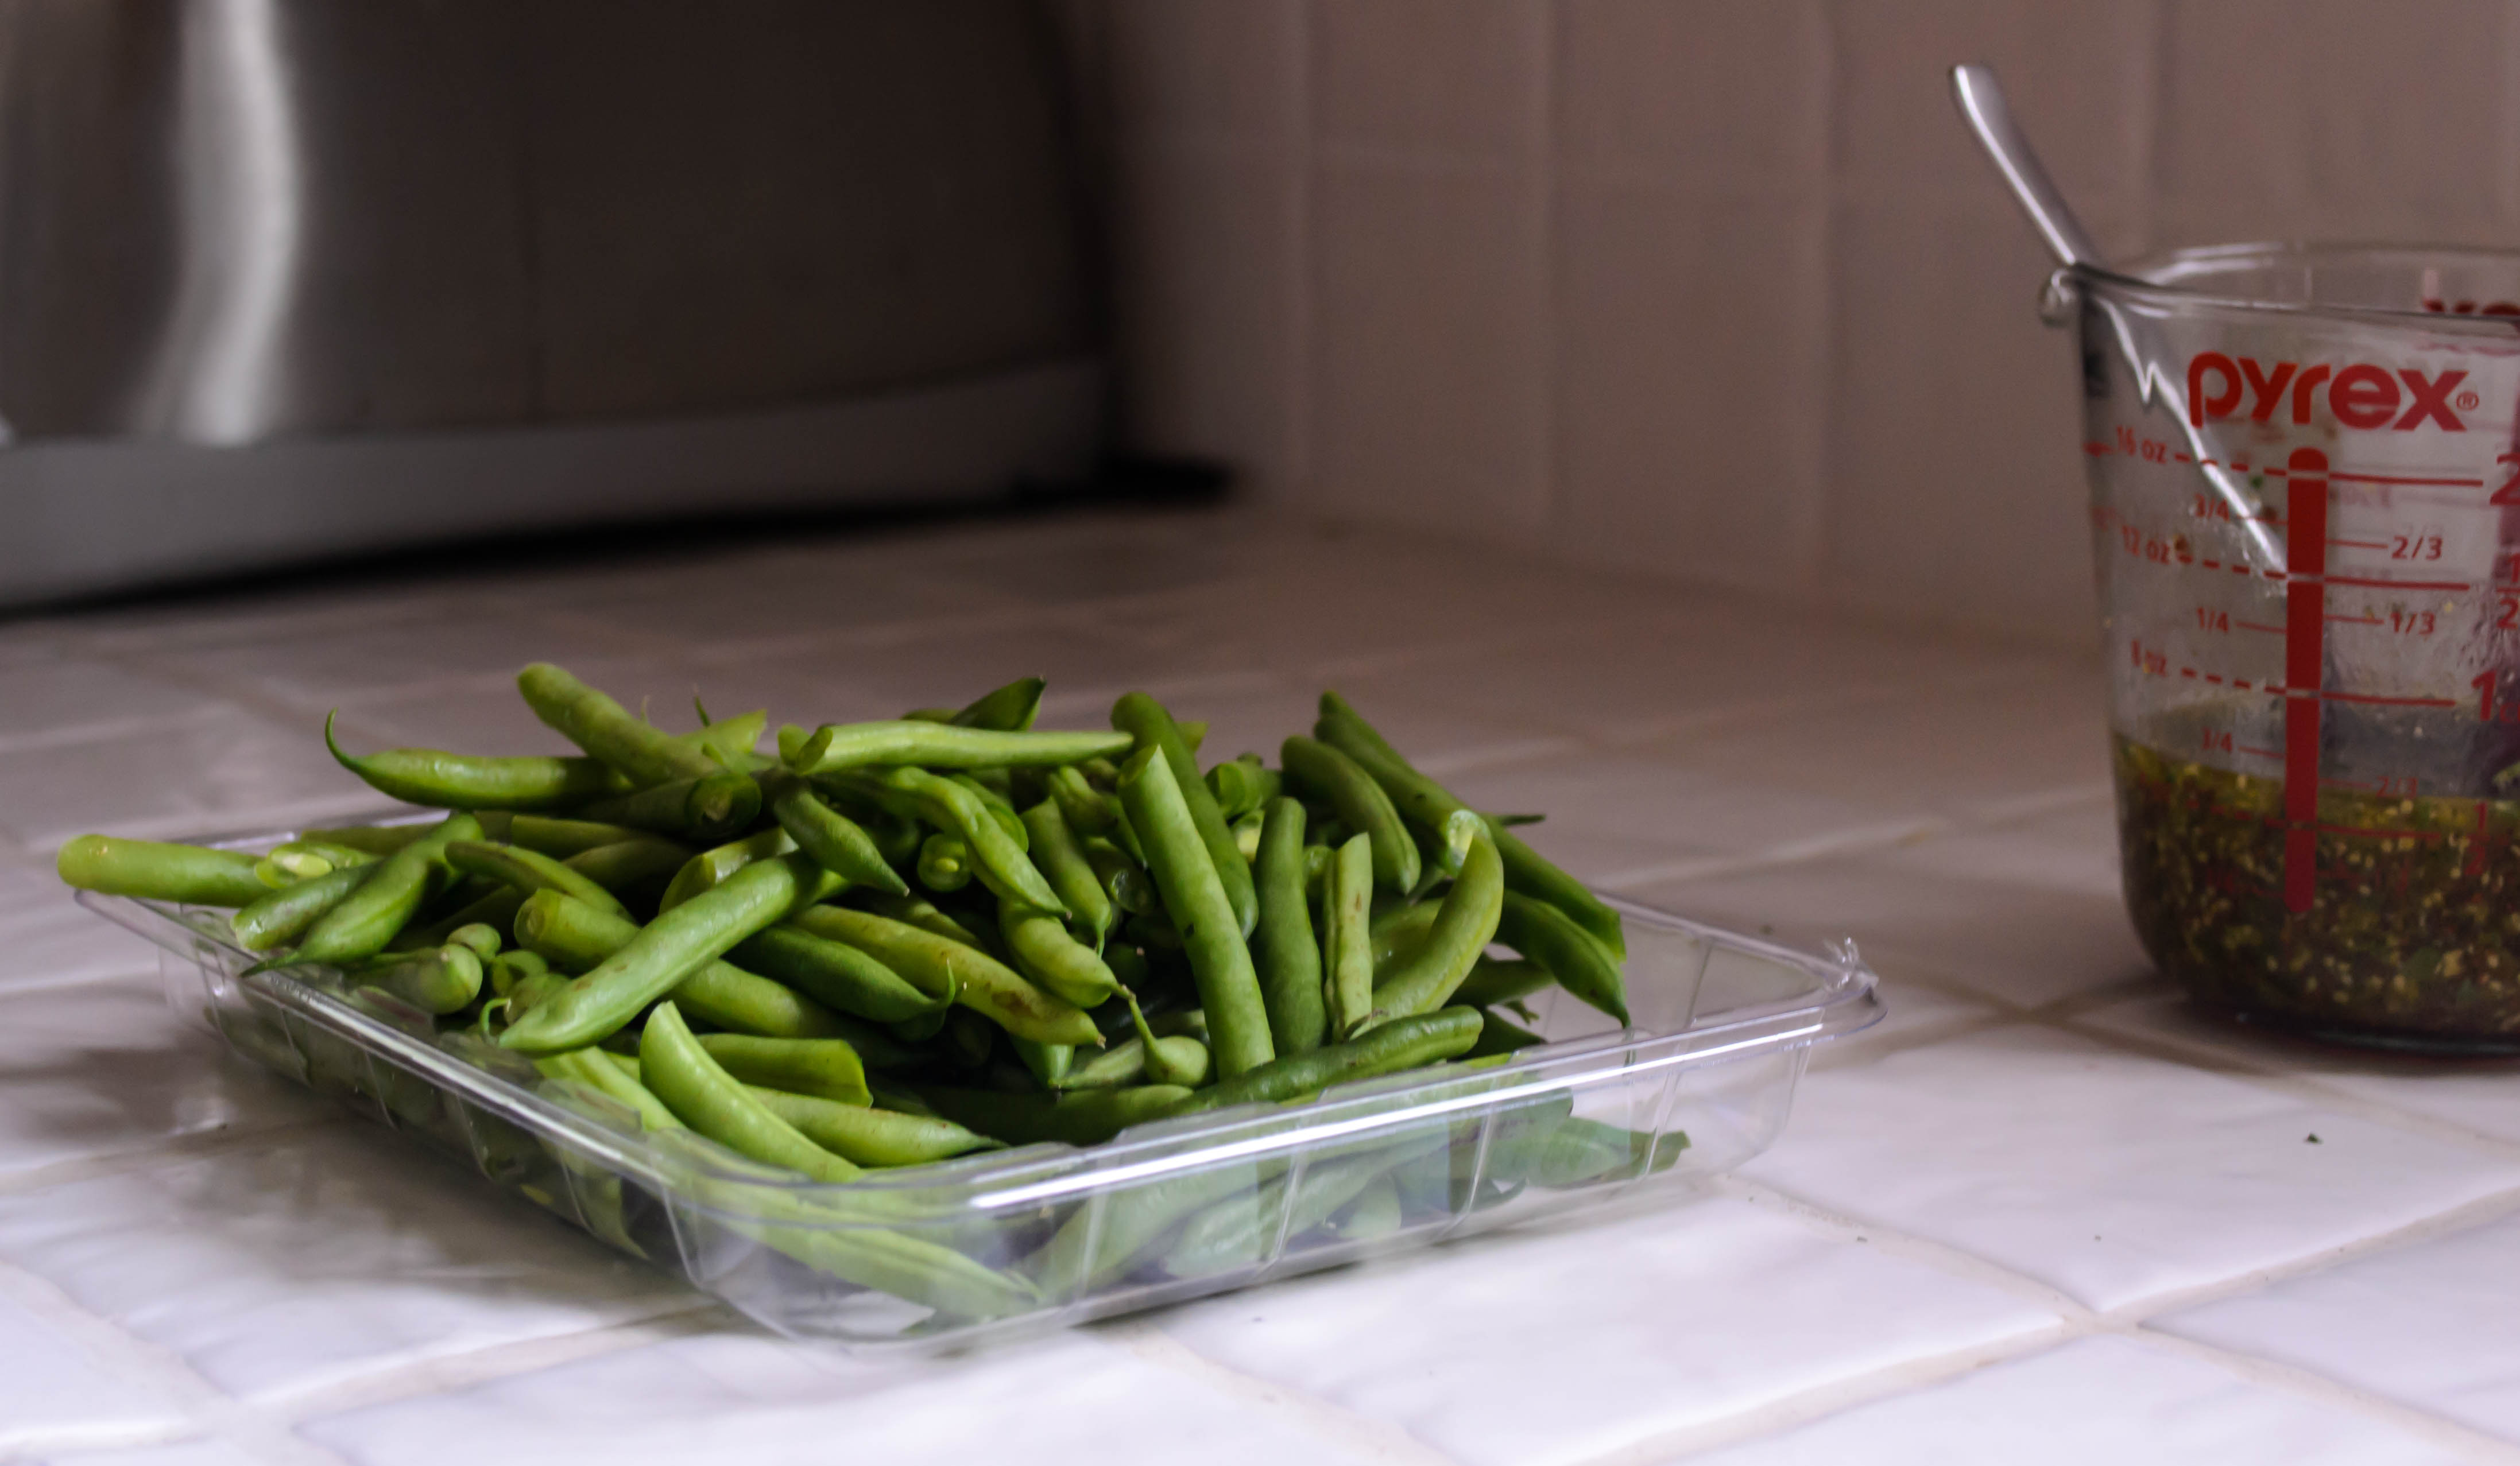 To fill my yen for green vegetables, I’ve doubled the amount of green beans and reduced the quantity of oil from the original. I’ve also eliminated walnuts and changed up the herbs to suit my fancy, and gone with whole grain rather than dijon mustard, because I like the tart pop of the little seeds. This can be eaten at room temperature as well as slightly warm, but because a generous scattering of blue cheese adds a creaminess and funk to the party, you don’t want things too heated, lest melting commence.
 This is the kind of dish that contents me as an entree. I suspect it would happily welcome a handful of crisp crumbled prosciutto or diced hard salami, if you want a little meaty component. If you’re treating it as a side dish, I highly recommend sausages of any variety to round out the plate, or a nicely roasted or grilled pork tenderloin.
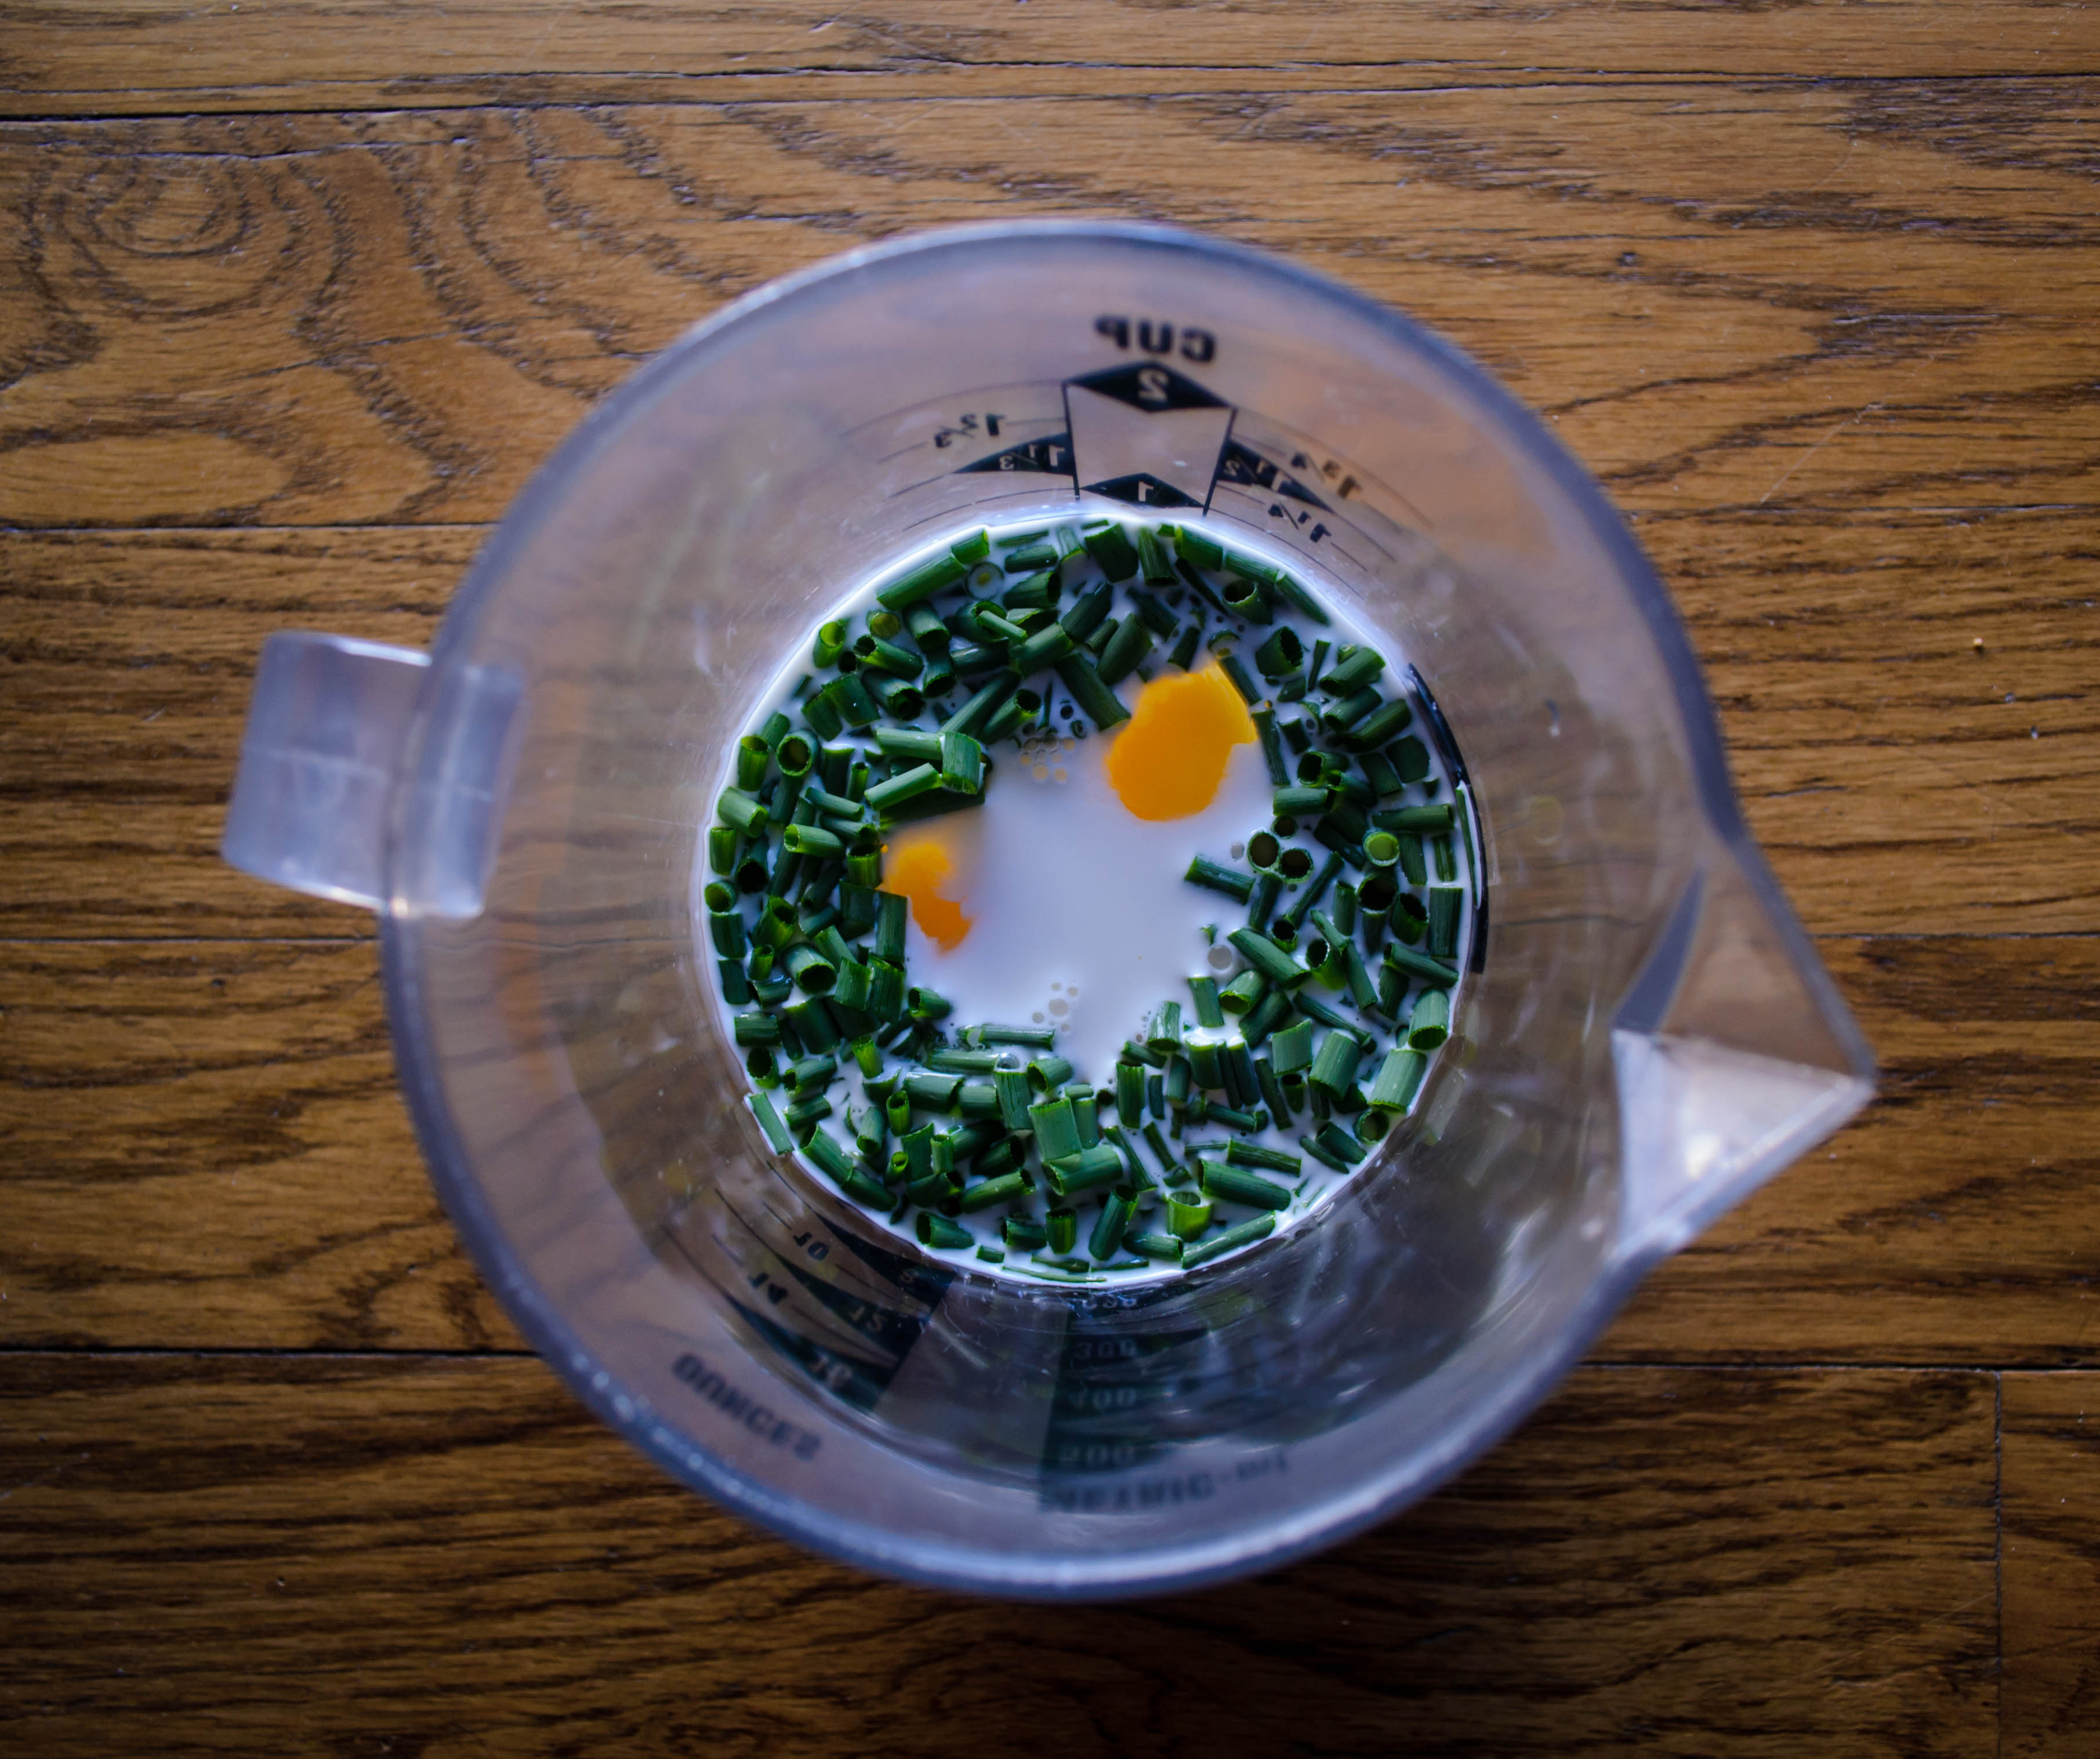
 As most things are, this was just as good on day two heated up just enough to take the chill off, and topped with a fried egg still runny enough in the yolk to offer a velvet golden cascade that turned the salad into something more like a hash, my own ideal of comfort food. It’s the very thing you need, when you know summer is coming but you can’t quite see the light yet.

 When it comes to creating music, it seems to me there are two basic schools. One begins with the melody, considering sound, instrumentation, rhythm, process. Words and story – if there is one – get added to fit the beat and the harmonics and the feel. The other starts with the words: weaving a story, shouting a chorus, infusing rhyme and connotation and syllabic play. Filtering in notes and melodies that fit the narrative.
Guess which one I favor.
 I have the same issue with food. Seriously, when it comes to creating a recipe, I should probably start with the fundamentals: ingredients. Taste. Familiarity. Procedure and execution and fitting flavors together.
More often than not, though, the singer-songwriter I’ve never been pops to the forefront and I’m instead thinking of names and paragraphs and ways of representing the food I haven’t even made yet.
 That’s what happened with this experiment. In fact, this is in many ways the inspiration for the whole meatball project. Not because I’ve had a dish just like it that needed to be recreated. Not because I’m obsessed with or particularly fond of meatballs. No. Because I thought the name “banh mi-tball” was too good to pass up.
 As I noted previously, there is a lot of controversy surrounding the authenticity and exactness of such a sandwich. Ratios of meat to vegetable, the types of vegetables, the texture and flour types in the bread, form the bases of entries on numerous discussion forums that range from curious to intensely heated. Names are called. Gluten is flung.
 Here’s the thing, though. Now that I’m invested, I just wanted to make a sandwich good enough to be called banh mi-tball. I mean, you can’t back up a heart-wrenching narrative woven in clever rhyme with a tinny little toy guitar and an out-of-tune keyboard. But by the same token, I don’t think you have to be Jimi Hendricks or Eric Clapton to support the story in a satisfying way.
 What I’m trying to say here, is that I’m not all that interested in authenticity. I didn’t seek out every banh mi shop in Los Angeles and sample and compare and pester their chefs for trade secrets. Even when I’m not losing my mind grading papers during the semester, I don’t have that kind of time or motivation. The point was, I decided, to strive not for exactness or tradition, but to craft a damn good sandwich. So that’s what I’m going for.
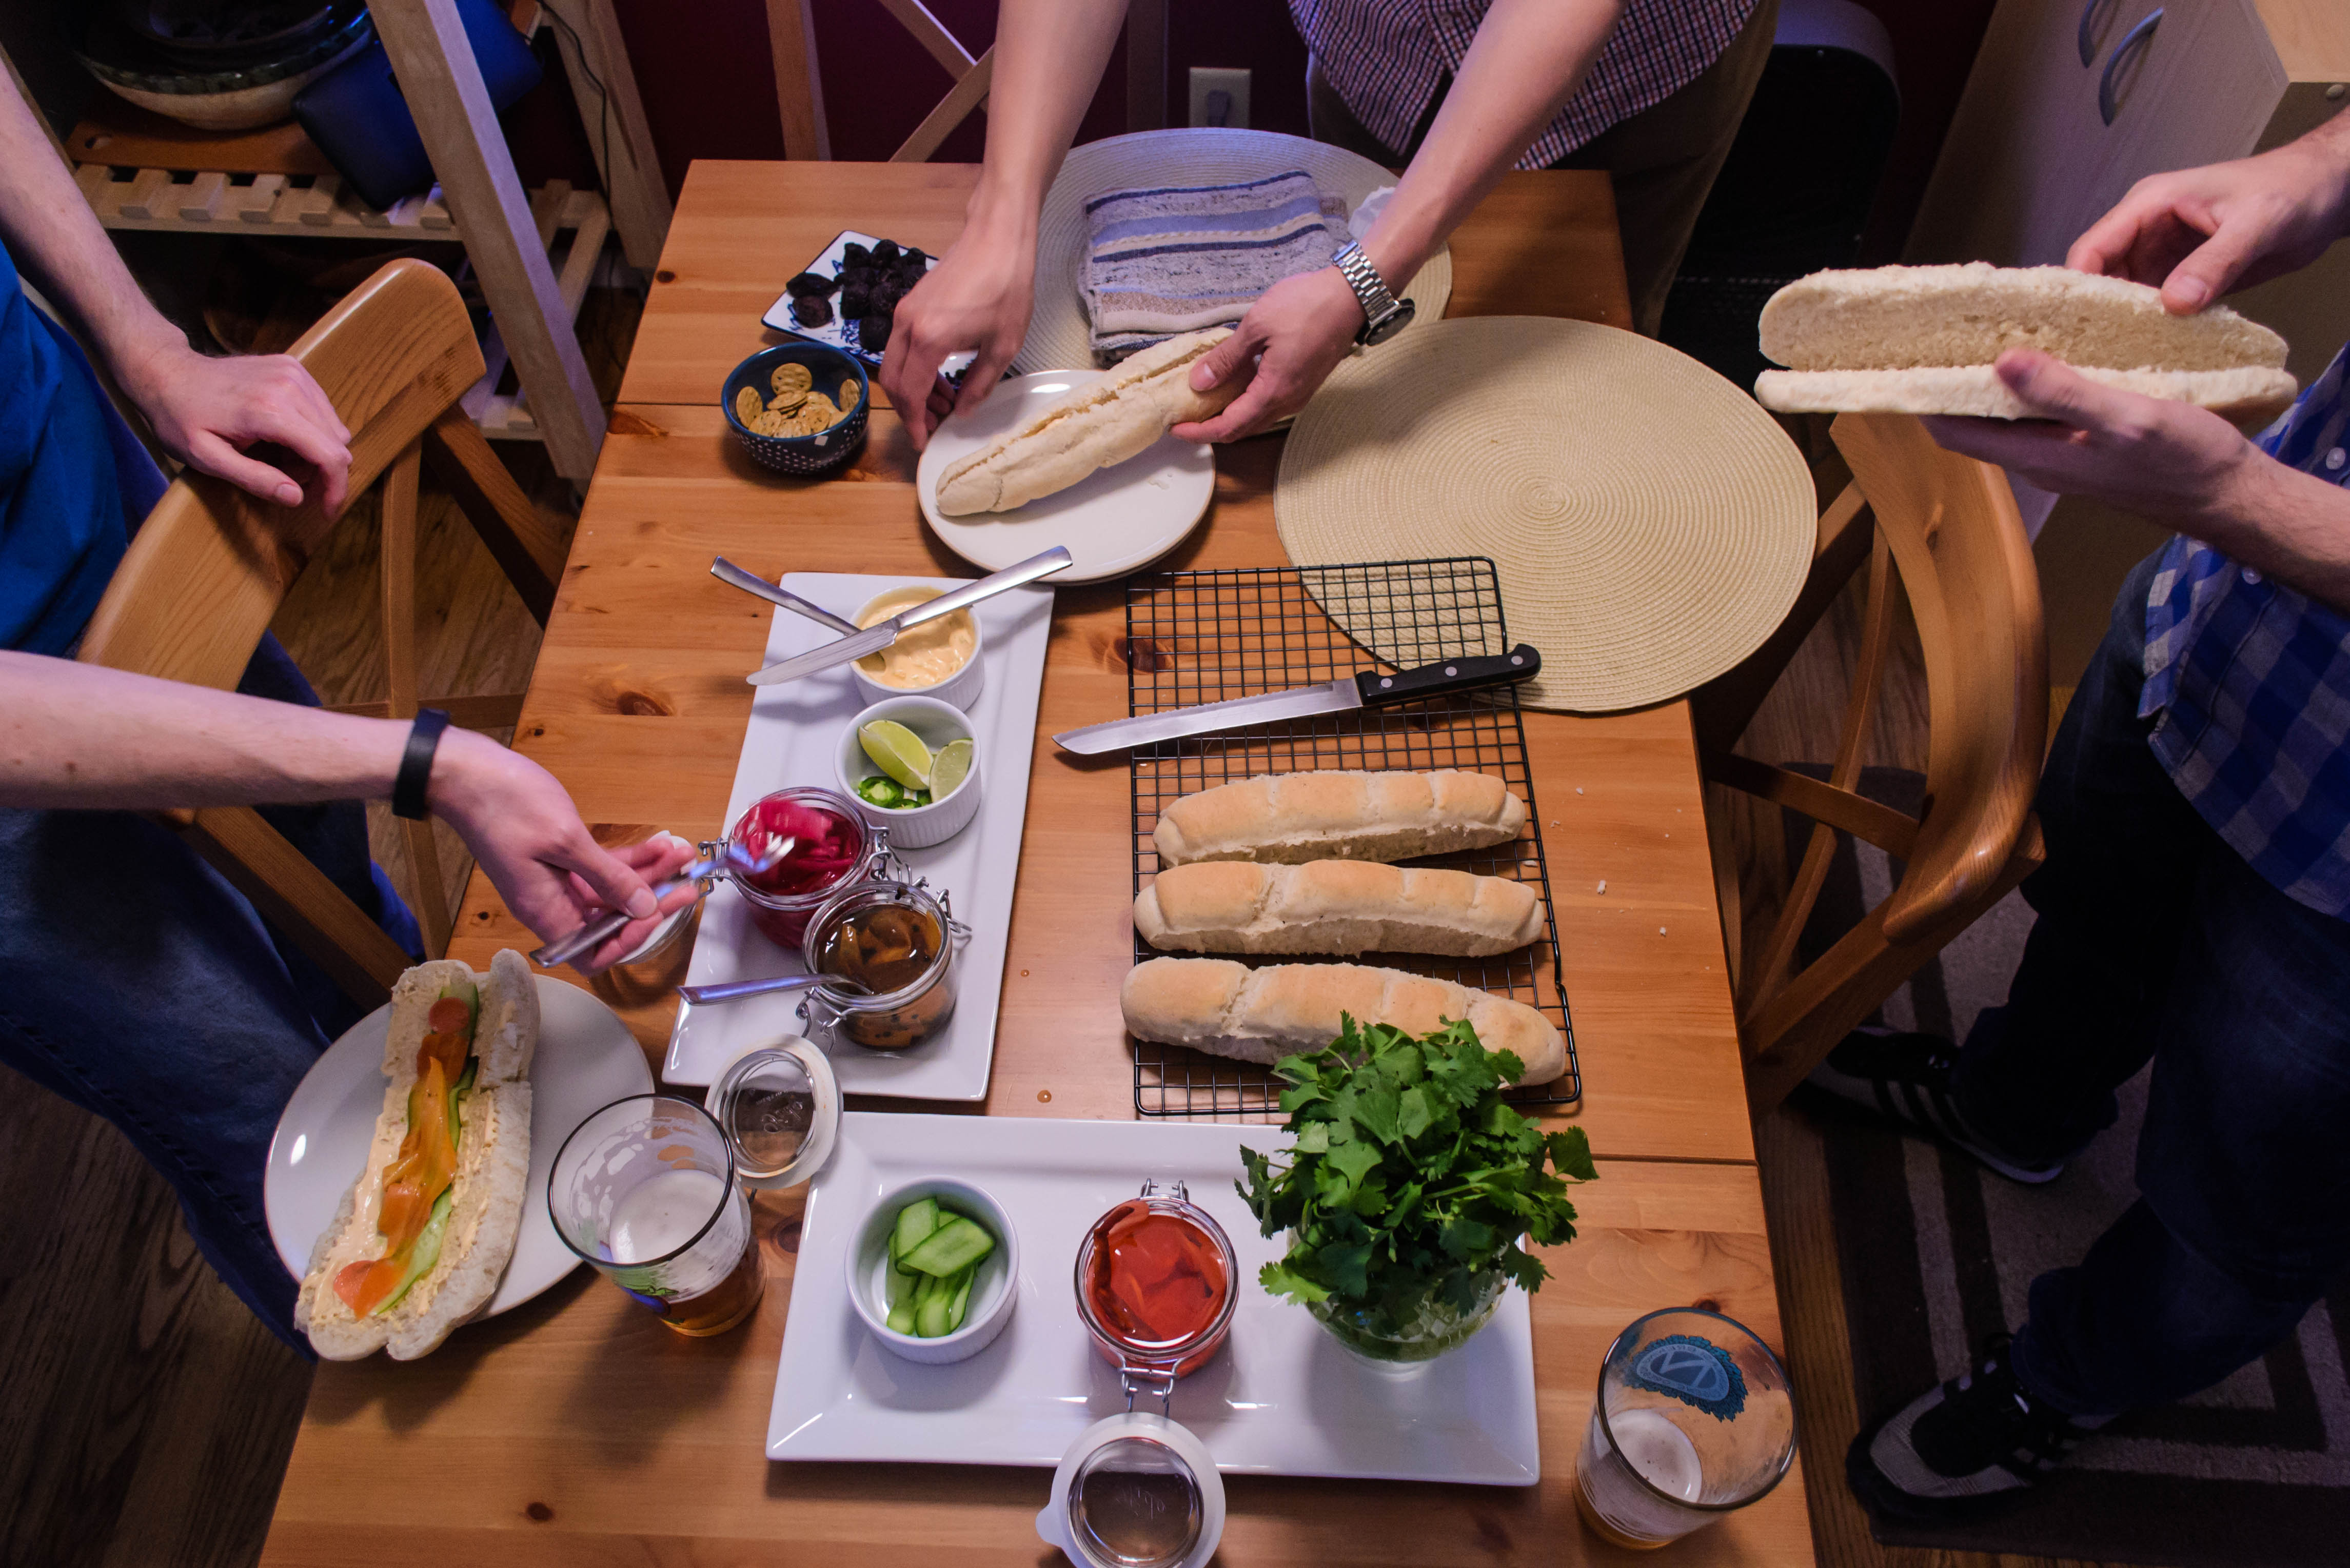
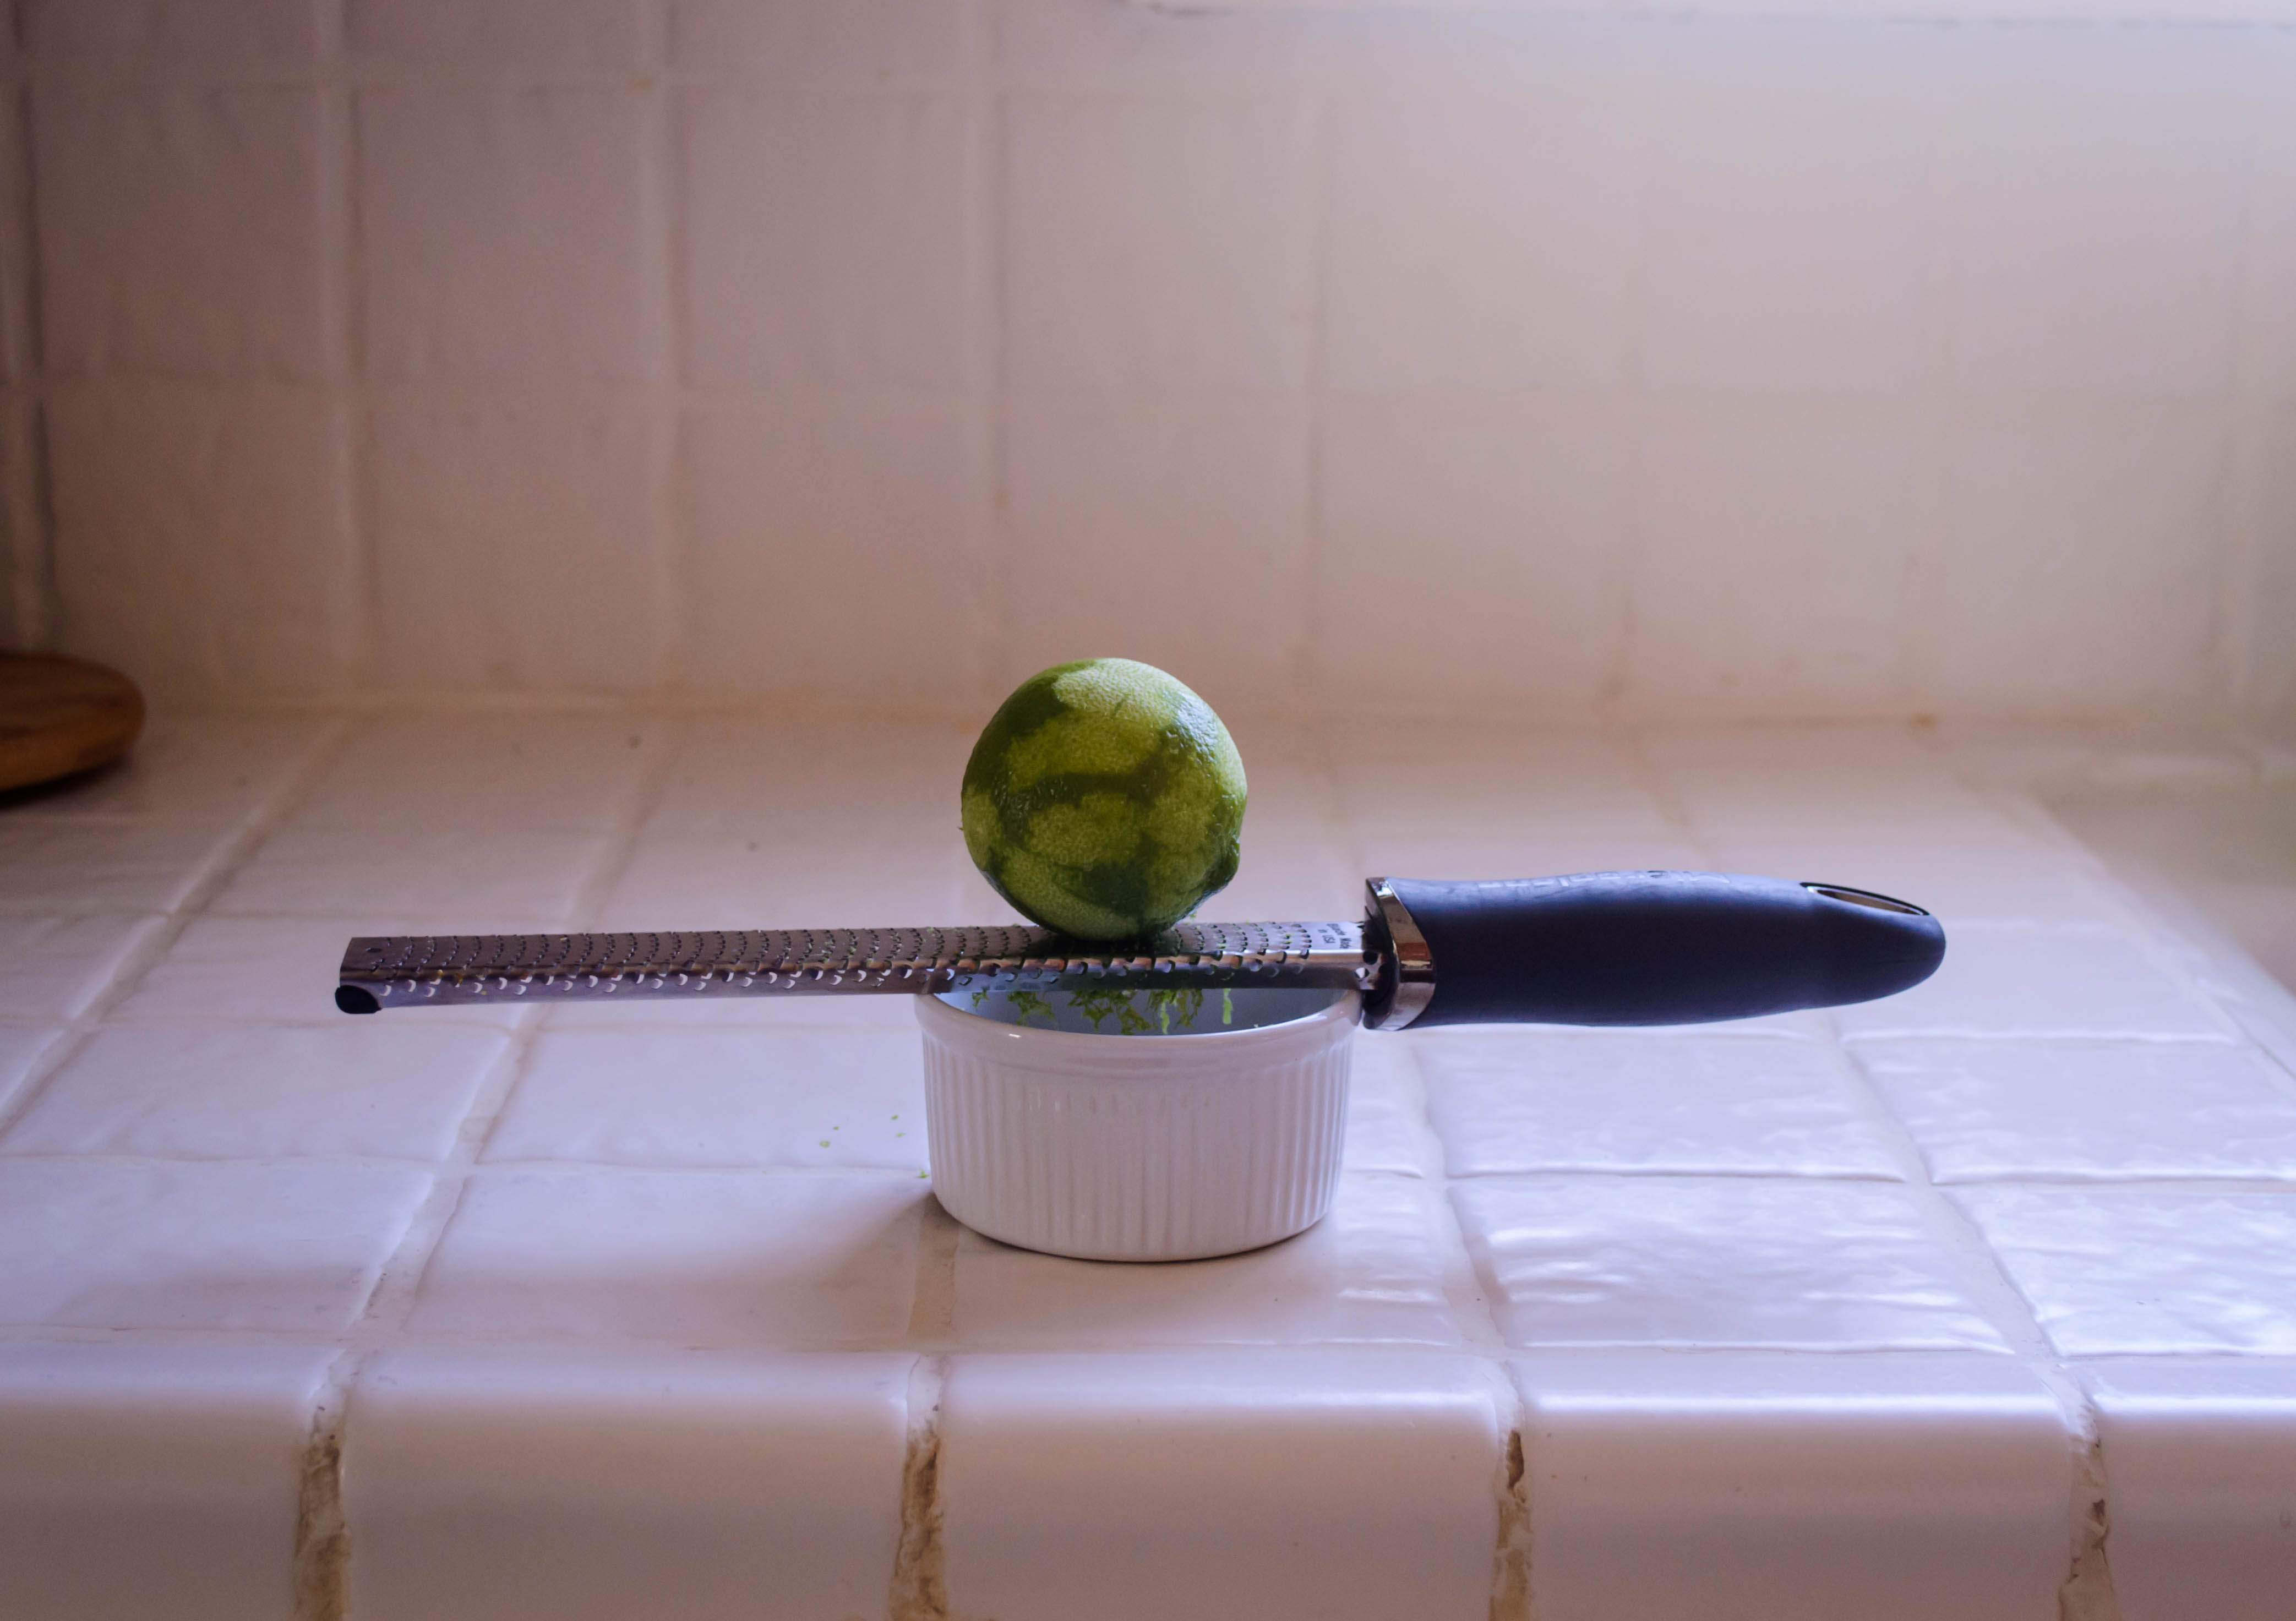
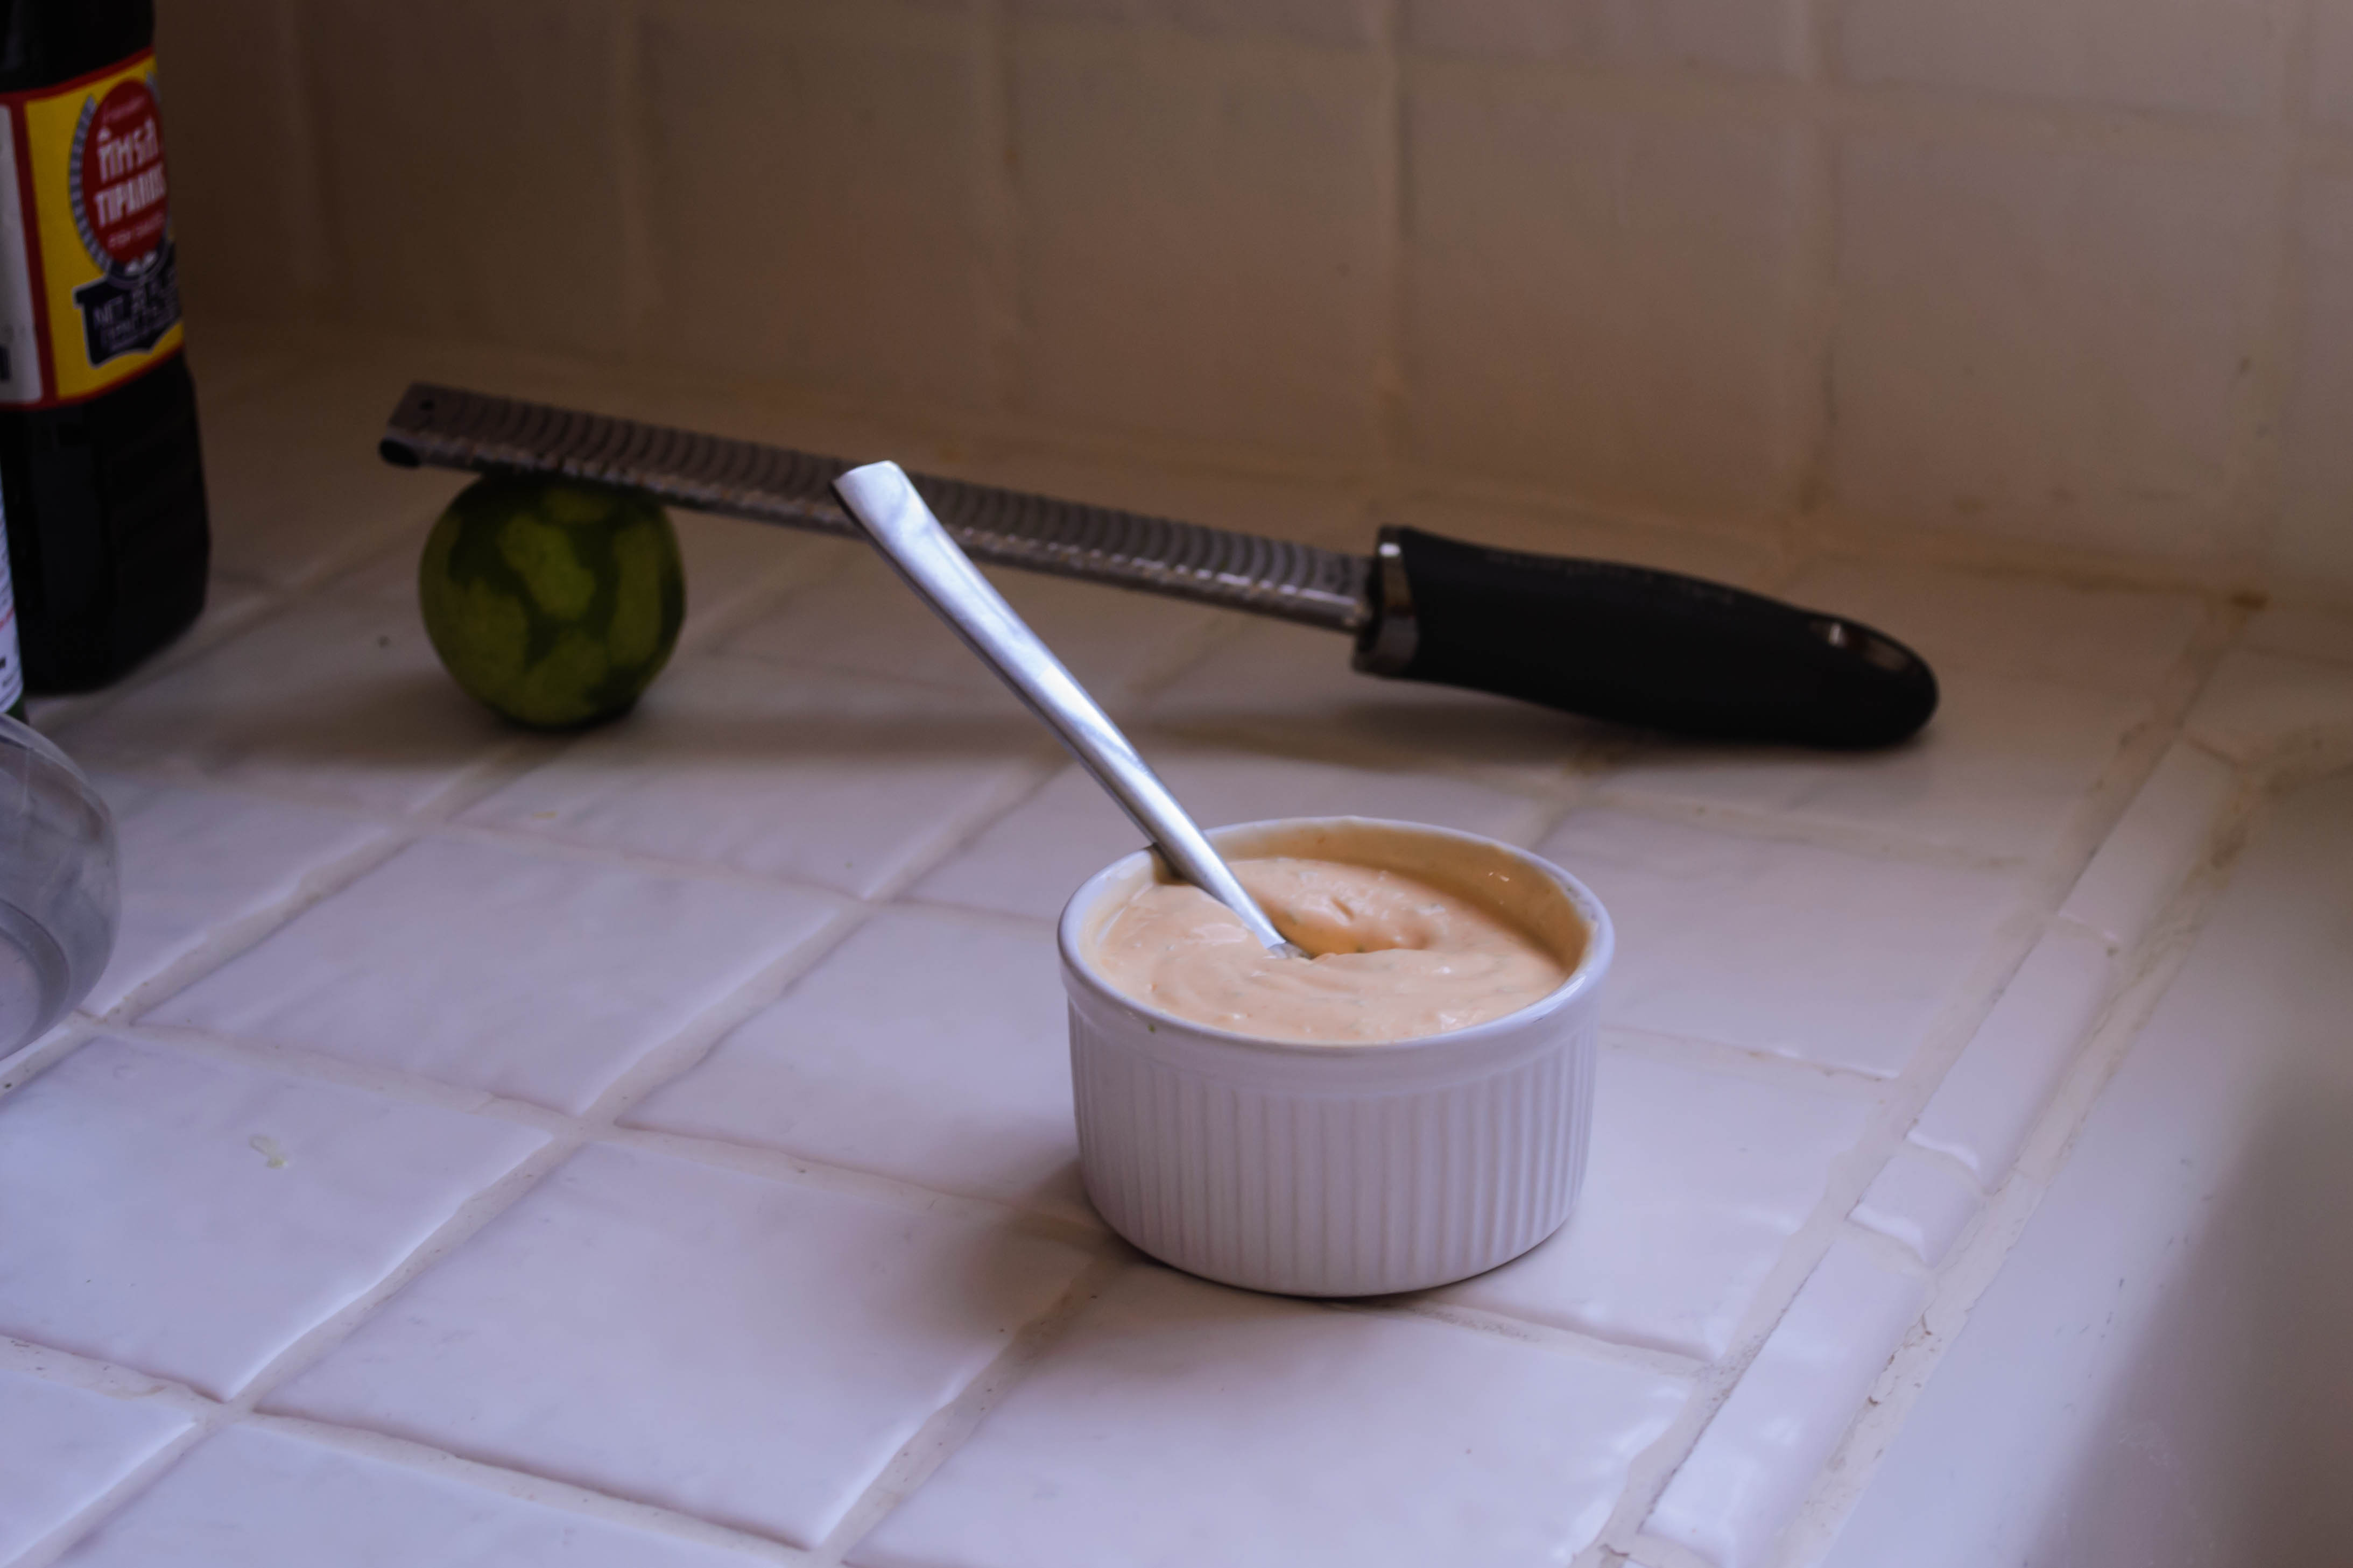
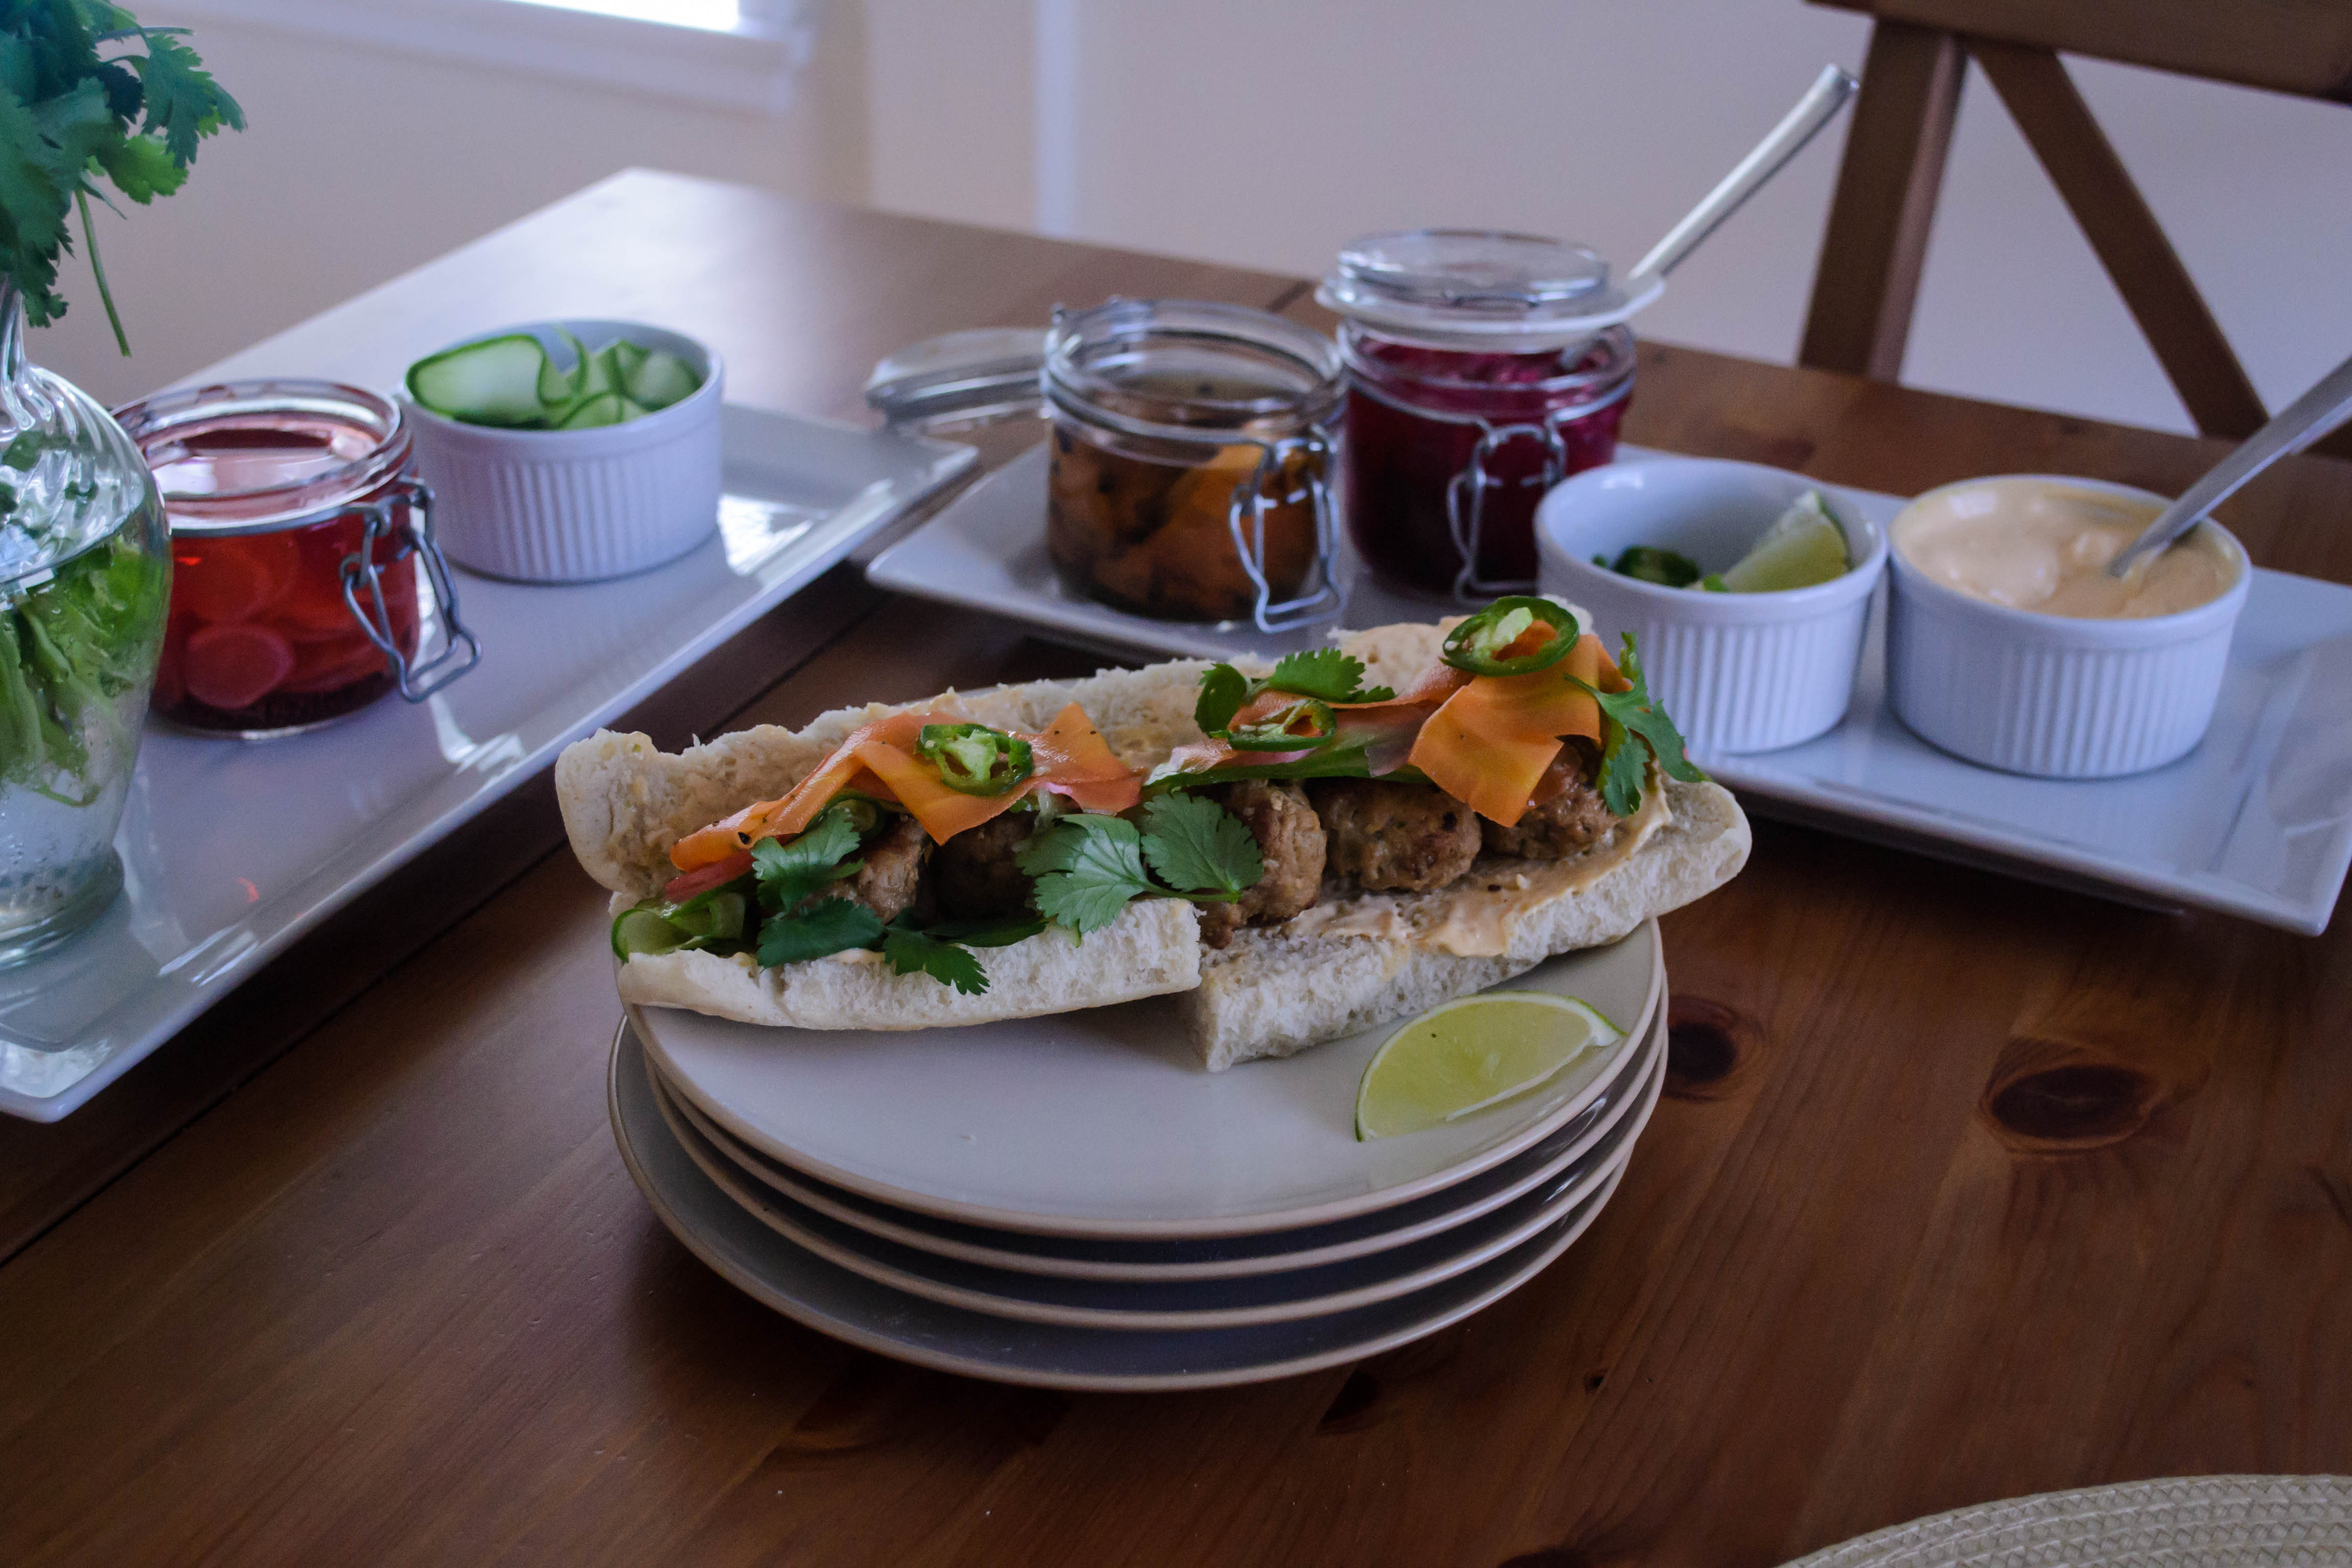
Bread, vegetables (pickled and non), meat, spread. These are the necessary components. There should be a crisp crust, there should be a representation of sourness, spiciness, and umami, there should be a vegetal crunch. For this incarnation, I added strips of fresh Persian cucumbers to my pickles, along with sprigs of cilantro and wedges of lime. I spread my slightly-less-than-crisp “baguettes” with a curiously beautiful coral-hued spread of mayonnaise, sriracha, fish sauce, and lime juice, and I stood back and let my fellow sandwich-diners have their way with the pan full of meatballs on the stove.
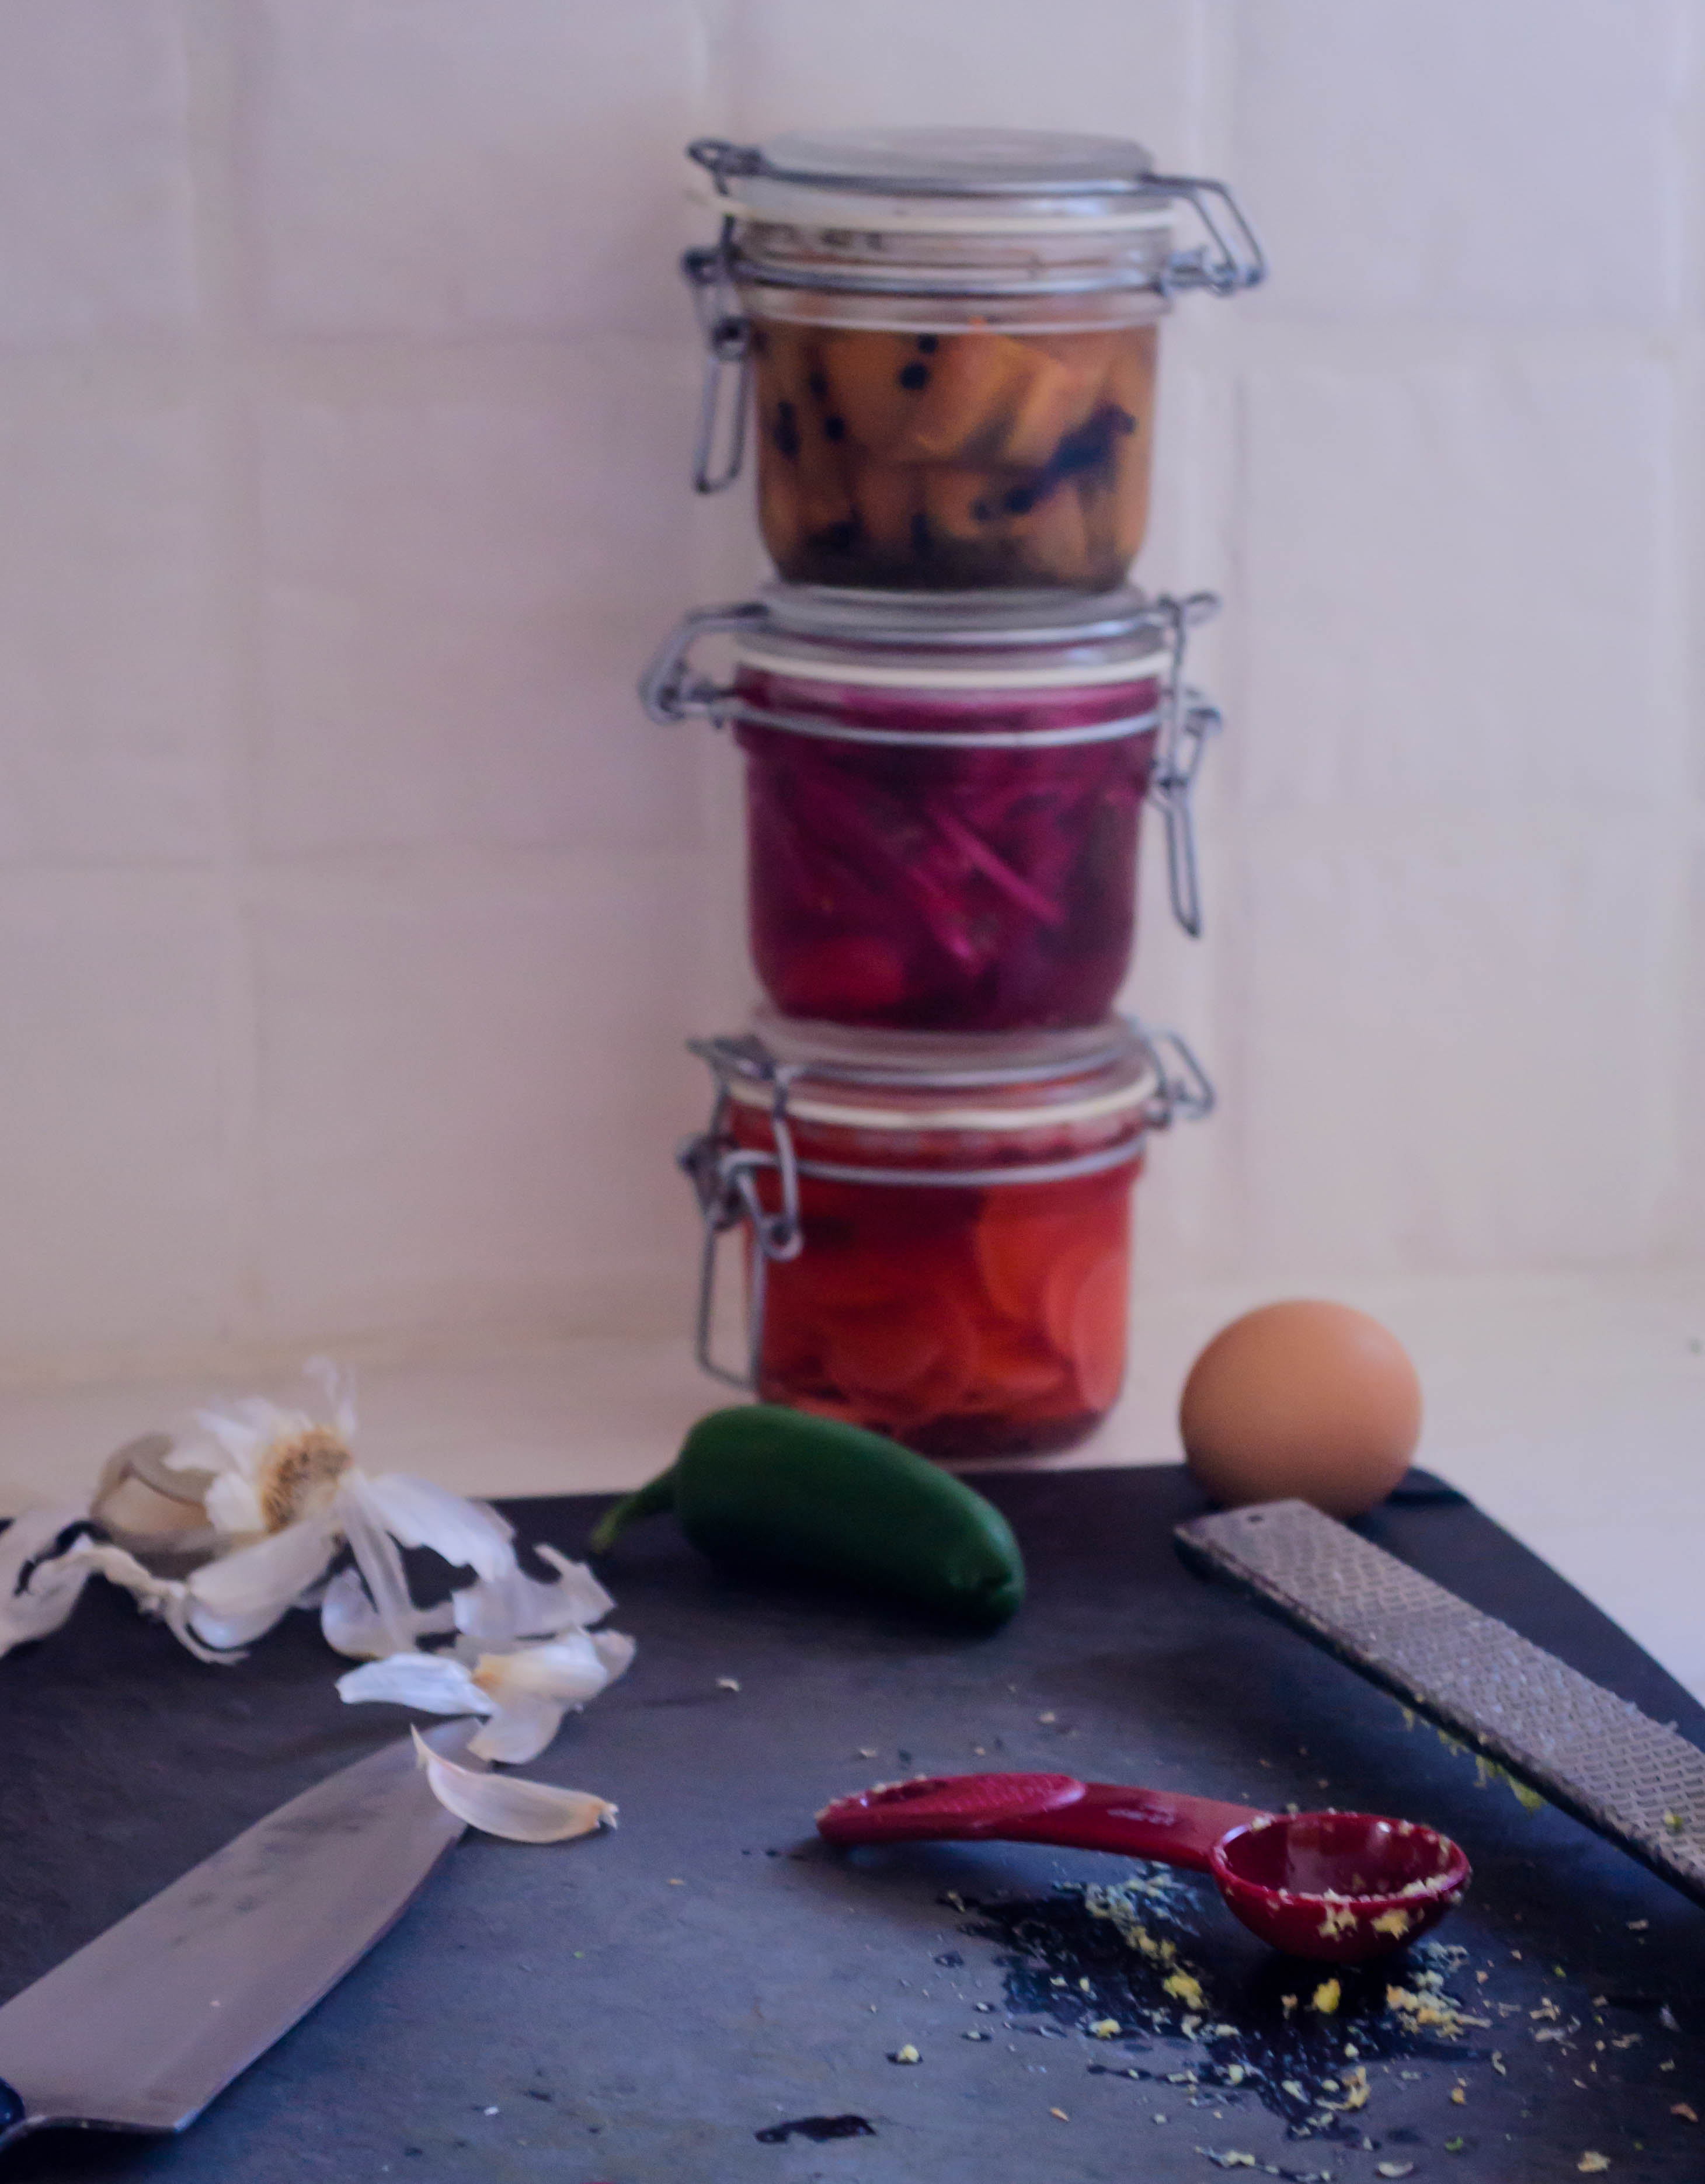
 Since banh mi sandwiches so often feature pork, a pork meatball was the way to go. It would need to echo some of the flavors found in the sandwich itself, which means this is one of those recipes with a tablespoon of this and a teaspoon of that and an ingredient list long enough that you might at first be put off. You shouldn’t be, though. Like so many good Asian recipes, especially sauces, every single individual component has a part to play, and none are particularly exotic. Ginger and garlic for their aromatic spice. Jalapeños and cilantro for freshness and heat. A few tendrils of pickled onion and a squeeze of lime for sourness. Soy sauce and brown sugar to balance that sourness. Fish sauce and red miso paste for that earthy umami funk. Capitalizing on my previous meatball experiments, a pinch of baking powder for lightness and an egg to bind everything together.
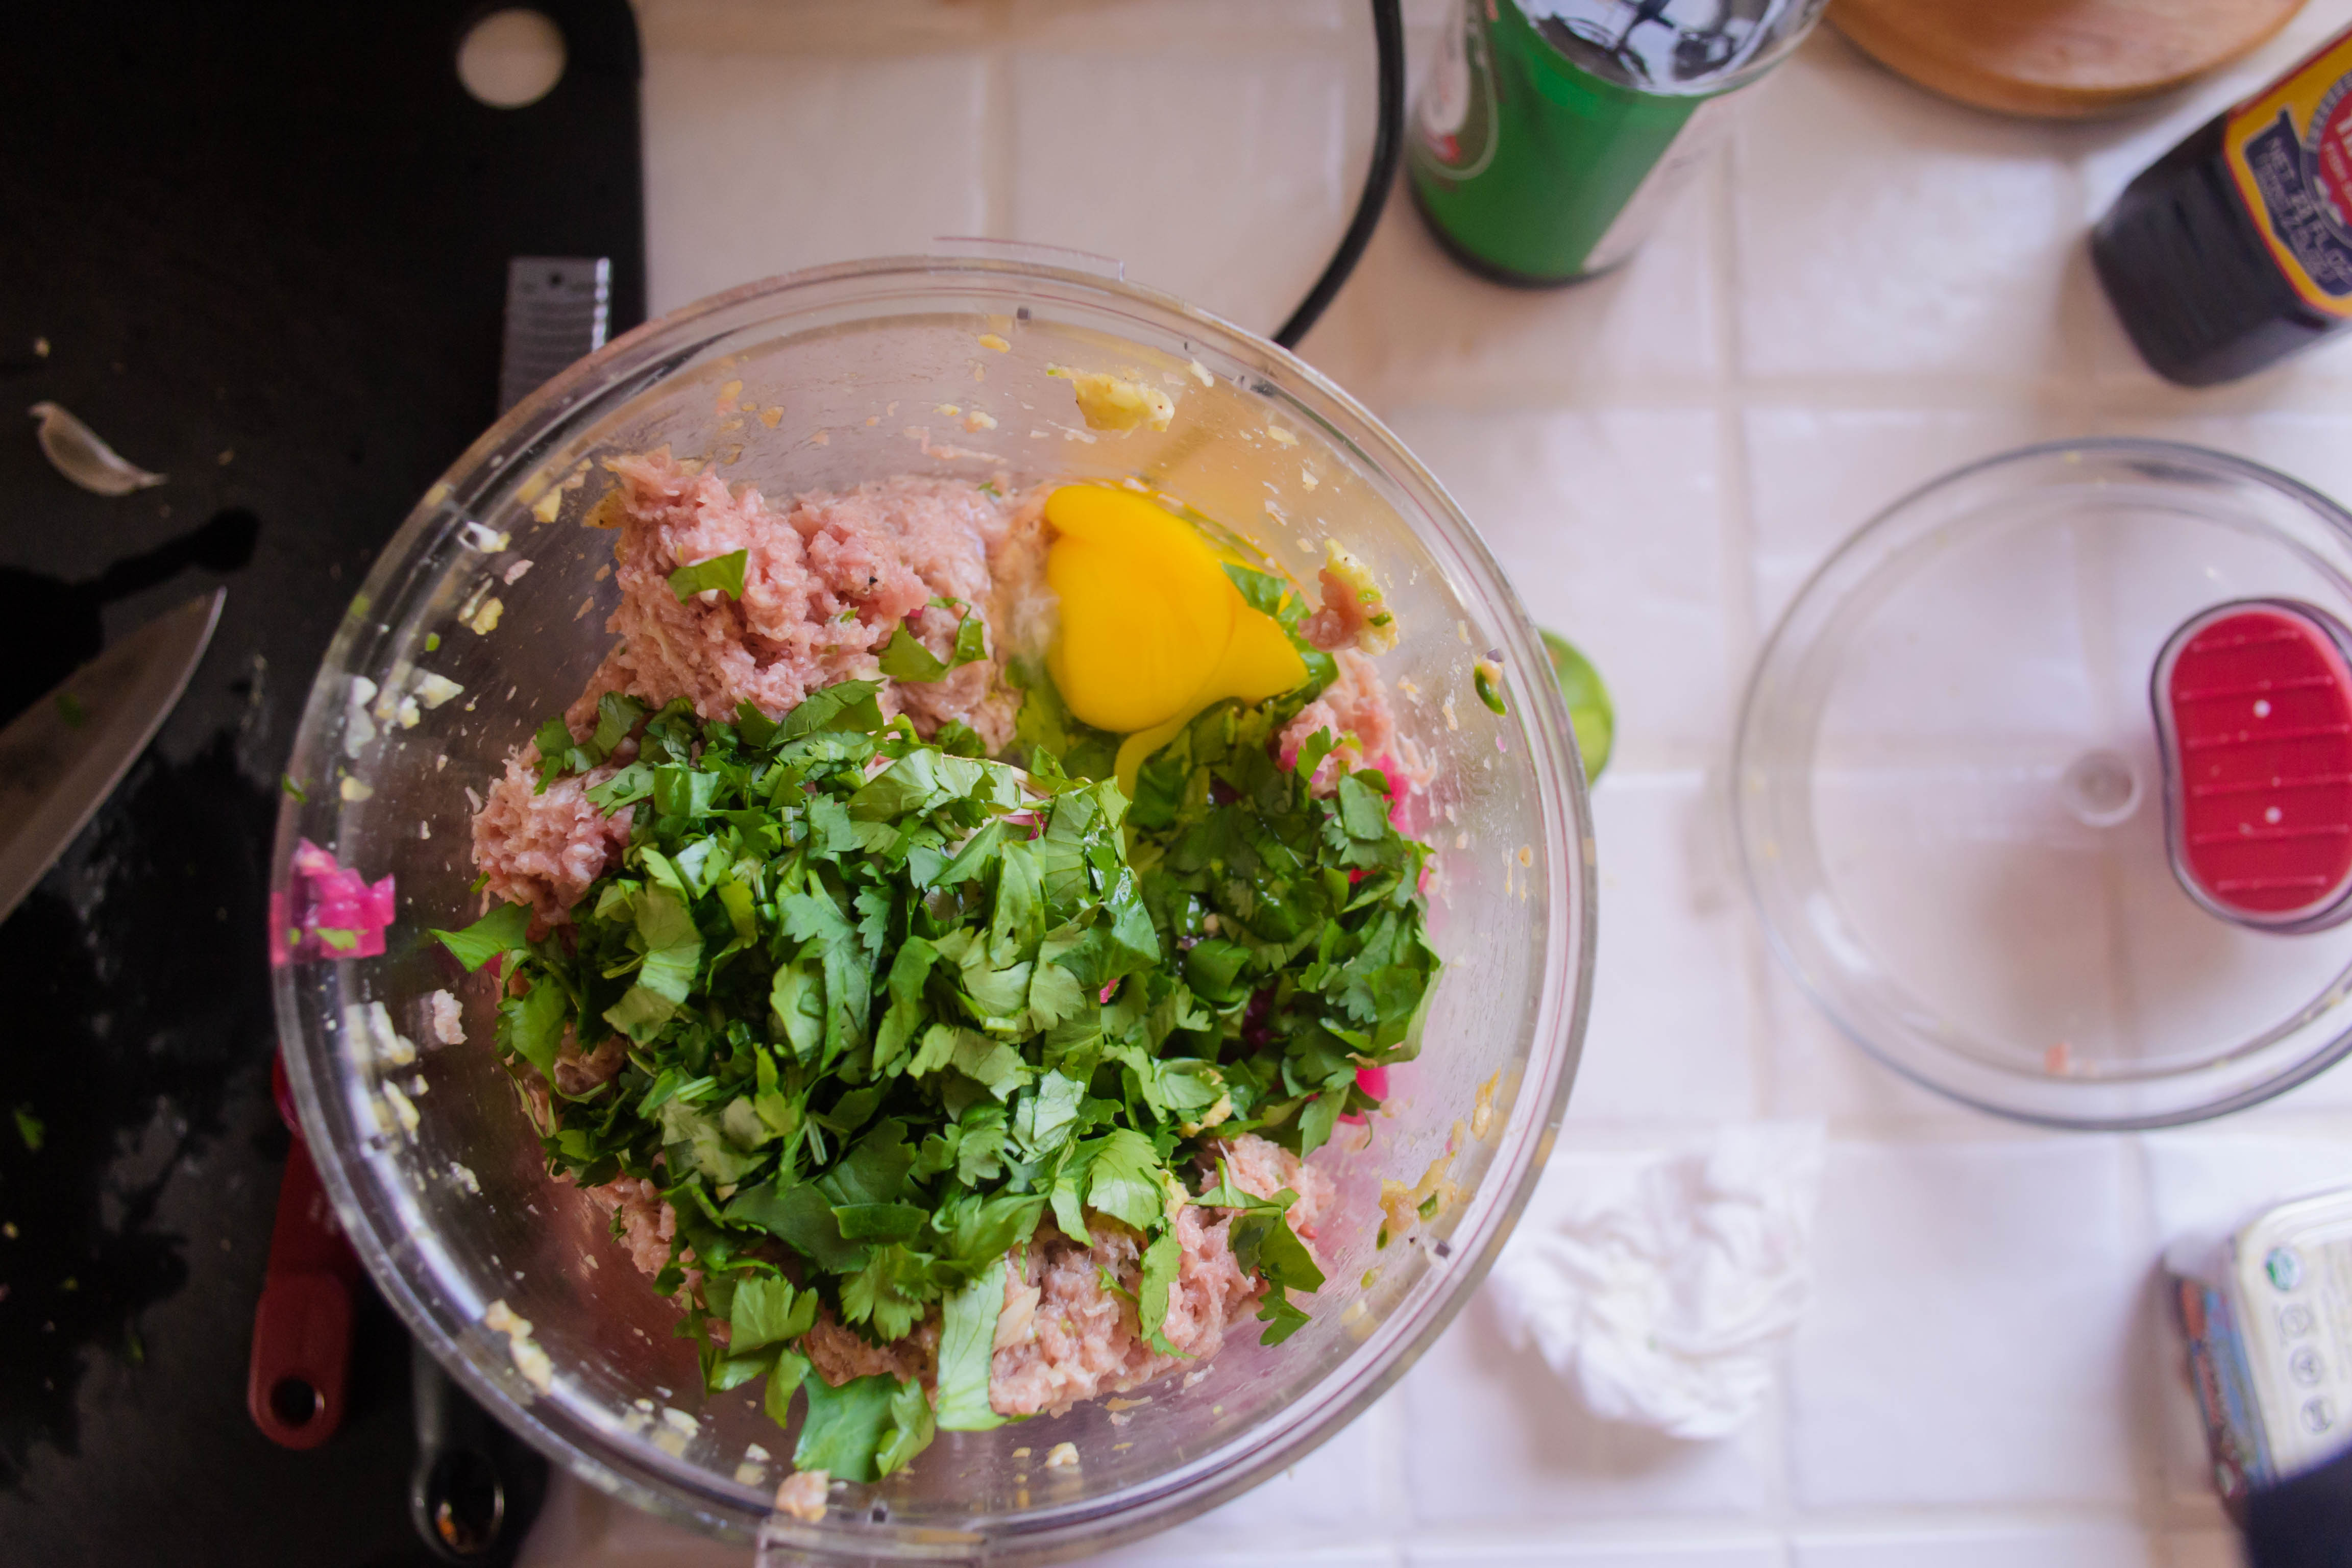
 Despite the lengthy ingredient list, the actual production of the meatballs is easy. Remembering my satisfying results with Swedish meatballs, I dumped everything in the food processor and let it whir. Pâté is a frequent protein option for banh mi sandwiches, so the smooth, bouncy texture I knew I could achieve with mechanized mixing seemed to fit the bill. After a mix, a quick roll with moistened hands, and a shallow fry in vegetable and sesame oil, all that remains is a twenty minute simmer in flavorful liquid. I opted for chicken broth with a bit of miso paste and a bit of brown sugar swirled in, which resulted in a poaching liquid so tasty I debated serving small bowls of it on the side.
 Once you have all the components, sandwich construction is easy. Because people tend to like crafting their own, this actually makes remarkably good party food. Just lay out your pickles, your vegetables, your bread, set down a jar of spread and a bowl of meatballs and watch your guests go to town. Load up your own baguette with enough fillings to stretch the corners of your mouth as you attempt that first bite. Then hide the leftovers. Because you’re going to want this again, and you might not want to share it.
Friends, a funny thing happens when you come down with a nasty stomach bug during Week 14 of your 16 week school semester.
Actually, a couple of funny things happen.
One, you freak out. Understandable. How will you POSSIBLY catch back up with all the grading and the lesson planning and the lecture writing and the reading and the conferencing you were supposed to be doing?
Two, you think about the food you planned to gush over and you… well, you don’t want to gush. At least not for a few days. Because ew.
So I’m begging a week’s delay. That means no official April meatball post, but I’ve got’em, and they were delicious, and I’ll have them for you a short week from now.
Hope all is well in your world.
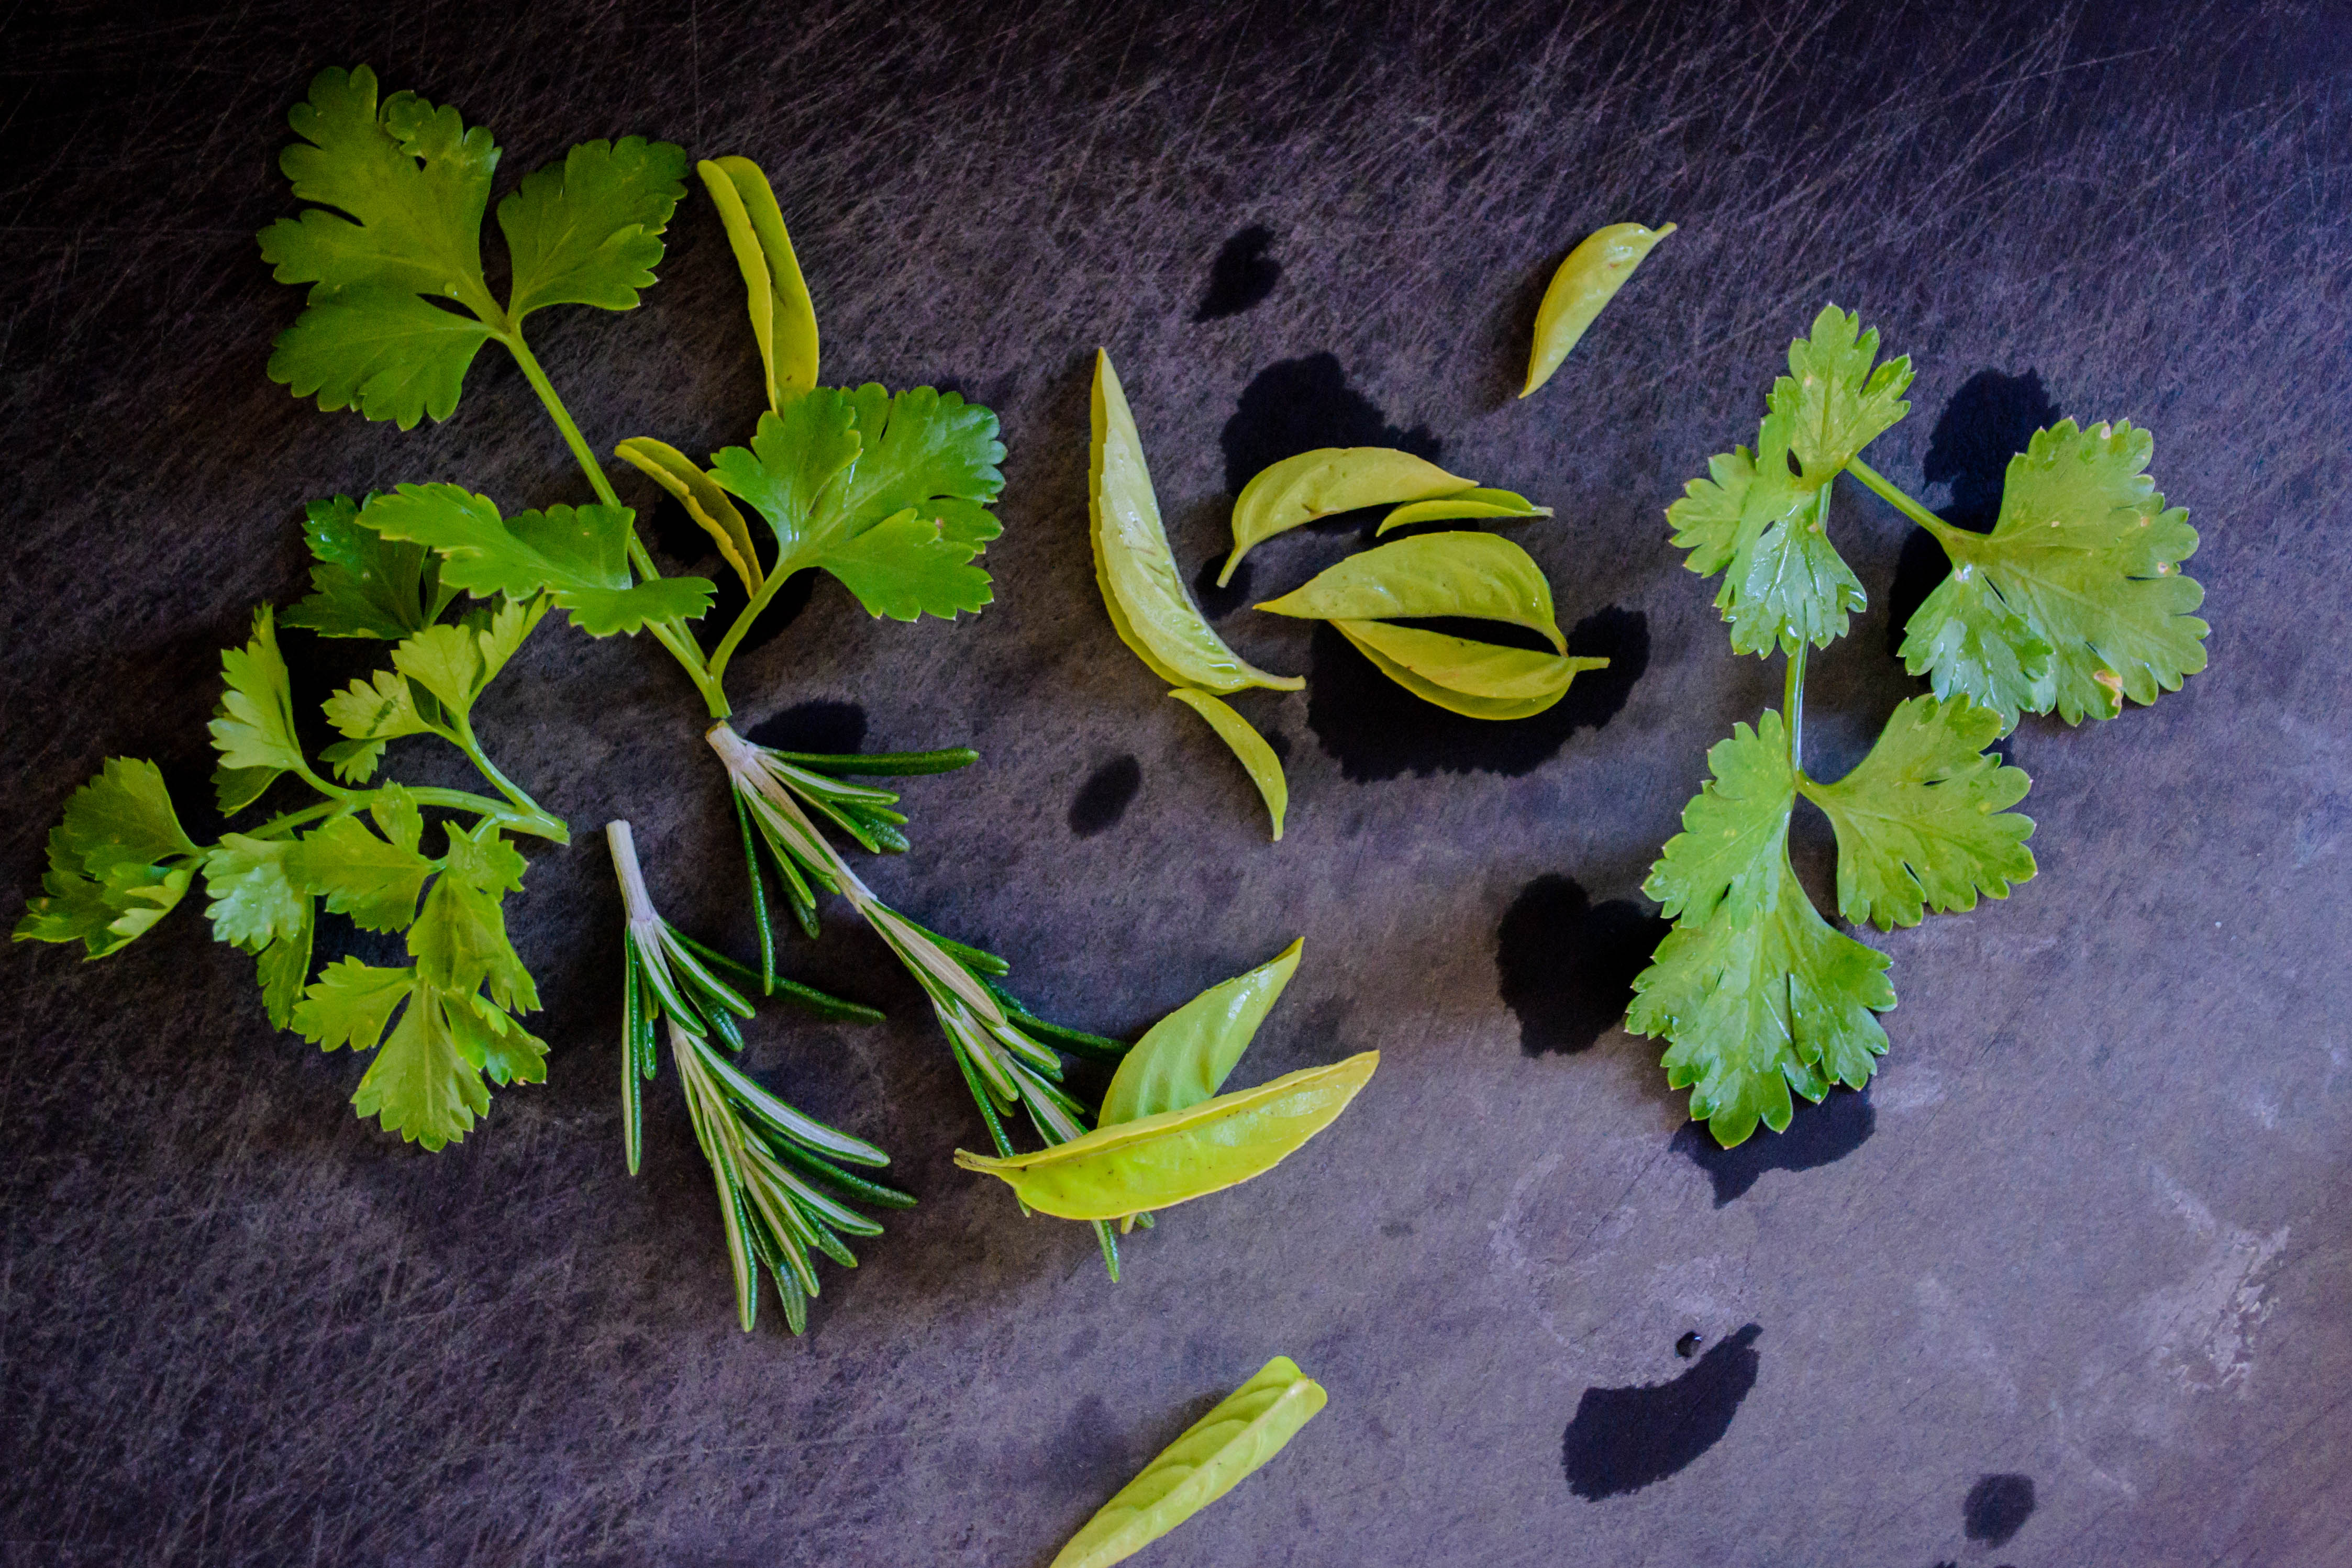
Mixed herbs.
 As I revealed last week, my trio of vegetable pickles are just one part of a larger project: a meatball banh mi. These rice rolls are part two. Banh mi, in Vietnamese, really refers not to the wonderful sandwich layered with pate or pork or tofu and stacked with vegetables, pickles, and spice, but to bread itself. Colonization brought the French baguette to Vietnam, and the blending of flavors is a much nicer postcolonial remnant than such occupations frequently bring.
 Though the culinary melding is quite harmonious, banh mi bread brings with it a great deal of internet controversy. Though most shops that sell the popular sandwich buy their baguettes from Vietnamese bakeries rather than making them in-house,
 crazy people people like me who want to re-craft the “genuine article” share their complaints, secrets, and professed revelations all over forums and comment threads, arguing over proportions and procedure and shape, and at some point, the argument usually involves discussion of flour type, gluten development, and protein content.
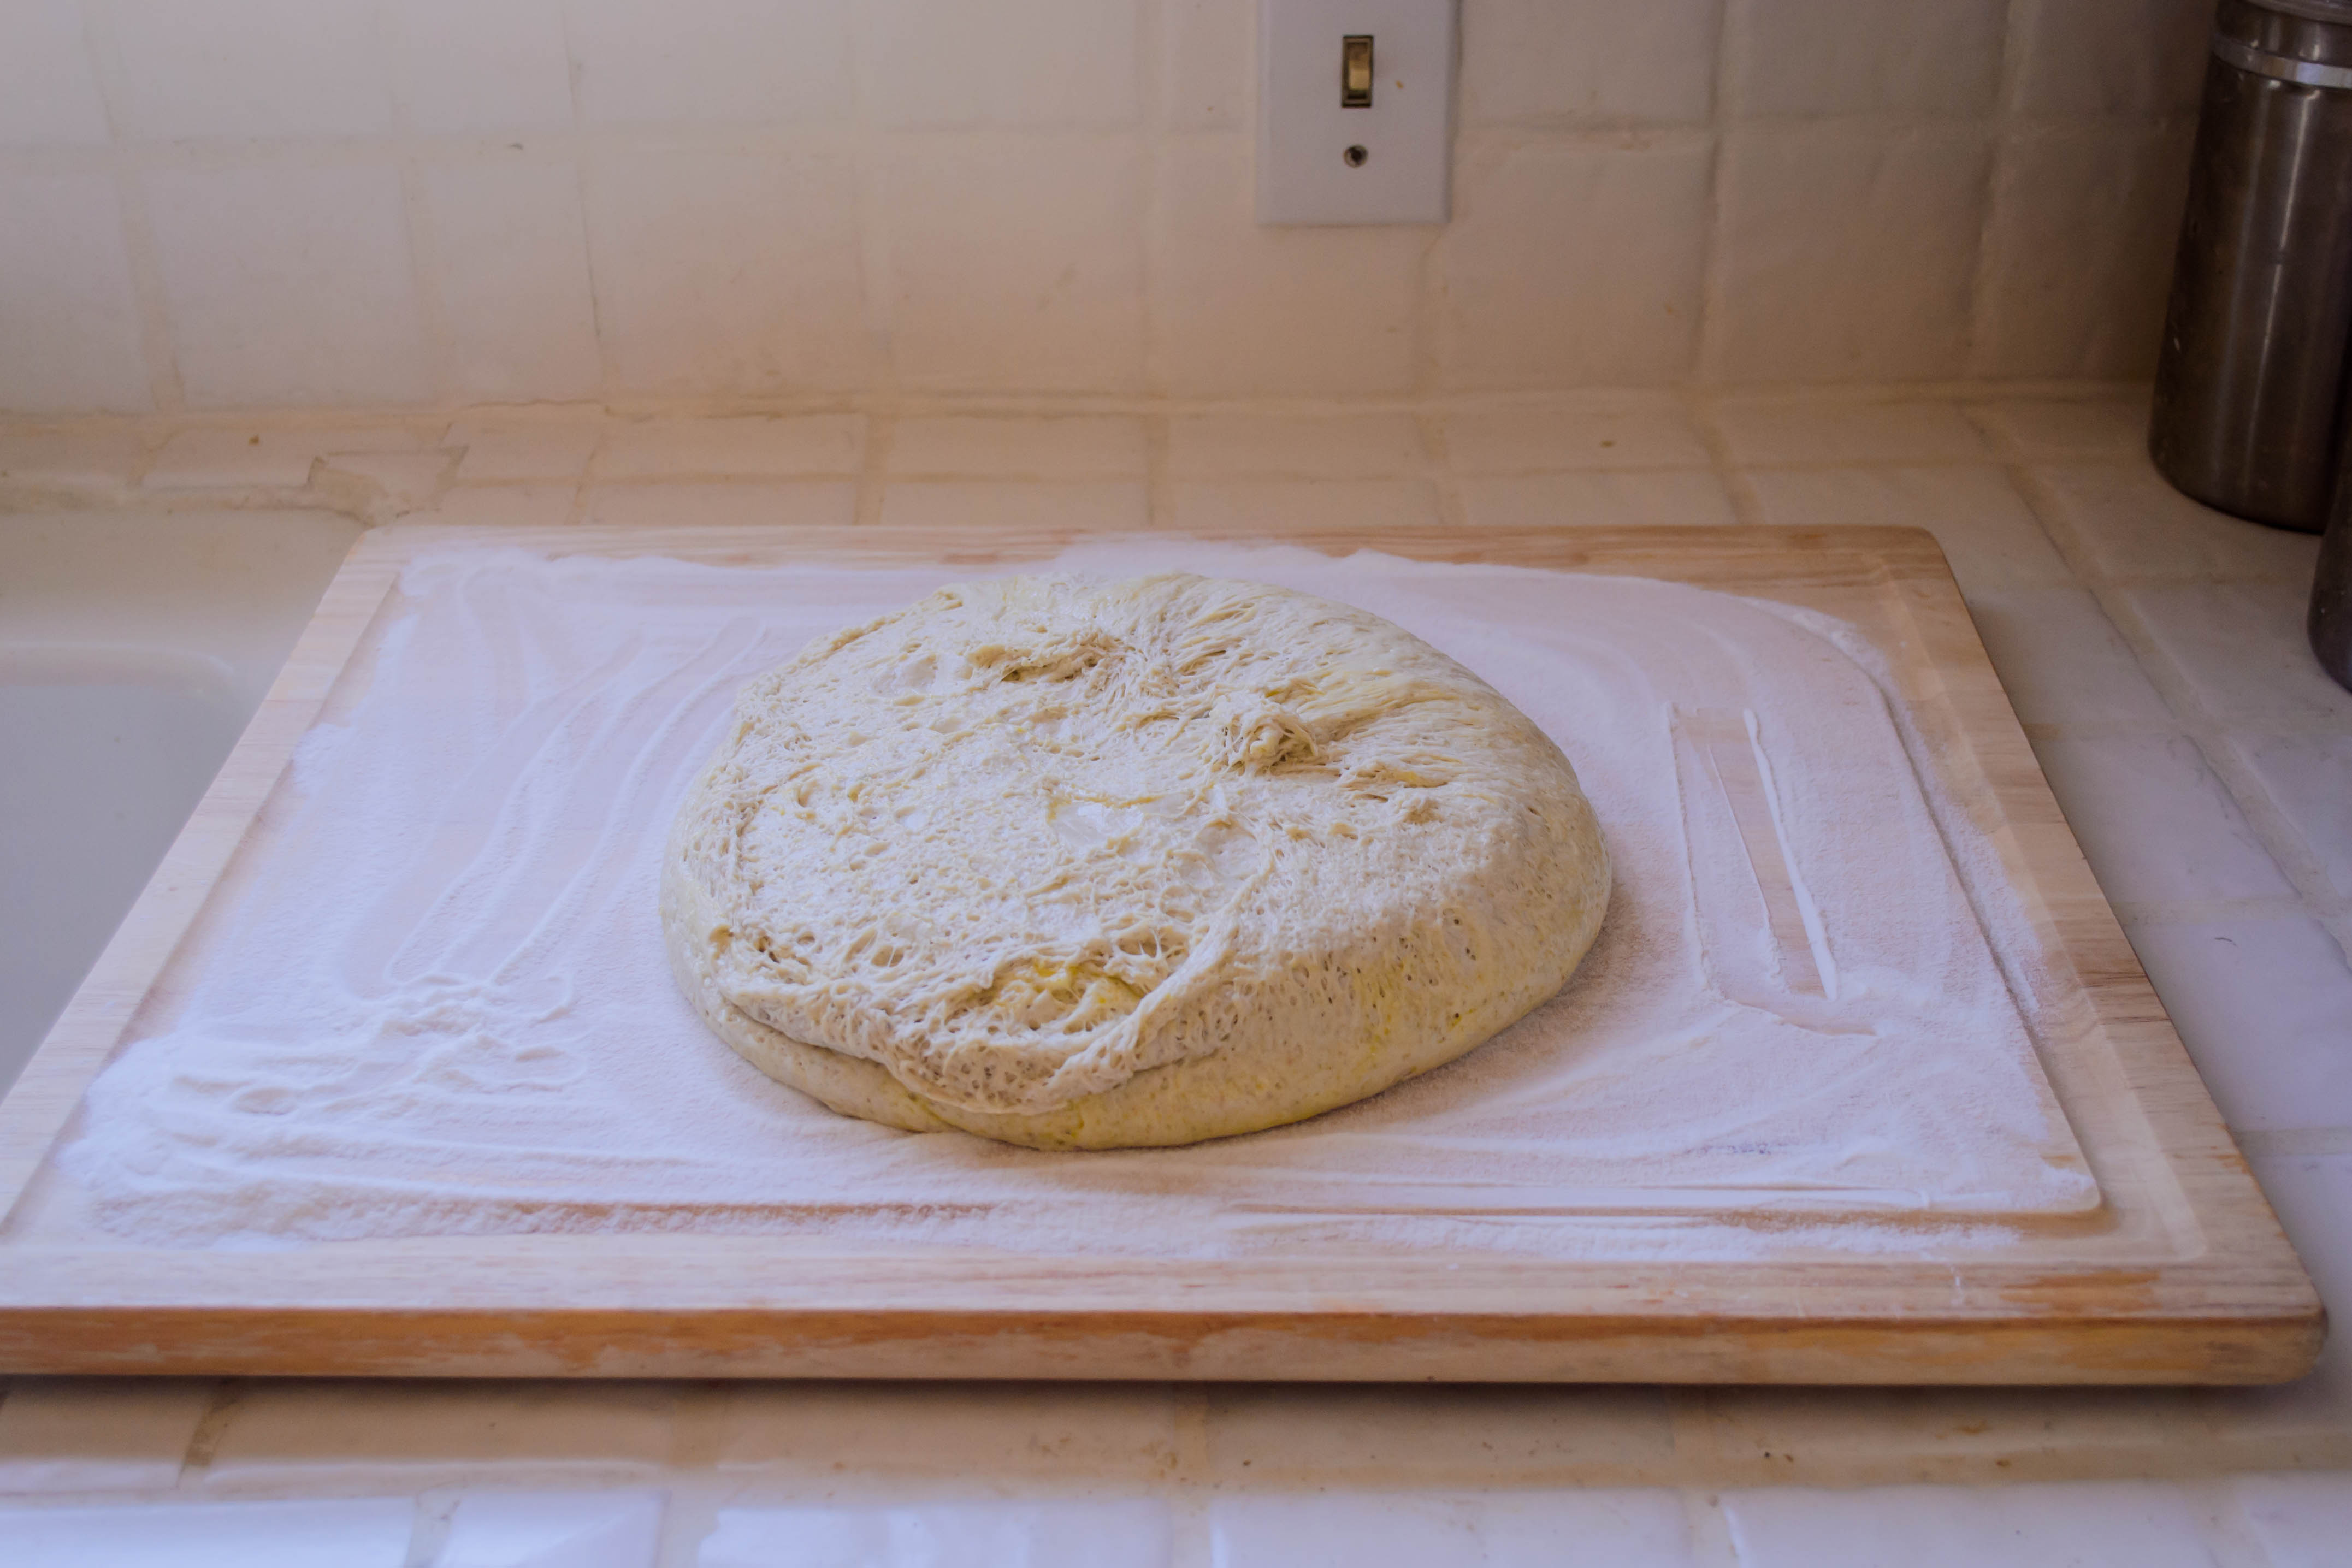

 The main debate when it comes to banh mi bread is the texture and composition. Though I’ve had these sandwiches on bread ranging from baguette or french roll to essentially a toasted hot dog bun, the ideal is a crisp, thin crust with a soft interior. The phrase “shatteringly crisp” is used with reverence. The internal structure should be light and soft and more delicate than the spongy chew of ciabatta. Rice flour is supposed to be the answer. Because it does not contain gluten, it will not result in the formation of the chewy texture a well-kneaded baguette can produce. However, food writer Andrea Nguyen, who knows a thing or two about Vietnamese food, asserts (assertively, even!) that rice flour is not a necessity, and in fact may even hinder the lightness and delicacy of the bread interior. However, without access to her cookbook or the combination of vital wheat gluten and vitamin C tablets she makes use of, I stuck with my usual method: a combination of promising-looking recipes plus my own instinct. Despite the to-rice-or-not-to-rice controversy, I decided to use a small percentage of rice flour. After all, I had some. Why not give it a shot.
 I also decided, veering far from tradition, to add some rye flour to the mix. According to Simply a Food Blog, a little bit of rye flour adds a compelling flavor and some additional sugars to the dough for the yeasts to gobble up. I like the gentle toastiness of rye flour, so I incorporated some of that as well.

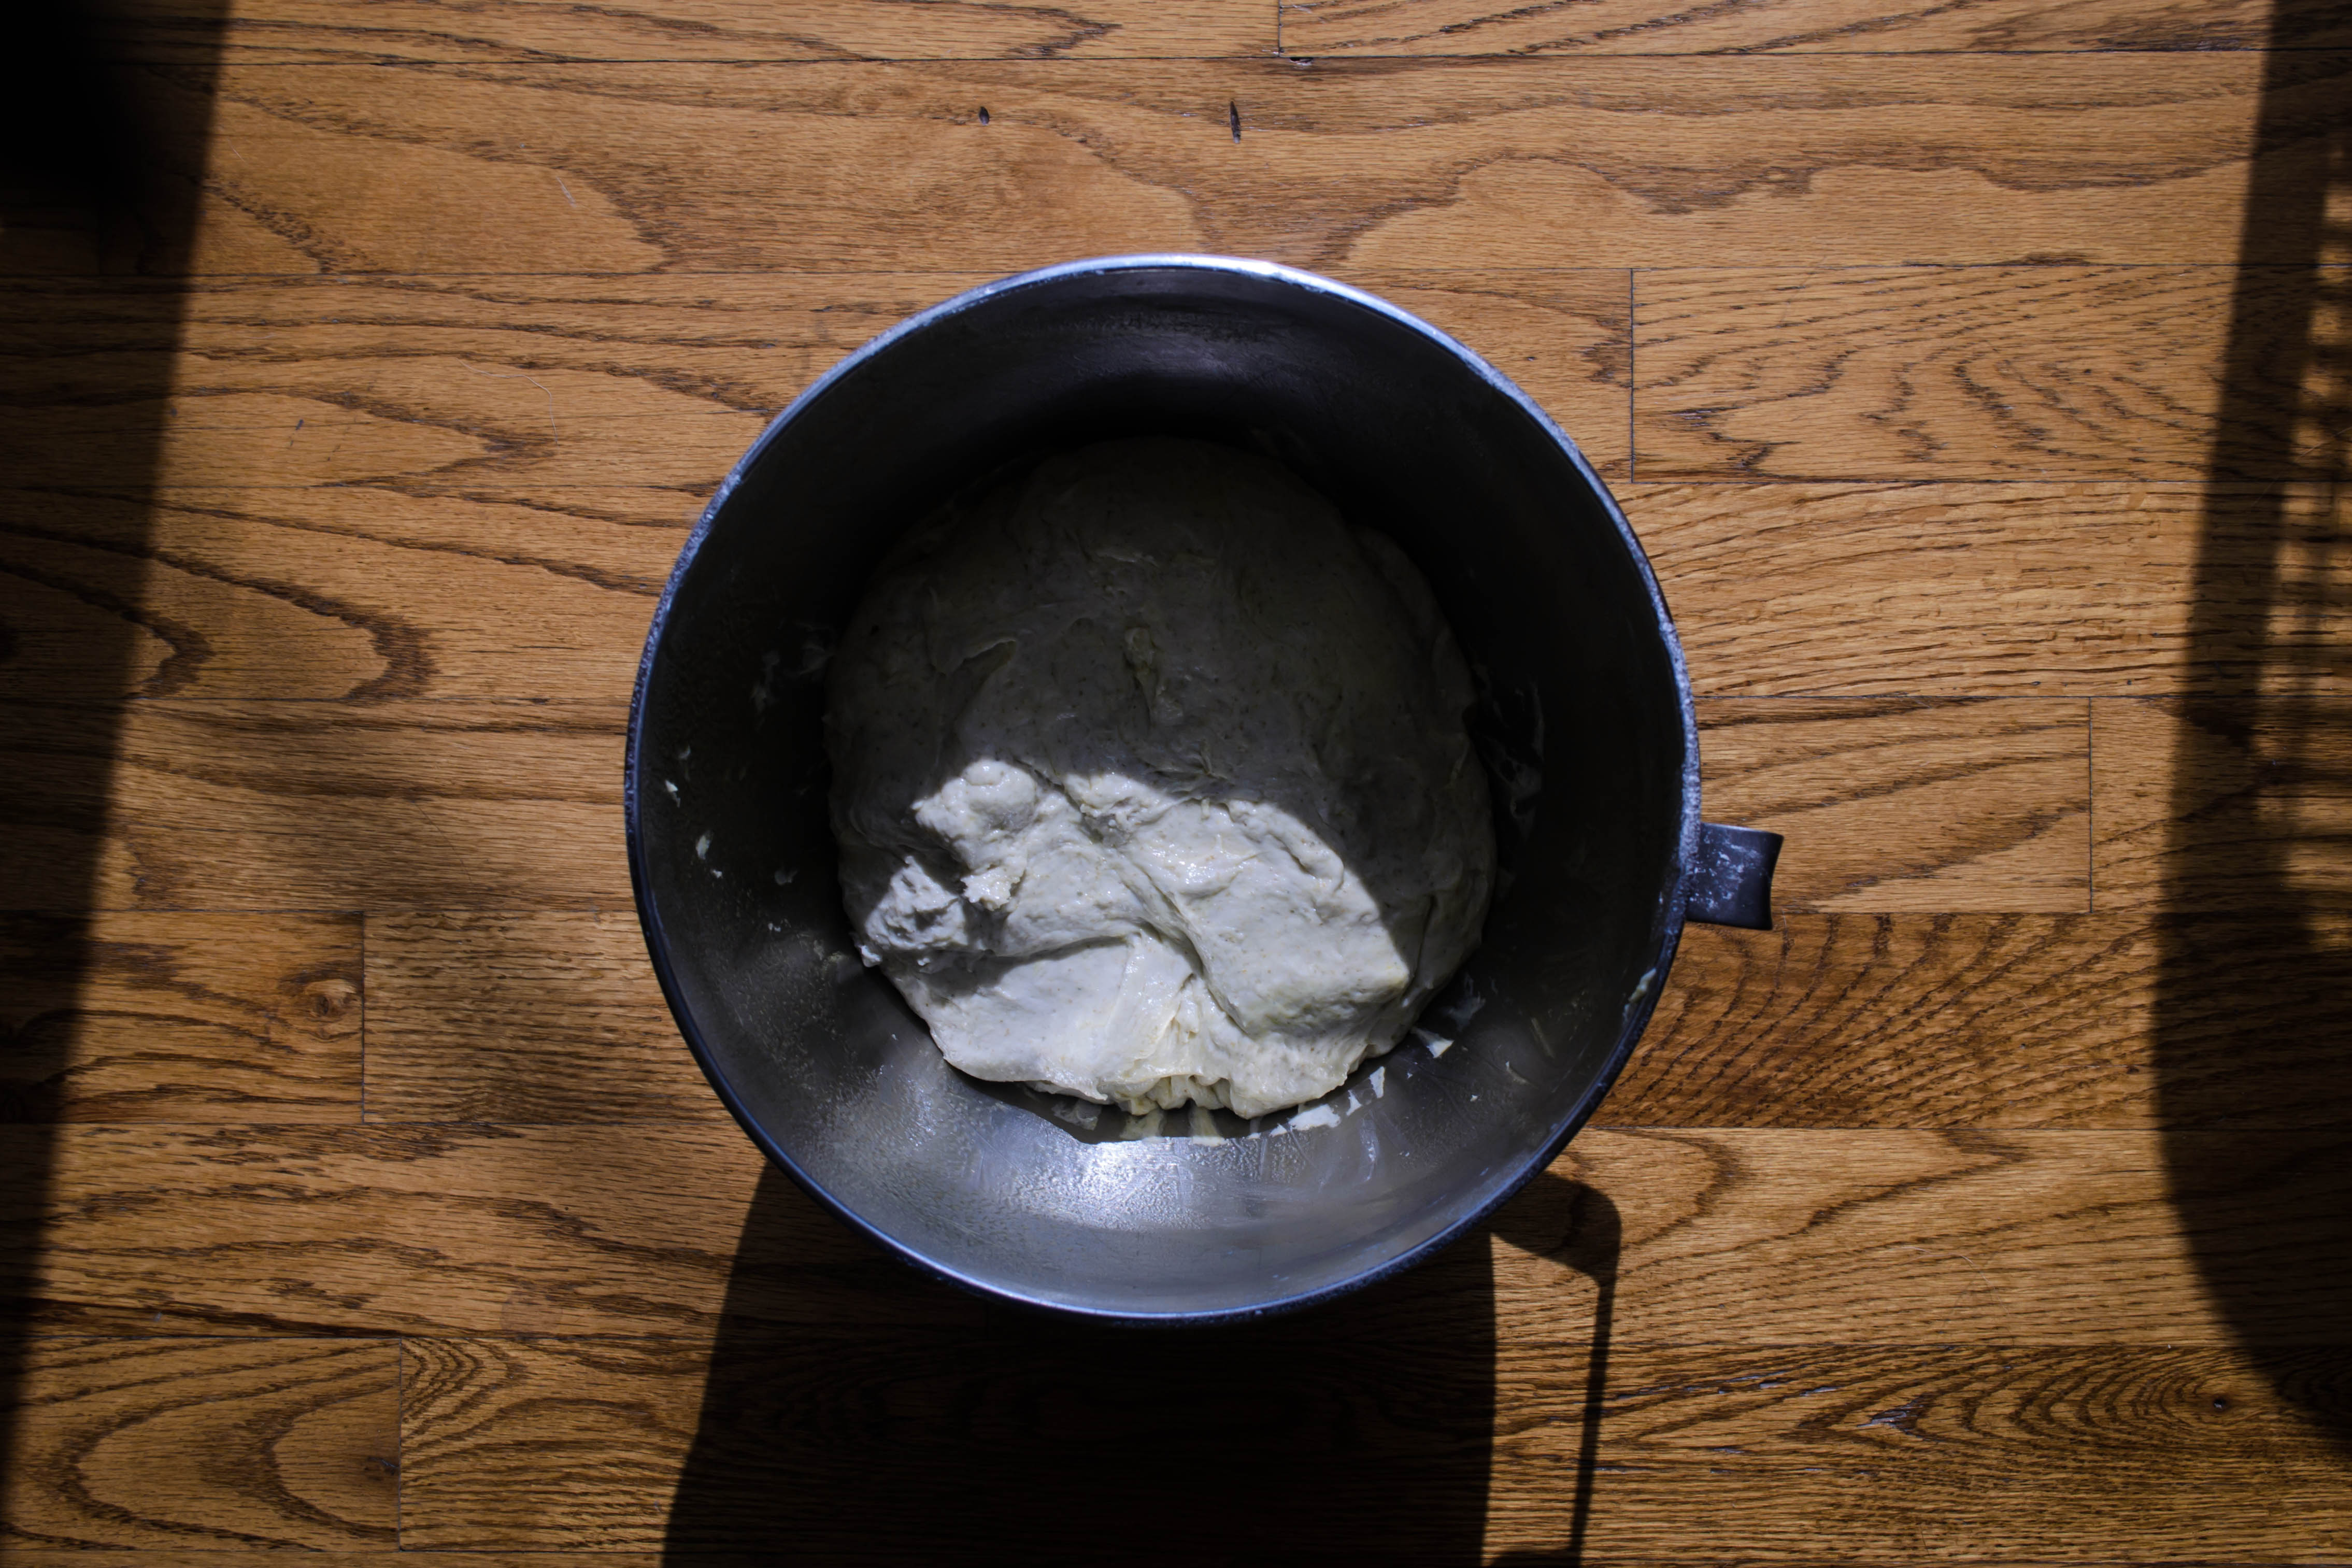
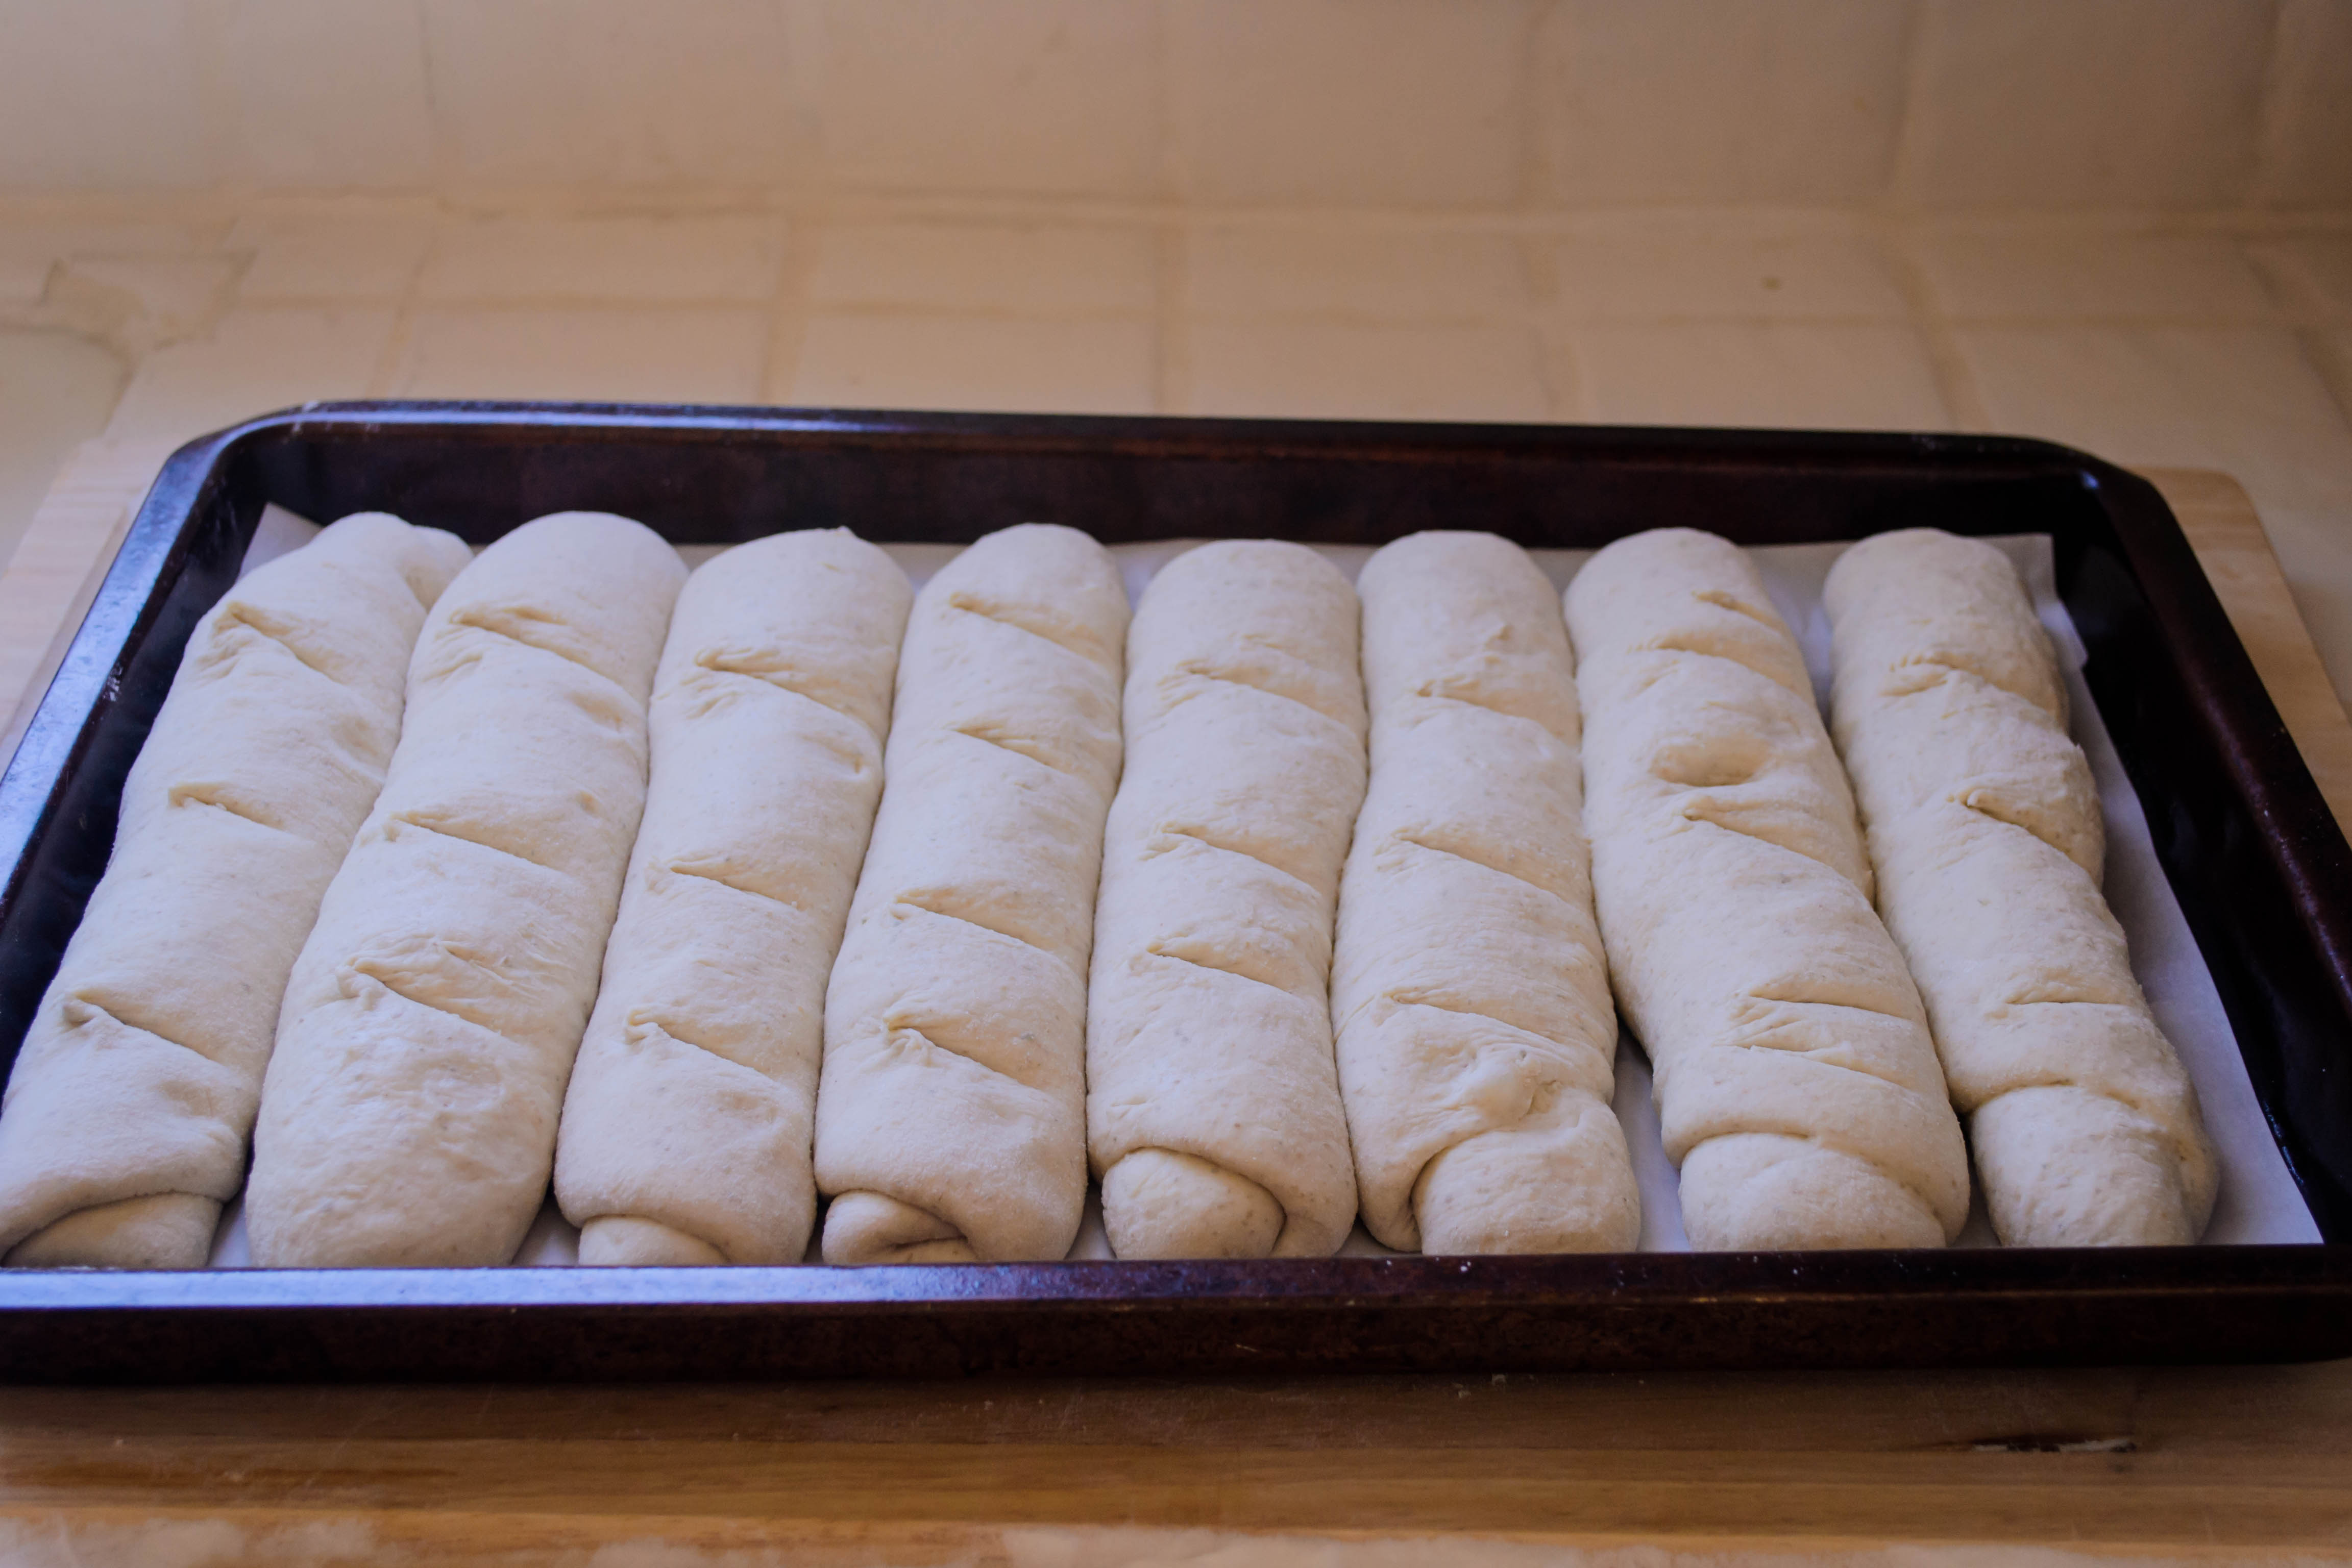
 In addition to the Simply a Food Blog suggestion, I also used Rice and Wheat and A Bread A Day in my recipe creation, and ended up with an ingredient list and procedure that created something much closer to a sausage roll or a bun than a crisp crusted baguette.
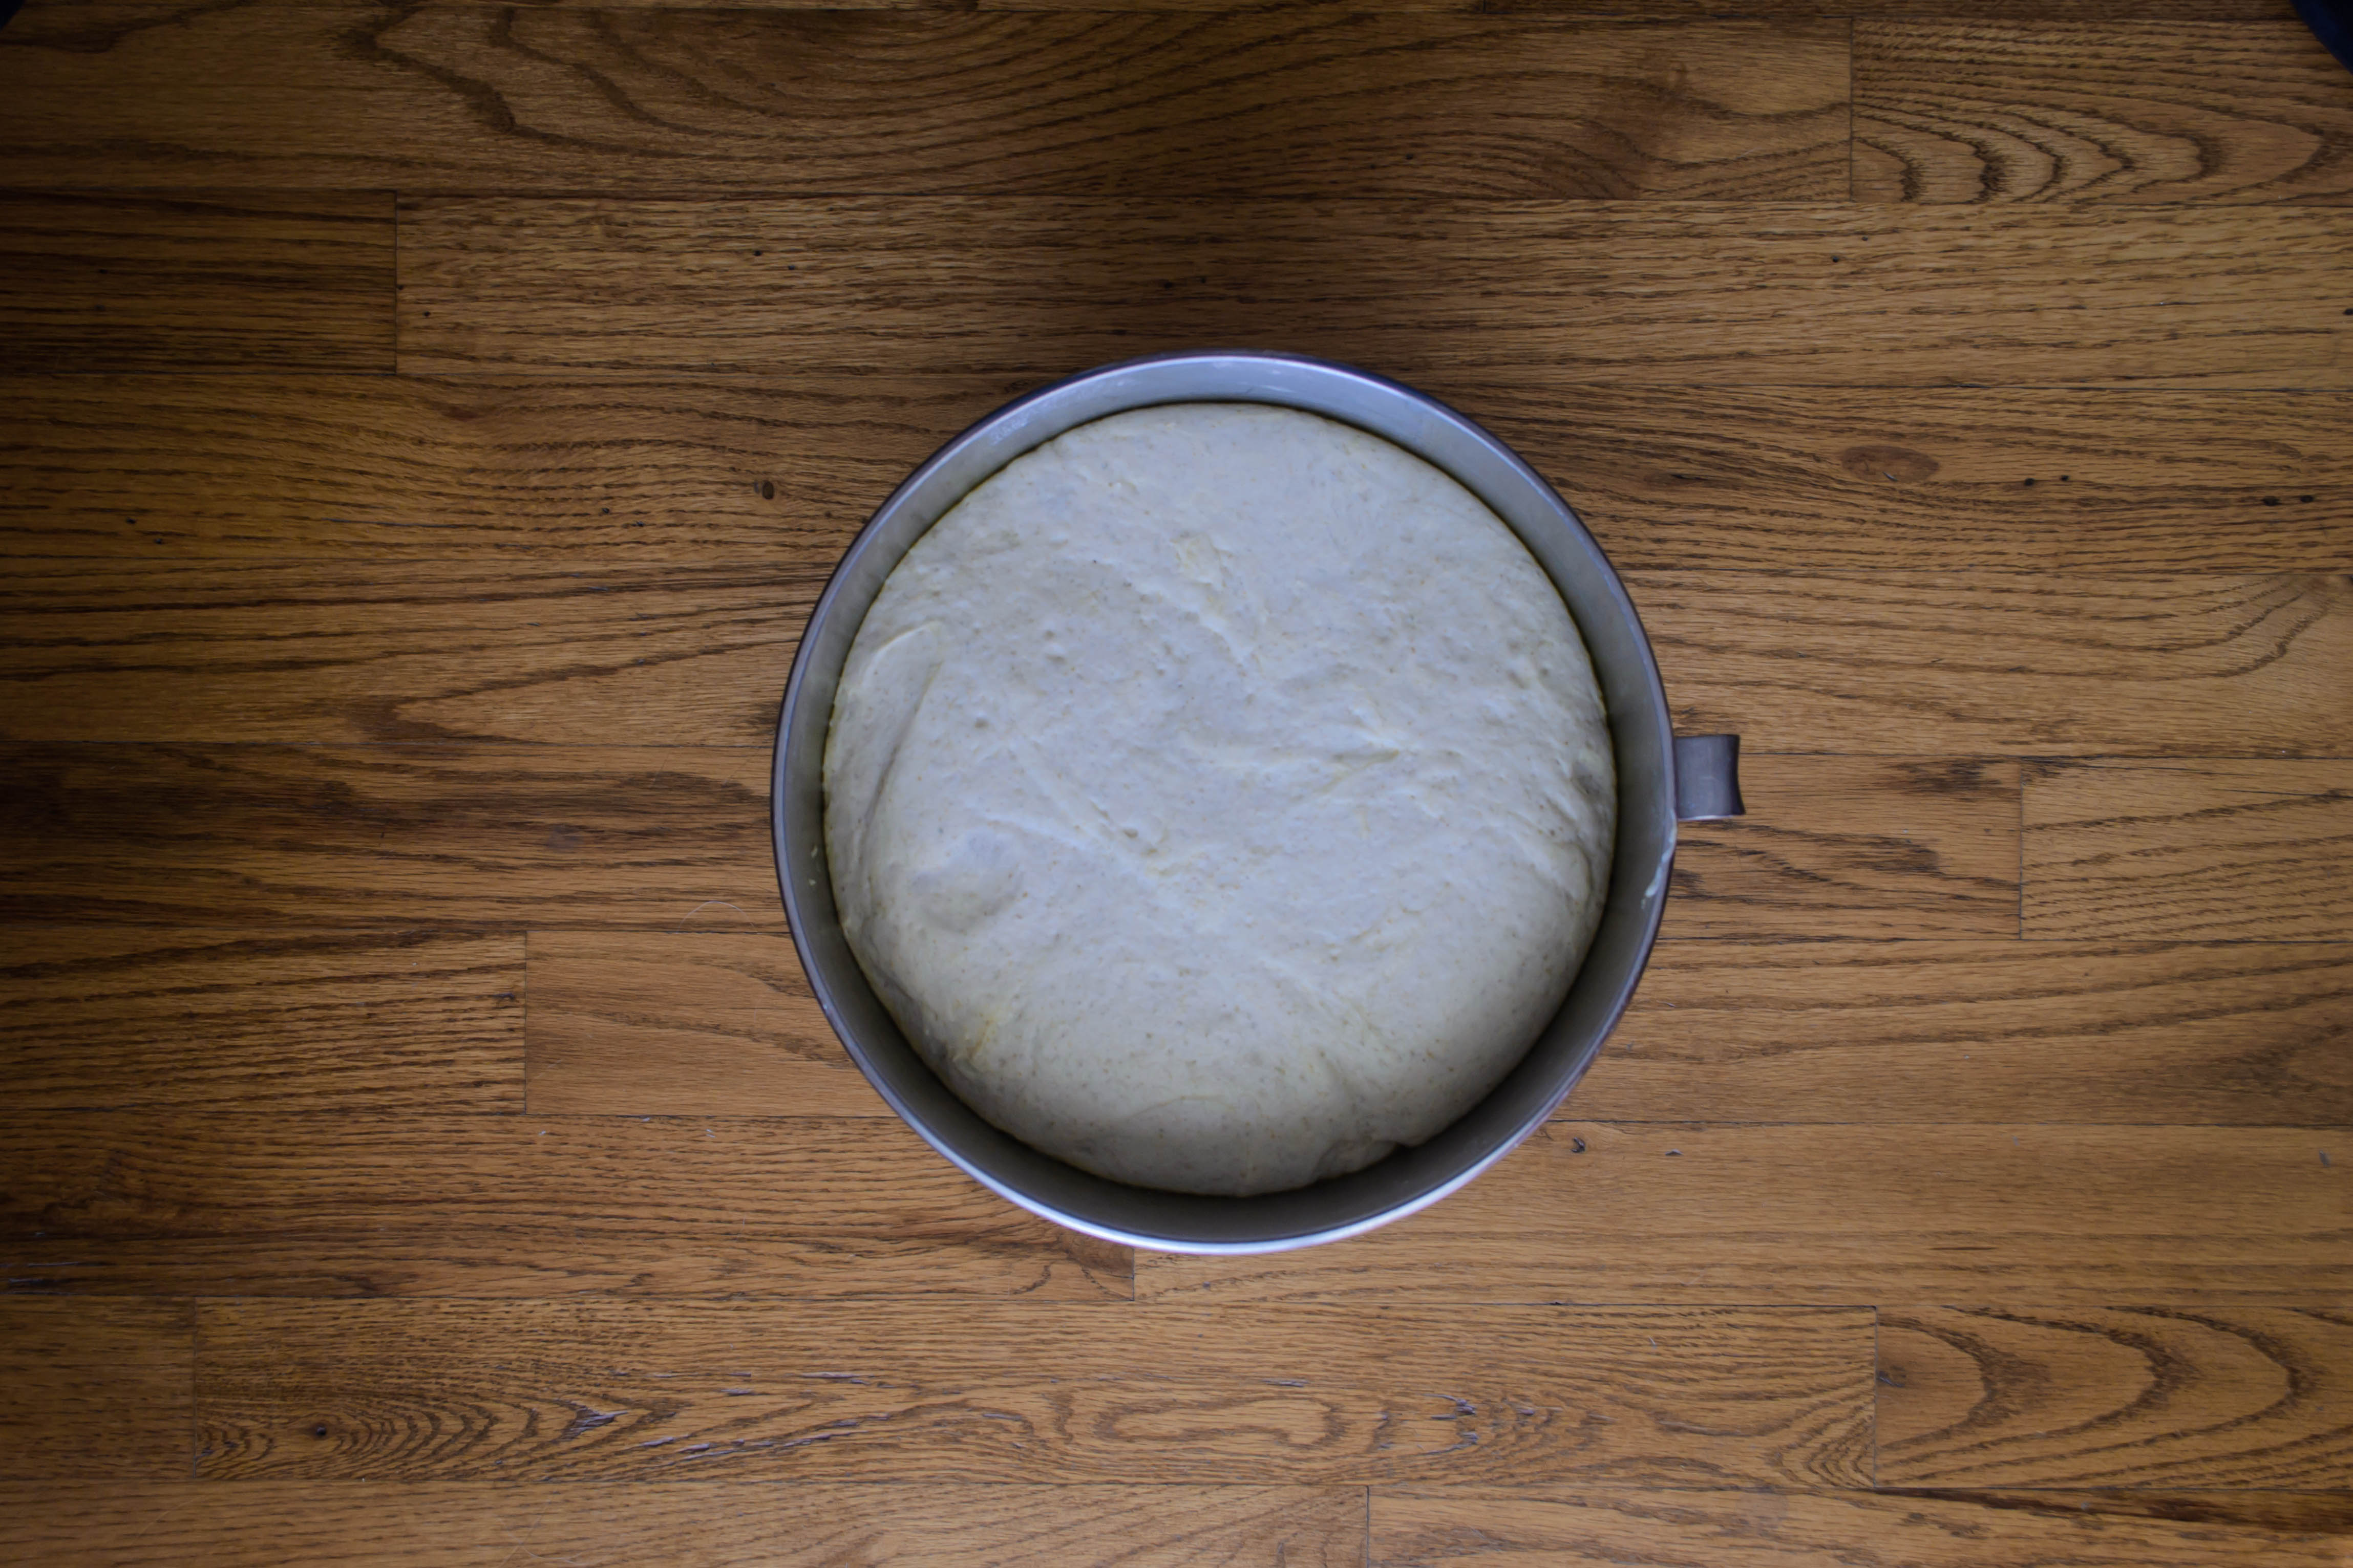
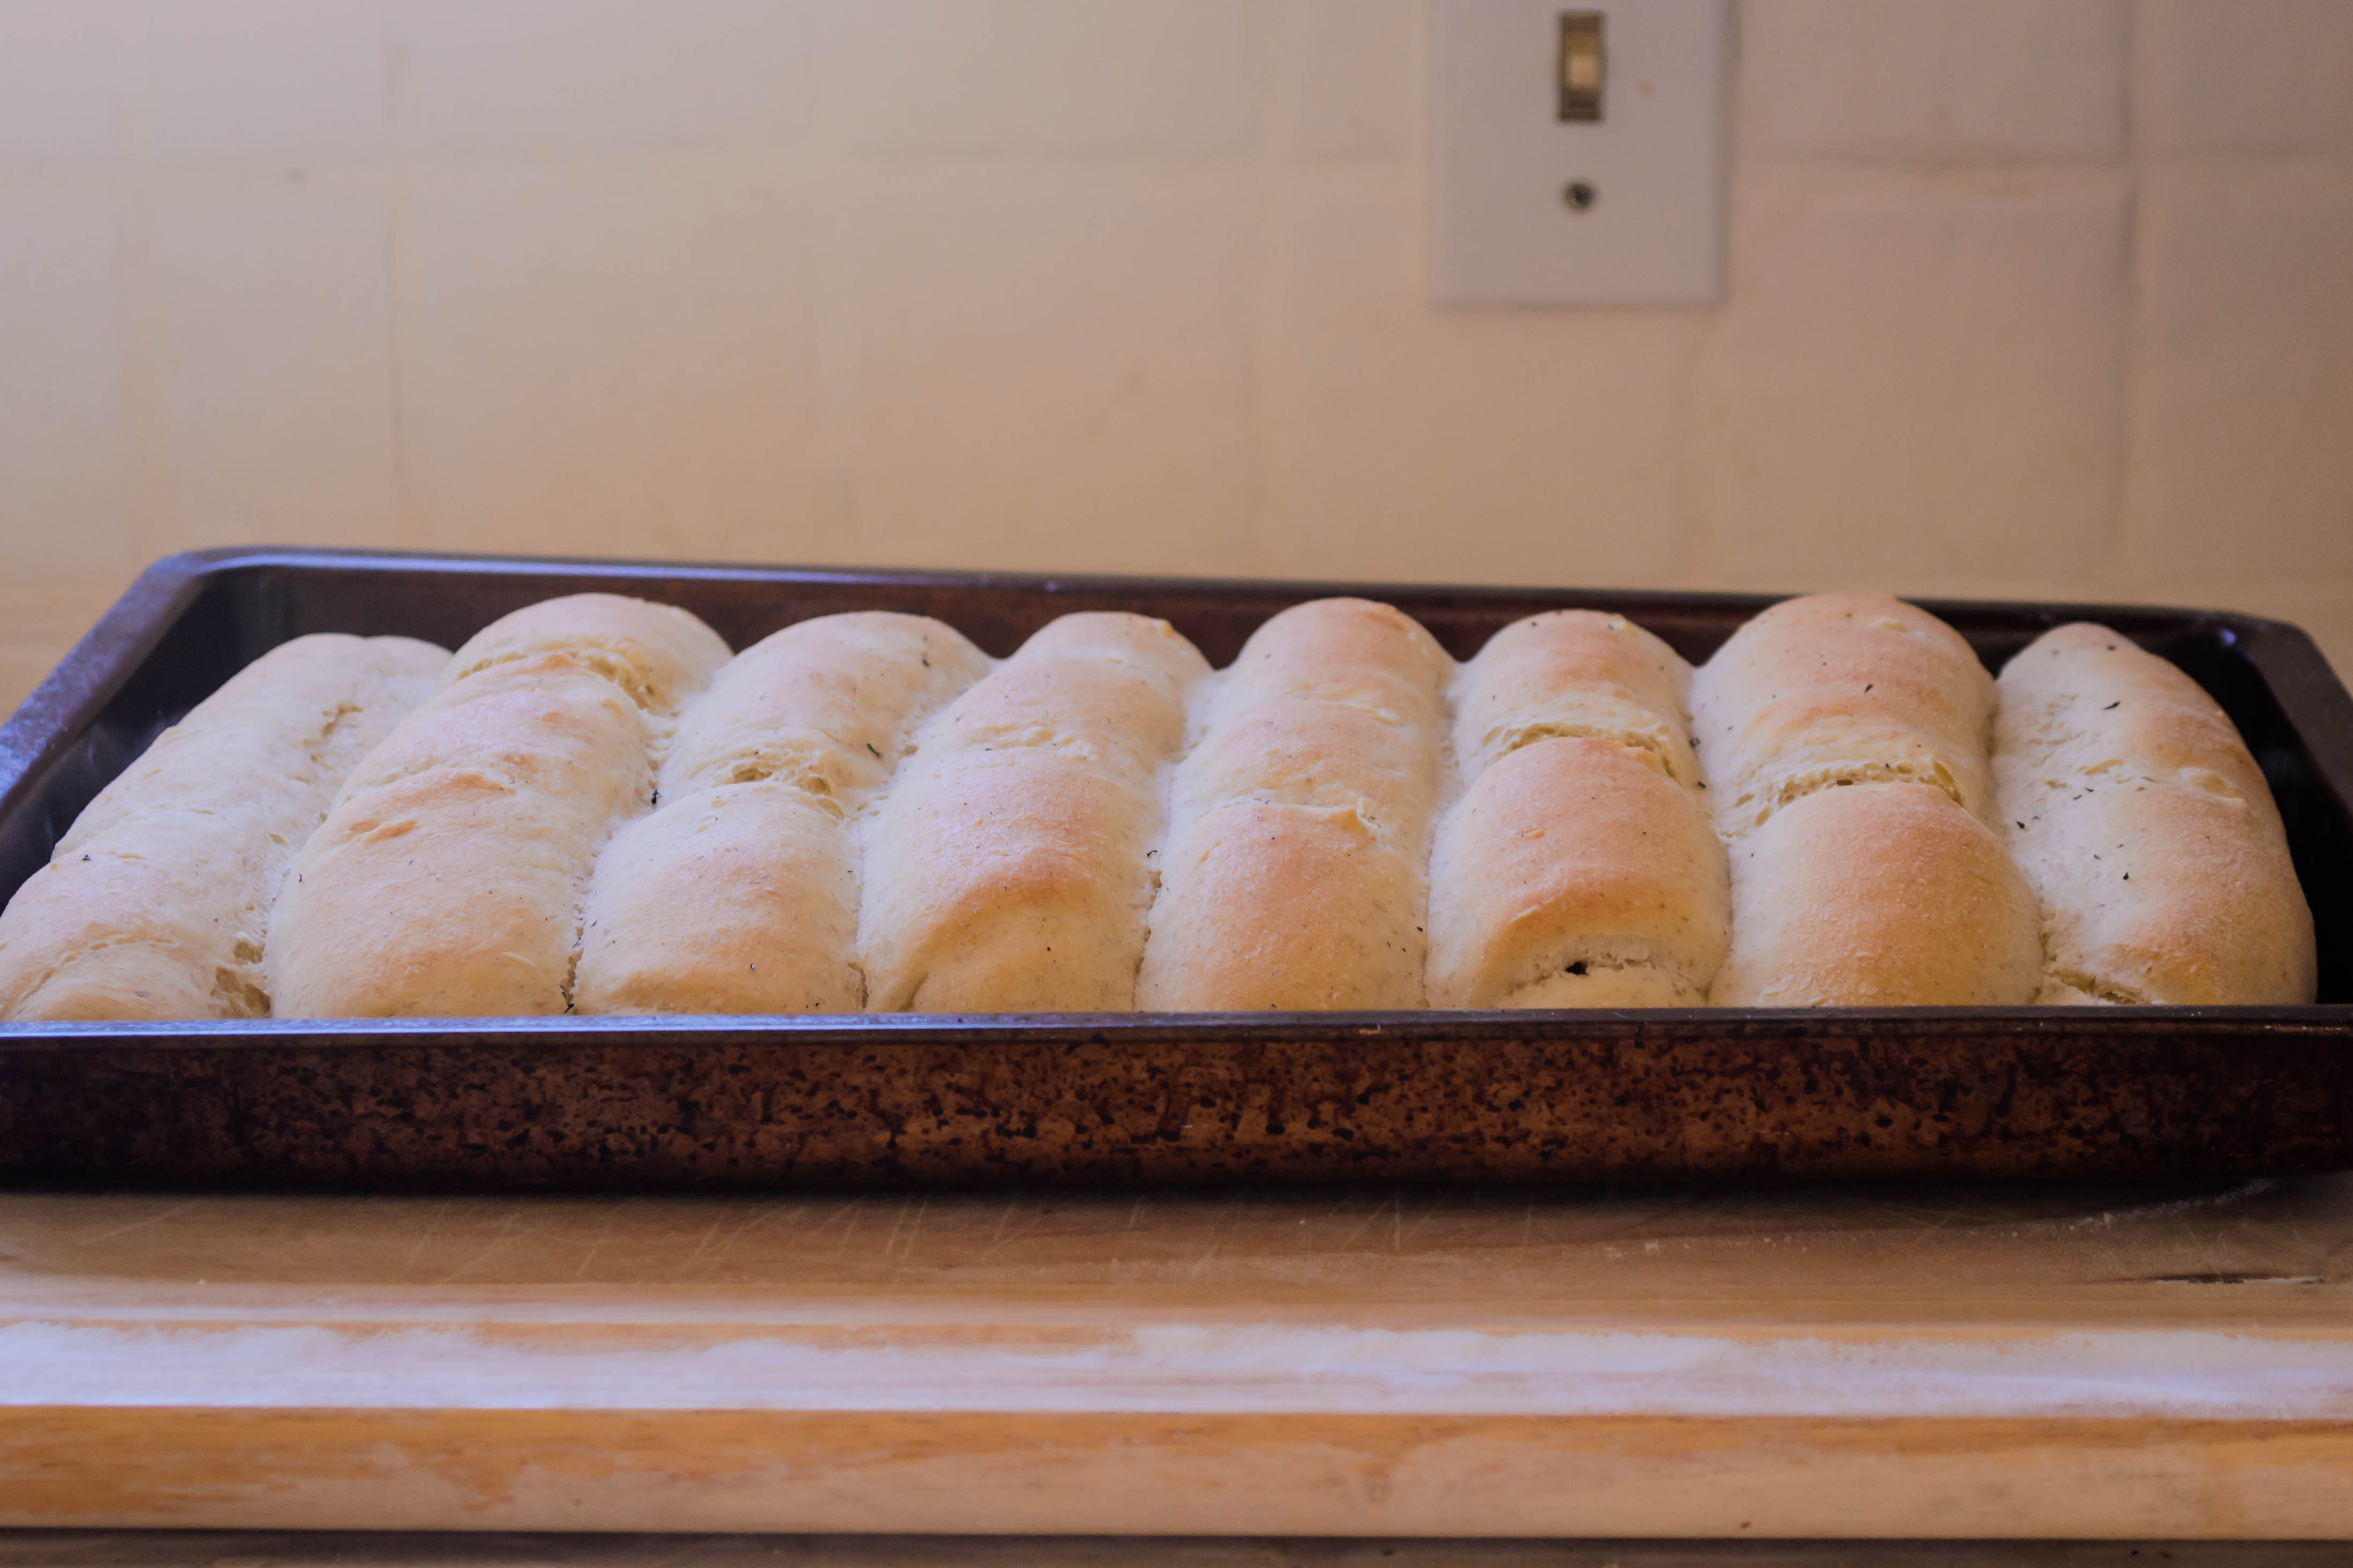
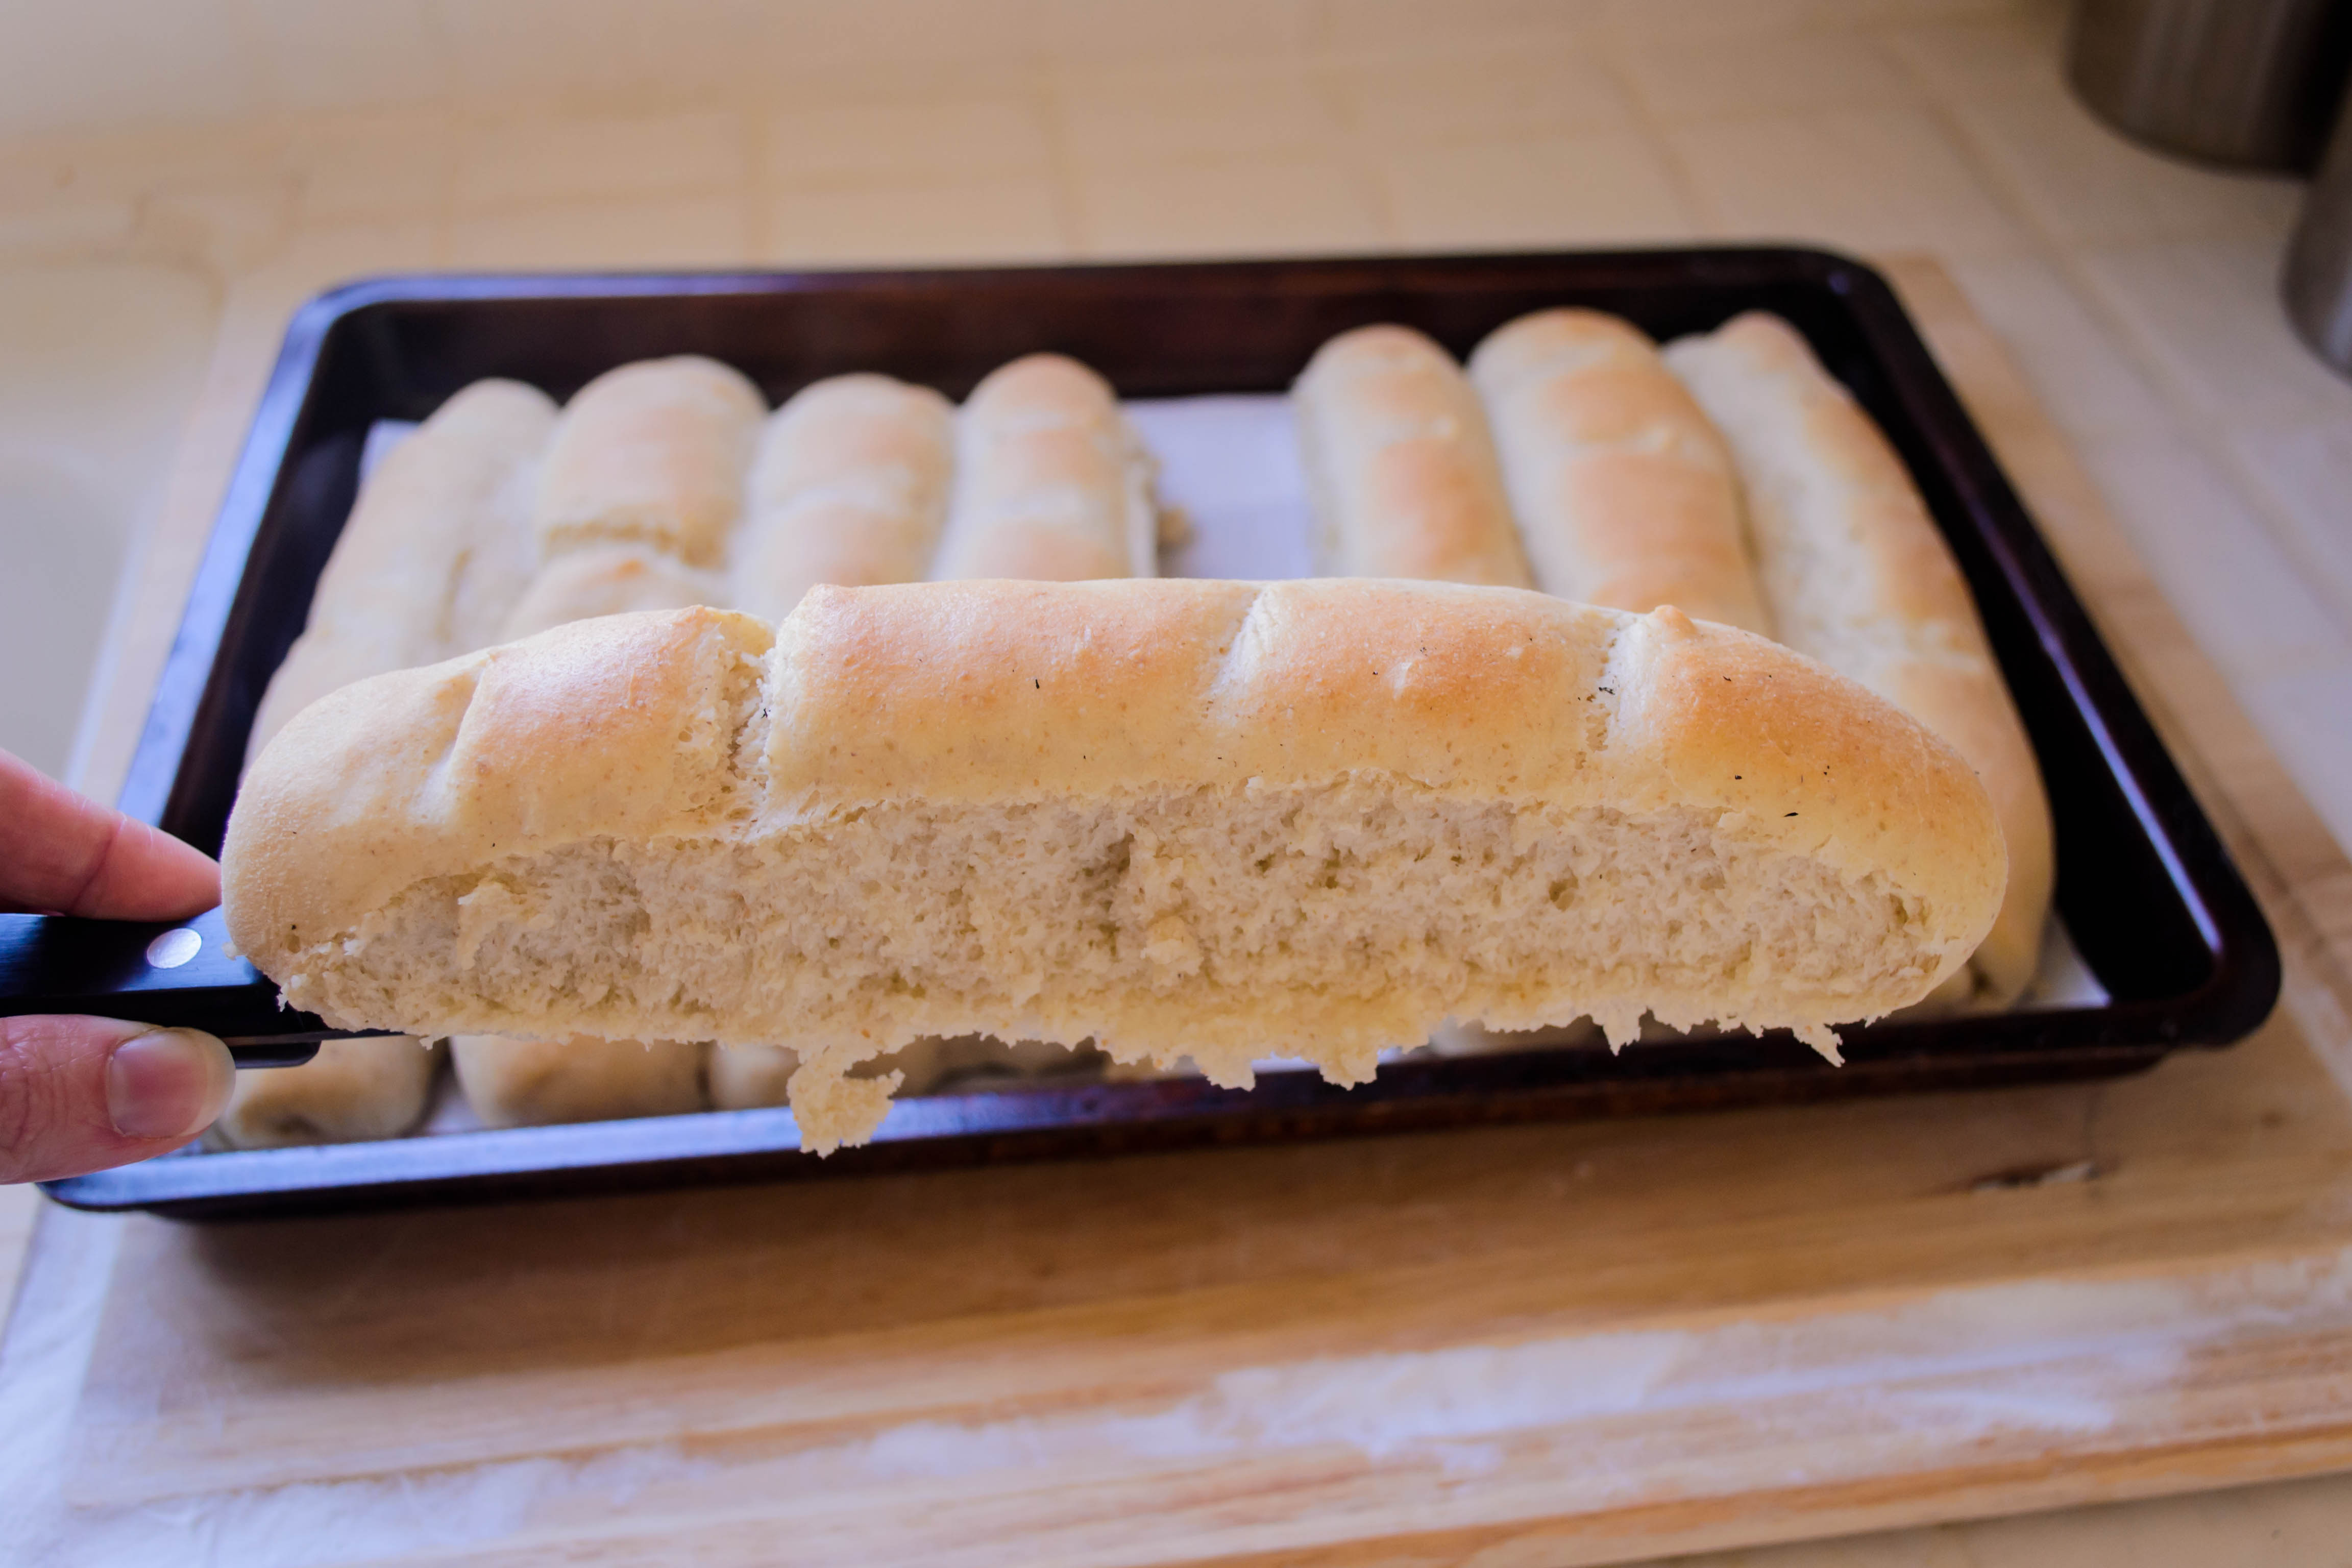
 Yes, I’ll admit, these are not the banh mi wrappers of your dreams (well, at least not if you are bivouacked in the “shatteringly crisp” camp). Though these rolls have a thin crust, it is just enough for the teeth to play with, not a staggering crunch you can hear across the table. At first I was perturbed by this, but it only took splitting one open, still warm and fluffy from the oven, and slicking the interior with butter to show me that while this might not be a traditional Vietnamese baguette, it is a delicious piece of bread. Though I filled ours with the meatballs I’ll show you next week, it would be more than welcome at any summer grilling event, whether your intended fillings are kielbasa or veggie dogs.
 As I thought more about this issue of inexactness, I decided I didn’t care. After all, this is my sandwich. A thin crust that shatters upon impact is fine, but my version keeps the roof of your mouth unscraped and your placemat a lot less crumb-scattered. As Joe Pastry pointed out just recently, tender bread is a boon for a sandwich. Mine offers a pleasant depth of flavor from the addition of the rye flour, and its soft, fluffy interior is exactly the kind of squashy that I favor in a sandwich. Besides (I compellingly convinced myself), the crisp crunch of the vegetables stacked up between the halves of the roll provide sufficient textural contrast. Why not, then, surround them with something a bit on the softer side?
 These rolls are best just cooled from the oven. They are okay on the second day, but I highly recommend toasting them for consumption on any day following the one they were made.

A fabled land of farmers, farm shares, fancy (and not so fancy) restaurants, family meals, food projects and more.
cooking my way through my dissertation, one egg at a time
Fearless cooking from a tiny NYC kitchen.
food, in so many words.
Recreating the famous dishes of famous writers. Part recipe blog, part historical discussion, entirely unabashed love of books.
Epicurean Adventures from Eugene, Oregon
Celebrating the Harvest
Modern Iranian aka Persian Food & Culture Blog - Cuisine, Recipes, Stories , Photos, Pictures, DIY tutorials
Exploring Culinary Traditions of Africa, African America and the African Diaspora
food, in so many words.
food, in so many words.
food, in so many words.
Food-Stories-Recipes-Love
WordPress.com is the best place for your personal blog or business site.
