My interests for some time have been food and bodies. Academically, as I’ve noted on my About page, I studied bodies. I’m interested in the way we represent them in literature, and increasingly, the way we represent them in our own self-presentation. This makes me a better teacher, I think, because it keeps me aware of my students as people – as living, breathing bodies who think and act and speak not always according to logic or reason, but to their status as physical beings ruled by whims and appetites. It also makes me, I hope, a better human being, since I recognize what this kind of embodiment means for my fellow beings.
 Outside of academics, I love food (I’m sure you would never have guessed this). This pair of interests makes total sense to me. Bodies, after all, require food. It fuels us, it nurtures us, and it affords us pleasure of many sorts. The pleasure of a full belly. The pleasure of a silky custard against the tongue, or a thick hunk of steak between the teeth, dissolving into creamy fat at the edges.
 All too often, though, our associations between food and bodies are negative. We use the slippery jiggle of jelly to describe a stomach or a bottom that we deem too ample or not sufficiently firm. Our brains are “fried” or “scrambled” when we feel tired or off our game. “Muffin top” is a newer construction thanks to the popularity of tight and midriff-baring wardrobes (deemed, interestingly enough, one of the most creative words of 2005 by the American Dialect Society). And of course there is the classic complaint of “cottage cheese thighs.”
 I want to propose a new one, to break this concentration on the negative textures and attributes we give our bodies, and refocus attention instead on their strength and abilities: mayonnaise arms.
 At first glance, this sounds just as negative as the others. The rich fatty consistency of mayonnaise calls to mind a sagging bicep rife with cellulite. But I’m not talking about a visual comparison. I’m talking cause and effect. Though she certainly has a more traditional exercise routine, after my weekend of making mayonnaise from scratch, you could tell me First Lady Michelle Obama’s amazing arms were forged whipping her own condiments and I wouldn’t be at all surprised. The sustained whisking mayonnaise requires, pulling egg yolk and oil together into a magical, fluffy, silky, creamy emulsion, has the potential to produce incredible toned limbs (and then sit down to a perfectly dressed BLT. Just saying).
 This is my fifth installment in 2014’s Project Sauce,* and for the first time I have to admit I was quite nervous. Even the fussiness of last month’s hollandaise didn’t throw me off all that much, since I’d made it before. But the idea of whisking a raw egg yolk and some oil into a fluffy spread had me feeling tentative. First of all, despite understanding a bit about the power of emulsions, it seemed so unlikely those humble ingredients could even approximate something like the jar of Hellman’s hanging out on my fridge door. Secondly, even though I knew my chances of getting salmonella from my homemade spread were quite low, I still felt a little uncomfortable about what seemed like dangerous cooking.
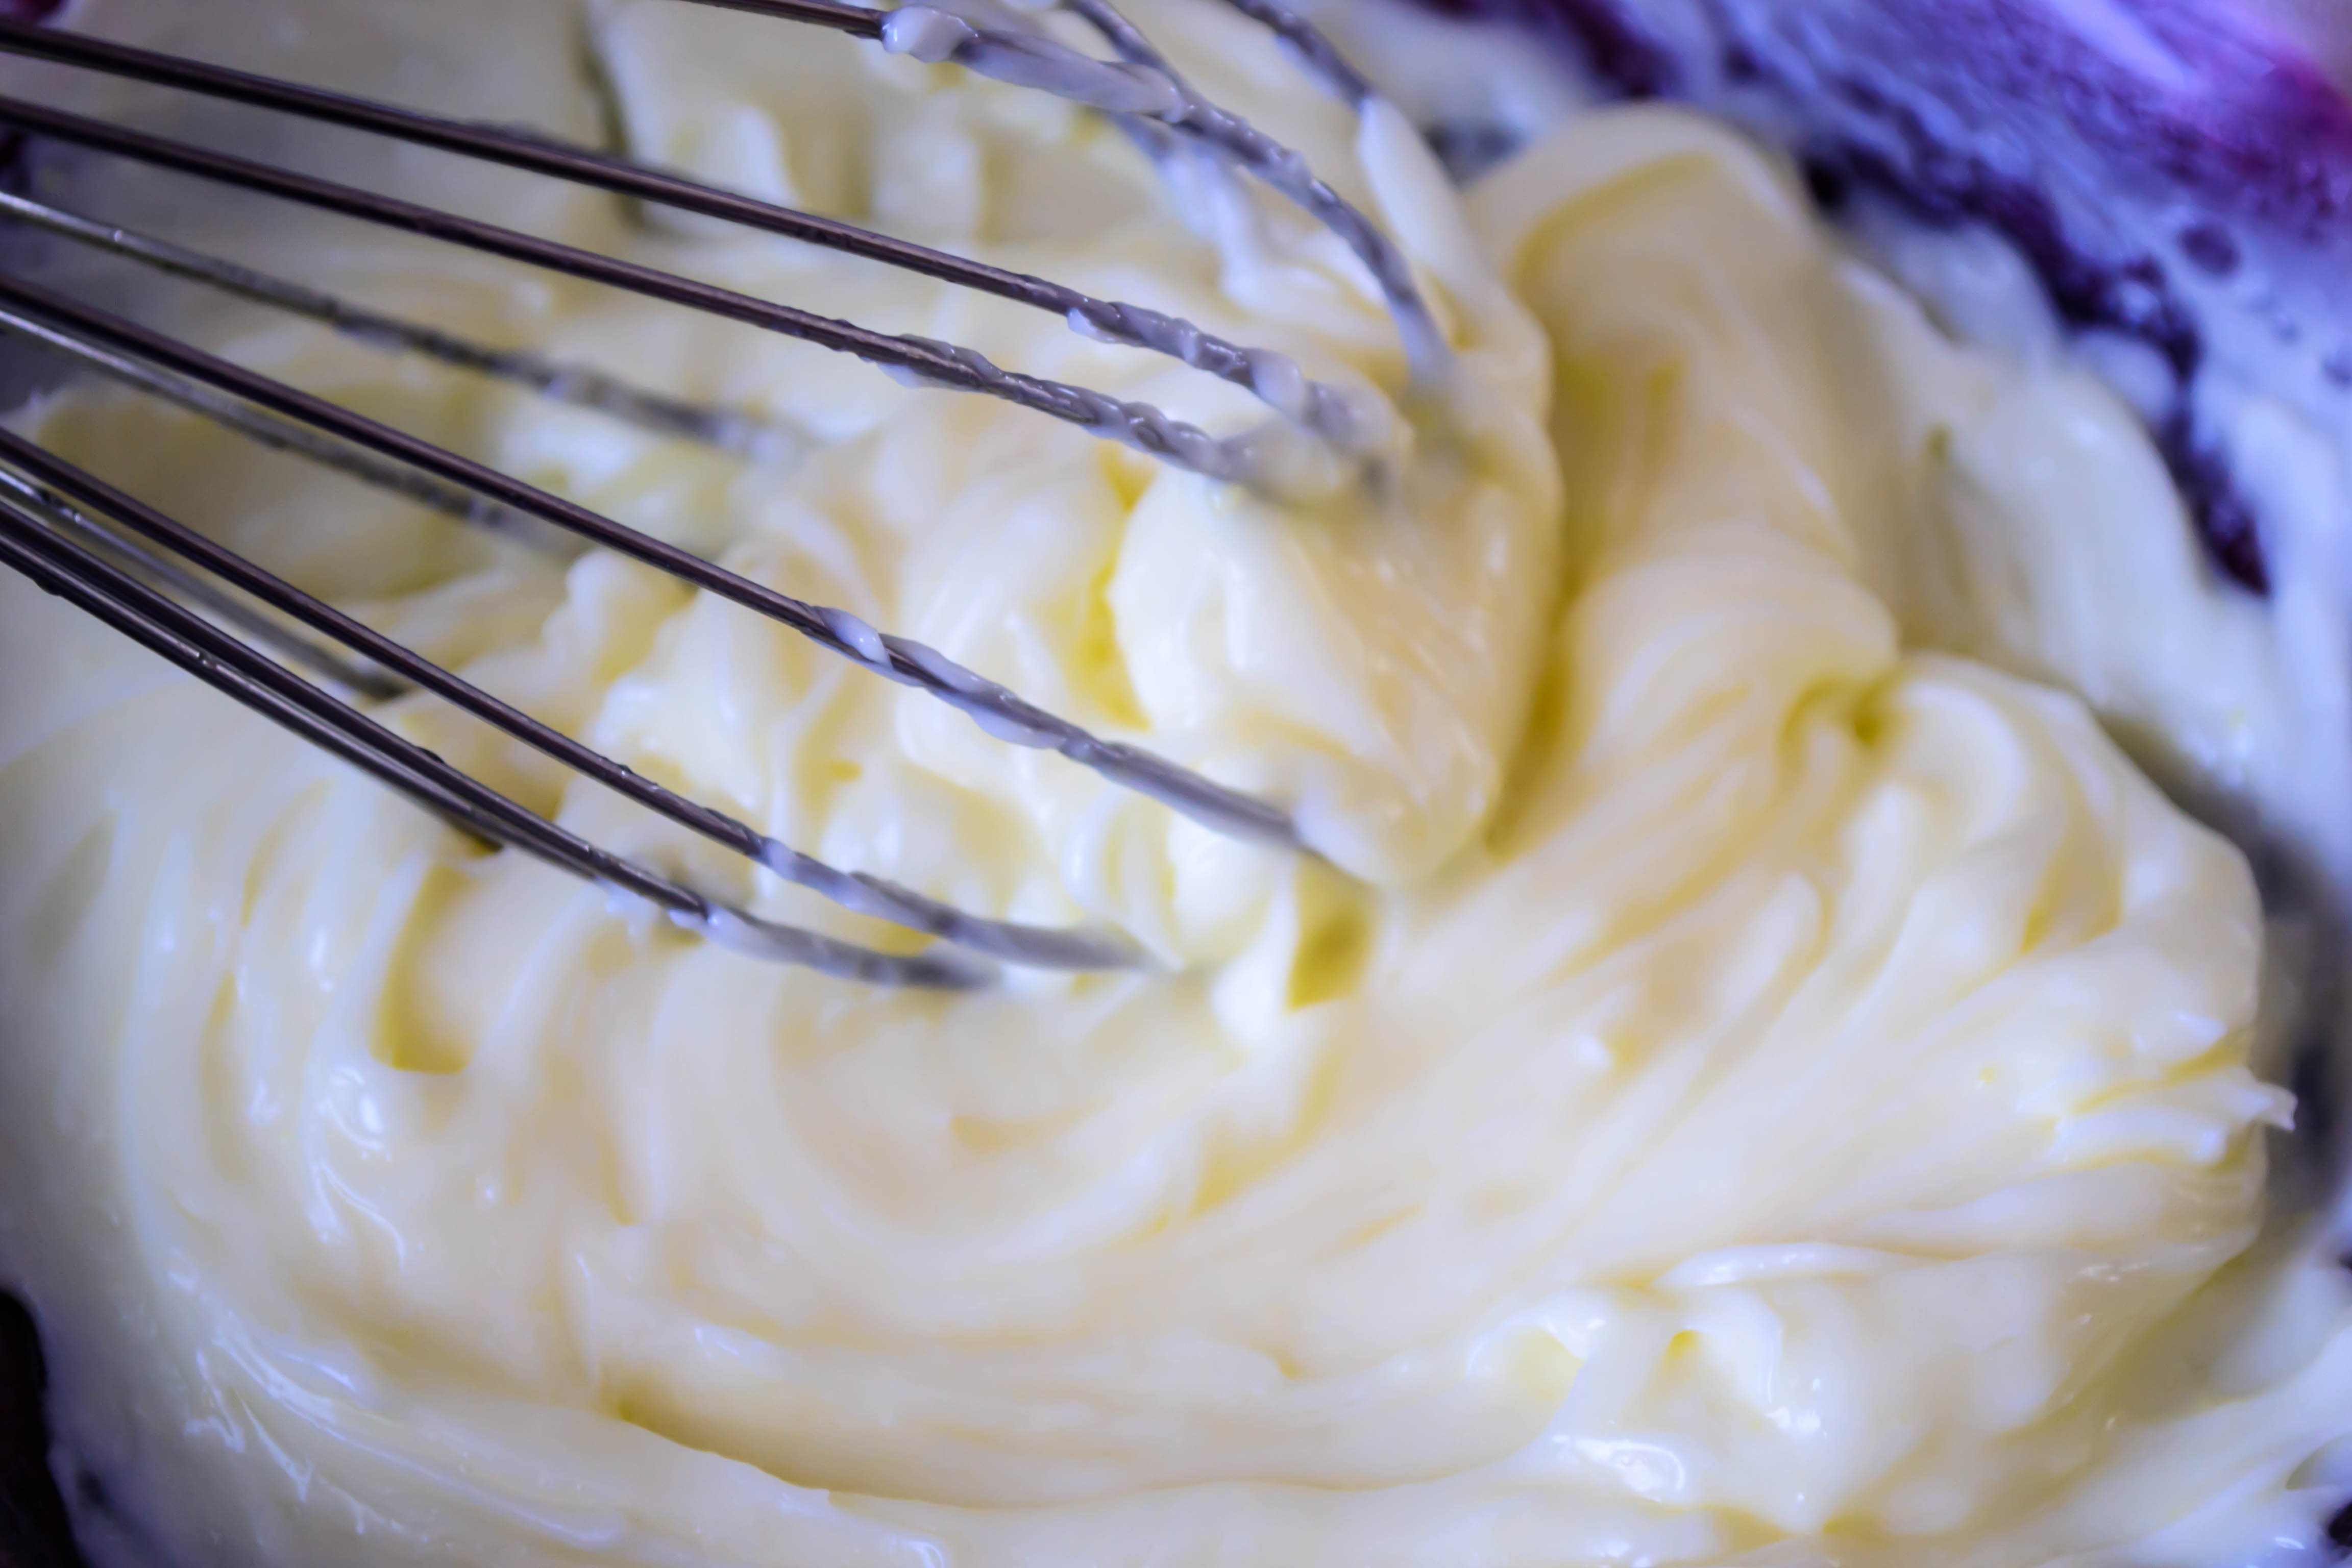
 However, there’s nothing like the internet for at once increasing and assuaging fears. Amongst articles about salmonella poisoning babies and questions about whether it’s safe to eat macaroni salad that has sat around on a picnic table for hours, I found a few mayonnaise recipes that suggested heating the egg yolk gently to 150F, at which temperature the bacteria that causes salmonella bites the dust. This is also the temperature where egg proteins solidify, but the addition of acid in the form of lemon juice or vinegar raises the coagulation temperature, so you still maintain a liquid yolk even while reducing the already minimal chances of food-borne illness. Other cautious suggestions offered using pasteurized eggs (this heating process is basically pasteurizing them), or washing the shell carefully before cracking (since the shell itself is where bacteria like to hang out). This gentle heating sounded like a reasonable suggestion to me, so using a combination of recipes and procedures (privileging Michael Ruhlman’s suggestions in Ratio, to which I find myself returning again and again), I whisked and measured and heated and cooled and whisked and whisked and whisked and ended up with a bowl of fluffy, creamy, pillowy spread that looked almost identical to the commercially produced stuff I’ve been buying and greedily applying to fried egg sandwiches for years! Several times, in between shaking out my arms as they screamed at the endless whisking, I said aloud, stunned, “It looks like mayonnaise! It actually looks like mayonnaise!” This was, apparently, one of those things I never really conceived of making myself.
 So. Mayonnaise is possible. Though like the other sauces I’ve created, it needs a vehicle for consumption. As Ruhlman notes in a defense of fat-based sauces, “you wouldn’t want to eat a bowl of vinaigrette or a cup of mayonnaise or a stick of butter” (165). I laughed – in my deepest, guiltiest heart of hearts a cup of mayonnaise sounds attractive, though probably not without some kind of starch or vegetation to cut the thickness – but he’s right. It’s not a lone ranger.
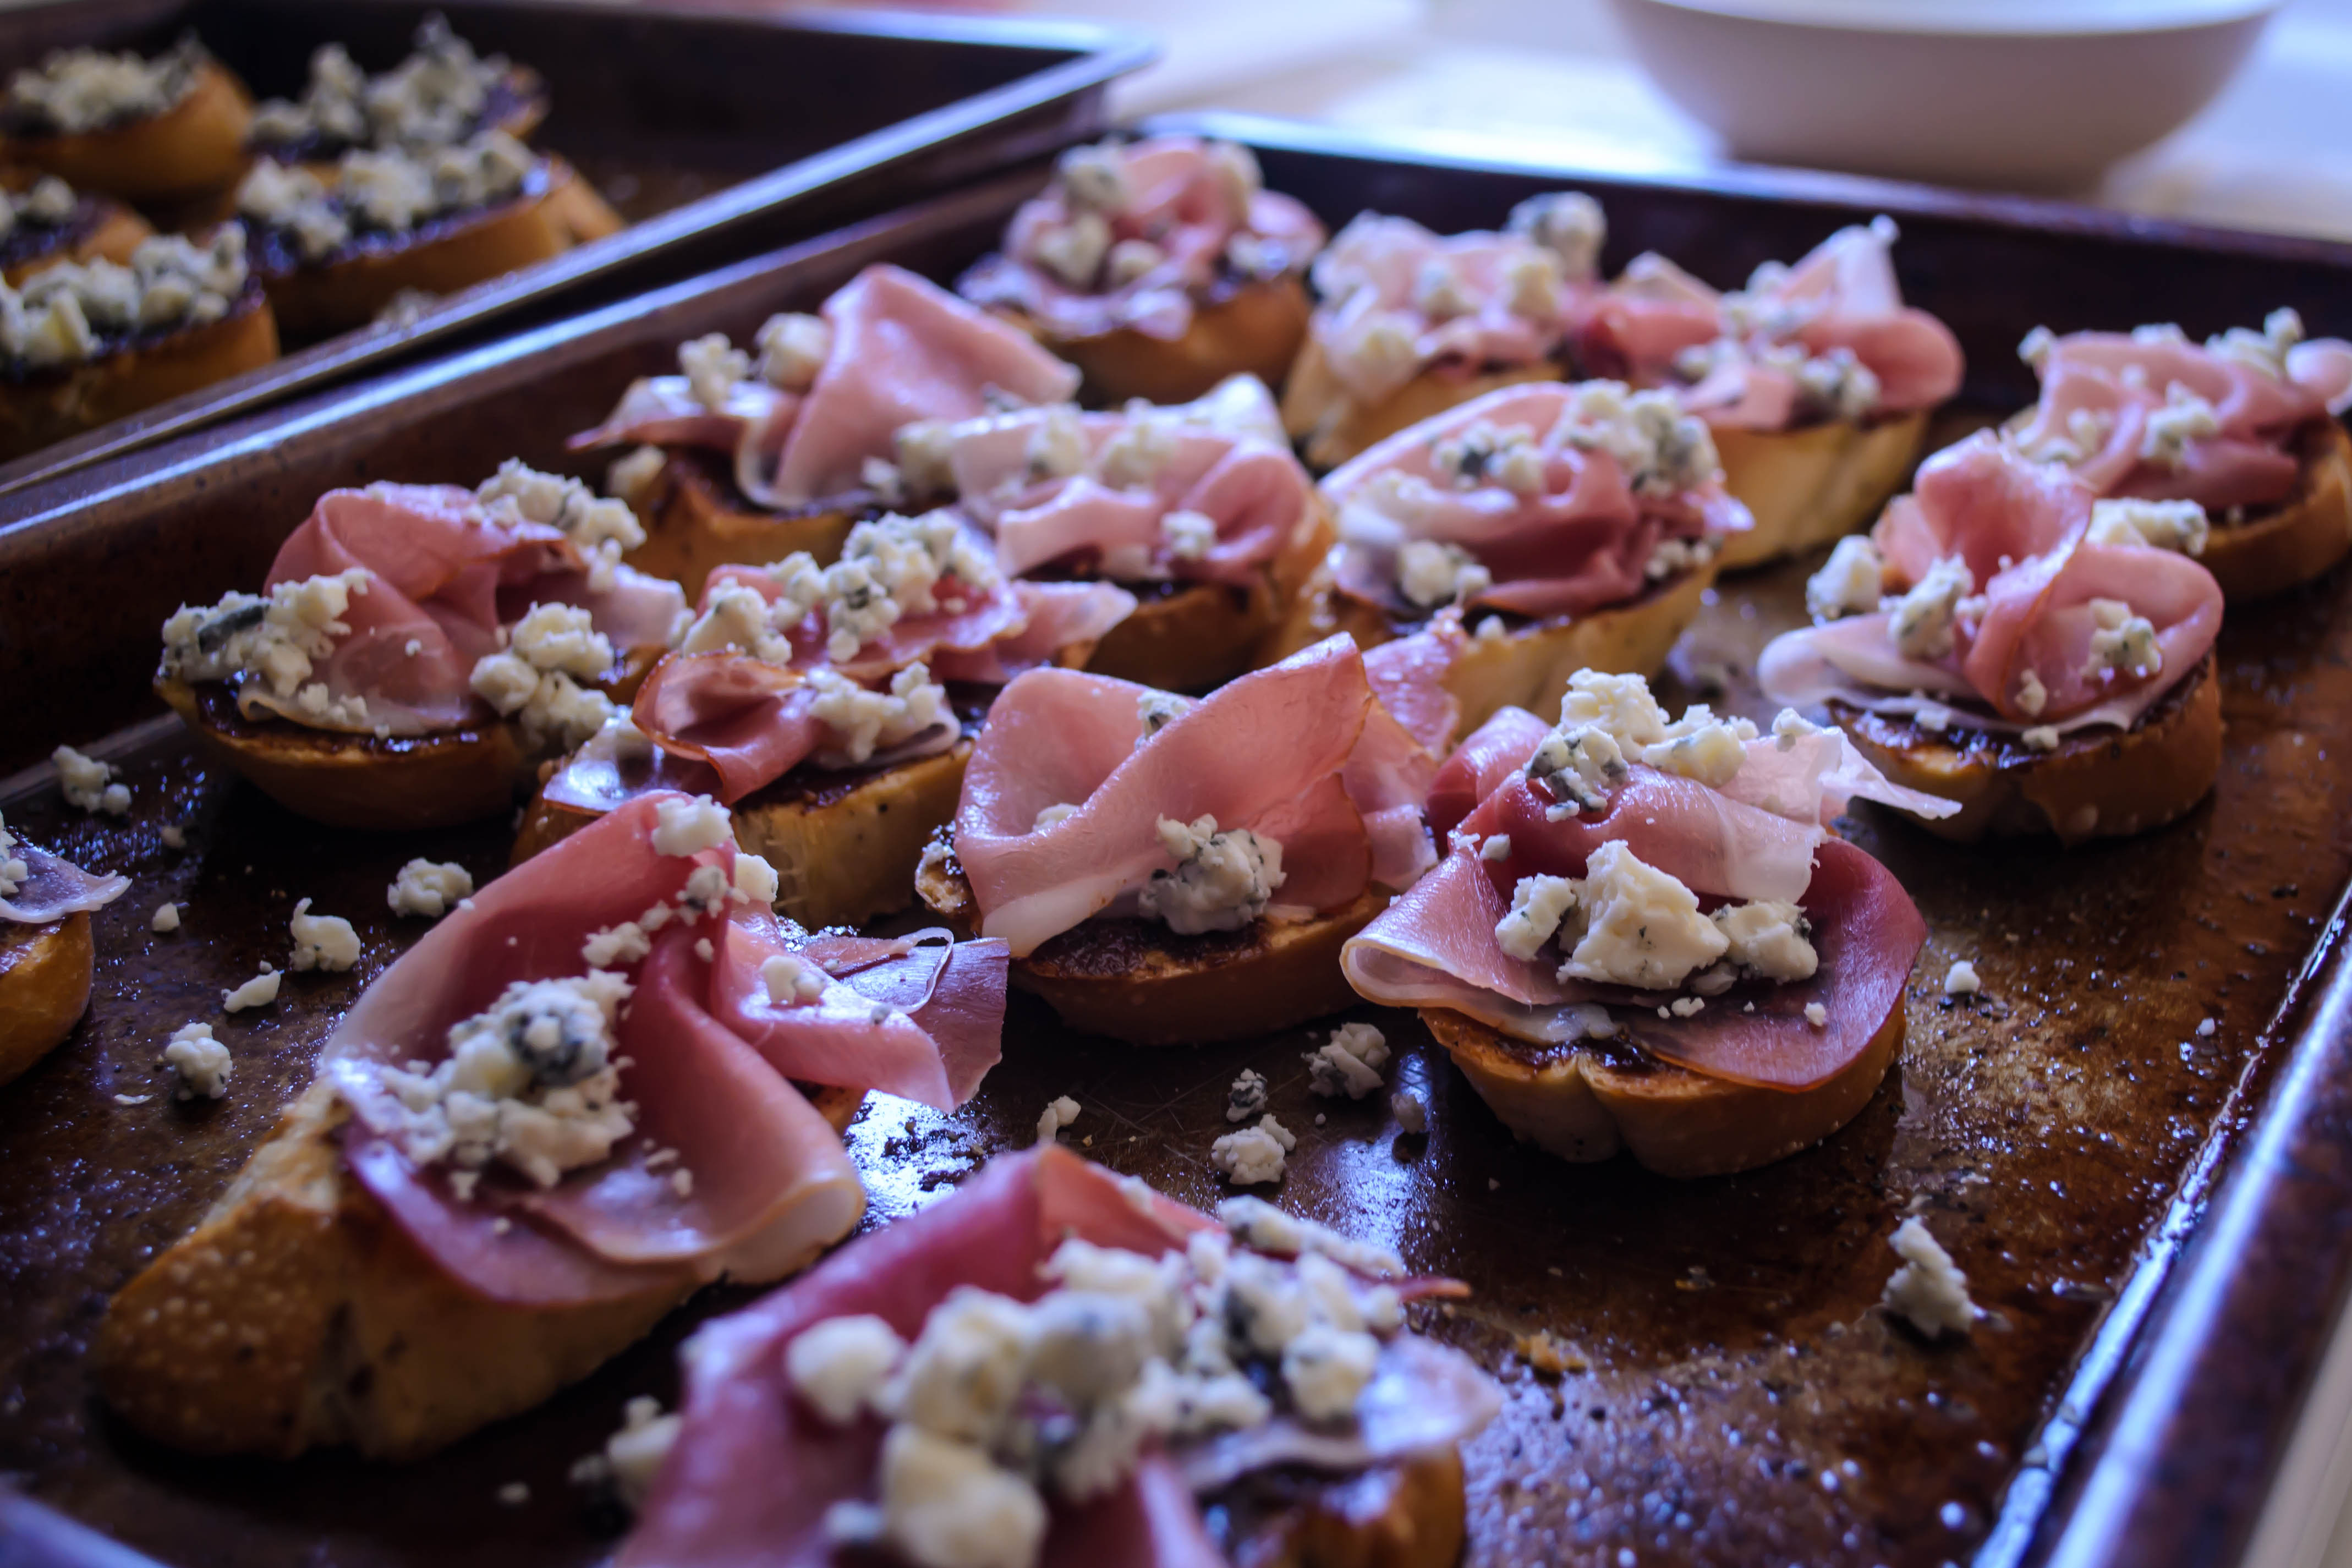
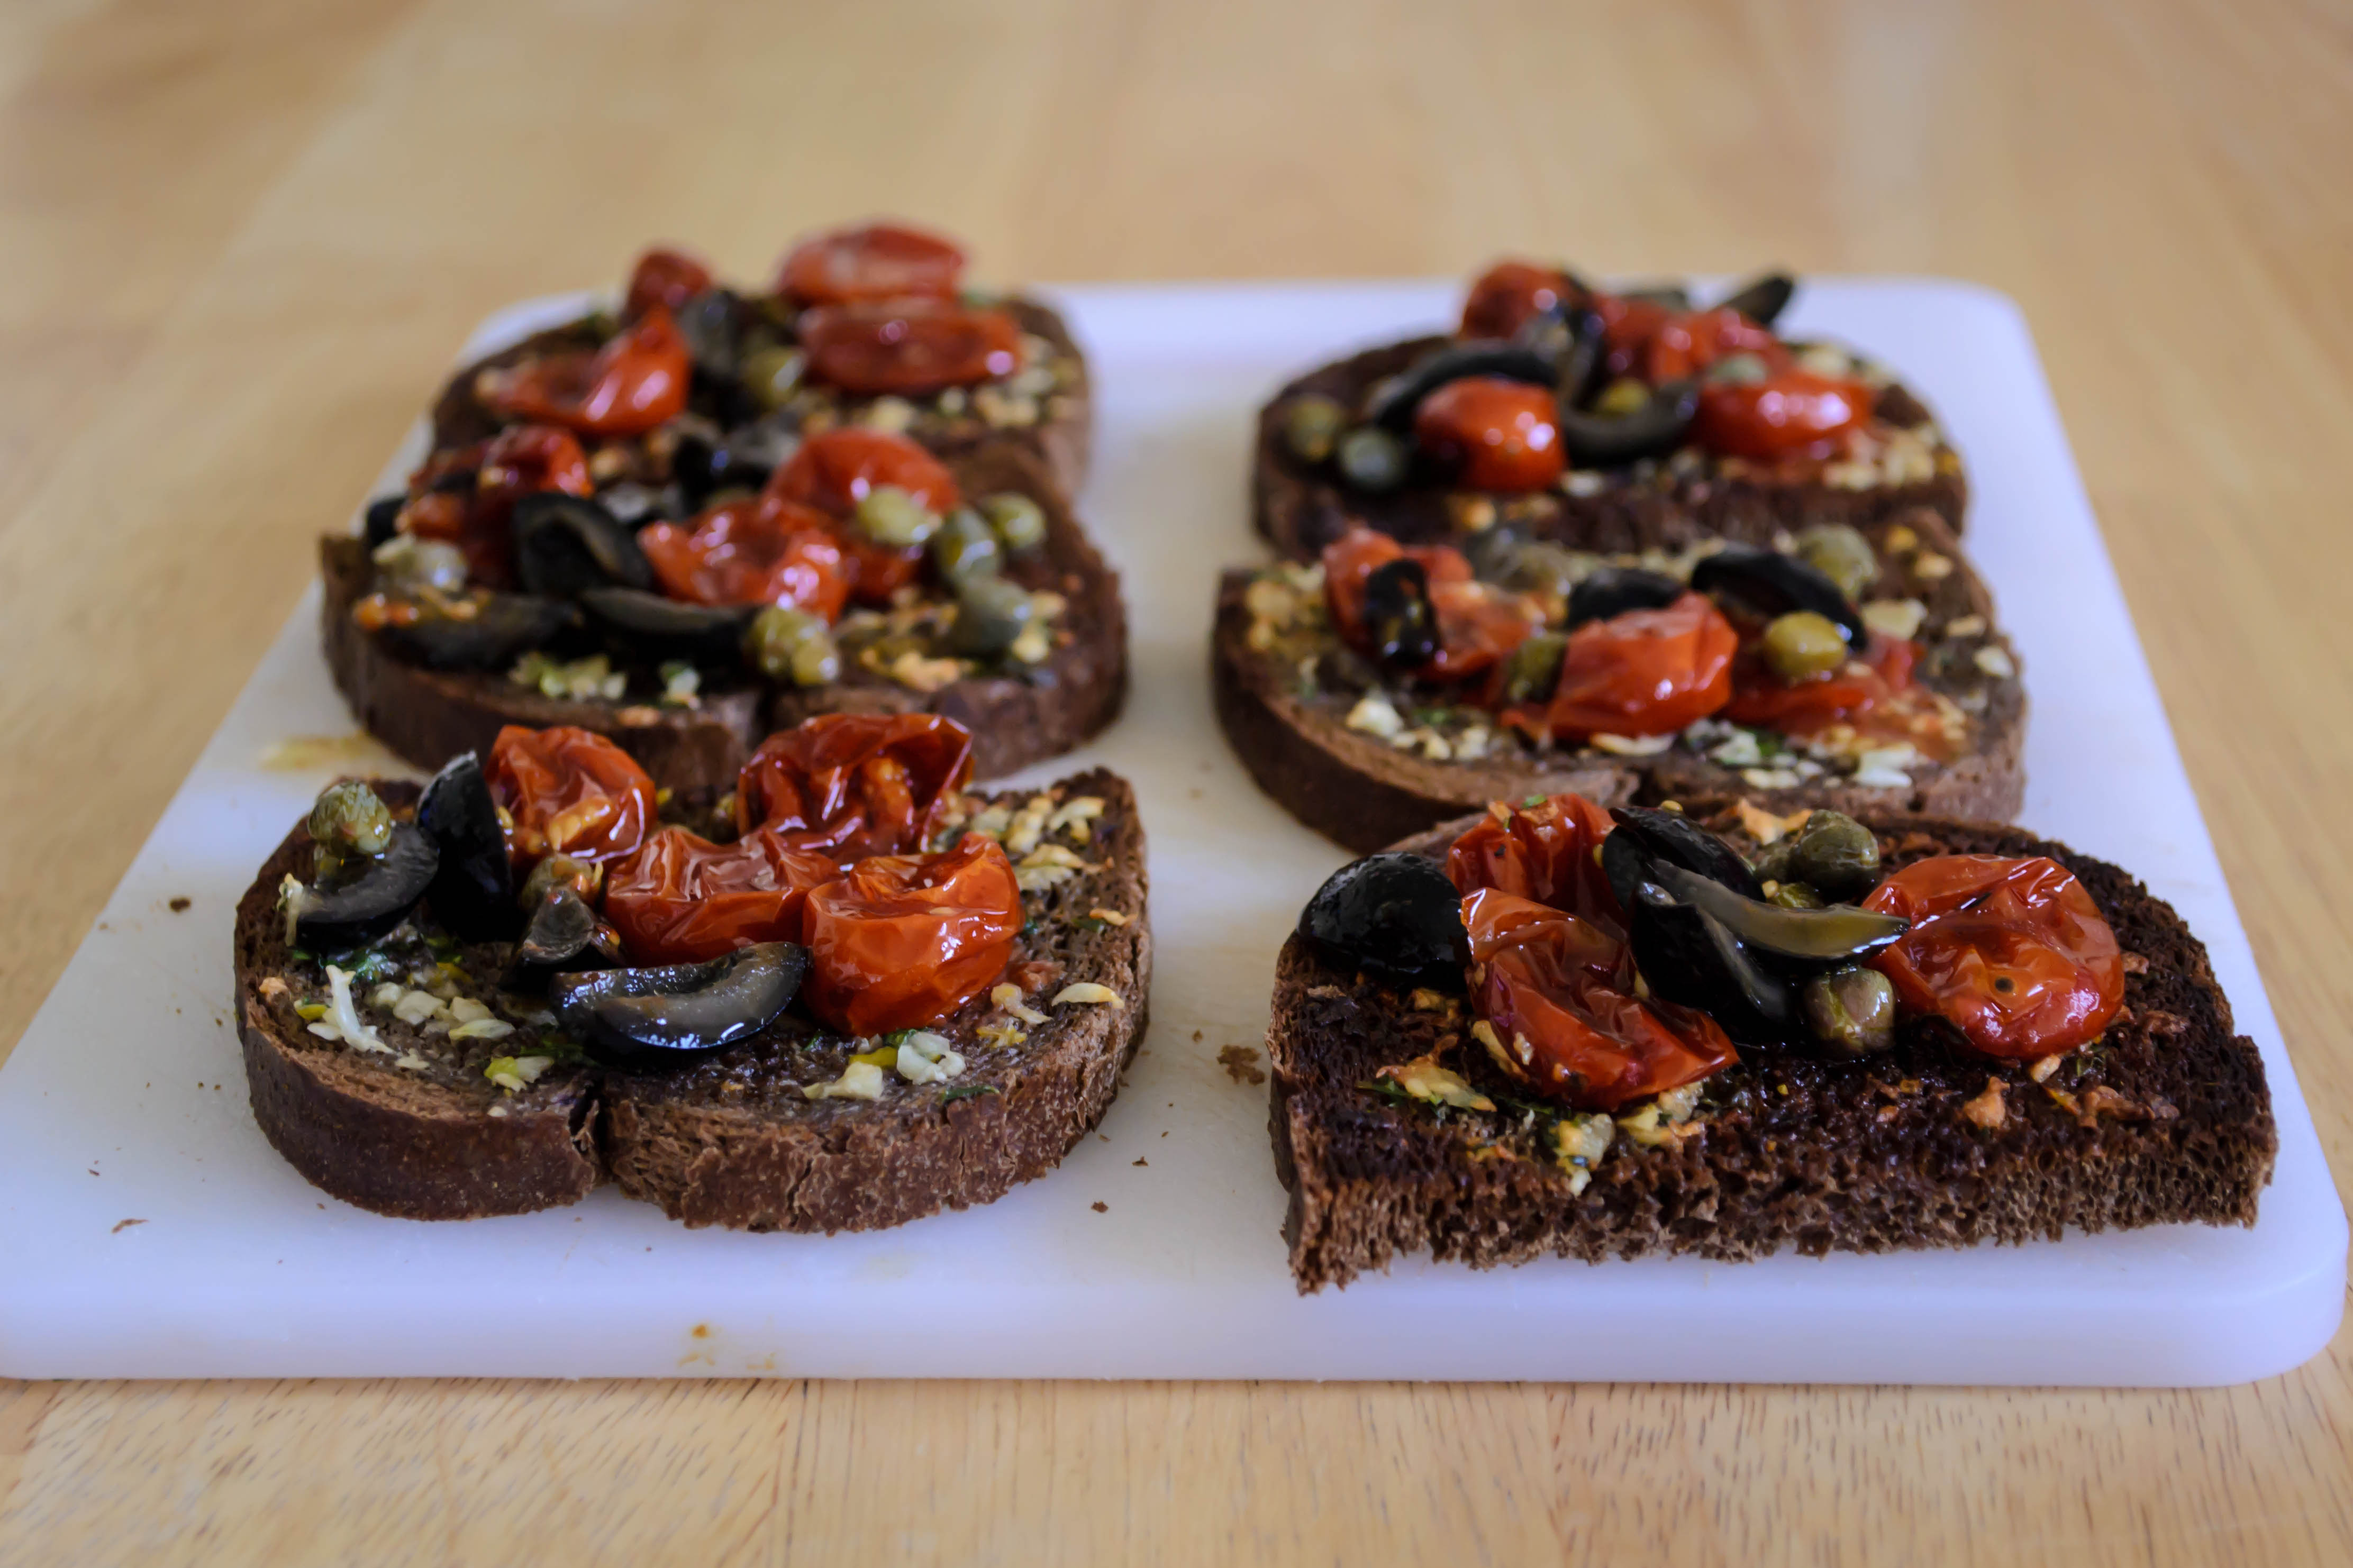
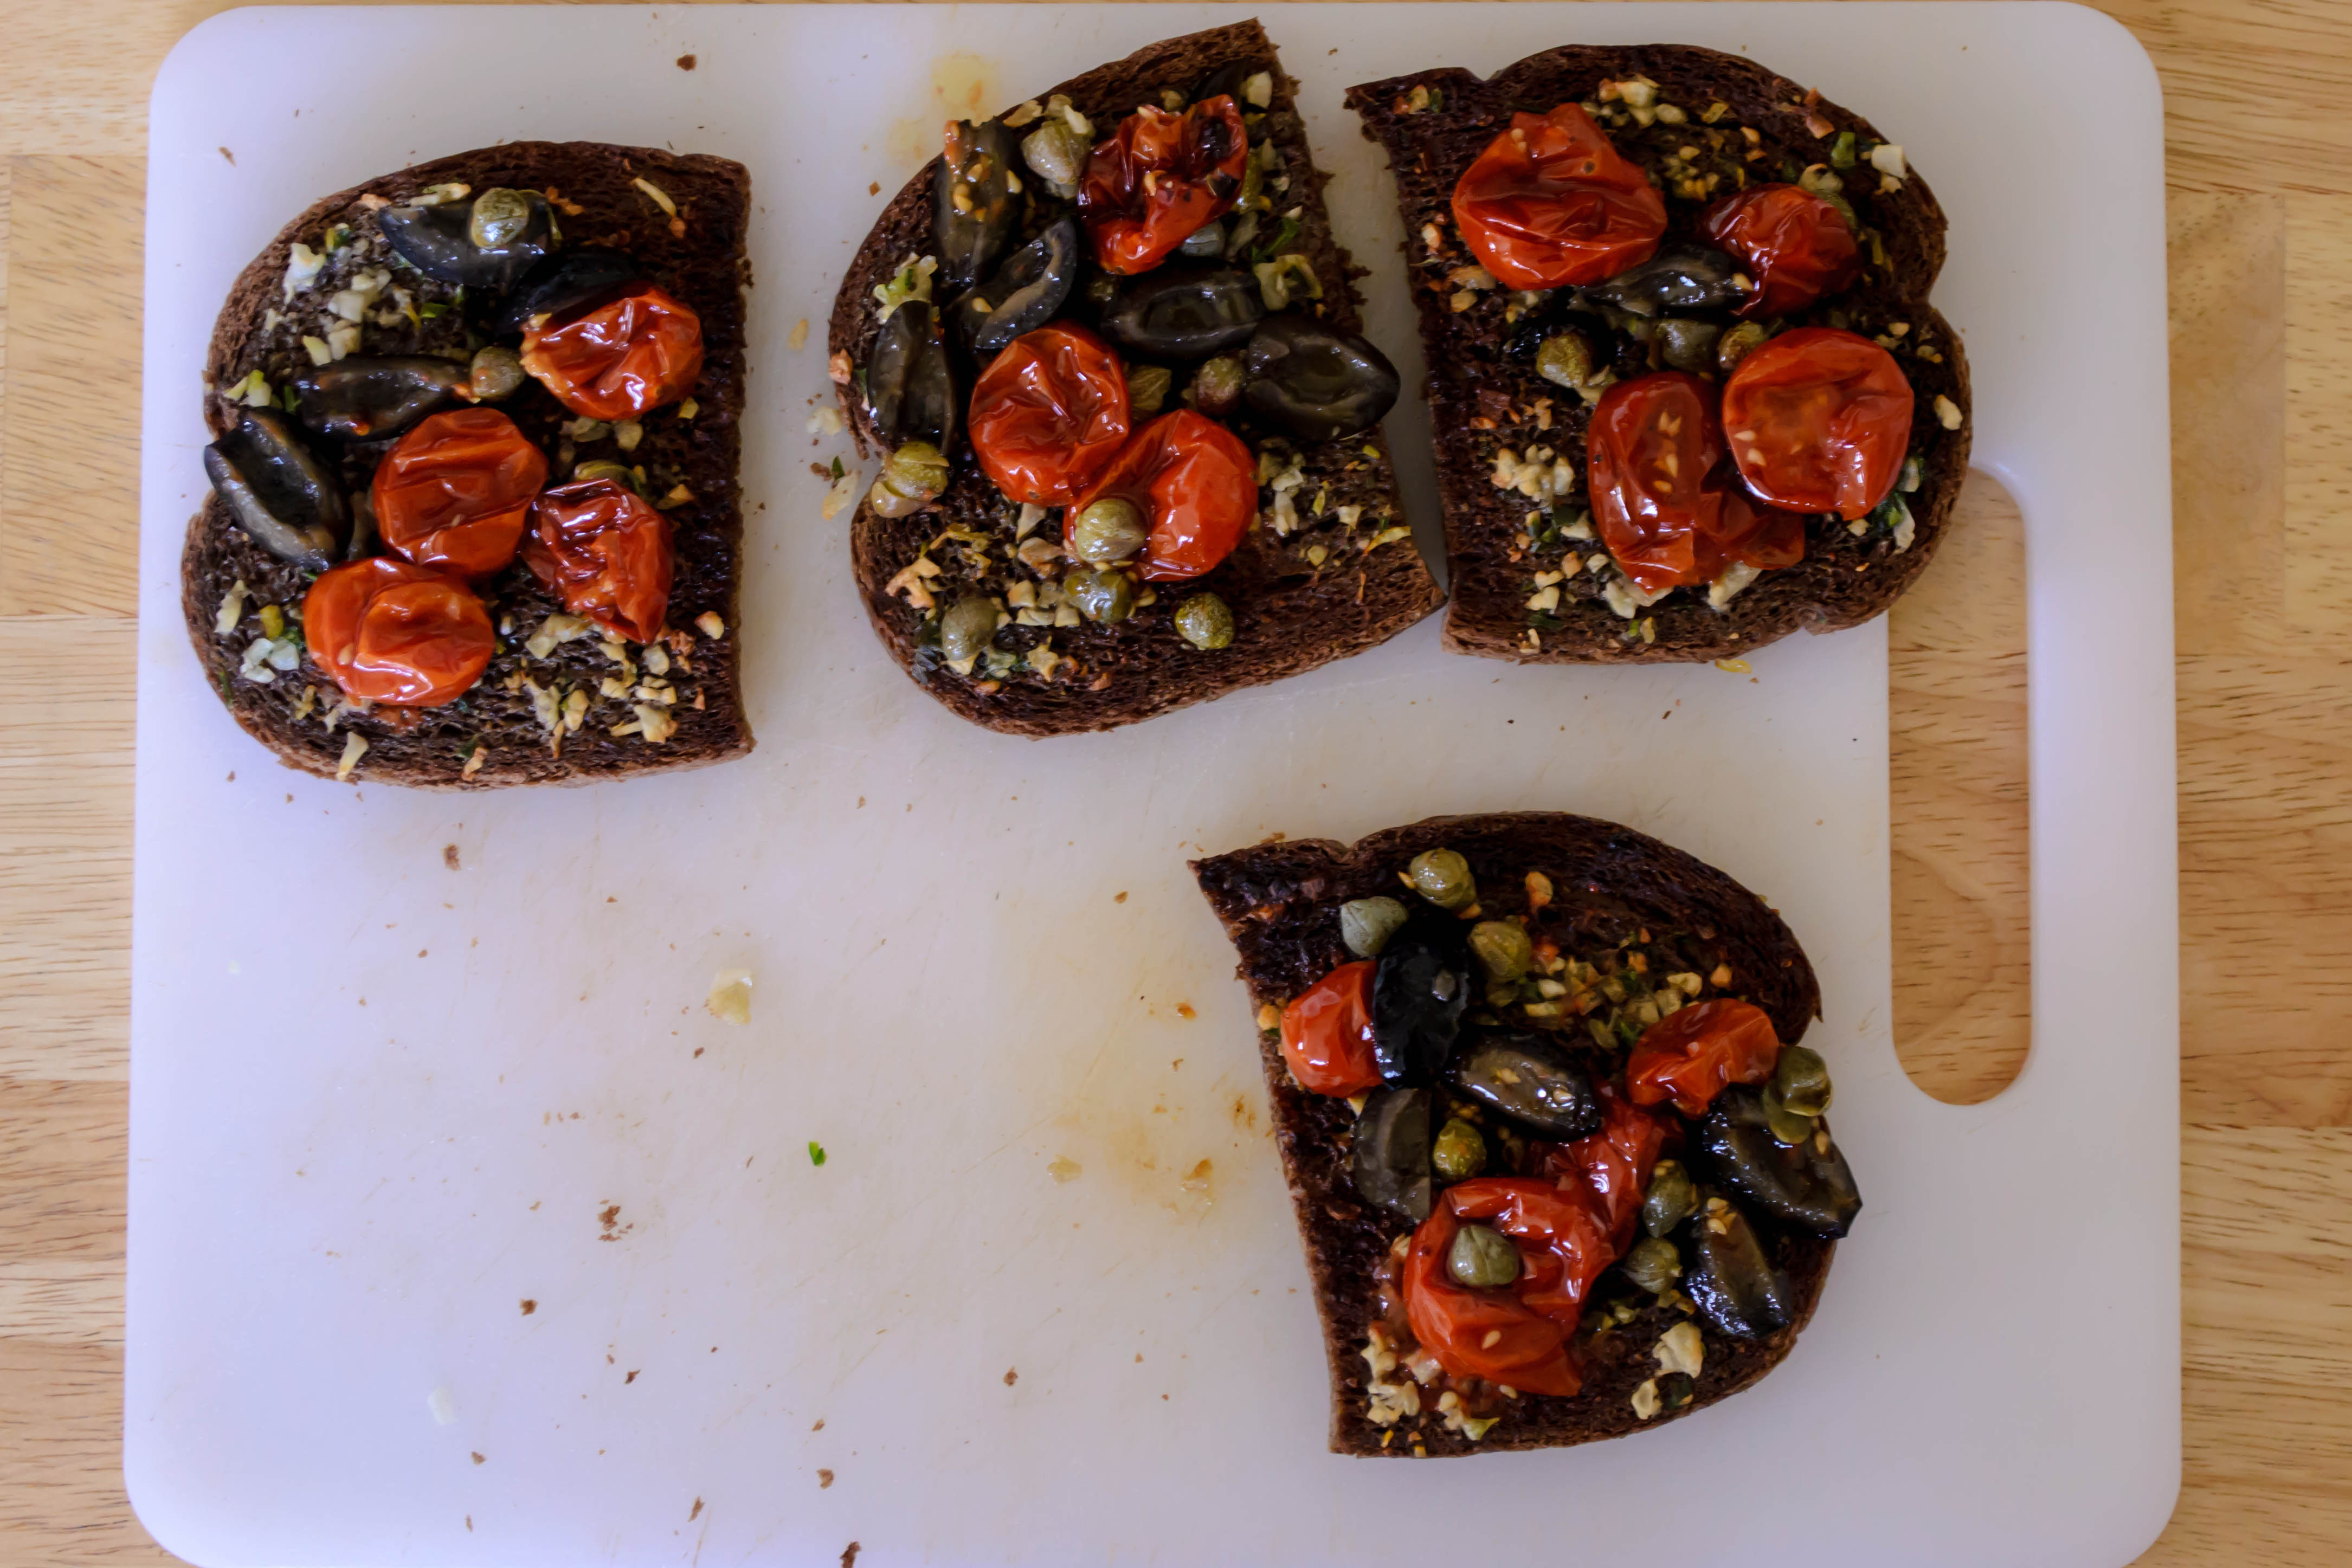
 With Memorial Day upon us and summer leaping ever closer, then, I went to one of my favorites: potato salad. In my version, fingerling potatoes are boiled and then crushed and lightly toasted in olive oil, so their skins get slightly crisp and they break apart gently when mixed with the other ingredients. Hard boiled eggs, capers, dill, garlic, and a generous scattering of green onions provide the colors and flavors for that beautiful blank canvas of potato and mayonnaise to play with. And I can’t resist a little squeeze of mustard. Creamy. Toasty. Fluffy. Perfect.
 As summer gets ever closer, instead of complaining about our beer bellies or muffin tops or cottage cheese thighs, I vote we create, and celebrate, mayonnaise arms instead!
*Yes, mayonnaise is considered a sauce, even though the thick, creamy spread we most commonly envision when we hear the term is used primarily as a condiment. But think aioli: basically a thin mayo with garlic added. Even hollandaise is similar to a thin mayo, with the egg yolk heated and emulsified with butter rather than oil. In perhaps my favorite application, Belgian in inspiration, mayonnaise is used to sauce french fries, and what a glorious sauce it then becomes…
Homemade Mayonnaise
Makes a scant cup
Note: this is a quite lemony mayonnaise. If you aren’t fond of that flavor or want to dial back the citrus, use just one teaspoon of lemon juice, and a tablespoon of water instead. Alternately, you can use a vinegar of your choosing to create your preferred flavor of acidity.
Note #2: I strongly recommend you get everything ready for this before you begin the process. I’m talking various bowls, ice bath, oil measured, all that. You’ll be happier for it, I promise.
Note #3: Though this mayonnaise stores just fine in the fridge for a week, it may separate a bit as it chills. Vigorous whisking at room temperature, and in a dire case another dribble of water or squeeze of mustard feverishly incorporated, should bring things back together.
1 large egg yolk (save the white for a meringue or angel food cake or fluffy waffles)
1 teaspoon water
1 tablespoon lemon juice
½ teaspoon salt, or to taste
1 cup (8 ounces) vegetable oil
- Before you begin, start about 2 inches of water heating in a medium pot. You want to bring this to a bare simmer. While it heats up, fill a large bowl with ice and water and set it in the sink. We are heating the egg yolk in the unlikely event it is harboring bacteria, but mayonnaise is a “cold” sauce, so we will need to cool the yolk quickly once it has reached the appropriate temperature.
- In a medium, heat resistant mixing bowl (I used glass), whisk together the egg yolk, water, and lemon juice (or vinegar, if you’re using that instead). Set the bowl carefully over the pot of simmering or near-simmering water, being careful not to let the water come to a boil or to touch the bottom of the bowl.
- Whisk the egg yolk mixture constantly but slowly over the pot until the yolk registers at 150F on a kitchen thermometer, about 4-5 minutes. You don’t need to whisk with particular determination here – we are not looking to change the consistency as we would with a hollandaise; just to keep it moving so it doesn’t scramble.
- At just under 150F, the yolk will thicken a tiny bit. At first when this happened I thought the whole thing was ruined. It’s not. Don’t worry. The addition of the acid and water will prevent the protein in the yolk from fully coagulating.
- As soon as you hit 150F, remove the bowl from the heat and carefully float it in the ice bath, continuing to whisk constantly until the yolk mixture cools to room temperature, and taking care not to let any ice water into the mix. You don’t want it to be cold – cold ingredients are reluctant to emulsify (think of bottled salad dressing and the way it separates). Just room temp will do nicely.
- Once the yolk has cooled, take the bowl out of its ice bath and set it on a counter, wrapping a twisted kitchen towel around the base of the bowl to prevent spinning.
- Now, add the salt, and begin to drizzle in the oil slowly. You want to add just a few teaspoons at a time, whisking like a madman through the whole process. At first you’ll just have a greasy mess, but slowly as you add more oil, the mixture will get pale and fluffy and creamy, and suddenly will start to look suspiciously like, well, mayonnaise.
- Continue to drizzle the oil in slowly, whisking the whole time. If your arm gets tired, switch to the other one! If the mixture suddenly starts to look extra shiny or like it might separate, stop adding the oil and whisk extra hard for a minute or two. It should come back together.
- Once your mayonnaise is fluffy and creamy and stable, taste for salt (this is much, MUCH less salty than a commercial mayo), and use immediately, or store in the fridge for up to a week.
Toasted potato salad with homemade mayonnaise
Serves 1 generously, or 2 as a modest side
10 baby potatoes
2 teaspoons olive oil
2 hard boiled eggs, chopped
4 green onions, thinly sliced on a bias
1 tablespoon capers, chopped
2 teaspoons finely chopped fresh dill
1 clove garlic
¼ teaspoon coarse salt
1 teaspoon Dijon mustard
Black pepper to taste
¼ cup homemade mayonnaise (or more, to taste)
- Boil the potatoes in salted water until they are fork tender (times will vary depending on the size of your potatoes. Check them after the water has been boiling for 6 minutes, then determine for yourself). When they are done, drain them, remove to a flat surface, and use a potato masher or the back of a fork to lightly crush them. You are looking to split their skins and just flatten them a little bit.
- In the same (now empty) pot, heat the 2 teaspoons olive oil over medium heat until they slick and shimmer around the pan. Add the crushed potatoes and fry for 3-4 minutes, flipping them over halfway through to reveal golden brown toasted bottoms. When both sides are toasty, remove from heat and let cool.
- While the potatoes cook, prep the other ingredients, tossing the chopped eggs, green onions, capers, and dill into a medium bowl.
- To prepare the garlic, smash the clove with the side of a large knife, and remove the peel. Then chop the garlic into a fine dice. Sprinkle the ¼ teaspoon coarse salt over the garlic, and make it into a paste by firmly dragging the flat of the knife across it. The abrasive salt crystals will break down the garlic, making it easier to mix into your salad evenly. Add the pasted garlic and mustard to the bowl.
- When the potatoes have cooled a bit, add them to the other ingredients, toss together, and add the mayonnaise. Mix gently to incorporate, taste for seasonings, and add black pepper to your liking. If you wish, add additional salt, mustard, or mayonnaise to suit your palate.
Eat immediately, or chill, covered, in the refrigerator until ready to serve.
 I didn’t learn to drive until I was 17, an oddity at my high school where brand new cars to fit their brand new drivers started showing up during junior year. When I did learn, however, my dad took me on biweekly drives through Orange County, making a wide circle that climbed a gradual hill and then descended steeply toward, much to my dismay, a stoplight that was always red. One week I vividly remember


 The recipe I’m using here is a minor adaptation of
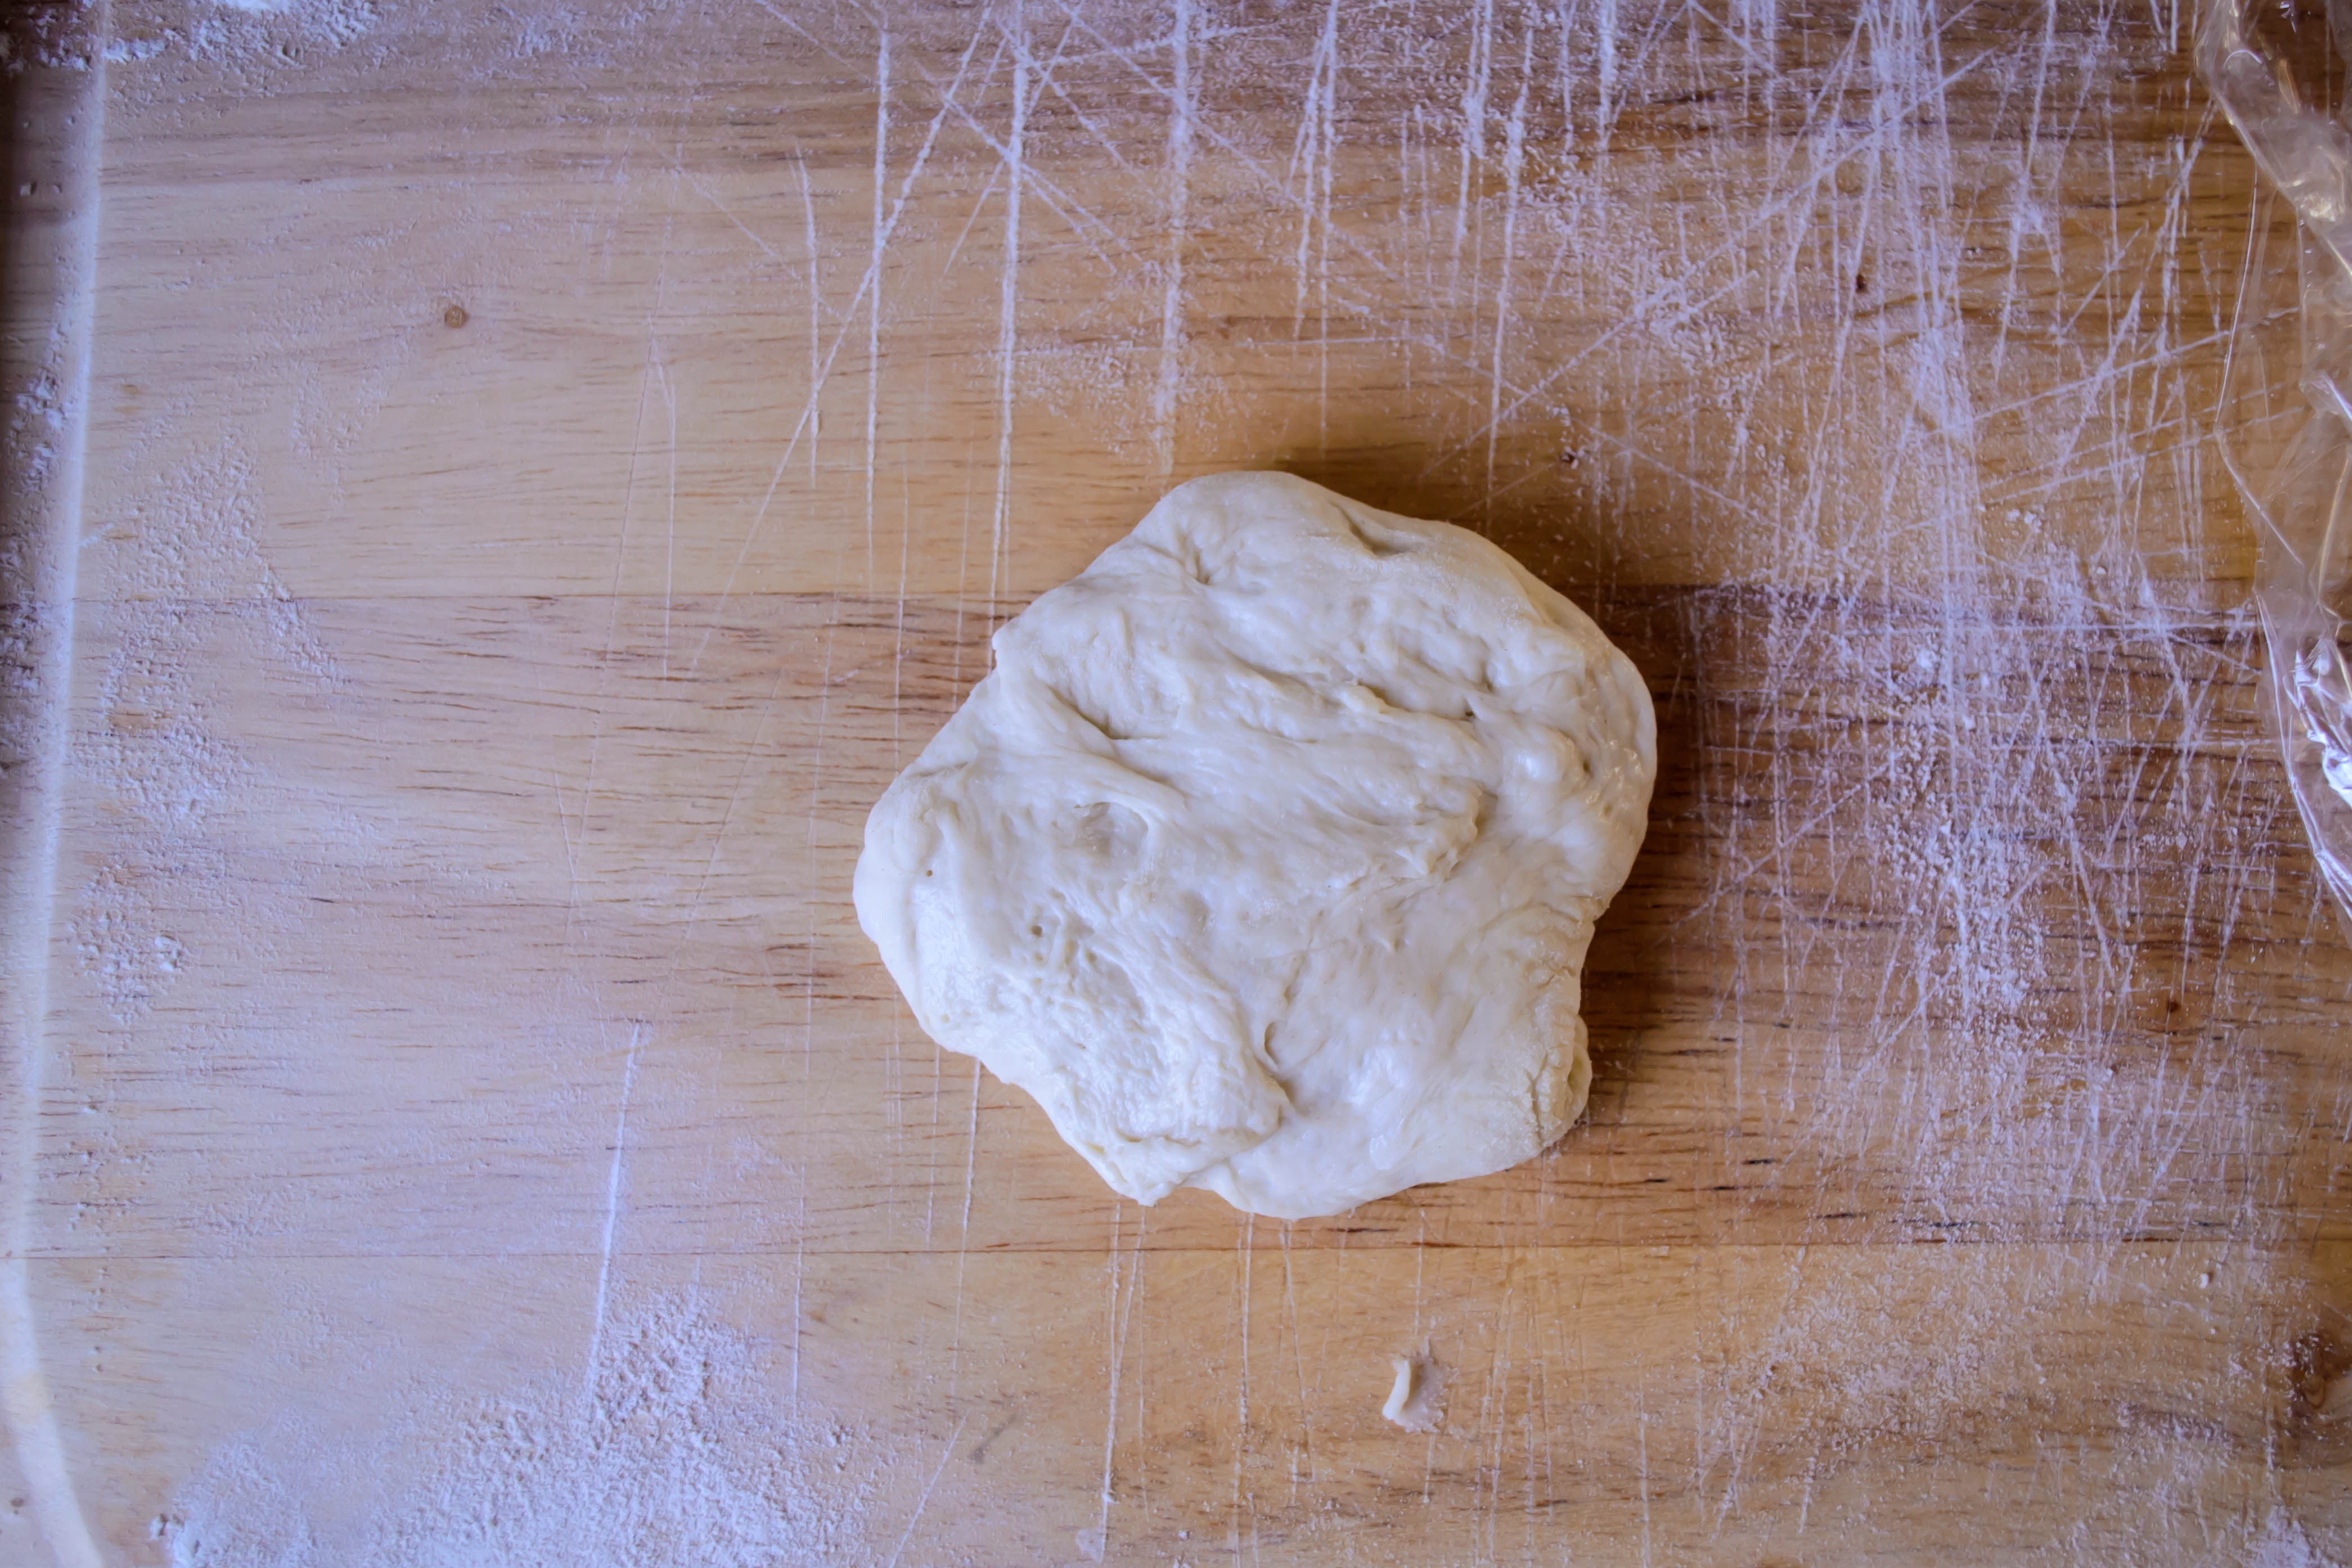
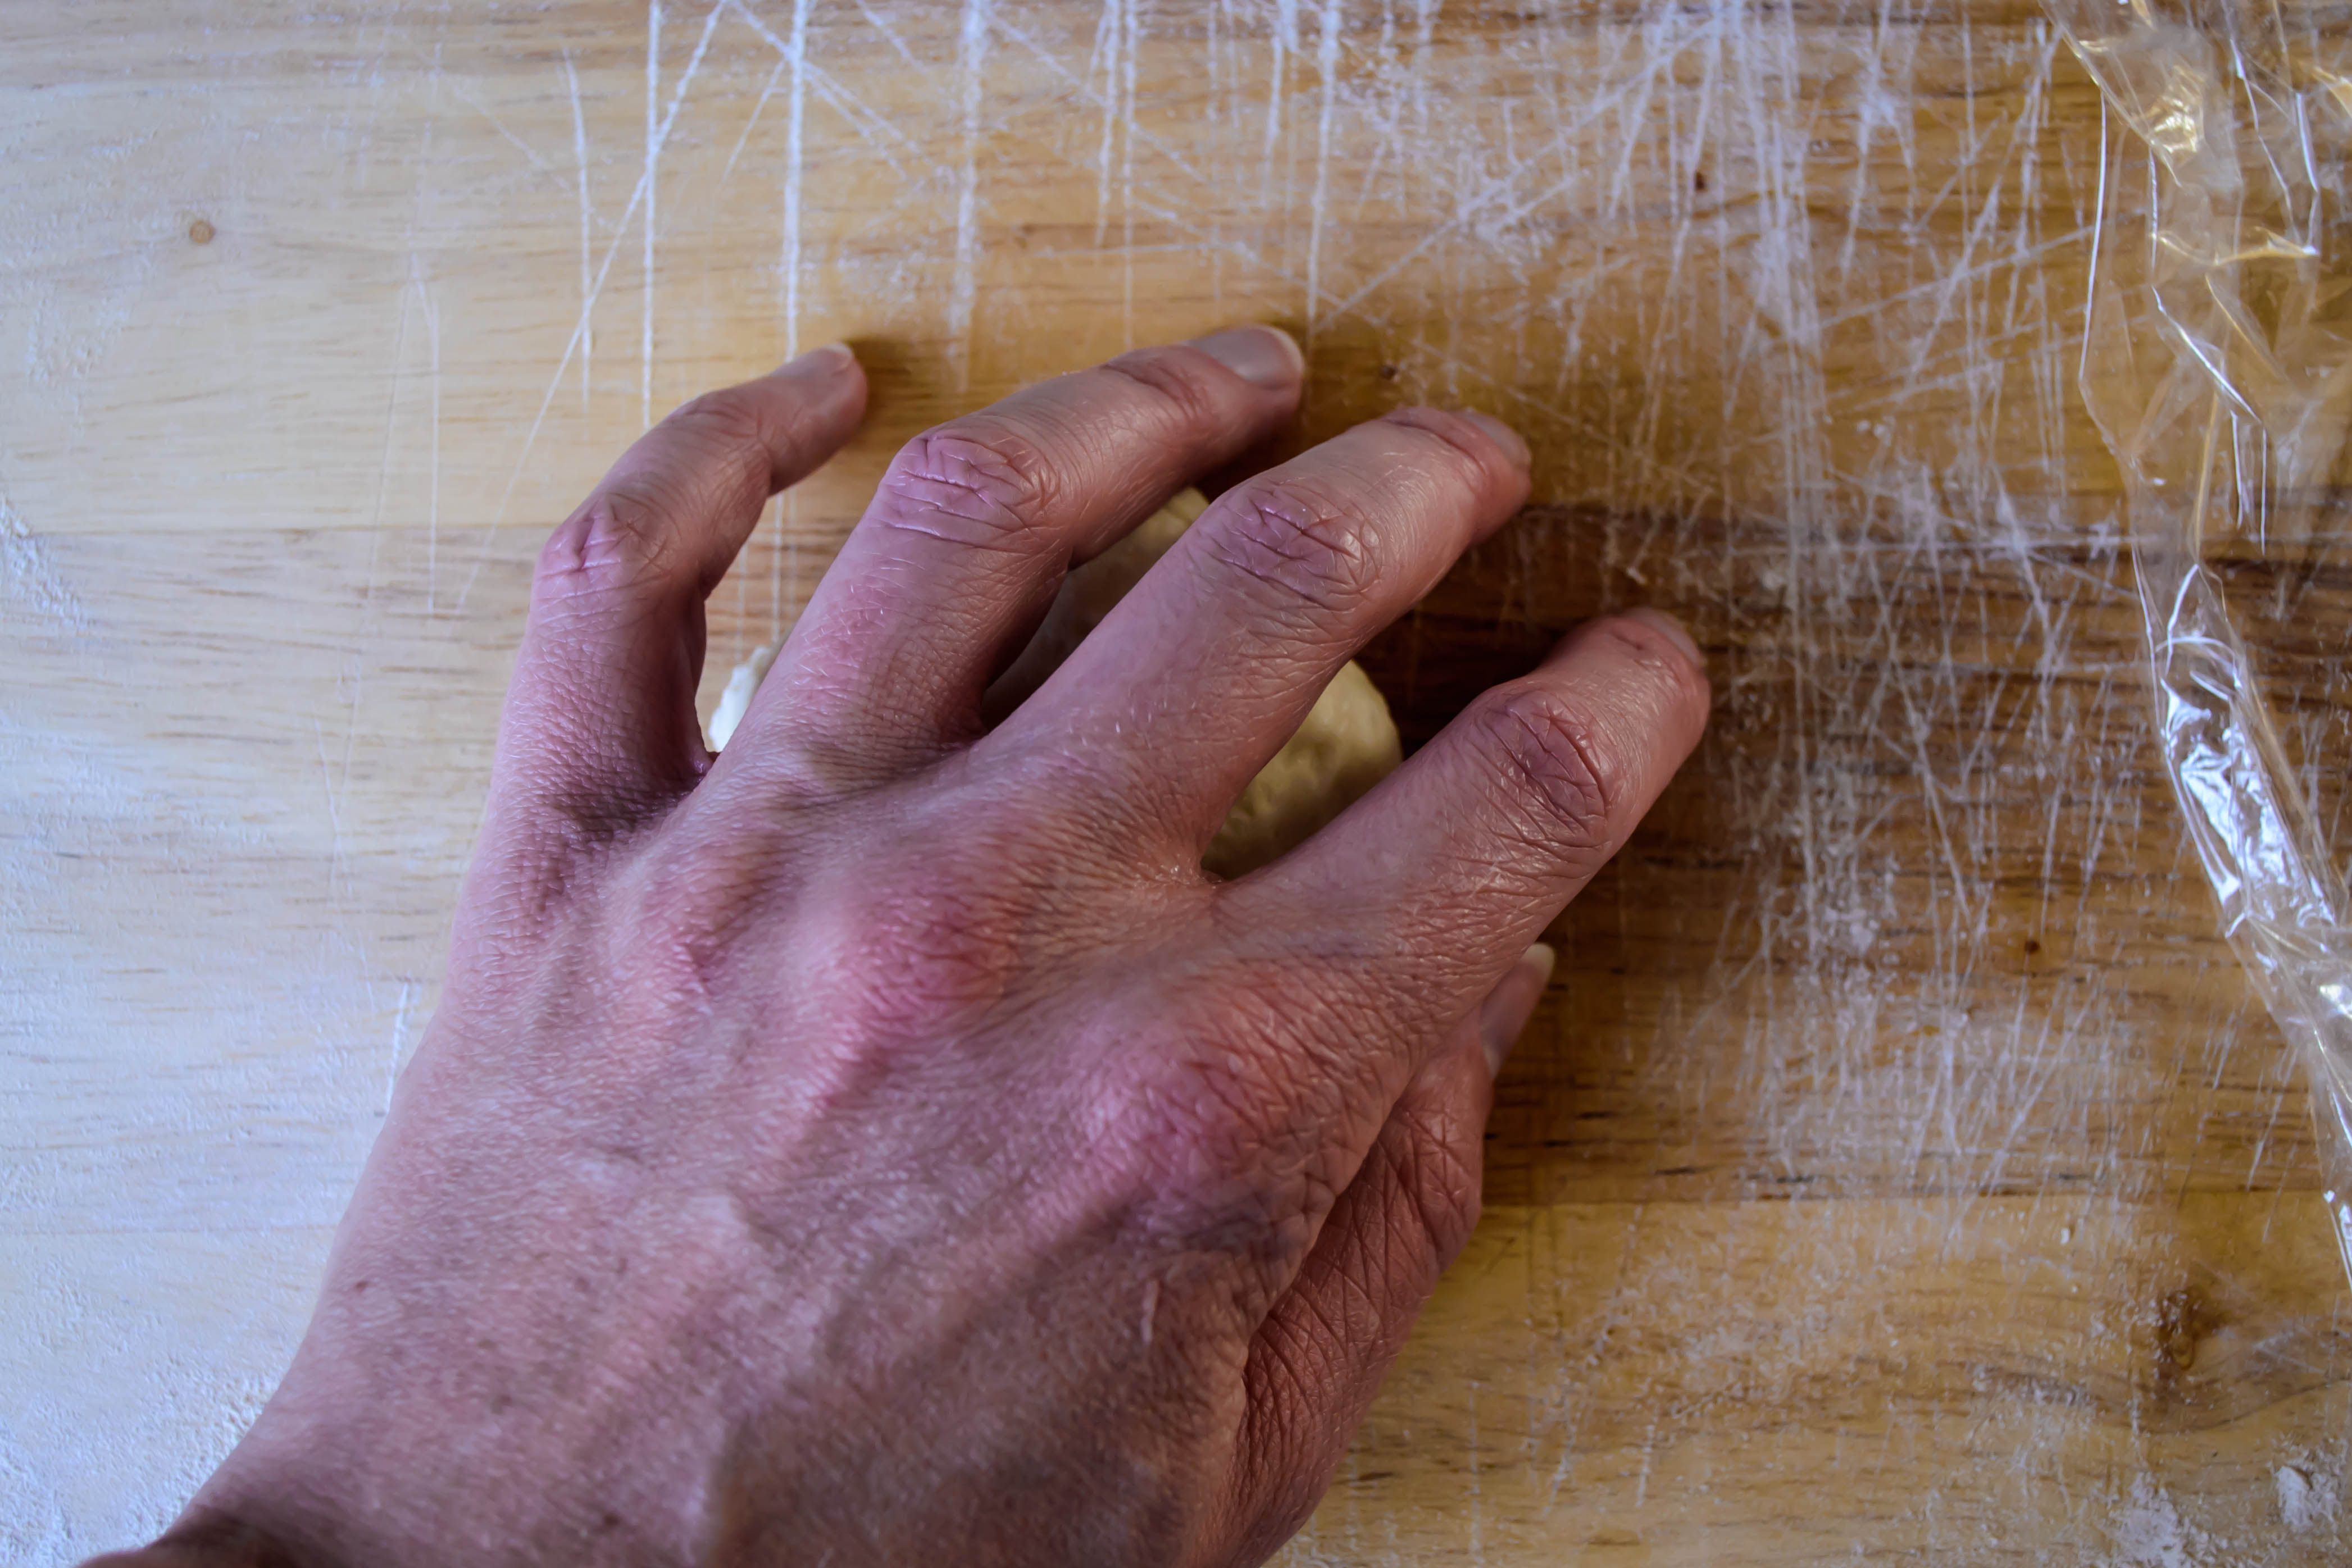
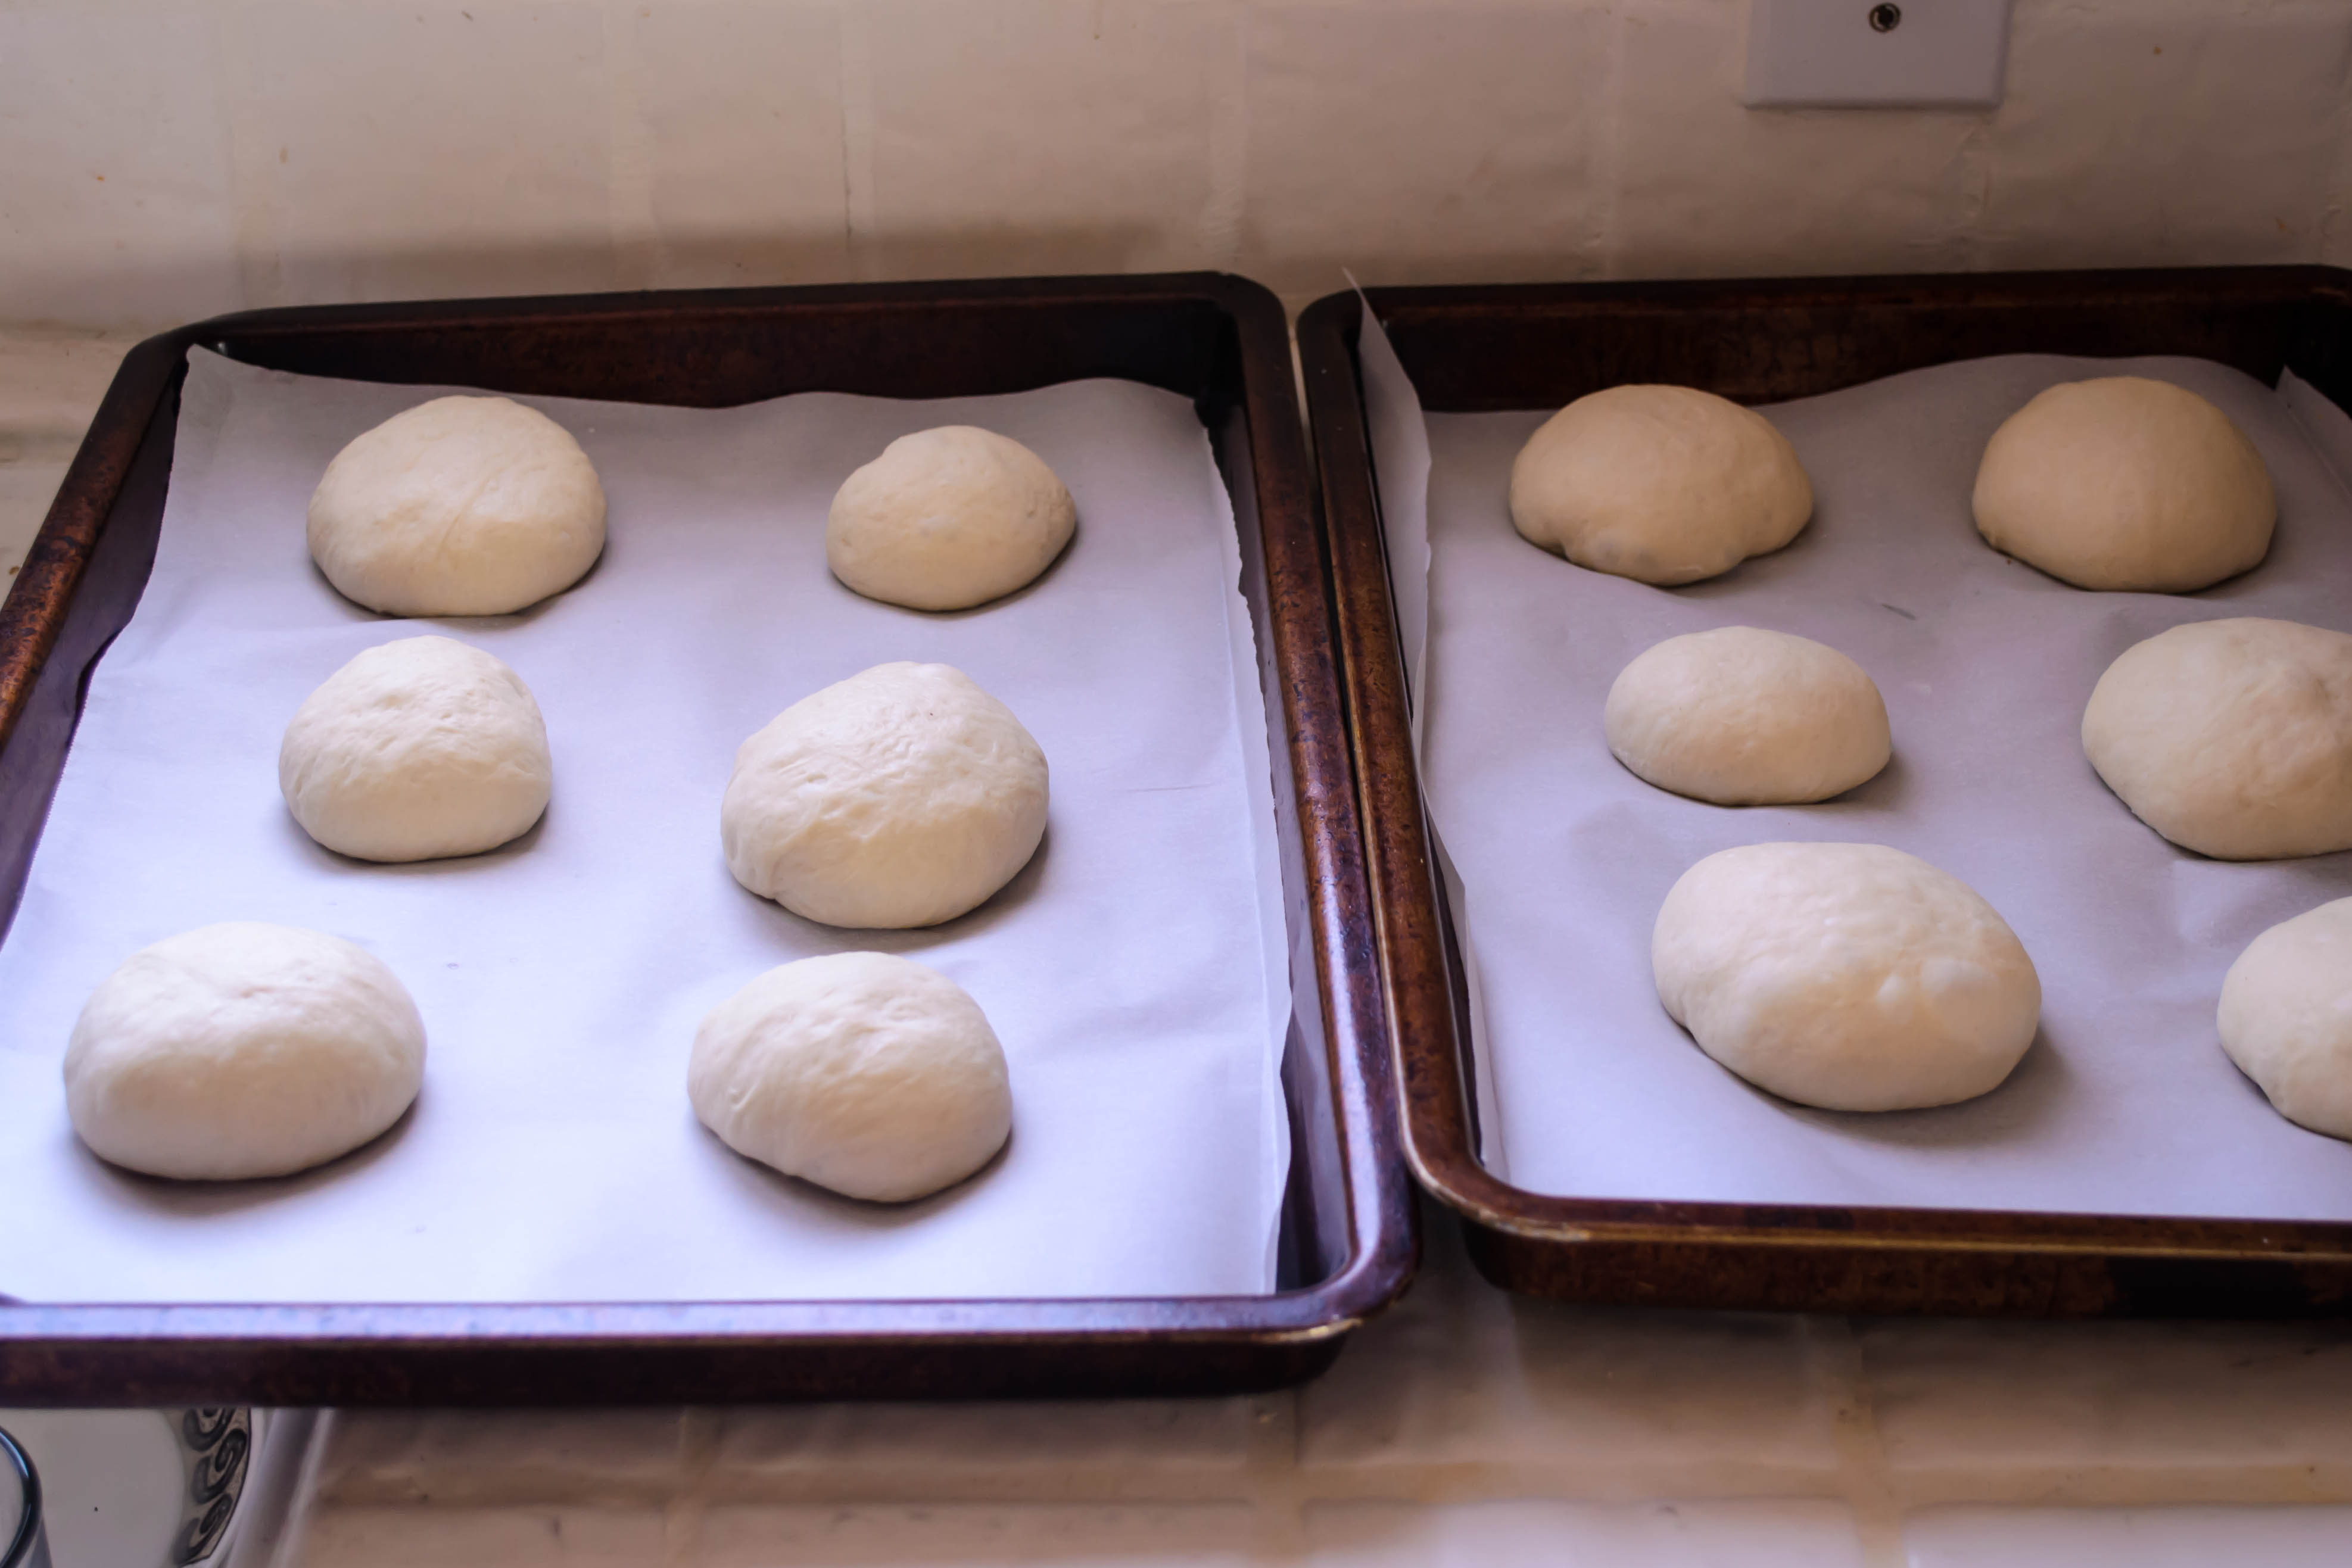
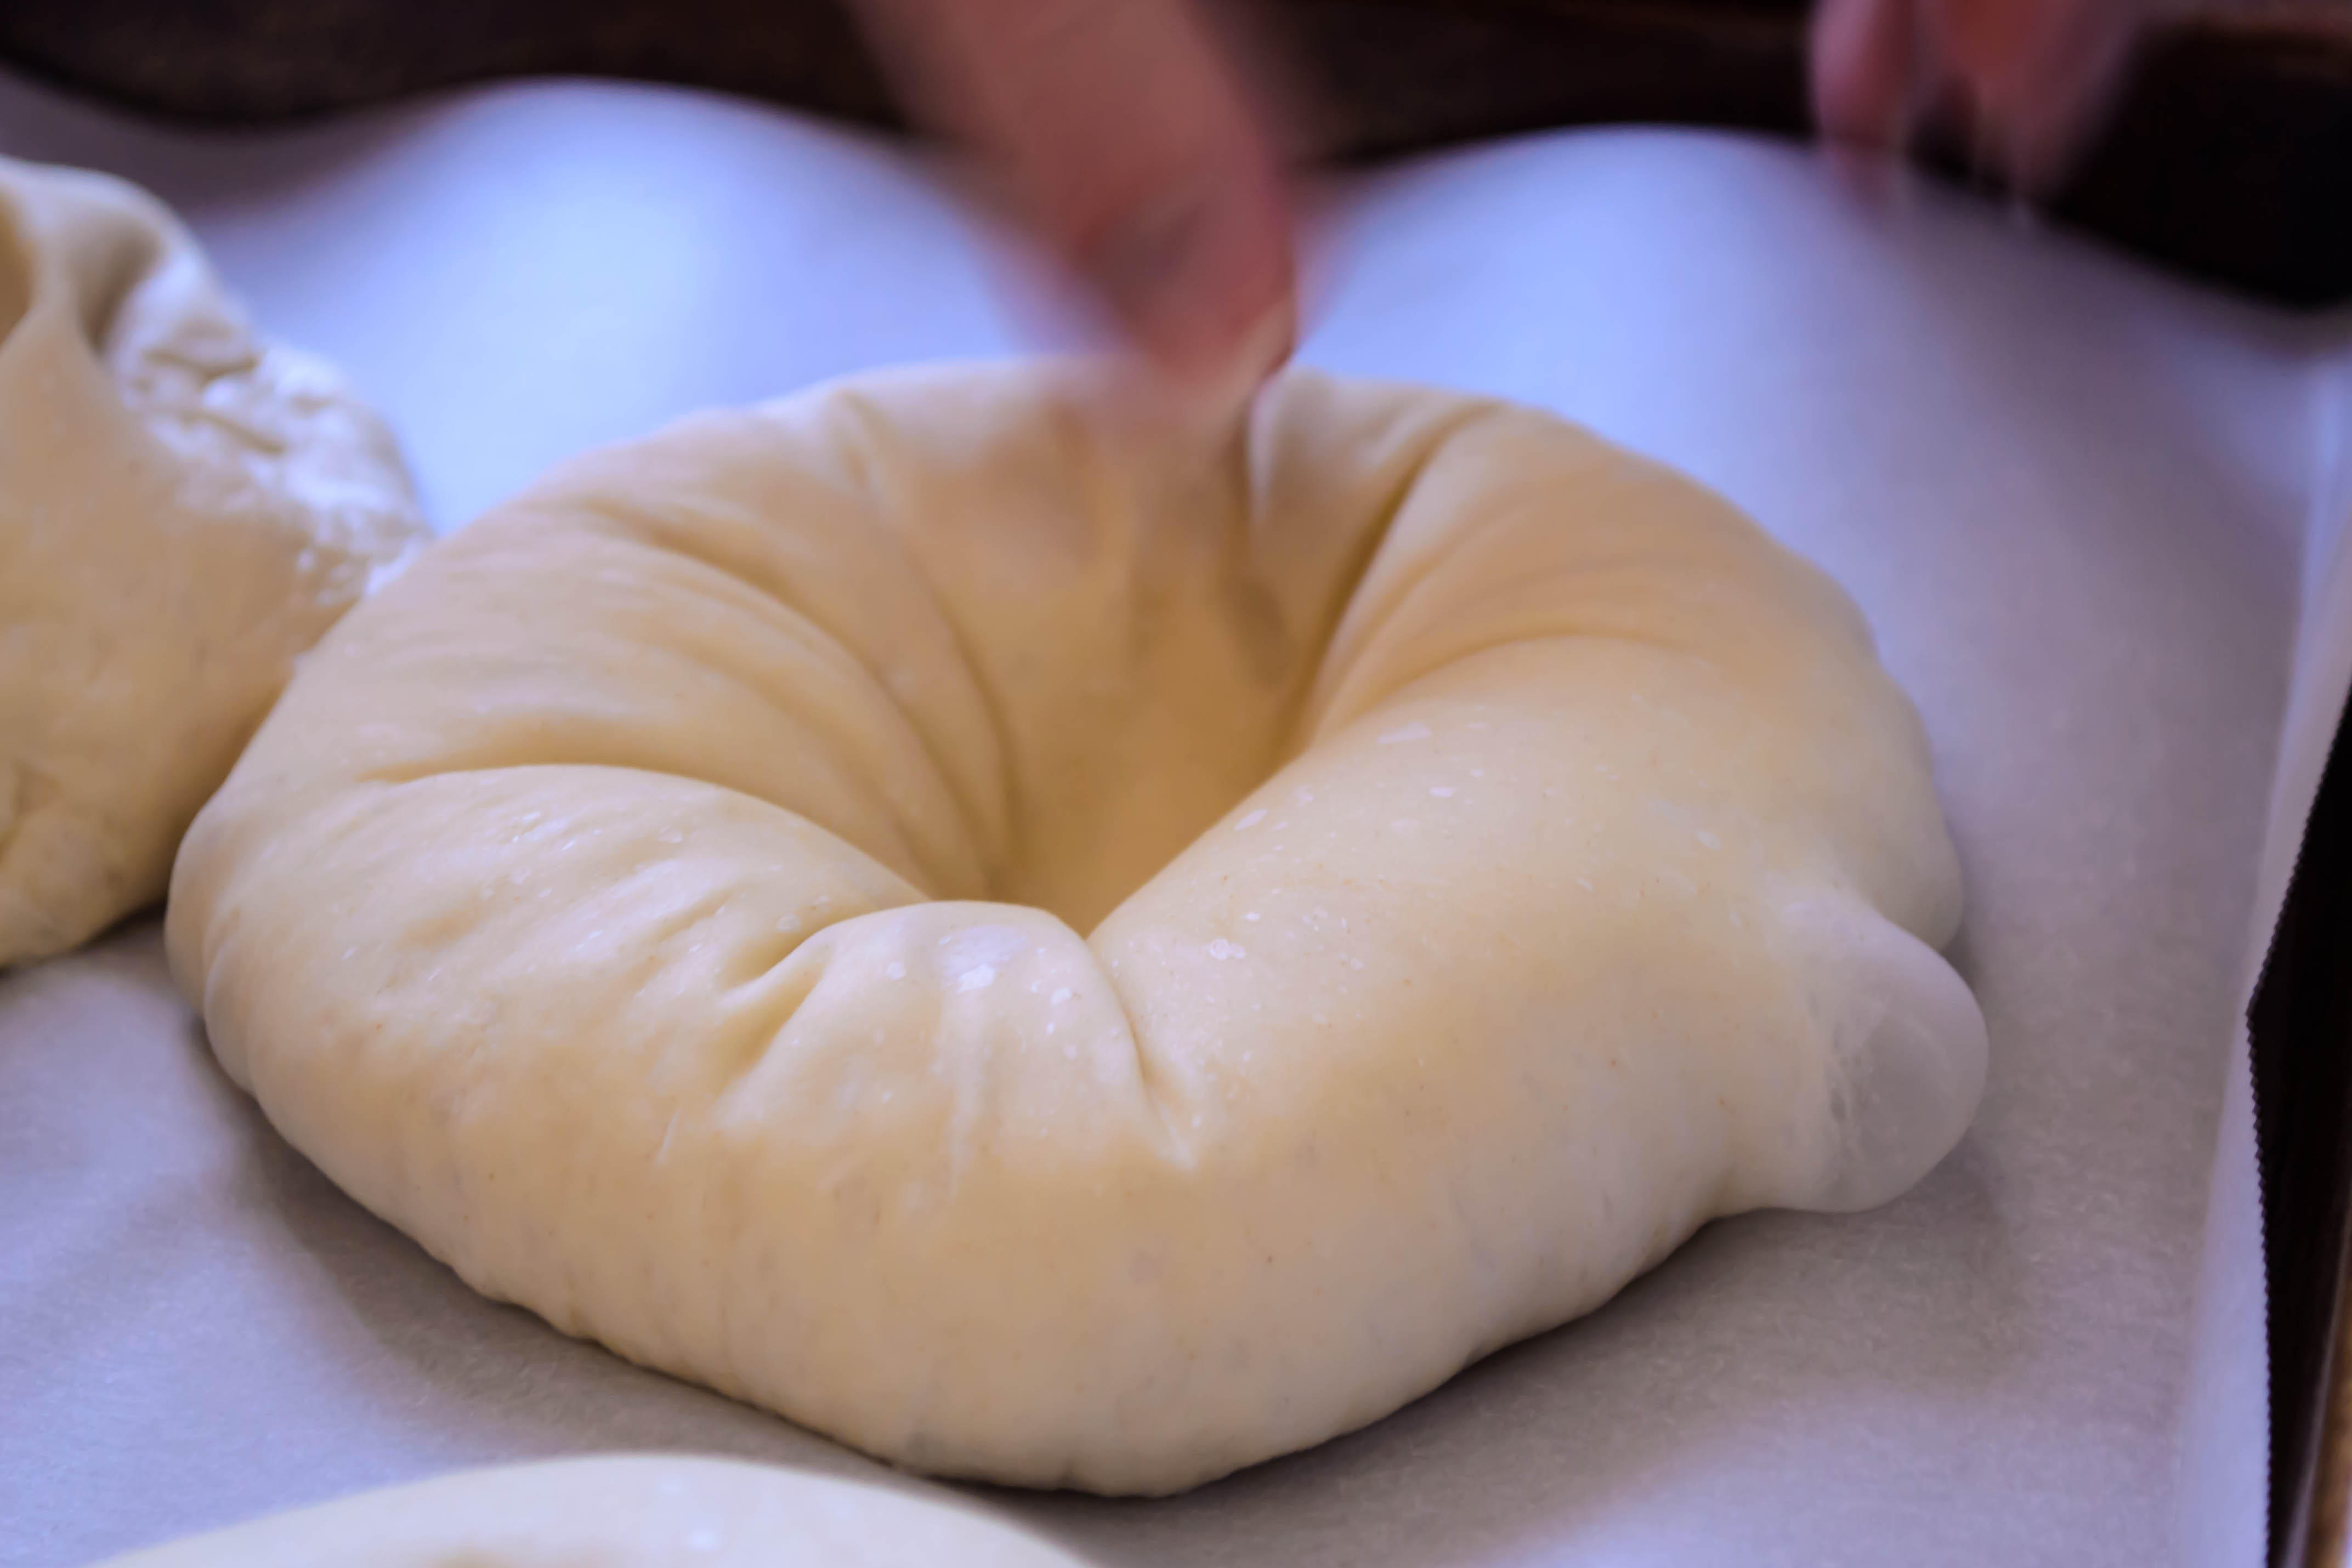
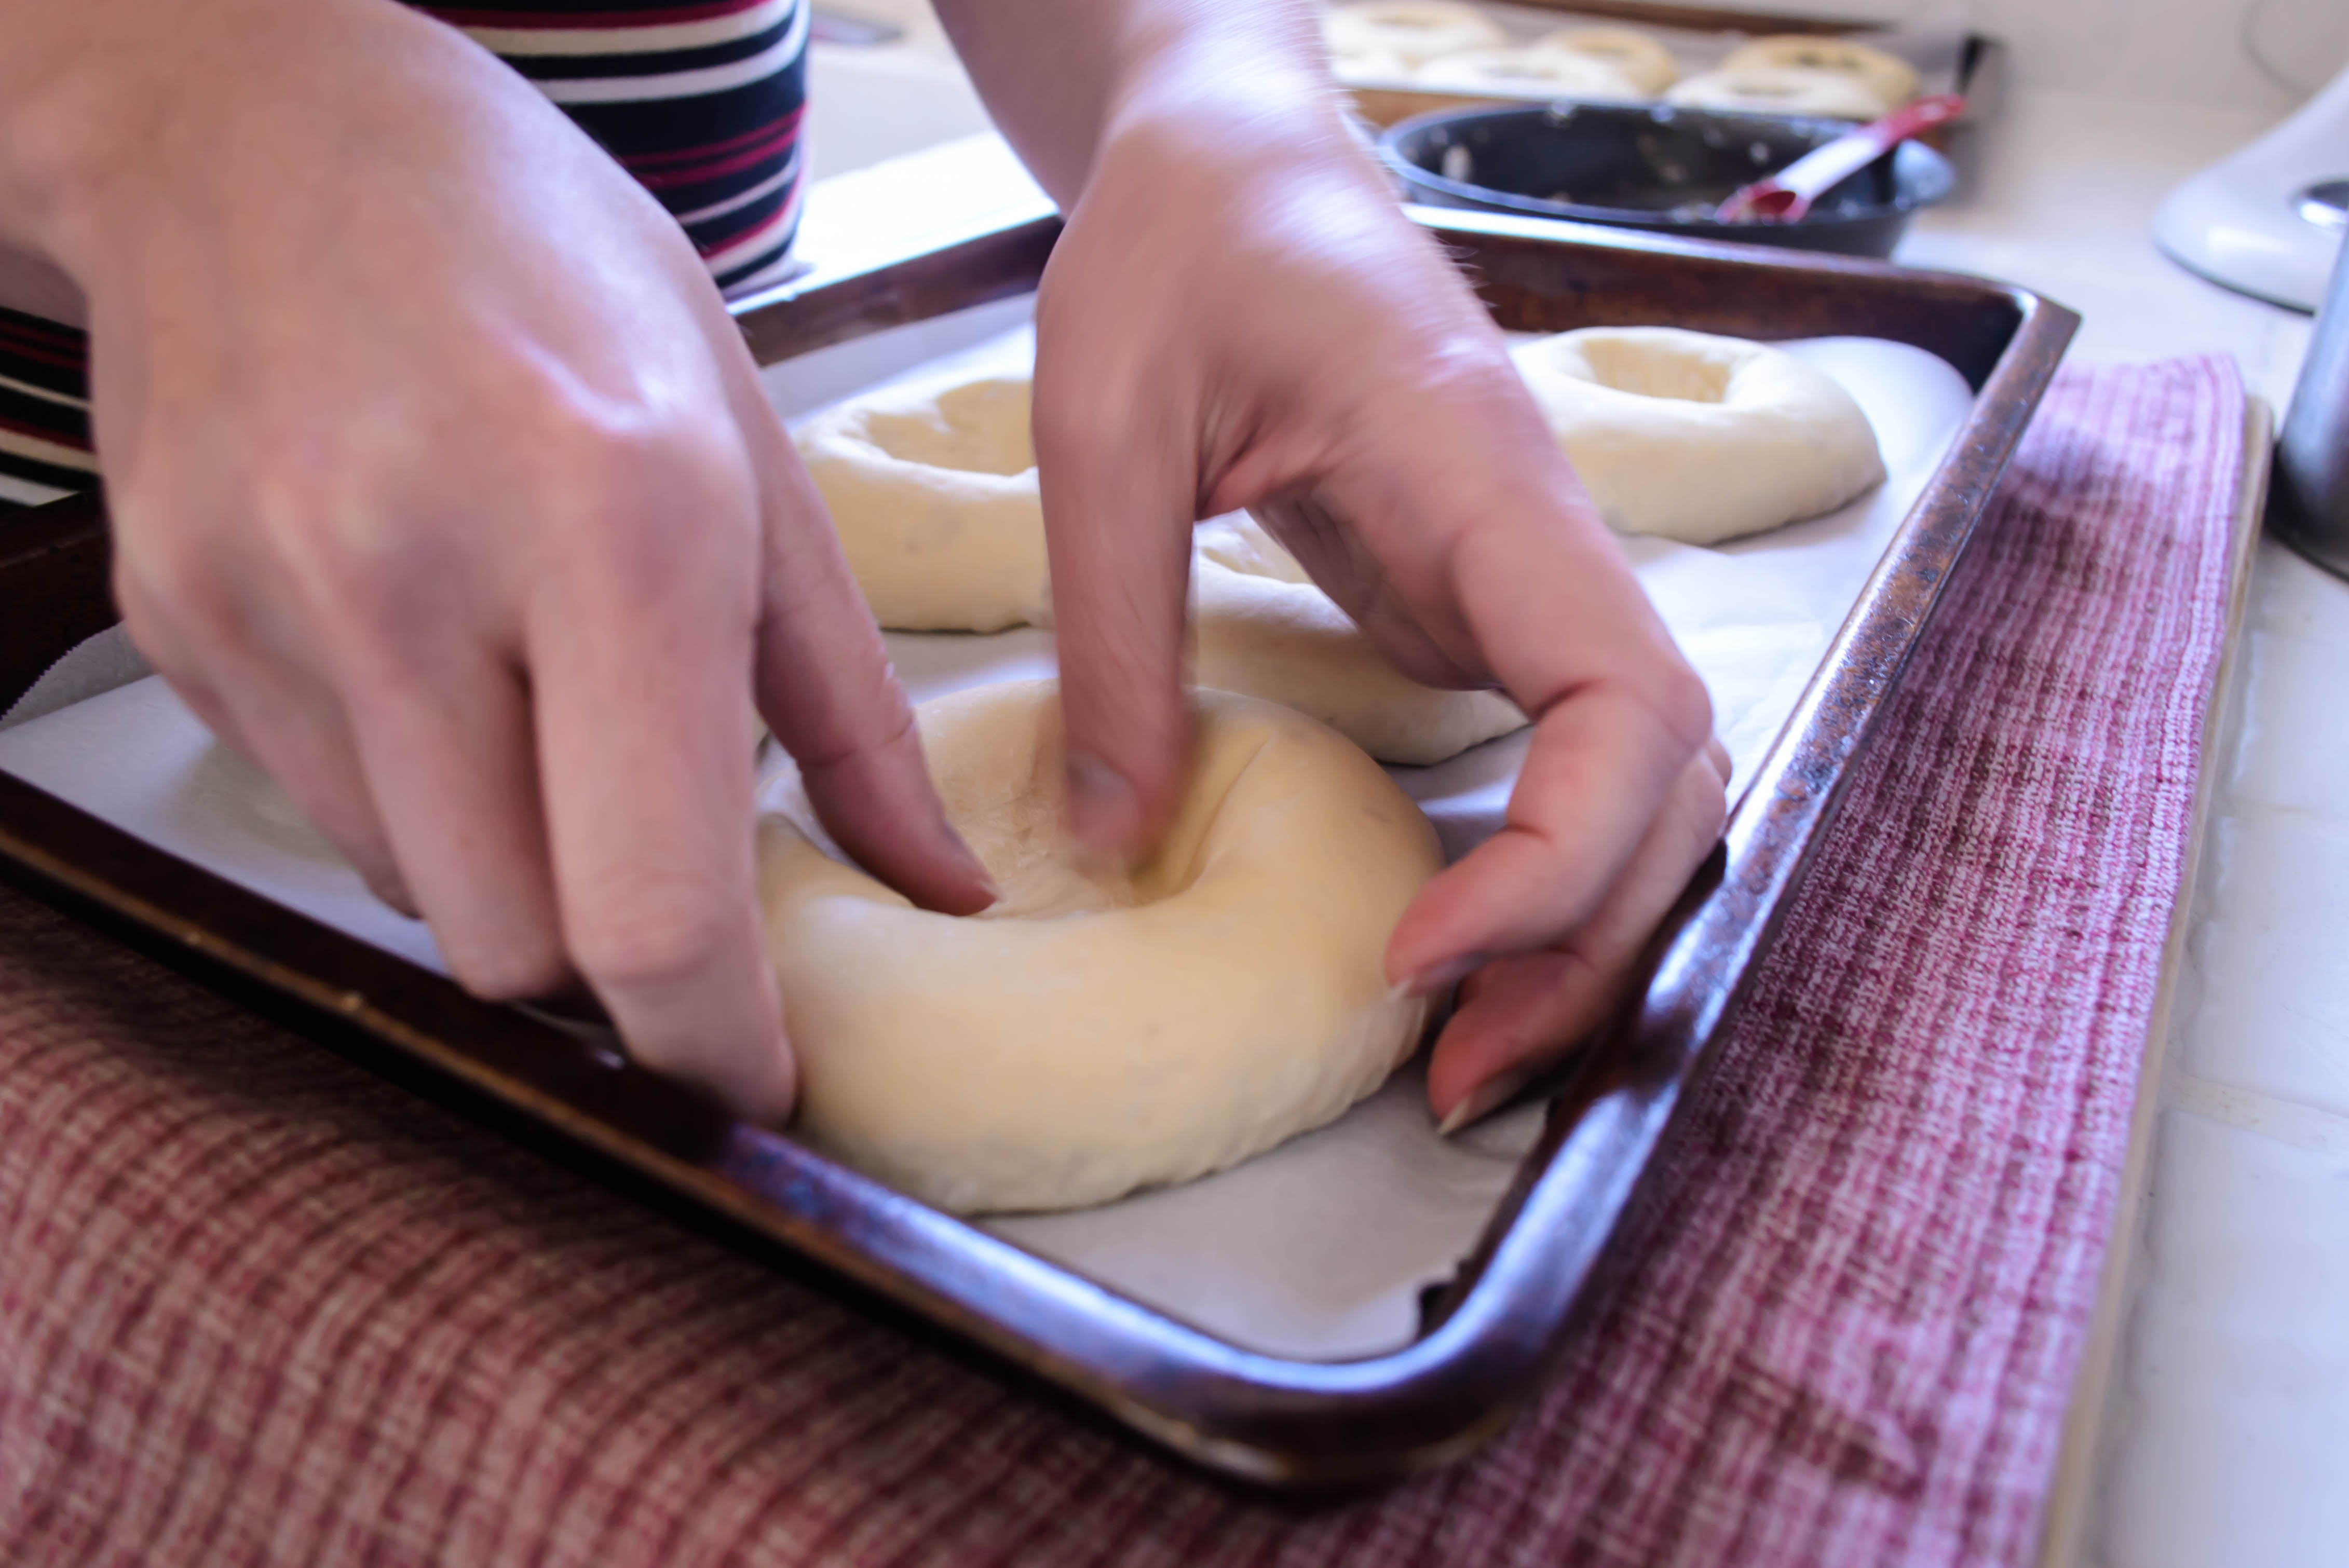
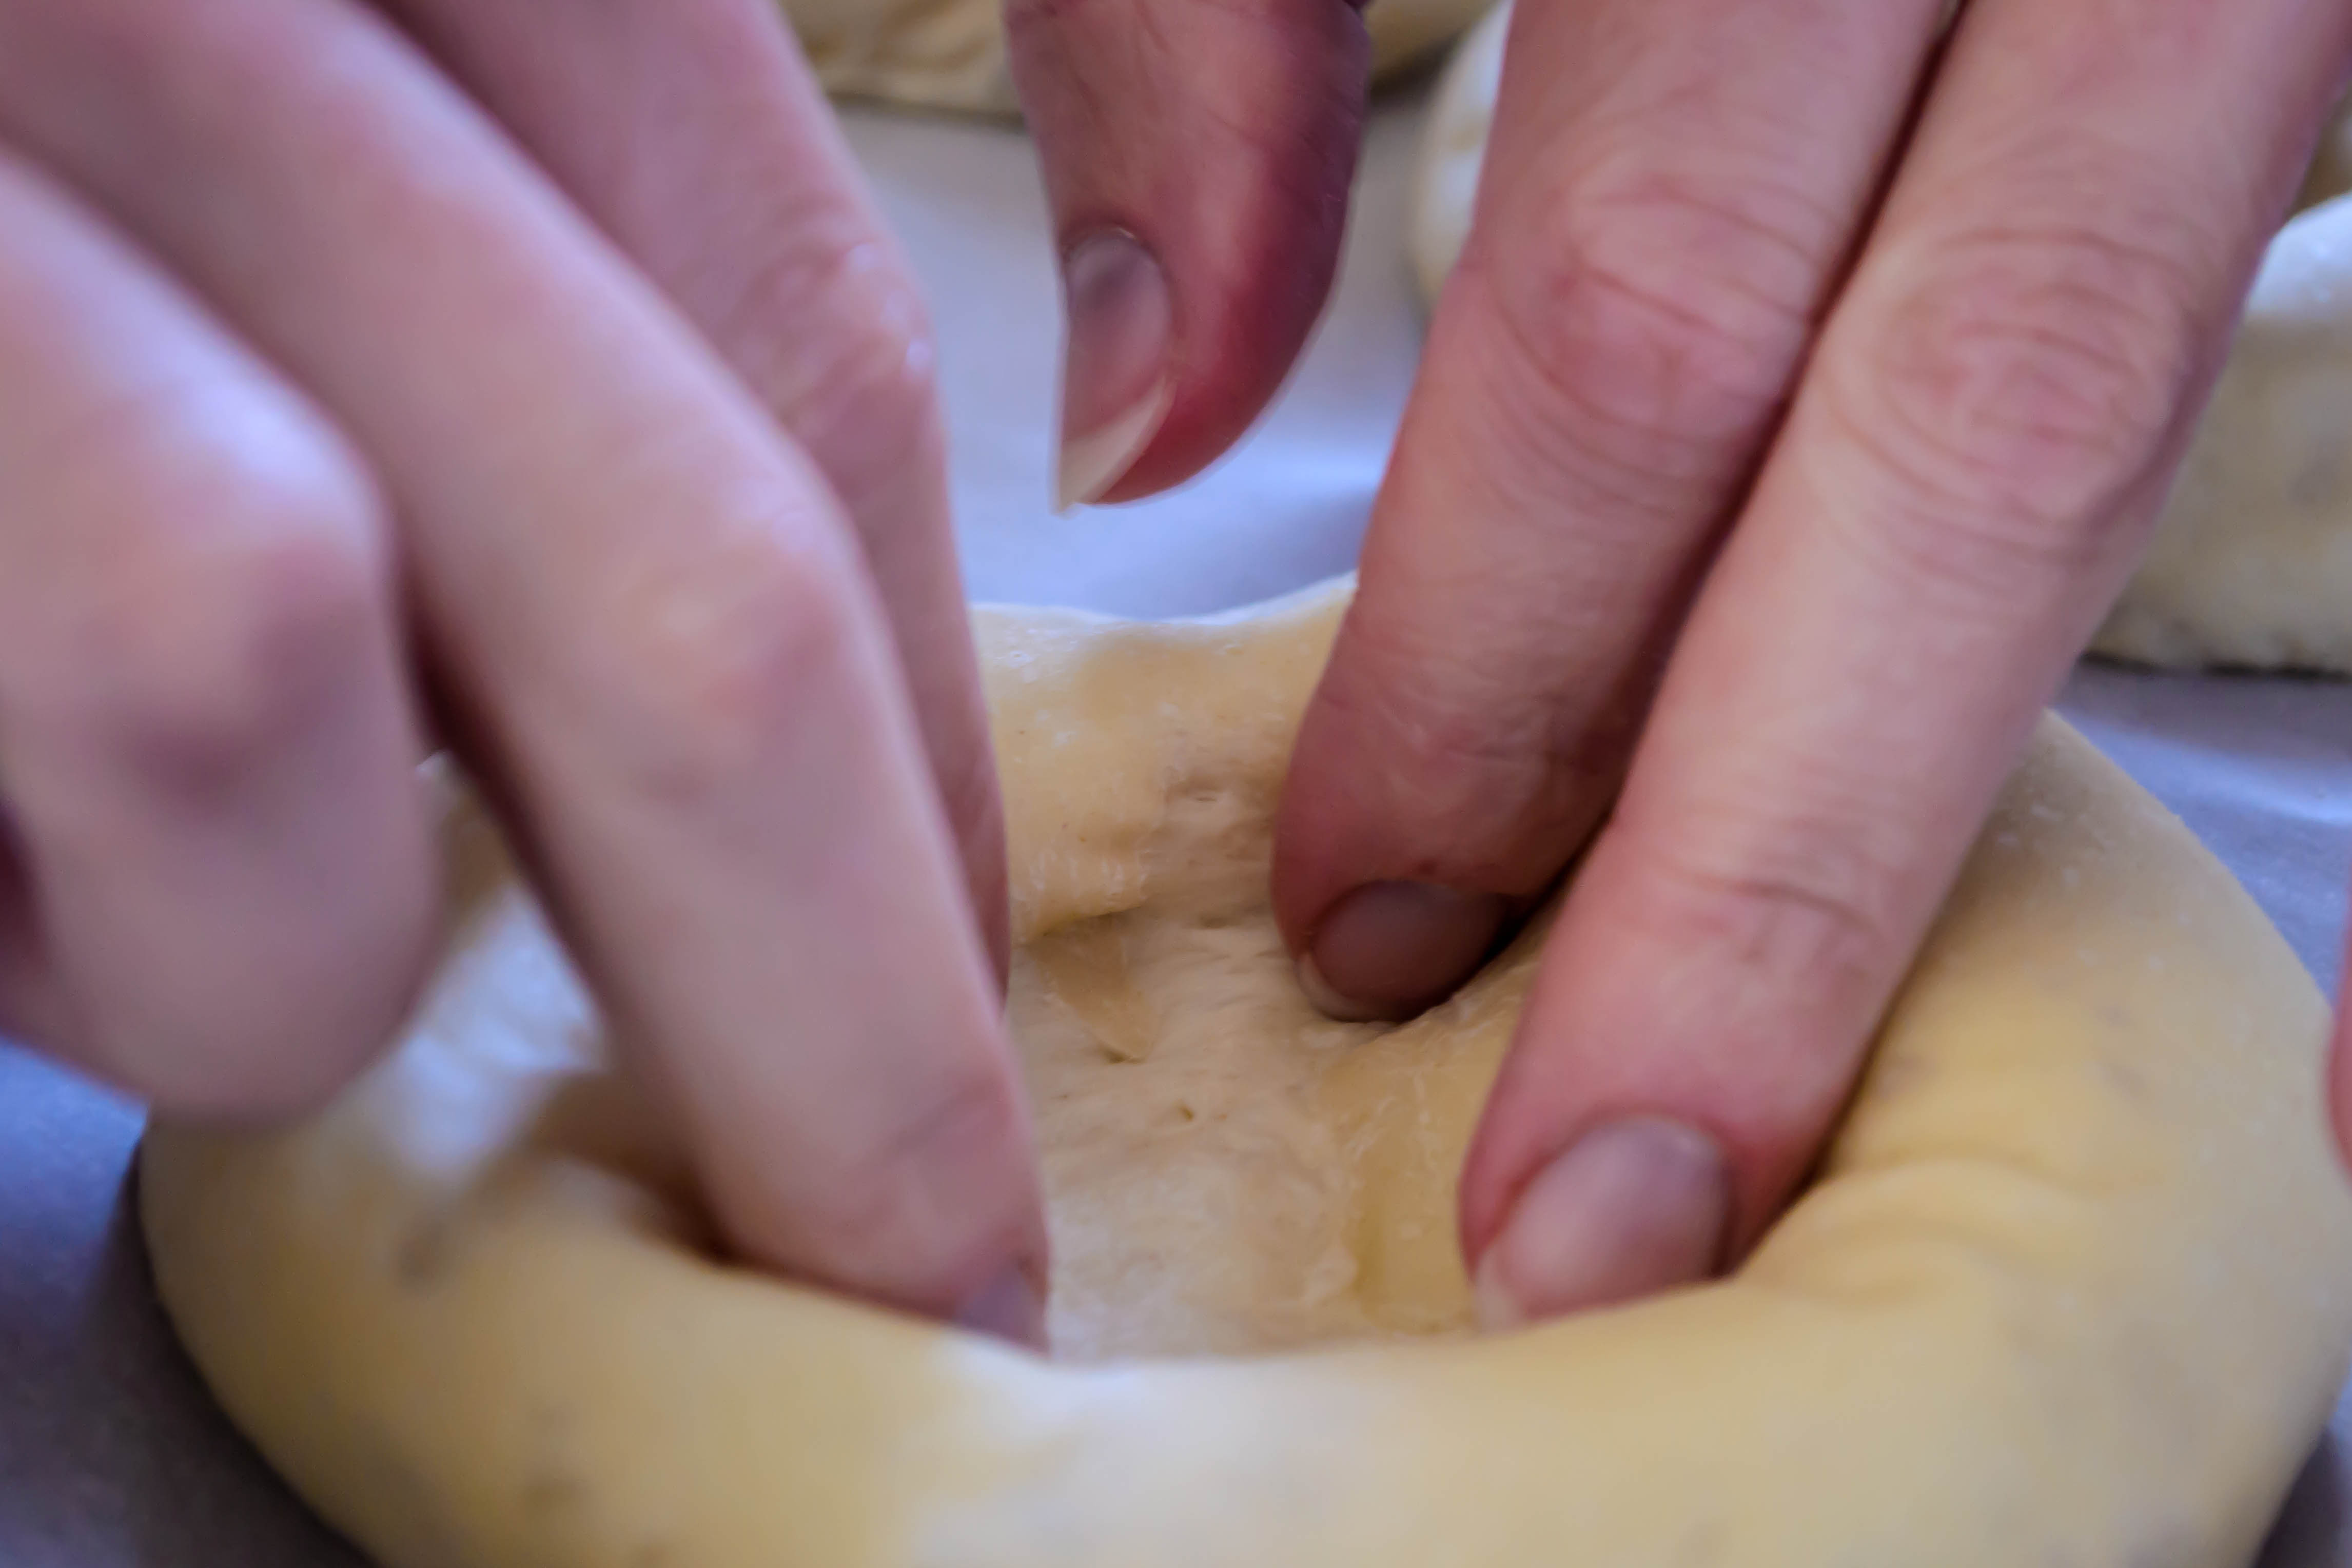
  I asked N. to take some photos for me while I rolled, pinched, and prodded the dough, so much of what follows is his work. Some of mine, though, include the rolling pictorials that follow. I’m using my own version of Joe Pastry’s technique, which I’m finding I like quite well. Rather than just slicing off hunks of dough and rolling them, I flatten out a piece, fold up and pinch the edges into a weird starfish, and then follow Joe’s suggestion of lightly rolling the dough in circles around the board inside my lightly curled hand. My system – in pictures – follows, but you can see Joe’s technique