I talk a lot on this blog about myself. Today, I want to talk a little bit about my husband. Before I met him, N. did a study abroad program in London. He was there for six months, and by “there” I mean taking classes in London, but also zipping around England and then parts of Europe with a speed that his British hosts looked upon with alarm (“what do you mean you’re going to York just for the weekend? That’s a 3-4 hour trip! It’s a whole holiday!” To which N., who grew up in a road-tripping family, would shrug and go anyway. Example: his family, when they lived in a suburb of Sacramento, California, thought nothing of jumping in the car to drive to Reno for the day. Once when his parents visited us in Oregon, we drove to Tillamook from Eugene via the coast to get ice cream and cow cookies at the Tillamook Cheese Factory, and then headed home in time for dinner).

N. is a little camera-shy.
Interestingly, and perhaps unfortunately, N.’s study abroad program took place shortly after some of the worst scares of mad cow disease in England. He was there in late 2002, and eating beef was a no-no. This meant, when I met him, that N. had some food issues. He wasn’t a picky eater – that’s not quite the right word. He was, let’s say, a particular eater. Beef, especially beef that wasn’t well-done, was out. The frightening potential consequences had been too drilled into his head. Lamb was too gamey. Pork was not his favorite. When I was trying to impress him with my rudimentary cooking skills when we first met (rudimentary is kind – the first time I tried to make him French toast for breakfast, the bread collapsed into over-soaked crumbles in my custard mixture. But we fried it up and ate it anyway – sweet scrambled eggs with bread bits – and he was either kind enough or smitten enough to pretend he liked it), we ate a lot of chicken breast.
N.’s willingness and preference when it comes to food has expanded and matured significantly since we’ve been together. Still, though, he is wary. When we lived in Oregon, we were lucky enough to find ourselves in Eugene, which is a bit of a hippie mecca. This meant we had a wide variety of vegetarian choices. Neither of us is vegetarian, but N. developed the habit of ordering veggie burgers when we went out to eat, since it was a safe bet. You didn’t have to worry about doneness, and many of the restaurants we frequented made their own patties instead of relying on something frozen from a box.
Even though we’ve been living in Los Angeles for almost a year now (can that be true?!), and we’ve done our share of restaurant investigating, we don’t have the favorites yet that we had in Eugene. Though we’ve found some delicious options, N. doesn’t have a go-to veggie burger yet. This week, therefore, I decided to make him one.
It always interests me, when a veggie burger is advertised as a homemade patty, to find out what its base is. A lot of meatless patties – especially the premade kind you find in the freezer section – are wheat based, which seems like a strange thing to put on a sandwich: a patty of pressed wheat between two pieces of bread made from wheat. Gluten-fest! But sometimes they are made from tempeh, and sometimes from beans, and we had a really tasty one once that I’m sure had shiitake mushrooms mixed into it, which contributed a fantastic texture I haven’t found again. 
 Taking this textural component as my must-have, I considered my pantry and spice cabinet, and cobbled together what turned out to be a delicious, filling patty made of brown rice, kidney beans, and reconstituted dried shiitake mushrooms. I used a mixture of red wine and hot water to reconstitute my mushrooms, which contributed to their deep, earthy flavor. You could use chicken or vegetable broth if you prefer, or just hot water.
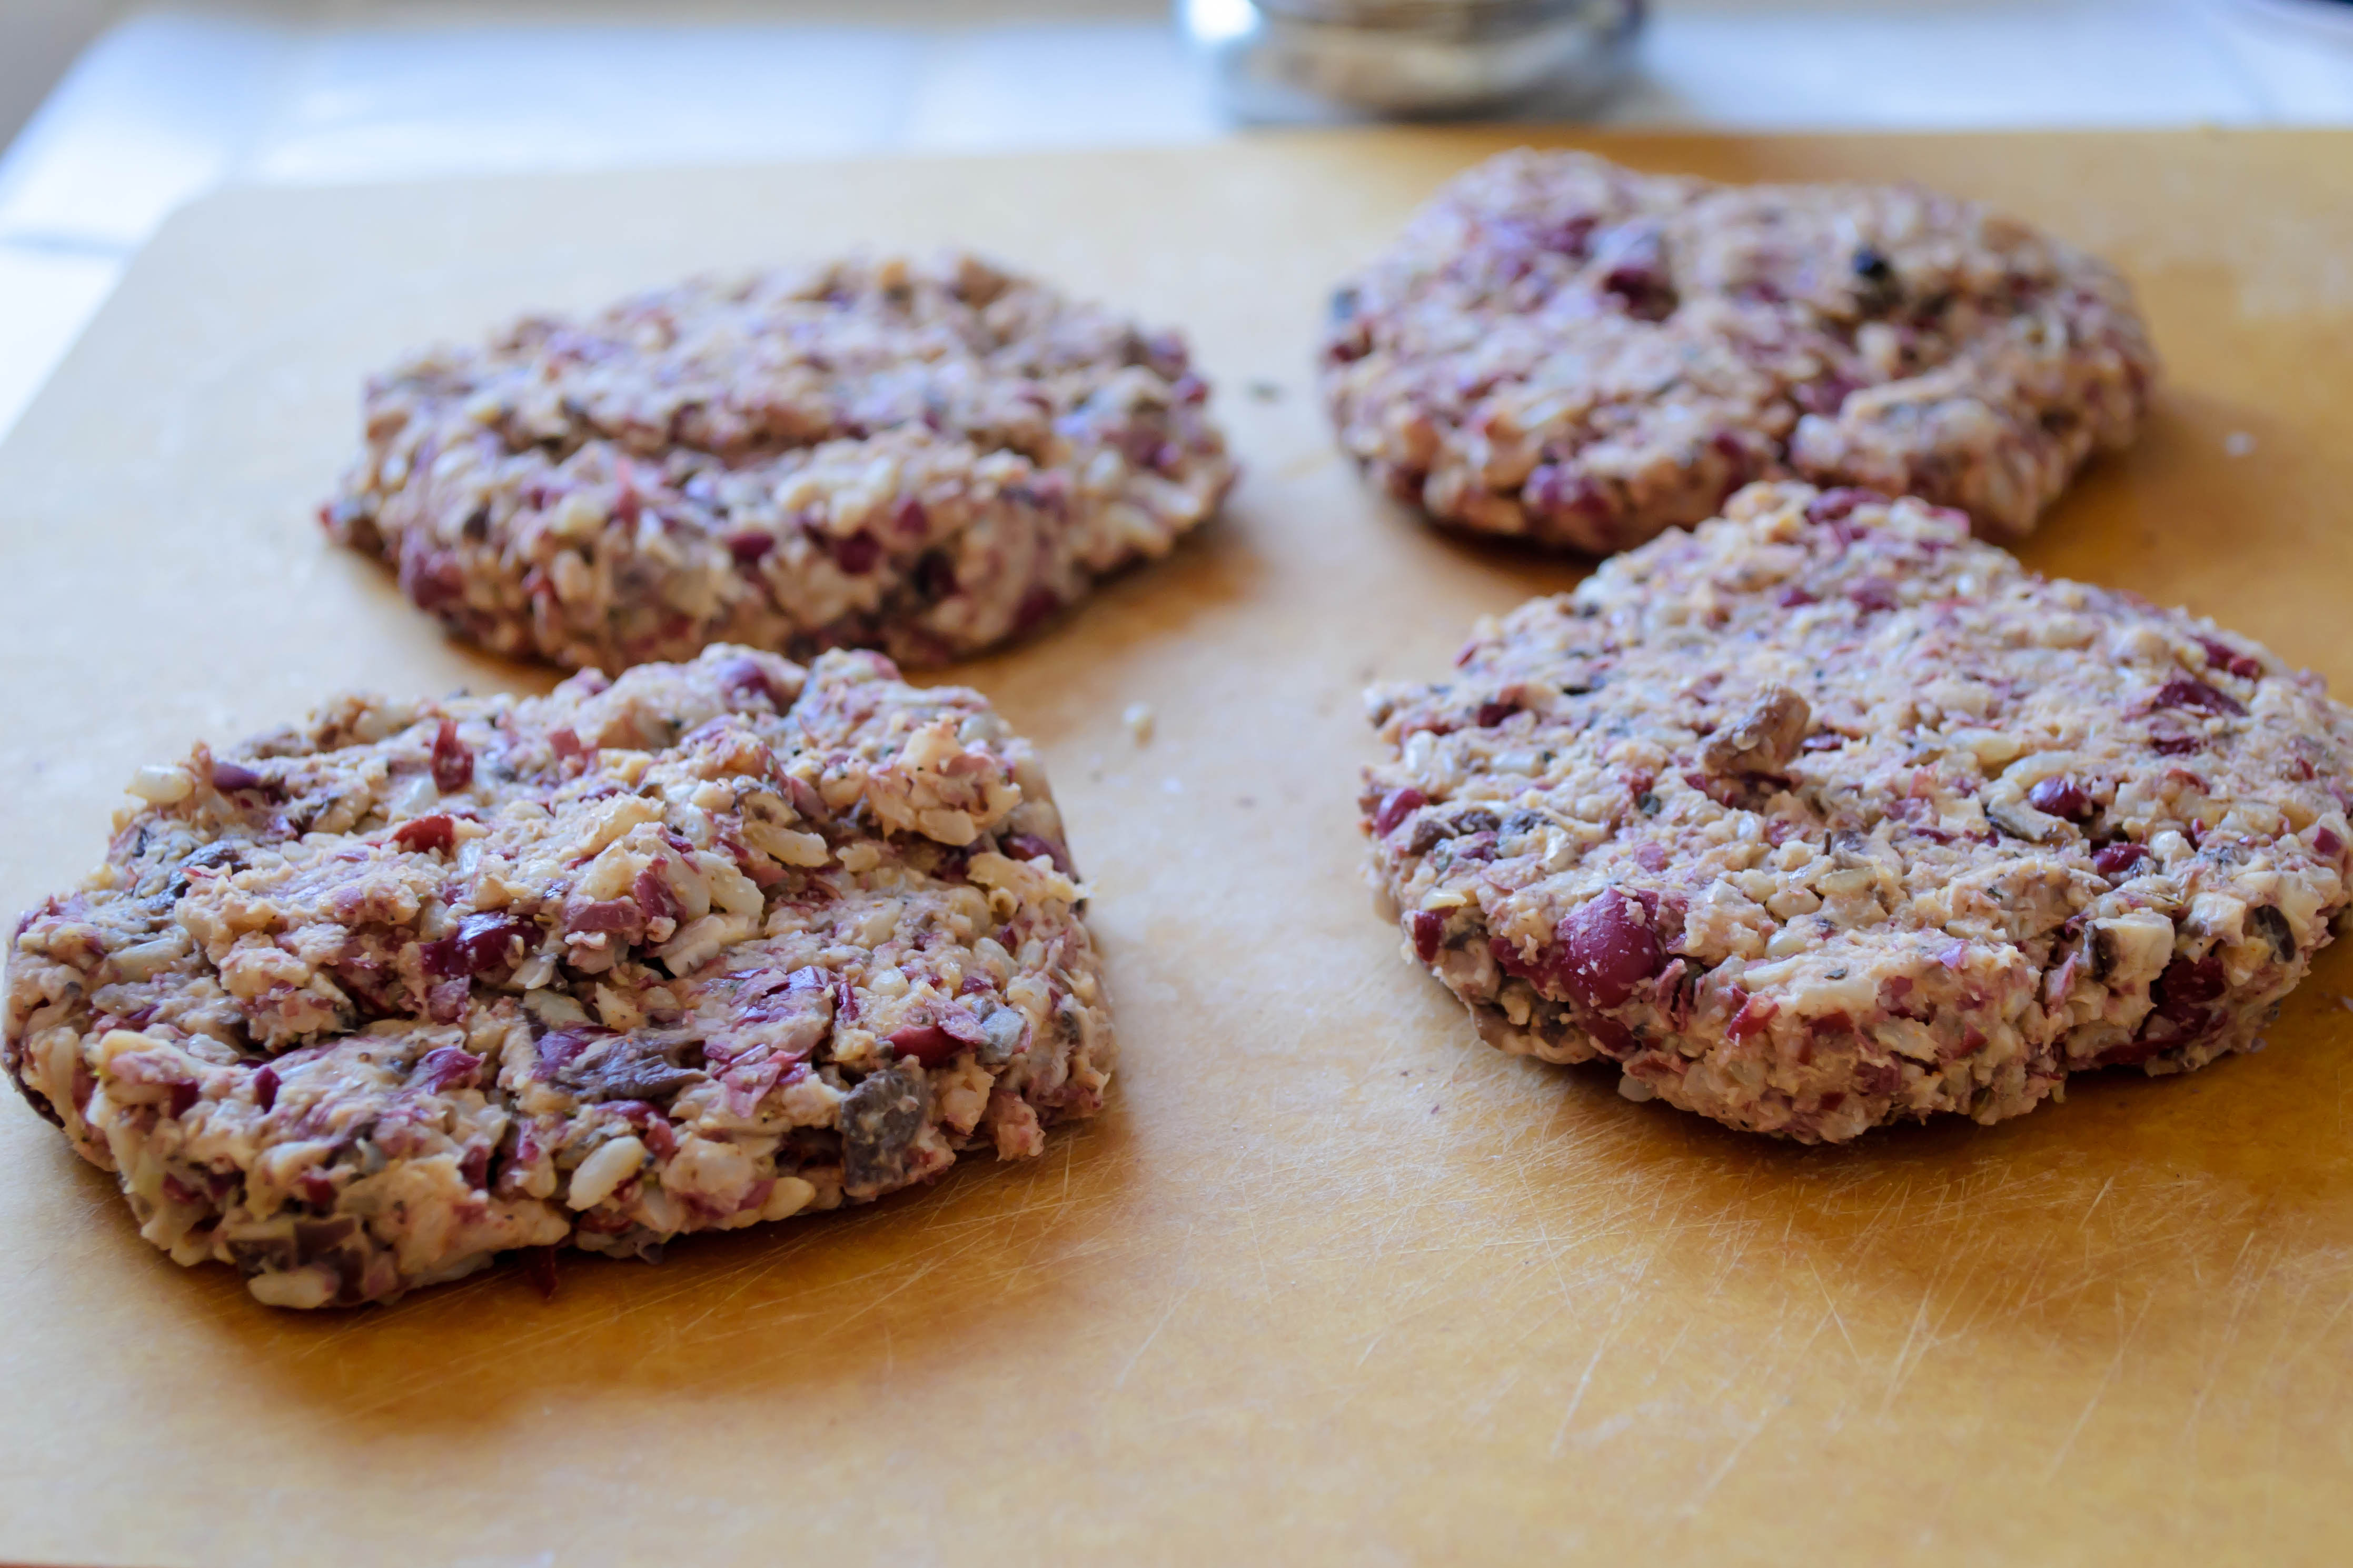
 To bump up the flavor and add a little moisture, I added onions and garlic I’d sweated down with some warm, southwestern spices, and pulsed the whole thing in a food processor with a generous pinch of salt until it was willing to be molded, but not completely homogenized. The beans should be smashed but not totally pureed, and you should be able to discern the occasional grain of rice in your shaped patty. This adds texture and interest when you are chewing, and makes the finished product less like you’re chowing down on a fried patty of bean dip. Not that fried bean dip patties necessarily sound like a bad thing…
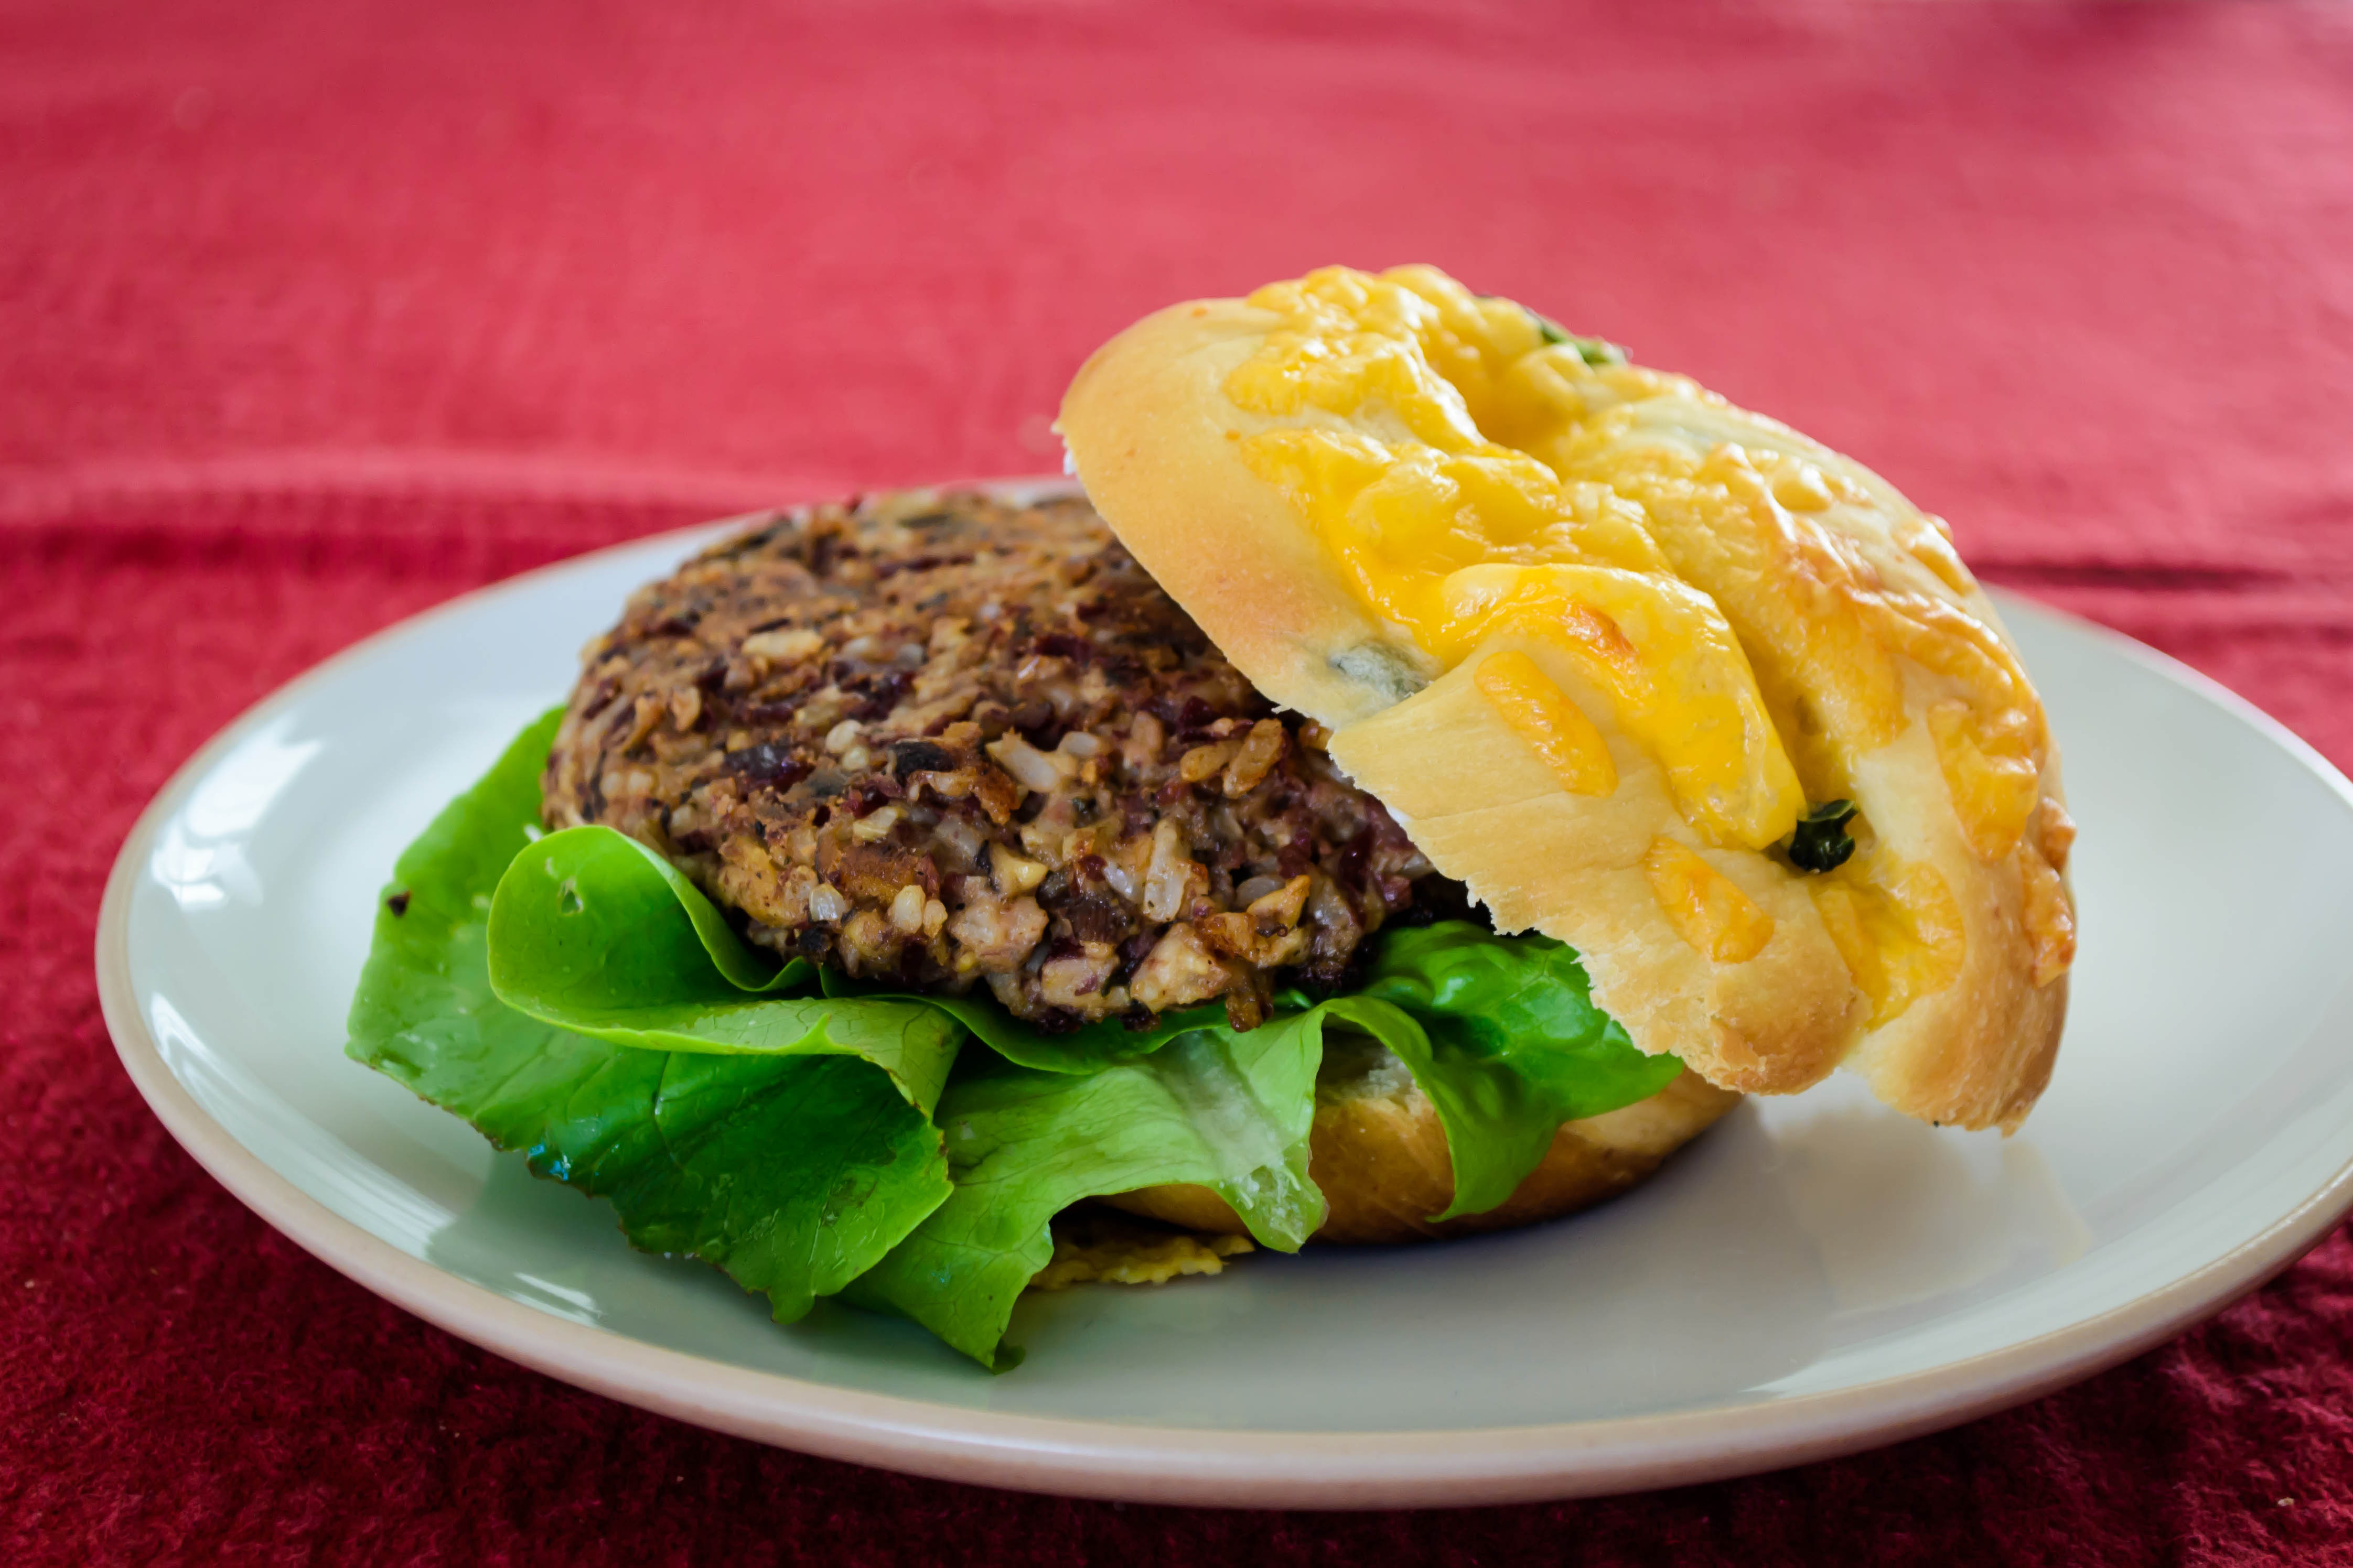
 N.’s one complaint about veggie burgers is that they are often smothered in cheese. It’s as though restaurants are trying to hide the flavor-that-isn’t-meat. That might be exactly what some people want, but for us, these non-cow flavors are just as interesting and tasty. To make this a burger (or vurger, as one of our Eugene favorites called it) worthy of N.’s preferences, I decided to skip the cheese on the actual patty, and incorporate it into the bun instead. Thus we settled our patties on homemade jalapeño cheese “kaiser” rolls, which I’m going to have to boast about… maybe next week…
For now, though, the patty itself: these are a bit dense and fairly filling, but the mushrooms really do add a delightful chewiness that I wouldn’t want to skip. Adding in some tempeh crumbles to replace or enhance these components would likely be delicious, though I haven’t tried this yet myself. The final addition of the barest squeeze of lime juice makes a surprising difference: it takes them from slightly heavy to a flavor I can only describe as somehow more awake.
 A few days ago Deb at Smitten Kitchen asked what her readers’ go-to dinners were. I thought about this for a while and decided ours were pizza, roasted vegetable tacos, and a lovely little one-bowl meal I learned from a friend called “Scatter Sushi.” I can tell you, though, based on the reaction these “vurgers” got at our house, they just joined that list.
Note: these patties are vegan (until you put them on a cheese roll), which means they lack the dependable binding power an egg typically brings to such a party. Therefore, I recommend shaping them and then letting them sit for half an hour or more before cooking, which will let the rice and beans soak up some of the moisture from the vegetables, and thereby hold together better. If they threaten to crumble on you or you’re frustrated or frightened by their potential fragility and not determined to keep them vegan, go ahead and add an egg to the mix.
Brown rice, kidney bean, and shiitake “vurgers”
Makes 4 patties
1 cup cooked, cooled brown rice
1 15 oz. can kidney beans, drained and rinsed
1 oz. dried shiitake mushrooms (about 12)
3 cups wine, water, or broth for reconstituting mushrooms
¼ cup diced onion
3 cloves garlic, minced
3 TB olive oil, divided
1 tsp cumin
1 tsp paprika
½ tsp oregano
½ tsp black pepper
½ tsp salt (if you are using dried beans rather than canned, you might want to increase this quantity)
1 tsp lime juice or red wine vinegar
- First, reconstitute the mushrooms. Heat water or broth to near boiling, then pour into a heatproof bowl with dried mushroom caps and wine (if using). I typically like to use 1 cup of wine and 2 cups of hot water – it’s enough heat to revive the mushrooms, and enough flavor to intensify them. Cover, making sure the mushrooms are fully immersed, and let sit for about 20 minutes. I like to place a small plate atop my soaking bowl to keep the mushrooms underwater.

Mushroom soaking contraption
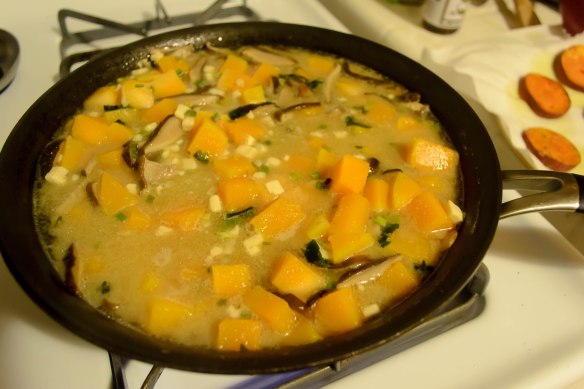
- When the mushrooms are soft and pliable, drain them and set aside until cool enough to handle. Heat 1 TB of the olive oil in a skillet and gently sweat the onions and garlic until the onions are translucent and the garlic is aromatic and sweet. This should take 5-8 minutes over medium-low heat.
- As the onions soften, add the cumin, paprika, oregano, and pepper, turn the heat down to low, and stir to combine. Let the spices cook with the vegetables for another 2 minutes, to let their flavors meld and warm. Turn off the heat and set aside.
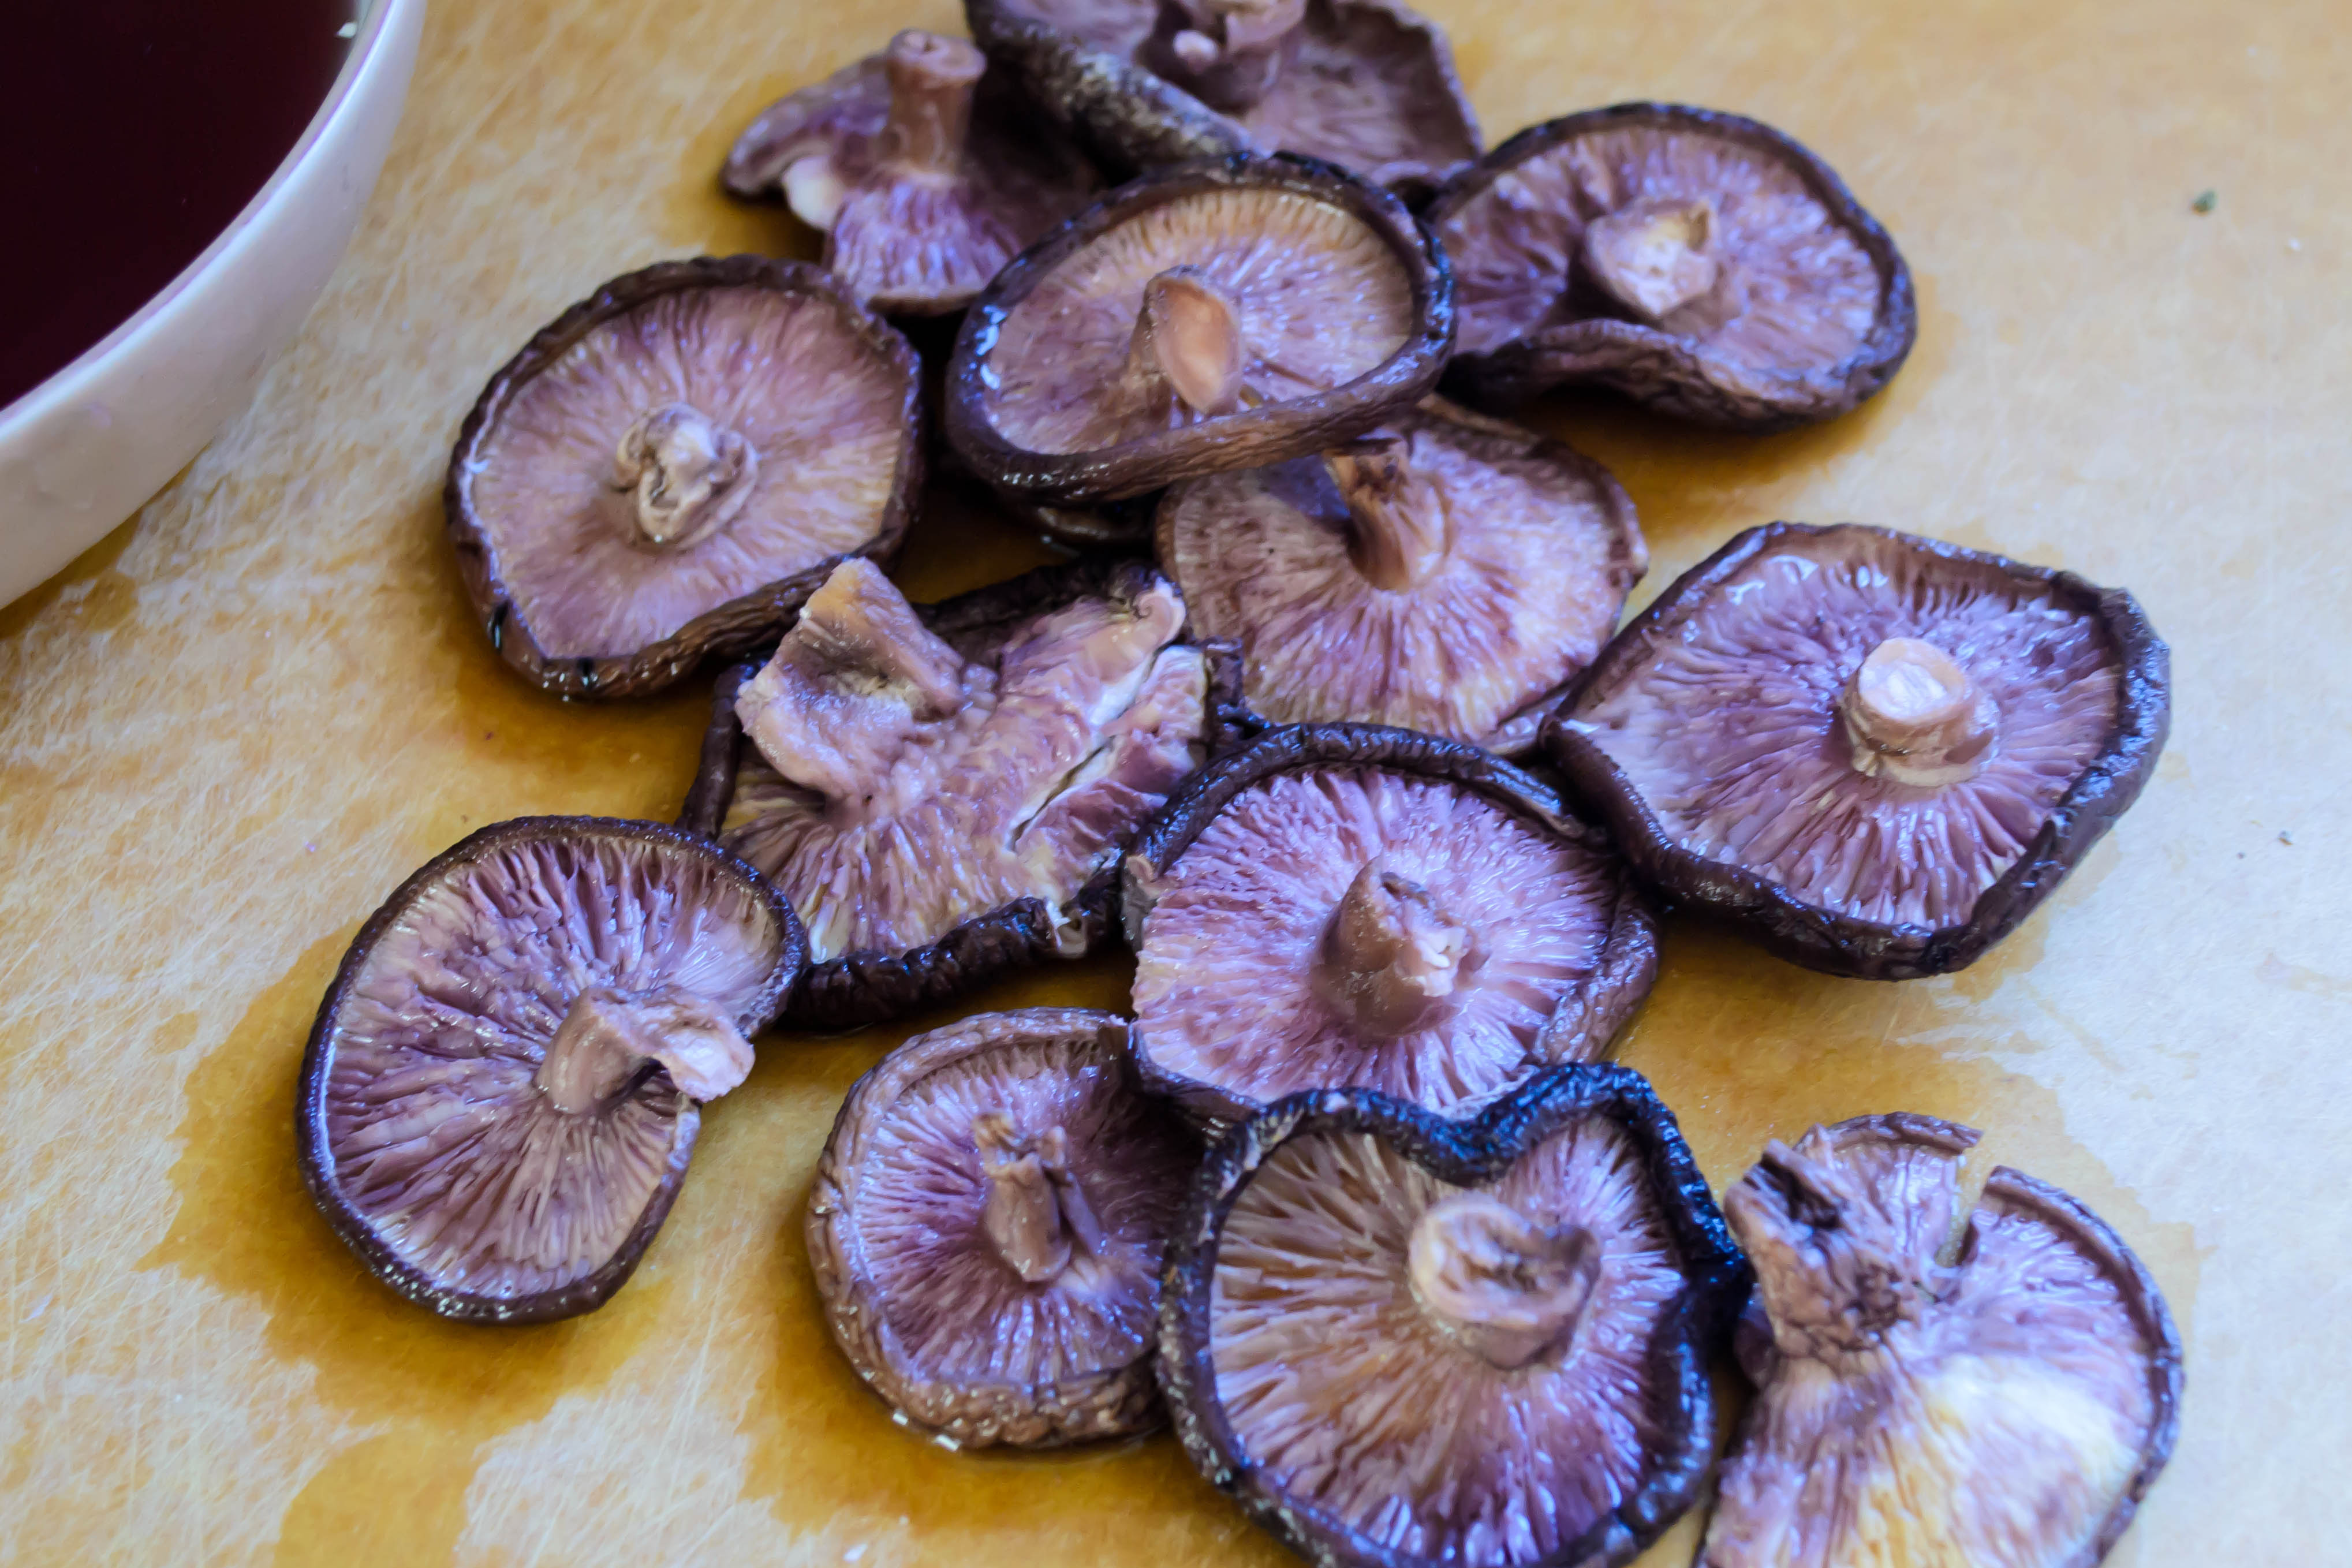
- Once your mushrooms are cool enough to handle, squeeze them gently to release some of the water they have collected in their bath. You don’t want them to be drippy, but you don’t want to squeeze them completely dry either. Some of the liquid they’ve soaked up, especially if you’ve used wine or broth, will add lovely flavor to your veggie patties. It will also help hold the patties together. Remove the stems (they are tough and unpleasant to eat) and then chop the shiitake caps roughly.
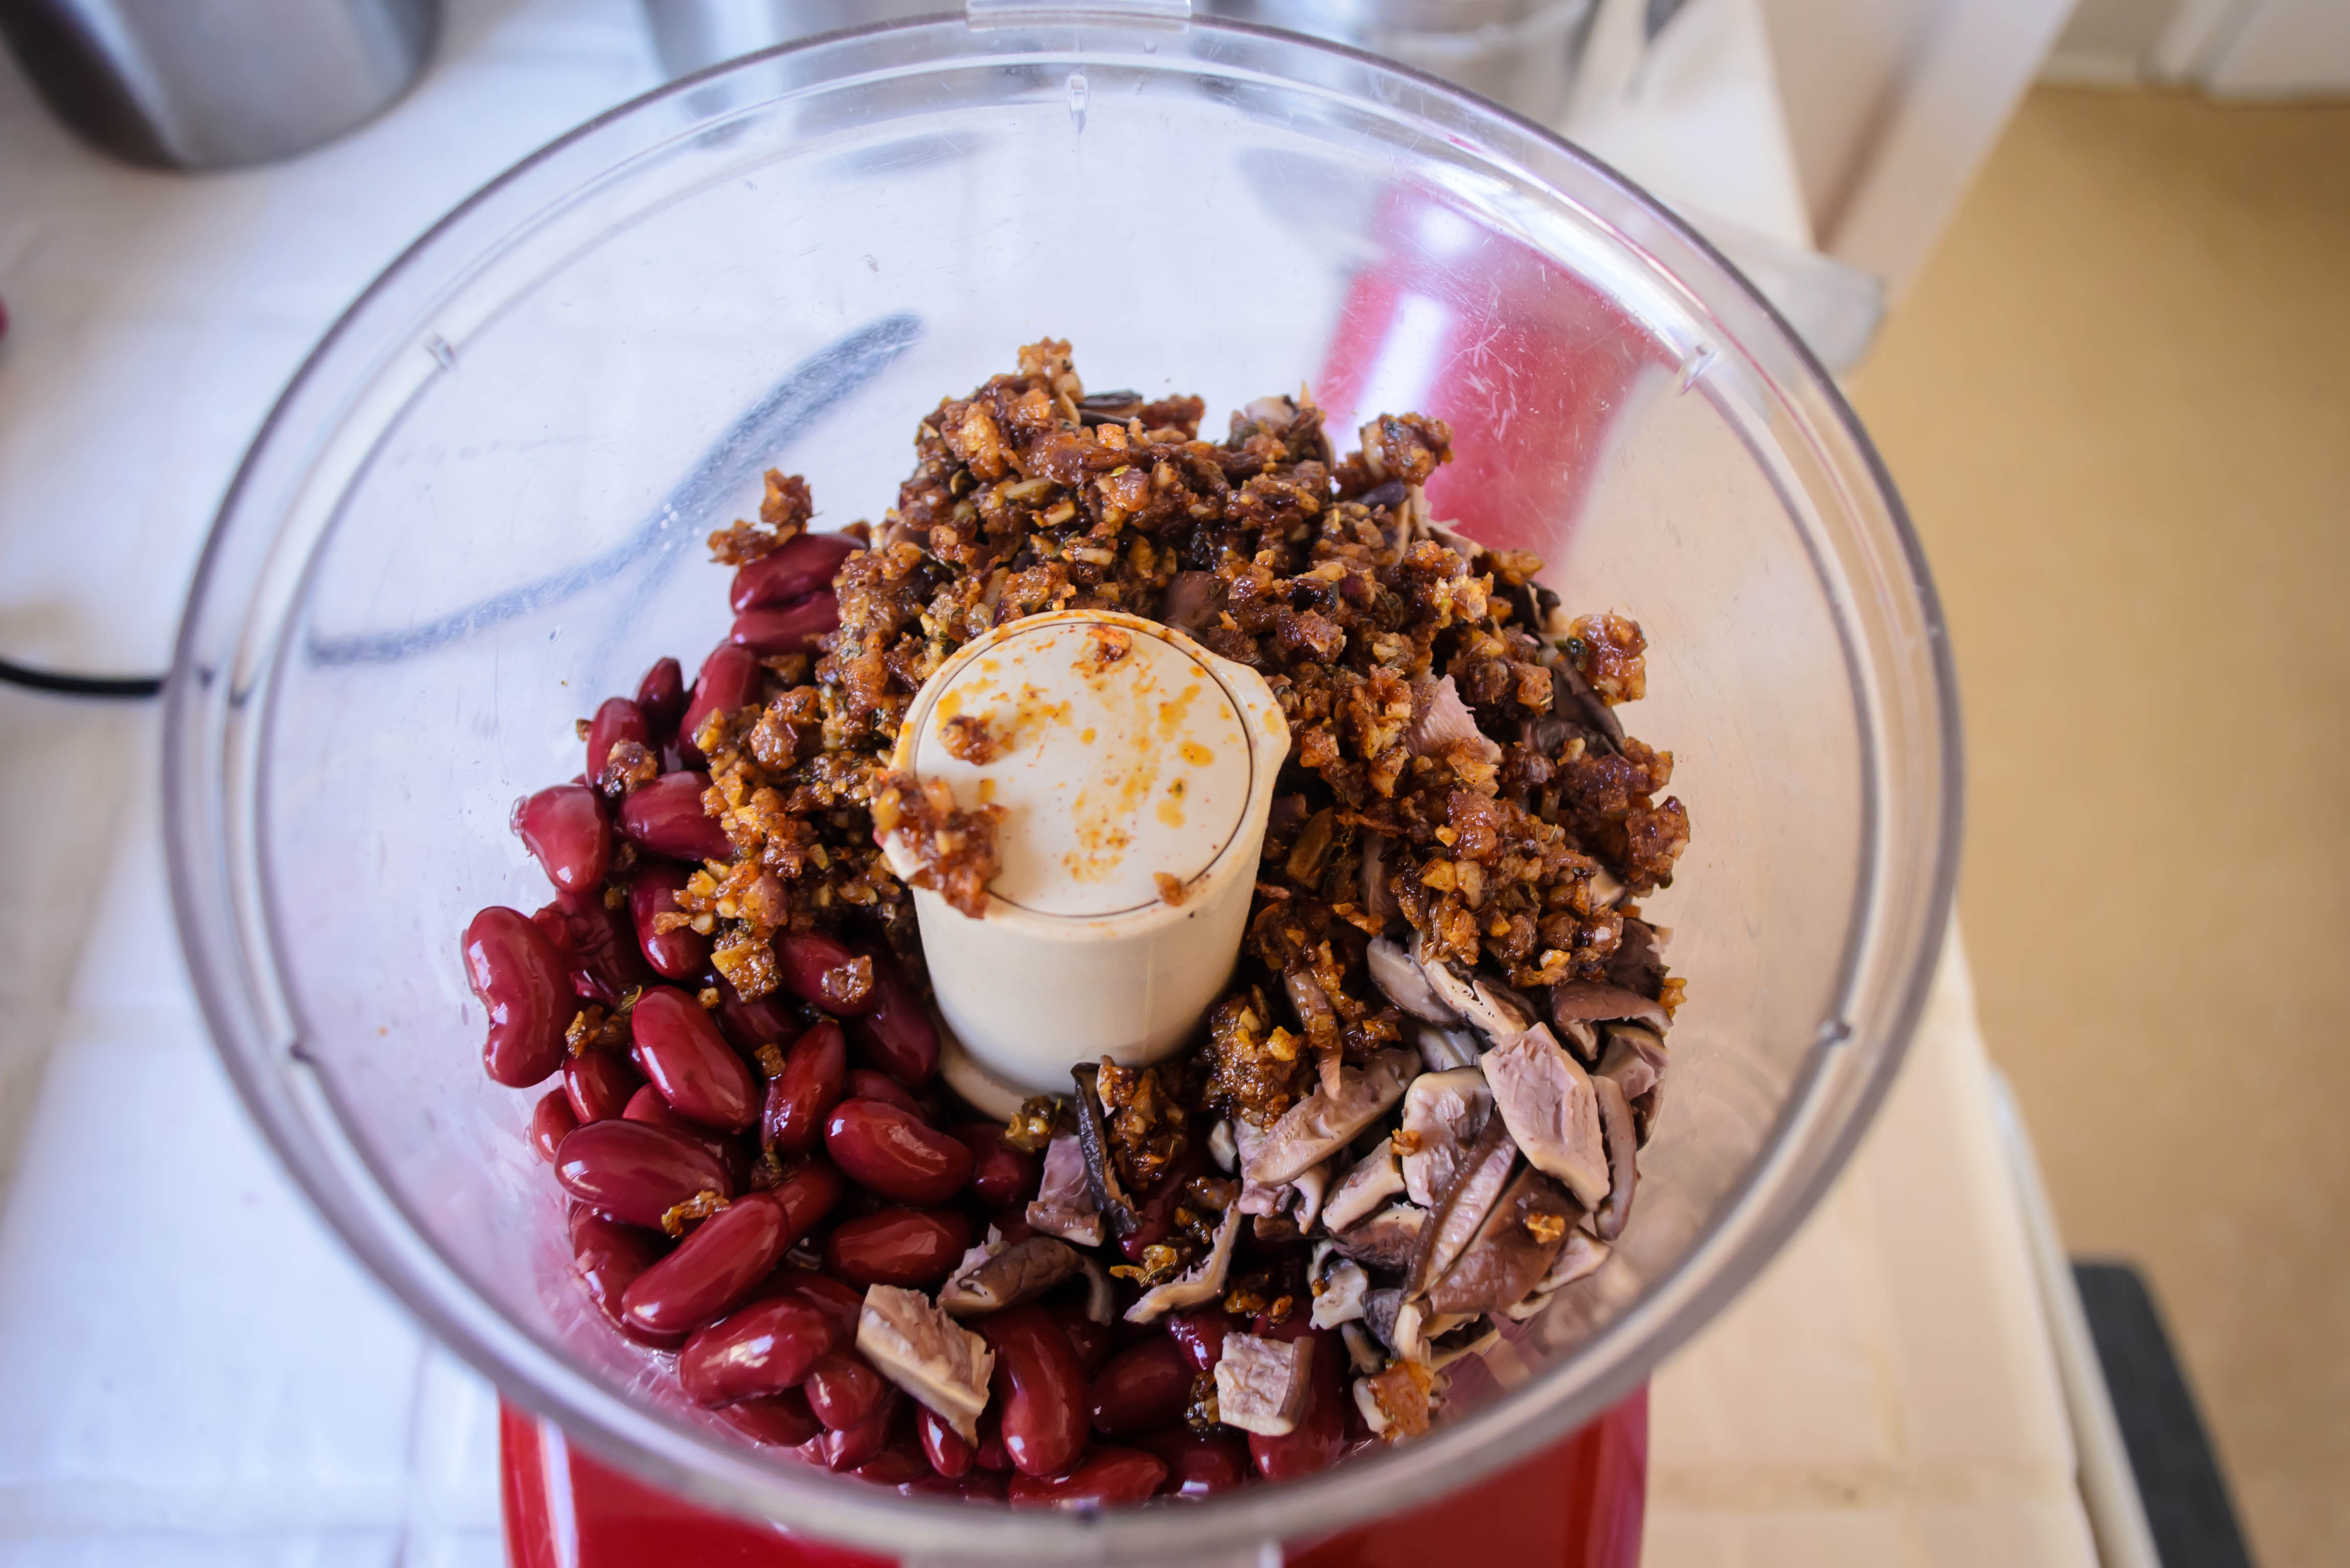
- Place rice, beans, chopped mushrooms, onion, garlic and spice mixture, and ½ tsp salt in the bowl of a food processor. Pulse 4-5 times at 3 second intervals, just until the beans are broken up and the rice is in smaller pieces. You want some of the mixture to be smooth, but some to retain texture and shape. Taste for seasoning, and add more salt if needed. Squeeze in the lime juice and pulse one more time just to integrate it.
- Remove your mixture from the processor, being careful of the blade, and dump it into a large bowl. Press it together with your hands a bit to ensure workability. If it is really crumbly or you are nervous about the patties holding together, you might add a lightly beaten egg or some olive oil here. However, don’t be too worried – they are going to firm up a little when you let them sit after shaping.
- Divide the mixture in four even quantities. One at a time, press and shape each quarter into a round, flat patty no more than 1 inch thick. Everything is cooked already, so you don’t have to worry about rawness, but you do want everything to heat evenly. Any thicker than this and your burgers might still be a bit cool in the middle. Mine were just under 1 inch thick, and had a diameter of about 3 inches.
- Once all 4 patties are formed, set them aside on a plate or a board for at least half an hour. If you are going to wait much longer than that or if you are making them ahead, stick them in the refrigerator, but be sure to let them come back up to room temperature before cooking, so they heat evenly.
- When you are ready to cook, heat the remaining 2 TB olive oil in a skillet (I just used the same one I’d cooked my onions and garlic in) over medium to medium-high heat until it glistens and ripples. Add the burgers carefully to the skillet and let them sizzle for 4-5 minutes on each side, until they develop a deep, bronzed crust.
- Serve with your favorite condiments on the bun of your choice. We kept it simple: mayonnaise, red leaf lettuce from the garden, on the jalapeño cheese rolls I’ll share with you here next week.
Note: if the burgers look like they are falling apart, or if they threaten to break when you try to flip them, turn the heat up a little. This, bizarrely, helps keep them together because it sets the outside faster, so the surface of the patty is firmer.