
All over the food blog world, folks are declaring that fall is here. It’s the season for pumpkins and root vegetables and casseroles and braised meats. Except that I live in Los Angeles, where it has been close to or over 90 degrees Fahrenheit for the past week and a half. Where was this in June, Los Angeles? Where was it in July (when we were further north and would have missed it!)? Why now, now that school has started and I have to wear professional clothes all week and can’t be here to keep the windows open all morning, do we finally get the month or so of scorching temperatures when everyone else has packed up their popsicle molds weeks ago?
 Well I’m not convinced that it’s fall. I’m calling it late summer. And this is convenient, because the heirloom tomato bushes that have grown into a vast jungle in my backyard are still heavy with fruit. The Farmers’ Market we frequent is still bursting with bright bell peppers and corn and stone fruits, and hasn’t yet been taken over by cruciferous vegetables or potatoes.
 A few weeks ago, stunned by the number of gleaming tomatoes we’d managed to produce, in shades of deep crimson and flame yellow, I did what anyone trying to find inspiration would do. I asked Facebook. And my friend M. responded with an idea I’d never considered: tomato pie.
 Since tomatoes are a fruit, I suppose it shouldn’t seem so strange to put them in a pie. (Isn’t pizza, in fact, the ultimate incarnation of a tomato pie?) But I quickly determined that mine would be savory rather than sweet, and from there things fell together with little effort. Creamy, tangy goat cheese pairs so well with the acidic sweetness of tomatoes, and a handful of fresh herbs from the garden add a grassy complexity to the dish.
 Making a pie, of course, entails making a pie crust, and this remains one of my greatest nemeses in the cooking world (it’s all about the butter, I’m sure of it. The size and the temperature are almost impossible for me to get right, and given this and all the trouble I had with buttercream frosting I’m almost convinced I should just have gotten it out in the open from the beginning and renamed this blog Butter Problems). But I considered a few techniques I’d read about recently in Shirley O. Corriher’s genius book Bakewise, which takes a scientific approach to baking, not only providing stellar sounding recipes, but explaining carefully what each ingredient does for the final product, and offering options that will result in a subtly or staggeringly different end product. In her section on pie crust, Corriher explains that crust texture is a near catch-22 between flakiness and tenderness. Flakiness comes from leaving the butter in sizable chunks, so that during the baking process the crust puffs into layers before the butter has had a chance to melt fully. Tenderness, though, comes from being sure the flour has been fully hydrated, which can only happen with full incorporation of the liquid element. Yet overworking the dough makes it tough, and the flakiness quotient disintegrates as you break the butter into smaller and smaller bits. See why I don’t like making pie crust?

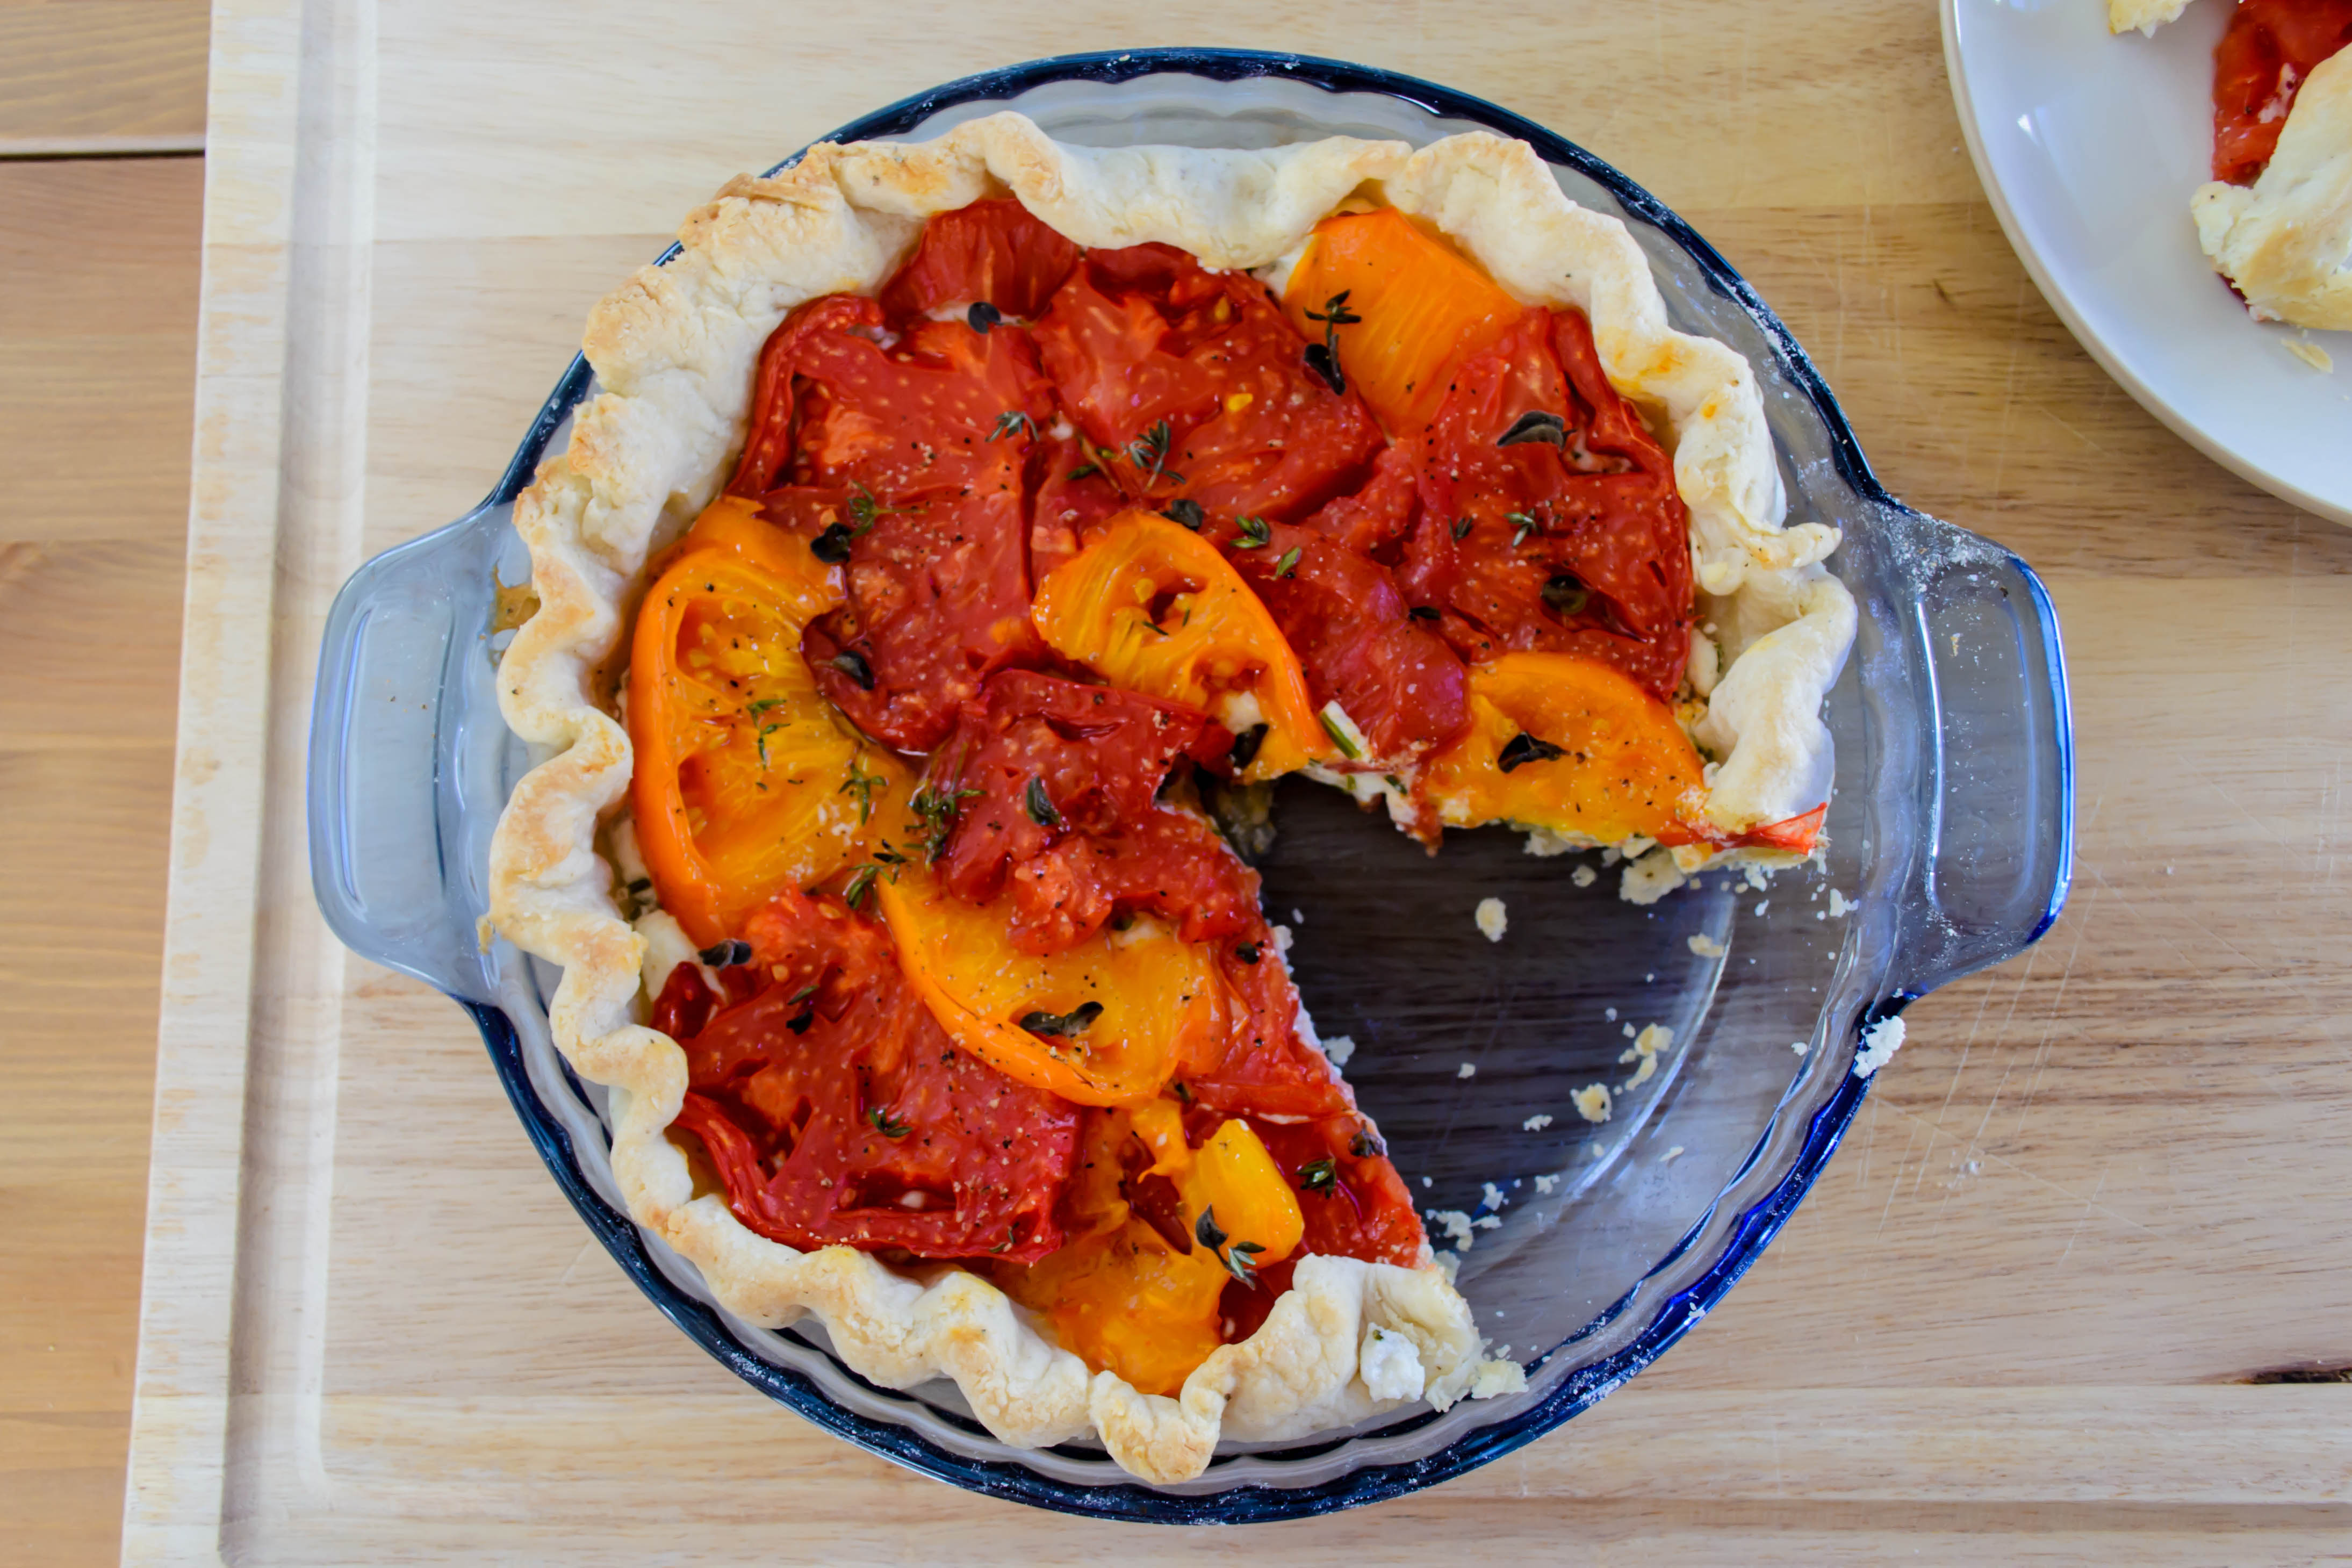
 But this crust was magic. I decided that if what we really wanted was flakes and tenderness, and if fat helps along hydration and acidity contributes to a tender final product, then the little container of buttermilk that had been sitting quietly at the back of my refrigerator for weeks was the consummate answer. And it was. The crust came together quickly, rolled out like a dream, and was stable enough that I was actually able to give it some decorative edging before I packed it full of goat cheese and thick slices of tomato and shoved it into the oven.


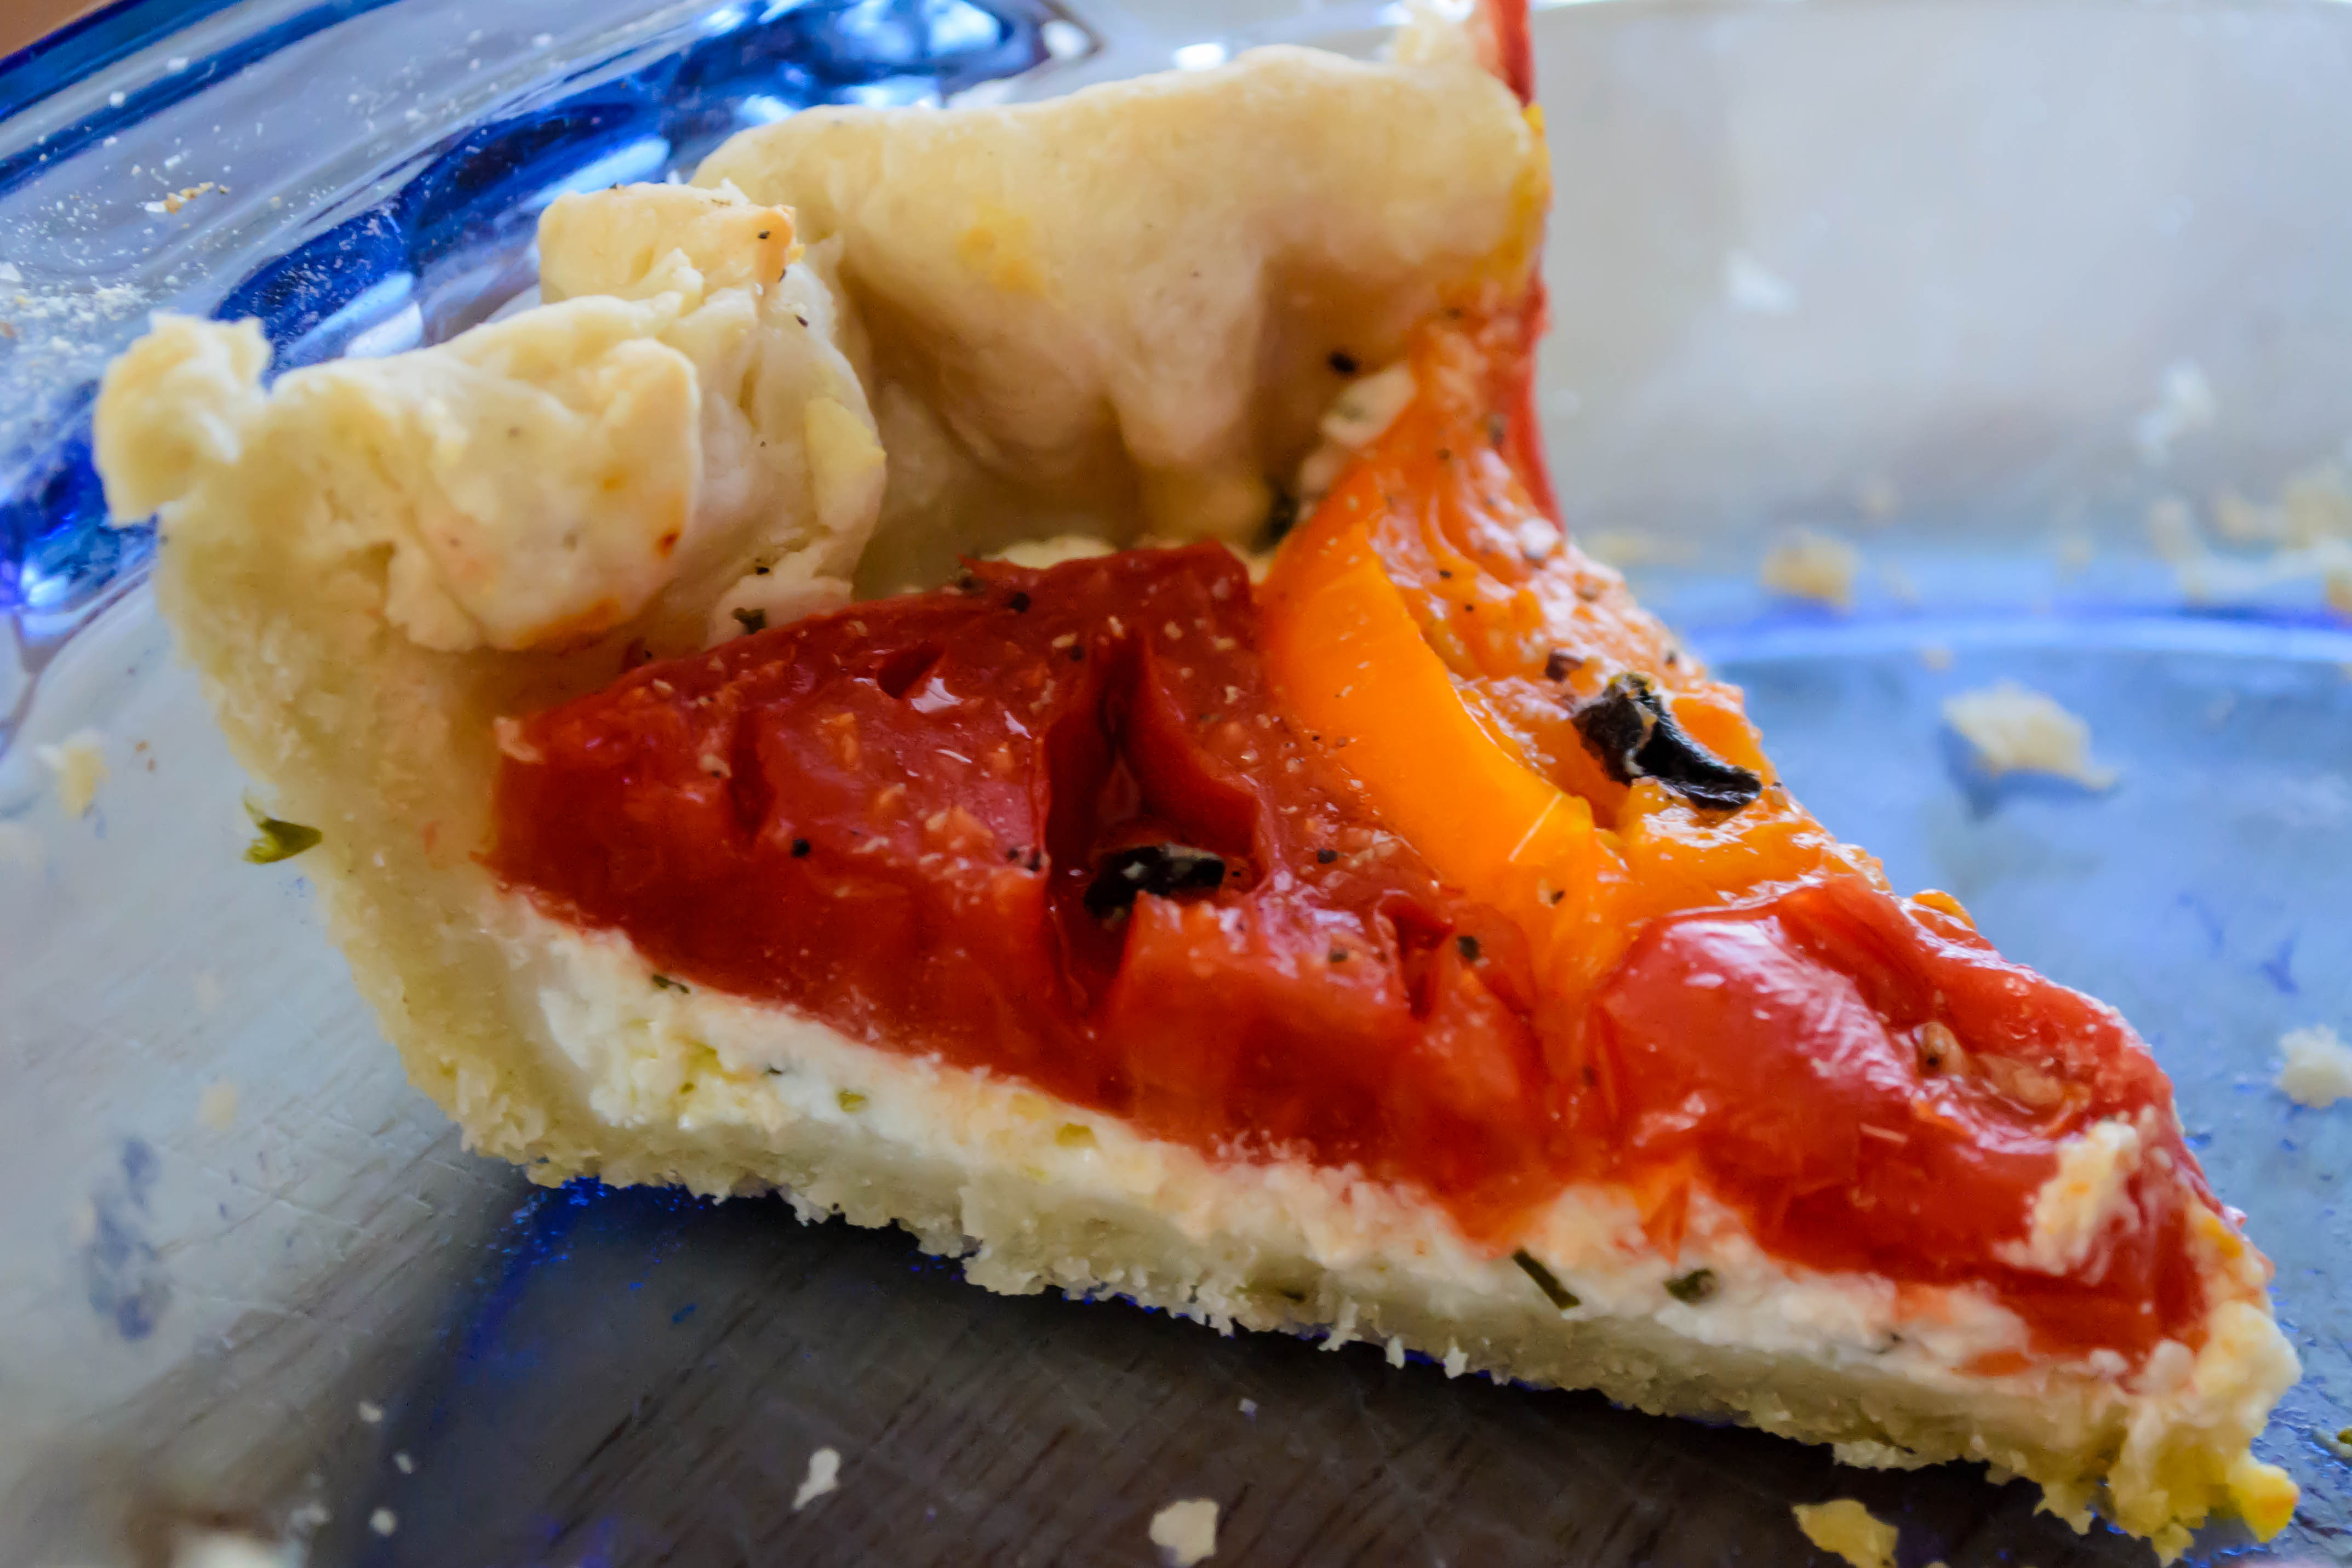
 We weren’t exactly sure what to expect of this dish (in fact, when I said “tomato pie” to N., he made a very interesting face), but after we’d both gone back for a second slice, and then a sliver of a third, we decided that we must like it. It’s a really nice balance of flavors, with the sweet sharpness of tomatoes mellowed into something almost meaty, but still light in spite of the layer of tangy cheese. The perfect late summer supper. But it would also, I think, be a great brunch option, or a light lunch with a fresh salad, or, cut into very thin slices, a beautiful canapé for a bridal or baby shower.
 Goat cheese tomato pie
makes one 9-10 inch pie
For the crust:
6 oz. flour (or a fluffy 1 ½ cups)
1 tsp sea salt
¼ tsp ground black pepper
1 stick butter, very cold, cut into 8 pieces (if you are going to use your food processor to make the crust, the butter can be frozen)
3-5 TB buttermilk, very cold (I put mine in a little glass in the freezer for 5-10 minutes before I start making the crust)
For the filling:
8 oz. goat cheese, at room temperature
1 TB milk
1 clove garlic, finely minced, or ¼ tsp garlic powder
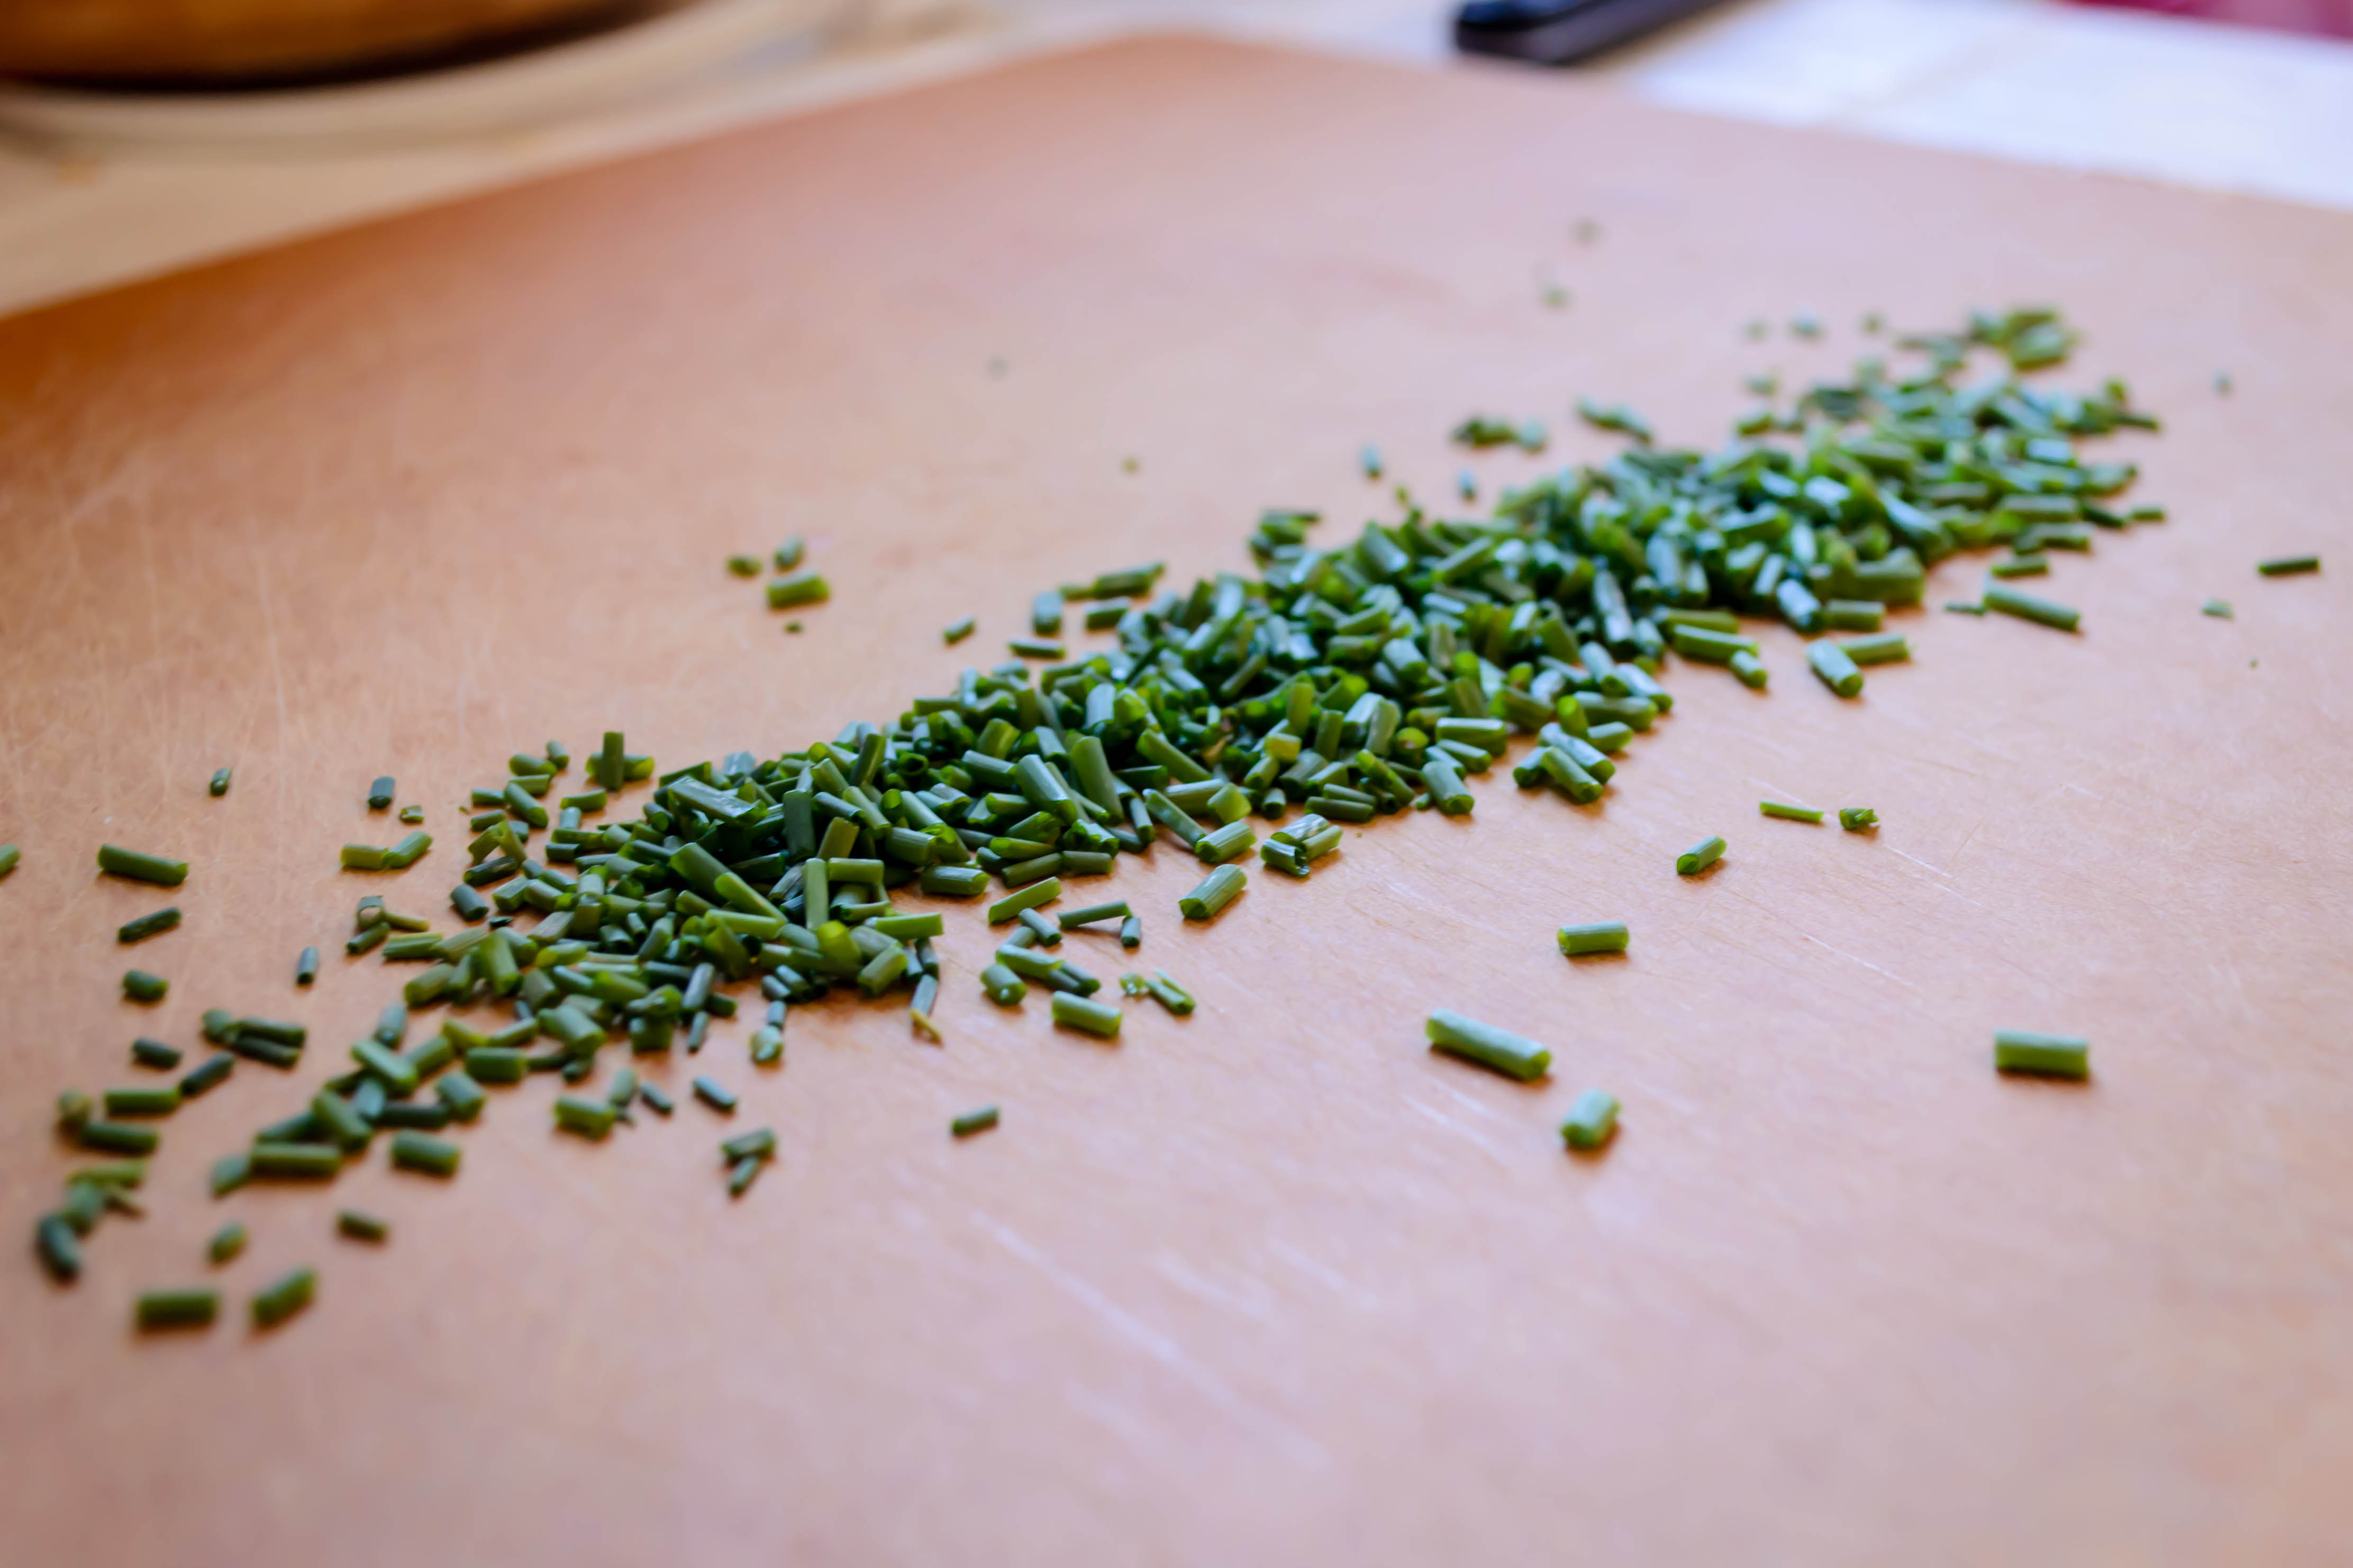
2 TB chopped chives
1-2 tsp chopped mixed herbs (I used thyme and oregano)
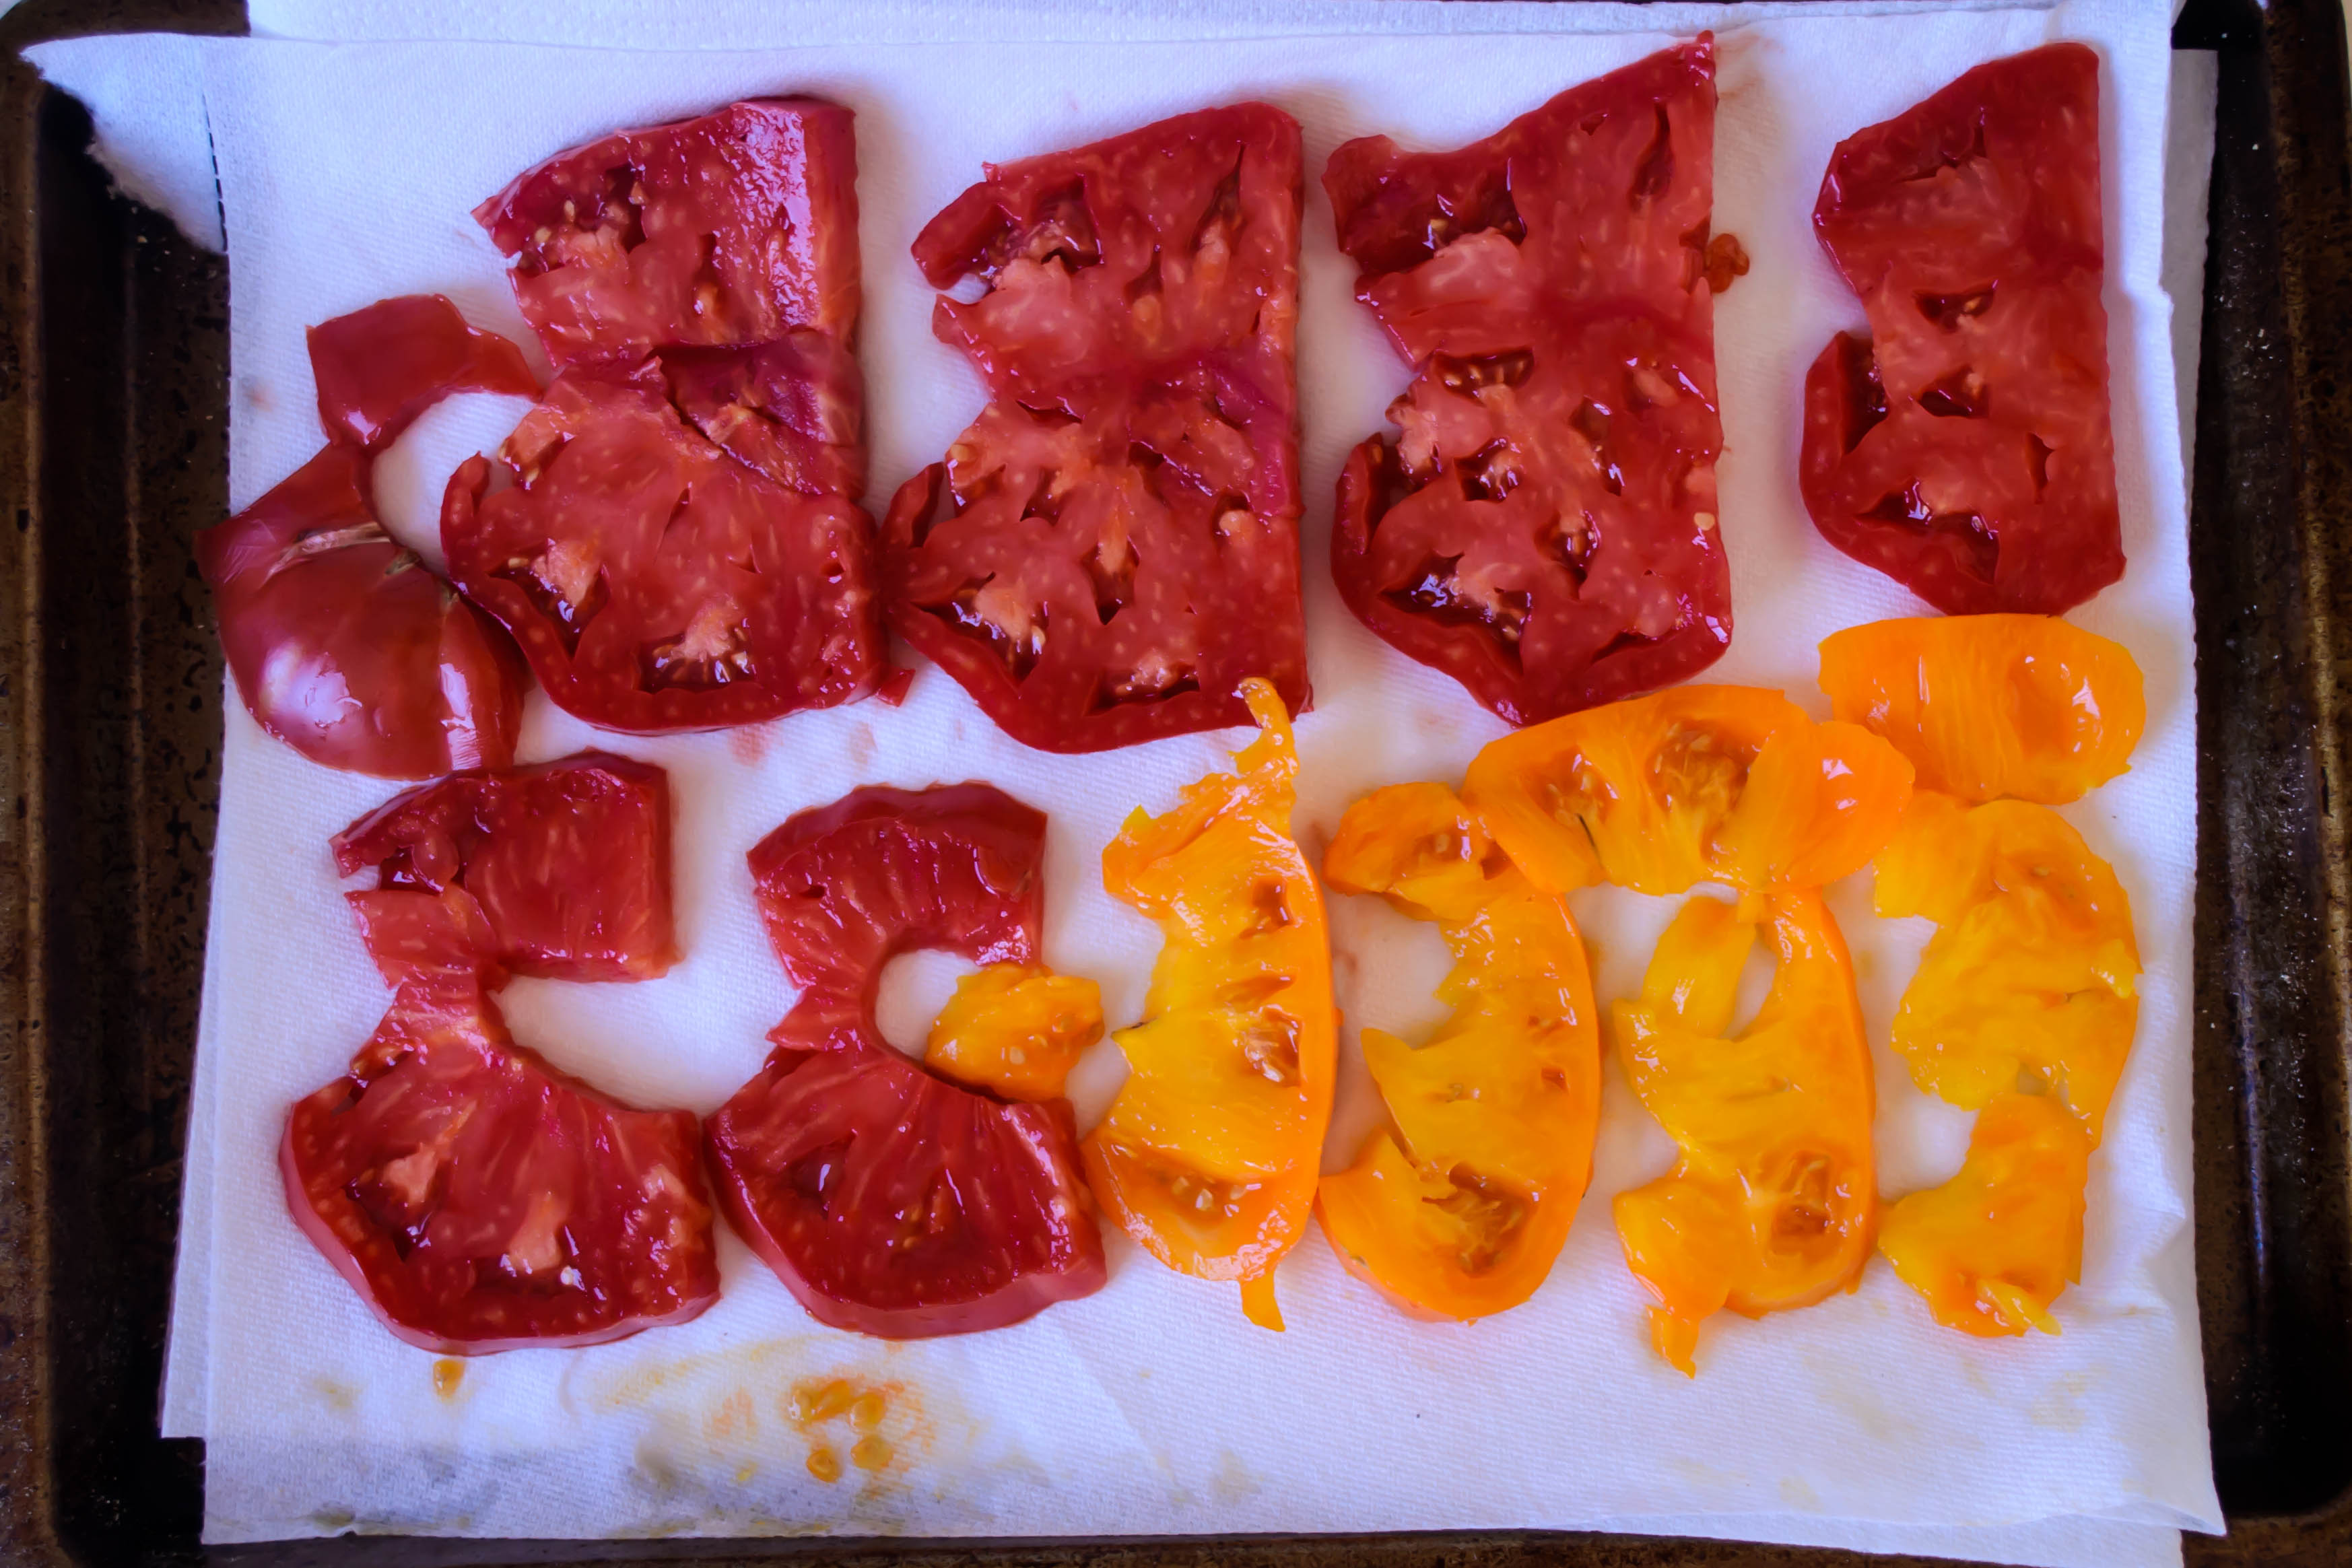
2-3 large heirloom tomatoes, cut into ½ inch thick slices (this quantity is inexact, since heirloom tomatoes differ in size. You are looking for enough slices to create a slightly overlapped single layer over the goat cheese filling)
Salt and pepper to taste
Drizzle of olive oil
- To make the crust, combine the flour, salt, and pepper in a bowl.
- If you are using a food processor, dump in the chunks of butter and pulse on three-second intervals until the butter has been broken up a bit and some pieces are the size of walnut halves, while some are more like peas. If you are using a mixing bowl, cut in the butter with a pastry blender, two knives, or your fingers.
- Dribble in 3 TB of the buttermilk and pulse again on three-second intervals (or use a fork or your fingers to combine). If the dough begins to clump together like wet sand or crumbly cake, you are done! If it is too dry to come together, add another TB of buttermilk and pulse again.
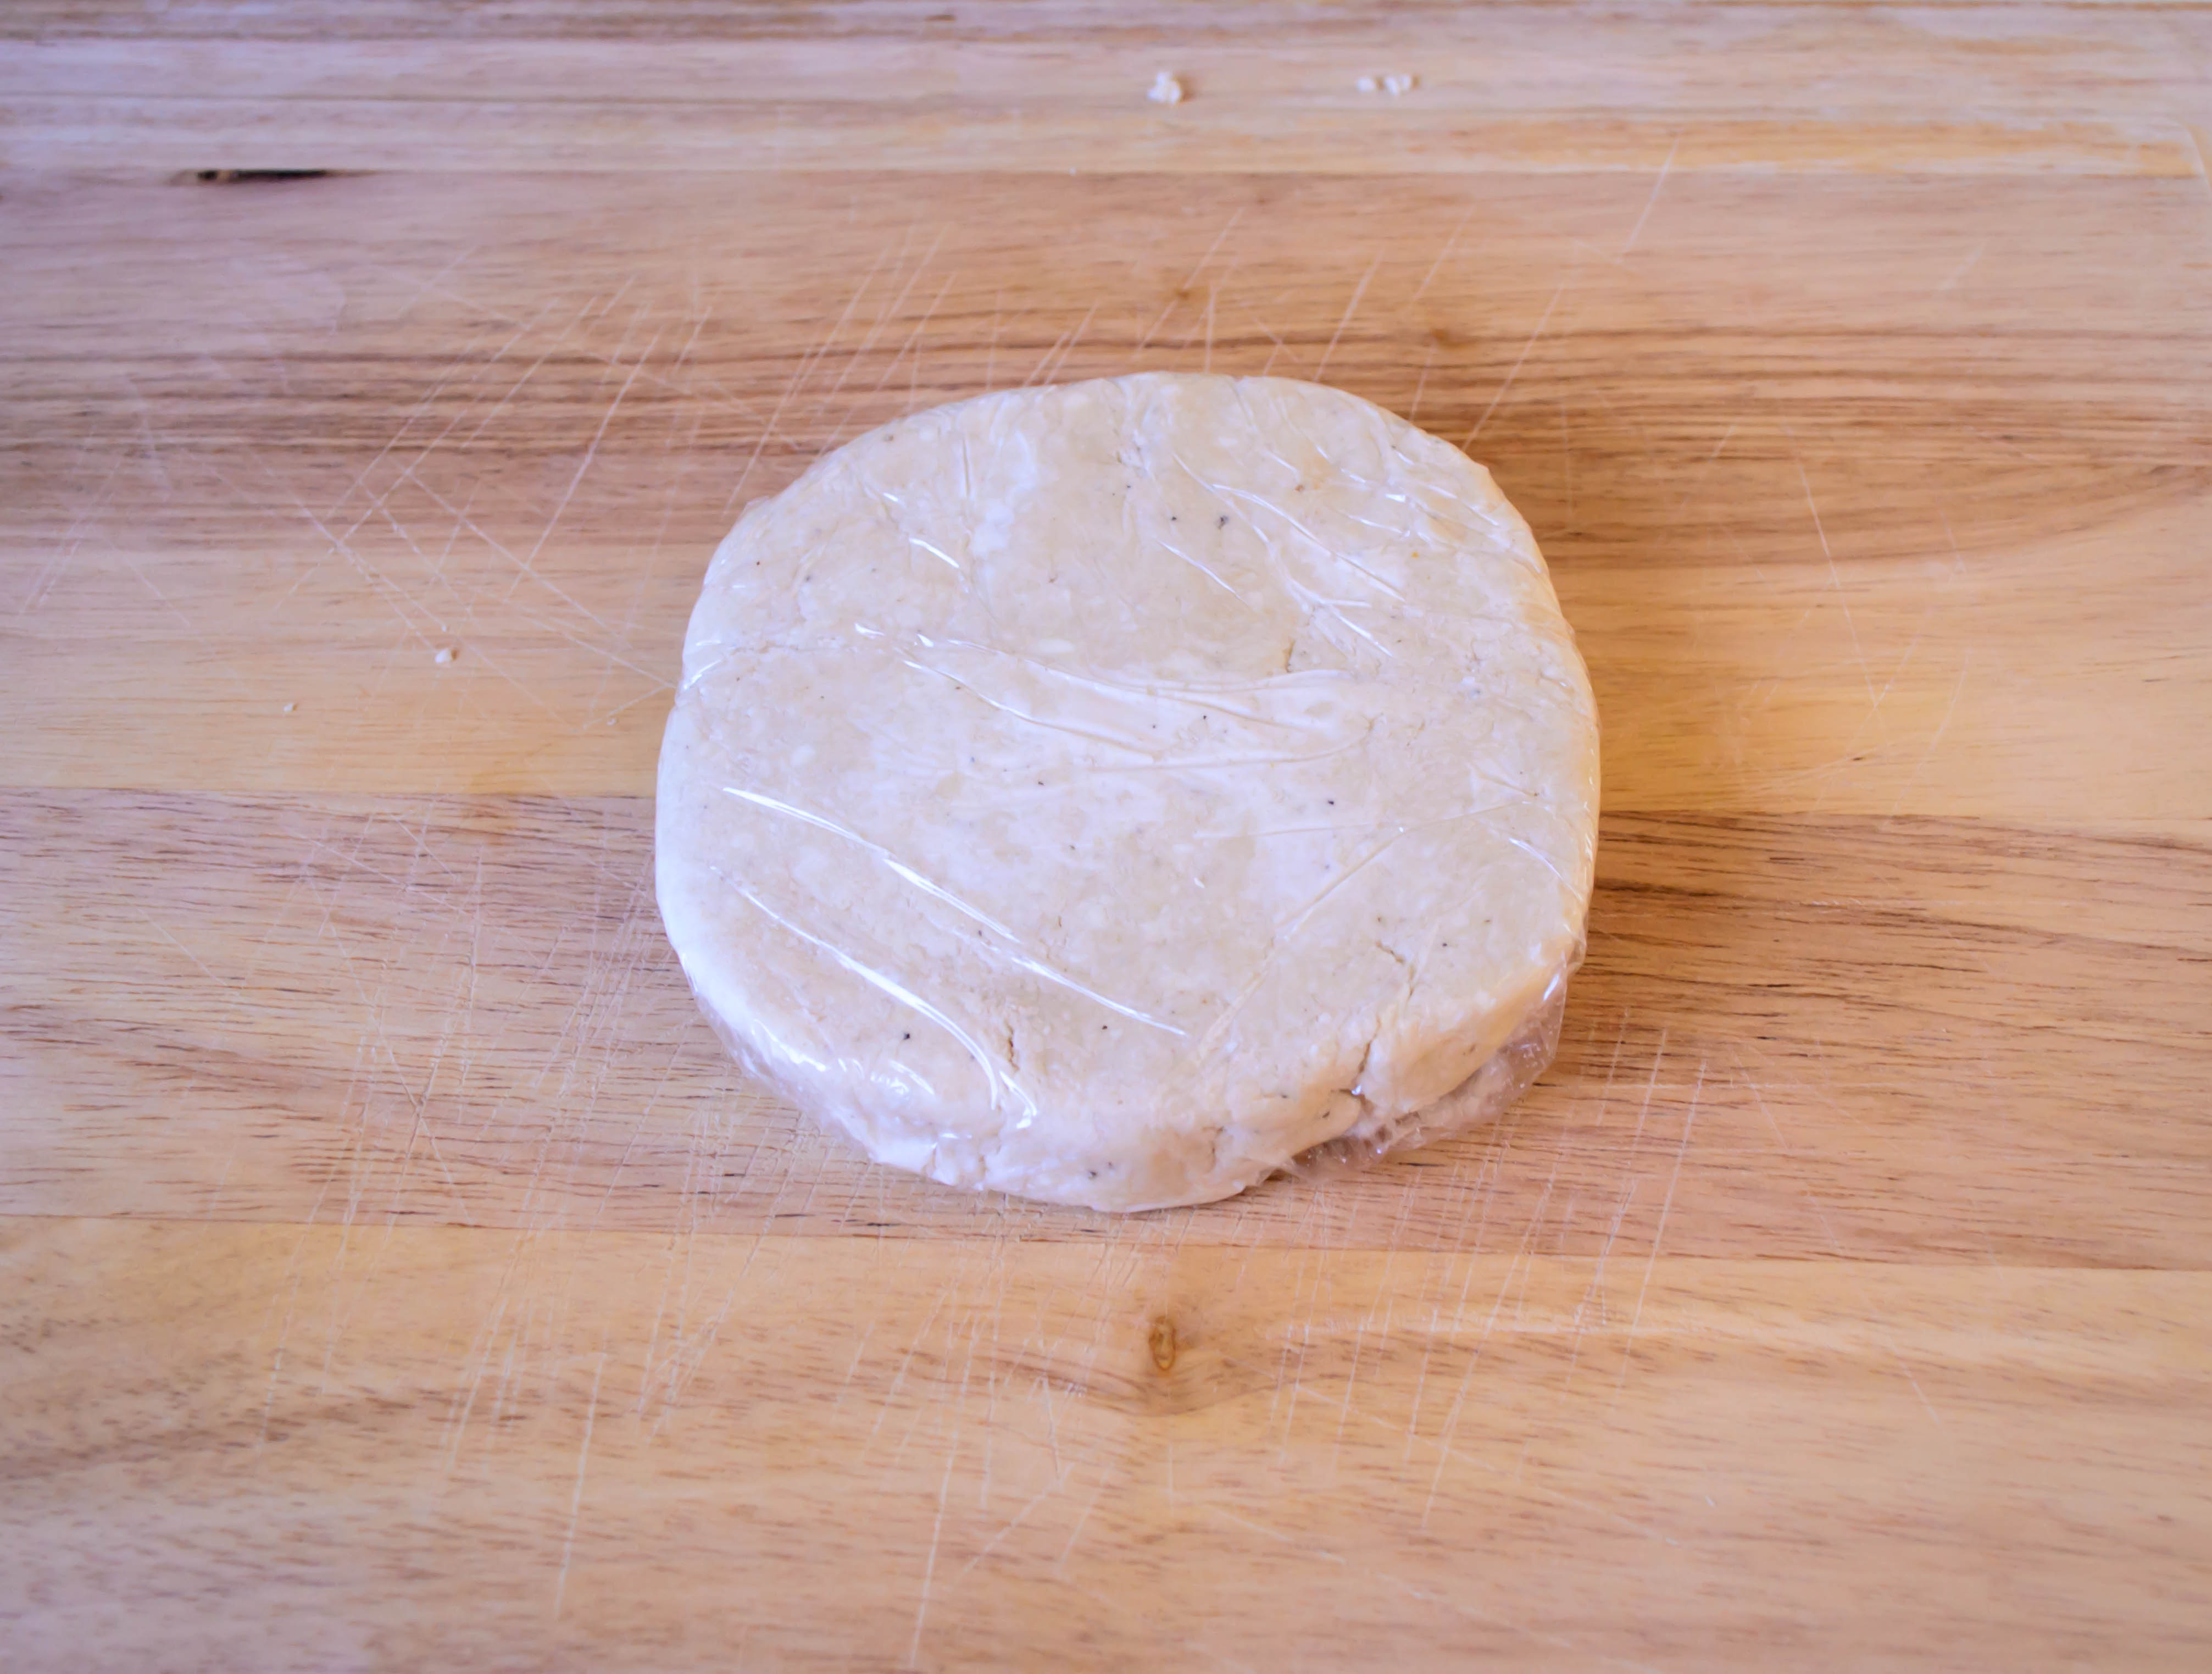
- Dump out your crumbles of just-tacky dough onto a big piece of plastic wrap. Using the plastic wrap to help you, press and squash and manipulate the dough into a disc of about 1 inch thick. Wrap it up and stow it in the fridge for 30-45 minutes.
- While the dough chills, prep the filling ingredients.
- Place the sliced tomatoes on a double layer of paper towels lining a cookie sheet. This will allow them to drain a bit, so they won’t expel quite as much juice in the oven. Let them sit for at least 15 minutes.
- Once the goat cheese is at room temperature, combine it with the milk and the chives in a small bowl. This miniscule quantity of milk thins the goat cheese out just enough to make it spreadable. The chives are, of course, all about flavor.
- Preheat the oven to 400F and transport your disc of dough from the fridge to a well-floured board. Unwrap it and let it warm up just a touch – no more than five minutes or so.
- With a rolling pin, push from the middle of the dough circle out away from you – toward what we might term the top edge. Then, return to the middle and push back toward you. You will now have a strange, elongated oval. Rotate the disc about a quarter of a turn and repeat, so you’re slowly returning the dough to a circular shape. If you get some cracks, don’t worry about it – you can either press the dough back together manually, or it will miraculously repair itself as you roll. If things get sticky, sprinkle on some additional flour.
- When your dough is rolled out into a basic circle with a diameter 1-2 inches bigger than your pie dish, it’s time to transport it once again. Roll it up loosely around your rolling pin, then unroll it into the pie dish, draping it gently into the crease where the bottom of the pan becomes sides. You should have some excess dough around the top. That’s good. In small sections, fold it in on itself so it is even with the top edge of the pie dish, creating a thicker edge. If you wish, make this edge decorative by pressing it in at intervals with your thumb or the tines of a fork.
- With a spatula, spread the goat cheese mixture in an even layer across the bottom of the crust. Be careful not to press too hard, as you’ll squash the crust down.
- Next, layer the tomatoes as attractively as you can manage (for me, this was not very much) over the cheese. You can overlap them slightly, but the point here is to completely cover the cheese in something as close to a single layer as possible. This will allow them to receive heat evenly – we don’t want some of them roasty and others stewed.
- Sprinkle the tomato slices with your 1-2 tsp of mixed herbs, salt and pepper to taste, and a good glug of olive oil for gloss.
- Bake at 400F for about 30 minutes, until the crust is cooked through and becomes golden, and the tomatoes begin to crumple.
- Remove from oven and let cool for 10-15 minutes before slicing, to regain some structural integrity. Tomato juice will gush about when you cut into it; there’s just no avoiding it. But it will be that utterly delicious kind of gushing that you end up feeling pretty pleased about. Serve warm or at room temperature.


 Just look at that! I love how the cherry tomatoes are still clinging to their stems, though less than five minutes later I was thrilled to liberate them. Our friend K., who was just one of the delightful people who helped us produce this harvest by watering the garden in our absence, told me that the sungolds are like tiny little jewels of crack. I concurred.
 They are already chilling in the freezer, waiting to be made into blackberry mojitos. There are honestly enough of them to experiment with other concoctions, but really, why mess with a good recipe?